All Posts By

Fawn Rumfield

House Progress

The Power of Paint (A Phase One Bathroom Makeover)

Hi there! Thanks so much for stopping by today! Boy oh boy, do I have a before and after for you today! First, let’s get the backstory. We bought our home from a realtor who had purchased the house at auction following a foreclosure. That realtor listed it for sale, but went back and forth about whether he wanted to flip it himself. When we bought it, there were a few random half hearted attempts at restoration work. One random door frame stripped of paint, carpeting partially pulled up, wallpaper torn off in just a small section of a room. That was the case in the room I’m going to show you guys today.

So the upstairs of our house has three bedrooms and a full bathroom. When we did our first big amount of work in the months before we moved in, the only room we touched upstairs was the first bedroom for our son, leaving the bathroom and two bedrooms untouched. The house was built in 1895 with no indoor plumbing, and therefore no bathrooms. I’m not sure at what point it was added, but at sometime, a bathroom was poorly shoved into what would have once been a spacious hallway between the three upstairs bedrooms. This leaves us a bit perplexed as to what to even do with the bathroom, because the floorplan of the second story is a bit wonky. I’d love to someday see that turned back into a hallway, but alas, we need more than the outhouse that was originally here. Knowing that this bathroom was going to involve some structural changes, and that our needs in the house/bedrooms may change as we have more kids etc., the upstairs bathroom was literally at the bottom of the priority list. Out of sight, out of mind.

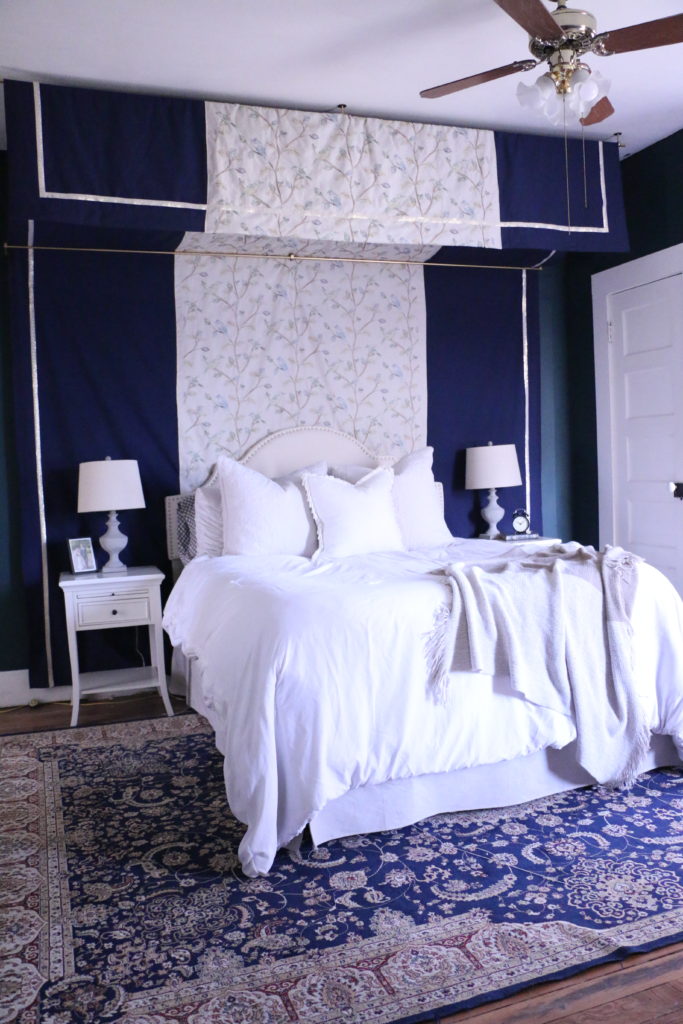
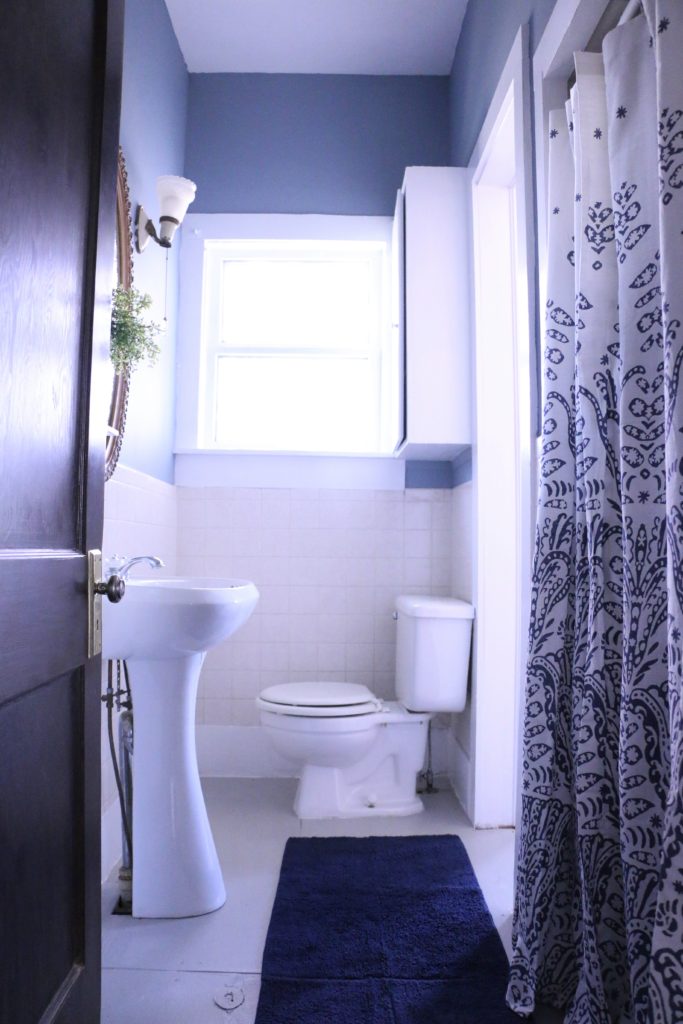
Until, that is, we moved the master bedroom upstairs. Then all of a sudden this upstairs bathroom was a little more on the forefront of my mind. I lovingly nicknamed this room “the dungeon bathroom,” because I was so scared to use it. Everything was fully functional, but the carpet (yep, this thing had carpet) that had been in there had been waterlogged and soaked through the subfloor. My brother actually pulled up the carpet and old subfloor and laid down new plywood. And that’s the extent of work we had done in the dungeon bathroom. But now our bedroom was right next to it, and it was a pain to go all the way down the creaky stairs right outside of our son’s room in the event that I needed to go to the restroom in the middle of the night. So I knew I needed to do something. But again, of all the “big projects” we have planned for the next couple years, this one is quite literally the last one on the list. So I decided to give it a little cosmetic facelift, a Phase One makeover to tide us over until we would eventually remodel this bathroom. So, without further ado, here is the dungeon bathroom.

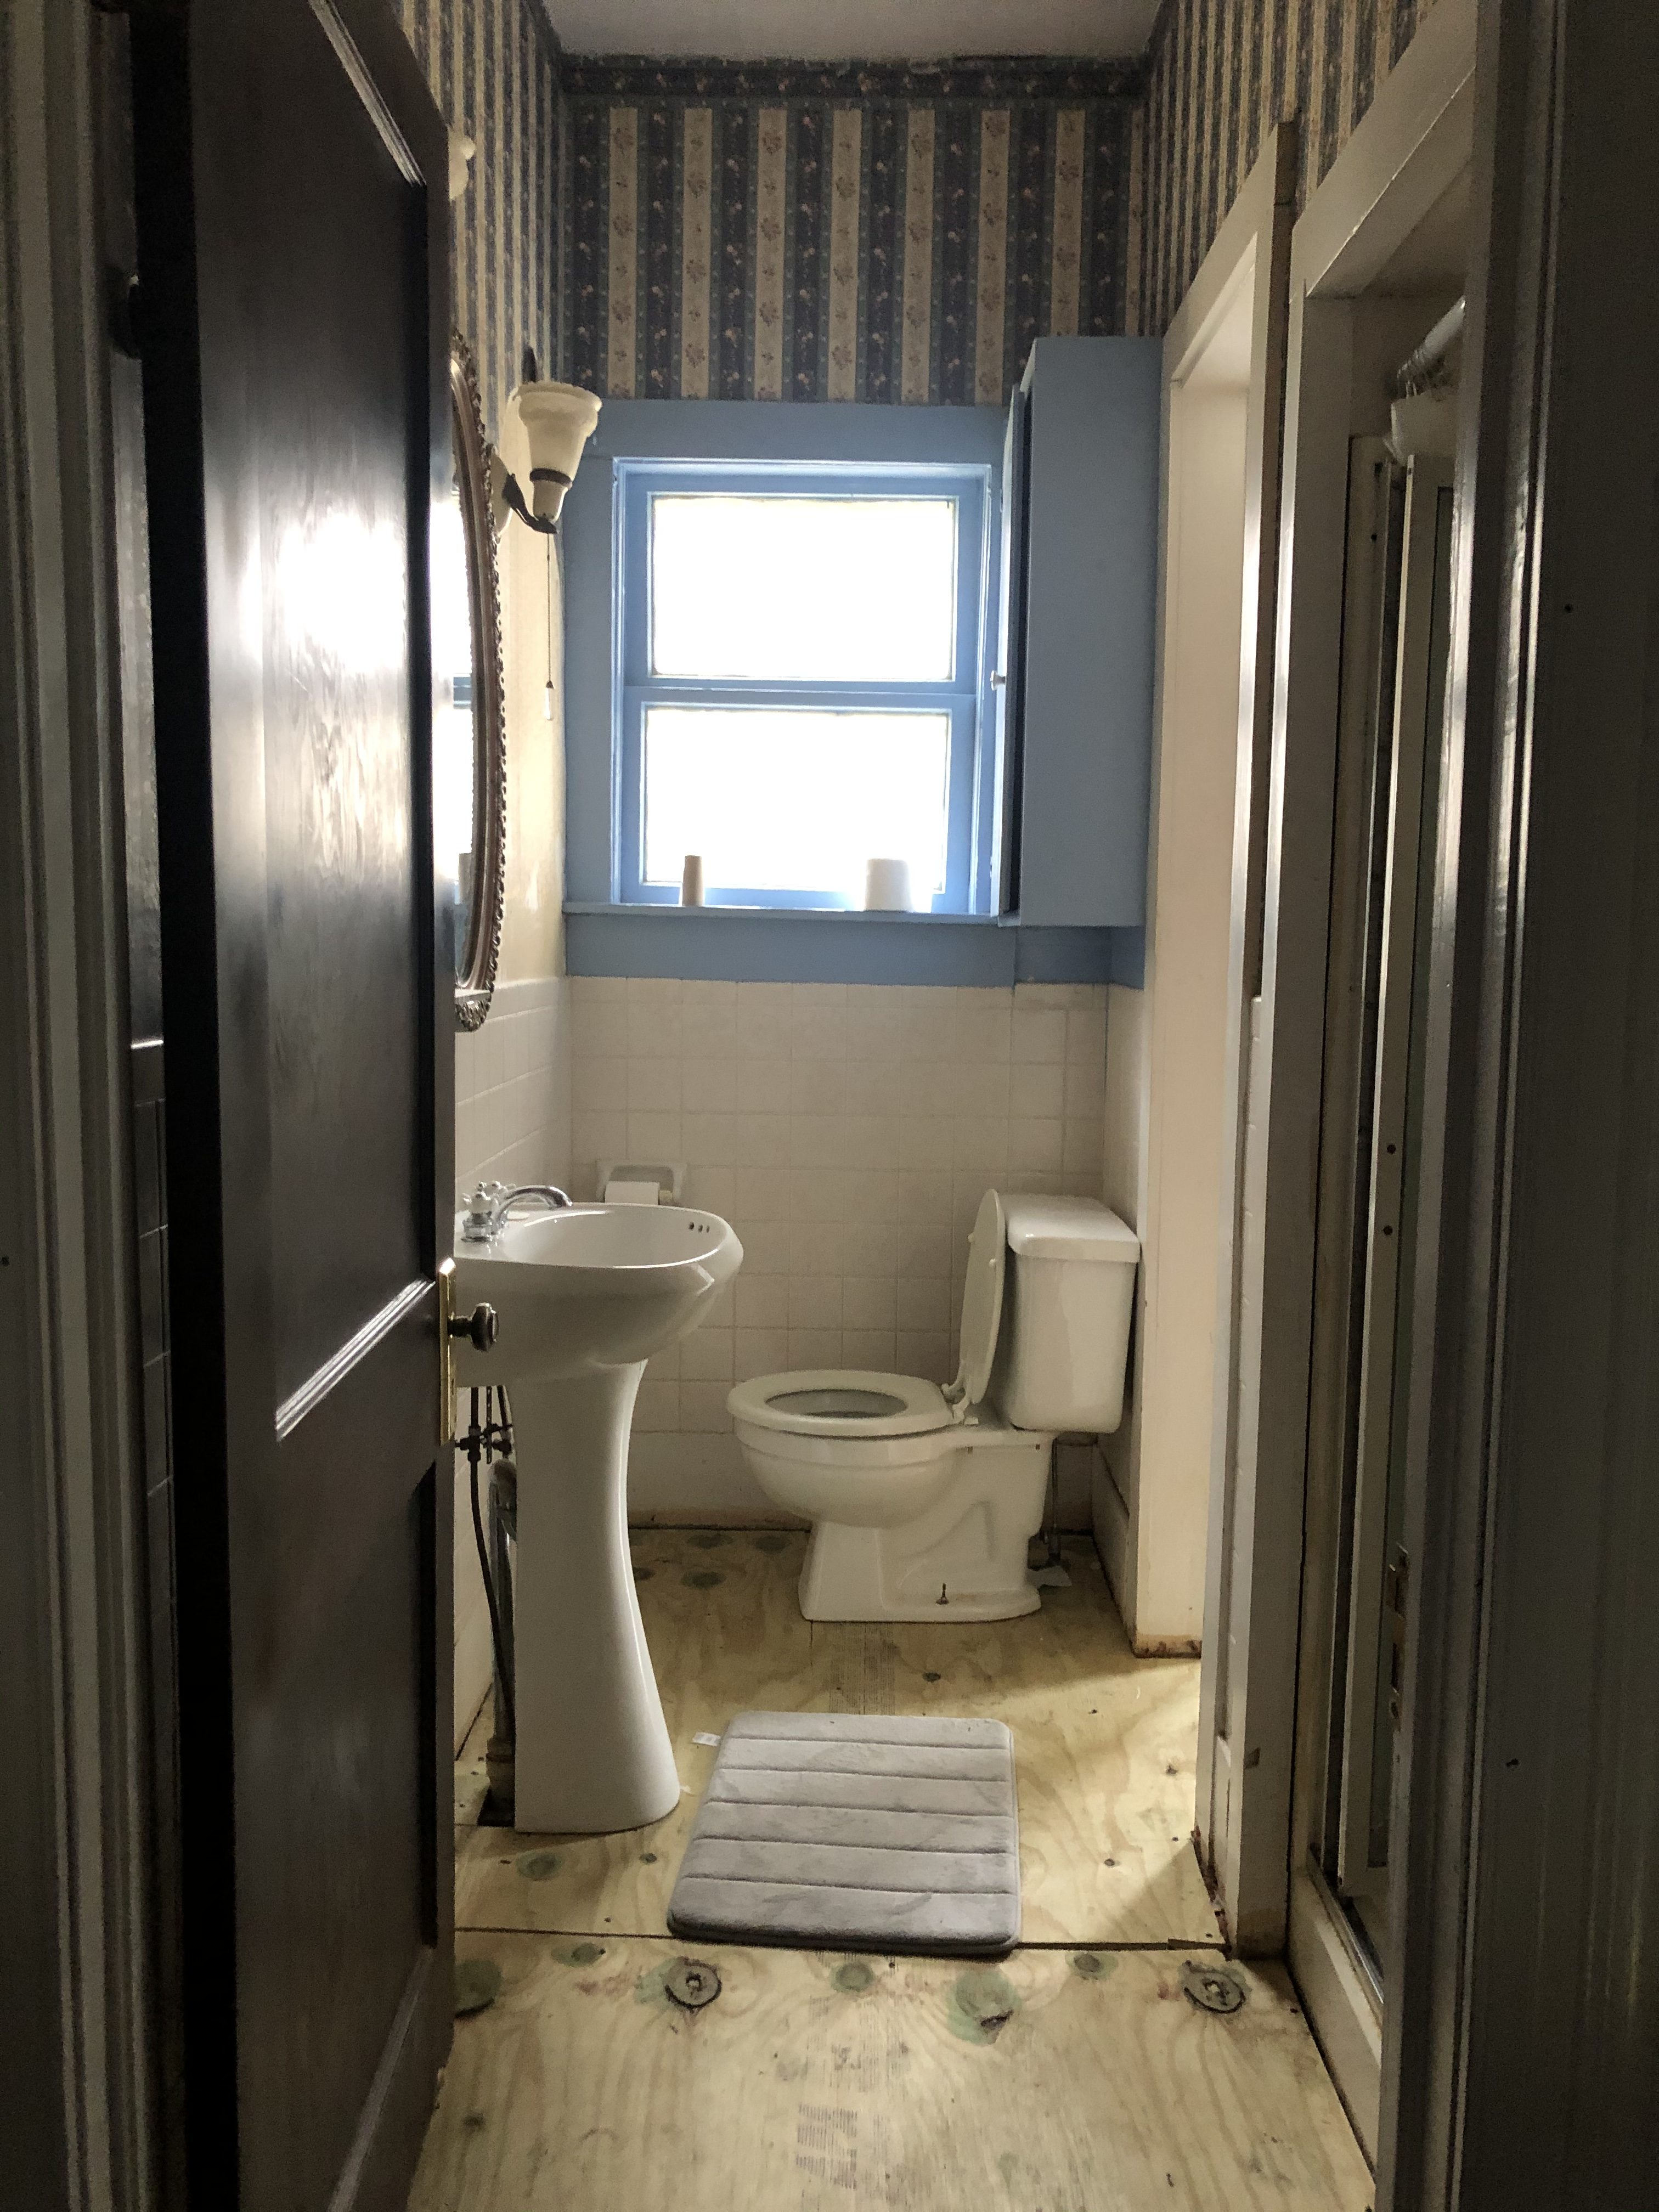
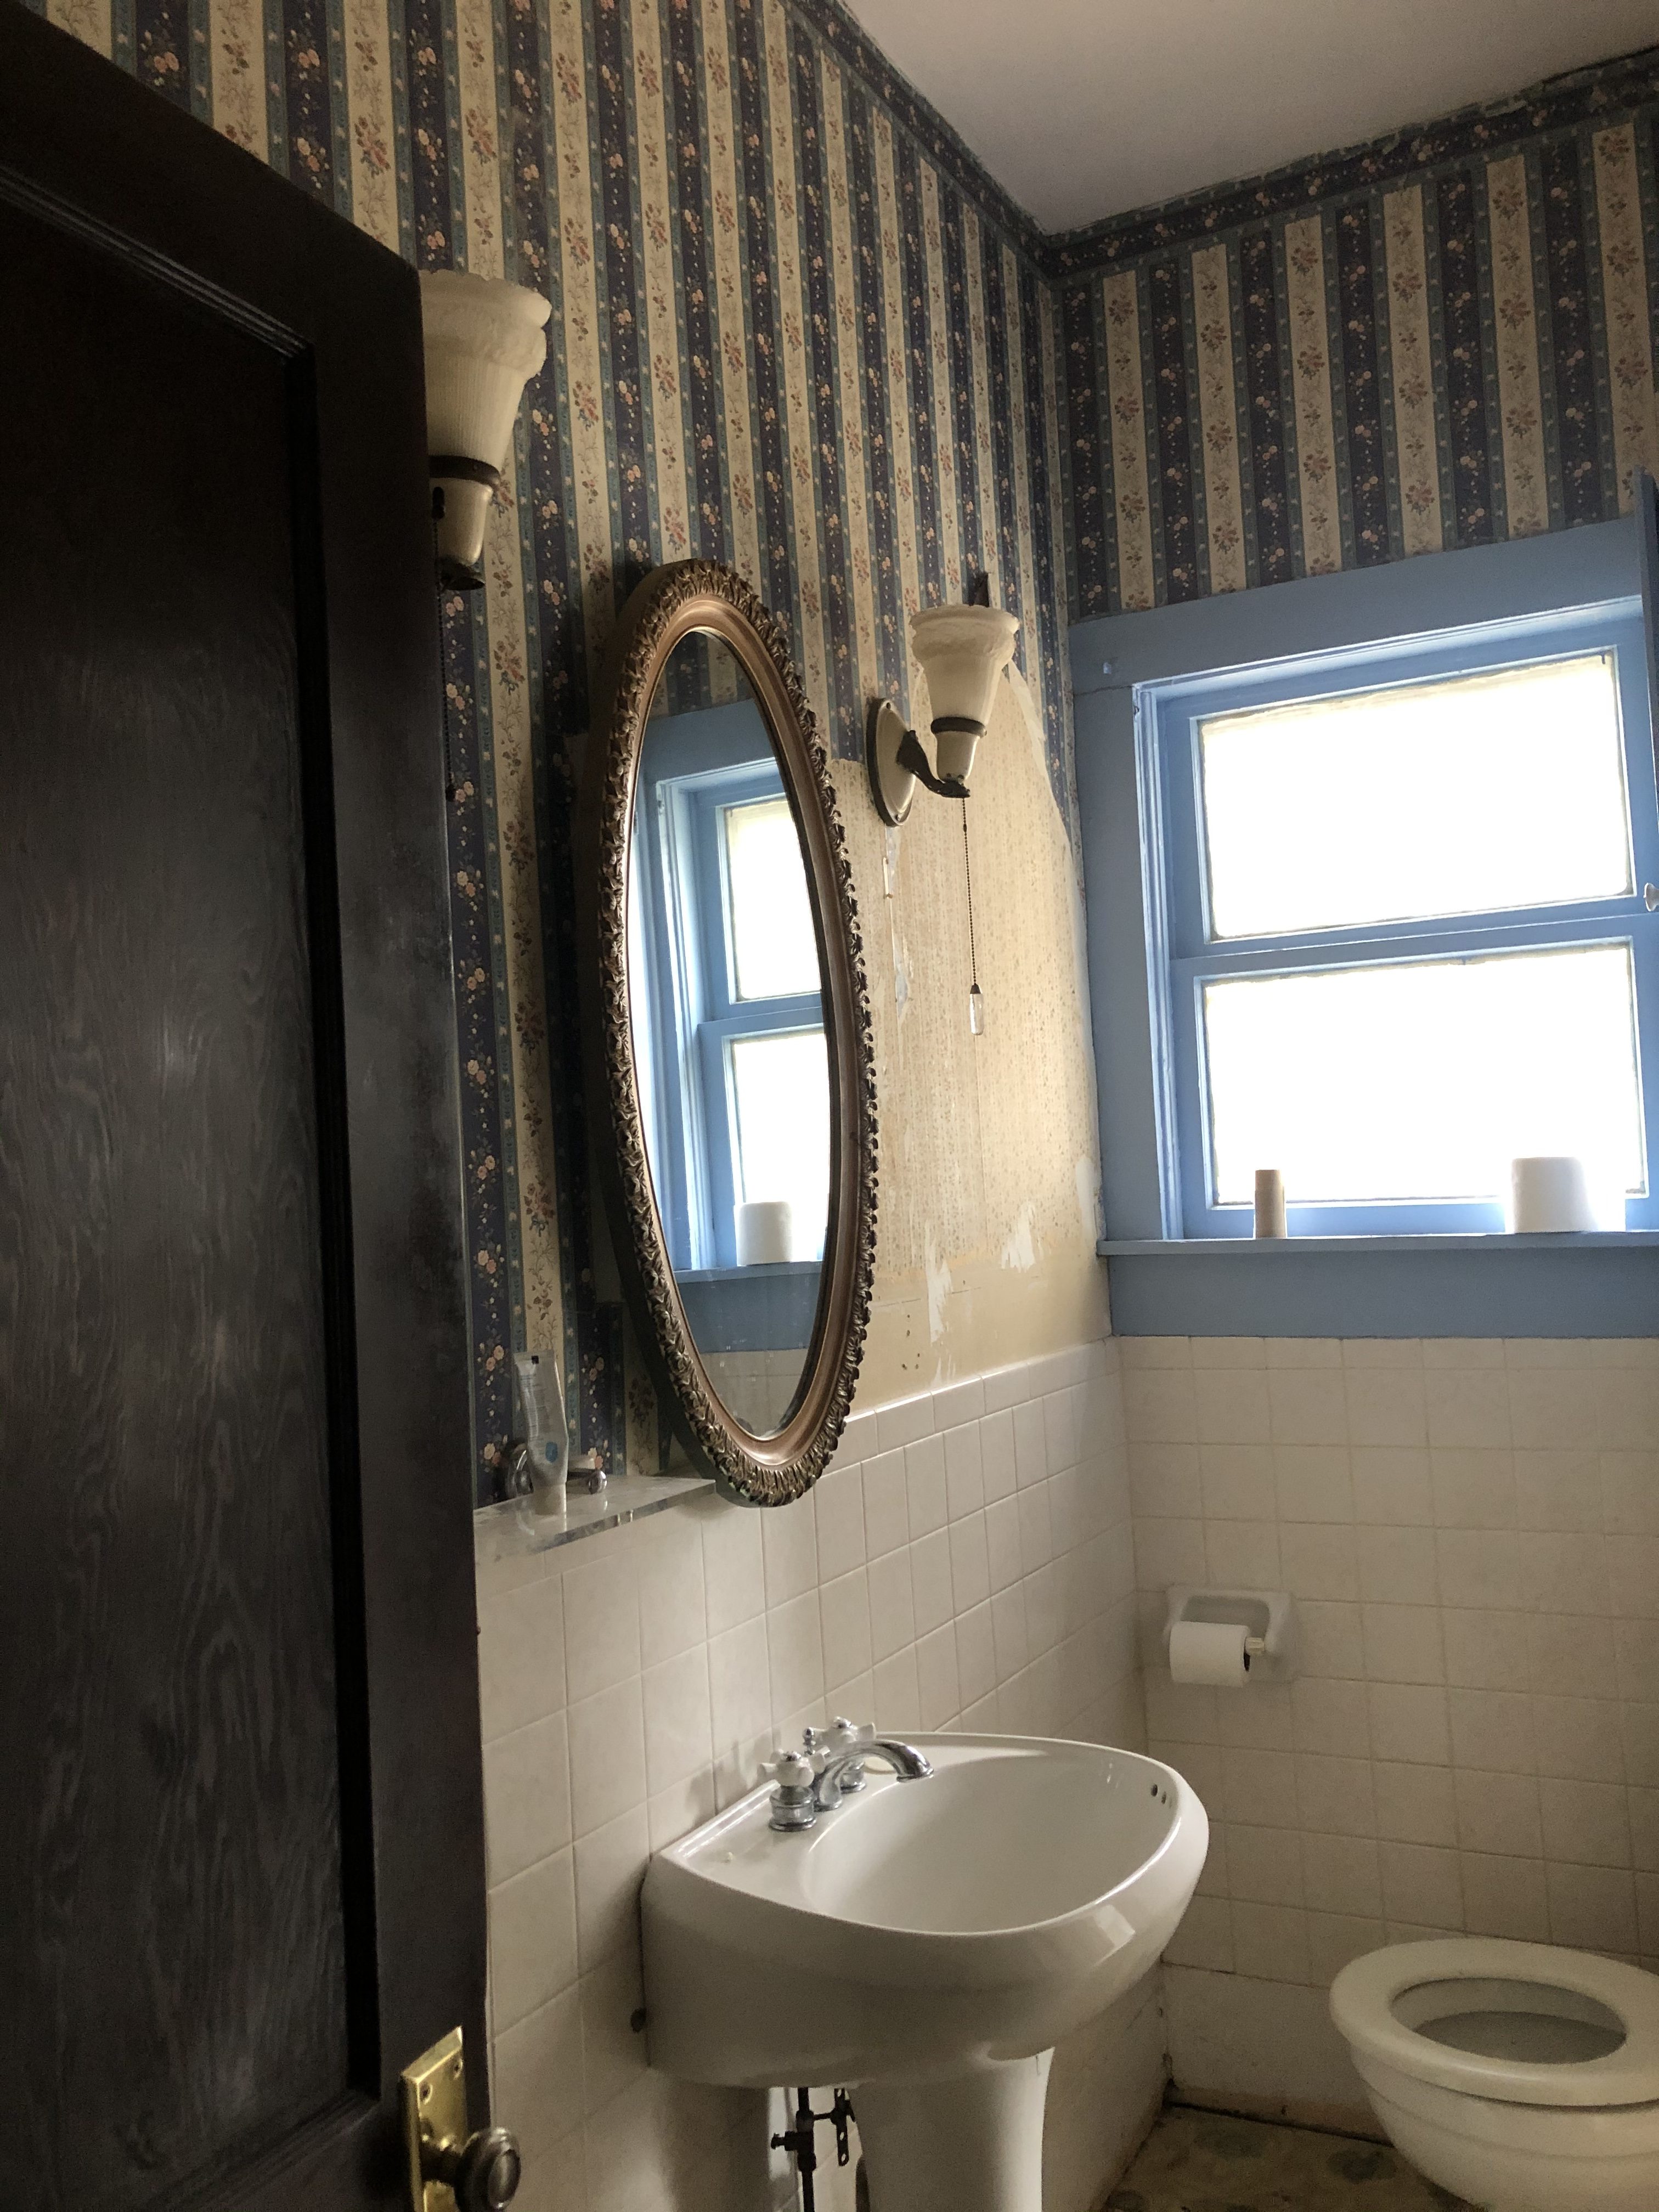
For days, I worked during naptime and after my son went to bed to scrape wallpaper. Most of the wall had two layers of paper, but in some areas, I found four different papers laid on top of each other. It was grueling. I used a handheld steamer and a wallpaper scraper and would work in tiny six inch square sections. It took a long time, and my arms arched.

As I scraped the wallpaper, I found that some of the drywall had been damaged, and had simply been disguised by the paper. That meant we had to do some patch work on the walls. I had to sand it all down to get the gunky wallpaper paste completely gone. All of this was before I ever started painting!

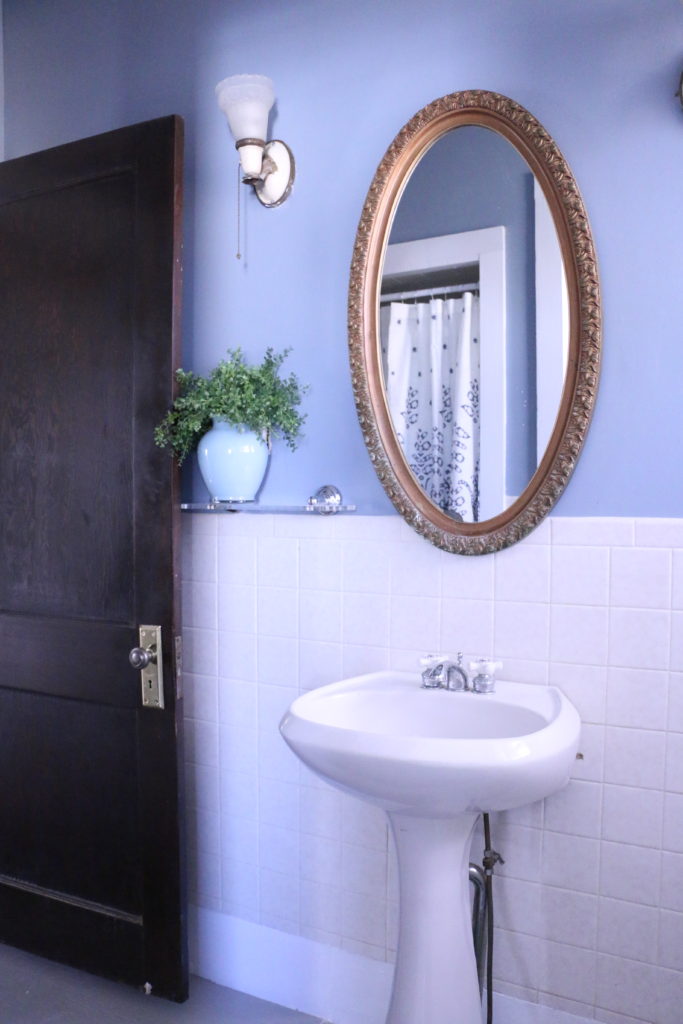
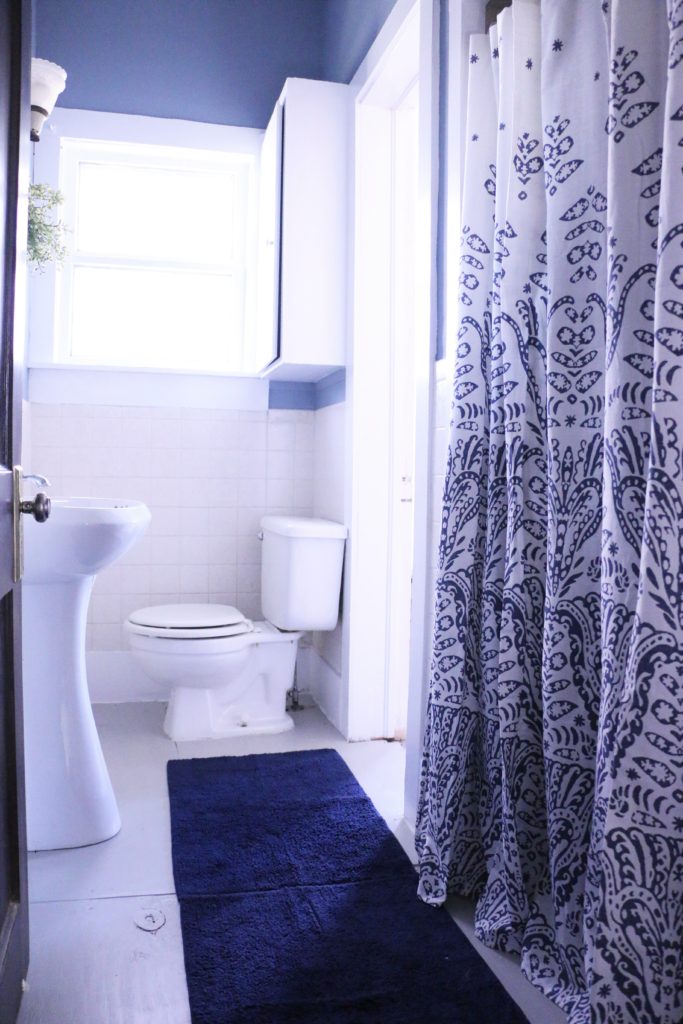
I originally planned on only using products that I had on hand to do this bathroom, but I ended up purchasing the wall color because I didn’t have as much paint in the garage as I thought I did. The color is Behr French Colony, and I think it’s a lovely blue-grey.

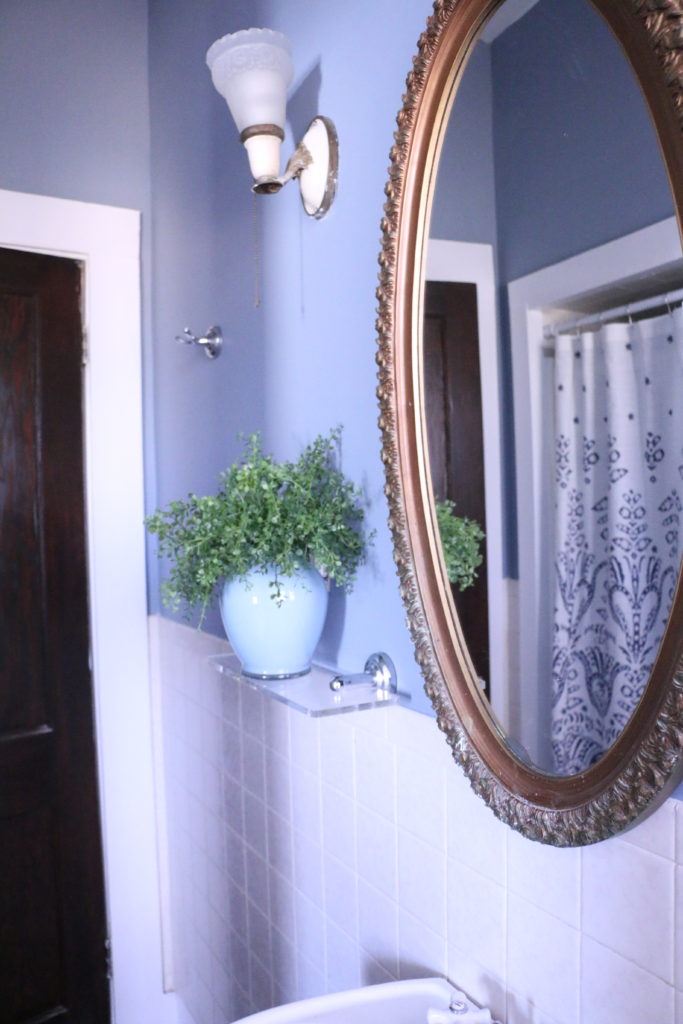
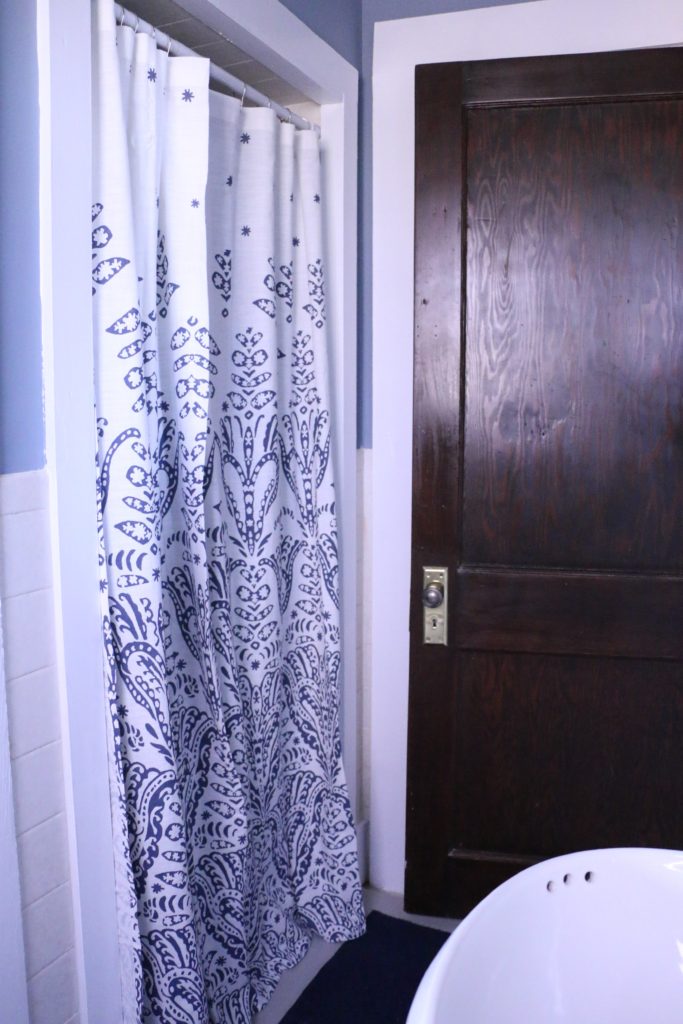
A shower curtain over the shower stall helps disguise that whole lotta ugly.

I also painted the plywood subfloor using some paint I had on hand. The floor is painted with Behr Tanglewood.

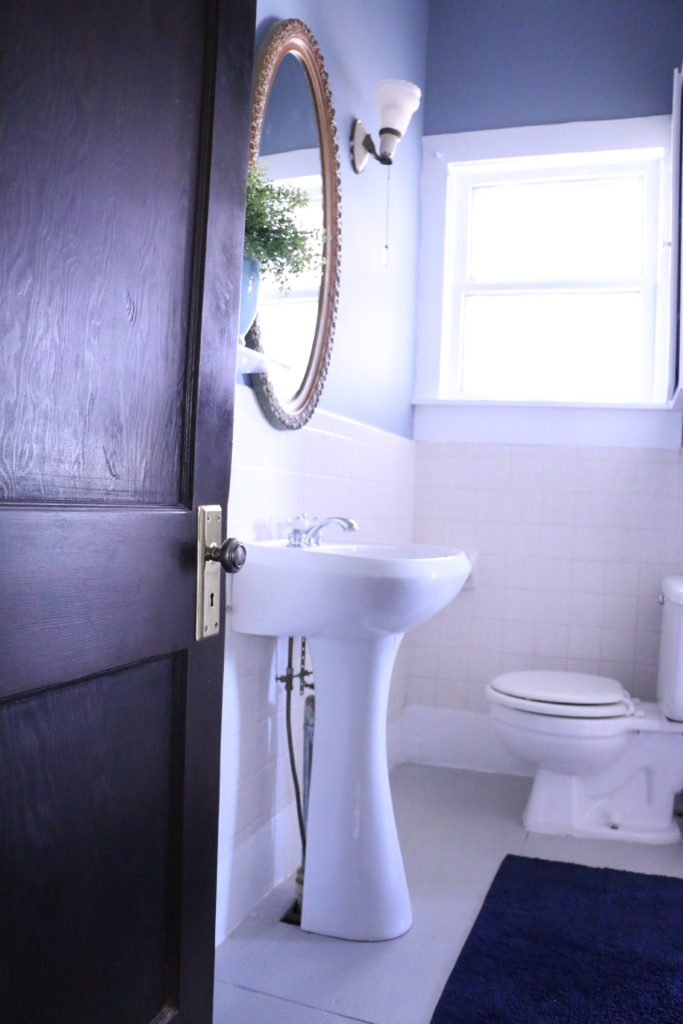
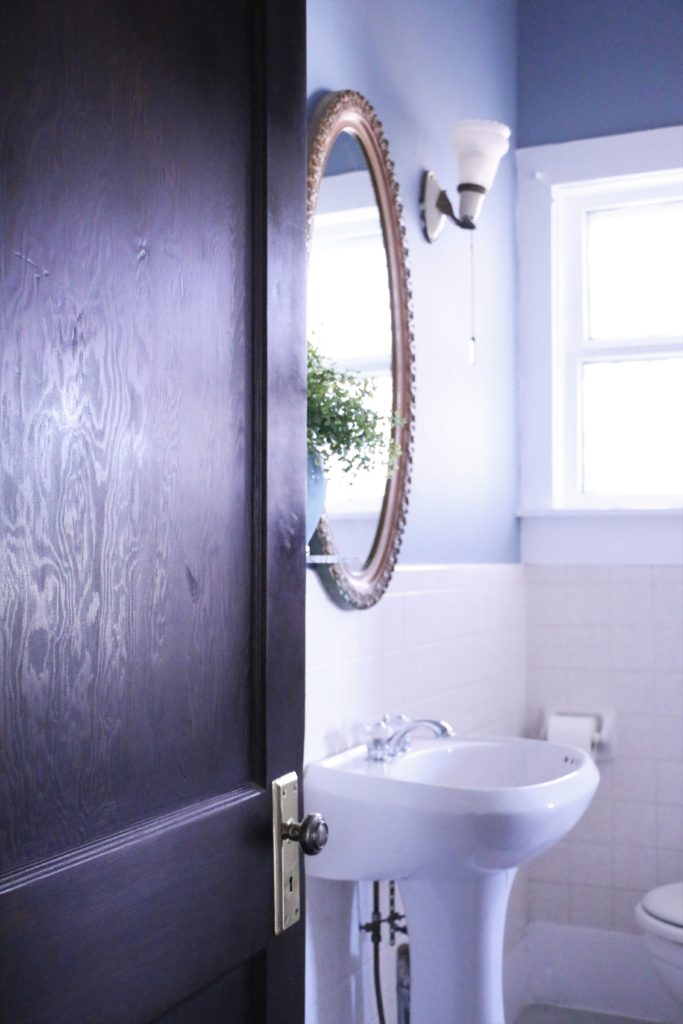
As you can see, I didn’t change any of the fixtures, the only thing I changed was paint. Isn’t that crazy?! Paint is so powerful!

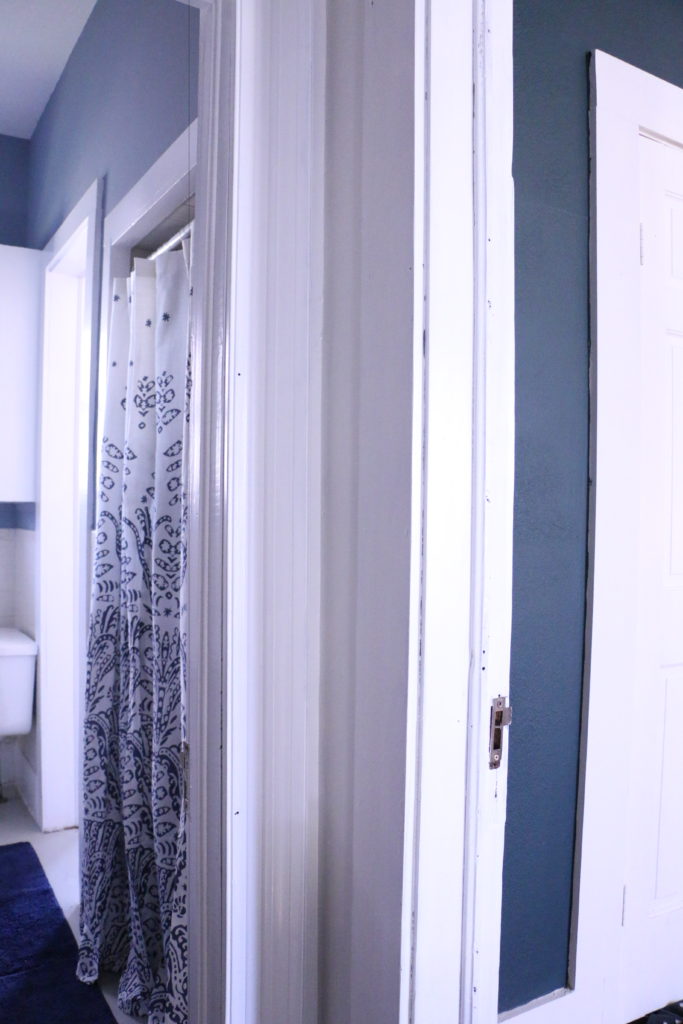
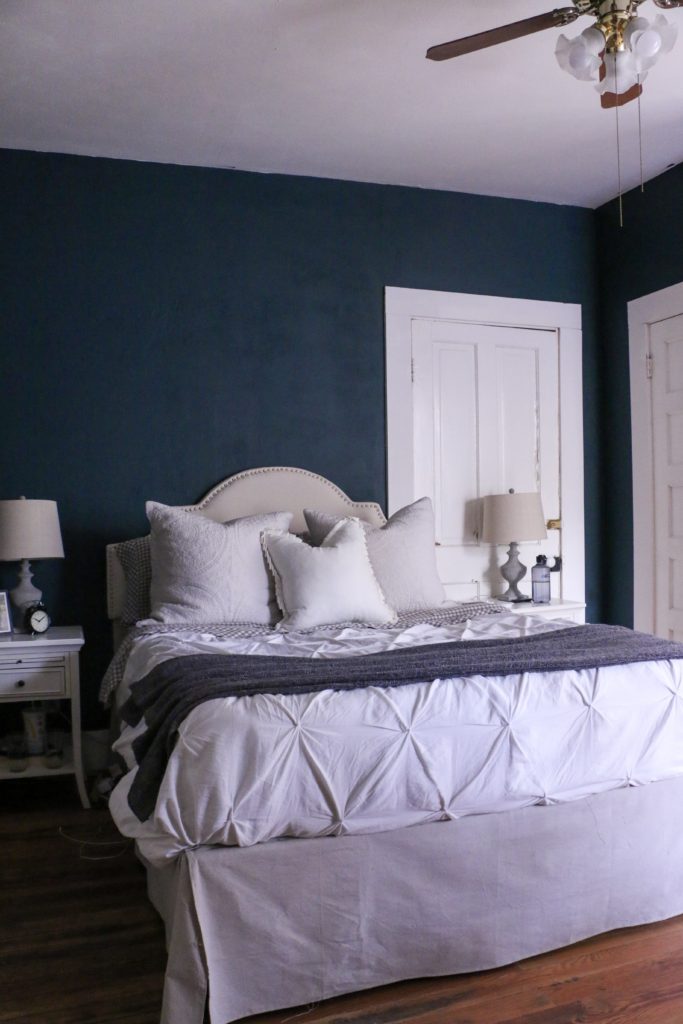
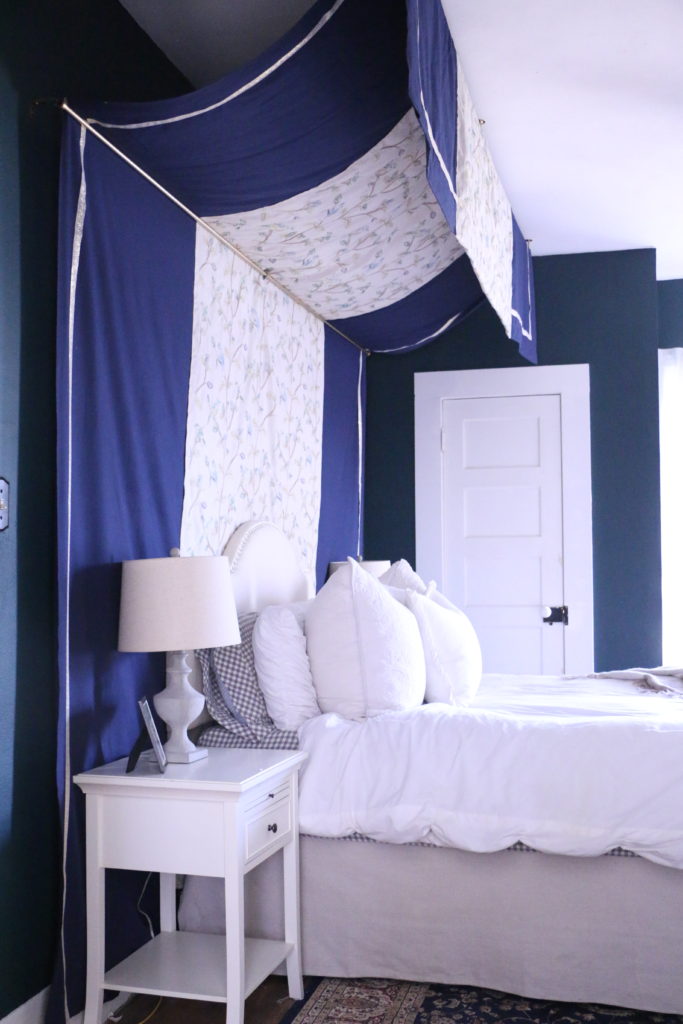
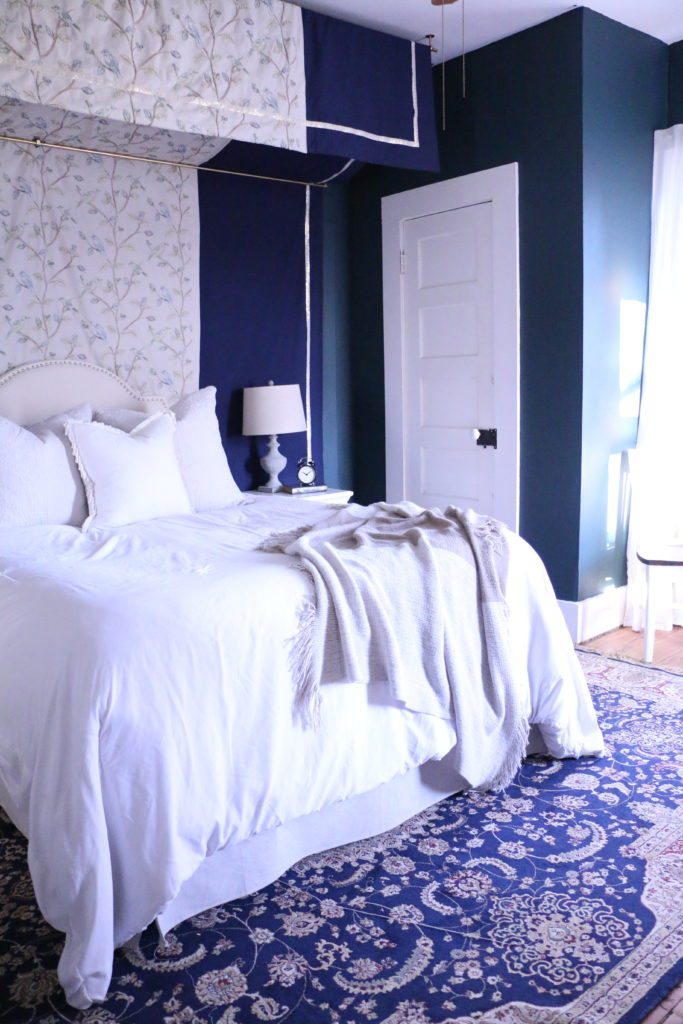
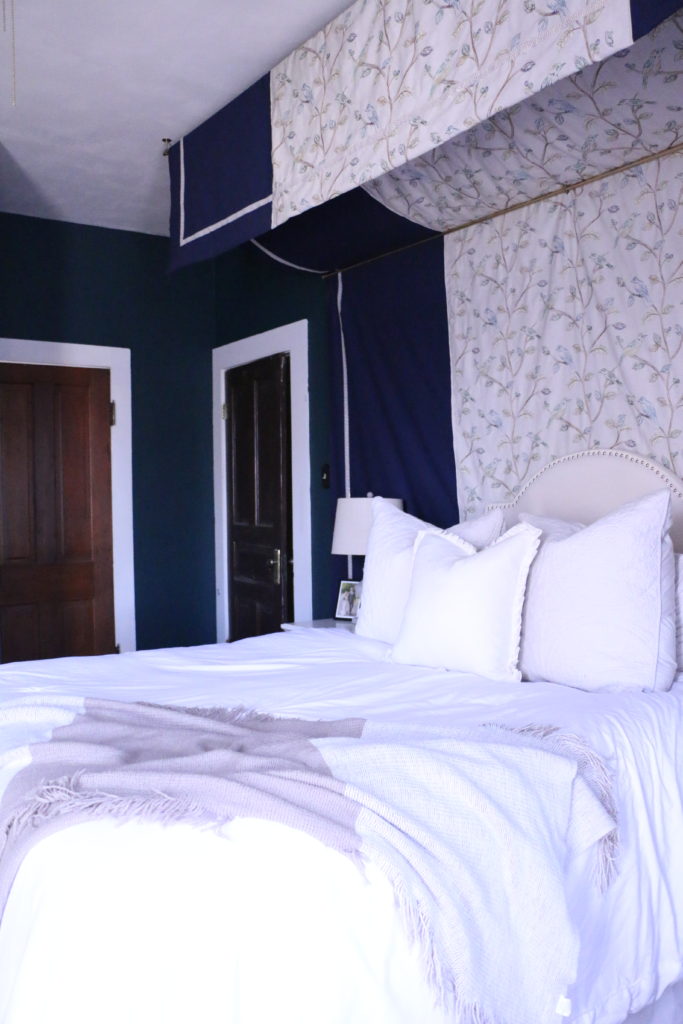
Because this room is directly next to our bedroom that’s painted such a bold color, I was really concerned about how these two colors would look when coming up the stairs and they were both visible. I think they go complement each other nicely. (Bedroom is Behr Thermal.)

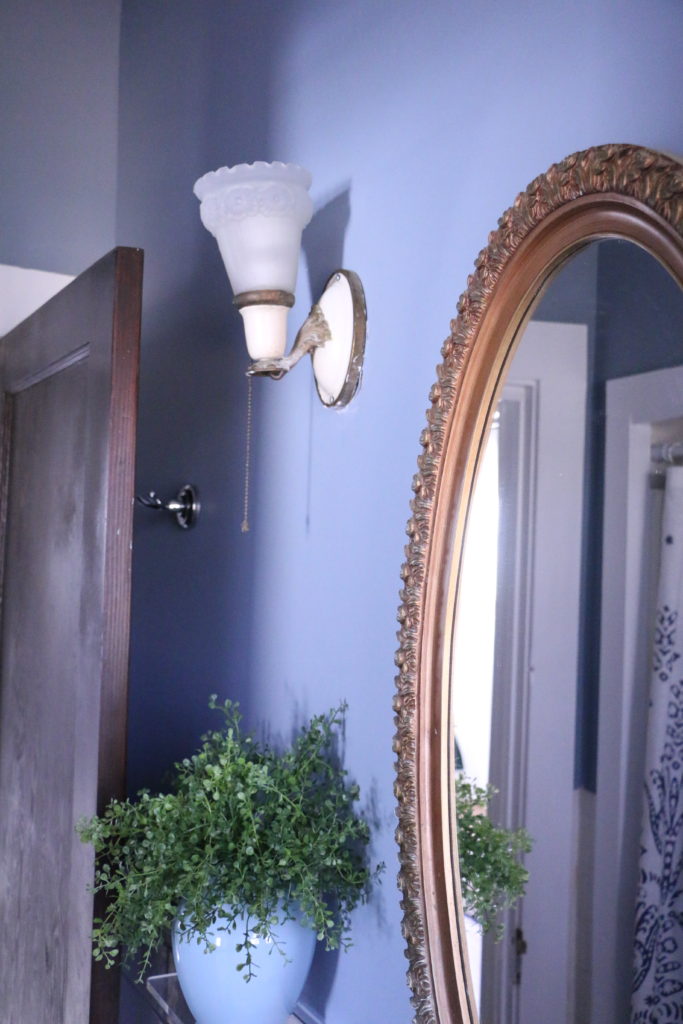
The 1920’s light fixtures stayed, and I think they look so much more elegant now without the dated wallpaper.

All of this to say this: just don’t wait. I would have loathed this bathroom another two to three years until it finally was time to gut it. Instead, I can enjoy the space, and it doesn’t give me the heebee-jeebees every time I go in there! I think there is power in a can of paint, and so much power in doing a “Phase One” project, something that is just enough to tide you over while you’re waiting for the big project.

Before we go, here’s one more before and after from the same angle. I can’t even believe the only difference is paint.

Alright guys, that’s all for today. Have a fabulous day!

DIY Projects, Home Decor

DIY Bed Canopy

Hi guys! Glad you’re here! I wanted to share with you a project that was a big undertaking in our master bedroom. If you remember a couple of months ago, we were working on getting one of the upstairs rooms livable to move our master upstairs. You can read all about that here . Over the last weeks, I kept some of the progress live on Instagram, when we revealed the paint color, and the new rug.

If you remember, this room has six doors in it, leading to various places, meaning that there was no good spot to put a bed. We ended up putting the bed in front of a door, and I started coming up with some ideas on how to cover that door or make it less obvious. I thought about painting the door and door trim the same color as the wall, or putting a privacy screen behind the bed, or even making some kind of false wall contraption that would rest behind the headboard. Then I stumbled upon this on Pinterest from Design Sponge, and I knew this was what I was going to do.

She had a great tutorial that I used, but because I was trying to cover a door behind the wall, I needed it to be wider than the bed itself. It ended up being a 10 foot width that I needed to cover, by 15 foot length. Trying to find fabric of that size was a nightmare. I first tried a large dropcloth and dying it the color I wanted, but that ended up being a massive fail because the fabric was so large and it didn’t fit in my bathtub where I was trying to dye it.

So I ended up buying a bolt of 60″ wide fabric (ten whole yards), cutting it in half, and sewing the two pieces together so that I had one 10x15ft piece of material. The only problem was that now there was a seam down the middle of where it would be hanging on the wall, so I decided to add an accent material up the center of the canopy to cover the seam.

The accent fabric was a nightmare. I ordered from one place, only for it to be out of stock. I ordered the same fabric from another location, only for that one to be out of stock. I finally just walked in to Hobby Lobby and found this fabric. It’s no longer listed on their website, so I think it might be discontinued, but I liked that it had blues and greens in it, and would probably work well in the room.

I used my accent fabric just in the middle of the canopy, and then hung it up. One rod is mounted on the wall, and the other from the ceiling. Hanging was also a nightmare, because this canopy was super heavy, and these are tall ceilings. I used a dab of hot glue once we had it in place to prevent it from shifting.

I also used hot glue (because hot glue can do all things) to add the greek key ribbon trim. Before the ribbon was added, I wasn’t too sure about it overall, but I do think the trim polished the whole thing off and made it look more finished.

The goal here was to cover that unsightly and unused door, and I think that this definitely fits the bill. And the best part is that the door is still totally accessible so the next time we need to move furniture upstairs, we can open the door! I’m really loving the way this project turned out, and it’s true what they say: necessity really is the mother of invention. What do you think?

And just for fun…take a look at the original mood board for the space! It’s so fun to see it coming together!

The rest of this room is evolving slowly, and I have some continued plans for the space, but all in due time. That’s all for today, friends, have a fabulous day!

Uncategorized

So We Didn’t Work On Our House for a Year…

You guys remember when we bought our house, right? If not, let me refresh your memory. I was six months pregnant, and as I entered my third trimester, we also started a ton of work on this house. We worked every day for two months straight, and then we moved in to a completely unfinished and unfurnished house. Three weeks later, we became parents.

That’s the part of the story you all know. The rest of this is what you don’t know. So. Here goes nothing.

We took a natural pause in the work on the house after our son was born. But then, seven weeks into my maternity leave, Ethan was unexpectedly laid off from the small company he was working for. They just couldn’t keep him on the payroll. It was days before Christmas, I was on maternity leave (not getting paid), and we had a brand new baby. To say we were scared was an understatement.

In January, I went back to work (as a teacher, so for not very much money). Ethan started some freelance work while we tried to figure out what to do. The newfound costs of daycare and caring for a baby combined with inconsistent freelance income made the end of the month terrifying. Needless to say, we weren’t setting aside any money for renovation projects.

Every time we thought we wouldn’t be able to make it through another month, the Lord came through. We kept setting arbitrary deadlines of our eventual financial demise, and every time, the Lord met our need. But it wasn’t easy. We had been working on the house at such a break neck speed, only to be halted with a baby and an unfinished house. It was frustrating to say the least. We were stretched, learning how to lean on God like never before.

And this went on for a long time. It seemed like God wasn’t opening the door we needed opened, and we were confused. We were frustrated, angry, scared, exhausted, you name it, we probably felt it.

That is, until the right door finally opened. Nine months after we were sure our savings would run out. Finally, the turning of a new leaf, the end of a hard season. We feel a fresh hope, a renewed sense of inspiration and motivation to get back to work on the house.

So, if things have seemed kind of quiet on the home improvement front, now you know why. You never know what may be going on behind the facade of a smiling face on Instagram.

I can’t tell you exactly what’s next for the house, we still have some pretty big financial goals to hit, but I have a renewed sense of hope, and fresh ideas for some rooms in the house. And it feels really great to feel secure enough to make plans. So please stick around, because the home improvement is coming back. It took a little detour, but we’re back.

By the way, I think it’s time we build a playroom. That’s all for today, friends. Have a great day!