Last week I shared a post with several ideas for free and low cost art (you can read that here). This week, I’ve been super bored around the house with no big projects that I’ve been working on, and so I was itching to do something. I had been inspired by some abstract paintings I’d seen online, and figured I could make something similar with items I had in my garage. File this under: free projects. (If you don’t have a garage full of leftover renovation junk, this might not be free for you. But still super low cost! So, let’s get started!
The first thing I did was grab some plywood from the garage. Mine is smooth, but pressed wood would work as well. I used a board that was 24×36 inches, but any size will work! I also grabbed some drywall mud, a drywall mud pan, and a putty knife.
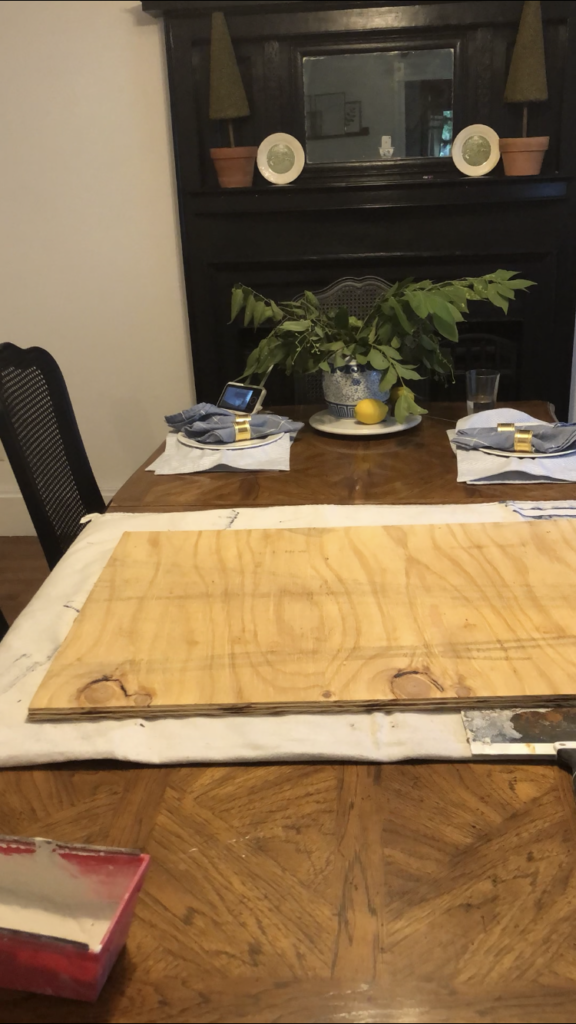
These photos are screenshots from a video I filmed at 8 pm while starting this project, so probably not the best quality. But bear with me. I started out scooping the drywall mud slowly onto the board, but quickly realized it would be easier to just pour a bunch on the board directly and move it around with my (gloved) hands.
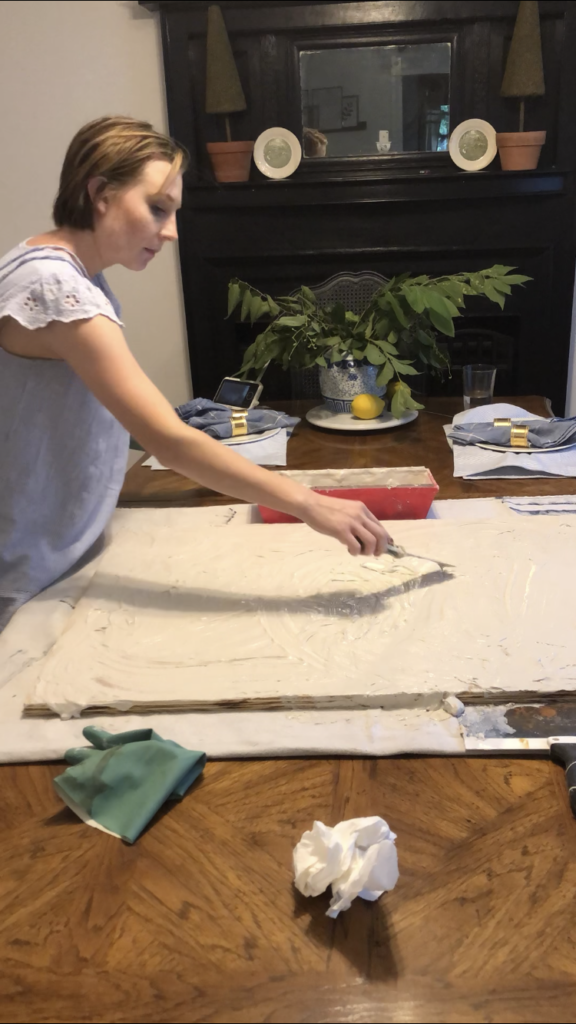
Then, using both a putty knife, and my hand, I just gobbed it all around until the whole board was covered, and there was textured look to the entire thing. The goal was to make it look like super textured. I let it dry overnight, and when I woke up the next morning, it looked like this:
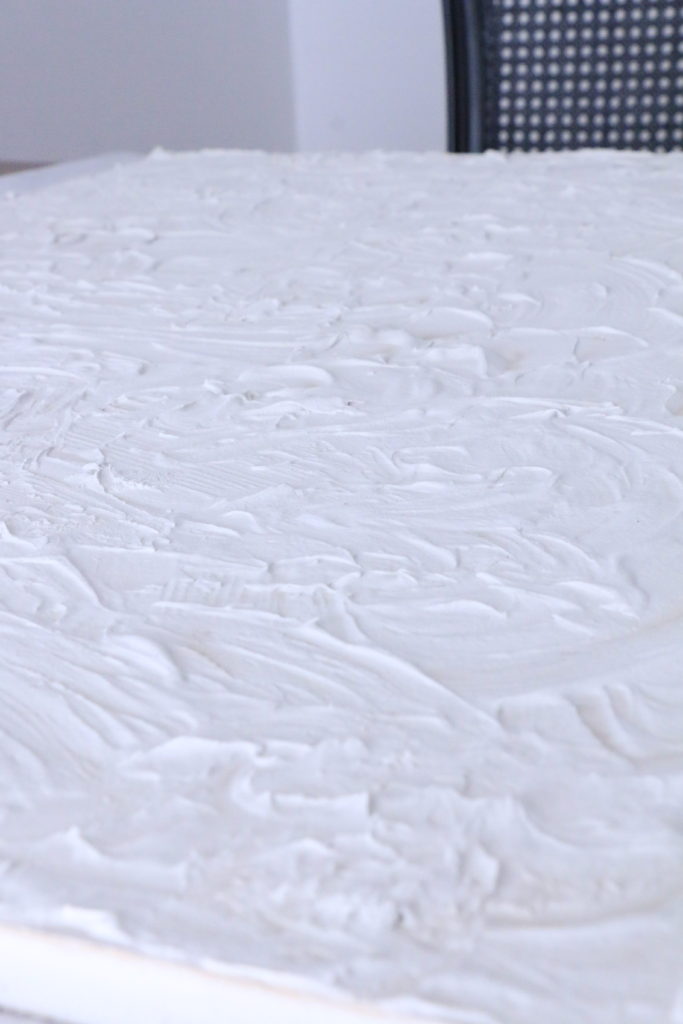
Exactly what I was going for! Then, I poured white paint over the entire thing and brushed it over the mud texture.
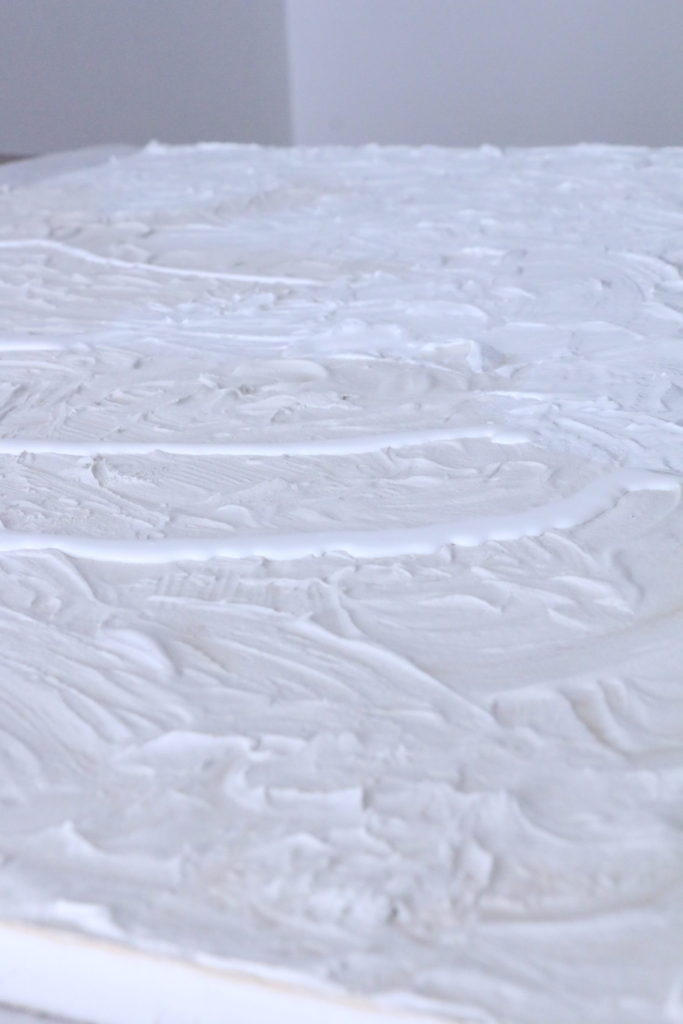
This step isn’t technically necessary, but I wanted it to be a brighter white. I used Behr Ultra Pure White, which is just what the color is with no tint in the paint can. You could also choose to do a different color here completely, depending on what you wanted your background to be.
After the white was dry, I did the final step. Unfortunately, I didn’t get any pictures of this step, because I was being climbed on by my toddler and forgot to take any photos! However, this is the fun/easy part. I just took a small craft brush, some blue paint I had on hand (Glidden America’s Cup Navy) and painted on some loopy squiggly lines. I didn’t really have a plan, I just went for it. You could do this in any color with any shape/line.
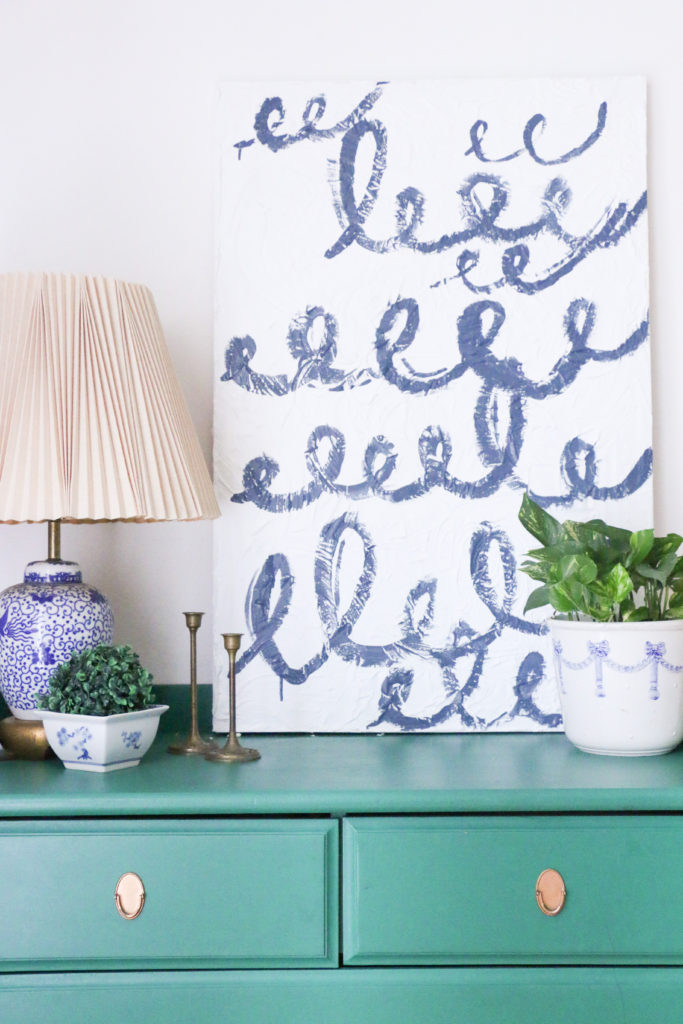
Some of the paint ended up dripping down, which I actually love. The messier the better with this!
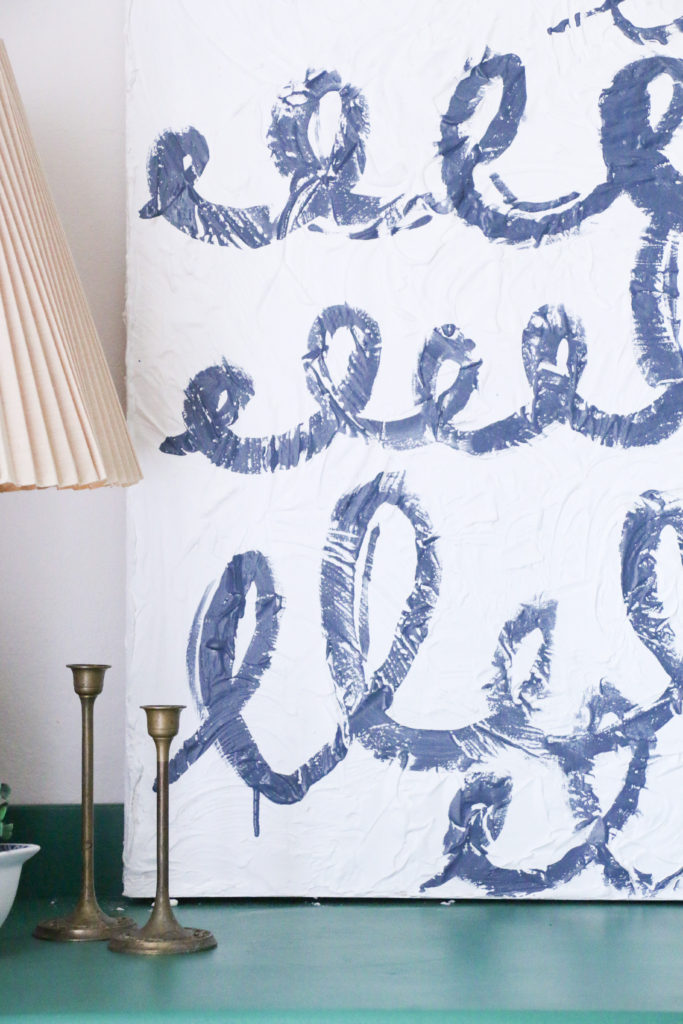
You can see in some areas I went a little thicker with the paint, and in others I let the texture show through.
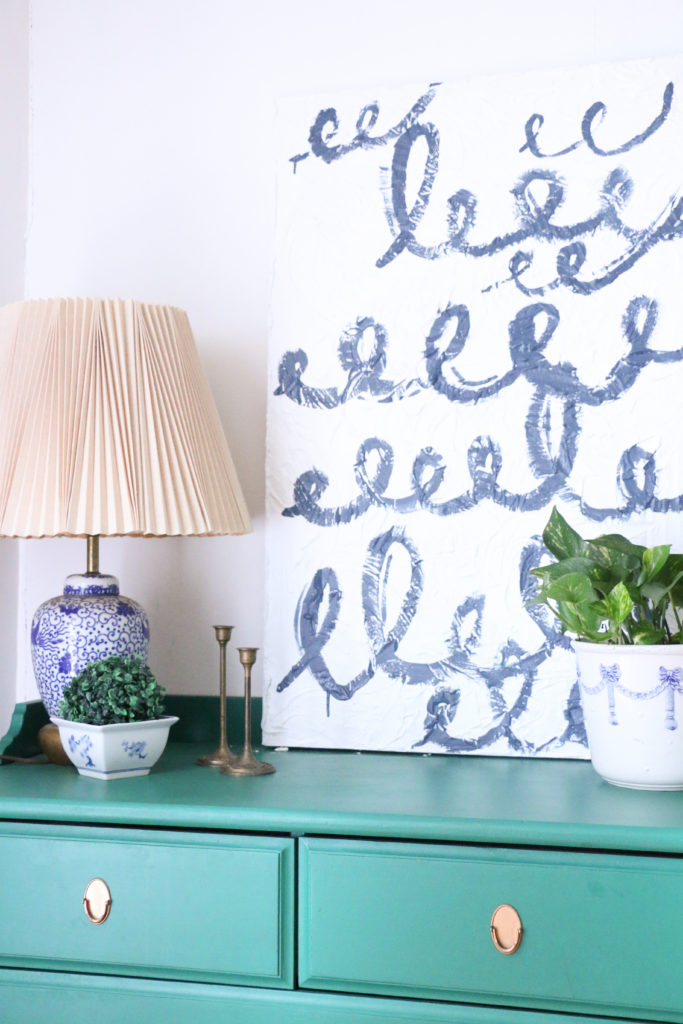
Overall, excluding dry time, this project took probably 45 minutes of active work. And now I have a larger piece of “art” that I didn’t have to pay for. And I absolutely love the way it turned out! You know that blue is totally my color, and so I think it works perfectly in the dining room where I have lots of blue and white going on.
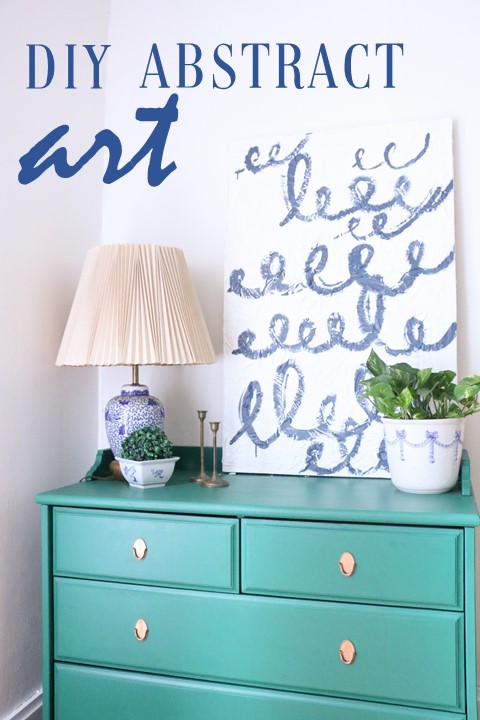
What do you think? Would you try this? Let me know if you do! Well, that’s all for today, friends. Have a fabulous day!
*This post may contain affiliate links.
