Monthly Archives

May 2022

House Progress, Room Tours

Shared Toddler Room Reveal! – Spring One Room Challenge Week Eight

I cannot believe this room is finished! It’s been eight weeks of super intense working on making over my son’s room for my son and daughter to share. Their gender neutral, English country inspired room is just what I envisioned and I can’t believe it’s come to life! Or that I did 90% of it by myself! As a quick reminder before we dive into it, let’s just take a look back just eight short weeks ago:
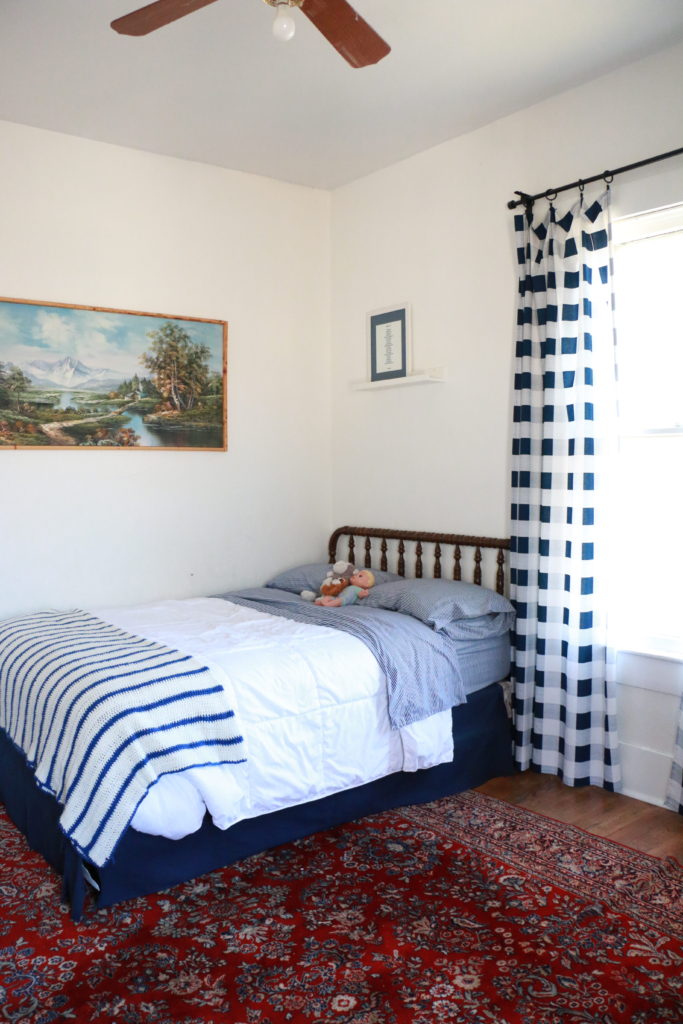
Boring and basic, the floors had been refinished when we first moved in, and the walls painted white, but that was about it. The room itself didn’t have a “design.” Now, hold on to your hats people, because I cannot believe this is the same room.
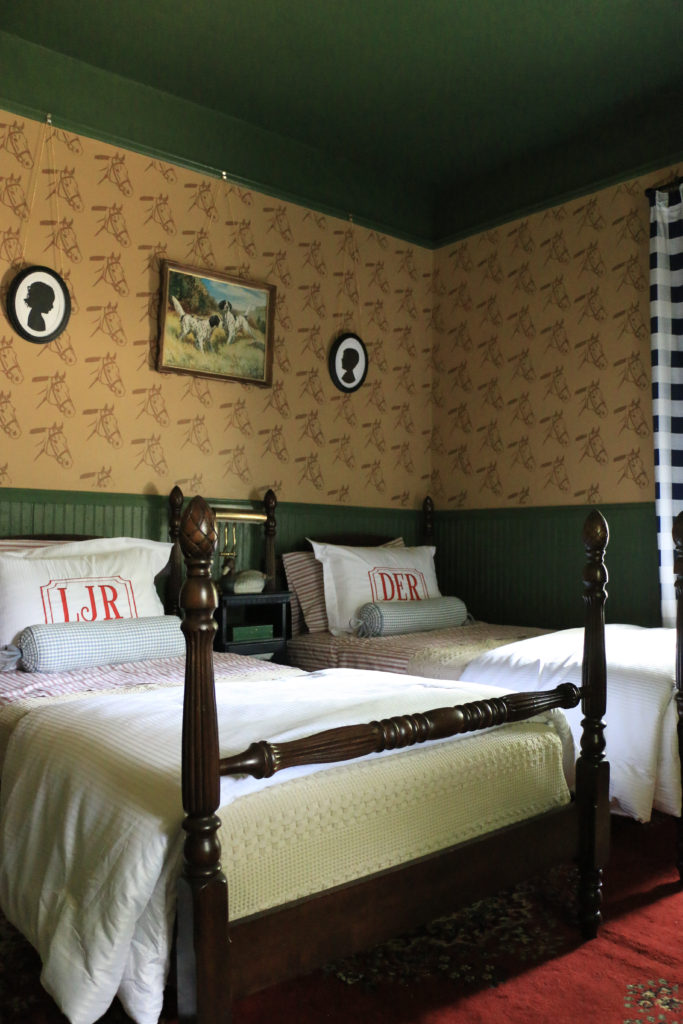
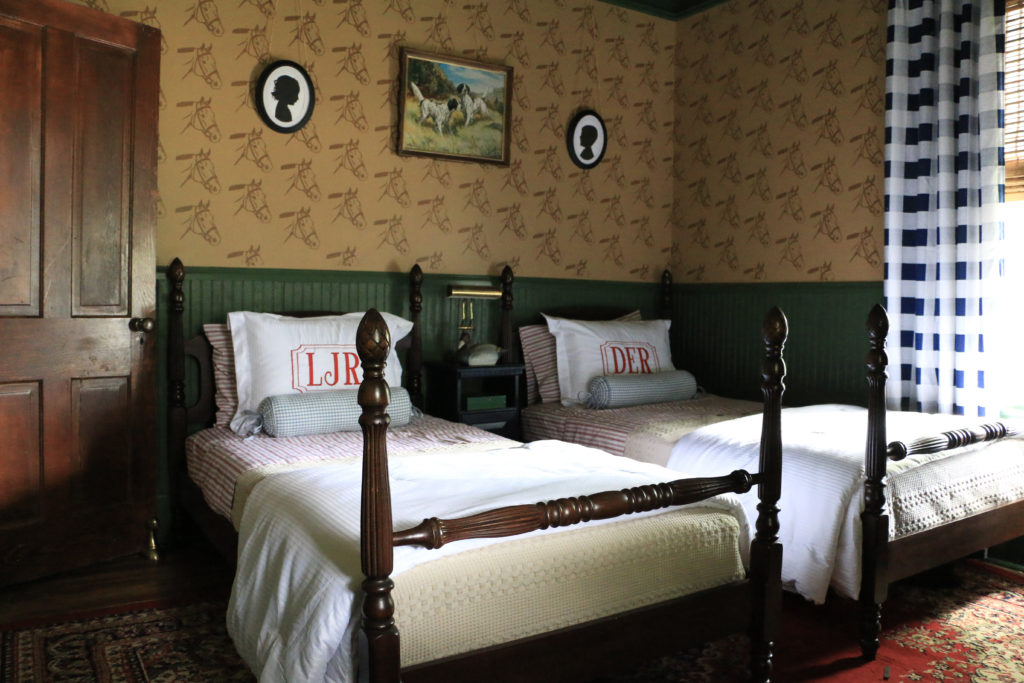
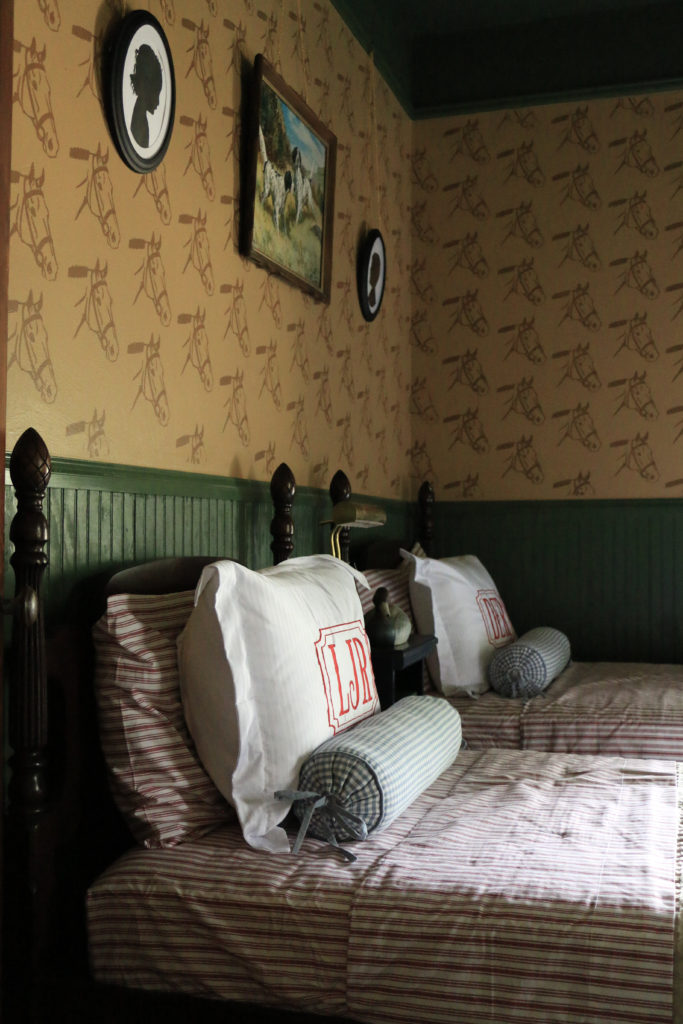
We added the beadboard, chair rail, and picture rail ourselves, and I used a stencil that was generously gifted by Stencil Revolution to give the upper portion of the wall a faux wallpaper look. The green is Equestrian Green, the tan upper portion is called Windswept Leaves, and the stenciled color is called Split Rail, all by Behr. The walls alone really make the space and give it the antique, English, equestrian vibe I was going for. The white was necessary for a quick move in timeline, but it’s time it got some character.
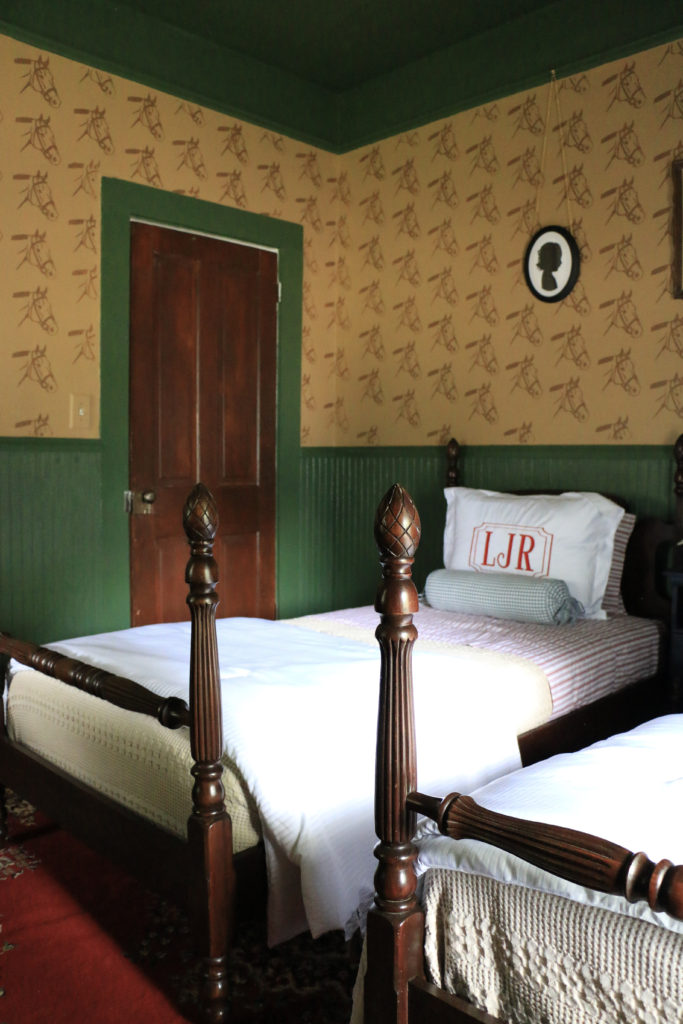
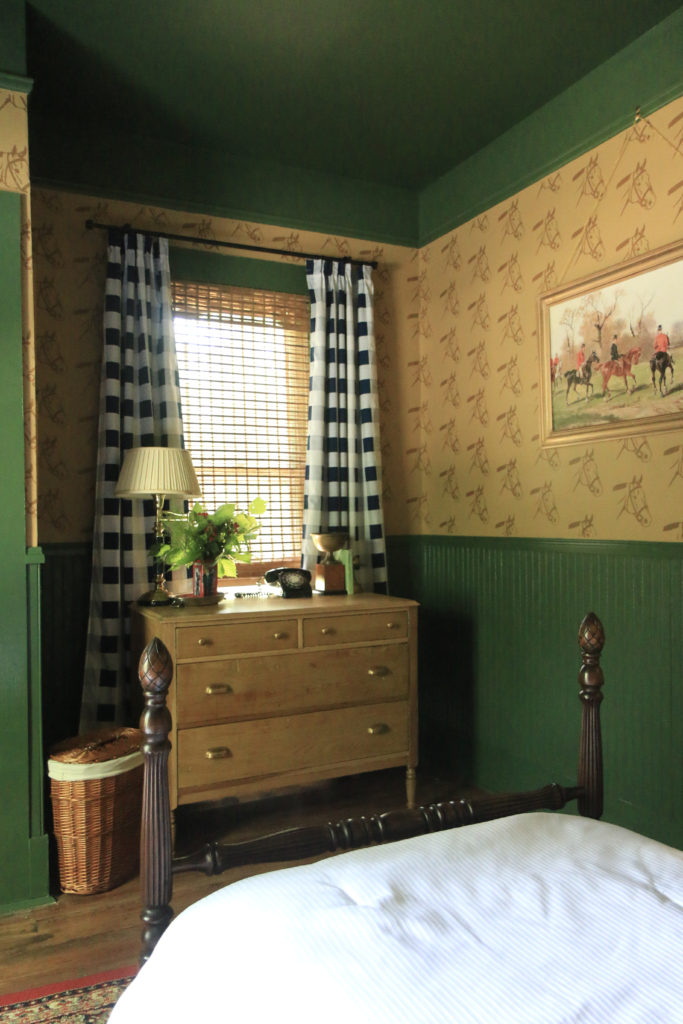
The beds were my launching off point for the rest of the design. I found them on Facebook Marketplace almost a year ago, and I’ve been storing them in my garage until now. I bought them from a sweet retired couple who used them when their children were small. They had bought them at an antique store in the 1980’s, but they believed they were from the turn of the century. It was meant to be because so is our house!
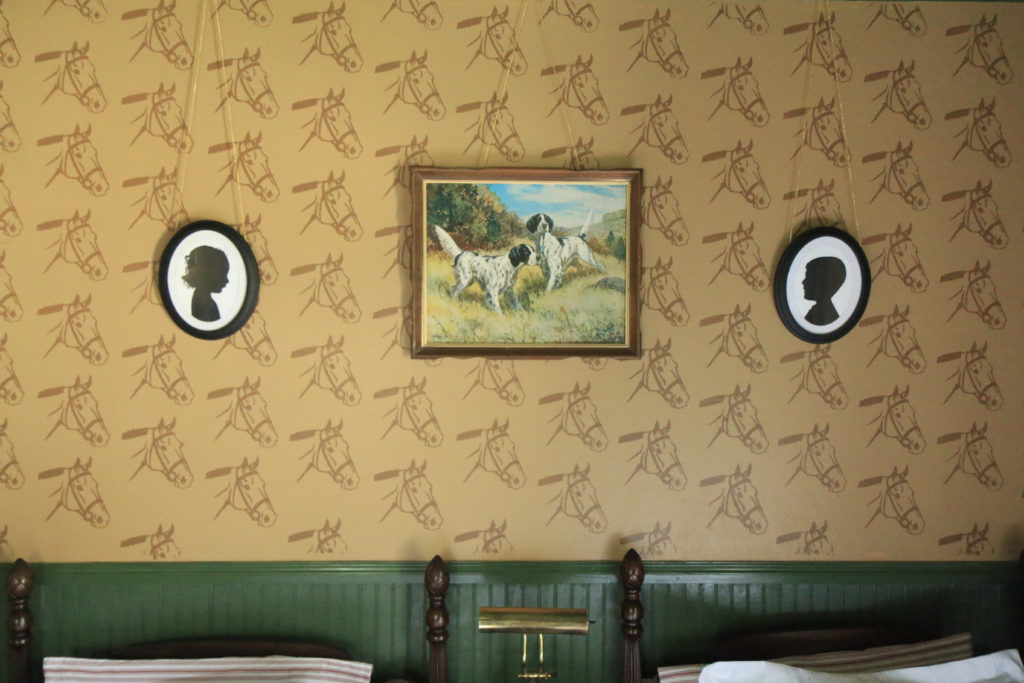
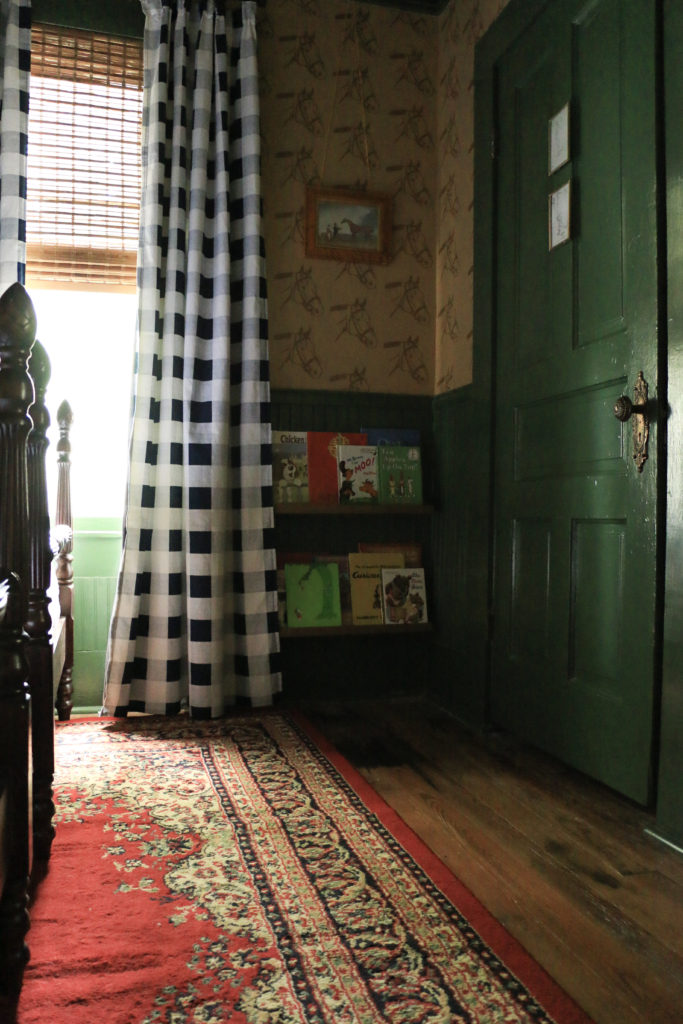
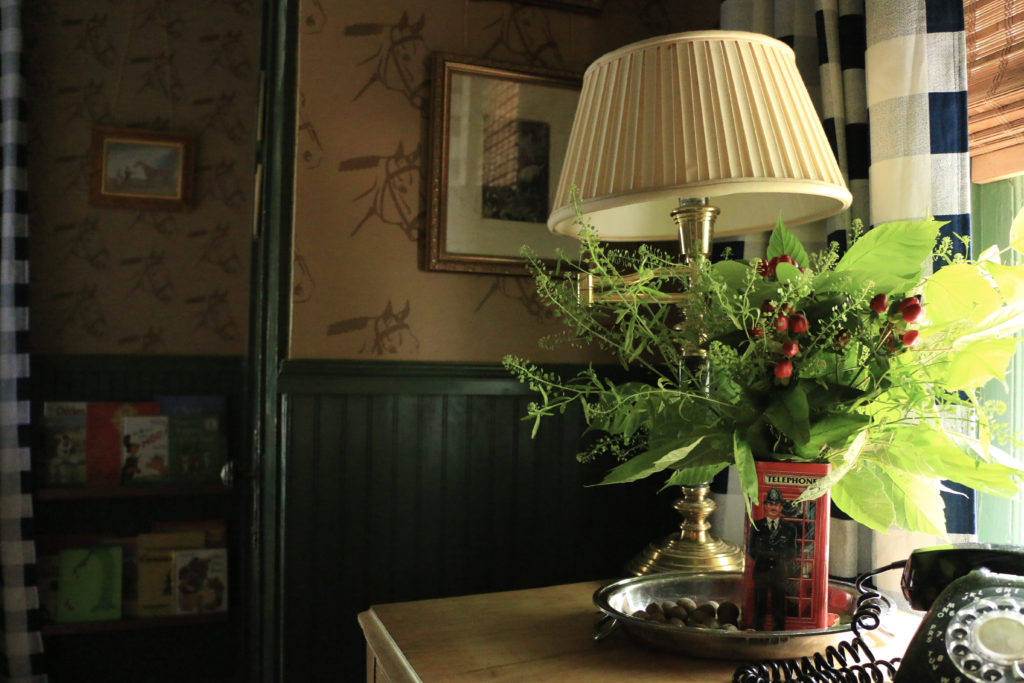
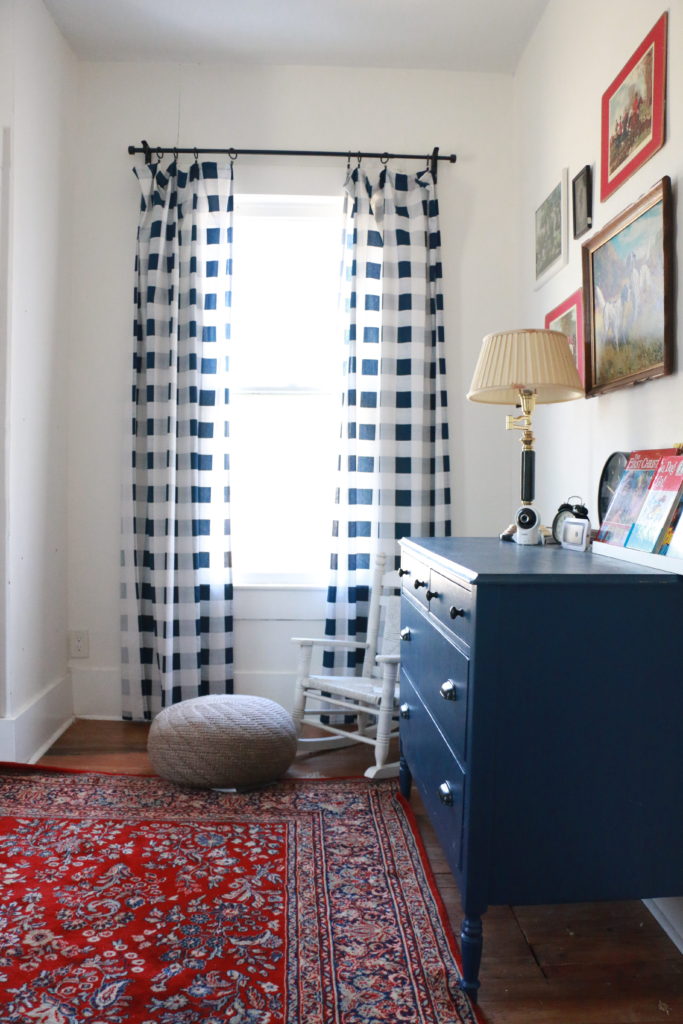
Most of the art and decor was found secondhand at estate sales and thrift stores. I reused but reworked the curtains by adding blackout liners and drapery pins. The dresser is also the same dresser that was in here before, but it looks much more fitting now. More on the dresser in this post.
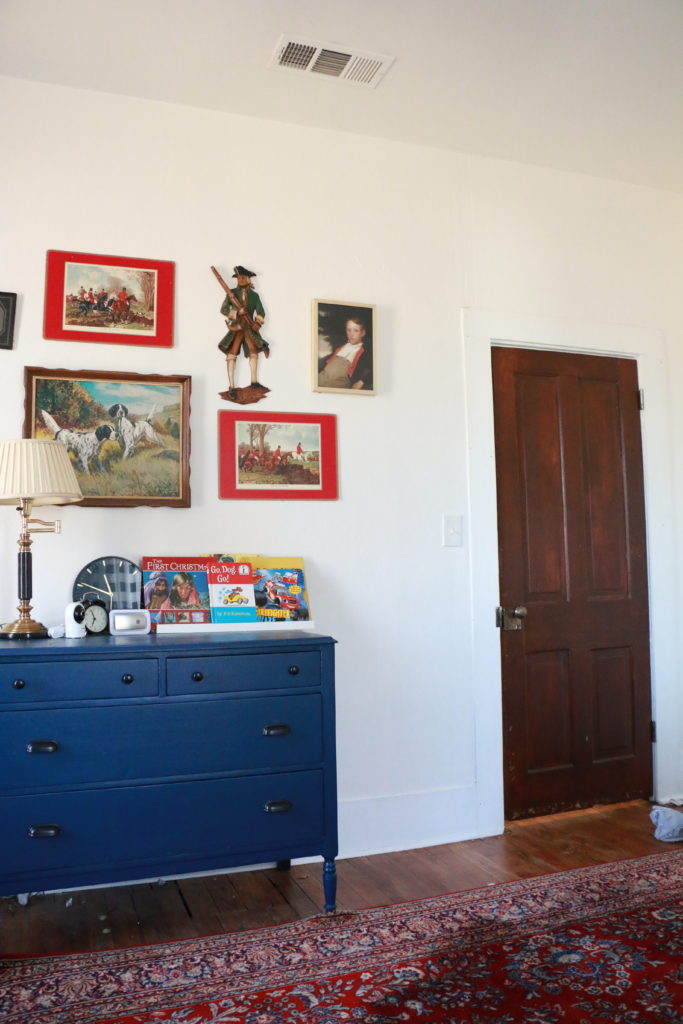
Dresser Before

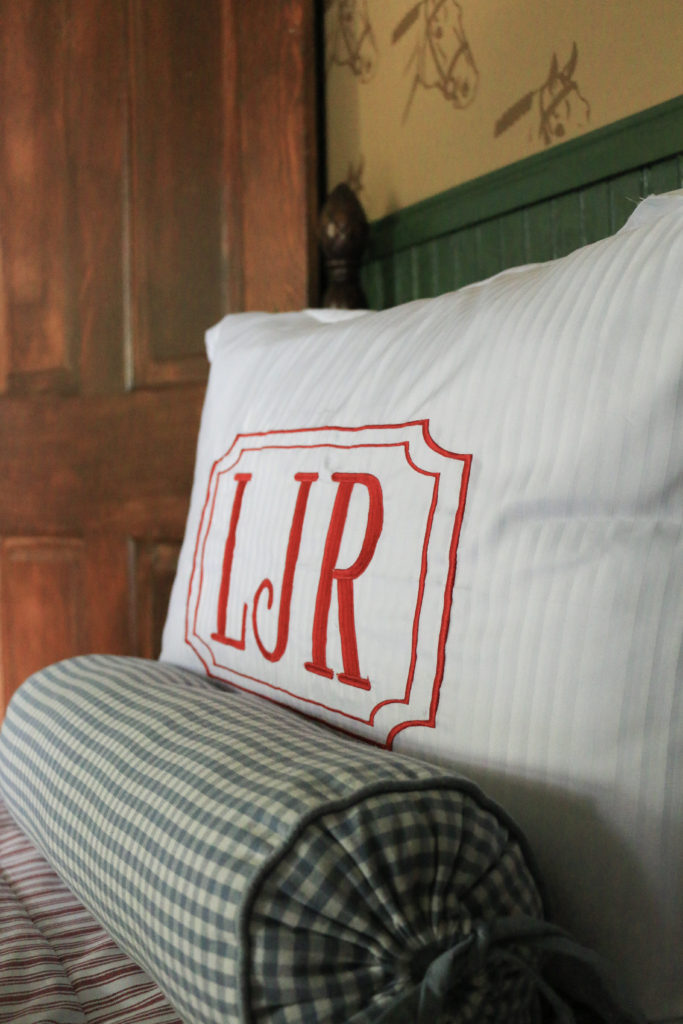
The pillow shams were from a basic set, but I had them embroidered locally. I had a hard time finding someone who could do exactly what I was looking for, but the ladies at The Perfect Pair were so helpful and worked with me to get exactly the look I was hoping for. I think the monogrammed pillows give it a touch of class (as classy as two beds made up for toddlers can be).
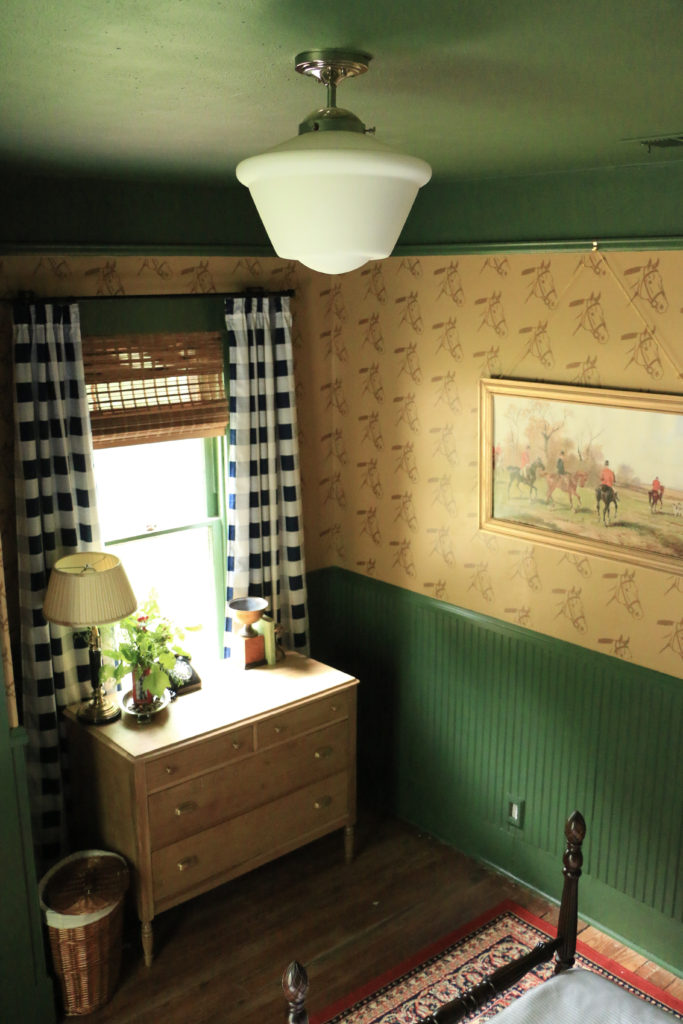
The light fixture was a $50 Amazon find (I know!) which worked well to replace the old shadeless ceiling fan that was there with something that looked like a cute vintage light but came with the ease of modern wiring and installation.

Because most of my items were found secondhand, they aren’t linkable, but what I did purchase new is linked below.
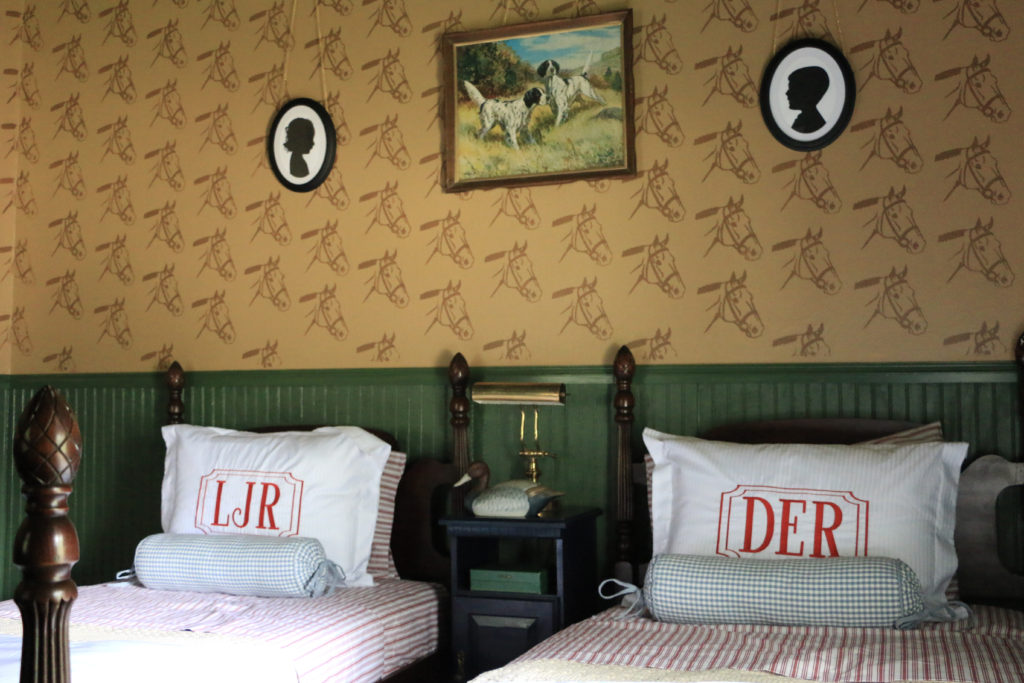
Thank you so much for stopping by and checking out the kids new space. This is a room that I’m really proud of, and is something that I truly feel is a reflection of our home style. I worked on this solely during naptimes and after bedtimes for the last two months, and every time my oldest woke up, he would immediately go to “the new room” and check on the progress. Both of the kids love the space, and they can’t wait to spend their first night in the newly made over space. I wanted to make the room feel sophisticated but also fun and whimsy, and I’m so pleased with how it all came together.
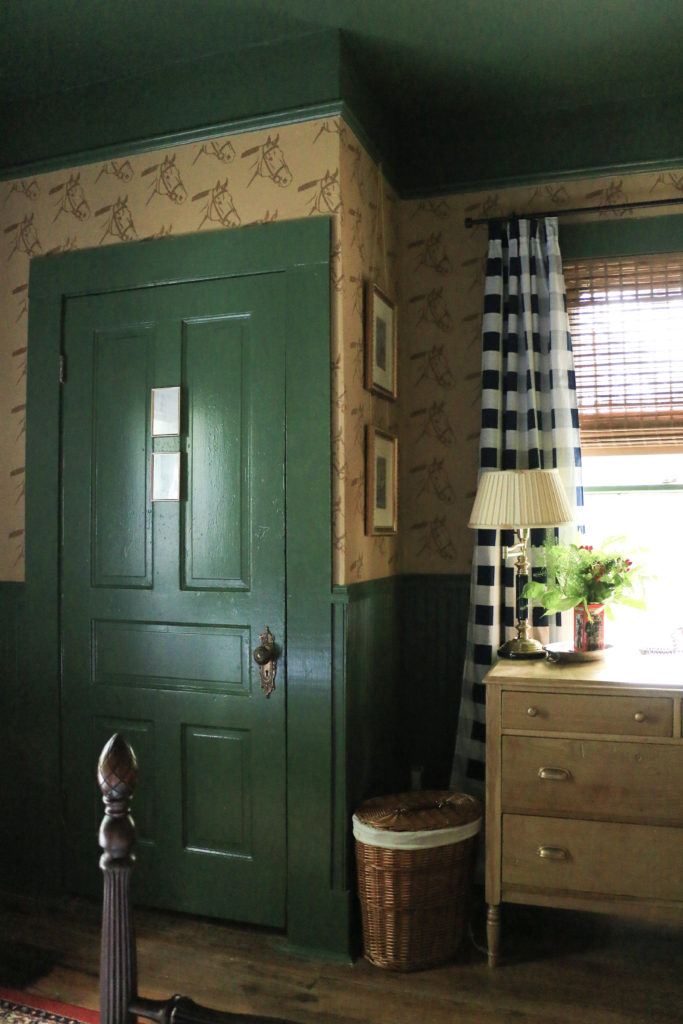
Now, remember this? This was the original moodboard for the design. I am so thrilled to see it in the flesh. It’s honestly the nicest room in our house now.

And last but not least, just one more for the road. I truly cannot believe this is the same room.
I would love to hear your thoughts! And after you’ve let me know what you think, be sure to go see some of the other great reveals happening today. That’s all for today, friends! Have a fabulous day!

Furniture Makeover

Spring One Room Challenge Week Six: How to Remove Veneer from Wood Furniture

Week One | Week Two | Week Three | Week Four | Week Five

Week Six already?! We are in the home stretch now and truly have the hardest work completely behind us now. This week I turned my attention to refinishing a dresser that was already in the room. You may remember it from the before photos.

This dresser was mine as a kid, and my mom’s before that. It’s been painted a countless number of times throughout my life, and the blue was just its most recent iteration. Several years ago, I attempted to strip it, but it was covered in a midcentury veneer style that I just didn’t love, and so I painted it again. I know a little more about furniture restoration and antiques than I did several years ago, so this time I decided the time was right to remove the veneer and see what was underneath.

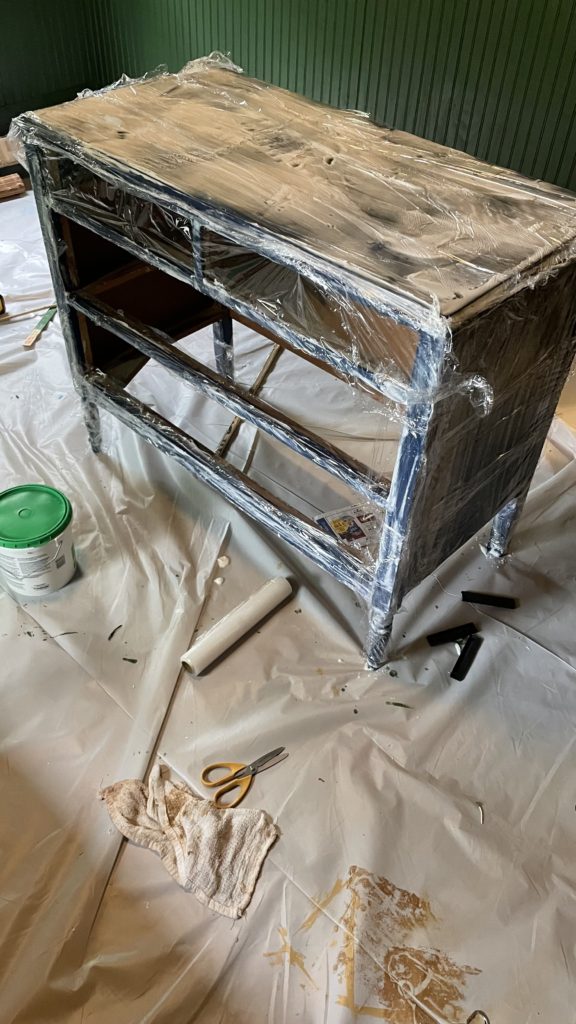
I started out with a layer of SmartStrip. It’s a nontoxic paint stripper that cuts through multiple layers. I’ve only used it once before, but it’s what I had on hand, and it’s relatively safe for indoor use since there’s almost no odor, so I figured it was my best bet. I wrapped in plastic wrap and let it sit overnight.

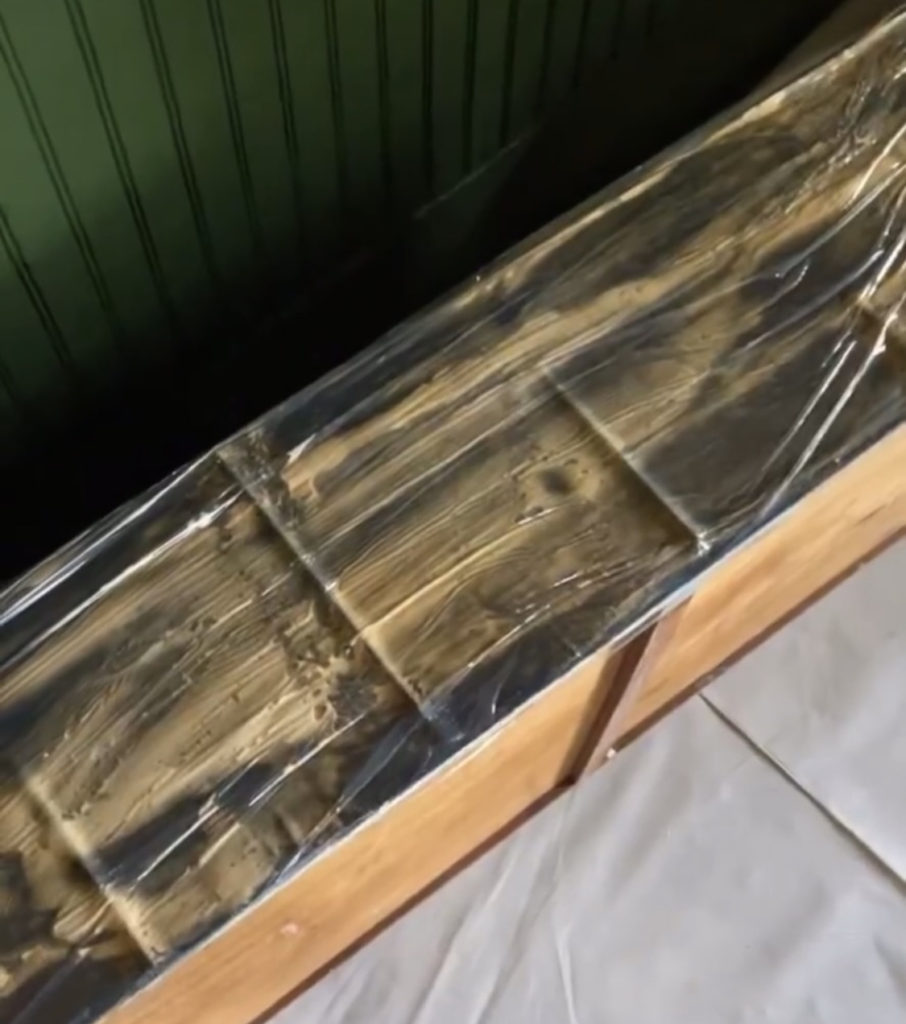
Now, I expected it to take off the paint, but what I didn’t expect was for it to begin lifting the veneer as well. After about 24 hours, some of the veneer had begun to bubble. Which was a pleasant surprise for me, because my goal was to remove the veneer anyway. However, if you have a piece that has veneer you’d like to keep, SmartStrip is going to be too strong.

One coat of SmartStrip was enough to remove about 80% of the veneer! I saved myself a step of removing the paint first and then the veneer which is what I assumed I would have to do, but there was still some that needed another method to remove.

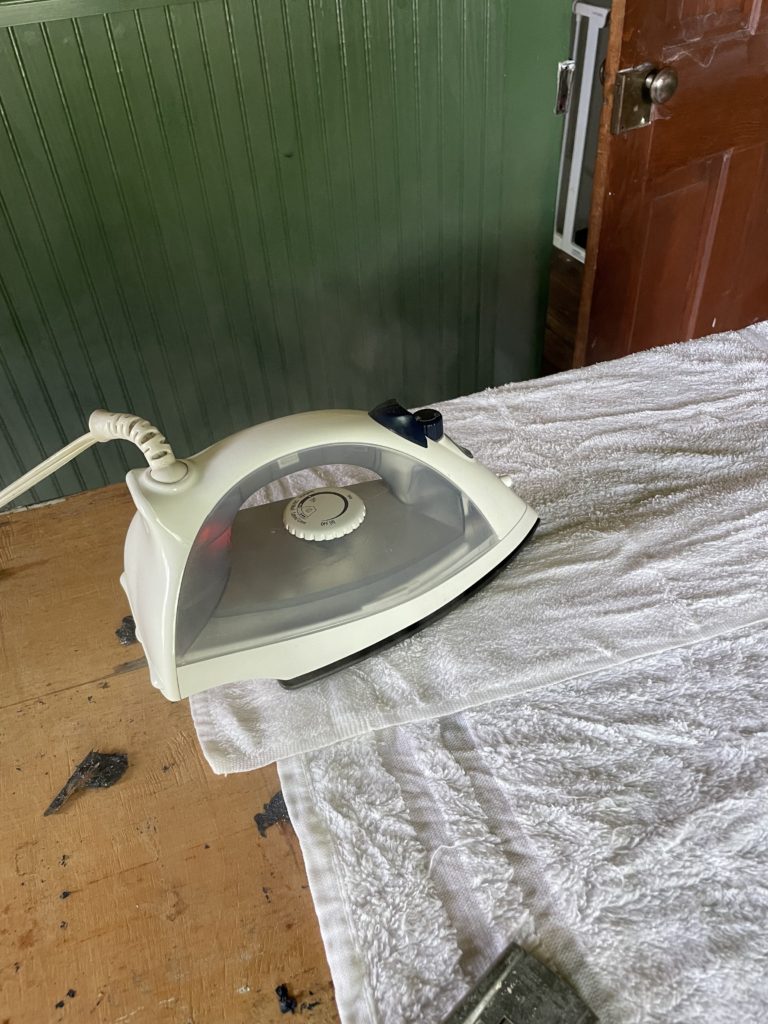
I used some old hand towels (they should be thicker than rags, but they will be ruined, so you want to use ones you don’t care about), and got them damp with the hottest water I could handle. I laid the damp towels over the veneer, and then set my iron on top of it.

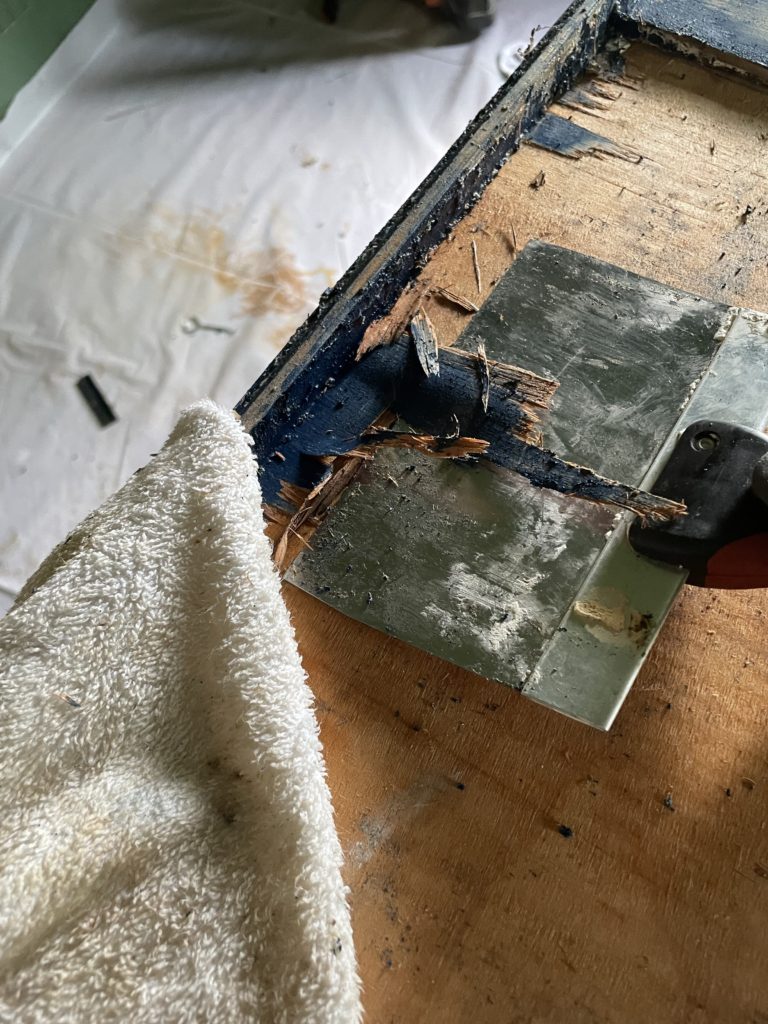
It creates a ton of steam, which loosens the glue so that the veneer can be removed fairly easily with a putty knife.

I actually found this to be easier physically than scraping with the SmartStrip, but it was more time consuming.

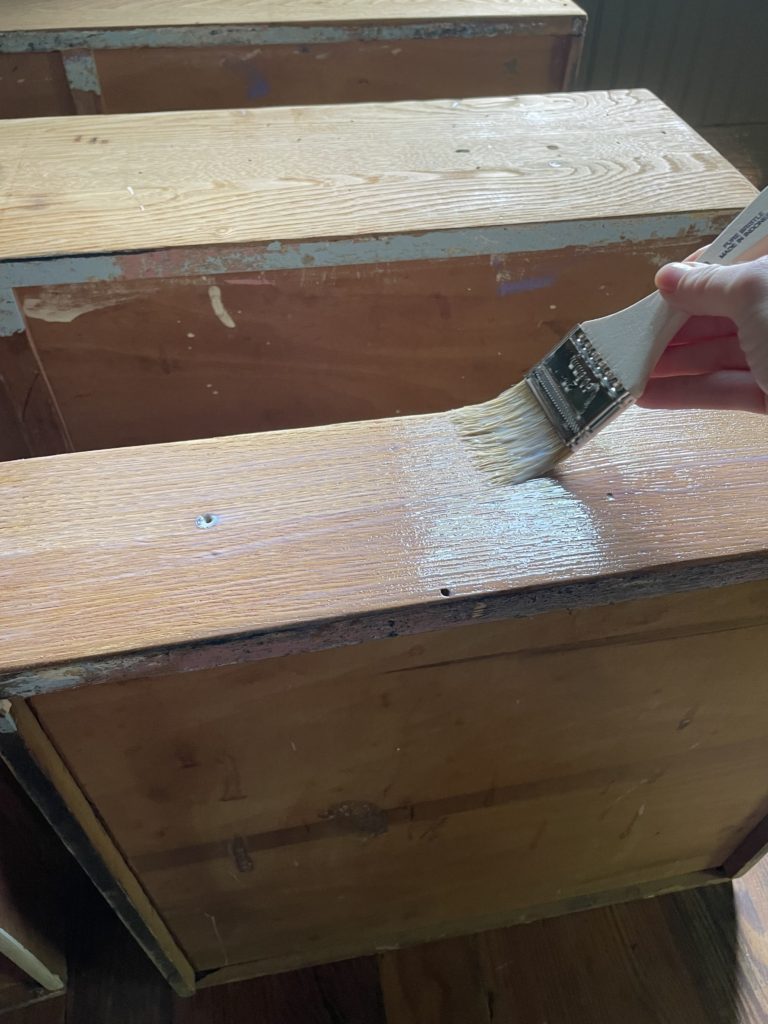
Once I had all the veneer scraped off, I had to sand myself into oblivion. I sanded with an 80 grit, a 120 grit, and finally a 220 grit to make sure everything was super smooth. I then coated with a coat of polyurethane (water based because I was working on it indoors and didn’t want to deal with the odors). I did two coats of polyurethane, with a light sand with 220 grit sandpaper in between.

You can see in the photo above that I didn’t strip the paint from the bottom of the drawers, which if you look closely, you can see all the different color lives its lived. The purple was the color it was in my own baby nursery!

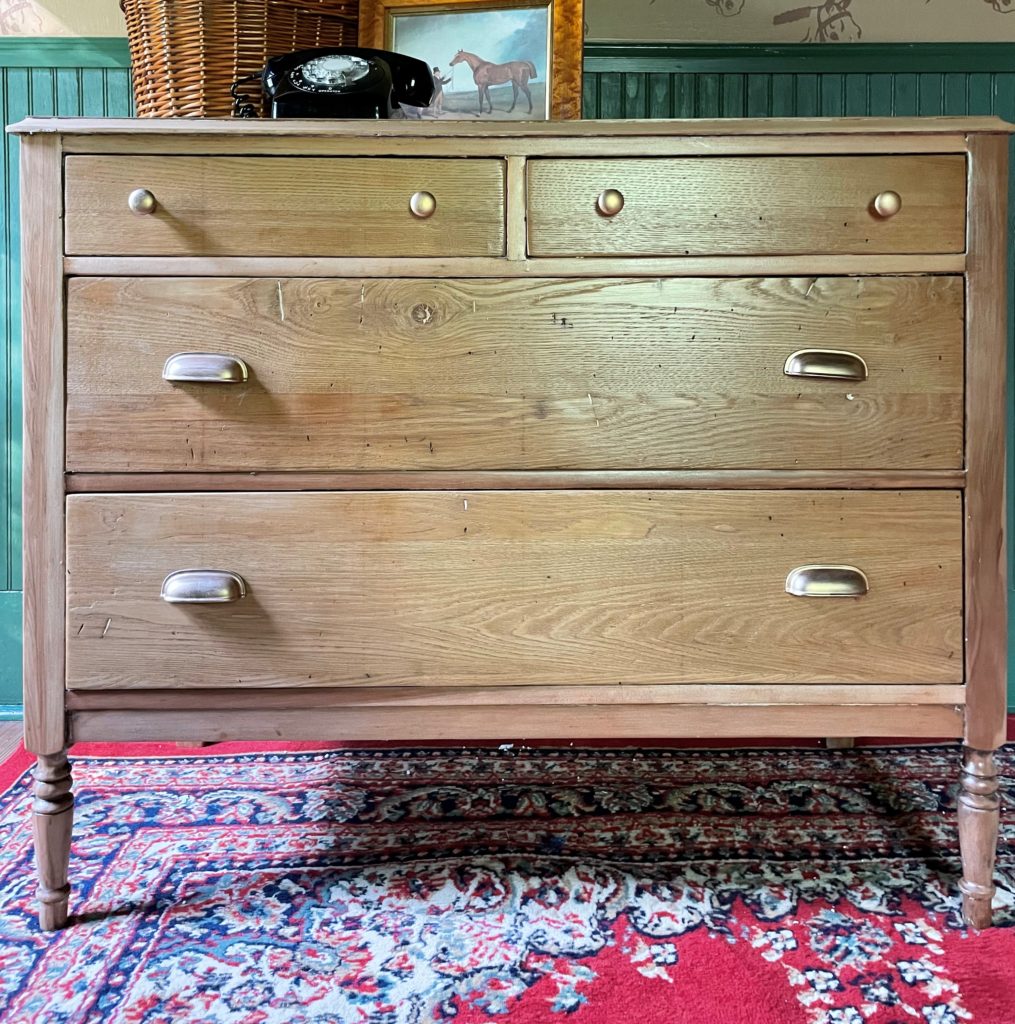
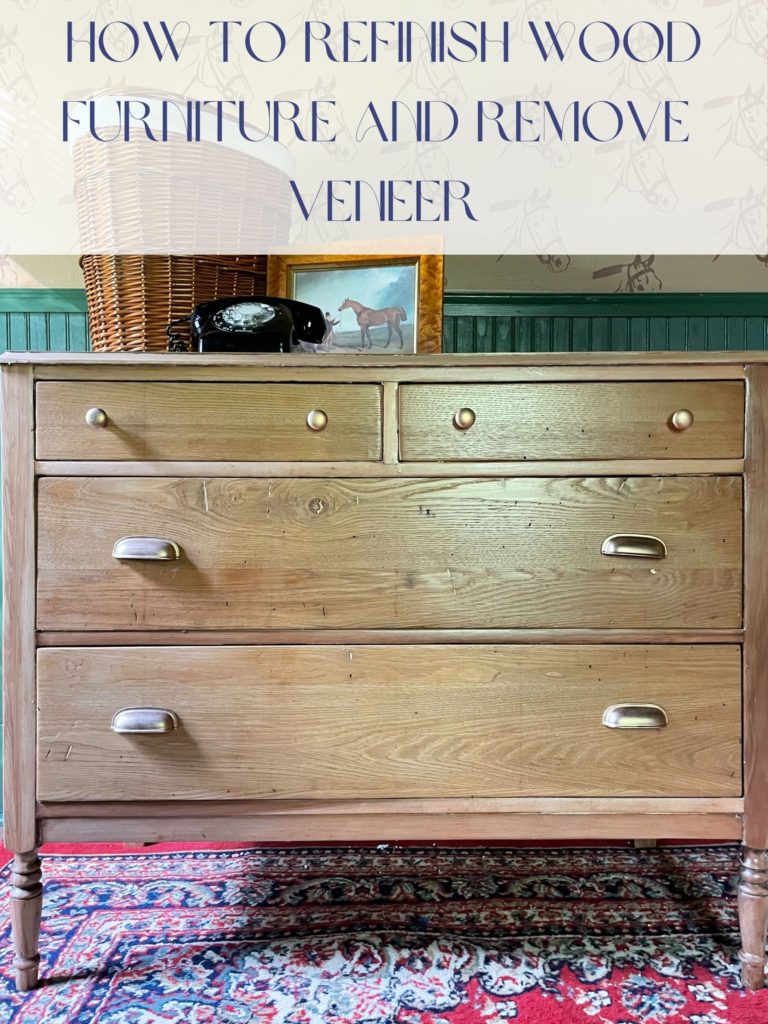
And now, it looks like the antique heirloom piece that it is! The pine looks so lovely in its natural state, and I am so glad I decided to leave it this color and not stain it. The hardware is the same hardware that was previously on it, but sporting a fresh coat of Rub N Buff in Antique Gold.

You’ll have to pardon the photo angle, I’m strategically hiding a few elements in the room I’m not ready to share yet. So you’ll have to check back for the full reveal in just two weeks to see how the dresser looks in its new home!

Be sure to check out the other participants’ weekly updates, and stay tuned, because the reveal will be here before you know it! That’s all for today, friends! Have a fabulous day!
House Progress

Spring One Room Challenge Week Five: Paint Diaries

Week One | Week Two | Week Three | Week Four

Another week, another post from the depths of paint despair. I always start off optimistic about a paint job, and then end up becoming slowly disenchanted with the work as time goes on. As I mentioned before, the paint in this room is pretty involved, and from the outset, I budgeted myself two weeks just to paint. As of the time of this writing, it’s been exactly two weeks since I put the first coat of paint on a surface, and I probably have one more day of painting before I’m officially done.

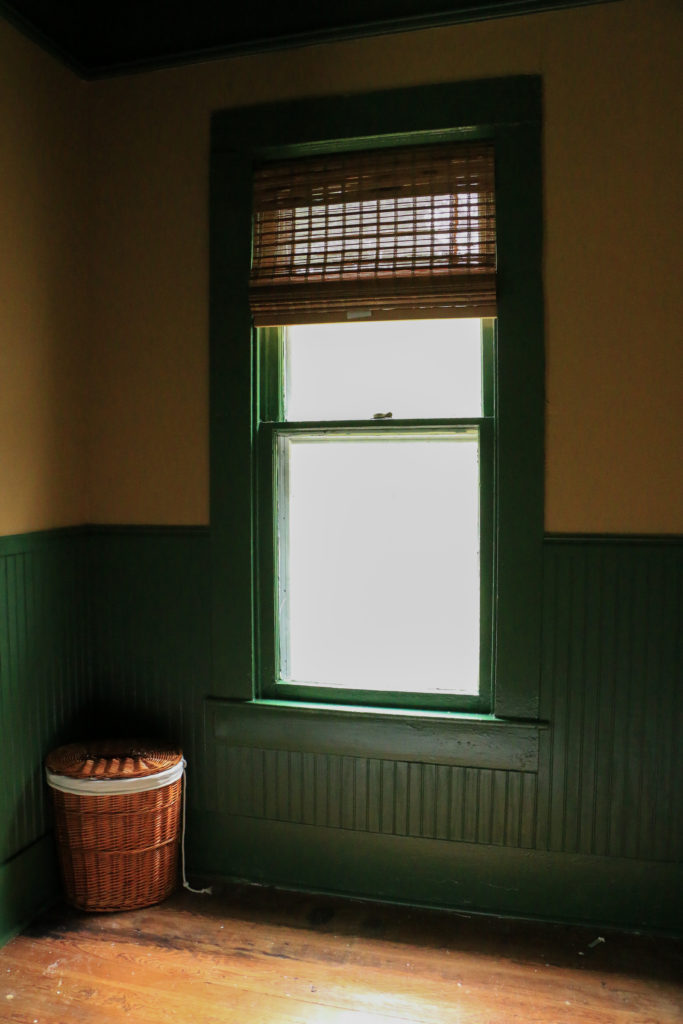
I have shown you guys the green paint that is the majority of the room, but I haven’t talked about here what my plans were for the upper portion of the wall. I am doing a faux wallpaper look (more on that later I promise!) using just paint. I’ve done it with a few different methods in the past, and so I’m lovingly referring to this “wallpaper” as Fake Wallpaper3.0. While I’m not ready to show you what the wallpaper is, I want to share what color I painted the wall as a base for Fake Wallpaper3.0. I’m going for a moody, English country style, and so I chose Windswept Leaves by Behr to help darken the space. It’s not transferring super well in the photo I snapped today, it’s a lovely camel shade and less of a gold, but I think it’ll serve as the perfect backdrop for what I’m hoping to achieve with the faux wallpaper.

Does it not bring some drama to the situation? I’m excited to show you what’s coming next, but I’ll have to leave you in some suspense! Be sure to check out the other ORC guests this week as they reveal their progress too. That’s all for today, have a fabulous day!