Monthly Archives

April 2020

DIY Projects

DIY Wall Mural

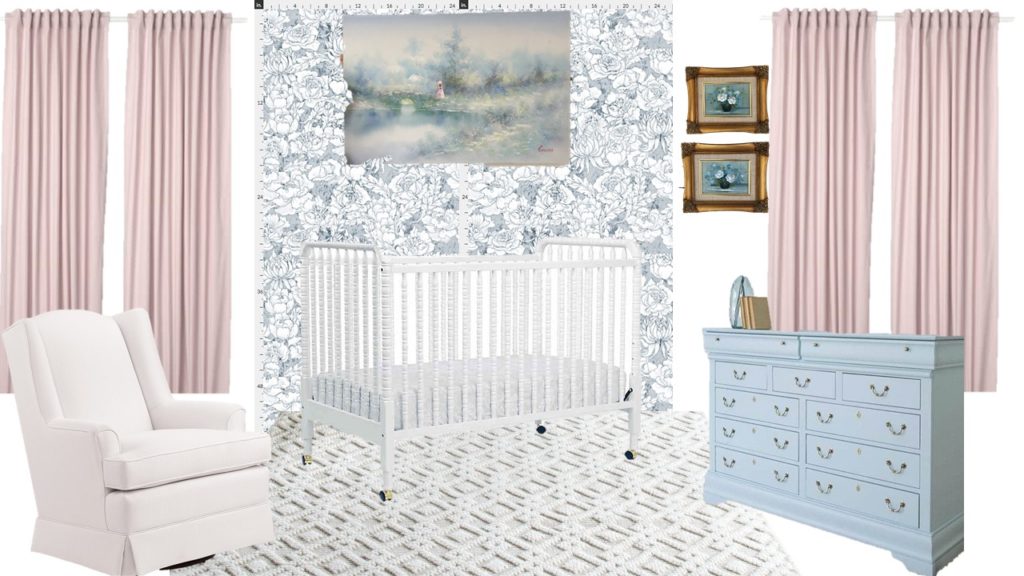
If you saw my plans for the nursery a few weeks back, you know how much I wanted wallpaper! I did a lot of online searching for removable wallpaper (after all the wallpaper scraping I’ve done, I am not about to put traditional wallpaper paste back up in this house), only to find that I did not want to spend an arm and a leg on wallpaper. Having never been in the market for wallpaper, I did not know how expensive wallpaper could be!

I had a budget in mind, but I did not want to put over half of it toward wallpaper. In my planning post, I talked about attempting to paint something on the wall using a projector. I tried it out, it worked, and this is that post!

So the first thing I did was to find an image that was similar to my inspiration photo for wallpaper. A quick google search found a pattern that I liked, so I then went to make a projectable image. I made sure that the image I chose would be able to repeat itself continuously.

I used a PowerPoint document to work from, and placed my image in a very corner of my screen.

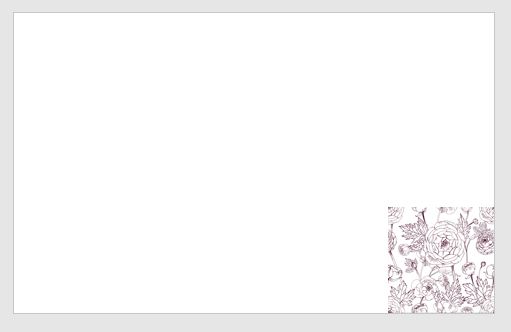
Then I just copied the image and lined them up so that the entire page was covered.

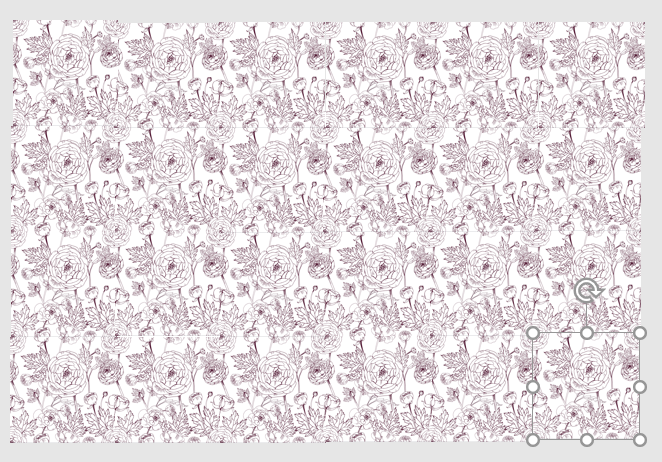
As you can see, it’s just the same image lined up directly next to each other.

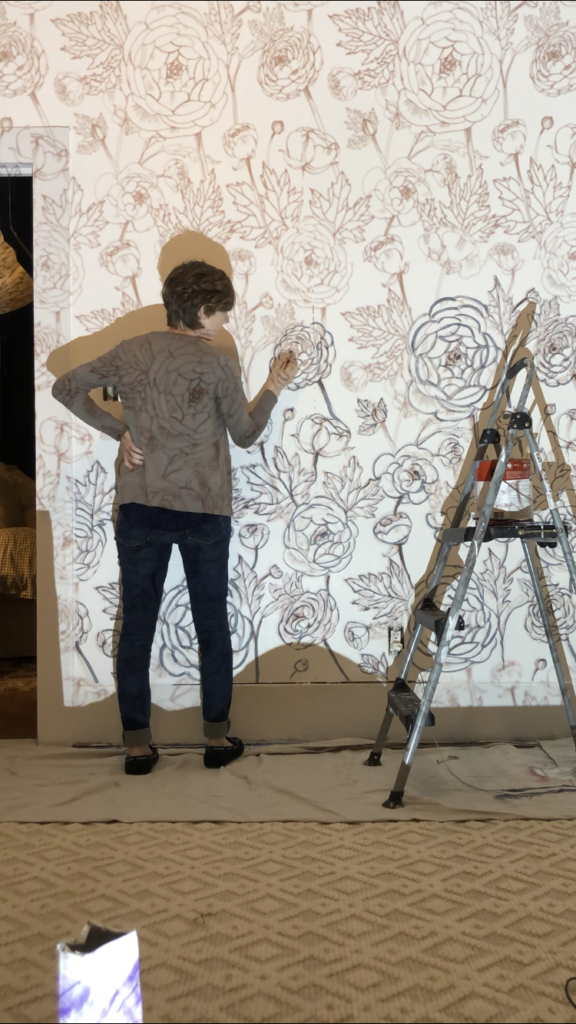
Once the image was on the full screen, I put it in present mode on my laptop, connected it to the projector, and projected it onto the wall. I was then able to use a small artist paintbrush to trace from the projector onto the wall.

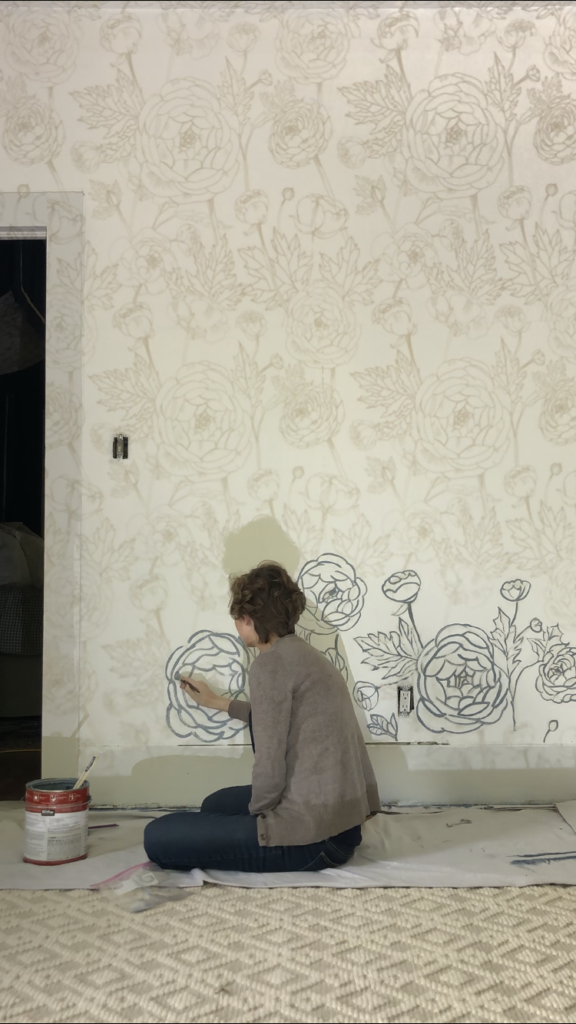
Pardon the iPhone photos, I am not the greatest with remembering to take progress photos.

Now, I know a lot of people don’t have a projector lying around. I get that. Ethan works in production for live events, so he has access to a lot of equipment that the average person does not have sitting in their house. He was able to borrow this projector from work that I was able to use.

For me, this project was free because I had paint left over, and access to a projector. However, you all know I like to do thinks cheap and easy. But, while I was looking online, I found some projectors that are only around $100. While that seems expensive, it could still end up being muuuuch cheaper than purchasing wallpaper. The wallpaper I had been pricing out was going to be around $400, so even if I bought a projector for this project, it would have still saved me money.

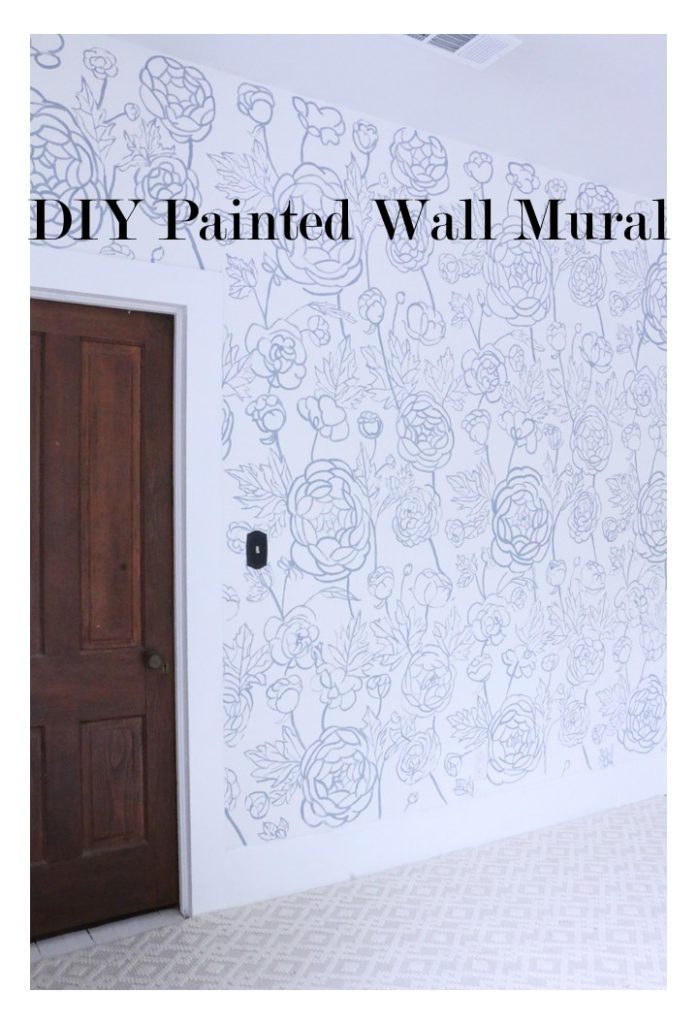
Overall, this took about ten hours of painting, which is definitely not for the faint of heart, but it was a project I spent no money on, and I got the wallpaper look I was going for.

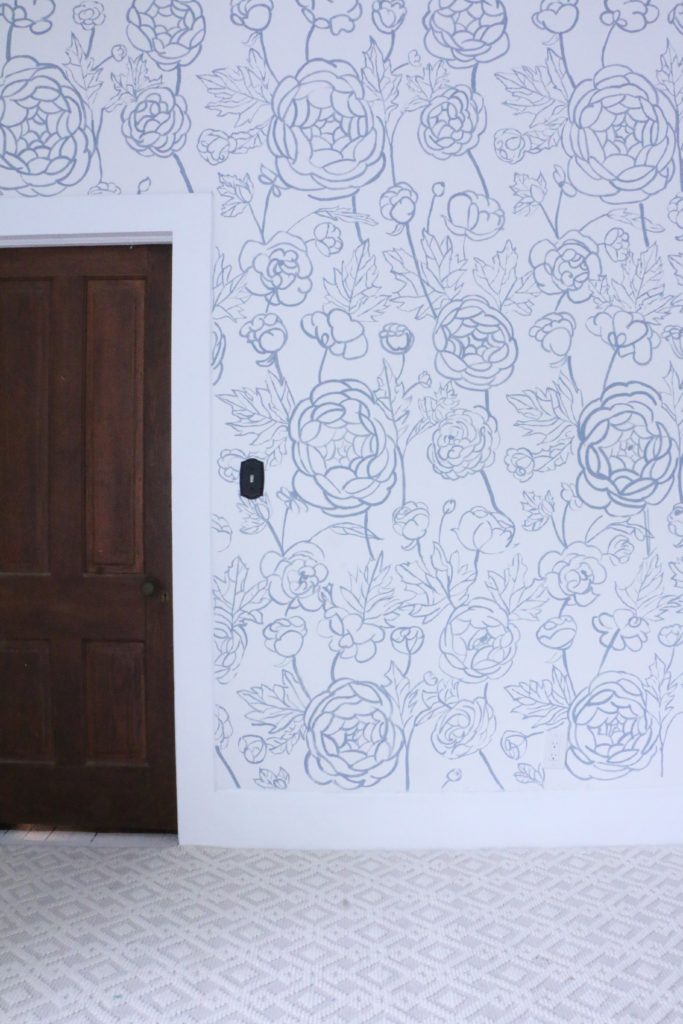
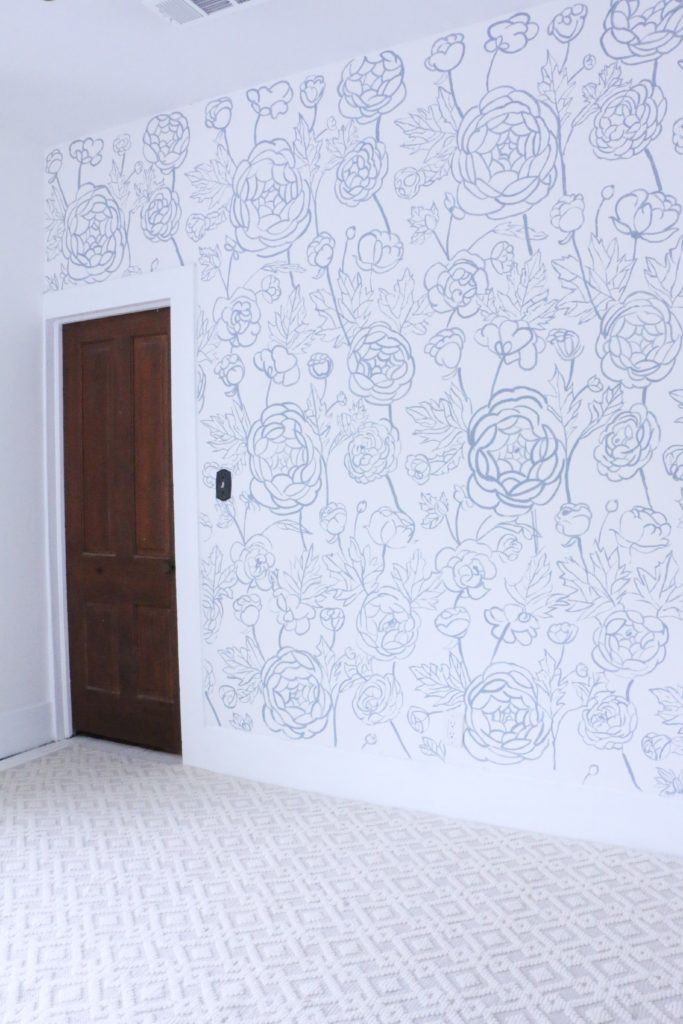
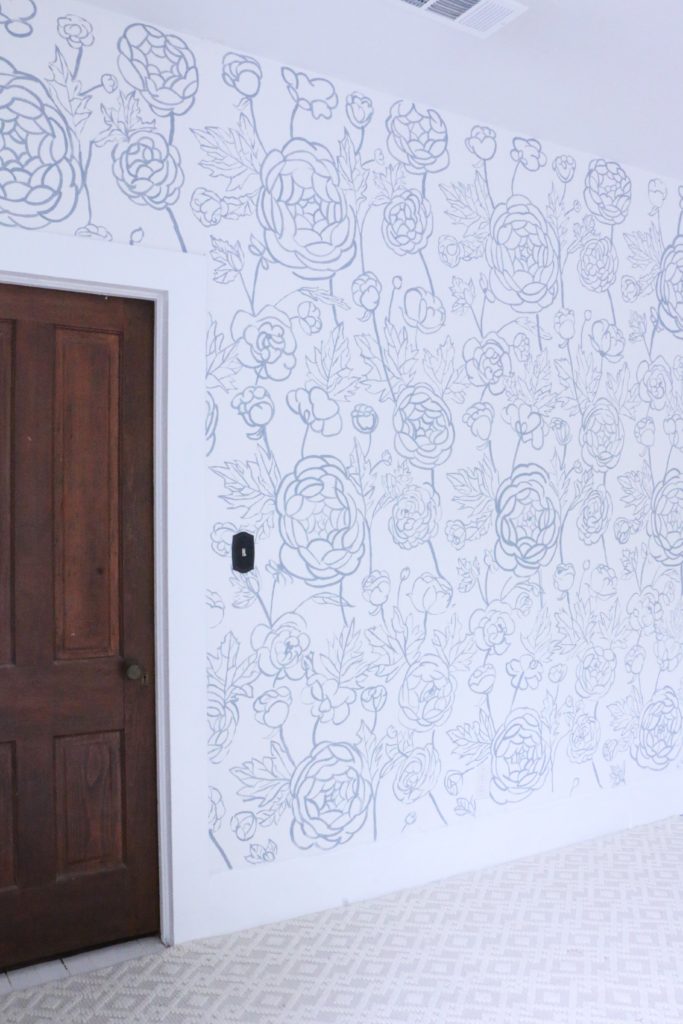
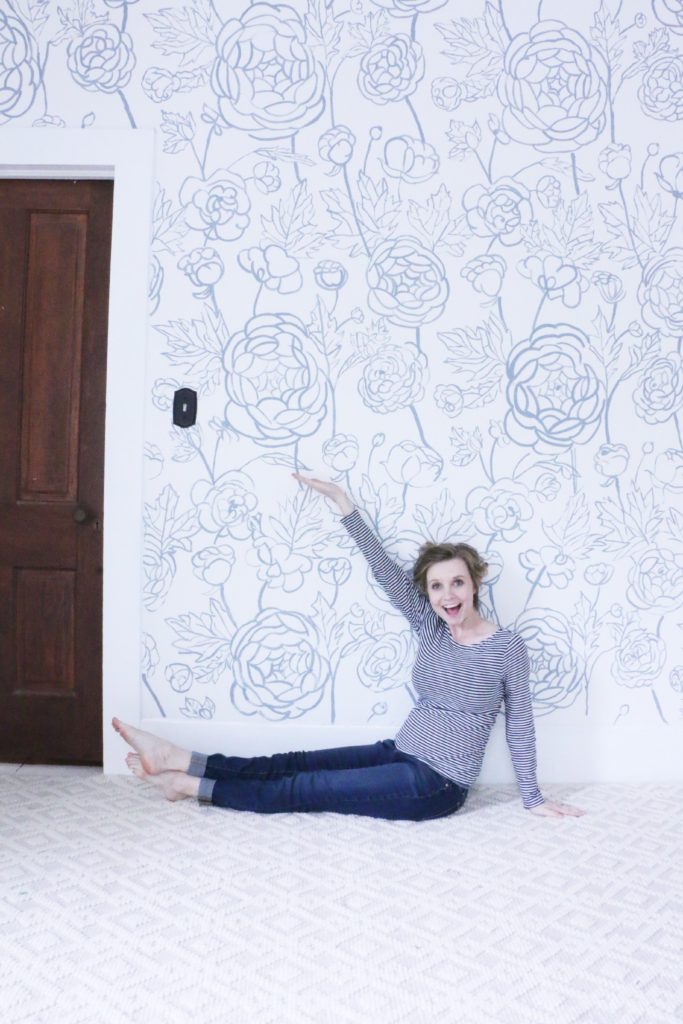
The color is French Colony by Behr, which was leftover from our upstairs bathroom project. It’s hard to capture the whole wall at once because of the size of the room, but the wall is about ten feet wide. Overall, I am super pleased with the way this turned out. And you know my favorite type of project is a free one!

What do you think? Would you try something like this? I’d love to hear your thoughts. Well, that’s all for today, friends. Have a fabulous day!

DIY Projects

How to Paint Porch Floors

You guys. I can’t even begin to tell you how excited about this project I am. Or how excited I am to be done with it. I decided to make it a priority over my spring break to get our porch floors repainted. I had the week off from work (little did I know at the time that I would not be returning to work in person for who knows how long, but that’s another story…), and so I had some time to devote to getting some paint on our multiple porches.

So we actually have three porches on this house (or technically two decks and one porch but whatever), but two different types. Our front porch is a traditional tongue in groove type wooden porch floor with no gaps and was already painted. It was badly chipping as it had probably been 40+ years since its last coat of paint. The back and side porches are more what you would consider a deck, They are 2x6inch (I think) boards with a small gap in between them. Ours had never been painted since it was installed in 1989. Are you ready for this before picture. Please don’t judge me. This house is a choose your battles kind of project y’all, because not everything can get done at once.

This picture was taken one month ago. Like, I’m embarrassed. Here’s one more for good measure.

The process for both the front and back porches was pretty much the same, with a few minor variations. Because the back porch had never been painted, we just had to clean it, using a power washer. In the front, the paint was chipping, so I scraped by hand what I could, and then power washed the rest. The power washing definitely got more of the paint chippiness off.

You can see here just how bad it was. There was multiple colors showing through from different layers over time. So once we got everything scraped, washed, and ready to go, it was time to paint.

I used porch and patio floor paint mixed in the color Teton Blue by Behr. I bought a five gallon bucket, but only used about two gallons. Which is fine, because I have plenty for touch ups in the future. The first thing I did was roll using a regular paint roller with an extension brush. If you’ve never painted floors this way, honestly, it’s the easiest thing. Just standing, no strain on the back or arms. Honestly, it’s great.

In the front, since there were no grooves between boards, this was super easy. I was careful not to get too close to the house with the roller, but it was a very quick process. Once I completed the rolling, I had to cut in with a paint brush. On the front porch, this was just along the edges next to the house. On the back porch, I had to get my brush individually between each board. This was the most time consuming part.

I eventually coated everything twice, with some interruptions from the rain. When I was done painting, I let it cure for a few days before sealing it. I wanted to use something to seal the porches because it’s such a high traffic area that’s prone to dirt. For that, I used Thompson’s Waterseal and brushed it on completely. I did not use a roller for that. Because of the consistency of the mixture, I found it annoying to use the roller. It took forever to dry. Forever. That is likely in part due to the amount of rain we were battling along the way with this month long affair.

Lastly, for the back porch railings, I painted those white, using exterior flat paint. I got the color Cameo White. Those I just brushed on, it took forever, was honestly the most time consuming part of the whole thing.

Alright, are y’all ready for the after photos? I’m assuming that’s what you’re actually here for. Let’s look at the front porch first.

This isn’t all that dramatic, it’s just fresher and cleaner looking.

But the back. Y’all. Let me just show you one more time the before.

And now…

I cannot get over how much of a change this makes.

This project cost about $200 for all of the supplies, but I could have gotten away with much less paint. I used a total of about two gallons for an estimated 500 square feet of space. Just as I do with all my projects, I kind of just dive right in without really knowing what I’m doing, but this one wasn’t as intimidating as I made it out to be.

So, what do you think? Can you even believe this is the same porch? I hope this gets you feeling motivated to tackle your own project, whether it’s a porch floor or something else. It probably won’t be as bad as you think! Well, that’s all for today, friends! Have a fabulous day!

House Progress

Plans for a Baby Girl Nursery

Hello! I am so glad you stopped by! Today I am sharing something that I’ve been planning for a while, and I absolutely can’t wait to get started. We’ve known we were having a baby girl for a couple of weeks now, but with Social Distancing, we haven’t been able to get out and do much yet as far as planning and buying things for the nursery goes. Lucky for me, I have a garage full of supplies, so I have some things I can be doing while I’m unable to go to the hardware store.

First, I want to show you the mood board I put together for the space, then talk you through the plans.

As you know, my favorite color is blue and I can’t stand the thought of not having blue in a room in my house, so I wanted the focal points of the room to be blue. I’m planning on painting the dresser that’s currently in our bedroom a light blue (we’ll be buying a new dresser for us), and the artwork I’ve picked up from flea markets is also in the blue family.

Thankfully, since this is our second child, we already have most of the big stuff. We will be reusing the rocker (no longer sold) and crib from our son’s room. Having a second child is SO much easier. 🙂

I’ve already ordered the rug pictured, and if you follow @rumfieldhomestead on Instagram, you’ve likely already seen it rolled out in the space. I’m not completely decided on curtains yet, I have these IKEA ones as a possibility. I don’t like to buy things from IKEA without seeing them in person first, and since I can’t go there right now with all the Shelter in Place ordinances right now, I’ll have to wait and see. I do want something of a dusty pink color though. Not too in your face baby pink, but something to tie in some of the colors from the large painting I have.

And then lastly, the walls. I knew right away that I wanted some blue floral wallpaper in this room, and I fell in love with this one from a small Etsy shop. I quickly realized I did not want to blow the majority of my nursery budget on wallpaper, so I came up with a plan that miiiiiight be a massive fail. Here’s what I’m thinking:

I am going to try to use a projector to project a floral design on the wall, and then trace and paint myself. I’m not super great at free hand drawing (and by not super great I mean actually terrible), so I don’t trust myself to draw my own pattern. I’m not entirely sure the projecting and tracing thing is going to work, so you’ll have to stay tuned. But, if it does work, I will save myself a lot of money on wallpaper! I’ll also be able to get started right away, because I have the perfect shade of paint already in my garage.

Things are a little weird with everything that’s going on, but I’m excited to be working on this project! That’s all for today, friends. Have a fabulous day!