Monthly Archives

April 2022

House Progress

Spring One Room Challenge Week Four: What Sheen of Paint Should I Use For…?

Week One | Week Two | Week Three

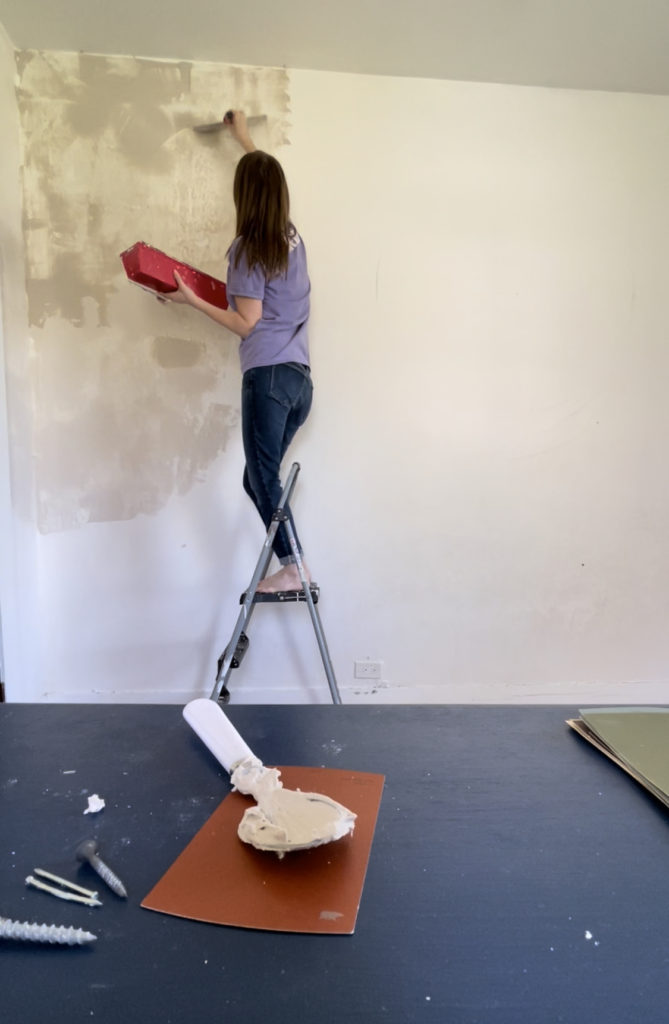
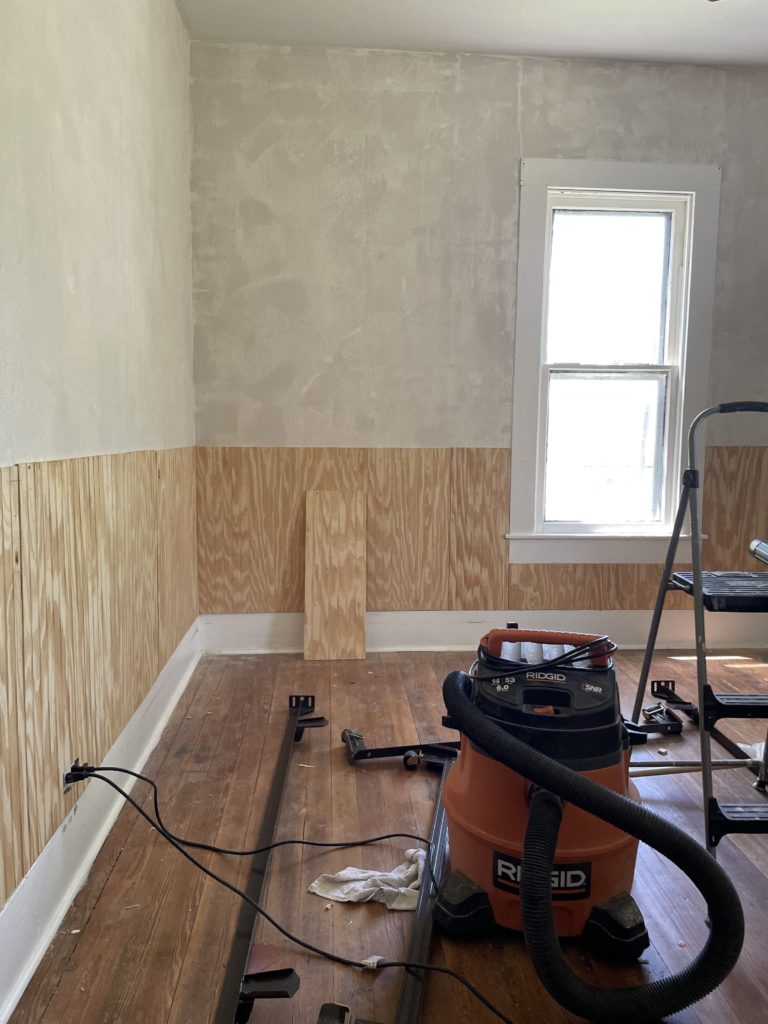
It’s week four of the One Room Challenge and I didn’t officially cross off one single item off the list. I’ve been working on trim painting all week (with a break over the weekend) because there is so much trim. I’m knee deep in paint, and honestly there’s no end in sight. The paint in this room is so much more detailed than just slapping a coat of paint on the wall and calling it a day. There will end up being three different colors (you’ve only seen one so far!) and three different sheens (you’ve seen two so far).

I figured this might be a good opportunity to chat about the three main sheens of paint I use throughout my home and for what purposes. Of course, rules are meant to be broken, but this is a general guiding principle and what I’ve found works best in my own house.

Flat Finish:

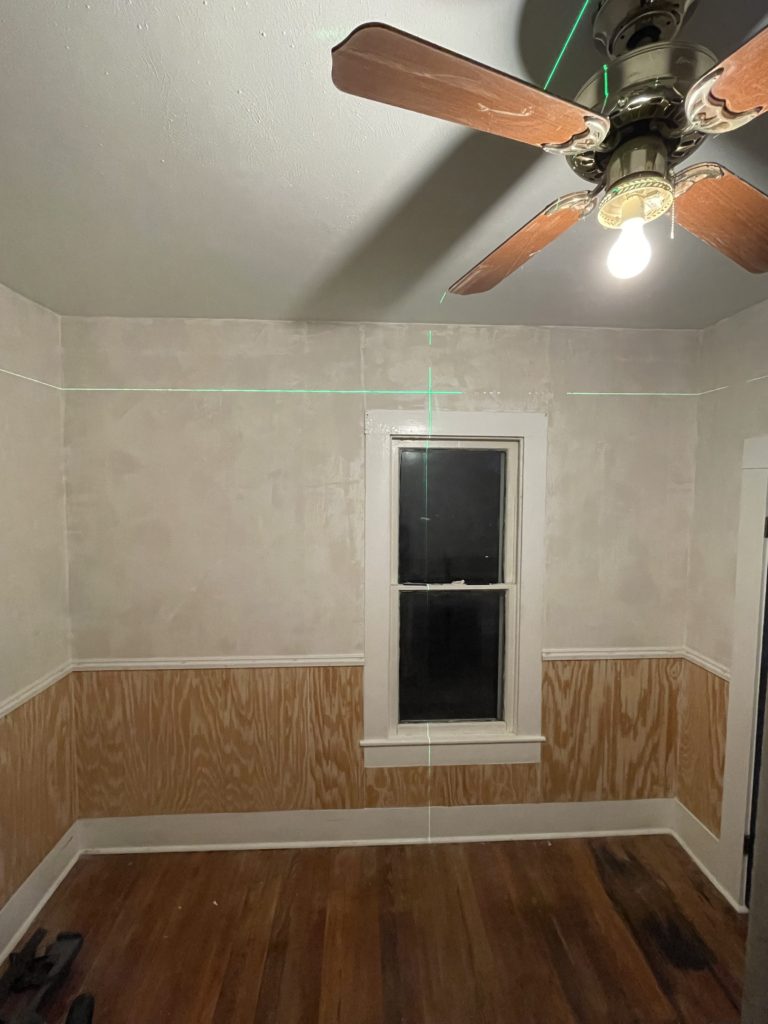
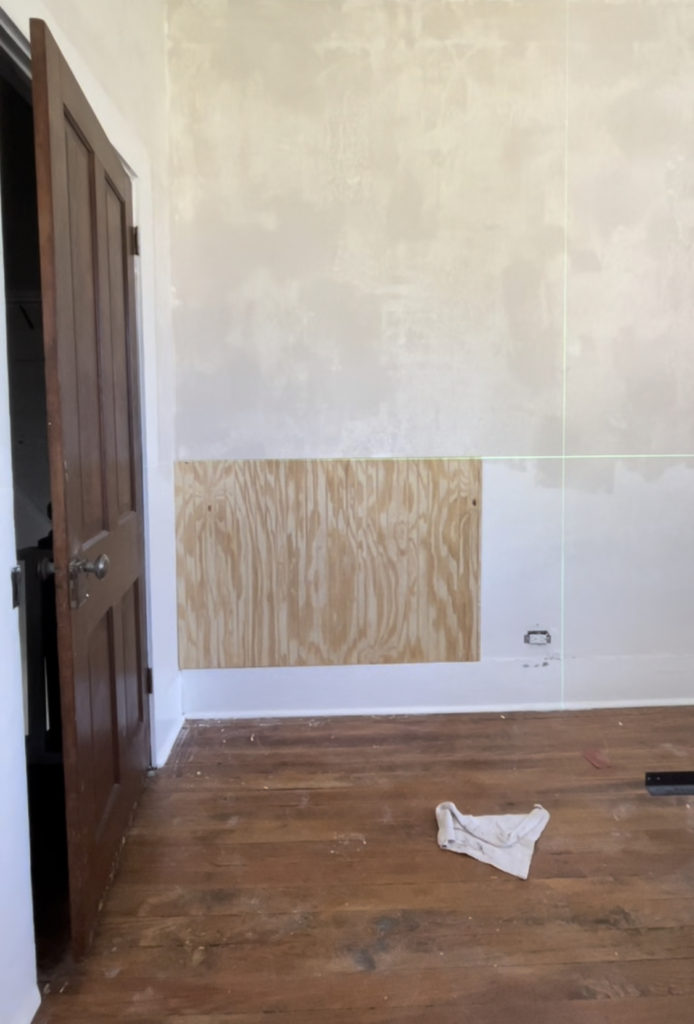
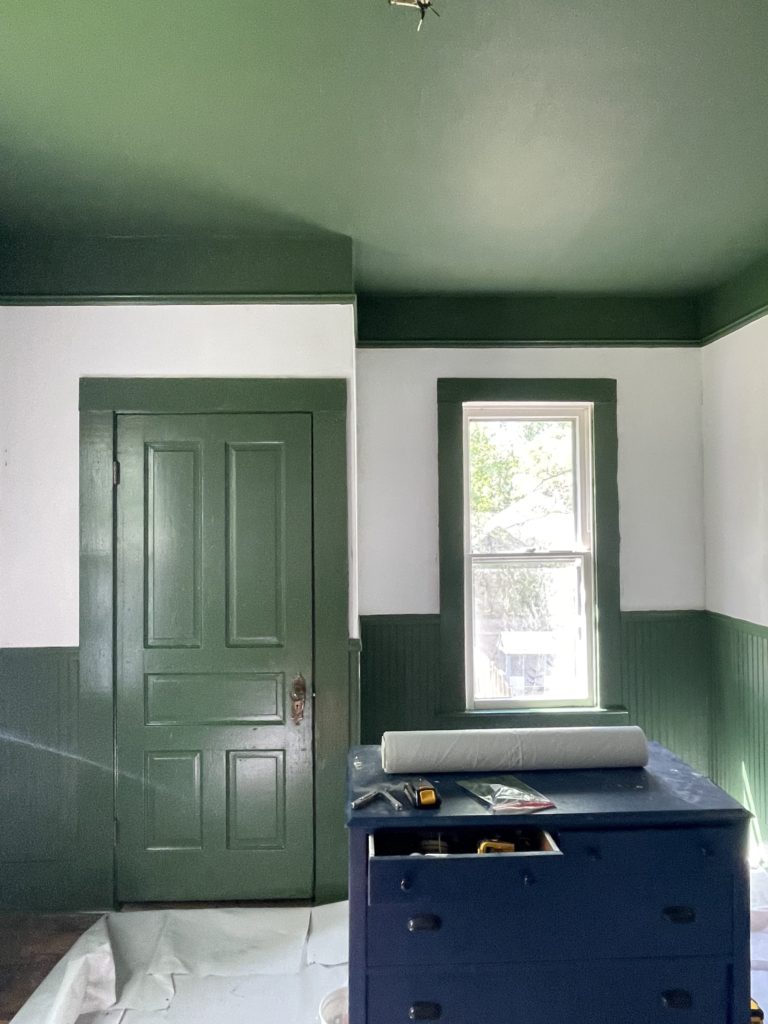
Honestly this is good for one thing and one thing only. Ceilings. You can see even in the terrible quality iphone photo above that the paint on the ceiling absorbs the light. It’s dark, but it won’t reflect light, which I guess is helpful for sleeping? I don’t know guys, I’m not an expert. It’s been said that flat paint can’t get wet, and that might be an outdated assumption as paint technology has improved over the years, but I’m still not taking any chances. I’ll leave it to the ceilings.

Semi-Gloss Finish

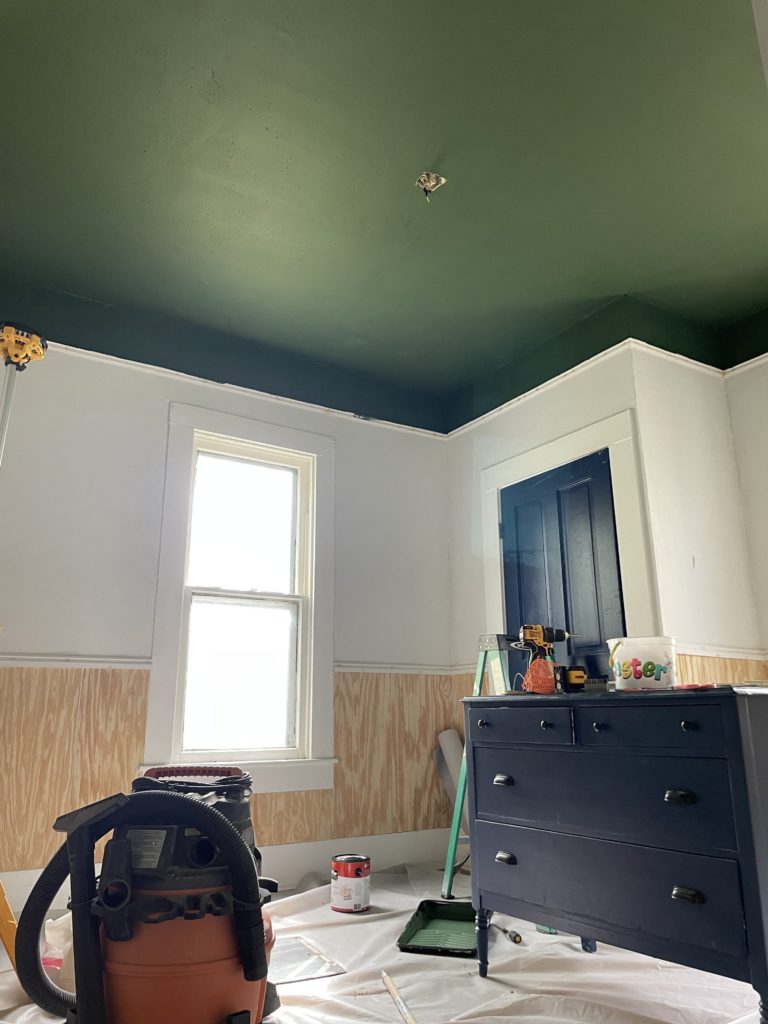
I use semi-gloss on all of my trim, painted doors and cabinets, and walls in my bathroom. (That last bit might be contentious in some circles, so don’t quote me on this, this is just what I find works for my house.) You can see in this picture that even though the ceiling and the trim are the same color, they reflect light completely differently. Semi-gloss is also much more wipeable, making it a good contender for trim. Have you cleaned the trim next to your doorknobs lately? That gets gross so quickly. Or maybe that’s just my house with toddler granola bar fingers running around. But I digress.

Eggshell Finish

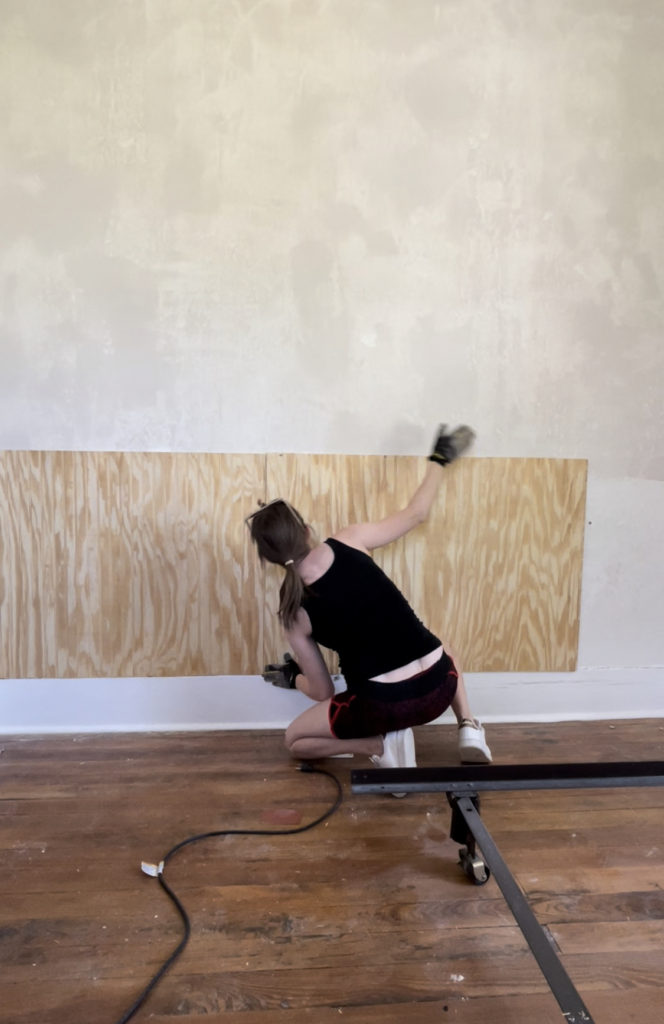
Lastly, I use eggshell finish on almost all of my walls. It falls in between flat and semi-gloss, as it’s somewhat wipeable but it’s also a little more forgiving that flat. I’ll be painting the walls with eggshell finish, although I haven’t started yet, so there’s no visible example of it in this photo. But trust, eggshell is the way to go on *most* interior walls.

Like I said, rules are made to be broken, but this has worked for me. When I rolled up to Home Depot to get my paint order with very specific color and sheen requests, I know the employee was side eyeing me, but what can I say, I’ve painted a lot of rooms!

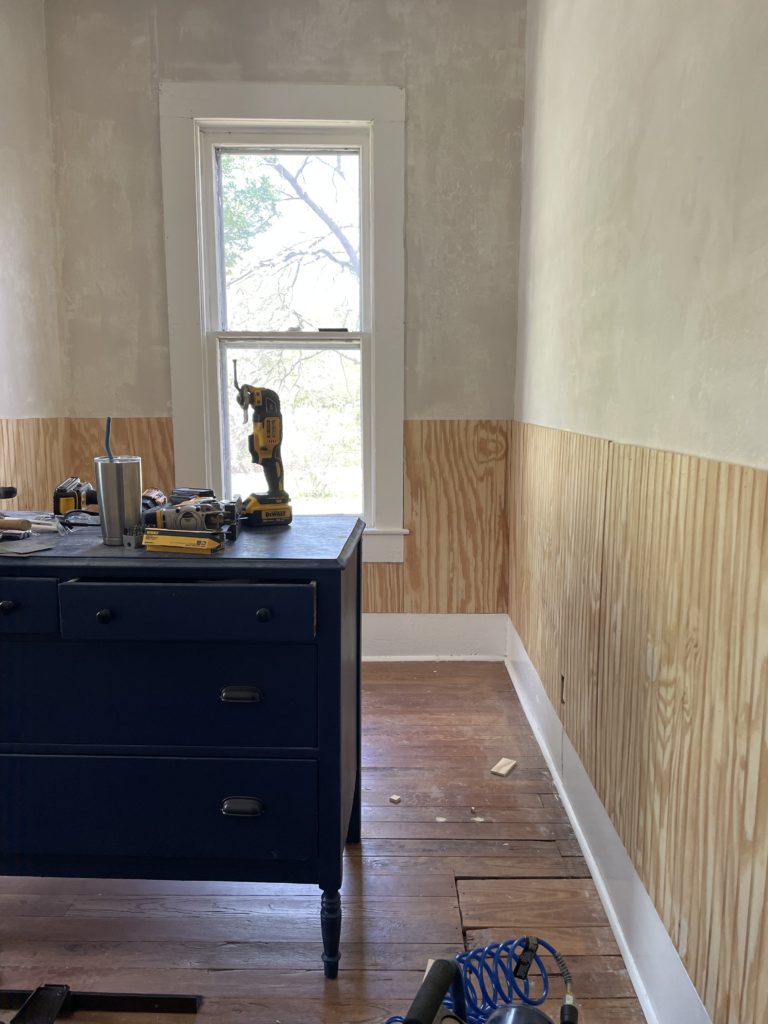
I probably have about two more weeks of painting ahead of me, as I have some more to finish on the trim (looking at you, windows), and then I’ve got the walls as well, but I can’t wait to see all of it come together. It’s getting so good! Be sure to head over to the One Room Challenge’s Blog page so you can see what everyone else has been up to this week. That’s it for today, have a fabulous day!

House Progress

Spring One Room Challenge Week Three: Trim Finishes and COLOR

Three weeks in and I’m starting to feel like I can *see* this room. (If you haven’t caught up on weeks one and two, you may want to do that first.) You know when you still have so much left to do, but all of a sudden there’s a point in a project where you can start to see your vision come to life? That’s where I am this week.

We finished last week with beadboard up on the wall and that was it. I had to do a lot of work to actually finish out the beadboard so it looked good, and even more to do before I could start getting paint on the wall, but I was determined to start getting color on this week. Thankfully Ethan was home this week and able to help me. I wouldn’t have gotten as much done as I did without him, but we made it with not a moment to spare!

Let’s walk through what we did this week.

First thing we did was add the chair rail to sit along the top of the beadboard. It immediately looks so much more professional with just that simple addition. It’s easy to gloss over all of the finish work, but it takes hours to fill nail holes, sand, caulk seams, and clean up in between each of those steps, so I don’t want to negate that work.

Once we completely finished the beadboard, we were ready to install picture rail. A lot of people don’t know what picture rail is, and if you had asked me a few years ago, I wouldn’t have known either. Picture rail is a type of decorative molding somewhere near the ceiling. Sometimes it’s installed right up close to the ceiling, mimicking the look of crown molding, and other times it’s installed 10-12 inches down on the wall. It’s most common in historic homes and in art museums. The profile of the rail or molding is round, and the purpose is to hang a round hook from the top to be able to hang and display art. In older homes it was common to have plaster walls, which are notoriously difficult to hang things from. Enter the solution. You can easily hang things without any nails, screws, etc. It’s super practical!

Since our second floor has nine foot ceilings, we decided to install it a little bit down on the wall, and our laser level came in handy…for demonstrating once again how nothing in this house is actually straight. If you look closely above the window you can see how the top of the window does not line up with the laser. Thankfully once I hang curtains you won’t be able to tell. Remember that because this room is totally crooked, I’m trying to give the illusion of straight visual lines.

So picture rail was hung (that was 100% Ethan, all I did was stand back and make sure it was lined up and pass the nail gun), caulked, wood filled, and sanded. I am so glad we added this, it is definitely in keeping with the historic feel of our home, and definitely helps with the traditional style I’m going for in this room. I also primed all the walls that had been floated last week.

Then, my dear friends, it was time to start painting. I don’t usually do this, and certainly can’t recommend this, but I did not want to waste time with painting different samples on the walls, so I picked straight from the chip and oh.my.gosh. I am in love.

This is after just one coat of Behr Equestrian Green (we love to see a paint color name on theme!). I did paint a second coat since this photo was taken. It’s my first time painting a colored ceiling and I’m wishing I had done it sooner! I also decided to extend the color on the wall above the picture rail as well, which I’m really pleased with.

So, that’s the update. The next weeks will be painting myself into oblivion, as there is so much painting yet to do, but I’m really excited to keep you posted. Make sure you check out the other bloggers who are doing the One Room Challenge, things are starting to get really good! That’s it for today, have a fabulous day!

House Progress

Spring One Room Challenge Week Two: Old House Challenges

I can’t believe we are already onto the second week of the One Room Challenge! If you missed last week’s post with the design plan for the space, be sure to check it out here. I have been hard at work this week, feeling both frustrated and excited.

My first task was to float the walls along the upper section of the room with joint compound. This room has an “orange peel” texture that’s pretty common in homes here in the south, as well as in new construction. It’s not appropriate in a historic home, and I personally just don’t like the look of it, so I decided to smooth it out. It requires a large putty knife and lightweight joint compound, and it’s akin to frosting a large cake.

Once it’s applied I had to sand, which was a serious arm workout. It’s an underestimated task to be sure, but it’s not technically difficult.

Then came the head scratchingly difficult part. In typical old house style, the room is completely unlevel. The floor on one side of the room is two inches higher than the other side, making the entire wall slanted. I wanted to add beadboard to the lower portion of my wall, but it wasn’t as simple as measuring the height from the floor up and making straight cut across. I wanted to give the illusion of a straight line, so that meant each piece had to be cut at a slight angle. I don’t know if this is even making sense. It barely made sense to me. I purchased a laser level, and it was my saving grace for installing these beadboard panels at a straight-looking-but-not-actually-straight height.

For the first portion of the week, Ethan was out of town working, so I was attempting to figure out how to get everything installed correctly by myself. Needless to say, once he returned from his trip and was able to help me, things went a lot more smoothly.

We finished up the beadboard late last night, and although it’s not pretty progress, I do think it will be the most laborious and difficult part of the process, so I’m glad to have it checked off the list during the first week.

Next, I will need to fill nail holes and sand the beadboard to prep it for paint, then install the chair rail that will sit on top of the beadboard, and the picture rail that will sit higher up on the wall. Those will hopefully go much quicker than my beadboard install (and I really hope I don’t come back next week completely regretting these words)!

Now, I have to get back to work, but be sure to check out some other projects being completed this season over on the One Room Challenge Blog. There are some projects that I really can’t wait to see come to life! That’s it for today, friends. Have a fabulous day!

House Progress

Spring One Room Challenge Week One: The Plan

They say necessity is the mother of invention, right? So here I am once again, changing a kid’s space to make room for another baby. My youngest is getting booted out of the nursery, so we will be having our two children share a room for the first time. To get them excited about the transition, I knew I wanted to do something special in the room. The trick here is that our almost four year old boy and our almost two year old girl will be sharing, so I didn’t want it to be too boyish or too girlish. I also wanted to take into account my kids’ likes and interests while blending them with each other and still fitting in to the rest of the house.

I’m excited to share the design board for the space, which will be along the lines of a “traditional-English Country-but-still-sophisticated-for-a-toddler” space. Our home was built in 1895, so you know I just can’t bring myself to anything too trendy.

This room is actually my son’s current room. It was his nursery which we hastily threw together in the few weeks between the time we moved into the home and the time he was born. As he got older and transitioned out of a crib, we brought in a bed, and took out the rocker, but that was about it. We never did much to make a “big boy room.” The light fixture is still a broken ceiling fan that was there when we moved in and never replaced. It’s long overdue for a makeover, and since it’ll soon be housing both my son and my daughter, I figured this was the perfect time. I’m super excited to be working on this space over the next several weeks and finally bring this room to a fully finished space.

As you can see, it just kind of looks like a collection of things that got added slowly over time, and not in a good way. It’s haphazard instead of intentional. I do plan to reuse some of the things in the room, but a lot more is coming.

Be sure to follow along as I make this room into a room I hope both my toddlers will be excited about. I also can’t wait to see what other DIYers are doing in their spaces, and plan to follow along with them too! I’ll be sharing lots of real time updates on Instagram, and weekly progress reports here too. That’s all for today, have a fabulous day!