Hey Y’all! Today I’m sharing what is hands down my favorite project to date. This is definitely the biggest impact project I have done, and I am IN LOVE with the result.
So, cue the before picture:
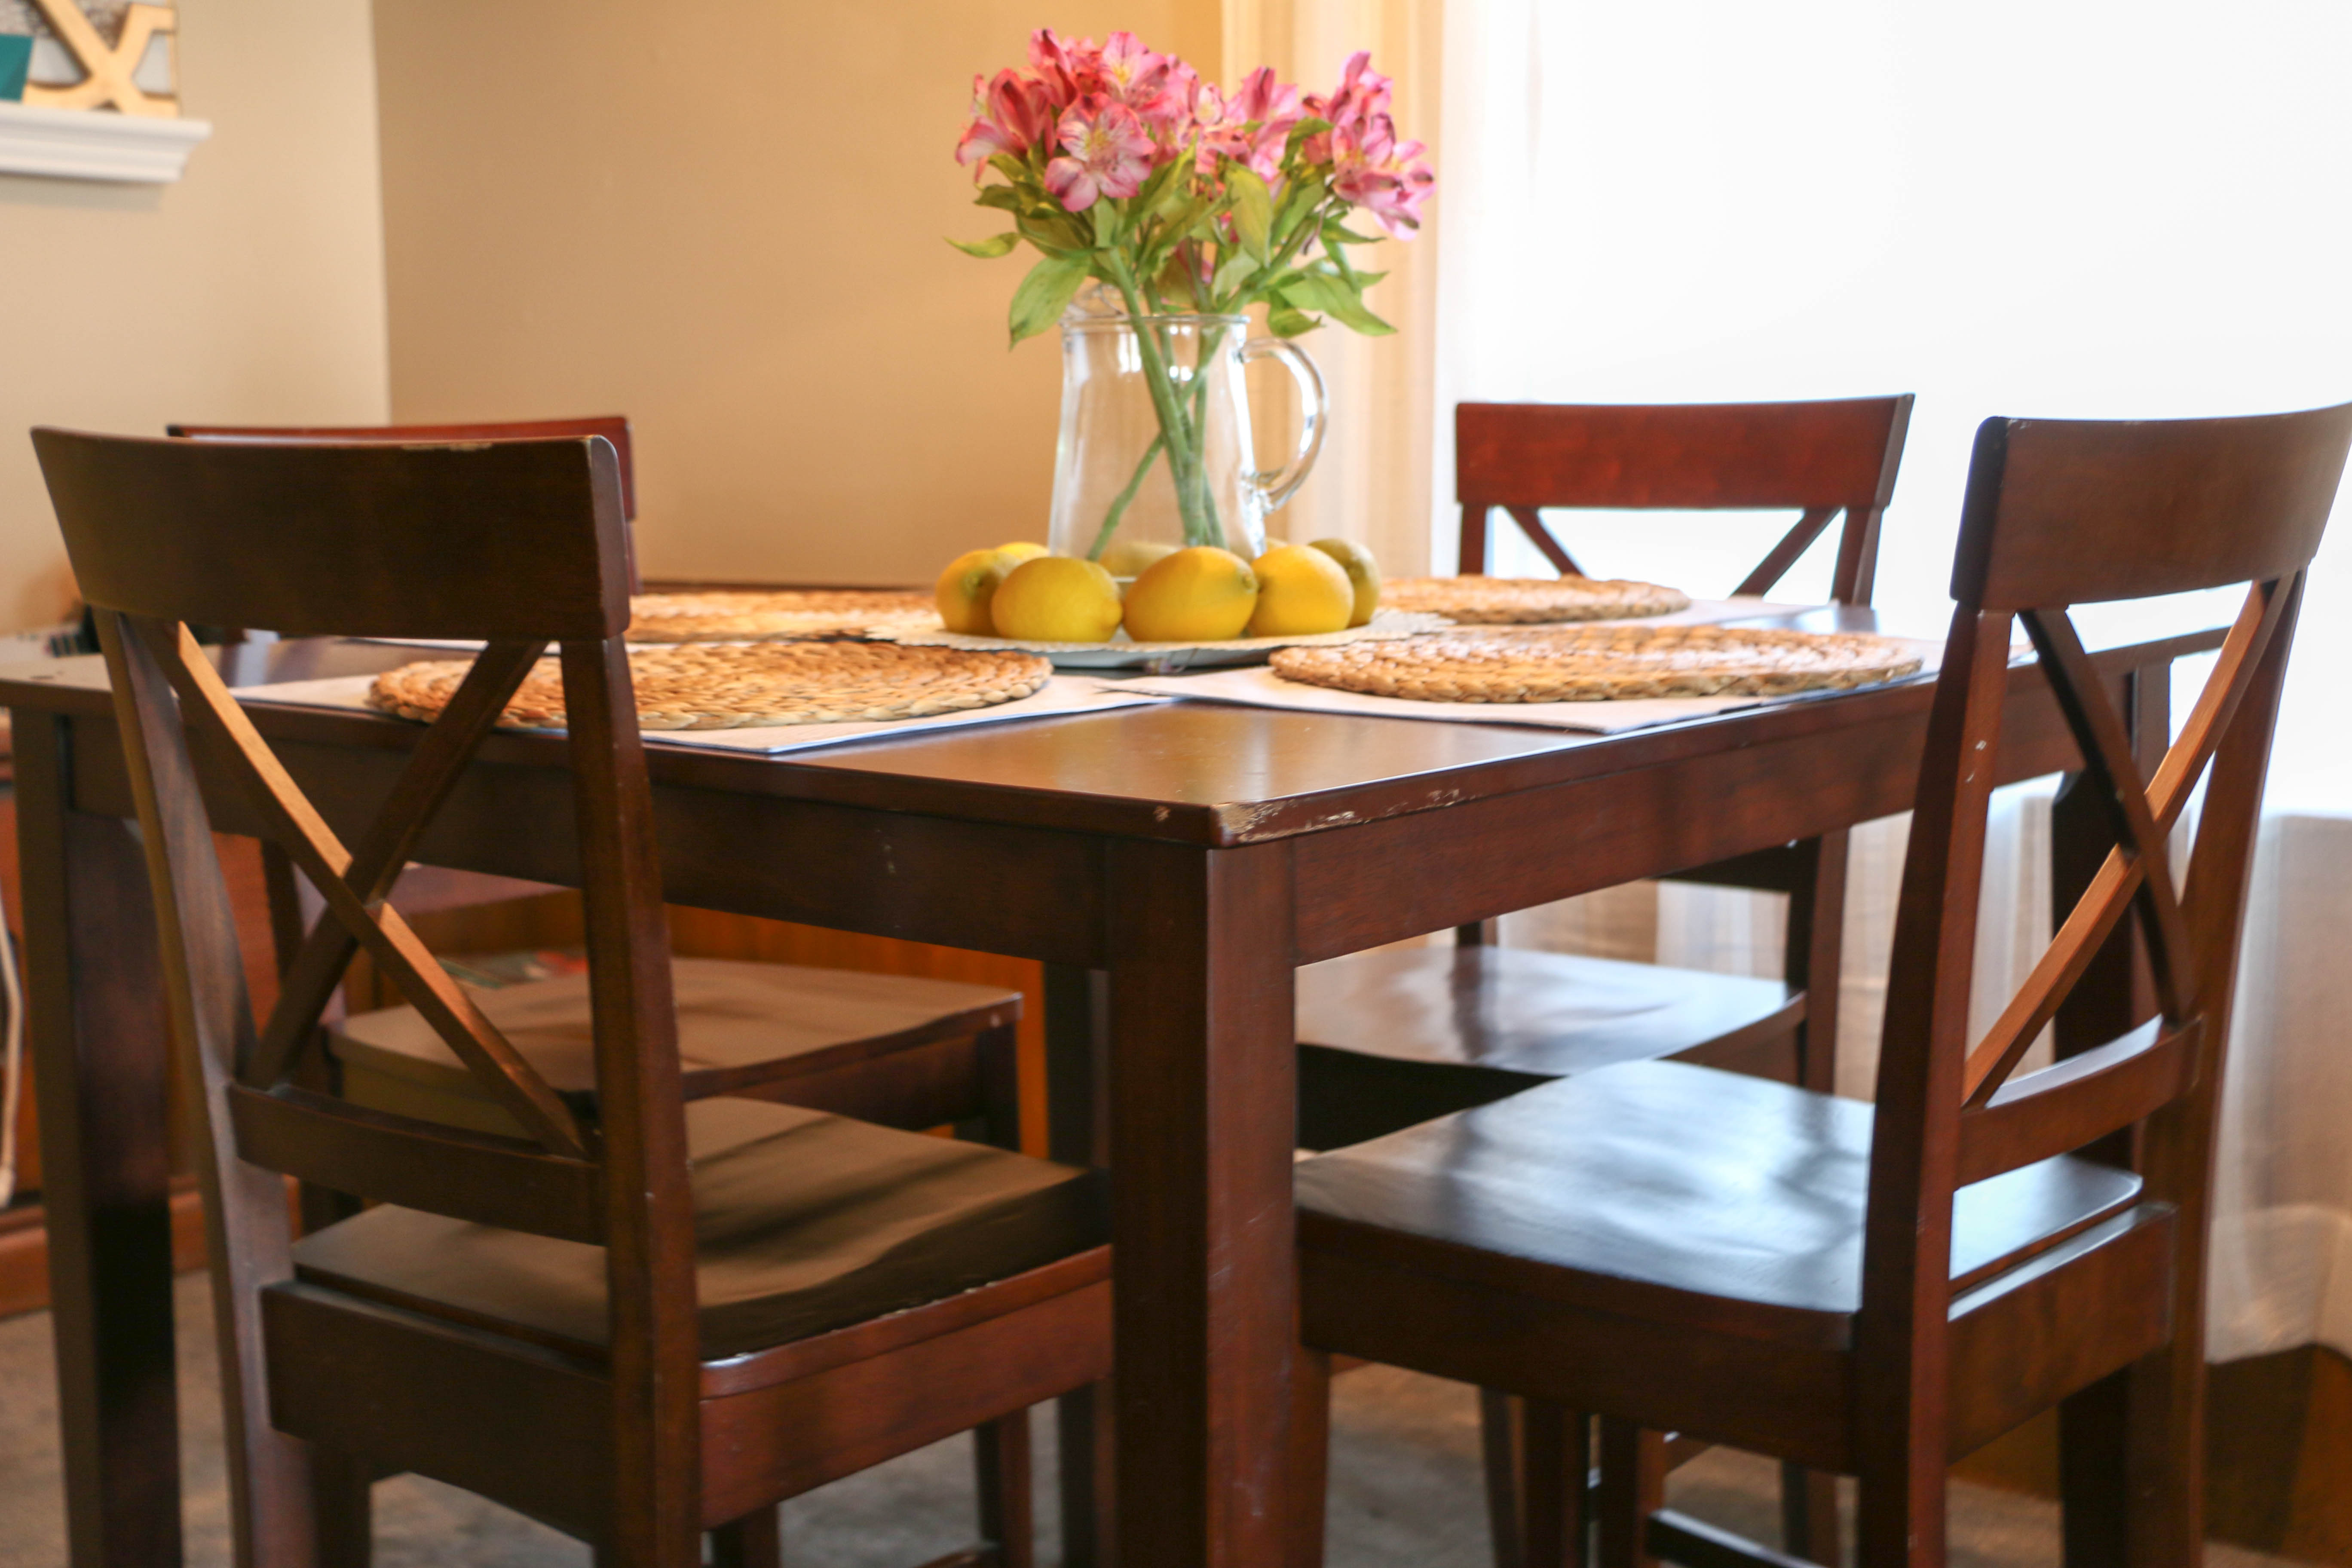
This dining set has seen better days. I believe it’s from Target, but I’m honestly not even sure. My husband bought it for $50 long before we were married from a couple who was moving. It had been their newlywed table, and we inherited it as our newlywed table. It’s not awful, but it’s a dark, basic, “starter” table in all its MDF glory. Clearly not my favorite thing. You can see why I needed to update this baby.
I got my first supply of Annie Sloan Chalk Paint for my birthday, and I decided to give it a try.
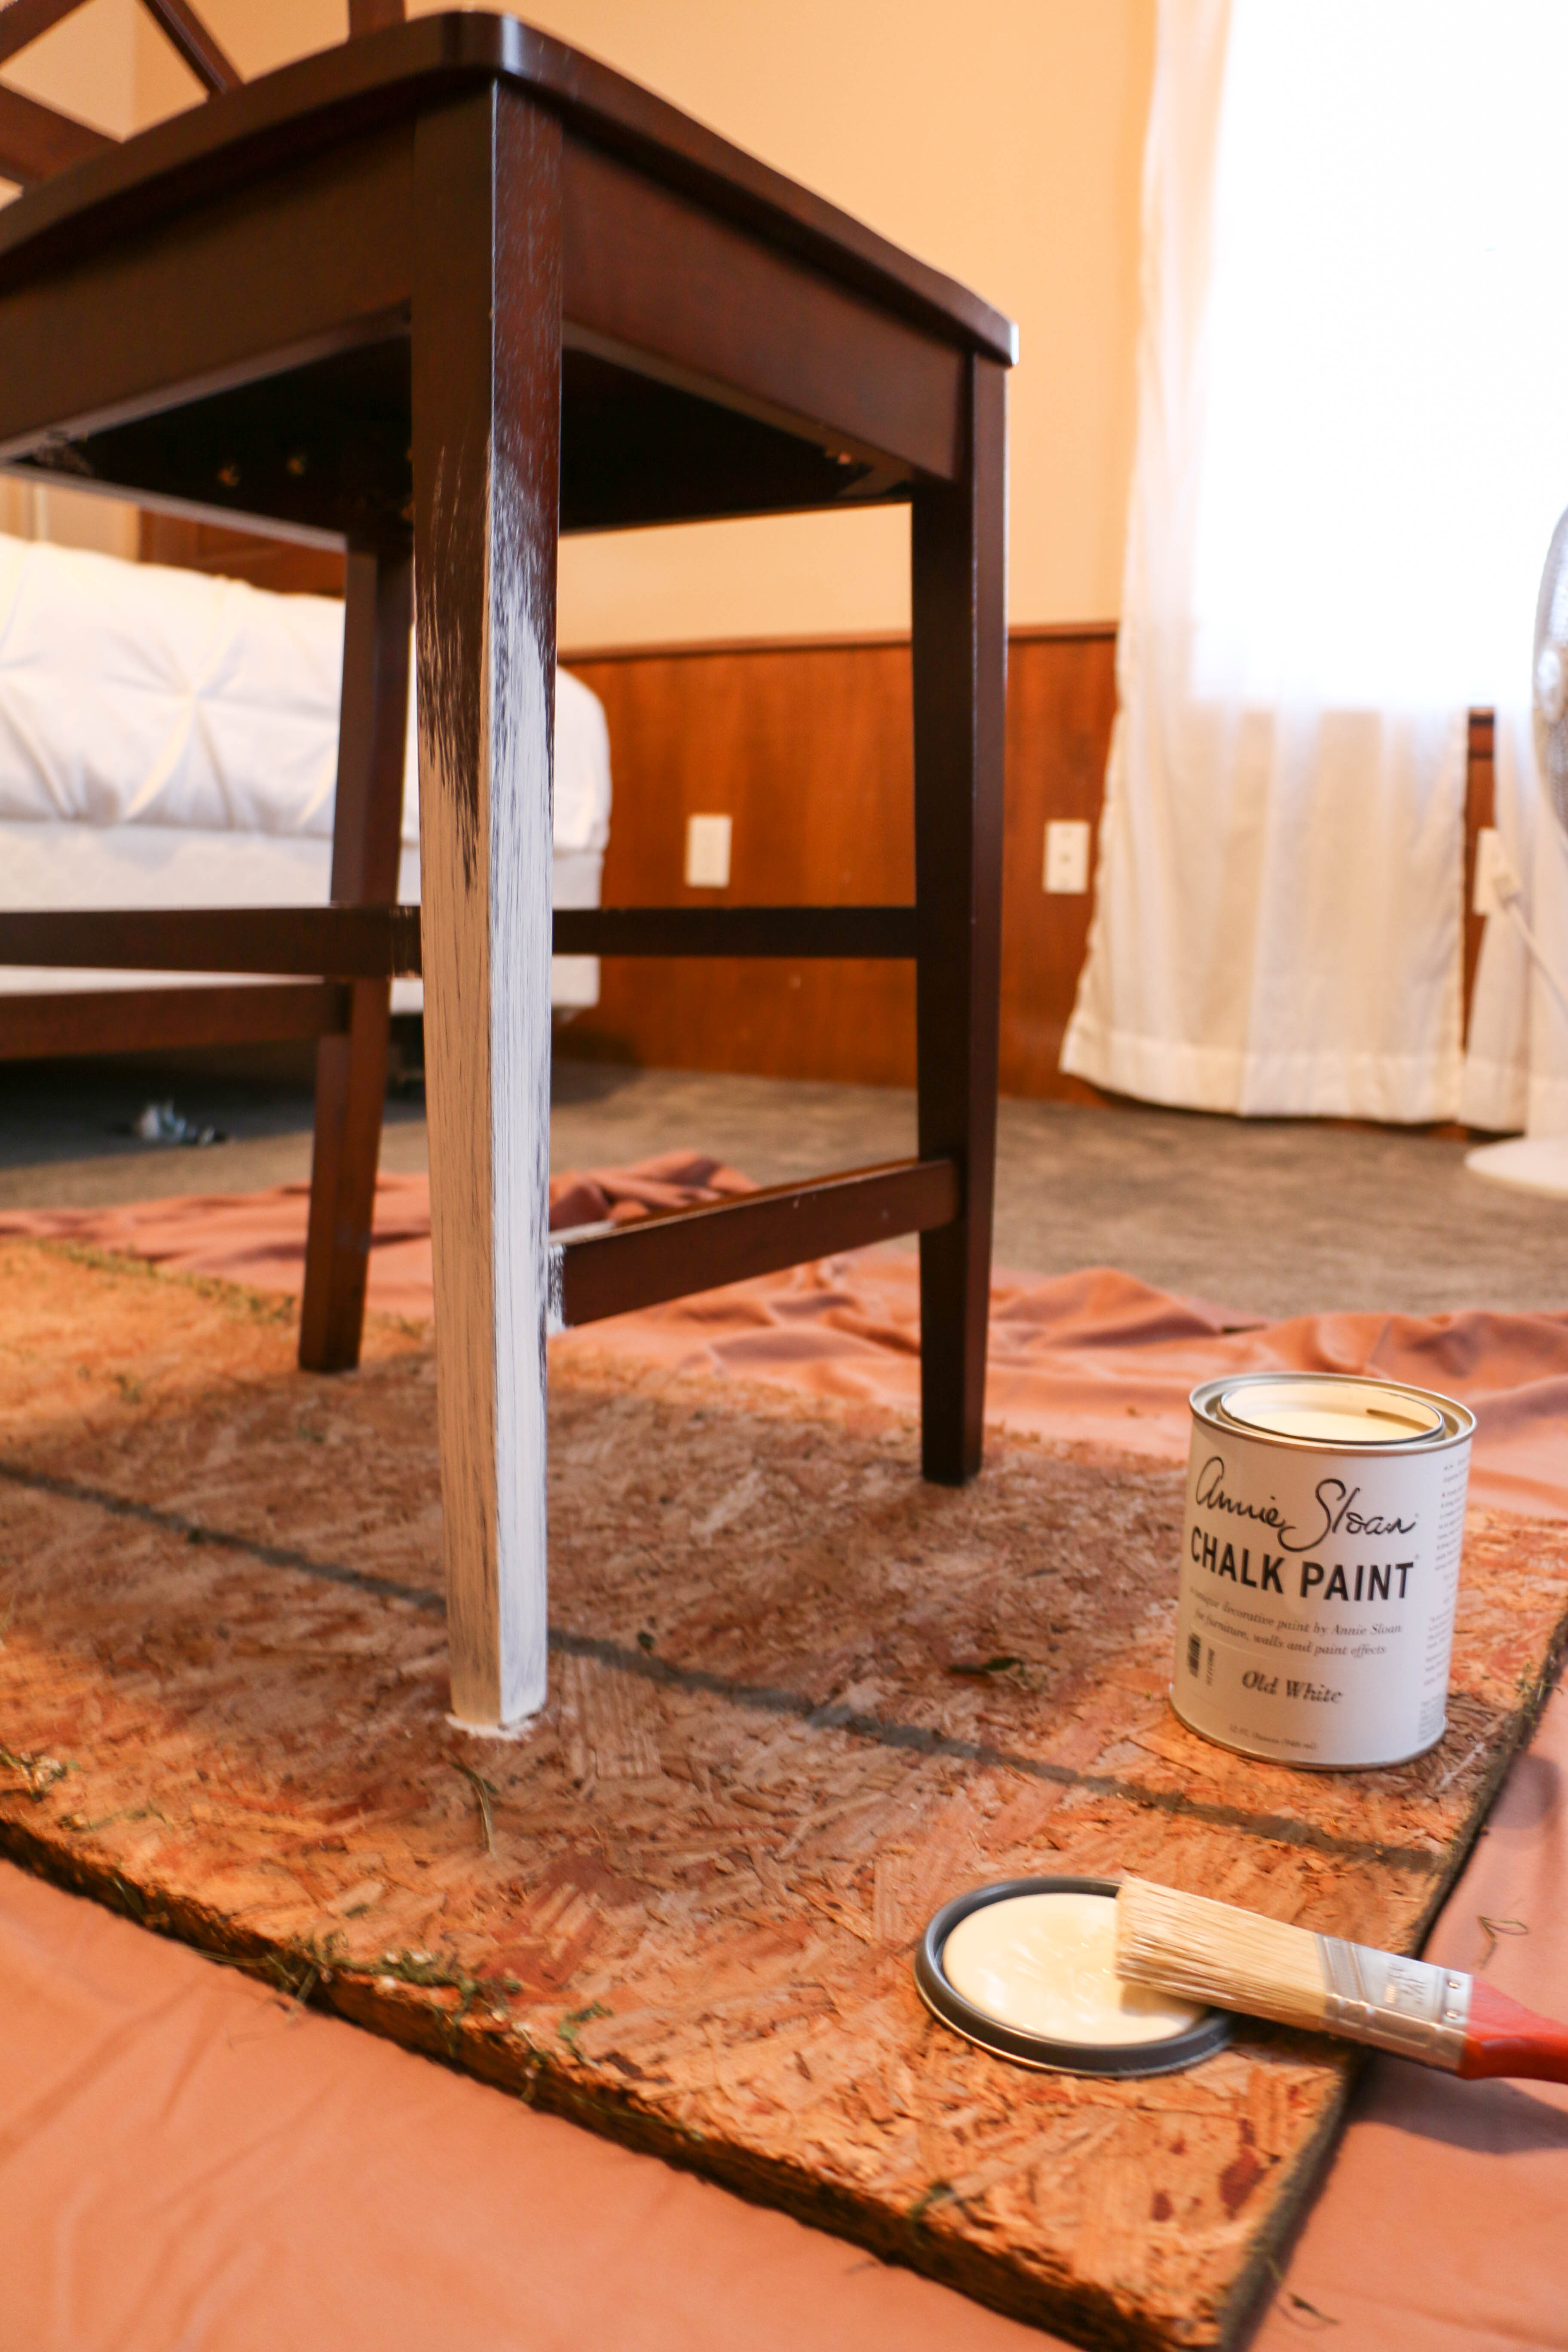
This labor of love took several days, but it was so worth it. As you can see, I started with a coat of Annie Sloan’s Old White. What’s shown here is the very first coat. I ended up doing two full coats and a third coat just in certain areas.

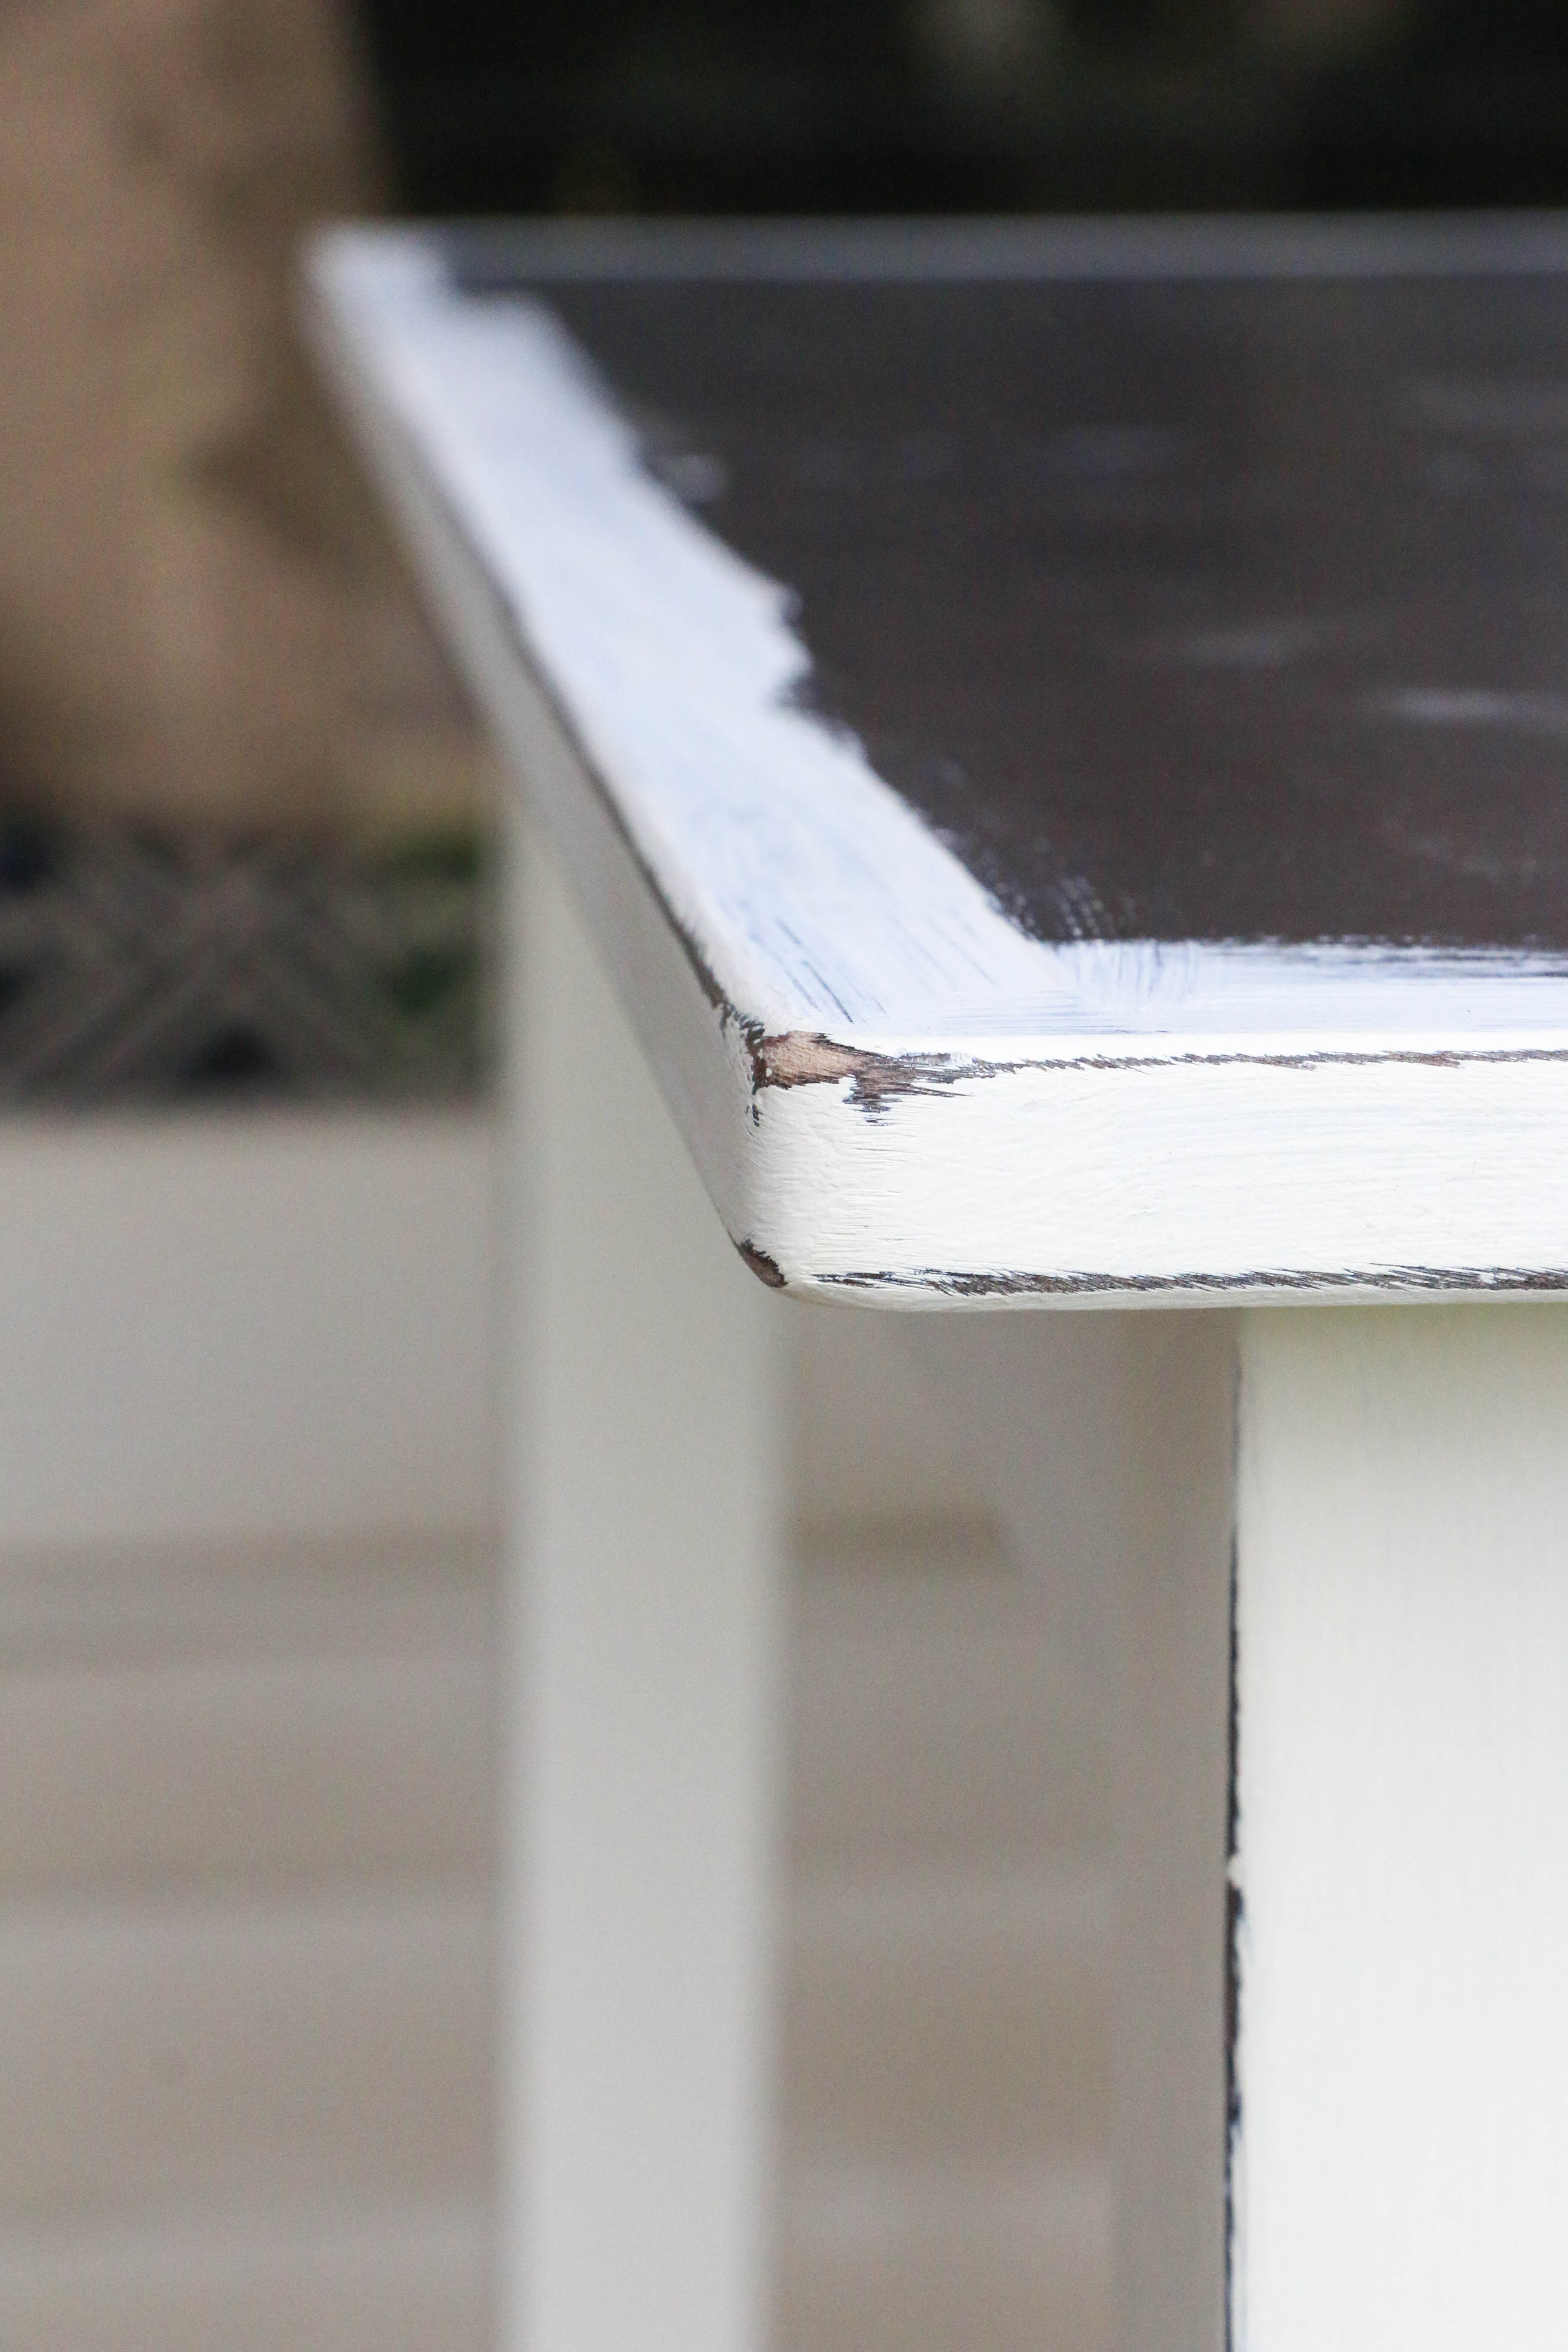
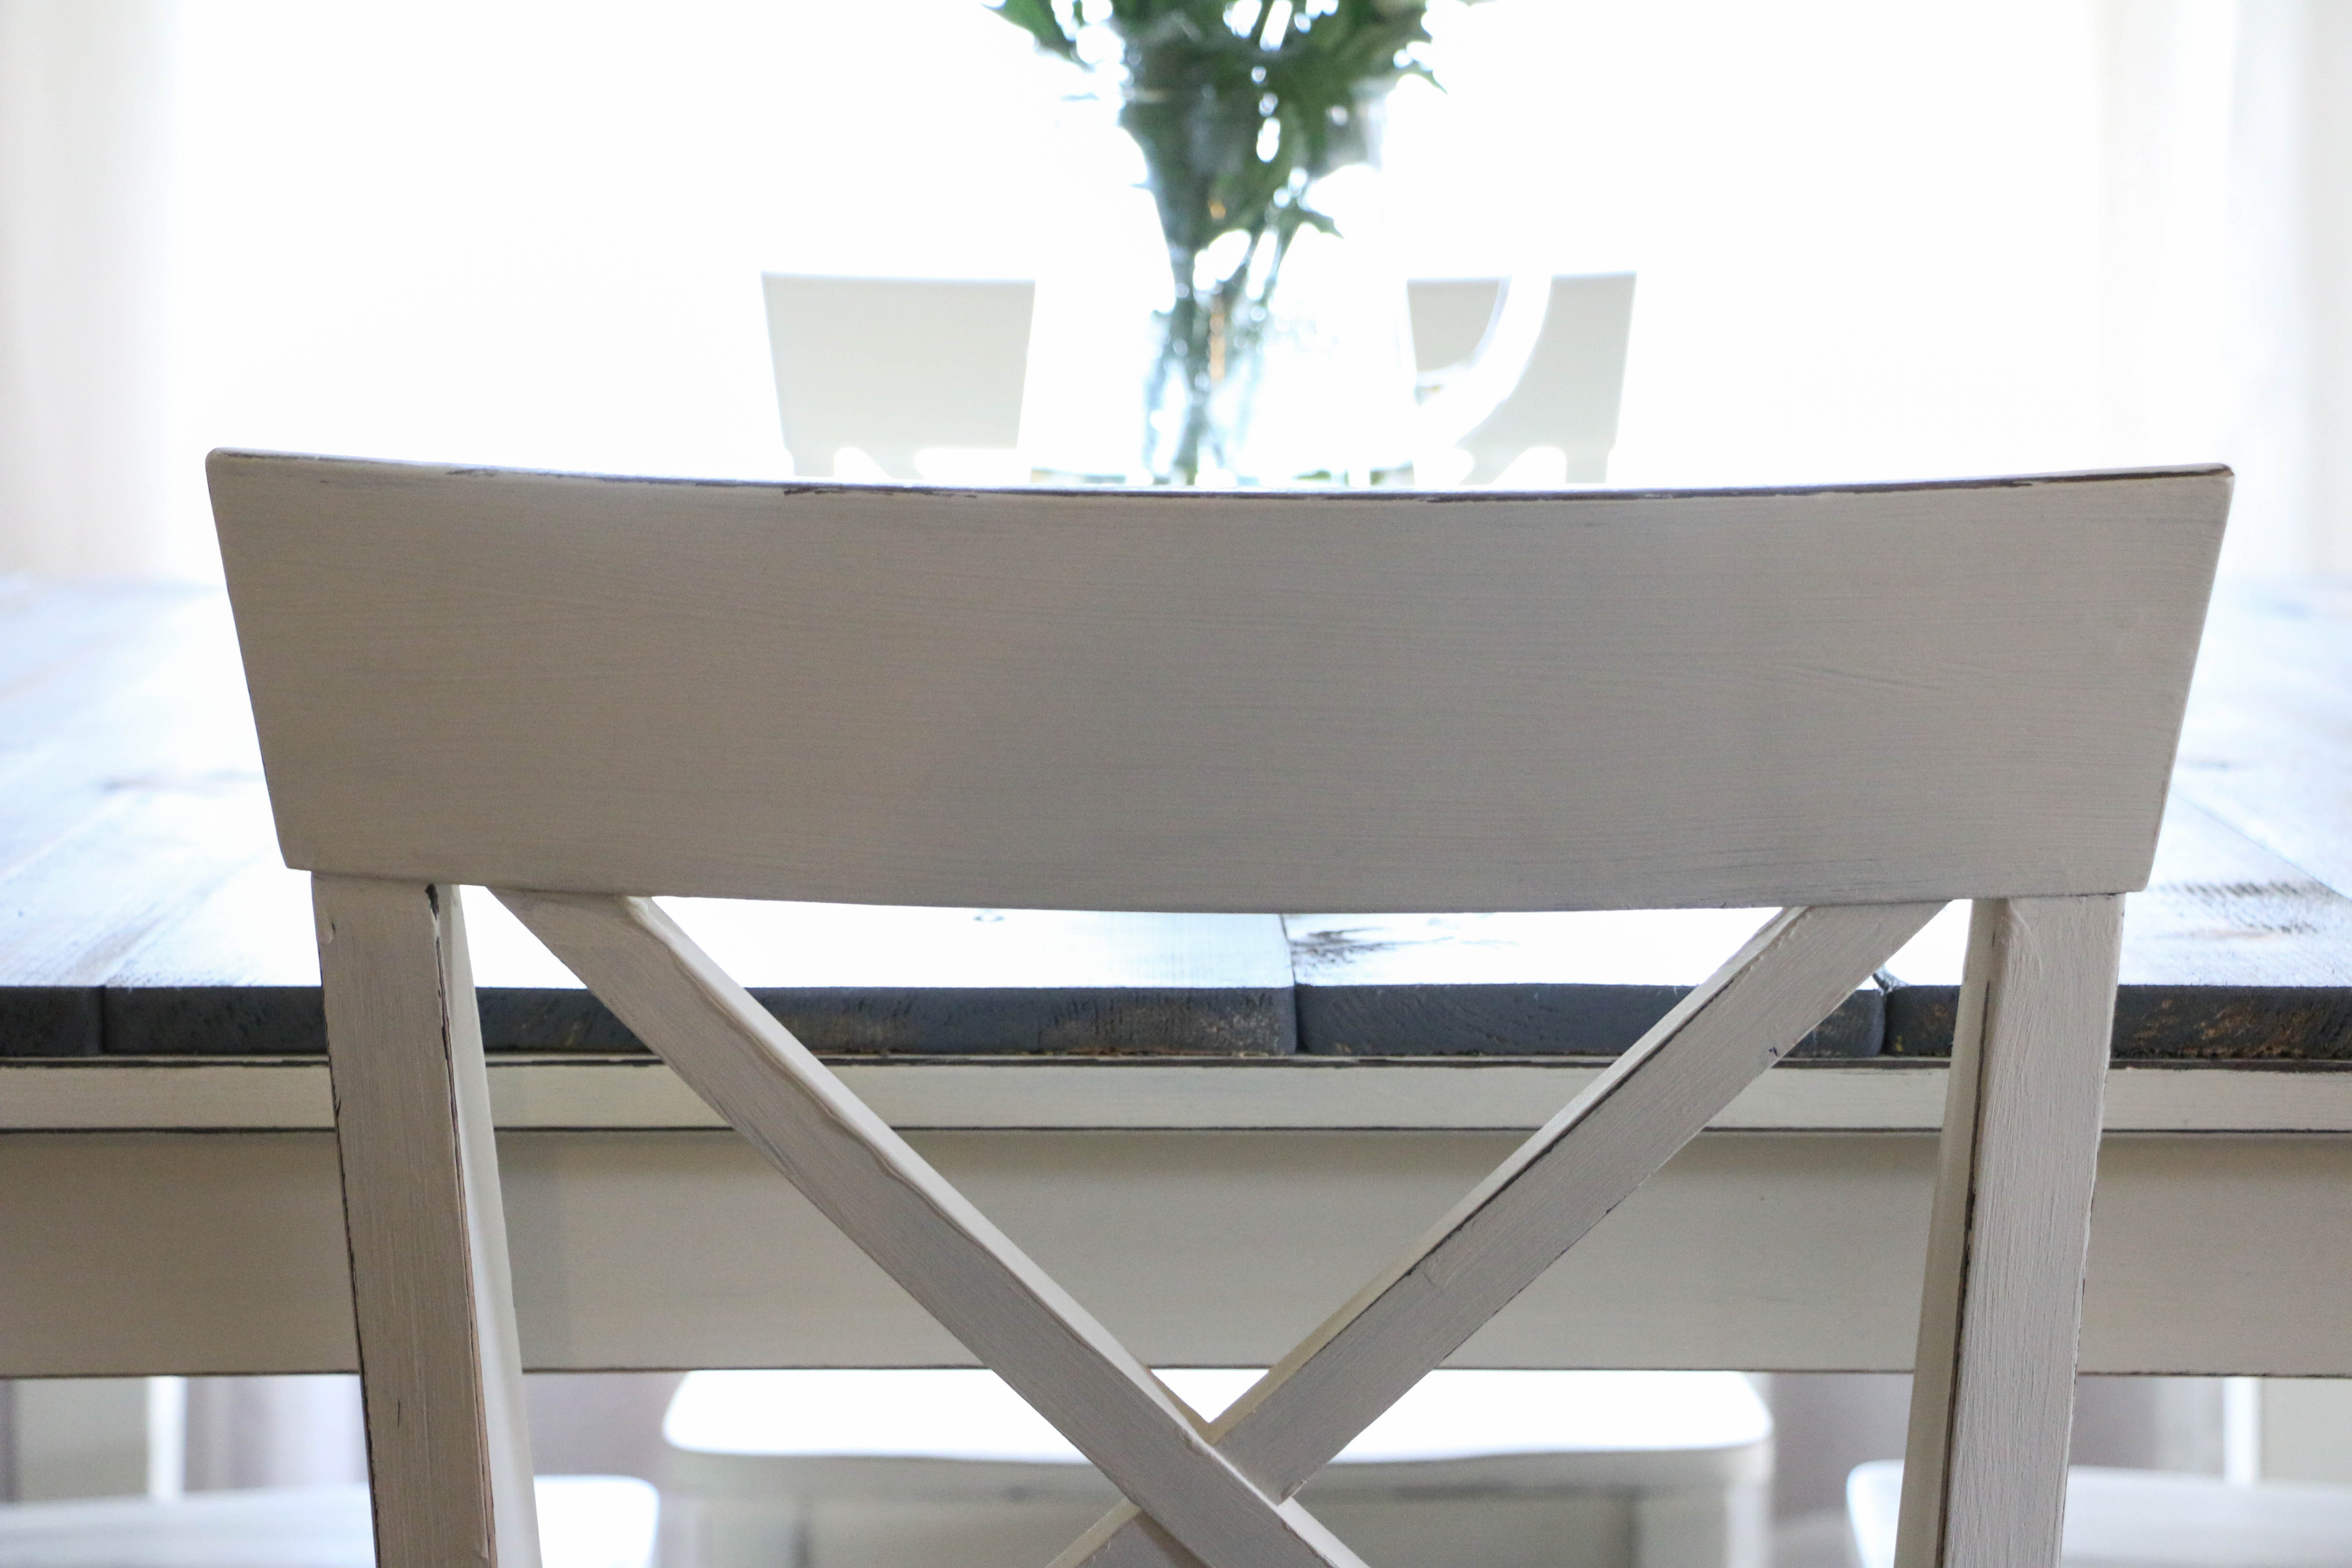
This is the end result of my hard work. I wanted to go for a bit of a distressed look (not too much), so I lightly sanded around the natural edges of the chairs and tables.

That messy porch workshop of mine. Sorry, y’all. In the photo of the table, you can see that I painted about an inch onto the tabletop. I didn’t paint the whole thing, because I felt like that would just be a waste. I didn’t want any unpainted parts to show through when I added the top though, so I just painted around the edges.
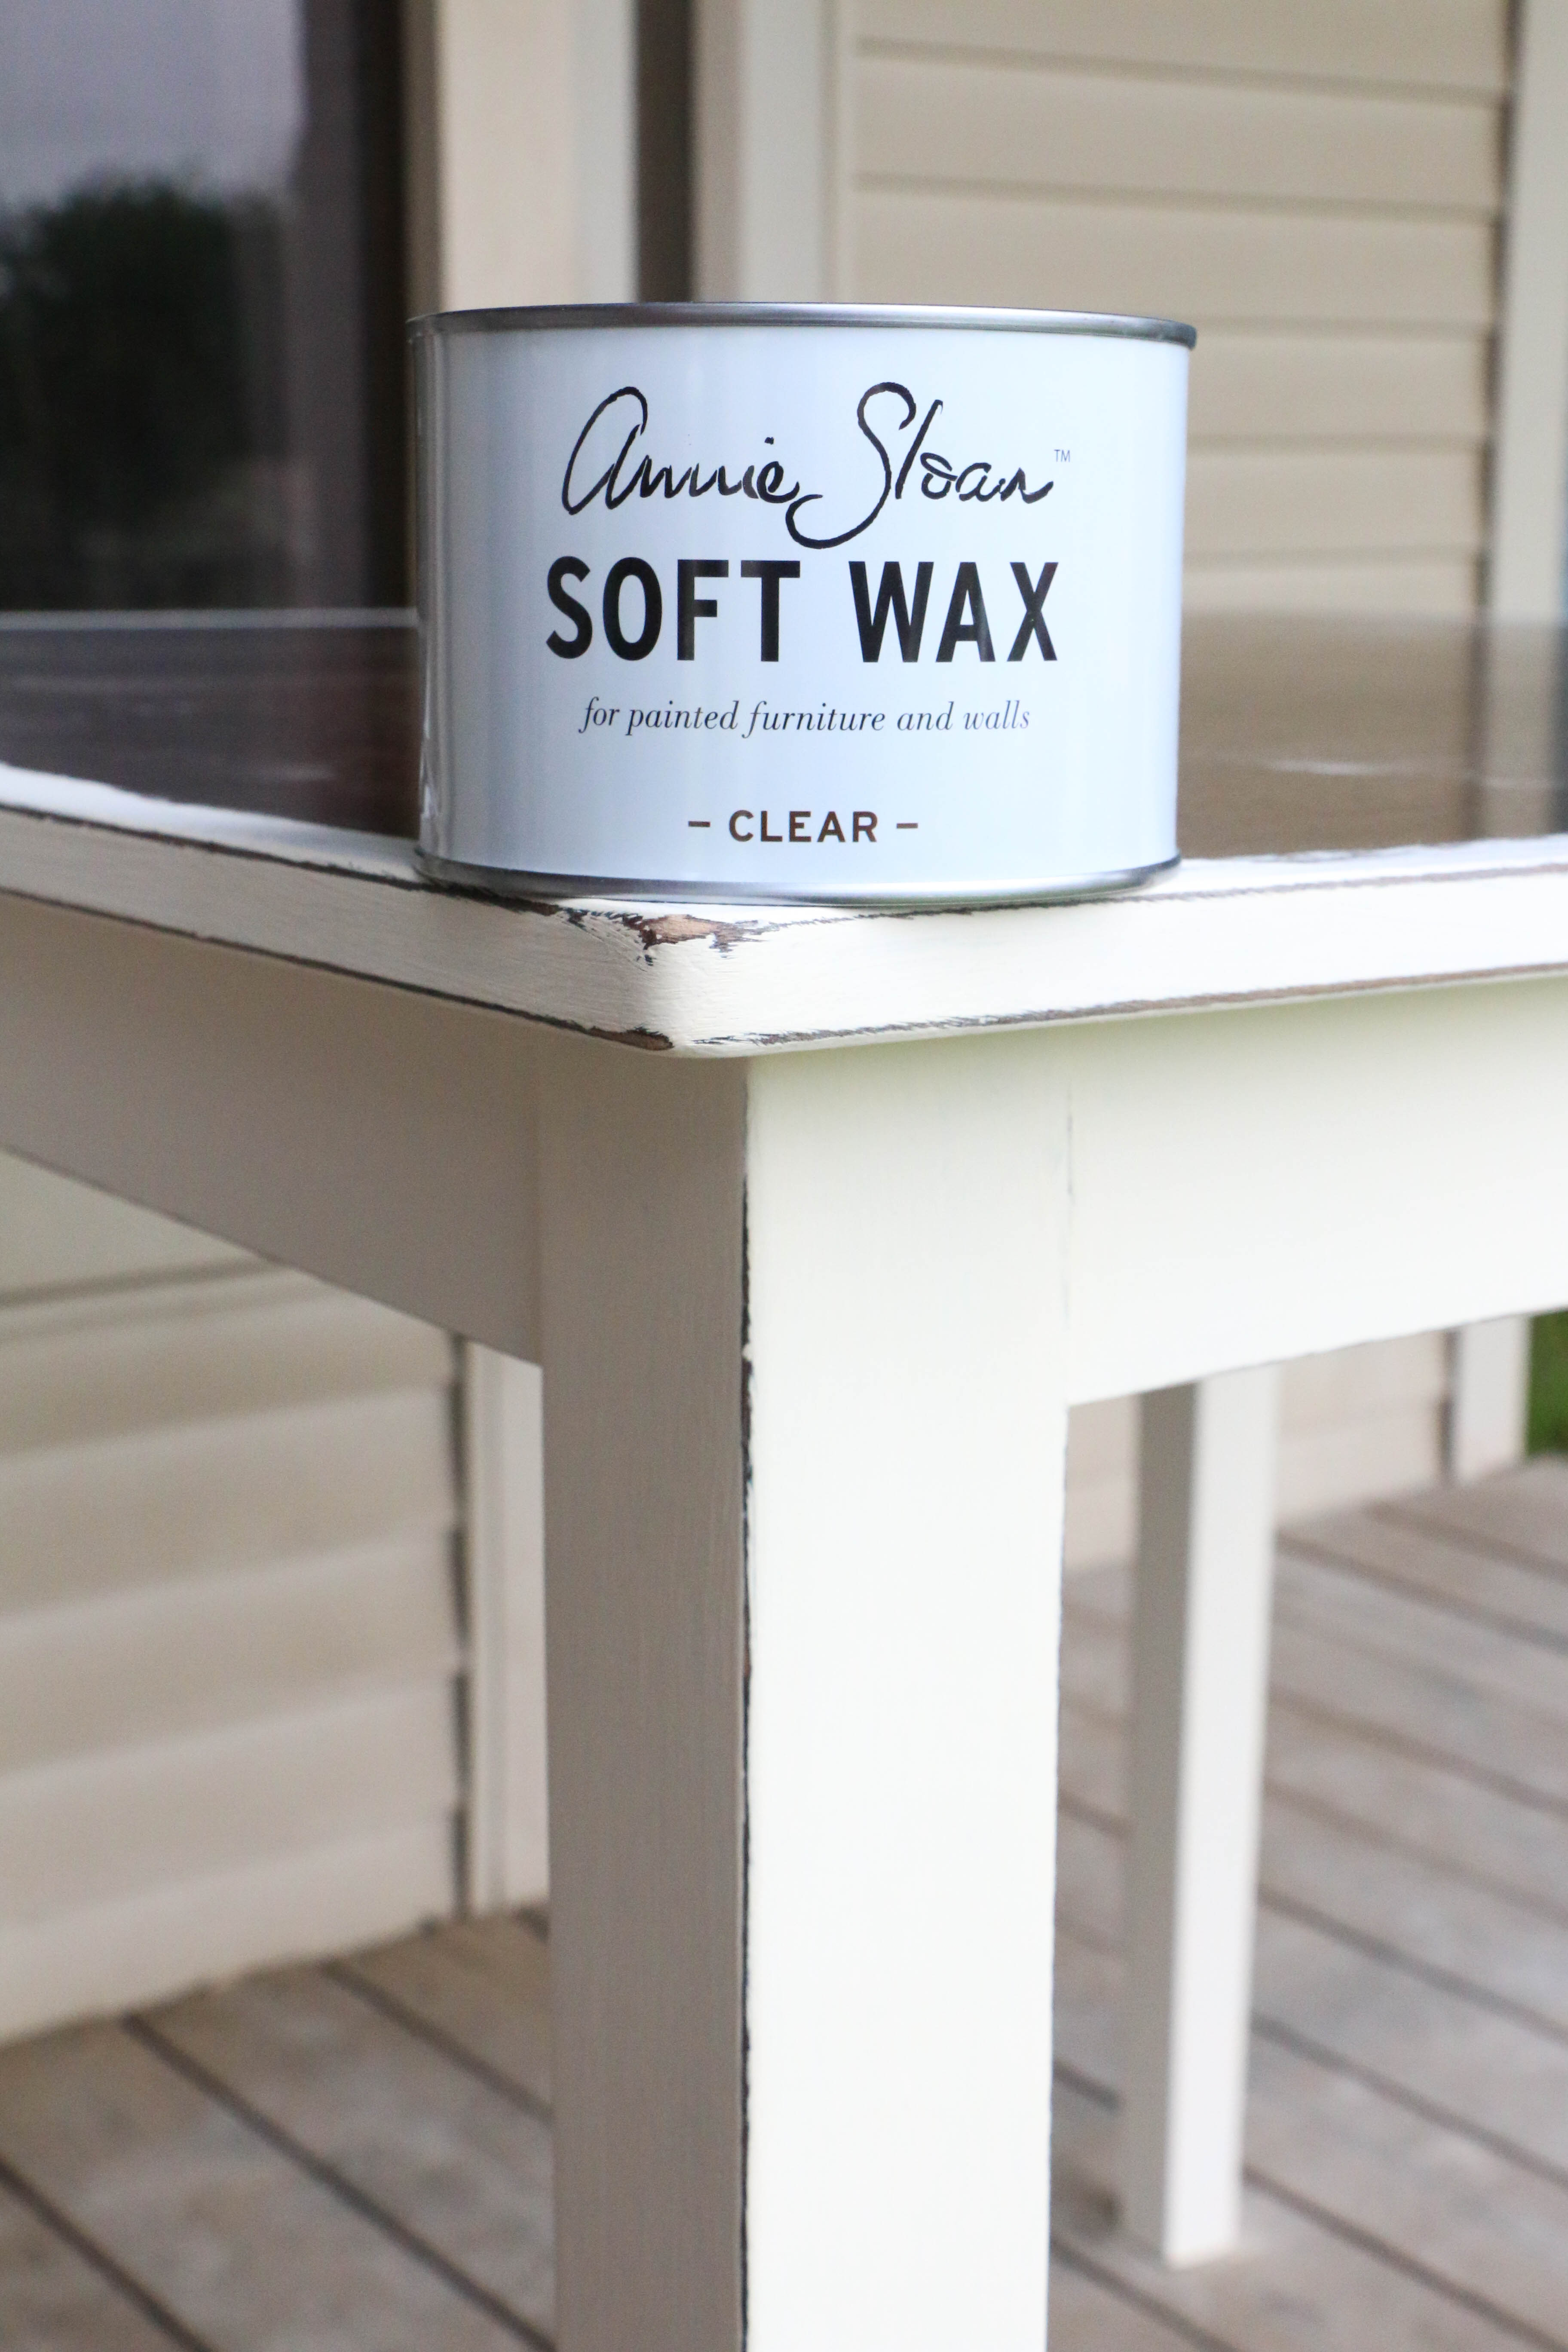
Next comes the wax. Chalk paint needs an application of wax after the paint is dry. It’s a tricky process, but I seemed to manage. I think I’m going to do a separate post on my experience using this paint. Anyway, once the wax was applied, it was time to work on the tabletop.
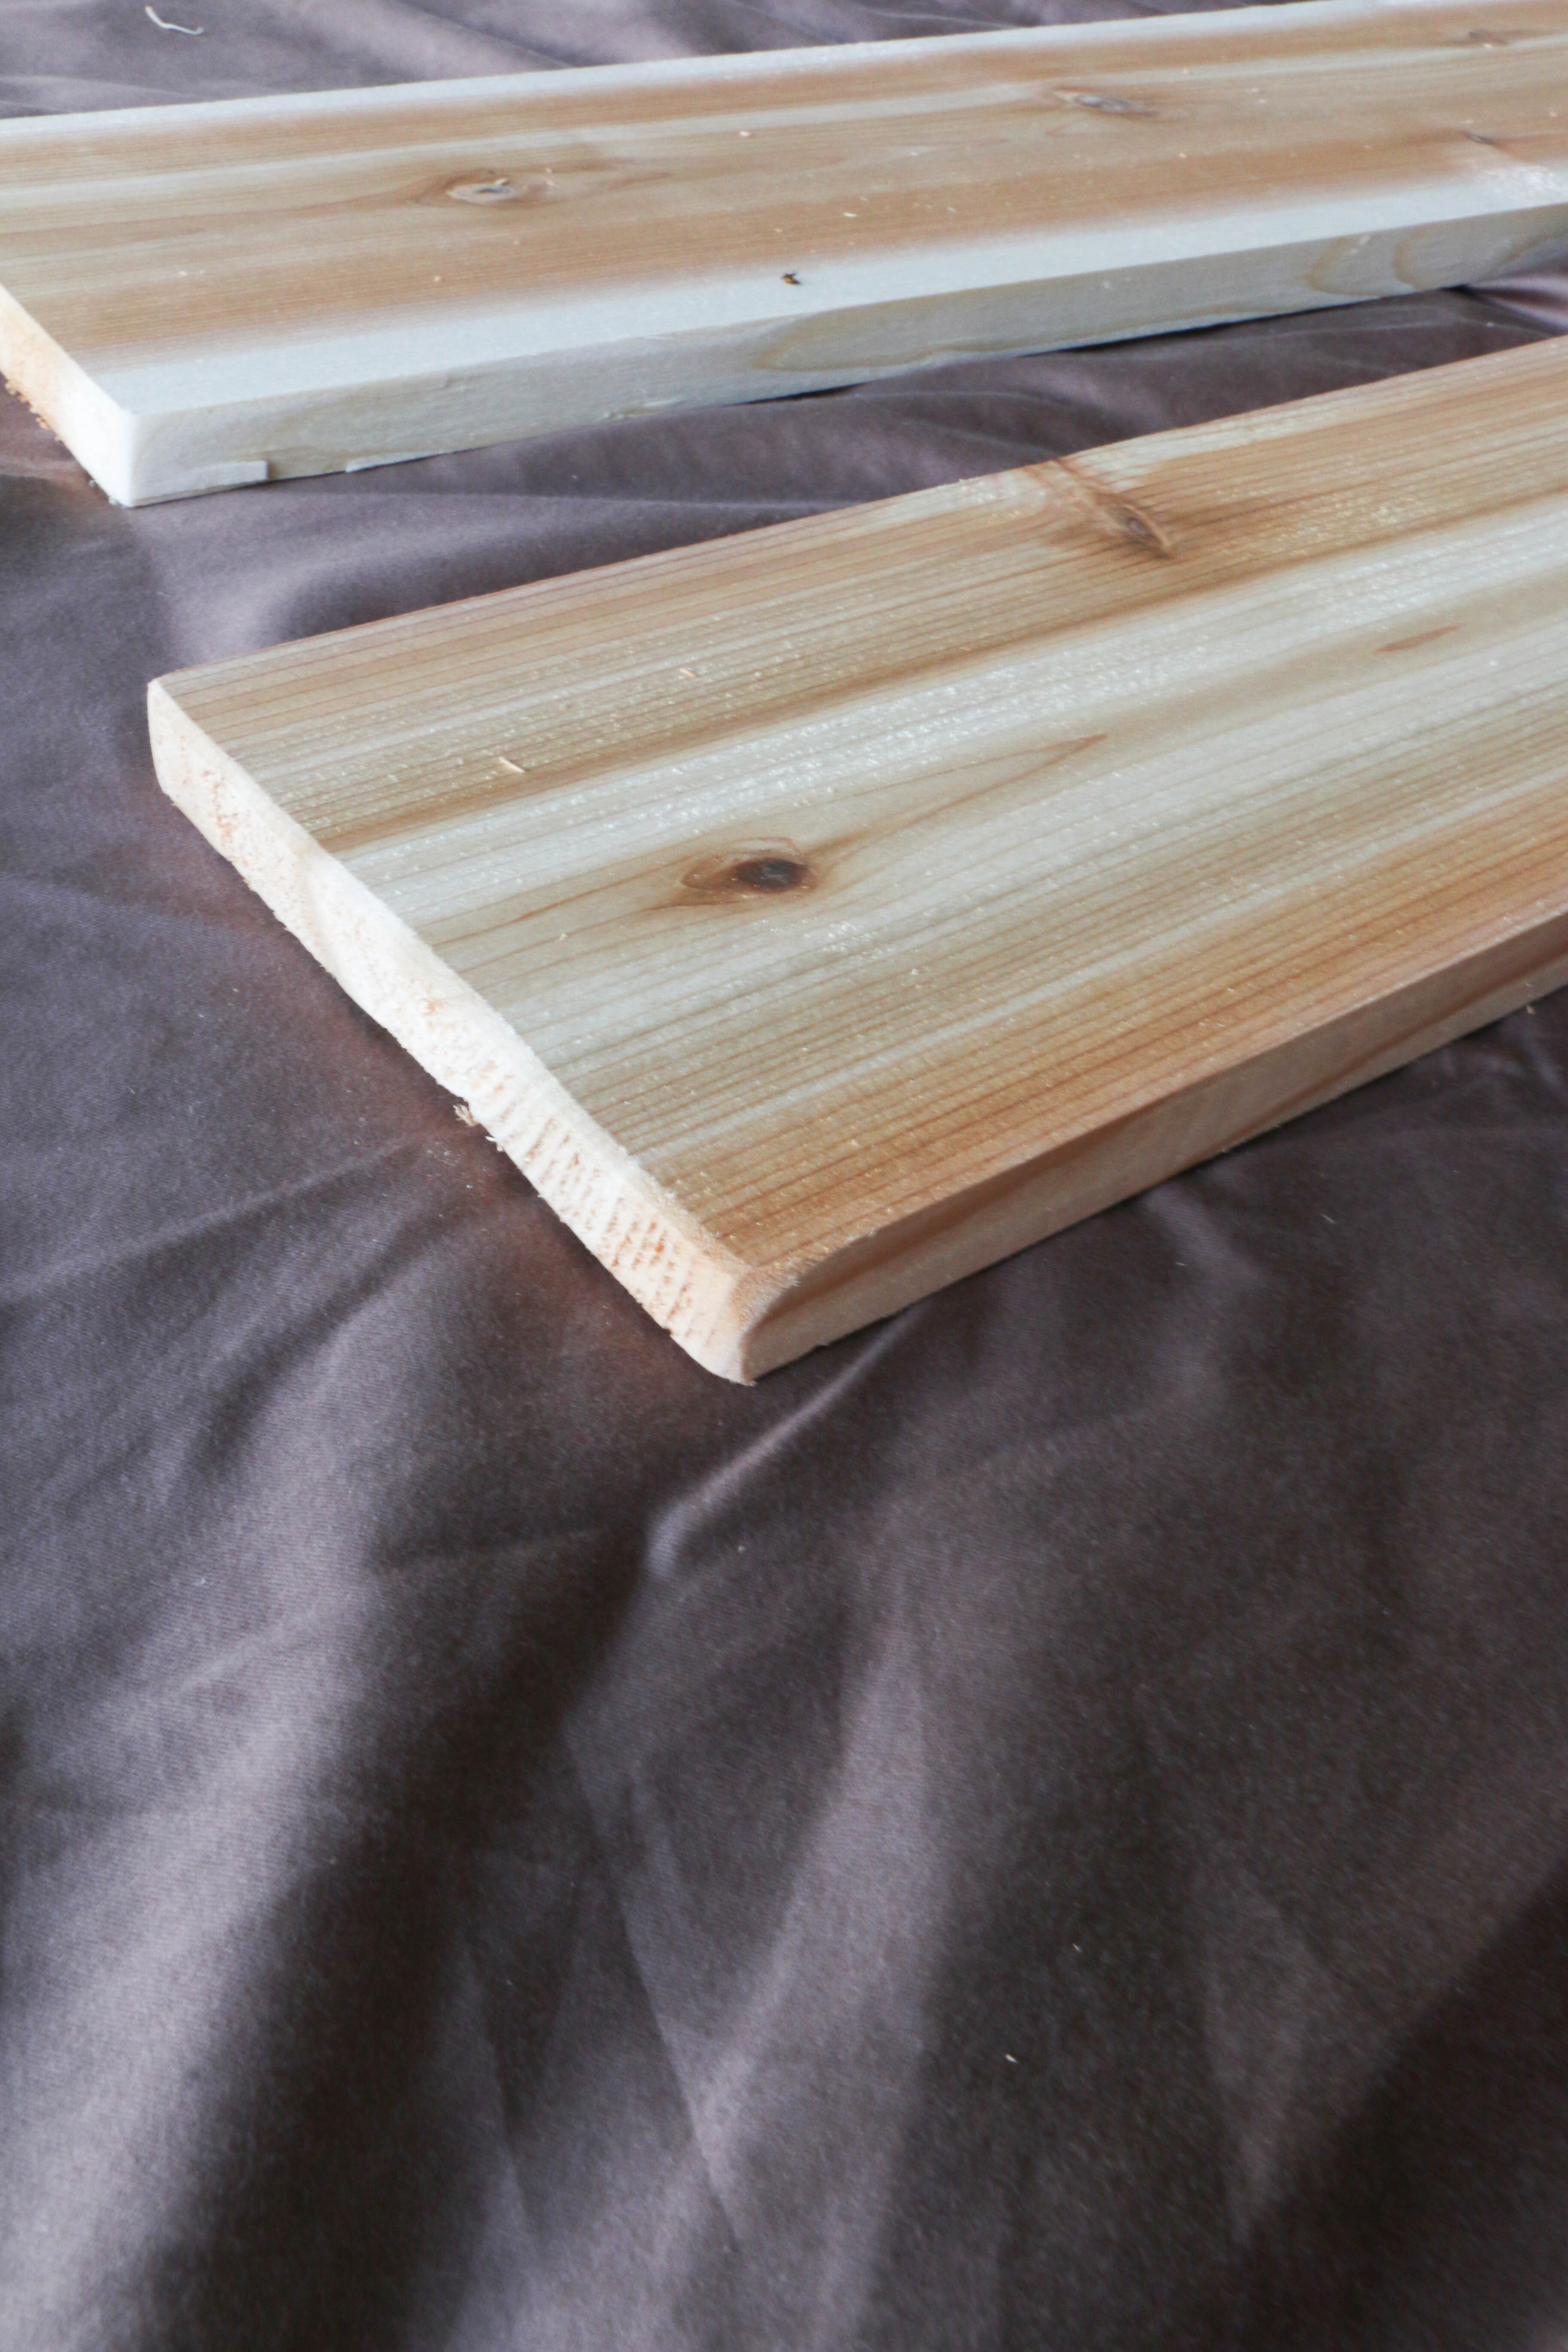
First thing I did was sand the sharp edges of each board. We used 8 1×6 cedar planks cut to 42 inches (the width of our table). I wanted a rustic look, but not a give-you-splinters-while-you’re-eating-dinner look.
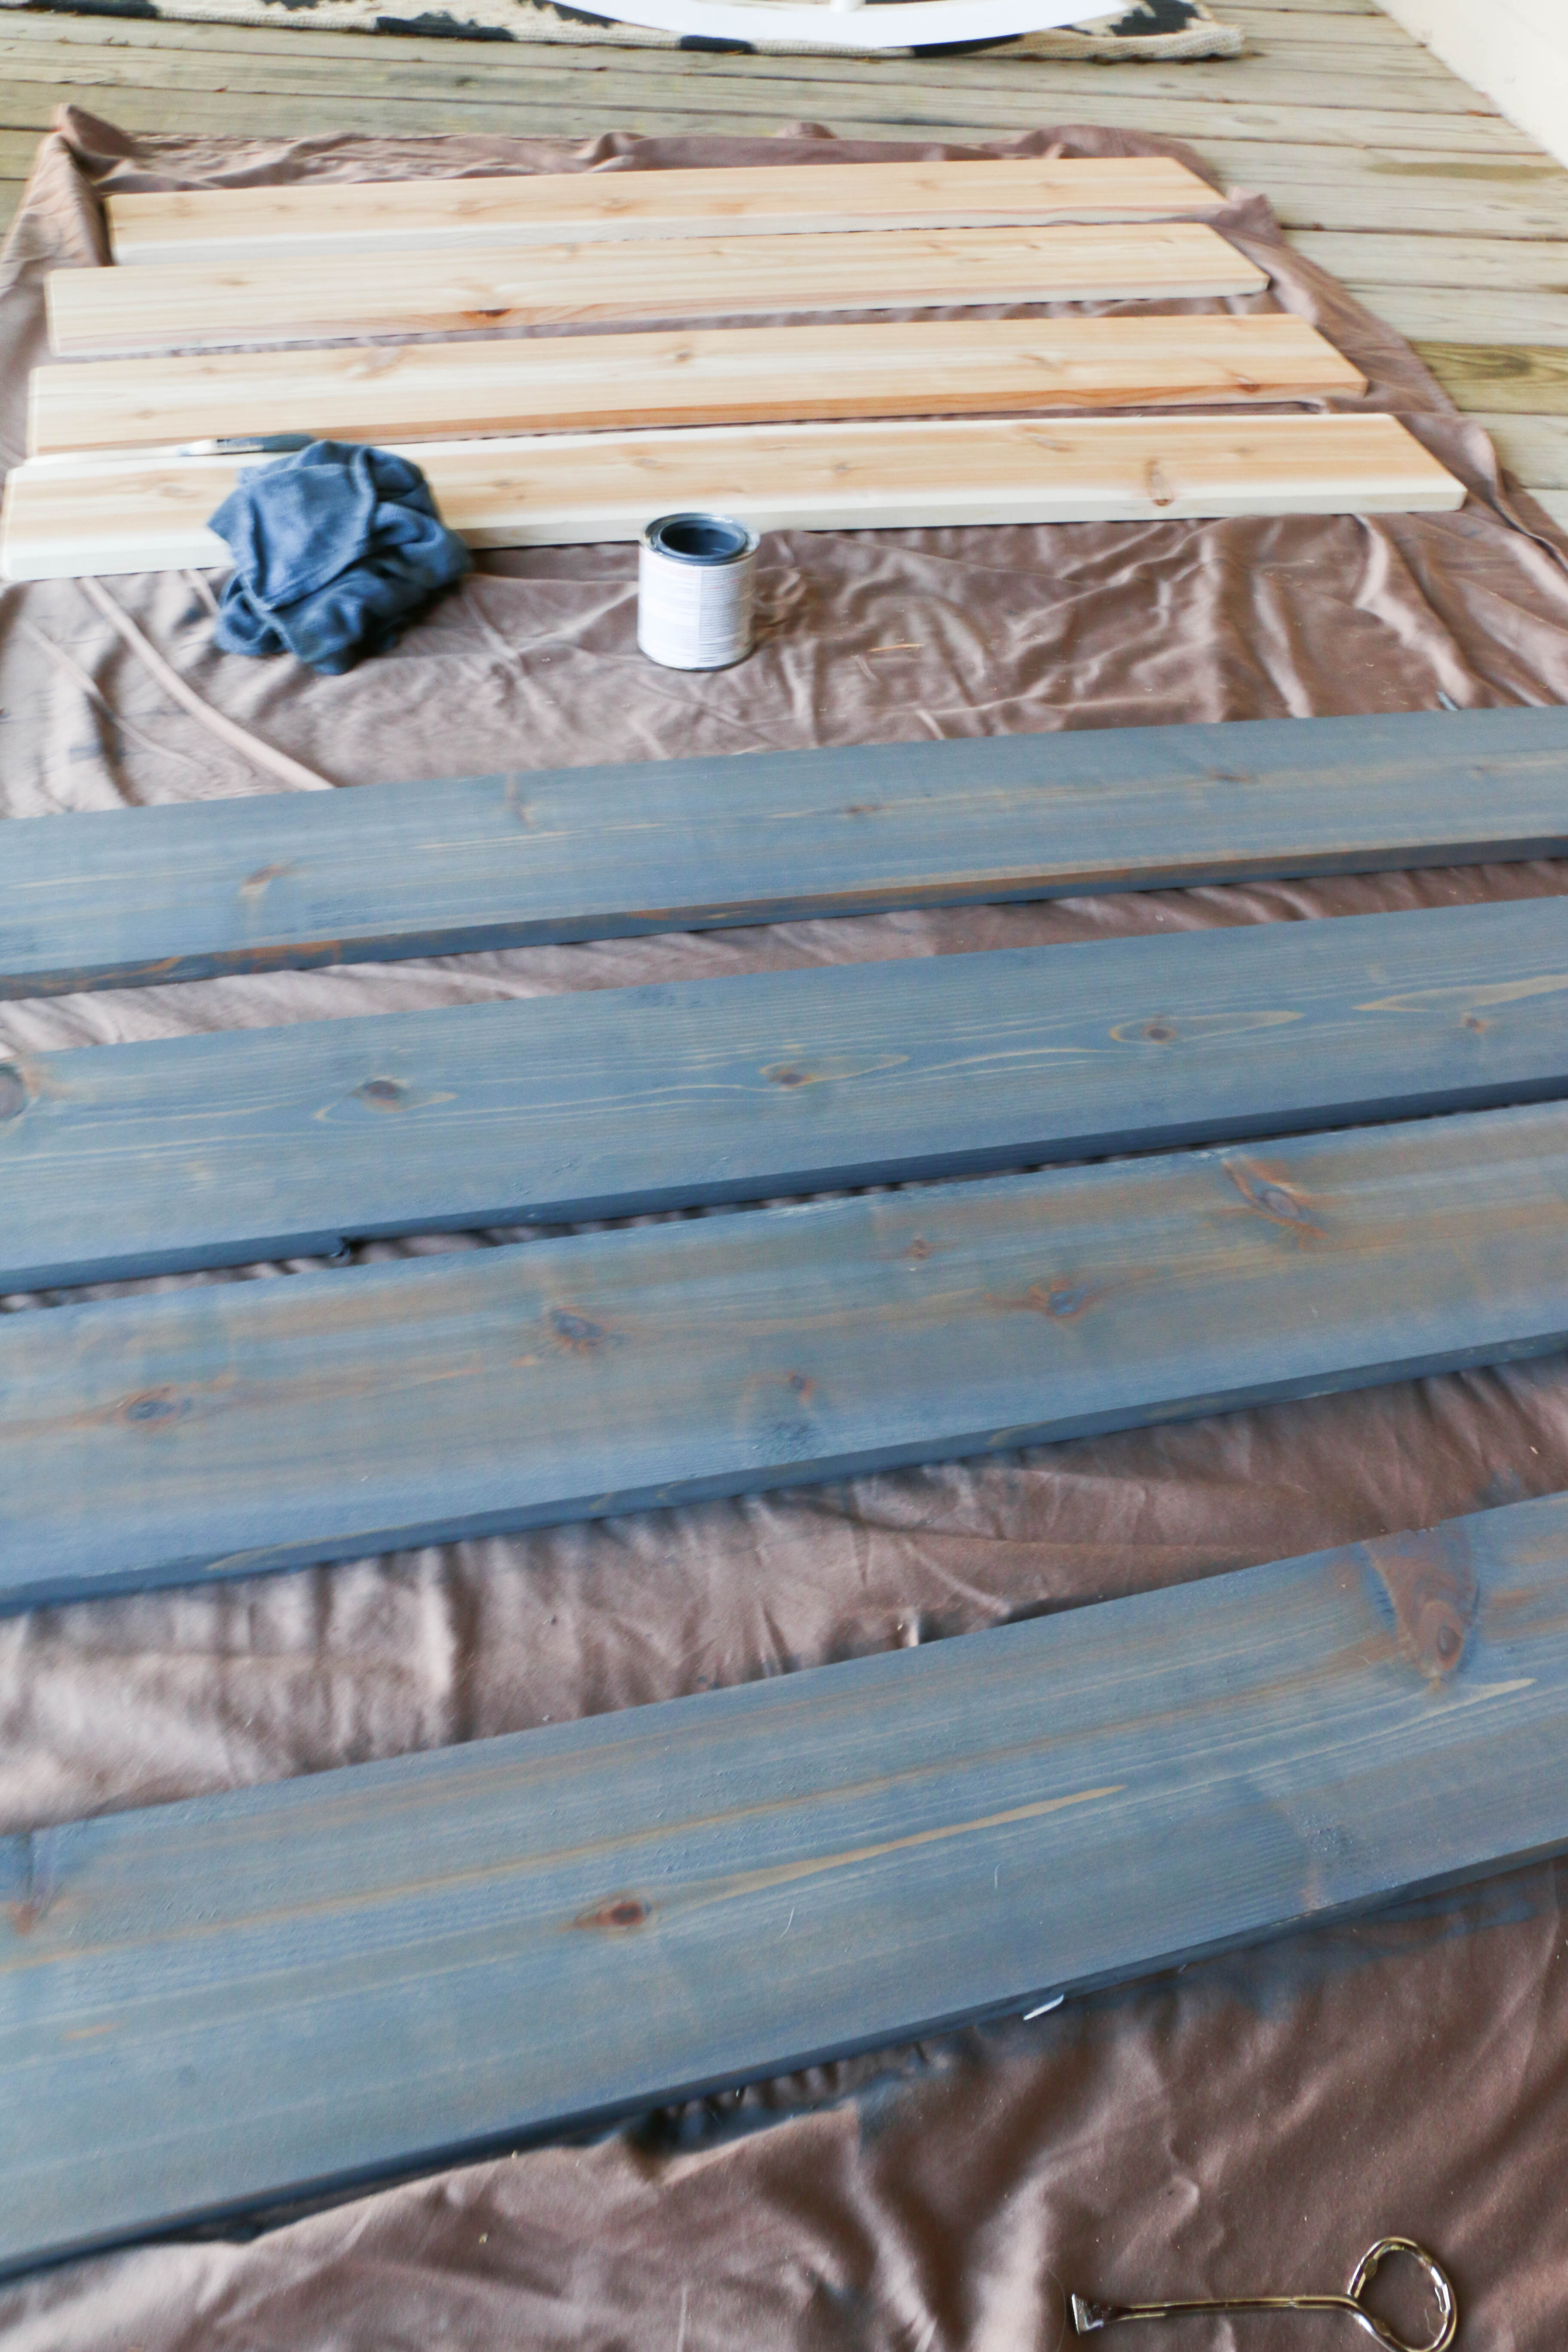
Then I stained each of the boards. I have learned by now that gloves are a must while staining. Just…don’t go to school with stain all over your hands and knees. Your students will not appreciate it.
This is the stain I used:

As you can see in the above photo, the color on the can isn’t quite how it turned out, but that’s alright. Up until this point, this project had been completely mine. I did have to enlist my husband to help with the next step, though.
We lined the tabletop with the newly stained boards, and nailed them in place.
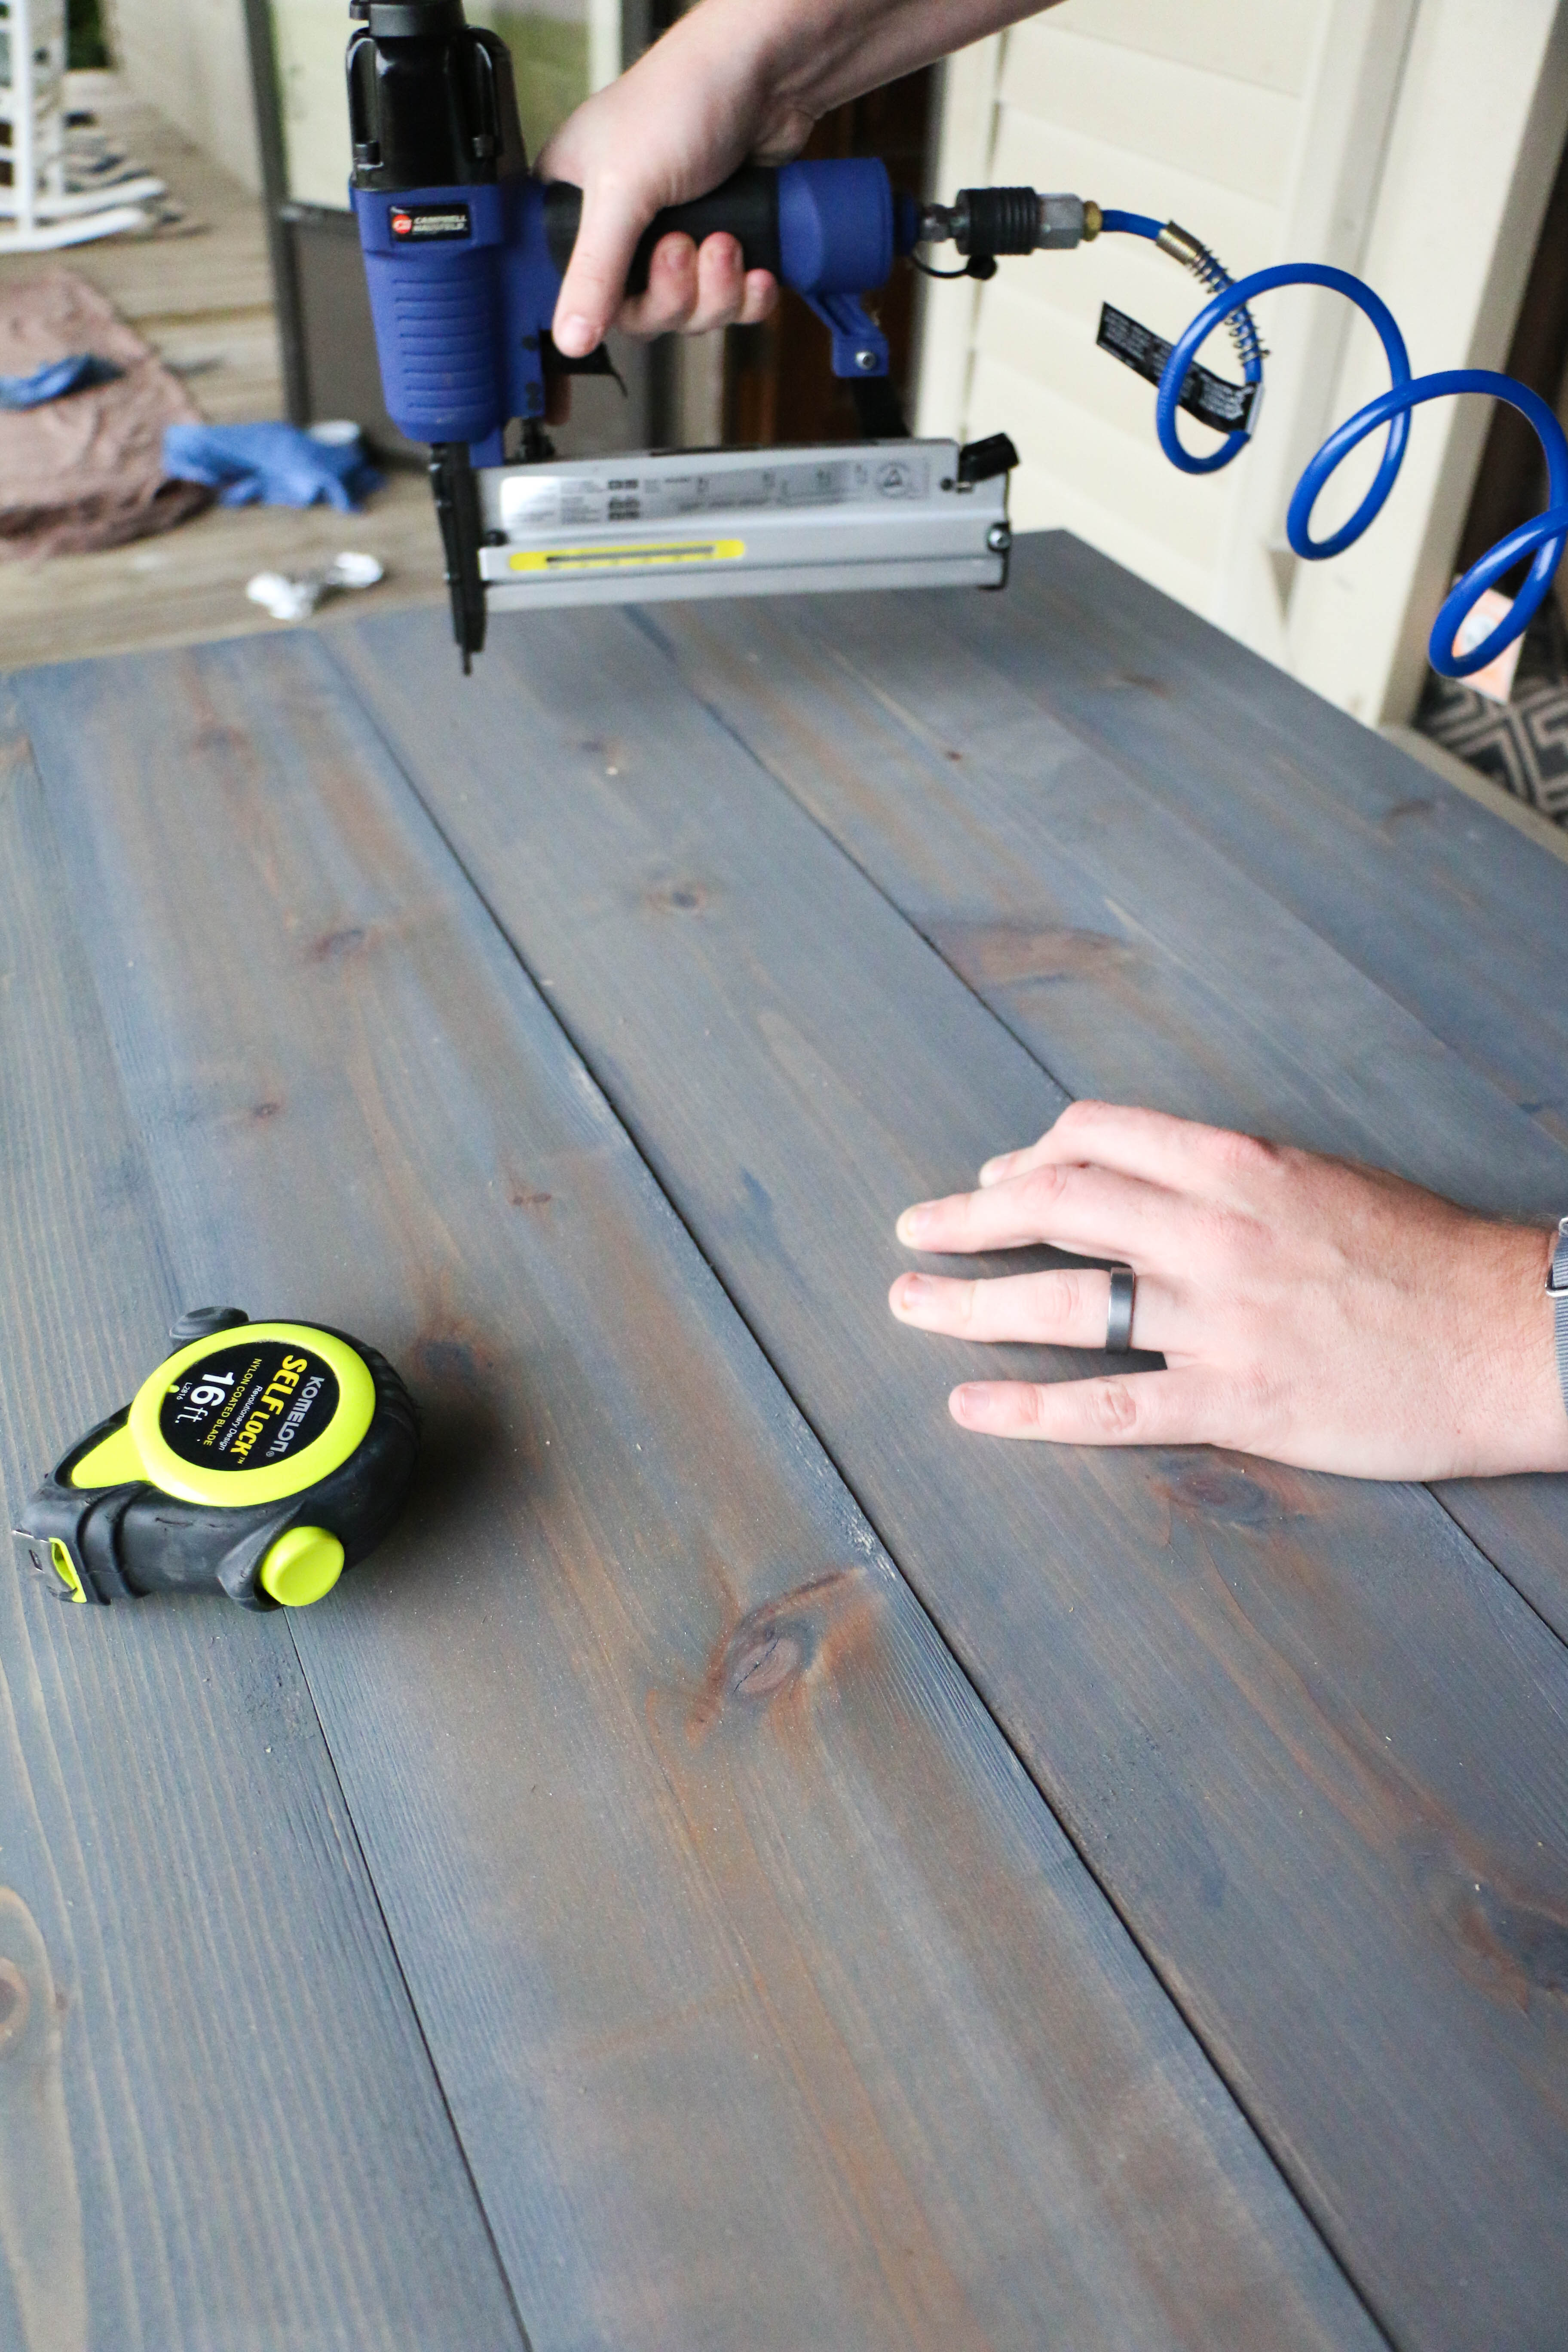
Can I also just say that nail guns are really awesome? Okay, that’s all.
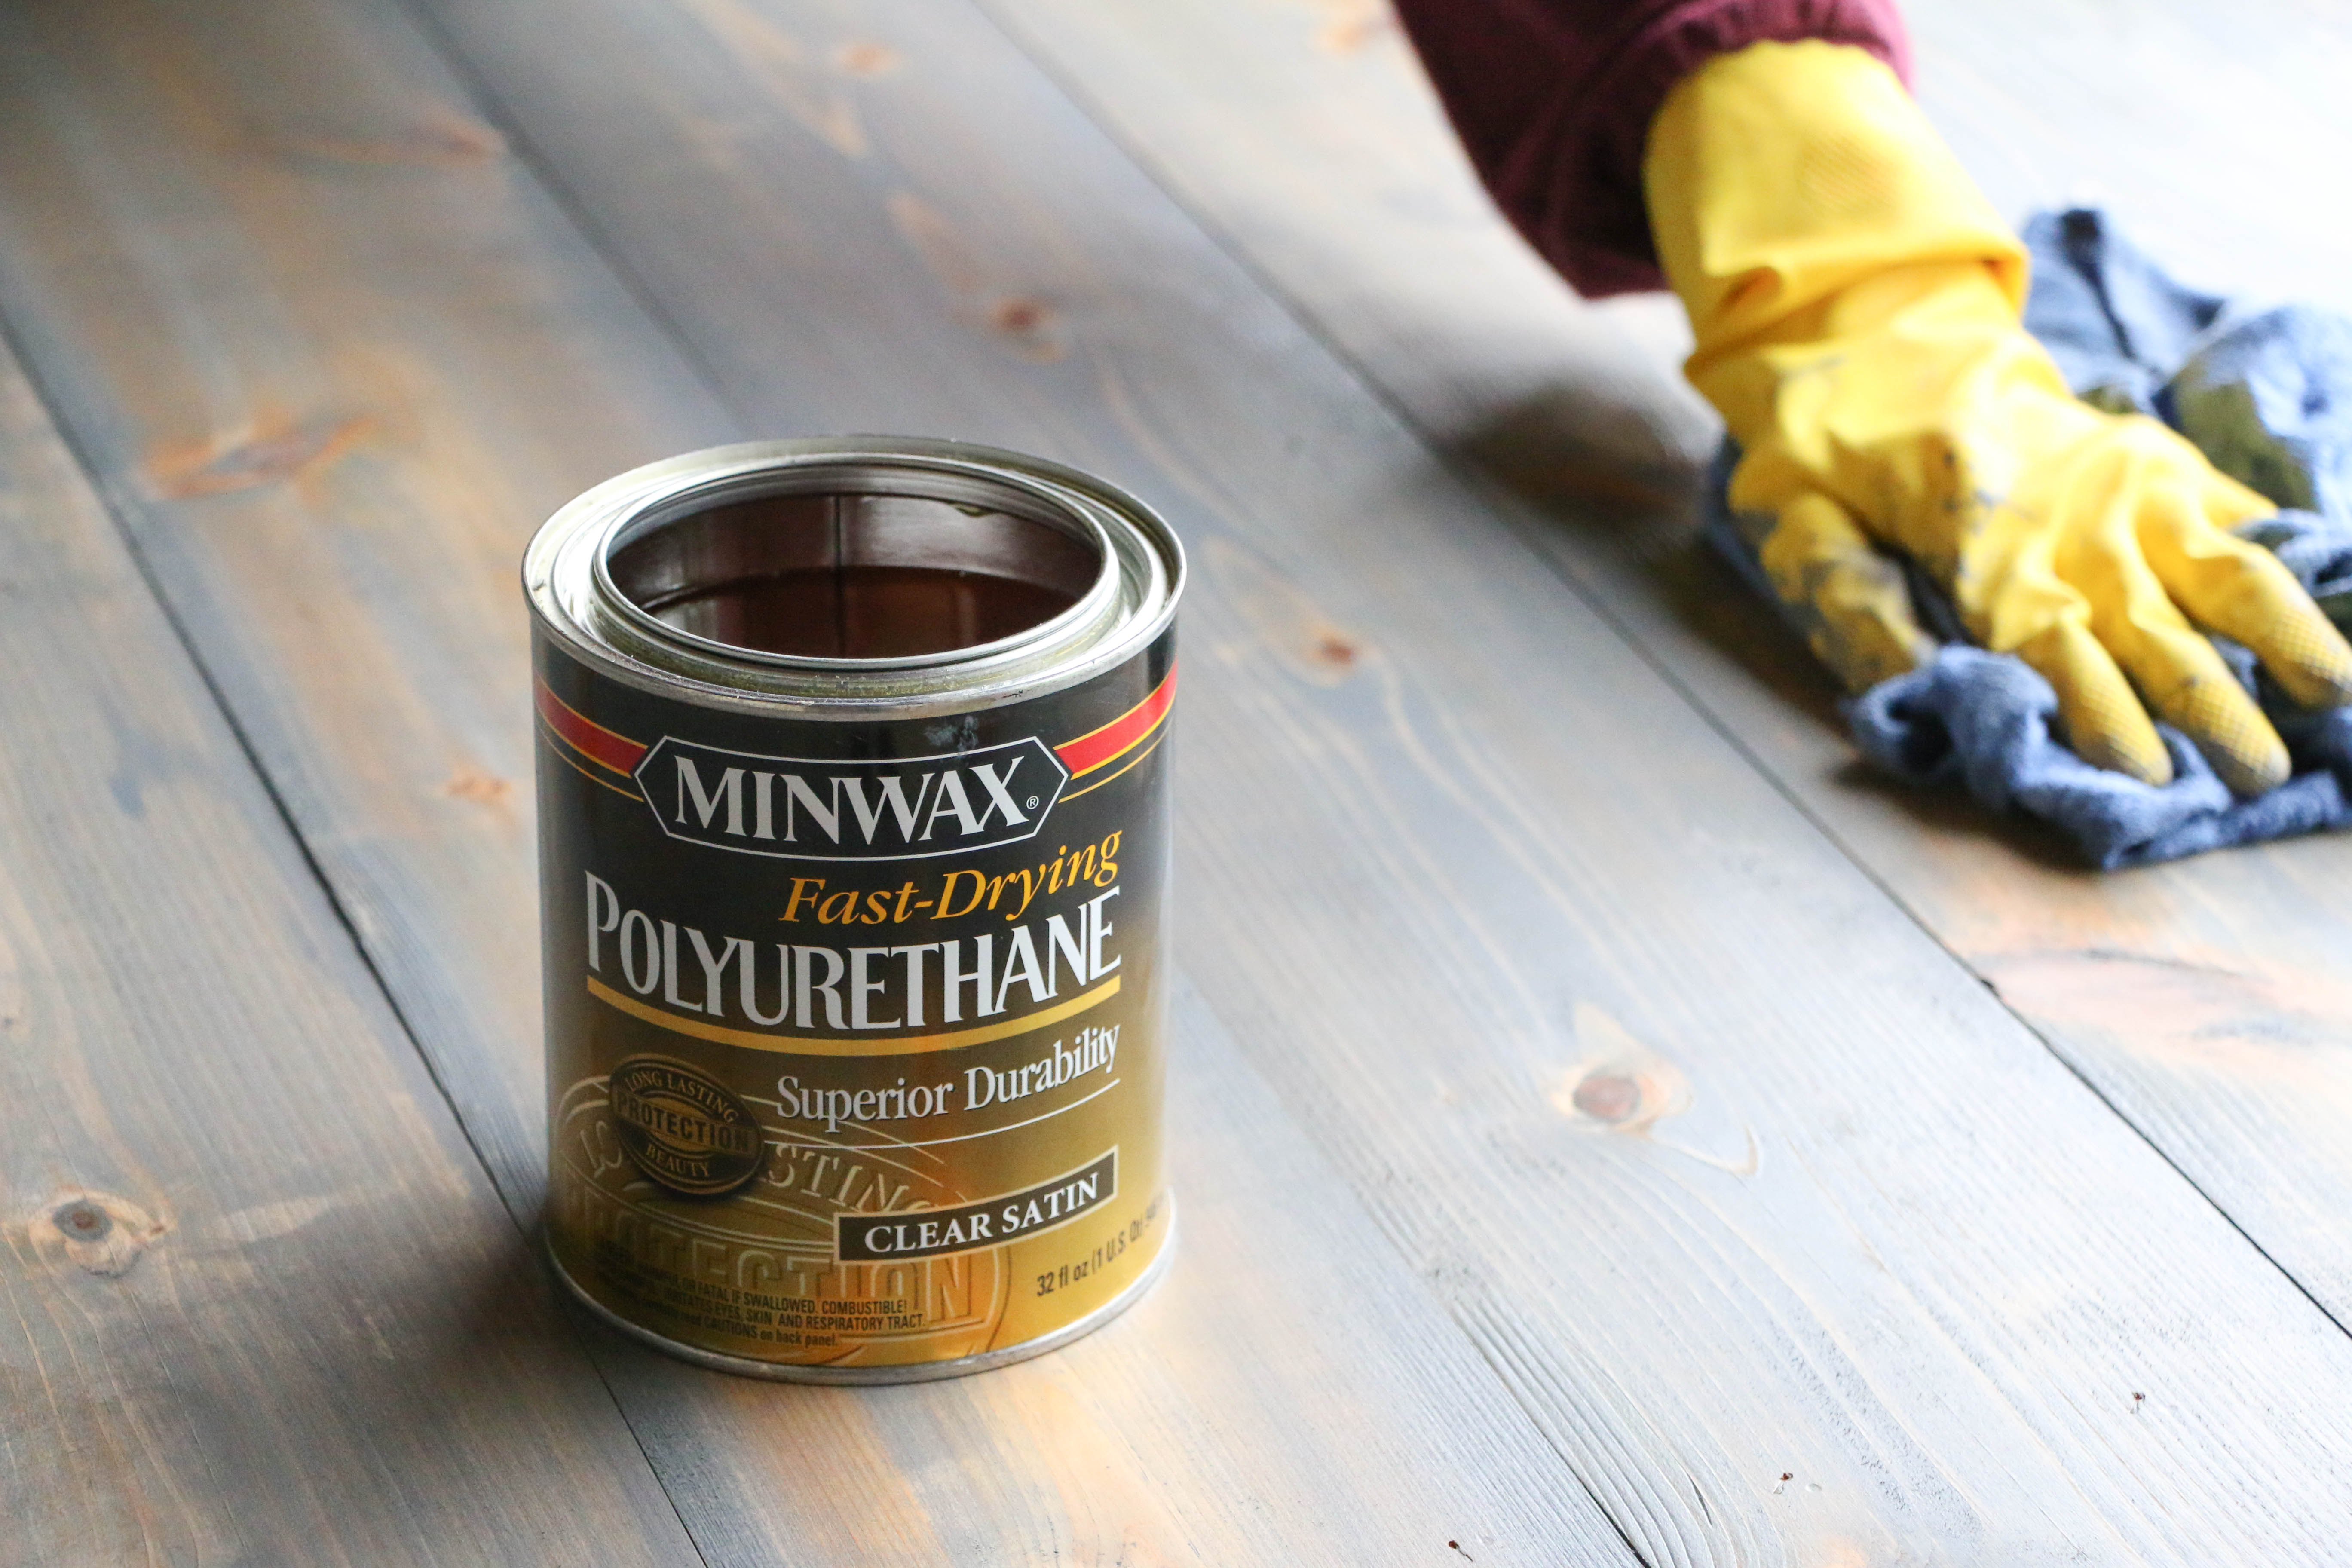
I added a coat of Polyurethane to the top to protect the finish. The poly brought out the wood grain even more and made the top look SO GOOD.
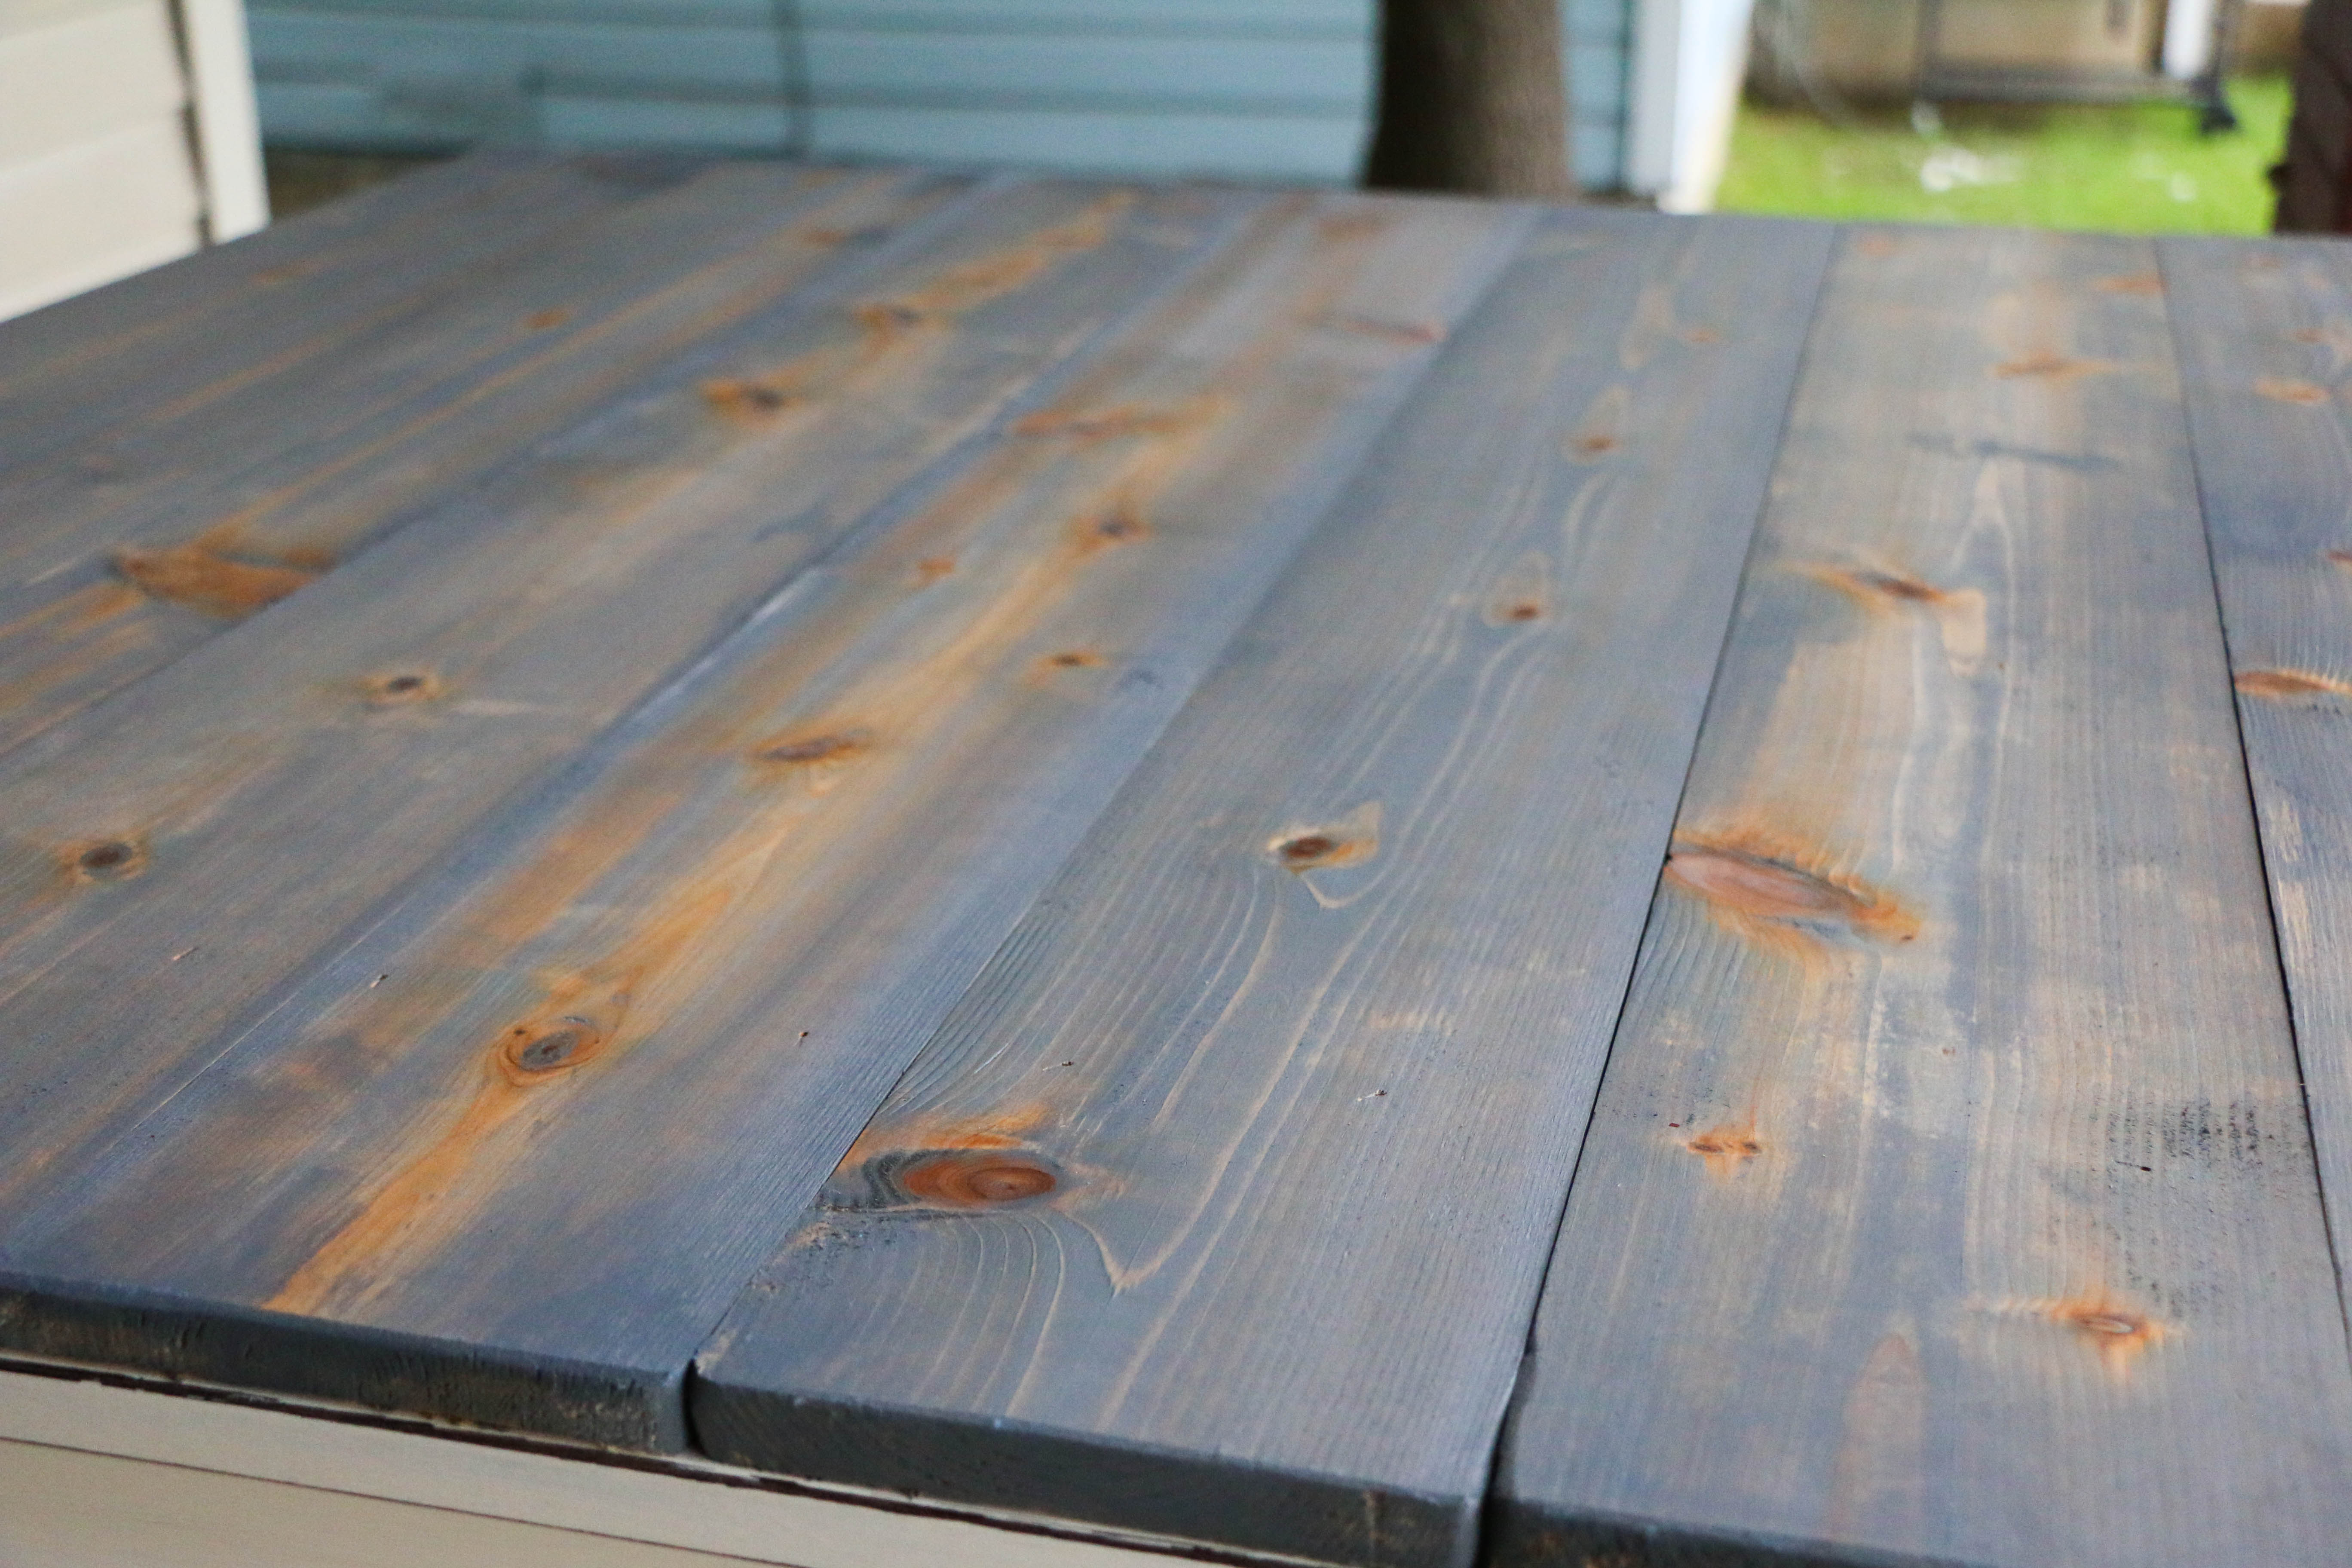
This photo shows how much the poly enhanced the wood grain. Hello, beautiful. After this, we waited for it to dry so we could move it back into the dining room. Never mind the fact that the dining room had been awkwardly empty for a week at this point.
Here she is, my new table! She doesn’t look quite so newlywed basic anymore!
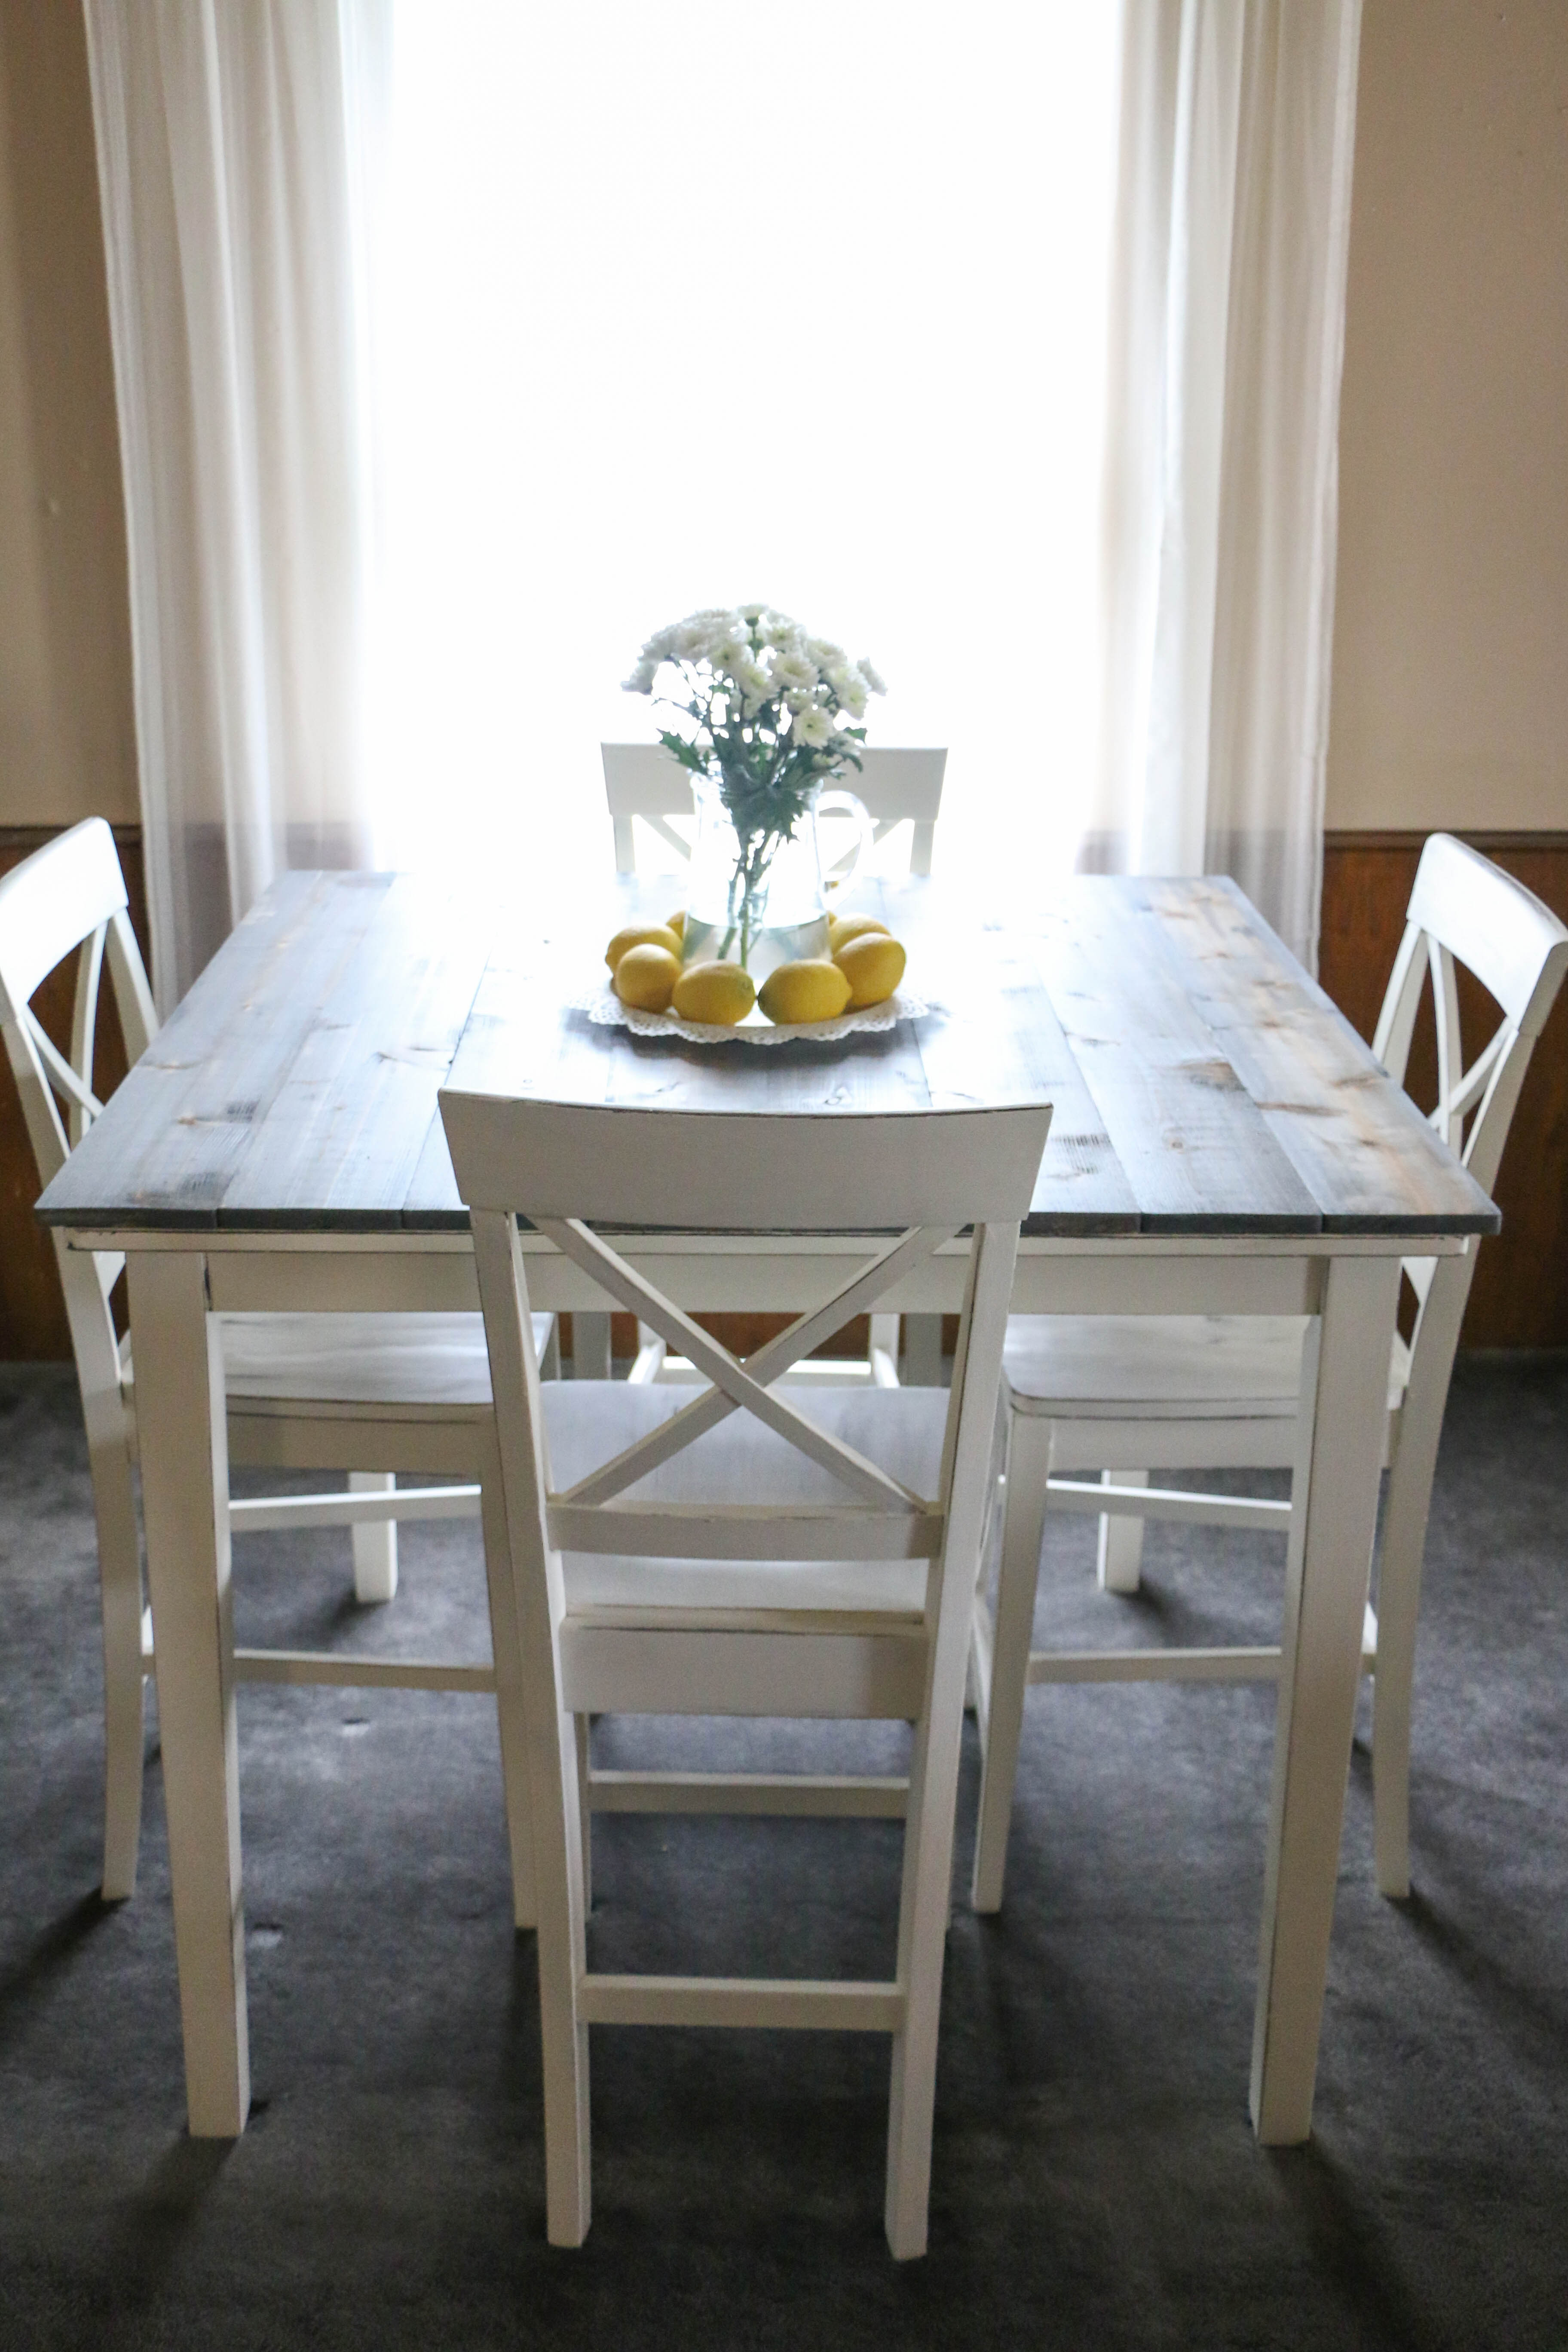
We decided to leave about an inch of overhang on either side to create just a little bit more surface area.

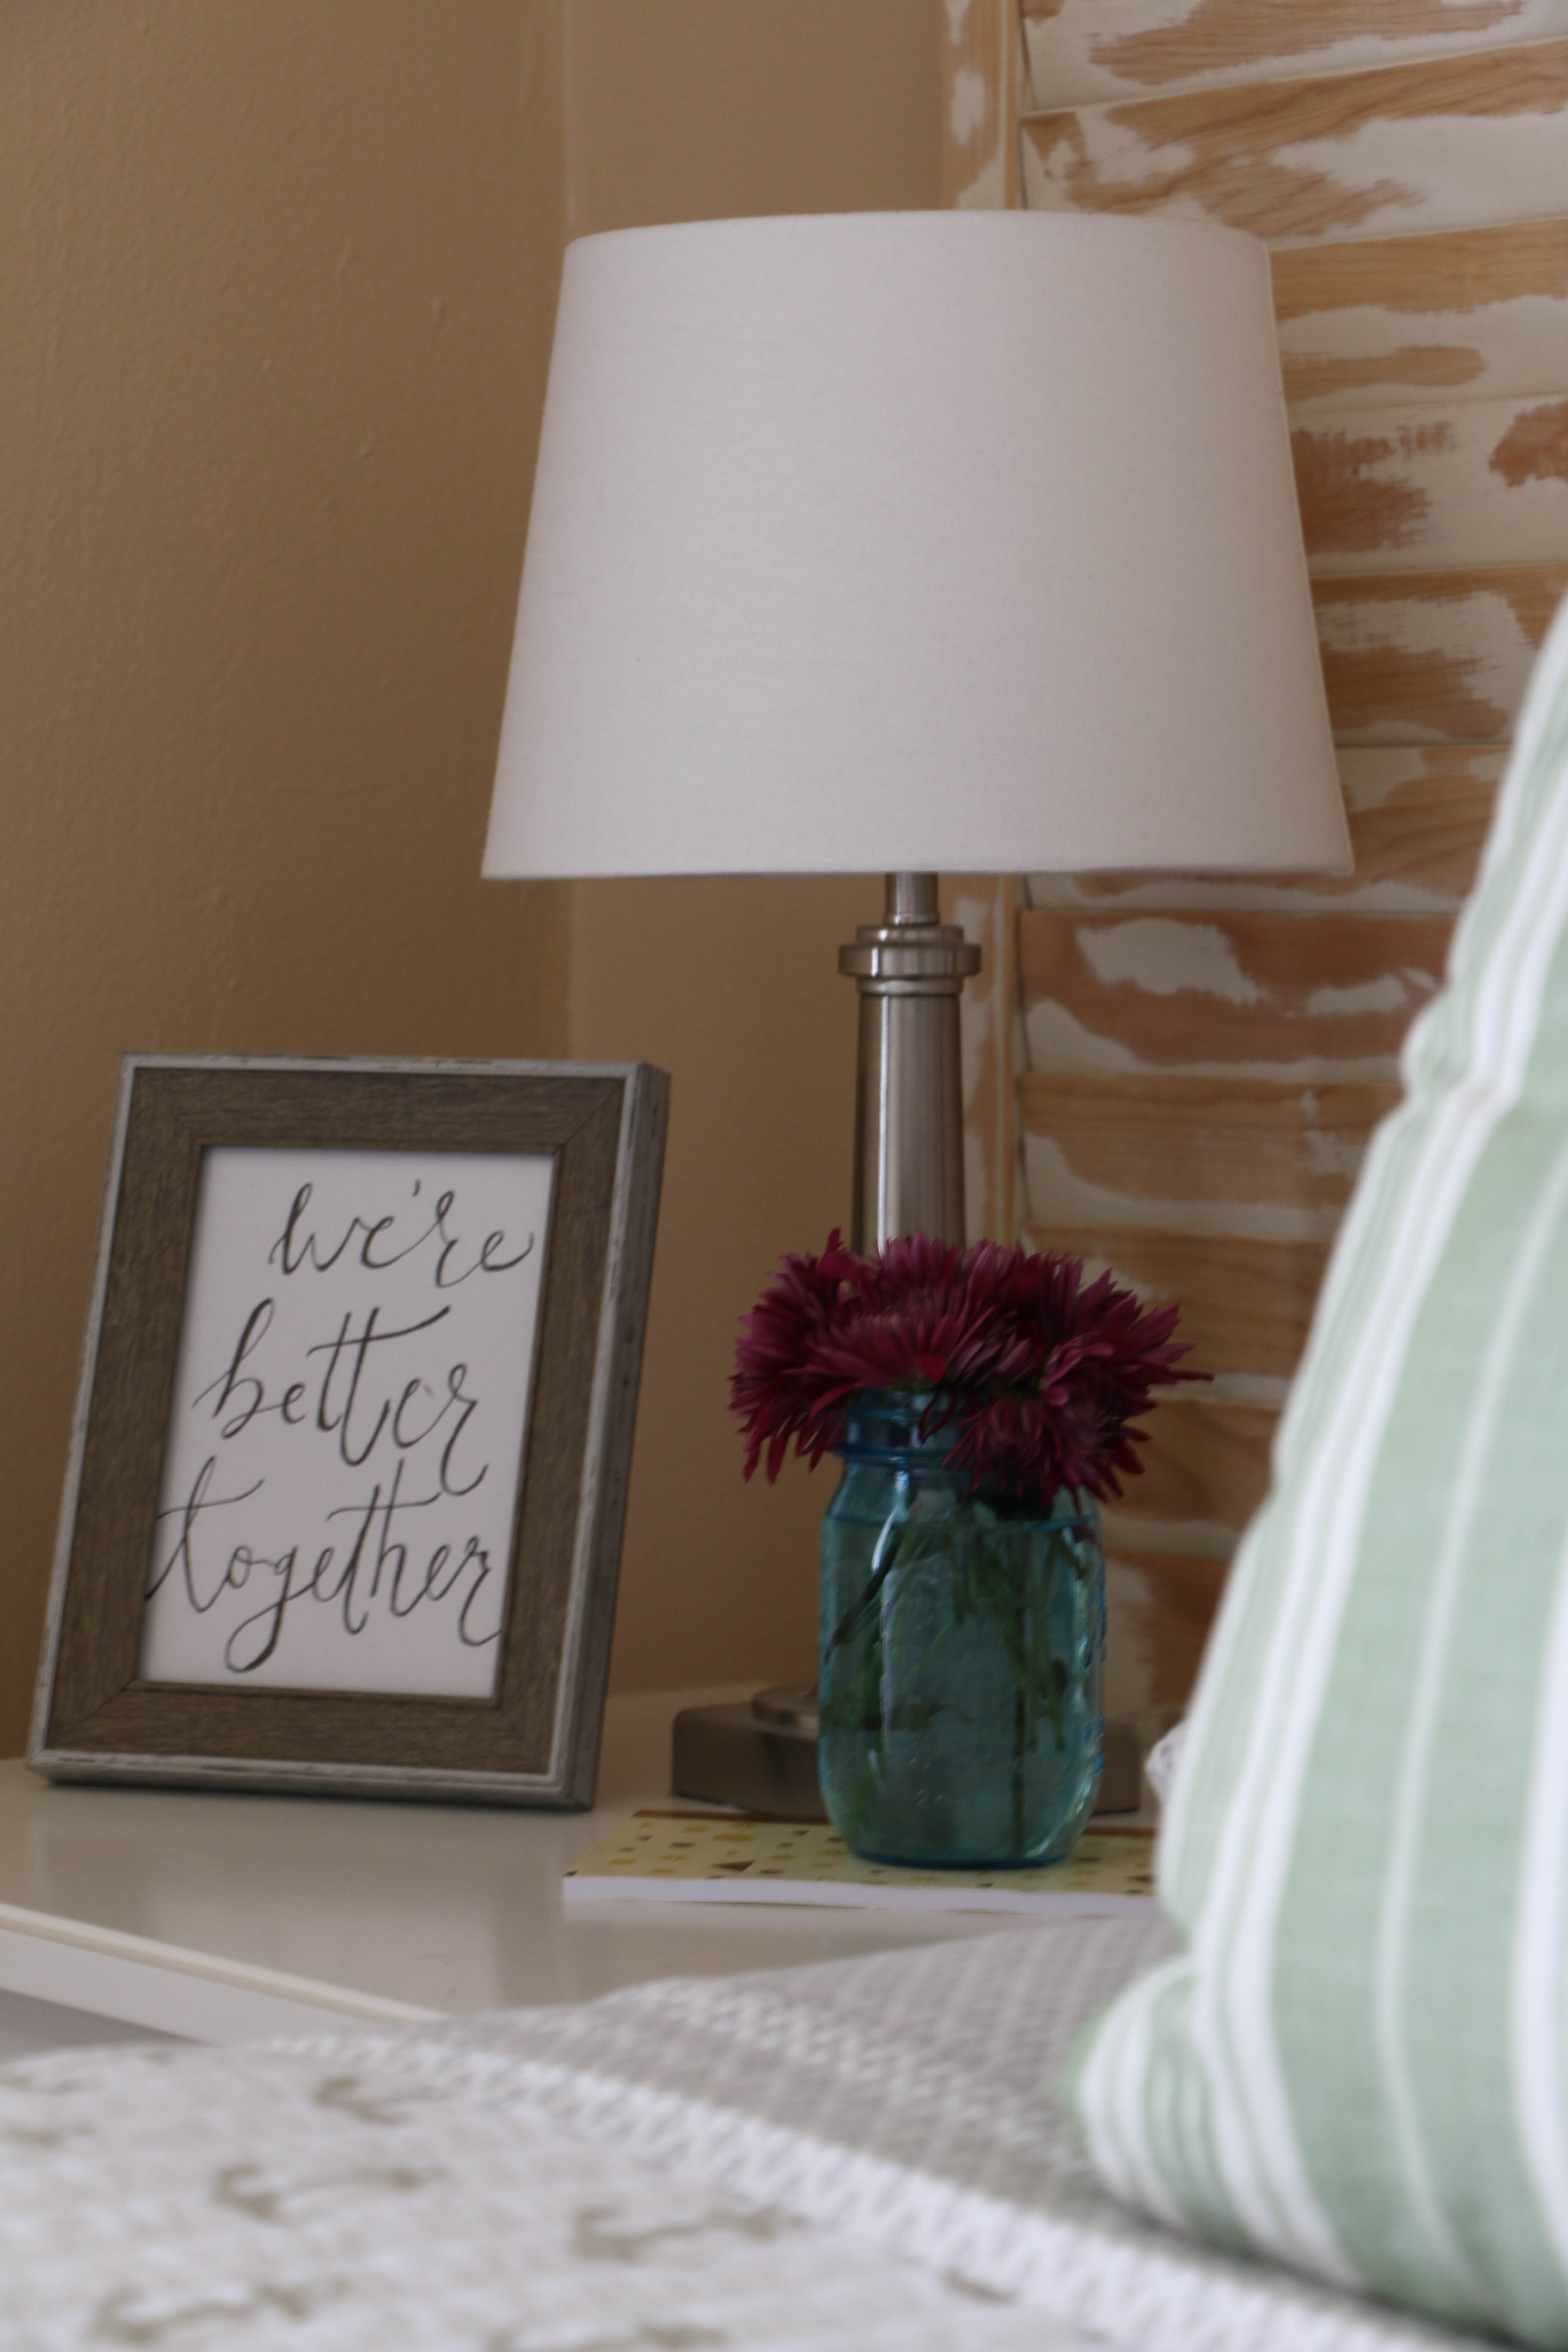
We can’t do anything about the dark carpet or paneling, or wall color, so this table makes a big impact. It lightens up the space so much!
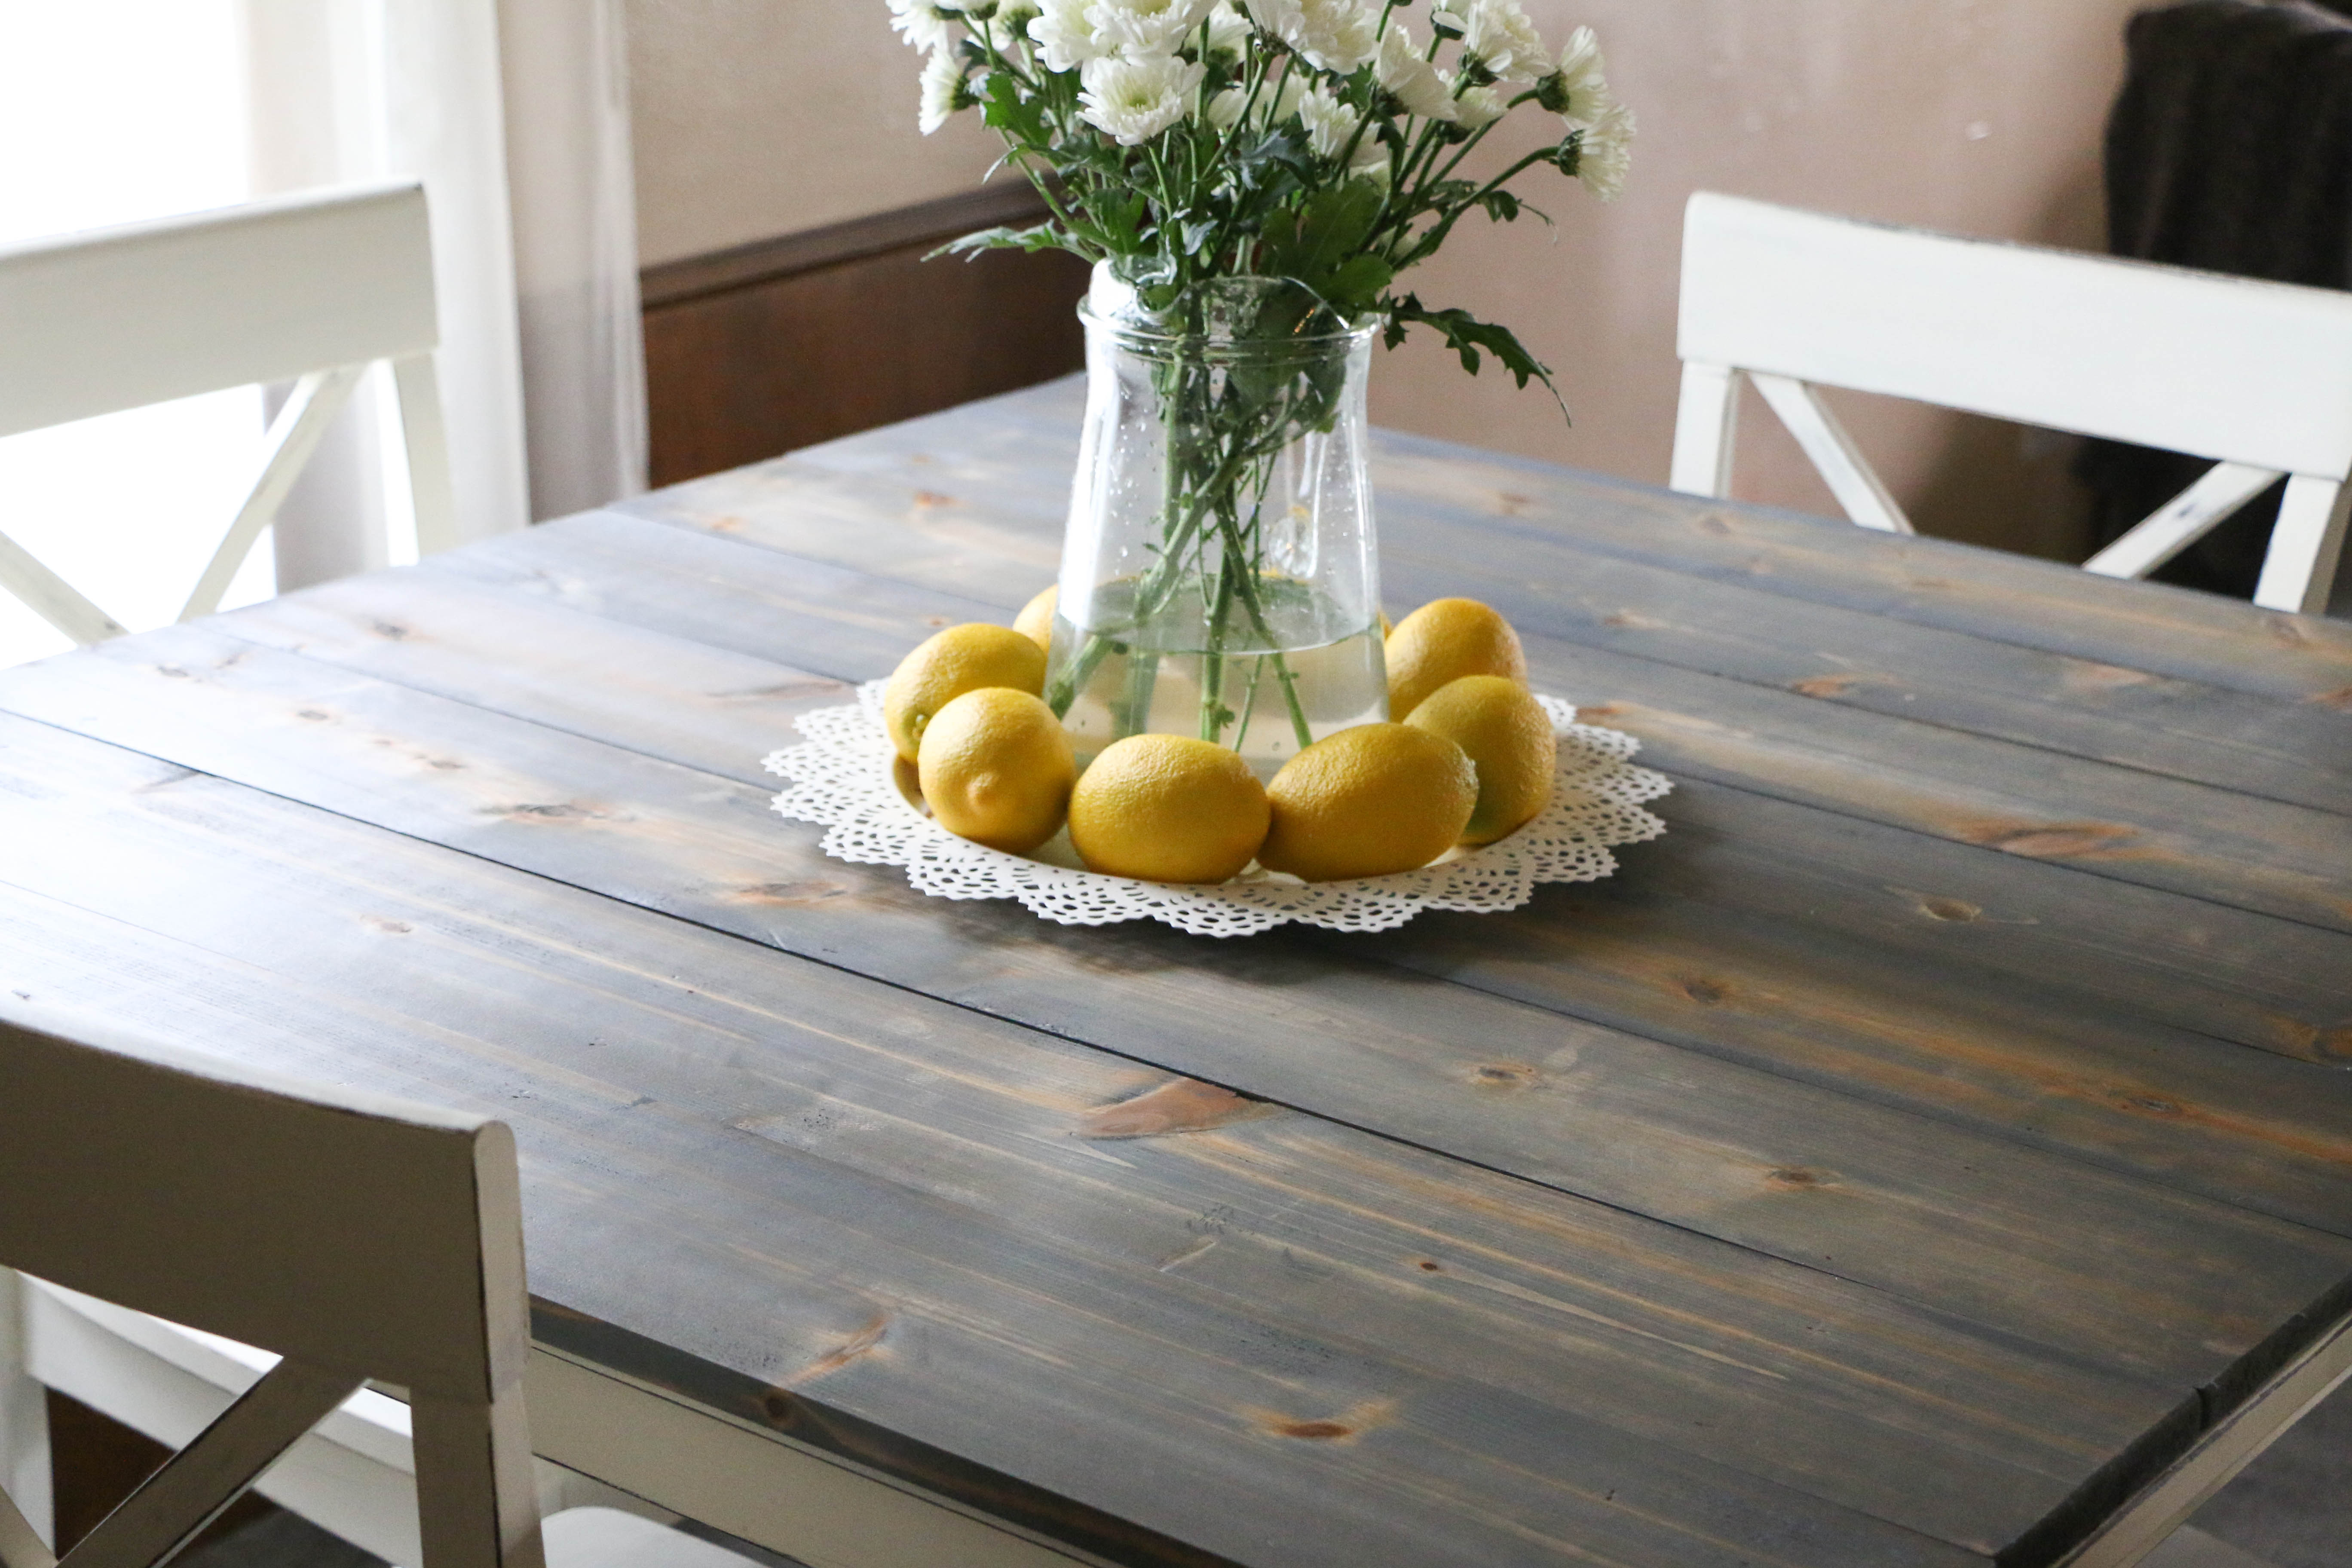
Remember how dark it was before? The before/after pictures were taken at the same time of day! I am loving this table now, and definitely won’t be parting with it for a LONG time.
Like I mentioned earlier, I’m going to do a more in depth post on my experience with Annie Sloan Chalk Paint, so stay tuned for that! That’s all for today. Have a fabulous day, friends!