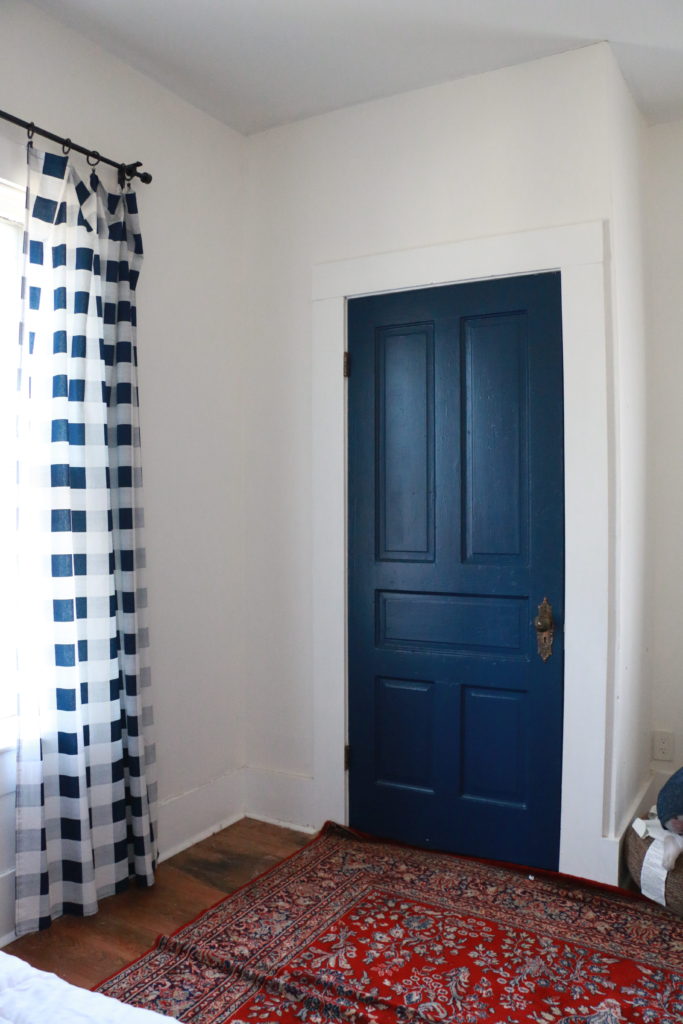
I can’t believe we are already onto the second week of the One Room Challenge! If you missed last week’s post with the design plan for the space, be sure to check it out here. I have been hard at work this week, feeling both frustrated and excited.
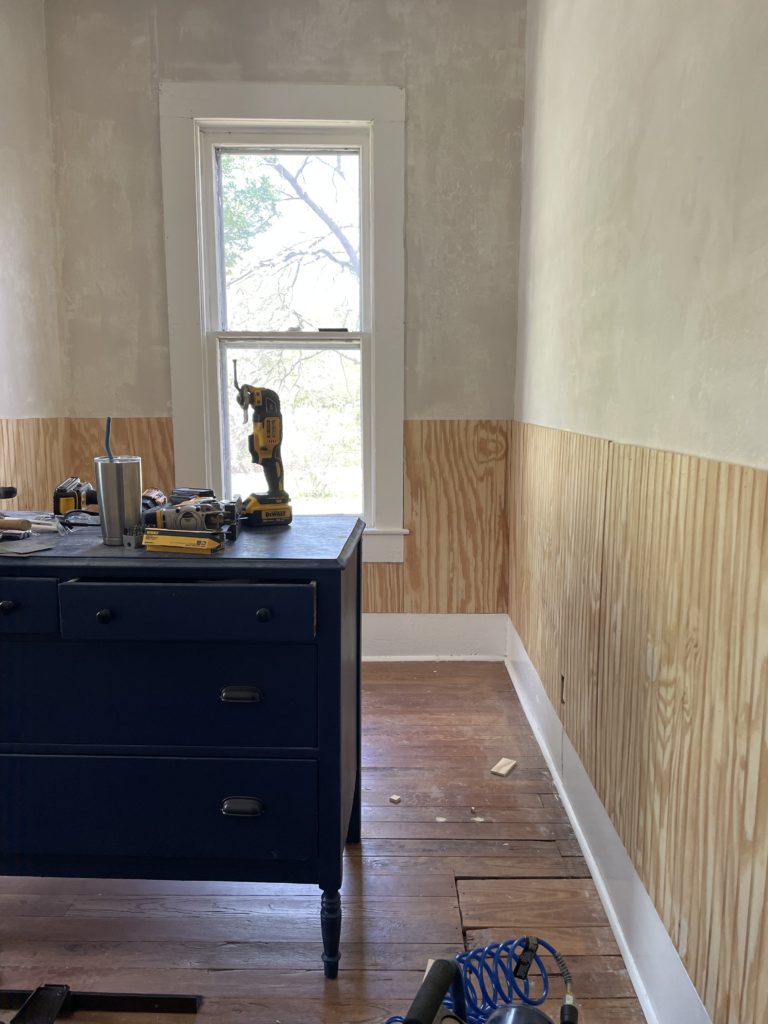
My first task was to float the walls along the upper section of the room with joint compound. This room has an “orange peel” texture that’s pretty common in homes here in the south, as well as in new construction. It’s not appropriate in a historic home, and I personally just don’t like the look of it, so I decided to smooth it out. It requires a large putty knife and lightweight joint compound, and it’s akin to frosting a large cake.
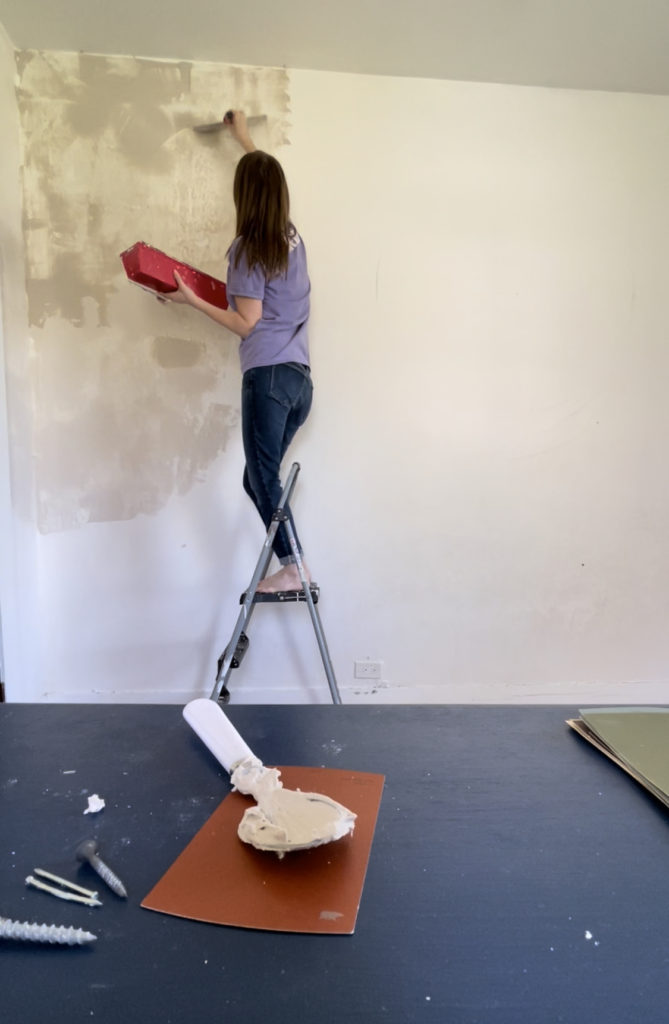
Once it’s applied I had to sand, which was a serious arm workout. It’s an underestimated task to be sure, but it’s not technically difficult.
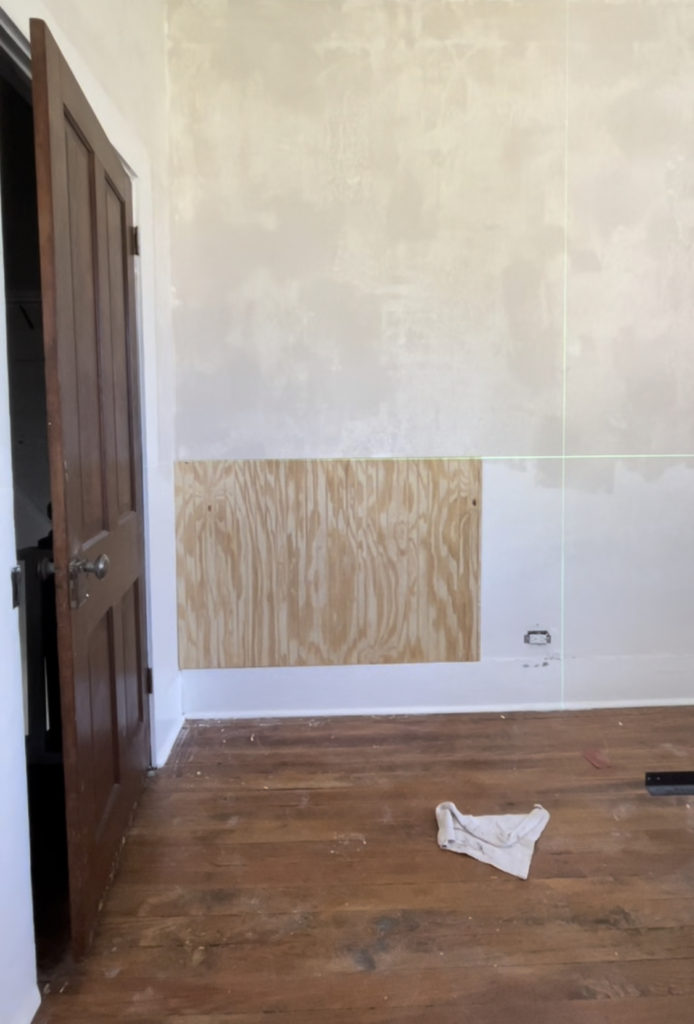
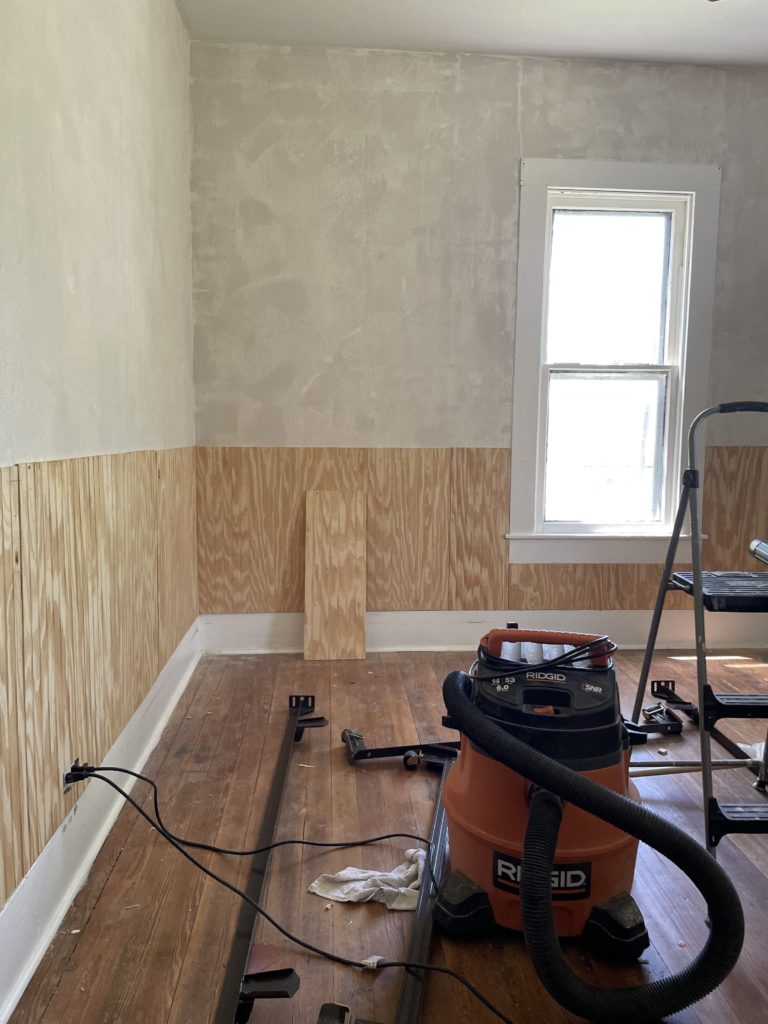
Then came the head scratchingly difficult part. In typical old house style, the room is completely unlevel. The floor on one side of the room is two inches higher than the other side, making the entire wall slanted. I wanted to add beadboard to the lower portion of my wall, but it wasn’t as simple as measuring the height from the floor up and making straight cut across. I wanted to give the illusion of a straight line, so that meant each piece had to be cut at a slight angle. I don’t know if this is even making sense. It barely made sense to me. I purchased a laser level, and it was my saving grace for installing these beadboard panels at a straight-looking-but-not-actually-straight height.
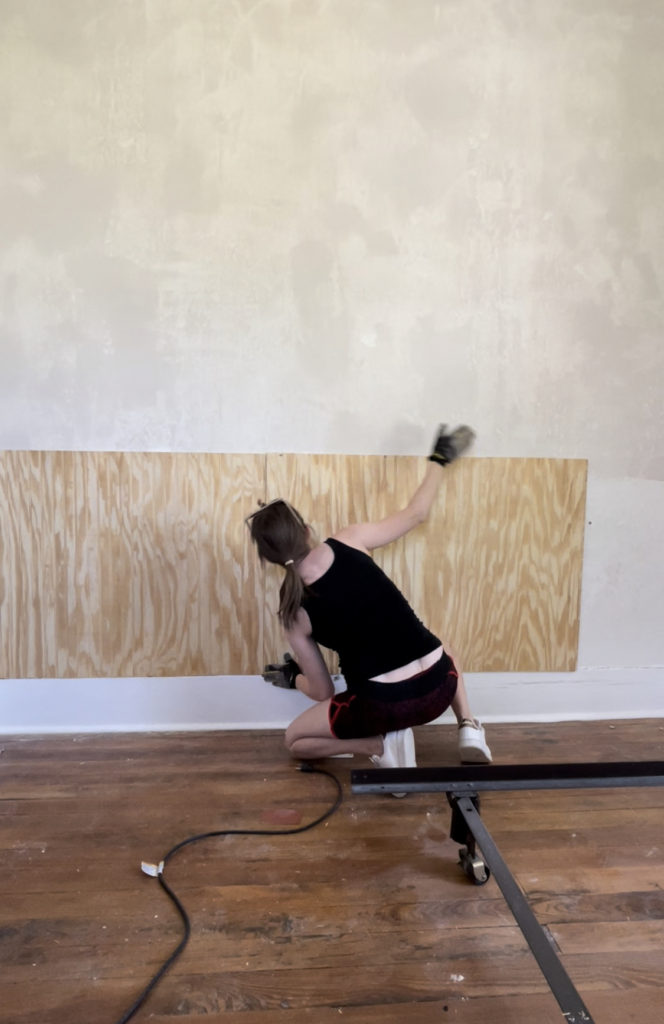
For the first portion of the week, Ethan was out of town working, so I was attempting to figure out how to get everything installed correctly by myself. Needless to say, once he returned from his trip and was able to help me, things went a lot more smoothly.
We finished up the beadboard late last night, and although it’s not pretty progress, I do think it will be the most laborious and difficult part of the process, so I’m glad to have it checked off the list during the first week.
Next, I will need to fill nail holes and sand the beadboard to prep it for paint, then install the chair rail that will sit on top of the beadboard, and the picture rail that will sit higher up on the wall. Those will hopefully go much quicker than my beadboard install (and I really hope I don’t come back next week completely regretting these words)!
Now, I have to get back to work, but be sure to check out some other projects being completed this season over on the One Room Challenge Blog. There are some projects that I really can’t wait to see come to life! That’s it for today, friends. Have a fabulous day!