Browsing Tag

diy projects

DIY Projects

DIY Abstract Art

Last week I shared a post with several ideas for free and low cost art (you can read that here). This week, I’ve been super bored around the house with no big projects that I’ve been working on, and so I was itching to do something. I had been inspired by some abstract paintings I’d seen online, and figured I could make something similar with items I had in my garage. File this under: free projects. (If you don’t have a garage full of leftover renovation junk, this might not be free for you. But still super low cost! So, let’s get started!

The first thing I did was grab some plywood from the garage. Mine is smooth, but pressed wood would work as well. I used a board that was 24×36 inches, but any size will work! I also grabbed some drywall mud, a drywall mud pan, and a putty knife.
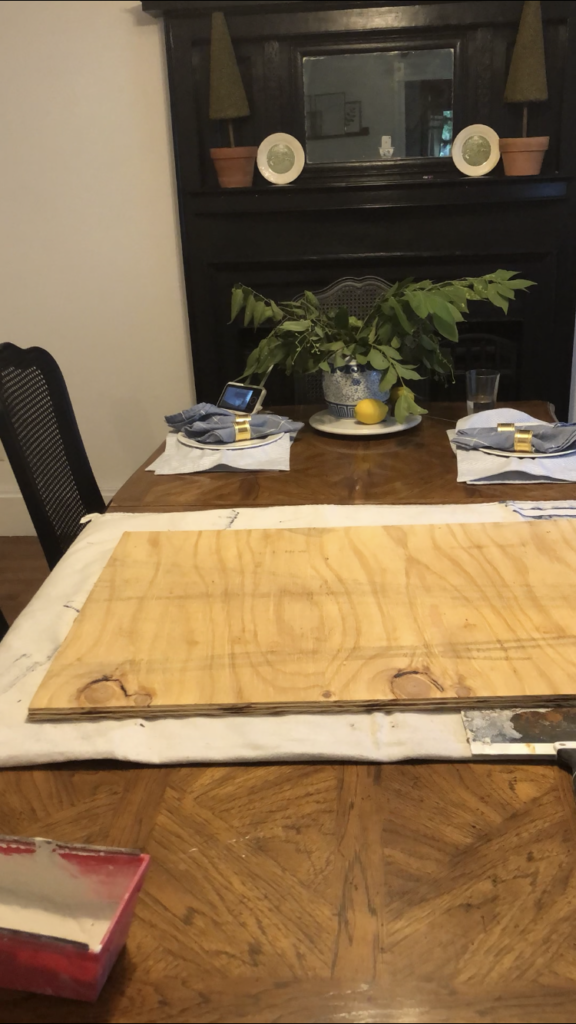
These photos are screenshots from a video I filmed at 8 pm while starting this project, so probably not the best quality. But bear with me. I started out scooping the drywall mud slowly onto the board, but quickly realized it would be easier to just pour a bunch on the board directly and move it around with my (gloved) hands.
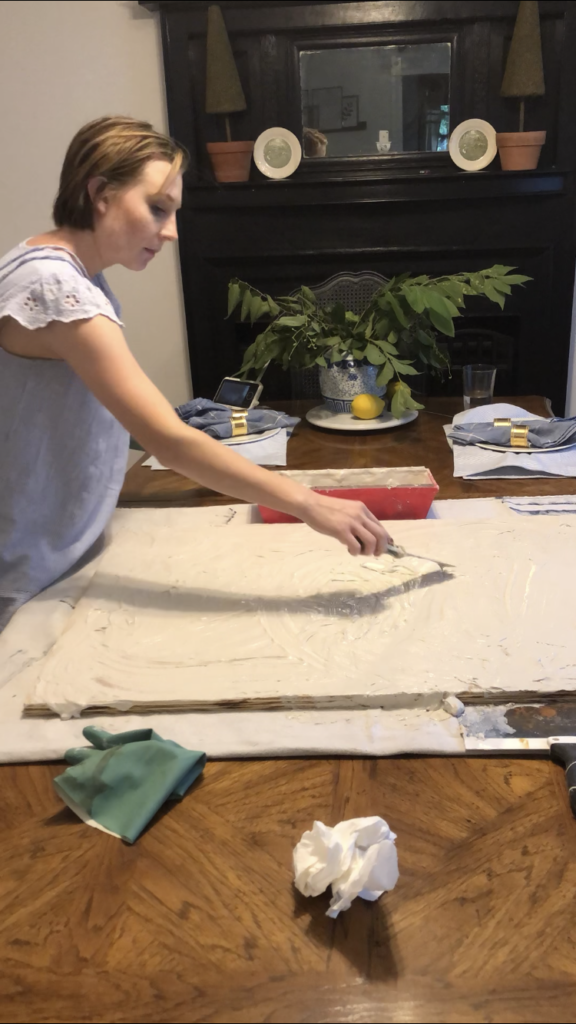
Then, using both a putty knife, and my hand, I just gobbed it all around until the whole board was covered, and there was textured look to the entire thing. The goal was to make it look like super textured. I let it dry overnight, and when I woke up the next morning, it looked like this:
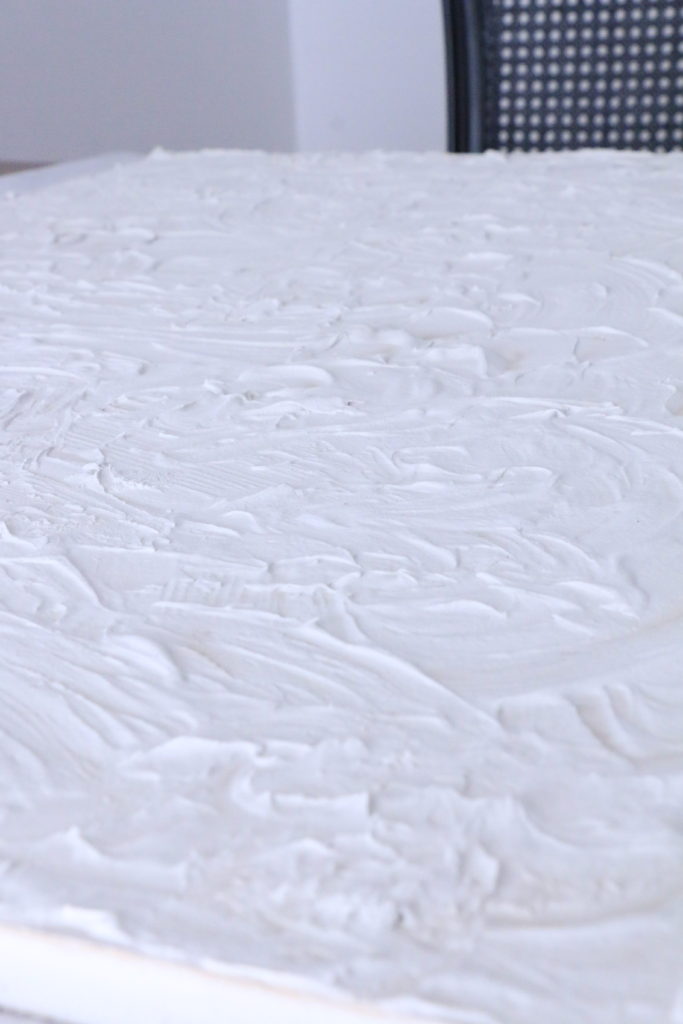
Exactly what I was going for! Then, I poured white paint over the entire thing and brushed it over the mud texture.
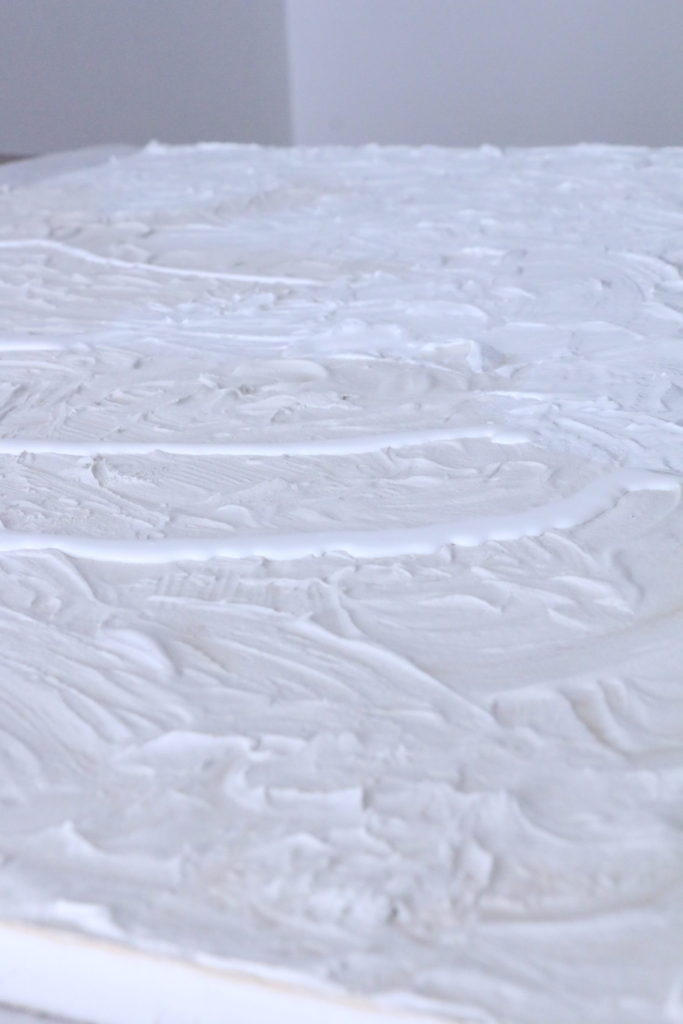
This step isn’t technically necessary, but I wanted it to be a brighter white. I used Behr Ultra Pure White, which is just what the color is with no tint in the paint can. You could also choose to do a different color here completely, depending on what you wanted your background to be.

After the white was dry, I did the final step. Unfortunately, I didn’t get any pictures of this step, because I was being climbed on by my toddler and forgot to take any photos! However, this is the fun/easy part. I just took a small craft brush, some blue paint I had on hand (Glidden America’s Cup Navy) and painted on some loopy squiggly lines. I didn’t really have a plan, I just went for it. You could do this in any color with any shape/line.
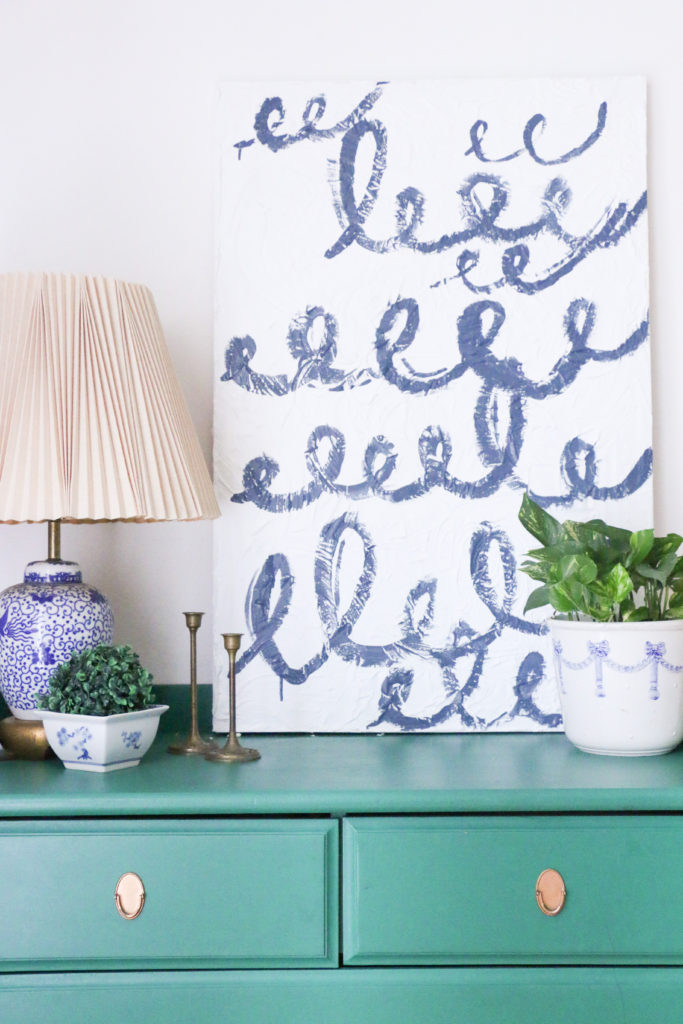
Some of the paint ended up dripping down, which I actually love. The messier the better with this!
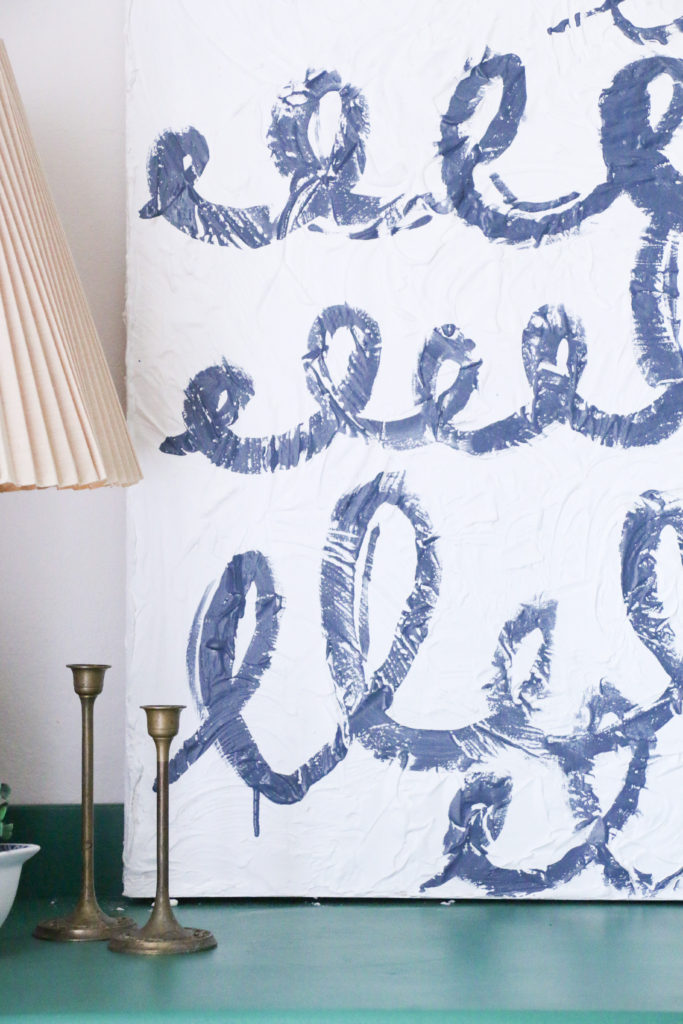
You can see in some areas I went a little thicker with the paint, and in others I let the texture show through.
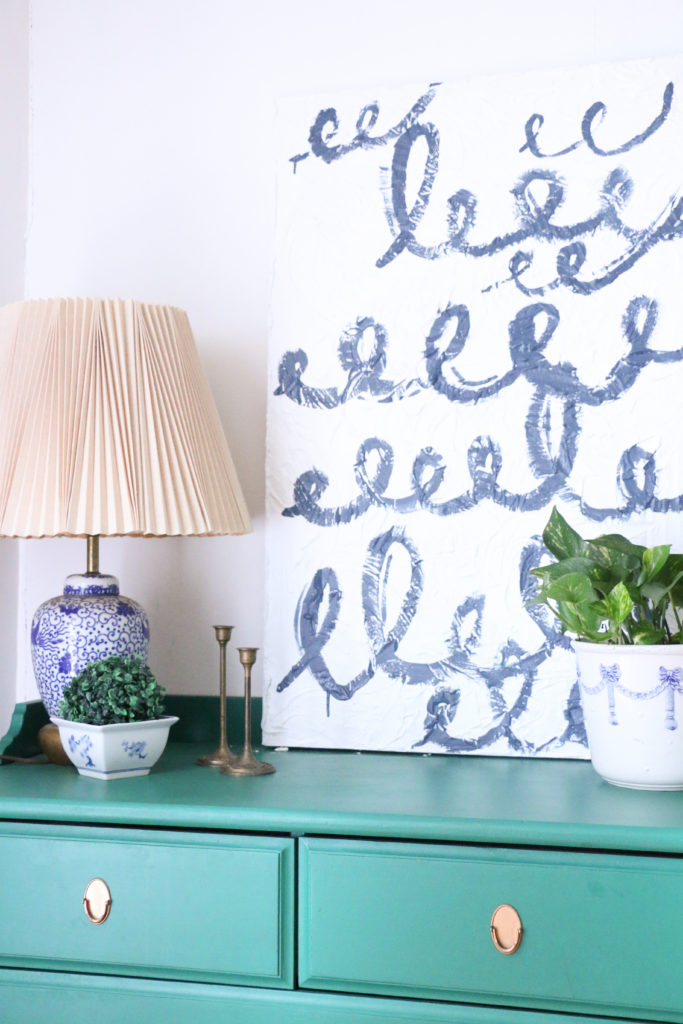
Overall, excluding dry time, this project took probably 45 minutes of active work. And now I have a larger piece of “art” that I didn’t have to pay for. And I absolutely love the way it turned out! You know that blue is totally my color, and so I think it works perfectly in the dining room where I have lots of blue and white going on.
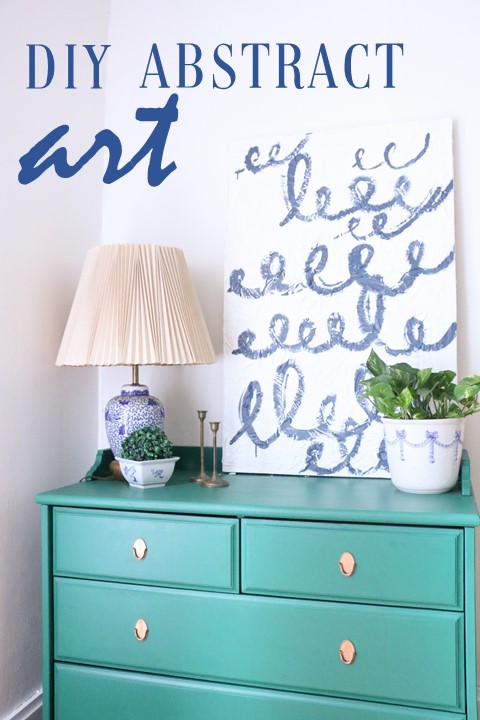
What do you think? Would you try this? Let me know if you do! Well, that’s all for today, friends. Have a fabulous day!

*This post may contain affiliate links.

House Progress

Status Update: Year Two

Today marks the official two year anniversary of owning this old house of ours. Today I wanted to look back at this past year, year two, and see all of the things we accomplished. I’m going to share a few (not all) of the big projects we’ve done in the last 365 days.

If you’ve never seen the before pictures of our house, you might want to start there, just for fun. This last year kind of unintentionally became the year of getting the upstairs more livable. One year ago, our master bedroom was downstairs and the only thing we had done upstairs was our son’s room. In the fall, we updated one of the bedrooms upstairs and moved the master up there.

Then, over my winter break from school, I decided to do a bit of work on our upstairs bathroom.

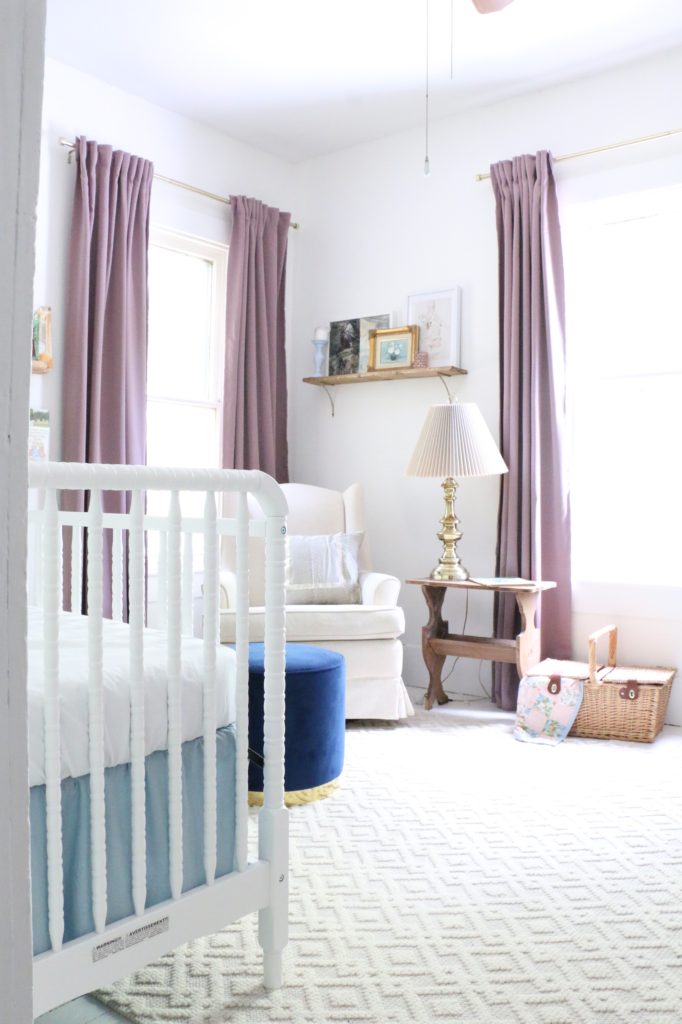
We also worked on finishing the third bedroom upstairs this year when we found out we were expecting our second child. The nursery is one of my favorite rooms in the house, and I cannot wait to get to use it very soon!

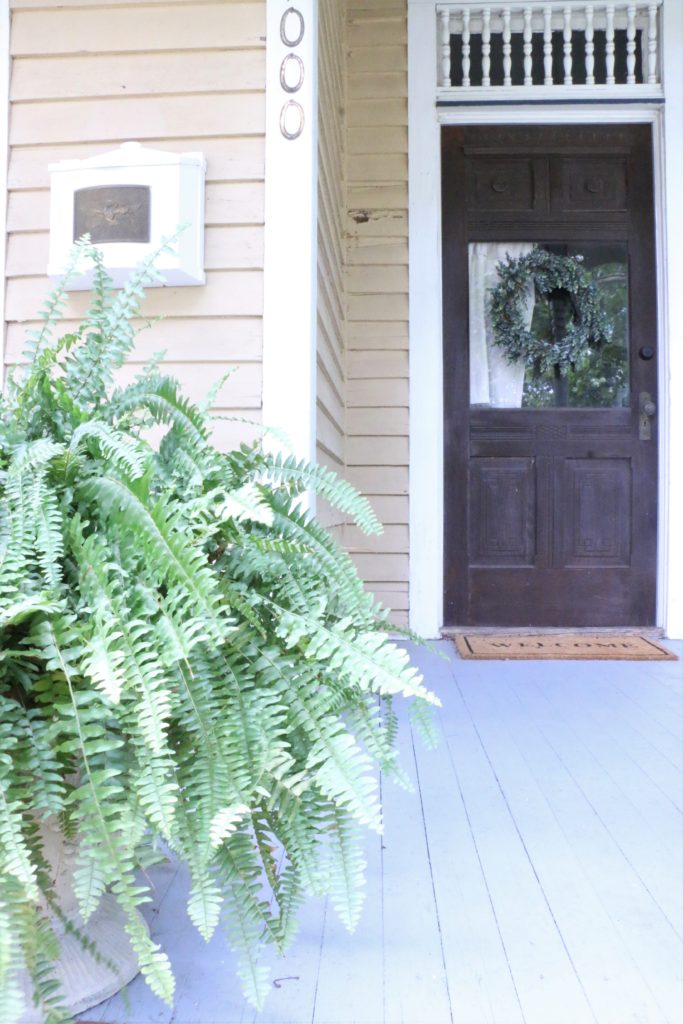
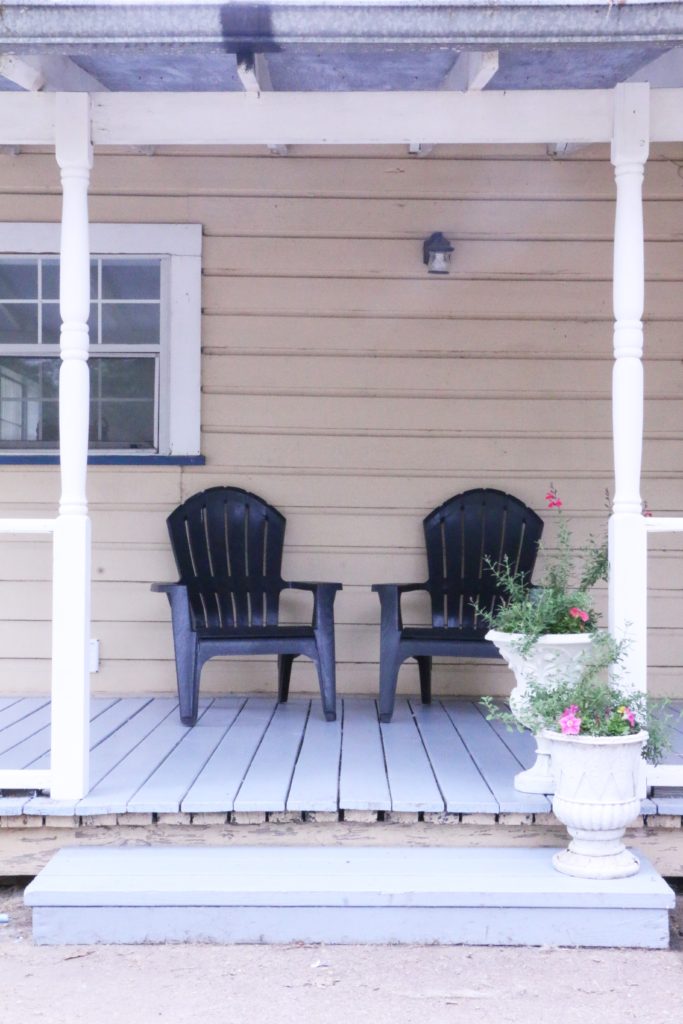
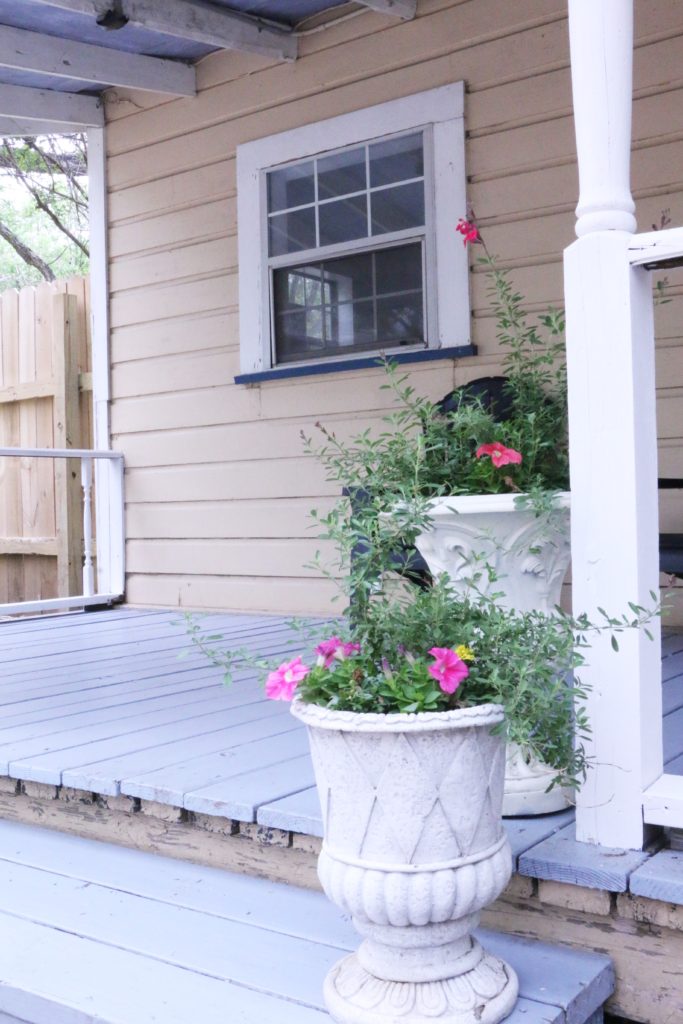
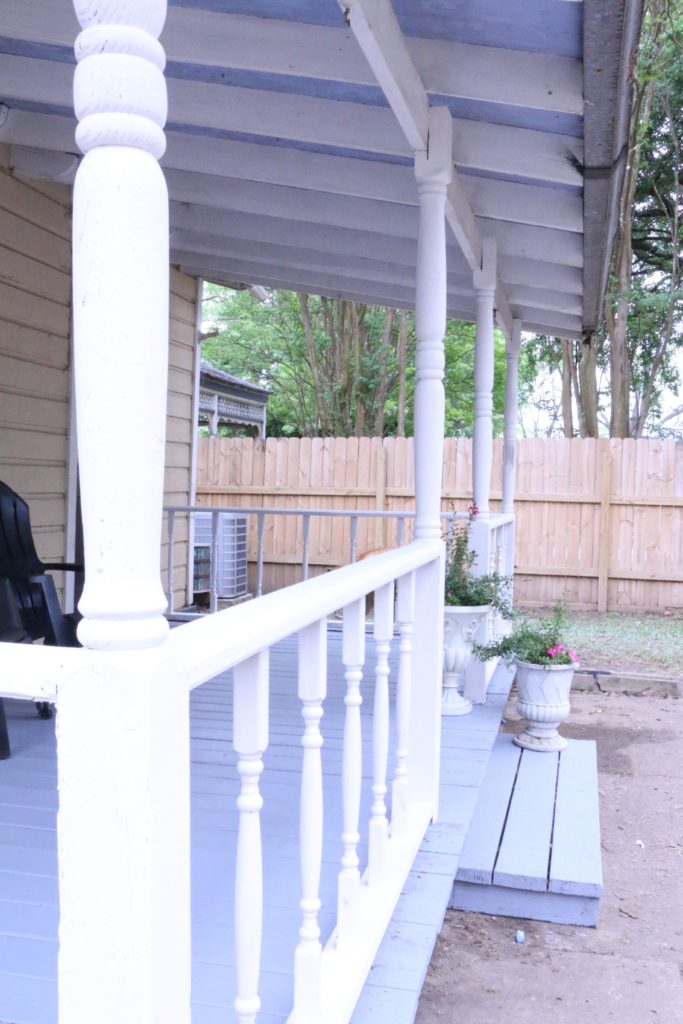
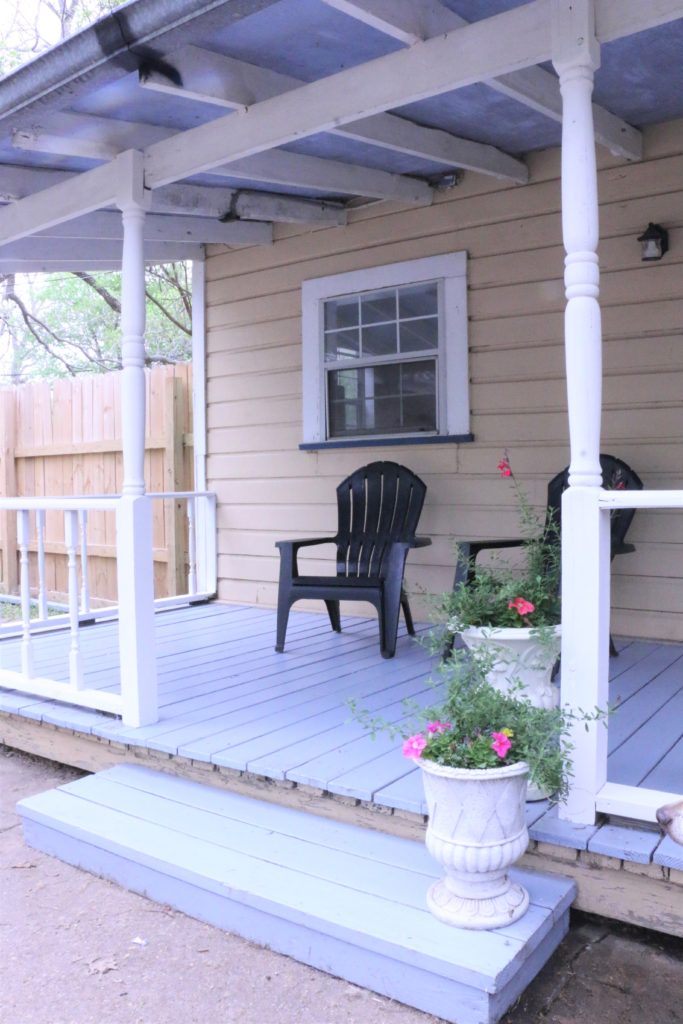
During Spring Break (are we sensing a pattern here? it seems like every time there was a break from school, I did a project!) I painted the porch floors on all three of our porches. That ended up being a lot of work over an extended period of time, but made a huge impact.

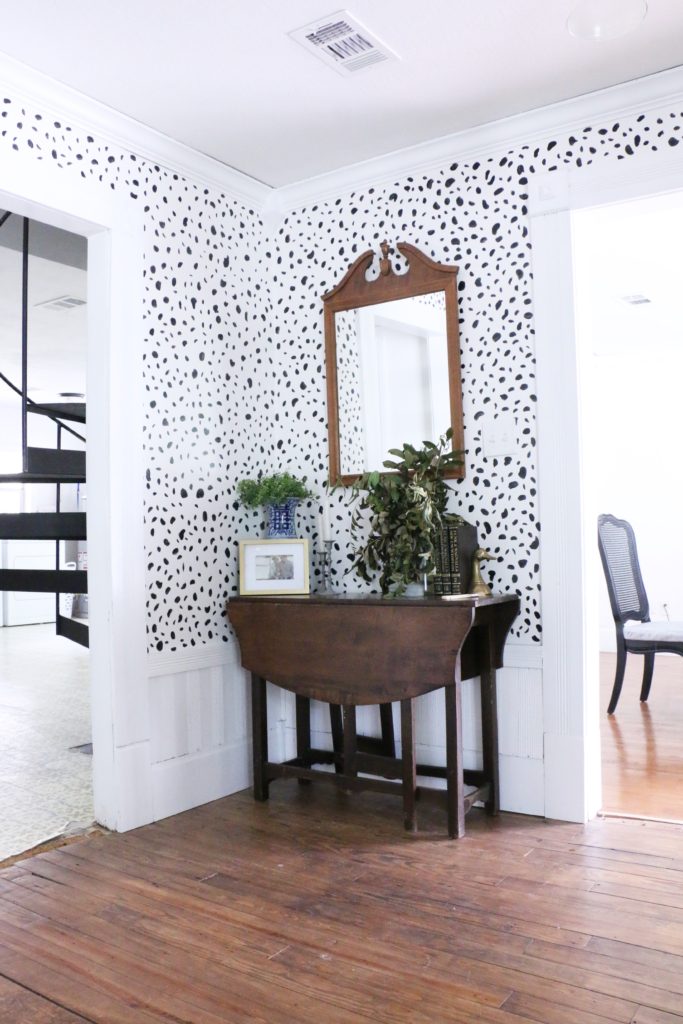
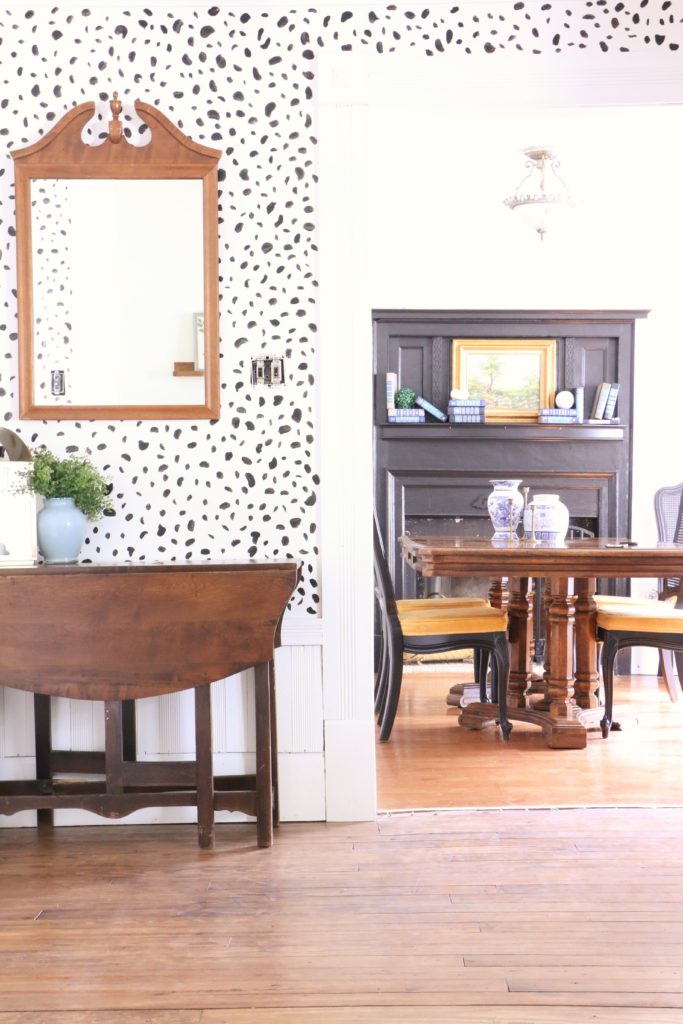
In a spur of the moment decision late last summer, I decided to paint some dalmatian spots on the wall between our living room and dining room. Best decision ever!

We’ve also done tons of work in the yard, and countless small projects around the house to help move the progress along. It’s crazy to see how far we’ve come. They say that people overestimate how much they can get done in a day, but underestimate how much they can get done in a year, and it’s so true! Last summer I could not have imagined the progress we have made. I can’t wait to see where we are by the end of year three! Hopefully some work in the downstairs areas… I’m getting real sick of looking at a few things downstairs. LOL! Well, that’s all for today, friends. Have a fabulous day!

DIY Projects

How to Paint Porch Floors

You guys. I can’t even begin to tell you how excited about this project I am. Or how excited I am to be done with it. I decided to make it a priority over my spring break to get our porch floors repainted. I had the week off from work (little did I know at the time that I would not be returning to work in person for who knows how long, but that’s another story…), and so I had some time to devote to getting some paint on our multiple porches.

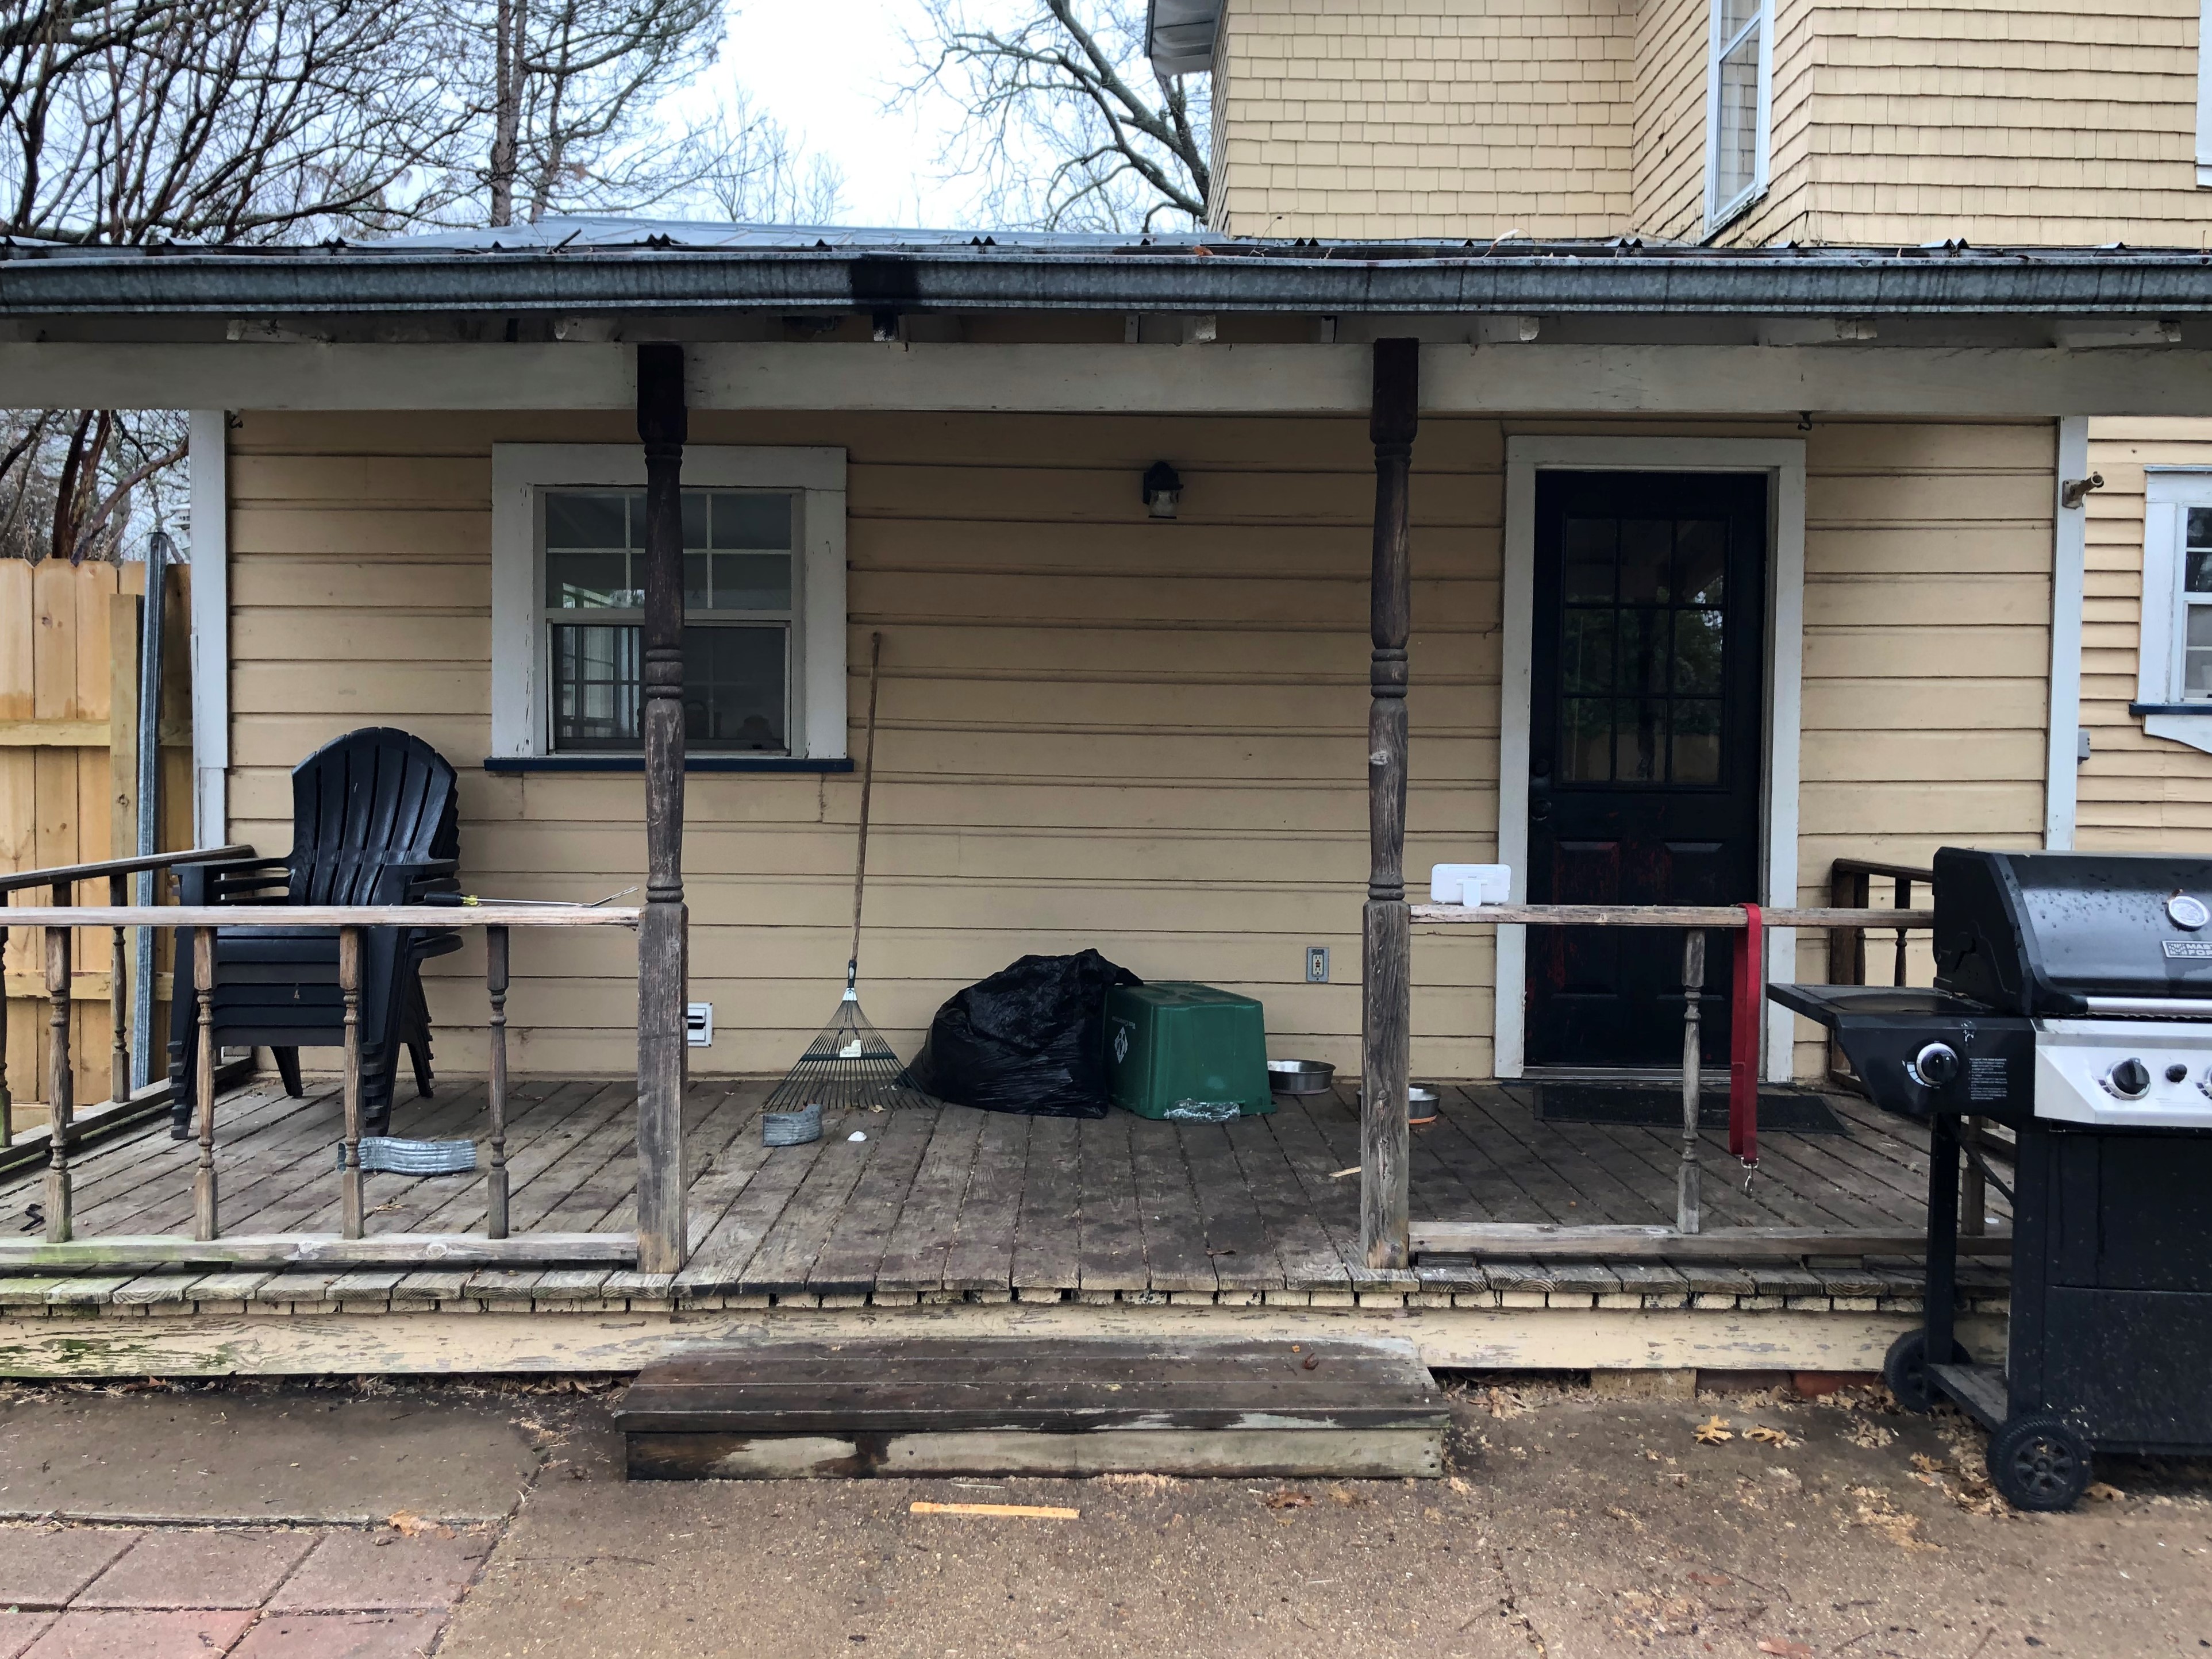
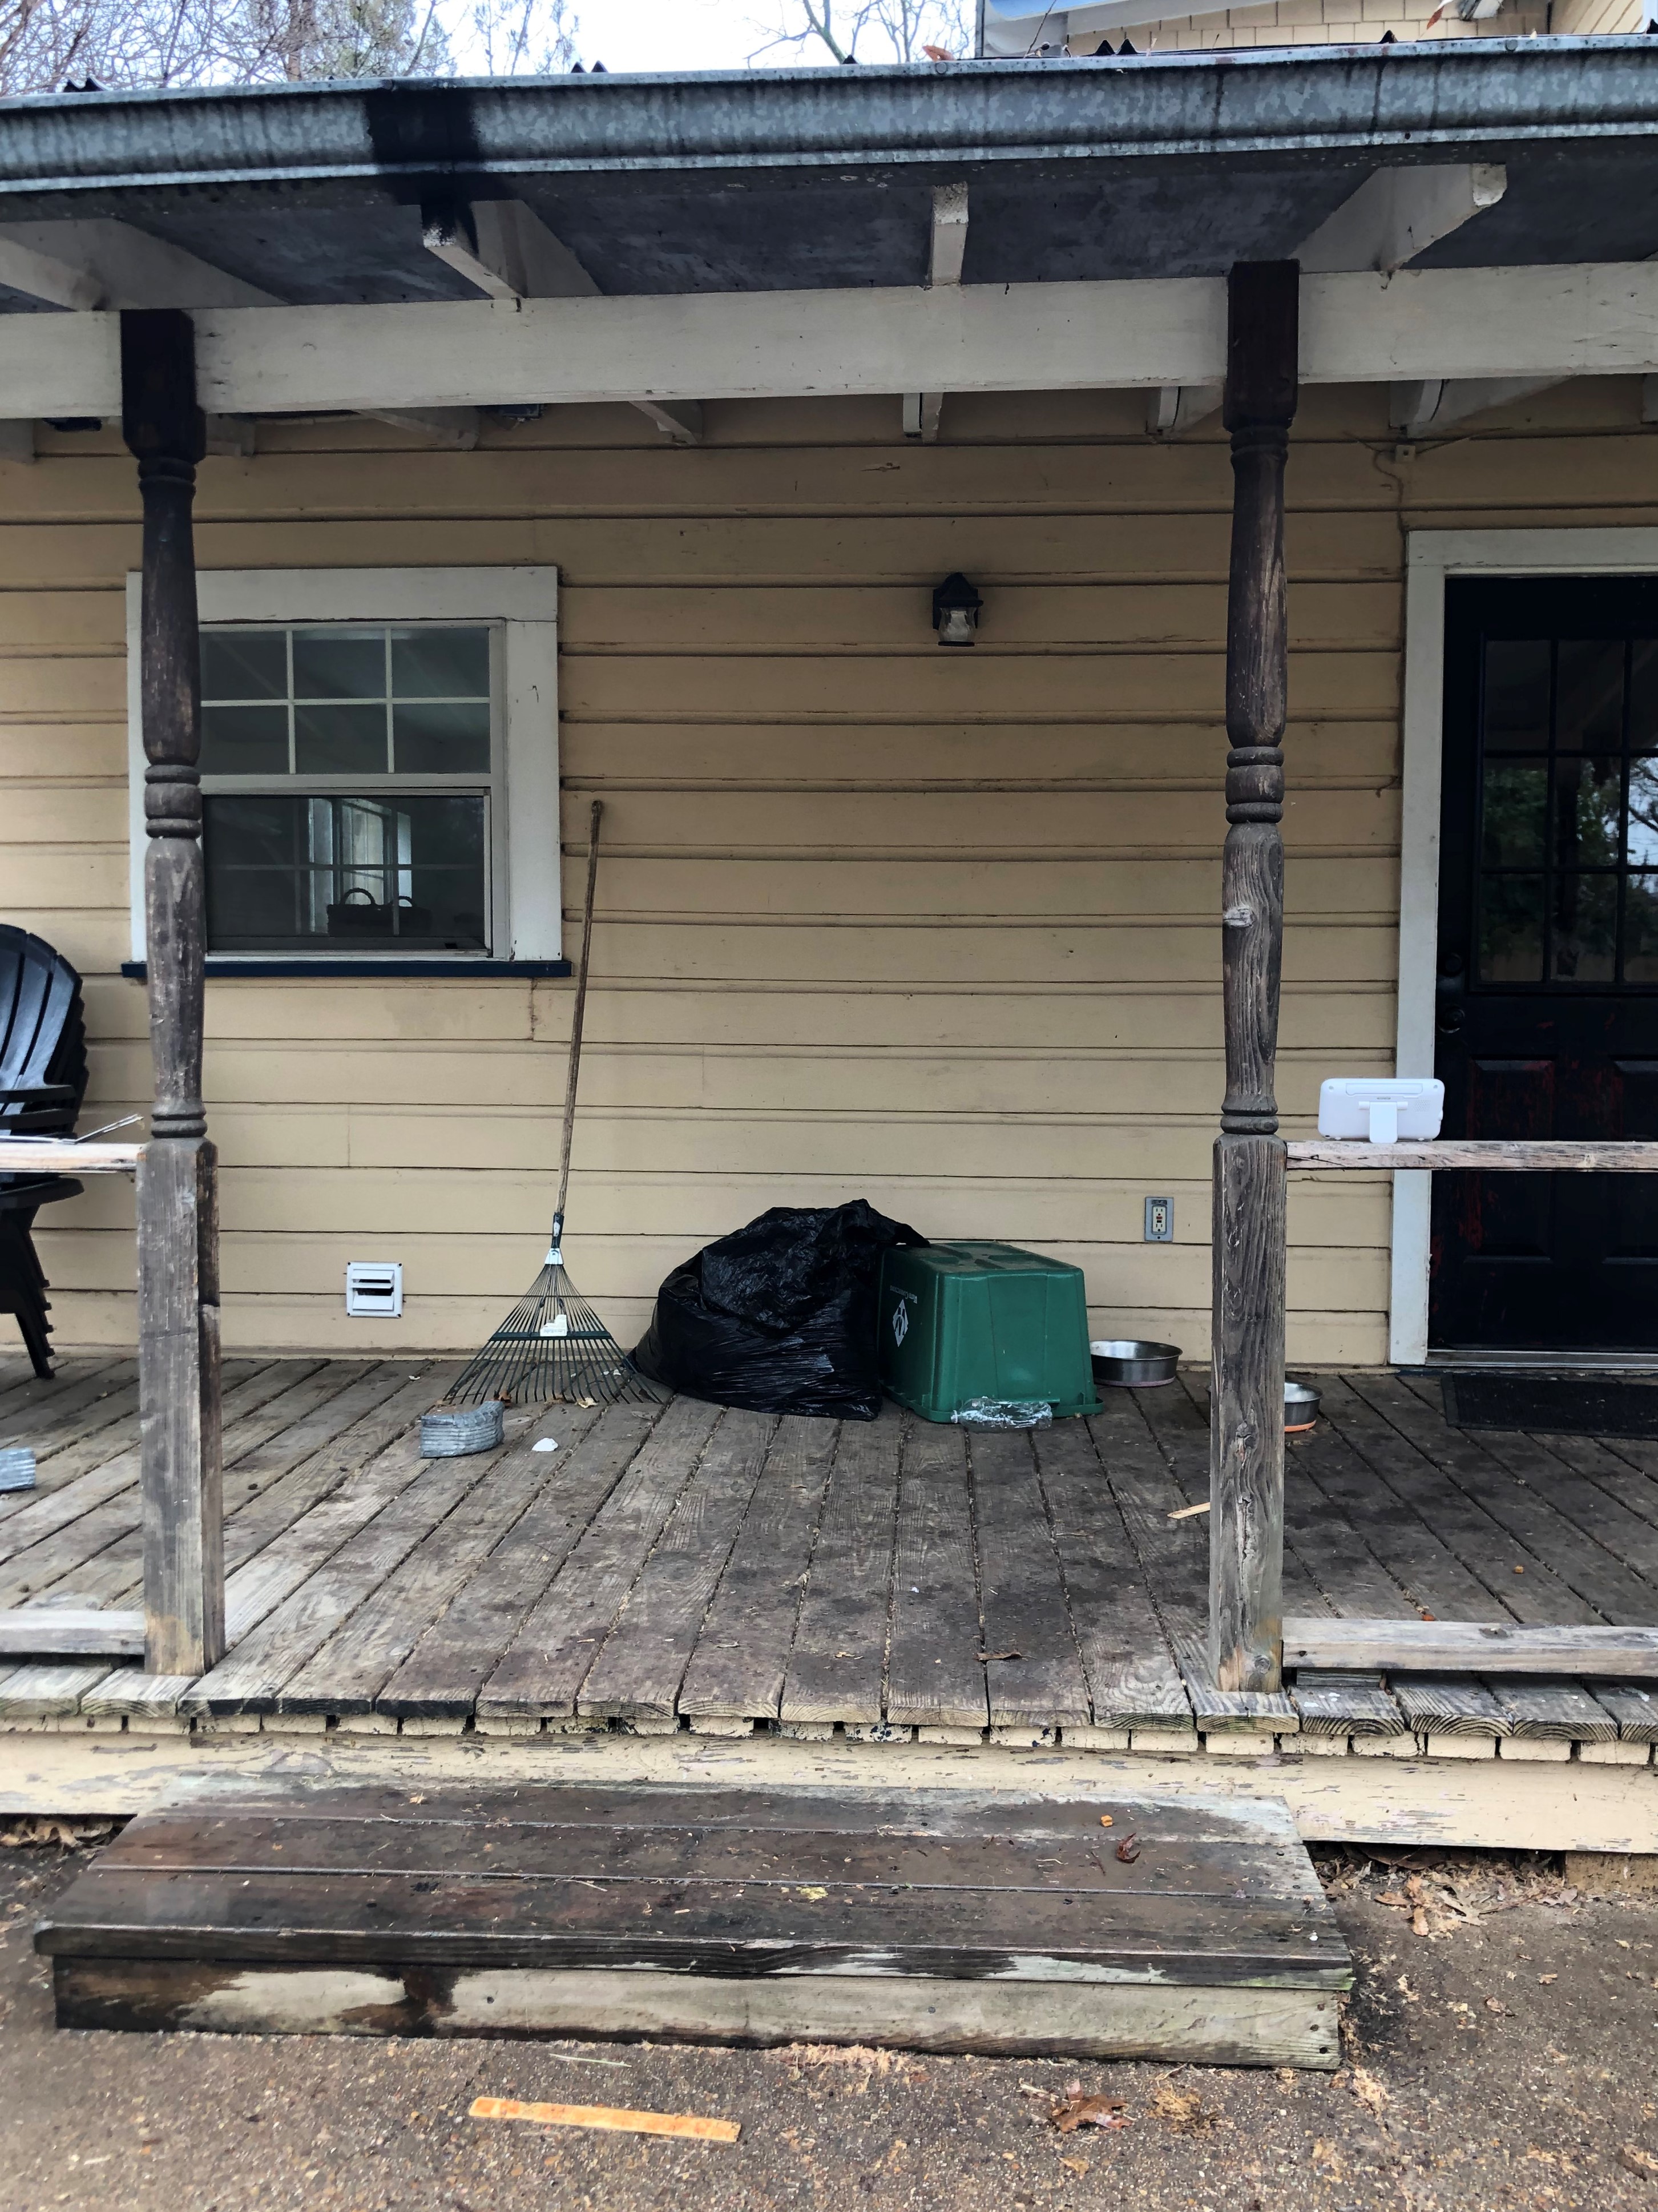
So we actually have three porches on this house (or technically two decks and one porch but whatever), but two different types. Our front porch is a traditional tongue in groove type wooden porch floor with no gaps and was already painted. It was badly chipping as it had probably been 40+ years since its last coat of paint. The back and side porches are more what you would consider a deck, They are 2x6inch (I think) boards with a small gap in between them. Ours had never been painted since it was installed in 1989. Are you ready for this before picture. Please don’t judge me. This house is a choose your battles kind of project y’all, because not everything can get done at once.

This picture was taken one month ago. Like, I’m embarrassed. Here’s one more for good measure.

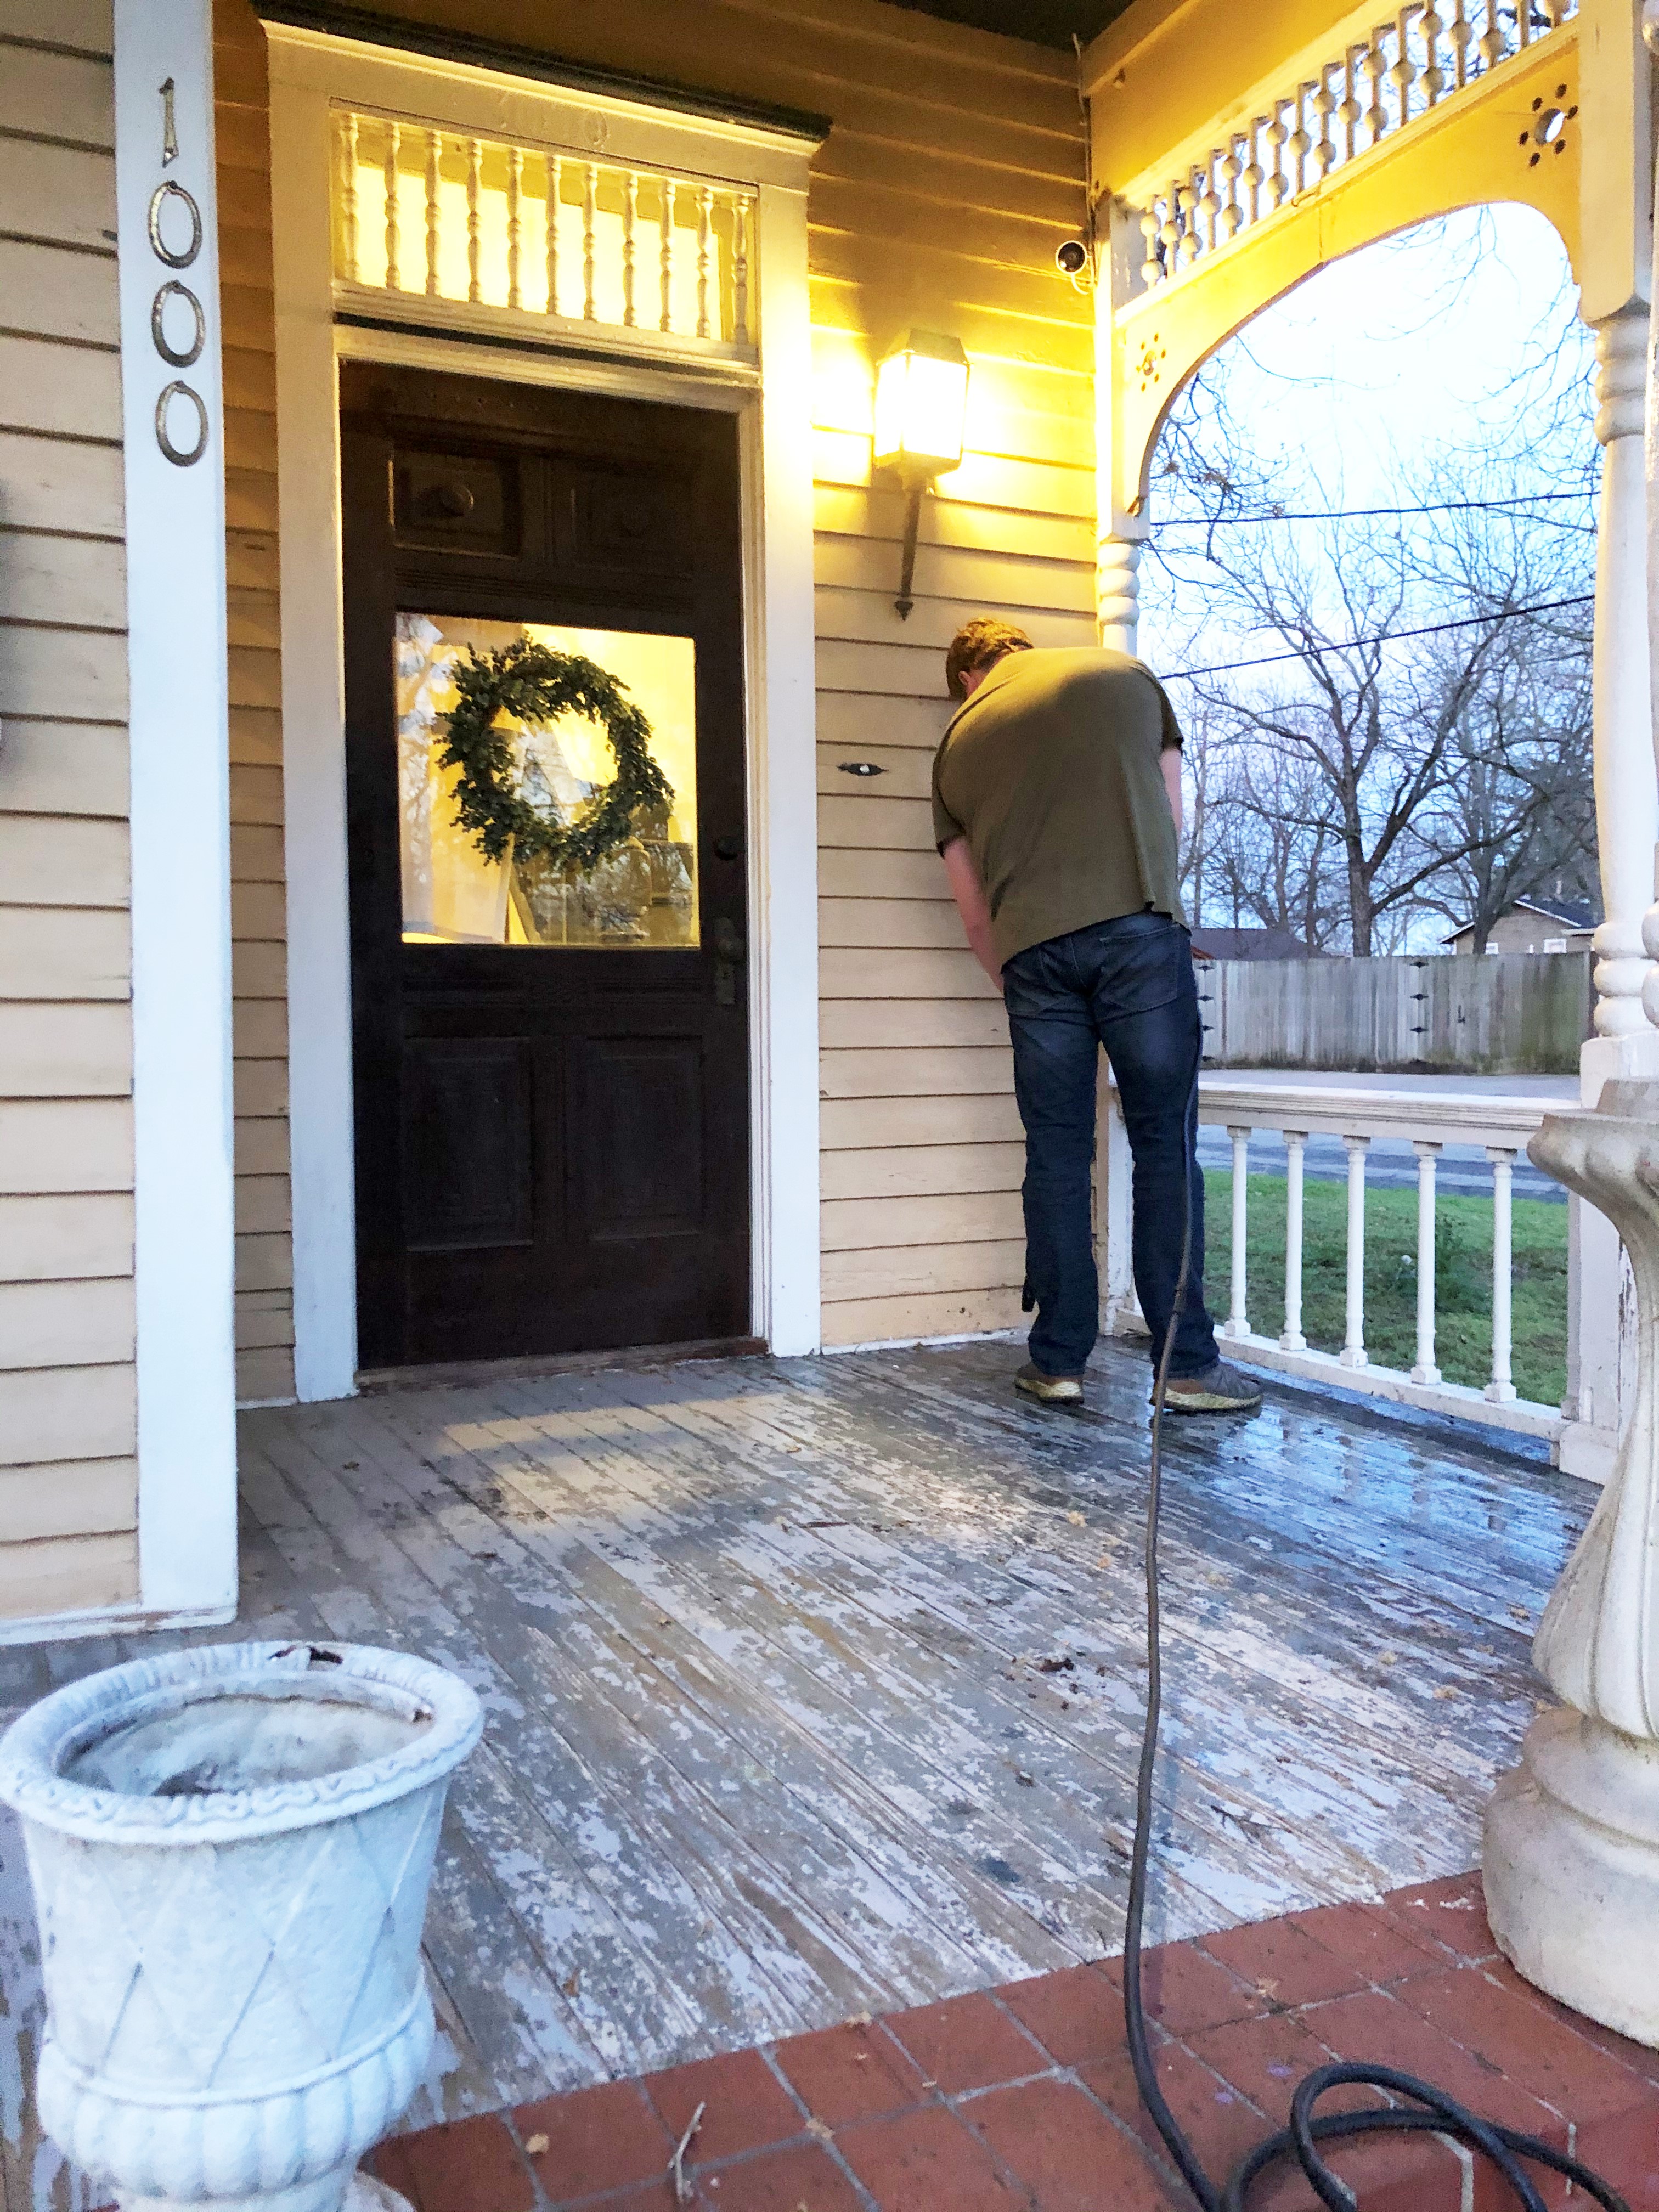
The process for both the front and back porches was pretty much the same, with a few minor variations. Because the back porch had never been painted, we just had to clean it, using a power washer. In the front, the paint was chipping, so I scraped by hand what I could, and then power washed the rest. The power washing definitely got more of the paint chippiness off.

You can see here just how bad it was. There was multiple colors showing through from different layers over time. So once we got everything scraped, washed, and ready to go, it was time to paint.

I used porch and patio floor paint mixed in the color Teton Blue by Behr. I bought a five gallon bucket, but only used about two gallons. Which is fine, because I have plenty for touch ups in the future. The first thing I did was roll using a regular paint roller with an extension brush. If you’ve never painted floors this way, honestly, it’s the easiest thing. Just standing, no strain on the back or arms. Honestly, it’s great.

In the front, since there were no grooves between boards, this was super easy. I was careful not to get too close to the house with the roller, but it was a very quick process. Once I completed the rolling, I had to cut in with a paint brush. On the front porch, this was just along the edges next to the house. On the back porch, I had to get my brush individually between each board. This was the most time consuming part.

I eventually coated everything twice, with some interruptions from the rain. When I was done painting, I let it cure for a few days before sealing it. I wanted to use something to seal the porches because it’s such a high traffic area that’s prone to dirt. For that, I used Thompson’s Waterseal and brushed it on completely. I did not use a roller for that. Because of the consistency of the mixture, I found it annoying to use the roller. It took forever to dry. Forever. That is likely in part due to the amount of rain we were battling along the way with this month long affair.

Lastly, for the back porch railings, I painted those white, using exterior flat paint. I got the color Cameo White. Those I just brushed on, it took forever, was honestly the most time consuming part of the whole thing.

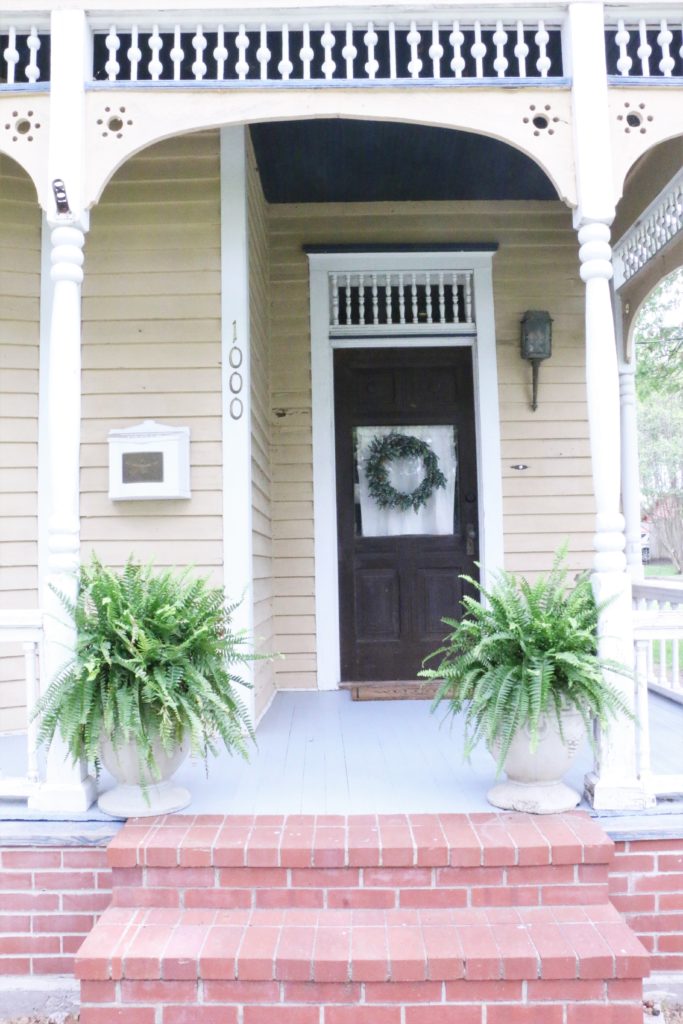
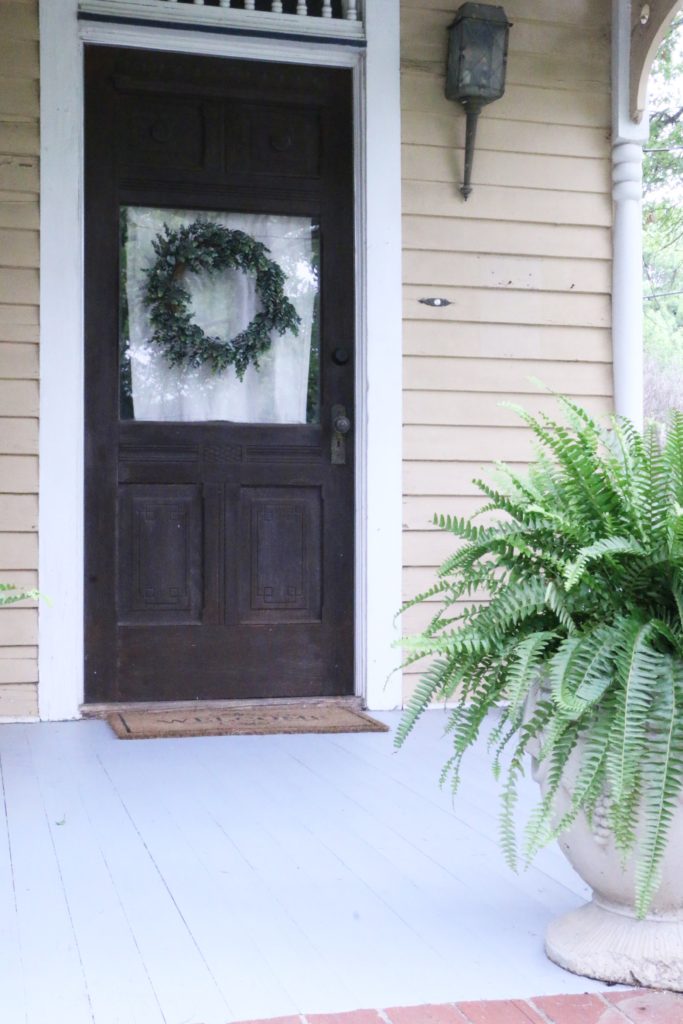
Alright, are y’all ready for the after photos? I’m assuming that’s what you’re actually here for. Let’s look at the front porch first.

This isn’t all that dramatic, it’s just fresher and cleaner looking.

But the back. Y’all. Let me just show you one more time the before.

And now…

I cannot get over how much of a change this makes.

This project cost about $200 for all of the supplies, but I could have gotten away with much less paint. I used a total of about two gallons for an estimated 500 square feet of space. Just as I do with all my projects, I kind of just dive right in without really knowing what I’m doing, but this one wasn’t as intimidating as I made it out to be.

So, what do you think? Can you even believe this is the same porch? I hope this gets you feeling motivated to tackle your own project, whether it’s a porch floor or something else. It probably won’t be as bad as you think! Well, that’s all for today, friends! Have a fabulous day!

DIY Projects

Six Big Impact Projects With One Gallon of Paint

Hello, friends! I thought it would be fun today to show you a few things around the house that are seemingly random but all have one major thing in common.

So, everybody knows about the power of paint in transforming a space, yada yada yada. You hear diy lovers everywhere talk about it. Well, that’s because it’s true. Paint can make something totally blah look totally fabulous.

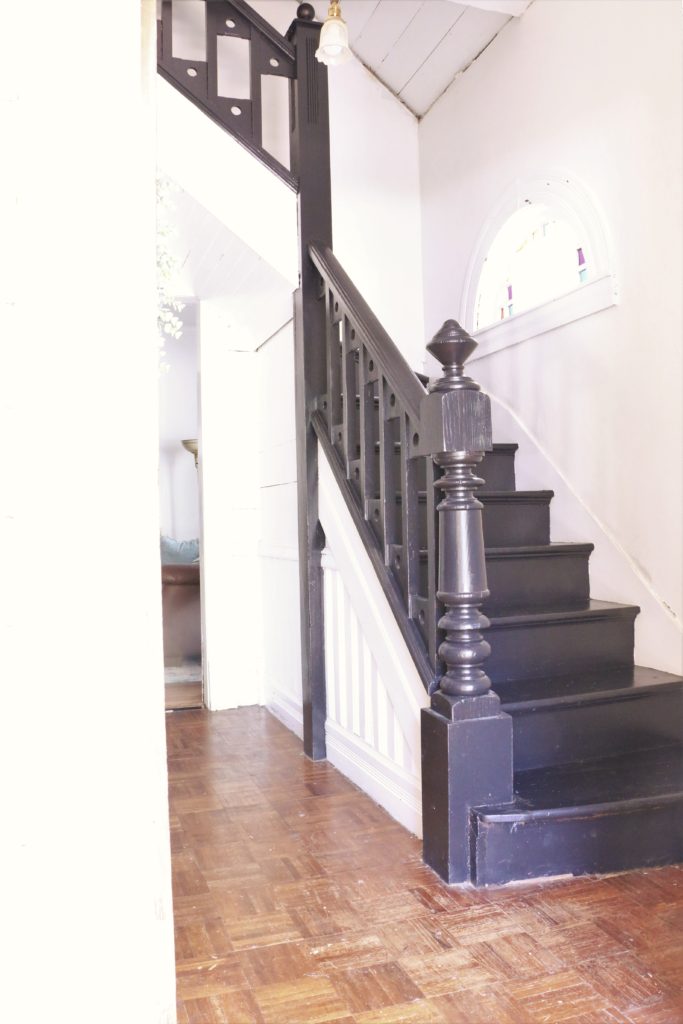
So, let’s back up a little bit. A few weeks after our son was born, I decided to paint the stairs in our house. As one does mere weeks after giving birth. Obviously. So, I went to Home Depot (this is not sponsored by the way, I just only shop there), and picked up a gallon of Behr’s Totally Black in a latex semi-gloss finish. I wasn’t sure how much I would use, or if one gallon would be enough, but I decided to stick with one and if I needed more, I would go get more.

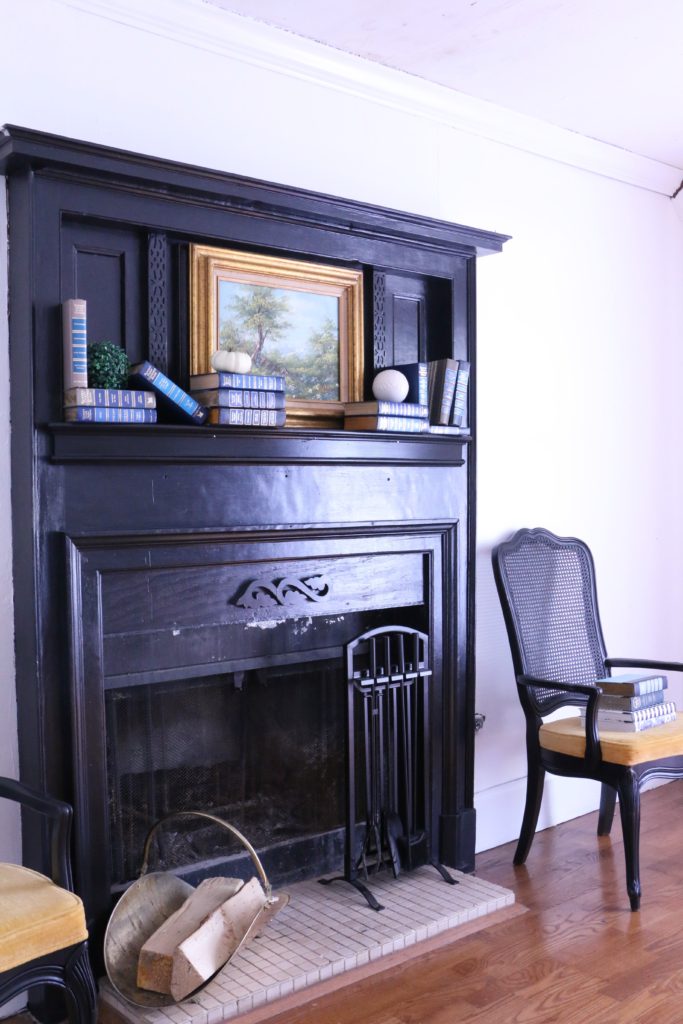
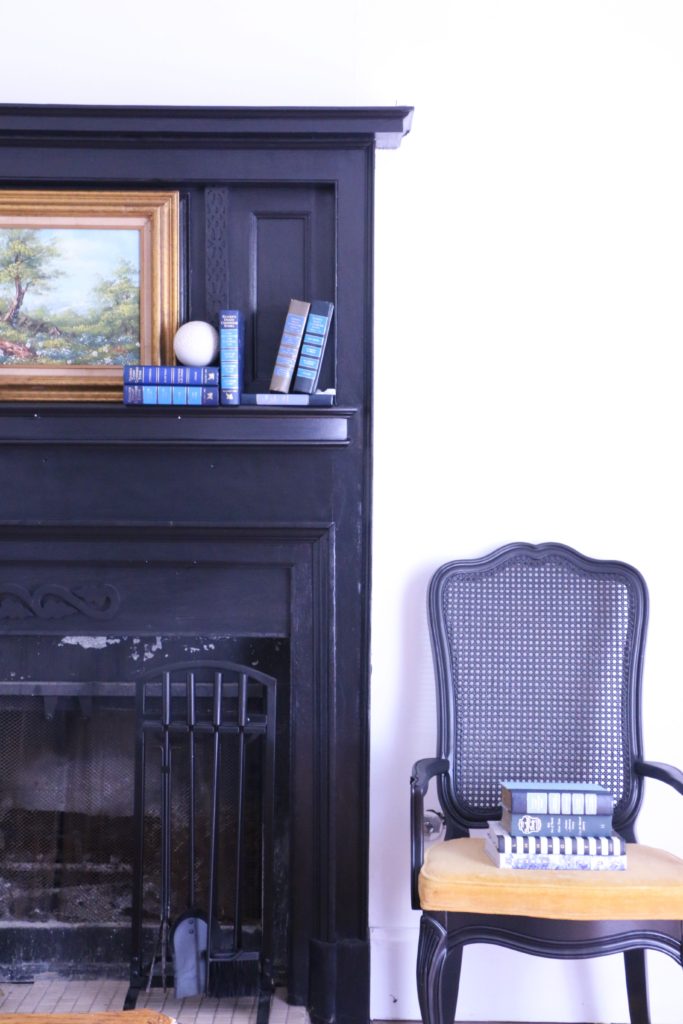
So, the black staircase was born. This is the view from the front door, by the way. I was pleasantly surprised at how well the paint covered the stairs (I did two coats), and how little paint I had actually used. So then, while still on maternity leave, I decided to paint the fireplace. Because, well, I already had some paint I could use, so why not? Hence, the black fireplace joined the party.

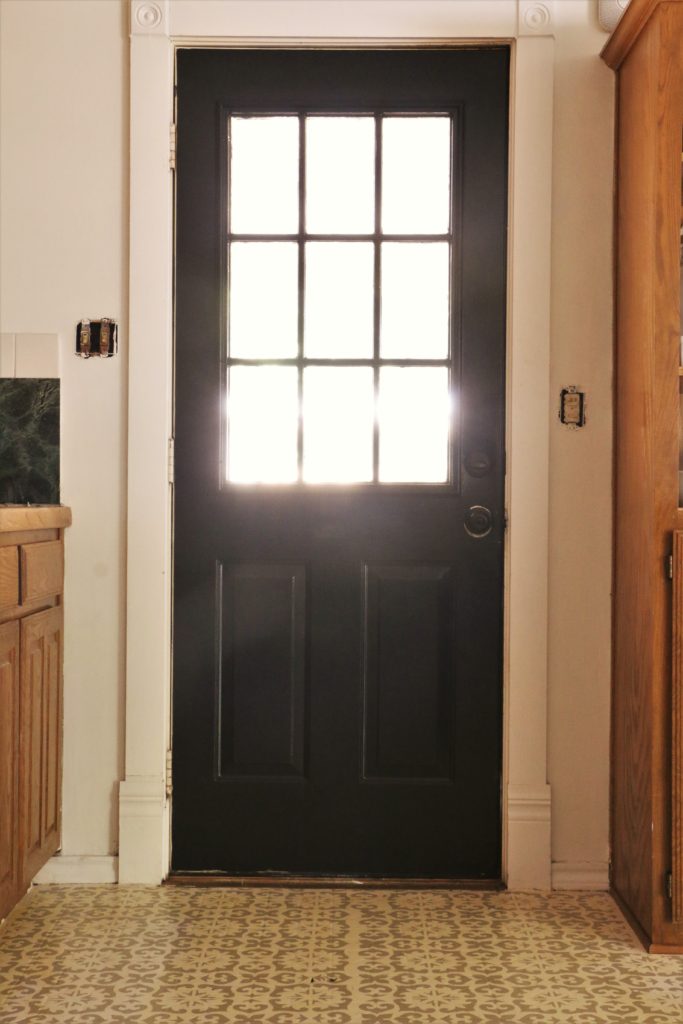
Now, in this picture, you may notice a sneak peek of another project. Hold on, I’ll get to that. Seeing that I still had some leftover paint in the bucket, I decided to go ahead and paint my back door. Now, this one comes with a warning. The back door is in the kitchen which is completely unrenovated and honestly just ugly. The quality of this photo is terrible. I’m sharing just to show you yet another thing I did with this single bucket of paint. So here we go.

The door is awful. It was more awful before. That’s pretty much all I have to say about that. Moving on.

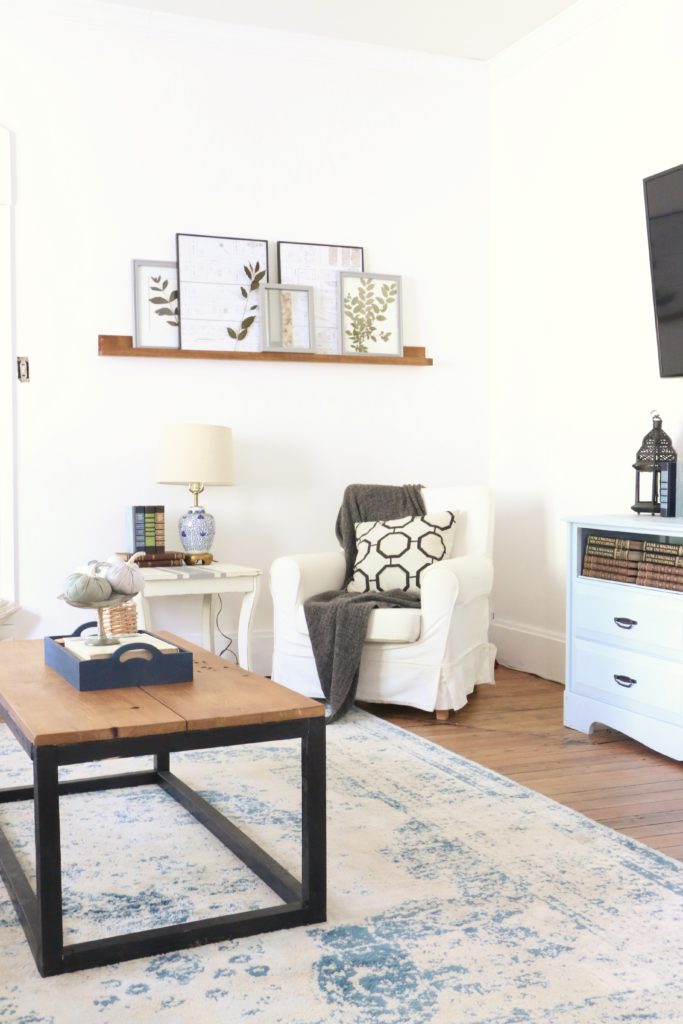
Some months later, the paint can had found a home in the garage awaiting some eventual use. That use came when on a random day in which work was unexpectedly cancelled (I work in a school, and the water had been turned off due to some road construction so school was cancelled). Finding myself with some extra free time, I decided to build a coffee table. A perfectly stable and precise coffee table it is not, but I built it alone and with items I had completely in my garage spending zero dollars. I’m sure you can guess where this is going…I painted the legs to the coffee table with more of the black paint.

Time goes on. On a whim one day browsing Pinterest, I decide to paint some faux-dalmation wallpaper on a passthrough area between my living room and dining room. Good golly this one was a good one. In a few hours time with the trusty bucket of black paint and a step ladder, I had done this.

The dalmatian wall is my faaaaaaavorite. It adds so much personality to the space and I love it. It was one of the most popular projects I have ever posted about on Instagram as well. And why not? At this point, it wasn’t costing me any more money and wowza it packs a punch.

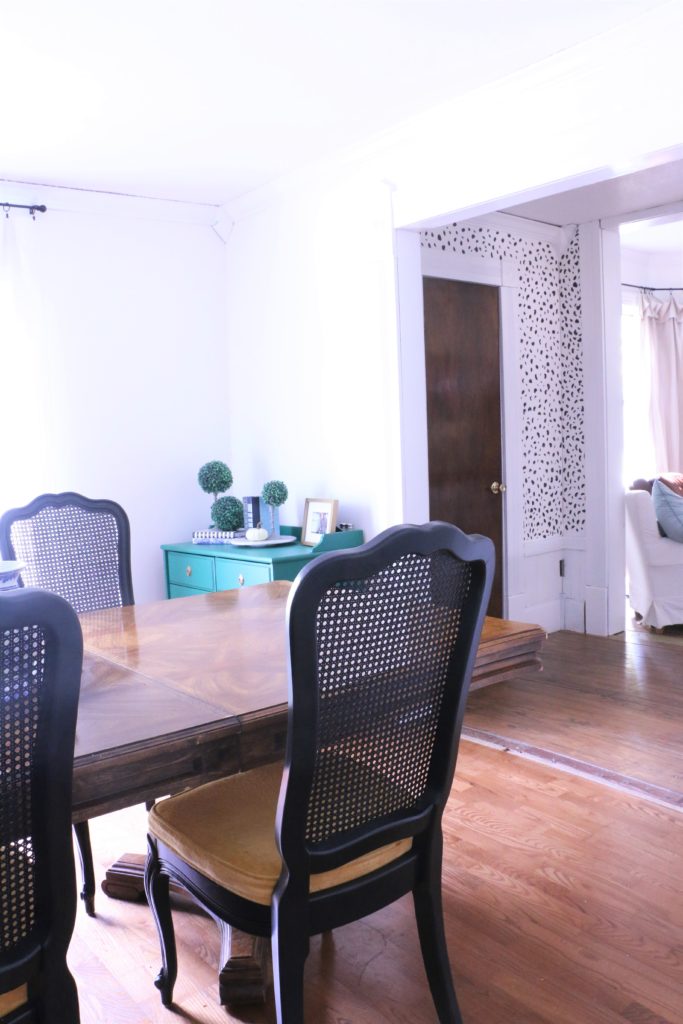
So that brings us around to the final project, the one that you’ve now possibly spotted twice already in these photos. You guessed it. The dining room chairs. By this time, I’ve already completed five other projects with this gallon of paint, but I still have more so why not? I did use a paint sprayer with these chairs, which means I had to add water to my mixture to make it thin enough for my sprayer. So, full disclosure, I stretched a bit here.

This is the most recent project, and they aren’t completely finished yet. I’m looking for the right fabric to recover the chairs, but I haven’t found what I’m looking for at the right price point just yet.

So there you have it. Six things I did with one silly gallon of paint that cost me less than $30. Insane, right? Would you believe I still have some left? Yep. Now, I probably won’t do any new projects with it, as I’d like to have some left just for touch ups. And with all these things, it’s likely I’ll have things to touch up over time.

So, a couple of takeaways here. Number one: paint is freaking awesome. You can cover a lot of ground for a little money. Number two: doing these different projects in different spaces throughout the house makes things feel more cohesive. The fireplace is the same color as the front stairs which makes it feel less random and more like they belong together even though they are in completely different spaces. It helps the house flow visually, I think. All that to say; I hope this inspires you. Get out there and paint something!

That’s all for today, friends. Have a fabulous day!