Browsing Category

Home Decor

Holidays, Home Decor

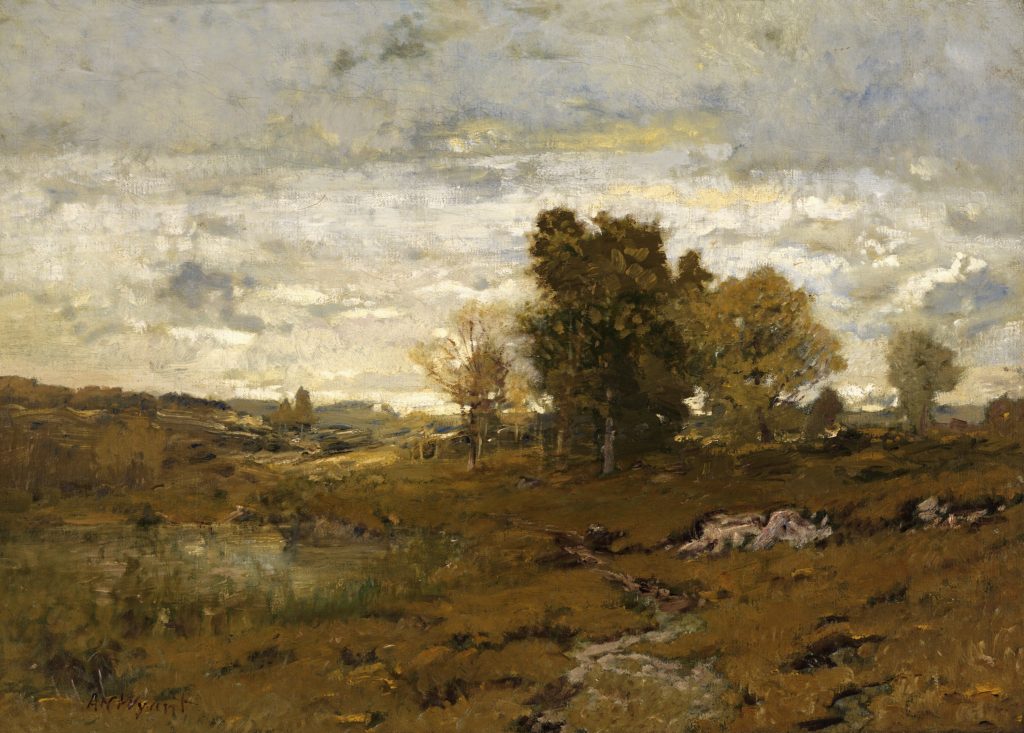
Free Downloadable Art Prints for Fall

Hi! Glad you’re here! It’s September first, which naturally means it’s unofficially fall. Pumpkin spice, hats, scarves, boots, baking, hay rides, bring it on! Just kidding. It is still in the upper nineties where we live in Texas, so none of those things are in our immediate future, but we can still pretend, right?

I don’t really decorate much any more for fall (I save my energy for Christmas), but I did get curious today about looking through some free public domain art to download. It’s easy to print for at home use, stick it in a frame, and call it fall decor. It’s fall decorating for the non decorators.

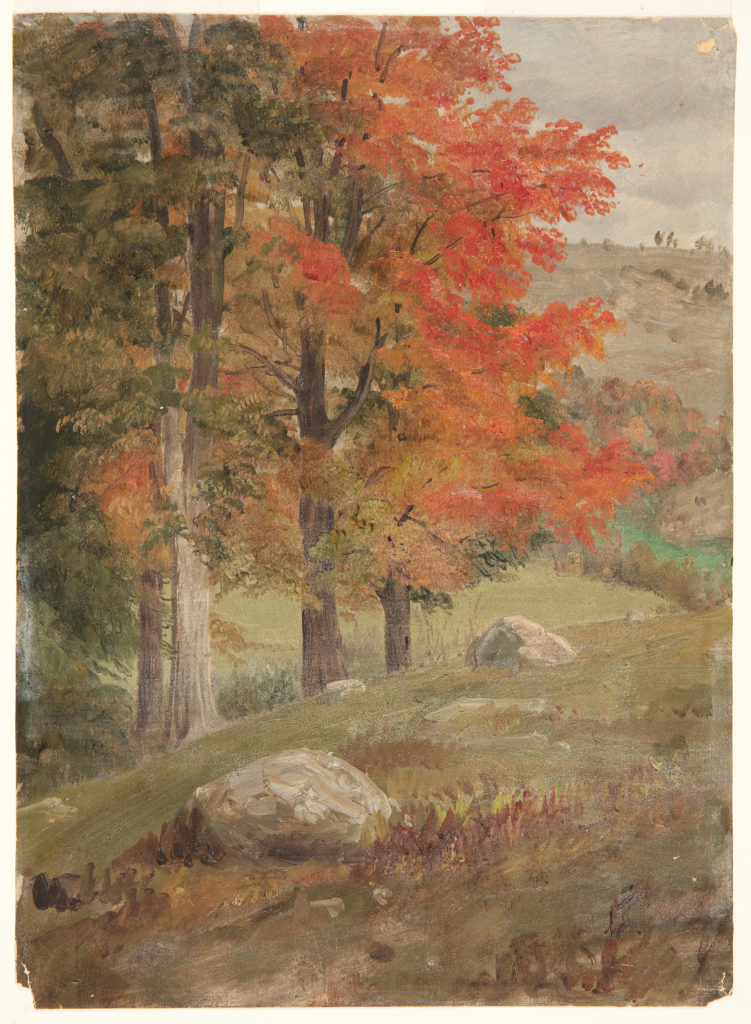
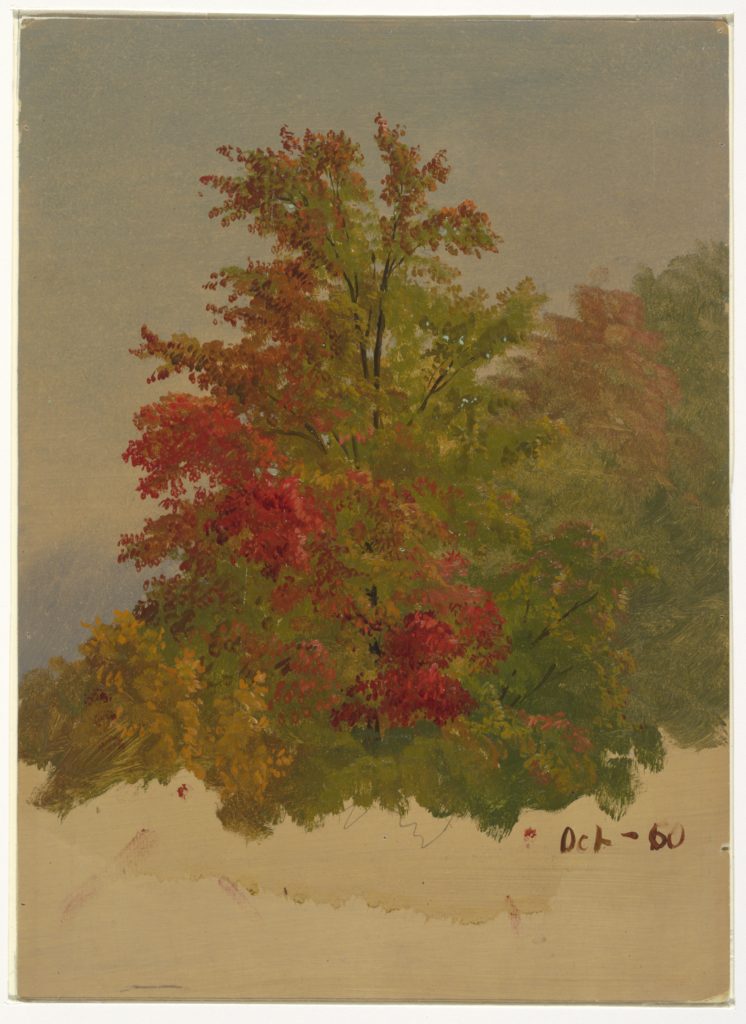
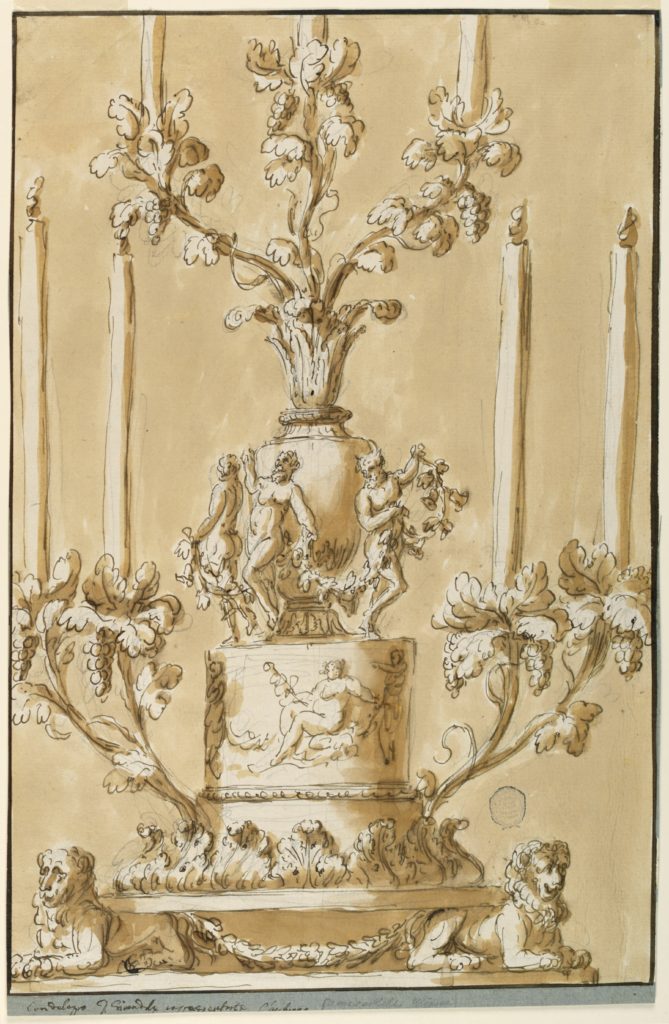
I found six prints that I would put in my home, and figured I’d share them with you guys. God bless museums that offer free public domain art online, amirite? It takes some digging to find good ones, so I did that work for ya. Click through some of the following links to download your own art for free. You’re welcome.

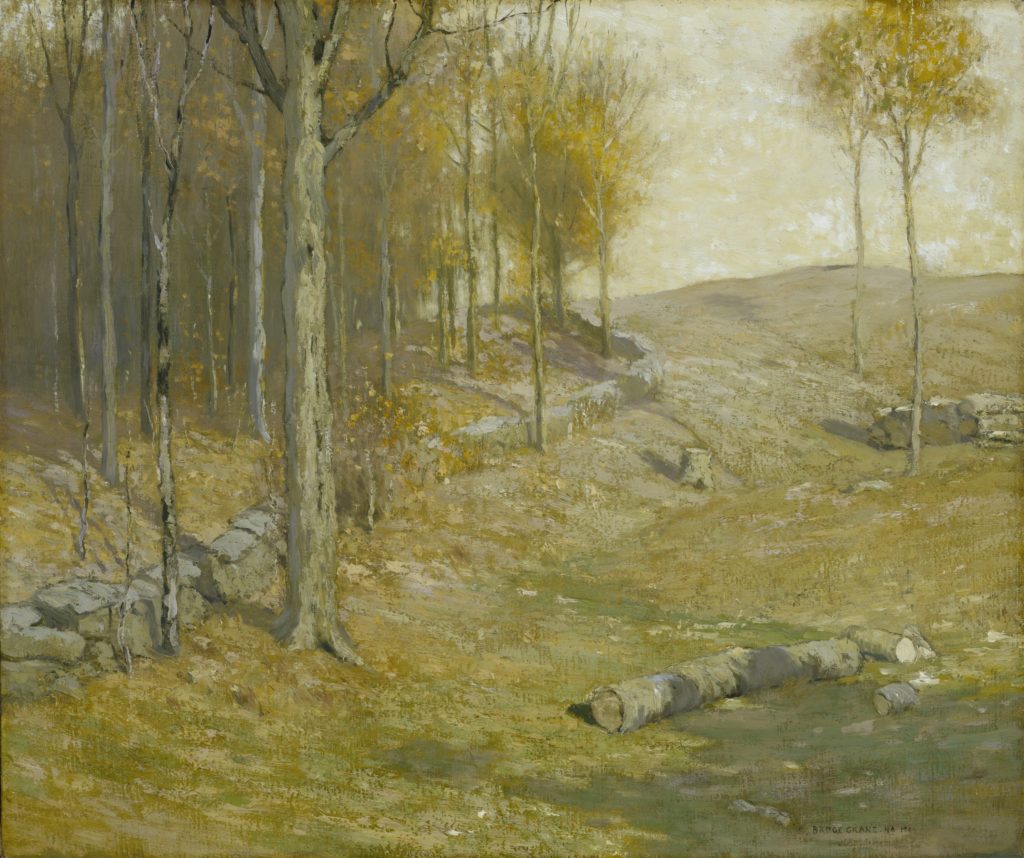
Autumn, Bruce Crane

Autumn Landscape, Du Bois Fenelon Hasbrouk

Autumn at Arkville, Alexander H. Wyant

Candlestick Representing Autumn, Giuseppe Barberi

Woods in Autumn, Frederic Edwin Church

A Maple Tree, Autumn, Frederic Edwin Church

These are a few of my favorites I found while browsing. You can easily print them at home, or send them in to your local drugstore that does photo printing. Easiest decor ever! That’s all for today, have a fabulous day!

Home Decor

Free and Low Cost Art

They say that to make a house feel more homey, it needs art. Well, I agree, but what I know about art is that it’s expensive. And if I go to a big box store and buy something off the shelf, chances are someone I know has the same one in their house. And that doesn’t make my house feel special or unique. Today I wanted to share with you a few ideas for finding art for free or inexpensively that are unique and make your home feel special!

First, let’s talk free. It’s my favorite word.

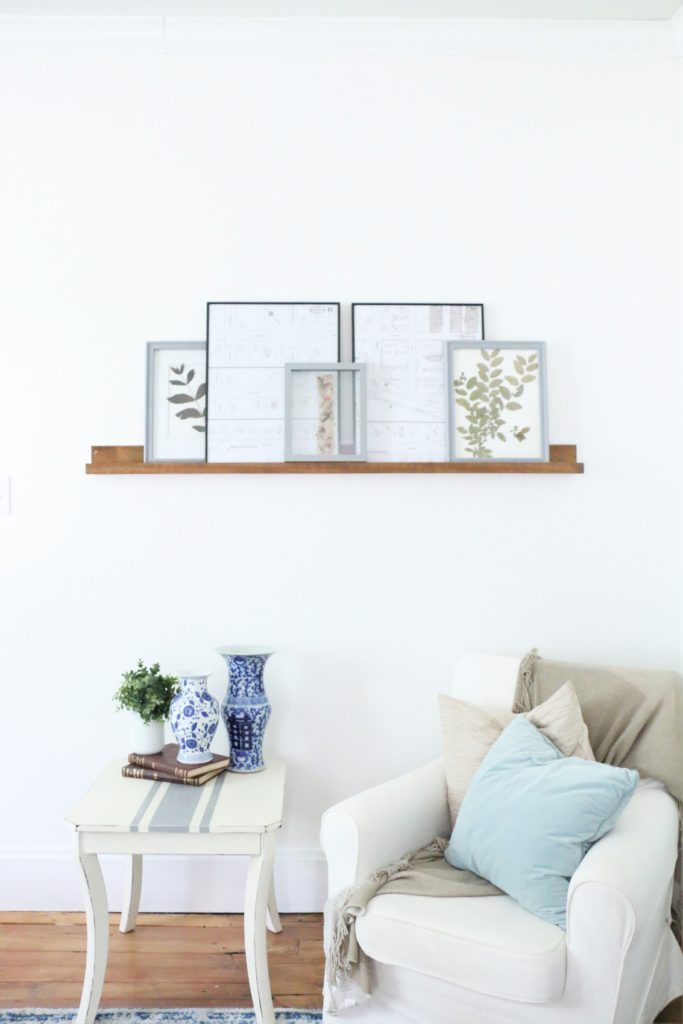
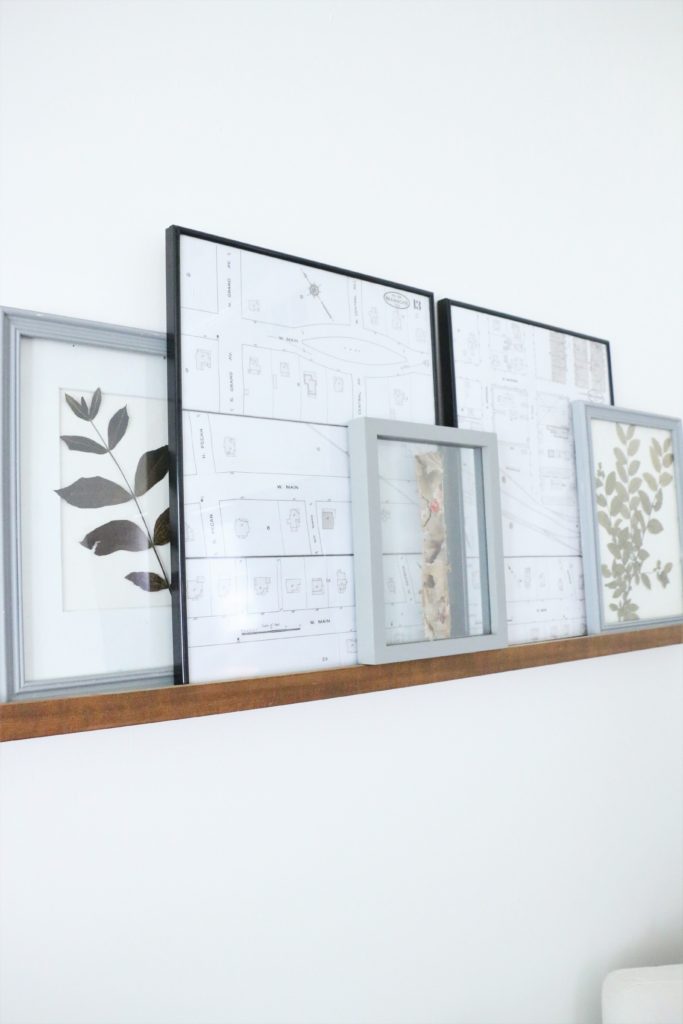
This is a view of the art ledge in our living room. Our living room is a work in progress. Let’s look beyond that. A couple of things I have here are some literal weeds that I cut from my yard and pressed under some magazines. I stuck them in some thrifted frames I had on hand, and boom. Done. I also have a framed scrap of wallpaper that we found while tearing out a wall in our house. It’s probably close to 100 years old. Now, you may not have 100 year old wallpaper you want to frame, but you might have something personally special to you like a handwritten recipe card from your grandmother, or a silk scarf that your mom used to wear. Frame it, and it’s personal and unique and free art!

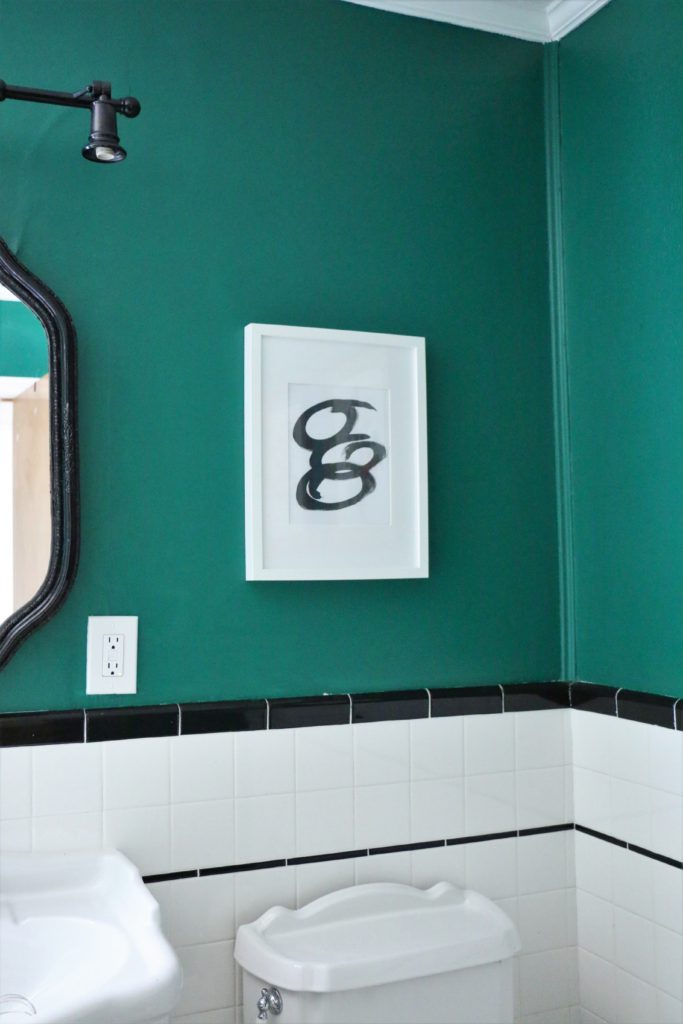
You can also paint your own abstract art. I would consider myself “creative,” but not “artistic” if that makes sense. But anyone can paint some circles or blobs on a piece of paper and call it art, right? (Also, check out this sneak peek of my bathroom refresh! I’m waiting on a few things to be delivered before I share more, but it’s coming! And it’s green!)

And while you’re browsing your favorite magazine, be on the lookout for pages that appeal to you. You can always cut pictures from books and magazines and frame those too!

Now let’s move to the “low cost” category.

Not quite as good, but still pretty cheap, so listen up.

These large frames in our living room are prints of Sanborn Maps. These are map views of our neighborhood from the early 20th century that I had printed. They are available for free on the library of congress website, but I’m including them in the “low cost” category because I had to pay a few dollars to have them printed in large format at my local office supply store. You may not live in an old house and so these may not be relevant to you, but I wanted to share with you my favorite and new found obsession for amazing prints.

The Smithsonian has thousands of archived digital files available to download right on their website for free. Can you even believe that?! Through Smithsonian Open Access, you can browse tons of actual paintings and photographs that you can legally download at a great resolution. These are free to download, but I’m including them in the “low cost” category as well, because I print them as posters or large scale photographs at my local drugstore. This ballerina print in the nursery was one that I downloaded from their website.

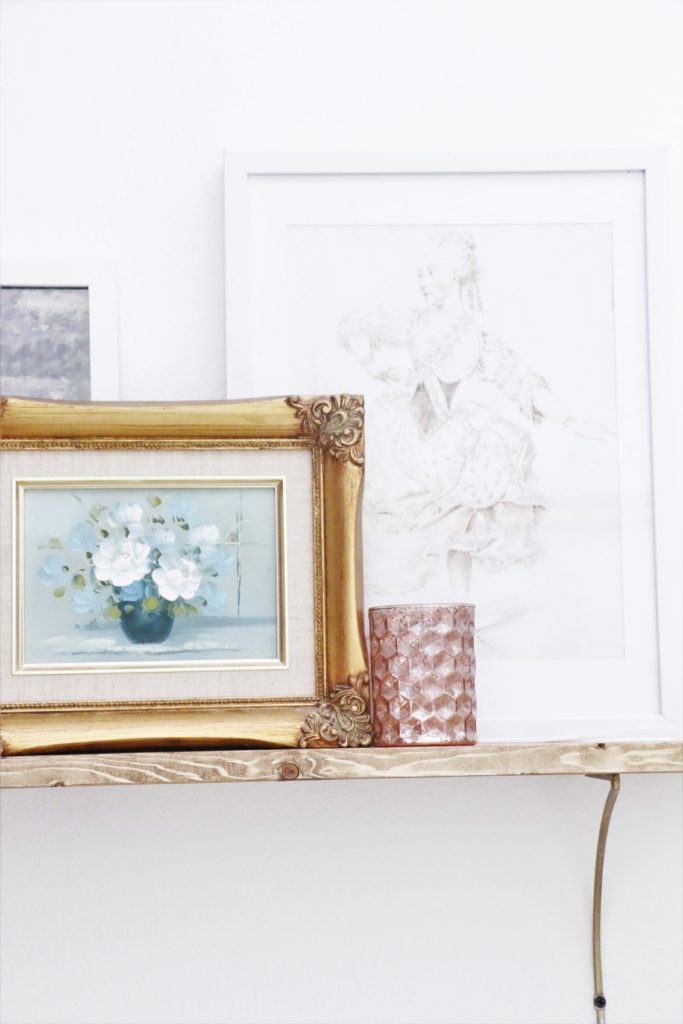
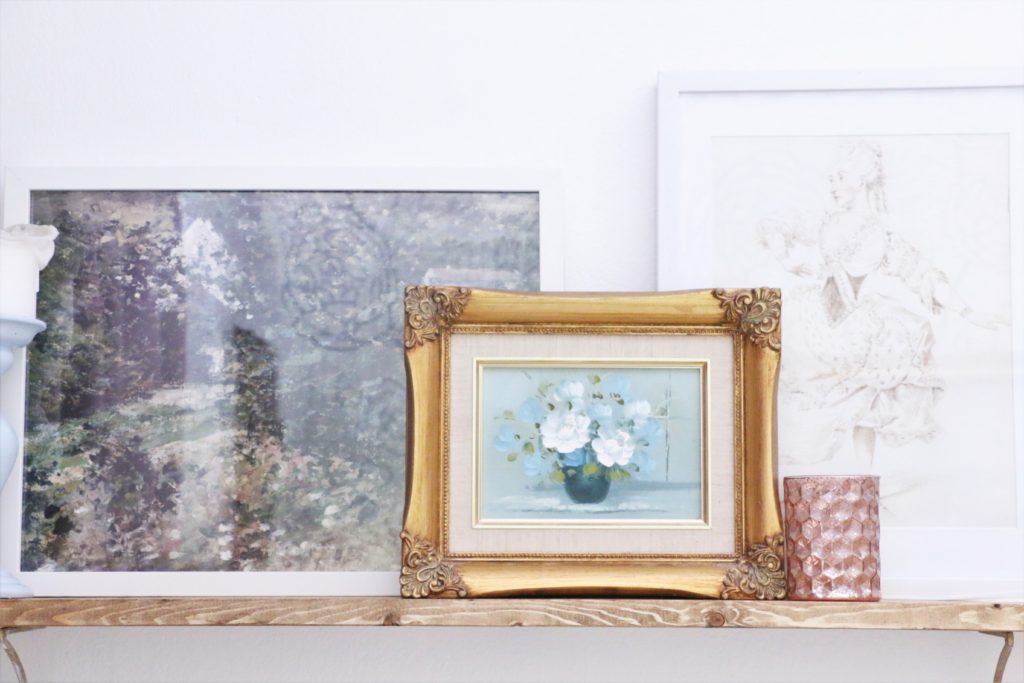
And lastly, you know I’m going to tell you to thrift. This original mini oil painting was $4 including the frame. No one else has one, and it helps the room feel unique. Thrift stores, flea markets, and estate sales are filled with framed art for just a few dollars. Sure, you have to look beyond the 90’s prints of flying ducks or the “live, laugh, love” posters, but there are some real gems to be found.

You can fill your home with pieces that not everyone has on a budget! You can fill your walls with art and special things without spending a ton of money. That’s all for today, friends! Have a fabulous day!

DIY Projects, Home Decor

DIY Bed Canopy

Hi guys! Glad you’re here! I wanted to share with you a project that was a big undertaking in our master bedroom. If you remember a couple of months ago, we were working on getting one of the upstairs rooms livable to move our master upstairs. You can read all about that here . Over the last weeks, I kept some of the progress live on Instagram, when we revealed the paint color, and the new rug.

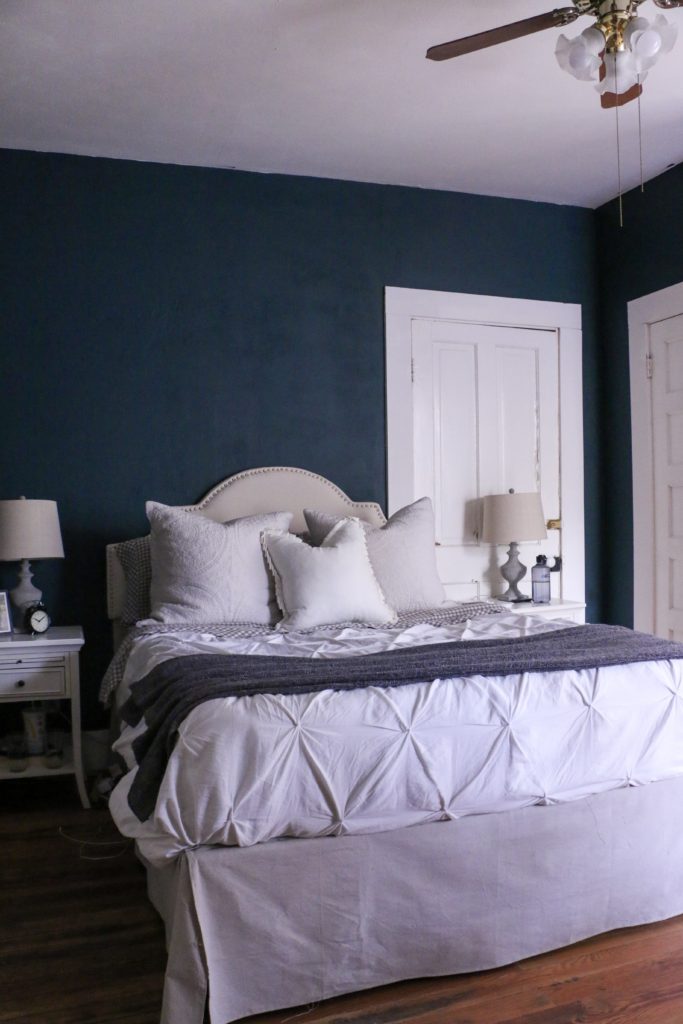
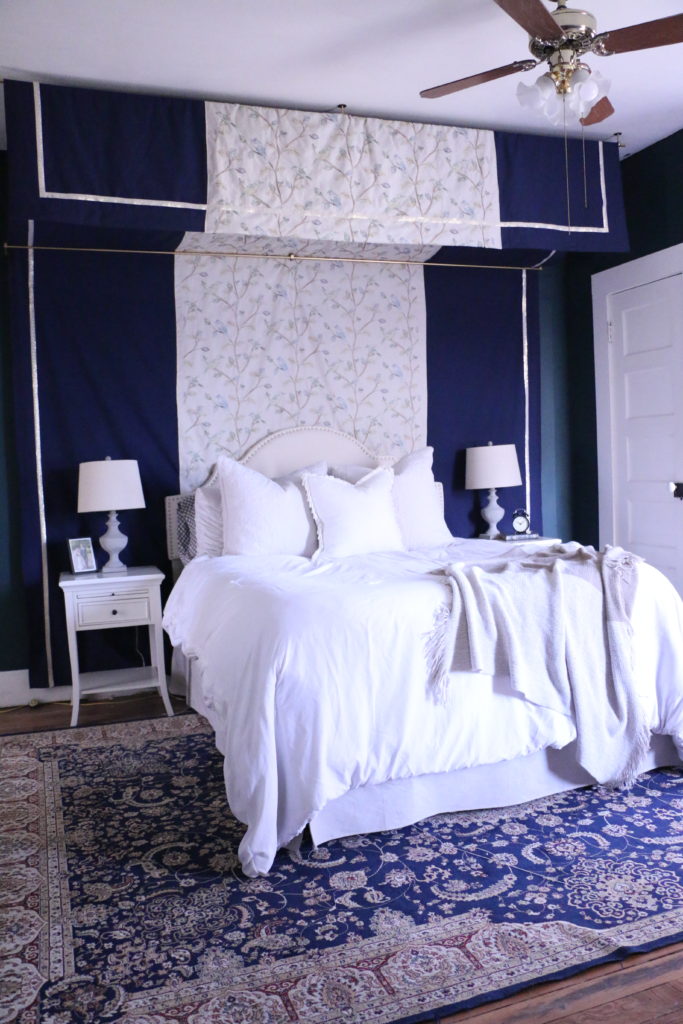
If you remember, this room has six doors in it, leading to various places, meaning that there was no good spot to put a bed. We ended up putting the bed in front of a door, and I started coming up with some ideas on how to cover that door or make it less obvious. I thought about painting the door and door trim the same color as the wall, or putting a privacy screen behind the bed, or even making some kind of false wall contraption that would rest behind the headboard. Then I stumbled upon this on Pinterest from Design Sponge, and I knew this was what I was going to do.

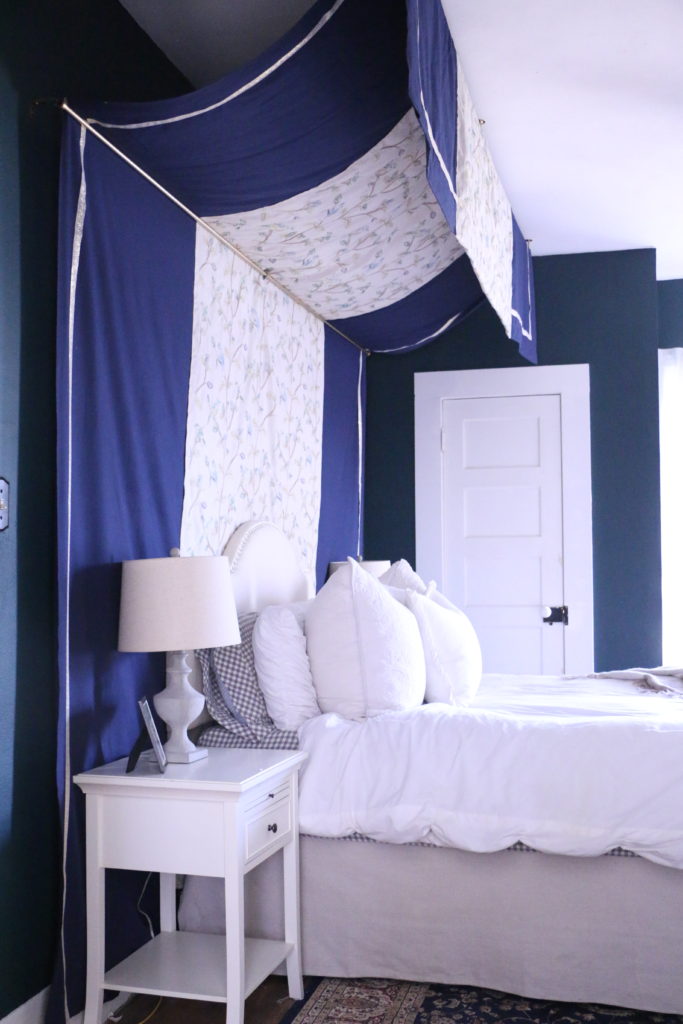
She had a great tutorial that I used, but because I was trying to cover a door behind the wall, I needed it to be wider than the bed itself. It ended up being a 10 foot width that I needed to cover, by 15 foot length. Trying to find fabric of that size was a nightmare. I first tried a large dropcloth and dying it the color I wanted, but that ended up being a massive fail because the fabric was so large and it didn’t fit in my bathtub where I was trying to dye it.

So I ended up buying a bolt of 60″ wide fabric (ten whole yards), cutting it in half, and sewing the two pieces together so that I had one 10x15ft piece of material. The only problem was that now there was a seam down the middle of where it would be hanging on the wall, so I decided to add an accent material up the center of the canopy to cover the seam.

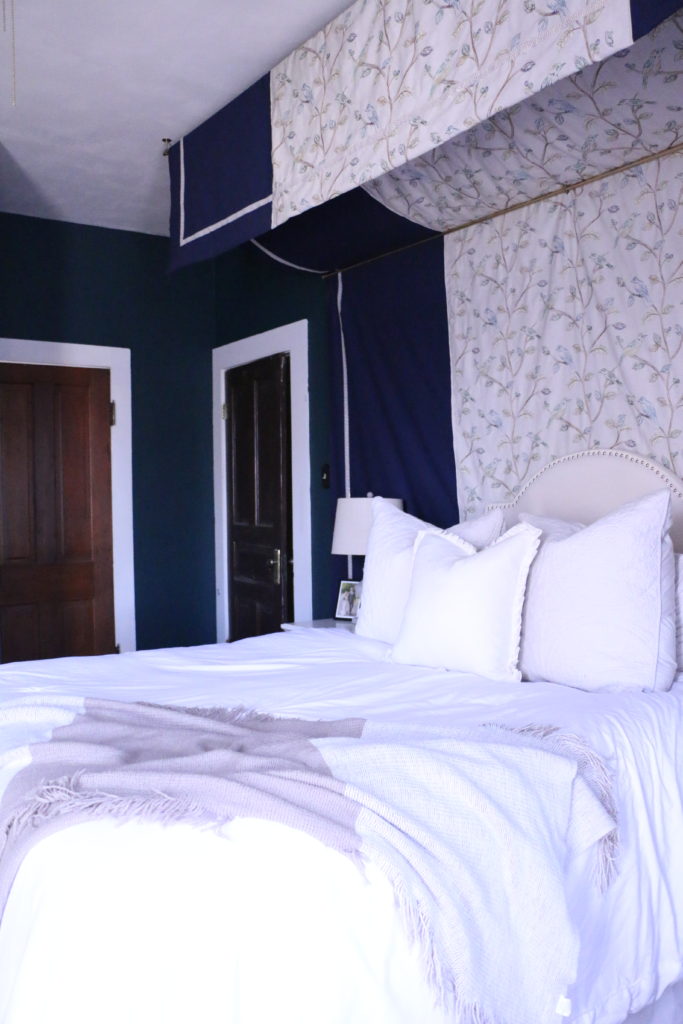
The accent fabric was a nightmare. I ordered from one place, only for it to be out of stock. I ordered the same fabric from another location, only for that one to be out of stock. I finally just walked in to Hobby Lobby and found this fabric. It’s no longer listed on their website, so I think it might be discontinued, but I liked that it had blues and greens in it, and would probably work well in the room.

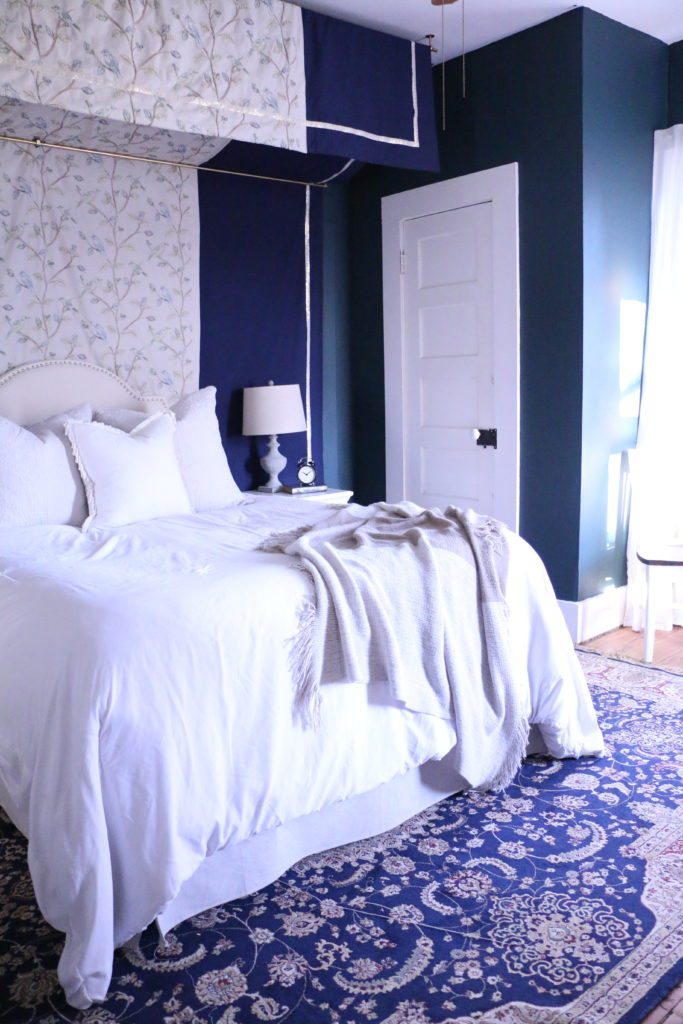
I used my accent fabric just in the middle of the canopy, and then hung it up. One rod is mounted on the wall, and the other from the ceiling. Hanging was also a nightmare, because this canopy was super heavy, and these are tall ceilings. I used a dab of hot glue once we had it in place to prevent it from shifting.

I also used hot glue (because hot glue can do all things) to add the greek key ribbon trim. Before the ribbon was added, I wasn’t too sure about it overall, but I do think the trim polished the whole thing off and made it look more finished.

The goal here was to cover that unsightly and unused door, and I think that this definitely fits the bill. And the best part is that the door is still totally accessible so the next time we need to move furniture upstairs, we can open the door! I’m really loving the way this project turned out, and it’s true what they say: necessity really is the mother of invention. What do you think?

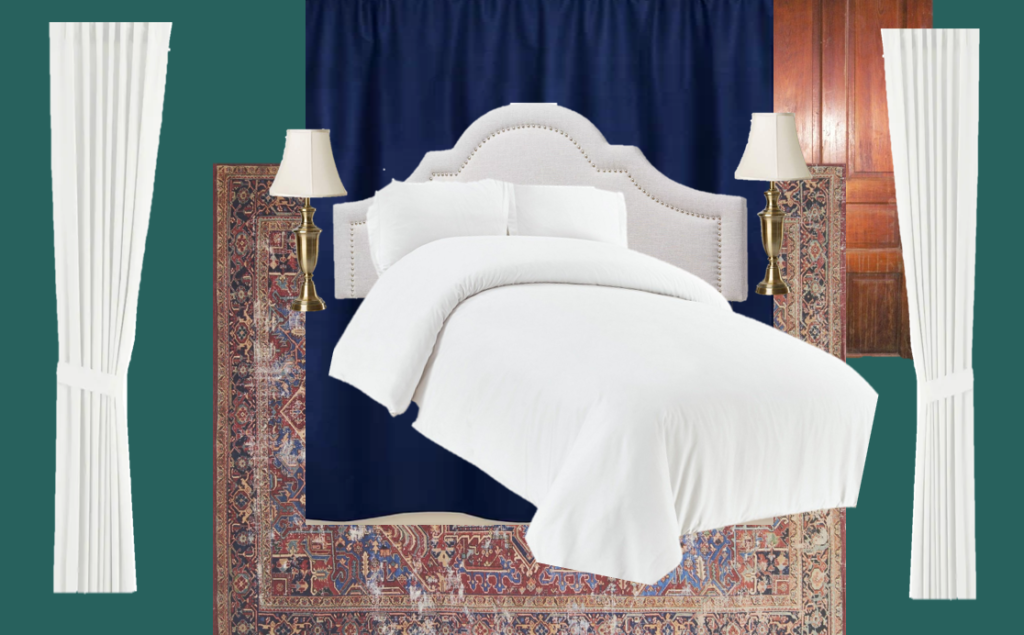
And just for fun…take a look at the original mood board for the space! It’s so fun to see it coming together!

The rest of this room is evolving slowly, and I have some continued plans for the space, but all in due time. That’s all for today, friends, have a fabulous day!

Home Decor, Room Tours

Our Baby Boy’s Nursery Reveal!

Hi, friends! I am so glad you’re here today! I am so excited to share this with you guys… I’ve been planning this post for months (nine months to be exact 🙂 ). I have been pretty ambiguous about nursery planning and baby stuff in general on social media. We didn’t even share the gender on social media until he was born! But now that our baby boy is finally here, I want to share the nursery details with you all!

This was a fun room for me, because it’s the first room I’ve ever designed completely before even starting. Toward the beginning of my pregnancy, we were still house hunting, so I had a mood board of what I was planning, but no idea what the room itself would actually look like! I couldn’t buy anything, because I had no idea how many windows to buy curtains for, how big of a rug to purchase, etc. I had to be incredibly patient, which was hard.

And then we bought the house at the end of July, but there was way more severe work to complete before I could even begin setting up the nursery. We basically purchased everything and set it up completely in one weekend, which was new for us. Every other room in our home has evolved over time, mostly as budget as allowed. This time, I spent months planning ahead of time, and then it all came together at once. Which was a pretty fun experience, in my opinion.

So anyway, I’m sure you want to see the nursery. I knew I wanted to use navy instead of the typical baby blue color, and I didn’t want a “theme.” The walls are the same color as the rest of our house, Polar Bear, by Behr. I wanted everything to have a neutral palette, with just touches of navy here and there.
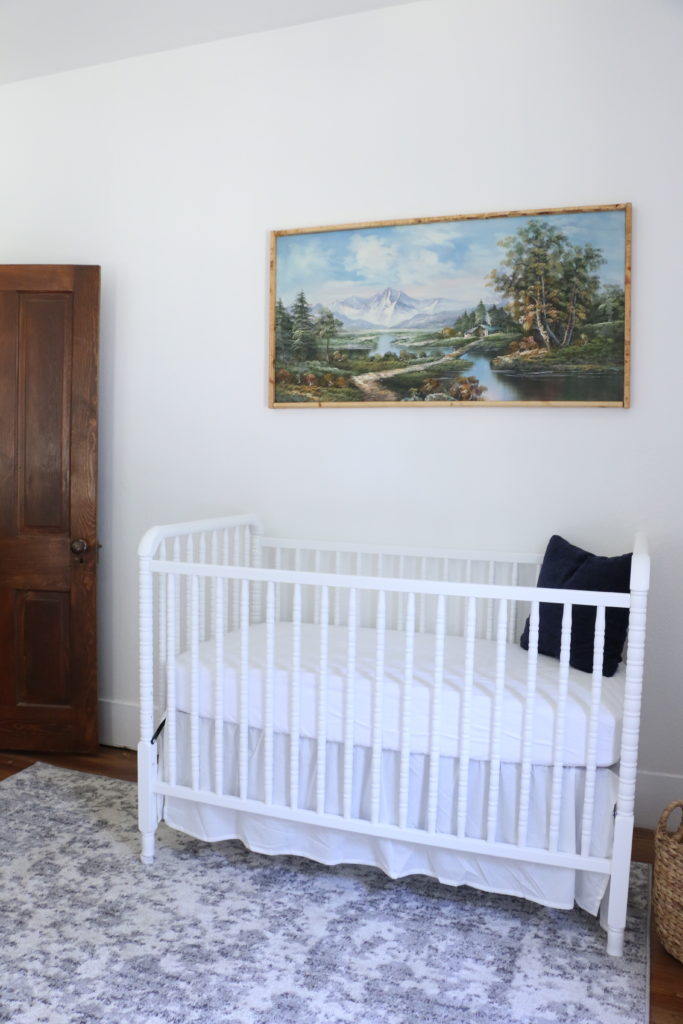
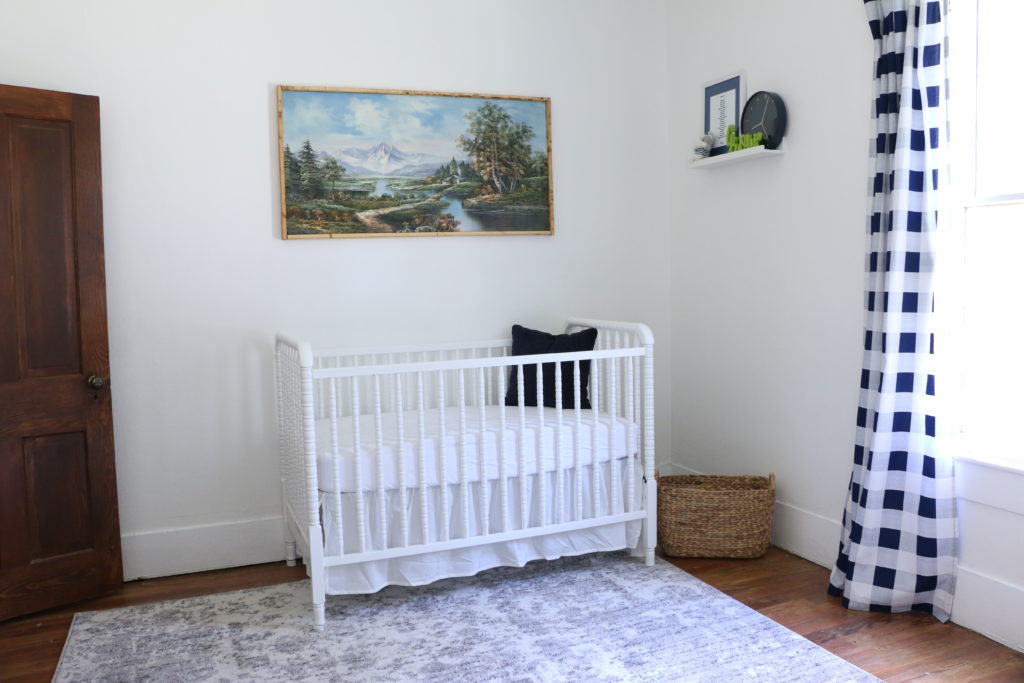
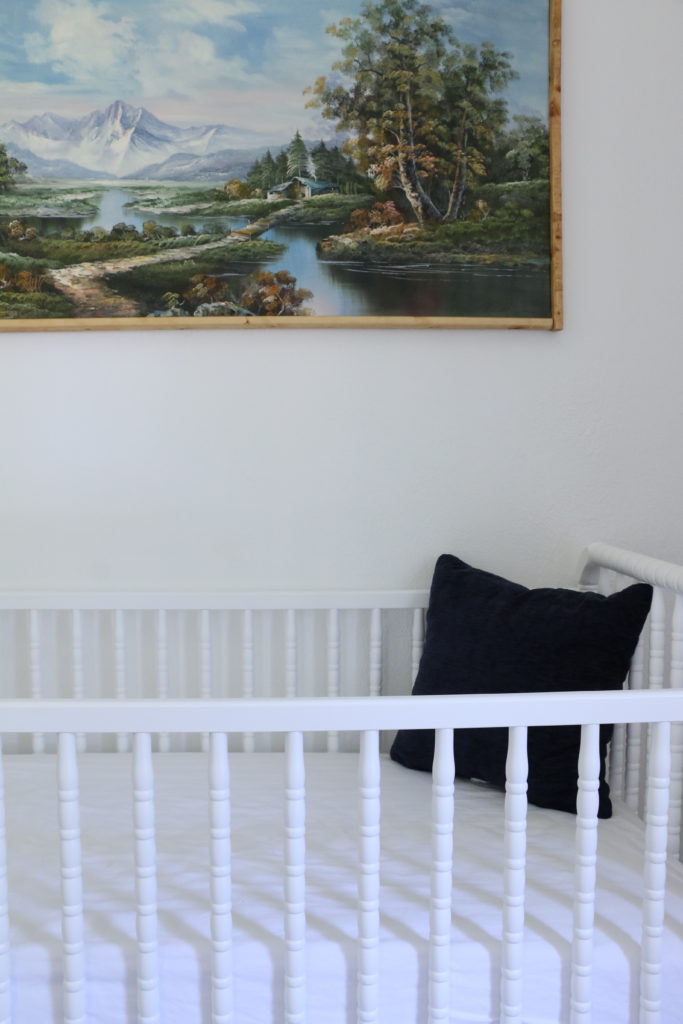
I knew I wanted a white Jenny Lind crib long before I was ever pregnant. I just think it’s super classic, and I’ve always loved the look of them. The bedding is from Target, and the bedskirt is from IKEA. I love the crispness of all the white, I think it’s just timeless. The navy accent pillows are from Target, but don’t worry, it’s only in these photos for contrast. It doesn’t actually stay in there!

The art work was one of those moments the flea market gods are smiling down at you. I knew what I was looking for, and generally when you have something to specific in mind, you can never find it. We were shopping at my favorite flea market in Canton, TX when I spotted it. I usually will walk up to an item with a maximum budget of how much I’m willing to spend before I even inquire about the price. In my head, I knew I would be willing to spend about $50 on the piece, and when I asked the vendor how much she wanted for it, she offhandedly said, “oh, twenty bucks.” I could not get out of there fast enough! I practically grabbed the thing and ran! It had an old gaudy frame on it, which I removed and added a stained 1×2 wooded frame. It took me about fifteen minutes to make the frame, with supplies I had on hand in the garage.
The glider isn’t sold anymore, because it was a line sold at Babies’r’Us (RIP). We were able to get it for 50% off during their going-out-of-business sale.
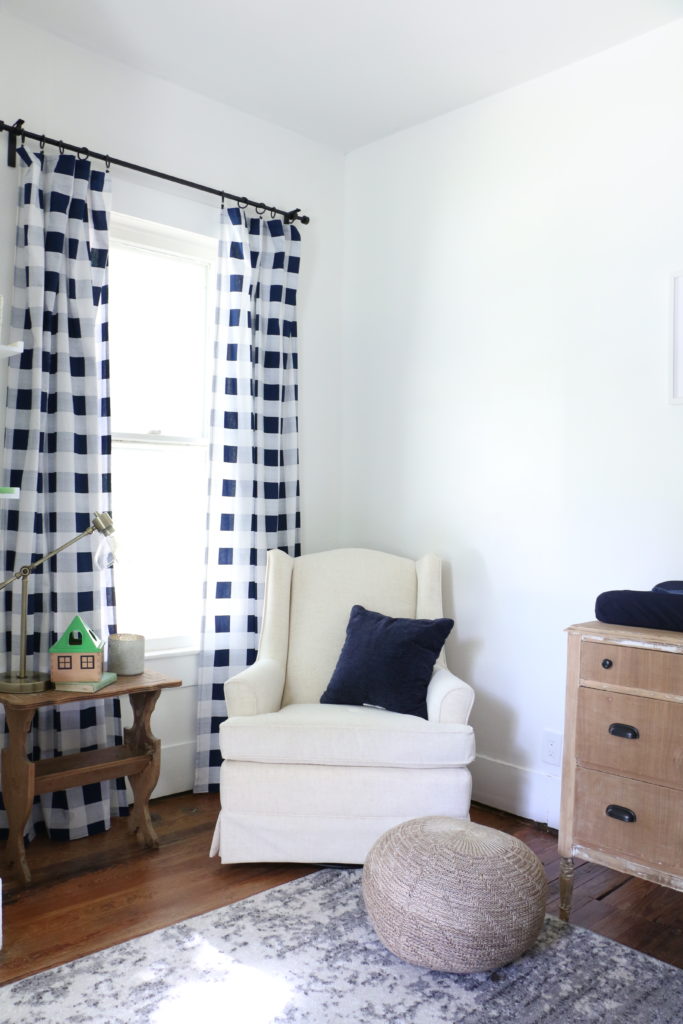
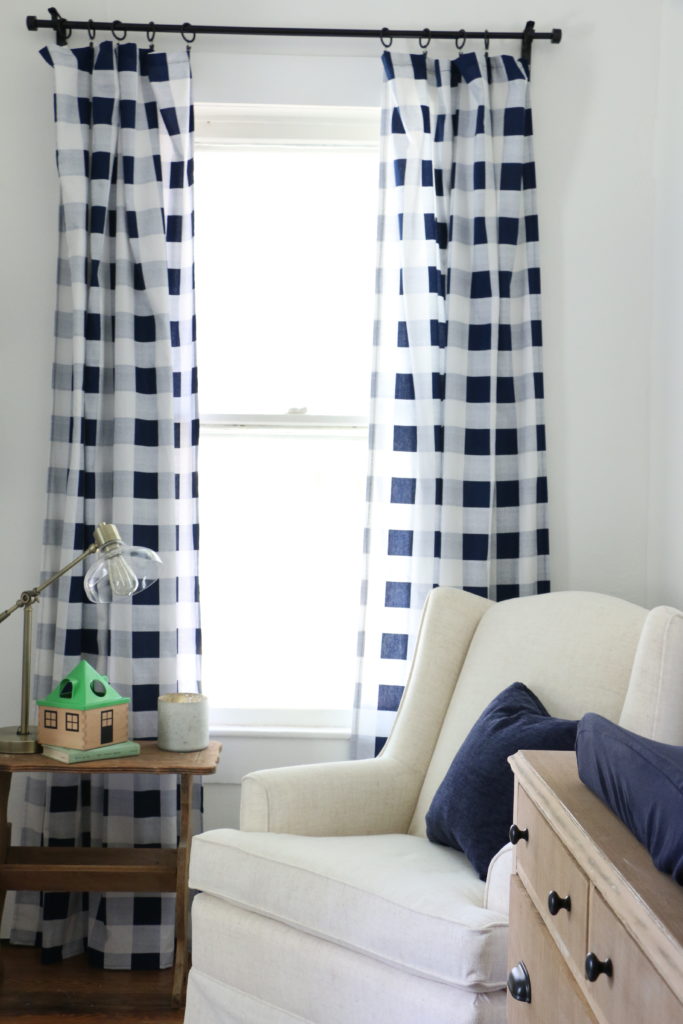
I scored the accent table at the Canton flea market, from my favorite vendor, Canton Bill. He’s a precious elderly man with the best junk and the best prices. I snagged this table for $10, and I didn’t even have to haggle!
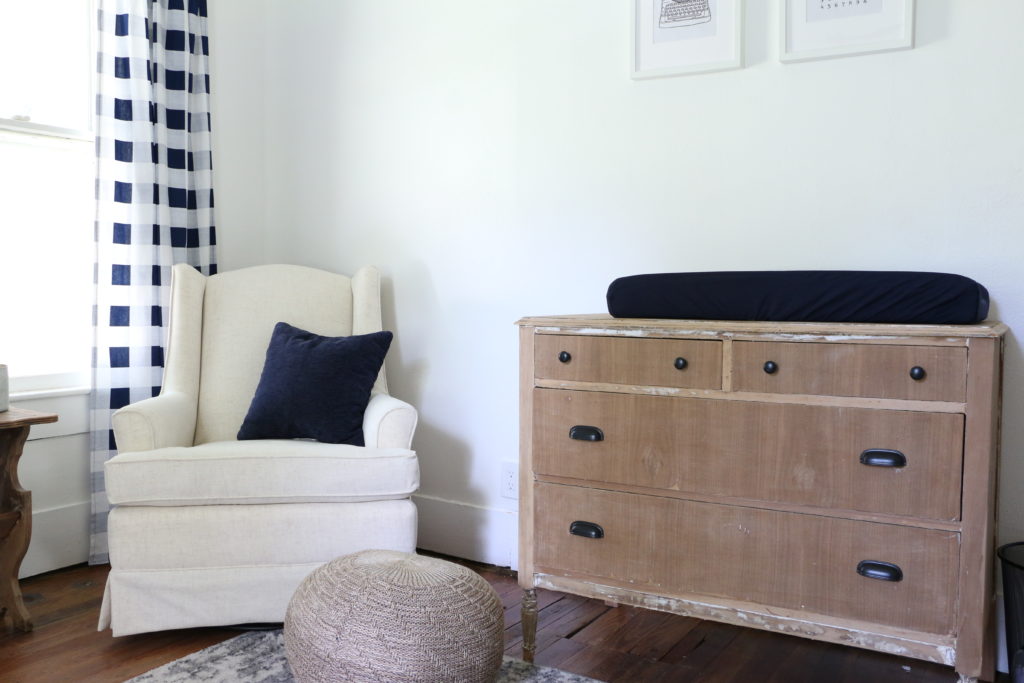
The dresser was mine as a child. I’ll be sharing more details about it in a later post, but the hardware is just from IKEA. The ottoman is from IKEA as well.
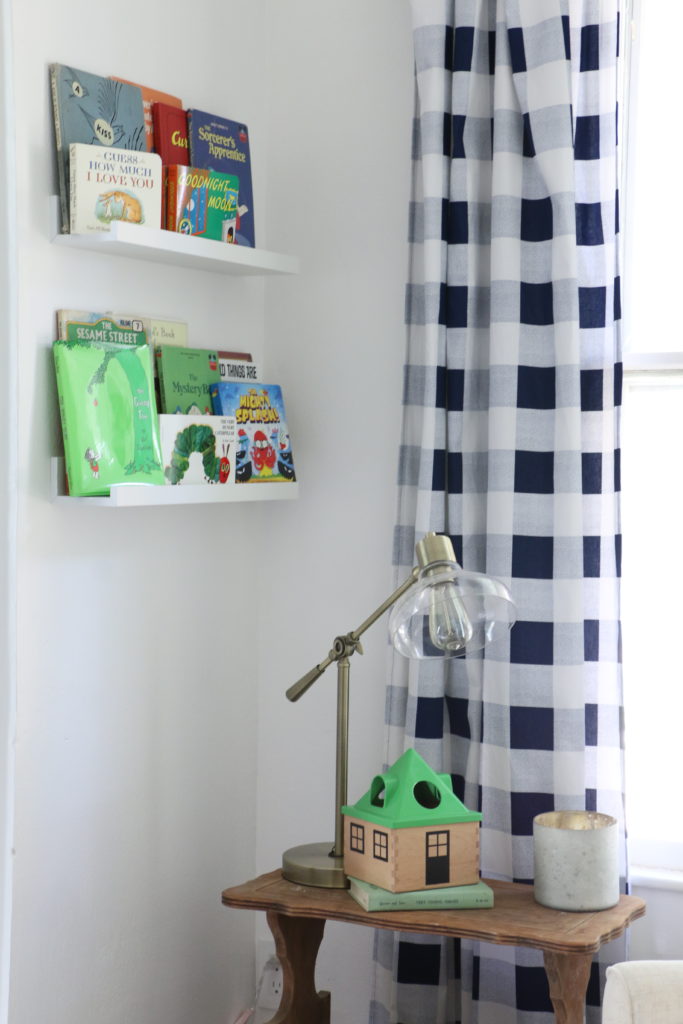
 

I made the curtain panels from fabric I found at Hobby Lobby, which is definitely the statement of the room. I always joke and say that my sewing skills are incredibly basic, the only thing I know how to make is curtains. 🙂 I only paid about $60 for the fabric to make four panels, and we have some pretty high ceilings in this 120 year old house!
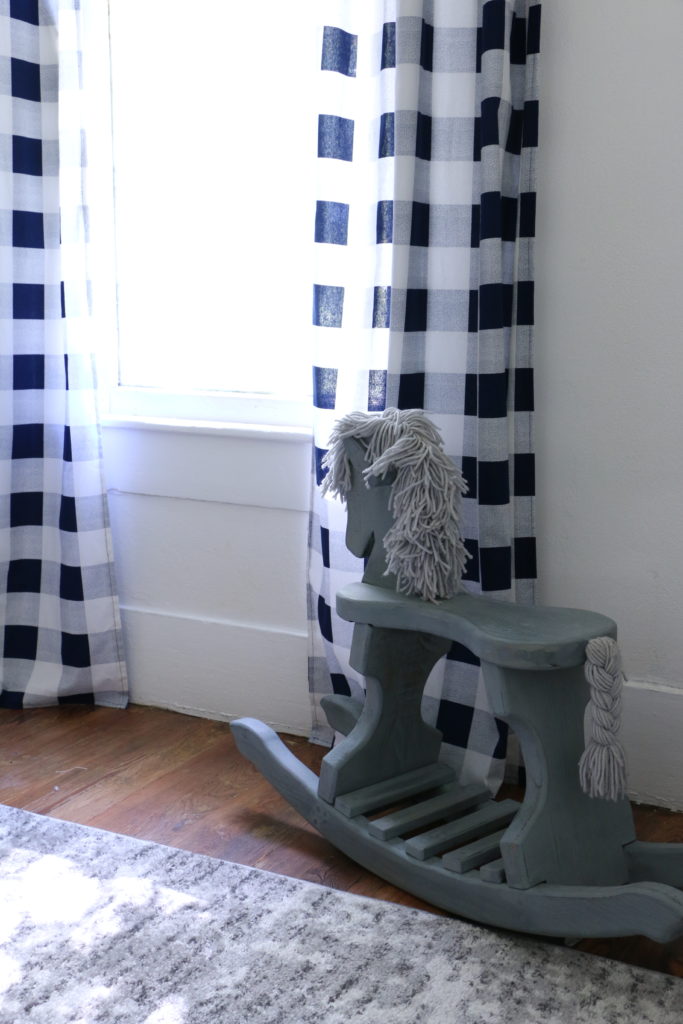
 

This sweet rocking horse was a garage sale find. I snagged it from our old next door neighbors during a neighborhood wide garage sale. It was wooden with rainbow ribbon and beady eyes. I took everything off, sanded it down, and painted it with Miss Mustard Seed Milk Paint in the color Aviary. The rug is from Rugs USA, which I got on super sale, just how I roll.

Overall, I was going for a classic and timeless nursery, with lots of white, and touches of natural woods and navy gingham. I think nurseries can be so much more than an over simplified “zoo animal” or “nautical” theme. I didn’t want anything overly cartoon-ish, or baby-ish. I know that sounds silly because it is, after all, a baby’s room, but I also wanted a room that felt cohesive with the rest of our house, and somewhere I would enjoy spending time. I love the peaceful and relaxing feel this room has, and it is my favorite room in the house now!

So, what do you think? I’d love to hear your thoughts! That’s all for today, friends. Have a fabulous day!

Home Decor

When “Your Style” Seems to be Changing

Have you heard from design magazines or HGTV shows about finding “your style” and sticking with it? For the last four years as I’ve been making our two different rental houses home, I’ve been drawn to a farmhouse-y, cottage-like style characterized by lots of chippy, white, antique-y looking things. I’ve sourced all kinds of materials from flea markets, and made things we owned to look older by distressing them.

I started a business refinishing furniture and sourcing antiques and I have done well for my home and others’ homes using all things “farmhouse style.” But guess what? Can I tell you these possibly forbidden words? I’m starting to get sick of it. Whaaaaaaaat? Am I even allowed to say that? Let’s backtrack a little bit.

In my personal style (the clothes I wear and how I present myself), I generally use words like classic, erring on the side of “preppy” using lots of neutrals and blues. I try to stick with only buying pieces that won’t be out of style in five years. But guess what? Would you believe that in high school, for a short time, I was really into duct tape. As in, I made myself all kinds of accessories out of colored duct tape. Belts, purses, wallets, bracelets, you name it. Now, does this fit in with the classic, natural, timeless way I try to present myself? Absolutely not! Because it was a phase and I moved on past that phase.

I think you may be able to see where this is going. I am going to step out on a limb here and say that in our homes, we’re allowed to have phases too. We don’t have to stick to something that we picked five or ten years ago just because that’s what we chose and now we’re stuck with it. So that brings me back to my own home. I have been a lover of the modern farmhouse vibe in all it’s white and gray and chippy paint glory for several years. But I sense myself moving beyond that.

Don’t get me wrong. I love antiques. I love shopping flea markets. I don’t see myself stopping that trend and solely shopping Target from now on. But I feel that I may be moving (or trying to) toward a more timeless, classic and traditional look in my home. Not so shabby chic, but polished. This is going to be a process. I’ve always been on a budget, so there’s not going to be room to re-furnish our entire house just because I don’t like our stuff anymore. No, I’m going to do things as I always have – slowly evolving over time.

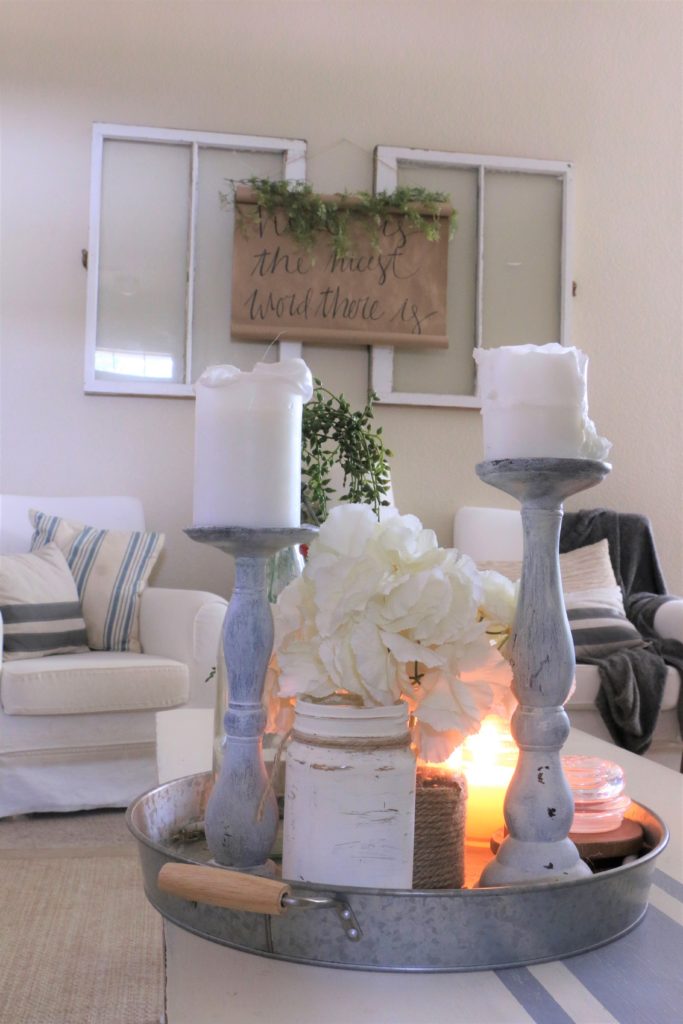
Take this vignette for example. White on white, some galvanized metal, twine, distressing. These are staples in my design choices and have been for a long time. Yesterday, I made some small and simple changes to this vignette. Because one teeny tiny change can make you feel like you’re doing something, even if it’s not an entire house or room.

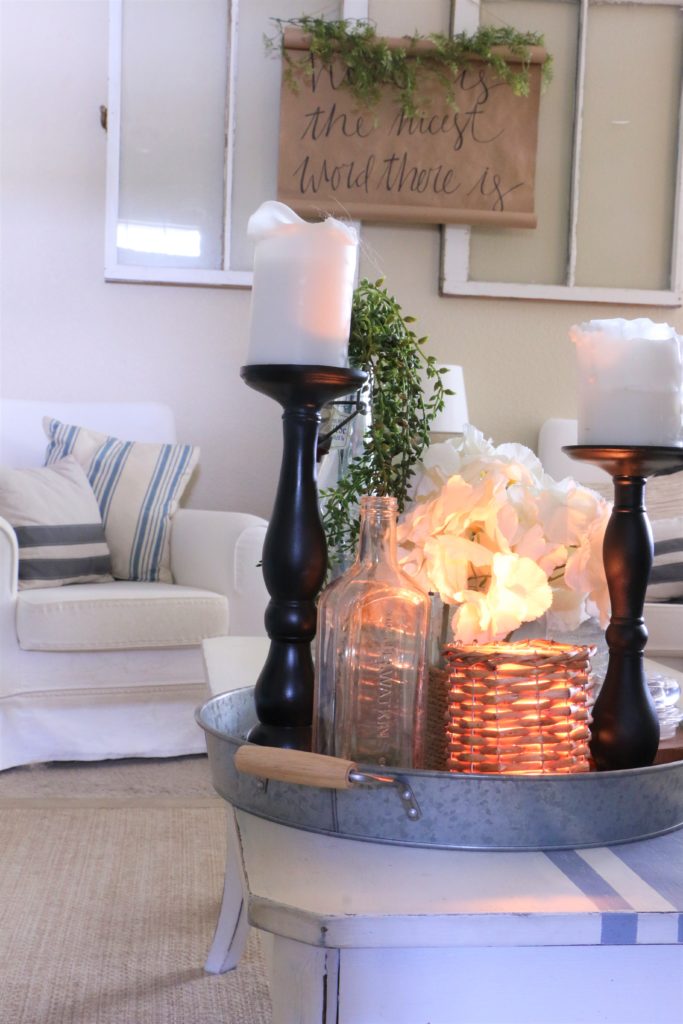
I took some matte black spray paint I had in the garage and gave these candlesticks a new look. I swapped out the distressed jar for a basket-weave candle holder. I added this antique medicine bottle. But that’s it. Everything else is the same. The flowers, the greenery in the jar in the back. I didn’t change the table (though that’s on my list), the tray, the furniture along the wall.

I took a tiny step in the direction I want to move toward. I don’t know what words you might use to describe the look I have in mind. I have words like “neutral,” “traditional,” and “casual” in my mind. I am loving elements of matte black, natural textures like jute and basket weave, and dark brass. I was looking around my house and realized I don’t have a thing in it that’s black! Good thing I know my way around a can of paint. 🙂

I plan on slowly replacing things like furniture and large decor items on a budget, and you can bet I’ll bring you all along for the ride. I will sell some things like my dining room set to make room for new things (are you local? My dining room set that I refinished (click here for the original posting details) will be for sale soon!). Slowly, over time, I’m going to move on. Because if I can get past the high school duct tape phase, I can get past this modern farmhouse phase too.

That’s it for today, friends! Have a fabulous day!

Home Decor

A FREE DOWNLOADABLE PRINT

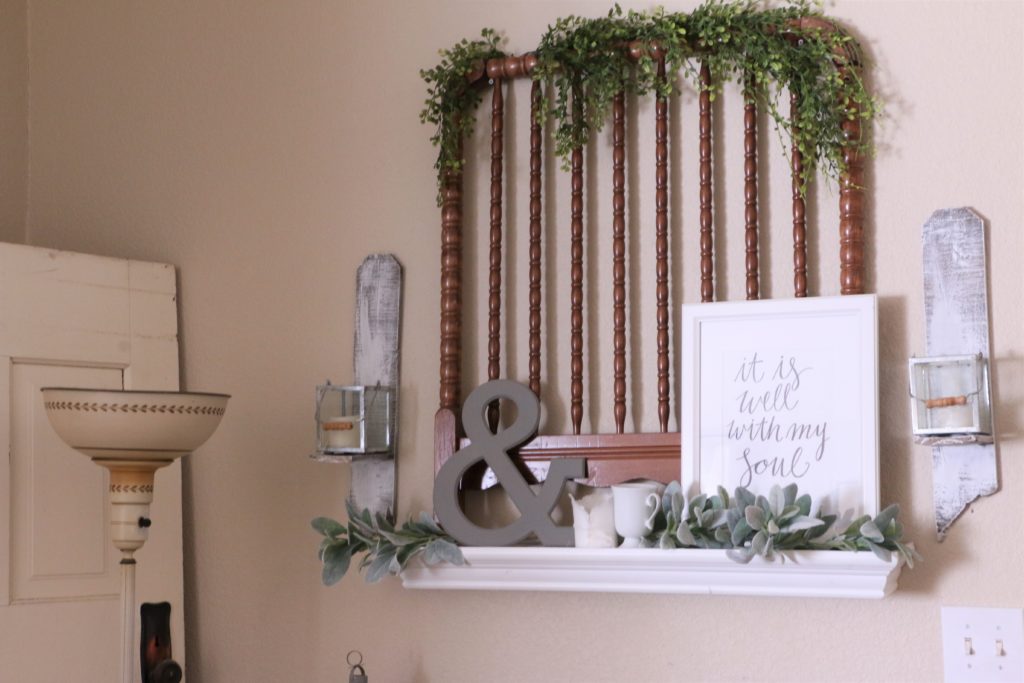
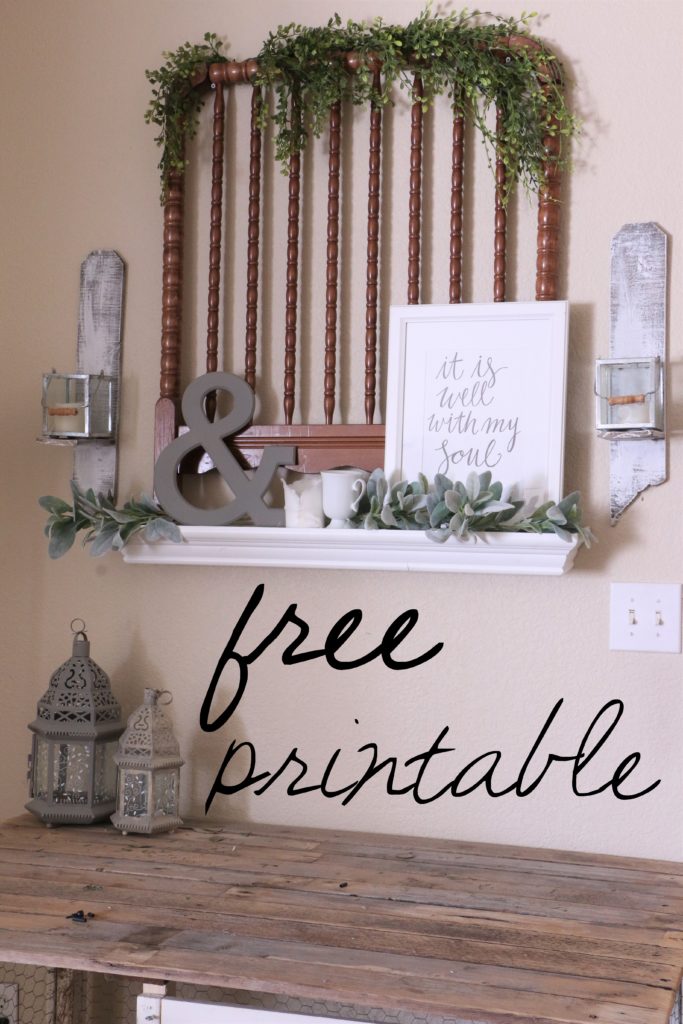
Hey guys! Glad you’re here! Today, I’m excited to share what I have for you. I wanted to do something for you, to say thanks for being here. If you’ve been around for a while or you have seen me at one of my shows, you may know that I love to do hand lettering.

So I made a little something for you! I hand lettered this little sign. I have hand lettered things all over my home because they’re just so versatile. 

I like to put them in frames, or clipped to a clipboard. The best part is that they’re easy to swap out and change whenever the mood strikes. So, if you’d like to use this little print, you can click here. Just print it, and display it however you like best. Easy peasy! Today is short and sweet yall. Happy decorating!

That’s all I have for today, have a fabulous day!

DIY Projects, Home Decor

DIY Scroll Wall Art

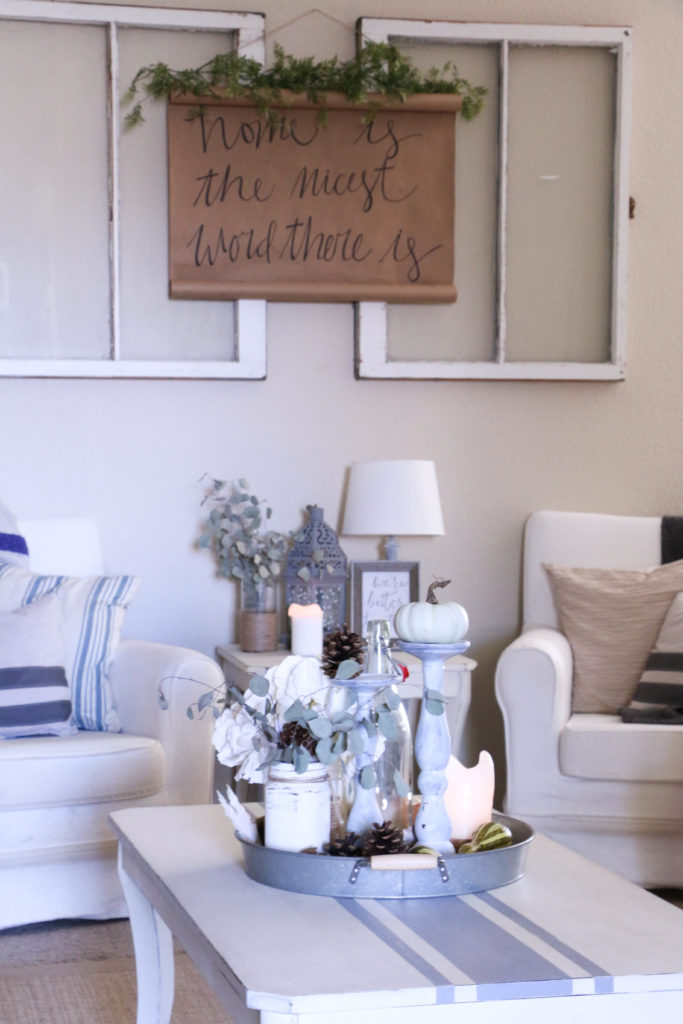
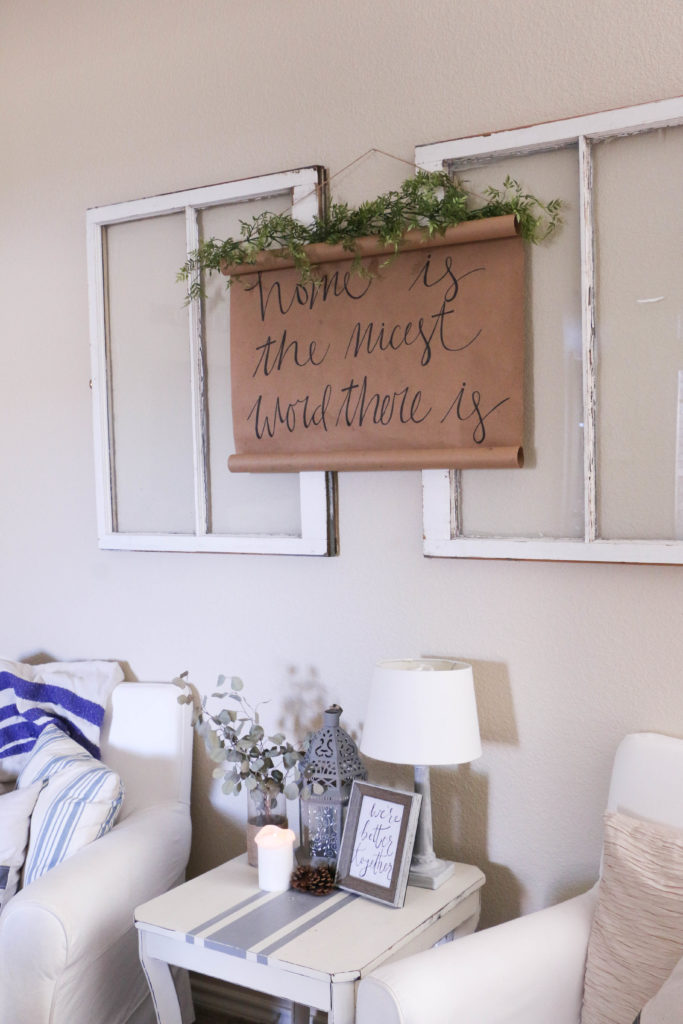
Hello, hello! I’m so glad you’re here! Today I’m sharing my favorite kind of project…a free one! (Cue all the praise hands emojis!) Lately, I’ve kind of been giving a certain area in my living room the side eye. As in, it was just driving me crazy and I knew it needed something, but I couldn’t figure out what.

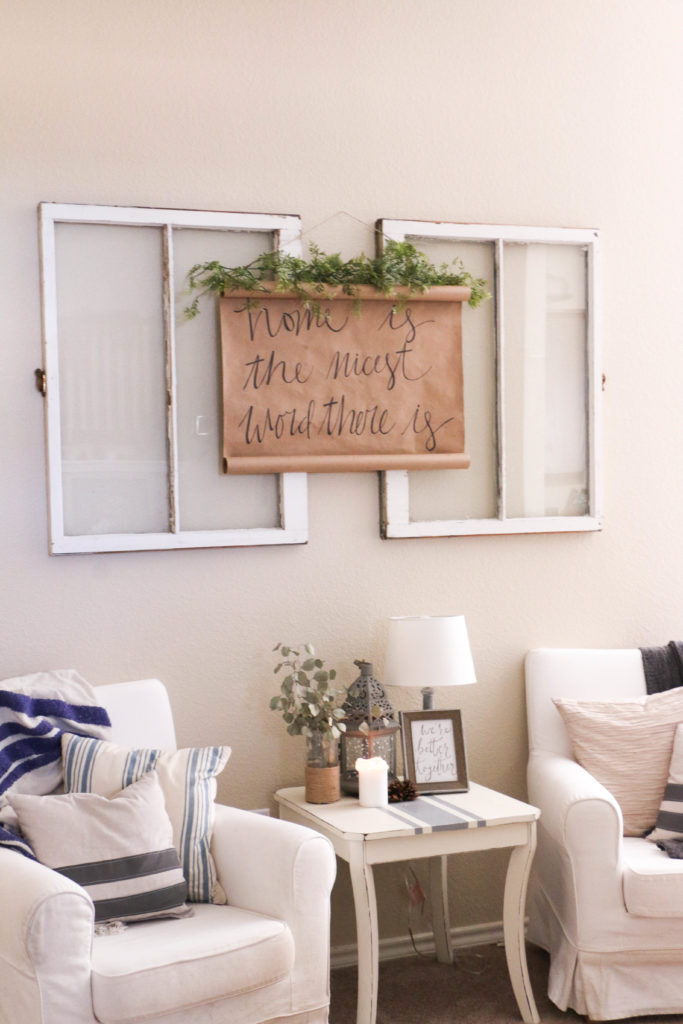
I had these windows hung when we first moved in, and last year after Christmas I hung a paper chain over it that was left from the tree. But it was just so plain it was driving me crazy! I’ve been seeing these cute hand written scrolls around etsy and Pinterest, and I thought I might try and make my own. All you need is some Kraft paper, a Sharpie, twine, and possibly some hot glue. Since I had all these items on hand, it seemed easy enough.

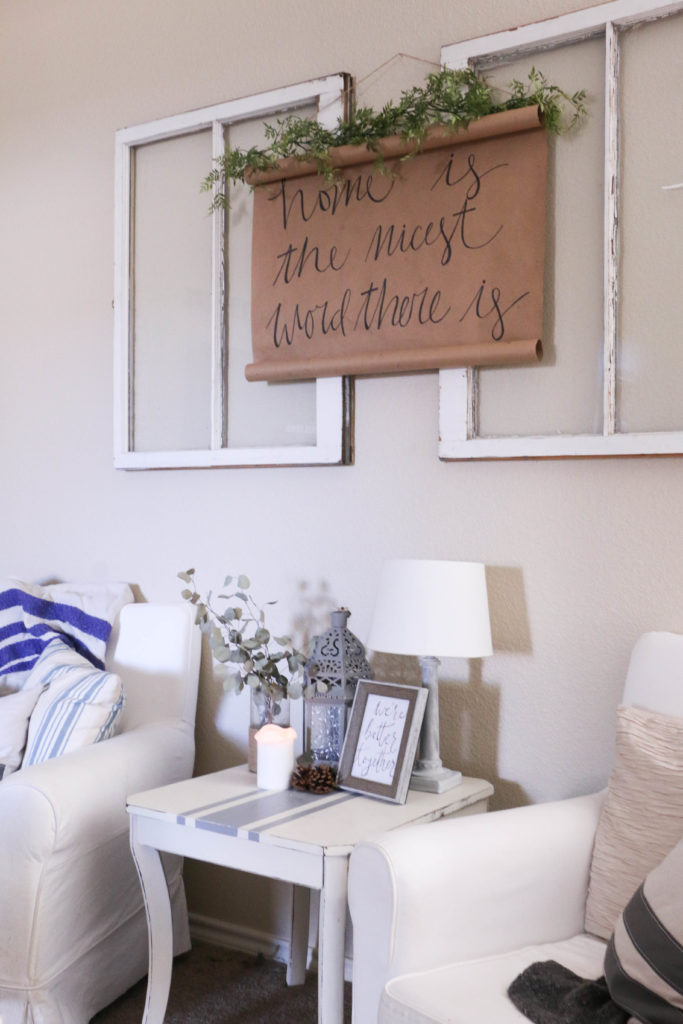
I cut the paper, and let it naturally roll at the top and bottom. I put a dab of hot glue on the corners to help it stay in place. Then I wrote one of my favorite quotes from one of my favorite childhood authors, Laura Ingalls Wilder. I’ve always loved the quote, Home is the nicest word there is, and so I figured it would be perfect for our living room.

I wrote with a Sharpie, and strung some twine through the top roll. It took me about twenty minutes total. I free hand wrote this, but if you’re unsure about your writing abilities, you could totally use a stencil!

I had some greenery on hand, so I added that to the top. I still think the sides need a little something, but that’ll come later. For now, this is what I have, and it was free, so I can’t complain.

Now, I will say, if I were to do this again, I would probably use different paper. I had Kraft shipping paper on hand, and that’s what I used, but it is very think, and so it was hard for it to lay flat where I wanted it. If I were to do it again, I think I would try the roll that comes from the painting section to protect edges of floors. It’s much thinner, and so I imagine it would lay flatter.

Even so, this worked out just fine, and I’m happy with this little project. It was easy, and it makes a statement, so it’s a win-win for me! I won’t bore you with more unnecessary details, so that’s it for today! Have a fabulous day, friends!

DIY Projects, Home Decor

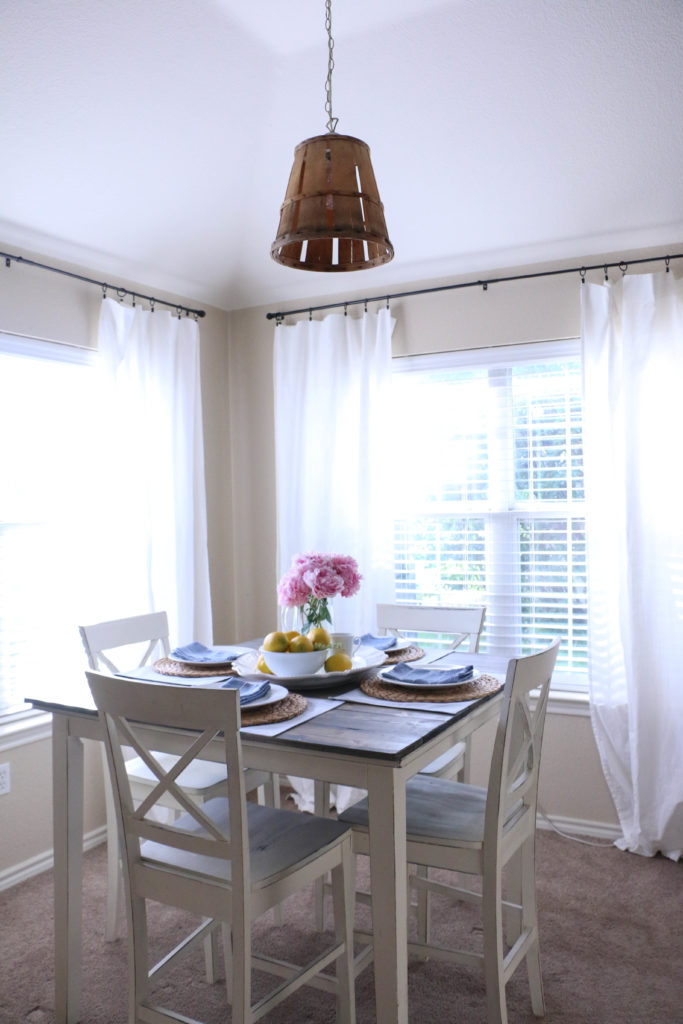
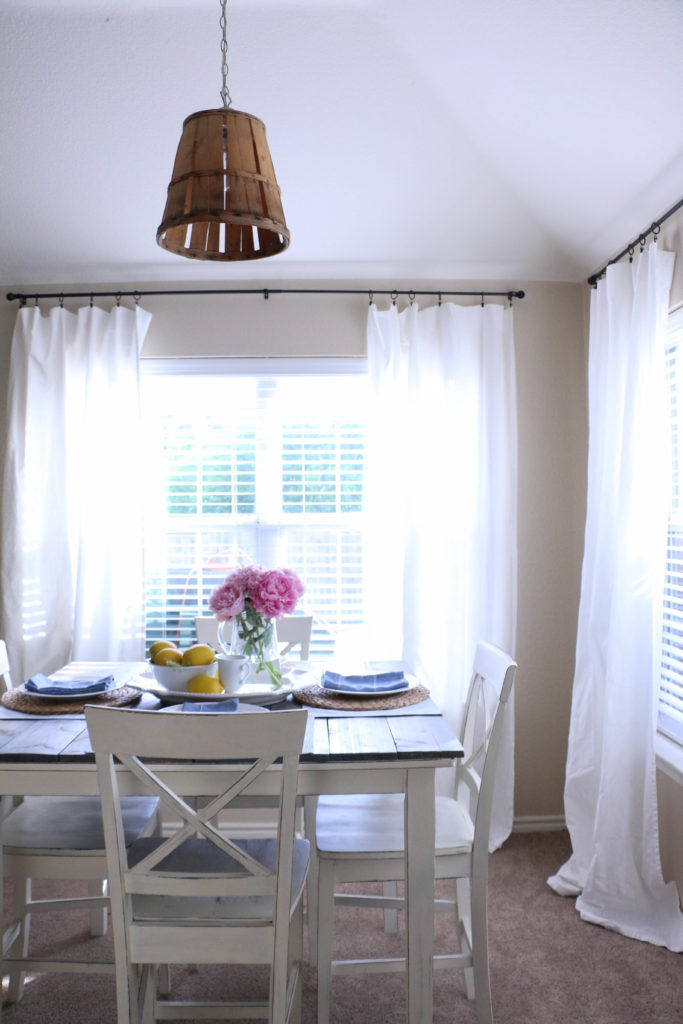
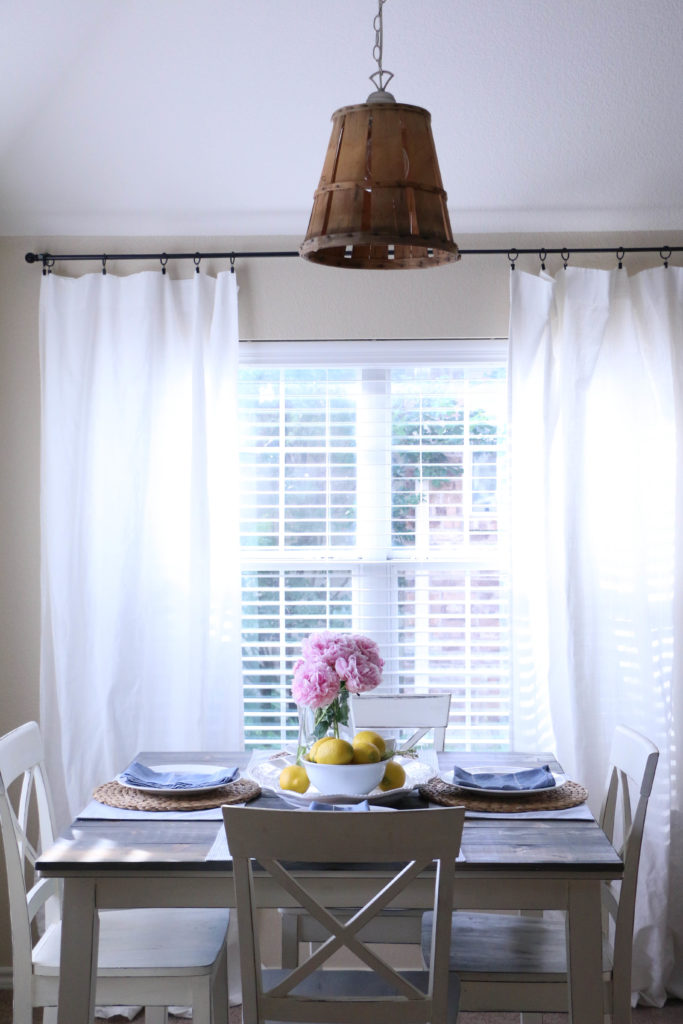
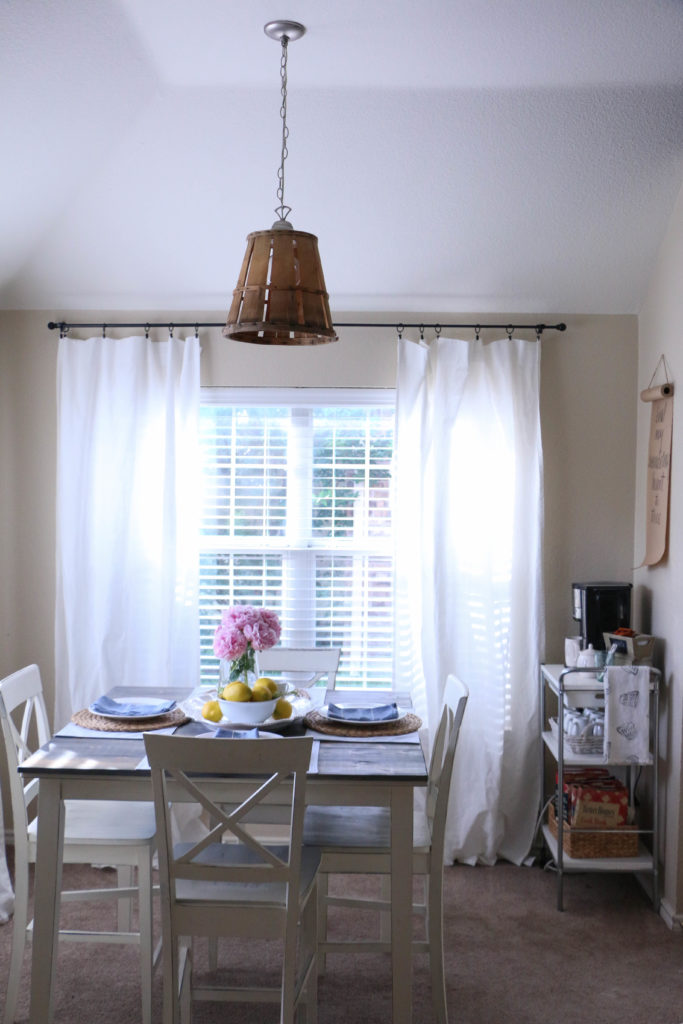
Our DIY (Renter-Friendly) Dining Room Chandelier

Hi friends! It’s been a while, I know! I have been busy busy busy, but I missed being here, so I had to hop on! I wanted to share something we did this week to our dining room that was incredibly easy and I am in love with!

As you know, we rent our home, and we recently signed our lease for another year. We’ve been here for almost one full year now and it has been tricky to make this super builder basic home more my style while staying in the confines of our rental agreement. Most of our lighting is the typical low-grade fixtures and haven’t been changed since the house was built fifteen years ago.

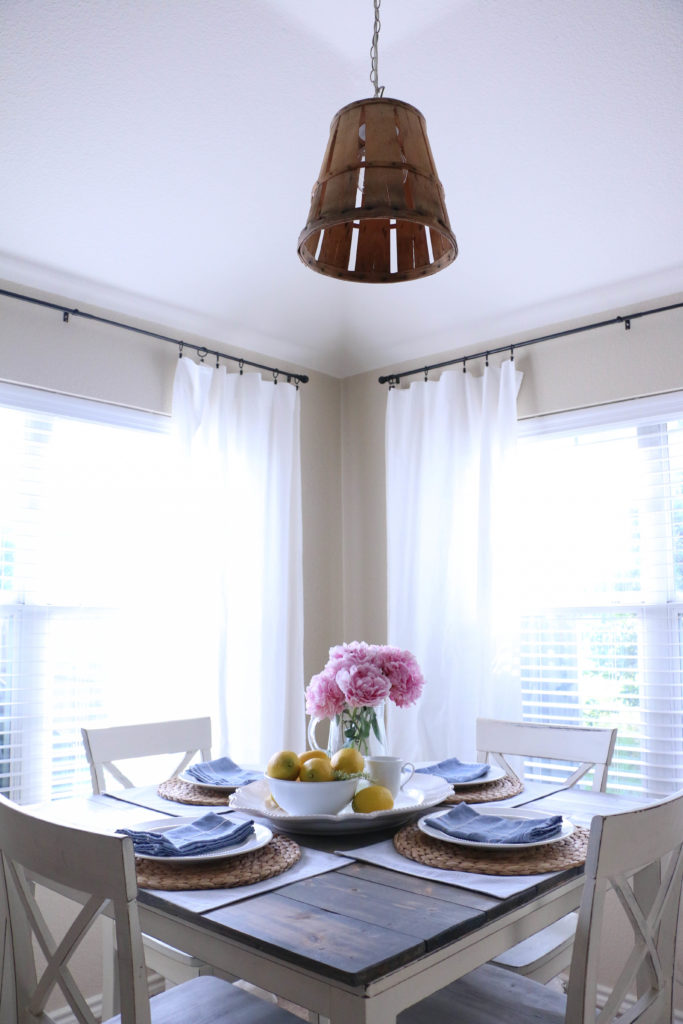
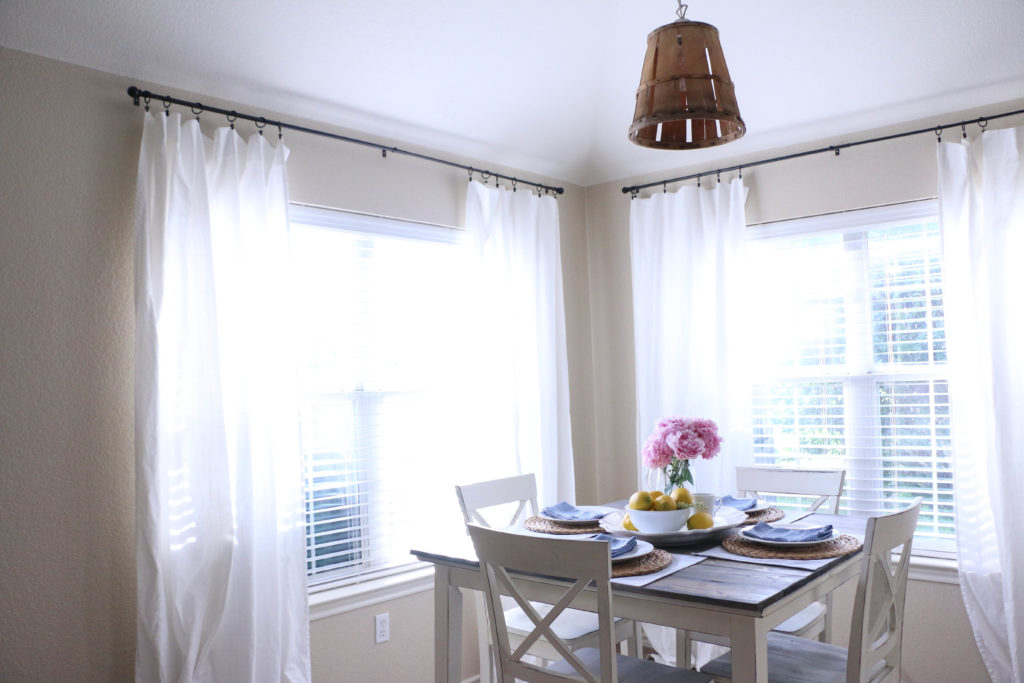
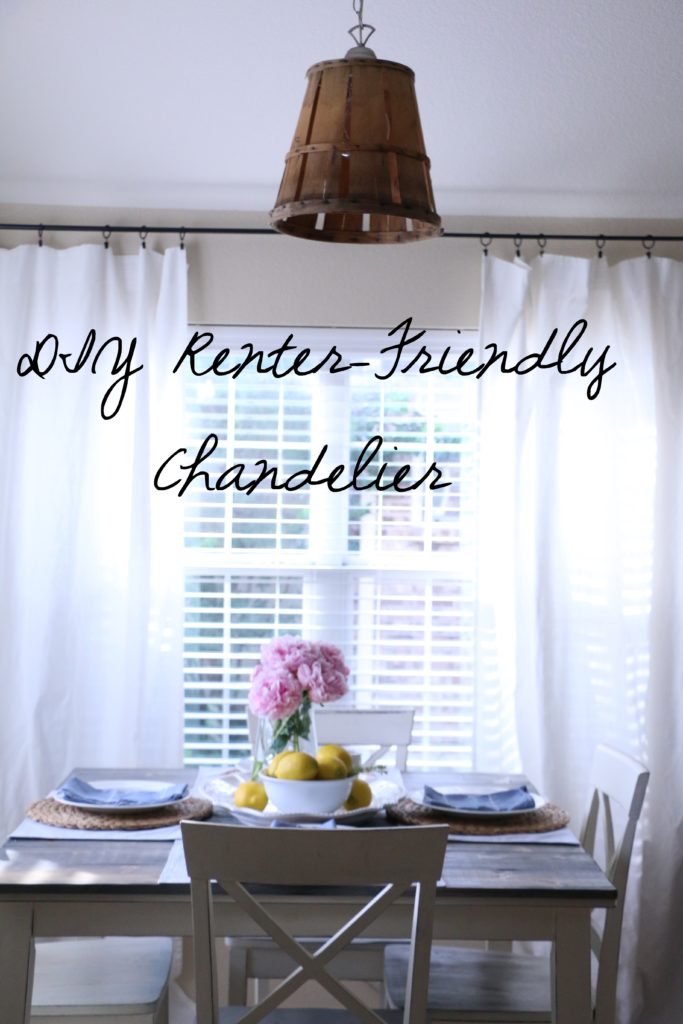
Signing that lease for another year made me really think about what I could do to make this house a little bit more me. I came up with this basket chandelier, which is in no way an original idea, but I love it nonetheless.

It was so incredibly easy! We unscrewed the existing hardware which released the old glass dome. Ethan then cut a 2.5in circle in the center of the bottom of the basked using a jigsaw. We then replaced the basket where the glass dome was and re-applied the hardware on the underside of the basket. It took about ten minutes I think!

Seriously, I cannot believe we didn’t do this earlier! It isn’t something I would choose if we owned this home, but it definitely adds a bit of my style within the confines of what we’re allowed to do here. Plus, it was incredibly budget friendly! The only cost was the basket which only cost me a few dollars! It’s a total win-win!

Just because you live in a rental doesn’t mean you can’t make things your own! Sure, there’s a ton you can’t do as a renter, but if you get creative, you can add a bit of your style into your rental home!

So that’s it y’all. I’m in love with this little update and I couldn’t wait to share it with you guys! That’s all for today! Have a fabulous day!

DIY Projects, Home Decor, Tutorials

Chalk Paint All the Things!

Hi there! Hope your day is going well! I’m here with a super easy project today that can’t even really be considered a project. It’s something that is seemingly obvious, but I had never thought to do, so maybe you haven’t either. I don’t know. Anyway, y’all know I love chalk paint. I use it all the time on my projects for both my house and my pop-up shows.

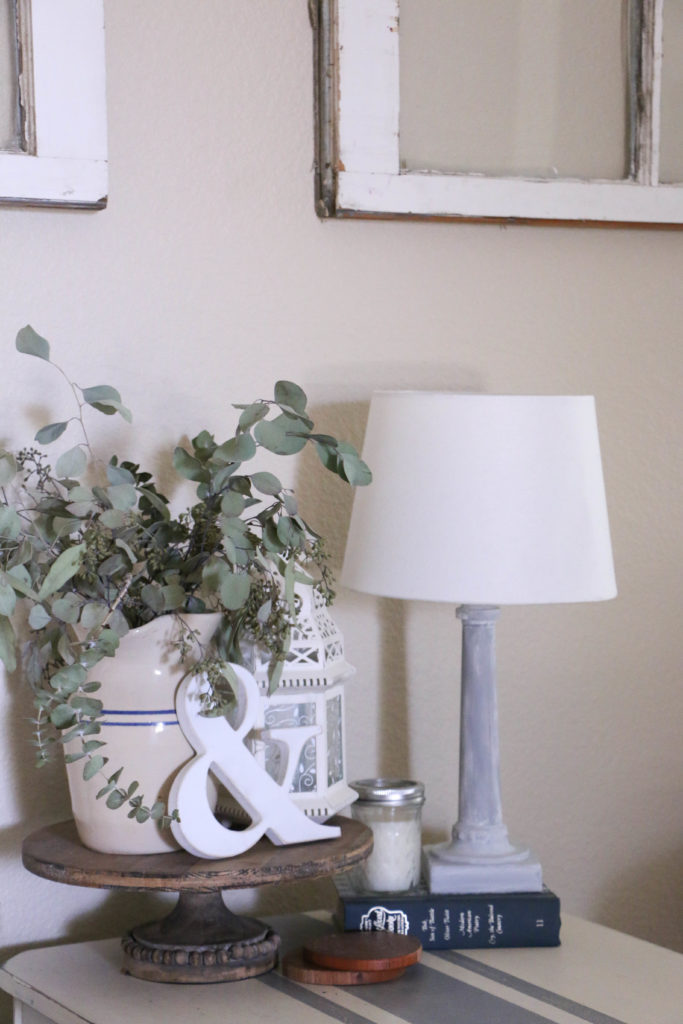
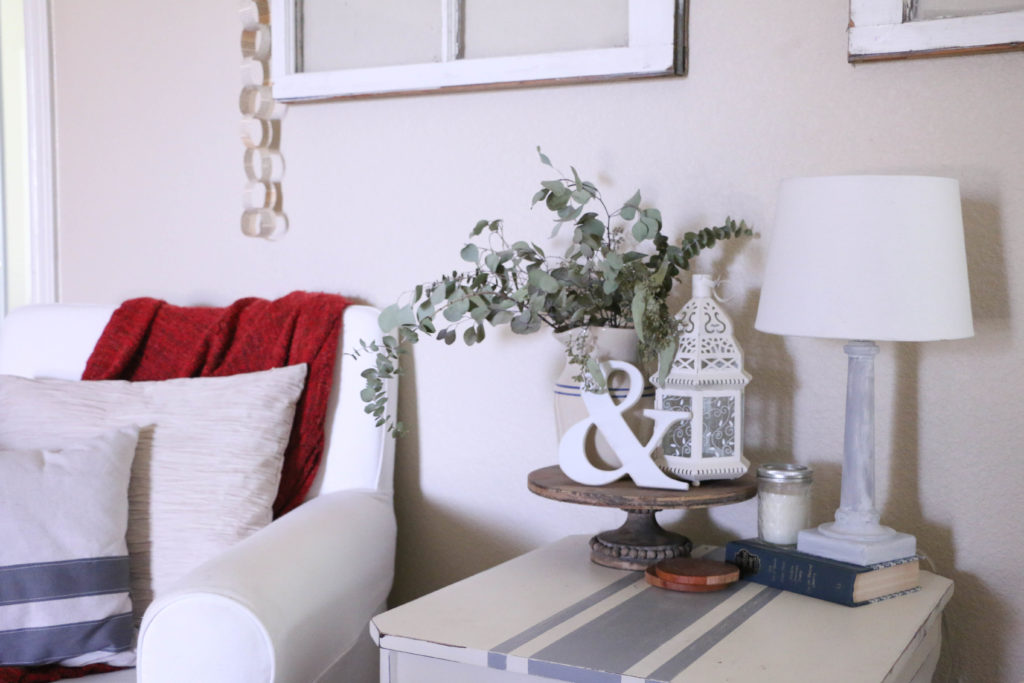
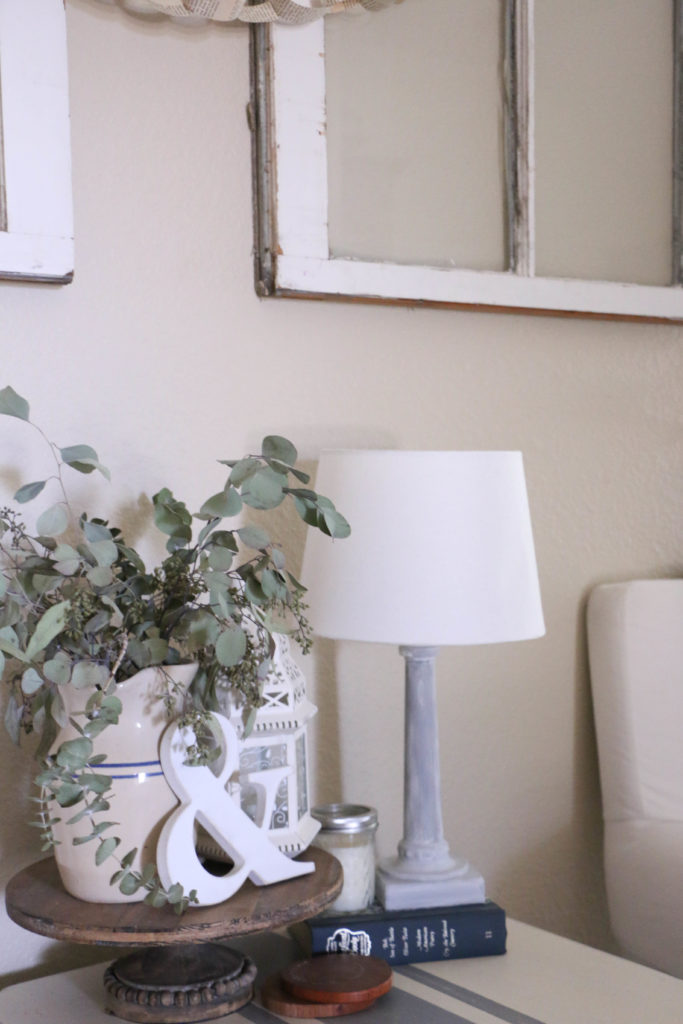
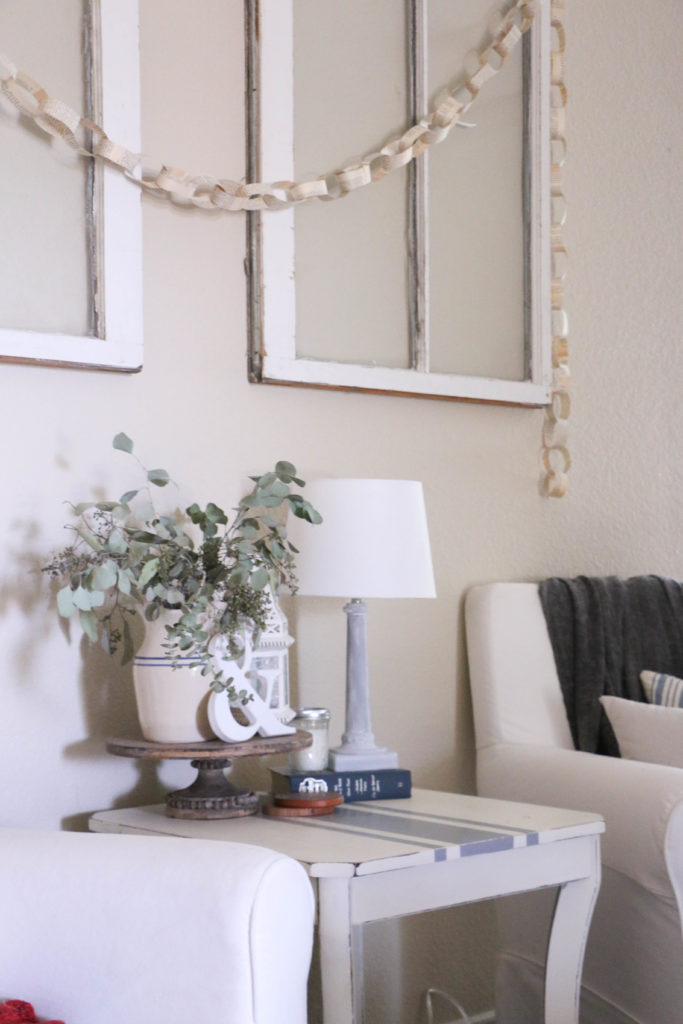
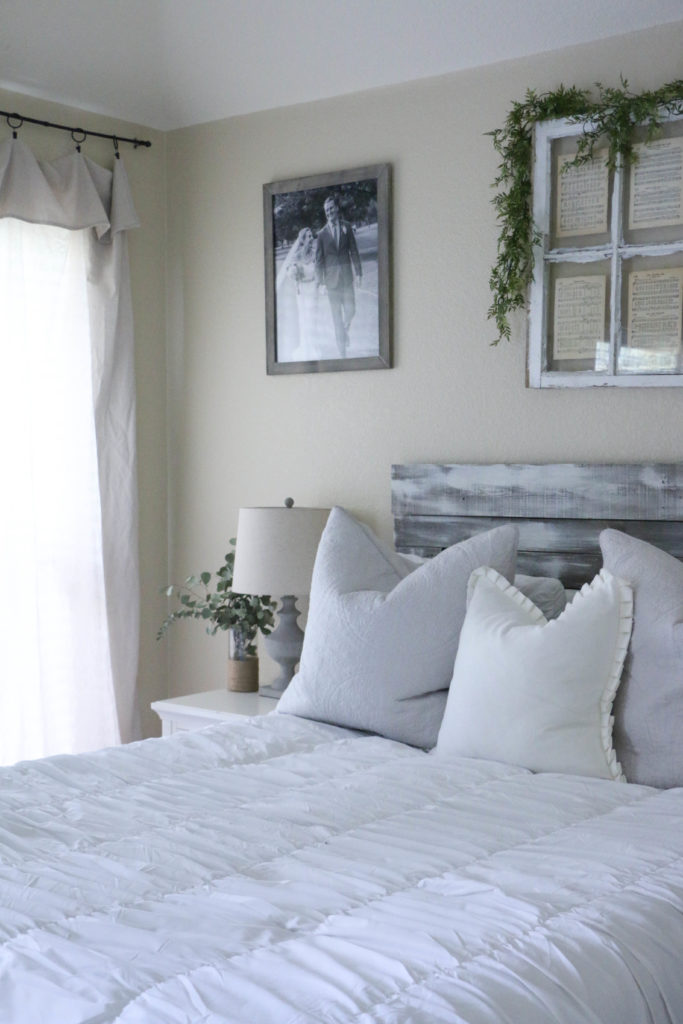
I have used it on a variety of items, but never lamps. I had these lamps that were out of commission from our bedroom. You can see the corner of it here in this photo. They were from our wedding registry, when I didn’t know what I liked or what I was doing. So they didn’t really mesh with my style anymore, now that I feel like I have an established theme in our home.

So while I replaced these lamps, they were still perfectly good lamps, and I wanted to see if there was something I could do to make them fit into my style a bit more. So, I used my trusty old chalk paint and went to work! Like I said, this isn’t really a tutorial or anything, because it’s seriously the world’s easiest DIY. I just slapped some paint on it and called it a day.

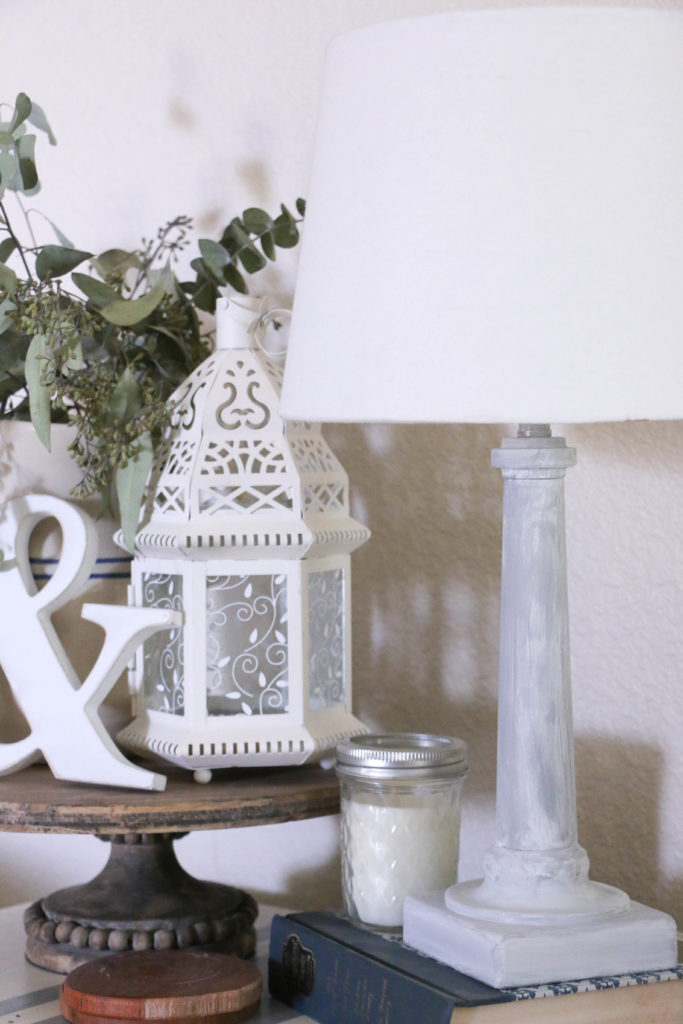
I used my own homemade chalk paint, so I don’t have an exact color match to show you, but I used a white, and then added some gray on top to give it a little more dimension.

I think it gives the lamp just the right touch to take away that builder-grade base we were working with.

It makes it a little more subtle and farmhouse-y. I moved one into the living room, and the other went over to my booth at Farmhouse in Downtown Waxahachie, TX. I should have tried this a long time ago; I’ve spent so long wanting to replace them that I missed a perfectly good opportunity to relove them! Waste not, want not, right?

So in case you were wondering, chalk paint works on all kinds of things! Don’t be afraid to slap a coat on to something that needs a little love. It’s not just for furniture!

Anyway. That’s pretty much it. Have you ever chalk painted anything in particular? How did it go? I’d love to hear about it in the comments below. Well, that’s all for today, friends. Have a fabulous day!
Home Decor, Room Tours

Spring Bedroom Refresh

Hey y’all! I am so glad you’re here! Easter has passed, and spring is in the air! Can you feel that itch for summer where you are? I wore shorts for the first time this weekend, and it was wonderful! Today I am finally sharing something that has honestly gotten out of hand. What do I mean by that? Well, let me explain. Do you ever start something and then just stall for a while until you almost forget about it? That’s pretty much what happened to me.

I decided to shuffle things around between our bedroom and guest bedroom right around New Years. I bought new bedding for our room, moved the old bedding into the guestroom, and promptly left it at that. Never mind that I wanted to get new lamps and possibly new nightstands. I just went on for a few months halfway done with what I was doing. #typical

So here’s a photo I shared a while back on my review of some bedsheets, but it gives you an idea of what it looked like beforehand.

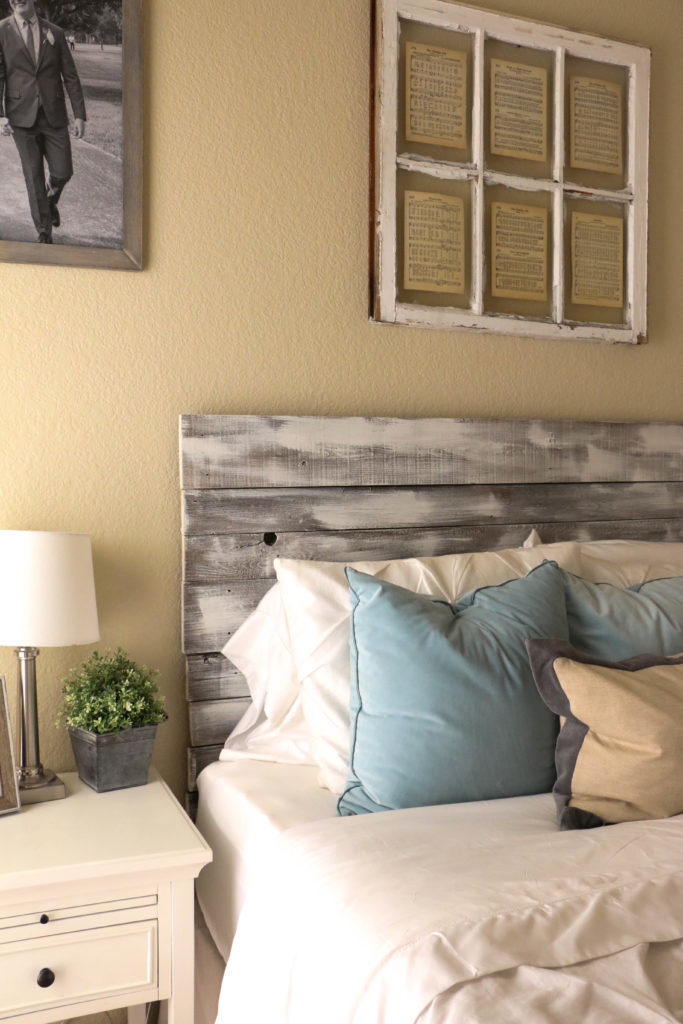
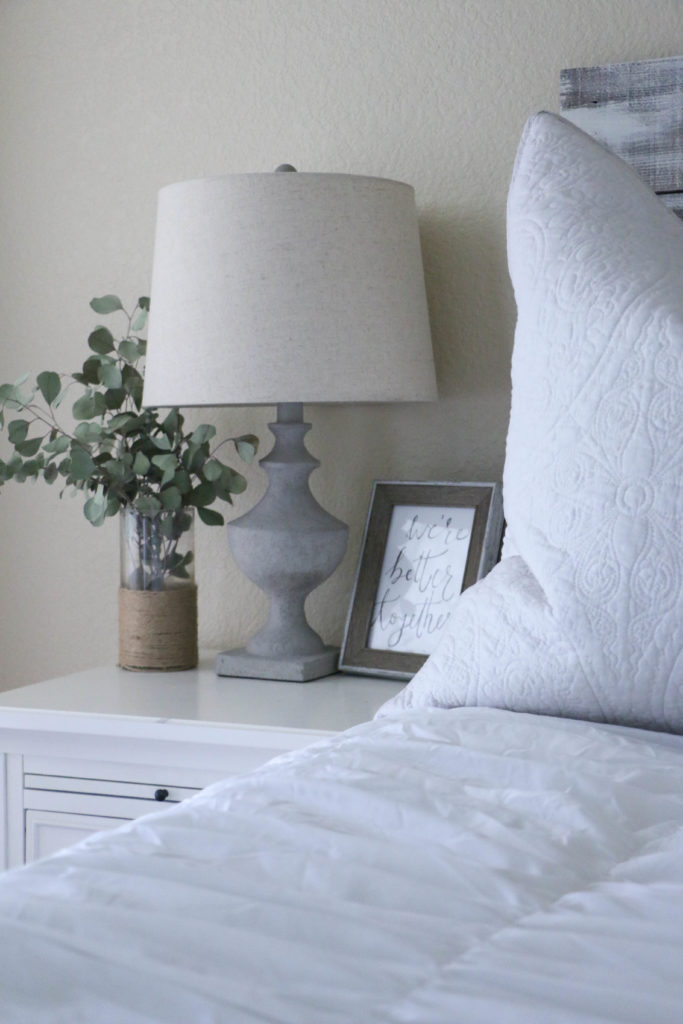
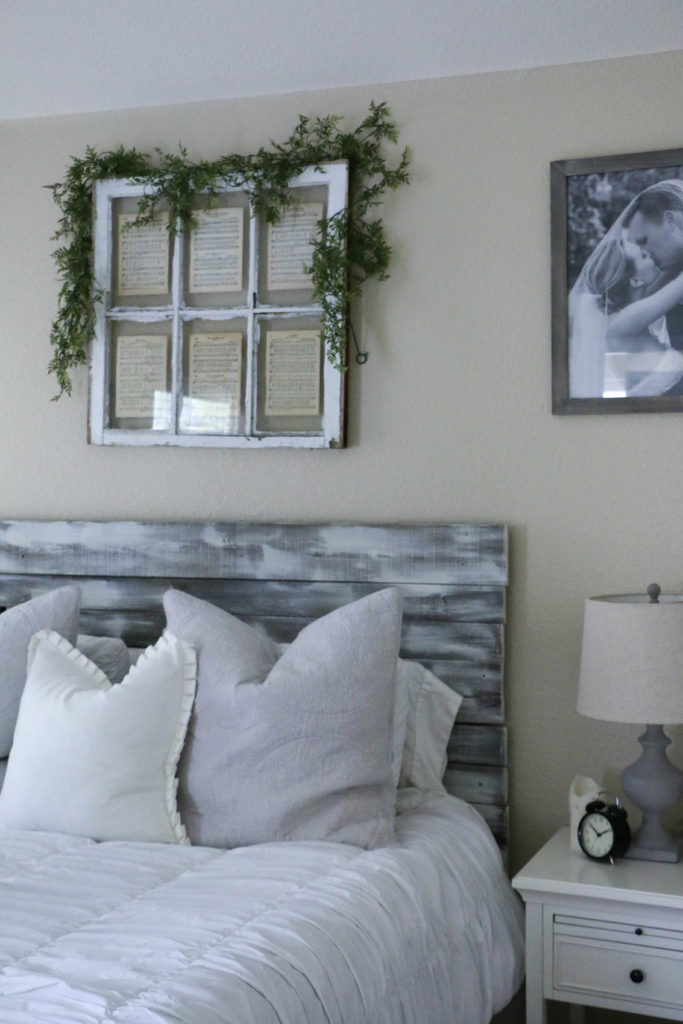
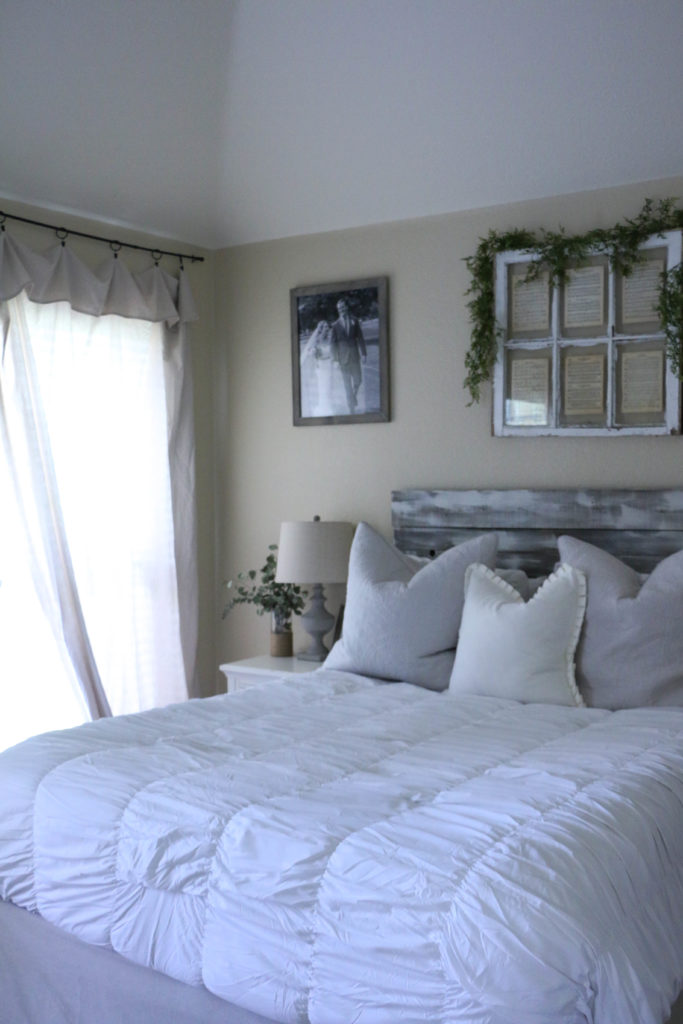
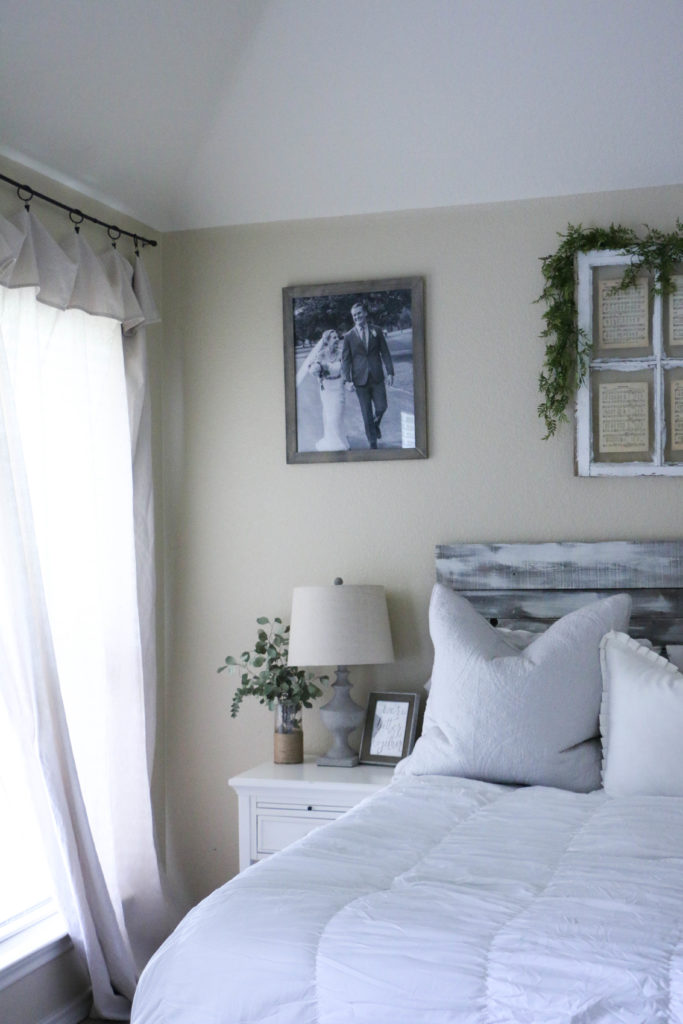
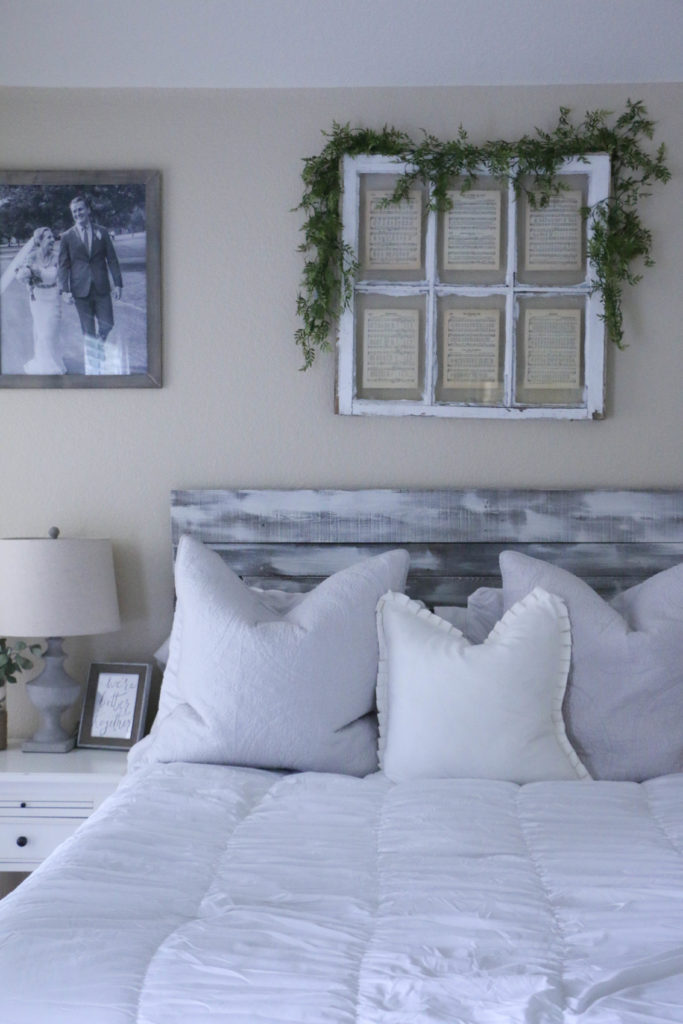
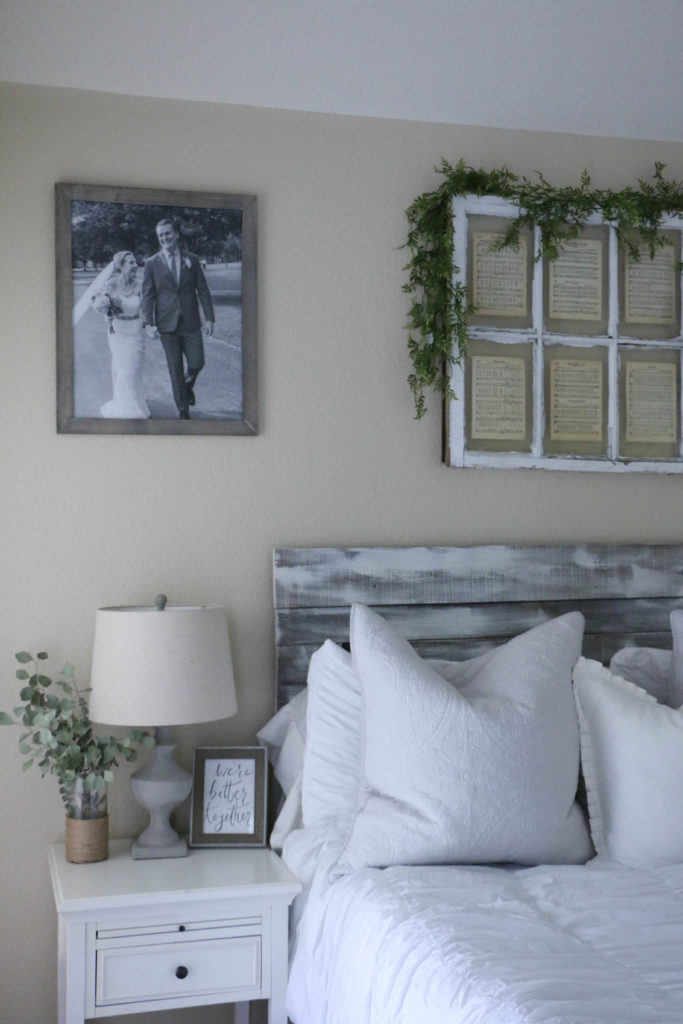
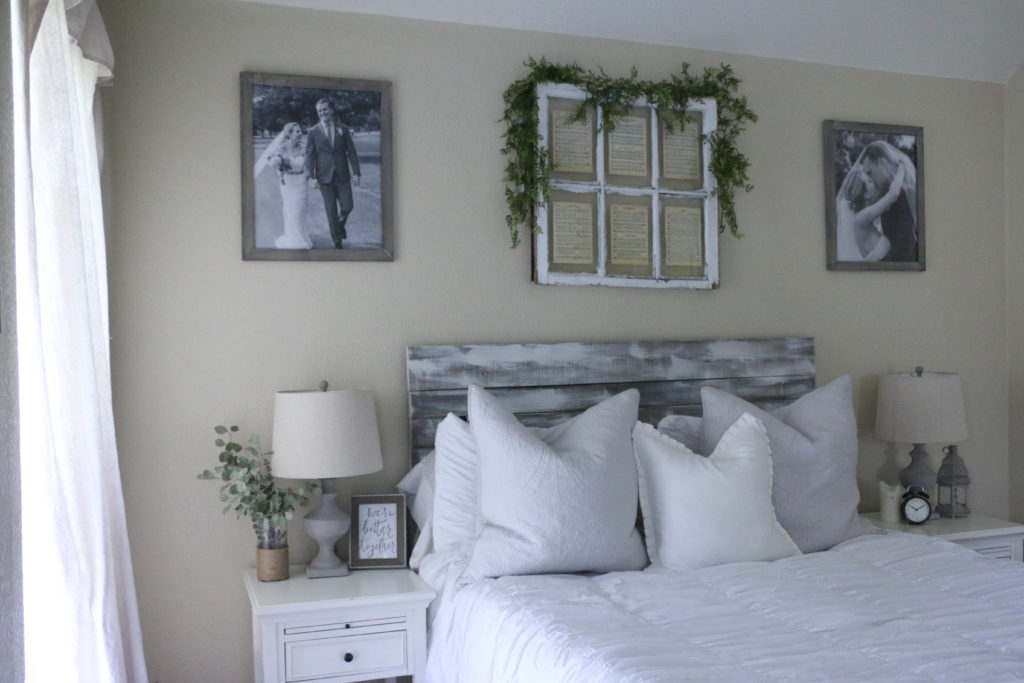
The lamps were too small, and the modern look wasn’t really my taste anymore anyway. The pillows, while comfortable, were more colorful than I was hoping for, and I wanted something more soothing. So, I ended up with this: 

All the bedding (throw pillows and comforter) came from TJMaxx. I can’t find the exact link on their site because of the nature of the store. The lamps were purchased at HomeGoods.

The lamps match my personal style much better, and they are sized a little better than the old ones were.

I also added some faux greenery to the top of the window which I think helps to add a bit of dimension. The garland is from Hobby Lobby.

The overall vibe I was looking for was calm and peaceful, with a farmhouse flair. I think I pretty well accomplished that goal.

Now of course, because I am all too cheap, I didn’t want to spend much money on this refresh. So I listed random household items on my local Facebook Swap page and made money to purchase the things I wanted! If nothing else, it was a creative way to spend a small amount of money! I ended up keeping the nightstands the same. I may eventually change them out, but the budget didn’t allow it at the moment.

So there it is! My super simple but super prolonged project! In case you missed it, you can read all about how I made that headboard myself here. That little DIY is still working for us, and I love the simplicity of it. Oh, and it was free. So that’s a win in my book.

Thanks for stopping by the blog today! That’s all for today, have a fabulous day!