All Posts By

Fawn Rumfield

DIY Projects, Holidays

How to Make Your Home Feel Super Cozy

Hey y’all! I hope your week is going well! Fall has still not arrived here in North Texas, but we’re pretending. My students are busy making pumpkin crafts, and I’ve been drinking tea nonstop at the house. Even though it’s in the eighties every day still, I’ve broken out the boots for work. Call me crazy, but I’m not wasting my time when it comes to all things fall. #sorry #notsorry

Anyway, today I want to share with you something I like to do at home during the fall. And all the time, really, but during the fall it seems especially appropriate. I don’t know what it is about the month of October, but it makes me want to cozy up EVERYTHING. For me, cozy equals good smells. There’s nothing like a warm home that smells heavenly.

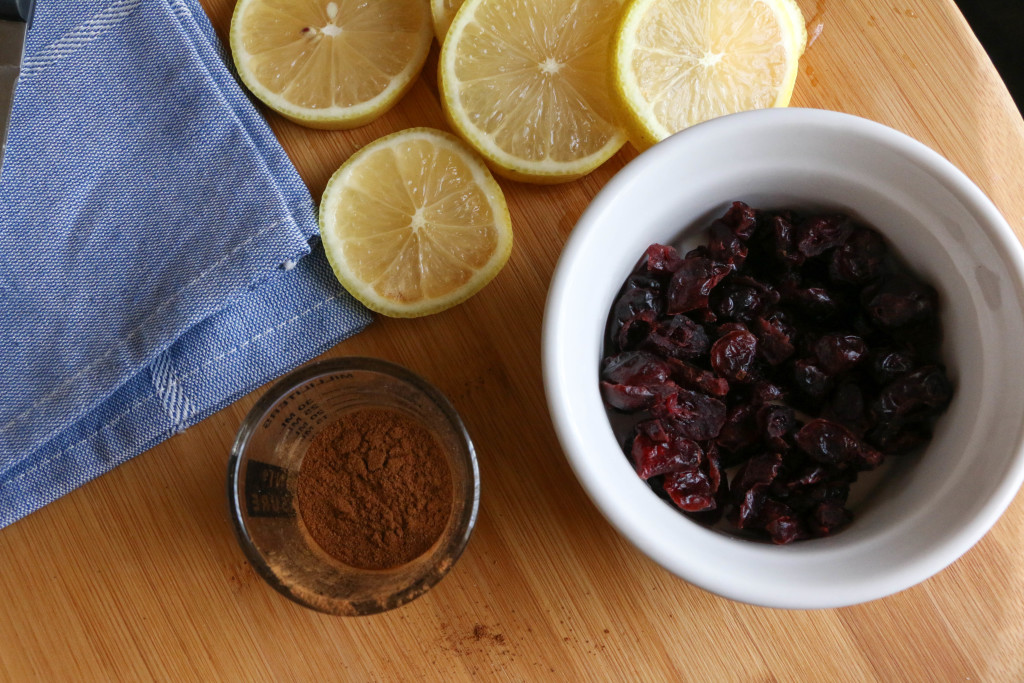
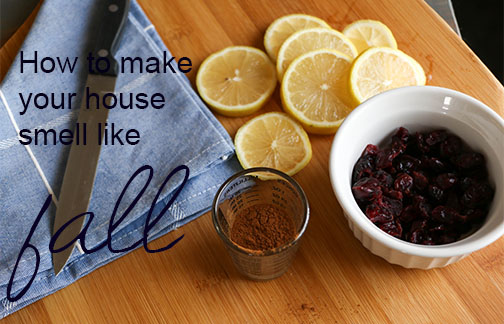
So here’s what I do. This isn’t even a DIY because it’s the easiest thing possible. IMG_2414

I like to take a few lemon slices, a sprinkle of cinnamon, and some cranberries (or in my case, dried cranberries, because that’s all I had on hand), and put them on the stove with just enough water to cover the fruit. I put them on a low heat and simmer alllllllll day long. Seriously, it is ah-mazing. I have to check and refill the water every once in a while, because the water will evaporate over time. Other than checking on it every now and then, there’s nothing else to it. It makes the house SO COZY. I kid you not. It puts me in a great mood, and the house just feels homey. Does that make sense? It might sound weird, but a house that smells good feels like home to me.

Fall makes me go into major nesting mode, and start doing lots of things around the house. This ‘recipe’ makes everything better. It just feels like fall. If fall is a feeling, this is it. If you try it out, I promise you won’t be disappointed. There are also other things that you can simmer in the pot like vanilla, oranges, lavender, pine needles, etc. Cranberries + lemon + cinnamon just happens to be my favorite combination. Find a combination that works for you, and run with it! I do this all the time and I cannot recommend it more. It’s the simplest of things and it totally makes me feel like Martha Stewart (even though there zero skills involved).

I hope you do try this out at home, it’s super easy. Have you already done something similar? I’d love to hear about it. Do you have a better recipe? I’d love to hear about that as well. Thanks for reading along. That’s all for today, friends. Have a fabulous night!

smelfall

Uncategorized

My First Experience as a Craft Vendor

This past weekend I had my first booth at a crafts/antiques fair. I wanted to share with y’all a little bit about my first experience doing this, since it was such a big deal for me. I worked really hard on my booth, and really hard on all the items that went into it. I definitely learned a lot this weekend, and I’m so thankful for it.

The biggest thing for me was at some point during that day, I realized I can do this. Having my items sold at a craft fair or market of some kind has been something I’ve wanted to do for a while, but never really thought I could. There were a million reasons why I wasn’t going to be able to do something like this, and so a few projects sat unfinished in my garage for a year or so. When this opportunity came along, I knew I couldn’t say no. The event was just one day, in our town, and I didn’t need to go through a lengthy application process, and  wouldn’t have to take the day off from my real job. For these reasons, I felt like I couldn’t say no. The cards were stacked in my favor for getting my foot in the door to these types of things.

On the actual day of the event, I had so much fun setting up my booth. When I’m shopping at other flea markets and fairs, I enjoy but don’t really think deeply about the set up of the booth. It was like staging a mini room, and duh, what could be more fun?! I didn’t have a ton of items for sale in my booth, but I think I had just the right amount of stuff to accommodate my first attempt.

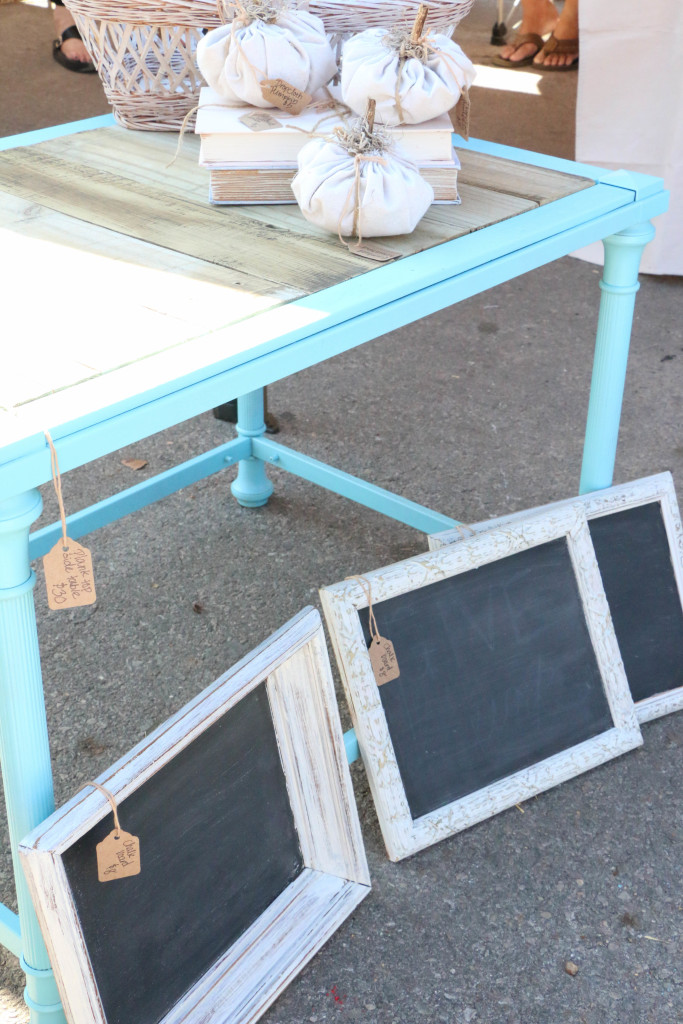
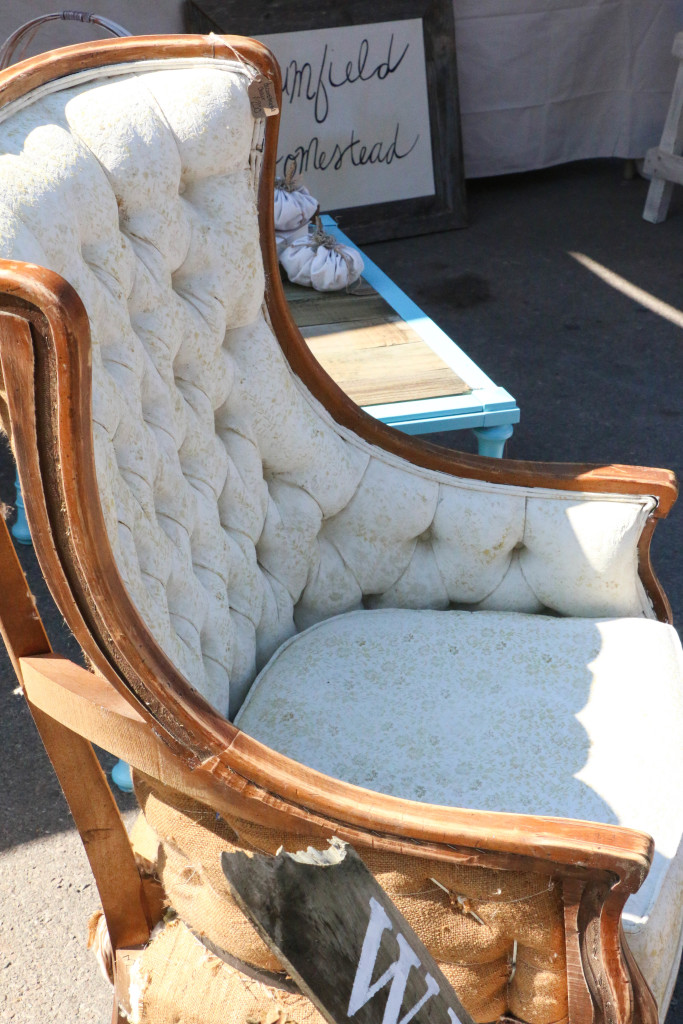
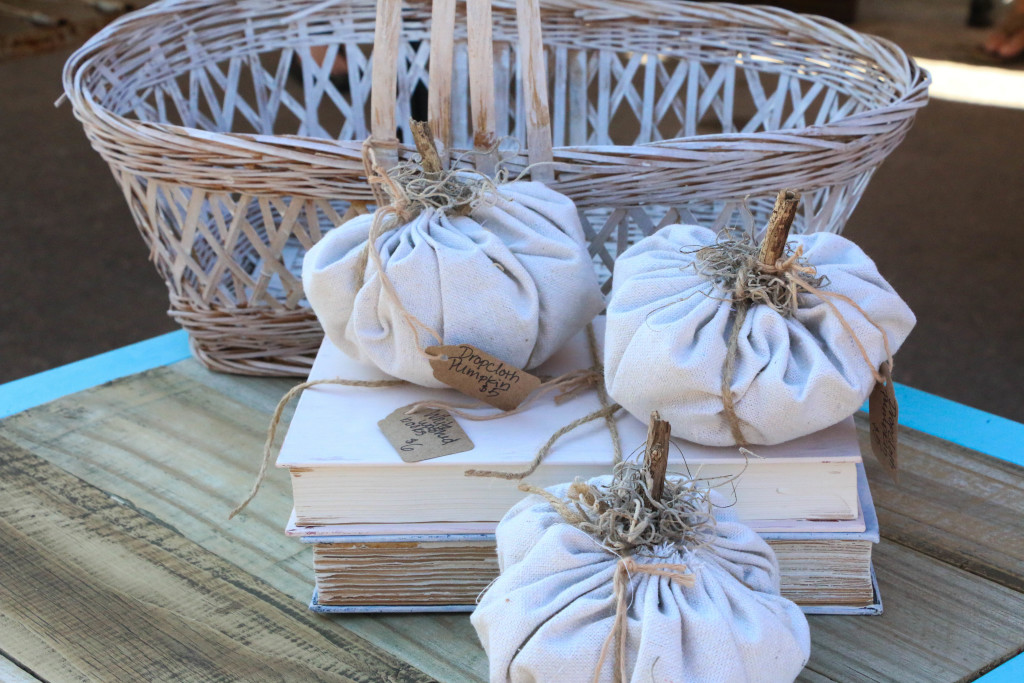
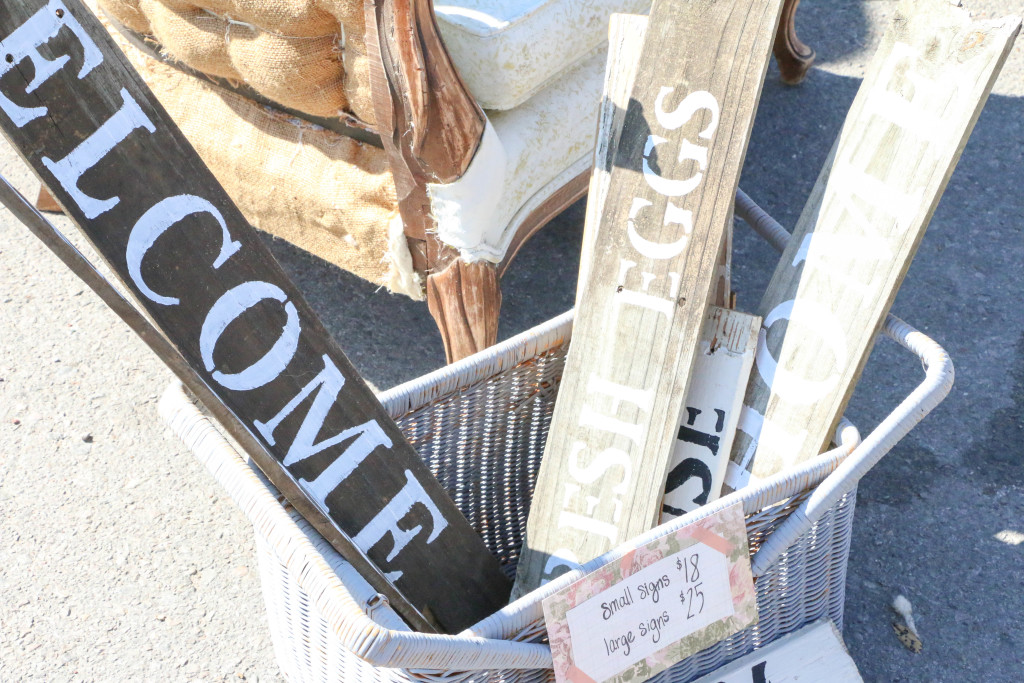
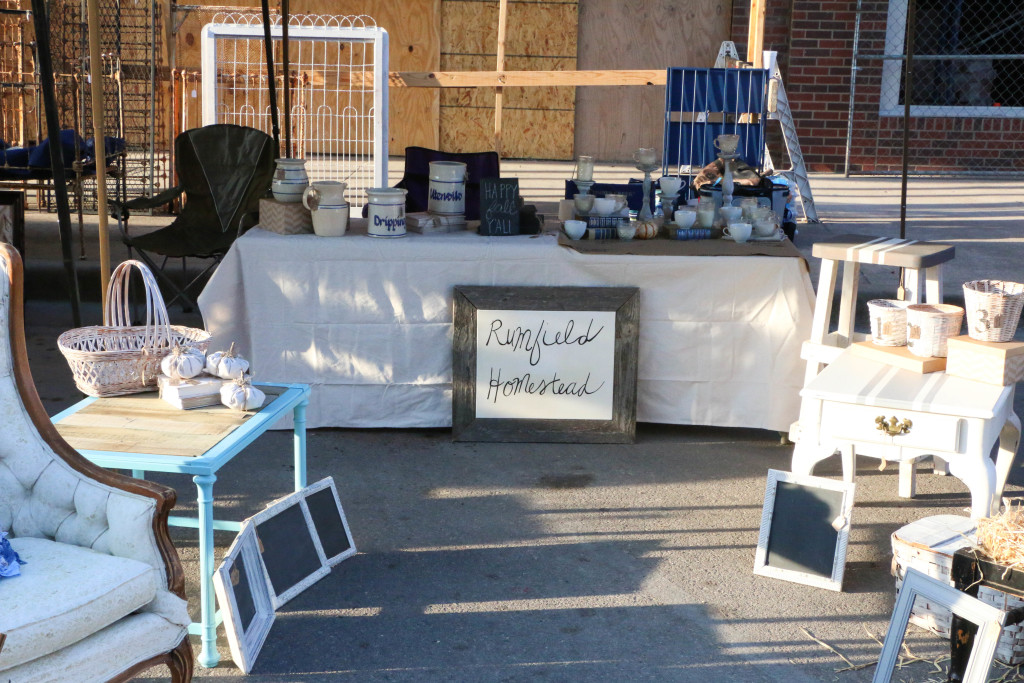
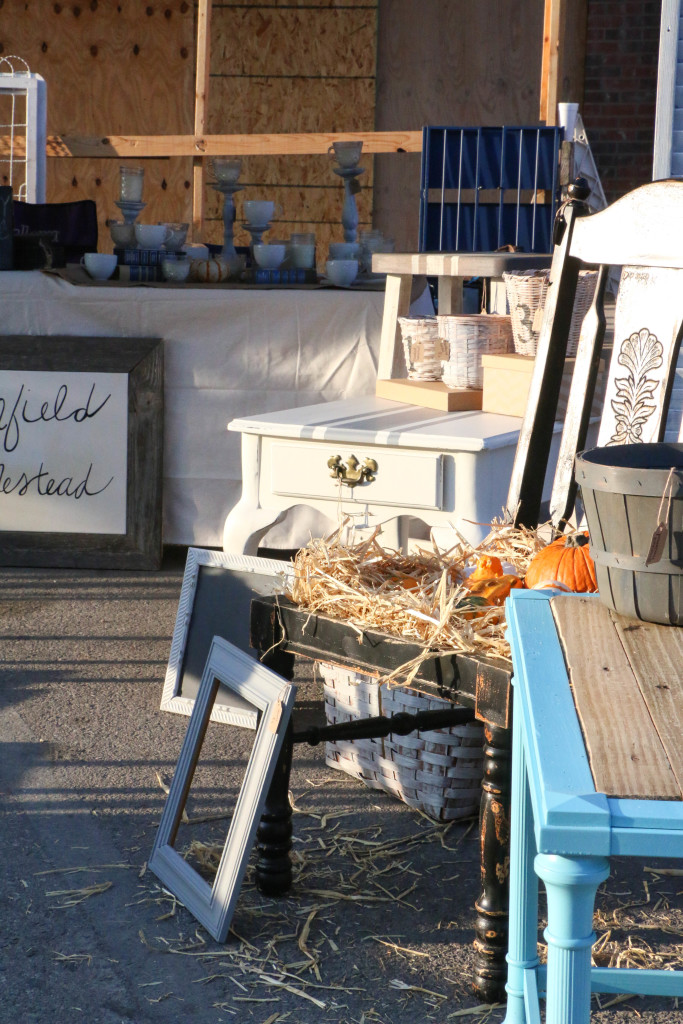
Here are some closeup shots of my booth:candles chalkboards decondtructedchair - Copy dropcloth pumpkins signs wholebooth wideshot

The actual number of sales were pretty disappointing, and whether that can be blamed on the size of the event, the venue, the clientele, or whatever – it doesn’t matter. What does matter is that I got the first one down, and now I feel a lot more confident about applying for more upscale and prestigious markets. I got the self-assurance I needed to realize that this is something I really can do, and actually enjoy. I don’t feel so afraid of these types of events anymore, and the if I could only… thoughts are gone. This day was both disappointing and encouraging. I’m glad I had this experience, and I feel like this event is my jumping point for other things to come in the future.

I really feel like God was telling me this weekend (despite the disappointing number of sales) that the creative desires I have in my heart aren’t for naught. I know He has bigger and better things for me, and I can’t wait to see what happens in the future.  I’ll let you know where you can find me next.

That’s all for today friends, have a fabulous day!

Holidays

Fall Touches on the Front Porch

Hey y’all! Hope you’re having a great Wednesday! I have definitely been feeling that midweek stress level rising, but I relieved some of that stress the only way I know how…puttering around the house! Today I focused my attention on the front porch. I don’t know what it is, but for some reason fall seems like the season where you just have to decorate your porch. (Now that I’m thinking about it, people definitely do other seasonal things with their outdoor decor, but in my mind it seems more natural for the fall. Whatever.)

I wanted to show y’all a few details of our front porch. Our rental home has a HUGE front porch, which is a blessing. On one side, I have a little sitting area set up, and on the other is where you can usually find me painting something. It has enough space for large and small projects, and for that I’m thankful. I’ll definitely miss this front porch when we leave this rental. (See? I’m always looking for the positives in our living situation.) Anyway, now that I’ve gotten a little off track, how about I just show you some pictures? IMG_2375

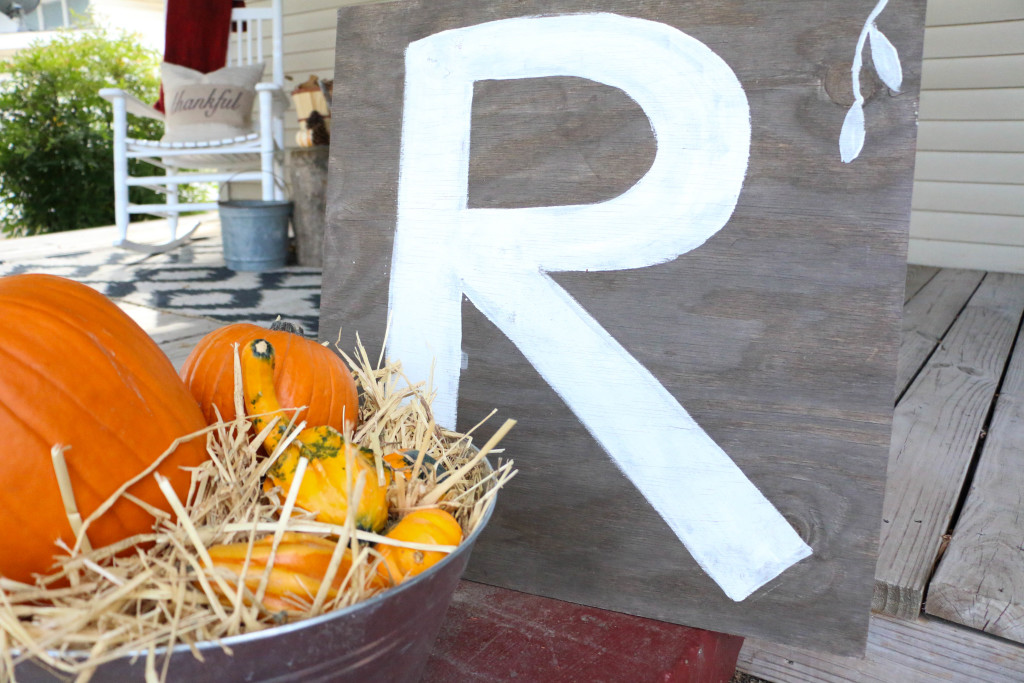
I have a large planter on either side of our front steps. I replaced the totally dead flowers (my gardening skills range somewhere in the “I tried” to the “it’s hopeless” range) with hay and some pumpkins. These are the only two things I bought with real money for this little set up. I bought my pumpkins at Home Depot, which is the cheapest place I’ve found them so far. Pumpkins can get a bit pricey especially when buying multiples, but Home Depot had some pretty good sizes for a reasonable price. I got the hay at Hobby Lobby (with a 40% off coupon of course). I’m pretty sure these planters will last a bit longer than my attempted flowers. Maybe I’ll just leave this here until next year…

IMG_2364

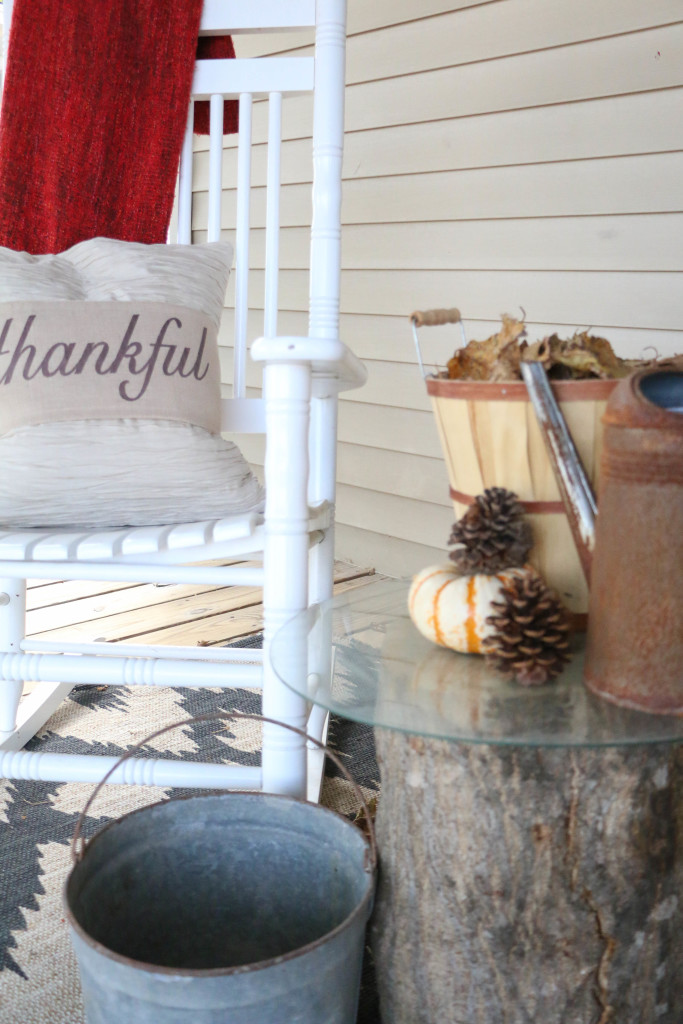
Here’s a peek of what the sitting area looks like…I added a blanket for a bit of coziness (never mind the fact that the weather is not cooperating at all), along with my Thankful pillow wrap. Can I just pause for a second and say that pillow wraps are the bomb? Like, how cool that you can seasonally change your pillows with minimal storage space, right?! Maybe I’m the only one who gets excited about these things. Maybe there are more of you like me out there. One can only hope so. This one was a gift from a sweet friend I met via Instagram. Everything else I shopped around my home or yard for.

IMG_2365

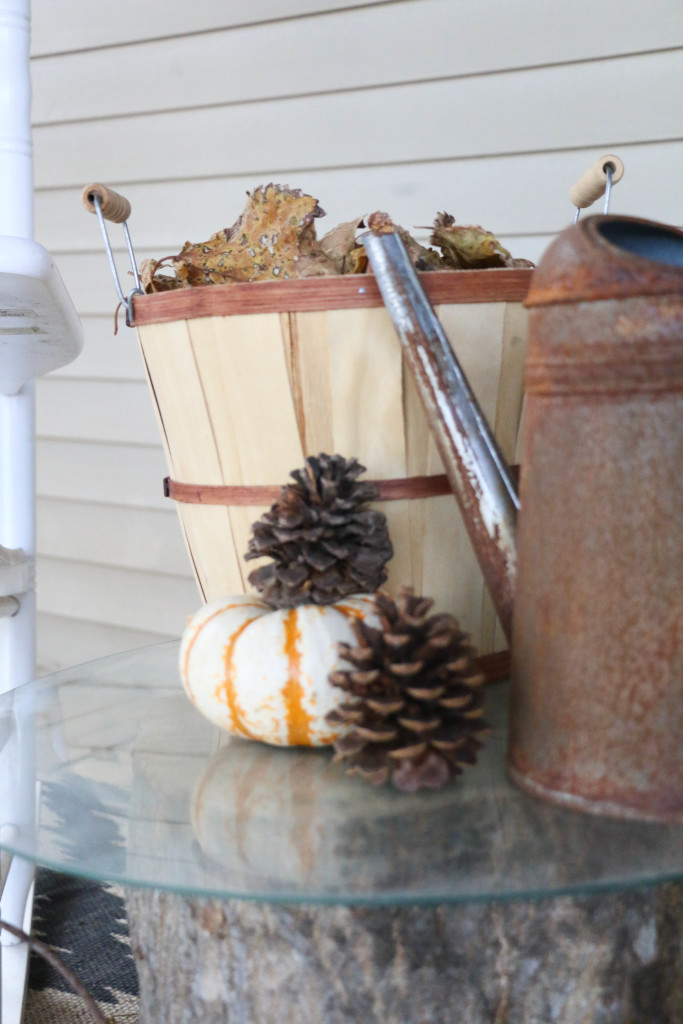
My little bushel basket is filled with dried leaves, compliments of the backyard. Pinecones are a great fall piece…also free. I’m a fan of free. I actually got these from a lady who practically forced me to take them from her garage sale, but you could just as easily find some at a local park. In my book, free=no brainer. I prefer my fall pieces to be more nature inspired anyway, but these types of simple decor are easy on the budget. I can’t think of a simpler way to add seasonal touches. I have these things scattered throughout my home as well.

A few sources you may be wondering about in this post… the rocking chair is from Cracker Barrel  (we have two of them and they are just as awesome at home as they are at the restaurant), and the rug is from Hobby Lobby. Everything else was found at garage sales or flea markets.

Do you decorate your outdoor area for fall? What are your go-to items? I’d love to hear about it! Fall decorating can be inexpensive and hassle free, so give it a try and get a little festive! That’s all for today friends, have a fabulous day!
Uncategorized

Big Things are Coming!

I’ve backspaced this sentence probably twenty times, trying to figure out how to word what I’m trying to say. Today I want to get a little personal, and share a big announcement! I’ve been trying lately to embrace more creative lifestyle. That sounds pretty vague and trendy and dumb, I know. Hear me out.

Fawn1

Six months ago when I started this blog I had no idea what I was doing (I still totally don’t), but I knew I wanted to share how I felt and the things I was doing in my home. This blog still hasn’t really gone anywhere in the past few months, but it’s something that’s helped me find my decor style. And if that’s all that comes from it, I’m totally fine with that. It’s also helped me to find contentment in our rental home. This little blog has been a bit of an experiment for me, something that I’ve just kind of let go wherever it will. But, it’s caused me to want to get into other things as well.

I love my job (I really, really do), but there’s a part of me that needs to be making things, to be restoring beauty to things, and to find others who have the same interests and ideas as me. I love waking up early Saturday mornings looking for garage sales, sifting through the junk in the thrift shop, or looking at the neighbor’s trash piles on trash night. I’m a sucker for a good deal, and I love refinishing things to make them beautiful again. I find myself wanting to explore these things more and more in my daily life. Not that I’m quitting my day job or anything (hello, I’m not a lunatic), but I’m wanting to find new ways to embrace my hobbies outside of work.

That being said, I wanted to share something new with you guys that I’m super excited and super nervous about. Next month, I’m going to be a vendor in a handmade/craft/antique/resale event in town. It’s an outdoor event that’s held in downtown Waxahachie, TX. I’ve been working really hard the past few weeks with different projects, and I’m going to be selling a range of things from redesigned furniture to homemade candles. I will have lots of handcrafted home items (and a few vintage items). I’ll have plenty of little things that I’ve painted or redesigned, and a few signs from my etsy shop. It’s going to he a mix of things, but I’m super excited about it. This is going to be my first event of this kind, and I’m looking forward to see what could come out of doing these types of events. I want this to be something that I do regularly, and so this first event is a big step. Honestly, I’m nervous that no one is even going to stop by my booth or care about my stuff, but I’m trying to be optimistic.

If you’re local, I’d love to see you October 10th at the Junk ‘N’ the Trunk Sale in Waxahachie. If not, I’ll be adding more items to my etsy shop after the sale. This is a big new endeavor for me, so I will need a lot of support. I’ll update you all after the sale (with some pictures of my booth/merchandise too). Until then, I’ve got plenty of work to keep me busy in the next couple weeks.

Thanks for reading along (I know this post is more wordy and has less photos than usual), but it’s something I’ve really wanted to share. Here’s to new doors opening and seeing where they lead! That’s all for today friends, have a fabulous day!
Holidays, Home Decor

Transitional Fall Table Setting

Hey y’all! I don’t know if you’ve realized this…but it’s September now, so that means when it comes to fall decor, it’s on! Here in Texas though, we’re still averaging temps in the nineties each day. I’m ready for fall, but the weather says otherwise! My response to that is a sort of transitional summer/fall decor theme around my house. I’ve put out pumpkins and pinecones, but my hydrangeas are still out as well.

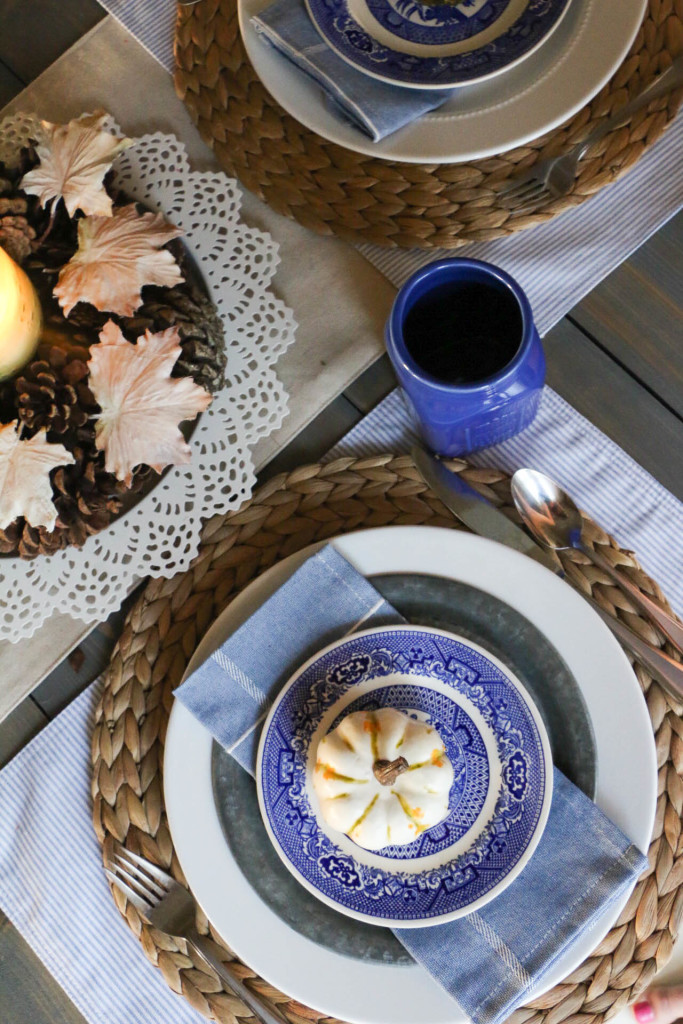
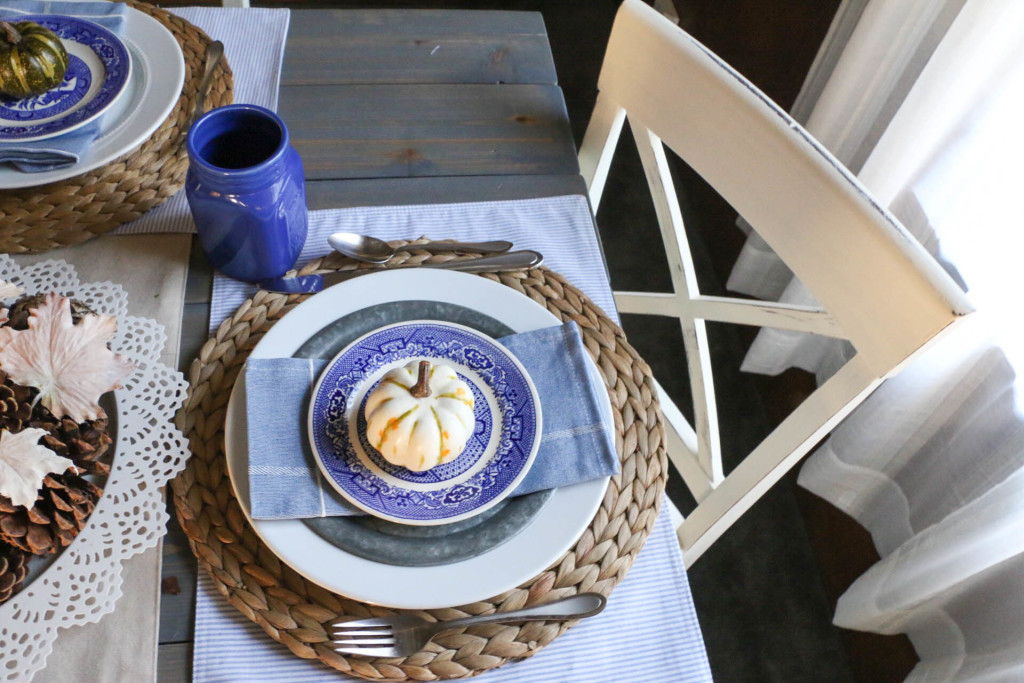
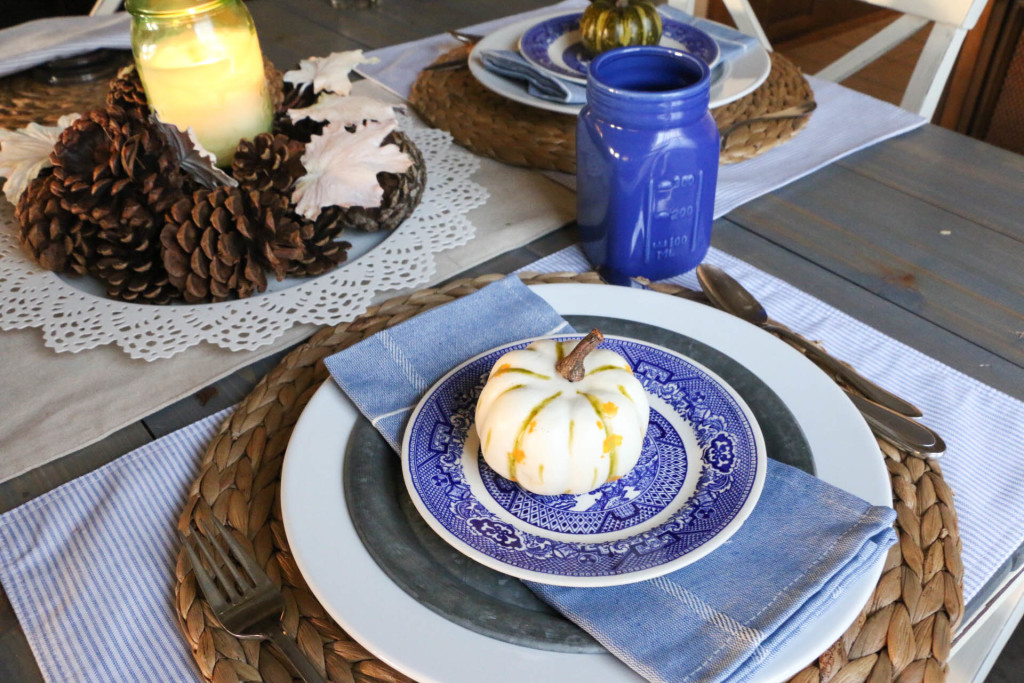
Today I wanted to share with you a quick summer/fall table setting. Y’all know I’m all about cheap decor around here, so this table setting is a hodge-podge of thrifted, gifted, and found items. summerfalltable3

My smaller plates were found at a flea market, and everything else has been bought on sale. I’m learning in decorating that there really aren’t many rules that can’t be broken. Seersucker and pumpkins? Sure, why not?!

(Is there a hand hidden in this picture? I’ll never tell.)

Summerfalltable1

I wanted this setting to say both “summer” and “fall” without being too clashy. This eclectic mix of pieces works for me because it’s casual, easy, and it feels both summery and autumnal.

summerfalltable2

Just wanted to drop in and show y’all a little seasonal inspiration. I realize this is super quick, but it was easy! Set your table, I promise you, it’ll make you feel like you’re way on top of things. A pretty table inspires me to sit and eat dinner (and staying away from dinner on the couch…which NEVER happens at our house. *cough*).

 Are you bringing in fall decor? Are you in full blown pumpkin mode, or are you more like me doing things slowly? I’d love to hear about it! That’s all for today. Have a fabulous day, friends!

DIY Projects, Home Decor

DIY Console Table

Guys. School has started and this first grade teacher is T-I-R-E-D. #isitsummeryet? Despite my tiredness and all my extra beginning of the year school year work, I managed this super quick project.

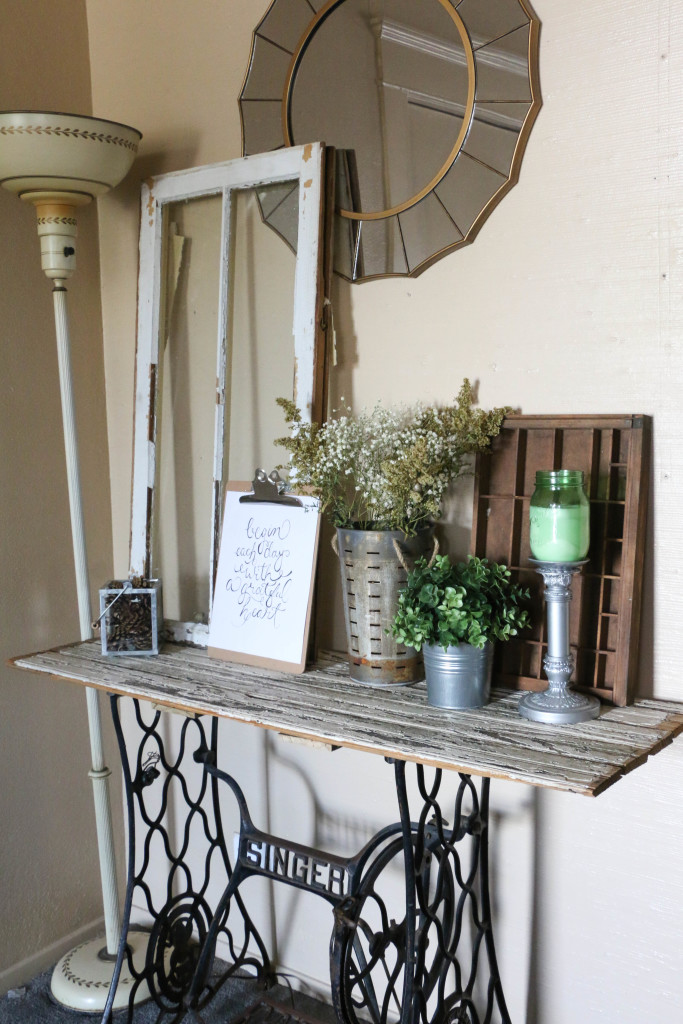
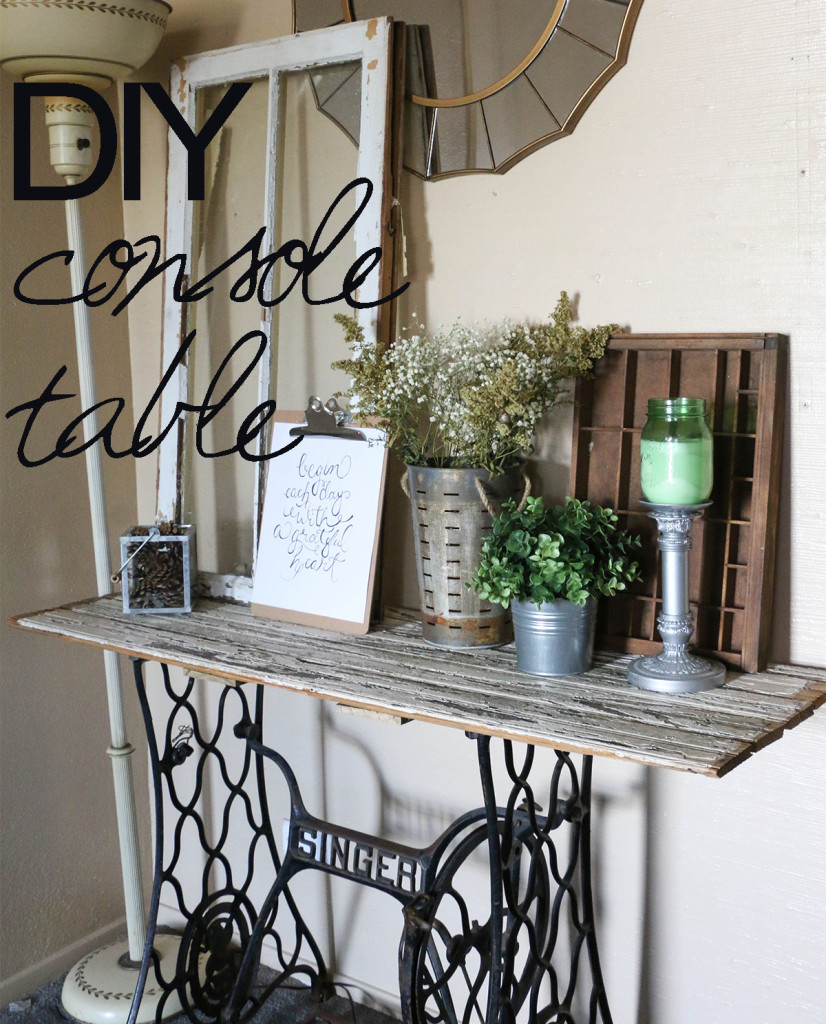
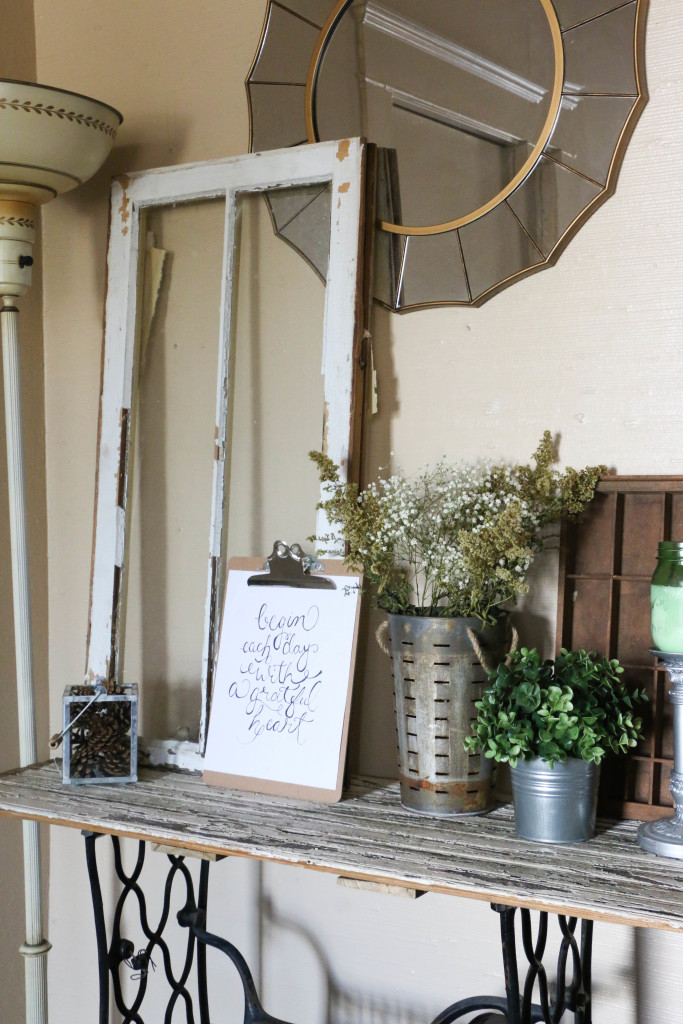
Our house doesn’t have a formal entry way, so we’ve been living with a makeshift chair-and-coatrack-in-the-corner deal. I wanted to add a console table in our living room to fake a bit of an entry. This project was so easy, it took mayyyybe 45 minutes in total. I used an antique sewing machine base as the base for my new table. I found it at a flea market and I love it! I then added a wooden planked top, and BOOM! Project done. (Well not quite, but keep reading for the details.)

salvagedwood

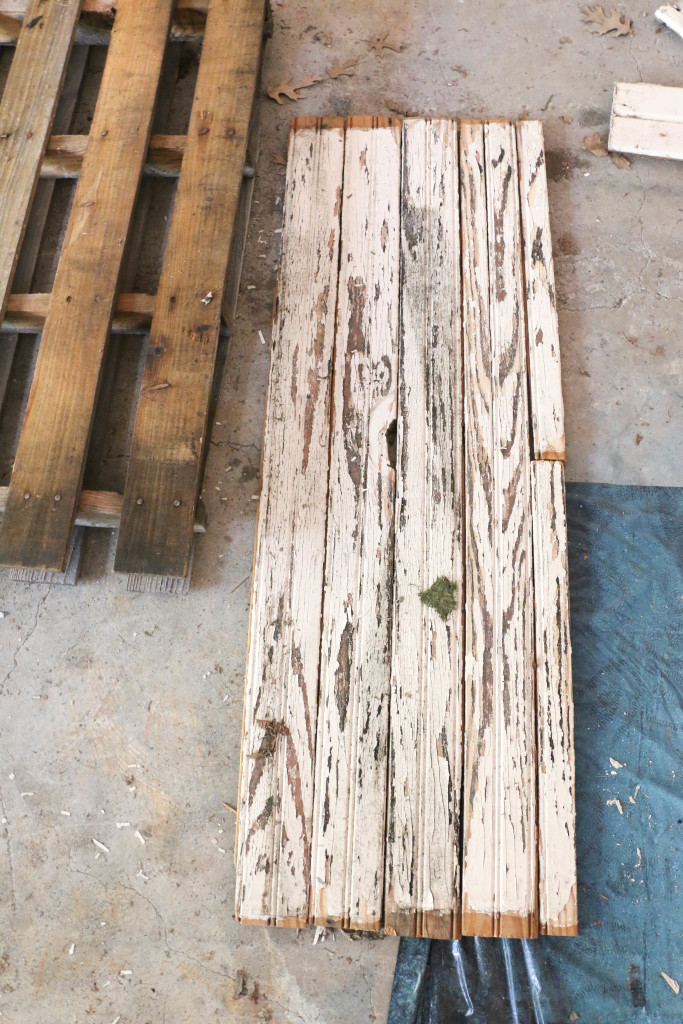
We had a bunch of salvaged wood from a home in our neighborhood. It’s probably about 80 years old and LOOK AT ALL THAT CHIPPY GOODNESS. I didn’t do a thing to the wood. I wanted it to be all chippy-rustic-like.

consoleback - Copy

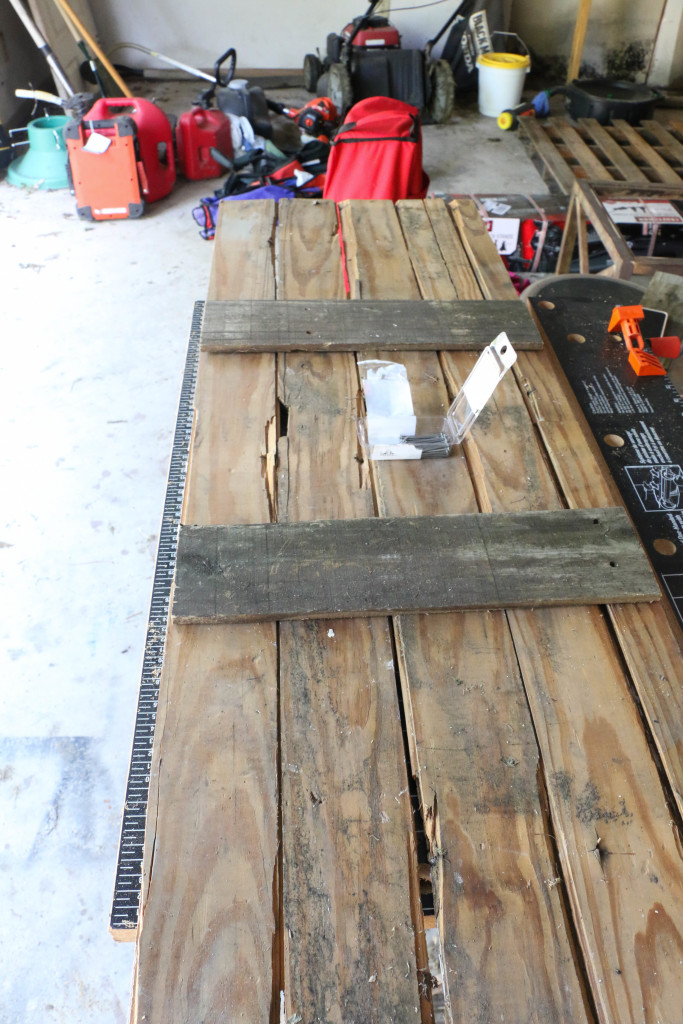
I laid the planks on top of my workspace and placed boards across them. I just used a hammer and nails because the wood is a bit fragile, and because it’s really a simple project.

After securing the boards together, I placed them on top of my base. (Total nonprofessional here): I didn’t secure the top to the base because I think I may change things up a bit in the future. I figured it wasn’t a big deal because this table won’t be getting a lot of wear-and-tear. But don’t trust me. I’m not a professional.

And here is the finished product:

consoletable2 - Copy

I love the rustic element it has! This was a super simple project, I almost feel like it’s too simple to share, but whatevs.

consoletable3 - Copy

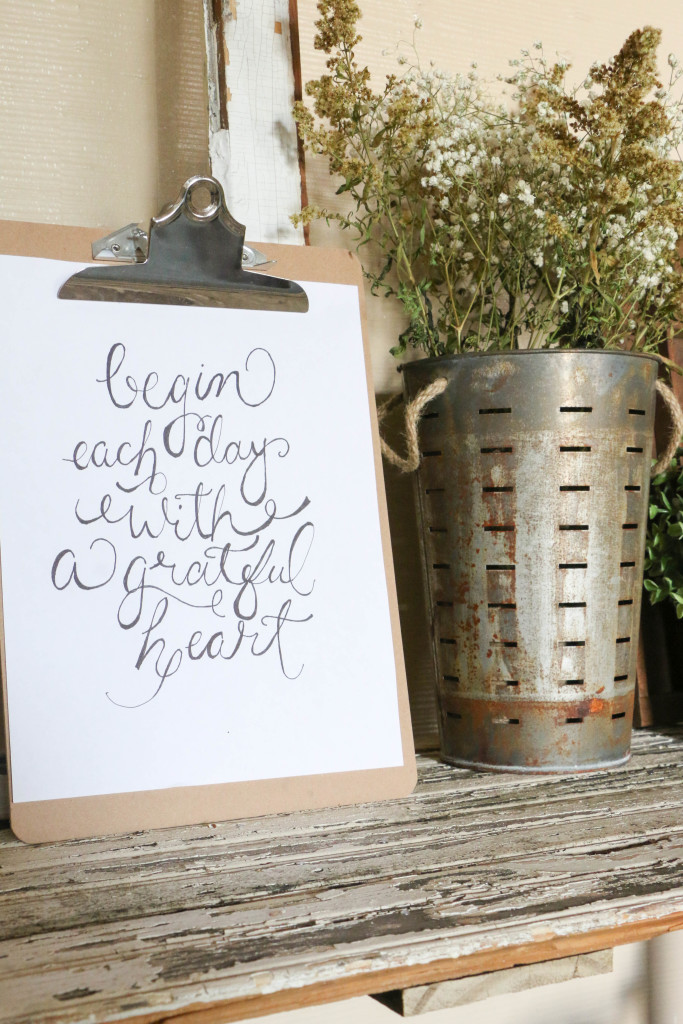
Here’s a closer look at all that paint texture. And sidenote, a super cheap art trick I use is displaying handwritten phrases on clipboards.

consoletable1 - Copy

I’m still having to re-adjust my habits when I walk in the door, since this is where our coatrack was. Other than that, I am obsessed with this little table! It was so easy! It’s one of those “why didn’t I do this earlier?” things.

Have you ever made something like this? I’d love to hear about!

That’s all for today, friends. Have a fabulous day!

Untitled-1

Home Decor

Flea Market Tips and Tricks

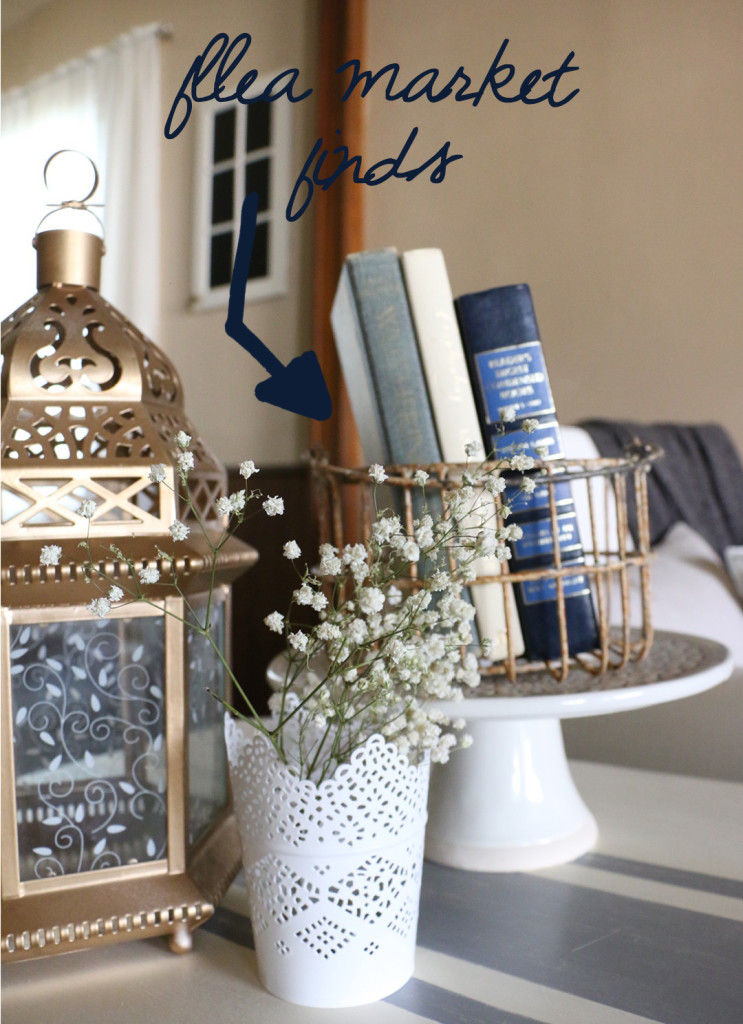
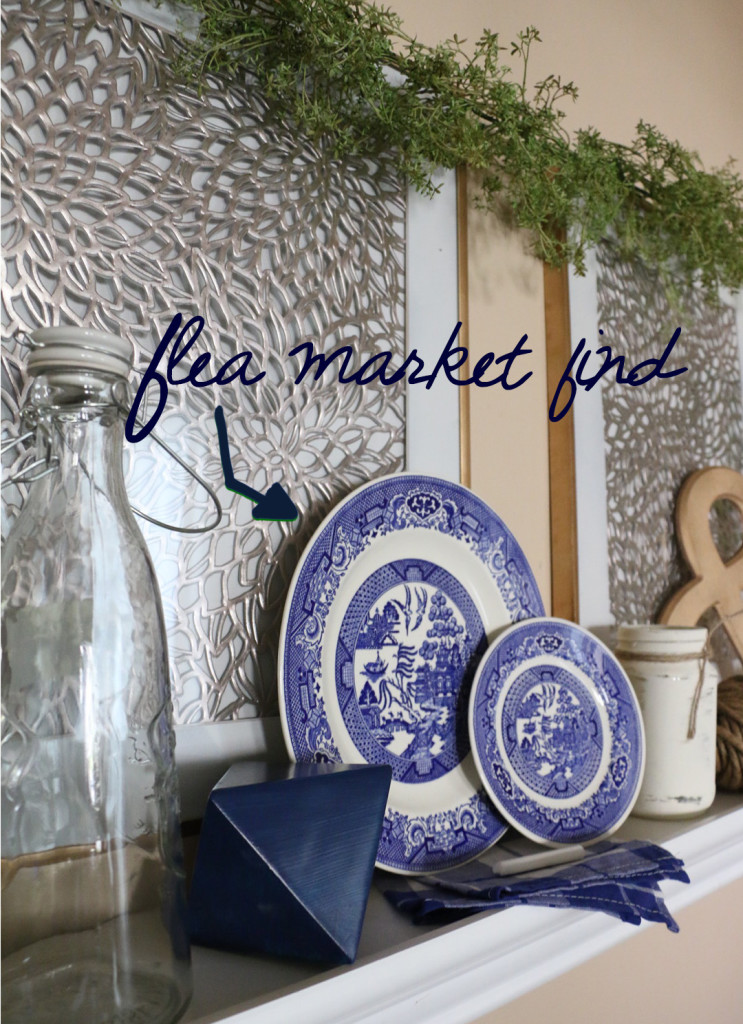
Do y’all shop at flea markets? It is one of my favorite things to do. I have to admit, it can be a bit addictive. I have found that shopping at flea markets can be great for decorating my home on the cheap. I decorate with TONS of items I’ve picked up from flea markets over time.

flea market 2 Untitled-1

I wanted to share a few tips with you guys for navigating flea markets the smart way (and by smart I mean the way that allows you to bring home the most stuff. Which your husband will LOVE. Trust me.).

1. Separate your money and keep it in separate pockets. 

When I’m shopping, I’ll leave my wallet in the car. It’s a hassle to keep in a bag and pull it out, and keeping it in your pockets can work to your advantage. I’ll bring as many different bills as possible, and put them in separate pockets. For example, I’ll have ones in one pocket, fives in another, etc. I also don’t fold them all together, I keep each bill folded individually. This way you can grab the exact amount that you want without having to dig around and look for it. It also keeps the vendor from seeing how much cash you have on you. If a vendor is asking $25 for an item, he is mostly likely willing to accept $20 if you pull a single bill out without flashing all your cash.

2. Sometimes it’s best to walk away. 

If a vendor just isn’t willing to come down in price, WALK AWAY. One of two things can happen here. First, a desperate vendor might change his mind once you’re willing to leave the item behind. If he doesn’t: keep walking. Walk around, look at other vendors, see if you can find something similar somewhere else. If not, the second of two things can happen. Close to the end of the day, head back to the vendor and see if they still have the item (they may not, and that’s a risk you’ll have to take). If a vendor hasn’t been able to sell the item all day, they’re much more likely to come down to the price you want if you come back for it.

3. Have a list of items that you’re looking for. 

This isn’t absolutely necessary, but it’s especially helpful if you’re like me. I hate to buy things without a list because I’m afraid I’ll find something better later on after I’ve already spent my money. When I go in with a list, I’m much more likely to pick up something I like and actually buy it. I won’t talk myself out of it for fear of finding something better later because it’s on the list.

4. Know where you’re going to put something before you hand over the cash. 

Don’t buy something unless you know where it’s going to go or how it’s going to be used. If you don’t know, don’t buy it. Buying something just because it looks cool is a great way to add more unnecessary junk to your house. And let’s be honest, no one wants that. Don’t bring in more junk for no reason. Just don’t.

5. Start at the back.

Just like in any retail store, you’ll find the cheaper items in the back. At flea markets you’ll usually find that there are more organized, professional vendors toward the main entrances. Steer clear of these as they’ll be much more expensive. Head to the back where people are selling items that obviously came out of their van that morning. These people are much easier to haggle prices with, and you’ll usually find more interesting pieces. These sections are usually less organized, but so worth the hassle!

6. Be kind, friendly, and courteous. 

A smile and a “hey y’all” goes a long way. Talk to the vendors, make polite conversation. If they feel like they know you, they may offer a lower price, or they may be willing to offer a second item for free along with an item you’re purchasing.

7. Ask questions. 

There may be a really cool story about a piece that you might never know if you don’t ask. Ask where it came from or if they know how old it is. Some vendors can tell you a personal story connected to an item. They like talking about their stuff, and in my opinion, having knowledge of the history of the piece makes it more special.

flea market tips

I hope these tips are helpful for you next time you find yourself at a flea market. That’s all for today, friends. Happy flea marketing!

DIY Projects, Home Decor, Tutorials

DIY artwork for cheap

Hey y’all! I hope you’re doing well! Summer is winding down over here, and I’ve been super busy with preparing things for my classroom this year. I will pick up the keys to my classroom next week to begin setting up for the school year. I’m excited for this school year, but I’m sad to see summer go! Since I’ve been so busy with classroom projects I haven’t been working on house projects too much lately. I did however, whip up a couple of these easy “art pieces” to use in the house.

I can’t even call this a tutorial because it’s so easy! More like an idea you may not have thought of. I have done this several times throughout my house, because it’s SO easy and SO cheap. I think for this project it cost me a total of $4. Whoop-de-do!

I found these old frames at a thrift store for $1.

 before2

Those ducks are so cute, aren’t they? Kind if a 90’s chic, if you will.

Literally all I did was spray paint the mattes and frames and replace the duck print with a cute printed paper. I got mine from Paper Source. I like to get papers from there because they come in 20×30 inch sheets, which is convenient for many different projects. They also have so many pretty papers! You could also do this with any gift wrap or scrapbook paper.

paint1

I used this spray paint because it’s what I had on hand. I spray painted them, and once they were dry, I added the new paper, and done. That’s it!

after1

after2

I realize this is kind of an obvious DIY. But it’s so so easy, you have to give it a try! That’s it for today friends, have a fabulous day!
DIY Projects, Furniture Makeover, Home Decor, Tutorials

Cane Chair Makeover…again

Have you ever done a project and just hated the results? You work hard on something, and when it’s finished, it’s just not what you thought it would be? This is what I’m sharing today. About two years ago I bought a pair of cane chairs from a thrift store for $20. I was so excited to work on them. Like, SO excited. Unfortunately, I don’t have the original picture anymore, but they were dark wood, with a gross blue fabric. I knew I wanted to make them over, but I had no idea how.

I picked some fabric out for the chairs with no thought to how it might lay on the chair. I learned a lot from this first makeover, but they just weren’t doing it for me. Here’s how they looked after makeover number one (and don’t judge me):

chairbefore1

First of all, if you look close enough, you can see that the back legs aren’t even painted. How did I miss that?! I don’t know. I also don’t know how I lived with this for so long. Ugh.

chairbefore2

This is a wider shot of the chairs. They are convenient, really. Ethan puts his shoes on here, and they are pretty comfortable. I like to sit here and read on occasion as well. Sidenote, our dresser is my husband’s childhood dresser (a family heirloom), deemed untouchable by the paintbrush. Anyway, looking at these chairs just makes me cringe. I’ve wanted to do something about them for so long, but the amount of work I did the first time around was torturous, and I couldn’t imagine going through that again. So I put it off for a while, thinking that since I had done it, I’d have to live with it.

But that’s just not true. I did these chairs before I got married, before I was making a home, and WAY before I started figuring out what my style was. There’s no rule out there saying you have to live with your DIY mistakes. So, I decided to take the plunge. This time, with a few ground rules. I had to do this the easiest way possible. Because last time was awful.

So let’s go through it, step by step.

chairmakeover1

I didn’t want to go through the hassle of all the buttons, so I stuffed them with stuffing. A little hot glue on top of the button, and some stuffing. Easy peasy.

chairmakeover2

I bought a $4 drop cloth and placed the seat bottom face down on the fabric.

chairmakeover3

Then I carefully pulled the corners over and stapled the dropcloth material to the bottom. The key here is to pull as tight as you can, and keep everything as neat as possible.

The seat bottom took probably a total of ten minutes, but the top section was a bit more involved.

chairmakeover4

I cut a piece of material the size of the chair back and stapled starting at the top. I found that the best way to keep it tight and even is to start at the top, then staple the bottom, and finish with the sides.

chairmakeover5

I then wrapped the chair back in quilting batting. I did this to make it a bit more comfy, and to conceal the buttons.

chairmakeover6

I then wrapped the seat back in the material, and hotglued the extra material to the backside.

chairmakeover7

I then put the seat back up against the frame, and stapled as closely to the top as possible. This is tricky, and my staple gun was not kind to my hands.

chairmakeover8

I then covered the staples with trim. I make the trim by wrapping the existing trim in the material and hotgluing it. Hot glue for the win.

The new chairs are still not perfect, but they’re much simpler, and I can live with them now. This was only my second time with reupholstery (on the same set of chairs). I still don’t have it down, but I definitely appreciate these chairs a bit more now.

chairafter2

Overall, they just look cleaner, smoother, and more natural.

chairafter

The neutral look will allow them to be moved anywhere around our home and work.

chairafter3

So the moral of this story is: if you don’t like something, change it! And if you still don’t like it, change it again! I can’t say that these are perfect, but they’re working SO MUCH BETTER than before.

Have you ever done something you hated? What did you do? I’d love to hear about it! That’s all for today, friends. Have a fabulous day!
Wedding

Our Wedding…One Year Later

As of this upcoming Sunday, Ethan and I will have been married for one year. One whole entire year! I feel like our wedding day was just yesterday, and yet I feel like I’ve been married five years. Cliché, I know. In light of the anniversary of our wedding, I thought I would share some wedding photos and share a few things I’ve learned this past year.

We got married in Western New York, where I’m from, even though we were both living in Texas by that time. We had our wedding at a local heritage museum, or as I like to call it, an “outside old buildings museum.” Either way, it was the perfect way to blend a church wedding with an outdoor wedding. We had the ceremony directly in front of a 19th century chapel, and the reception on the main lawns and gazebo of the museum. Things were far from perfect that day, but it’s in the past. It’s funny how at the end of the day, those little details I was freaking out about didn’t matter at all.

ceremony

firstkiss

aisleflowers

I wanted all the details to be laid back and “pretty.” I wanted everything to feel fresh and simple.

cardtable

I loved these little window frames we used to hold childhood photos of Ethan and me. And I just love looking at baby Ethan pictures.

centerpiece

Our centerpieces were simple; a collection of books, mason jars, candles, and Baby’s Breath.

weddingcake

The gorgeous cake. It was delicious as it is beautiful. A woman from the church I grew up in made it, and I cannot tell you how much I adored this cake. It was everything I ever wanted!

sweethearttable

Our reception was directly in front of the chapel. We had lights strung above the dance floor, and night fell at a perfect time.

bridemaids

My bridesmaids each picked out their own dresses. I absolutely loved the cohesive look.

brideandgroom

So here I am, (almost) a year later still trying to figure out what it means to be married. Because sometimes I’m still convinced that the past year has gone by without me even realizing it. Have I really been married for a whole year? That’s crazy! There have a few things though that I’ve learned, despite how fast this year has flown by.
God has blessed us immeasurably.

We both had real grown up jobs before the wedding (I hadn’t officially started yet, but I’d been hired as a teacher starting about a month after we were married). We had a place to live, furniture in our house, food on our table, and a newly-purchased bed to sleep on. Sure, there have been late nights when all we could ask ourselves was what the heck are we going to do?  Of course there have been those moments. When I measure those moments against all the victories we’ve faced in our marriage, I cannot deny that God has been there for us through and through. We haven’t had to struggle overmuch, and for that I am grateful.

Marriage is work.

Duh. As if anyone assumed otherwise. What I mean is that we’ve learned best by supporting each other, by being there for each other. At the end of the day, I listen (and I mean actually listen) to Ethan as he tells me about his day, and I know he’ll do the same for me. When Ethan has to work late (and I’m frustrated enough because I don’t get to see him all day), I have to remind myself that bringing him a hot meal at work will show him that I love him. Even if I really don’t feel like cooking, my husband is working hard to provide for us, and cooking some food and driving it to him is hardly a big deal. In my (way super limited) experience, love is actively doing something to serve my husband, knowing it means something to him.

I am not a perfect wife.

Another duh. While engaged, I had envisioned myself working hard each day, coming home to cook a full three course meal (which would be served at the table the moment Ethan returned from work), with dessert in the oven, all with an immaculate home. Big surprise! I was wrong! There are times that the clean clothes are on the bedroom floor for way longer than I’d like to admit, waiting to be put away. Sometimes I go to bed with dirty dishes in the sink. And, gasp! There are days the bed goes unmade. I’m learning that I really don’t have to have it all together. I’m pretty sure nobody does anyway.
I have to pray. All the time. Seriously.

I thank God for my husband daily. I ask to God show me ways to demonstrate my love to my husband. How can I be a wife of noble character? How can I bring honor to my husband? I can support Ethan in prayer. I pray that his dreams come to fruition, and that I may have the wisdom to support him. I pray for our future, for guidance in situations that have yet to arise. I pray that Ethan will be able to lead me and our future children in the direction of Christ. I pray that we continue to serve Him in whatever He may ask us to do. Without prayer, I think marriage would be a bit more frustrating, and quite meaningless. I’m thankful for a God who has given us the gift of marriage, because that’s what it is, really. A sweet, precious, heavenly gift.

So overall, there may be a couple of things I’ve learned. I’m just glad I can keep on learning how this marriage thing works as we go.  Thanks for letting me get a little personal today. I appreciate y’all. That’s all for today. Have a fabulous day, friends.