All Posts By

Fawn Rumfield

DIY Projects

DIY Abstract Art

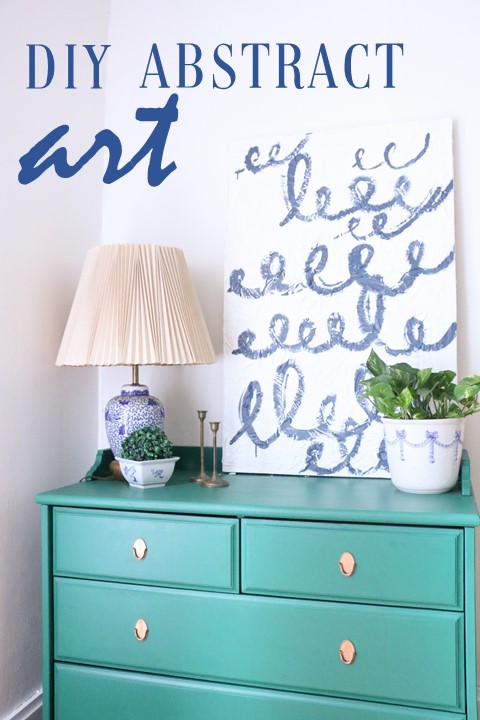
Last week I shared a post with several ideas for free and low cost art (you can read that here). This week, I’ve been super bored around the house with no big projects that I’ve been working on, and so I was itching to do something. I had been inspired by some abstract paintings I’d seen online, and figured I could make something similar with items I had in my garage. File this under: free projects. (If you don’t have a garage full of leftover renovation junk, this might not be free for you. But still super low cost! So, let’s get started!

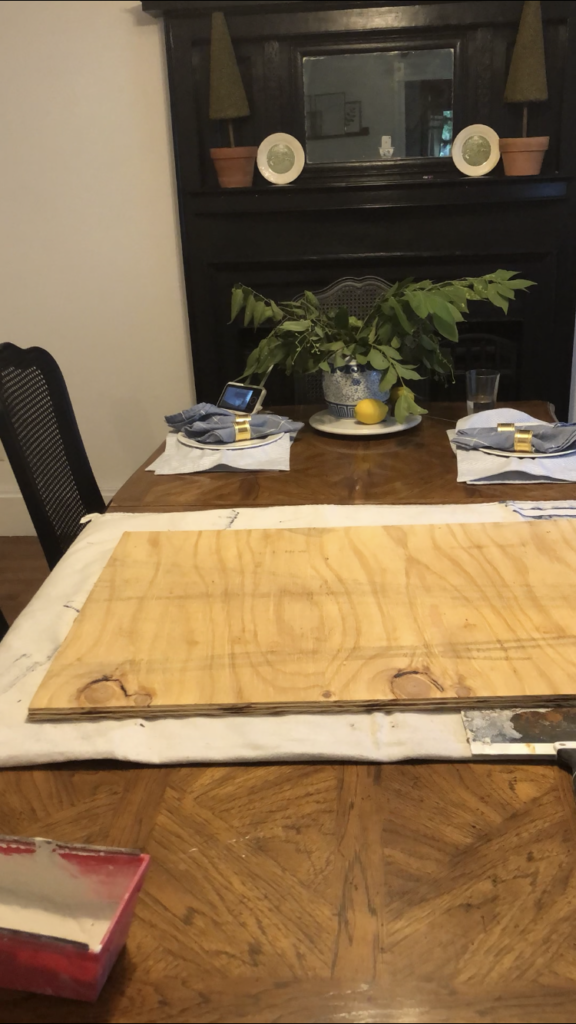
The first thing I did was grab some plywood from the garage. Mine is smooth, but pressed wood would work as well. I used a board that was 24×36 inches, but any size will work! I also grabbed some drywall mud, a drywall mud pan, and a putty knife.

These photos are screenshots from a video I filmed at 8 pm while starting this project, so probably not the best quality. But bear with me. I started out scooping the drywall mud slowly onto the board, but quickly realized it would be easier to just pour a bunch on the board directly and move it around with my (gloved) hands.

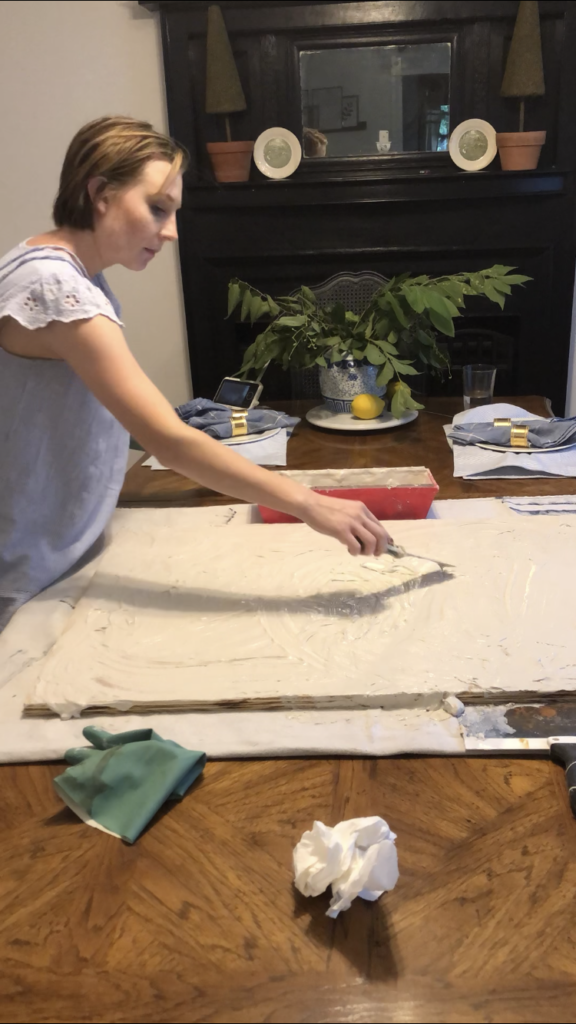
Then, using both a putty knife, and my hand, I just gobbed it all around until the whole board was covered, and there was textured look to the entire thing. The goal was to make it look like super textured. I let it dry overnight, and when I woke up the next morning, it looked like this:

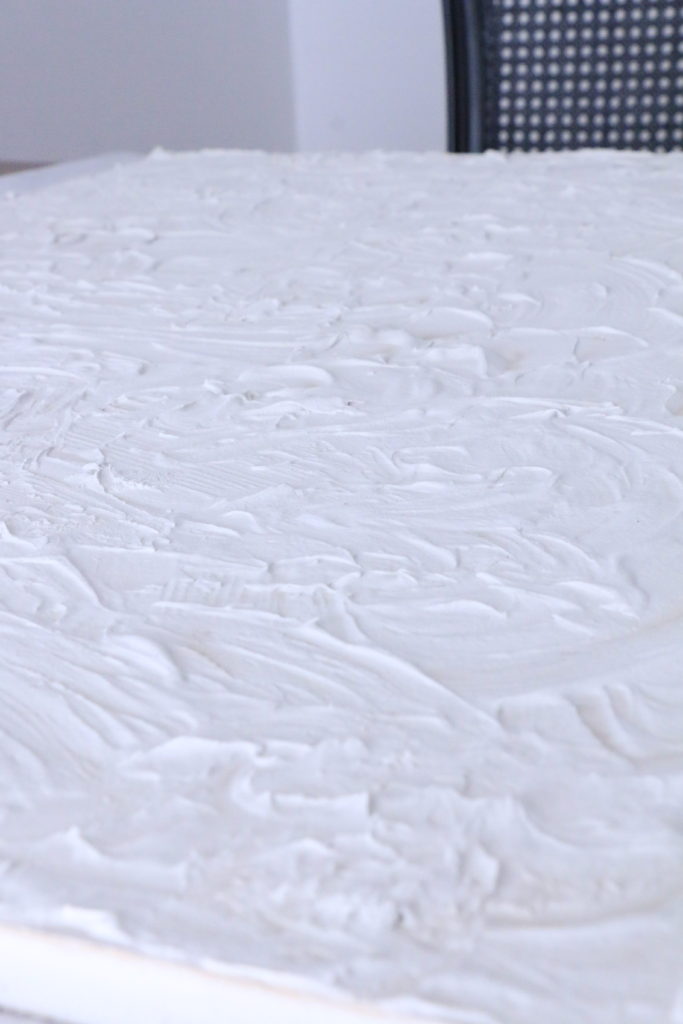
Exactly what I was going for! Then, I poured white paint over the entire thing and brushed it over the mud texture.

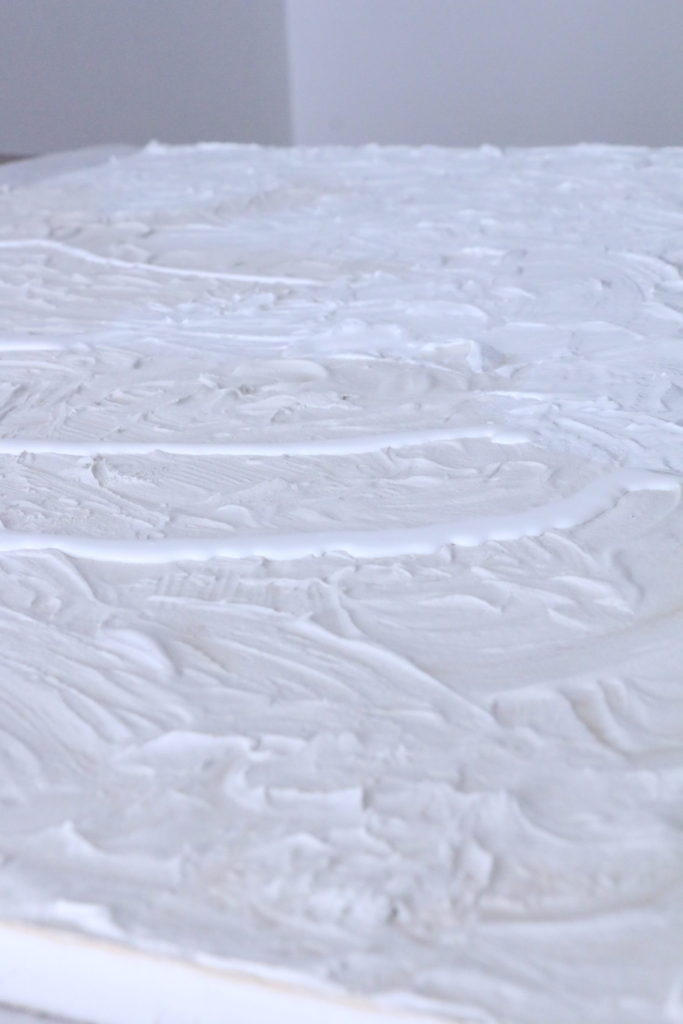
This step isn’t technically necessary, but I wanted it to be a brighter white. I used Behr Ultra Pure White, which is just what the color is with no tint in the paint can. You could also choose to do a different color here completely, depending on what you wanted your background to be.

After the white was dry, I did the final step. Unfortunately, I didn’t get any pictures of this step, because I was being climbed on by my toddler and forgot to take any photos! However, this is the fun/easy part. I just took a small craft brush, some blue paint I had on hand (Glidden America’s Cup Navy) and painted on some loopy squiggly lines. I didn’t really have a plan, I just went for it. You could do this in any color with any shape/line.

Some of the paint ended up dripping down, which I actually love. The messier the better with this!

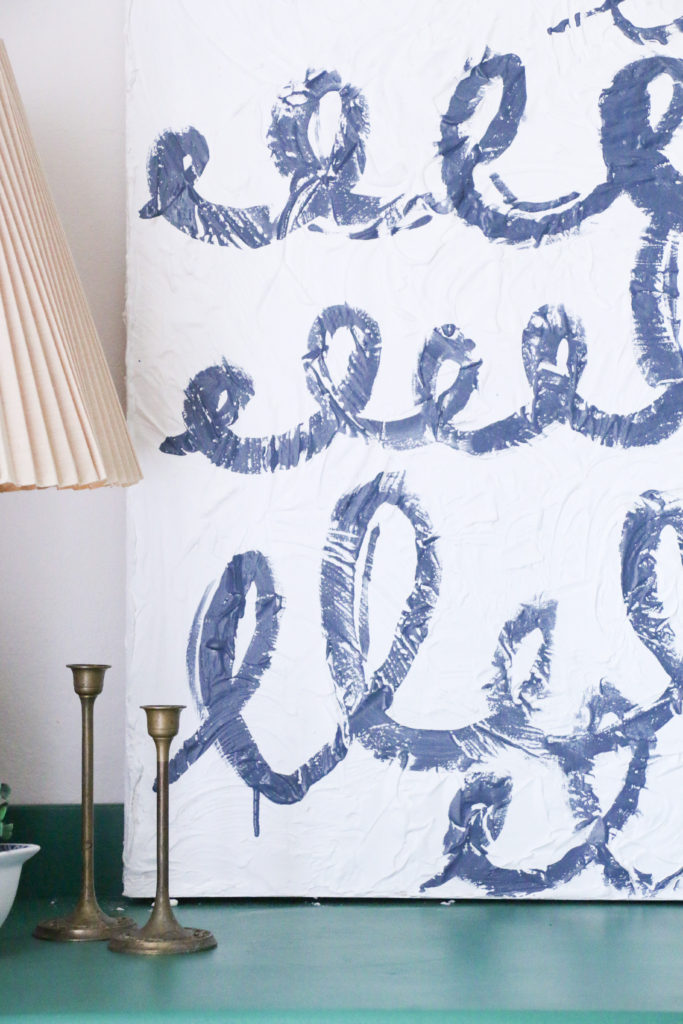
You can see in some areas I went a little thicker with the paint, and in others I let the texture show through.

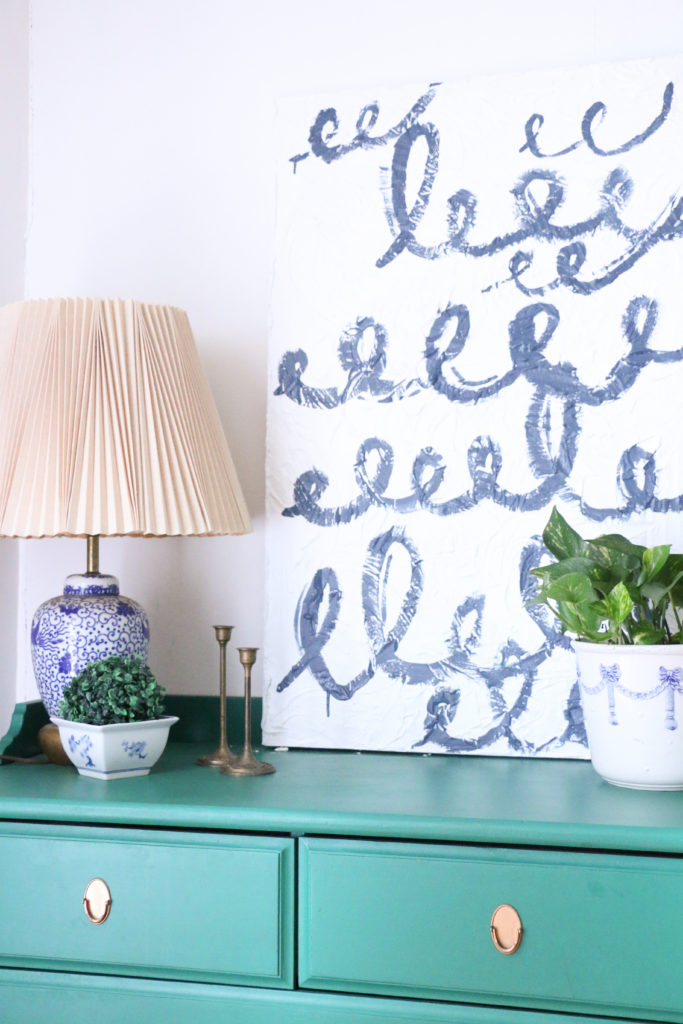
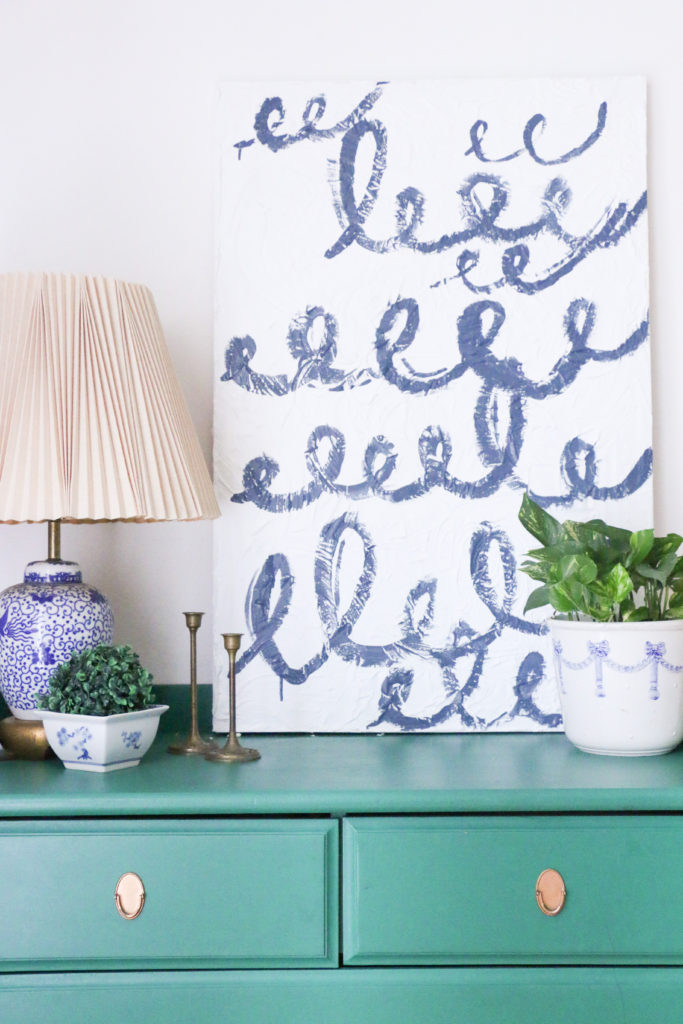
Overall, excluding dry time, this project took probably 45 minutes of active work. And now I have a larger piece of “art” that I didn’t have to pay for. And I absolutely love the way it turned out! You know that blue is totally my color, and so I think it works perfectly in the dining room where I have lots of blue and white going on.

What do you think? Would you try this? Let me know if you do! Well, that’s all for today, friends. Have a fabulous day!

*This post may contain affiliate links.

House Progress

Status Update: Year Two

Today marks the official two year anniversary of owning this old house of ours. Today I wanted to look back at this past year, year two, and see all of the things we accomplished. I’m going to share a few (not all) of the big projects we’ve done in the last 365 days.

If you’ve never seen the before pictures of our house, you might want to start there, just for fun. This last year kind of unintentionally became the year of getting the upstairs more livable. One year ago, our master bedroom was downstairs and the only thing we had done upstairs was our son’s room. In the fall, we updated one of the bedrooms upstairs and moved the master up there.

Then, over my winter break from school, I decided to do a bit of work on our upstairs bathroom.

We also worked on finishing the third bedroom upstairs this year when we found out we were expecting our second child. The nursery is one of my favorite rooms in the house, and I cannot wait to get to use it very soon!

During Spring Break (are we sensing a pattern here? it seems like every time there was a break from school, I did a project!) I painted the porch floors on all three of our porches. That ended up being a lot of work over an extended period of time, but made a huge impact.

In a spur of the moment decision late last summer, I decided to paint some dalmatian spots on the wall between our living room and dining room. Best decision ever!

We’ve also done tons of work in the yard, and countless small projects around the house to help move the progress along. It’s crazy to see how far we’ve come. They say that people overestimate how much they can get done in a day, but underestimate how much they can get done in a year, and it’s so true! Last summer I could not have imagined the progress we have made. I can’t wait to see where we are by the end of year three! Hopefully some work in the downstairs areas… I’m getting real sick of looking at a few things downstairs. LOL! Well, that’s all for today, friends. Have a fabulous day!

Home Decor

Free and Low Cost Art

They say that to make a house feel more homey, it needs art. Well, I agree, but what I know about art is that it’s expensive. And if I go to a big box store and buy something off the shelf, chances are someone I know has the same one in their house. And that doesn’t make my house feel special or unique. Today I wanted to share with you a few ideas for finding art for free or inexpensively that are unique and make your home feel special!

First, let’s talk free. It’s my favorite word.

This is a view of the art ledge in our living room. Our living room is a work in progress. Let’s look beyond that. A couple of things I have here are some literal weeds that I cut from my yard and pressed under some magazines. I stuck them in some thrifted frames I had on hand, and boom. Done. I also have a framed scrap of wallpaper that we found while tearing out a wall in our house. It’s probably close to 100 years old. Now, you may not have 100 year old wallpaper you want to frame, but you might have something personally special to you like a handwritten recipe card from your grandmother, or a silk scarf that your mom used to wear. Frame it, and it’s personal and unique and free art!

You can also paint your own abstract art. I would consider myself “creative,” but not “artistic” if that makes sense. But anyone can paint some circles or blobs on a piece of paper and call it art, right? (Also, check out this sneak peek of my bathroom refresh! I’m waiting on a few things to be delivered before I share more, but it’s coming! And it’s green!)

And while you’re browsing your favorite magazine, be on the lookout for pages that appeal to you. You can always cut pictures from books and magazines and frame those too!

Now let’s move to the “low cost” category.

Not quite as good, but still pretty cheap, so listen up.

These large frames in our living room are prints of Sanborn Maps. These are map views of our neighborhood from the early 20th century that I had printed. They are available for free on the library of congress website, but I’m including them in the “low cost” category because I had to pay a few dollars to have them printed in large format at my local office supply store. You may not live in an old house and so these may not be relevant to you, but I wanted to share with you my favorite and new found obsession for amazing prints.

The Smithsonian has thousands of archived digital files available to download right on their website for free. Can you even believe that?! Through Smithsonian Open Access, you can browse tons of actual paintings and photographs that you can legally download at a great resolution. These are free to download, but I’m including them in the “low cost” category as well, because I print them as posters or large scale photographs at my local drugstore. This ballerina print in the nursery was one that I downloaded from their website.

And lastly, you know I’m going to tell you to thrift. This original mini oil painting was $4 including the frame. No one else has one, and it helps the room feel unique. Thrift stores, flea markets, and estate sales are filled with framed art for just a few dollars. Sure, you have to look beyond the 90’s prints of flying ducks or the “live, laugh, love” posters, but there are some real gems to be found.

You can fill your home with pieces that not everyone has on a budget! You can fill your walls with art and special things without spending a ton of money. That’s all for today, friends! Have a fabulous day!