Browsing Tag

Furniture Makeover

Furniture Makeover

Spring One Room Challenge Week Six: How to Remove Veneer from Wood Furniture

Week One | Week Two | Week Three | Week Four | Week Five

Week Six already?! We are in the home stretch now and truly have the hardest work completely behind us now. This week I turned my attention to refinishing a dresser that was already in the room. You may remember it from the before photos.
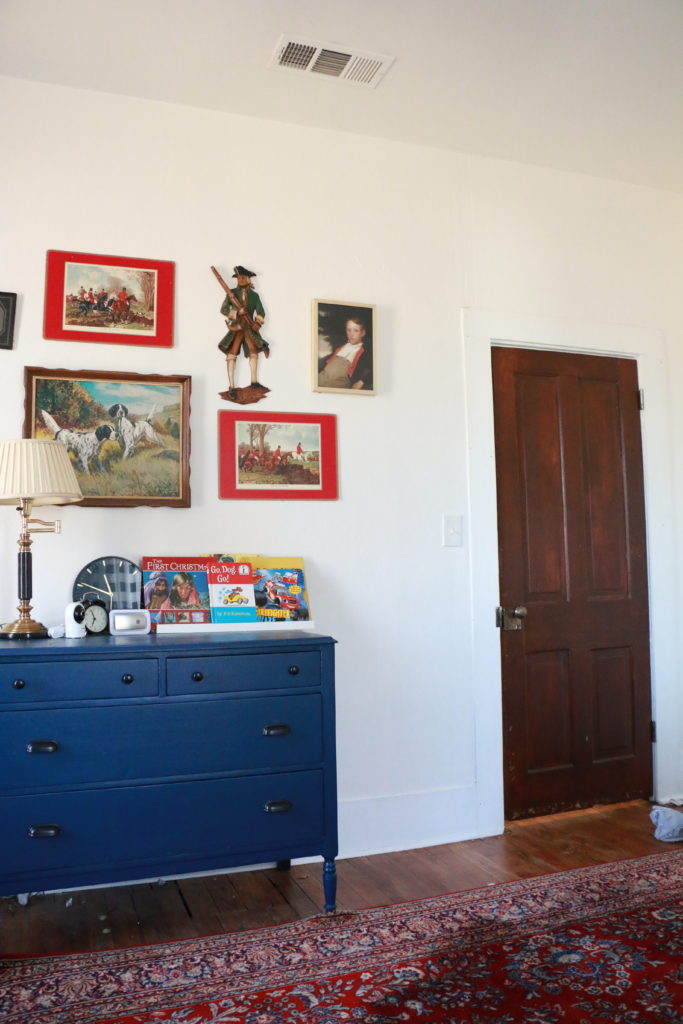
This dresser was mine as a kid, and my mom’s before that. It’s been painted a countless number of times throughout my life, and the blue was just its most recent iteration. Several years ago, I attempted to strip it, but it was covered in a midcentury veneer style that I just didn’t love, and so I painted it again. I know a little more about furniture restoration and antiques than I did several years ago, so this time I decided the time was right to remove the veneer and see what was underneath.
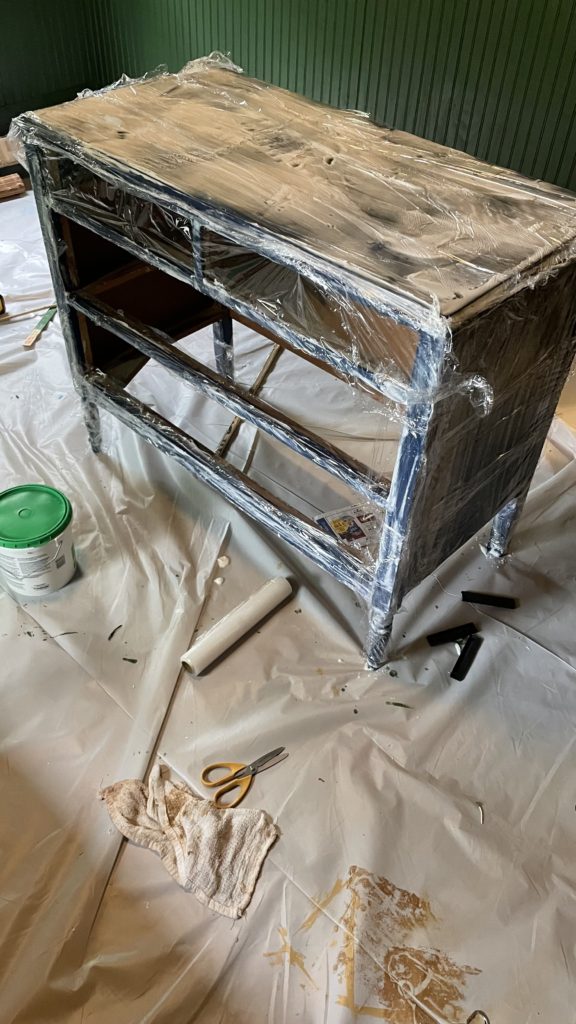
I started out with a layer of SmartStrip. It’s a nontoxic paint stripper that cuts through multiple layers. I’ve only used it once before, but it’s what I had on hand, and it’s relatively safe for indoor use since there’s almost no odor, so I figured it was my best bet. I wrapped in plastic wrap and let it sit overnight.

Now, I expected it to take off the paint, but what I didn’t expect was for it to begin lifting the veneer as well. After about 24 hours, some of the veneer had begun to bubble. Which was a pleasant surprise for me, because my goal was to remove the veneer anyway. However, if you have a piece that has veneer you’d like to keep, SmartStrip is going to be too strong.
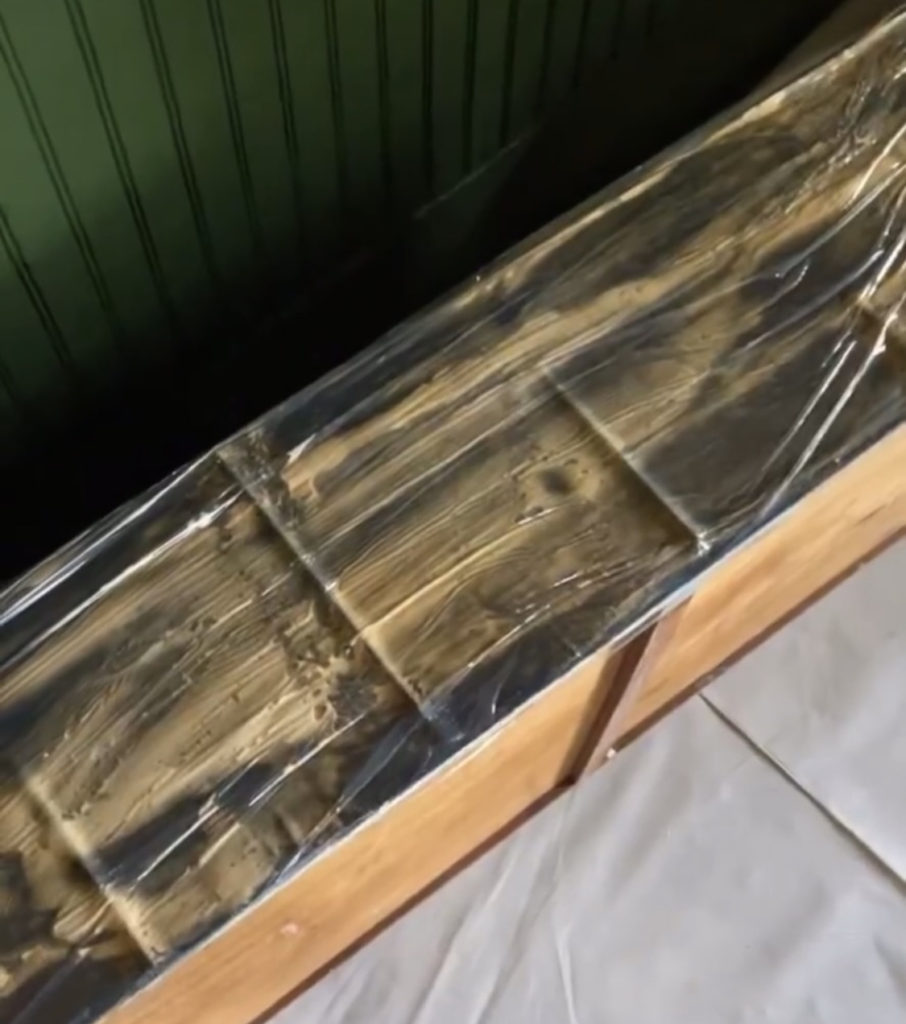
One coat of SmartStrip was enough to remove about 80% of the veneer! I saved myself a step of removing the paint first and then the veneer which is what I assumed I would have to do, but there was still some that needed another method to remove.

I used some old hand towels (they should be thicker than rags, but they will be ruined, so you want to use ones you don’t care about), and got them damp with the hottest water I could handle. I laid the damp towels over the veneer, and then set my iron on top of it.
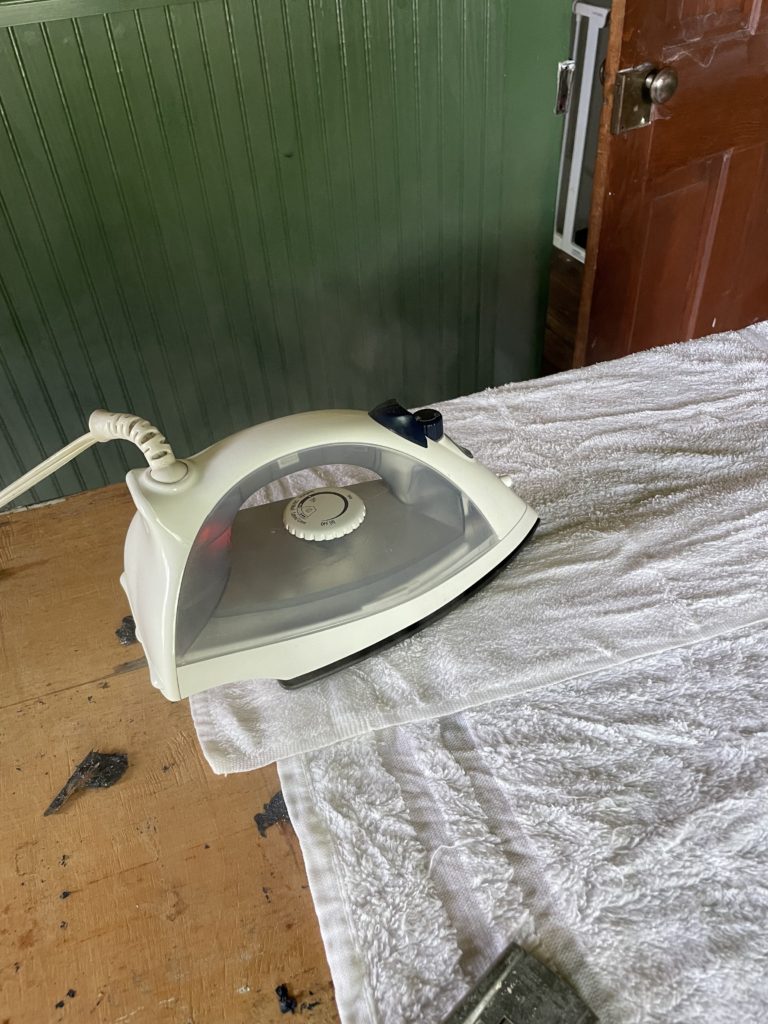
It creates a ton of steam, which loosens the glue so that the veneer can be removed fairly easily with a putty knife.
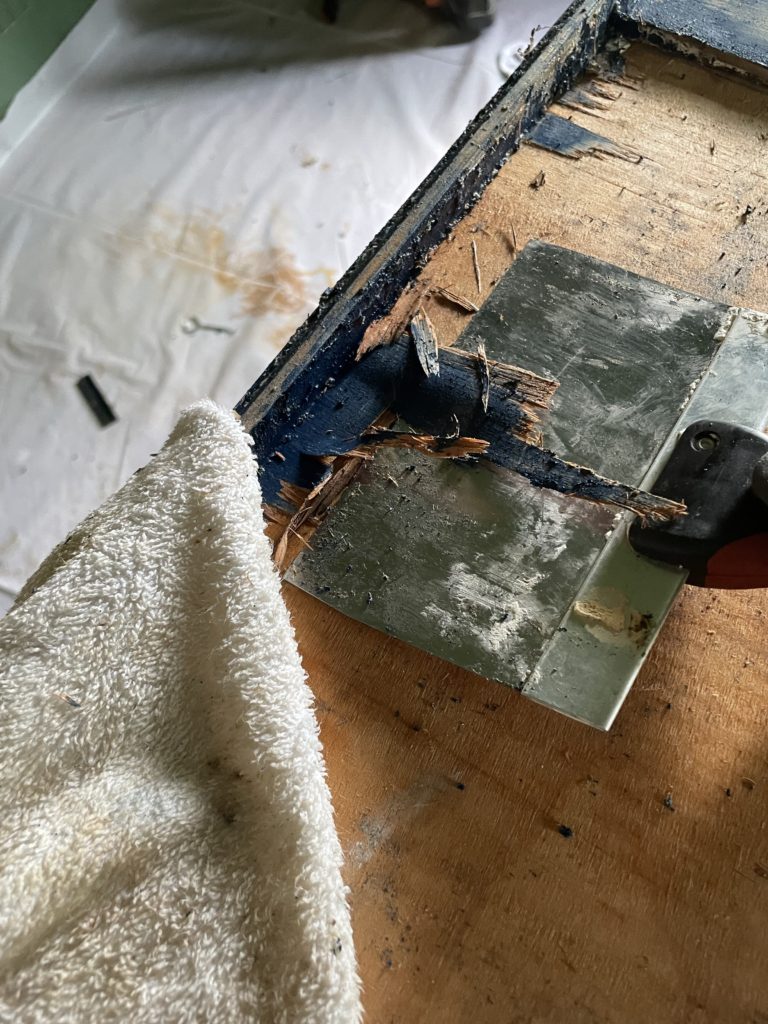
I actually found this to be easier physically than scraping with the SmartStrip, but it was more time consuming.

Once I had all the veneer scraped off, I had to sand myself into oblivion. I sanded with an 80 grit, a 120 grit, and finally a 220 grit to make sure everything was super smooth. I then coated with a coat of polyurethane (water based because I was working on it indoors and didn’t want to deal with the odors). I did two coats of polyurethane, with a light sand with 220 grit sandpaper in between.
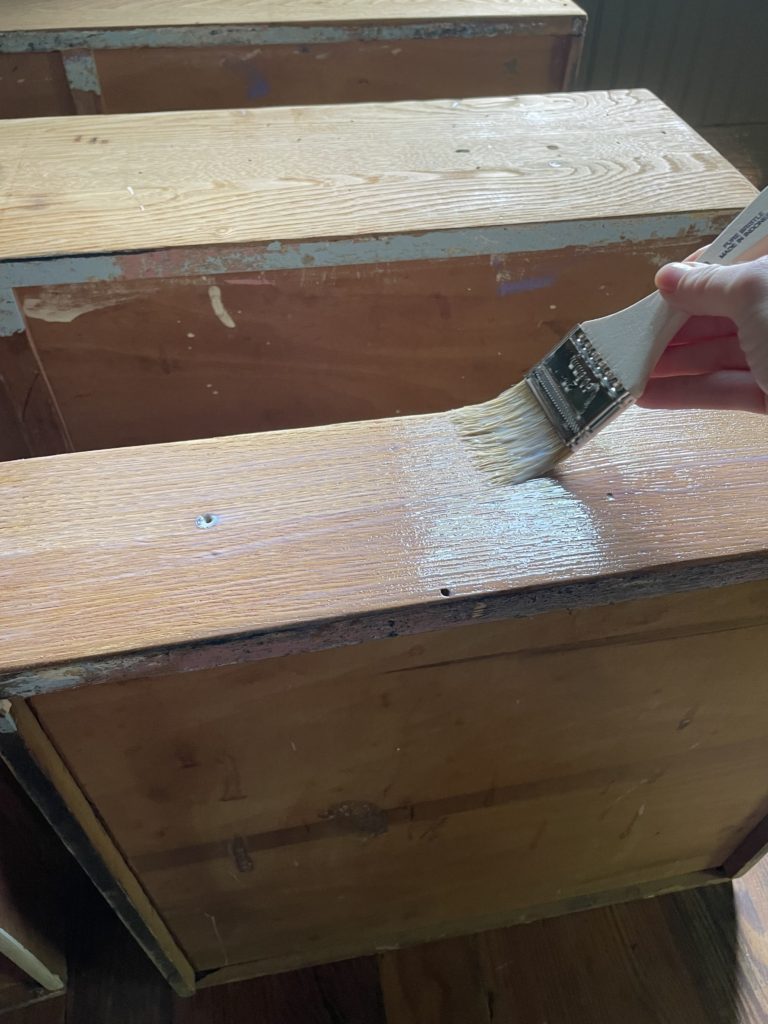
You can see in the photo above that I didn’t strip the paint from the bottom of the drawers, which if you look closely, you can see all the different color lives its lived. The purple was the color it was in my own baby nursery!
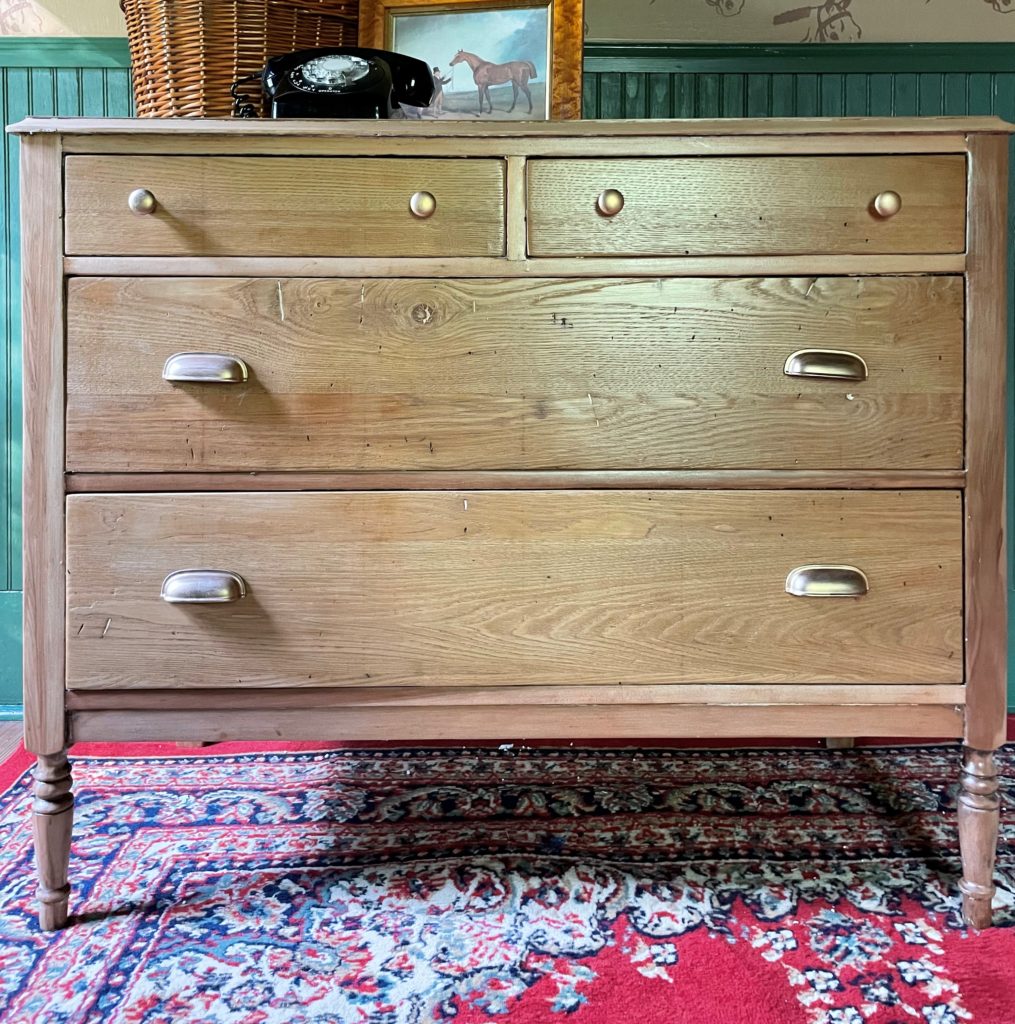
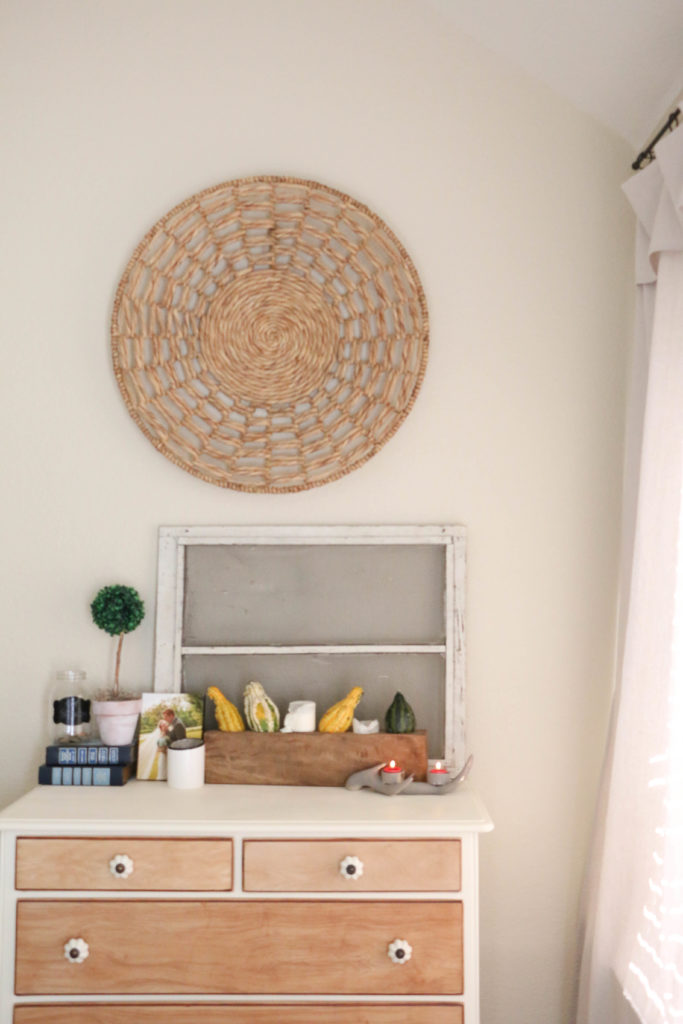
And now, it looks like the antique heirloom piece that it is! The pine looks so lovely in its natural state, and I am so glad I decided to leave it this color and not stain it. The hardware is the same hardware that was previously on it, but sporting a fresh coat of Rub N Buff in Antique Gold.

You’ll have to pardon the photo angle, I’m strategically hiding a few elements in the room I’m not ready to share yet. So you’ll have to check back for the full reveal in just two weeks to see how the dresser looks in its new home!
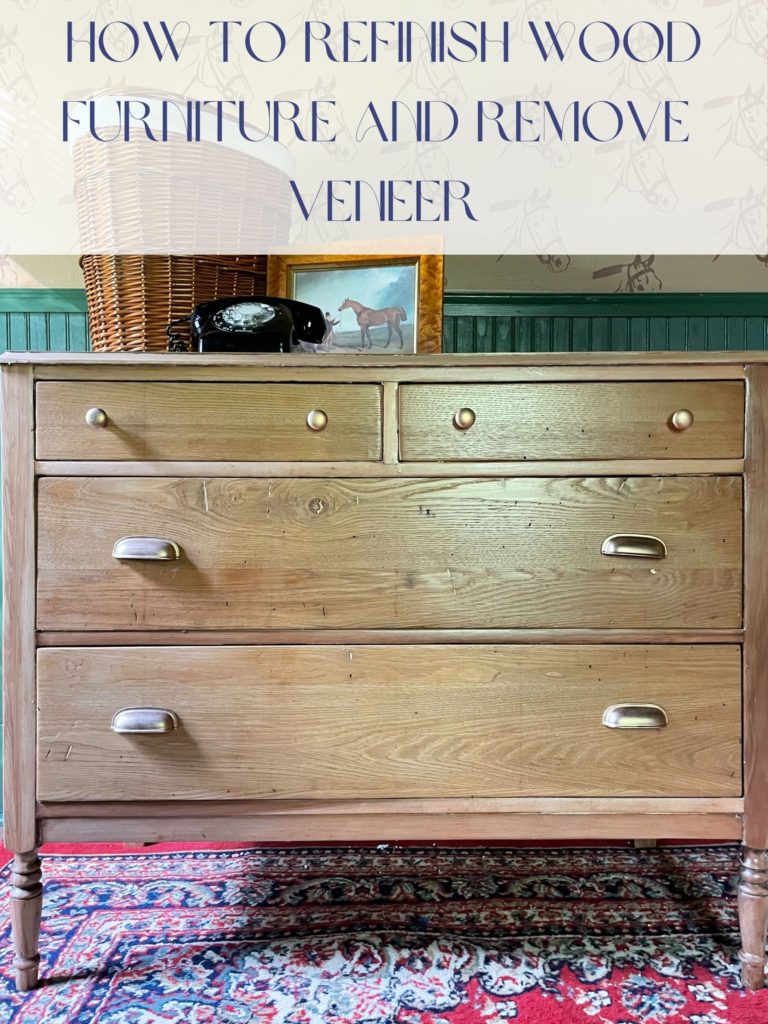
Be sure to check out the other participants’ weekly updates, and stay tuned, because the reveal will be here before you know it! That’s all for today, friends! Have a fabulous day!

Furniture Makeover, House Progress

Plans for the Playroom/Office + A Furniture Makeover

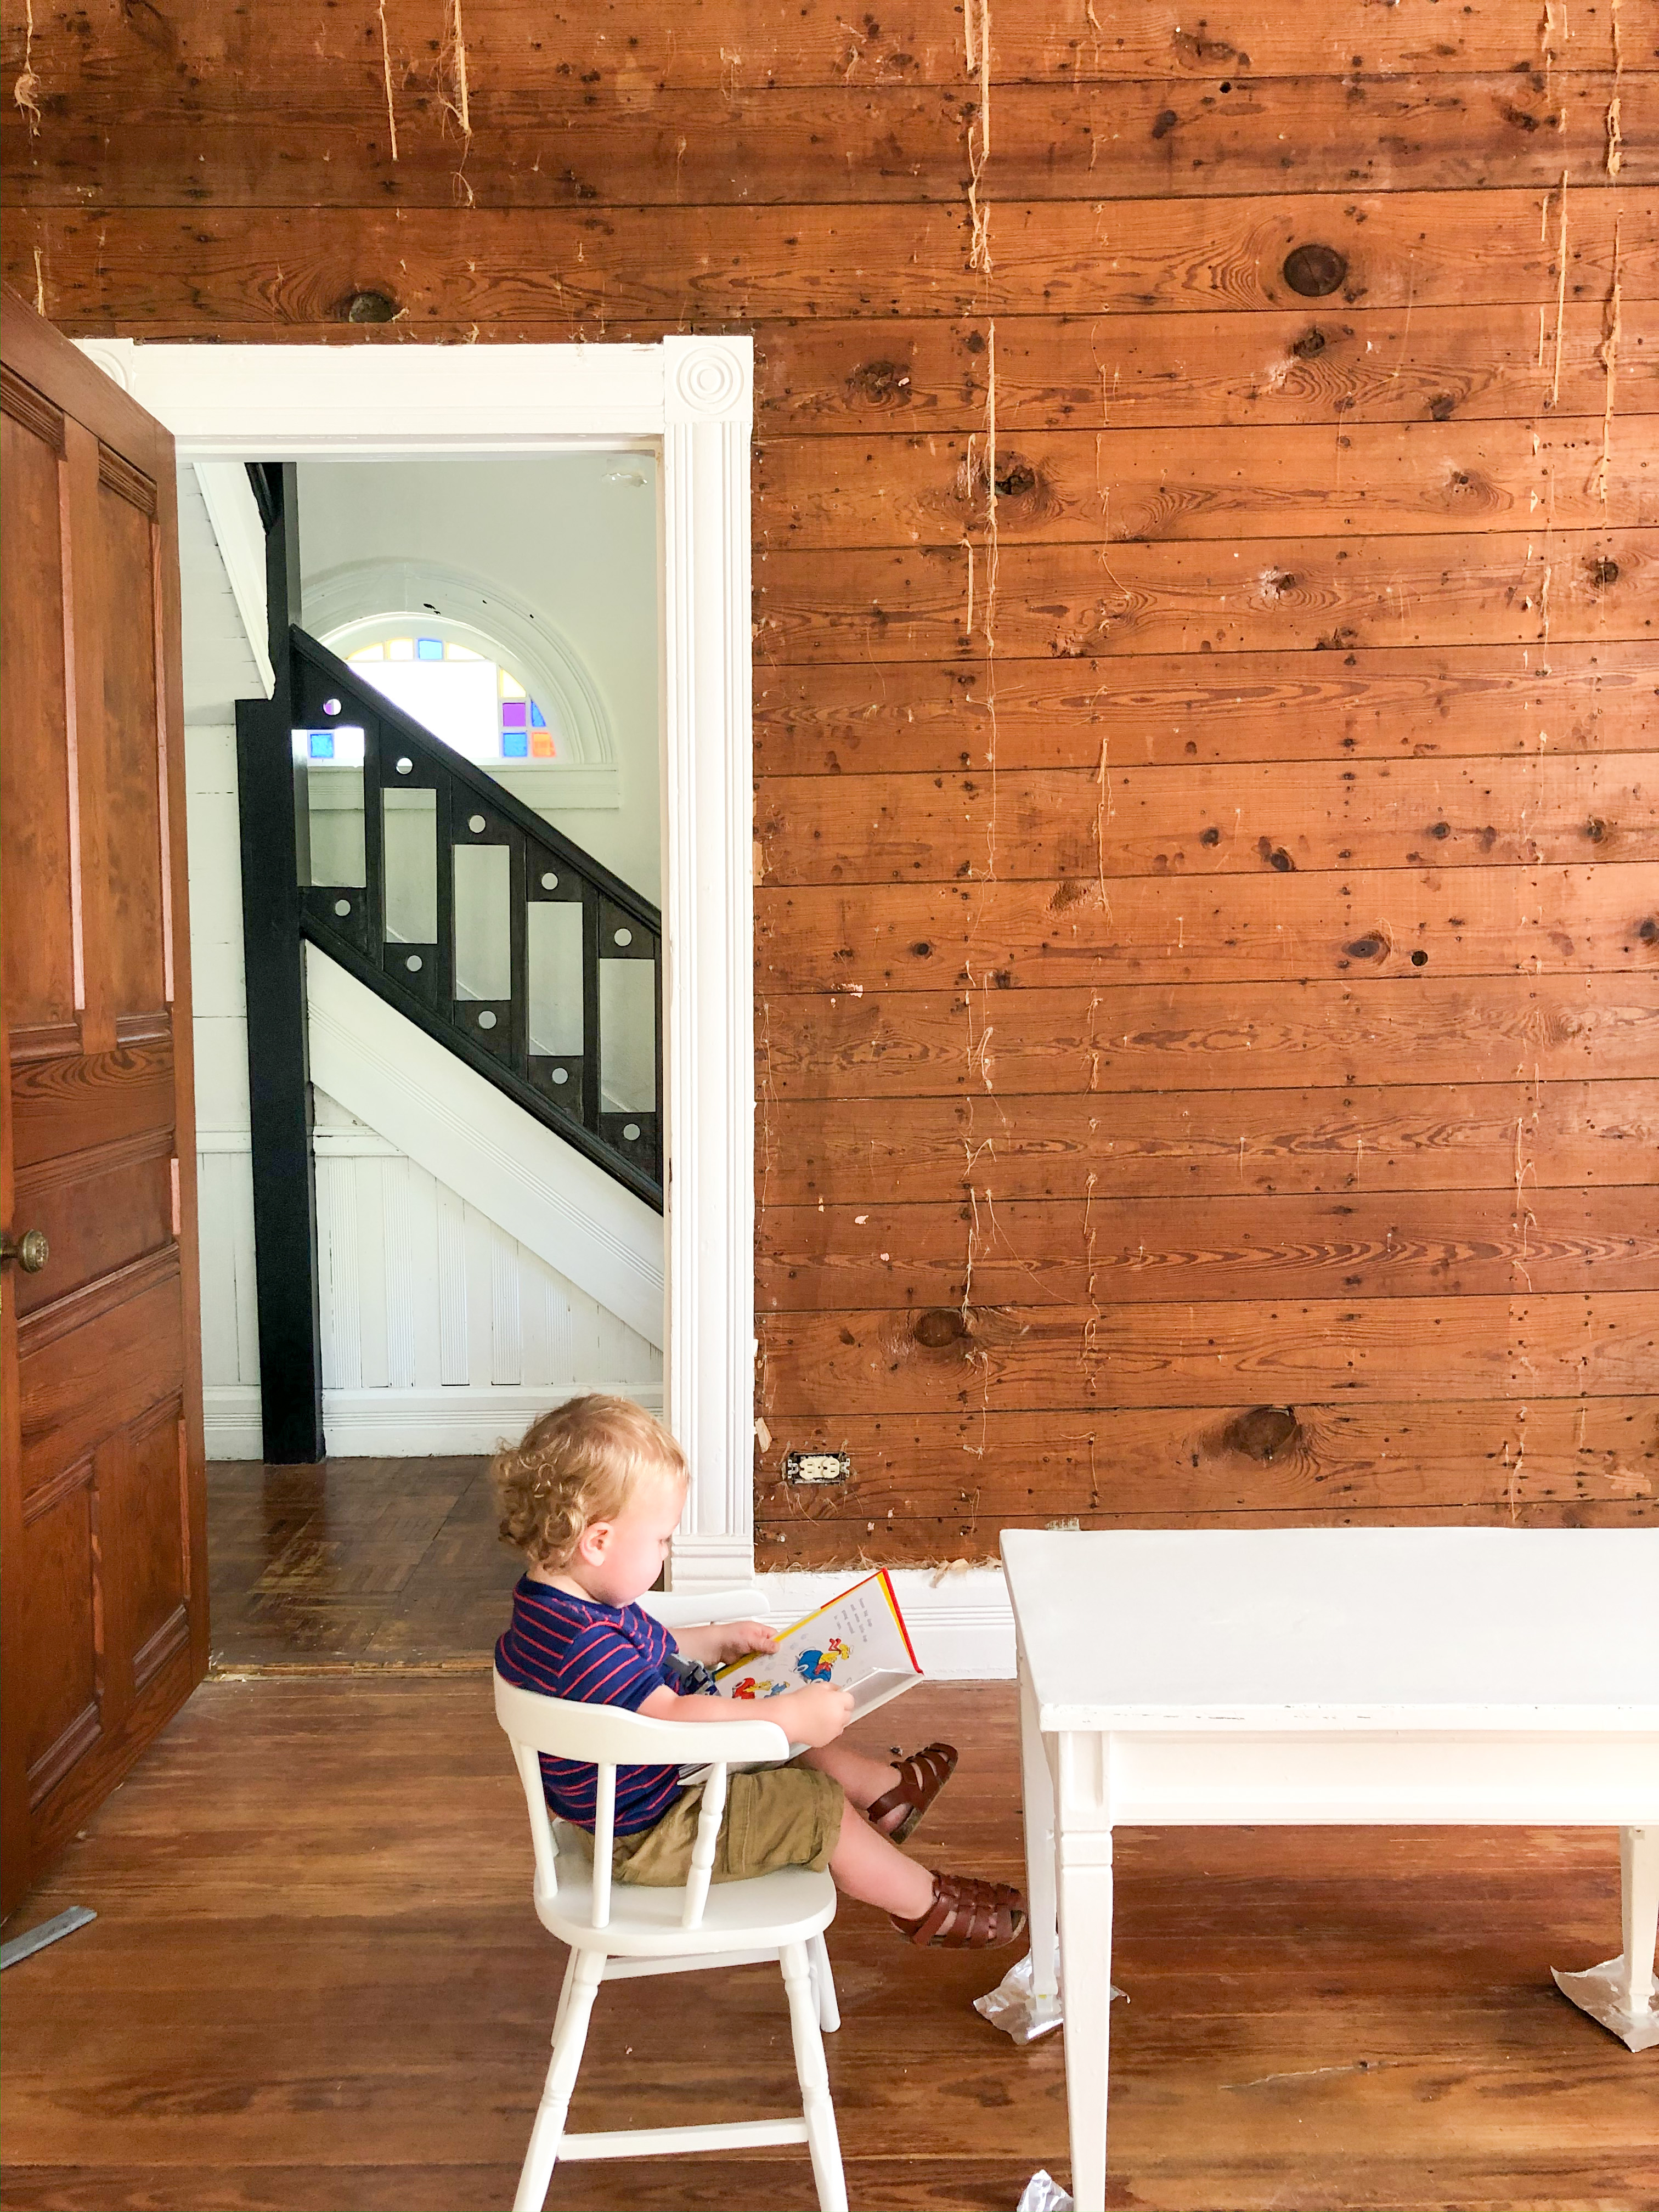
About five months ago, we moved our bedroom upstairs with the intention of turning the downstairs room into a playroom/office. It’s been pretty slow going. Drywall removal, wallpaper removal, and nail-in-shiplap removal has taken some time, and it’s not really fun work that keeps you motivated to do more.

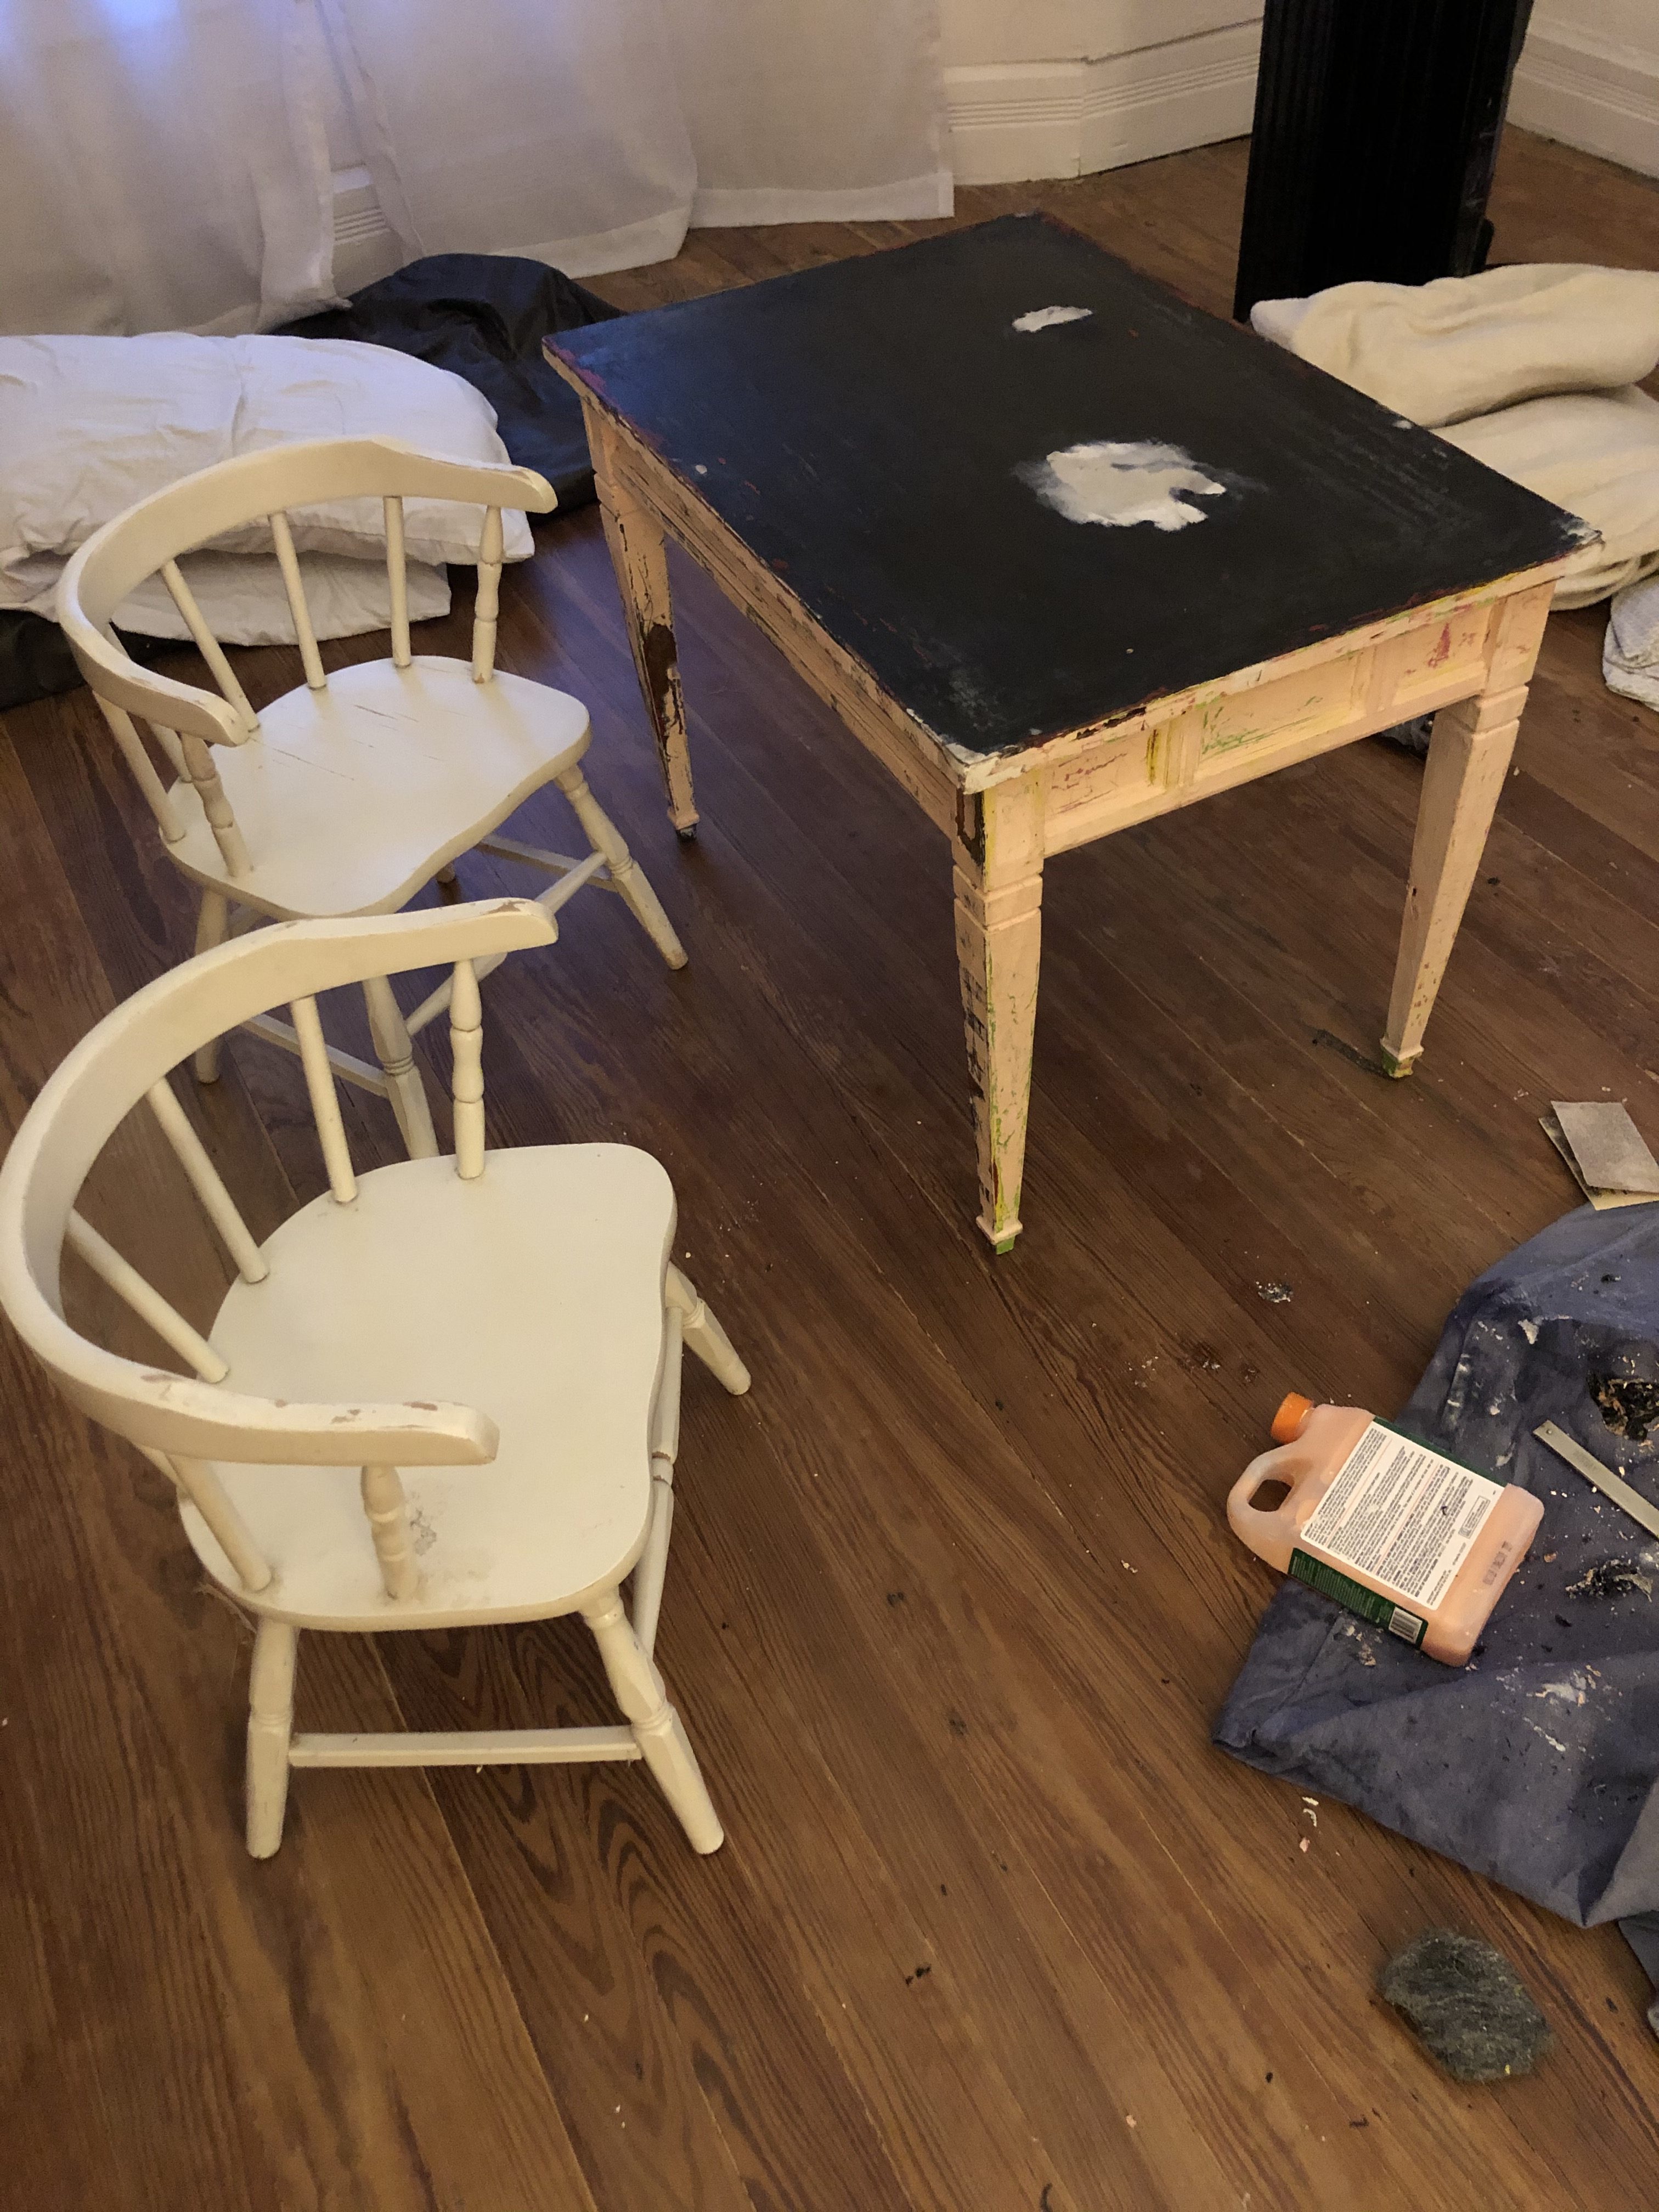
But with our impending nursery project coming up, and the general house re-shuffling that comes with preparing for a new baby, I feel inclined to get moving on this playroom. I bought a set of chairs for five dollars a while back from a thrift store, and I knew they would be perfect in our playroom when we eventually got around to finishing it. The chairs didn’t come with a table though, so I searched Facebook Marketplace until I found one for ten dollars. So for my total price, I was at fifteen dollars. I knew however, that it was going to need a lot of work so I just stuck them in my garage and ignored them for a while.

Because of our current social distancing situation, I wanted to paint the table and chairs without going to the store to purchase anything. Luckily for me, I have a hoard of supplies in my garage, so I found a leftover sample we had used to test colors and got to work. The table was in the roughest shape. It needed to be sanded, stripped a bit, wood filled, glued back together, and clamped overnight. The painting was actually the easy part!

It’s not 100% done yet, but someone is already enjoying it!

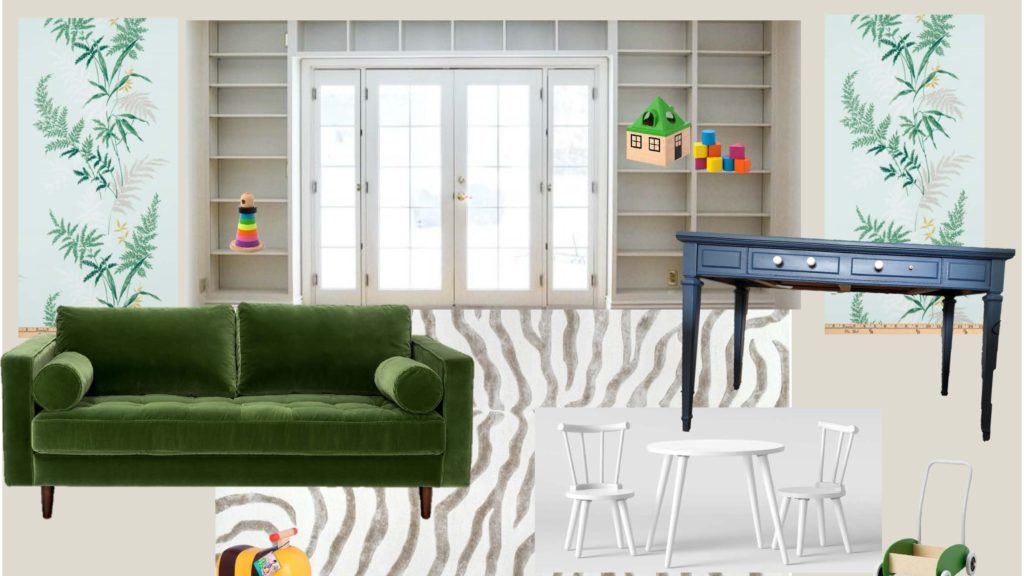
So now that the table is almost done, I figured it would be time to work on a mood board for the space. I always find it helpful to visualize everything together in a space when I’m planning a room. I used everything I already had that I knew would go in the space, and then worked from there. So here’s what I came up with:

Obviously my table and chairs are a second hand DIY version, but I wanted to visualize what it might look like, so I included something similar. Here are a few similar options that I love: option 1, option 2, or option 3.

Our couch is the Sven Sofa from Article in the Grass Green color. It’s currently in our living room while we work on the playroom, and it’s the perfect sofa for littles. The long bench cushion comes off, and our son loves taking it down and climbing all over it.

As far as wall colors, I’m not 100% certain on what I want in the space, but I think I want to go in a beige direction. Gasp! The color on the background is Benjamin Moore Athena, but it’s just an example for now. Once we can safely leave our house again, I’ll get around to testing some actual colors.

I think the beige wall color will look really good with this rug, which I totally have my eye on. I think it’ll be just the right amount of fun for a playroom, but also the right amount of sophistication for an office.

The desk is a picture of our current desk, as we plan on putting our desktop computer in the playroom as well. It’s painted in Behr’s America’s Cup Navy. I need some new hardware, as you can see. 🙂

Other ideas for the room include built in shelves around the french doors for toy storage, and large framed fabric panels to tie the blue and green furniture together. Although I have some ideas in my mind, I just included some inspiration photos, not necessarily the exact thing I will end up going with. If you’re wondering, the fabric is here, and the built in photo I used for inspiration comes from this blog.

And just for good measure, I included some photos of actual toys that we have. You know, to make it more realistic. Most of our son’s toys come from IKEA, because they have the cutest toys.

So that’s the plan! I’m not exactly sure when we will get to finish this because of social isolation and all, but we definitely are going to get started on getting the last of the wallpaper residue off the walls. Baby steps. What projects are you planning during this time?

That’s all for today, friends. Have a fabulous day!

*This post may contain affiliate links.

DIY Projects, Furniture Makeover

DIY Antique Farmhouse Dresser

Hello friends! Happy Monday! Today is good day for a good day, am I right? I’ve been super busy lately with projects and it is a wonderful feeling! Last weekend Ethan and I cleared out our garage, which gave me plenty of room to work. We organized all my materials, and made a place for everything.

It used to be super full and I barely had room to work on anything, but now that it’s all clean, I’ve been super inspired to work on projects in there. It feels like I can finally breathe!

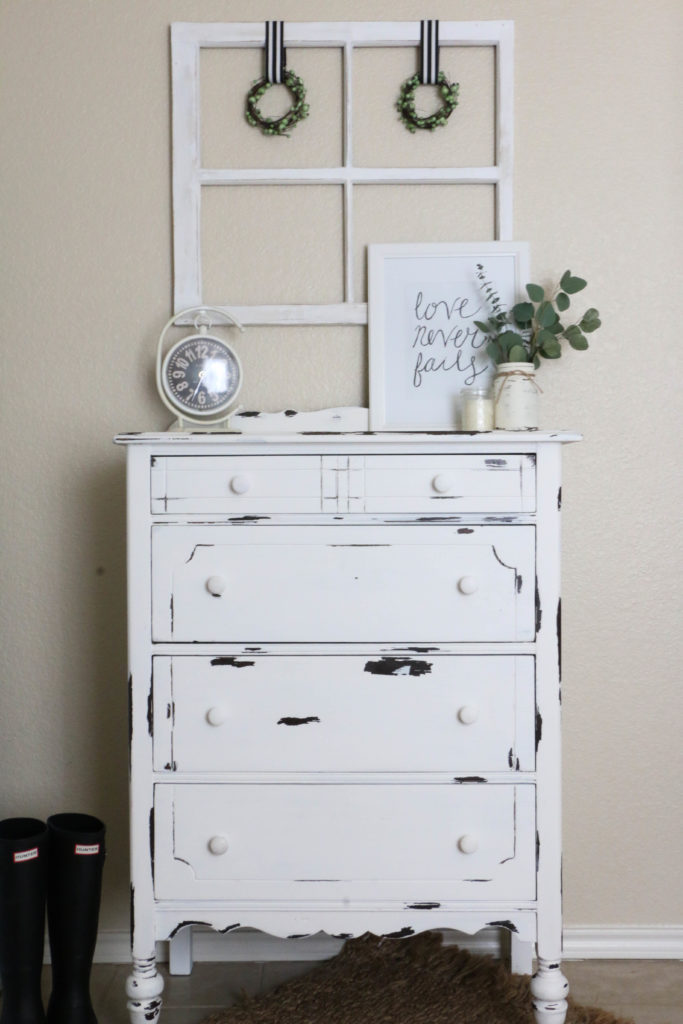
One of the projects that I finished up this week was this little antique dresser. I snagged this dresser up from a friend who was selling it at her garage sale. I saw it and knew I had to have it! And because I am the worst at taking before pictures, you’ll just have to use your imagination. It was just plain brown and missing a few handles.

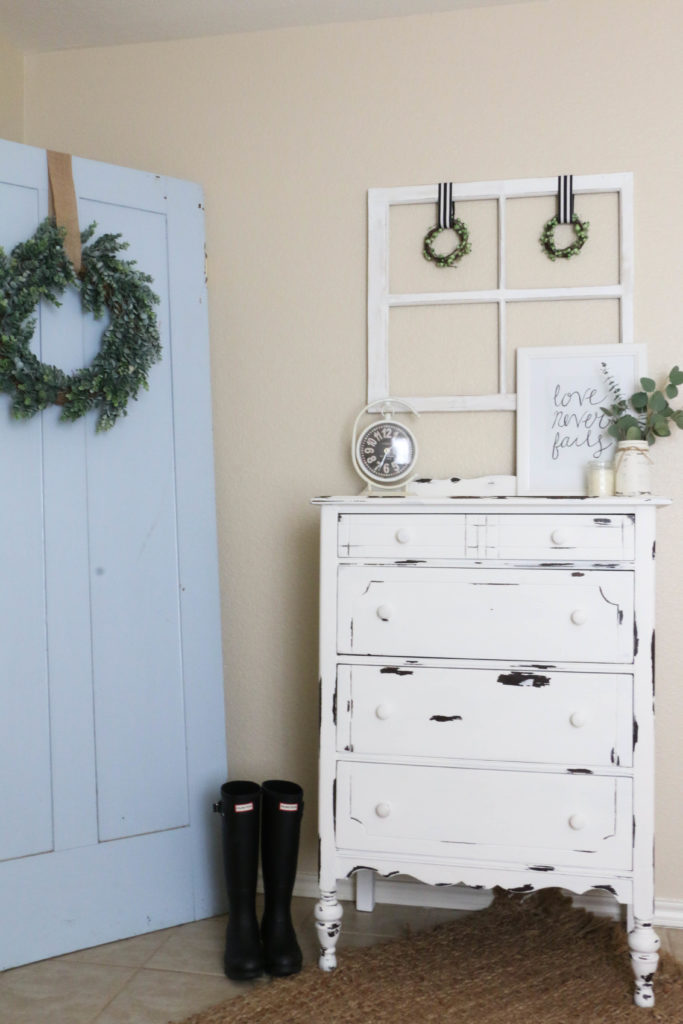
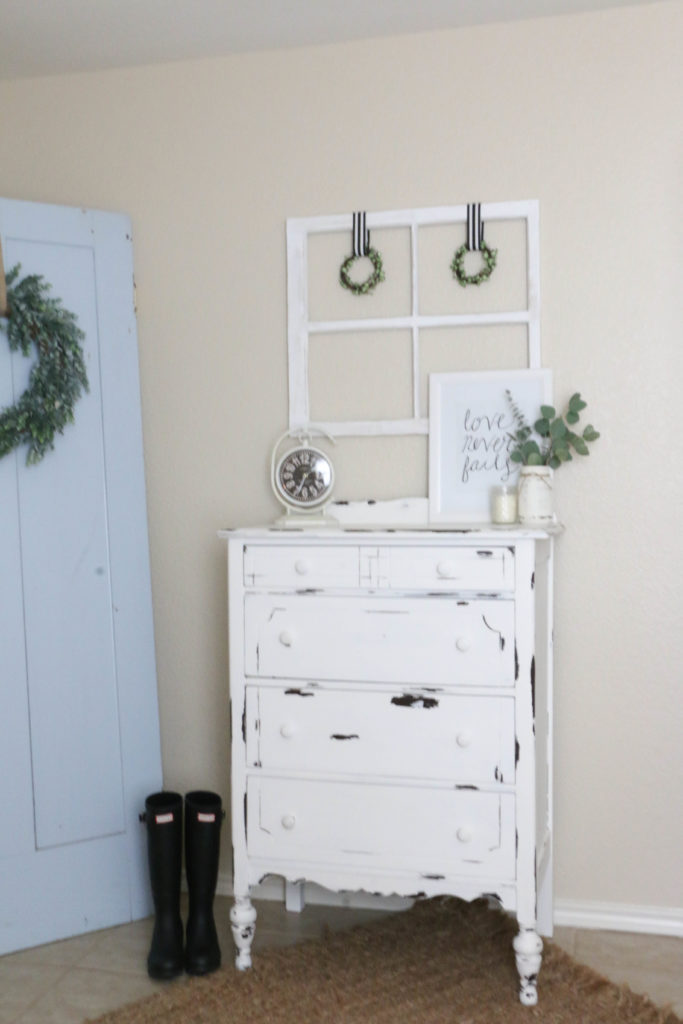
Well, I painted her up, and here she is in all her antique farmhouse style glory:

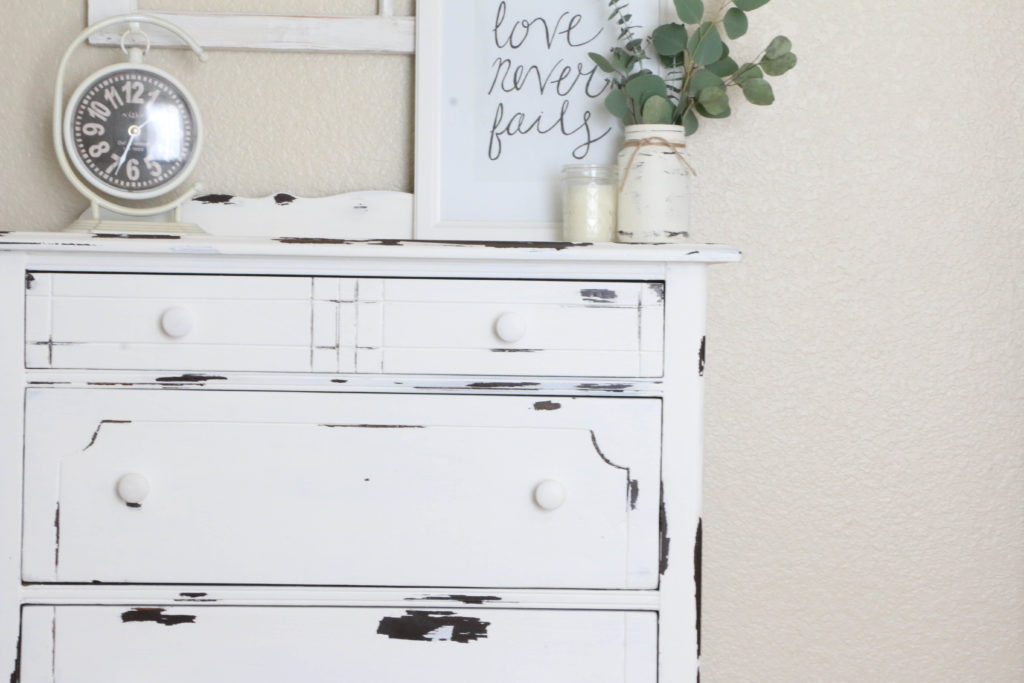
Okay, so with this project, I tried something new. I knew I wanted it to be super distressed, and rather than use my sander, I wanted to try the Vaseline trick that furniture painters everywhere have been talking about. So I applied Vaseline all on the edges of the dresser. (Basically where you see distressing is where I applied.) I found that it was easiest just to use my finger rather than messing with a paint brush.

After I applied my Vaseline, it was time for paint. I used Palais White by Behr in a flat finish. I painted everything evenly, including the areas that where I had used Vaseline. Now here’s where it gets tricky. My dresser needed two coats. Being the impatient person that I am, I could not wait to see the effects of the Vaseline after the first coat of paint. So, I began rubbing the areas with a rag. This was a dumb idea because I still had to paint a second coat.

The paint will not adhere to the Vaseline, and it basically makes a crackly looking paste in the areas where the Vaseline was applied. If you have to paint two coats, do not remove the Vaseline until finished with both coats. That was my biggest mistake. The technique worked well enough, but I had to reapply Vaseline so I could do my second coat.

Personally, I think I would rather just take my sander to the project afterward, but it’s good to try new things. Plus that’s mostly because of my own impatience.

After I finished the painting, I topped it with Annie Sloan clear wax to give it a protective finish. The wax is technically used for chalk paint, and I previously had only ever used it on chalk paint, but because flat paint is pretty porous, I figured I’d give it a try, and it worked pretty well!

I just love this cute little dresser, and it matches my light and bright farmhouse style perfectly! But alas, I won’t be keeping this one. She will be heading with me to my spring shows (which I will be keeping you posted about more soon, but the first one will be the Vintage Market Days in Glen Rose Texas in March. So that’s good news for you, because this cutie could be yours!

So, have you ever tried using Vaseline to distress painted furniture? I’d love to hear about your experience! Don’t forget you can find me on Instagram and Facebook for more behind the scenes fun of my day to day life! Well friends, that’s all for today. Have a fabulous day!

DIY Projects, Room Tours

DIY $15 Office Makeover

Hello friends! If you are here today because you clicked on a link that said I spent fifteen dollars on a room makeover and you’re wondering what in the world this is about, welcome. If you’re wondering how in the world that is possible, hold on. I’m about to tell you. But first, let’s rewind.

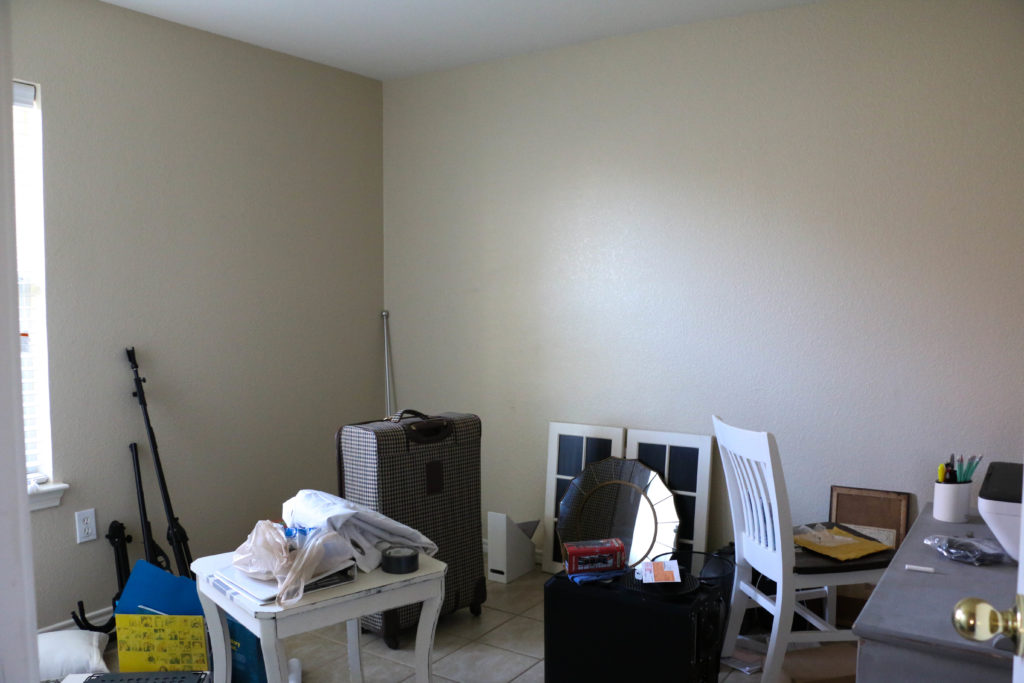
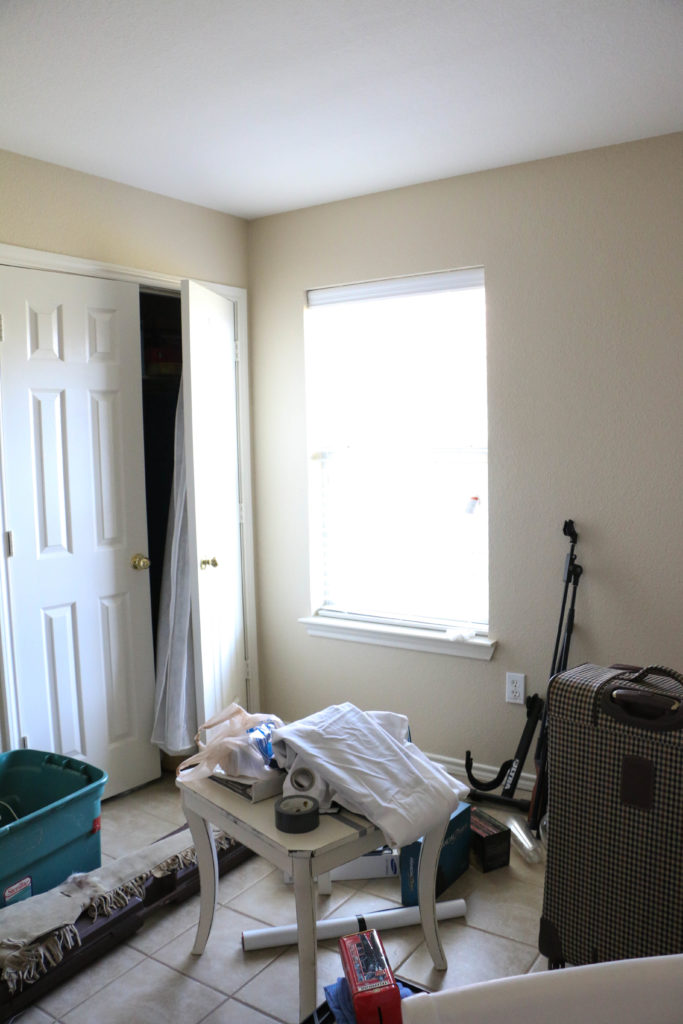
We moved into this rental house in July. And in July we had fabulous plans of quickly making each of the additional bedrooms into a purposeful, functional space. The guestroom quickly became usable (albeit with mismatched hand-me-downs from other rooms), but then there was this third room. It was like the junk drawer of rooms. No organization, no purpose. It housed all the things I hadn’t used in the months since moving in. You know, all the super important things. I’m going to show you some before pictures, but before I can do that, you have to promise that you’re actually going to scroll to the bottom and see what it looks like now. Don’t judge me based on my ugly junk drawer room and then leave. Promise? Okay cool. Here’s some pictures of what the room looked like four months after moving in:

office-before-1 office-before-2

Now, don’t stare too long because you might get sucked into a vortex of clutter. You get the point. Moving on.

So my plan was to make this room into something usable pretty. The only problem being that I didn’t really want to spend any money on this room. So, I did what I always do and put my super cheap creative thinking hat on and got to work.

I shopped the house for items that I could re-use in this room. I dug things out of the garage from our previous house that we weren’t using and brought everything together. I slowly started piecing things together until a room started to form. The only problem was that I didn’t have a desk. Can’t really have an office without a desk, huh?

I had some scrap wood in the garage, enough to make part of a desk, but my rudimentary woodworking skills didn’t know how to fashion legs for a desk on my own. So I went to the architectural salvage shop in town and told the gentleman what I was looking for. Thankfully he makes all kinds of repurposed furniture and so he was super helpful.

He showed me an old child’s bedframe with decorative posts on the ends. He told me that he could cut the posts off for me in the shop, and they would work perfectly as legs to a table. The best part is that he would charge me fifteen dollars for the four legs. (Now is the title of this blog post coming together?)

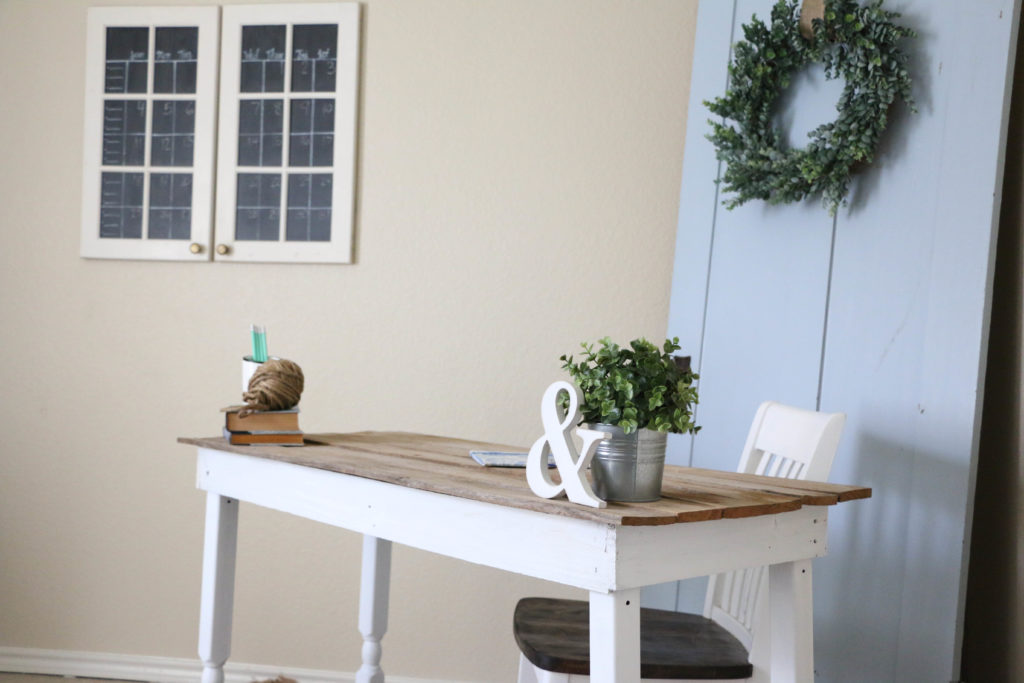
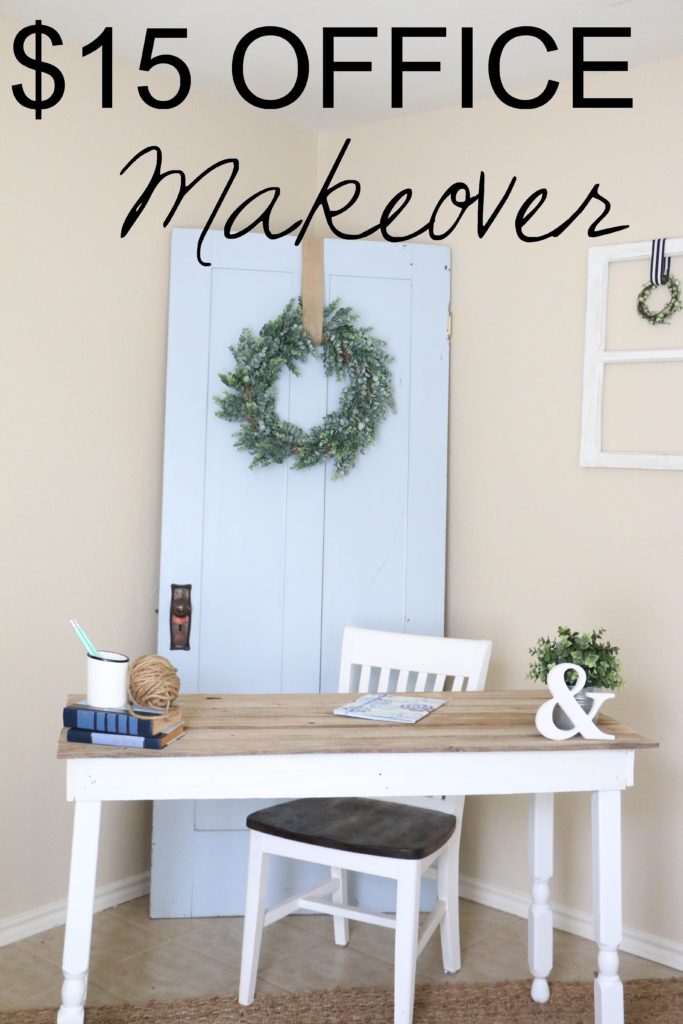
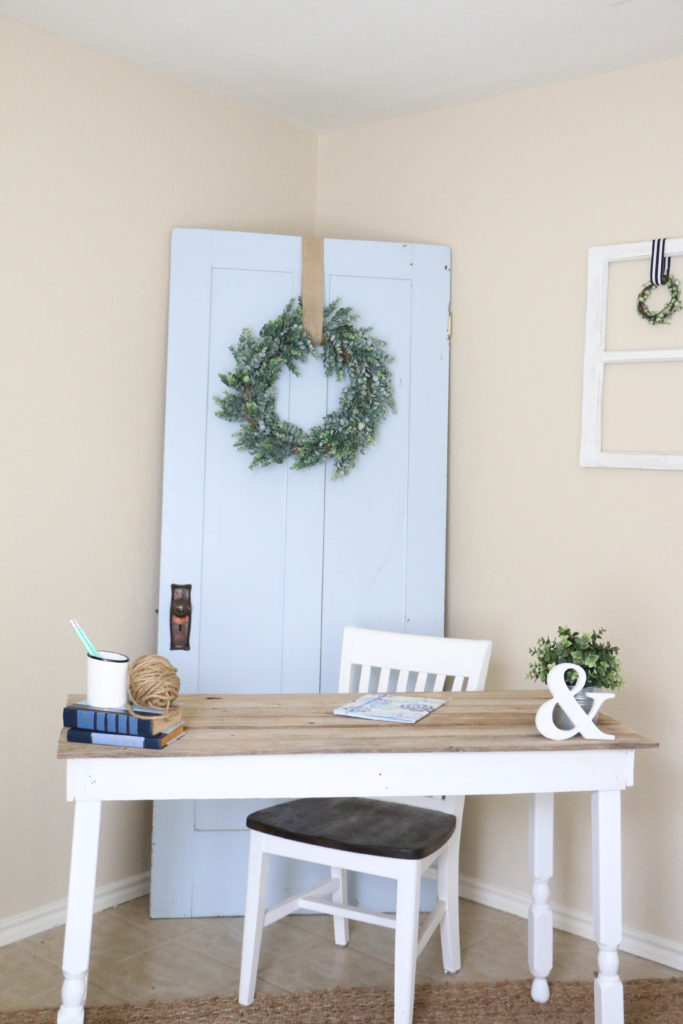
So on my very own, with no help from Ethan (my choice, not his) I built this desk for the office for a grand total of fifteen dollars.

diy-office-2

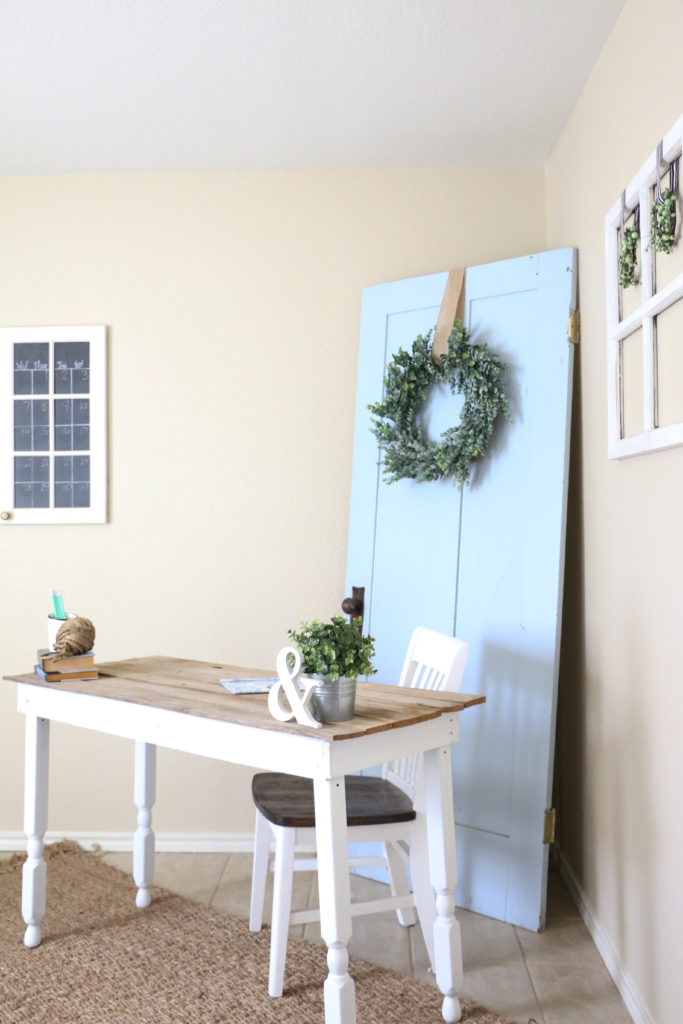
I added a little frame and then the top, which was all made from scrap wood we found on the side of the road. Can you picture the legs as part of a bed frame? I turned them upside down and painted them white.

Literally every other thing in this room was something I already owned. Which is why this room isn’t quite the office of my dreams, but it’s something that’ll do for now.

diy-office-5

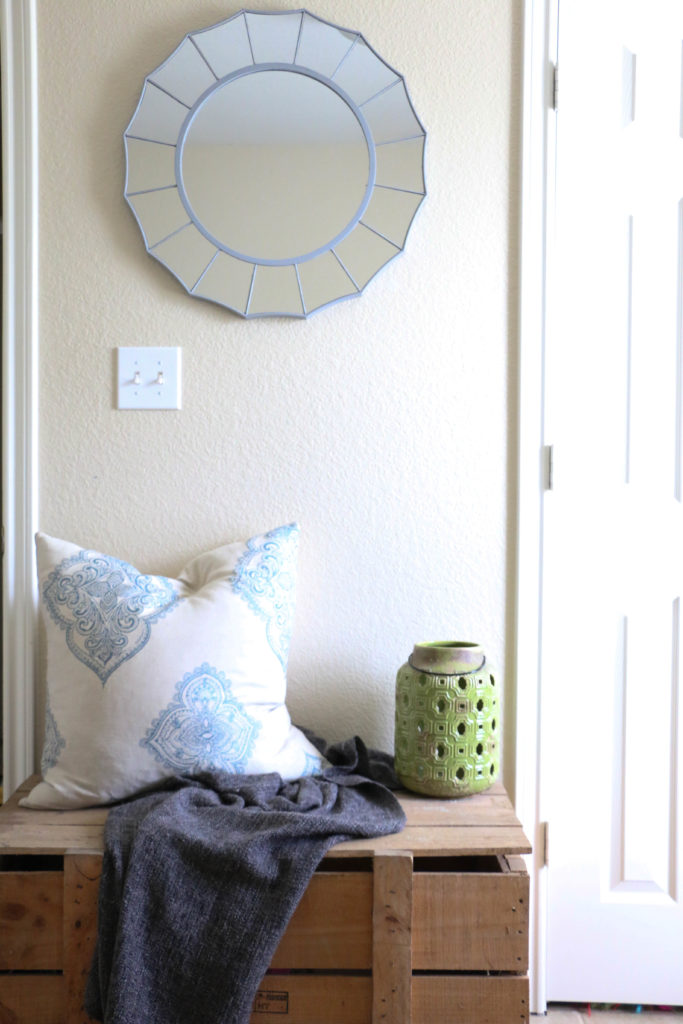
This crate was something I found at a yard sale this summer and it had been sitting in my garage for a while. It houses our record collection, and offers a place to sit or drop a bag by the door to the room.

diy-office-4

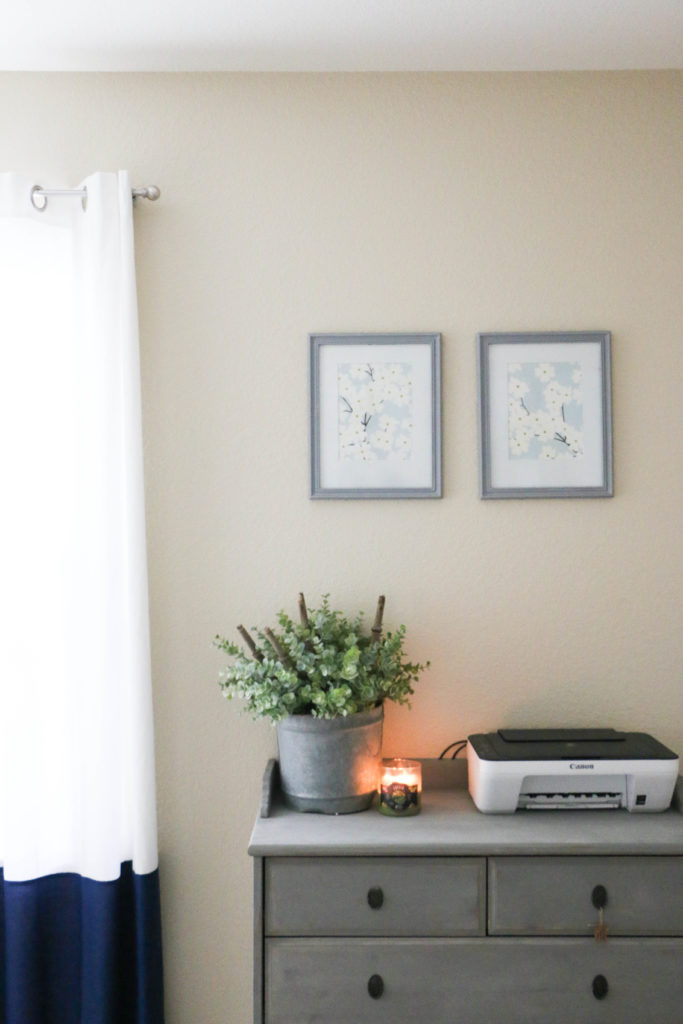
The dresser was a piece I made to sell (see the tag still on it?), but I decided to keep it rather that taking it to my next show. We needed a place for storage, and it’s a perfect spot to put the printer.

diy-office-1

In the top left of this photo you can see my calendar that I made from some old cupboard doors. We used them originally as decor at our wedding, and they’ve been useless since then. I used a chalkboard marker to add dates to it, and now we have a functional calendar that doubles as wall art. Plus it was free, so I’d call that a win.

diy-office-3

I placed this old door behind the desk as a focal point to the room, another thing I found at a yard sale this summer. It was an original door to a church in our town built in the 1890’s. I love that I know where exactly it came from.

Literally everything in this room had been sitting in a closet or in my garage until I brought it in here and cleaned out the space. I just love the fact that it’s possible to make do with what you have and still have a pretty home.

I could have spent hundreds of dollars in here, buying all kinds of things to fit here, but at the end of the day, I’d rather stretch myself creatively and do it on a budget anyway. I ended up making that desk on my own. It’s pretty rickety, but I’m super proud of it because I did it by myself. I wouldn’t have the same feeling if I had bought a desk from Target or wherever. My wallet wouldn’t be as happy either!

Well, that’s all for today, friends. I hope you’re inspired by my little office. Maybe it’ll inspire you to shop your house instead of buying something new. Have a fabulous day, friends!

office-makeover

DIY Projects, Furniture Makeover

Family Heirloom Dresser Refresh

Hello friends! Thanks for stopping by today! Has the fall weather hit where you are? It finally feels like fall around here, with the leaves finally falling and the hint of cool weather in the breeze. Texas falls are nothing like the falls in New York where I grew up, but I’ll take what I can get.

This season has brought a hint of change in the air, both literally and figuratively. I’ve been super inspired lately to create more, paint more, make more, etc. So what I’m showing you today is something I’m super excited about.

So this is the dresser in our bedroom.

dresser7

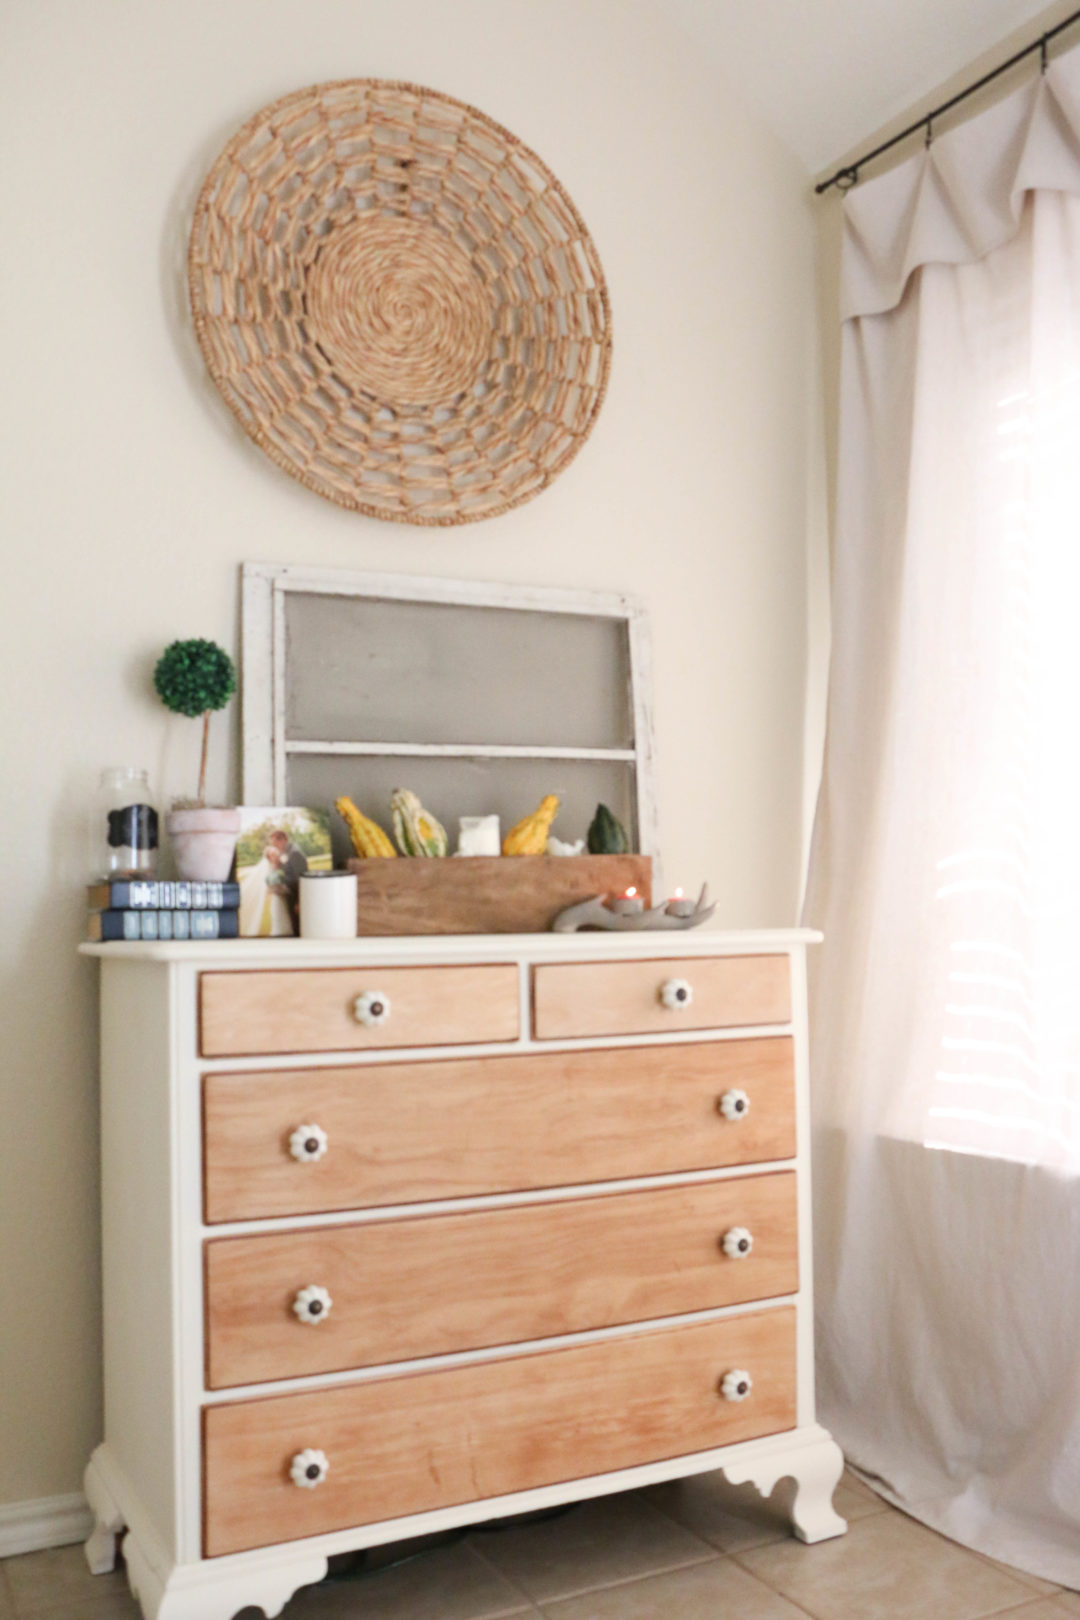
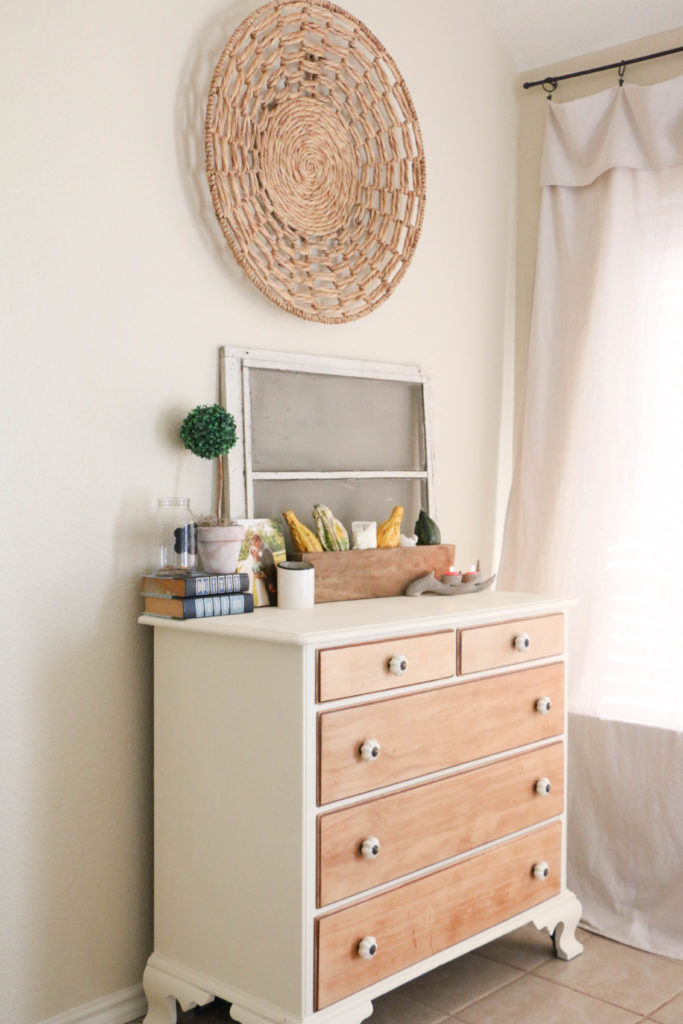
It has a beautiful shape that I have always loved. It’s a solid wood piece, and it’s something we’ll always have. It was Ethan’s growing up, and before that, was in my mother in law’s family when they moved from the northeast down to Texas. It’s such a gorgeous dresser, but it used to be an orange stained finish with large circular wooden handles. Not to mention the stickers that were put on the side by Ethan as a kid. So needless to say, I’ve wanted to give her a little facelift, but since it was a family piece, it just wasn’t a possibility. Until recently.

dresser2

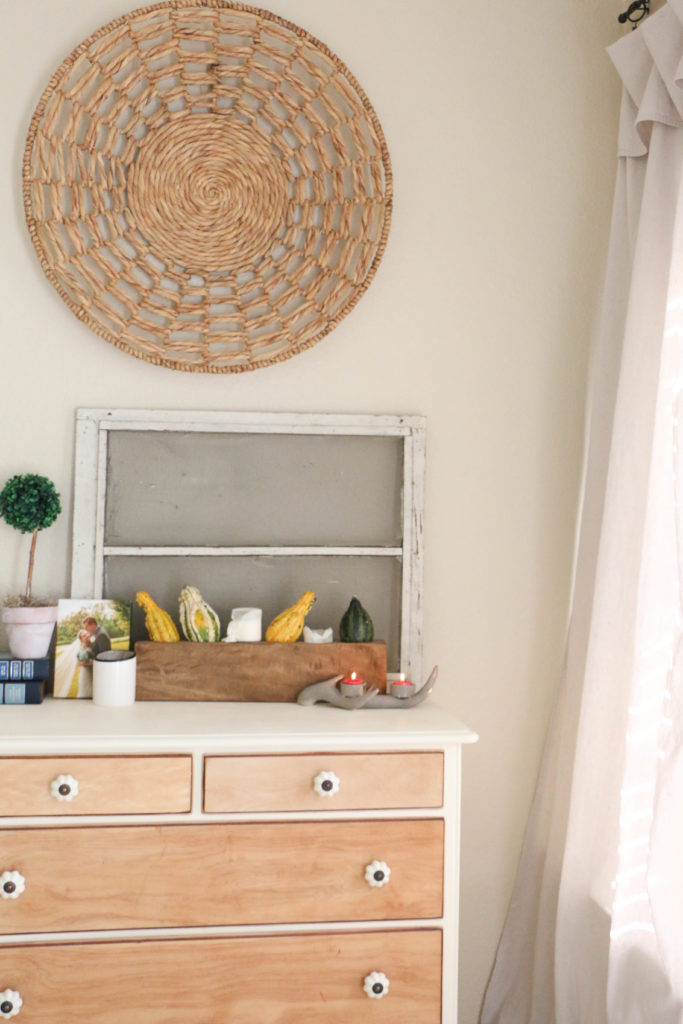
My mother in law finally gave us the okay to paint, and I was super excited. I bought some new drawer pulls from Hobby Lobby, and knew exactly how I wanted to finish it.

dresser5

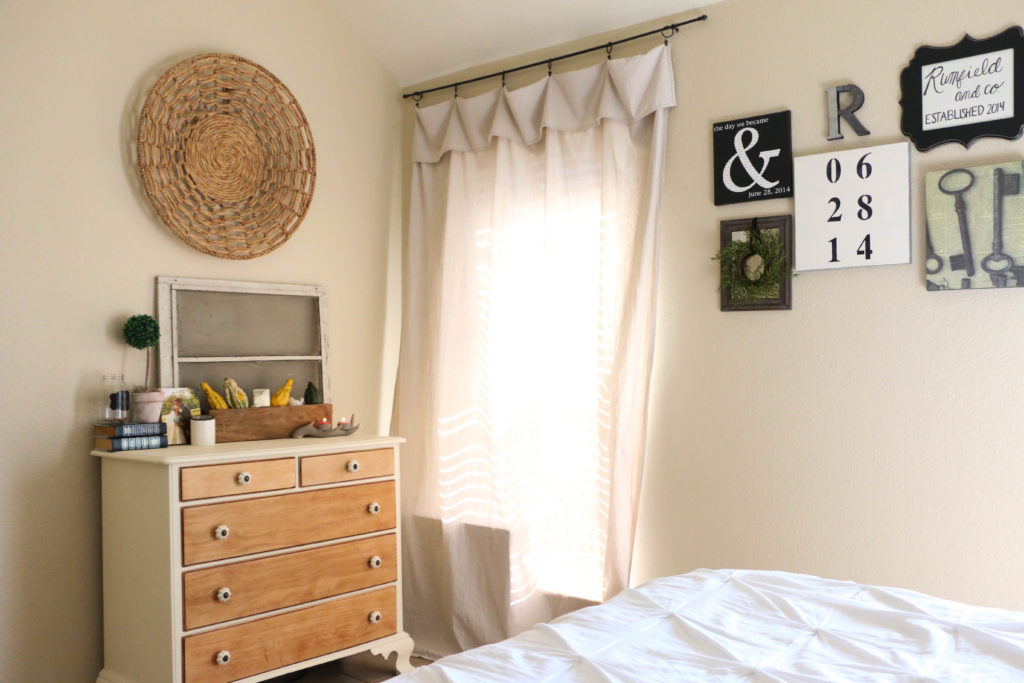
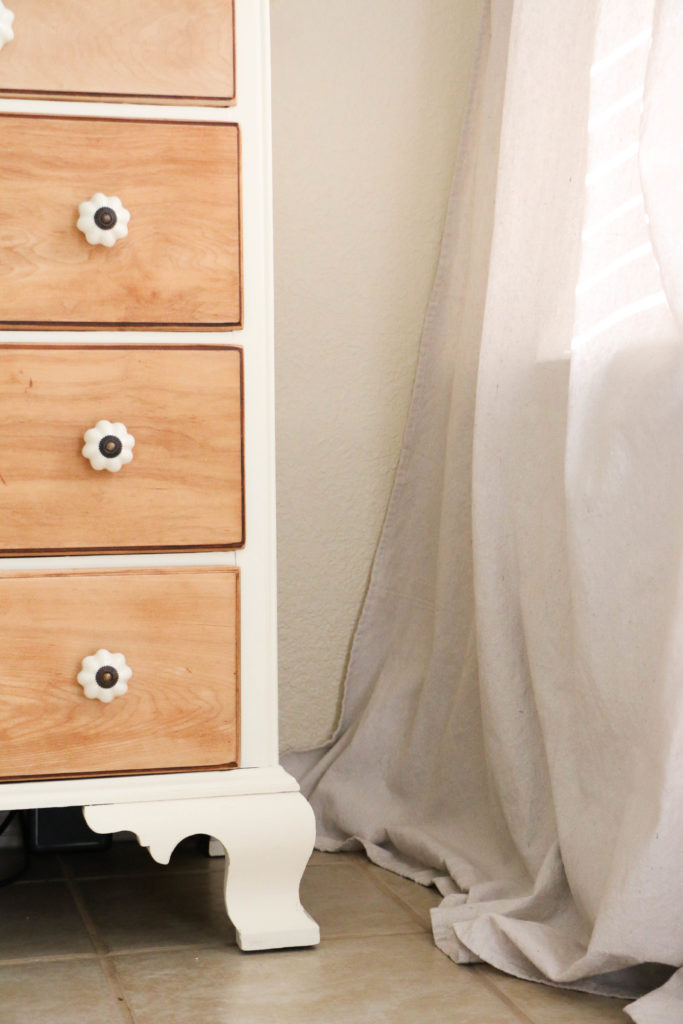
The outer part of the dresser got a coat of my favorite paint, Annie Sloan’s Old White, and the drawer fronts got sanded down and left bare. Guys. I am OBSESSED with this new look. I always knew there was a gorgeous dresser hiding behind that orange finish, but it’s even prettier than I thought.

dresser3

I’m so thankful to have gotten the okay to work on this piece. When there’s a family history you have to honor in a piece, it can be a little intimidating. Hopefully this little refresh honors my mother in law and her family. I know that it definitely finishes out our bedroom in a way that makes the dresser fit. This piece will definitely be with us forever.

dresser8

Good grief it’s just so pretty. Well y’all, that’s about it for today. Just wanted to pop in and share this fun project. Have you ever painted something that belonged in the family for a long time? How did it go?

That’s all for today friends, have a fabulous day!

Personal

Weekend Recap: Vintage Market Days

This weekend was nothing short of awesome. I could leave it at that and it would be enough. Seriously. This weekend I had a booth at Vintage Market Days in Waxahachie, TX. This was my first time with a booth at a reputable event. I did a local show once last year, but it was really not something that I wanted to pursue due to a few different factors. This weekend however, was different. I left this weekend feeling refreshed and inspired and ready to try something new.

So here’s the deal. I’ve known about Vintage Market Days for a long time. I have always kind of wondered if I could do something like that, but for whatever reason, never put myself out there. This summer, I was trying to focus on what I wanted to do with this little hobby I have of decorating/antiquing/painting furniture. I thought about getting a booth at a local store, and for several reasons that too fell through. So over the summer I thought, well, I might as well apply for VMD and just see what happens. The worst that can happen is I don’t get in. And if I do get in, it’s only a three day commitment. I can do this. So I hit this apply button and got on with my day. When I found out that I was accepted into the event, I was surprised more than anything. Me? I just have this little hobby that’s not even a big deal.

As the event got closer, I was busy in my garage painting, sanding, creating. If you follow me on Instagram, you may have seen some videos projects I’ve been working on in my garage. I staged a mock booth setup in my garage by taping a 10×10 square on the floor like I had any idea what the heck I was doing.

I set my booth up the night before the event, and realized I didn’t have enough stuff at all. So after I went home that evening I finished a few things in my garage and brought them to my booth the morning of the show. Now, let me tell you a little about my booth. I was clearly a newbie. The other vendors around me had tents and beautiful backdrops to stage their booths with. These weren’t even things that had been on my radar. I felt super nervous and inexperienced compared to everyone around me.

booth1

But you know what? It didn’t even matter. I had the most amazing weekend. Everyone was so kind and accommodating, I sold some of my pieces, which felt awesome. I received a lot of affirmation from customers and other vendors about what I was doing, despite the fact that I felt totally inexperienced. I got so many complements on my booth, the styling, the furniture pieces. It was exactly what I needed to confirm the possibility of wanting to pursue this more frequently.

booth3

People were constantly asking if I had a storefront, or if I had a card. Both of the answers to those were no. I kept telling people that this was the first thing I had done, and I was just getting started. The fact that people thought that about my few little projects though was incredibly humbling. At some point I realized, wow. I actually can do this.

booth2

I learned so much this weekend. So much. I think the most important thing I realized was that number one, I am actually able to do this,  and number two, this is something I enjoy. As we were leaving after the weekend was over, I kept telling Ethan I just really like this. It feels so good to put yourself out there not knowing what the result is going to be, and then to feel so accomplished and humbled at the same time. Y’all, I have no idea what this weekend means for me. I teach full time, and I have this little hobby of making my house a home. Those are two very distinct parts of me, that I love. I have no idea what I’m going to do next, but I can assure you, I want to pursue whatever this is.

booth4

So guys, I’ll let you know when my next event is. That’s all for today. Have a fabulous day, friends!

DIY Projects, Tutorials

What I’ve Learned Finishing Furniture

Hello all! I hope your week is off to a great start! I’ve been busy busy busy with school starting a few weeks back, but now I’m ready to get into the routine of school being in full swing and I’m ready to start thinking fall!

I’ve been out in my garage working away on tons of projects out in the garage, and if you follow along on Instagram, you might have seen the early stages of this dresser I’m about to show y’all on my IG Story. This dresser turned out even cuter than I thought it might, and so I wanted to share with you guys some of the process and tips I use, now that I have more than a project or two under my belt.

graydresser1

Okay, so this is how this little guy turned out. So cute, right? I didn’t take a picture when I first started, because I’m so forgetful when it comes to that kind of stuff, but it was dark green. Like 90’s dark green. Gross.

The first thing I did was strip all the paint off the dresser. Using a good paint stripper is not for the faint of heart, since it smells, and I burnt my arms a couple of times, but it is essential in removing old paint more quickly.

What I couldn’t take off with the paint stripper, I took my sander to. This took a while, but prepping the entire thing helps the end result. Once I finished sanding, I wiped the entire thing down with Mineral Spirits to clean it off.

graydresser4

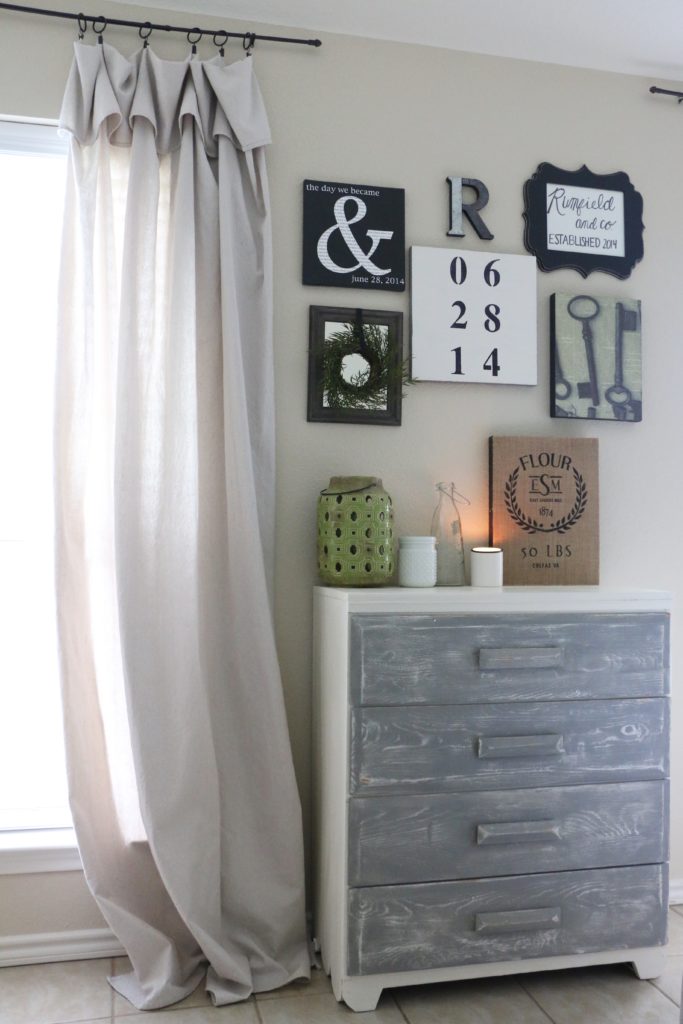
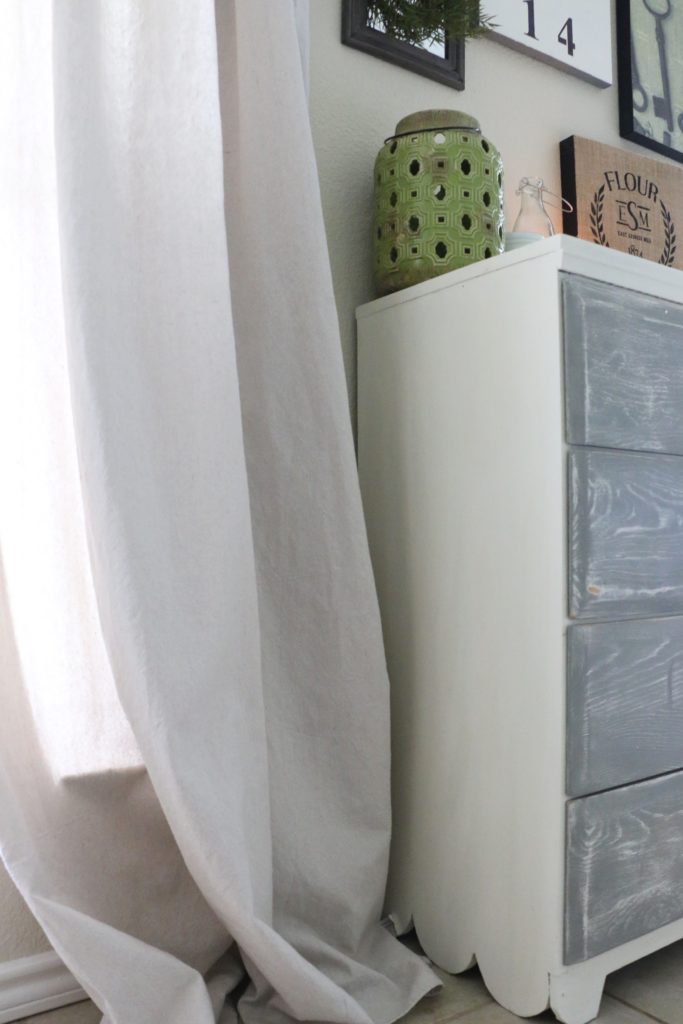
See those cute little scallops on the bottom? Adorable. Anyway, once it was all clean, I primed the entire thing. Even though chalk paint claims to be prep-free, I have found that it saves paint to prime first, as well as makes it last longer. After I primed, I sanded everything down with a 220 grit sandpaper. This is super fine, and eliminates brush strokes. I do it super lightly and super quickly to make sure I don’t sand off the primer completely.

graydresser5

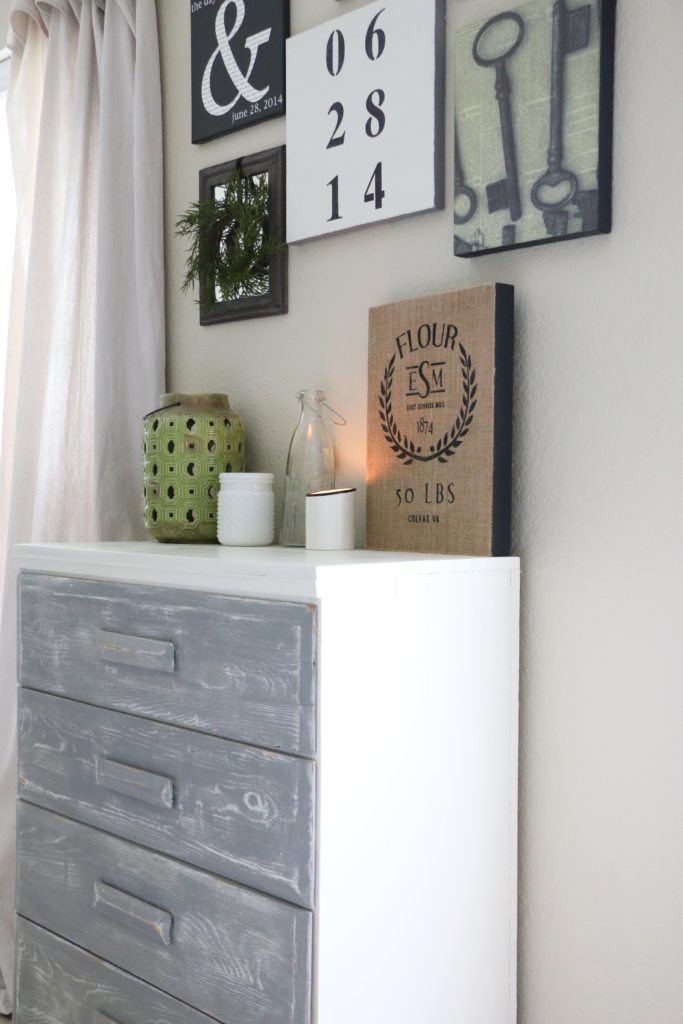
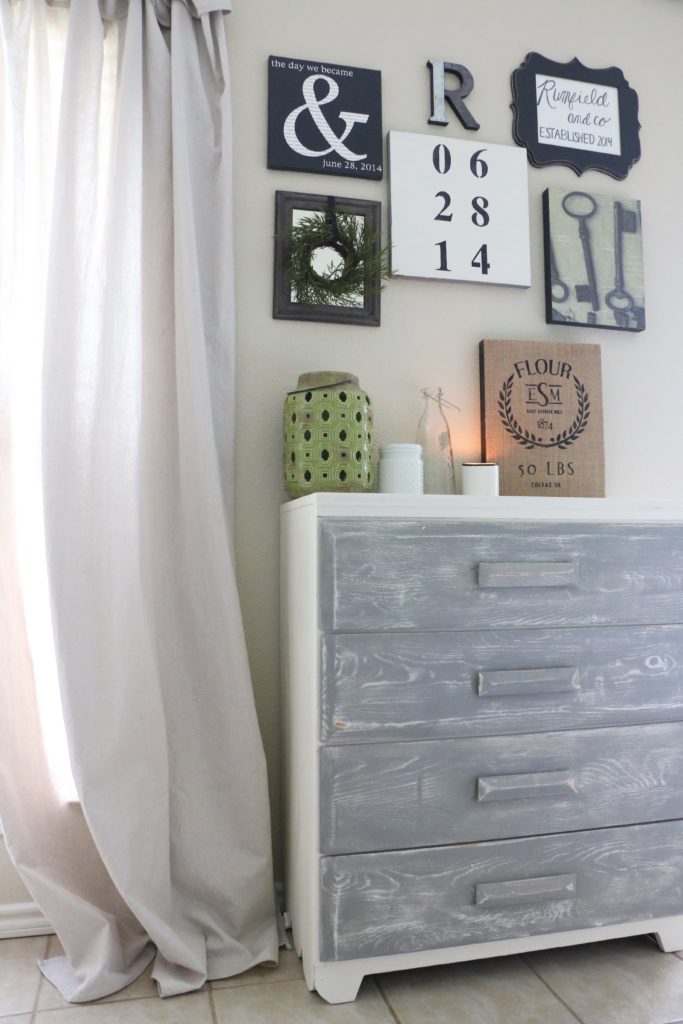
I painted the frame with Annie Sloan Old White, and the drawers with a local handmade chalk paint (sorry I don’t have the color for it). I lightly sanded everything down again, and on the drawers, I sanded a bit longer to expose some of the primer. That happened kind of accidentally, but I ended up loving it!

graydresser2

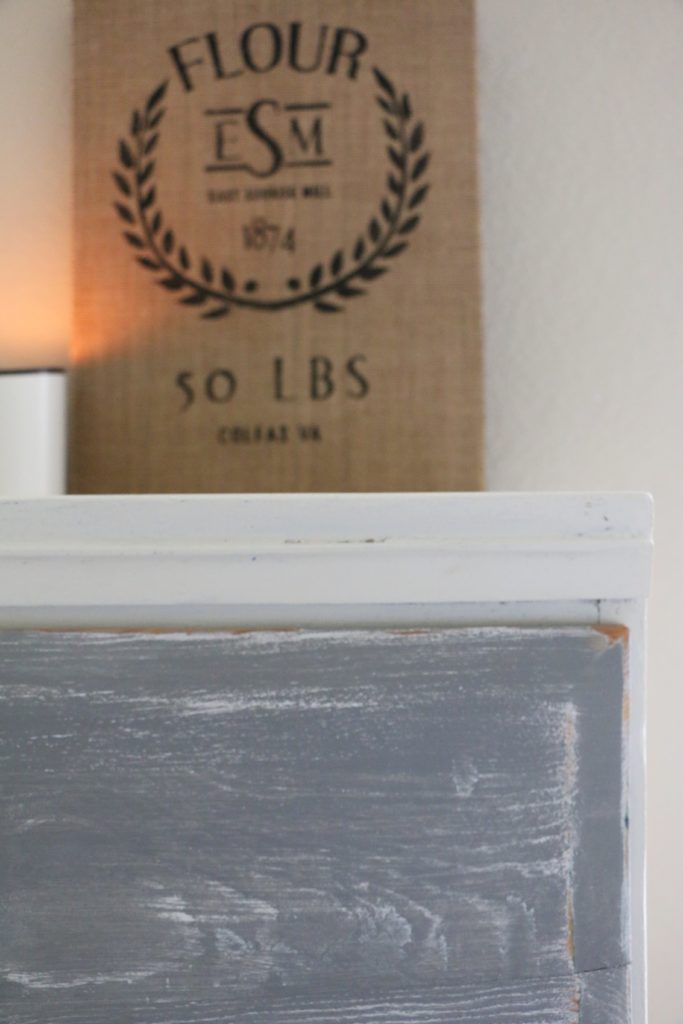
Here’s a closeup of how the drawers turned out. I love them! After I finished painting, I gave everything a coat of Annie Sloan Clear Wax. This sweet little dresser was a super fun project, and it turned out even better than I imagined.

graydresser3

Now, this piece won’t be staying with me. I’ve been working hard gathering materials and working on projects like this one because I am going to be a vendor at the upcoming Vintage Market Days! I love this event so much, and this will be my first time as a vendor! Here’s a link directly to the Facebook event. It’s in Waxahachie, which is just south of Dallas. If you’re going to be in the Dallas – Fort Worth area that weekend, you’ll have to stop by. This event is going to be amazing, and if you’re in the area, I would love to meet you! This dresser and many others will be headed to my booth, and I cannot wait to show y’all more!

That’s all for today friends! Have a fabulous day!
DIY Projects, Furniture Makeover

Annie Sloan: One Year Later

Hey y’all! Phew. The past few weeks have been CA-RAZY. With moving into the new house two weeks ago, and setting up my classroom, and Ethan being in and out of town for work, things have been hectic to say the least. Today is the first day we’ve had internet at our house. Like, we had to go to McDonald’s to pay bills last week. So that was a low point.

Things are starting to feel a tiny bit more settled now finally, and I can’t wait to share with you guys more of the house! Today I want to talk about something I think a lot of people have had questions about. How well does chalk paint hold up? Since I’ve been setting everything up at the new house, I’ve been inspecting and reworking all the things we had in our previous home.

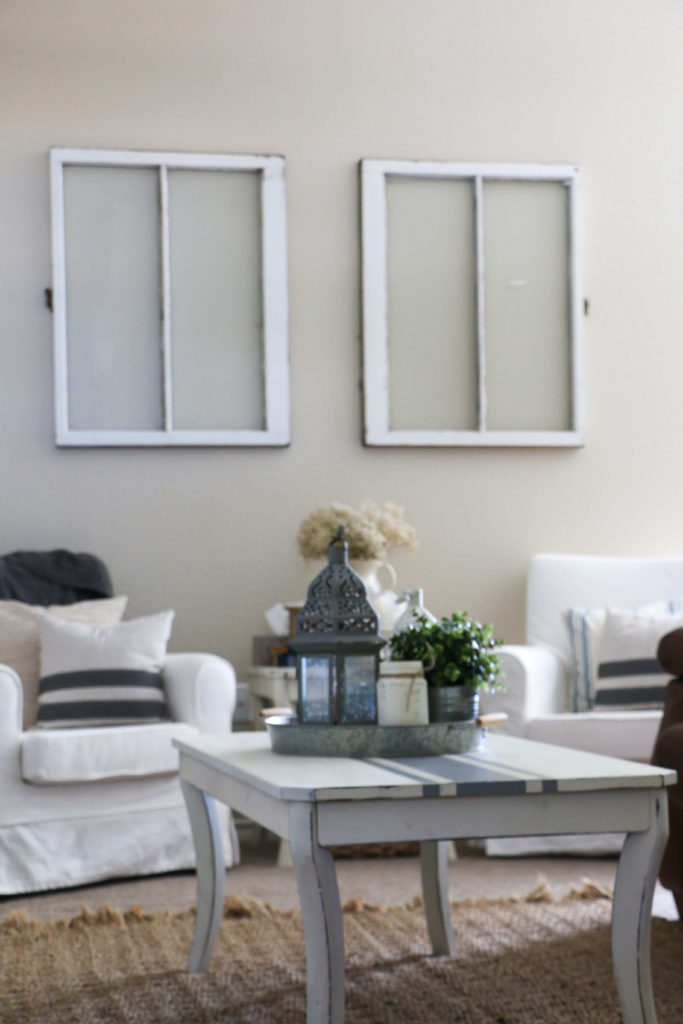
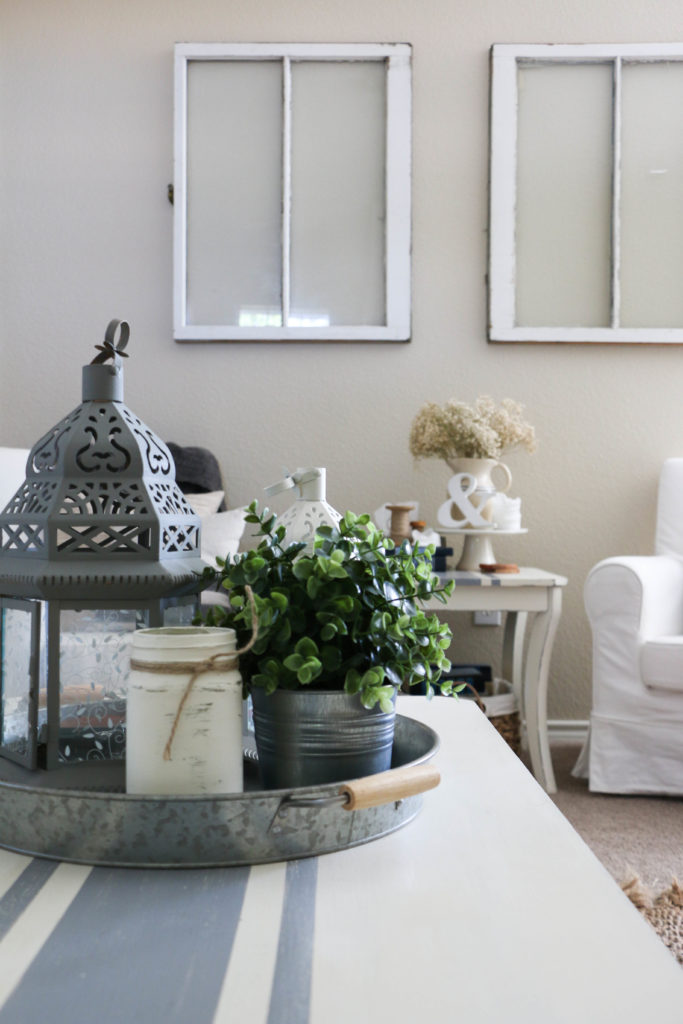
About a year ago, I gave our living room coffee and end table a little makeover. I used Annie Sloan chalk paint, which I’ve used for several other projects throughout our home. I love this paint, and I’ve talked about great it is, but I’ve never had much experience with the paint over a long period of time. Now, our coffee table is the hub of the living room. We’re pretty casual, so this table gets a lot of wear from putting our feet up on the table. We also eat off this table and write on it. It’s basically a work horse.

coffeetable4

I’m not being paid by anyone to tell you this, but I have to say, after about a year or so, the top of this table needed a second coat.

coffeetable2

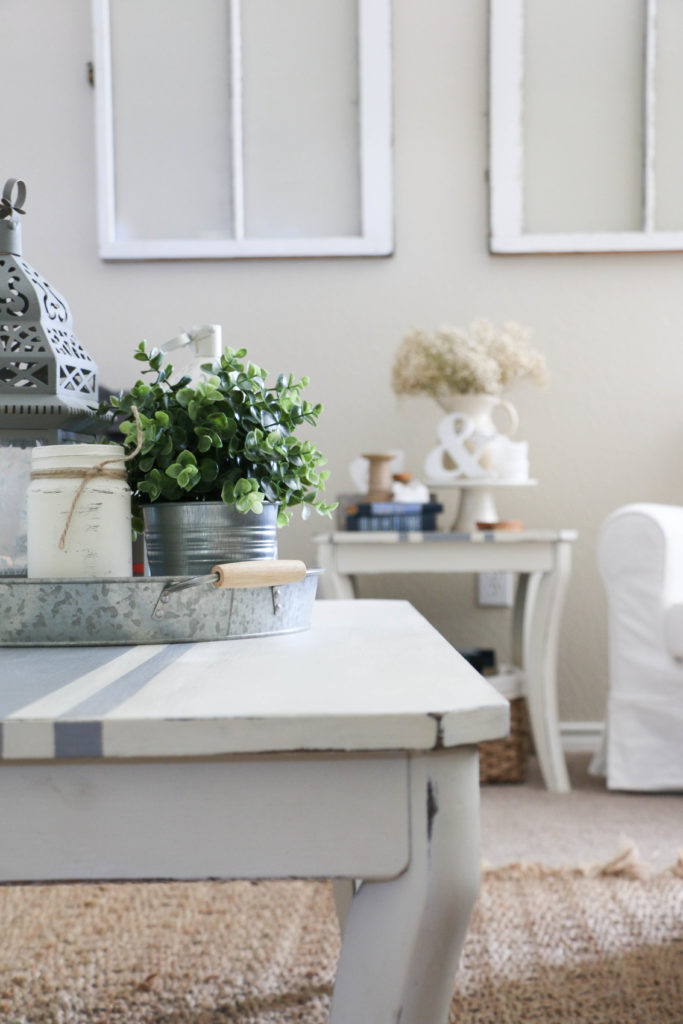
The edges of the table top started to wear down (and not from the distressing I intentionally added), and it was starting to look a little more shabby than I was wanting.

coffeetable

In about twenty minutes, I just slapped on a quick top coat of the paint in the Old White color. I didn’t even tape off where I had painted the gray stripes. Just a quick and painless coat of paint, and wax a few hours later.

With this specific project, it doesn’t bother me that I had to do a second coat. With something bigger and more time consuming, it might be a little bit more annoying. Now, there may be people who are better at applying the wax than I am, which could protect the paint better. I’m a novice at this stuff, but that’s my experience. This will in no way prevent me from continuing to use chalk paint in the future. I love the stuff! But, with something bigger, I might look into another solution in the future. We’ll see.

Have you ever had issues with this in the past? If so, I’d love to hear about how you solved them! I know that this has been a quick and simple post, but I wanted to pop in and share what I’ve been up to! Well, that’s all for today friends! Have a fabulous day!
anniesloan

DIY Projects, Home Decor

How to Hide the Ugly Media Stuff

I am so so so excited to show you today’s project. This one has me absolutely giddy. Y’all know this has been the year of the trash bag, aka I’m getting rid of everything and despising clutter. I’ve been thinking long and hard about what “clutter” even is, and sometimes I think it can be anything that isn’t pleasing to the eye. Even if it’s necessary. So then the dillema becomes how do I get rid of the clutter if it’s necessary? Today I want to share with you some simple things I did in my living room that make everything look SO MUCH neater and cleaner and just all around better.

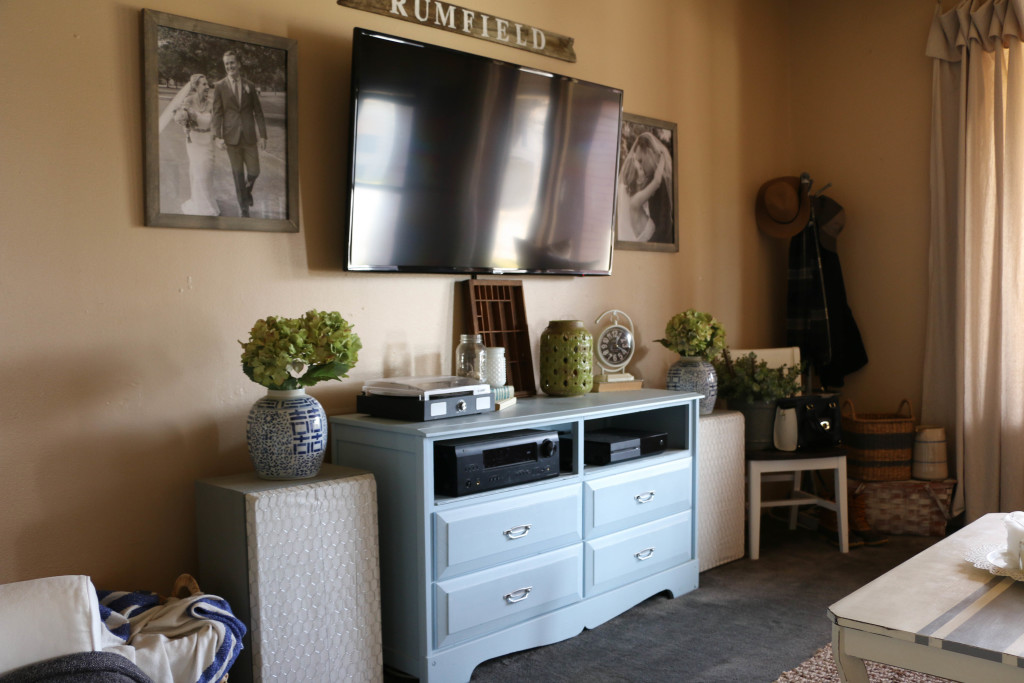
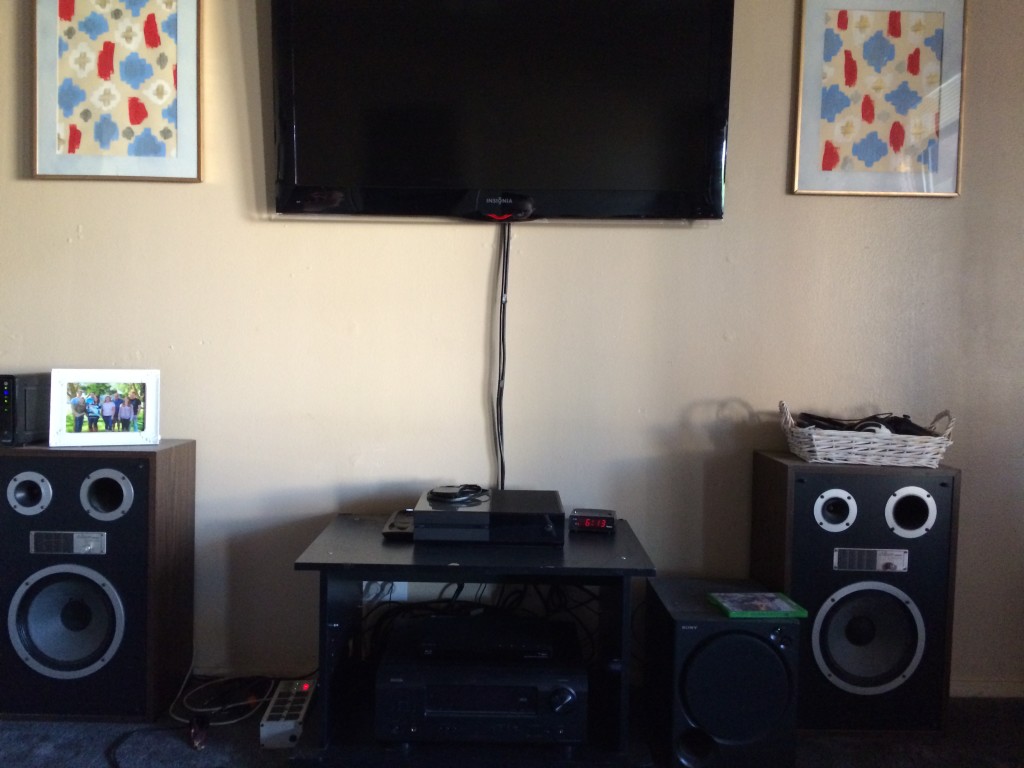
So Ethan is a media guy. He loves sound, and “equipment” is important to him. If it were up to me, I’d be listening to the TV sound from the speakers that are built into the TV. But apparently, my poor untrained ears don’t even know how awful that is. Needless to say, the large speakers and subwoofer weren’t going anywhere. Don’t know what a subwoofer is? You’re not alone. I didn’t either until I met my husband. Marriage is compromise people. But you can at least make the compromise pretty. First, let me show you what sort of equipment we were dealing with here.

speakerbefore1

See how I tried to make it pretty with a vase on top? I wasn’t fooling anyone.

mediaconsolebefore

The media dresser was a project I completed a long time ago, pre-blog, when we first got married. It’s helping the situation, but in about the same way that a bandaid helps a broken arm.

speakerbefore2

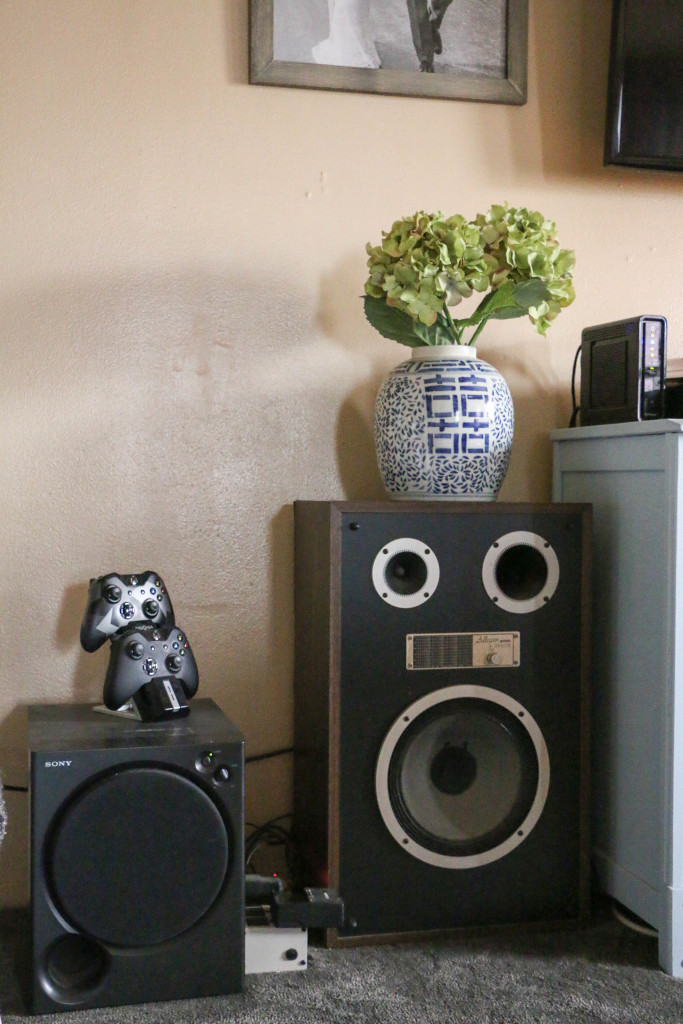
This side is the worst of all. (That on the left is the subwoofer, by the way. It’s the bass of speaker sound. Or something like that.) The power strip, the X-box controlers, all of it.

We tossed around the idea of building a completely new unit that would fit the speakers into it, but ultimately decided against it for two reasons. First, it would end up being extremely long were it long enough to keep the storage we currently had in the drawers and hold the excess equipment. Knowing this house is not our permanent home (thankfully), we didn’t want something so long that its use would be limited in another house. Second, the cost would be higher to build something new entirely than to fix what we already had. So, you know me. I was on a mission to DIY the heck out of this thing.

mediaconsole3

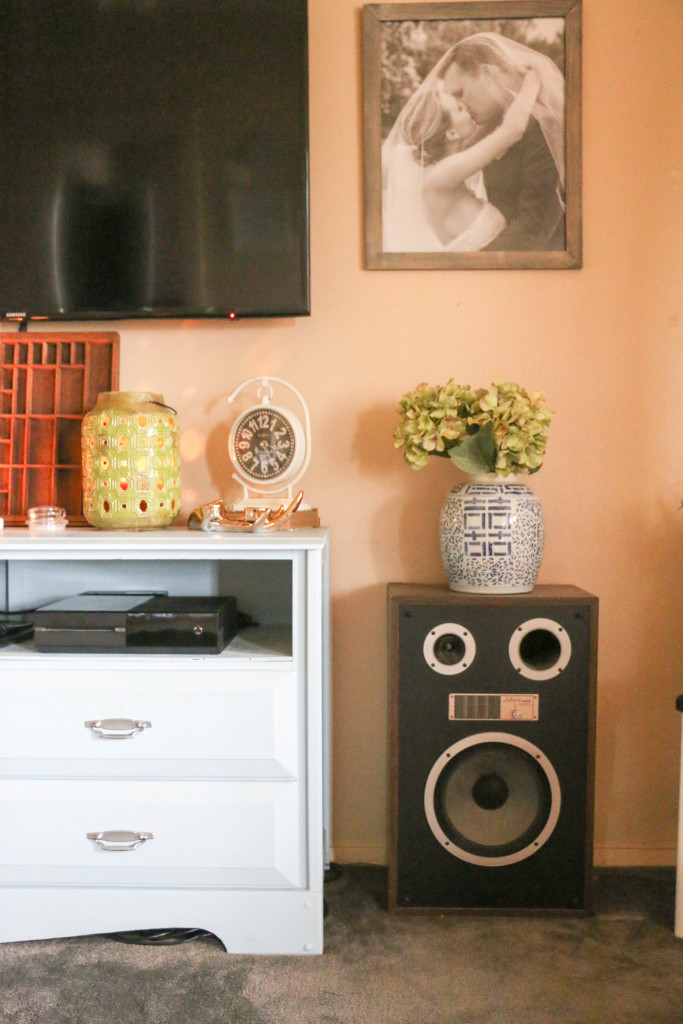
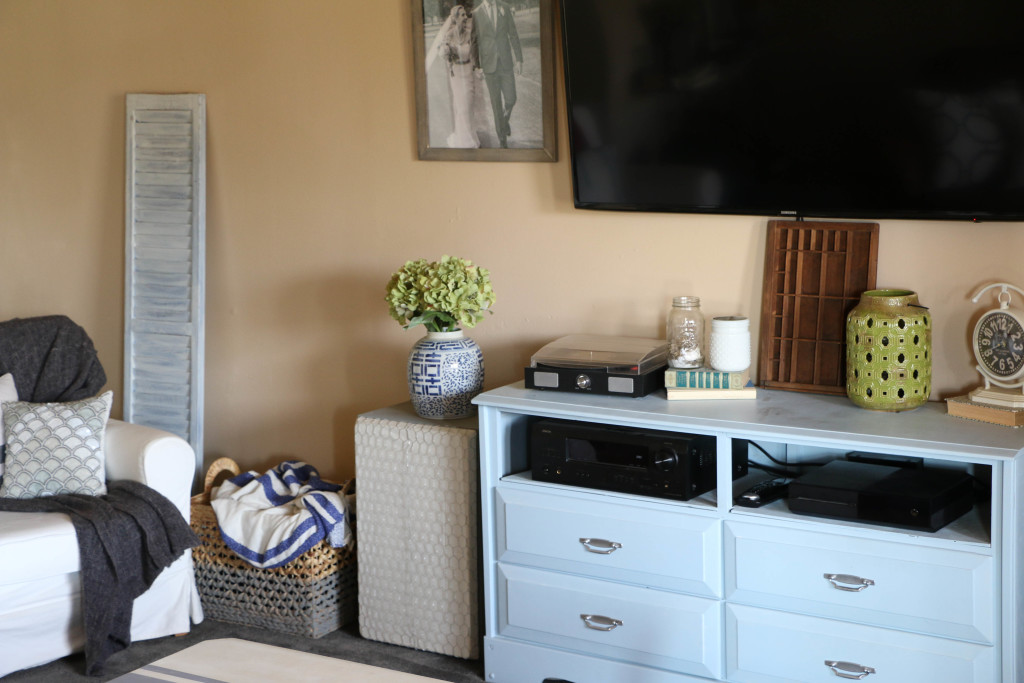
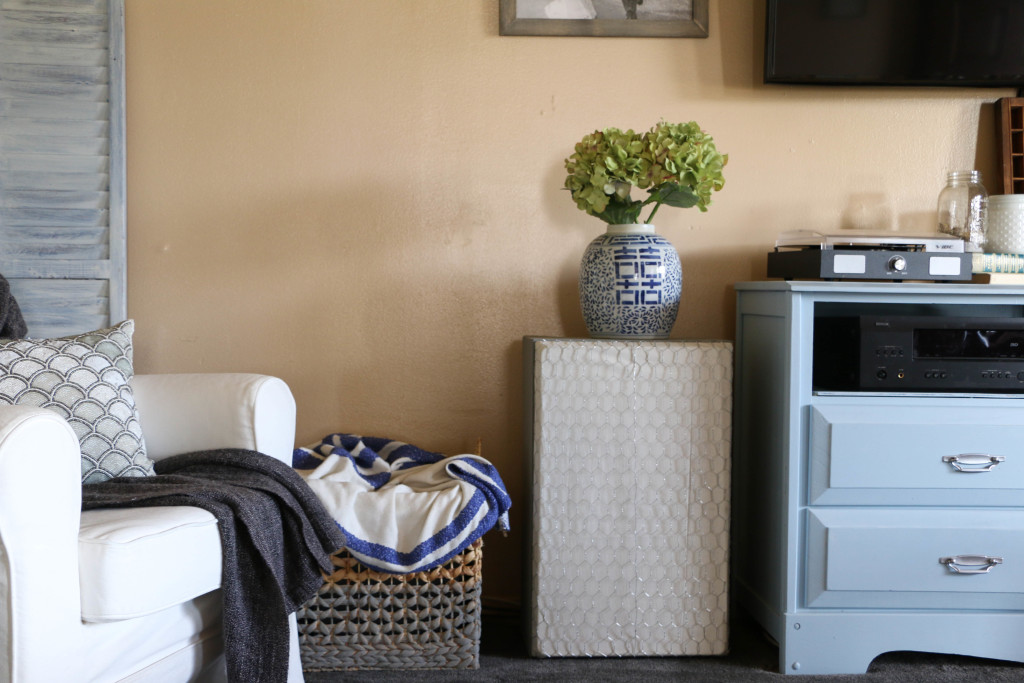
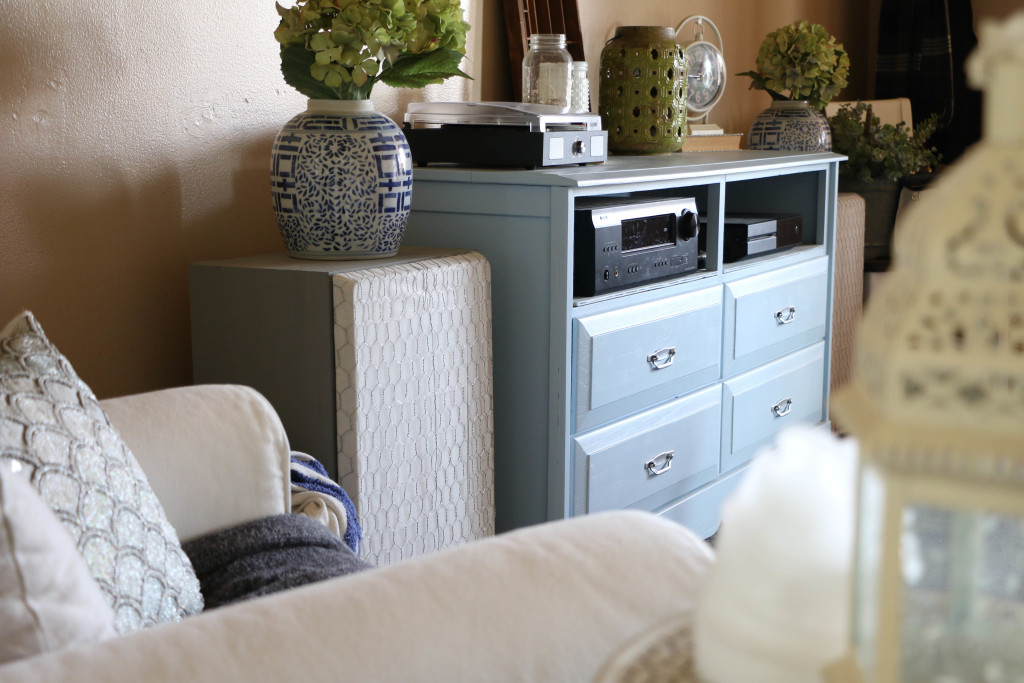
Here’s a closeup of one of the speakers when I finished it. Using the old coverings for the speakers (they were not pictured in the original photo, but luckily we had them stored in a closet), I tore off the old black material. I recovered the frames with a cream colored muslin. With my 40% off coupon at Hobby Lobby, it cost me under two dollars. I then added chicken wire over that just to add some texture. The chicken wire cost about six dollars at Home Depot, bringing my project up to a grand total of eight dollars.

mediaconsole4

The sides of the speakers got a coat of gray chalk paint. The paint was a new-to-me brand from a local shop, and I really liked the way it turned out. Goodbye dark wood veneer!

mediaconsole11

The last and most important (in my opinion) part was the basket on the far left. It took me a couple of weeks to find a basket big enough, but I finally found one large enough to fit the subwoofer, power strip, and X-box controllers. I painted the bottom half of it the same color as the speakers just to break up so much of the tan color on the front. On the backside of the basket I used wirecutters to cut just enough of the weaving to push power cords through. Topped with a blanket, you cannot even see all the necessary uglies inside!

mediaconsole9 mediaconsole7

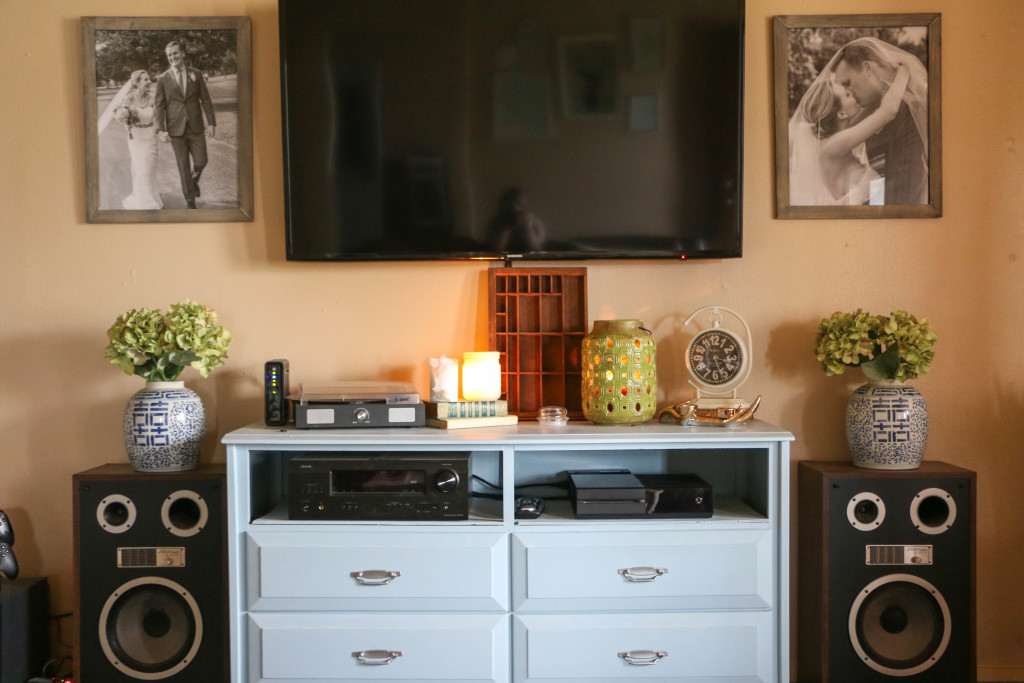
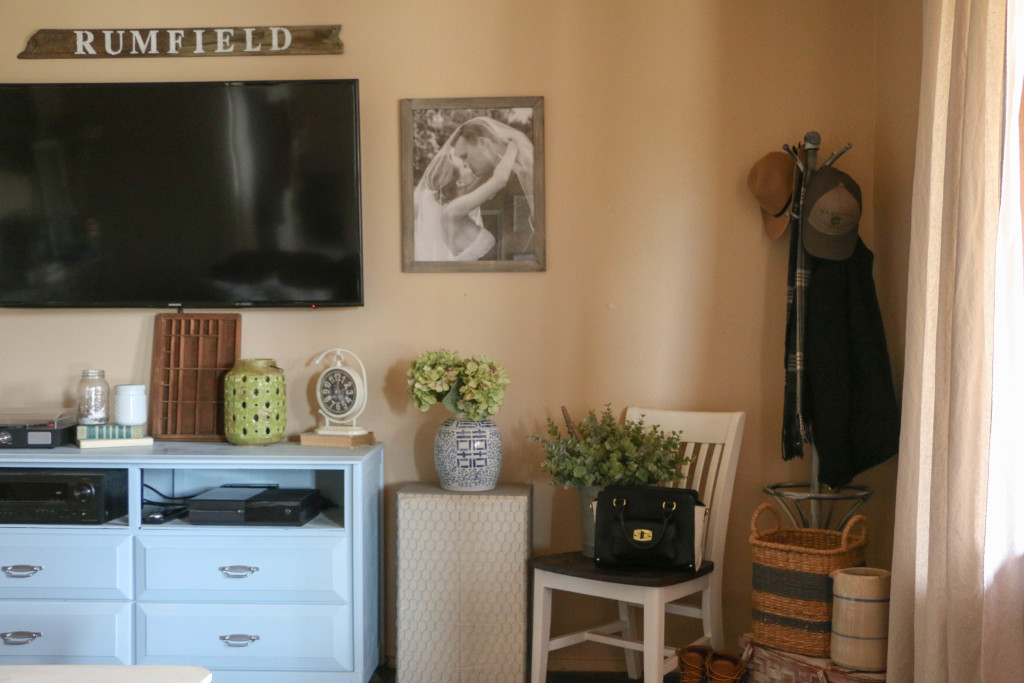
My goal was to make the speakers look more like a piece of furniture that belongs in the room, rather than an eyesore that I have to crop out of photos.

mediaconsole12 mediaconsole1

Ethan even agrees that they look better, and luckily for me, it doesn’t affect the sound quality having the chicken wire over the speakers. Also note the printer’s drawer? That conveniently covers the cord that hangs from the TV.

Maybe I’m crazy for thinking this, but technology is just ugly. If it were up to me, I wouldn’t have any of this stuff in the house at all. What a beautiful sight that would be! But alas, this is the life we live. The remaining visible pieces are the few that I don’t mind having out. The record player on top is where I play my Julie Andrews and Johnny Cash, and the other stuff needs to be accessible for the remote. Overall, I am so happy with the way this area looks.

It only took a year and a half, but I do love how this turned out.

And just for fun and a good laugh, here’s a throwback to what this area looked like when I first moved in after we got married. (Ethan lived here alone before we were married and I moved into his turf.)

AB7D9B71-D413-44FD-9E18-A7EFE8ECE9CC

YIKES. I know. I may not know much about design, or have a beautifully furnished house that I’m completely in love with, but at least I can sit back and be proud of the fact that we’re not living like this anymore.

Okay, enough of my ranting. I hope you’ve gained some ideas for yourself. I am so much happier with our new setup! How do you organize your media area? I’d love to hear about it! That’s all for today, friends. Have a fabulous day!
Uncategorized

My First Experience as a Craft Vendor

This past weekend I had my first booth at a crafts/antiques fair. I wanted to share with y’all a little bit about my first experience doing this, since it was such a big deal for me. I worked really hard on my booth, and really hard on all the items that went into it. I definitely learned a lot this weekend, and I’m so thankful for it.

The biggest thing for me was at some point during that day, I realized I can do this. Having my items sold at a craft fair or market of some kind has been something I’ve wanted to do for a while, but never really thought I could. There were a million reasons why I wasn’t going to be able to do something like this, and so a few projects sat unfinished in my garage for a year or so. When this opportunity came along, I knew I couldn’t say no. The event was just one day, in our town, and I didn’t need to go through a lengthy application process, and  wouldn’t have to take the day off from my real job. For these reasons, I felt like I couldn’t say no. The cards were stacked in my favor for getting my foot in the door to these types of things.

On the actual day of the event, I had so much fun setting up my booth. When I’m shopping at other flea markets and fairs, I enjoy but don’t really think deeply about the set up of the booth. It was like staging a mini room, and duh, what could be more fun?! I didn’t have a ton of items for sale in my booth, but I think I had just the right amount of stuff to accommodate my first attempt.
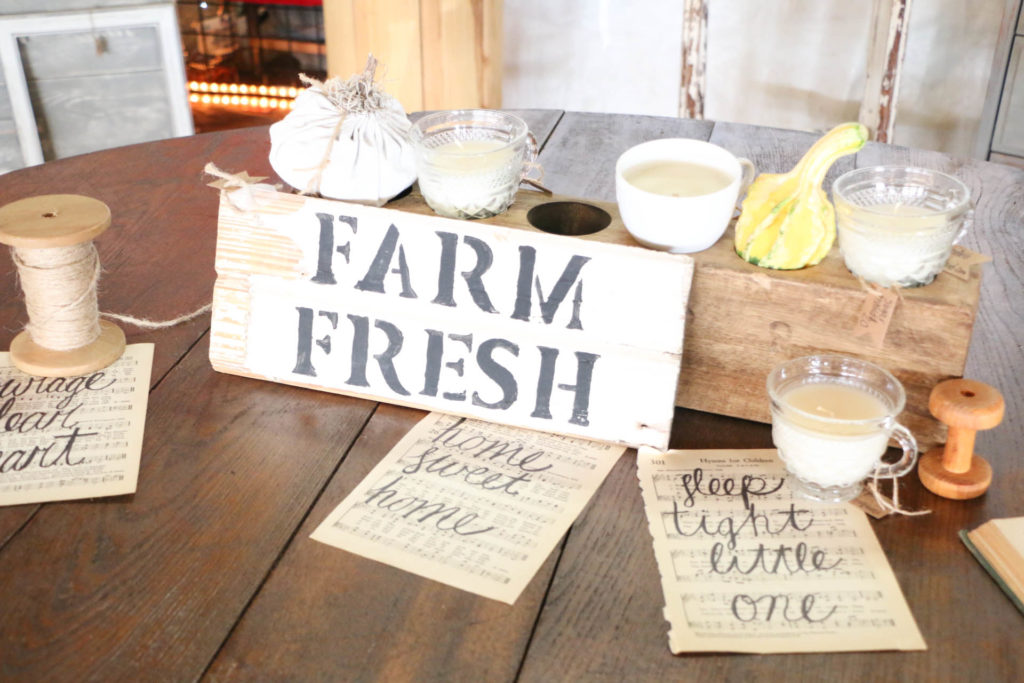
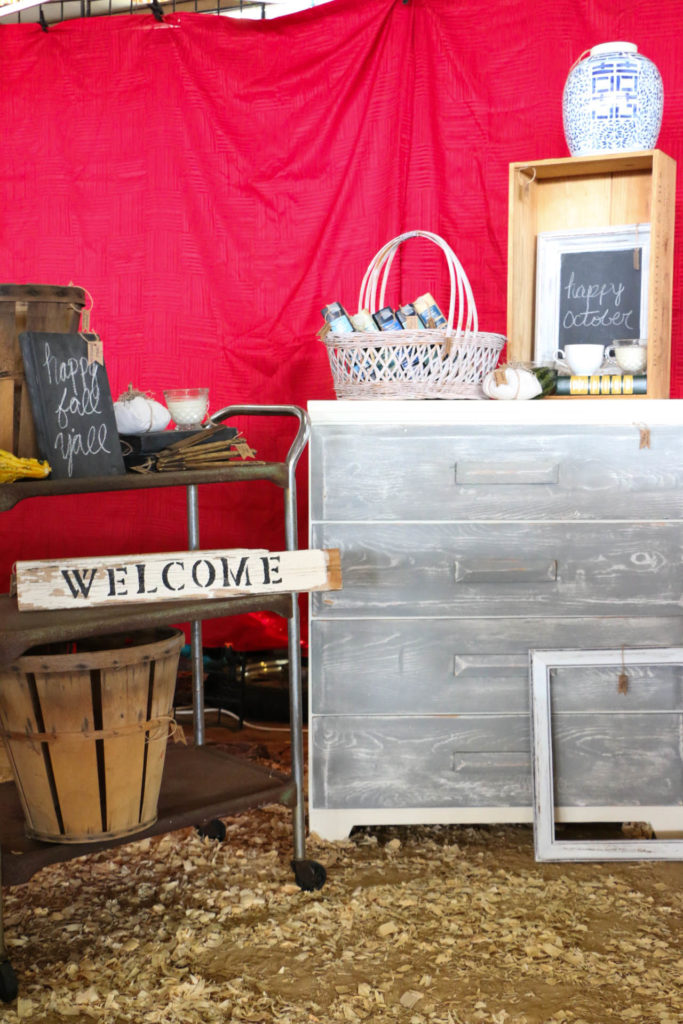
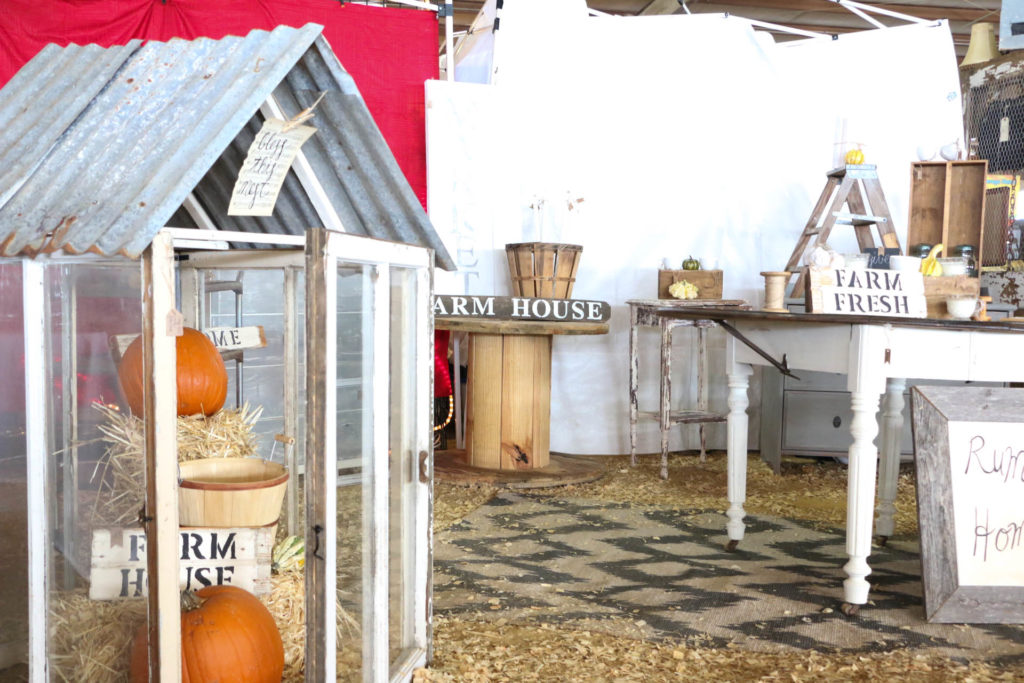
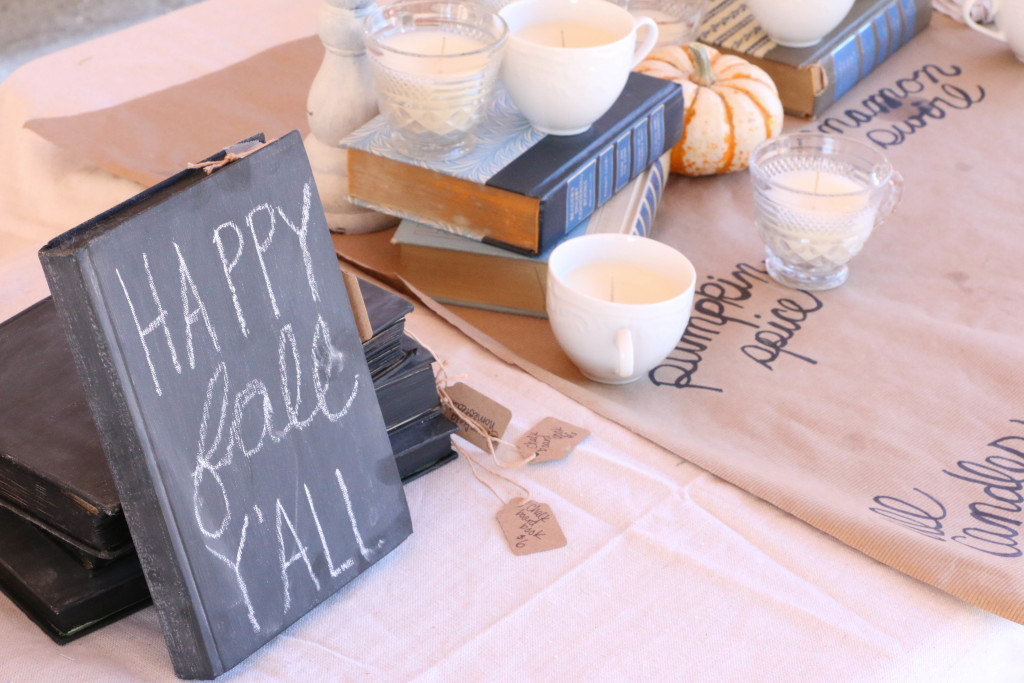
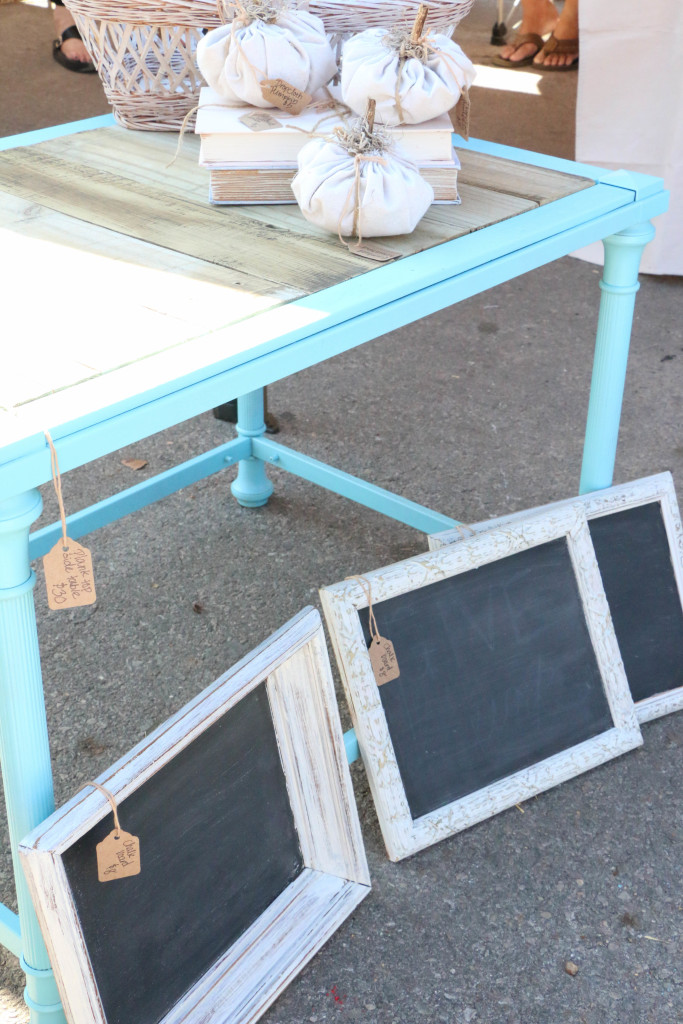
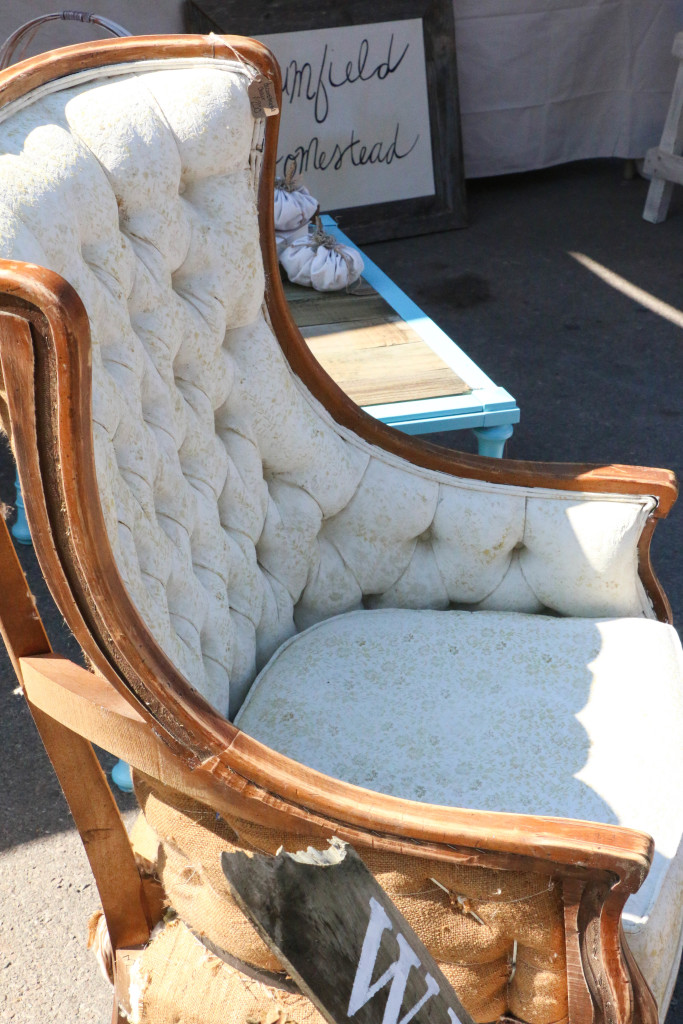
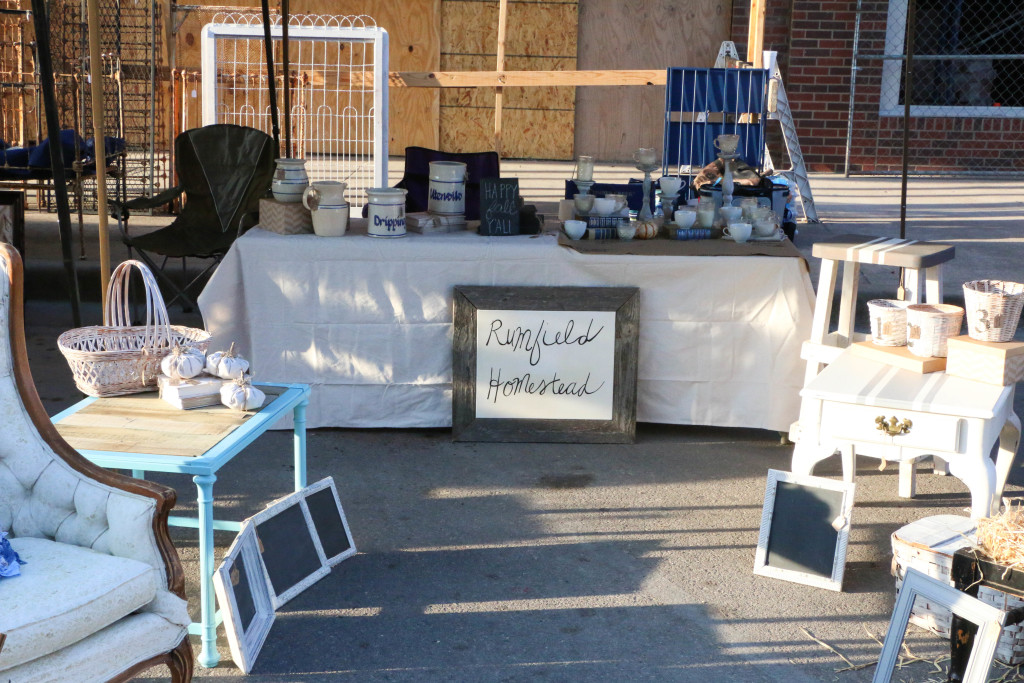
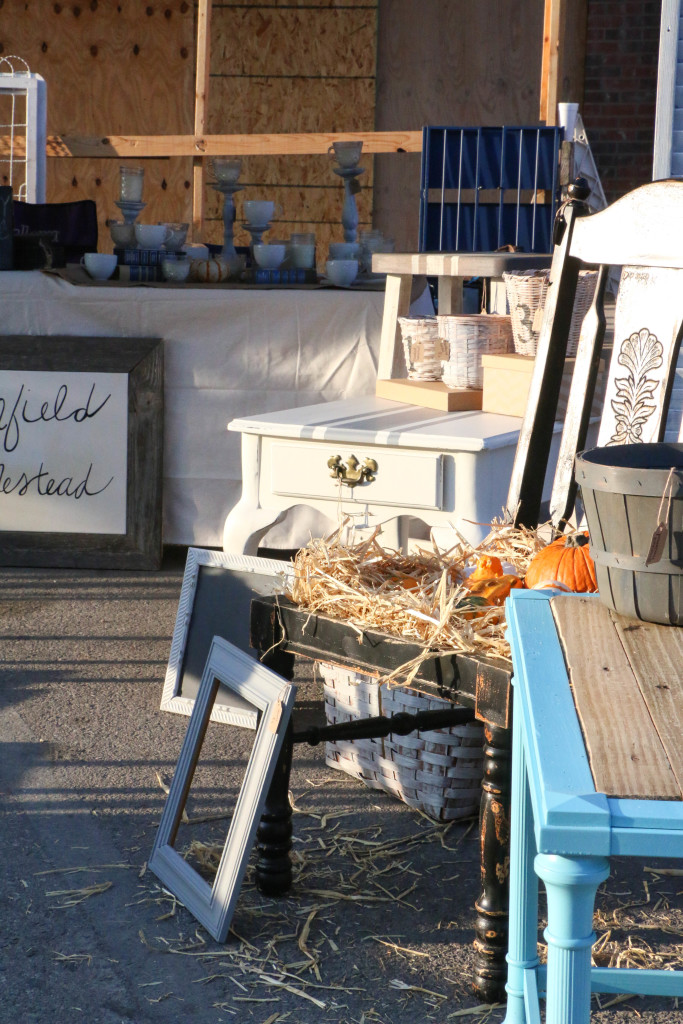
Here are some closeup shots of my booth:candles chalkboards decondtructedchair - Copy dropcloth pumpkins signs wholebooth wideshot

The actual number of sales were pretty disappointing, and whether that can be blamed on the size of the event, the venue, the clientele, or whatever – it doesn’t matter. What does matter is that I got the first one down, and now I feel a lot more confident about applying for more upscale and prestigious markets. I got the self-assurance I needed to realize that this is something I really can do, and actually enjoy. I don’t feel so afraid of these types of events anymore, and the if I could only… thoughts are gone. This day was both disappointing and encouraging. I’m glad I had this experience, and I feel like this event is my jumping point for other things to come in the future.

I really feel like God was telling me this weekend (despite the disappointing number of sales) that the creative desires I have in my heart aren’t for naught. I know He has bigger and better things for me, and I can’t wait to see what happens in the future.  I’ll let you know where you can find me next.

That’s all for today friends, have a fabulous day!