Browsing Tag

vintage

DIY Projects, Furniture Makeover

DIY Antique Farmhouse Dresser

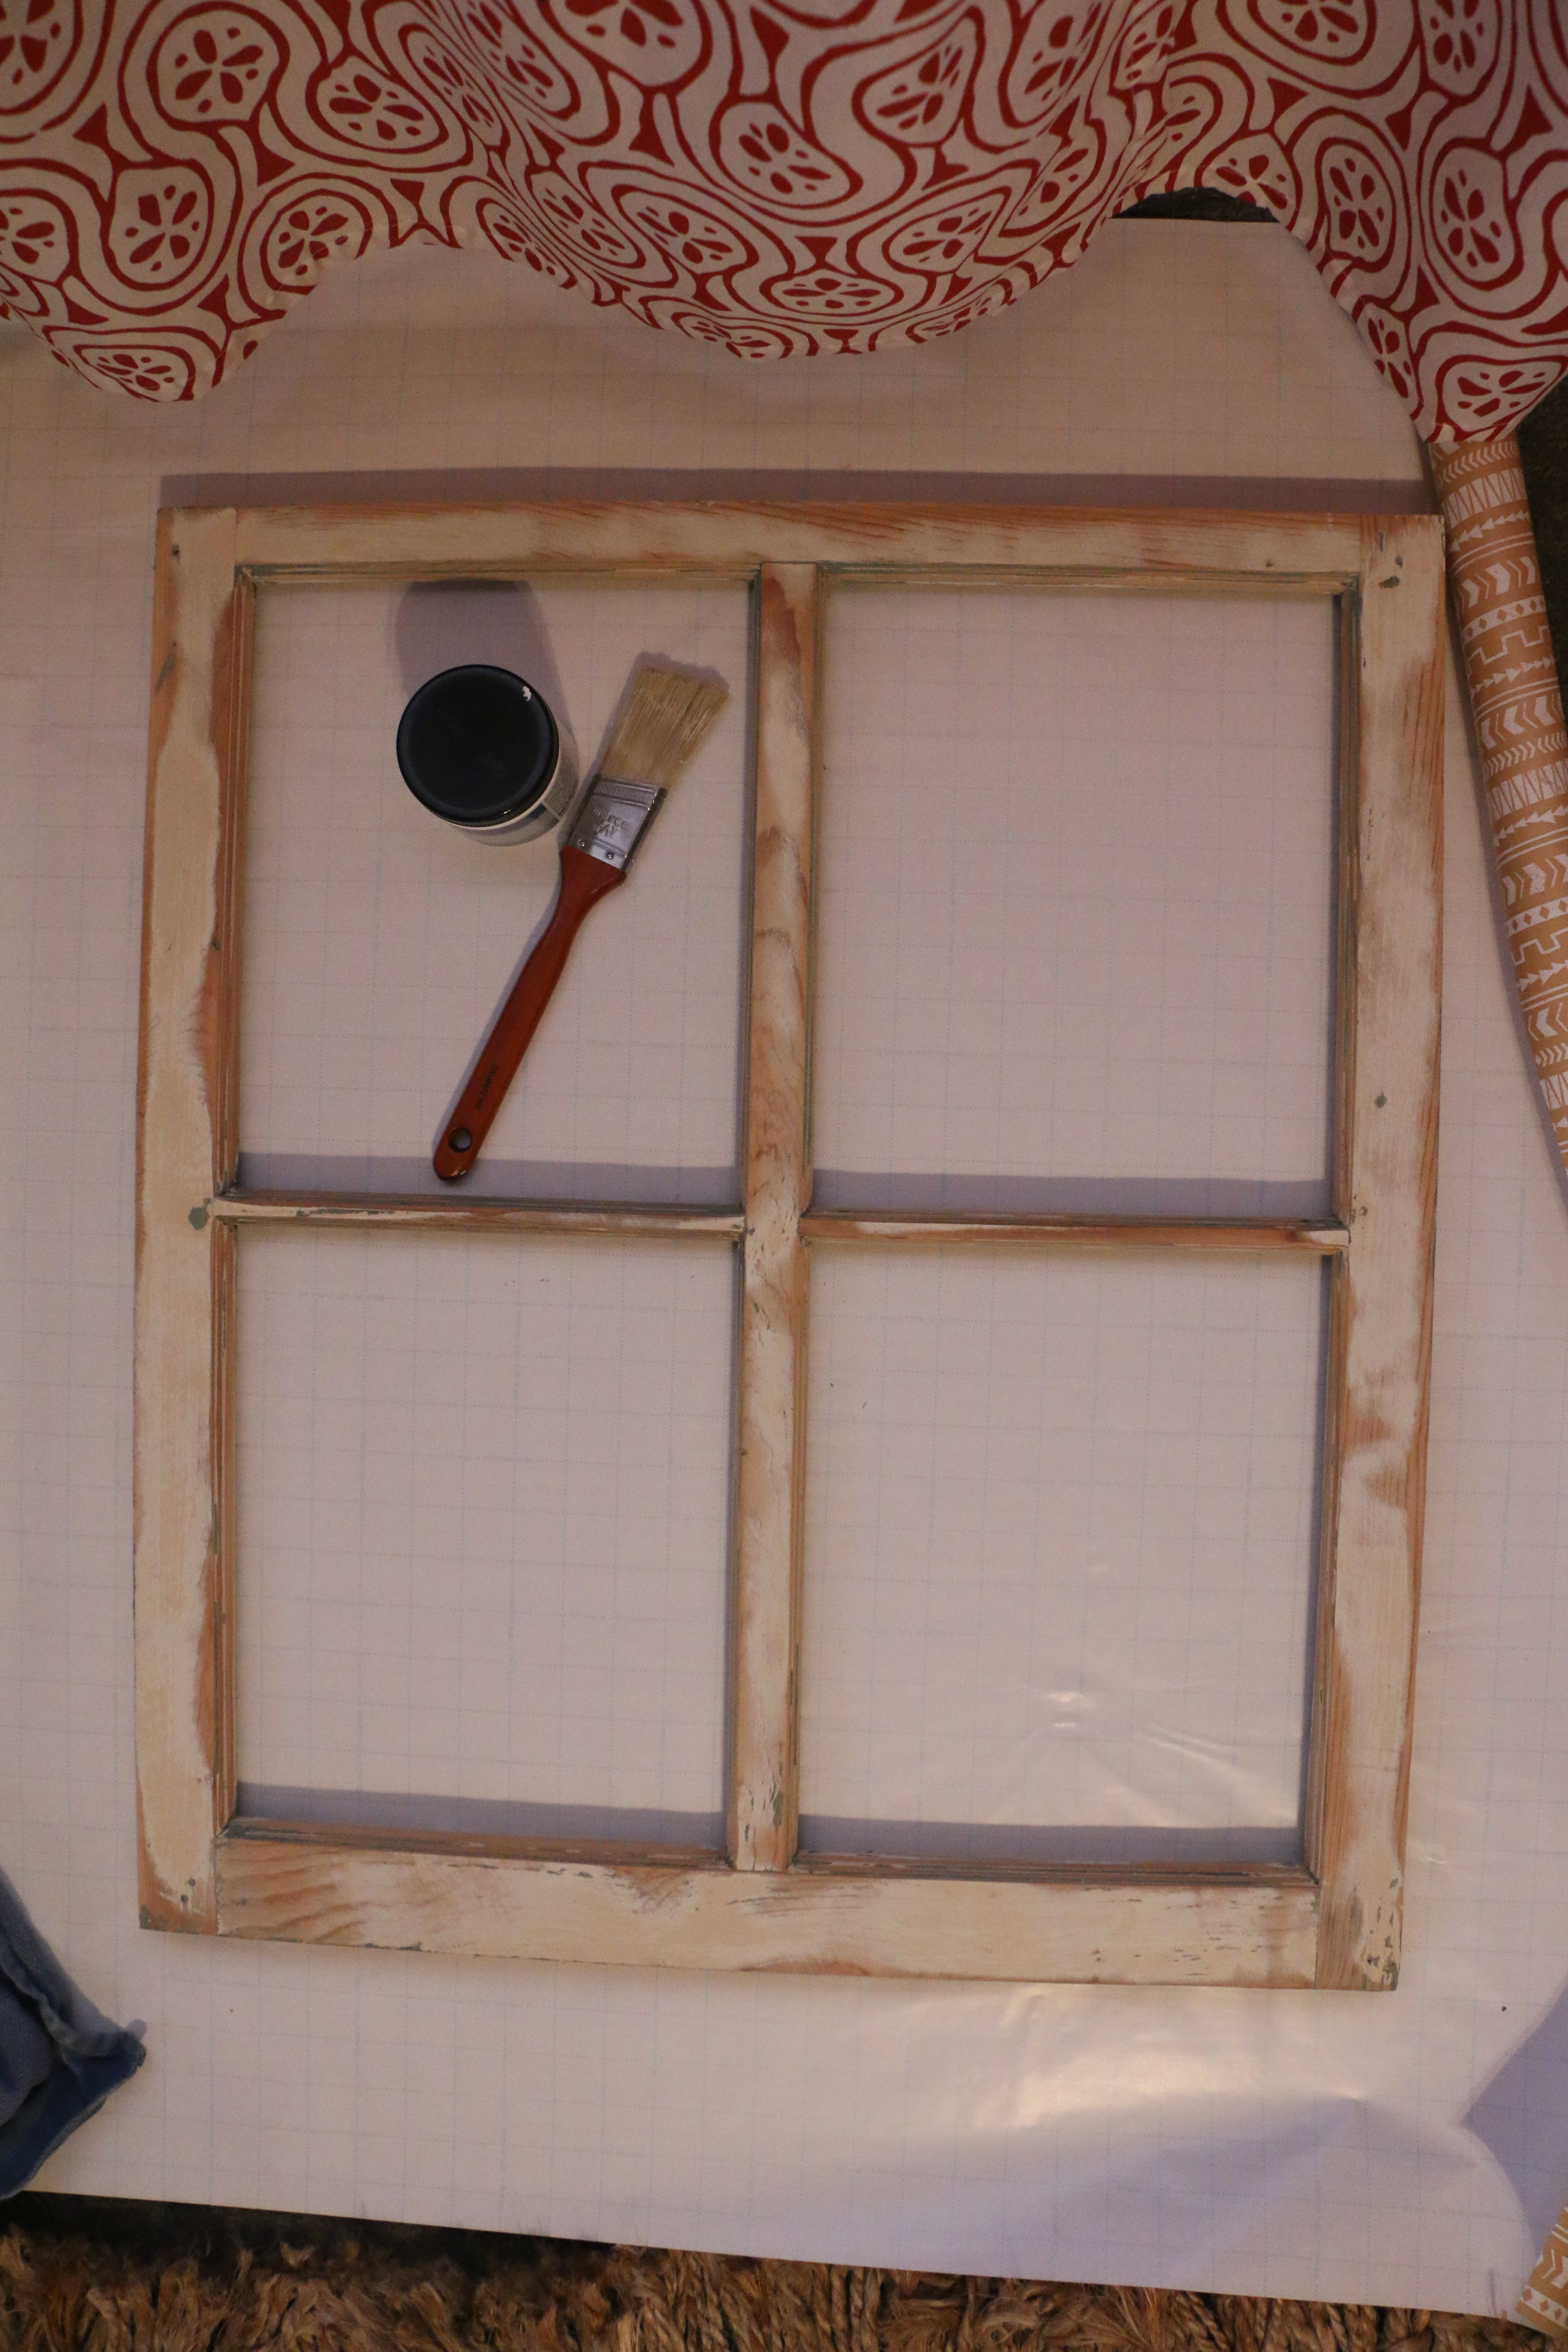
Hello friends! Happy Monday! Today is good day for a good day, am I right? I’ve been super busy lately with projects and it is a wonderful feeling! Last weekend Ethan and I cleared out our garage, which gave me plenty of room to work. We organized all my materials, and made a place for everything.

It used to be super full and I barely had room to work on anything, but now that it’s all clean, I’ve been super inspired to work on projects in there. It feels like I can finally breathe!

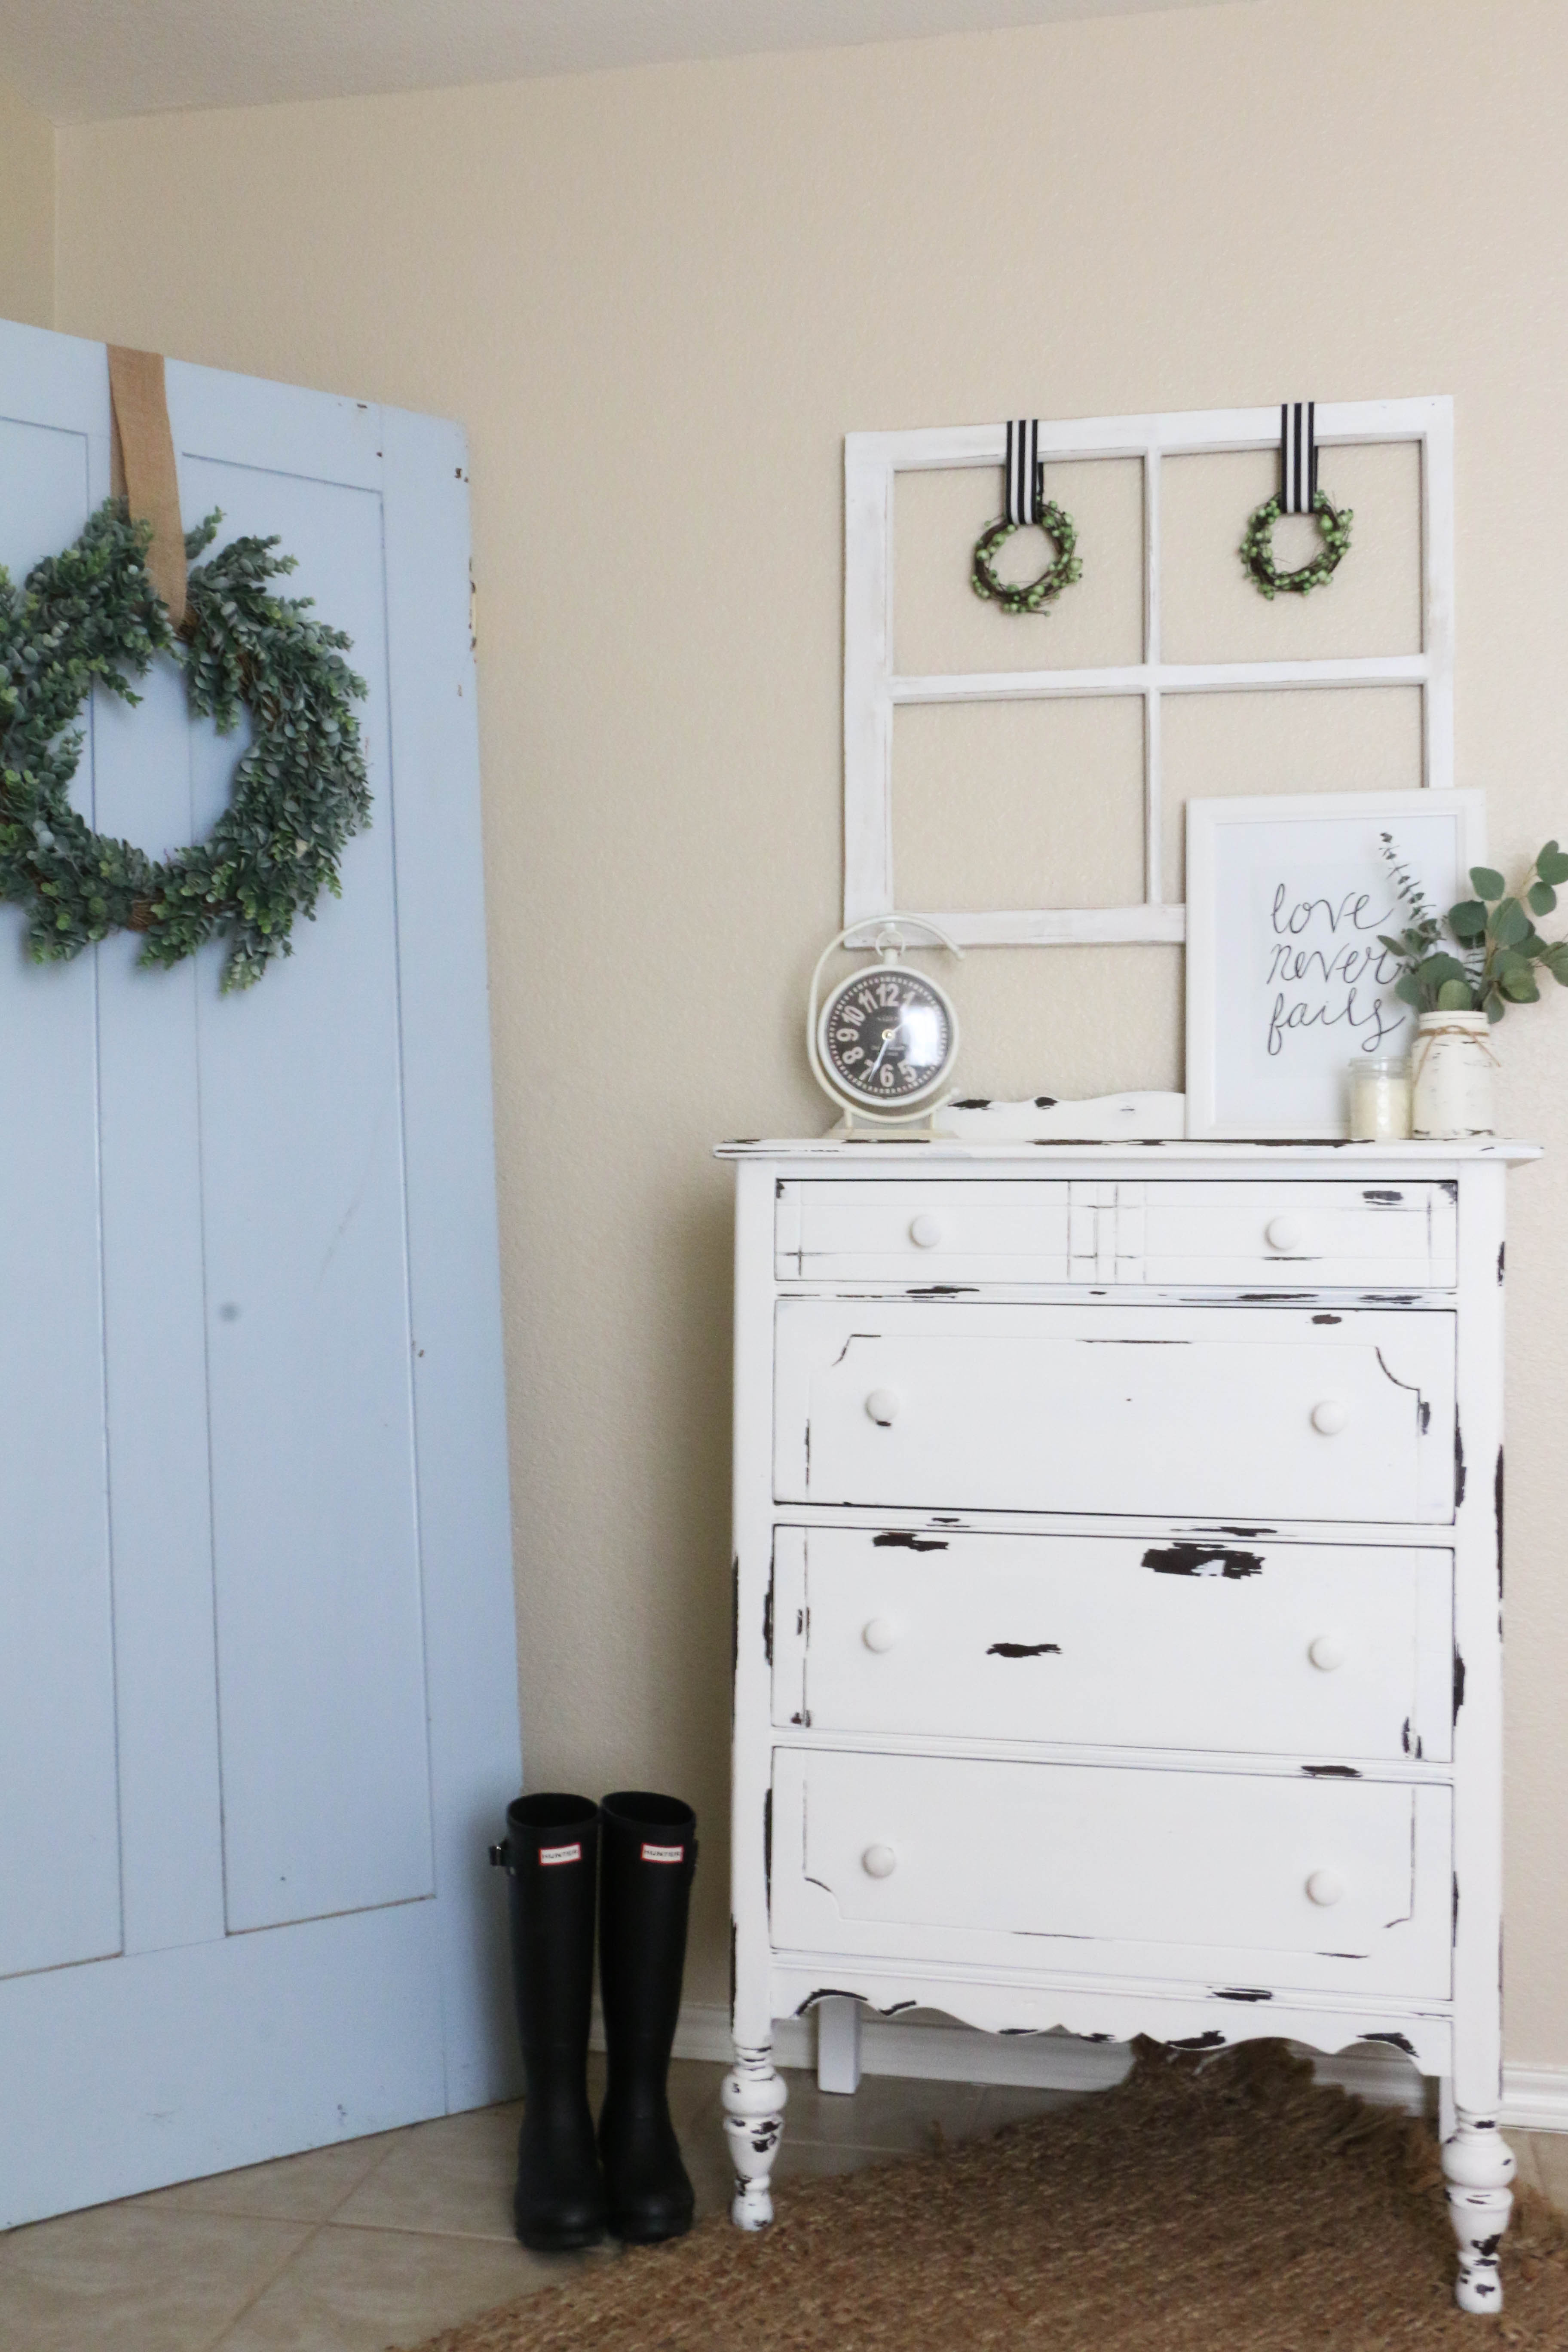
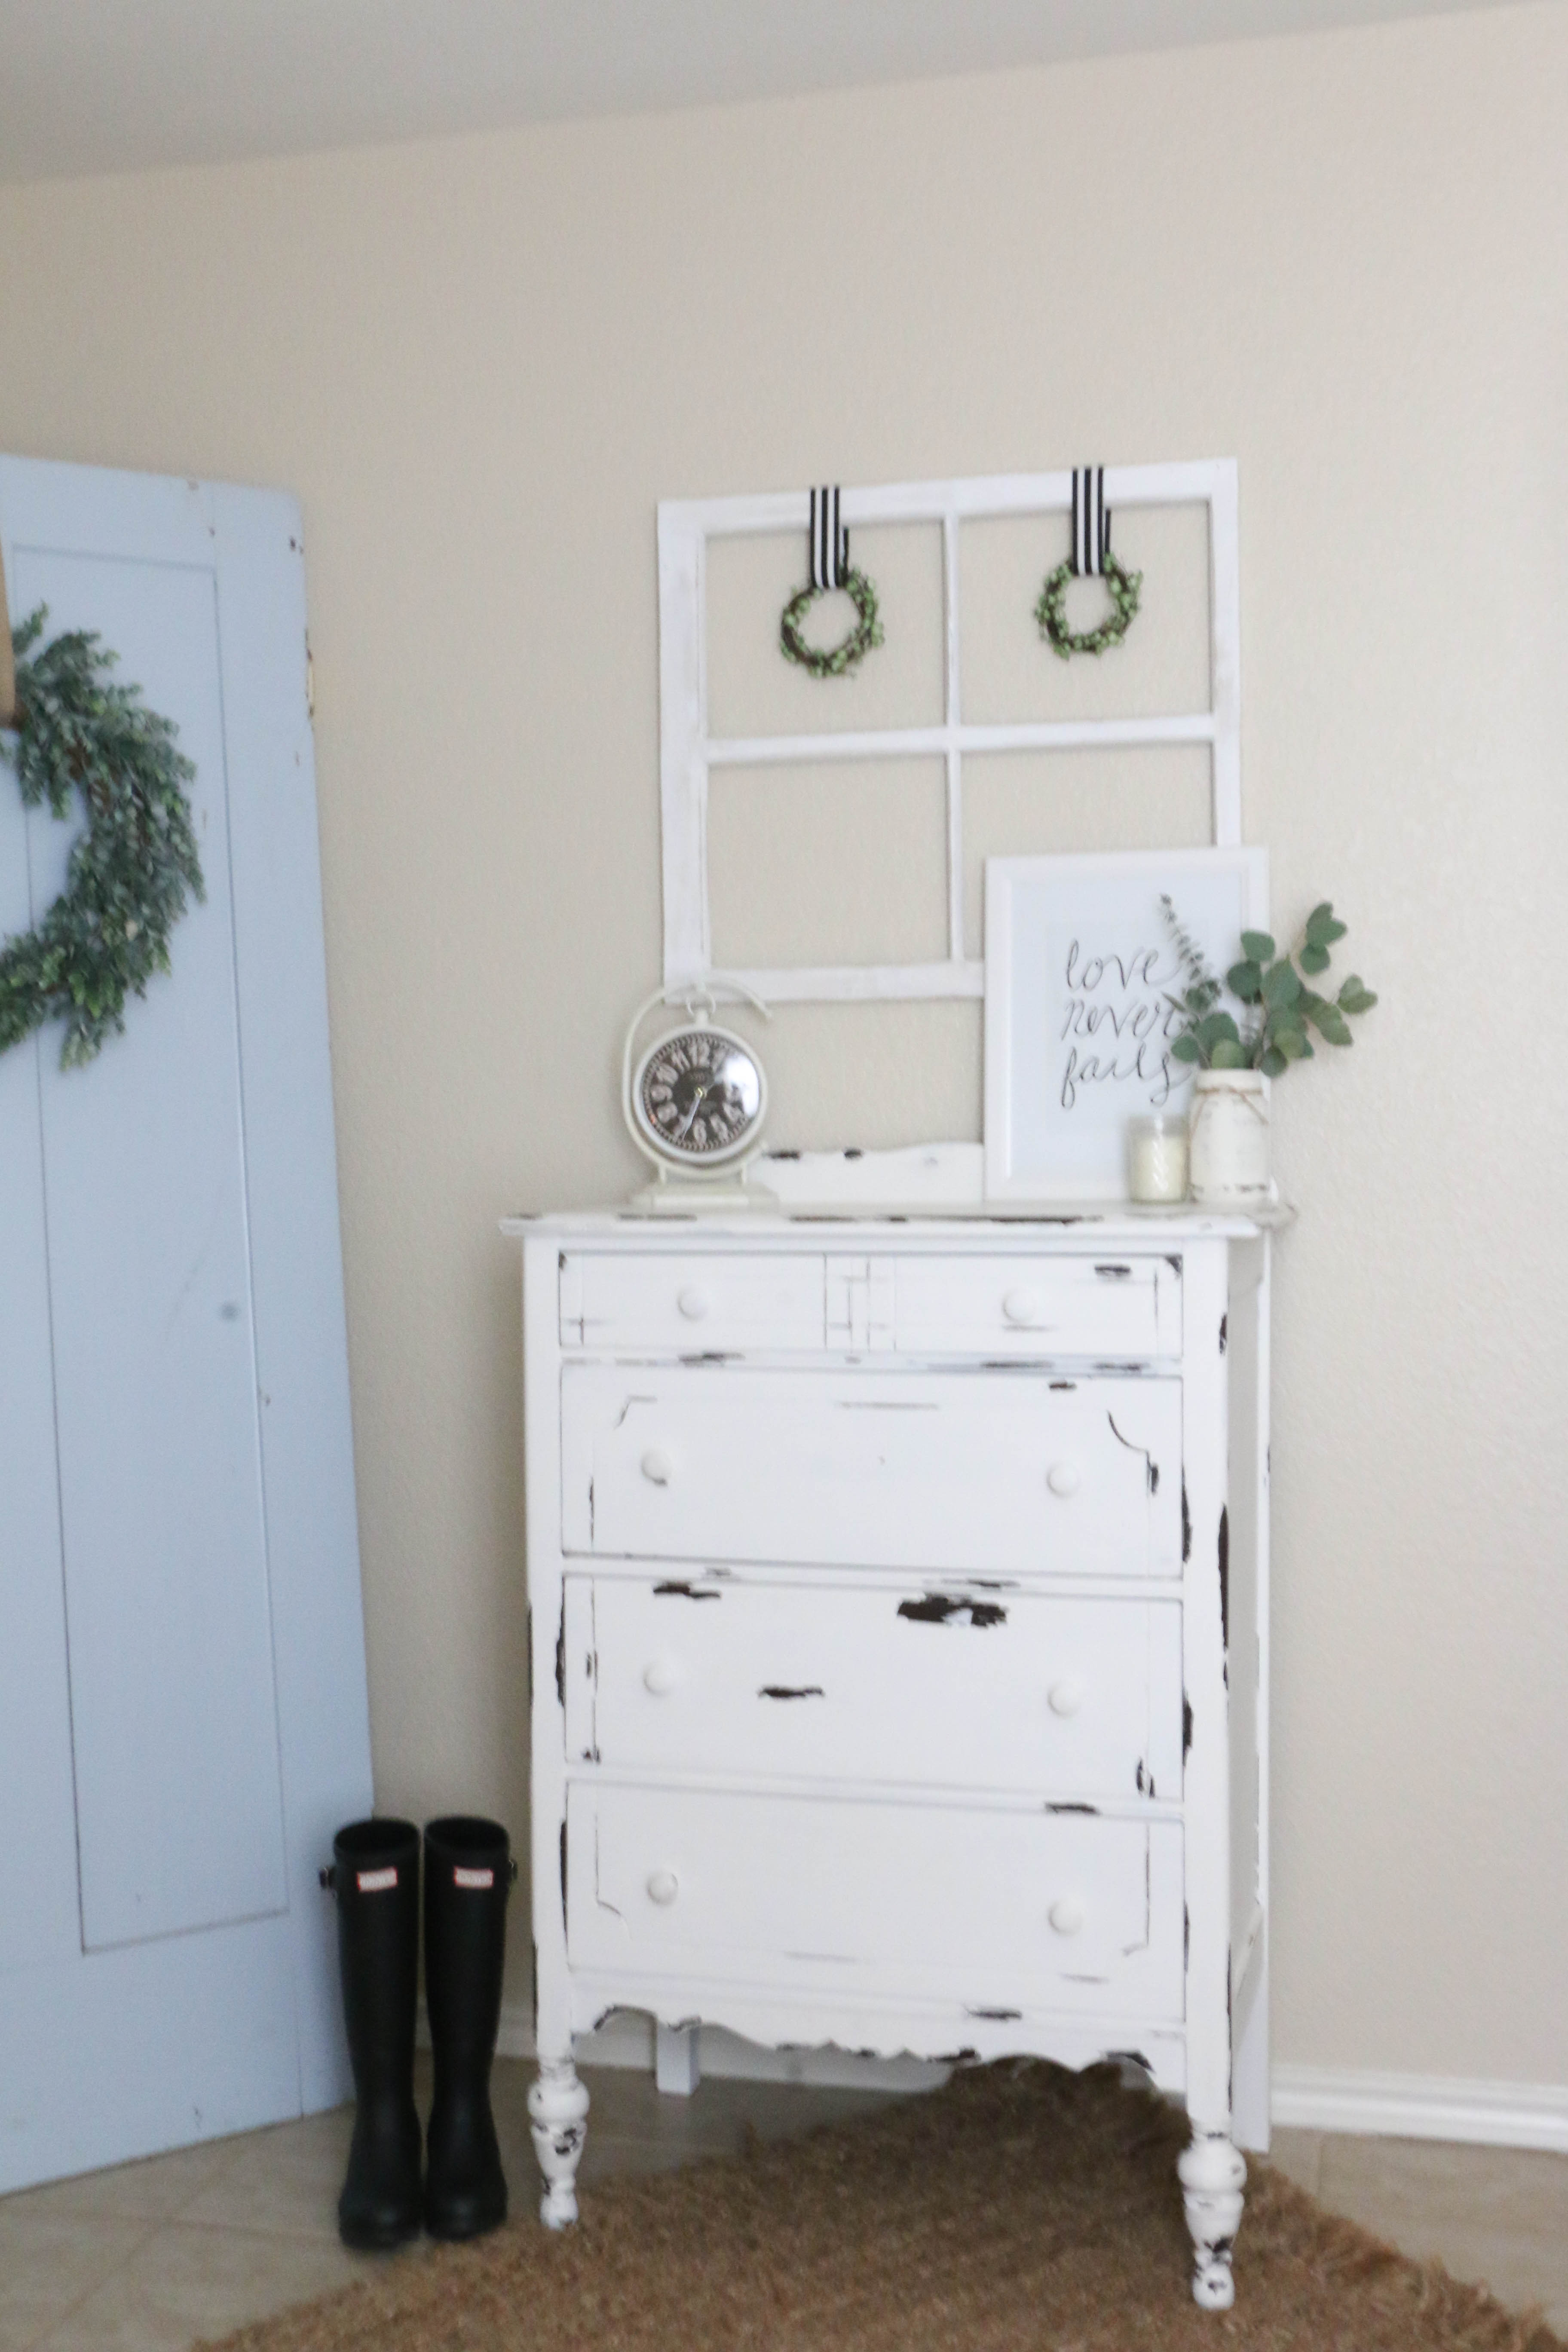
One of the projects that I finished up this week was this little antique dresser. I snagged this dresser up from a friend who was selling it at her garage sale. I saw it and knew I had to have it! And because I am the worst at taking before pictures, you’ll just have to use your imagination. It was just plain brown and missing a few handles.

Well, I painted her up, and here she is in all her antique farmhouse style glory:

Okay, so with this project, I tried something new. I knew I wanted it to be super distressed, and rather than use my sander, I wanted to try the Vaseline trick that furniture painters everywhere have been talking about. So I applied Vaseline all on the edges of the dresser. (Basically where you see distressing is where I applied.) I found that it was easiest just to use my finger rather than messing with a paint brush.

After I applied my Vaseline, it was time for paint. I used Palais White by Behr in a flat finish. I painted everything evenly, including the areas that where I had used Vaseline. Now here’s where it gets tricky. My dresser needed two coats. Being the impatient person that I am, I could not wait to see the effects of the Vaseline after the first coat of paint. So, I began rubbing the areas with a rag. This was a dumb idea because I still had to paint a second coat.

The paint will not adhere to the Vaseline, and it basically makes a crackly looking paste in the areas where the Vaseline was applied. If you have to paint two coats, do not remove the Vaseline until finished with both coats. That was my biggest mistake. The technique worked well enough, but I had to reapply Vaseline so I could do my second coat.

Personally, I think I would rather just take my sander to the project afterward, but it’s good to try new things. Plus that’s mostly because of my own impatience.

After I finished the painting, I topped it with Annie Sloan clear wax to give it a protective finish. The wax is technically used for chalk paint, and I previously had only ever used it on chalk paint, but because flat paint is pretty porous, I figured I’d give it a try, and it worked pretty well!

I just love this cute little dresser, and it matches my light and bright farmhouse style perfectly! But alas, I won’t be keeping this one. She will be heading with me to my spring shows (which I will be keeping you posted about more soon, but the first one will be the Vintage Market Days in Glen Rose Texas in March. So that’s good news for you, because this cutie could be yours!

So, have you ever tried using Vaseline to distress painted furniture? I’d love to hear about your experience! Don’t forget you can find me on Instagram and Facebook for more behind the scenes fun of my day to day life! Well friends, that’s all for today. Have a fabulous day!

DIY Projects

Antique Window Project

Hi you guys! I’m so glad you stopped by today! This week is flying by, and it’s hard to believe that Easter is just a few days away! Despite the weird highs and lows that we’ve seen in the tempurature the last few weeks, I’m so glad that spring is officially here!

I wanted to share with you guys a fun project I completed this week, which I think is in perfect timing for the upcoming Easter holiday. A few weeks back, I was roaming around my favorite flea market (why does it seem like half of my posts start with that sentence?), and I found  this super old, really pretty hymnal. It was way older than me, but it was still super nostalgic, because I grew up singing hymns from a hymnal. I grabbed it for five dollars, and I immediately had this project in mind.

I went through the book and found some familiar songs and cut those pages out. I know you may say that by doing that, I’m not respecting the integrity of the hymnal, but I think that I will enjoy what I’ve done with it far more than anyone else was going to use the hymnal for. If that even makes sense. I carefully sliced the pages I wanted with an X-Acto knife to be sure I had a clean cut.

Then I used scotch tape (very teeny tiny pieces) to tape the pages I had cut out onto the panes of an antique window I had. The window was something I already had, it was hanging on the wall previously with nothing on it. So here’s what I came up with: HymnalWindow5

Each hymn is a title that I’m familiar with, and each one is a sweet reminder of His love and all that He has done thoughout our lives. If you look super closely, you can see the tape, but I didn’t want to use another method that would either damage the pages or make it so that I was unable to recreate something using these materials.

I placed it above our bed, and I absolutely adore it.

HymnalWindow4

HymnalWindow1

HymnalWindow3

I really think it just adds a thoughtful touch to the decor in here. Really, what’s the point in putting together a home if it isn not meaningful? I’m already thinking of other projects I can do with the rest of the hymnal pages, seeing as how I’ve barely used a few.

There are Chrsitmas carols and classic American choruses, so the seasonal possibilities with this little hymnal are pretty endless. Plus, there’s just something about the yellowed pages of sheet music that is just beautiful. I seriously can’t get enough.  Can you tell I’m excited about this one?

What do you think of this project? It’s such an easy thing, I don’t know if it can actually be considered a a project! I hope you enjoyed this little project, and that it insires you to do something meaningful with the decor in your own home! That’s all for today, friends. Have a fabulous day!

DIY Projects

Vintage Window Styling

Hello there! Thanks for stopping by and taking the time out of your day to read my very first blog post! The purpose of this blog is to document my journey of making our hideous  challenging rental place a home. I figured there’s no better way to start off than just diving right in!


It's been a fun day hitting up all the local antique stores. This aqua window frame is coming home with me! Can't wait to figure out what to do with it!

A few weeks back, I found a cute vintage window frame at an antique store.  I had just the spot in mind at the house, so it came home with me.

I love the color it was when I bought it, but it just wasn’t going to work with the colors I already have going on in my house, so it had to go. I sanded it all down, leaving it looking like this:

IMG_1065


I knew I was going to want it to look a little unfinished, so I didn’t worry about sanding too professionally. (But let’s be honest, I probably couldn’t sand like a professional even if I tried.) In this picture you can see my little indoor workspace trick: I use old wrapping paper as a dropcloth. Super easy, and super disposable. Anyway, I then painted the whole thing white, not worrying about looking too uniform. When it was dry, I lightly sanded the edges to give it a bit of a distressed look.

IMG_1083

I knew it needed a home above the bed in our guestroom.

WindowFrame1

Here’s a closeup of the frame. I used some ribbon I had from a previous project to hang these cute miniature wreaths from the top. I got three of those wreaths at a thrift store for a dollar, by the way.

WindowFrame3

I really love the way this little project turned out. It was quick and easy! Now if only I could figure out what to do about the headboard situation in this room. Another project for another day, I guess.

That’s it for today. Have a fabulous day, friends!