Browsing Tag

Tutorial

DIY Projects, Home Decor

DIY Scroll Wall Art

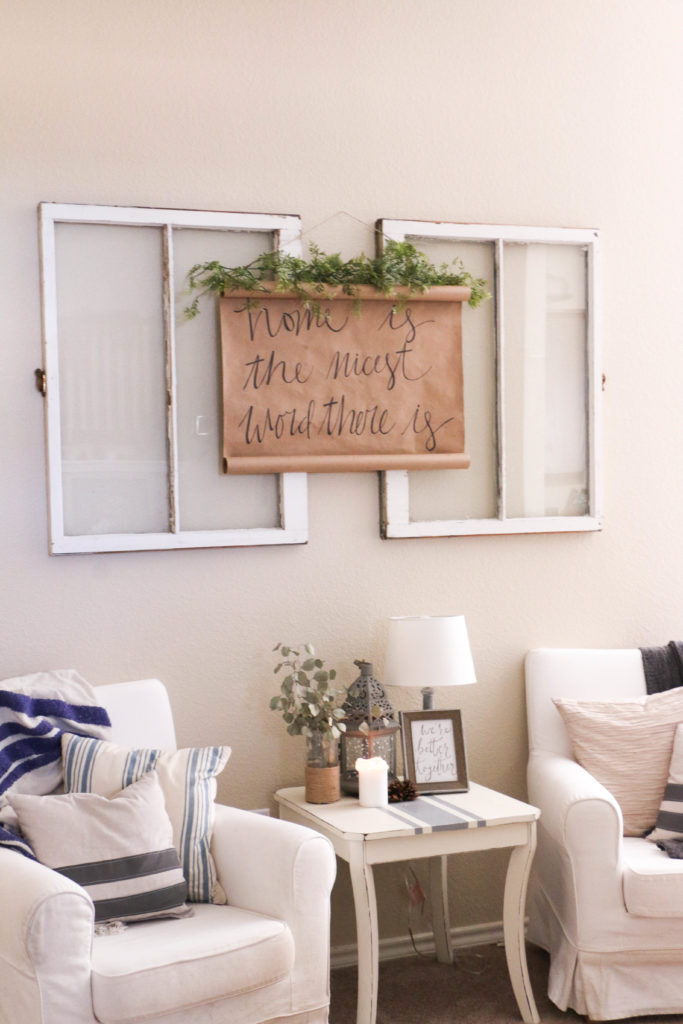
Hello, hello! I’m so glad you’re here! Today I’m sharing my favorite kind of project…a free one! (Cue all the praise hands emojis!) Lately, I’ve kind of been giving a certain area in my living room the side eye. As in, it was just driving me crazy and I knew it needed something, but I couldn’t figure out what.

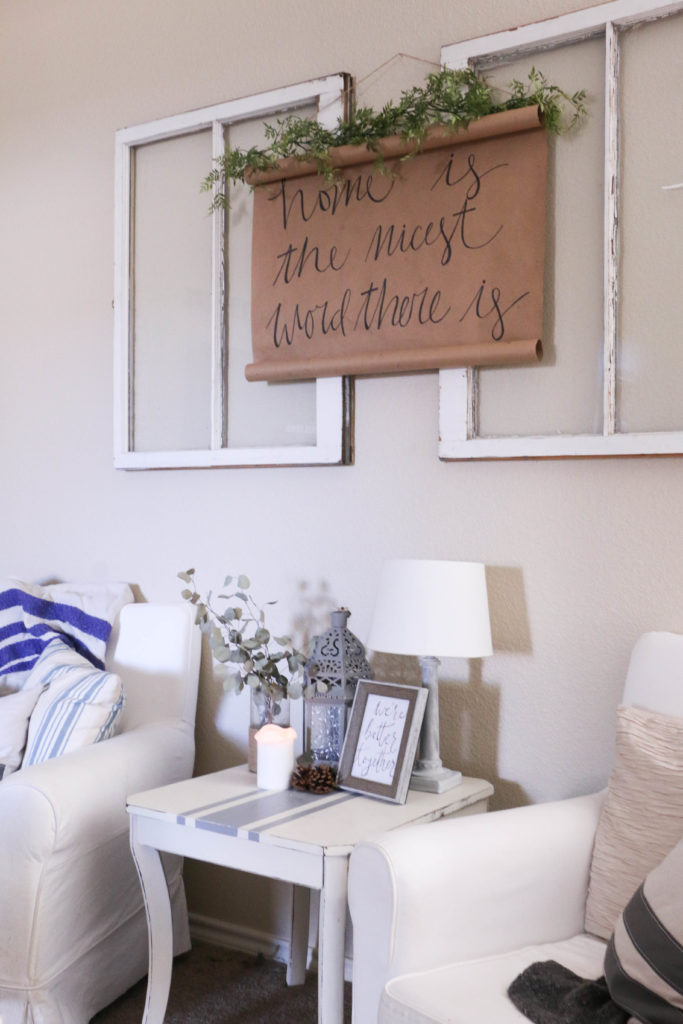
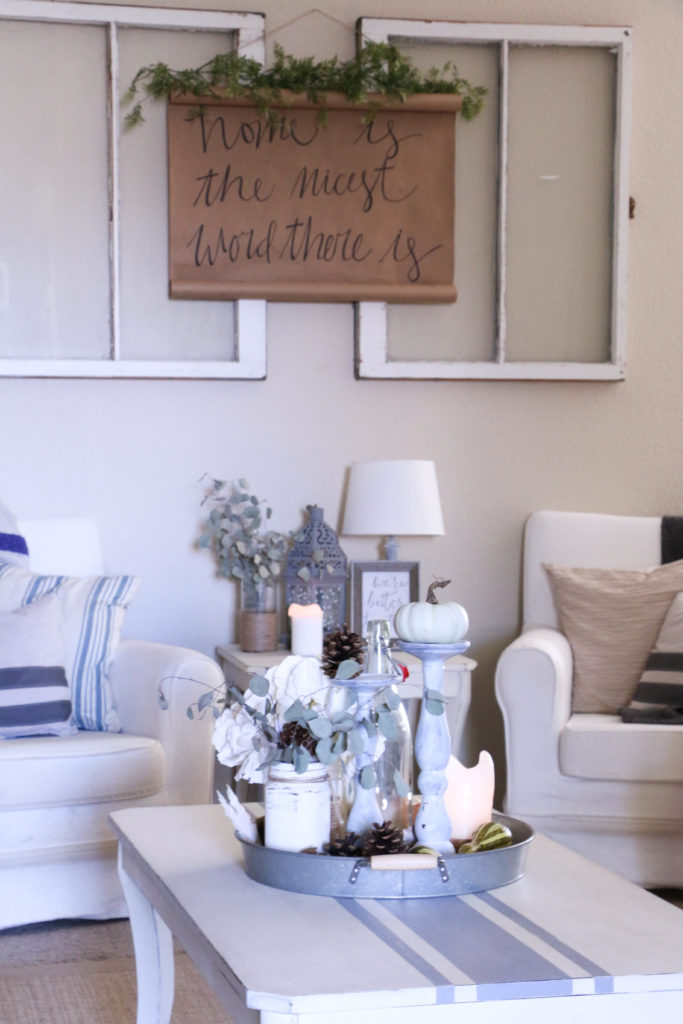
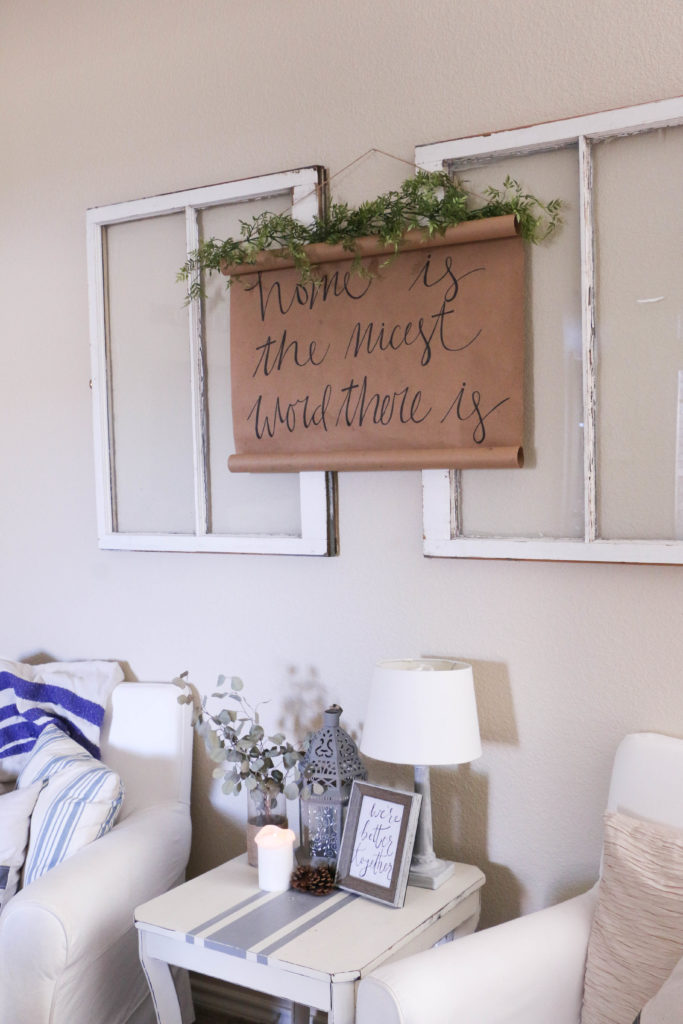
I had these windows hung when we first moved in, and last year after Christmas I hung a paper chain over it that was left from the tree. But it was just so plain it was driving me crazy! I’ve been seeing these cute hand written scrolls around etsy and Pinterest, and I thought I might try and make my own. All you need is some Kraft paper, a Sharpie, twine, and possibly some hot glue. Since I had all these items on hand, it seemed easy enough.

I cut the paper, and let it naturally roll at the top and bottom. I put a dab of hot glue on the corners to help it stay in place. Then I wrote one of my favorite quotes from one of my favorite childhood authors, Laura Ingalls Wilder. I’ve always loved the quote, Home is the nicest word there is, and so I figured it would be perfect for our living room.

I wrote with a Sharpie, and strung some twine through the top roll. It took me about twenty minutes total. I free hand wrote this, but if you’re unsure about your writing abilities, you could totally use a stencil!

I had some greenery on hand, so I added that to the top. I still think the sides need a little something, but that’ll come later. For now, this is what I have, and it was free, so I can’t complain.

Now, I will say, if I were to do this again, I would probably use different paper. I had Kraft shipping paper on hand, and that’s what I used, but it is very think, and so it was hard for it to lay flat where I wanted it. If I were to do it again, I think I would try the roll that comes from the painting section to protect edges of floors. It’s much thinner, and so I imagine it would lay flatter.

Even so, this worked out just fine, and I’m happy with this little project. It was easy, and it makes a statement, so it’s a win-win for me! I won’t bore you with more unnecessary details, so that’s it for today! Have a fabulous day, friends!

DIY Projects, Home Decor, Tutorials

Chalk Paint All the Things!

Hi there! Hope your day is going well! I’m here with a super easy project today that can’t even really be considered a project. It’s something that is seemingly obvious, but I had never thought to do, so maybe you haven’t either. I don’t know. Anyway, y’all know I love chalk paint. I use it all the time on my projects for both my house and my pop-up shows.

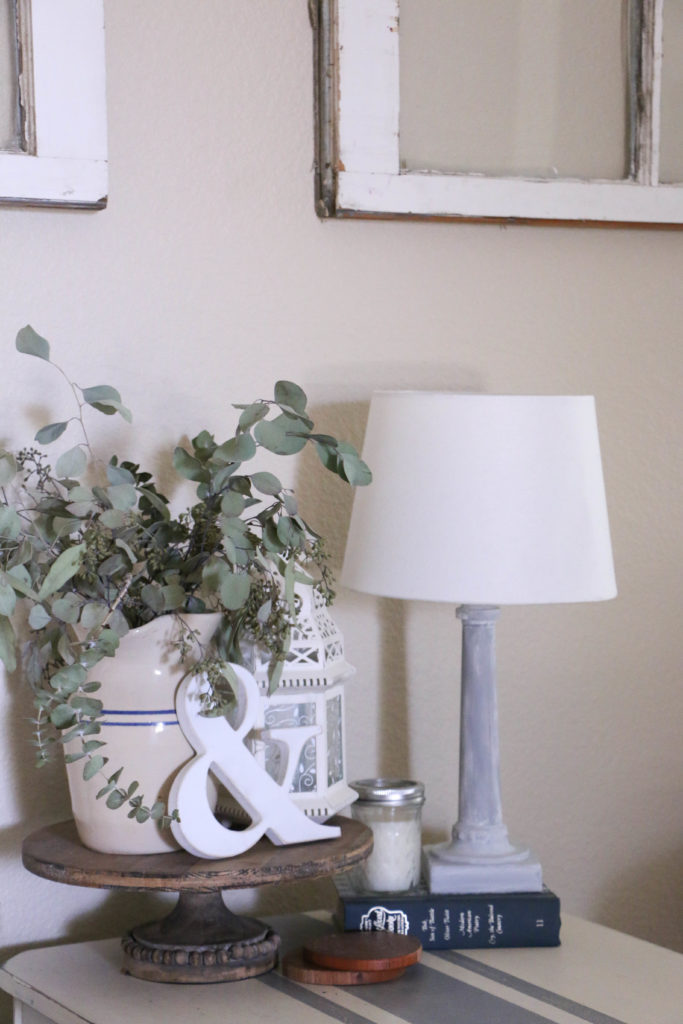
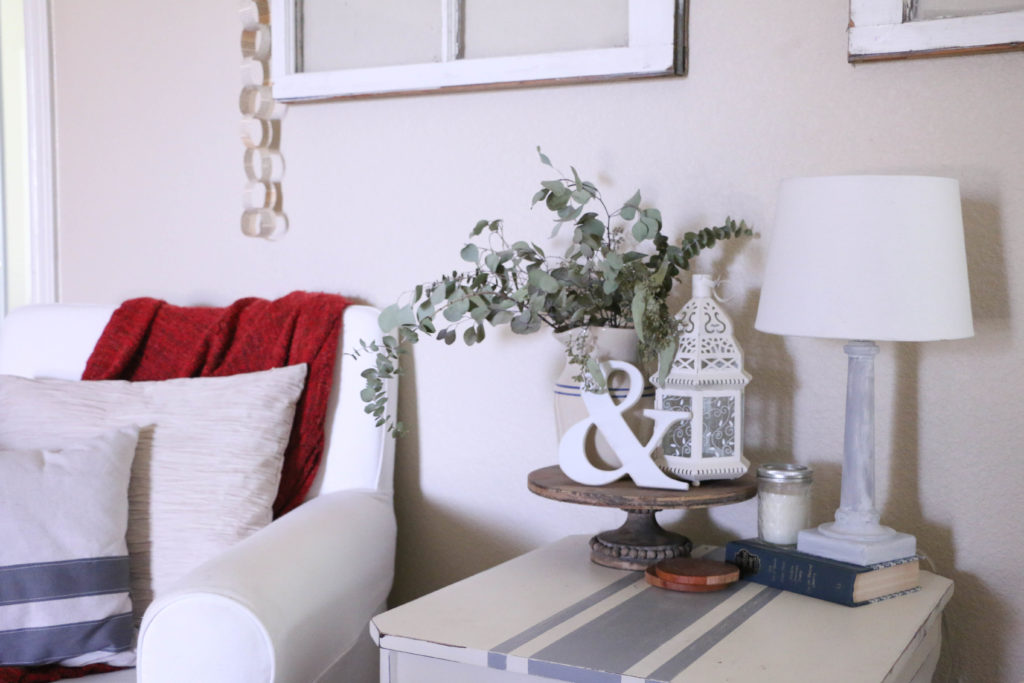
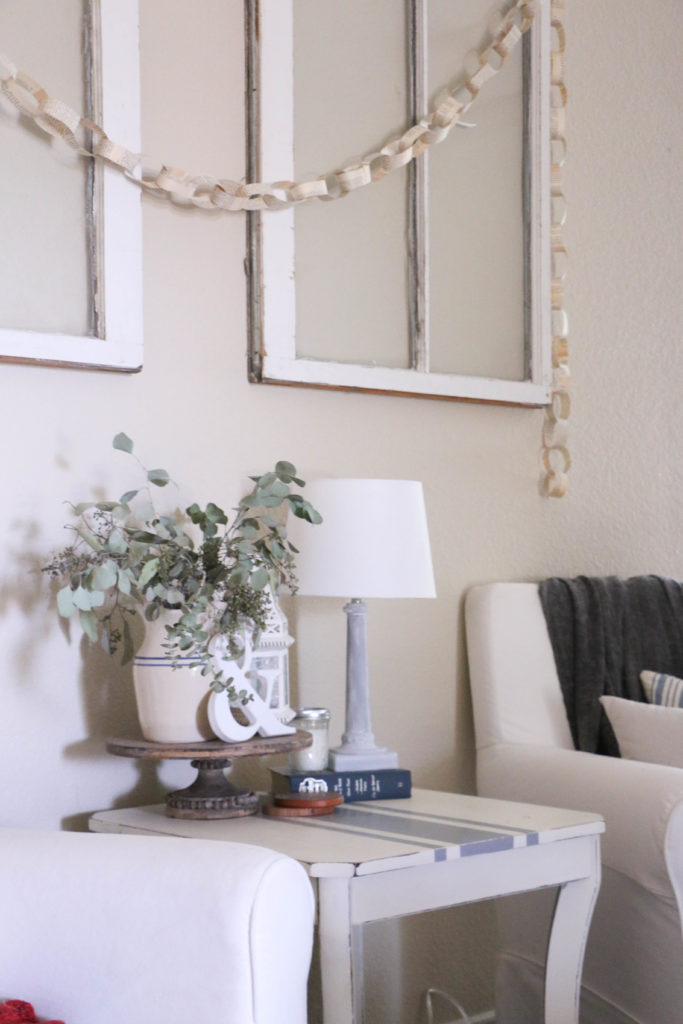
I have used it on a variety of items, but never lamps. I had these lamps that were out of commission from our bedroom. You can see the corner of it here in this photo. They were from our wedding registry, when I didn’t know what I liked or what I was doing. So they didn’t really mesh with my style anymore, now that I feel like I have an established theme in our home.

So while I replaced these lamps, they were still perfectly good lamps, and I wanted to see if there was something I could do to make them fit into my style a bit more. So, I used my trusty old chalk paint and went to work! Like I said, this isn’t really a tutorial or anything, because it’s seriously the world’s easiest DIY. I just slapped some paint on it and called it a day.

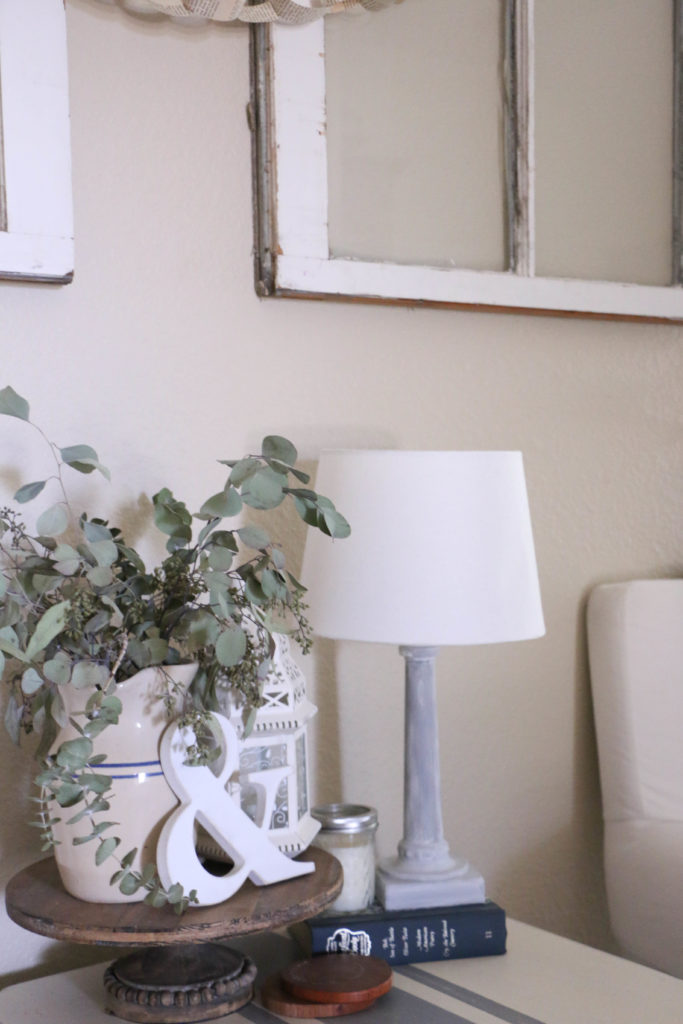
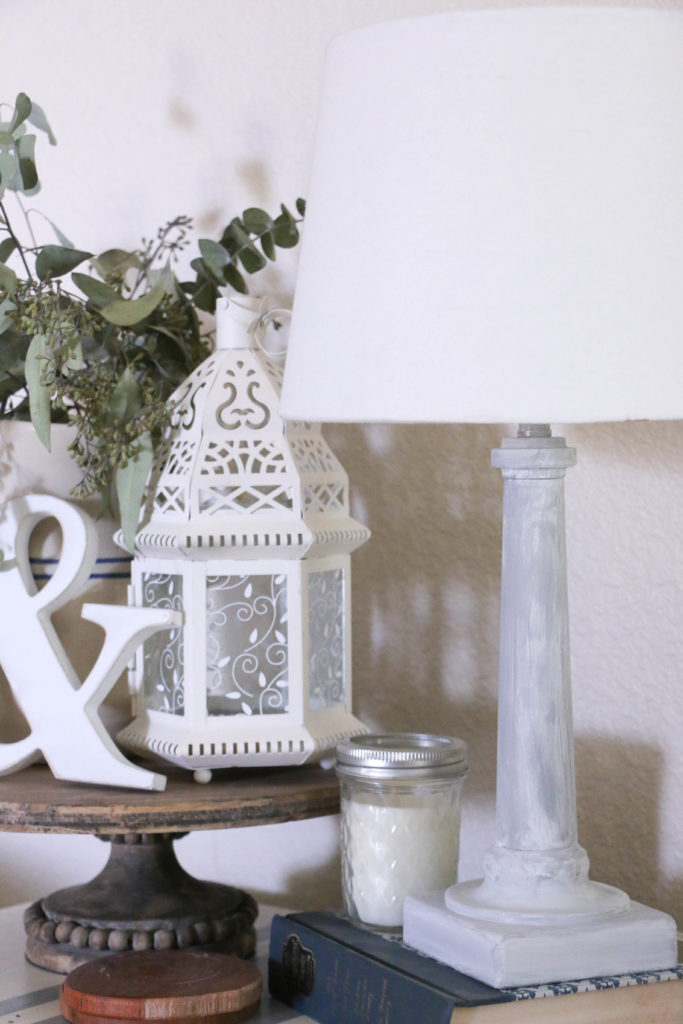
I used my own homemade chalk paint, so I don’t have an exact color match to show you, but I used a white, and then added some gray on top to give it a little more dimension.

I think it gives the lamp just the right touch to take away that builder-grade base we were working with.

It makes it a little more subtle and farmhouse-y. I moved one into the living room, and the other went over to my booth at Farmhouse in Downtown Waxahachie, TX. I should have tried this a long time ago; I’ve spent so long wanting to replace them that I missed a perfectly good opportunity to relove them! Waste not, want not, right?

So in case you were wondering, chalk paint works on all kinds of things! Don’t be afraid to slap a coat on to something that needs a little love. It’s not just for furniture!

Anyway. That’s pretty much it. Have you ever chalk painted anything in particular? How did it go? I’d love to hear about it in the comments below. Well, that’s all for today, friends. Have a fabulous day!

DIY Projects, Furniture Makeover

DIY Antique Farmhouse Dresser

Hello friends! Happy Monday! Today is good day for a good day, am I right? I’ve been super busy lately with projects and it is a wonderful feeling! Last weekend Ethan and I cleared out our garage, which gave me plenty of room to work. We organized all my materials, and made a place for everything.

It used to be super full and I barely had room to work on anything, but now that it’s all clean, I’ve been super inspired to work on projects in there. It feels like I can finally breathe!

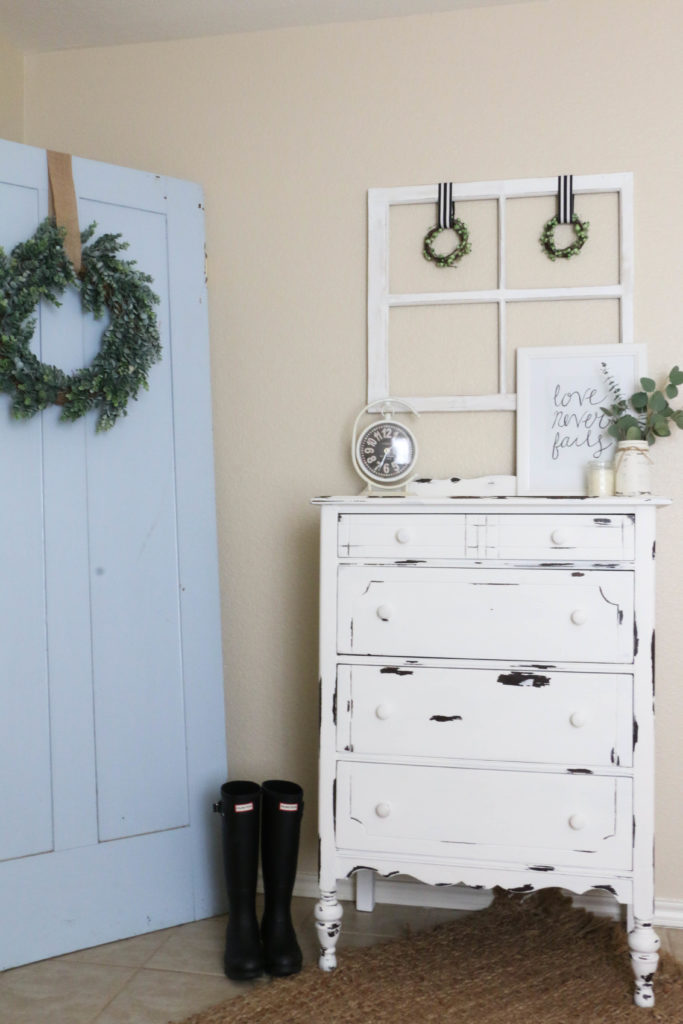
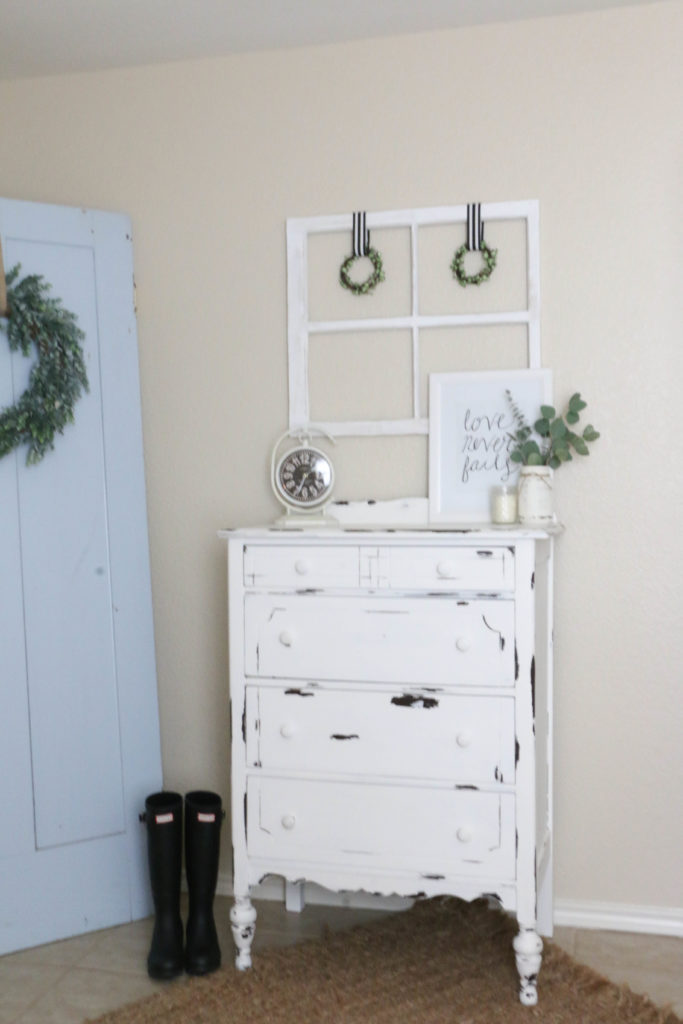
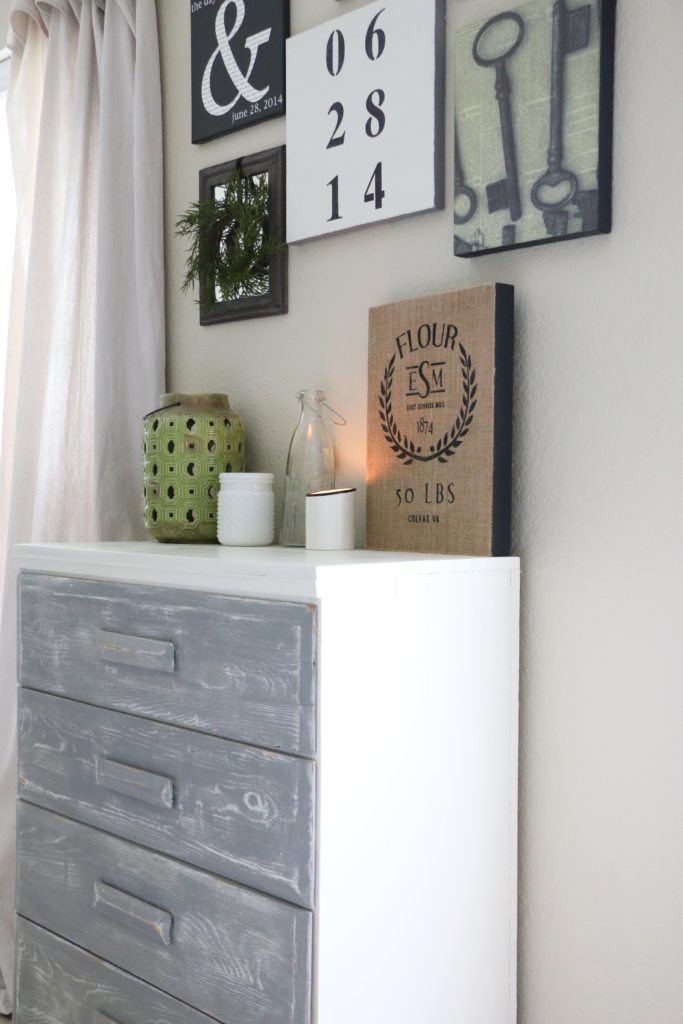
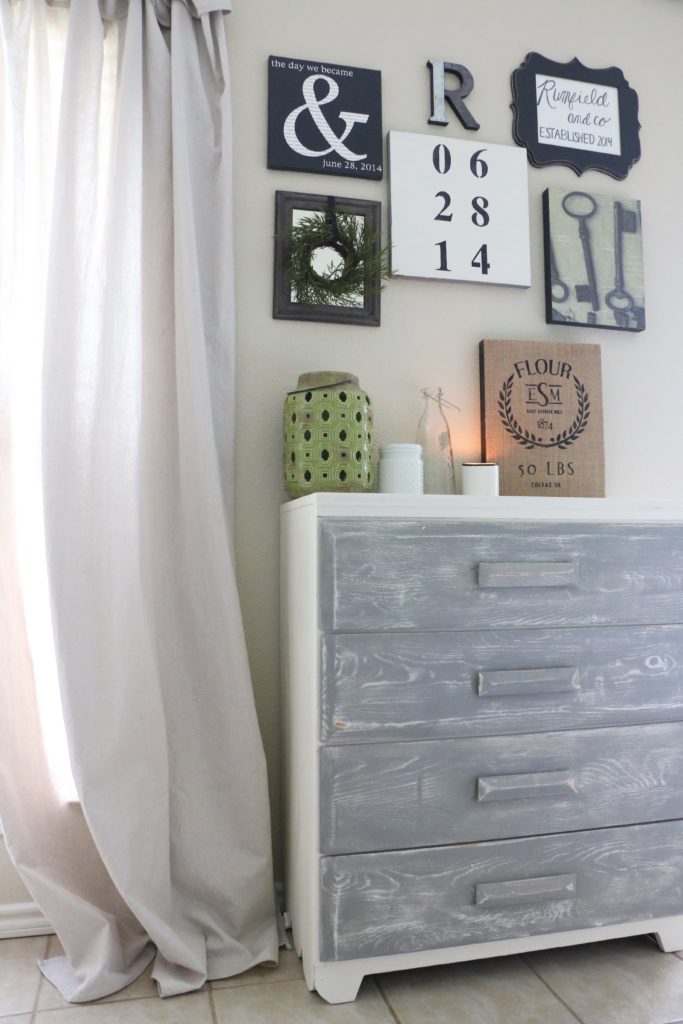
One of the projects that I finished up this week was this little antique dresser. I snagged this dresser up from a friend who was selling it at her garage sale. I saw it and knew I had to have it! And because I am the worst at taking before pictures, you’ll just have to use your imagination. It was just plain brown and missing a few handles.

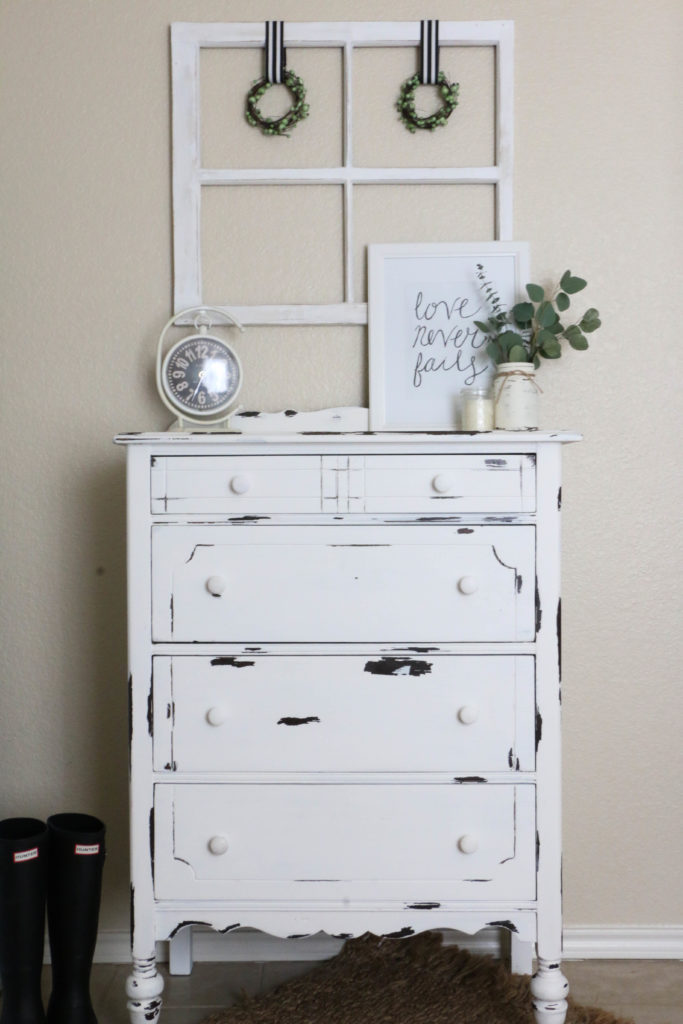
Well, I painted her up, and here she is in all her antique farmhouse style glory:

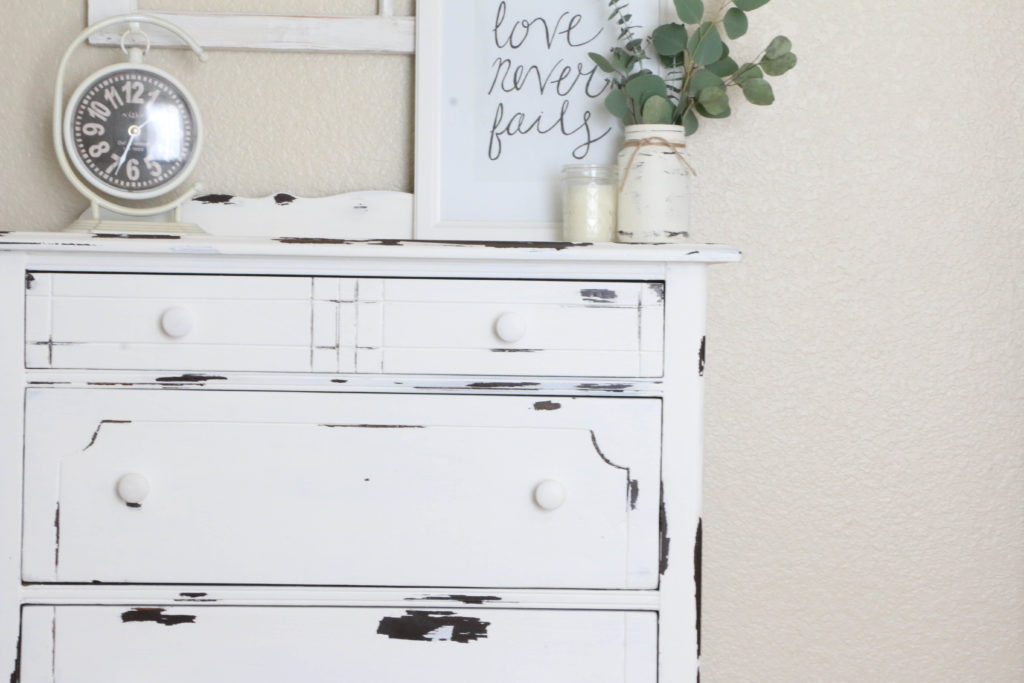
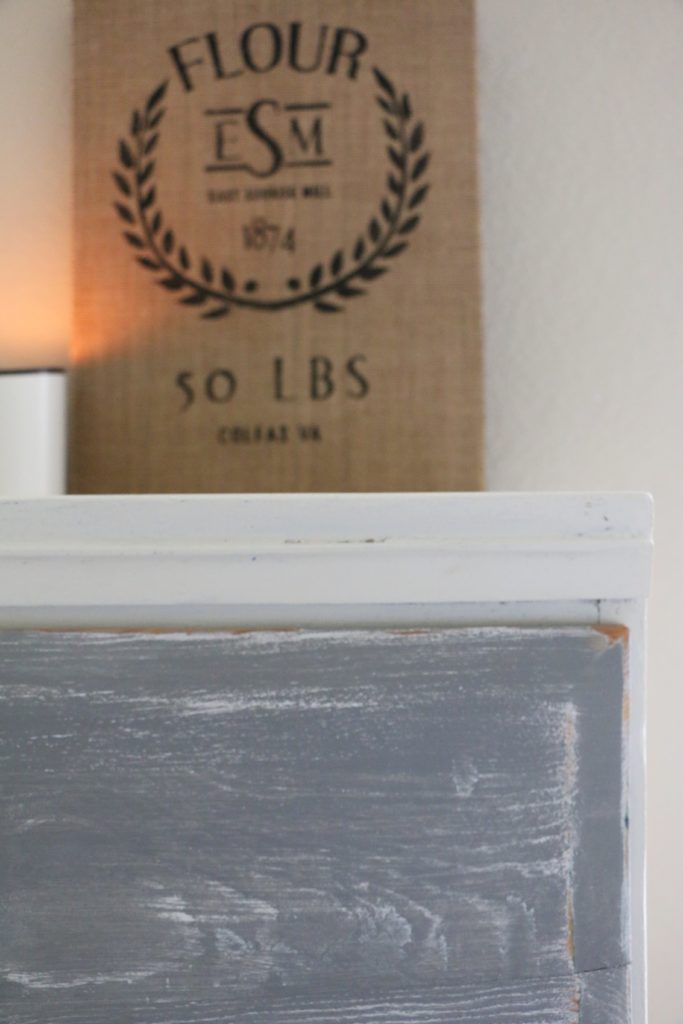
Okay, so with this project, I tried something new. I knew I wanted it to be super distressed, and rather than use my sander, I wanted to try the Vaseline trick that furniture painters everywhere have been talking about. So I applied Vaseline all on the edges of the dresser. (Basically where you see distressing is where I applied.) I found that it was easiest just to use my finger rather than messing with a paint brush.

After I applied my Vaseline, it was time for paint. I used Palais White by Behr in a flat finish. I painted everything evenly, including the areas that where I had used Vaseline. Now here’s where it gets tricky. My dresser needed two coats. Being the impatient person that I am, I could not wait to see the effects of the Vaseline after the first coat of paint. So, I began rubbing the areas with a rag. This was a dumb idea because I still had to paint a second coat.

The paint will not adhere to the Vaseline, and it basically makes a crackly looking paste in the areas where the Vaseline was applied. If you have to paint two coats, do not remove the Vaseline until finished with both coats. That was my biggest mistake. The technique worked well enough, but I had to reapply Vaseline so I could do my second coat.

Personally, I think I would rather just take my sander to the project afterward, but it’s good to try new things. Plus that’s mostly because of my own impatience.

After I finished the painting, I topped it with Annie Sloan clear wax to give it a protective finish. The wax is technically used for chalk paint, and I previously had only ever used it on chalk paint, but because flat paint is pretty porous, I figured I’d give it a try, and it worked pretty well!

I just love this cute little dresser, and it matches my light and bright farmhouse style perfectly! But alas, I won’t be keeping this one. She will be heading with me to my spring shows (which I will be keeping you posted about more soon, but the first one will be the Vintage Market Days in Glen Rose Texas in March. So that’s good news for you, because this cutie could be yours!

So, have you ever tried using Vaseline to distress painted furniture? I’d love to hear about your experience! Don’t forget you can find me on Instagram and Facebook for more behind the scenes fun of my day to day life! Well friends, that’s all for today. Have a fabulous day!

DIY Projects, Tutorials

What I’ve Learned Finishing Furniture

Hello all! I hope your week is off to a great start! I’ve been busy busy busy with school starting a few weeks back, but now I’m ready to get into the routine of school being in full swing and I’m ready to start thinking fall!

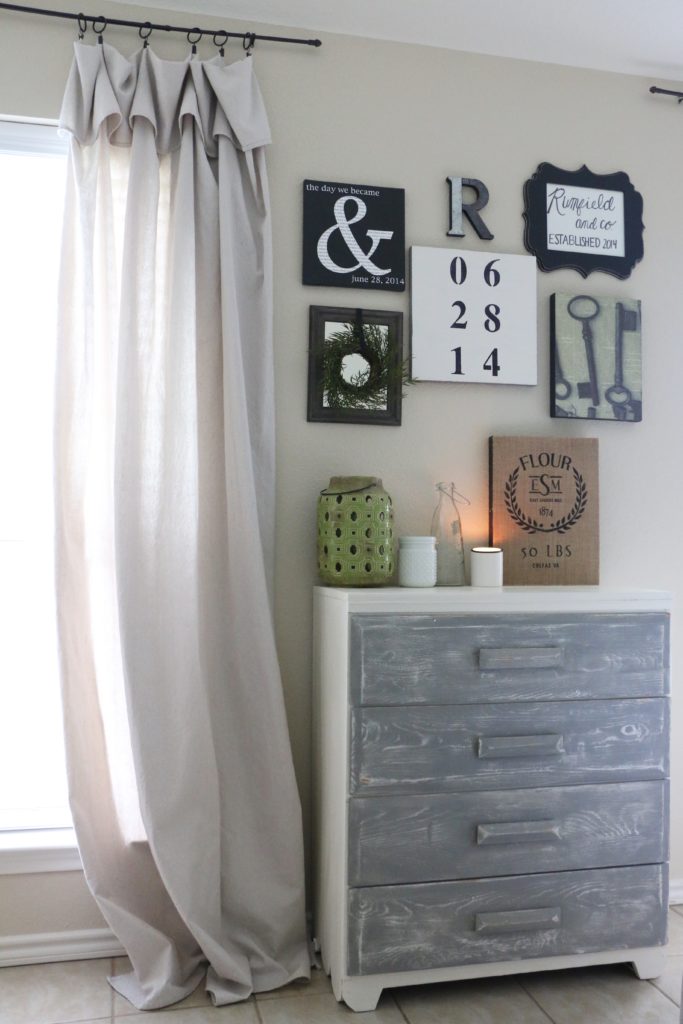
I’ve been out in my garage working away on tons of projects out in the garage, and if you follow along on Instagram, you might have seen the early stages of this dresser I’m about to show y’all on my IG Story. This dresser turned out even cuter than I thought it might, and so I wanted to share with you guys some of the process and tips I use, now that I have more than a project or two under my belt.

graydresser1

Okay, so this is how this little guy turned out. So cute, right? I didn’t take a picture when I first started, because I’m so forgetful when it comes to that kind of stuff, but it was dark green. Like 90’s dark green. Gross.

The first thing I did was strip all the paint off the dresser. Using a good paint stripper is not for the faint of heart, since it smells, and I burnt my arms a couple of times, but it is essential in removing old paint more quickly.

What I couldn’t take off with the paint stripper, I took my sander to. This took a while, but prepping the entire thing helps the end result. Once I finished sanding, I wiped the entire thing down with Mineral Spirits to clean it off.

graydresser4

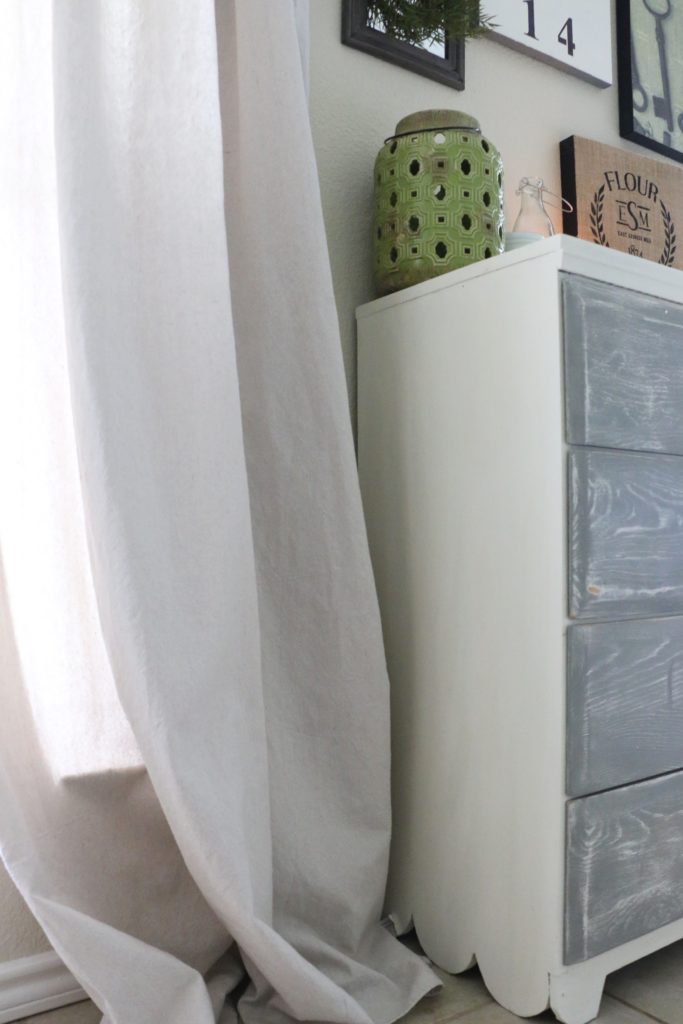
See those cute little scallops on the bottom? Adorable. Anyway, once it was all clean, I primed the entire thing. Even though chalk paint claims to be prep-free, I have found that it saves paint to prime first, as well as makes it last longer. After I primed, I sanded everything down with a 220 grit sandpaper. This is super fine, and eliminates brush strokes. I do it super lightly and super quickly to make sure I don’t sand off the primer completely.

graydresser5

I painted the frame with Annie Sloan Old White, and the drawers with a local handmade chalk paint (sorry I don’t have the color for it). I lightly sanded everything down again, and on the drawers, I sanded a bit longer to expose some of the primer. That happened kind of accidentally, but I ended up loving it!

graydresser2

Here’s a closeup of how the drawers turned out. I love them! After I finished painting, I gave everything a coat of Annie Sloan Clear Wax. This sweet little dresser was a super fun project, and it turned out even better than I imagined.

graydresser3

Now, this piece won’t be staying with me. I’ve been working hard gathering materials and working on projects like this one because I am going to be a vendor at the upcoming Vintage Market Days! I love this event so much, and this will be my first time as a vendor! Here’s a link directly to the Facebook event. It’s in Waxahachie, which is just south of Dallas. If you’re going to be in the Dallas – Fort Worth area that weekend, you’ll have to stop by. This event is going to be amazing, and if you’re in the area, I would love to meet you! This dresser and many others will be headed to my booth, and I cannot wait to show y’all more!

That’s all for today friends! Have a fabulous day!

DIY Projects

How I Fake Calligraphy

Hey guys! Hope you’re having a great day! I just got in from mowing the lawn (yuck). It’s hot and sticky outside, and I’m pretty sure my outdoor quotient has been met for the day. Now that Memorial Day has passed, summer is here, and that means BBQ and fireflies and porch sitting and bringing a little red white and blue into the home.  Yesterday I took out a few patriotic decor items out of the closet, and I put a few things together. I made a little hand-lettered print, and I realized it’s totally something I should share!

Now, a little background. It seems like everyone is on this hand-lettered kick in decorating, and I’m all about it. I have seen some really beautiful calligraphy around, and I just don’t have that sort of talent. I’ve never taken a class or anything, I really would not consider myself someone who actually knows something about the matter. I do, however, love creating little prints for our house. It’s basically free art, and there’s no way I’m not getting on that train!

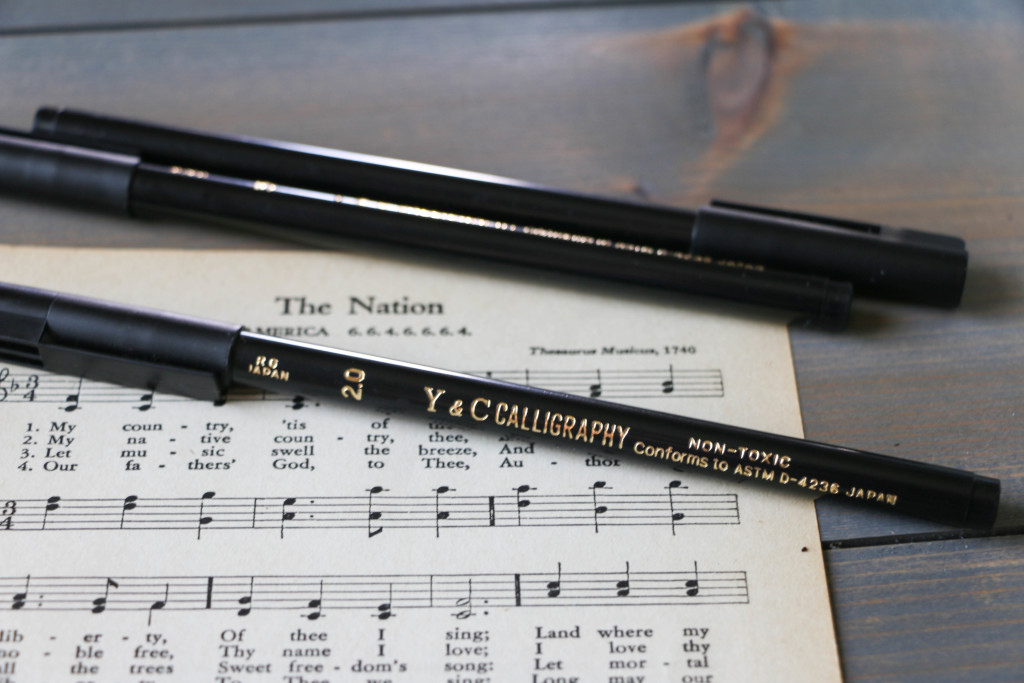
So here’s how I, someone who is totally not an expert, create simple hand-lettered pieces from my home. I bought a multi-pack of pens from Hobby Lobby. I don’t see them listed online, but it was a three pack of square tip pens in various sizes. Are they good? They work for me, and that’s good enough.

Calligraphy1

You may still be able to find this pen in the store, and with their 40% off coupon, it only cost me a few dollars.

calligraphy2

This pen has a square tip, which is pretty much the secret to creating pretty writing.

calligraphy3

When I’m writing something, I use a normal cursive font, the same that I would write with using a normal pen. The trick to using these calligraphy pens is holding them at about a 45 degree angle. It took me a little while to get used to holding the pens correctly without moving them.

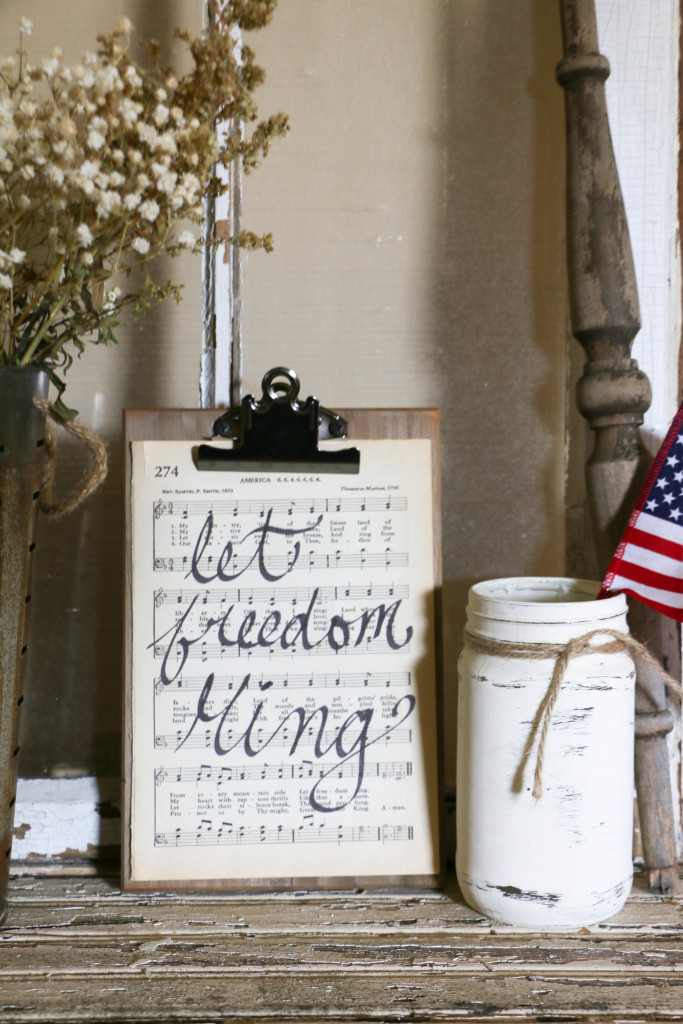
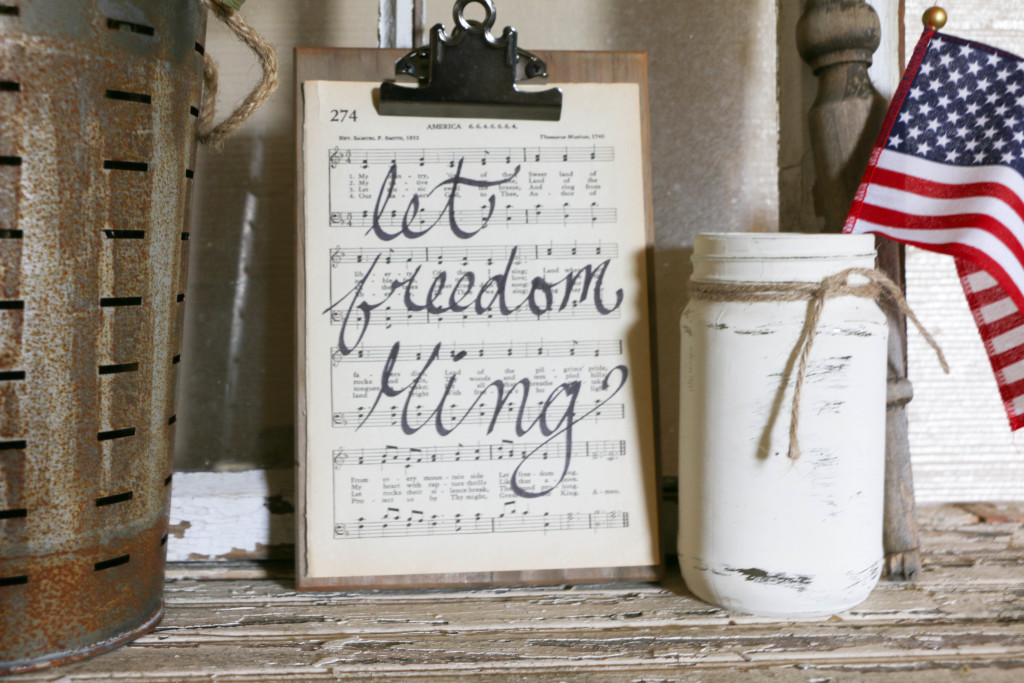
For this little print, I used a page from my old hymnal, the page with My Country Tis of Thee on it. Perfect for the upcoming Fourth of July holiday. I printed a line from the song, and this is what I came up with:

calligraphy4 calligraphy5

Easy. (I think that might be my motto around here: do I do anything that’s not easy.) I have little prints around the house, and I love it because it’s so cheap and quick. And on the hymnal, I love it even more. It adds such a nostalgic touch for me. And the mini clipboard is from Hobby Lobby. I got it recently, and it’s perfect for switching out seasonal prints.

Have you ever tried hand-lettering? I promise, it’s much easier than it seems! Well, that’s all for today, friends. Have a fabulous day!

Home Decor

How to Make Grocery Store Flowers Look Expensive

Hi you guys! I’m so glad you stopped by today! I feel like I haven’t been able to consistently post for a while, but I have a ton of ideas for some upcoming posts that I’m super excited about! I was thinking about it the other day, and I realized that it was almost exactly one year ago today that I started this little blog and posted my very first post! Since then I have shared some really fun projects that I’m proud of, as well as a few personal pieces. In the next year, I want to continue to add more things here on the blog that encompass more things that I love, branching out a little bit from my main focus which has been DIY projects. I hope you don’t mind!

So today I wanted to share with you a recent hobby that I’ve taken on (which if you can’t tell by the title, is all about flower!). I’ve always loved florals, and when I grocery shop, I usually pick up an inexpensive bunch of flowers and stick them in a vase. For my wedding, I did my own flowers (which were admittedly pretty simple), and since then, I’ve been a little obsessed with floral design. Now, I am in absolutely no way any type of professional, nor do I even really know what I’m doing. All I know is that when I buy a four dollar bunch of flowers from the grocery store, it doesn’t look the same as the pretty floral arrangements I find on Pinterest.

With a little bit of fun experimentation, I’ve been able to figure out how to make the florals I buy at the grocery store a little bit more expensive looking (without the high florists’ price tag). Here’s what I do:

floralbuch1 floralbunch2

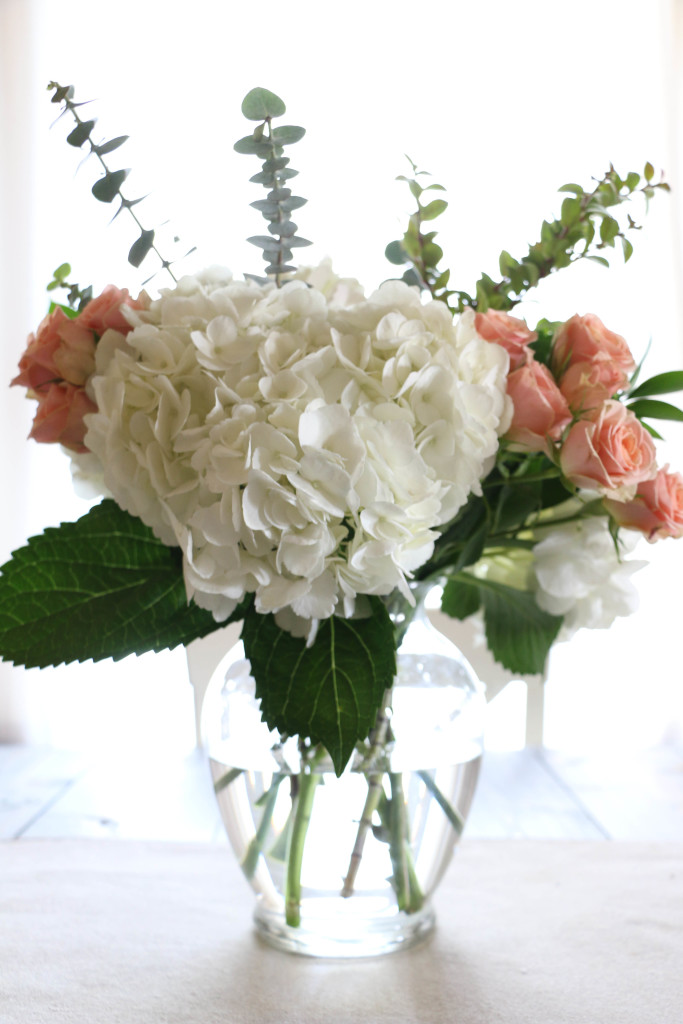
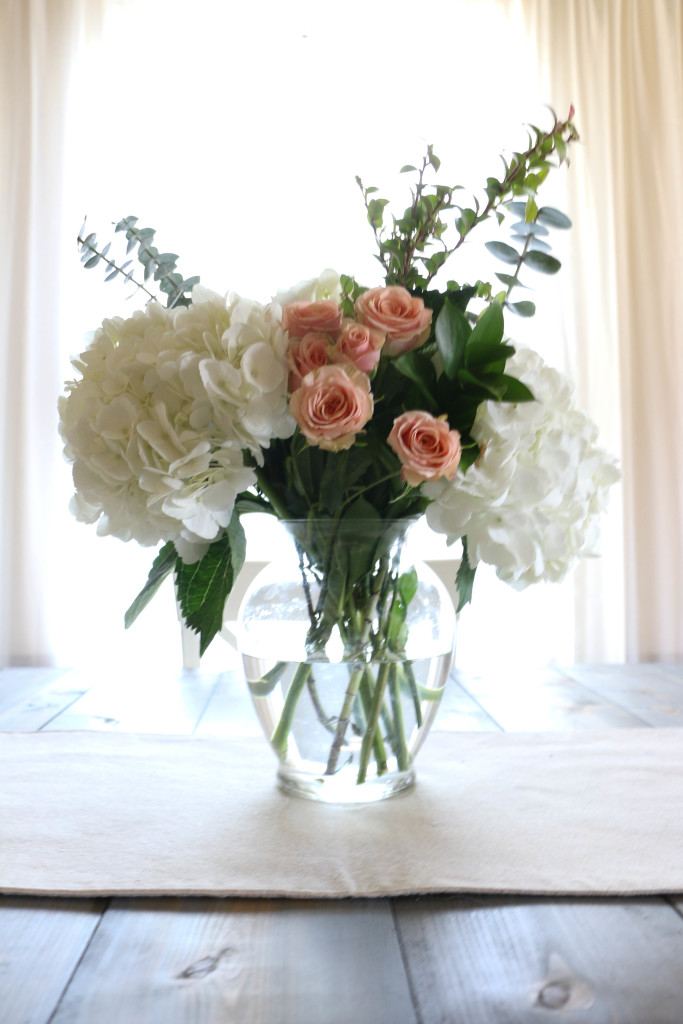
I purchased a few hydrangeas, a bunch of mini pink roses, and a bunch of greenery. I like the mini roses simply because they are much cheaper than the large ones. Most bunches of individual types of flowers at my grocery store are just a few dollars. I tend to stay away from the pre-made bouquets, because they can get procey pretty quickly.

I like to make a floral arrangement from one basic large flower type, one smaller flower type, and some greenery. This is just my personal opinion, and I’m sure someone who has some actual floral knowledge might cringe reading this, but it’s just what works for me.

So here’s what I came up with:

floralarrangement3floralarrangement5floralarrangement4 floralarrangement1

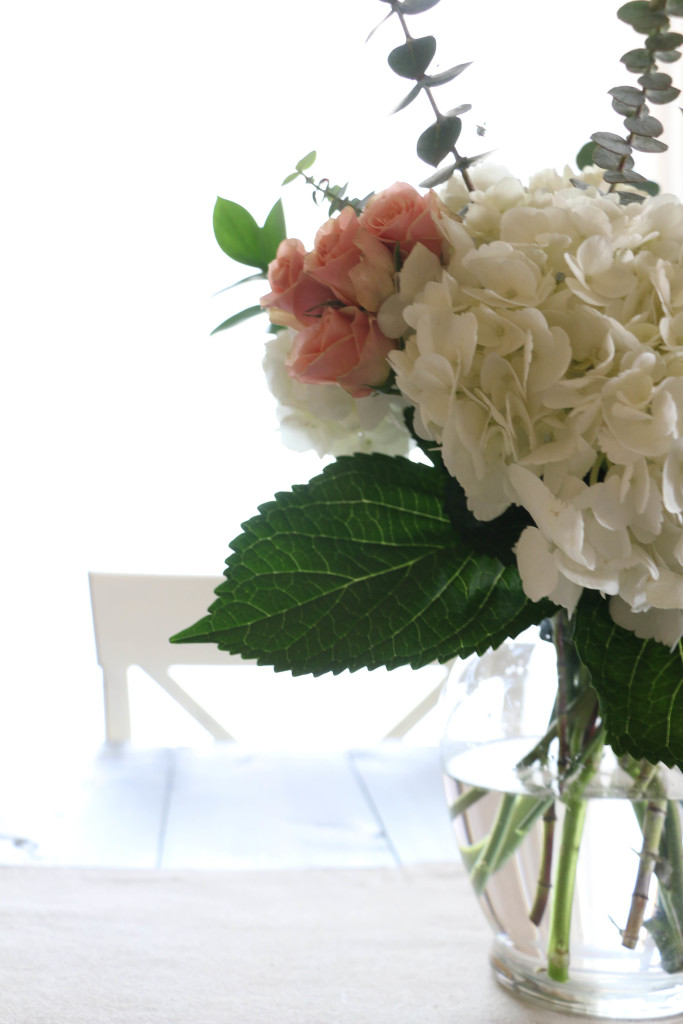
Like I said before, I have no experience with arranging florals other than just for fun, but boy is it fun! Keeping flowers in the house is a simple way to brighten the room, and I love the way this arrangement looks! For this arrangement, I placed the hydrangeas in the vase first, and then added small bunches of roses, followed by the sprigs of greenery. I usually just mess around with arranging it in different ways until I loke the way it looks. I don’t follow any proportion rules, but I think it looks pretty good (if I do say so myself, 😉 ).

How about you? Have you ever played around with florals? It sure is fun! I’d love to hear all about it! That’s all for today friends, have a fabulous day!

Capture

Organization

DIY Laundry Soap

Hello friends! I hope this week has been treating you well! Spring Break is winding down for me, and I am silently crying tears of regret after not having accomplished everything that I had planned. Just kidding. Sort of.

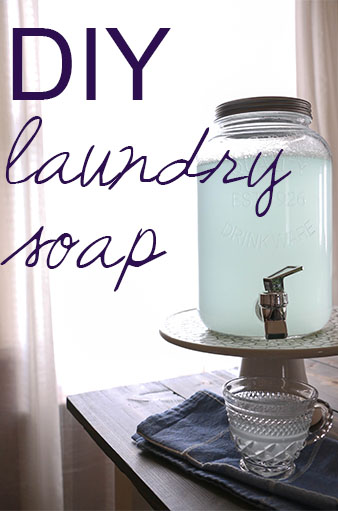
We did have a super fun and relaxing week of camping for a few nights, which was wonderful! Even though we were only about twenty minutes from home, it felt as though we were truly out of town. And it just feels good to get away! Coming home from camping, everything in our bags smelled like campfire smoke. Which is wonderful while you’re actually out, but once you come home, it’s not so great (in my opinion anyway). I had a bunch of laundry to do, and I realized it would be a great idea to share my homemade laundry detergent recipe with y’all.

DIYlaundrysoap2

I’ve been making my own laundry soap for about three years now, and I have not had to re-buy supplies since I first started. Talk about thrifty.

So here’s what you’ll need: 

3 Tablespoons of Washing Soda

3 Tablespoons of Borax

2 Tablespoons of Original Dawn Dish Soap

Any scent of essential oils (this part is totally optional)

Here are the (super simple) steps:

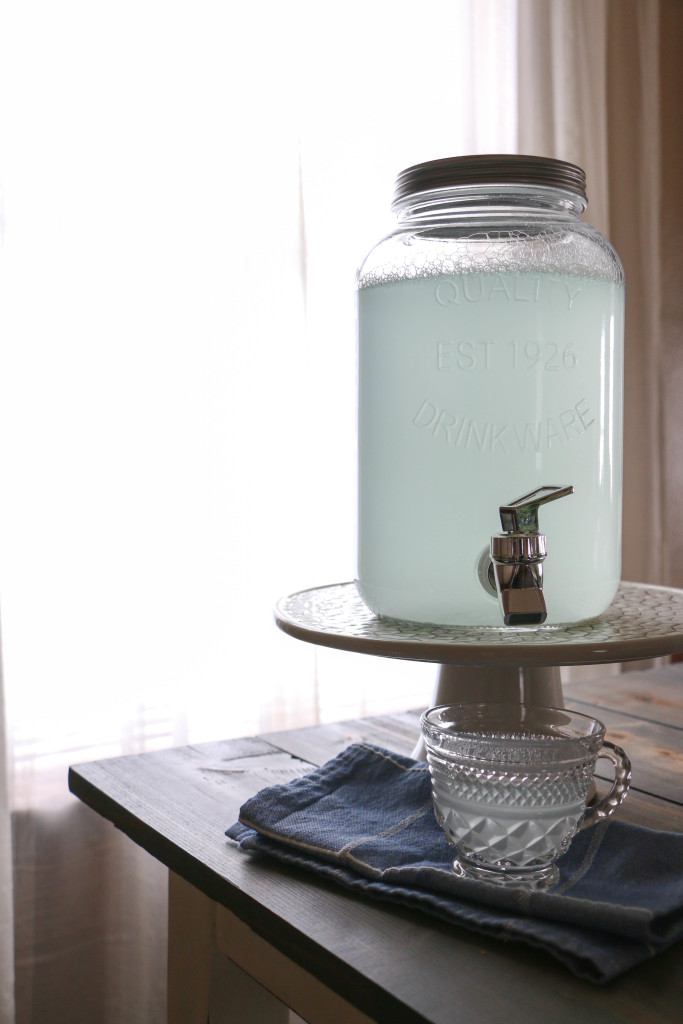
First, you’ll mix your washing soda, borax, and dish soap together in a gallon size container, adding about one cup of hot water. No need to boil the water, I just use the hottest water I can get out of my faucet. This amount of water is just enough to dissolve the power into the water. You’ll need to shake well until everything is dissolved.

Next (and you will need to do this in your sink), you’ll fill your container with the cold water. I just use the tap water from my faucet. This process will create a mess load of bubbles, so I cannot tell you how important it is to do this in a sink! Once the container is filled, I close it up and shake again. This will allow any particles that didn’t disolve before to fully dissolve.

Last, and this step is optional, I like to add a few drops of essential oil. No need for the expensive stuff, I just bought one bottle of lemongrass oil from my local grocery store, which may have cost about five bucks. The oil will make the laundry soap scented, which I prefer in a laundry soap. It is totally optional though. The cool thing is that you can make it any scent you want. After adding a few drops, I close it up and shake thoroughly.

That’s it! It really is that easy. like I mentioned before, I have been making this laundry soap for about three years, and I have yet to buy new supplies. I would estimate the total cost at about fifteen dollars, but for three plus years of laundry soap, I would say that’s a pretty good deal! Now, I use this recipe mainly for economical reasons, and not necessarily for all-natural health reasons, so if you’re looking for an organic or suchandsuch-free product, this is probably not for you.

Personally, I love it. It takes just a few minutes to make, and my clothes and linens smell and feel just as fresh as with any other laundry soap I have purchased. I use about a cup of the soap per load, and one “batch” will last me a few weeks. I would definitely recommend making your own laundry soap!

Have you tried making your own laundry soap before? If so, I’d love to hear about it! That’s all for today, friends. Have a fabulous day!

DIYlaundrysoap

DIY Projects, Home Decor, Tutorials

DIY Boxwood Topiary

Hi you guys! I’m so glad you stopped by today! I don’t know if it’s feeling spring like where you are, but here in North Texas it definitely is! I was coming into the house after work the other day and I noticed little green buds popping up in the tree in the front yard. There’s no better sight! Not to mention that the weather has been warming up, which means it’s closer to time for front porch and grilling! I think it’s safe to say that spring is my favorite season (and it’s not just because I have a spring birthday…)!

Today I want to share with you guys a super fun super cheap DIY that totally has me ready for spring. I’ve been adding pops of greenery in the house everywhere, whether it be fresh flowers, or faux greenery I’ve collected from Ikea. I’ve been eyeing some of those adorable boxwood topiaries that seem to be everywhere (okay, maybe just Target and HomeGoods, but everywhere important!), but with my monthly free spending allowance, it didn’t seem worth it to pay for them. I’ve seen some at multiple places, usually anywhere from $20 – $30. Which isn’t a ton of money, I know. I’m just Cheapster McGee, as you all already know.

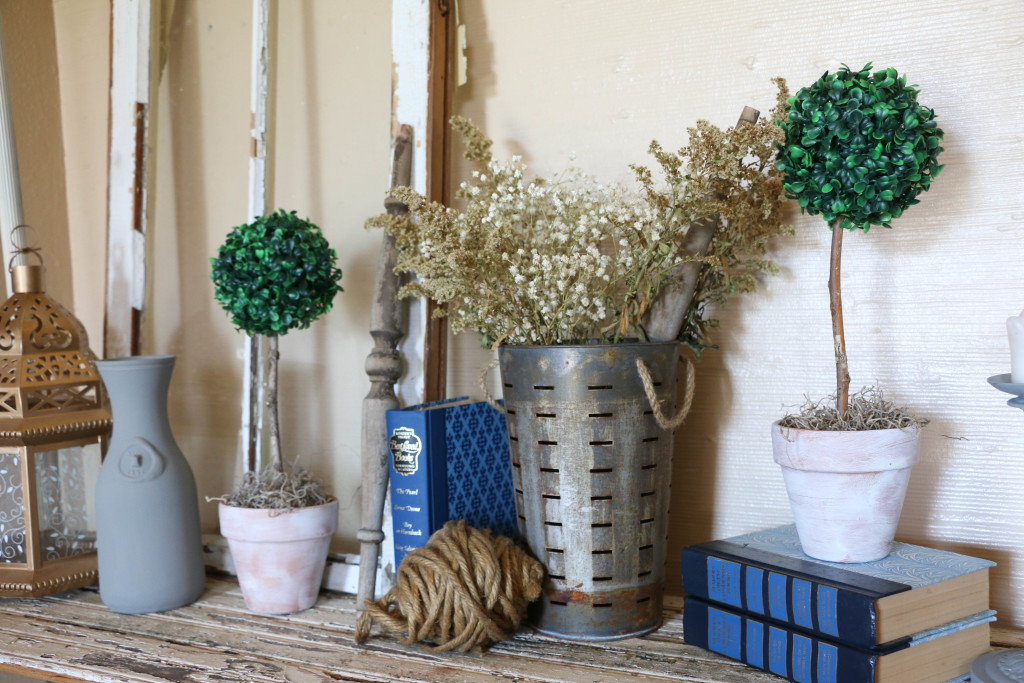
So I did what I do best, which is set out to make my own DIY version. So here’s what I came up with:

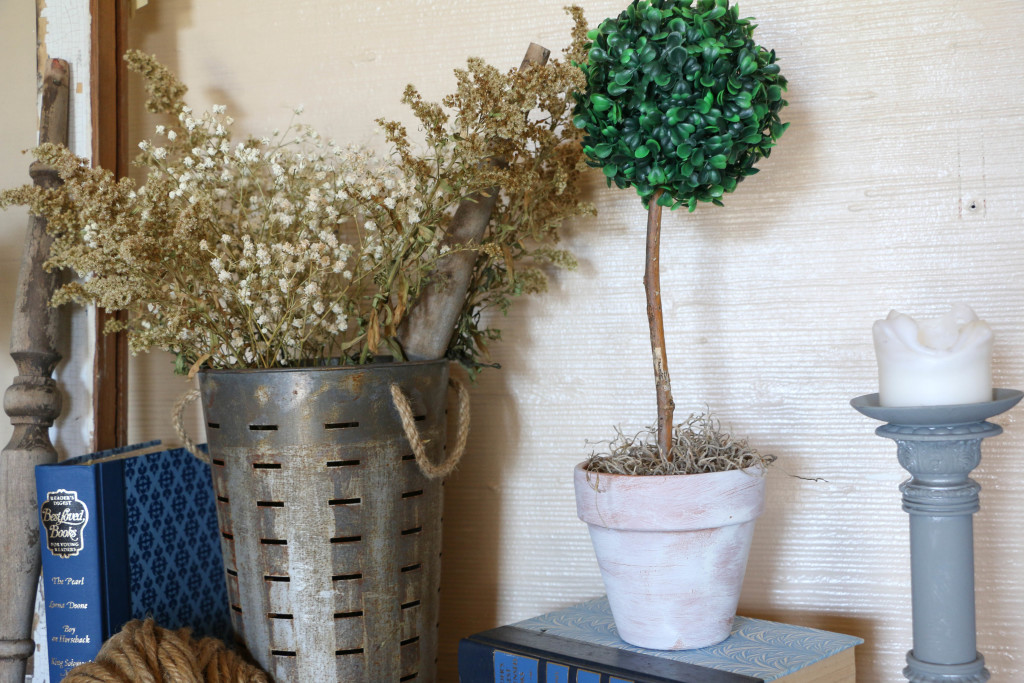
Topiary1

This is a very basic little craft that cost me just a few bucks.

Topiary7

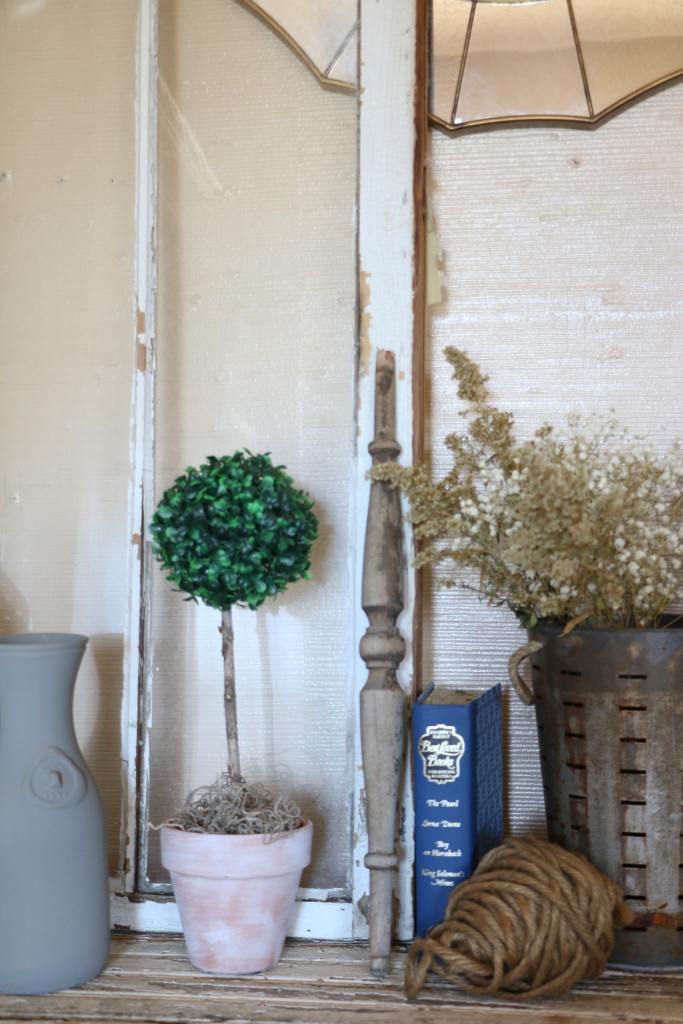
I purchased all of my supplies at Hobby Lobby. The pots were under two dollars, and the boxwood balls (I’m fairly certain that’s not an actual phrase) were about five dollars for both, as they were seasonal clearance.

Topiary4

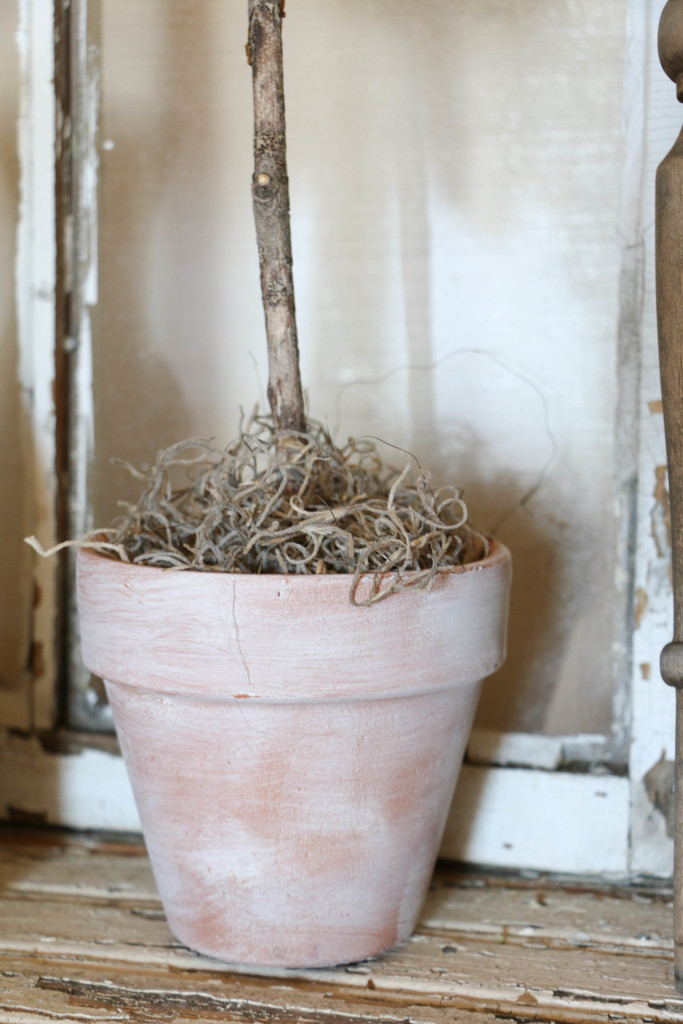
The rest of the supplies I had on hand. First, I put a coat of wax on the pots, mainly because I had never used strictly wax on something before, and I wanted to see how it would turn out. Since it was clear wax, it didn’t change the color at all. Duh, I should have known. However, I then immediately did a quick drybrush over the wax coat. Because the wax was not yet dry, it allowed me to wipe the whole thing with a rag, giving me the unfinished look I was going for.

Topiary3

I used sticks (the free kind from the front yard) and hot glued them to the bottom of my pot. The pots had a small hole in the bottom, which I covered with a small piece of duct tape so that the glue wouldn’t come out the bottom. After a few minutes, I filled in the pot with Spanish moss, something I had on hand already.

Topiary8

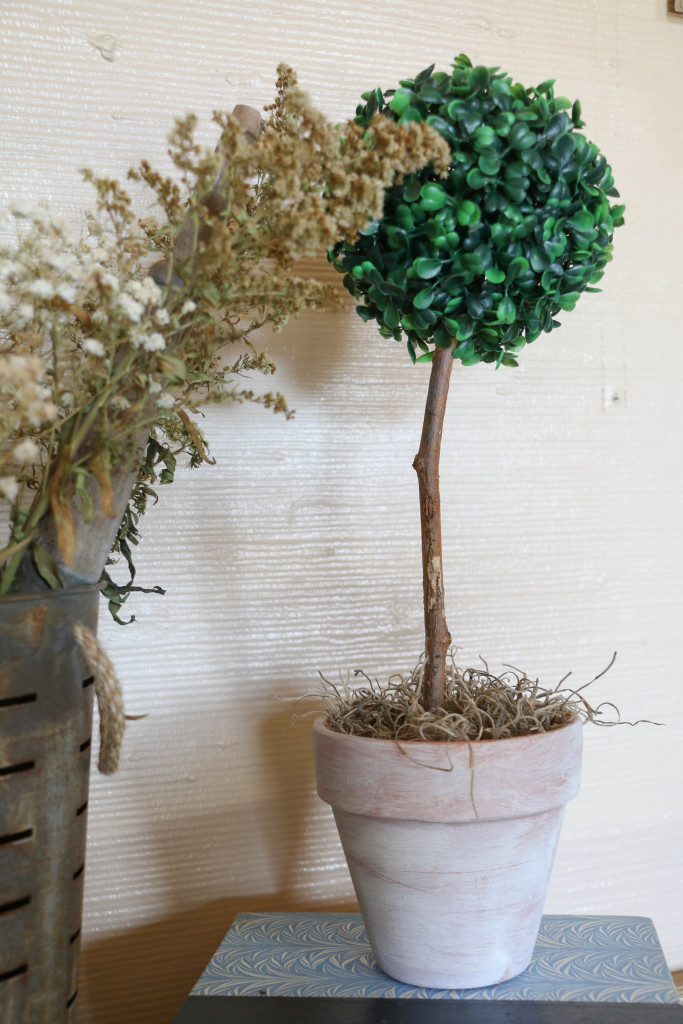
The boxwood balls have sort or a net texture under the leaves, which was perfect to just wedge them onto the stick. I did add a dab of hot glue just to keep them in place. Including paint and dry time (they dried incredibly fast, since I used my drybrushing technique), this project took me about fifteen minutes.

The cost of supplies I had to purchase was about seven dollars, making these cute little topiaries about $3.50 each. As opposed to the $20-$30 range. So I consider this little DIY a definite win.

I love how the fresh, springlike vibe they have. Even Ethan commented on how cool they looked, so I’m pretty pleased with how this one turned out. I think the best part is how well they’ll transition into summer as well. I do hope you try this one! It was definitely a fun project for me, and just about anyone can do this!

I hope you have something awesome planned for today! That’s all for today! Have a fabulous day, friends!

DIYTopiaries

Holidays, Tutorials

DIY Citrus Slice Ornament

HAPPY DECEMBER Y’ALL!!!! Okay, I’ll admit I’m excited. It’s officially the Christmas season now that it’s December. I can post all the photos of my tree and Christmas decor without shame! It’s a wonderful world, friends.

Today I wanted to show y’all the last of my DIY ornament ideas. My Christmas decor this year is super rustic and primitive, and so this last DIY was the one that I really think brought the whole look together. If you haven’t seen the other two ornament DIYs, you can check them out here and here. I remember seeing photos of dried fruit as Christmas decor years ago, but I never really thought anything of it until this year. I needed something with a pop of color, and so it was time to test out this project!

citrus slices

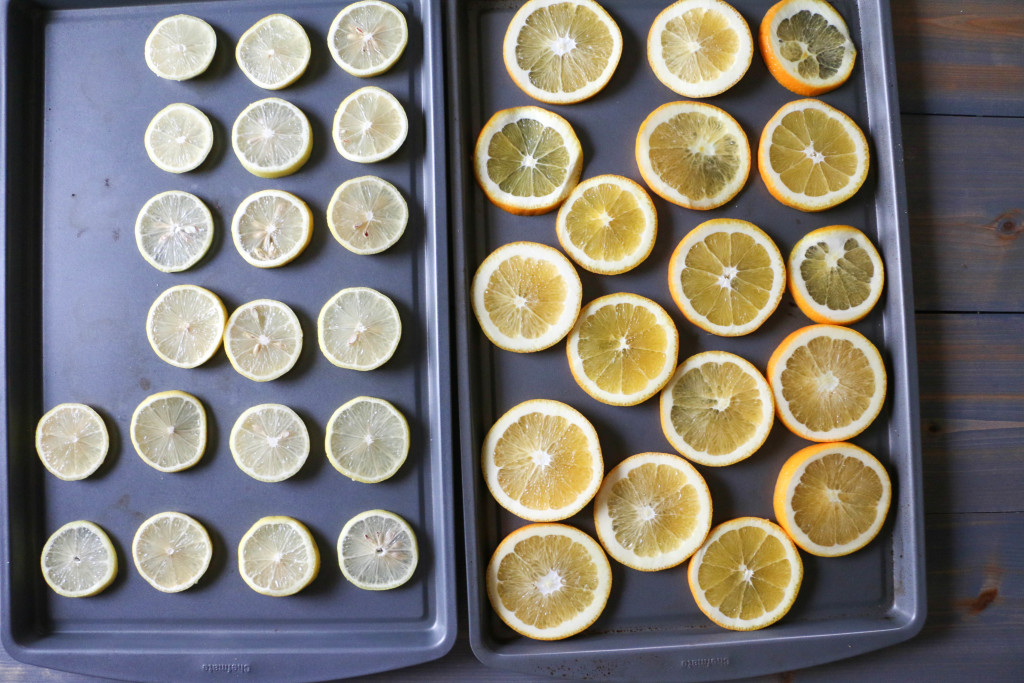
The first thing I did was slice several oranges and lemons. I think I did four of each. I wasn’t sure which I would prefer, so I did both. I cut the ends off and simmered them on the stove using this recipe so they wouldn’t go to waste. citrus slices2

I separated the oranges and lemons on my (badly stained) cookie sheets so that if they cooked at different rates it would be easier to remove them from the oven. I placed them on the lowest setting on my oven (I think it was about 150 degrees) and put the slices in. In total, I cooked them for about five hours. Every hour or so, I would turn the slices over so that they would dry evenly. I really don’t know if this necessary, but I’m a little paranoid. The good thing about the temperature being so low is that I could turn the slices over with my bare hand. In general, the lemons cooked a bit faster than the oranges did, because they were thinner I think.

citrus oranment1

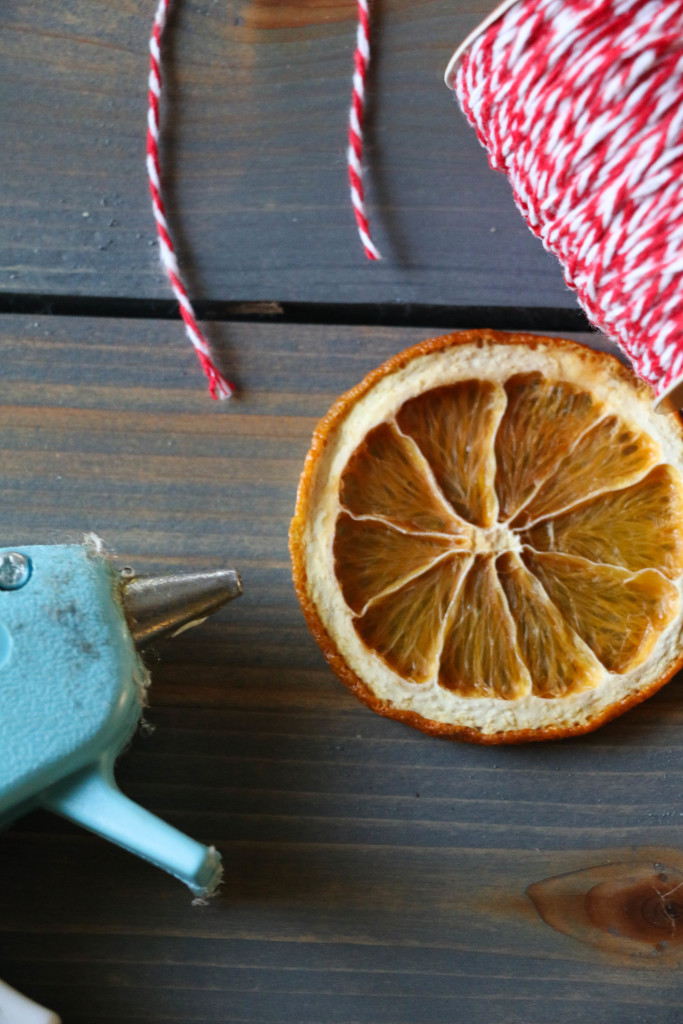
After they were fully dehydrated came the fun part! I cut little pieces of red baker’s twine, the same twine I used previously on our pinecone ornaments, and hot glued it to the back to make a loop. Easy.

citrusornament3

When they were finished, they looked like this, and I am so excited about how they turned out. They have just the look I was hoping for. As it turned out, I ended up liking the orange slices better than the lemon slices because the oranges had a thicker rind (is that the right word? I don’t even know.). I did these a few weeks ago, and they’ve lasted just fine, which was an initial concern of mine.  I love the way the tree lights shine through the fruit. It feels super cozy! I also placed some of these slices on the wreath I have on the front door, and I love how it feels there too! I’m deeming this year “the year of the fruit” when it comes to decorating.

I’d love to hear what you think, and if you’ve tried this out. That’s it for today. Have a fabulous day, friends!

DIY Projects, Tutorials

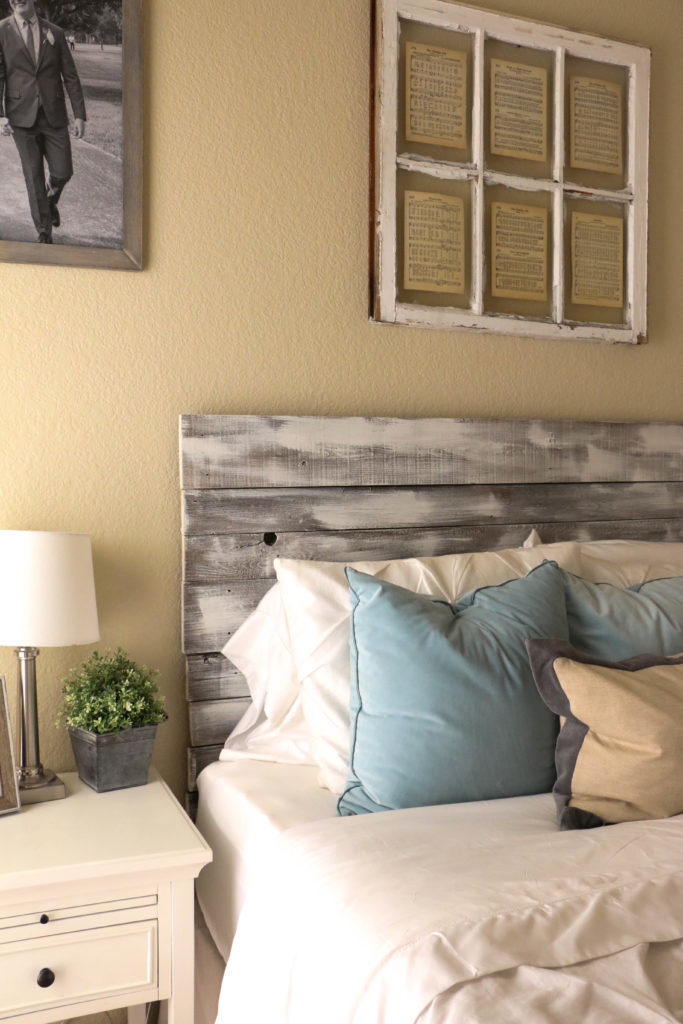
Salvaged Wood Headboard DIY

It’s been a few weeks since we updated our bedroom and I am still living in a fairy-dream world because of it. I showed you guys the full result a week or so ago, and you guys have been so sweet about how it turned out. If you didn’t get a chance to check that post out, you can read all about it here. Today what I wanted to do was show you guys with a little more detail the headboard that I made for this space.

When I bought all the new pillows for the bed, I knew something was still missing. Our old headboard was a pre-blog DIY that was imperfect but served us well for the time that it did. I made it back when I was still unsure about the style direction I was heading in with our house, so it just didn’t quite work. And let’s be honest. I still don’t think I know the style I’m headed toward. Live and learn.

I wanted to make something, but I didn’t want to spend any money. Yes, you read that correctly. I wanted to spend zero dollars. Story of my life, right? I knew that I could only justify to Ethan building a new headboard if I could do it for free since I had just built one a year prior. Now that I think about it, I think Ethan has learned not to question my unreasonable antics. The other stipulation for this project was that I had to do it completely by myself. Normally our DIY projects are a team effort (and by that I mean Ethan does the work and I make it pretty). This time, before I knew what I was thinking, I told him that I was going to make this project for free, and I was going to do it completely on my own. Cue “On My Own” from Les Mis as I head to the garage to work on this project.

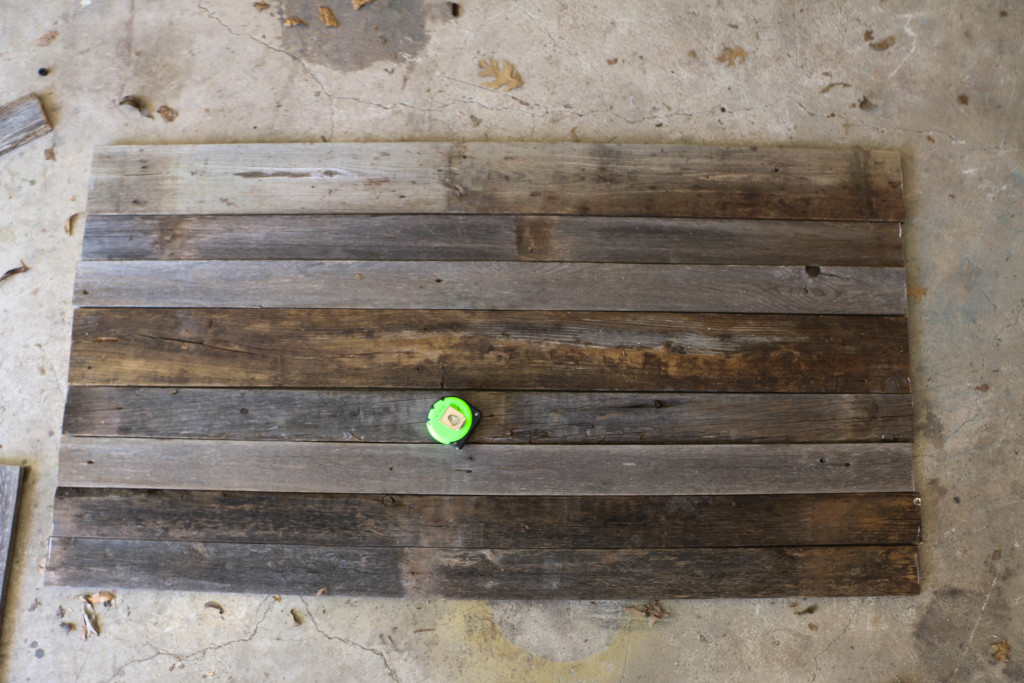
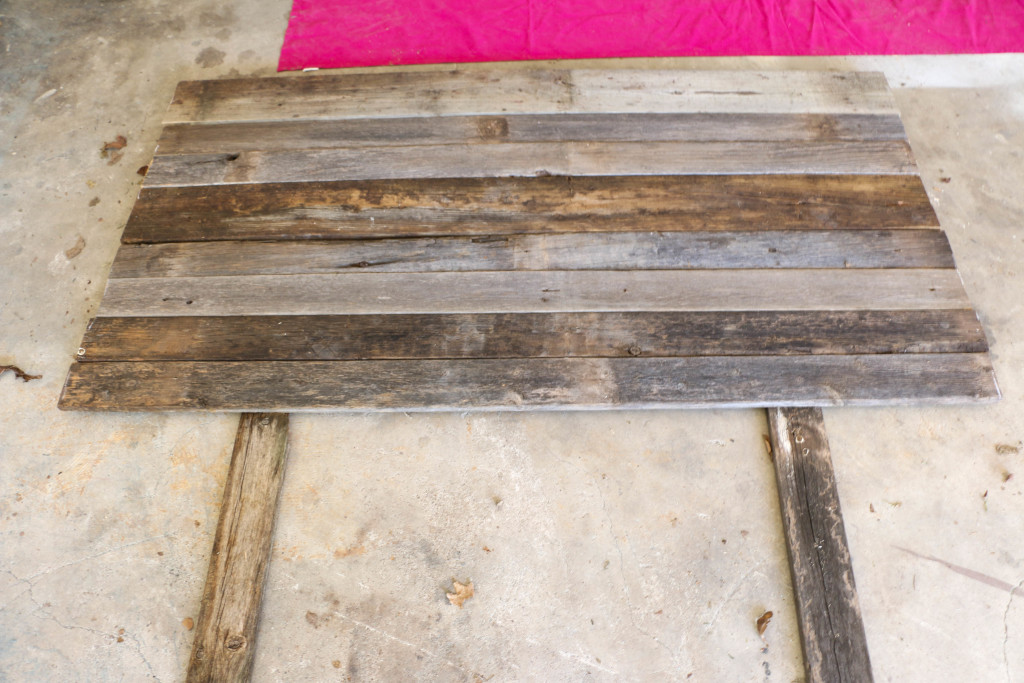
So here’s how it went down. A few months back, our neighbors were replacing a portion of their wood fence. I hoarded rescued some of the pieces and they have been sitting in my garage, safe from harm. I headed to my stash and chose the best looking pieces for the job. I (and when I say I, I do mean me myself and I. All by my lonesome) cut the pieces using a circular saw to 60″. We have a queen size bed, so that was the size we needed. If you were to do something similar, be sure to measure the size of your bed. I did wash these with warm water and soap, and lightly sanded them, just to make sure they were clean. And not going to give me splinters. Because those things are important, I guess.

So I laid out all the pieces on the garage floor to make sure I liked to order of them, since all the pieces were slightly different.
headboarddiy1

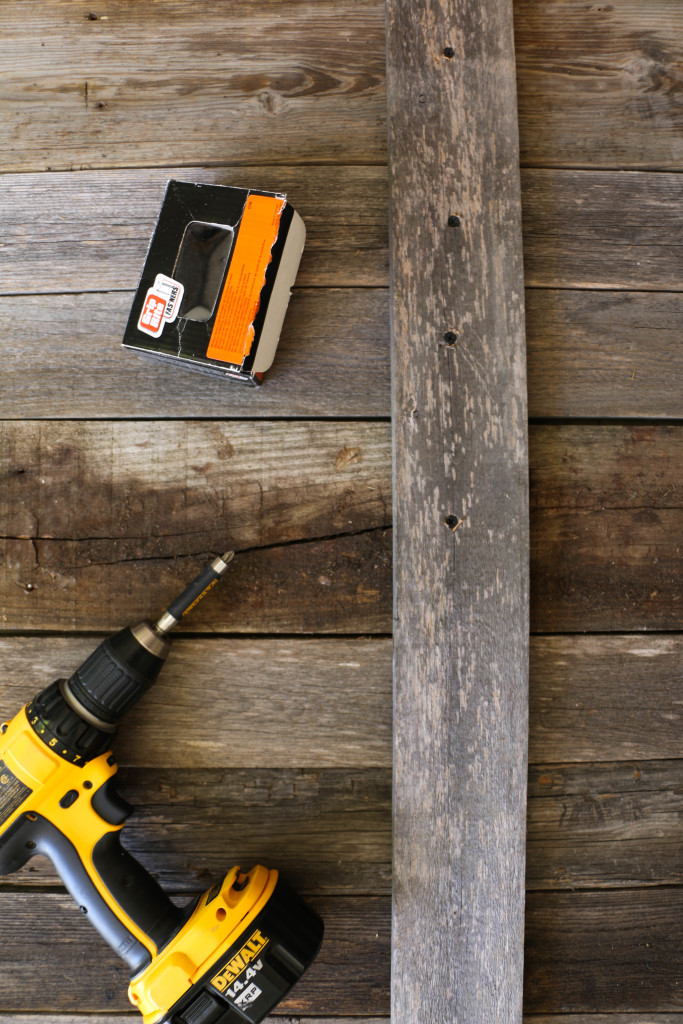
Then I used two cross pieces to screw onto the backside of my headboard. These pieces were vertical, and were 54″ tall. Our old headboard was a bit taller than this, but I always thought it looked kind of weird, so I was very mindful of how tall this one was going to be. I don’t know if there are official rules about how tall a headboard should be, but I think y’all all know that I make up my rules as I go when it comes to home decor. I wish I could show you the pictures of me screwing this together just to show off my brute strength, but alas, I did this one on my own. And I don’t have enough hands to photograph myself building a headboard. You’ll just have to trust me in the fact that I did make this.
headboarddiy2

After I screwed the back pieces together, I turned it around to paint it. It looked like this:
headboarddiy3

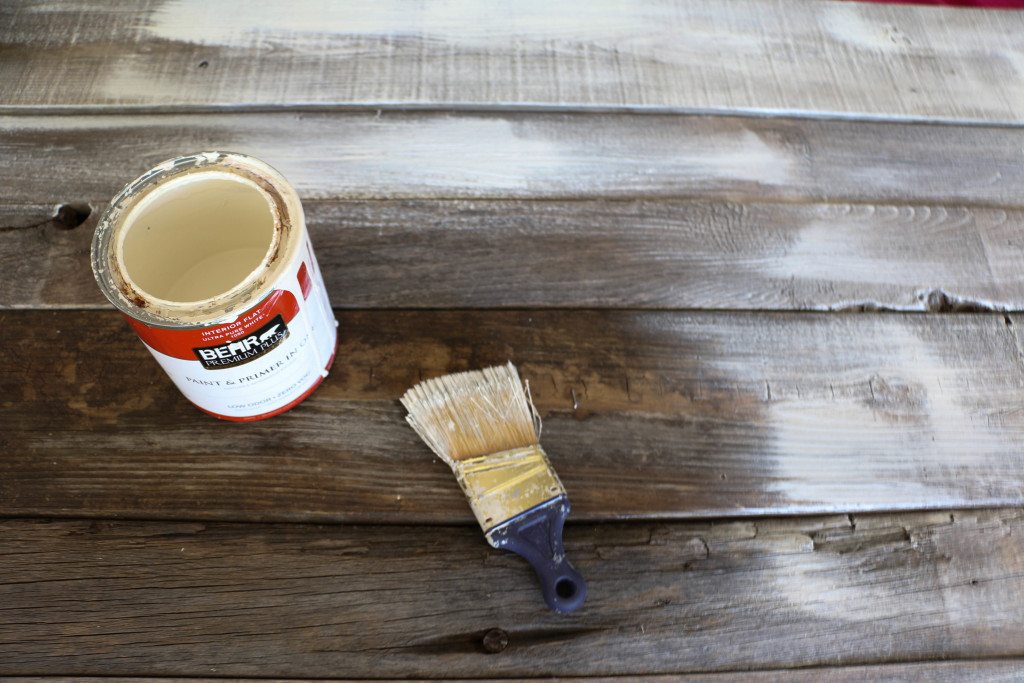
Technically, it didn’t need to be painted, I did like the way it looked like this, I just love lighter colors, so it didn’t really stand a chance. I used my dry-brushing technique, which you can read about here. It took about ten minutes total to paint. Have I mentioned that’s my favorite way to paint things?
headboarddiy4

The color is Mourning Dove by Behr, and I use that for tons of projects around the house.

After I let it dry (which didn’t take long with the amount of paint I used), Ethan helped me carry it into the house to put it behind the bed. So I guess he did help. BUT OTHER THAN THAT I did this one on my own, and I am so proud of myself. Picture me pridefully kissing my biceps.
diyheadboard9

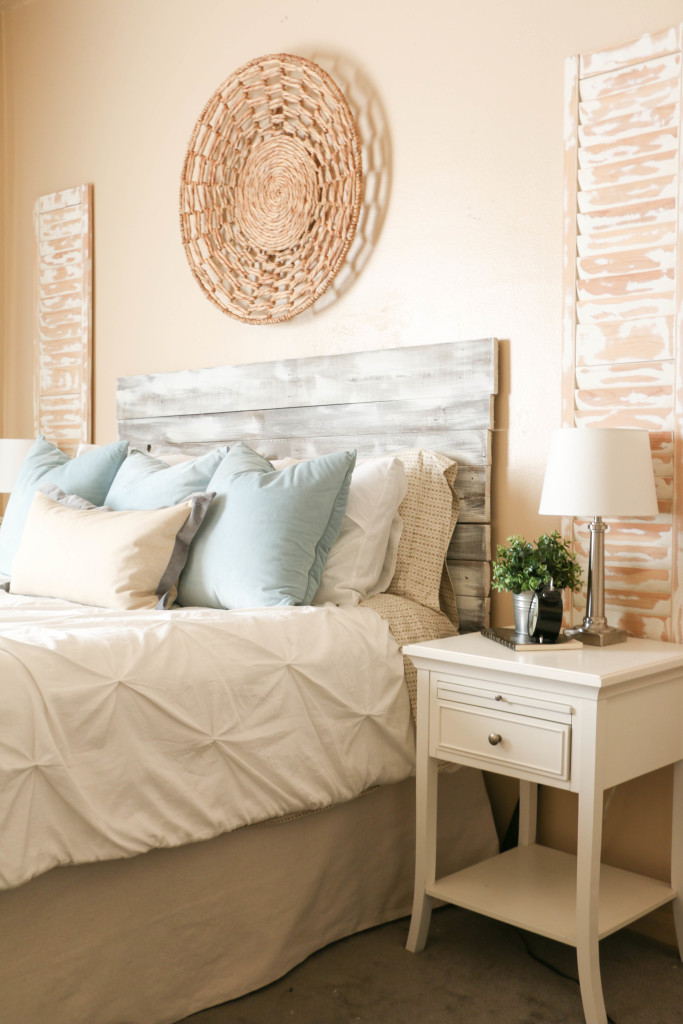
 You can see more after photos in the original reveal post. I cannot tell you guys how much this little project changed the feel of our bedroom. And it was 100% free! This cheap-loving girl is jumping up and down with excitement over this one! I promise you, I am super wimpy, and I did this in an afternoon, so I know you can too!

All the sources for the items you see here are in my original reveal post, which you’re welcome to check out! I’d love to hear what you think about this project in the comments below, or you can find more on my Instagram. That’s all for today, friends! Have a fabulous day!

rusticheadboard