Browsing Tag

home restoration

House Progress

We’re Moving the Master Upstairs… What??

YEP. You read that right. And if it seems totally random, that’s because it is. So I figured I owed it to you guys to walk you through my thought process and plans before I take you along for the ride.

So, flash back to about two weeks ago. We were driving home from being out of town for several days, and we were going to be arriving very late. While we were gone, it had gotten cold for the first time in the season, so we were anticipating walking in to a cold house because the furnace had not yet been turned on for the season. Our house is two floors, and has two separate thermostats and HVAC systems (one for each floor). Our son’s room is upstairs, directly above our current room. And for whatever reason, although he has been sleeping in his own room since he was about two months, I started to freak out and panic that having a separate system upstairs was terrifying because something could happen upstairs and we would have no idea downstairs because the HVAC systems are completely independent from each other. So, in the car that night, I started talking to Ethan about the possibility of moving our room upstairs (we have two additional rooms up there we aren’t really using), the pros and cons of the situation, and the timeline of when it could happen if we decided to do it.

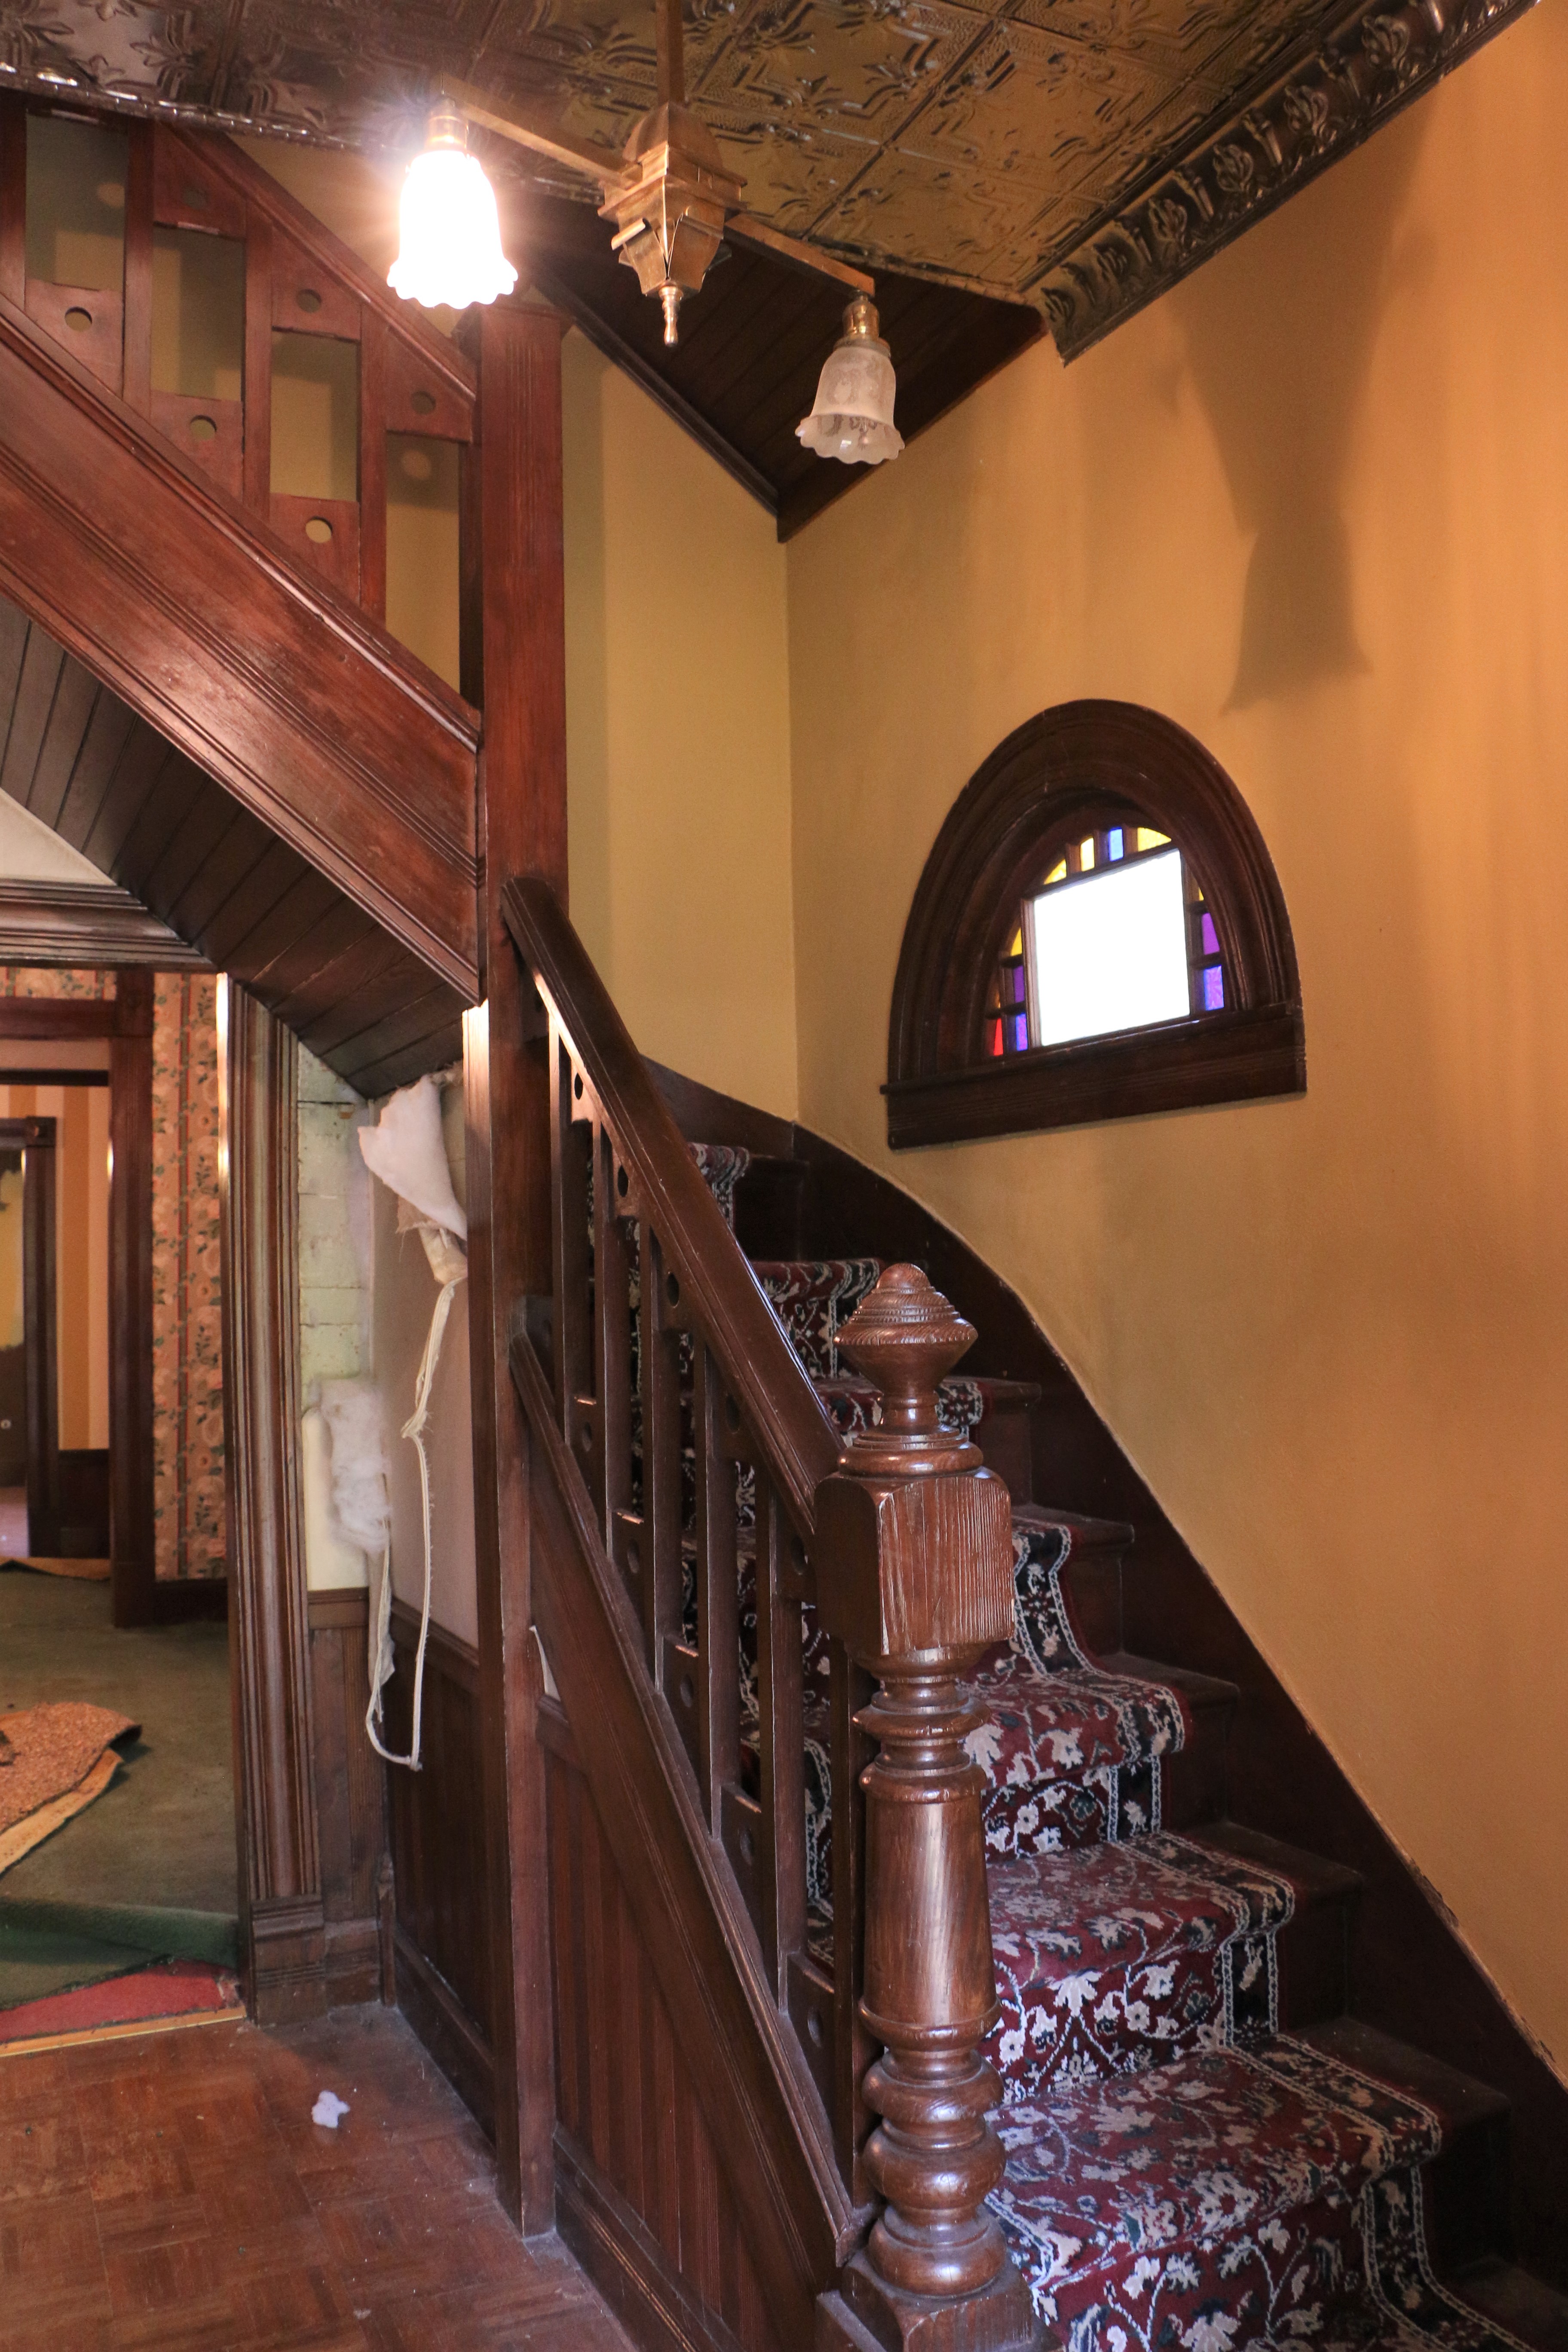
We got home that night, and had pretty much decided we were going to move our room up there, it was just a matter of getting some work done. The room we are talking about is one of the untouched spaces in our house, which have been completely neglected since purchasing.

So, this week we started working! It’s been slow going because we have a one year old and can basically only work during naptime or at night. Not to mention the fact that whoever lived in this home before had some weird love affair with wall texturing compound, and sprayed? dabbed? rolled? (I don’t even know how this could have been installed) the spikiest, sharpest wall texture known to mankind. So we have the absolute pleasure of sanding and scraping every surface of the room before we can do anything else.

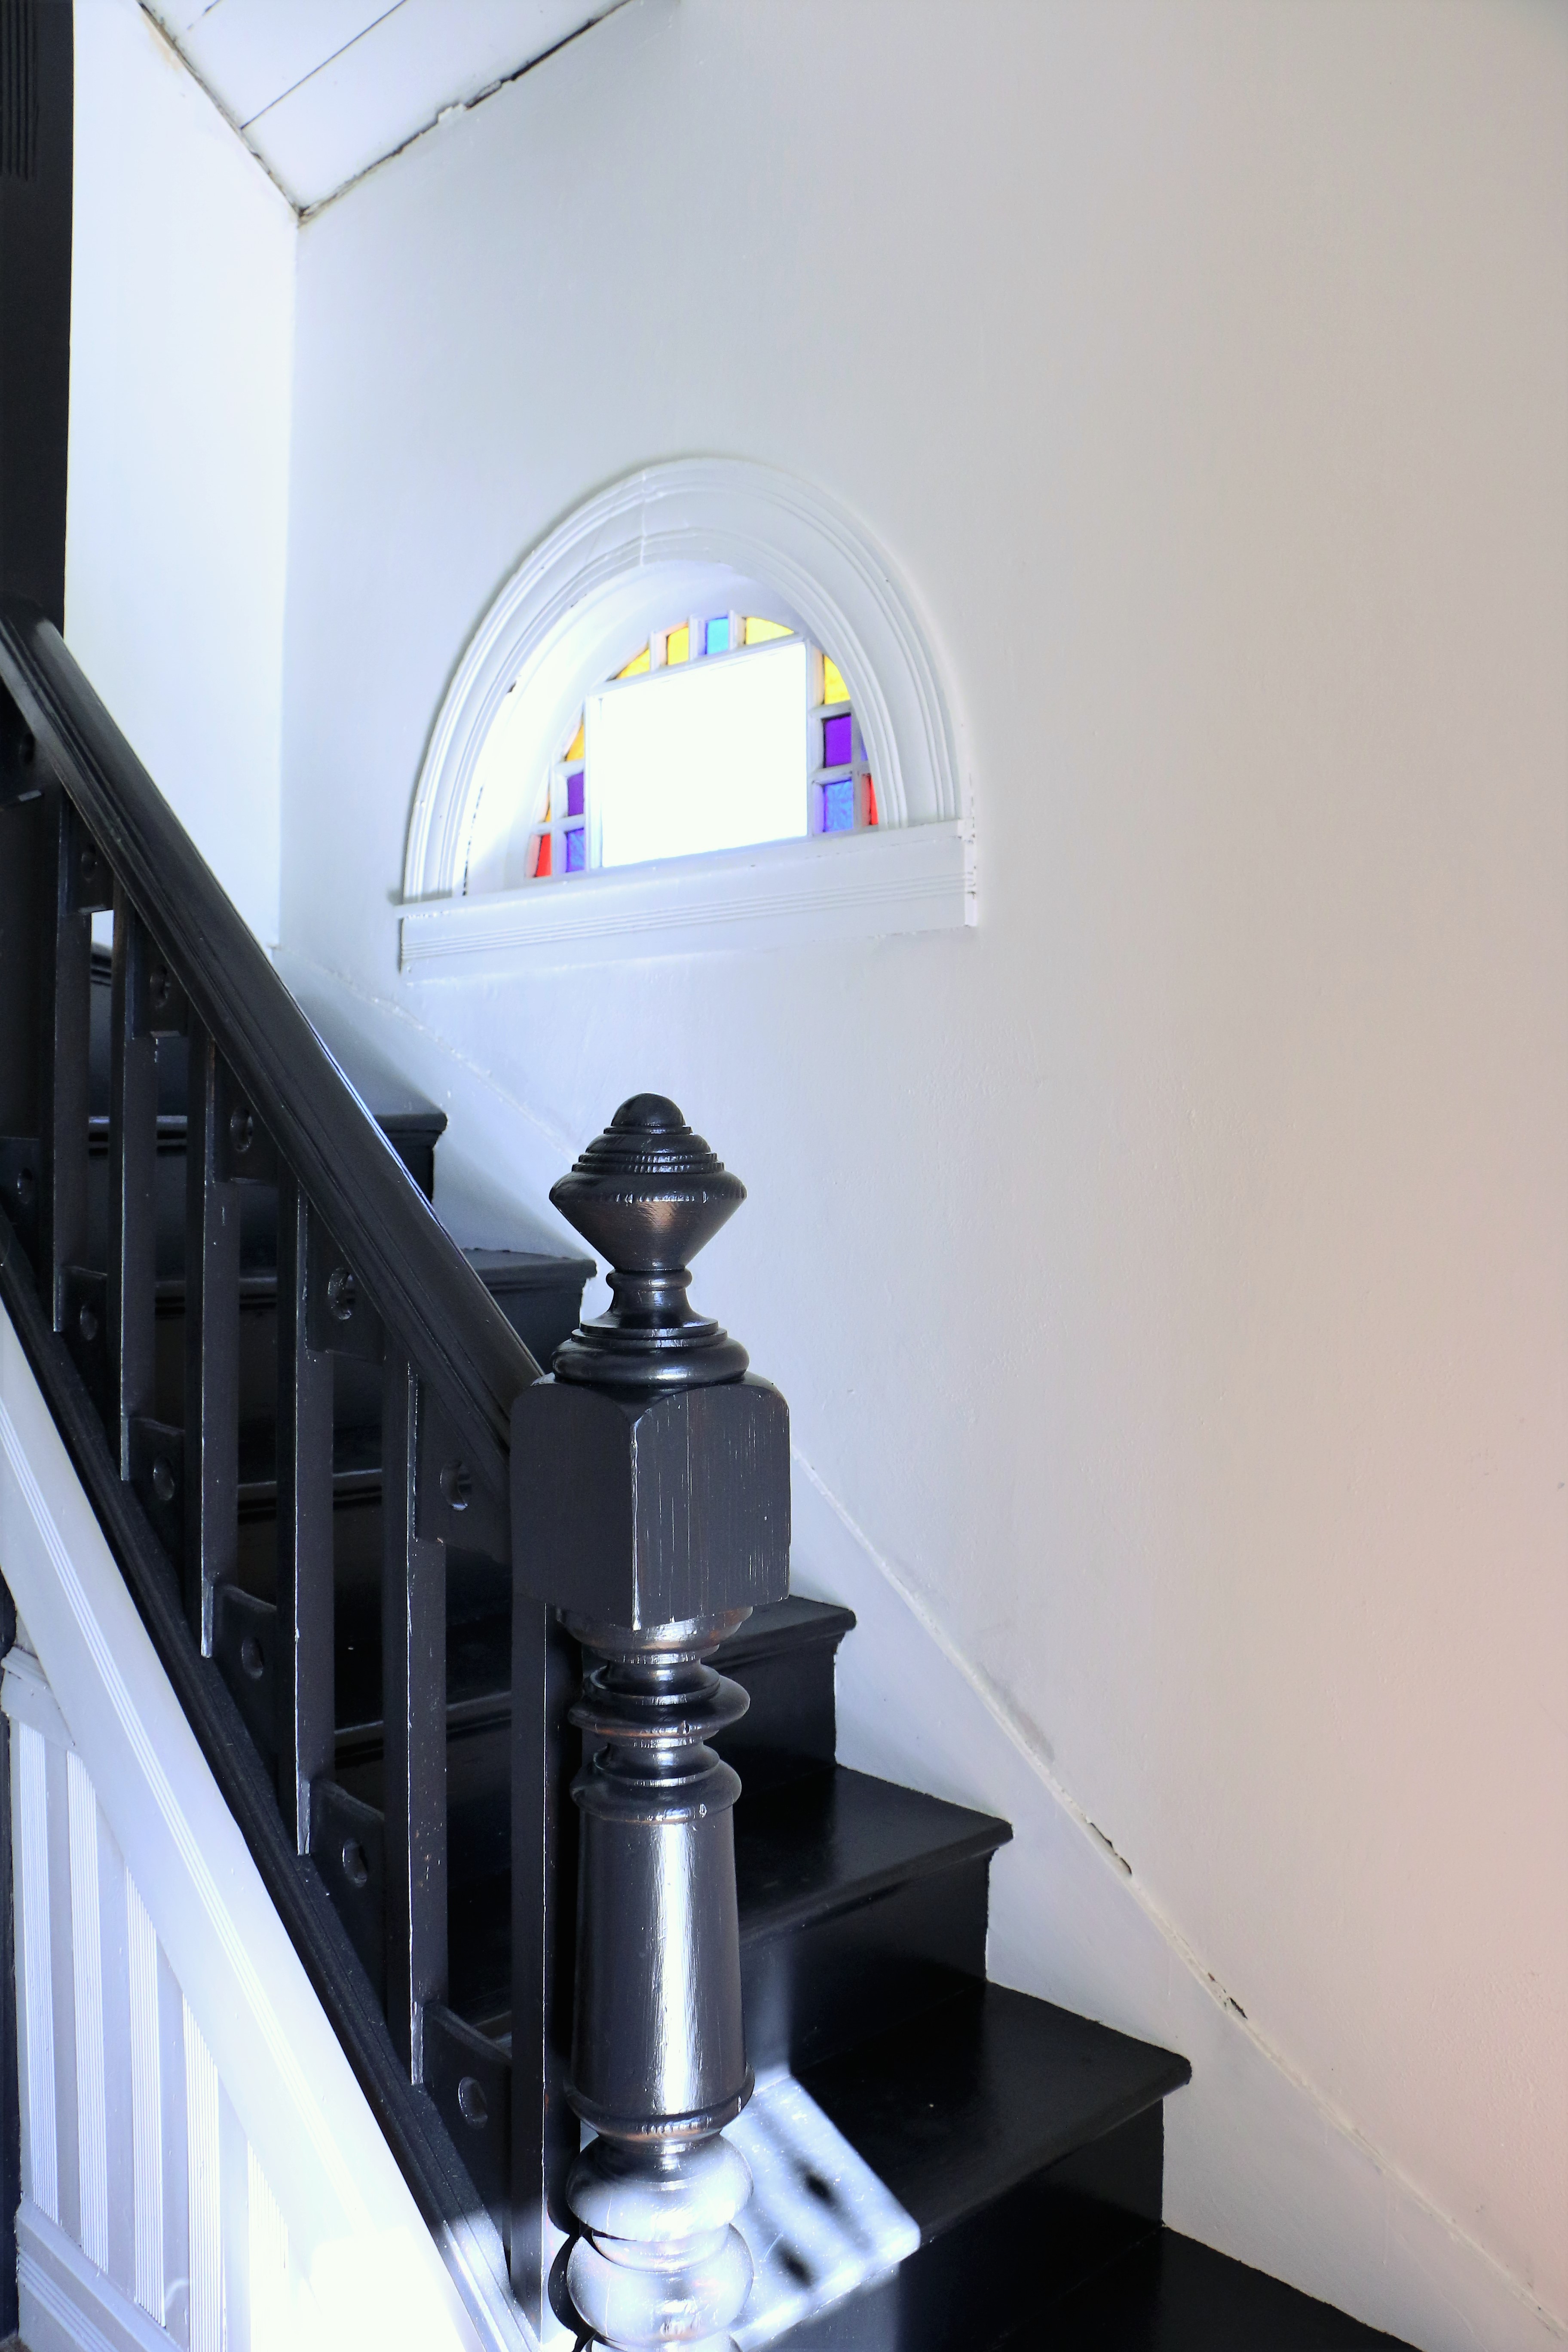
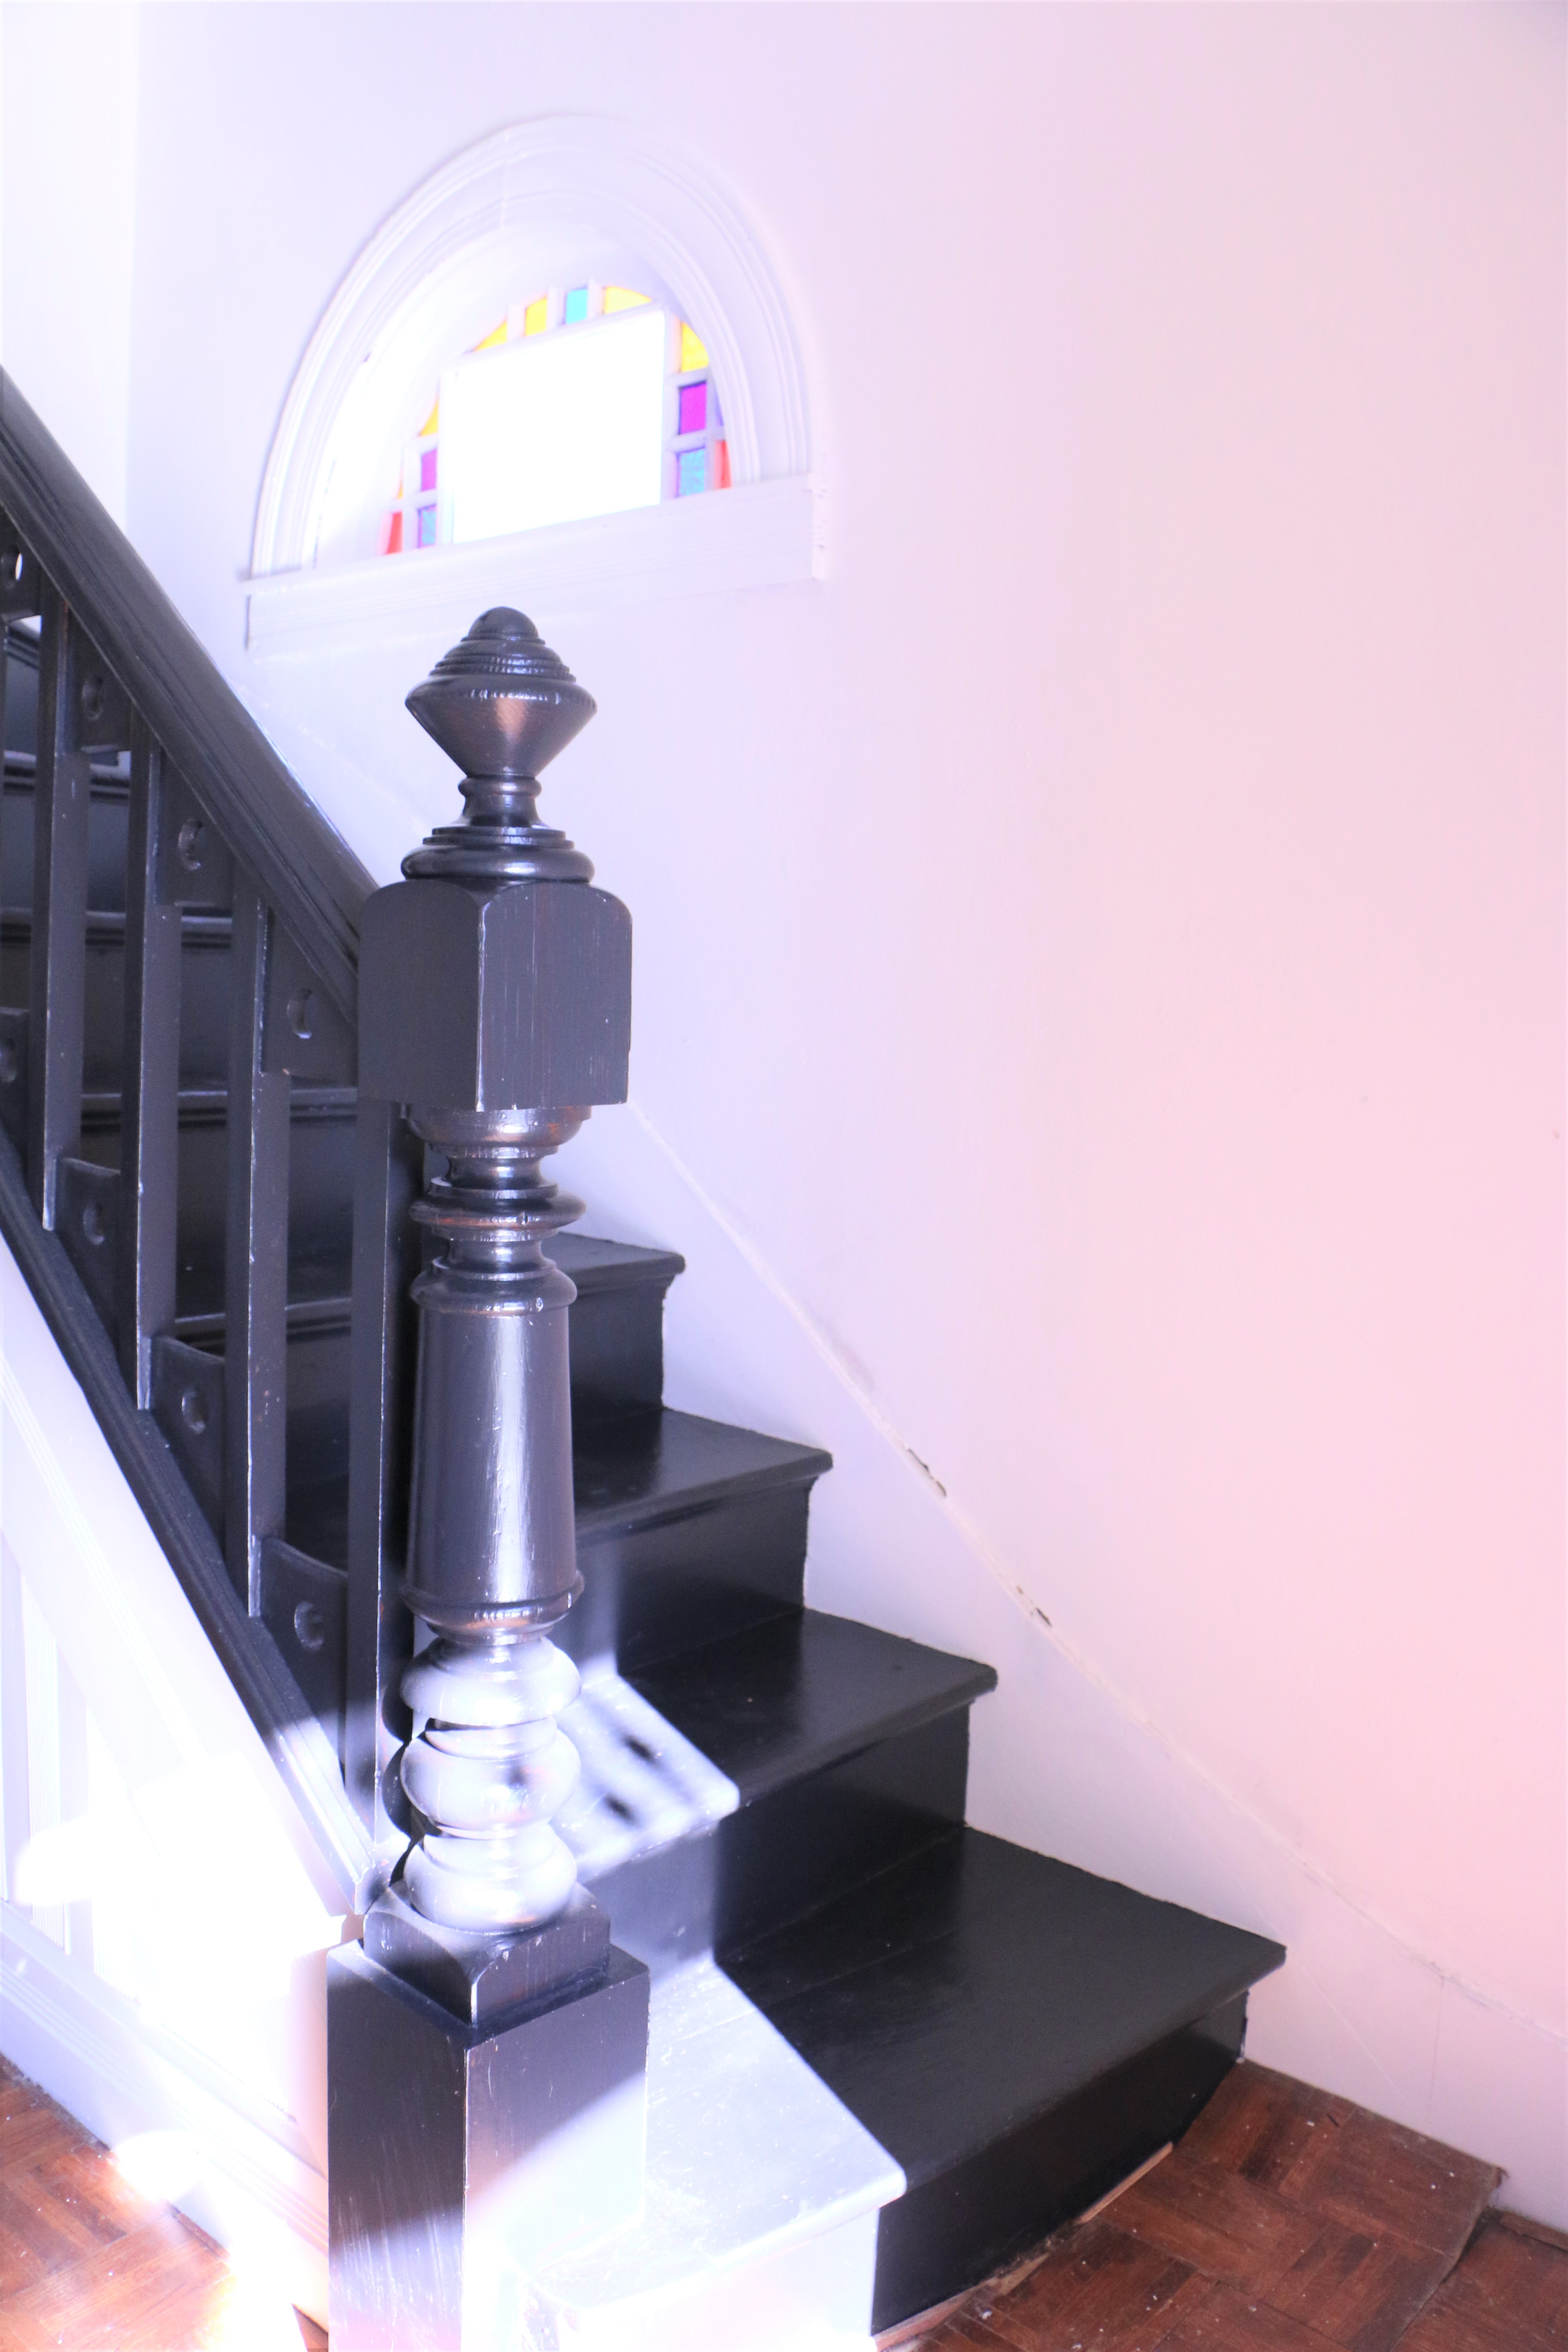
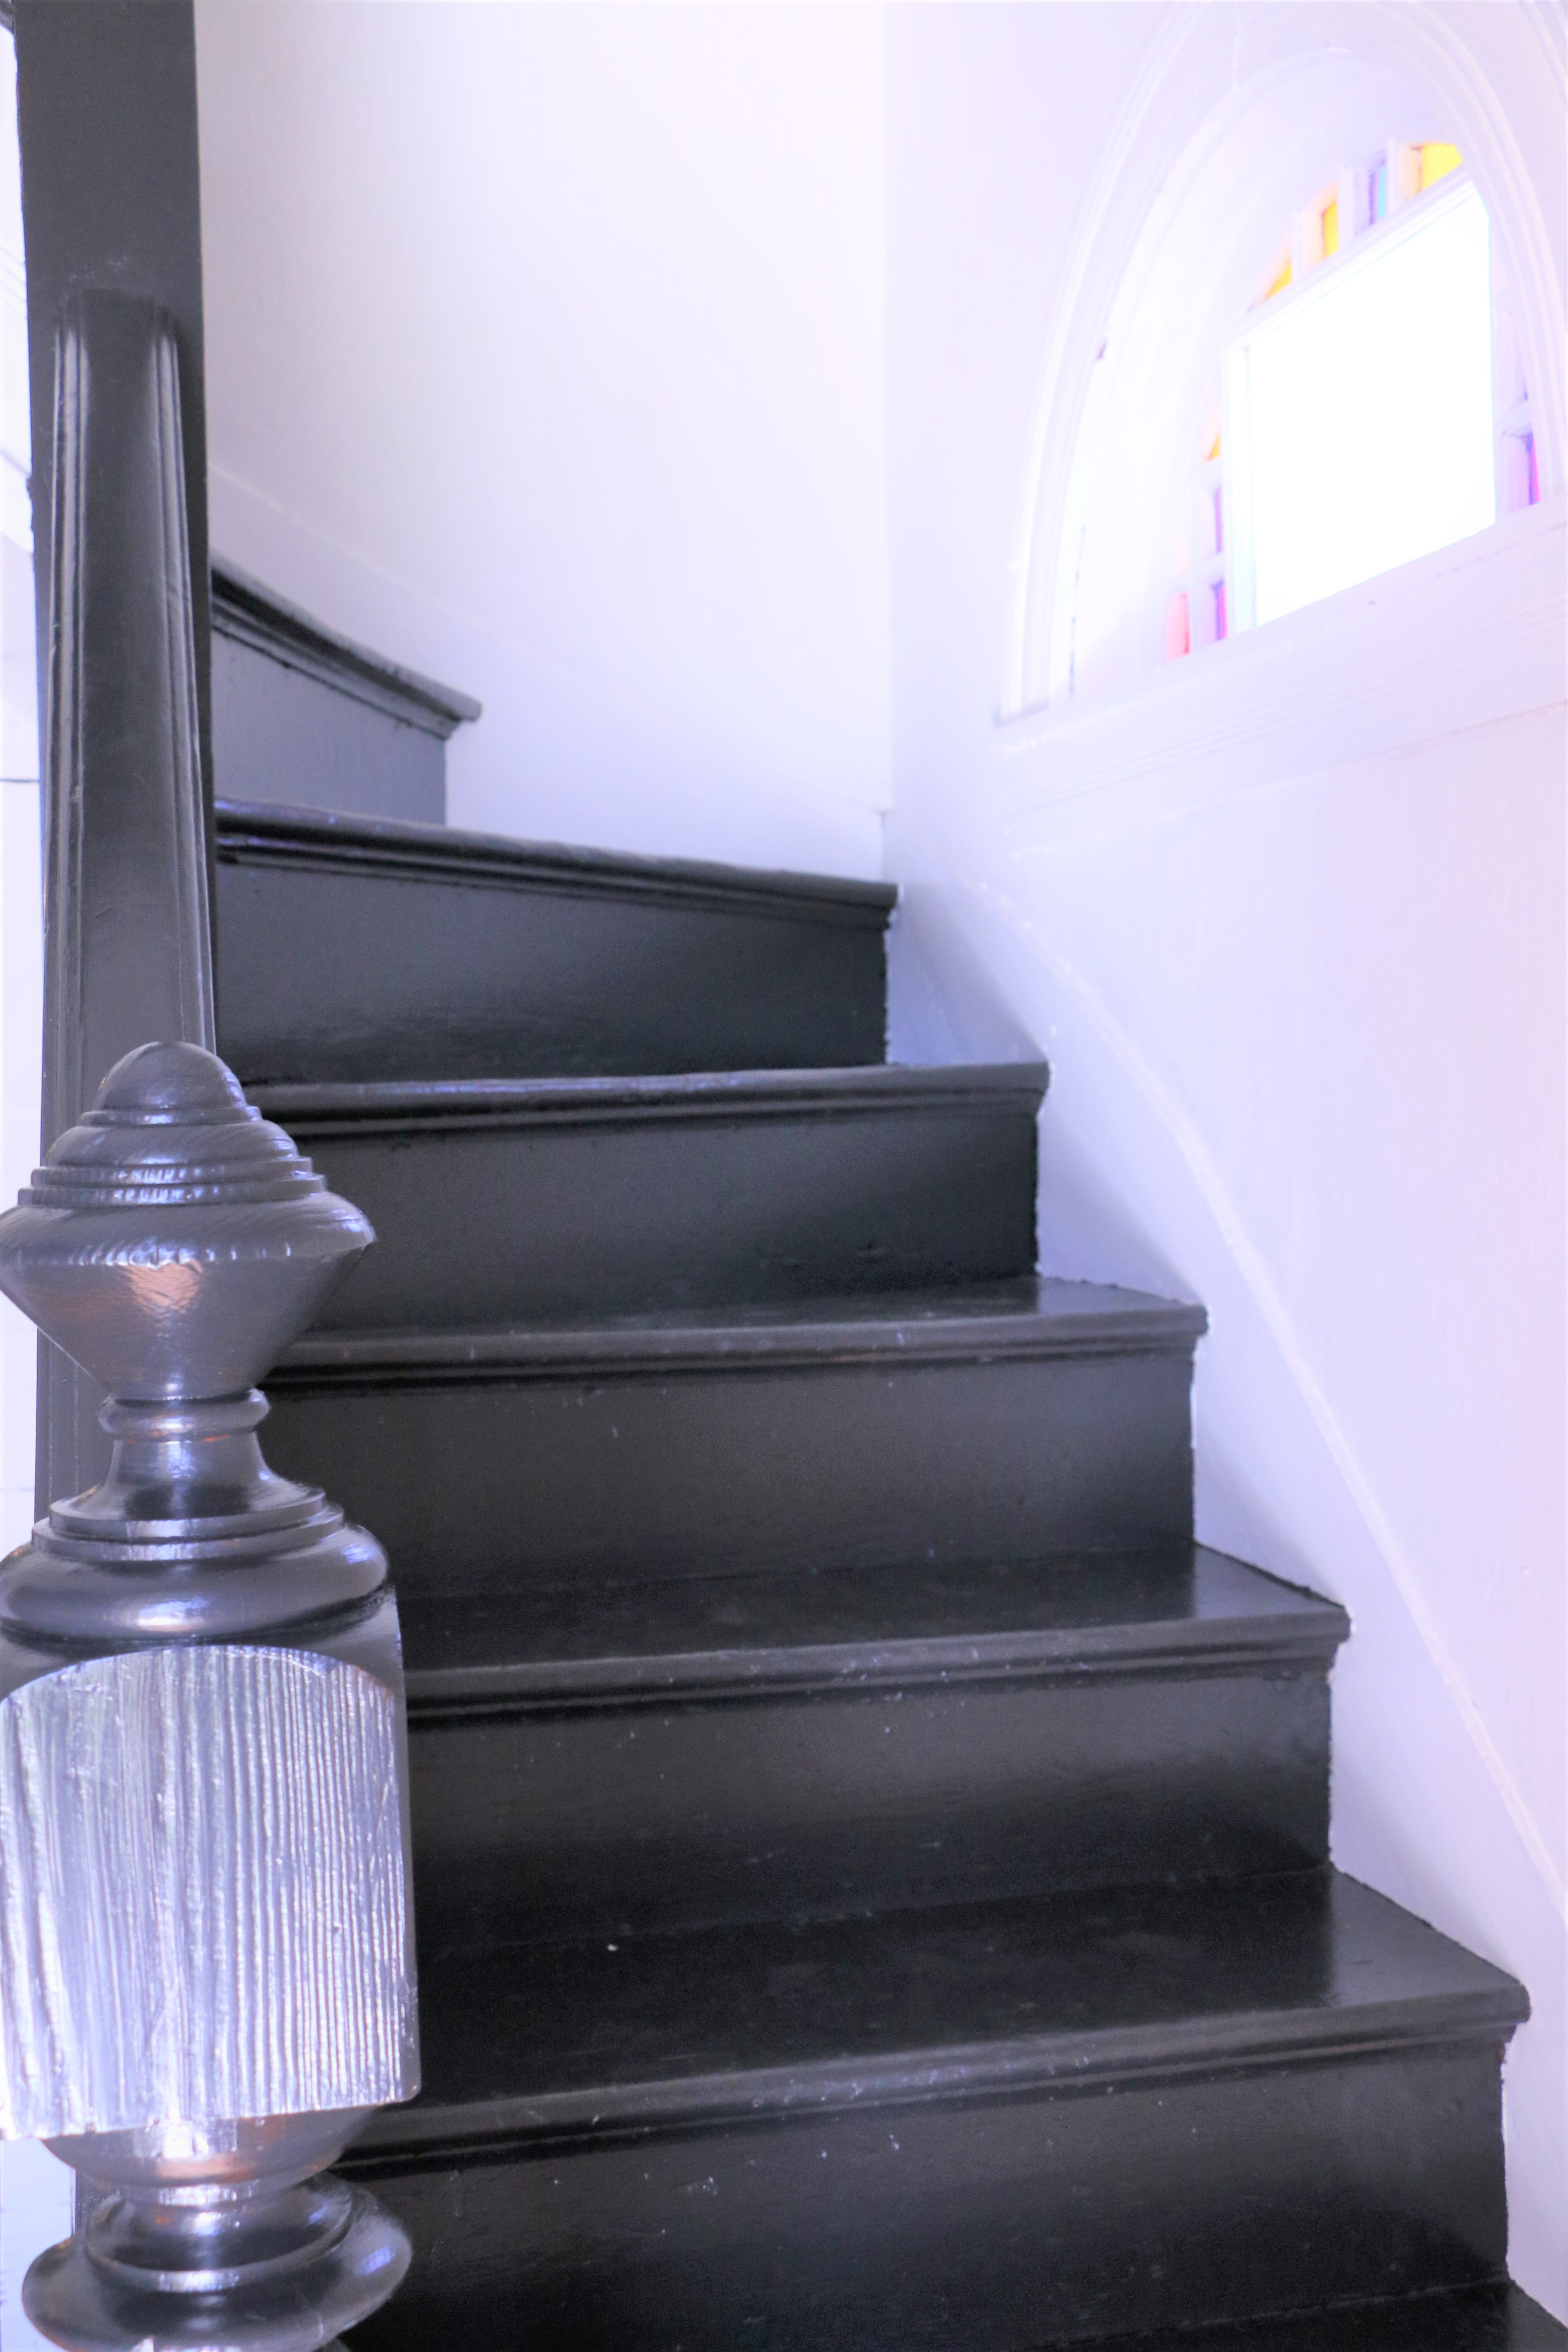
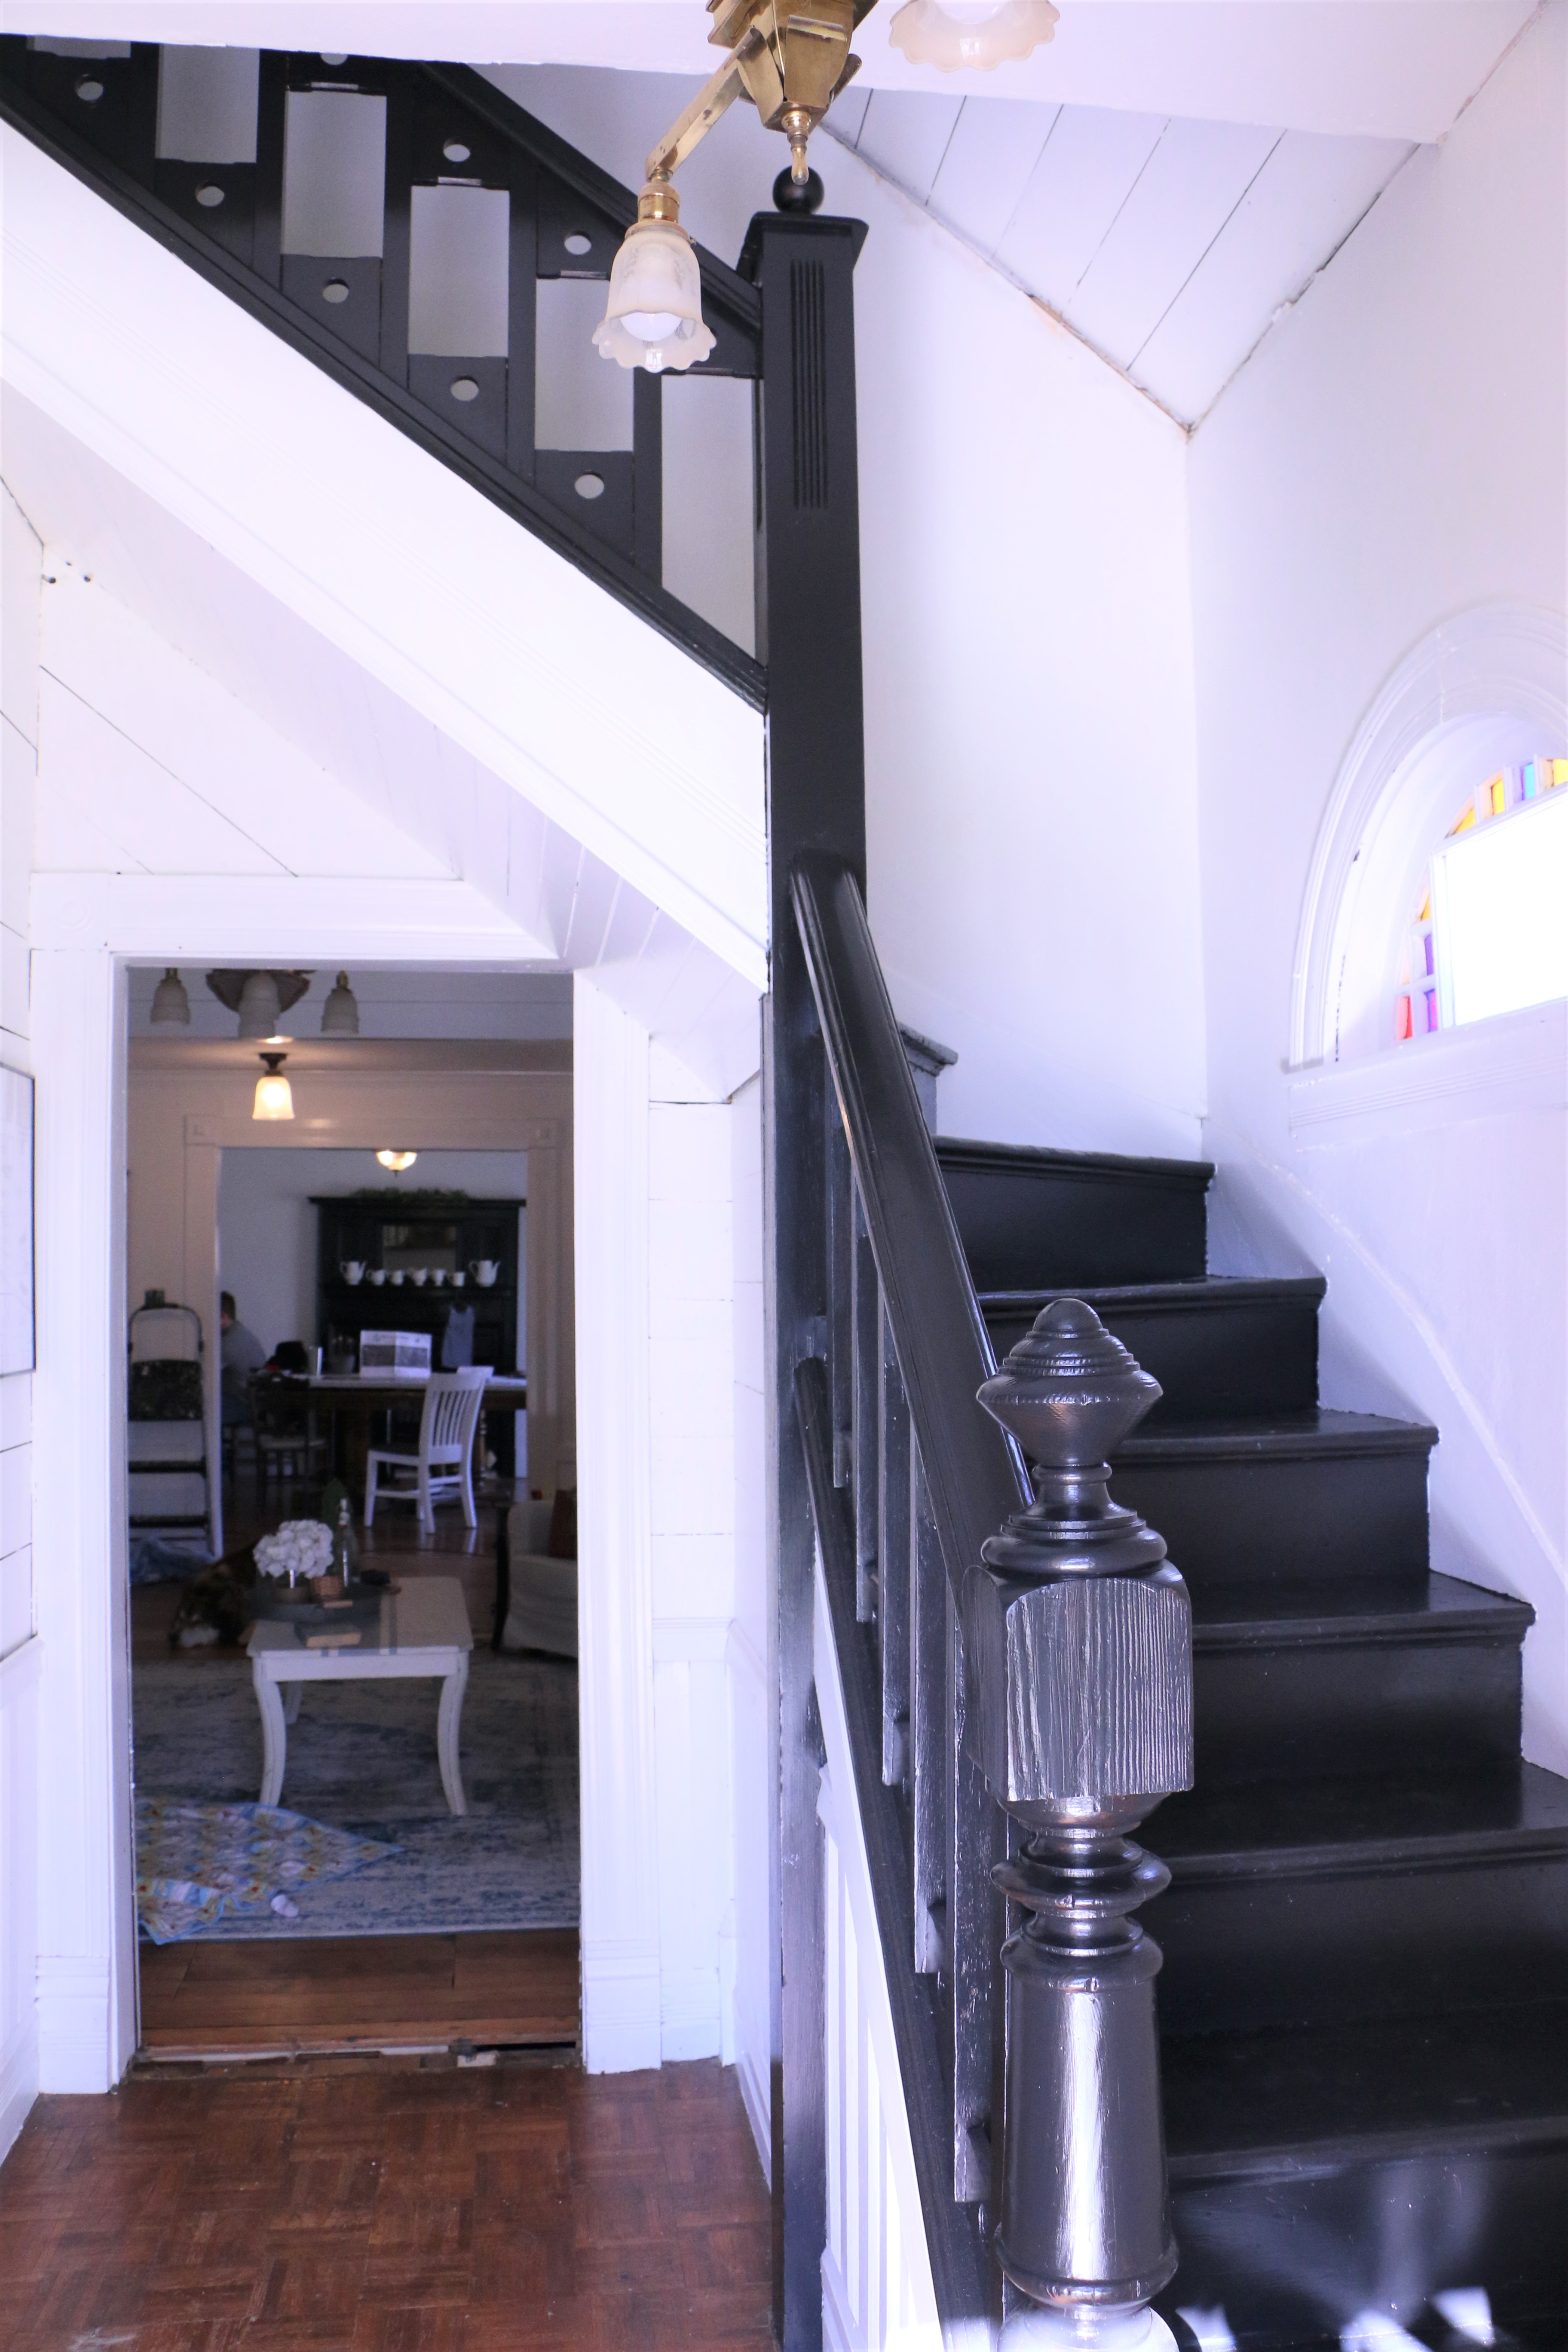
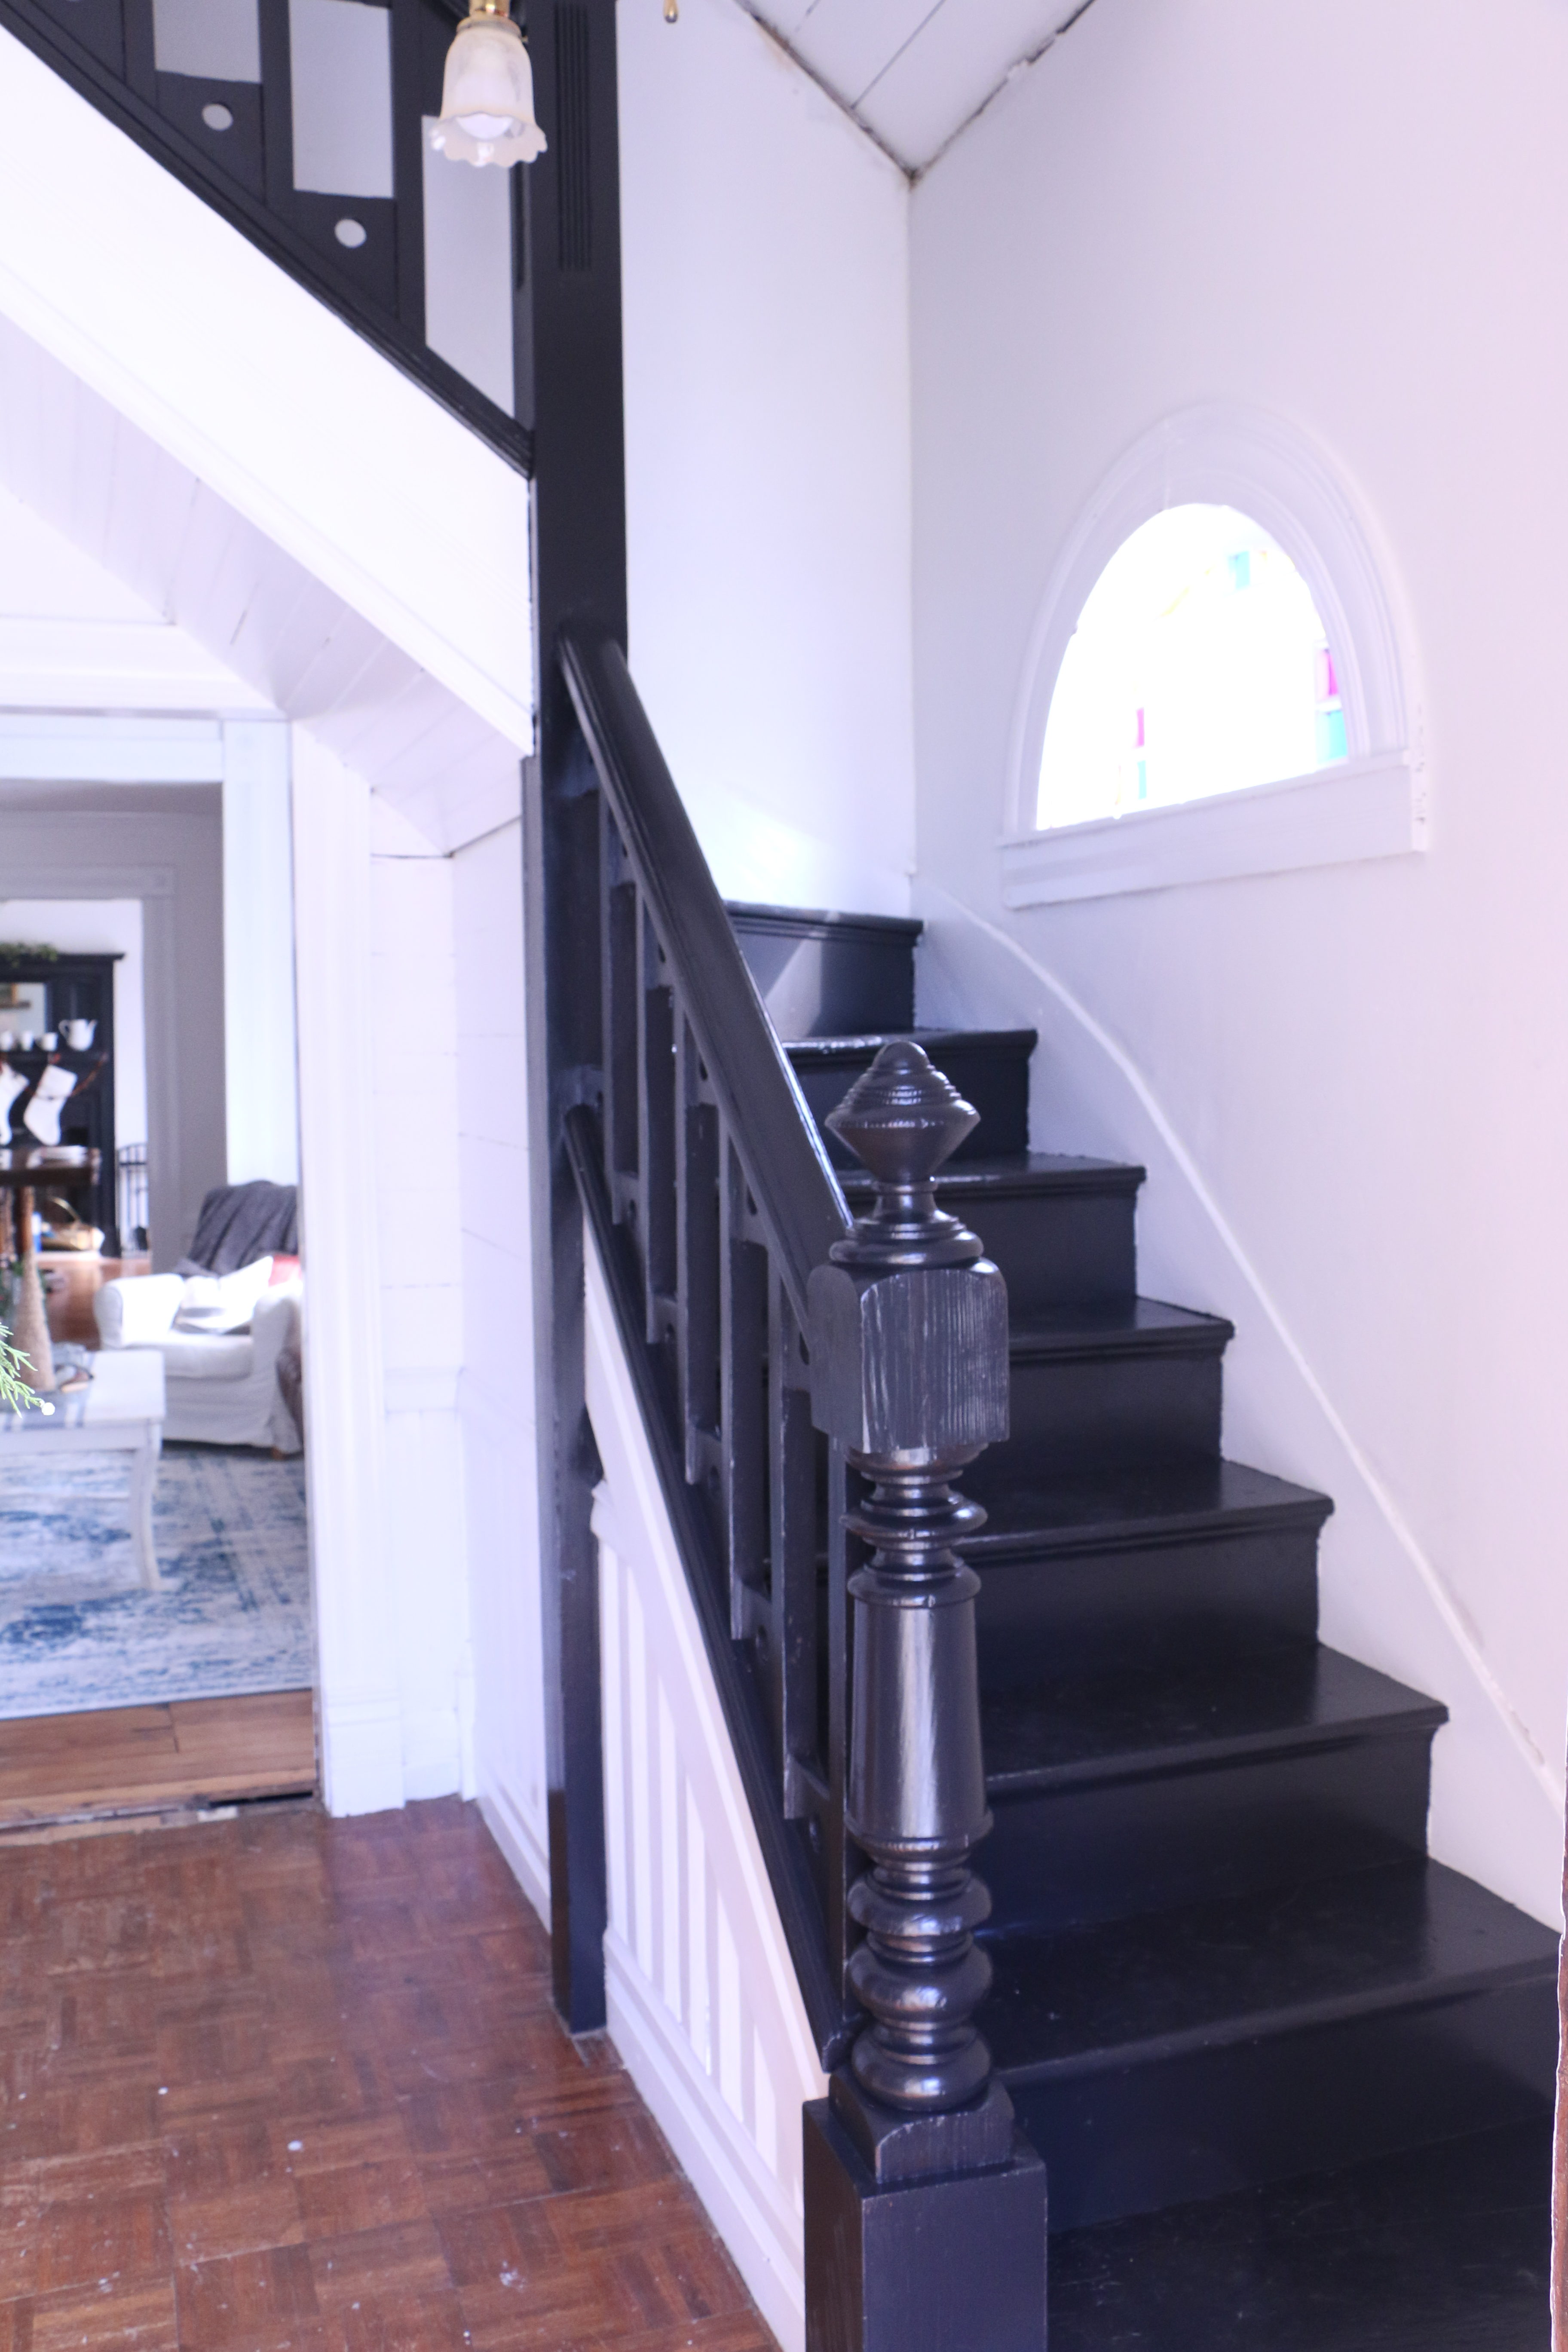
So, y’all want to see some before pictures?

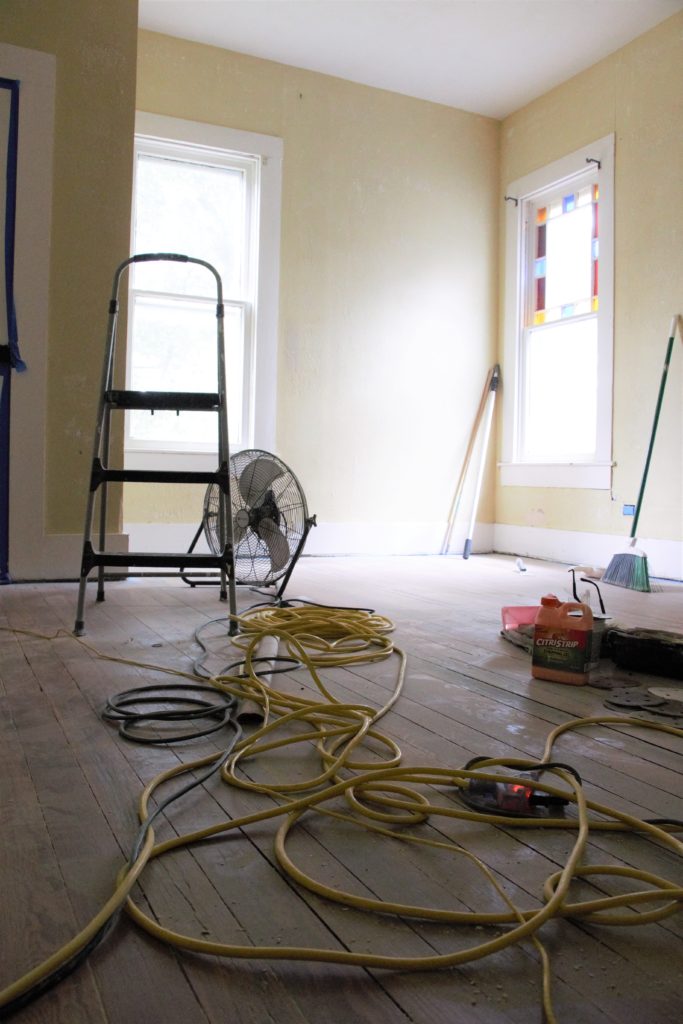
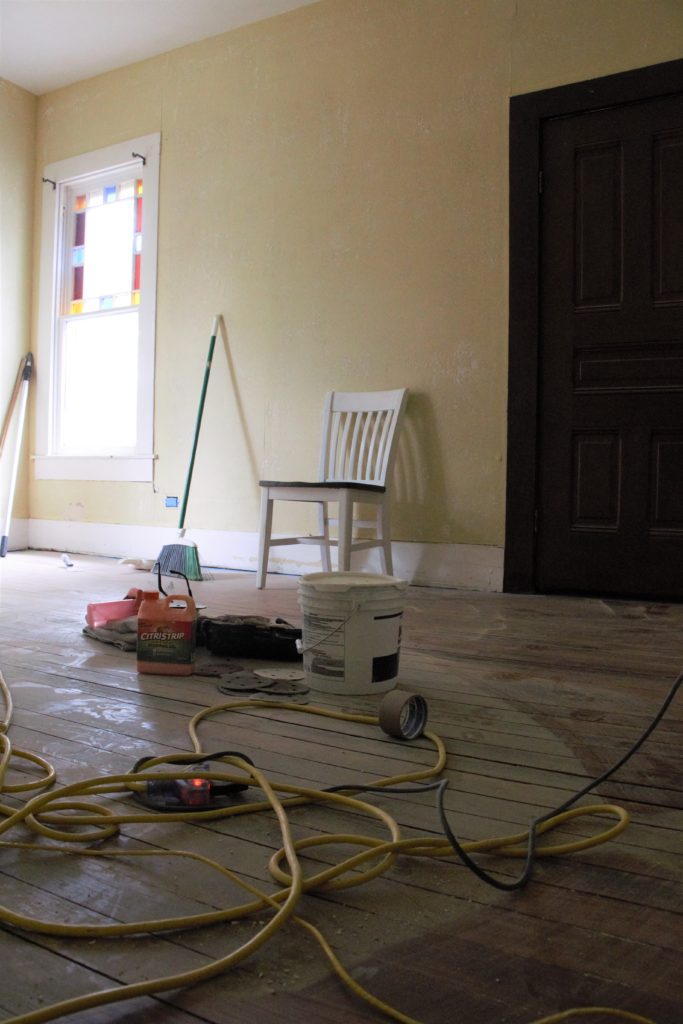
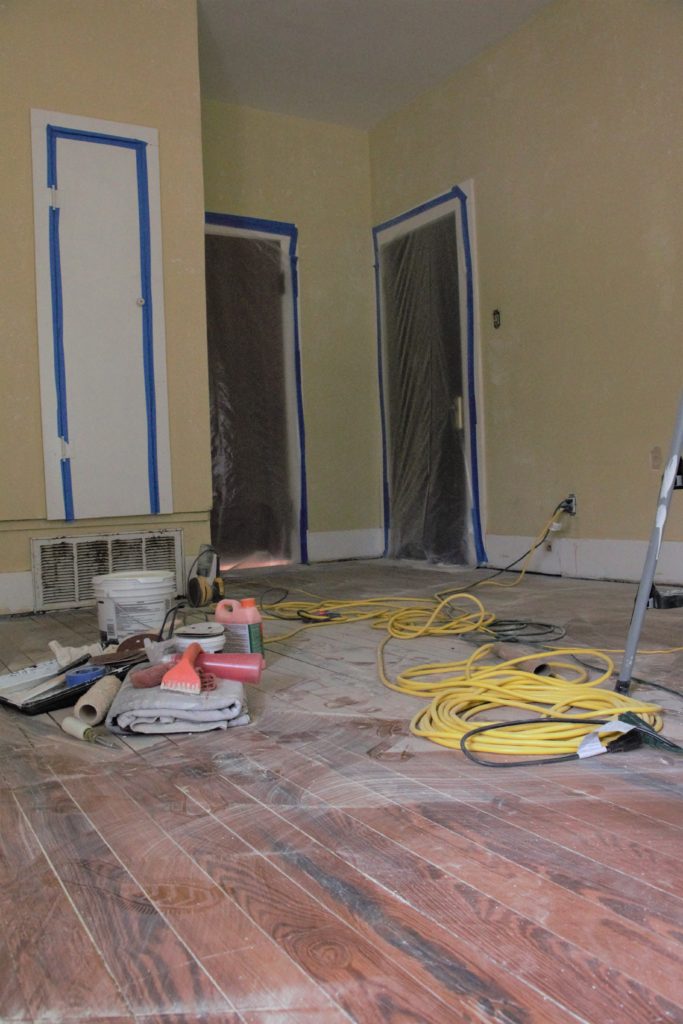
Keep in mind, this isn’t going to be a glamorous before and after renovation. This room has six doors. SIX! Plus a half door to house the HVAC unit. Because of all the doors, there’s no logical space to put the bed. Also, this is going to be a very much phase one renovation. Meaning, we have larger plans down the line, but it’ll take a bit to get there.

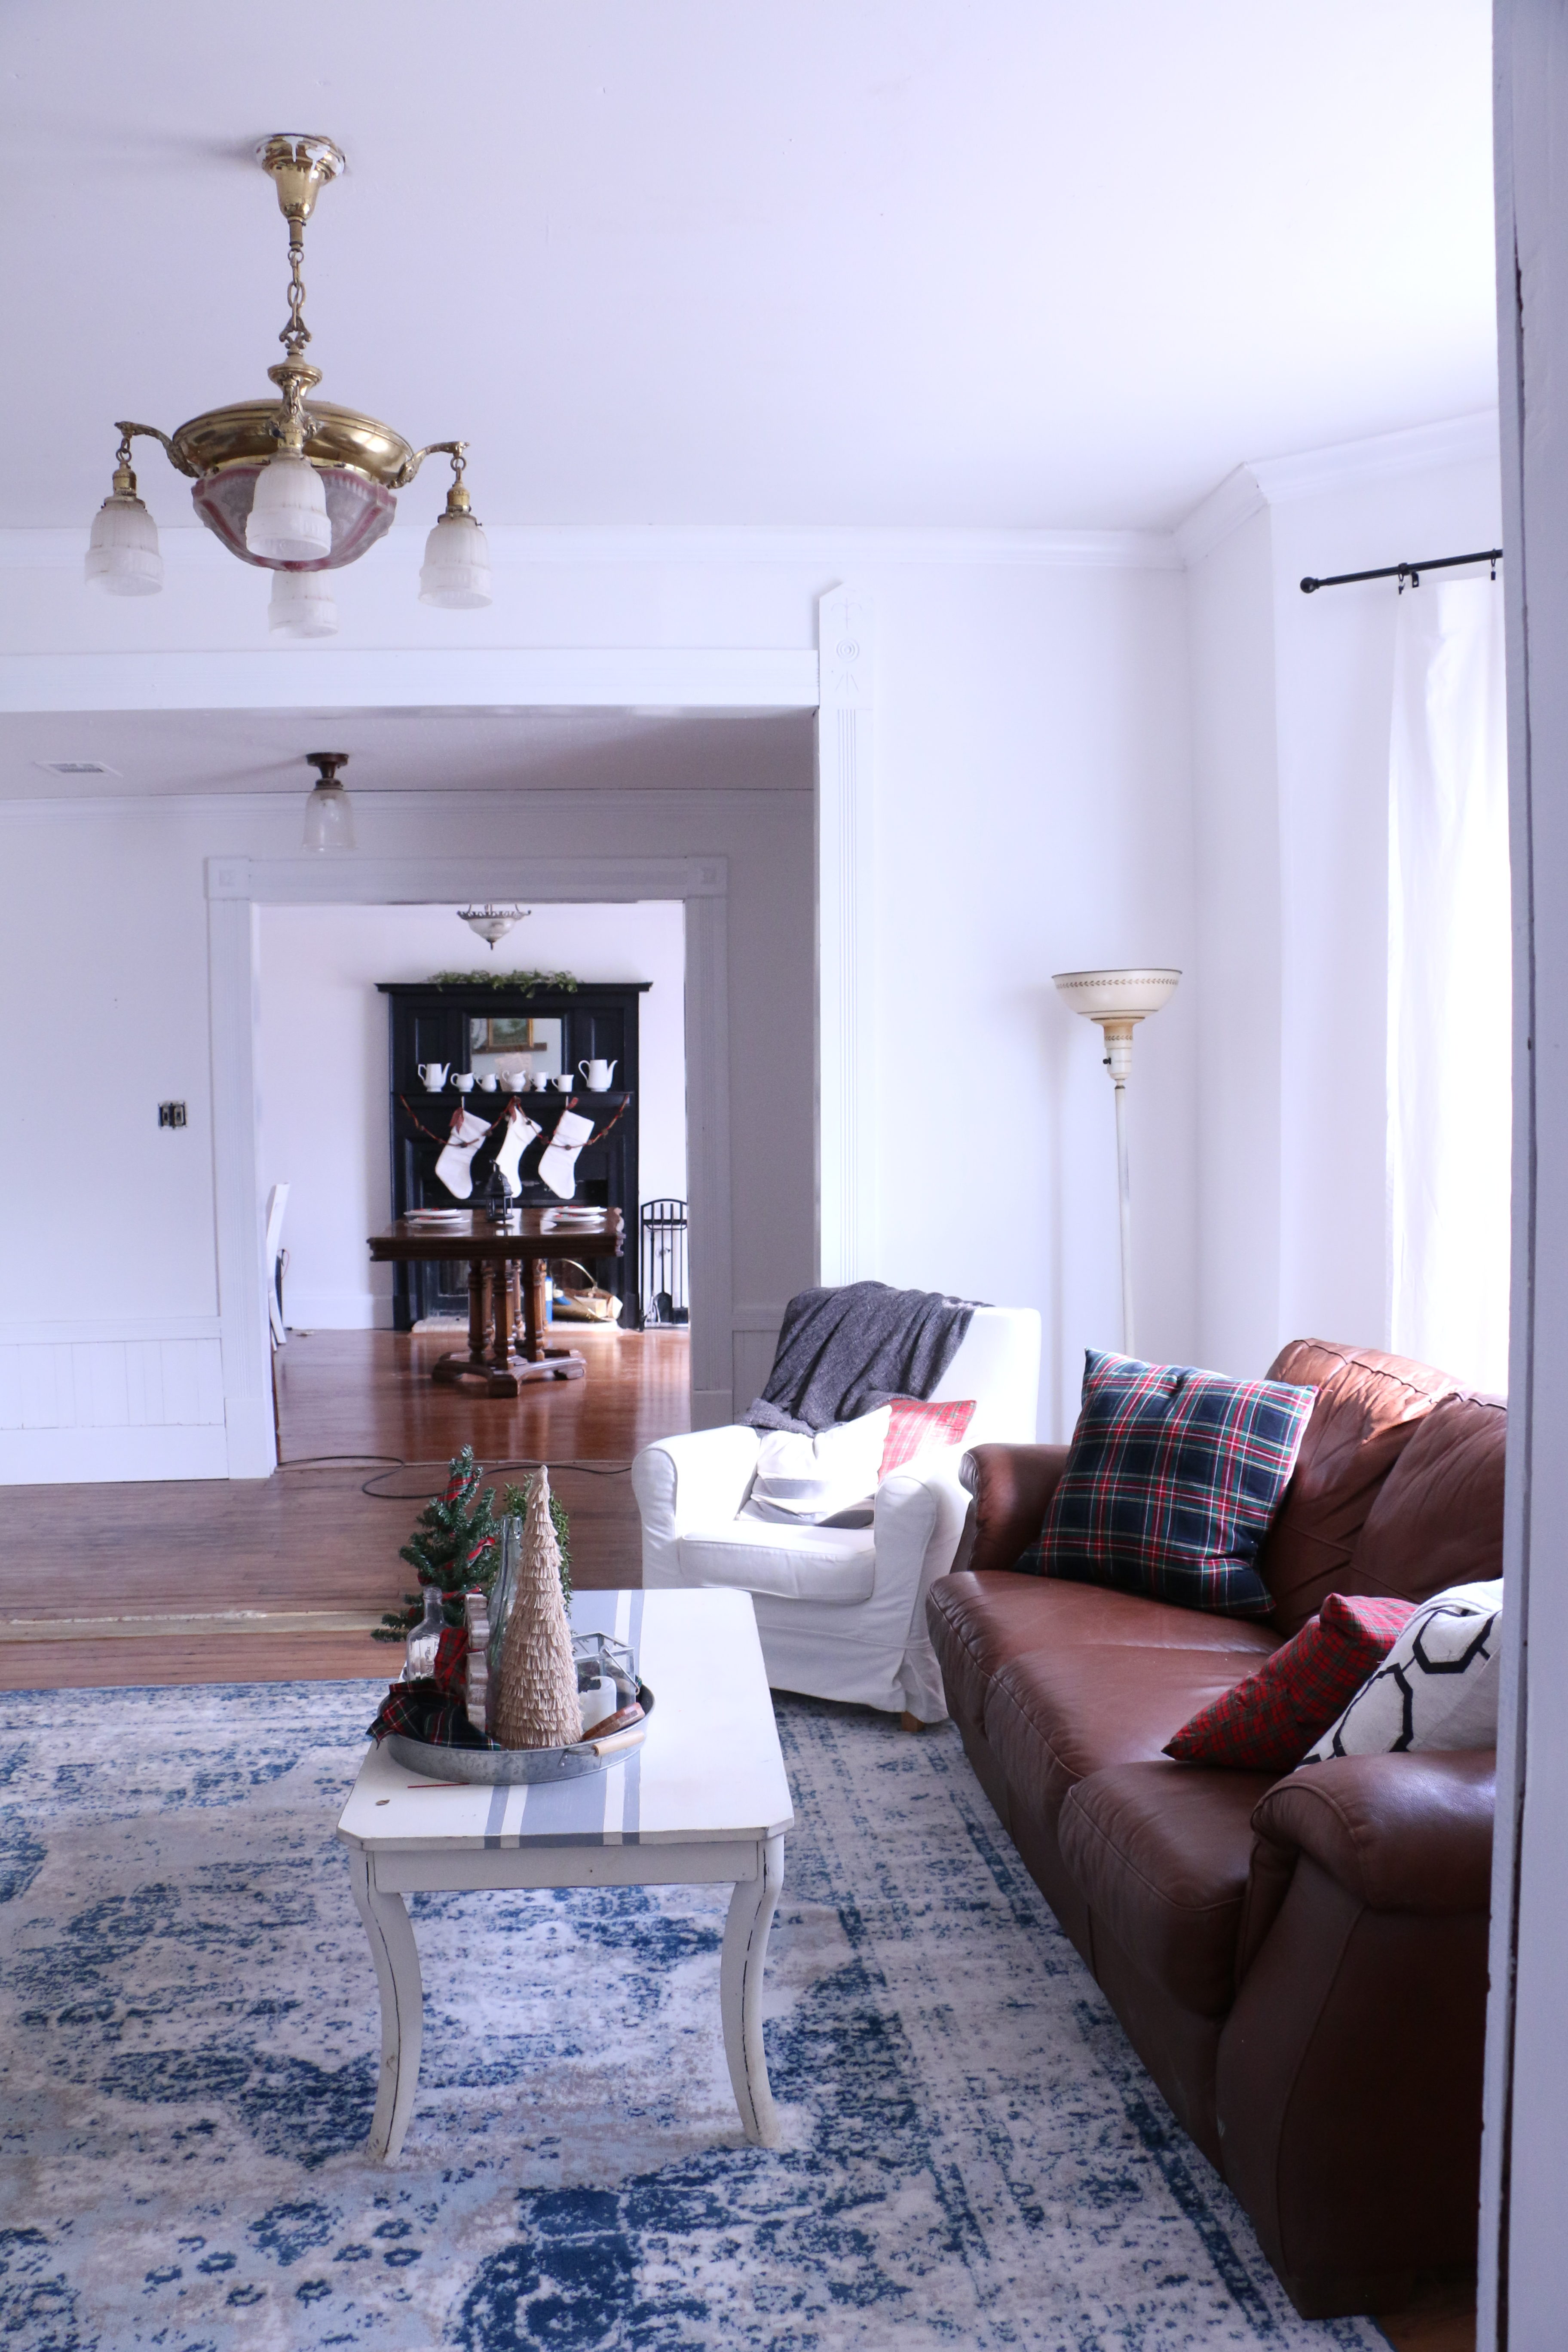
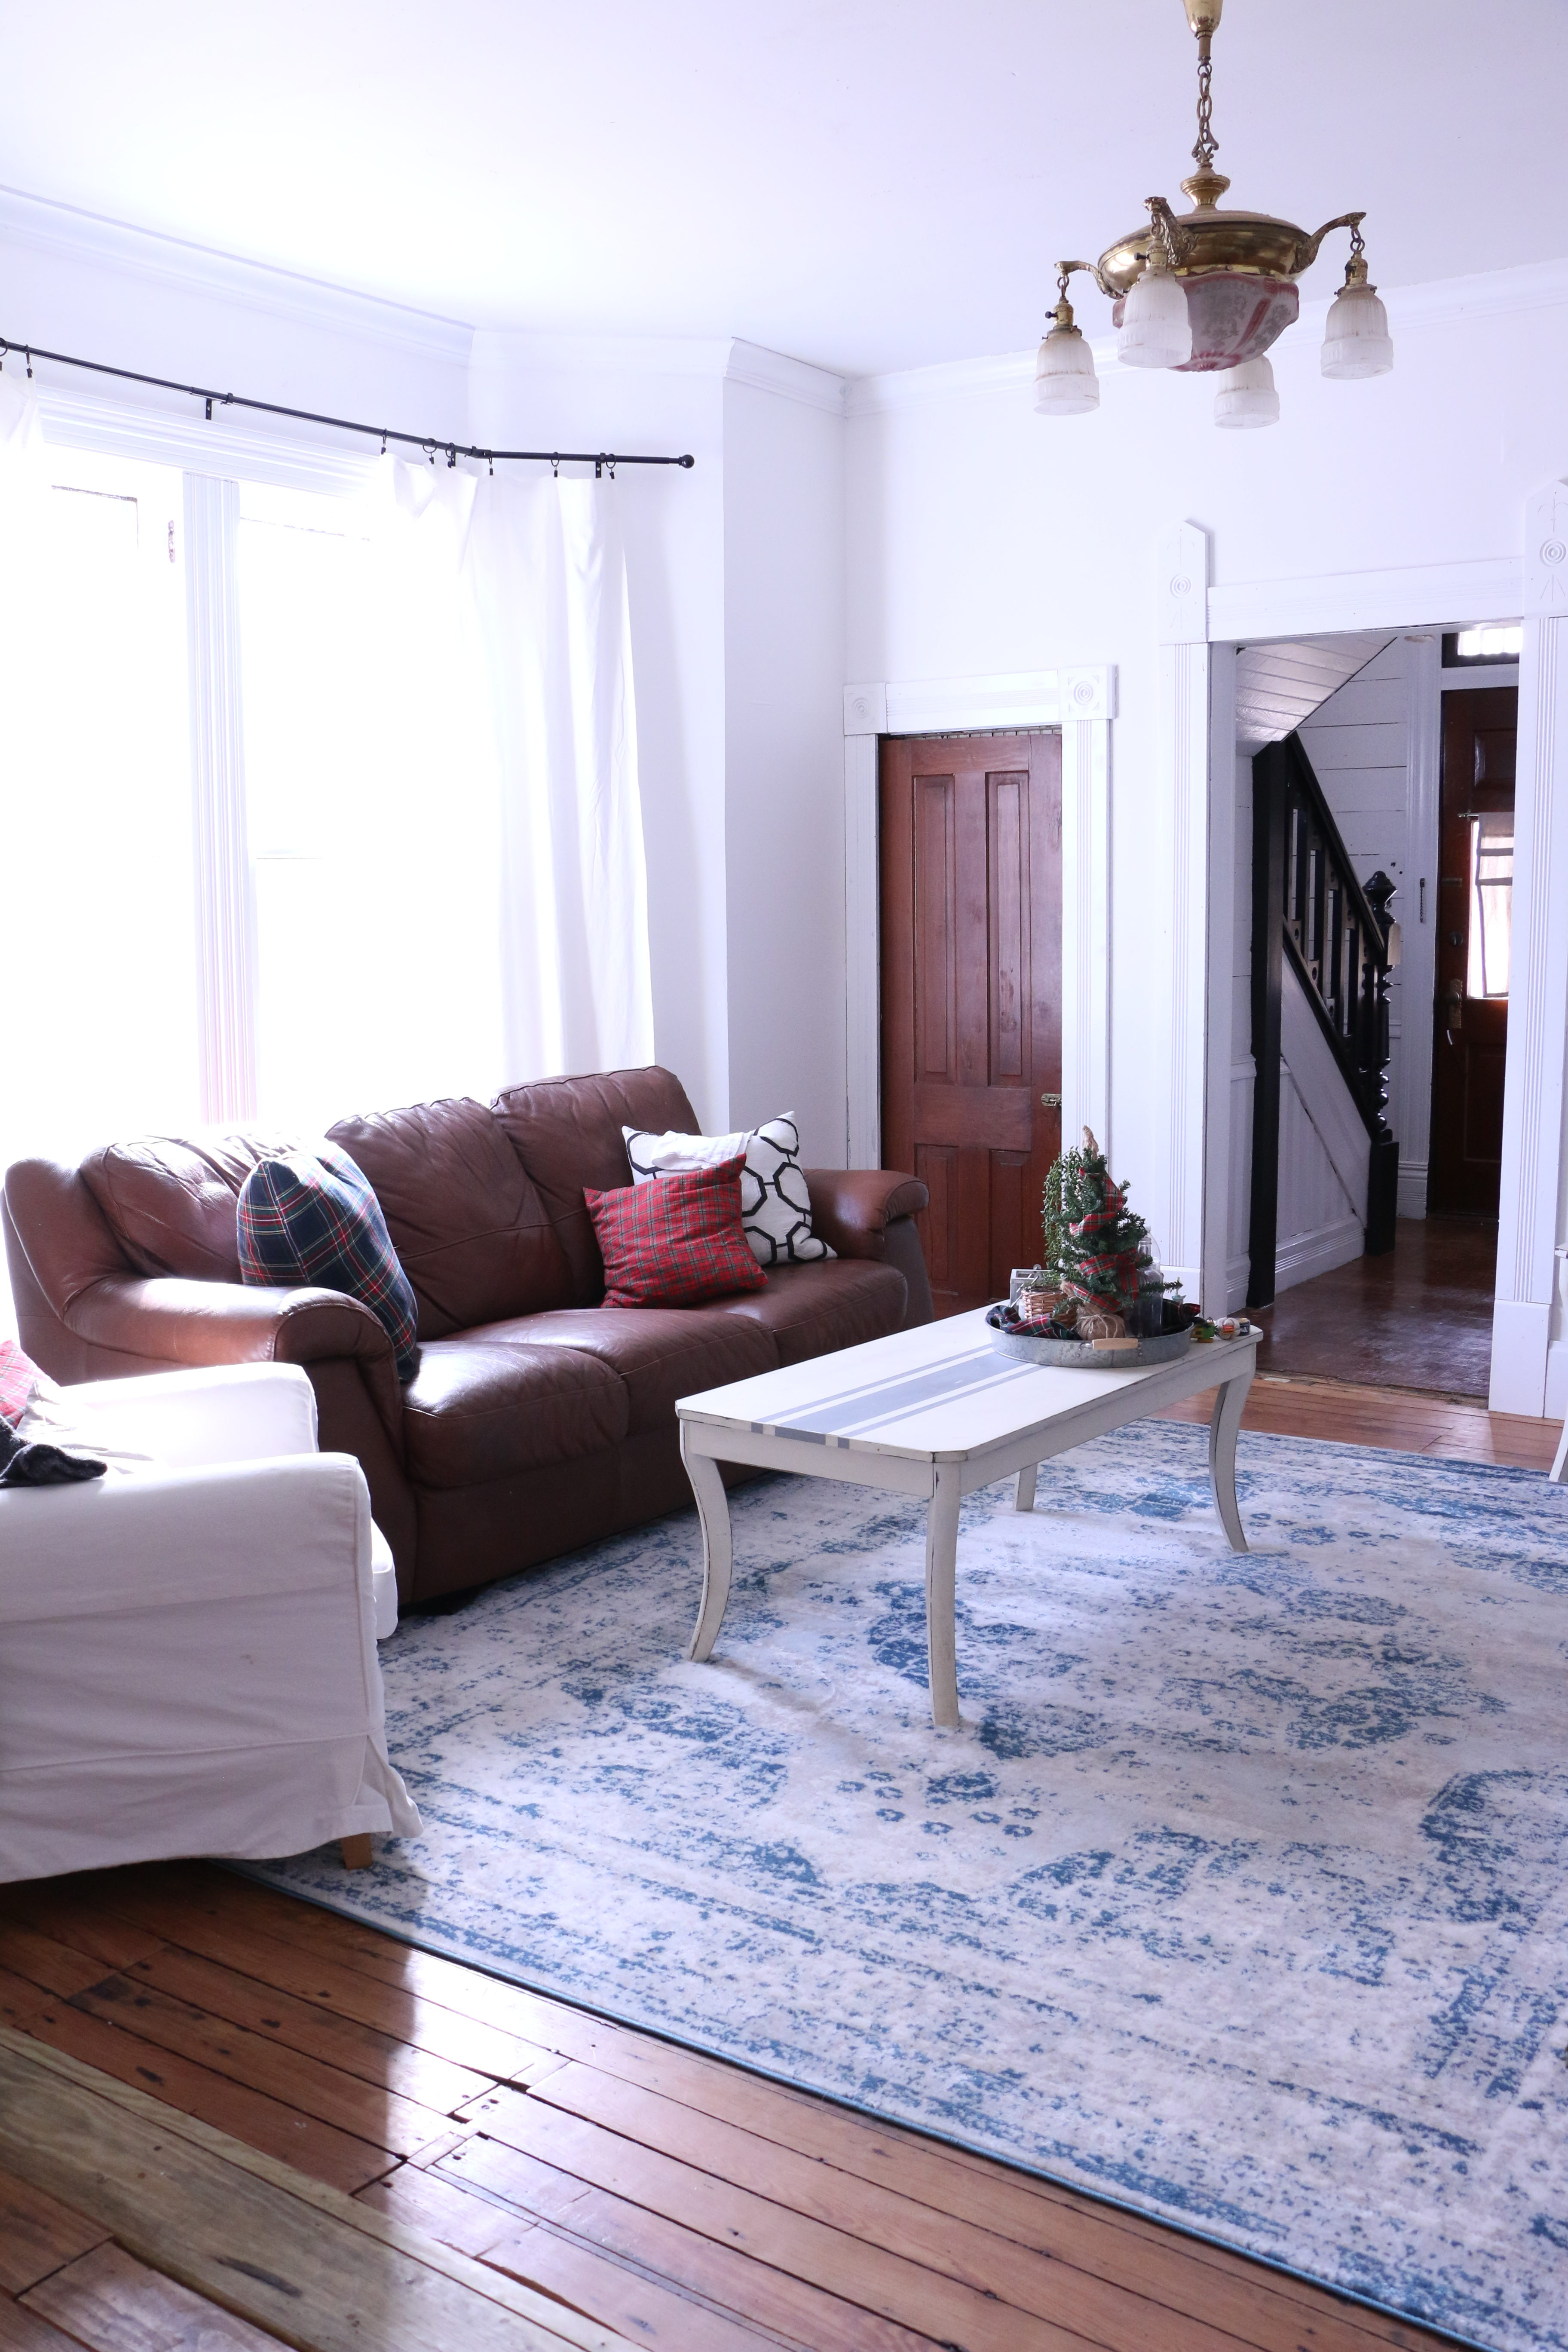
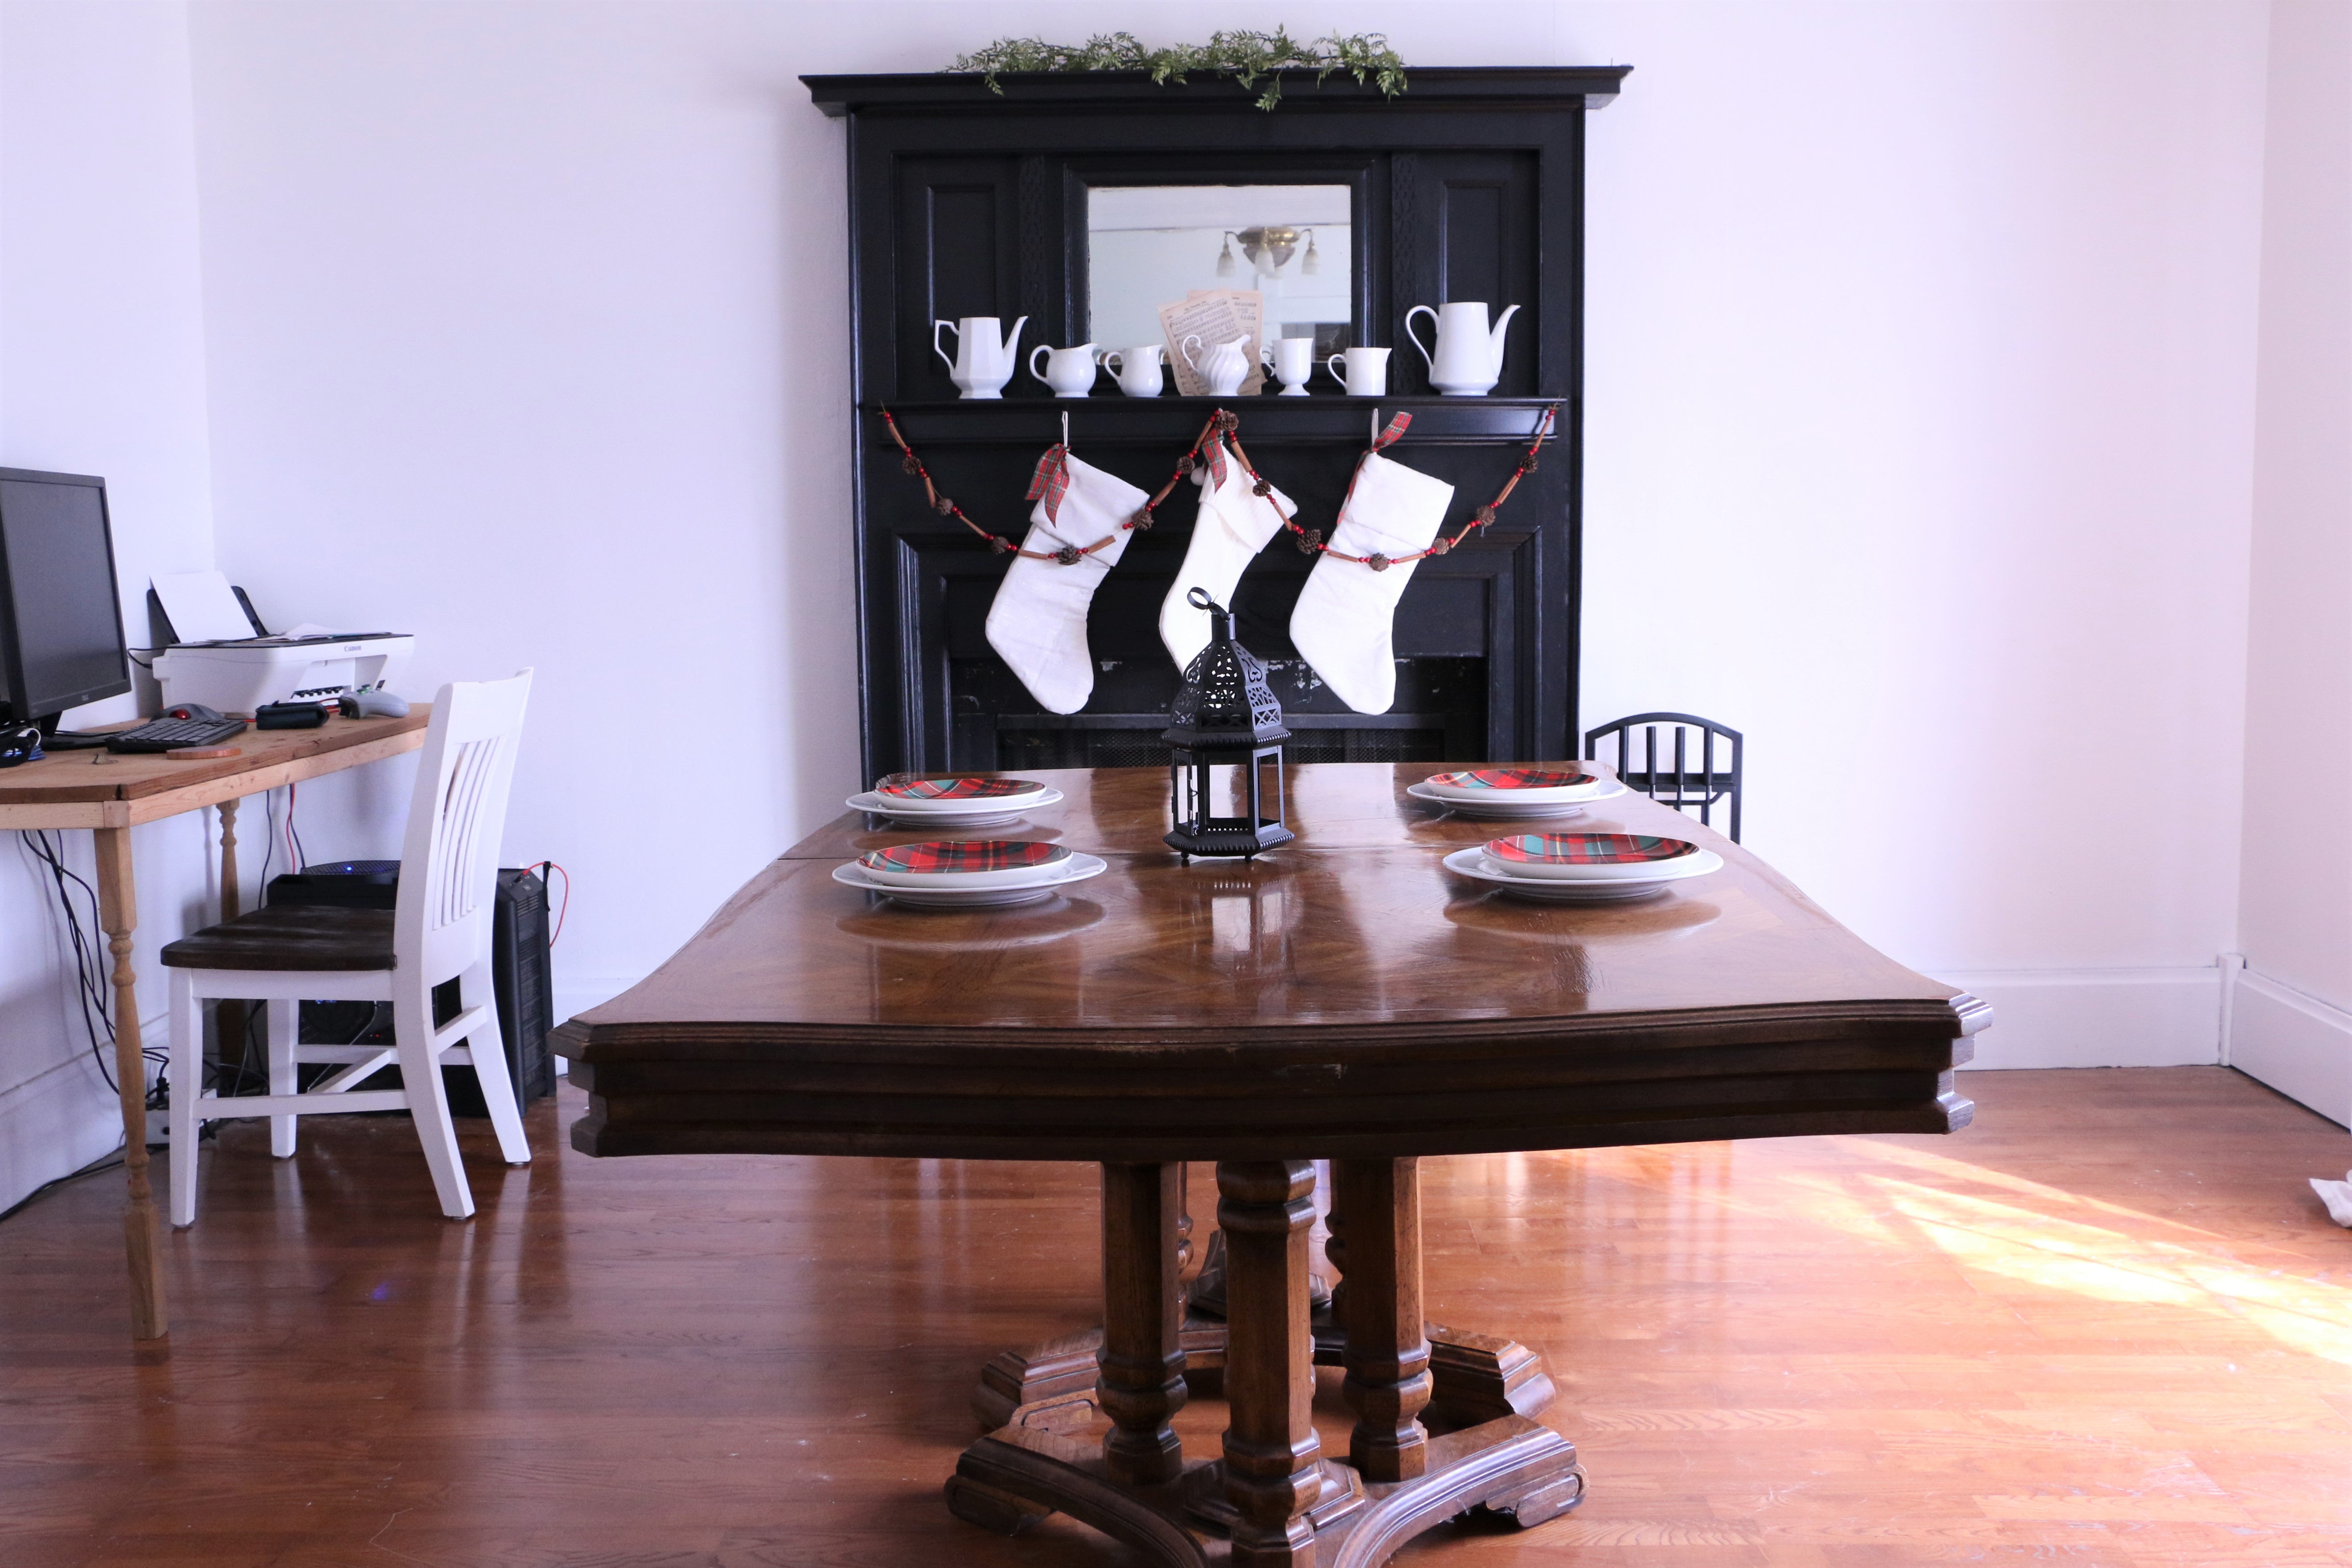
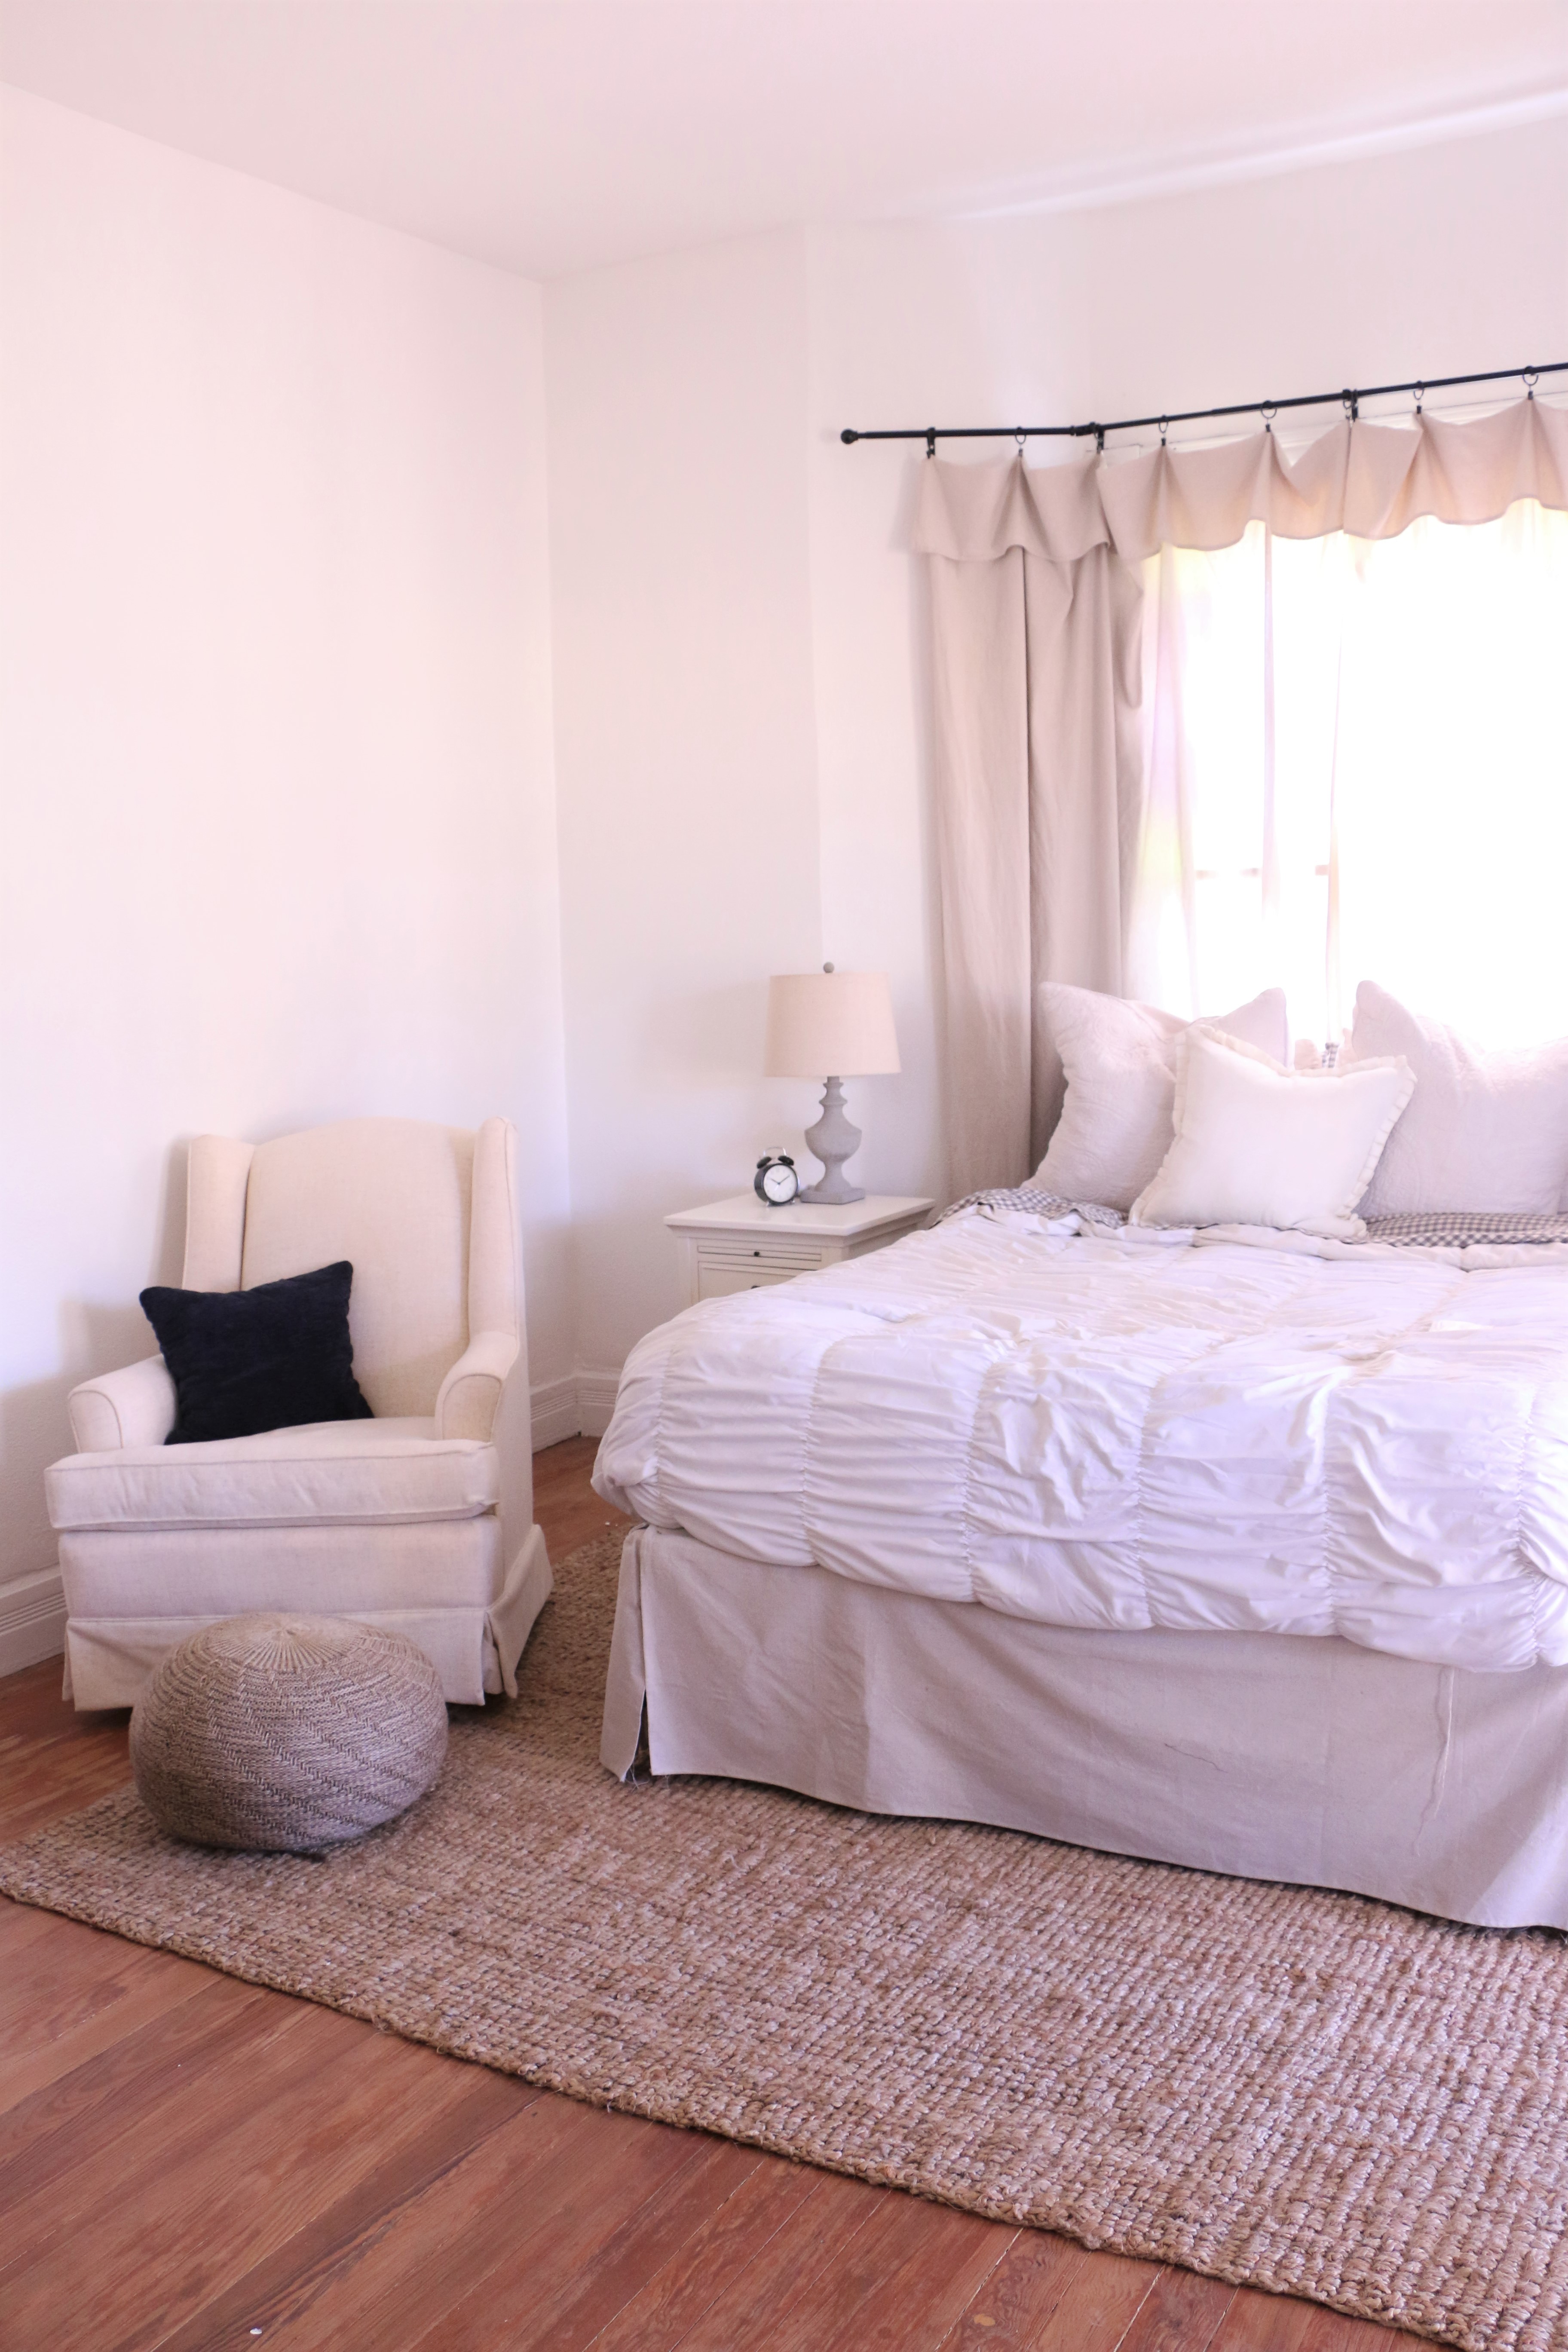
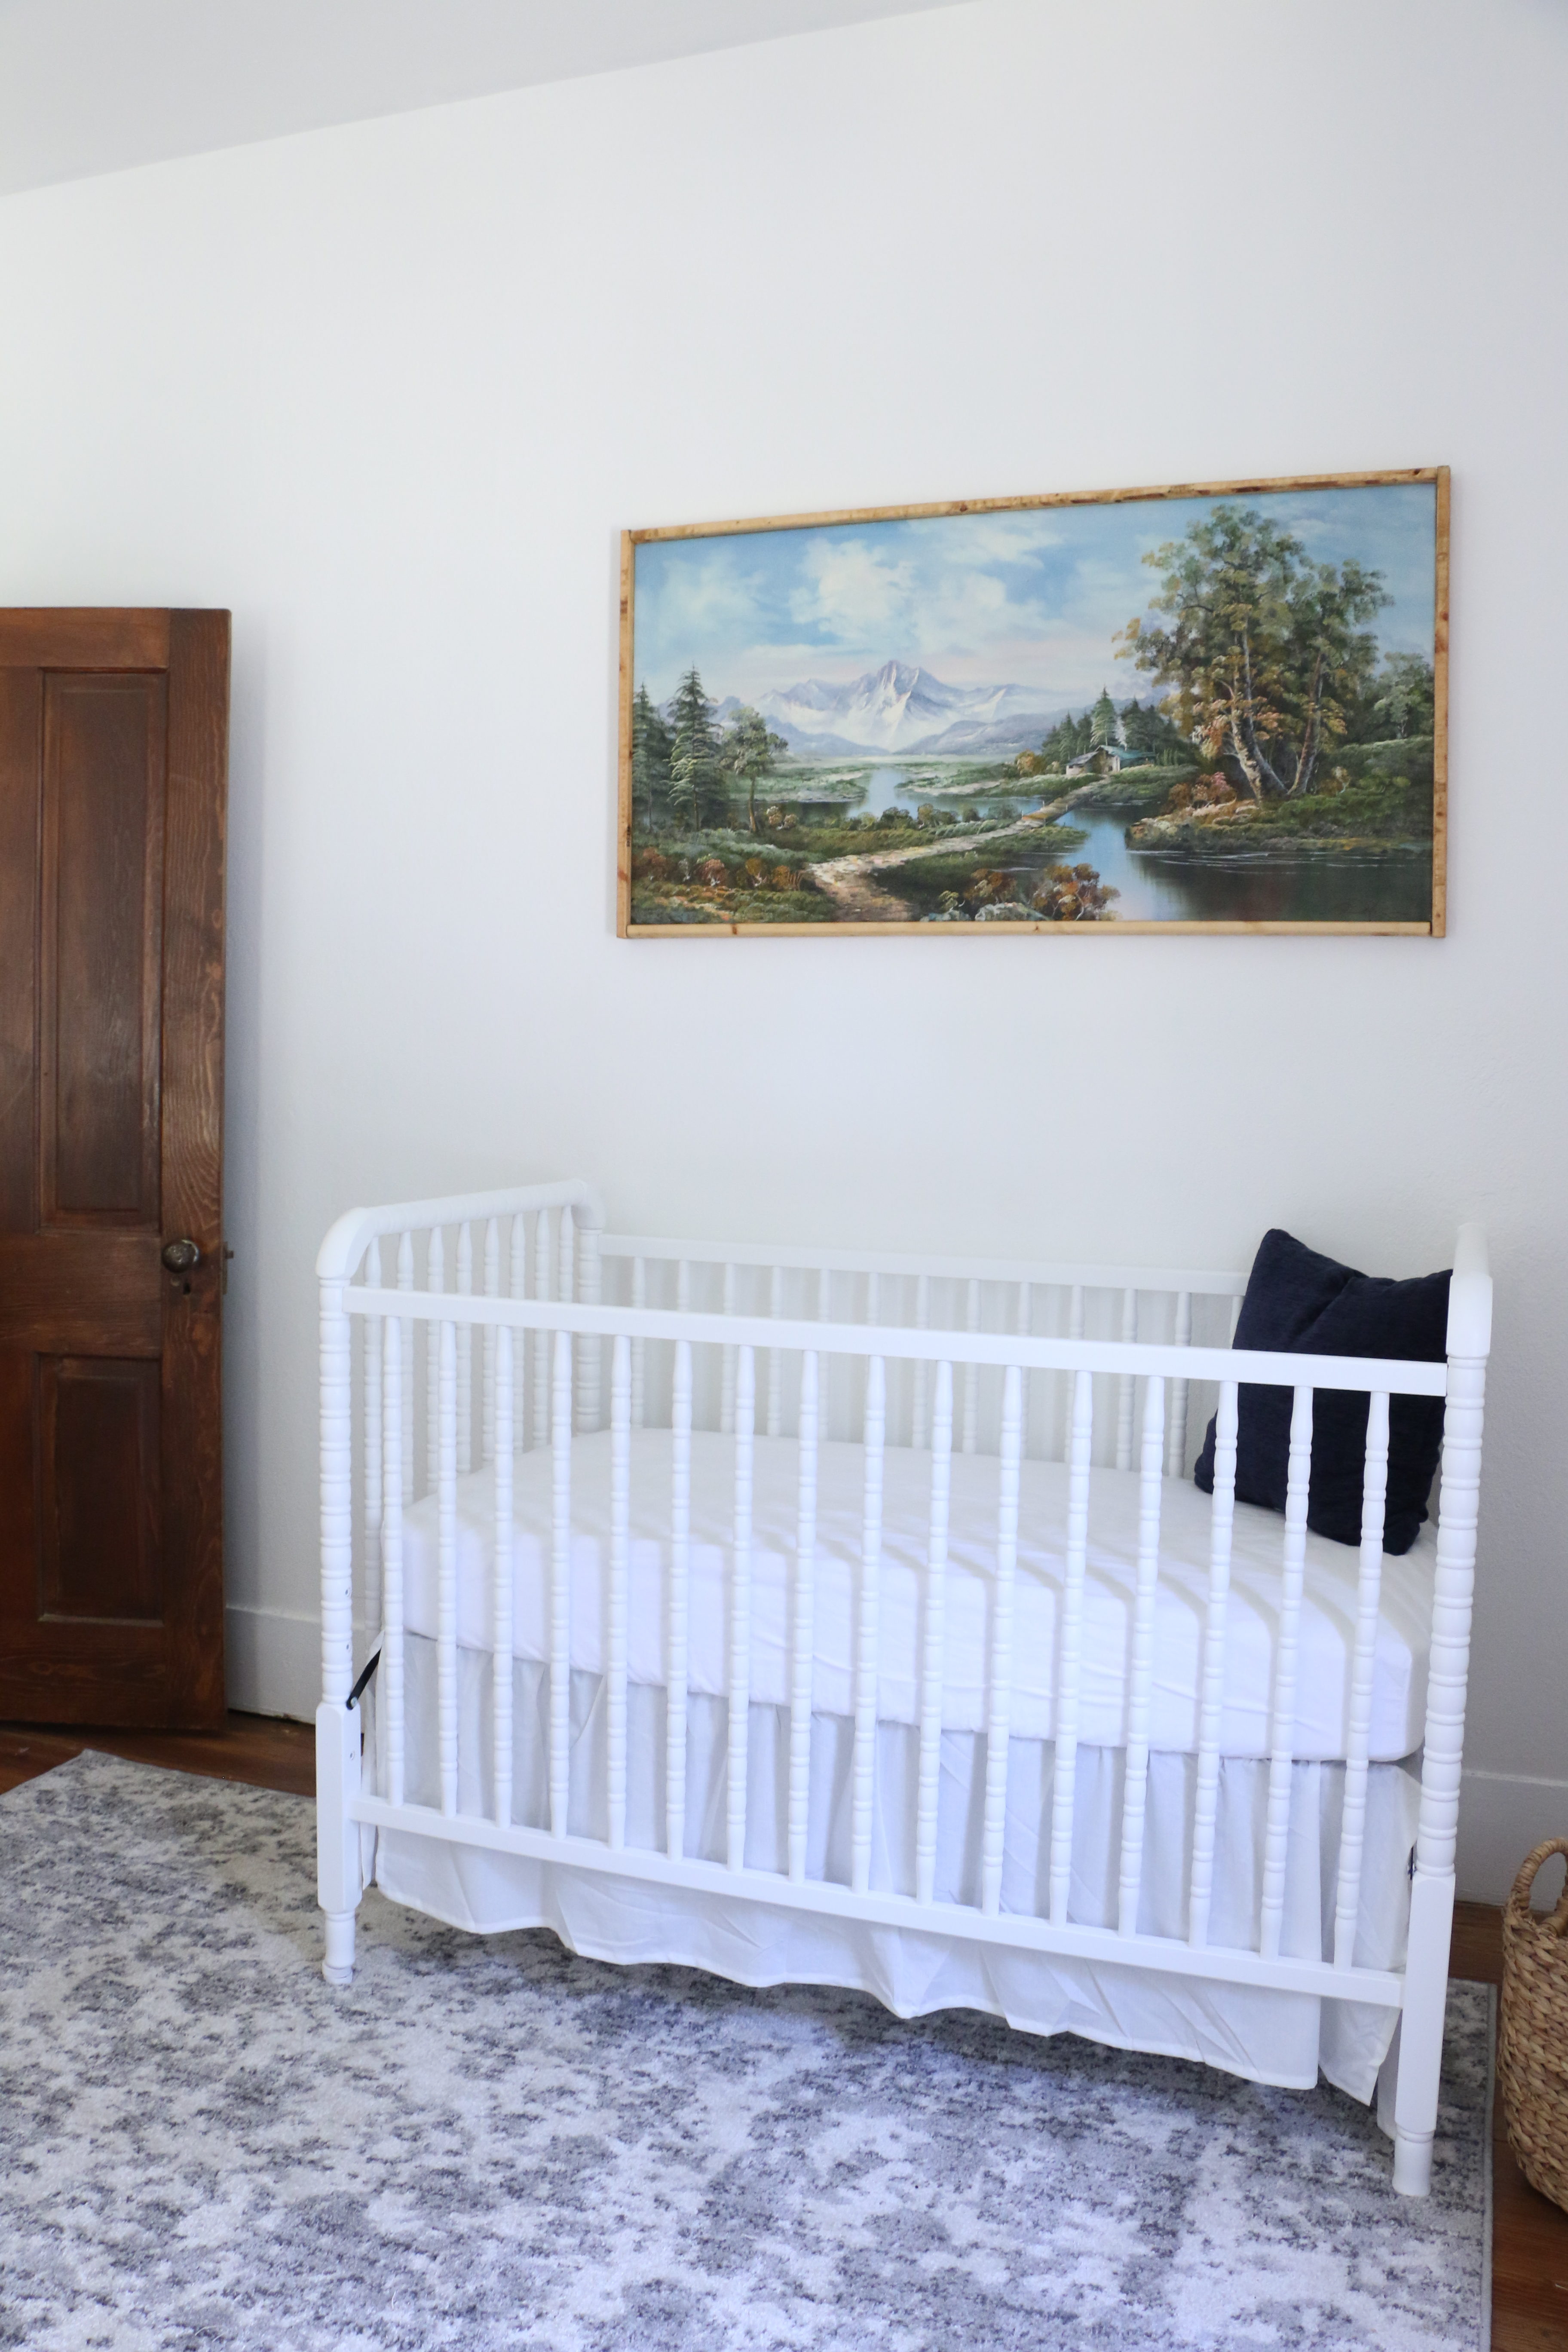
So, let’s walk through the pros of using this room. Obviously, safety. Biggest benefit hands down. Also, with our current master being in the front of the house downstairs, our “Christmas Tree Window” is where our bed is. I’m most excited that if we can get our room situated upstairs, we will have a tree visible from the street outside. Another benefit will be the proximity to the third bedroom (the one we will use as a nursery for our next child someday). The new nursery will open right into the master, which will be super helpful for those first months. (Phase Two renovation will eventually separate those rooms with a hallway and an additional staircase, but that will come later on.) Right now, we don’t have a closet in our room. Our room was the original parlor to the house, but was turned into a bedroom when the addition was made in the 1950’s. We have been using the downstairs coat closet as our main closet for a year. Which has been fine, but I can almost guarantee that a neighbor at some point has seen me run pantless through the living room to the hall closet to get dressed in the morning. The upstairs room has two closets!!!

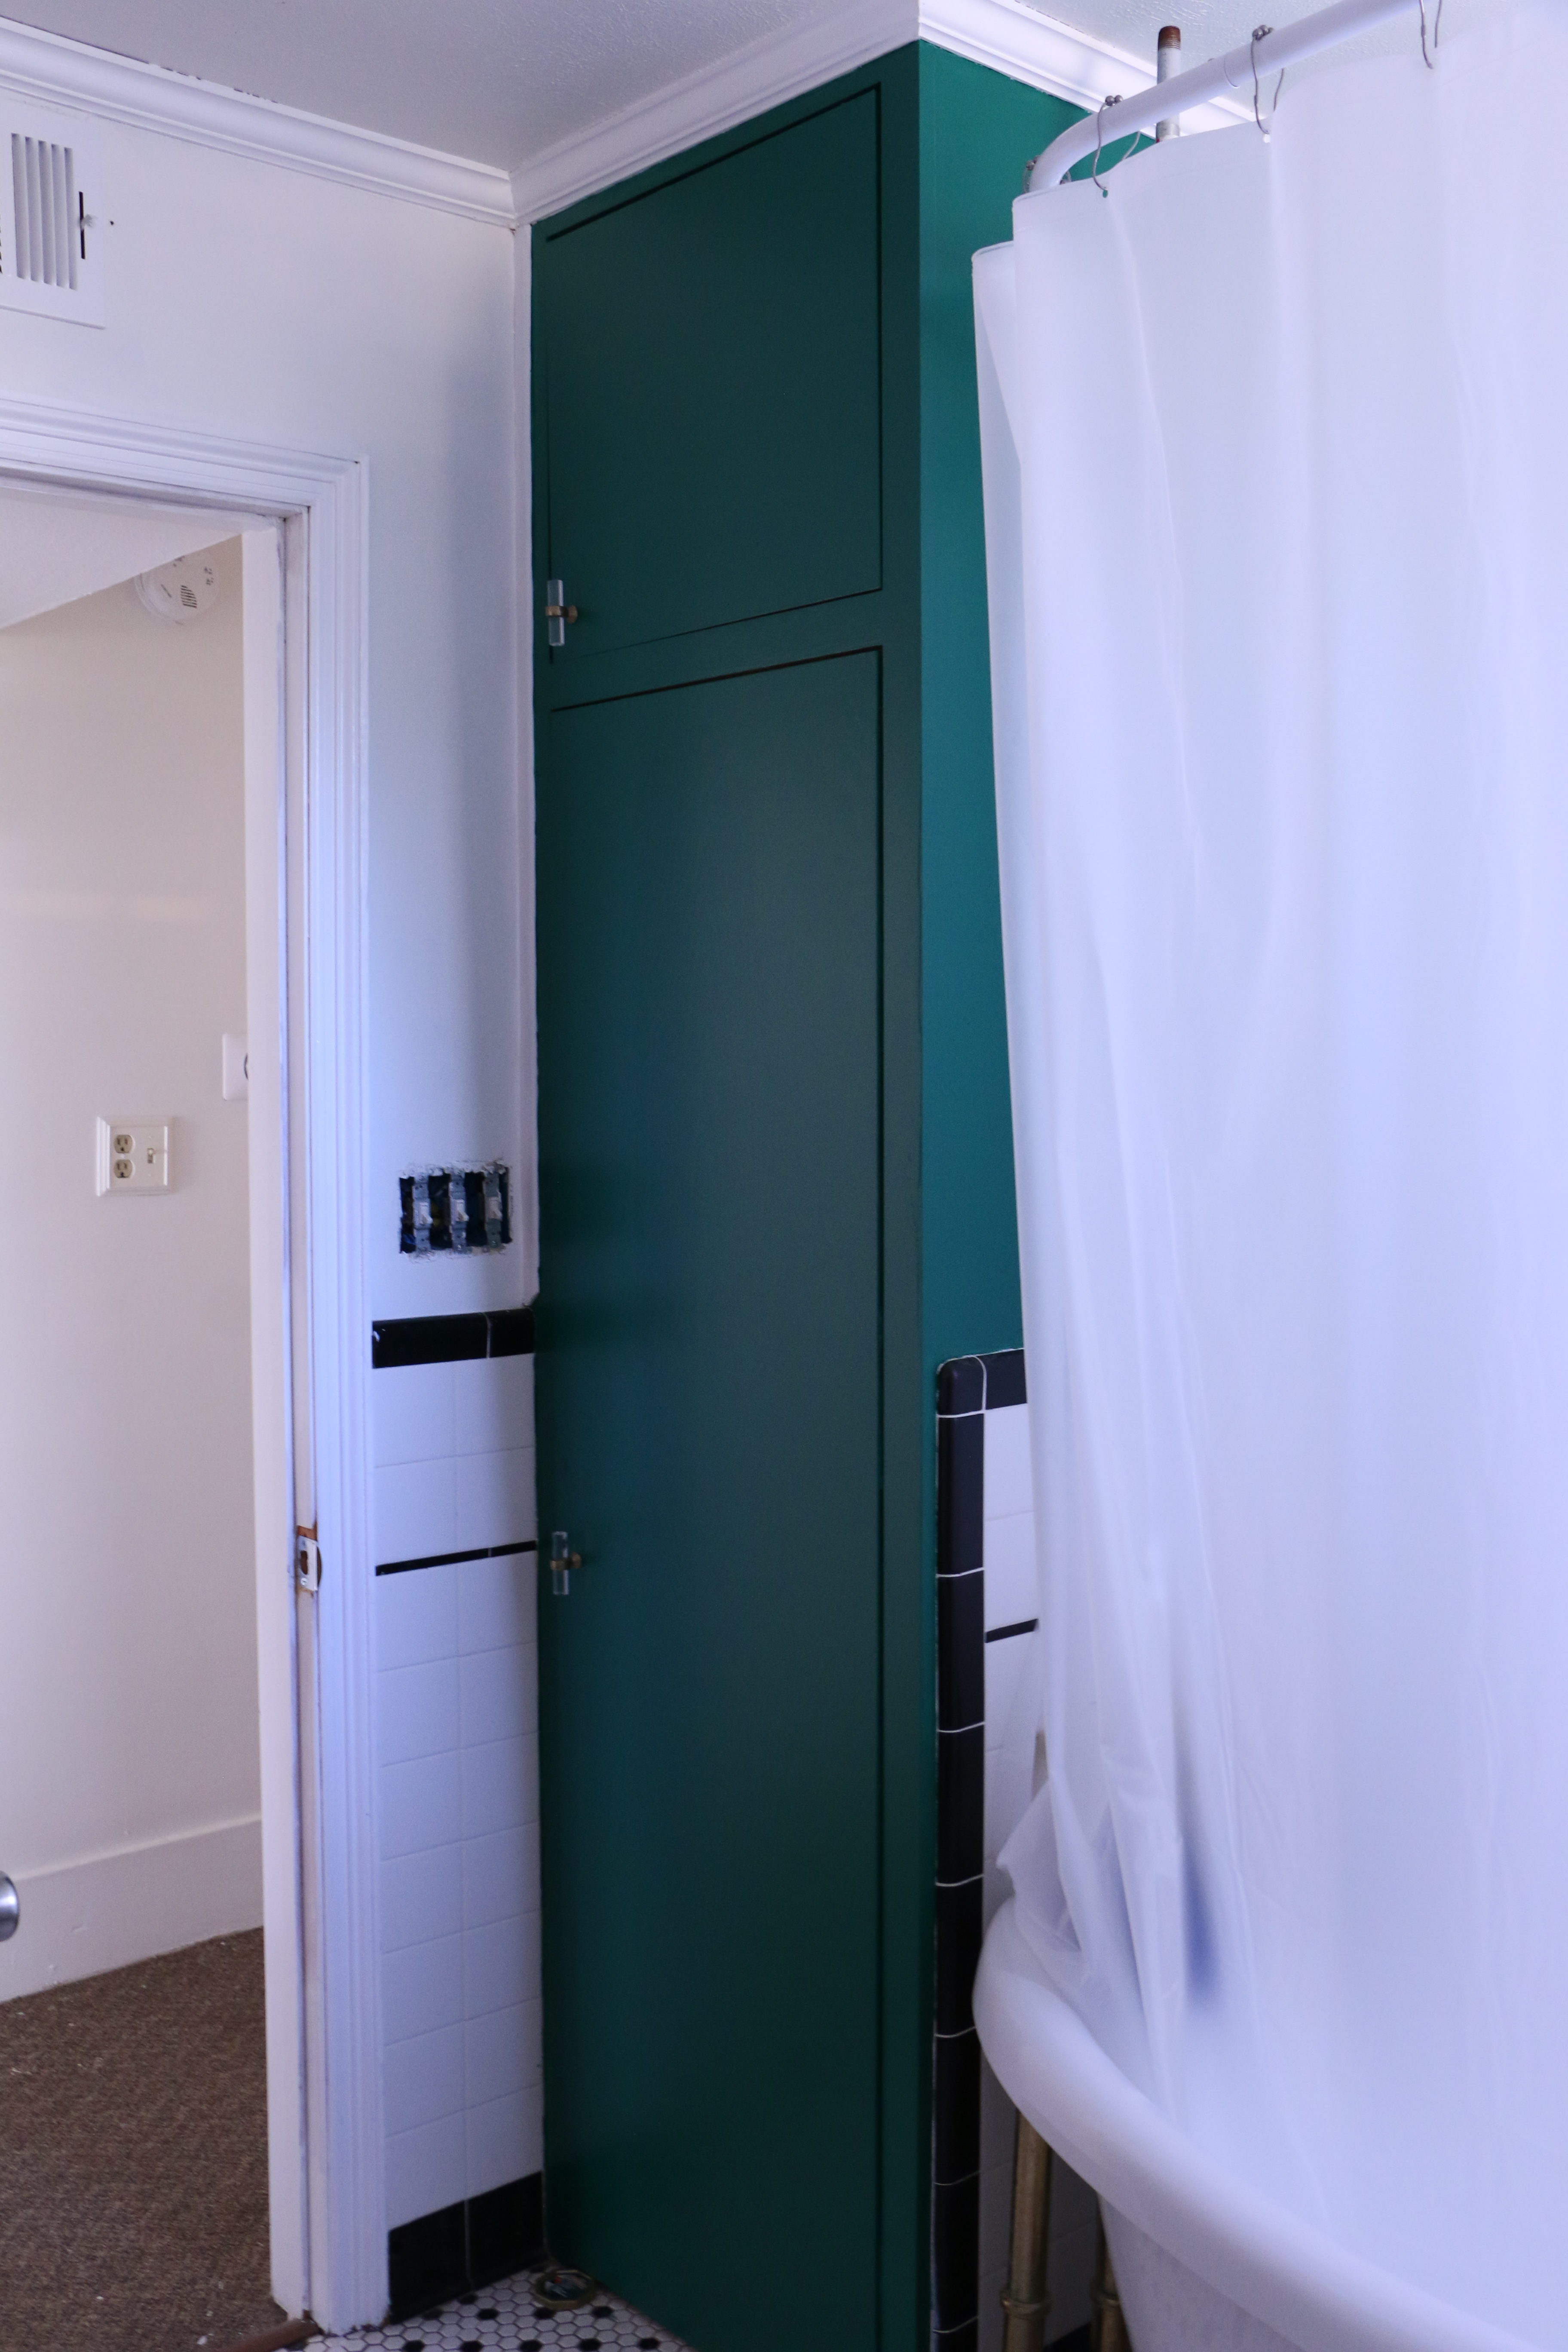
The cons: need I say again..SIX DOORS. It’s an awkward layout for sure. It has a door the a lower level roof for goodness sake. I have some design plans to work with it for now, so we’ll see how that turns out. Also…the dungeon bathroom. It has graced my Instagram stories mayyyybe twice. Our upstairs bathroom is a scary place. And it’s low on the list of priorities. To be honest, I’m pretty scared to use it. So I’ll be using the bathroom downstairs still. Which I’m sure will be annoying in the night. Or on those cold mornings getting ready for work.

So, at the risk of getting too wordy already, let’s talk about the plan for the space. Y’all want to see my super sophisticated moodboard that I literally made on my lunch break? Well, you’re in luck:

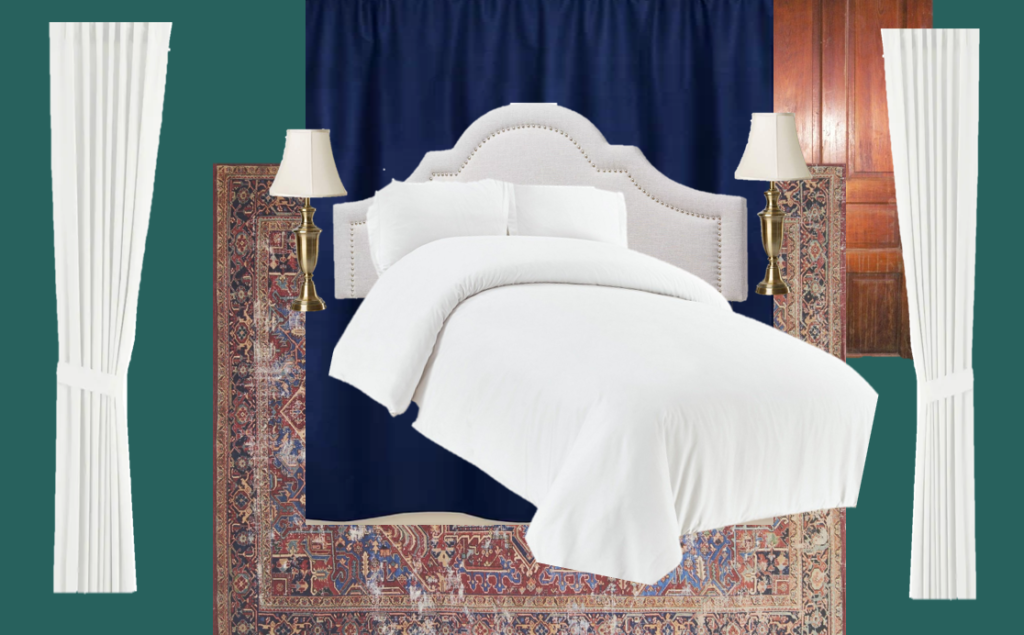
When we bought the house, we bought ten gallons of the same white paint color and just went to town with it in every room. We don’t have any more of that paint, so I will have to buy more regardless. I’m really inspired by dark, saturated blues and greens right now, so I’m thinking something like this. None of the things in this photo are exact things I plan on purchasing (except the headboard, which is what we already have), but are more or less ideas for the space. I will likely thrift a lot of items, or try to source some on FB Marketplace. I plan on stripping some of the painted over doors, with a bright, crisp, white trim. Moody and dark, with brass accents. And don’t even get me started on a timeline, because who knows when it will be finished. But, I do plan on priming it and moving us up there this weekend. Everything else can be done after we are sleeping in the room.

So anyway, that’s the plan. I’ll keep you along for the ride! That’s all for today friends. Have a fabulous day!

DIY Projects, House Progress

House Progress – Our Front Stairs

Hi guys! Today I wanted to share a quick update on a section of our house that isn’t finished yet, but looks waaaaayyyyyy better than it did before, and I’m happy to live with it as-is for a while.

Our front staircase is one of the original features from 1895. It is tight, narrow, and has a very abrupt turn which makes moving furniture upstairs quite tricky. Just as a reminder, this is what it looked like when we moved in:

Looking at that photo is absolutely crazy to me because it looks nothing like this anymore! Within the first few days, we pulled out the carpet, and a few weeks later while we were working daily, we painted the walls. But for a couple months, we hadn’t done anything with the stairs themselves. And then our son was born, and we were a little slow to getting things done, so it took a while before I got around to painting.

I decided to paint the stairs, back in December, I believe, but I never really shared the full details. 

And now they’re black and white and I’m totally in love! They make the space feel so much bigger and brighter, even though it really is a tiny staircase.

Pardon the glaringly bright sun, I was just too excited to wait to take these pictures!

The color is Behr’s Totally Black, with Ultra Pure White (the color you get without any mixing – straight from the can) trim, and Polar Bear on the walls. We painted the staircase with a semigloss finish, which I would not normally recommend on a high traffic area, but we do plan on adding a runner down the stairs for comfort, so they will not be getting much foot traffic at all once the runner is installed.

Here you can see an unedited look (nope, I didn’t clean up for y’all) at the stairway into the rest of the house. So aside from the runner, we do plan on doing a few other things. The light fixture will be changed, of course, but we’re also thinking about a fun statement tile to replace the parquet flooring. For now though, it’s a small makeover to tide us over until we get to the real thing!

So, if you can pardon my photography skills, that’s the latest little update. Projects are going pretty slowly around here, but as soon as we get back at it, I’ll keep y’all updated. 🙂

That’s all for today, friends. Have a fabulous day!


DIY Projects, House Progress

Status Update: End of 2018

Hi friends! I’m so glad you’re here! If you’ve been following along on our house progress on Instagram then you probably have seen lots of little projects we’ve been working on as we’ve been doing them. These days, it’s a bit easier for me to do a quick update there than on here, just because life with a newborn is busy! In case you haven’t been following along, here’s the deal with this post. My  Status Updates (Check out the first one here or the second one here) are a series of unedited, real life photos rounding up the entire process of what we’ve accomplished thus far.

At the time of my last update, we had not yet moved into the house. We have since moved, had a baby, and continued working. To say things are a bit crazy would be an understatement. We are definitely still in “fixer upper mode,” when looking at any room in the house, there are at least five undone projects that come to mind. So, bearing all of that in mind, let’s have a look at what our house looks like right now.

The Foyer 

We lived with completely undone stairs for a little while before I went ahead and painted the stairs. This is the view from our front door, and it’s a very tight space. Painting the stairs and the walls made it look a little bit more open though. Still to do in this space: replace the light fixture, add trim along the ceiling going up the stairs, add a runner up the stairs, do something about the floors (we aren’t sure what the plan is…there are no original hardwoods, so we might lay a statement tile. We are still in the very early planning stages on that particular project), and lay a transition piece between this an the living room floor.

The Living Room

This room is mostly “done” with the exception of the transitions on the floor from one section to the next, and replacing the light fixture (we haven’t done that in any area of the house yet). If you look closely in the first picture, you can see a thin cable running along the floor. It’s something for the internet that needs to be run underneath the house. I also want to replace 99% of the furniture here, but that’s not necessarily considered a project.

The Dining Room

The dining room is the most embarrassing in its current state. It took me a month to clear the moving boxes from here, we had no table for two months, and Ethan still has a makeshift desk sitting in the corner (the room that will be the office upstairs is completely undone). We don’t have chairs or any other dining room furniture, but it’ll get there. The fireplace has been painted, and everything else is complete, with the exception of caulking along the ceiling trim.

The Bedroom

Our room has a ways to go, but since our son is still sleeping in here in the bassinet (not pictured), everything is temporarily out of place. The rocker will eventually go back into the nursery once he starts sleeping through the night, and once the extra furniture is out of there, I’ll feel more inspired to decorate and finish things in here. We need to add some trim pieces in here, and add a light fixture. This room doesn’t have an overhead fixture at all, so it’ll be a bit more labor intensive than fixtures in the other rooms.

The Bathroom 

The bathroom is small and hard to photograph, but the only thing completed in here is the cabinetry has been painted this emerald green color. As you can see, we need to replace the light switch box, which we will do in the entire house all at once. We replaced the outlets, but we haven’t done the light switches yet.

The Nursery 

I did a whole post about our son’s room, because it’s the only room that’s “done.” It actually still needs a new light fixture and light switch box, but other than that it is done. If you missed that post, you can check out more photos of it here.

We haven’t done anything else on the outside just yet, but we do have some major plans for that yellow house. (Hint – it won’t be yellow forever). We’re at a point now where we have to slowly plan things out. In part, because we spent all the money we had earmarked for house projects when we bought the house, but also because things move at a much slower pace with a newborn around. When I was 8 months pregnant, I was working 12 hour days in the house, and people thought that was crazy. It may have been, but now I can only work in one or two hour increments during naptime. So, in 2019, we’ll be moving a bit slower. Anywho, that’s the update for today. This house has come a looooooong way since our closing date, but she still has a long way to go before she is everything we envision. That’s all for today, friends. Have a fabulous day!

House Progress

Status Update – One Month In

Hi guys! So glad you’re here! I have been so busy just about every day I haven’t had a chance to sit here and tell you all how things are going at the house. It has been just about a month since we closed on the house, and in that time, school has started back up for me, so my schedule looks something like this: go to school (work), come home and eat a quick dinner, head to the house to work on projects, and then come home late just in time to quickly shower and collapse into bed. On the weekends, Ethan’s family has been helping us, and we are putting in twelve hour work days each weekend. Oh, and I am now what one would consider…. very pregnant. So, things are pretty crazy around here. We originally planned on moving in at the end of August despite the progress we were at, but we extended our lease on our rental for another month, so if all goes according to plan, we’ll be moving at the end of this month. And we’re really hoping things do go according plan, because my due date is looming closer and closer!


So, without further ado, let me show you all the things we’ve been working on! If you didn’t see the before pictures or our first status update, you may want to see those first. And, please remember, these photos are all iPhone photos taken mid-project and therefore not staged at all! There is some serious mess happening here.

So let me show you room by room. These projects are not necessarily in any order of completion, just by room.


Exterior 

Outside, we have powerwashed the front and side (the other side is covered in paint supplies and power tools and an old water heater so we haven’t powerwashed it yet). Basically powerwashing is my new favorite thing. We also did some major tree trimming, pulling out of weeds, hedge trimming, weed eating, edging, and mowing. The lot is pretty large and has a lot of trees, so this was a lot of work.

She looks a bit better from the front, now that the grass isn’t a foot tall, and tree branches aren’t blocking the view from the street. 🙂

I also took some hemp oil to the front door which was super dry and tired-looking. It was a super quick project (literally 20 minutes) that made a huge difference! Here’s the before:

And the after!

Again, no staged professional photos here. 🙂

The Front Bedroom 

As you know, one of the main projects was closing in the archway off the bedroom onto the weird carpeted porch. We (and by we, I mean Ethan, his dad, and brother) opened the wall, straightened the archway, added french doors. This room has been primed and ready for paint as well.

On the outside of the doors, the guys added a completely new porch. The existing sun porch was about six inches higher than the floor in the bedroom, and was just rotten plywood under the carpet. Gross, I know. The tore the entire thing out, put in new support beams on the ground, lowered the floor to the same height at the bedroom floor, and laid new deck boards.

Right now, it’s covered in excess materials from in the house, but you get the idea of what it will look like once it’s all cleaned, painted, the door has hardware, and cute rocking chairs on it.

This is the side of the house, and directly off the master bedroom, so I’m super excited about this spot.

The Living Room 

In the living room, the sub floor has been completely removed, the walls have been sheetrocked, and the ceilings have been painstakingly smoothed out after tearing down all the wallpaper.

The trim that belongs in this room has been de-nailed (which took forever), powerwashed (it smelled like cats still), primed, and painted in the garage. Once the floors are done and the walls are textured and painted, the trim will all be put back in place.

The Foyer 

The foyer was upholstered, so we took all of that down, and took what was probably 1,000 staples out of the shiplap. The shiplap has been sanded and primed, ready for paint. This is the only shiplap in the house that we will be leaving exposed. We also primed some of the the trim in this room as well. There is more painting to be done on the stairs (not all of it, don’t worry), but some of the stair treads need to be repaired first.

The Dining Room

This room has been exhaustingly spackled, the drywall repaired (by my mother-in-law and myself, I might add), textured, and primed. The ceiling has also been smoothed after the insane amount of wallpaper residue that was left. It is ready for paint! 🙂

The Kitchen 

In this room, we’ve primed the walls, ceiling, and trim. There were also some cracks that had to be repaired beforehand.

We are also eventually going to build out a portion of this room into a mudroom, so we are relocating all the plumbing (washer, dryer, and hot water heater) into the corner of the kitchen. This has been a huge ordeal for my father-in-law, Ethan, and his brothers. It involves a ton of crawling under the house to move plumbing hoses, and lots of things that I don’t fully understand. We are moving the washroom basically across the entire house, which has been a job. But, it has given me what is my favorite picture of Ethan ever taken.

There are still some finishing touches to be done before we can officially check this off the list, but this is where the eventual laundry room will go.

Also… a sneak peek at another project I’ve worked on! If you follow me on Instagram, you may have watched my stories documenting this project. I’m not ready to talk about it yet….because I’m still a little bitter and it may go down in history as a massive fail. I will keep you guys updated in a separate post on the outcome!

The First Floor Bathroom 

This room may just have a lighbulb dangling from the fixture hookup, but it has been primed and painted! Since it it the smallest room we will be painting, we did some experimenting with the paint color over the primer to test the coverage. So this is the only room that has actual paint! Exciting times, friends, exciting times! (It does need some touch ups, but let’s not talk about that.)


I don’t have a picture, but we’ve also prepped the upstairs nursery by sanding the spikey textured walls, filled in a ton of holes, and primed it for paint. Lots more to do, my friends, but so much has been done. It’s crazy to look at the progress we’ve made so far, but also I’m constantly freaking out about finishing in time. It’s a roller coaster of emotions! Everything takes so much longer than you think it will, and things are constantly coming up that we didn’t anticipate. Still though, this is one of the most exciting times for us. We can’t wait to move in!

I’ll keep you guys posted over the next few weeks about what we’re up to next. That’s all for today, friends. Have a fabulous day!

House Progress

Status Update: The First Weekend

Hey y’all! Thanks for stopping by! I’m starting a new series called “Status Update” today. The point of this series is going to be to recap the small things we’ve accomplished over a period of time. This isn’t going to be one tutorial or reveal, it’s not going to be for decorated rooms, it’s just going to be a gauge of progress on the house, and all the random things we’ve worked on.

If you haven’t seen the before pictures, you may want to start here because it has come a long way already. This was our first weekend in the house, so all of what we’ve done so far has been accomplished within a few days. We’re anxiously trying to get things done, as we’re under pretty tight time constraints (we plan to move in at the end of the month, so there are several projects that need to be done ASAP).

We closed on the house on Tuesday, and got to work on Wednesday. We started in the living room, which looked like this:

The carpets were infested with the smell of cat urine (#nevergettingacat). We rolled them up and got them out, which was a sweaty and incredibly stinky task.

We then started pulling down the upholstery on the walls, which also smelled of cat urine. It was stapled to the wall behind the trim and baseboards, so we ended up having to remove all the trim. By the end of Friday night, we had all the wall upholstery down, and pulled out the staples in the wall, which wasn’t easy.

Saturday we got up bright and early ready for a long work day. Ethan wanted to start with some plumbing issues, so while he replaced a pipe on the exterior of the house and a piece on the inside of the toilet, I started tearing down the textured wallpaper on the ceiling of the dining room.

The wallpaper on the ceiling in the living room and dining room both needed to come down, but it was so difficult. It actually still isn’t 100% done. We tried several different methods, including water and vinegar with a scraper, scoring the ceiling with a knife and pulling it off dry, and sanding it off with a sander. Eventually, we ended up getting a heavy duty wallpaper remover, applied it with a pesticide sprayer, and peeling it off. It was time consuming and took the majority of the day with one or both of us working on it.

(This was taken after about 12 hours of working on the house. Which explains the look of death on our faces. 🙂 )

Sunday morning we arrived to this, which is all the paper we had scraped from the ceiling. We cleaned it and turned our attention to the floor. So far we had removed the carpet and carpet pad, and planned to scrape the linoleum. The original parts of the house have the original hardwood beneath them, so we assumed they were beneath the linoleum. We (and by we, I mean Ethan. This was all him.) started scraping, but we couldn’t tell what the condition of the wood was because there was so much glue on it. I took a hand sander to it just to test it out, and we realized it was just a large sheet of plywood under the linoleum. Subfloor.

We were super bummed because we really wanted hardwood, and we didn’t have it. We made a plan to put in carpet until we could afford traditional hardwoods at a later date. I started researching wall to wall carpeting, and we planned on scrubbing the floor and painting a layer of Kilz over the linoleum to mask any remaining odor before having carpet installed. I did not like this plan, but I knew it was one of those things we were going to have to compromise on in the short term.

So we are prepping the floor to start painting, and Ethan sees along the edge where we removed the baseboards something that he thinks might be hardwood under the subfloor. So then this happens: 

So before we know it, we’re pulling up the plywood to find the original hardwood underneath. Praise the Lord. In modern homebuilding, a plywood subfloor goes below where you would lay hardwoods. But, this house has had 123 years of different owners and different repairs and additions made, so there’s no telling who did what and when they did it. Ethan kept asking me when I was going to stop asking questions…because when it comes to this house, nothing makes sense! Our current plan is to refinish the hardwood in this room, as well as the other rooms that have the same wood.

So this is where we ended the weekend. The plywood came up without too much difficulty, but Ethan is going out of town for work this week, so we had to call it quits early. Overall, we did a lot more destruction than construction, which makes you feel like you haven’t really done anything but make a mess. Overall though, we got a lot done. Now we just have to start putting it back together. No pressure.

Next weekend Ethan’s family will be in town to help with some projects, so we’re hoping to knock out a few things. We’re currently in a race to get things moving so we can get this place as livable as possible before we have to move in. There is so much to do, but I am optimistic that we will be able to get done the top priority things. Everything else can be done after we move in, and we will be working on this house for the next few years, but for now, we’ve got our work cut out for us. Stay tuned for the next status update. That’s all for today, friends. Have a fabulous day!

House Progress, Room Tours

The New House: The Before

Alrighty, friends, I shared the other day that we just bought a house, and we are so so excited about it! If you didn’t read that post, you can check out the entire story here.

Today I wanted to share some of the pictures of the house as it is, and talk about our plans for some things. Be forewarned though – these are rough! The rest of this post is going to be a whole lot of ugly, so scroll through at your own risk.

The Exterior 

Let’s start with the exterior. It needs a bit of work, I don’t love the color, and the yard is a mess. But, of course it is so charming with all the gingerbread trim, and so it’s not hard to envision what it could look like with some love. It’s a historic home on our city’s register of historic buildings, which means there are some regulations about what we are able to do to the house. The interior is basically fair game, but the exterior facade has to remain the same for the most part. Thankfully, this does not include paint color.


The Foyer 

When you walk in the front door, you walk into this small foyer with a stairway to the second floor. It’s teeny tiny, and definitely over a century old because the stairway doesn’t have much headroom, but it does have some gorgeous craftsmanship.

The Master Bedroom

The master is the only bedroom on the first floor, and it is what was once the original parlor of the house. It needs some serious work, as you can see there is an archway that leads out onto a porch here. The porch has a plexiglass cover, but it is definitely not a permanent solution (although I believe it’s been that way for about 30 years). We plan on putting in a functioning door, and walling in the arch. Then we’ll remove the plexiglass on the porch and have a porch off the master bedroom.

The Living Room 

The living room is eerily quiet when you walk in. That’s because it’s one of the few rooms that has carpet, and the walls are upholstered. From my understanding, upholstered walls are period appropriate for the era of the house, but this was a reproduction done in the 80’s or 90’s. Under the carpet is linoleum, and hopefully below that is the same gorgeous hardwood that’s in the master bedroom. Pulling up the linoleum is going to be a pretty serious job though, so we’ll see how that goes.

The Dining Room 

The dining room and kitchen were actually added to the house later on, they are at the far back of the house. I’m not sure when this portion of the house was added, but none of the features are original. The family that lived here from the 1980’s to the mid 2000’s did add the fireplace, and they definitely chose thoughtfully something that would work well with the original portion of the house.

The Kitchen 

The final room downstairs is the kitchen. Like I said, this is not original to the house, and is a true homage to the 1980’s.  This is where the back door leads, and it is actually a very large kitchen. We aren’t sure exactly how we want to use the space yet, but we plan on doing a “Phase One” cosmetic remodel to the kitchen, before doing a full gut job and reconfiguration of the space. Some thoughts we have may be to build out a laundry room/pantry/mudroom, and to eventually add a traditional stairway here to replace the spiral staircase. Since these things require some serious construction, it’ll probably be a few years before that happens.

The Upstairs Bedrooms 

Upstairs, there are three bedrooms and a creepy little carpeted bathroom. The bedrooms all have hardwood, which is original to the home, but in need of some TLC. The layout is a bit wonky, but what old house isn’t? The bedroom that is currently painted blue will be used as the nursery, although it may not be finished before baby gets here. Which is just what my planning personality can handle. 😉 The other two bedrooms will serve as guestroom and office, until we have need of more bedrooms. Thankfully, all the rooms have closets, pretty doors and hardware.

We’ve started doing some of the work already, so these photos are already outdated. We have been waiting for such a long time to start a project like this, it is so incredibly exciting for us. I’m sure it will be stressful and frustrating at times, and things will be dragged out far longer than we anticipate. As of right now, we plan to get as much of the “top priority” work done this month, and move in at the end of the month. We haven’t done much to prepare for baby’s arrival this fall, because we’re going to be moving! God sure has a sense of humor when it comes to timing!  The entire project will take several years, but we are going to do things at the rate of the cash we have to spend, and so we know it’ll take a while. It’s going to be a long lesson in patience, contentment, and hard work to say the least!

Thanks for checking out the before pictures. Make sure you check back as we continue the process! That’s all for today, friends. Have a fabulous day!