Browsing Tag

home renovatoin

DIY Projects

Six Big Impact Projects With One Gallon of Paint

Hello, friends! I thought it would be fun today to show you a few things around the house that are seemingly random but all have one major thing in common.

So, everybody knows about the power of paint in transforming a space, yada yada yada. You hear diy lovers everywhere talk about it. Well, that’s because it’s true. Paint can make something totally blah look totally fabulous.

So, let’s back up a little bit. A few weeks after our son was born, I decided to paint the stairs in our house. As one does mere weeks after giving birth. Obviously. So, I went to Home Depot (this is not sponsored by the way, I just only shop there), and picked up a gallon of Behr’s Totally Black in a latex semi-gloss finish. I wasn’t sure how much I would use, or if one gallon would be enough, but I decided to stick with one and if I needed more, I would go get more.

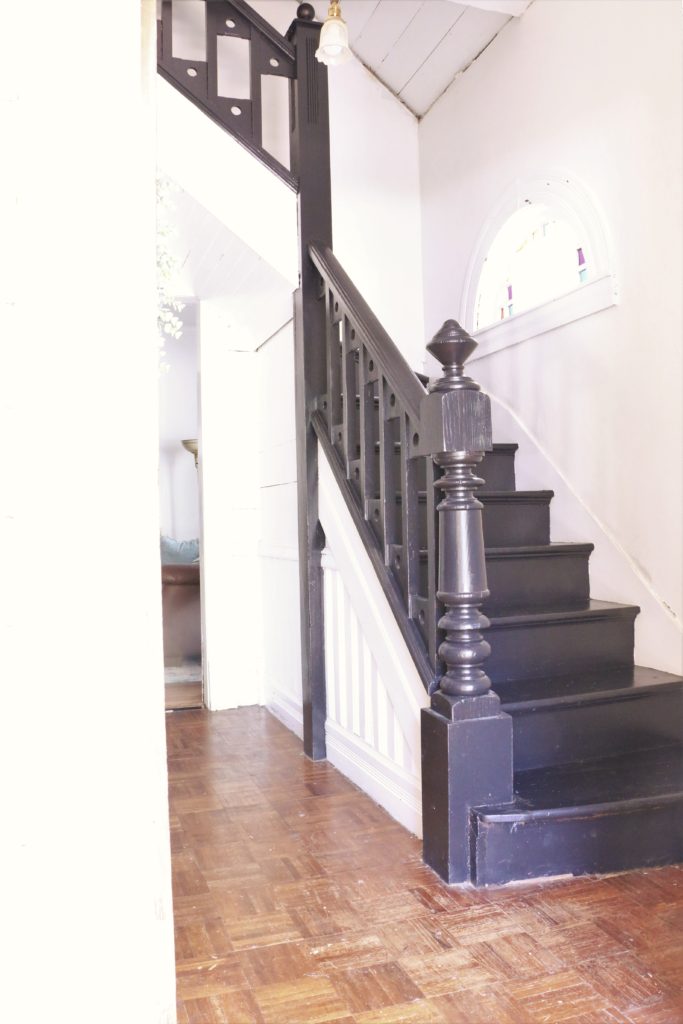
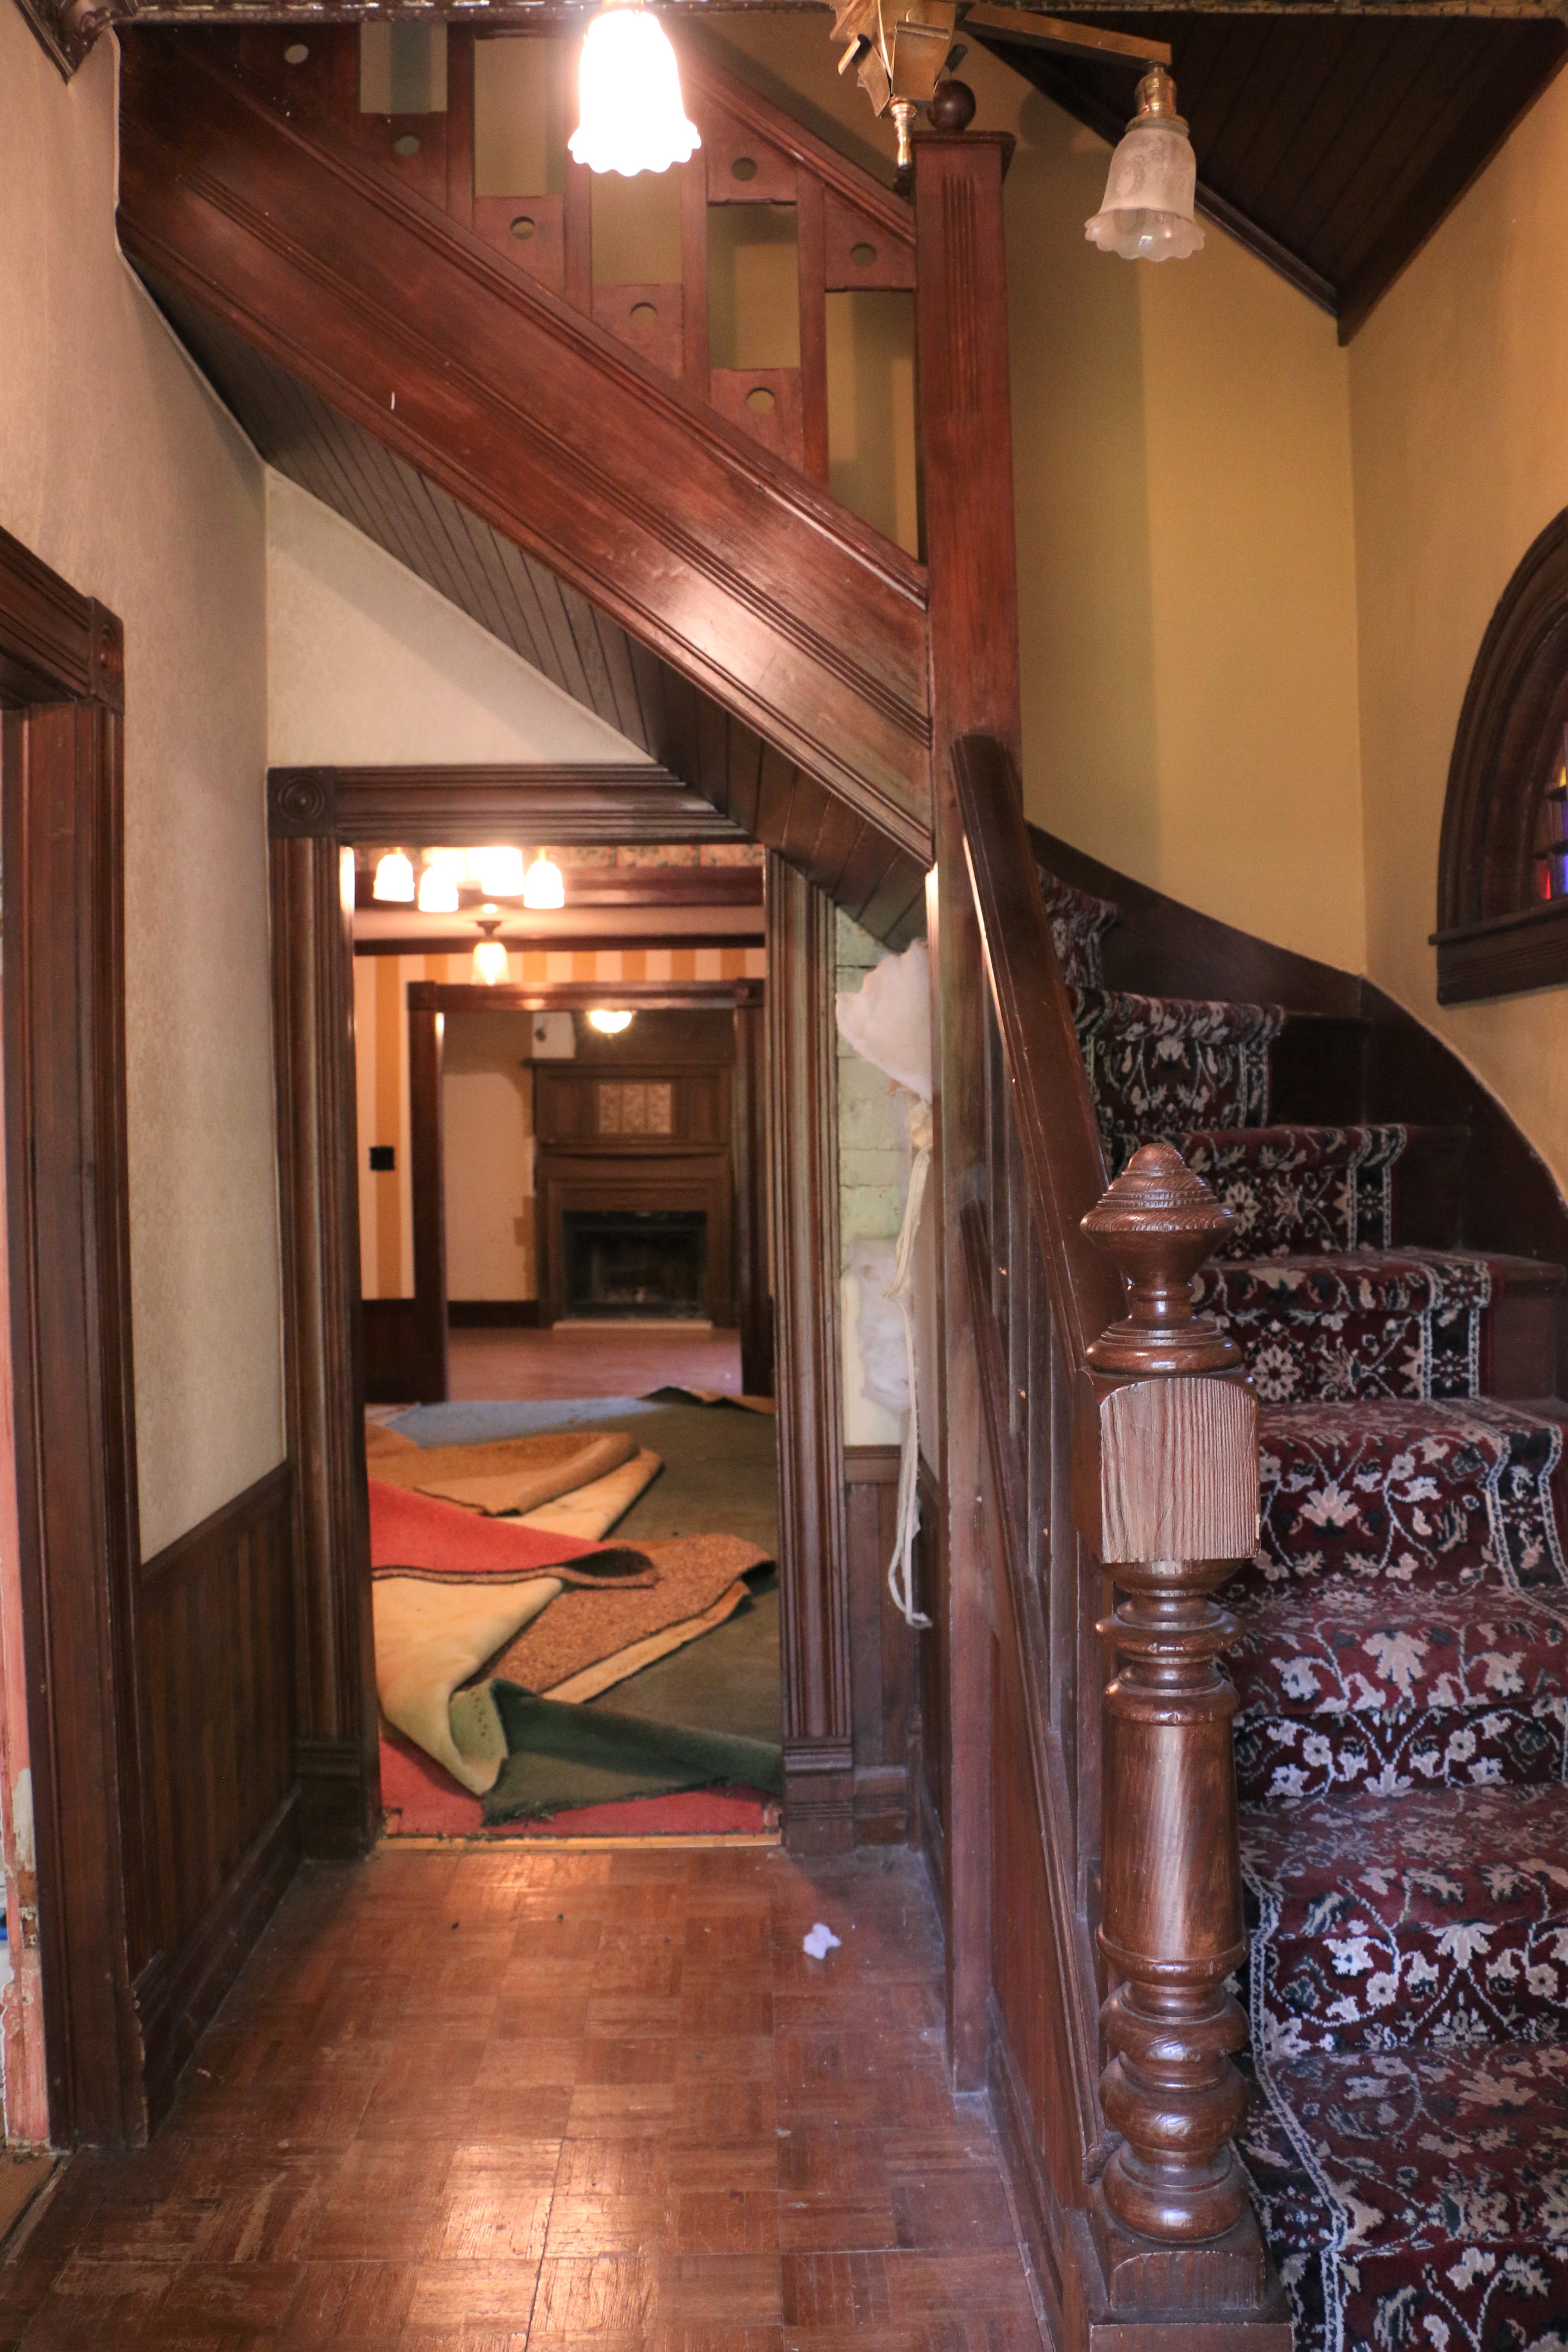
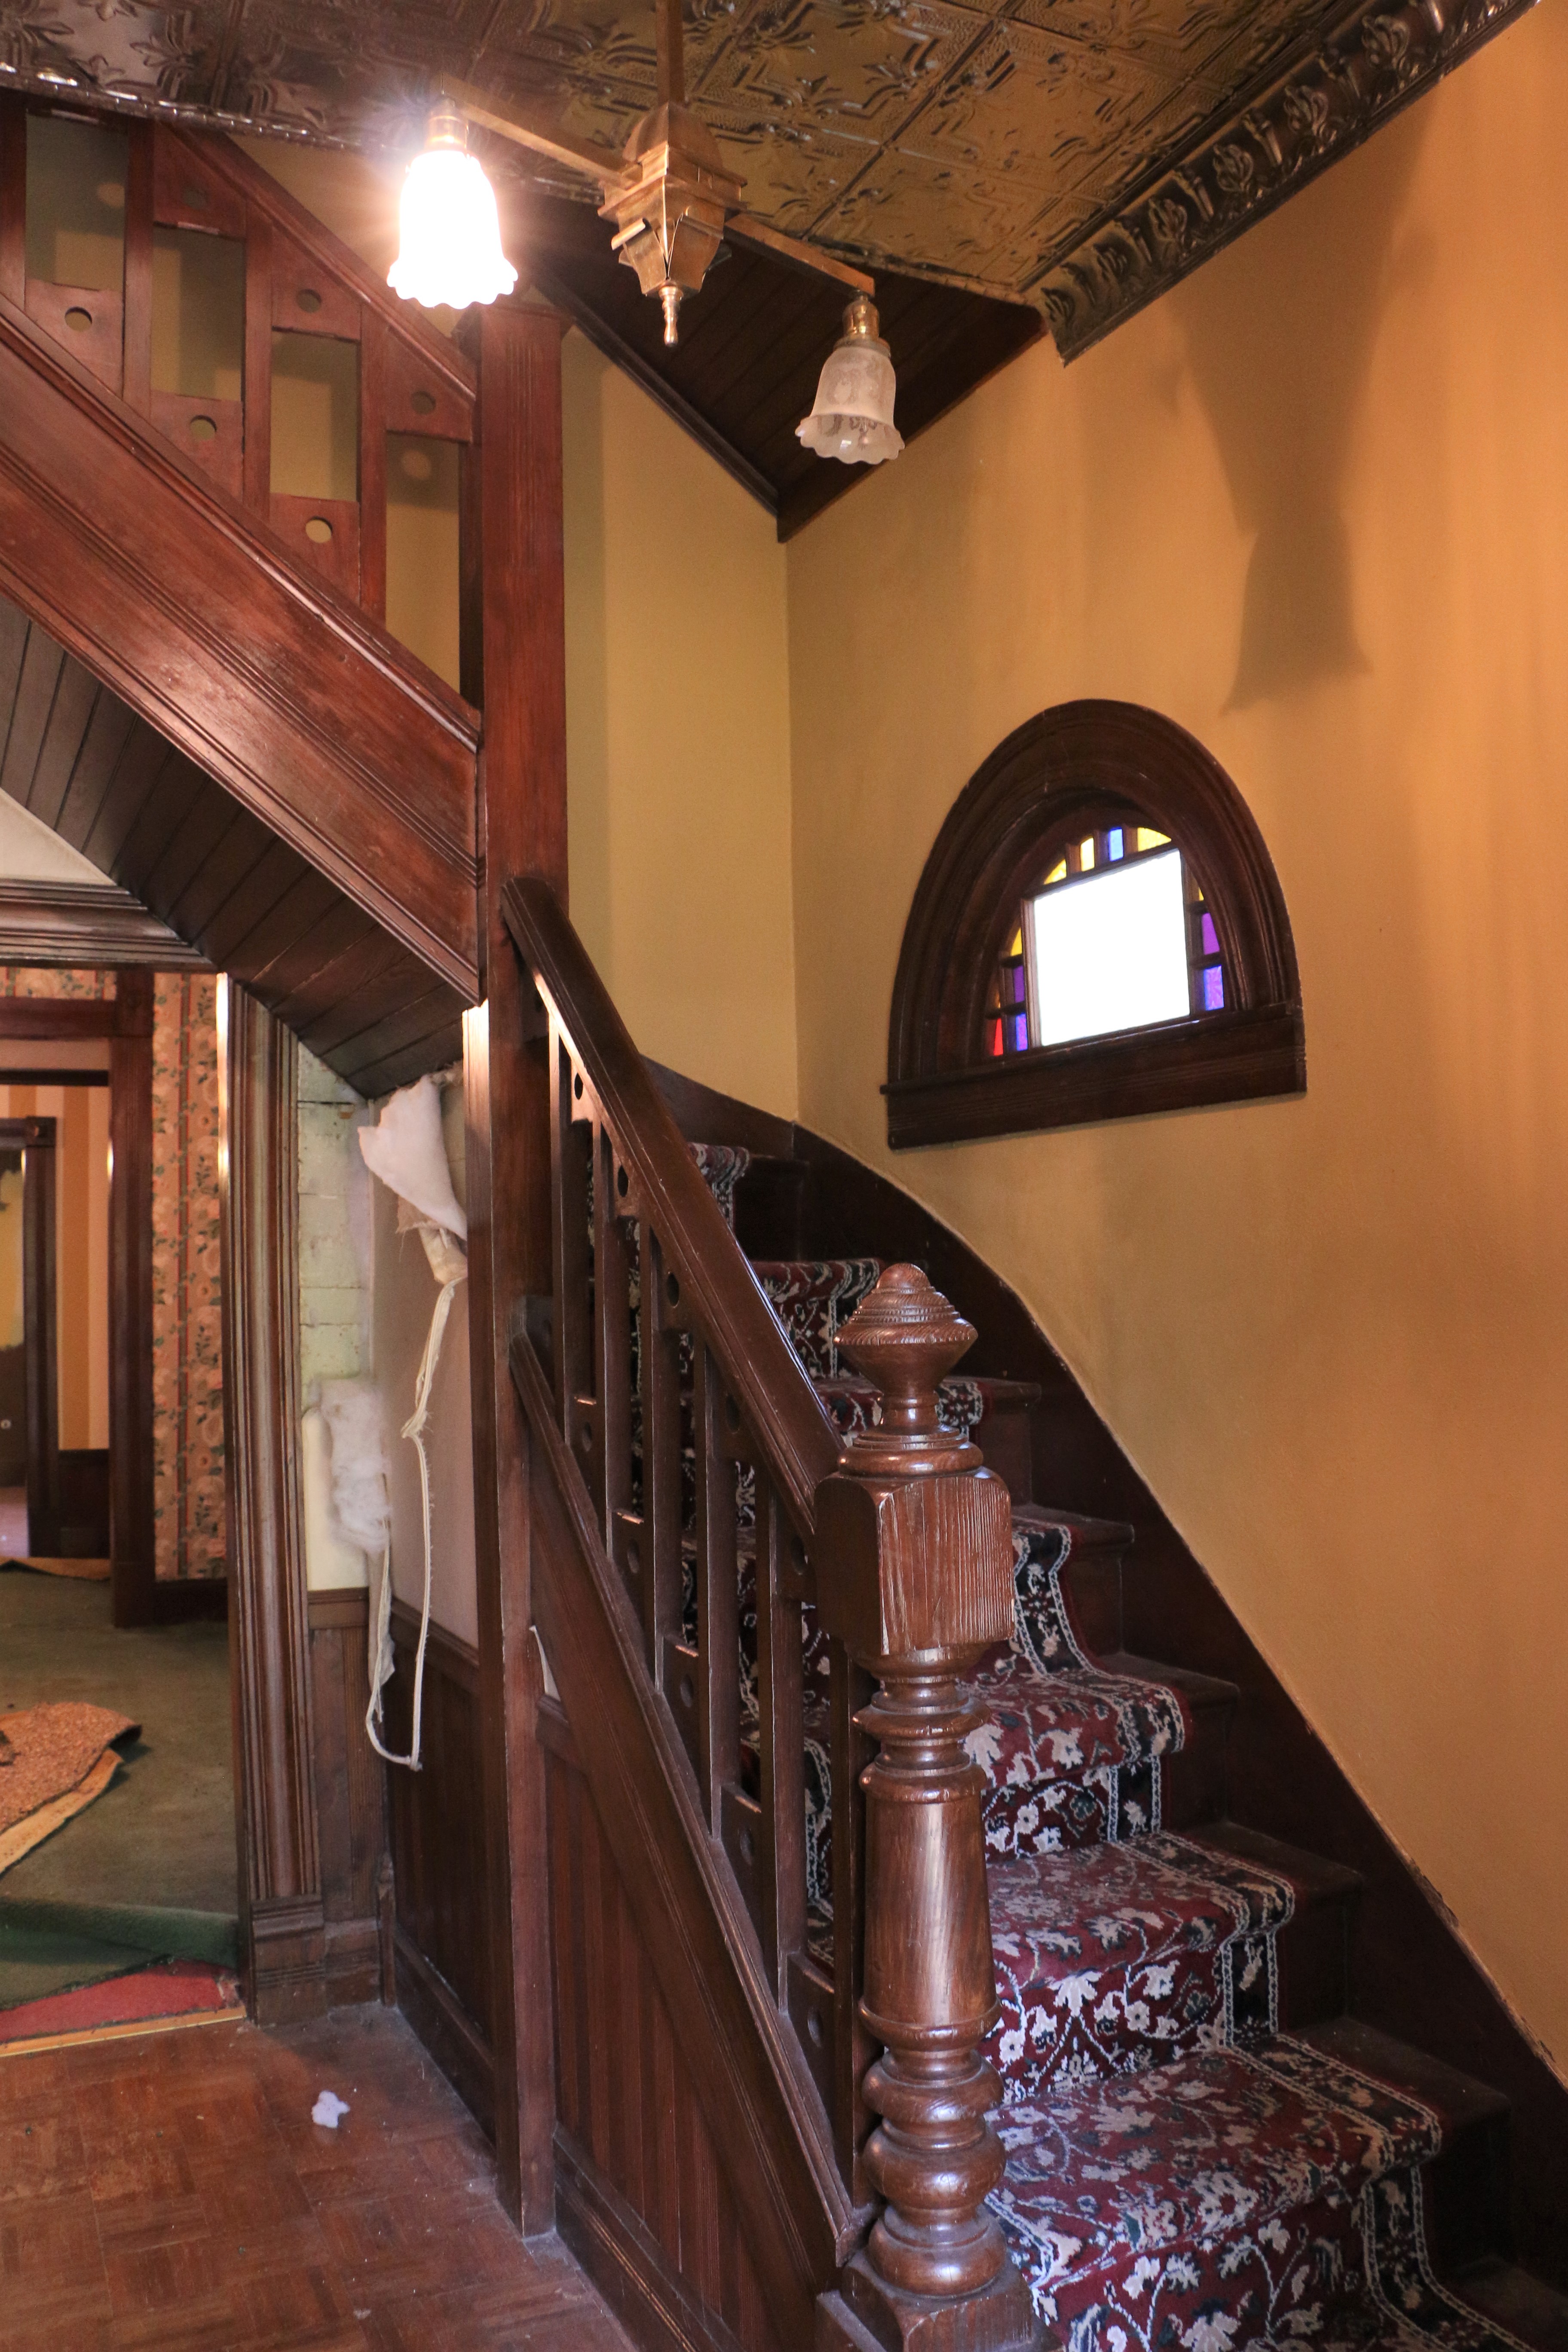
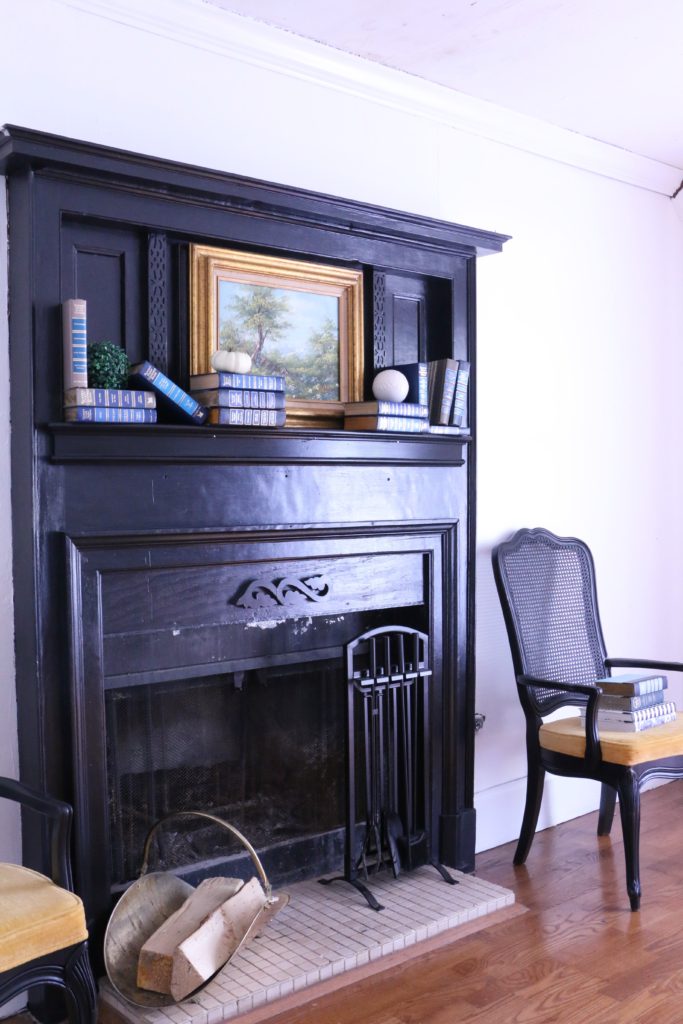
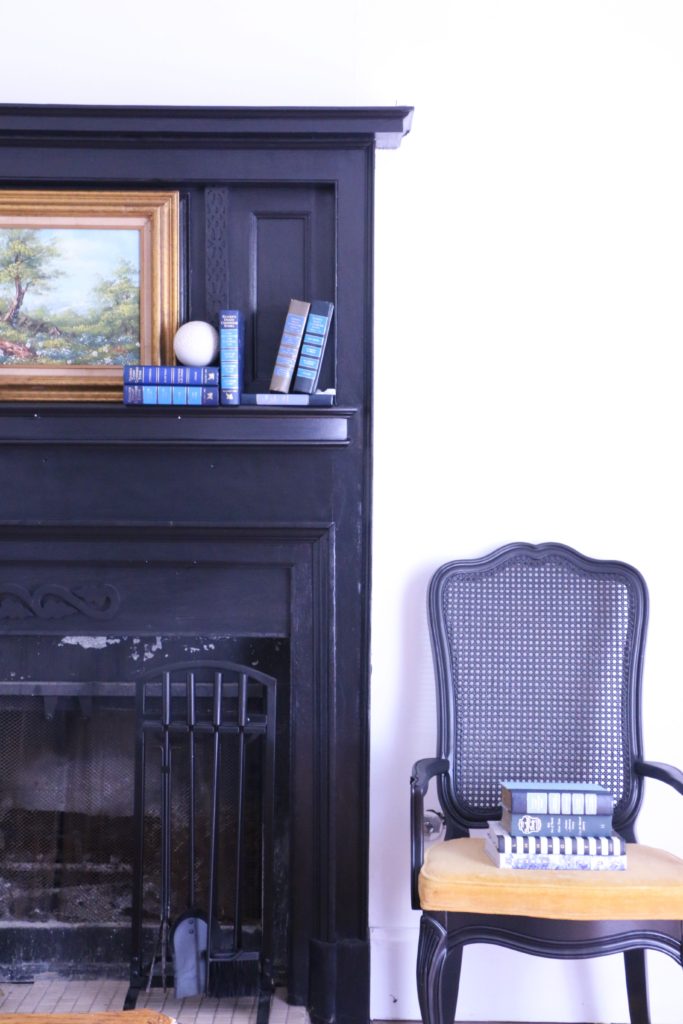
So, the black staircase was born. This is the view from the front door, by the way. I was pleasantly surprised at how well the paint covered the stairs (I did two coats), and how little paint I had actually used. So then, while still on maternity leave, I decided to paint the fireplace. Because, well, I already had some paint I could use, so why not? Hence, the black fireplace joined the party.

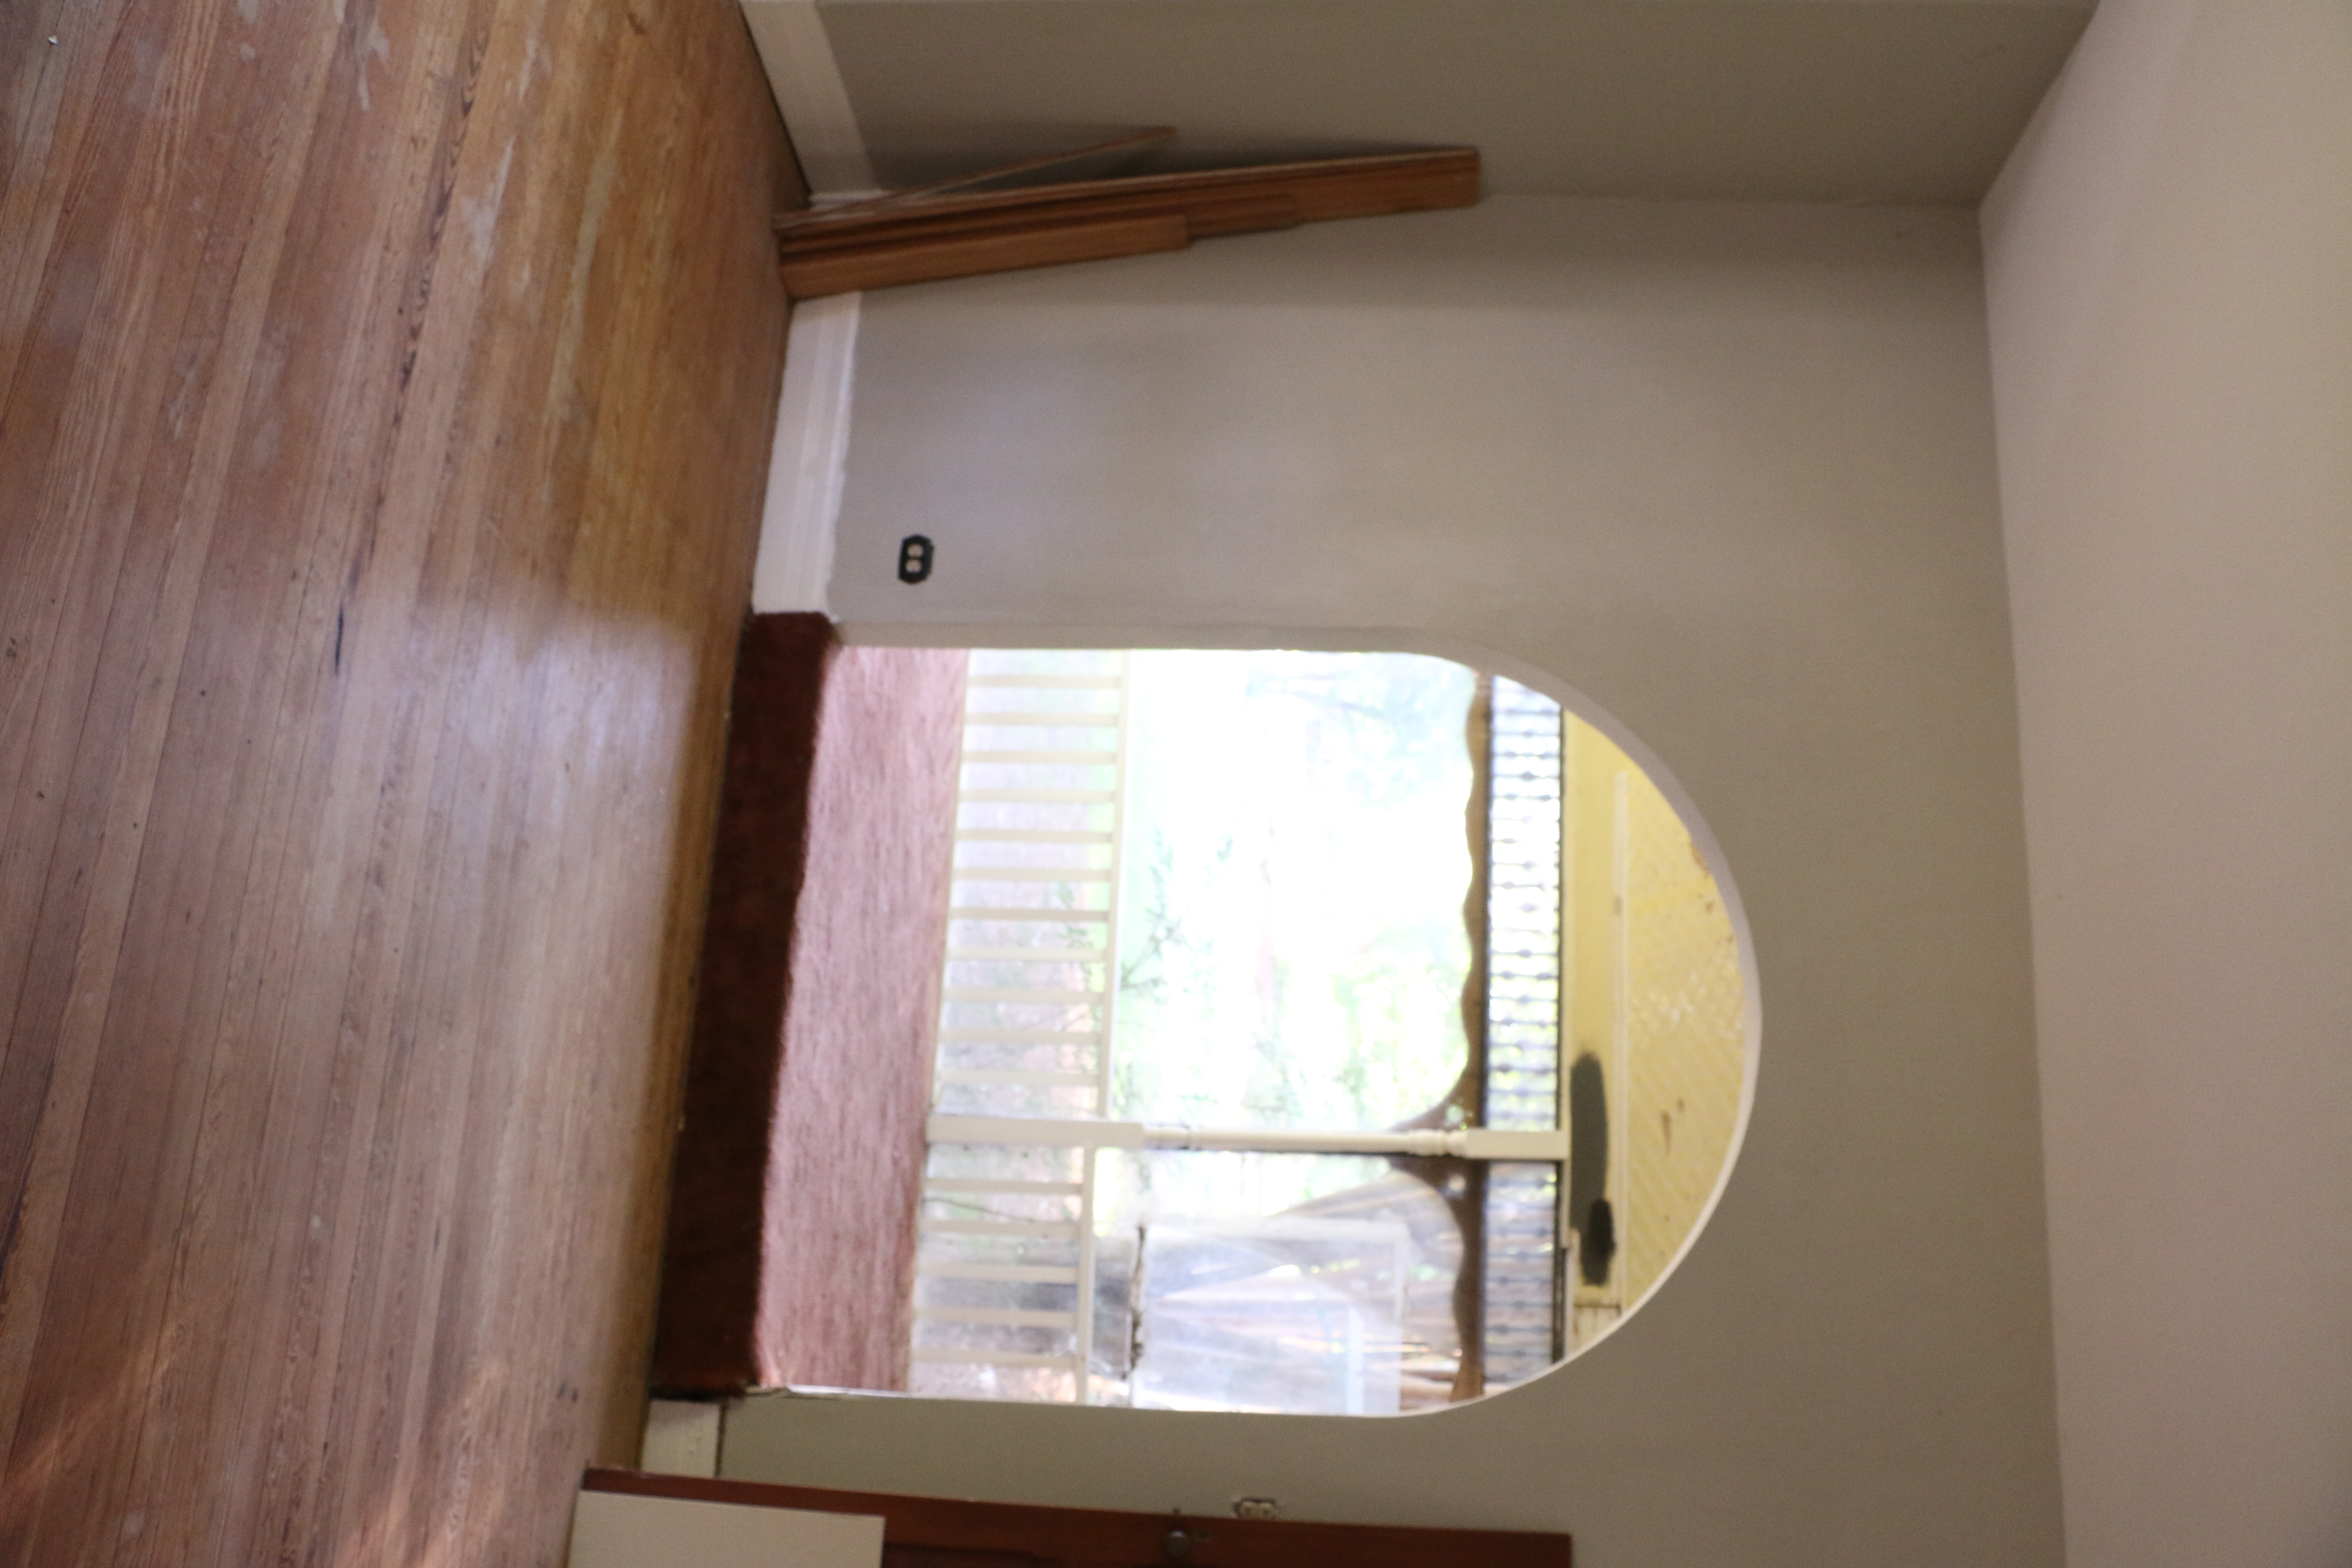
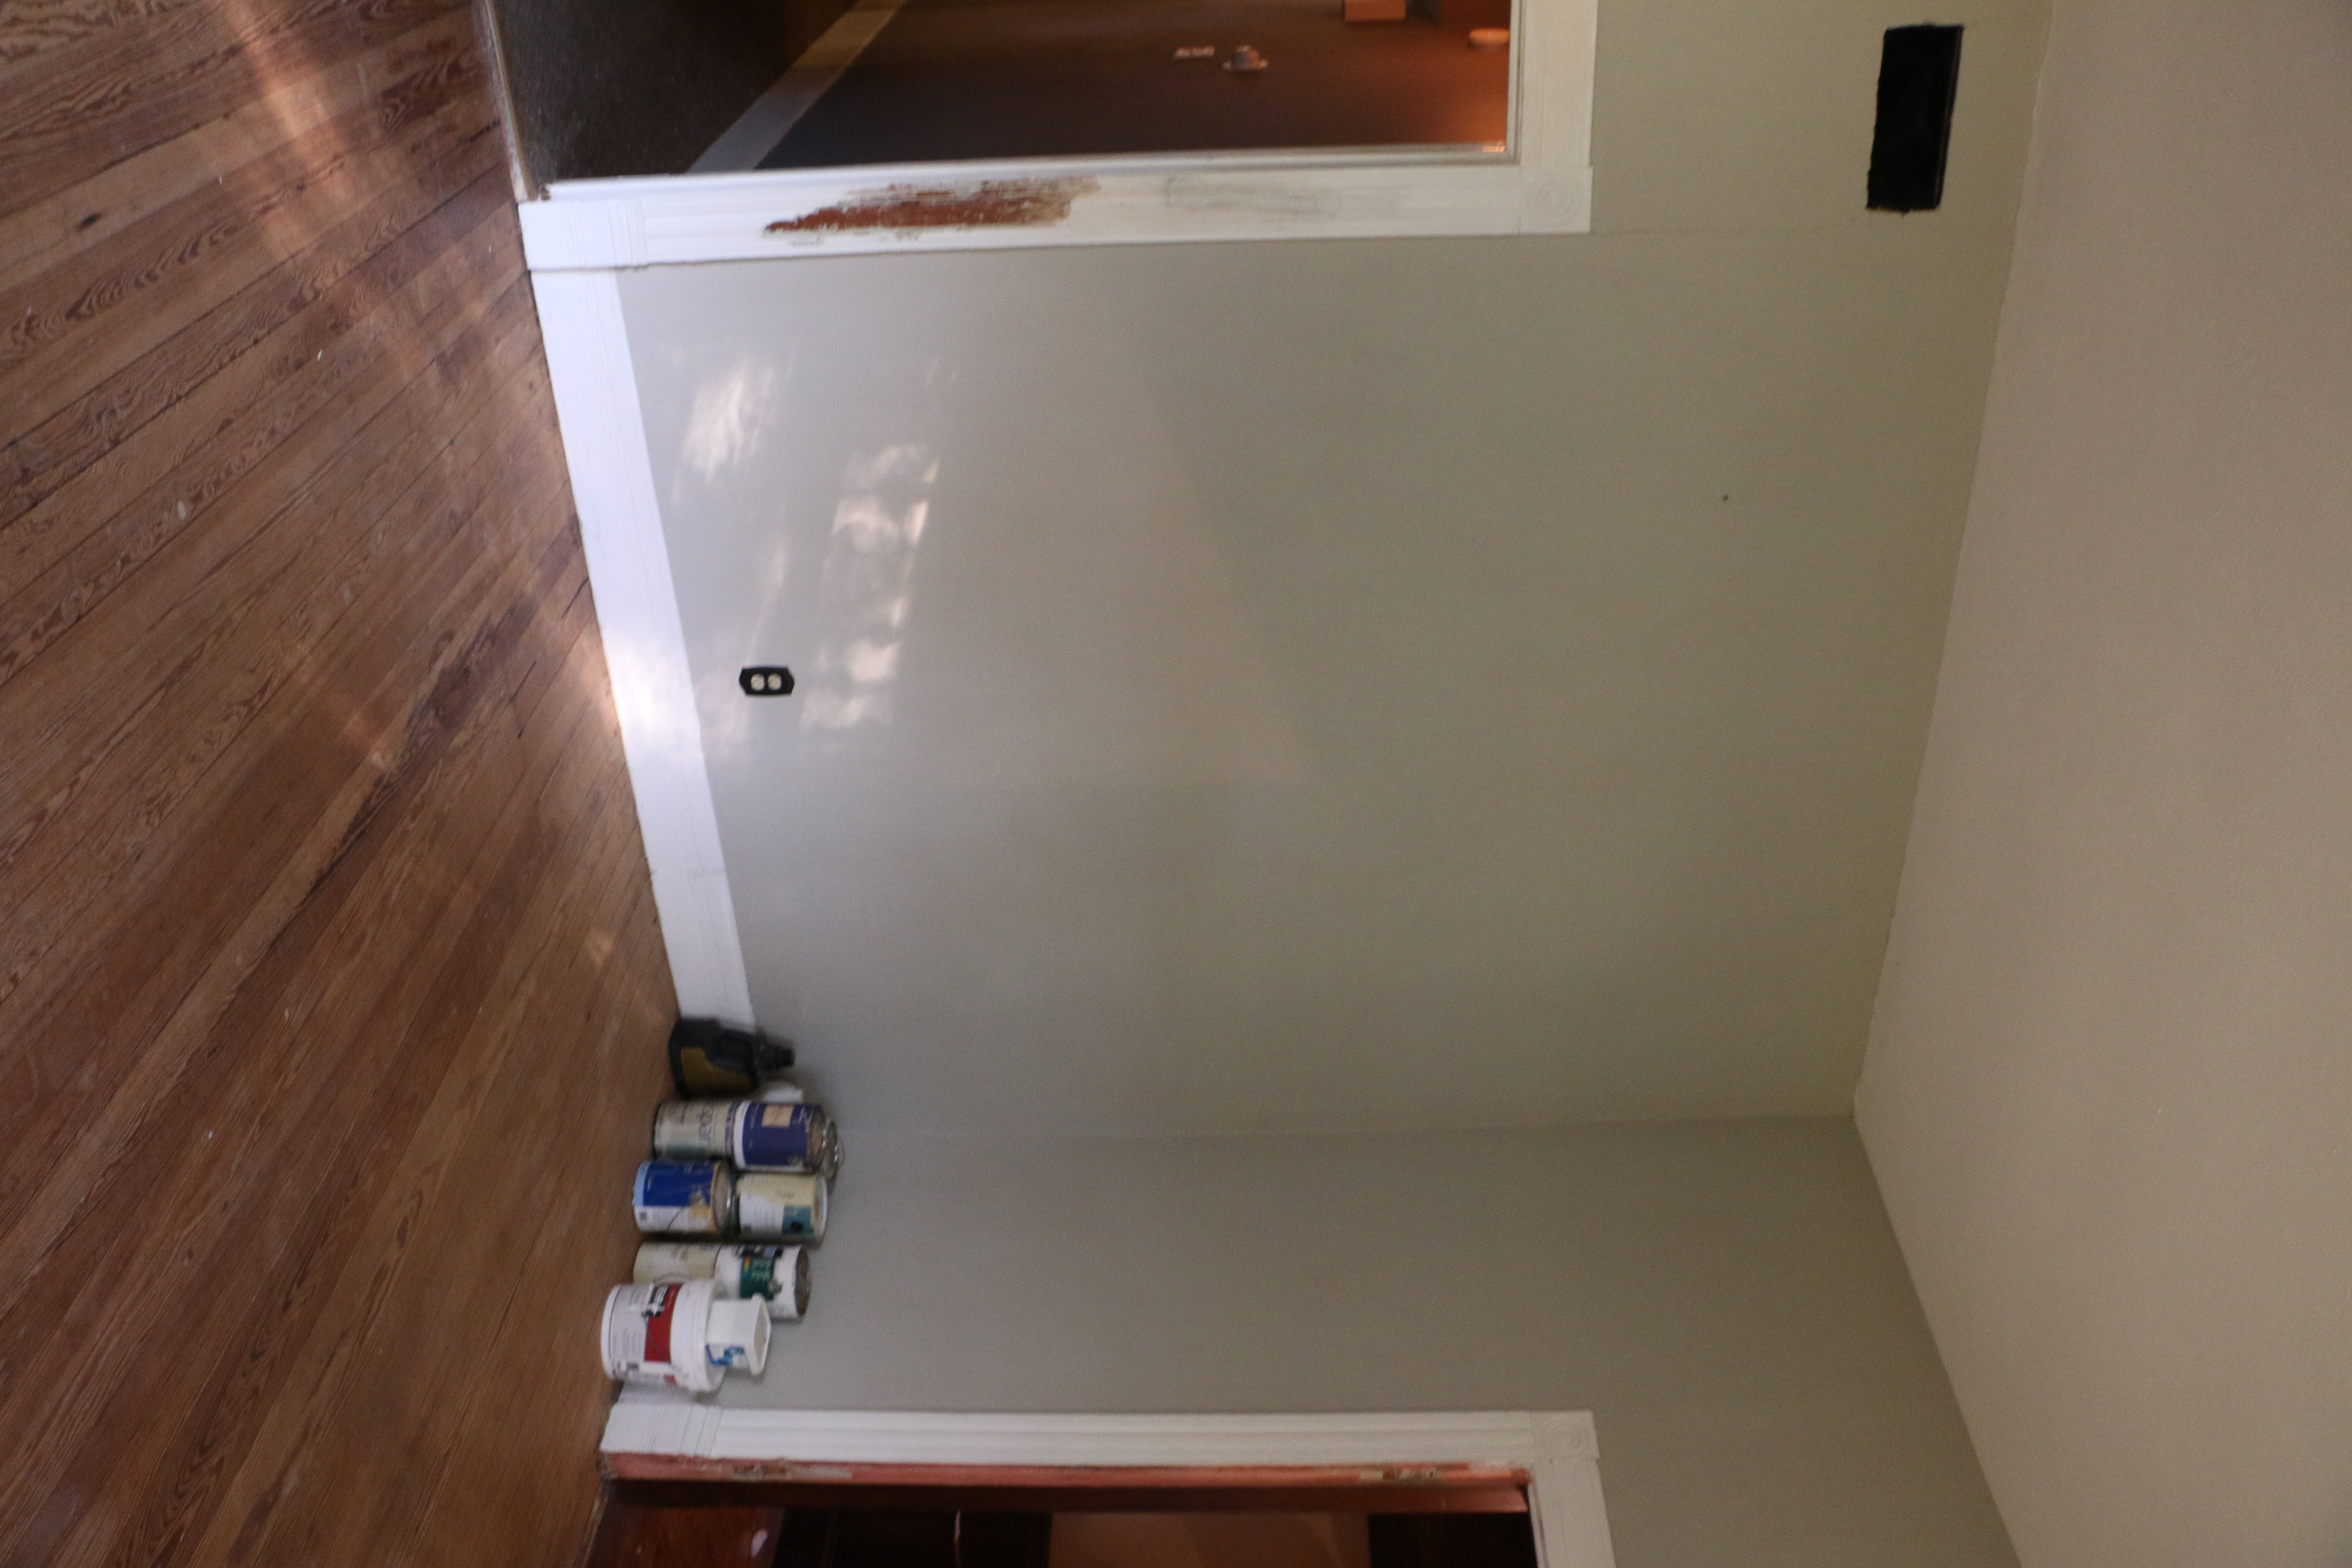
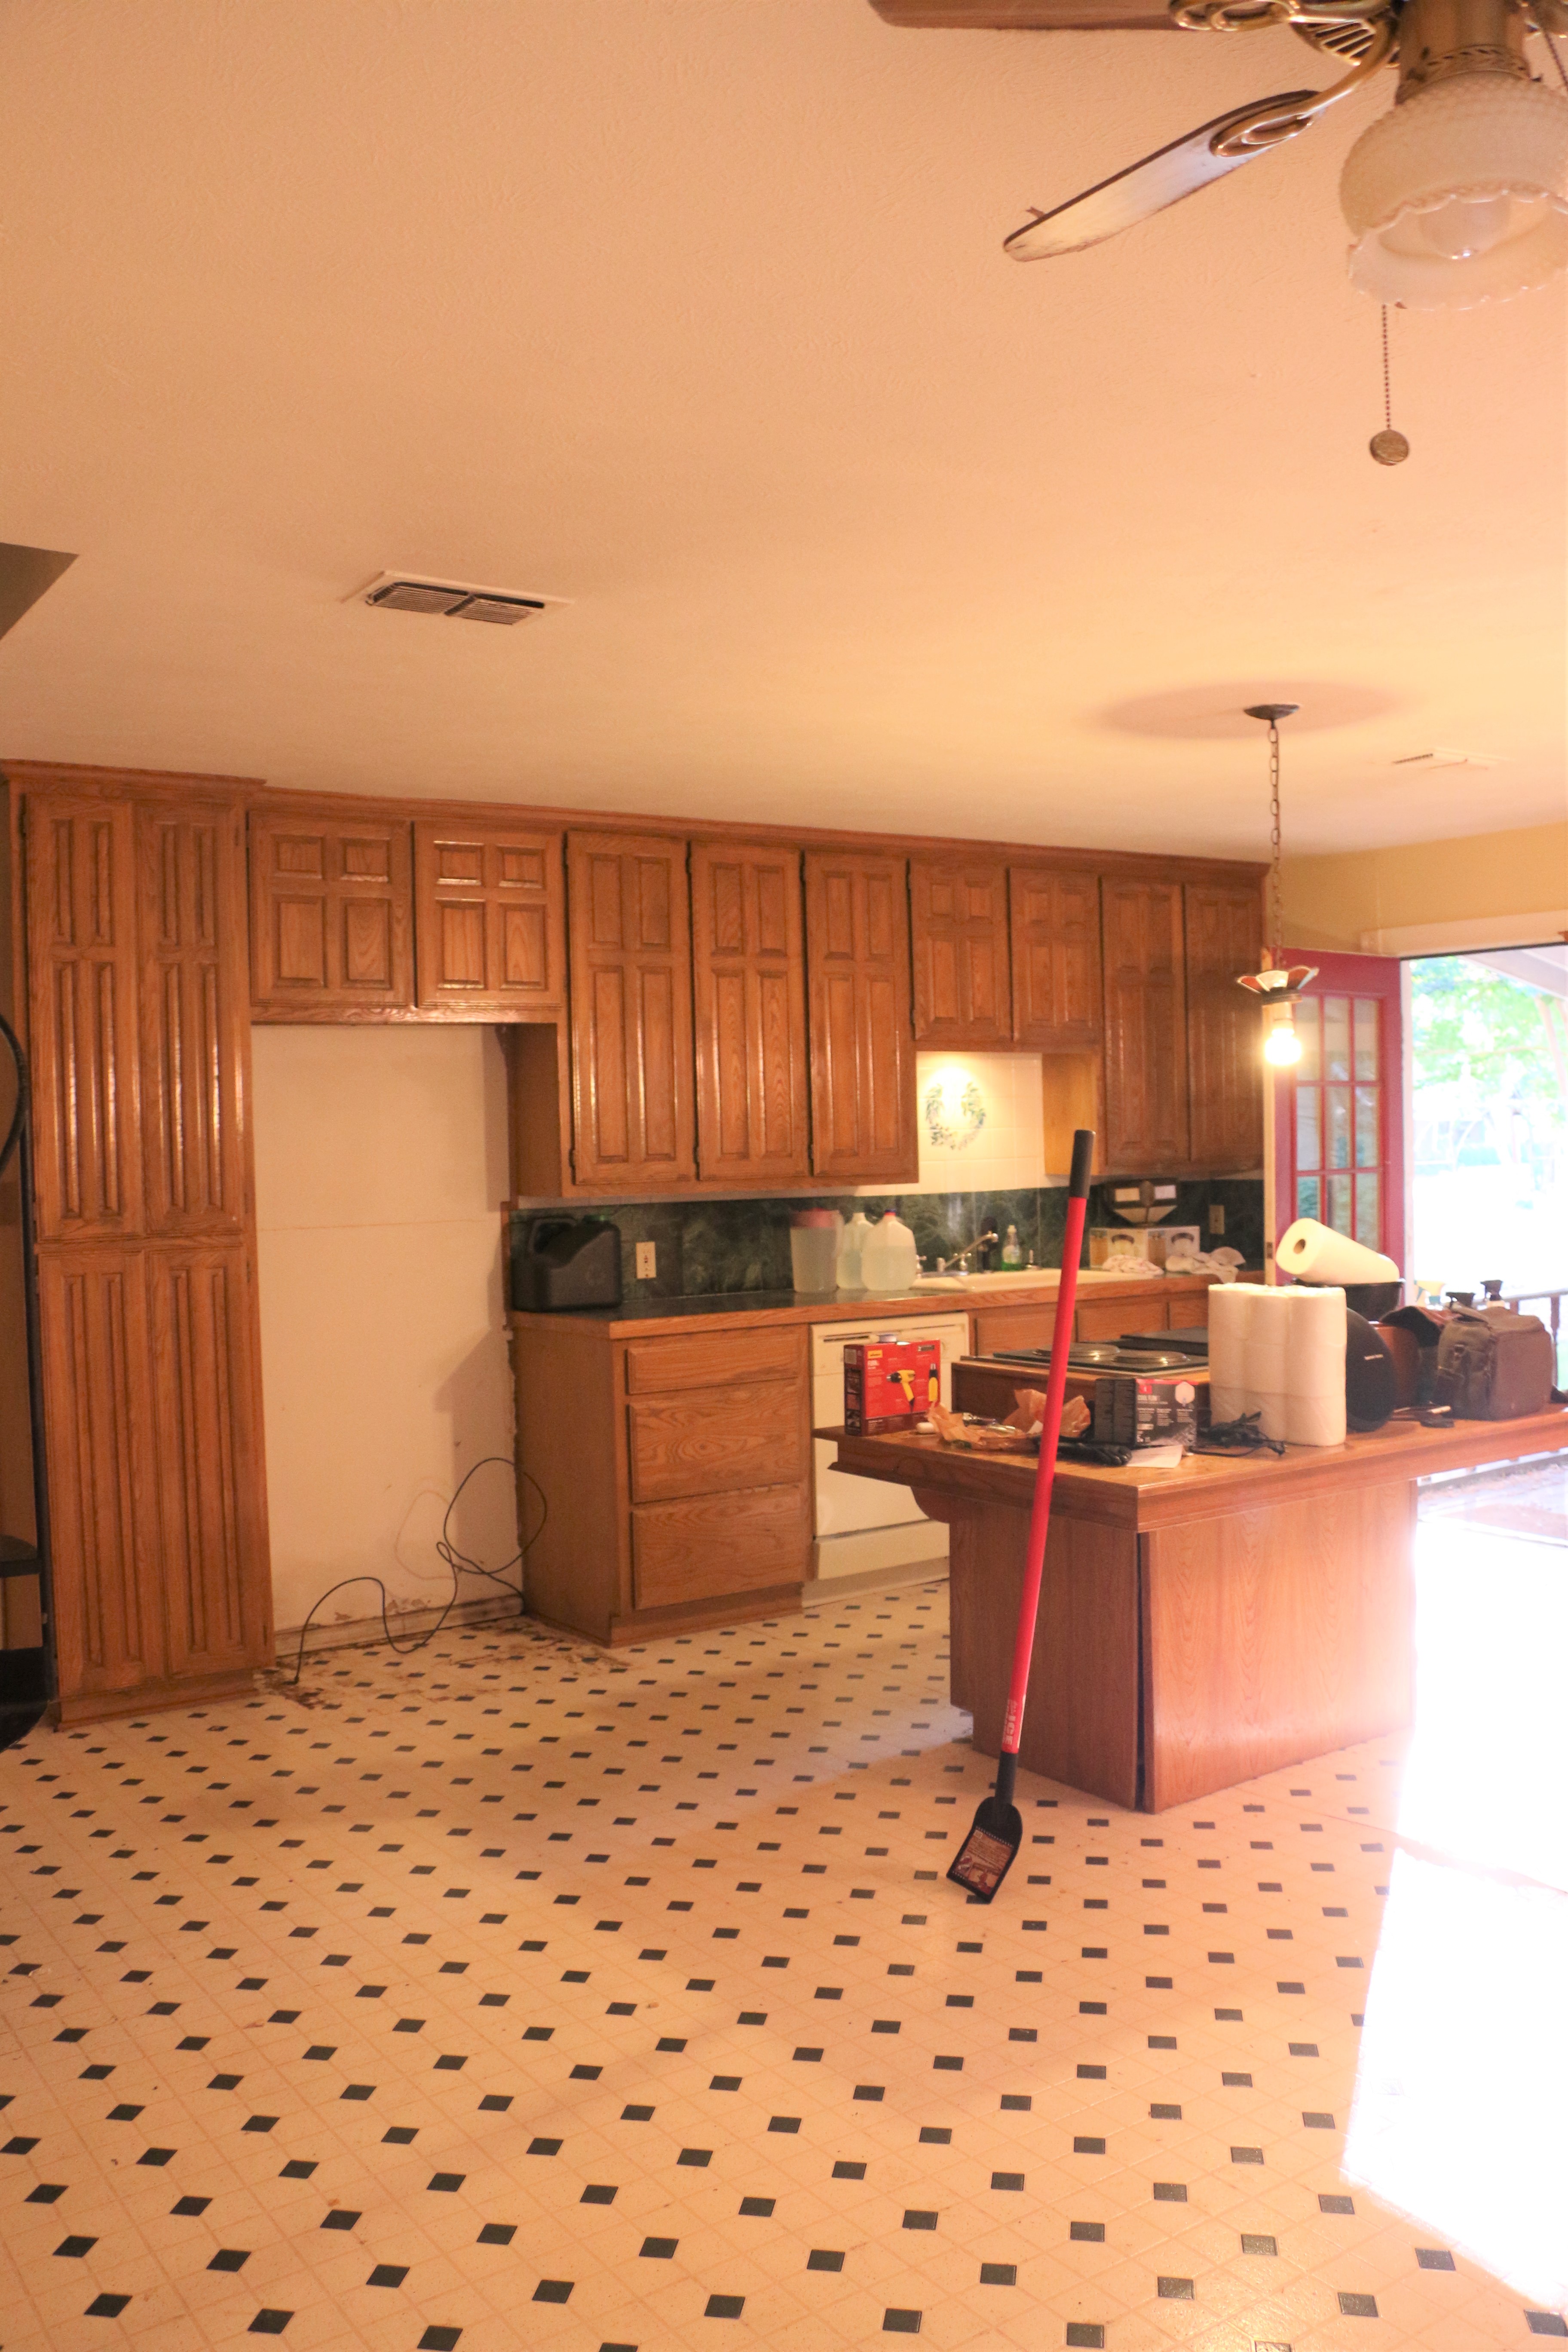
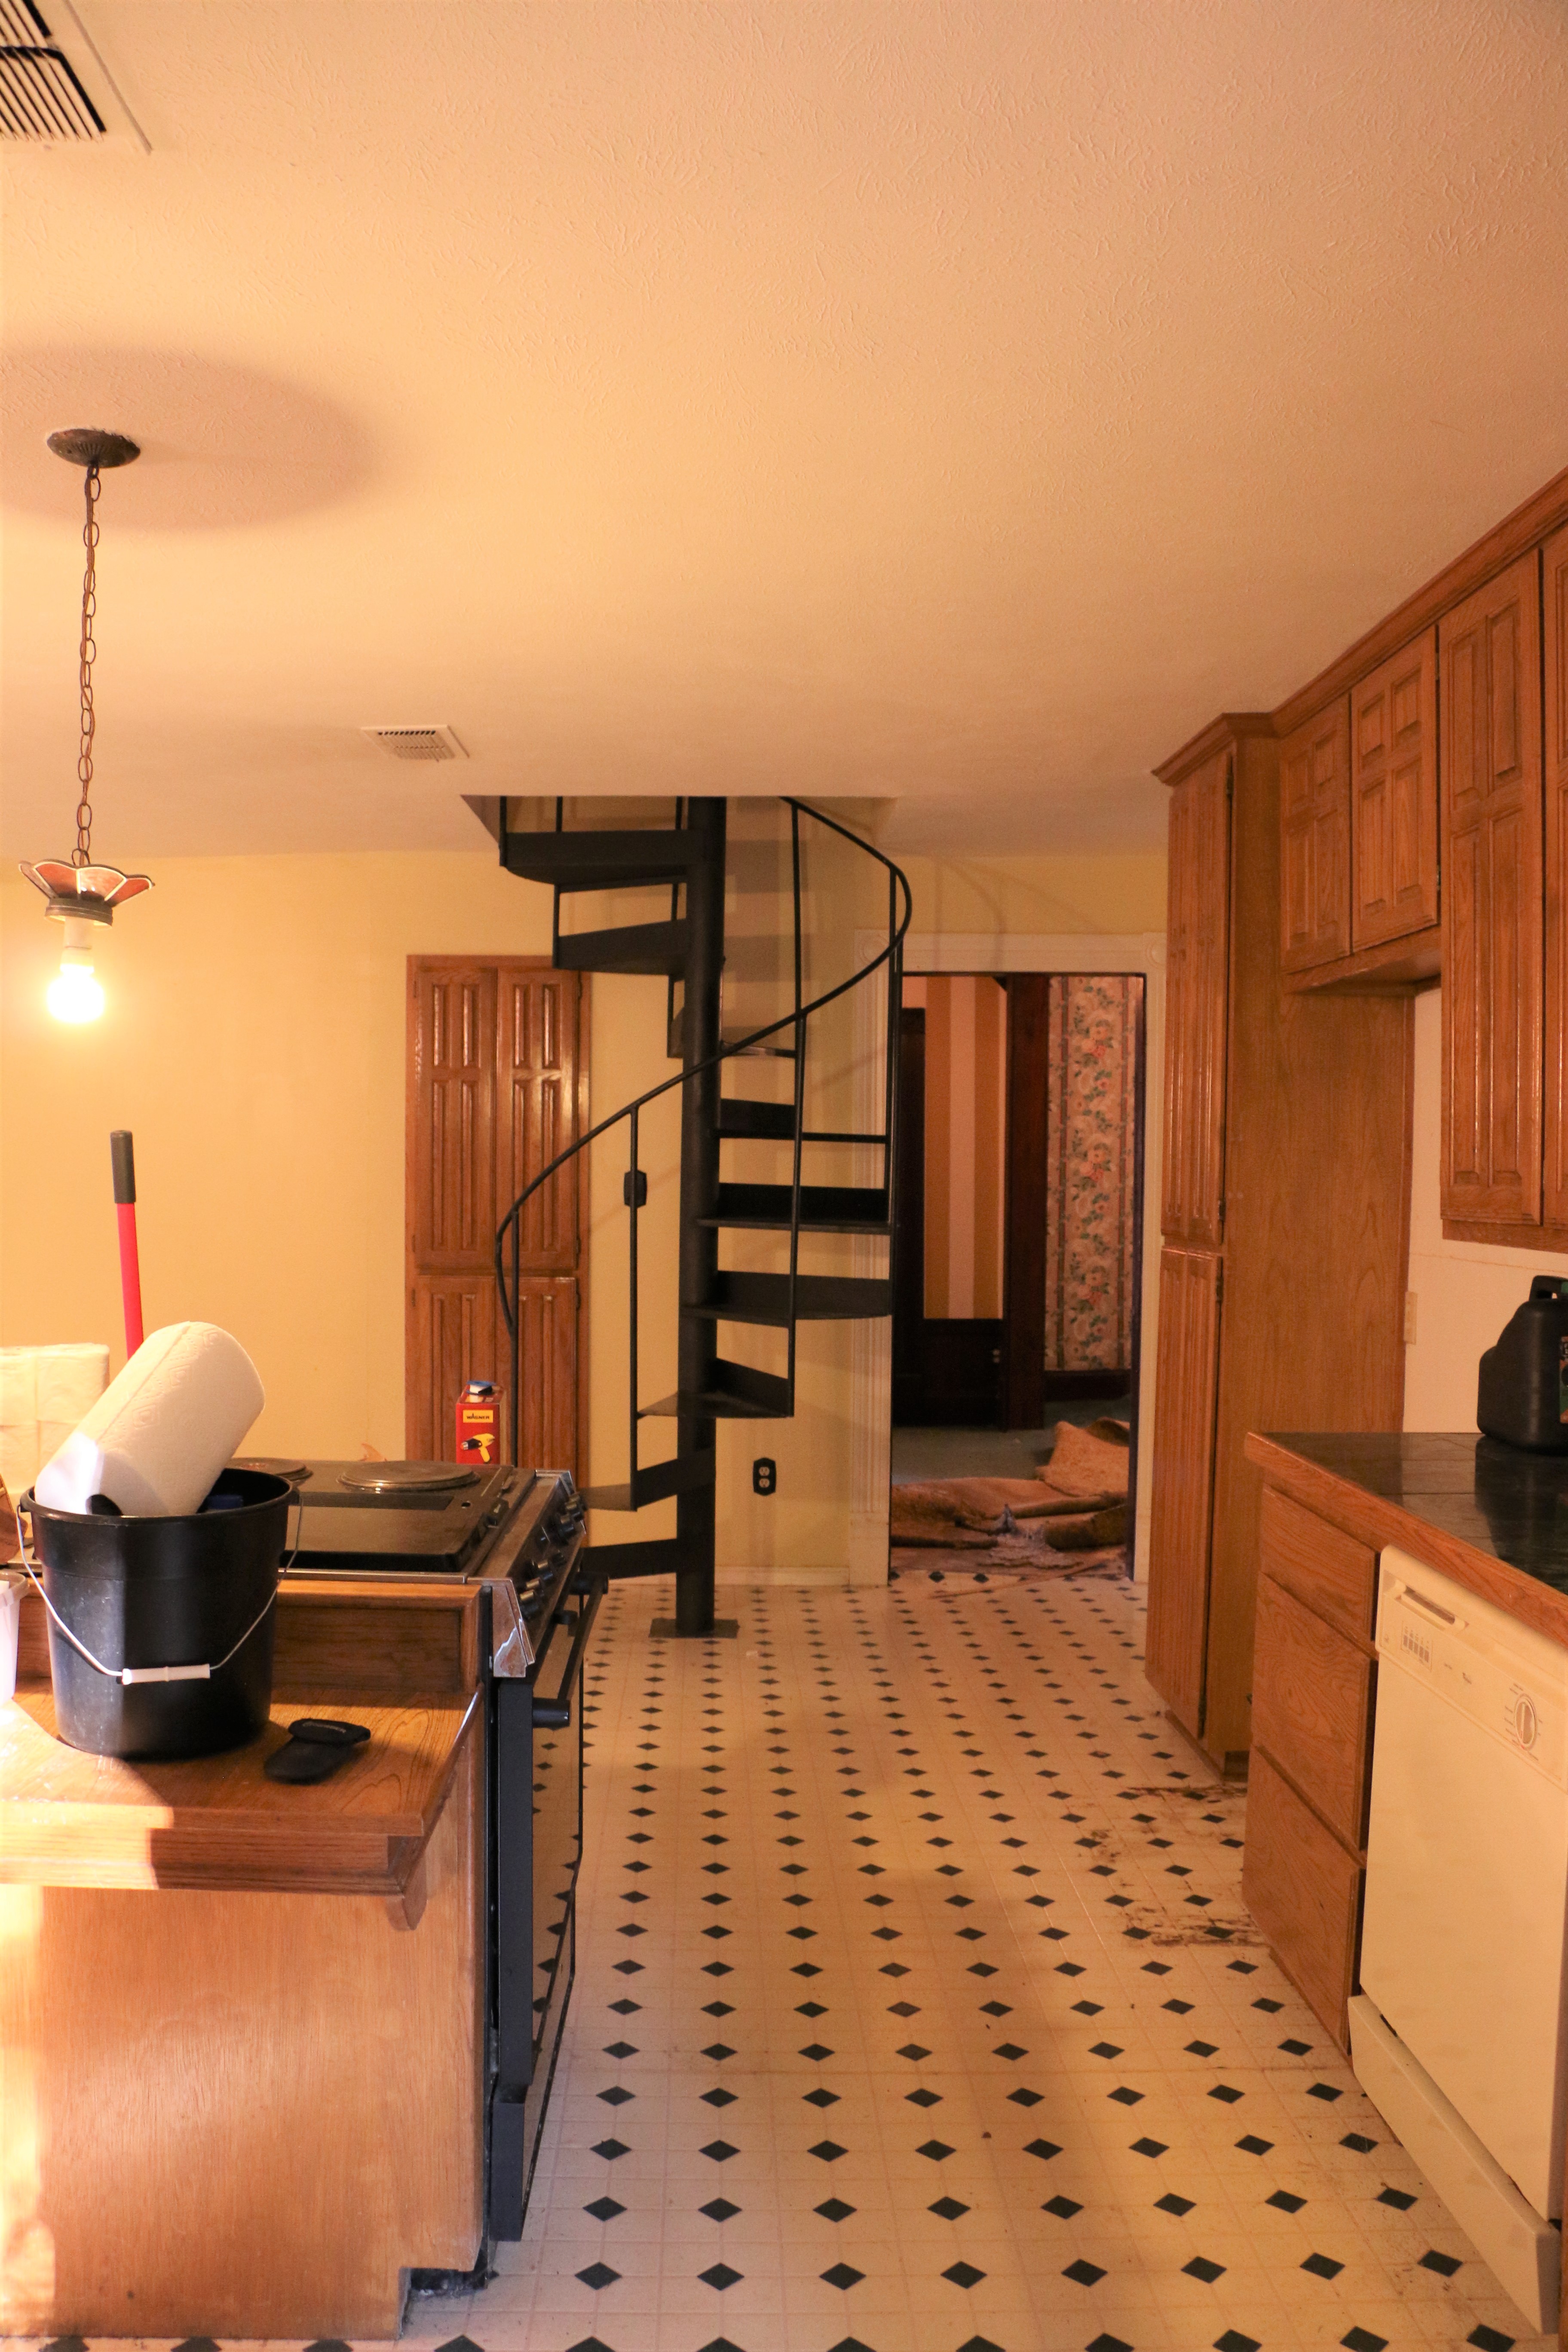
Now, in this picture, you may notice a sneak peek of another project. Hold on, I’ll get to that. Seeing that I still had some leftover paint in the bucket, I decided to go ahead and paint my back door. Now, this one comes with a warning. The back door is in the kitchen which is completely unrenovated and honestly just ugly. The quality of this photo is terrible. I’m sharing just to show you yet another thing I did with this single bucket of paint. So here we go.

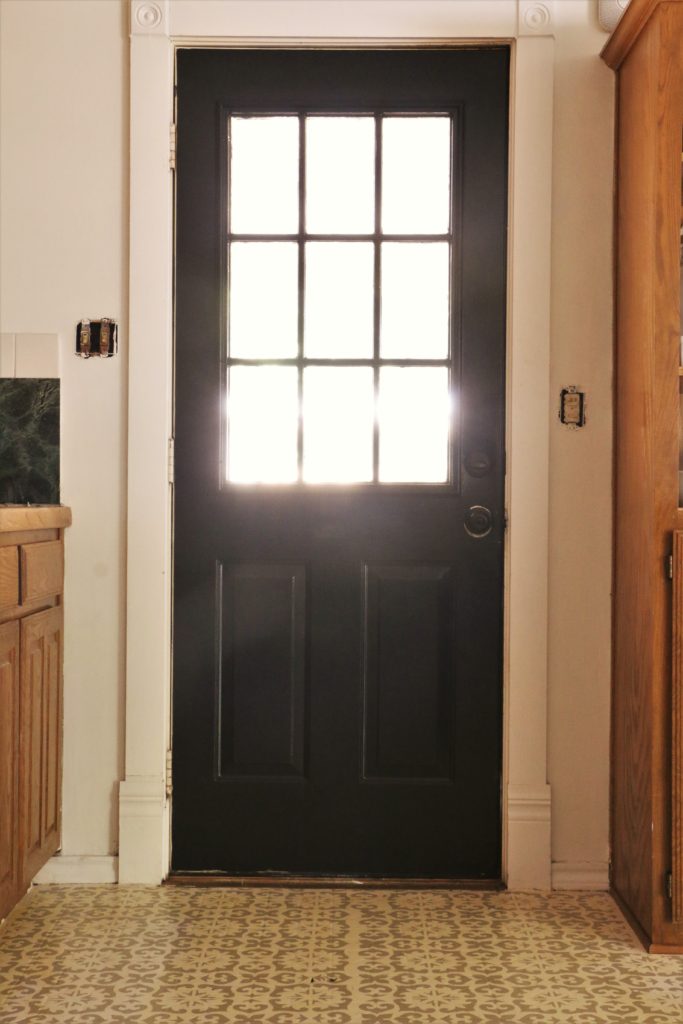
The door is awful. It was more awful before. That’s pretty much all I have to say about that. Moving on.

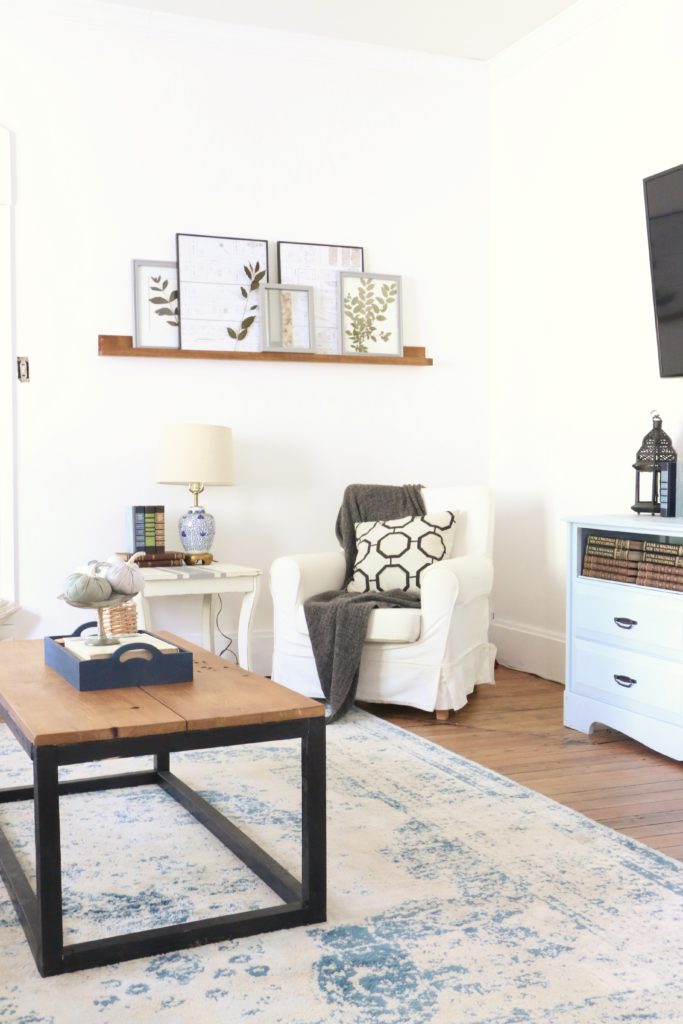
Some months later, the paint can had found a home in the garage awaiting some eventual use. That use came when on a random day in which work was unexpectedly cancelled (I work in a school, and the water had been turned off due to some road construction so school was cancelled). Finding myself with some extra free time, I decided to build a coffee table. A perfectly stable and precise coffee table it is not, but I built it alone and with items I had completely in my garage spending zero dollars. I’m sure you can guess where this is going…I painted the legs to the coffee table with more of the black paint.

Time goes on. On a whim one day browsing Pinterest, I decide to paint some faux-dalmation wallpaper on a passthrough area between my living room and dining room. Good golly this one was a good one. In a few hours time with the trusty bucket of black paint and a step ladder, I had done this.

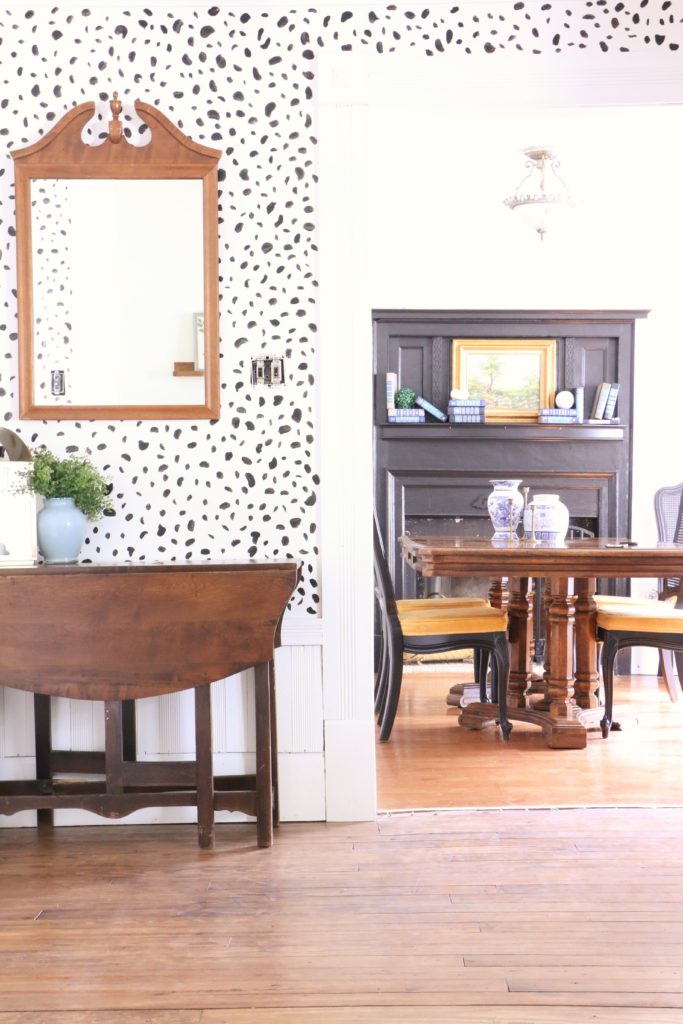
The dalmatian wall is my faaaaaaavorite. It adds so much personality to the space and I love it. It was one of the most popular projects I have ever posted about on Instagram as well. And why not? At this point, it wasn’t costing me any more money and wowza it packs a punch.

So that brings us around to the final project, the one that you’ve now possibly spotted twice already in these photos. You guessed it. The dining room chairs. By this time, I’ve already completed five other projects with this gallon of paint, but I still have more so why not? I did use a paint sprayer with these chairs, which means I had to add water to my mixture to make it thin enough for my sprayer. So, full disclosure, I stretched a bit here.

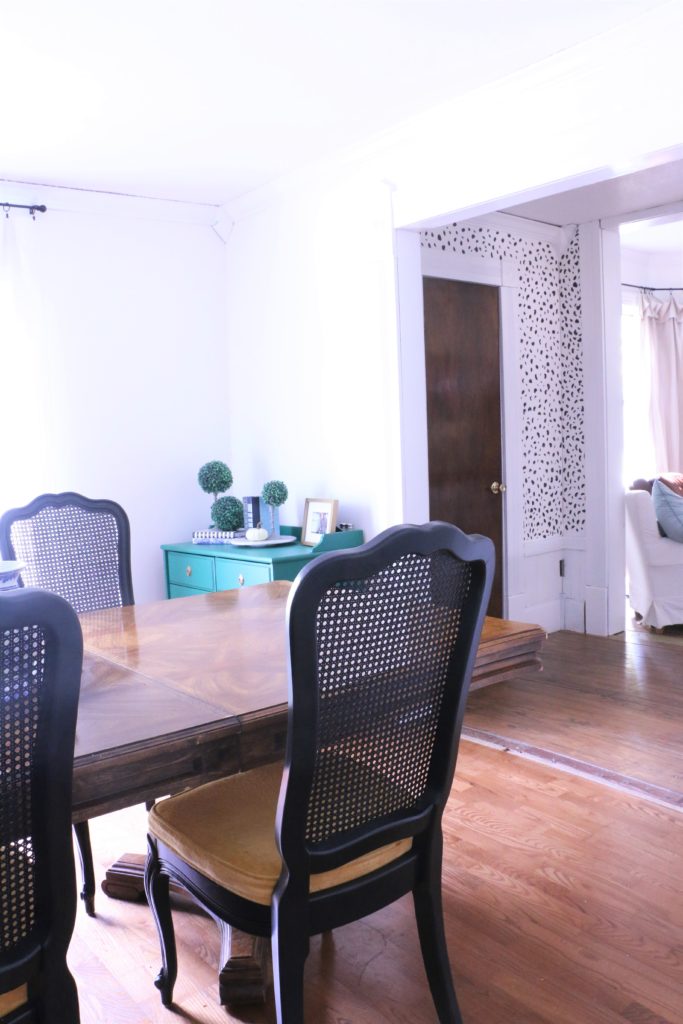
This is the most recent project, and they aren’t completely finished yet. I’m looking for the right fabric to recover the chairs, but I haven’t found what I’m looking for at the right price point just yet.

So there you have it. Six things I did with one silly gallon of paint that cost me less than $30. Insane, right? Would you believe I still have some left? Yep. Now, I probably won’t do any new projects with it, as I’d like to have some left just for touch ups. And with all these things, it’s likely I’ll have things to touch up over time.

So, a couple of takeaways here. Number one: paint is freaking awesome. You can cover a lot of ground for a little money. Number two: doing these different projects in different spaces throughout the house makes things feel more cohesive. The fireplace is the same color as the front stairs which makes it feel less random and more like they belong together even though they are in completely different spaces. It helps the house flow visually, I think. All that to say; I hope this inspires you. Get out there and paint something!

That’s all for today, friends. Have a fabulous day!

House Progress, Room Tours

The New House: The Before

Alrighty, friends, I shared the other day that we just bought a house, and we are so so excited about it! If you didn’t read that post, you can check out the entire story here.

Today I wanted to share some of the pictures of the house as it is, and talk about our plans for some things. Be forewarned though – these are rough! The rest of this post is going to be a whole lot of ugly, so scroll through at your own risk.

The Exterior 

Let’s start with the exterior. It needs a bit of work, I don’t love the color, and the yard is a mess. But, of course it is so charming with all the gingerbread trim, and so it’s not hard to envision what it could look like with some love. It’s a historic home on our city’s register of historic buildings, which means there are some regulations about what we are able to do to the house. The interior is basically fair game, but the exterior facade has to remain the same for the most part. Thankfully, this does not include paint color.


The Foyer 

When you walk in the front door, you walk into this small foyer with a stairway to the second floor. It’s teeny tiny, and definitely over a century old because the stairway doesn’t have much headroom, but it does have some gorgeous craftsmanship.

The Master Bedroom

The master is the only bedroom on the first floor, and it is what was once the original parlor of the house. It needs some serious work, as you can see there is an archway that leads out onto a porch here. The porch has a plexiglass cover, but it is definitely not a permanent solution (although I believe it’s been that way for about 30 years). We plan on putting in a functioning door, and walling in the arch. Then we’ll remove the plexiglass on the porch and have a porch off the master bedroom.

The Living Room 

The living room is eerily quiet when you walk in. That’s because it’s one of the few rooms that has carpet, and the walls are upholstered. From my understanding, upholstered walls are period appropriate for the era of the house, but this was a reproduction done in the 80’s or 90’s. Under the carpet is linoleum, and hopefully below that is the same gorgeous hardwood that’s in the master bedroom. Pulling up the linoleum is going to be a pretty serious job though, so we’ll see how that goes.

The Dining Room 

The dining room and kitchen were actually added to the house later on, they are at the far back of the house. I’m not sure when this portion of the house was added, but none of the features are original. The family that lived here from the 1980’s to the mid 2000’s did add the fireplace, and they definitely chose thoughtfully something that would work well with the original portion of the house.

The Kitchen 

The final room downstairs is the kitchen. Like I said, this is not original to the house, and is a true homage to the 1980’s.  This is where the back door leads, and it is actually a very large kitchen. We aren’t sure exactly how we want to use the space yet, but we plan on doing a “Phase One” cosmetic remodel to the kitchen, before doing a full gut job and reconfiguration of the space. Some thoughts we have may be to build out a laundry room/pantry/mudroom, and to eventually add a traditional stairway here to replace the spiral staircase. Since these things require some serious construction, it’ll probably be a few years before that happens.

The Upstairs Bedrooms 

Upstairs, there are three bedrooms and a creepy little carpeted bathroom. The bedrooms all have hardwood, which is original to the home, but in need of some TLC. The layout is a bit wonky, but what old house isn’t? The bedroom that is currently painted blue will be used as the nursery, although it may not be finished before baby gets here. Which is just what my planning personality can handle. 😉 The other two bedrooms will serve as guestroom and office, until we have need of more bedrooms. Thankfully, all the rooms have closets, pretty doors and hardware.

We’ve started doing some of the work already, so these photos are already outdated. We have been waiting for such a long time to start a project like this, it is so incredibly exciting for us. I’m sure it will be stressful and frustrating at times, and things will be dragged out far longer than we anticipate. As of right now, we plan to get as much of the “top priority” work done this month, and move in at the end of the month. We haven’t done much to prepare for baby’s arrival this fall, because we’re going to be moving! God sure has a sense of humor when it comes to timing!  The entire project will take several years, but we are going to do things at the rate of the cash we have to spend, and so we know it’ll take a while. It’s going to be a long lesson in patience, contentment, and hard work to say the least!

Thanks for checking out the before pictures. Make sure you check back as we continue the process! That’s all for today, friends. Have a fabulous day!