Browsing Tag

home decor

DIY Projects, Home Decor

Cable Spool Porch Table

Hi guys! Thanks for stopping by! I’m so glad you did! It means so much to me that you would take a moment of your day to stop by my little corner of the internet. Anyway, enough of the sappy stuff. Is it getting warmer where you are? I hope so! Here in Texas we’re reaching some pretty high temperatures which have me itching for two things: summer break and outdoor life!

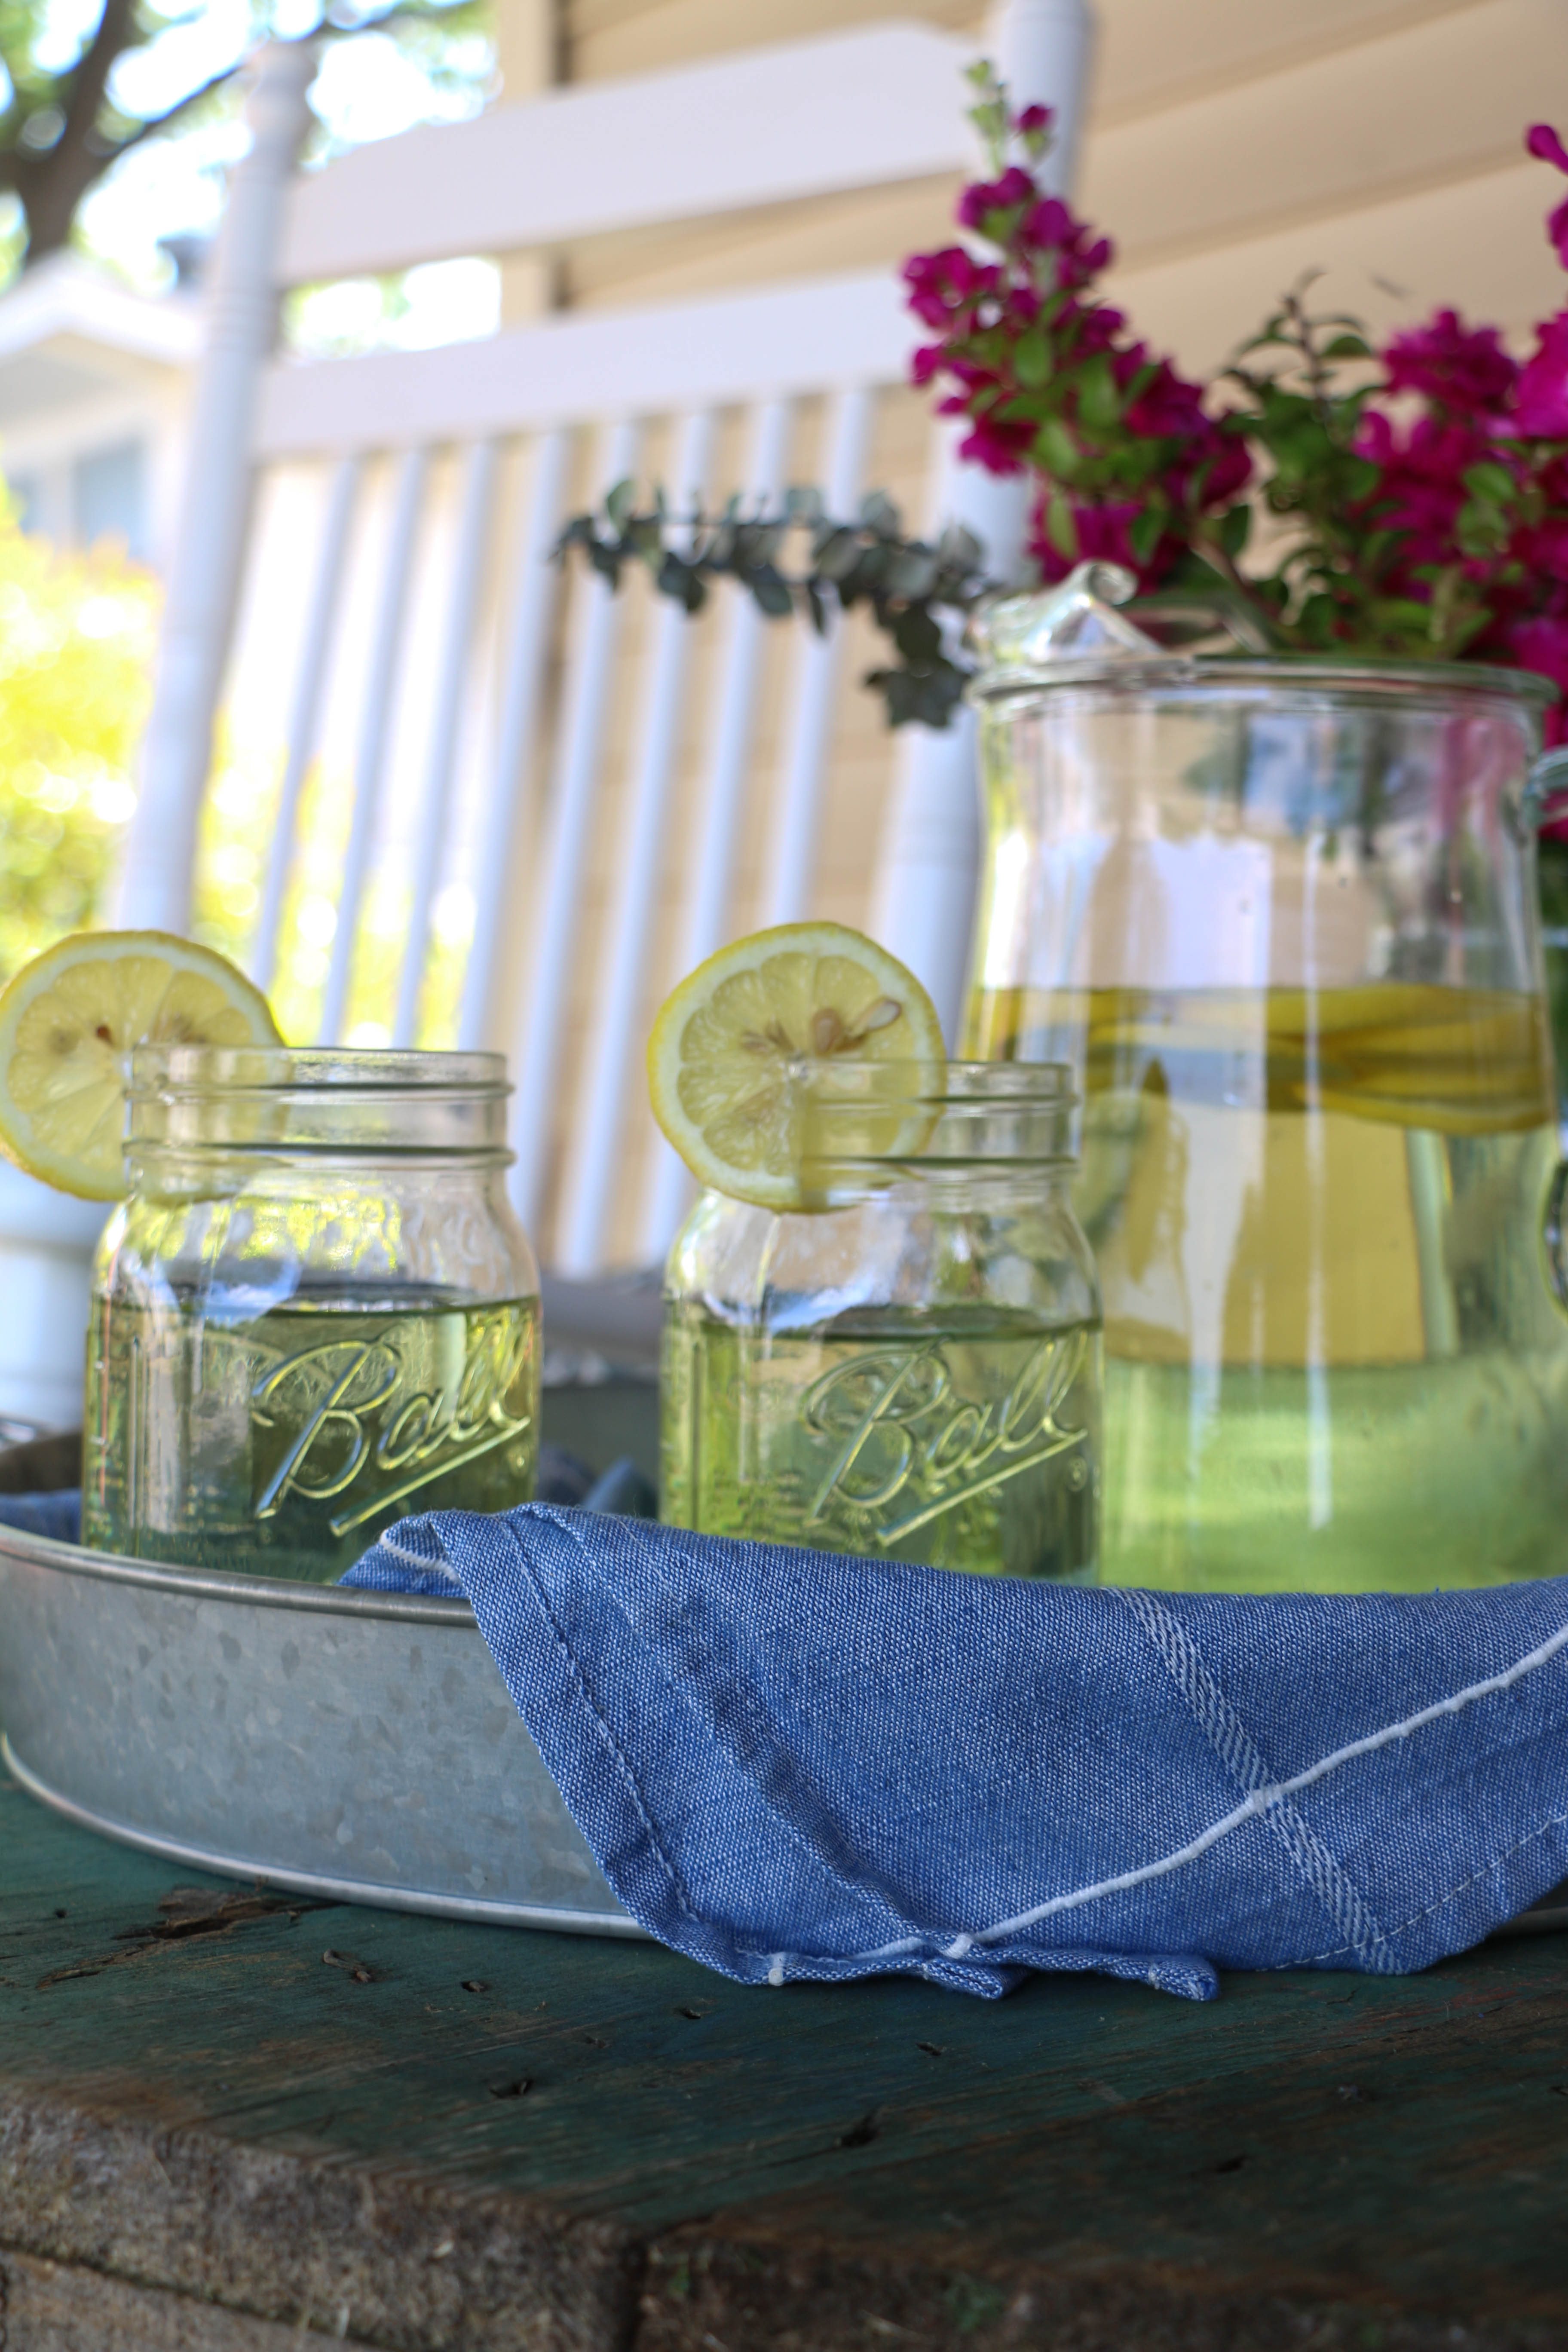
We have about six weeks left of school, but who’s counting!? 😉 We have a large front porch on our house, which is one of the only positive things about our sad little rental. I mean, for real you guys. Over summer break, I like to spend as much time on the porch as possible! Give me some magazines, some lemonade, and I’m good to go for hours!

Recently, I’ve been looking for a cable spool, but I really haven’t wanted to spend a lot on it. I know that the cable spool as an outdoor table is totally not my original idea, but stick with me. I know everyone and their next door neighbor is doing this, but I still wanted to share. The table we had on our front porch previously was a small glass top one, maybe only 18 inches across. It wasn’t really large enough to place a lot of stuff on it, which is why I was looking for a cable spool to use as a table.

For the past few months I’ve been looking, but I’ve only been able to find them for about $60, which was more than I wanted to spend on a piece like this. So imagine my delight when I found one on the side of the road for free?! Ethan was driving, and I totally made him do a real quick turn around to scoop that bad boy up. It was actually a little scary looking because there was some additional wood attached to the top, and several pieces of wire wrapped around various parts on the spool. I just cut off the wire and pried off the pieces of wood that were nailed to the top. Ain’t no thing.

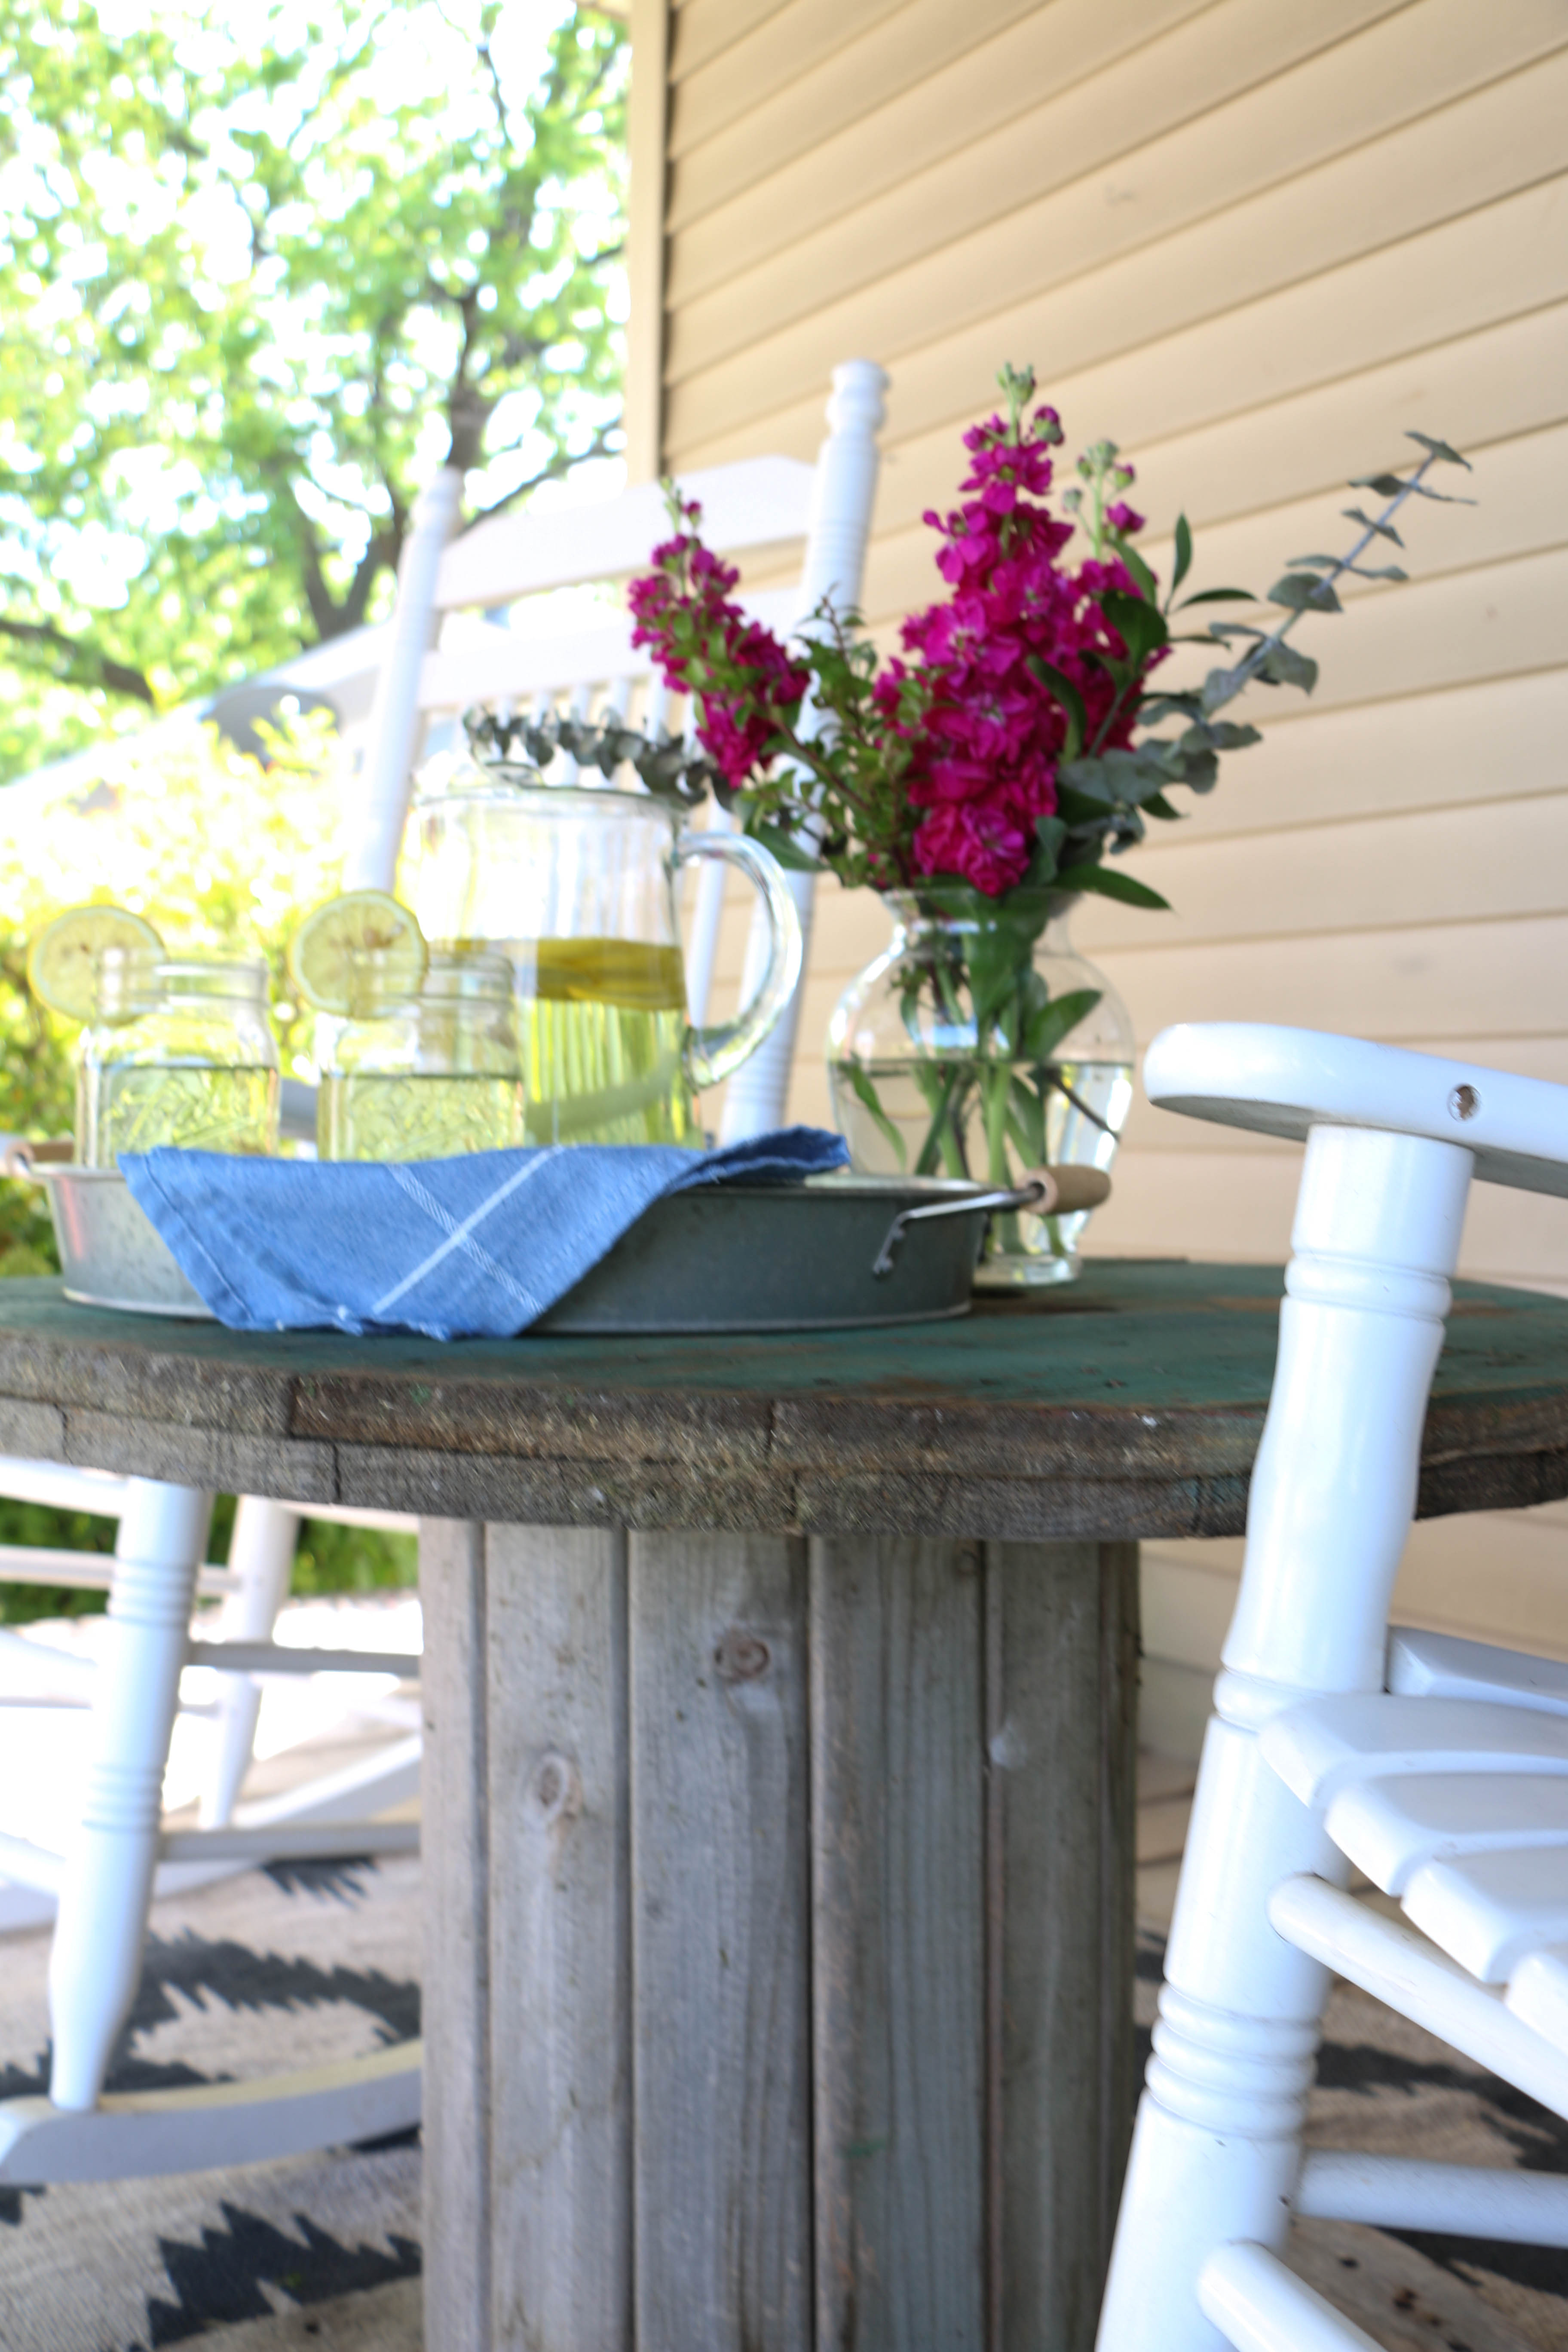
So, without further ado, here’s what our front porch looks like now:

cable spool table 3

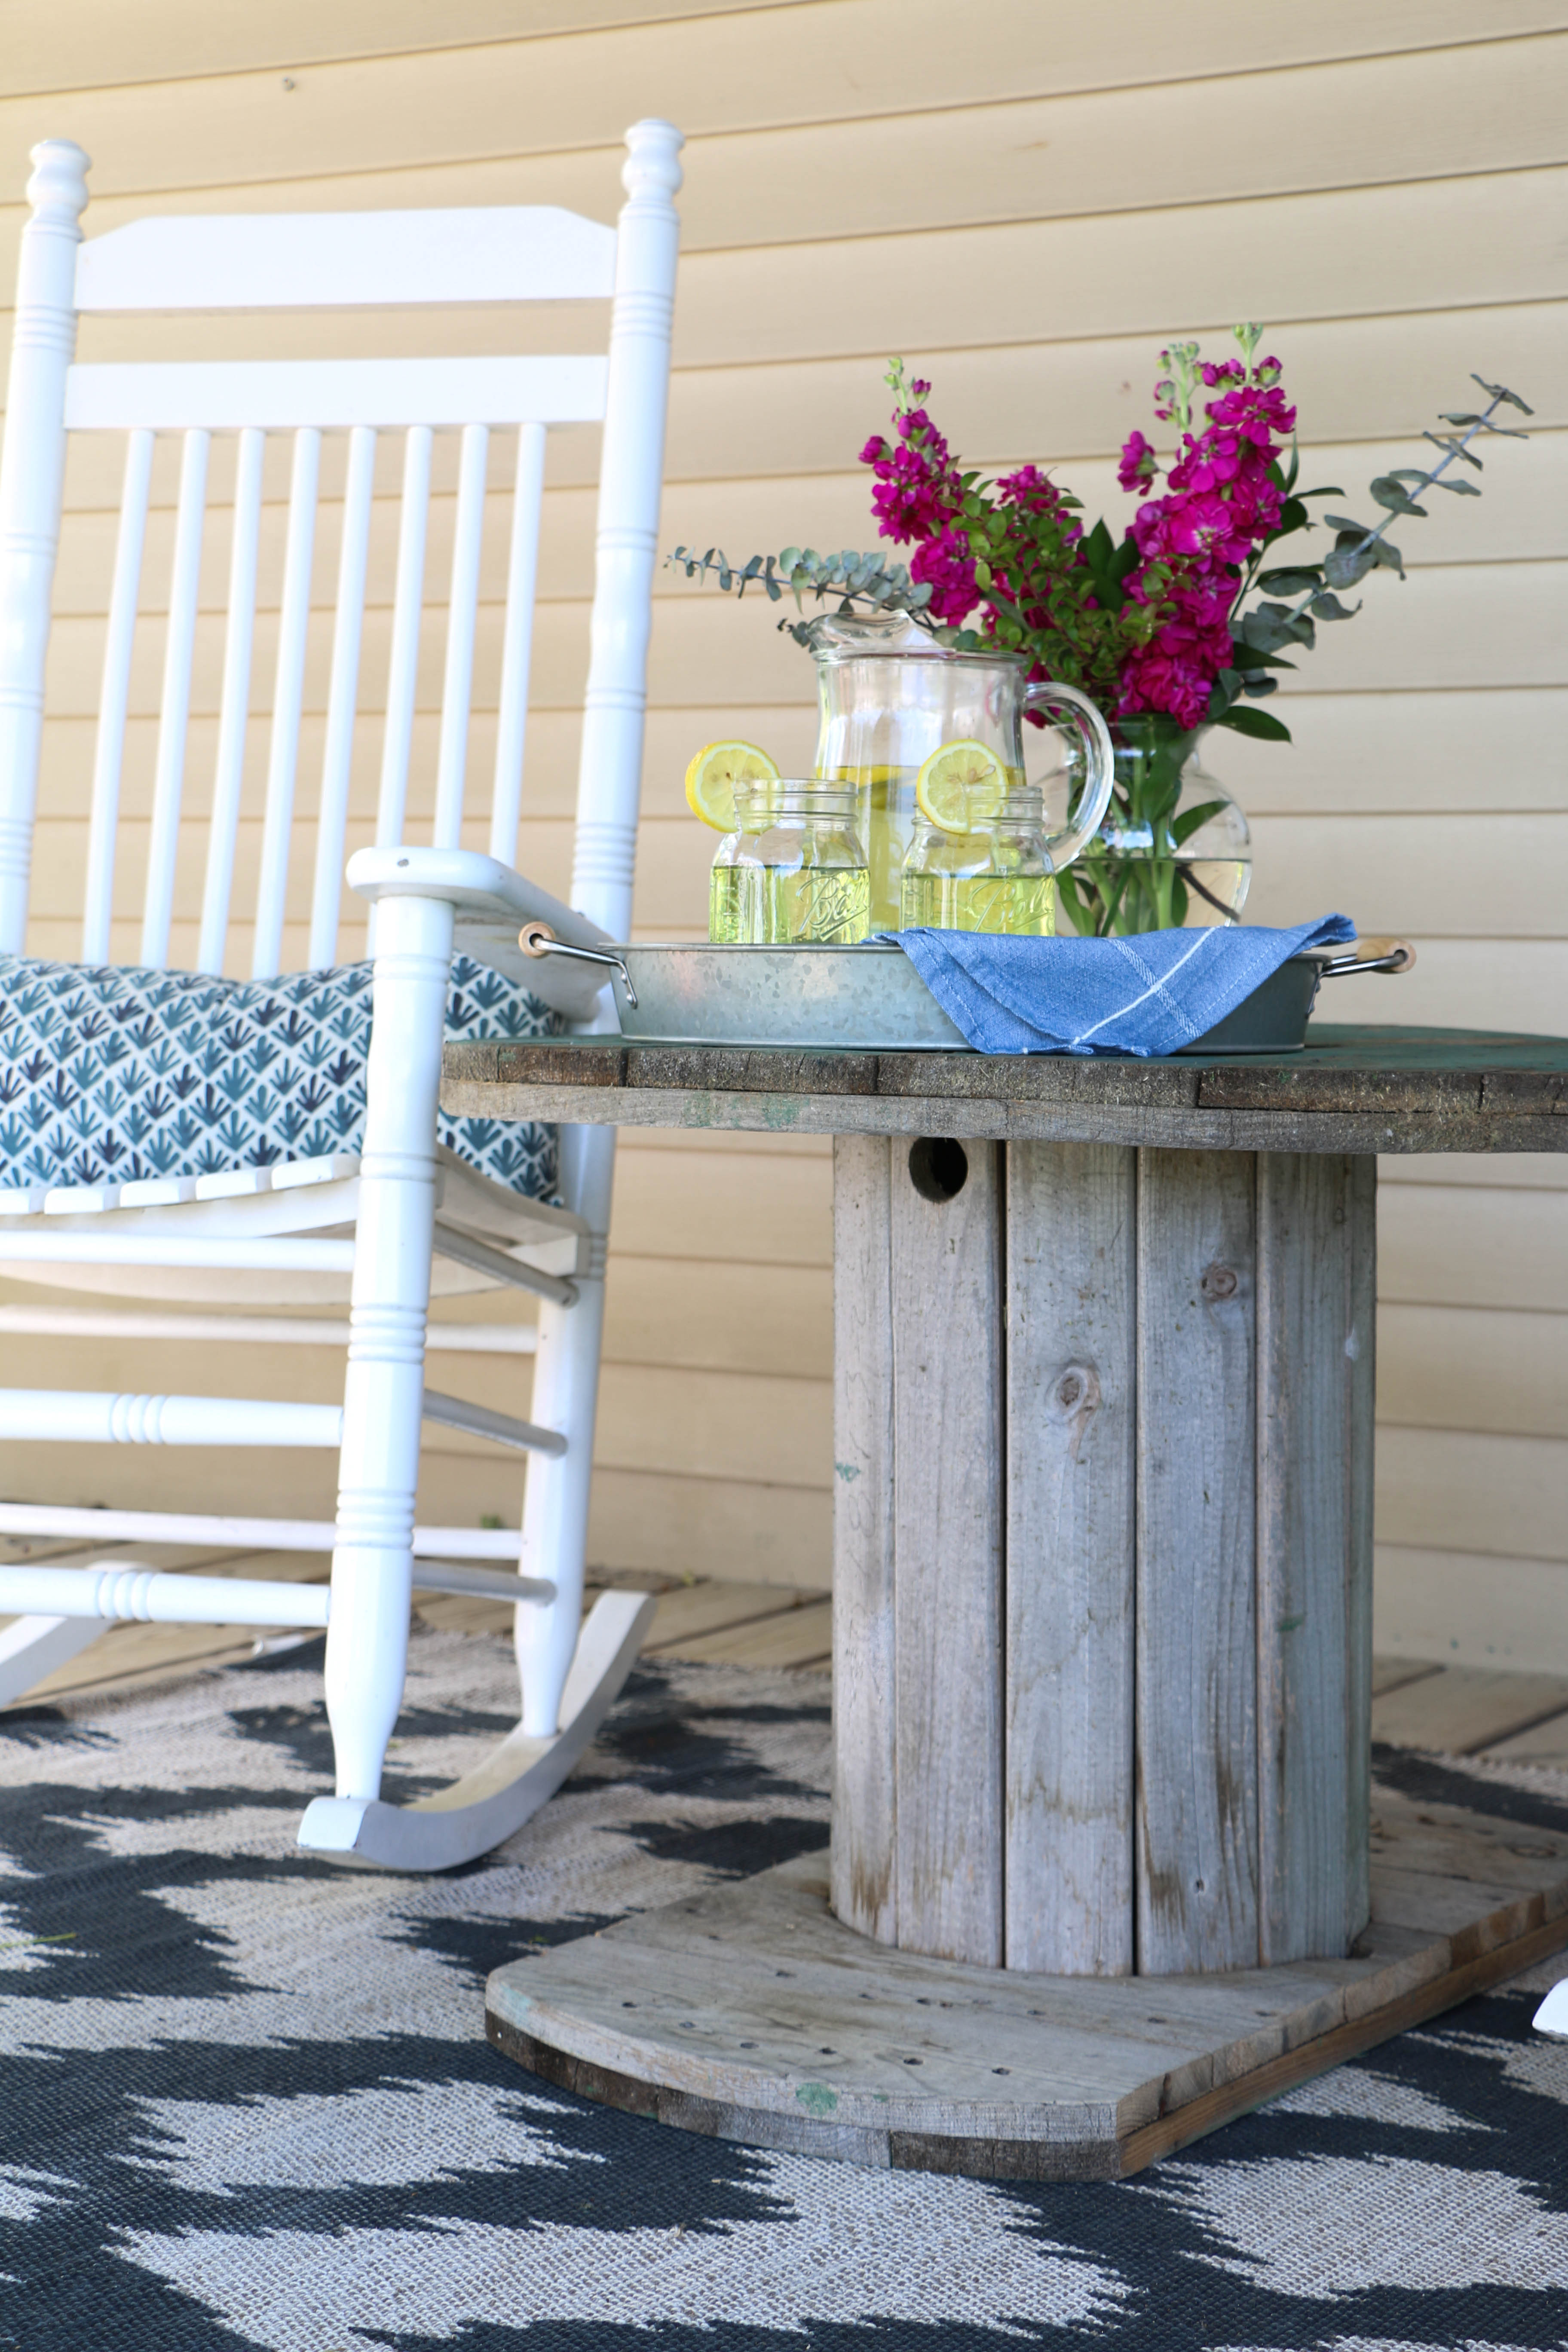
You might notice that the bottom piece it not a full circle. I actually found it this way, and was a little disappointed at first until I realized how much better this actually is. Since we have rocking chairs, the narrow bottom actually allows the chairs to fully rock while still being close to the tabletop.

cable spool table 5

There’s so much more room on the surface than there was on the old table, I’m loving it! I can just imagine some plates out here, maybe a little pie….I don’t know where pie came from. I’m just really ready for summer, okay?!

cable spool table 9

cable spool table 8 cable spool table1

If you have your own cable spool, I would reccomend cutting the bottom to be more narrow.

cable spool table 6

cable spool table 4

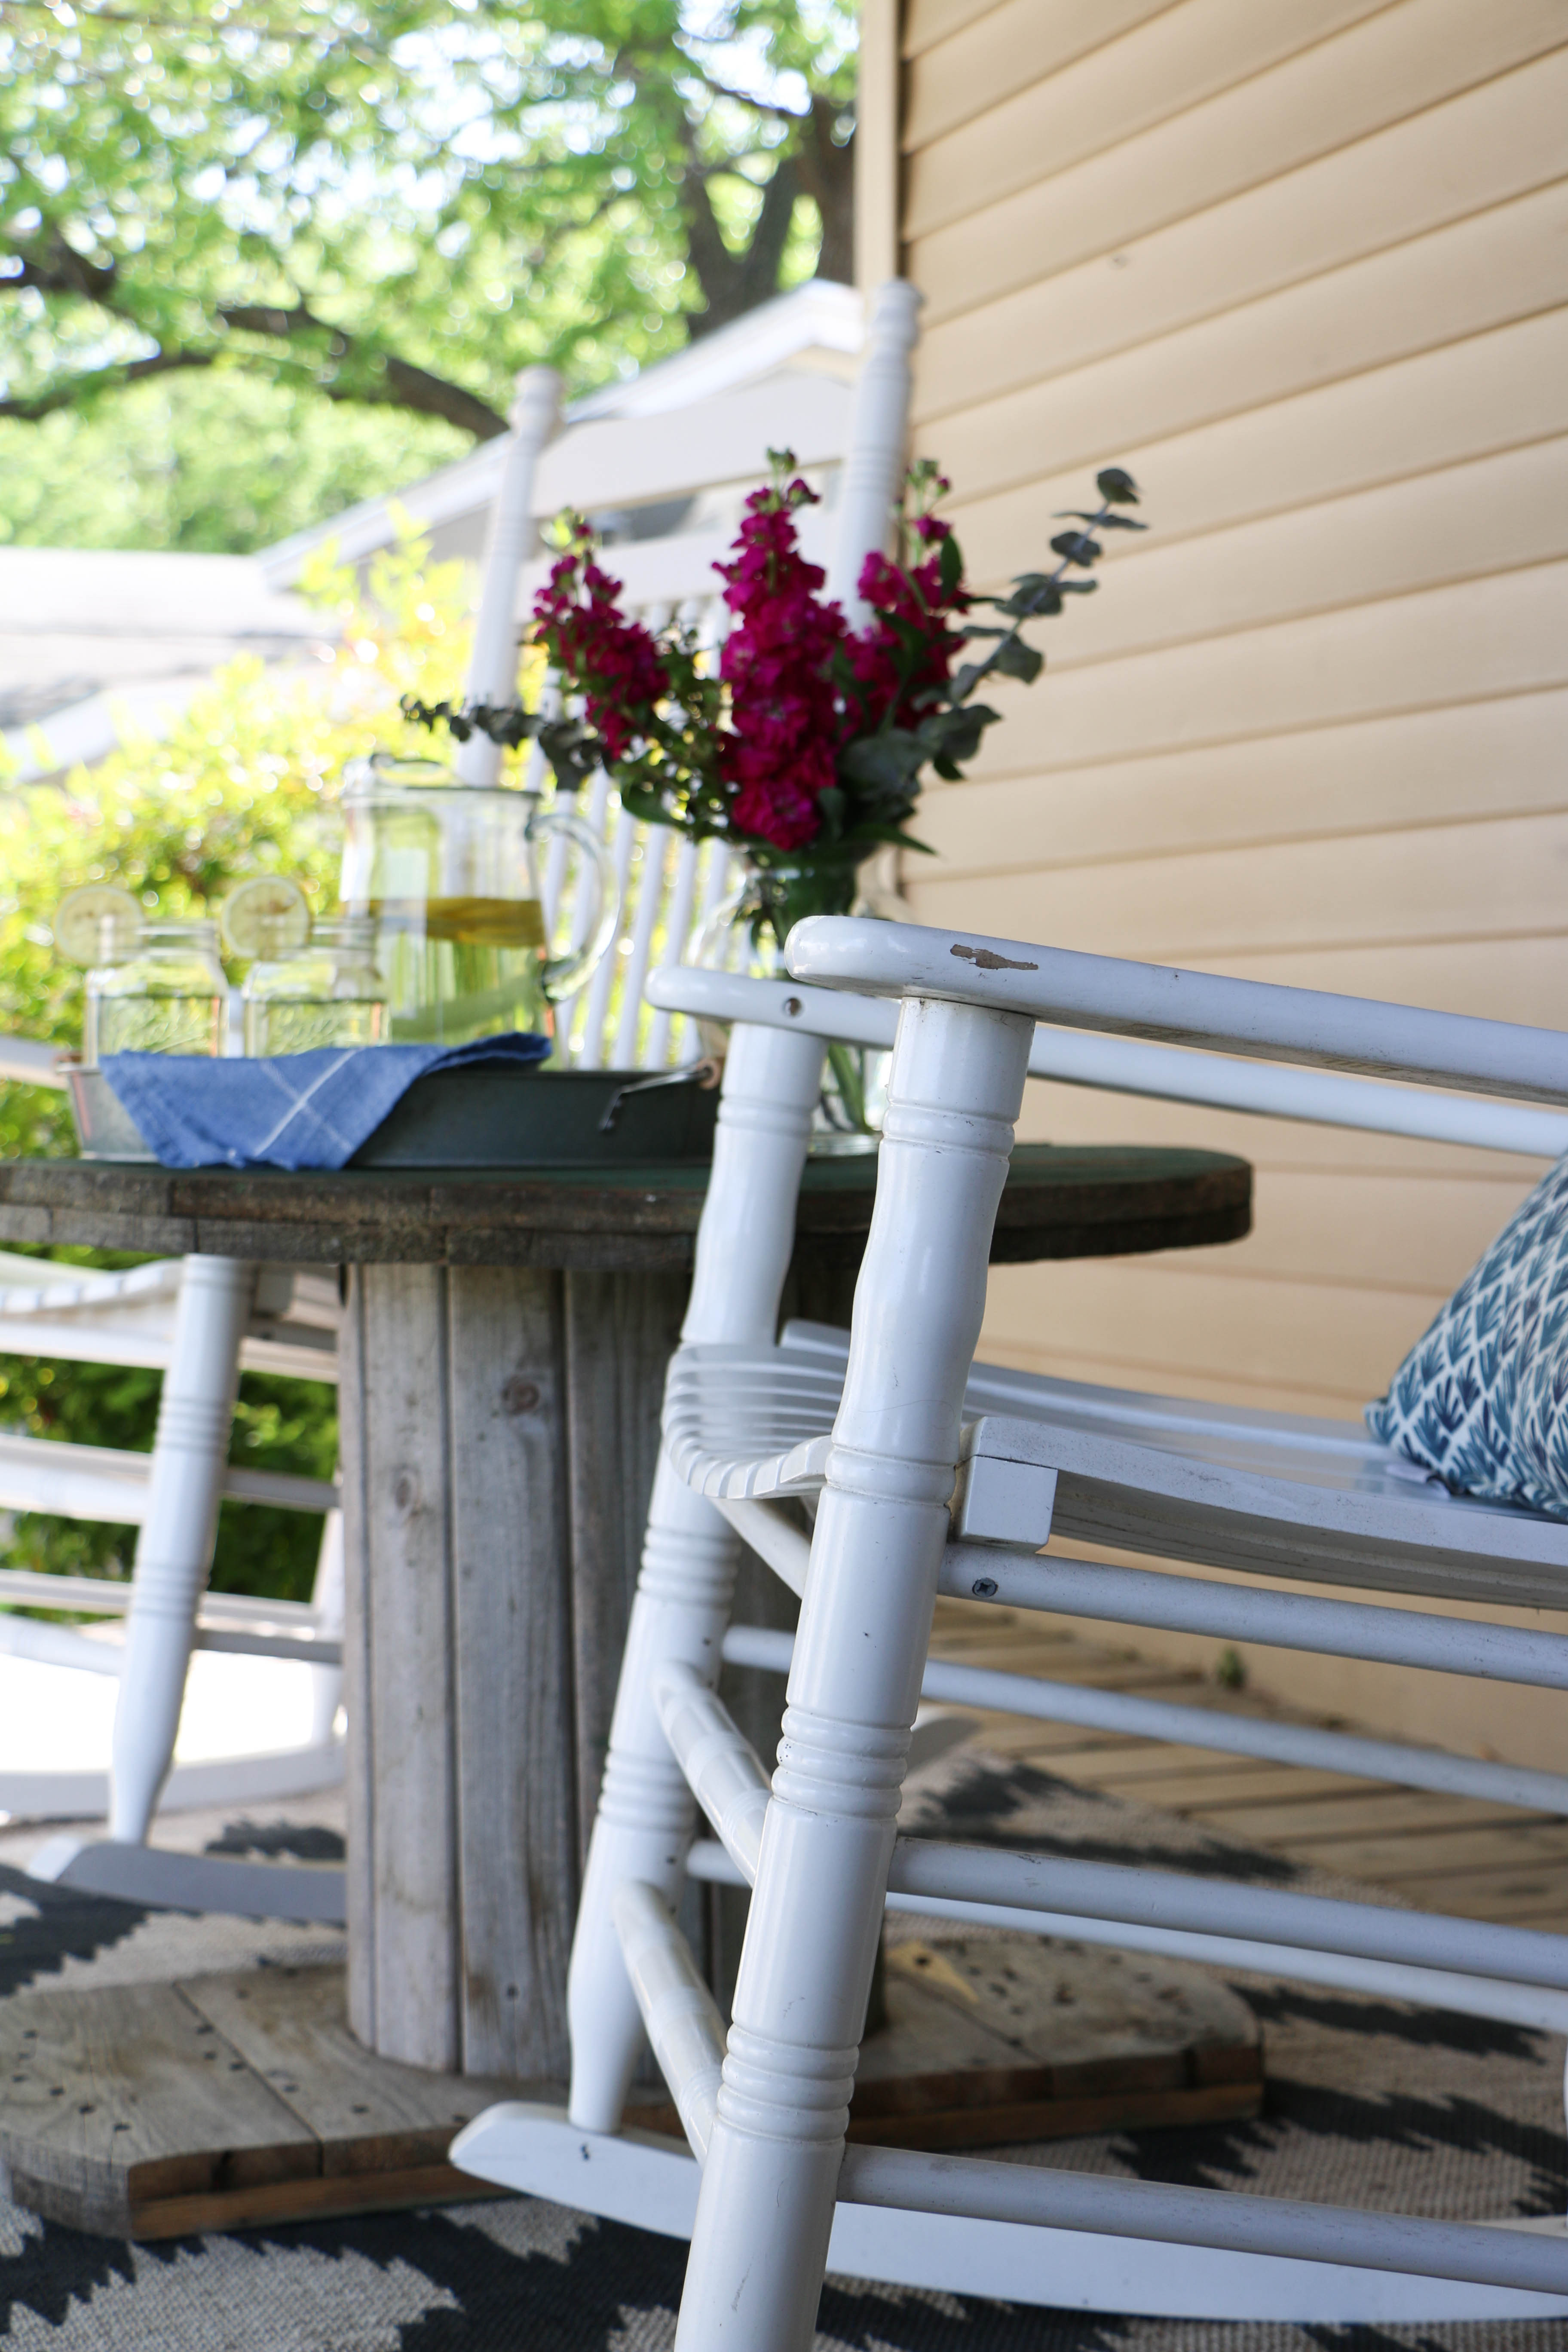
I case you were wondering, the rug is from Hobby Lobby, the chairs are from Cracker Barrel, the pillows are from Target, and the serving tray is from Walmart. This little outdoor area is fresh and cheery, and I cannot wait to get out here and enjoy myself. Especially since I’m so close to endless lounging during my carefree summer break. Ahhhh, summer. Alright, I’ll stop now y’all, I promise.

So what do you think of the cable spool as an outdoor table? Is this a trend you’re willing to go along with? I will say that even Ethan loves it! I am sensing some meals eaten out here together, and I cannot be more excited about that! That’s all for today, friends. Have a fabulous day!

Home Decor

How to Make Grocery Store Flowers Look Expensive

Hi you guys! I’m so glad you stopped by today! I feel like I haven’t been able to consistently post for a while, but I have a ton of ideas for some upcoming posts that I’m super excited about! I was thinking about it the other day, and I realized that it was almost exactly one year ago today that I started this little blog and posted my very first post! Since then I have shared some really fun projects that I’m proud of, as well as a few personal pieces. In the next year, I want to continue to add more things here on the blog that encompass more things that I love, branching out a little bit from my main focus which has been DIY projects. I hope you don’t mind!

So today I wanted to share with you a recent hobby that I’ve taken on (which if you can’t tell by the title, is all about flower!). I’ve always loved florals, and when I grocery shop, I usually pick up an inexpensive bunch of flowers and stick them in a vase. For my wedding, I did my own flowers (which were admittedly pretty simple), and since then, I’ve been a little obsessed with floral design. Now, I am in absolutely no way any type of professional, nor do I even really know what I’m doing. All I know is that when I buy a four dollar bunch of flowers from the grocery store, it doesn’t look the same as the pretty floral arrangements I find on Pinterest.

With a little bit of fun experimentation, I’ve been able to figure out how to make the florals I buy at the grocery store a little bit more expensive looking (without the high florists’ price tag). Here’s what I do:

floralbuch1 floralbunch2

I purchased a few hydrangeas, a bunch of mini pink roses, and a bunch of greenery. I like the mini roses simply because they are much cheaper than the large ones. Most bunches of individual types of flowers at my grocery store are just a few dollars. I tend to stay away from the pre-made bouquets, because they can get procey pretty quickly.

I like to make a floral arrangement from one basic large flower type, one smaller flower type, and some greenery. This is just my personal opinion, and I’m sure someone who has some actual floral knowledge might cringe reading this, but it’s just what works for me.

So here’s what I came up with:

floralarrangement3floralarrangement5floralarrangement4 floralarrangement1

Like I said before, I have no experience with arranging florals other than just for fun, but boy is it fun! Keeping flowers in the house is a simple way to brighten the room, and I love the way this arrangement looks! For this arrangement, I placed the hydrangeas in the vase first, and then added small bunches of roses, followed by the sprigs of greenery. I usually just mess around with arranging it in different ways until I loke the way it looks. I don’t follow any proportion rules, but I think it looks pretty good (if I do say so myself, 😉 ).

How about you? Have you ever played around with florals? It sure is fun! I’d love to hear all about it! That’s all for today friends, have a fabulous day!

Capture

DIY Projects

Antique Window Project

Hi you guys! I’m so glad you stopped by today! This week is flying by, and it’s hard to believe that Easter is just a few days away! Despite the weird highs and lows that we’ve seen in the tempurature the last few weeks, I’m so glad that spring is officially here!

I wanted to share with you guys a fun project I completed this week, which I think is in perfect timing for the upcoming Easter holiday. A few weeks back, I was roaming around my favorite flea market (why does it seem like half of my posts start with that sentence?), and I found  this super old, really pretty hymnal. It was way older than me, but it was still super nostalgic, because I grew up singing hymns from a hymnal. I grabbed it for five dollars, and I immediately had this project in mind.

I went through the book and found some familiar songs and cut those pages out. I know you may say that by doing that, I’m not respecting the integrity of the hymnal, but I think that I will enjoy what I’ve done with it far more than anyone else was going to use the hymnal for. If that even makes sense. I carefully sliced the pages I wanted with an X-Acto knife to be sure I had a clean cut.

Then I used scotch tape (very teeny tiny pieces) to tape the pages I had cut out onto the panes of an antique window I had. The window was something I already had, it was hanging on the wall previously with nothing on it. So here’s what I came up with: HymnalWindow5

Each hymn is a title that I’m familiar with, and each one is a sweet reminder of His love and all that He has done thoughout our lives. If you look super closely, you can see the tape, but I didn’t want to use another method that would either damage the pages or make it so that I was unable to recreate something using these materials.

I placed it above our bed, and I absolutely adore it.

HymnalWindow4

HymnalWindow1

HymnalWindow3

I really think it just adds a thoughtful touch to the decor in here. Really, what’s the point in putting together a home if it isn not meaningful? I’m already thinking of other projects I can do with the rest of the hymnal pages, seeing as how I’ve barely used a few.

There are Chrsitmas carols and classic American choruses, so the seasonal possibilities with this little hymnal are pretty endless. Plus, there’s just something about the yellowed pages of sheet music that is just beautiful. I seriously can’t get enough.  Can you tell I’m excited about this one?

What do you think of this project? It’s such an easy thing, I don’t know if it can actually be considered a a project! I hope you enjoyed this little project, and that it insires you to do something meaningful with the decor in your own home! That’s all for today, friends. Have a fabulous day!