Browsing Tag

holidays

Thrifting

The Case for Secondhand Holiday Shopping: Ideas for everyone on your list!

The holiday season is nearly upon us, and unless you’ve been living under a rock, this year retailers and news outlets are urging us to shop early because of supply chain issues. This should absolutely be a factor when considering your shopping, but what if there was another way we could shop without having to worry about the supply chain issue at all?

Thrifting has been a big part of my life since high school, and of course there are lots of benefits including budget and the opportunity to find rare or one of kind items. It hasn’t been until recently that I’ve realized the environmental impact of shopping secondhand. When we buy something secondhand, not only are you saving something from a landfill, you’re also not contributing to the carbon emissions that are created by the manufacturing and shipping of items that can be bought in big box stores.

I know it might feel weird or cheap to purchase something secondhand as a gift, but I think it’s actually a very environmentally conscious thing to do. As we are all focusing our efforts more and more onto the effects of climate change, I think we will see this as an option that grows more and more popular in the years to come. And when done thoughtfully, no one will even question it!

So, without further ado, here are some ideas of things to keep an eye out for when you’re thrifting for everyone on your list!

For The Kids:

  • Books, books, books.
  • Classic Toys (think wooden blocks, Lincoln Logs, anything that can be/is clean and in good condition. Look past the packaging, you can always give it in a fresh basket or box)
  • Halloween costumes or character specific clothing for dress up play
  • Puzzles (this is easier with younger age puzzles that are easy to tell if the pieces are all present, otherwise I would only buy unopened boxes)
  • Trinket boxes (I don’t know about you, but my kid is thrilled with the idea of a special place to store his “treasures” of rocks and shells)
  • Play Tea Sets

For a Female Friend/Sister/Spouse:

  • Also books! Hardcover coffee table books are easy to find in many varieties of interests.
  • Jewelry: This may not be for everyone, but vintage costume jewelry can be fun, affordable, and super stylish for the right person
  • Home Decor items: baskets, unused candles and candlesticks, clocks, vases, pretty serveware, etc. This may require you to know the taste of the recipient pretty well, but can be an incredibly thoughtful gift.
  • Purses + Bags: vintage bags are usually much more well made, and remain in style much longer. You can get something like this professionally dry cleaned, and it’s as good as new!
  • Clothing: again, this might not be for everyone, but for the right person can be a real winner. A good place to start is with sweaters.
  • Anything specific to that person’s interests (for example, if someone gifted me a blue and white vase, I’d be over the moon!)

For a Male Friend/Brother/Spouse:

  • Also books! Noticing a trend here?
  • Wallets
  • Records: this doesn’t apply just to men, but could be for any music lover, really!
  • Vintage flasks/Thermoses
  • Knives: this applies to a very specific recipient, and might have different laws surrounding the purchase of in different states, but some vintage pocket knives are very cool
  • Watches: you can always have them cleaned and/or repaired at a local jeweler
  • Golfing equipment: this would require some knowledge (that I do not posess), but I have never seen a thrift store without golf clubs. If you’re looking for something specific, you could always try eBay.

Inlaws/Parents/Grandparents:

  • Books. You know I had to.
  • Picture frames: if you have kids, framed family photos of the grandkids are always sweet.
  • Tea set or decorative dishes
  • Ties
  • Belts
  • Sweaters
  • Scarves

Neighbors/Teachers/Service People:

  • Coffee Mugs: add a Starbucks gift card and you’re golden
  • Vintage Cookie Cutters: gift with a dry mix for cookies
  • Unique Plates and Platters: gift these with cookies or other baked goods, and you won’t have to purchase a cheap throwaway container
  • Pots: gift with tulip bulbs or herb seeds for someone to grow on their own

I hope that gave you lots of ideas for things you can be looking for! If you don’t have time to hunt in person, there are always sites like Thrift Books, Chairish, Etsy, eBay, even Goodwill sells online! Don’t forget to look for cute giftwrap, giftbags, ribbon, and baskets to gift your items in while you’re shopping. Let’s reduce our carbon footprint a little bit together this holiday season, and give something more meaningful. That’s all for today, have a fabulous day!

DIY Projects, Holidays

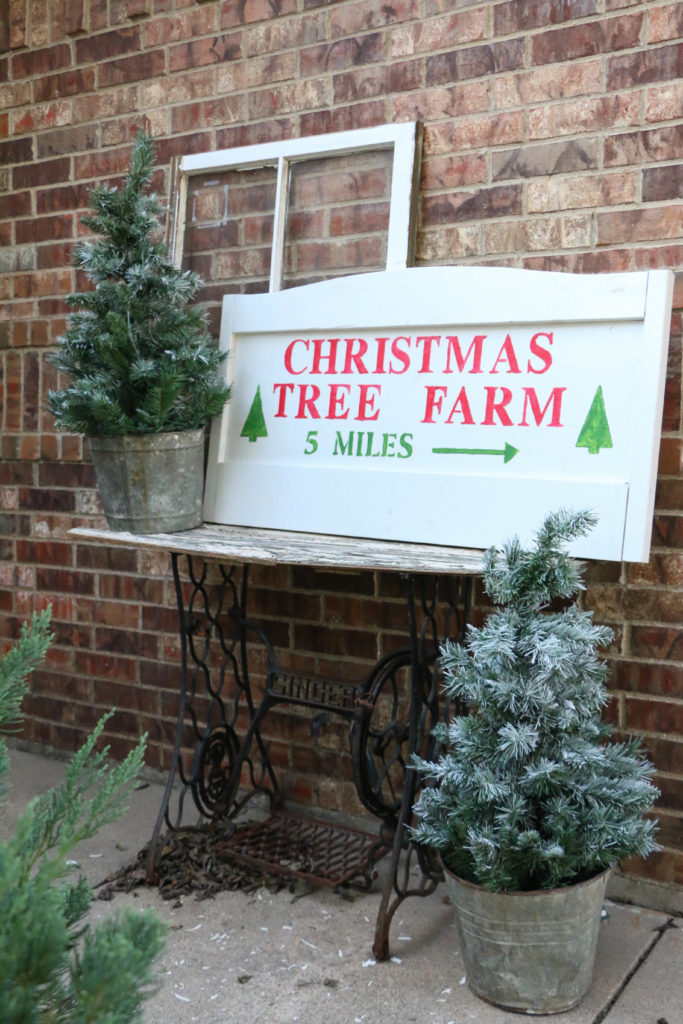
DIY Christmas Sign

Hello friends! Thanksgiving is over and I’m just here in my stretchy pants trying to recover from the delicious feast fest that was yesterday. Now that Thanksgiving is over though, I am super excited because I can officially without shame decorate for Christmas!

Not like I haven’t had my tree up for weeks. But now I’m going to share my Christmas posts without shame! Anyway, I want to show you guys this super simple sign that I made for outside our entryway. It’s totally something you can do yourself too!

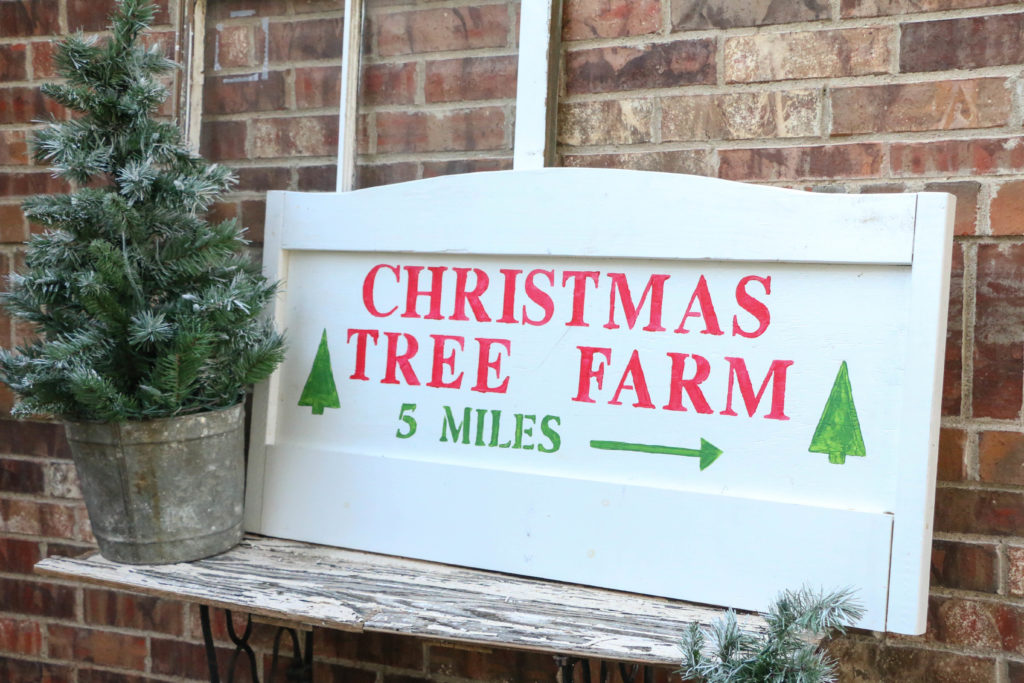
I know this is a super popular look right now, and so I wanted to do my own version with some things I had laying around the house. Here’s what I came up with:

christmassign1

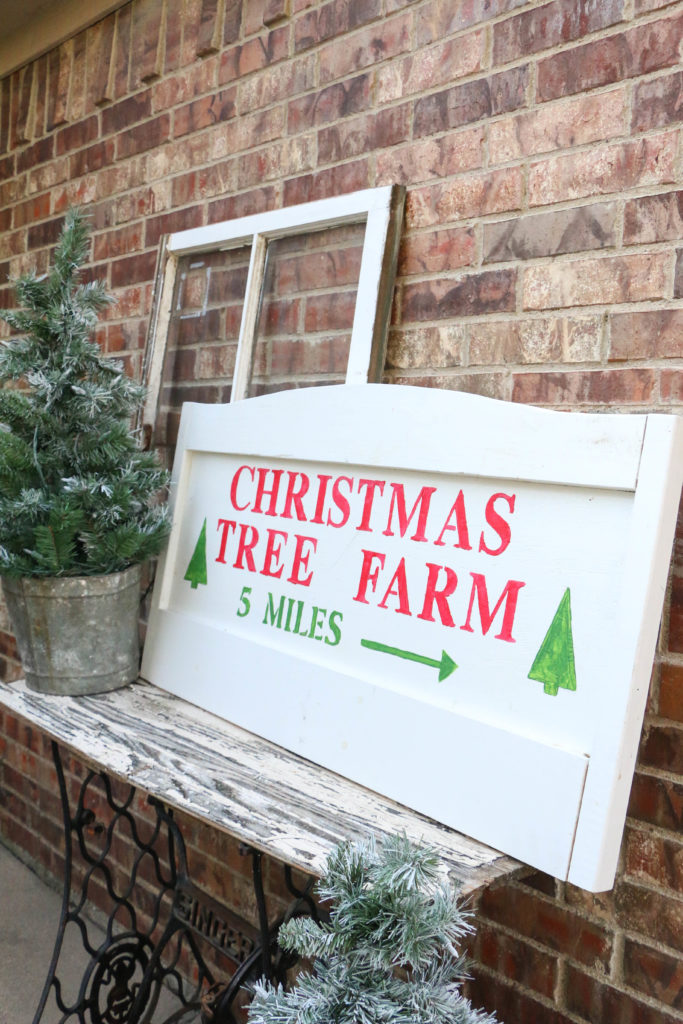
The board was an old child’s headboard I had in the garage. As soon as I got it, I knew it would be perfect for making a sign with. I used acrylic paint from the craft store, and some stencils I’ve had for a long time. So long, in fact, that I don’t even remember where I got them.

christmassign2

I used a pencil to free hand the arrow and the trees. It was so easy it’s not even funny.

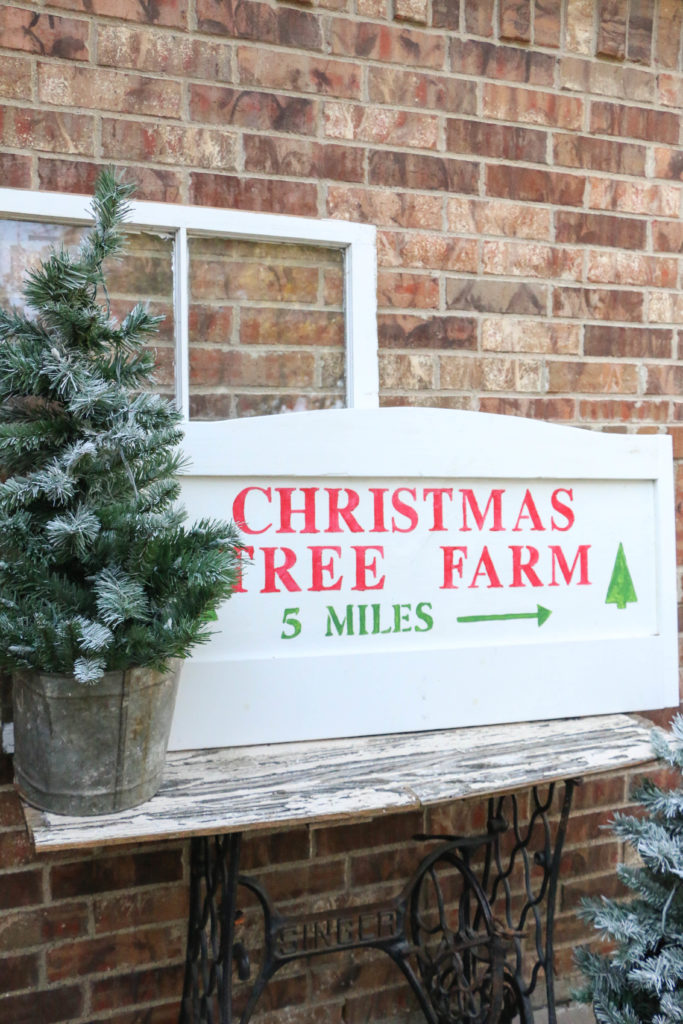
christmassign4 christmassign5

This sign along with my mini trees in galvanized buckets are the perfect simple entry way. Now I just have to get Ethan to climb up on the roof to hang the outdoor lights. 😉

It’s super simple and fresh, but I kind of love it. That’s how I like to describe my style, so I think this works perfectly.

If you wanted to recreate this look, you could easily use a canvas or a pre-made wooden sign from Hobby Lobby or Michael’s. It’s a perfect weekend for some DIY Christmas crafts, so get out there and make something you love for your home!

I still have more holiday decorating to do, but I’m happily doing it slowly. I’m taking my time and bringing in the season slowly and trying to savor each moment. I’ll be sharing more of my Christmas decor little by little, so make sure you check back for that!

That’s all for today, friends. Have a fabulous day!
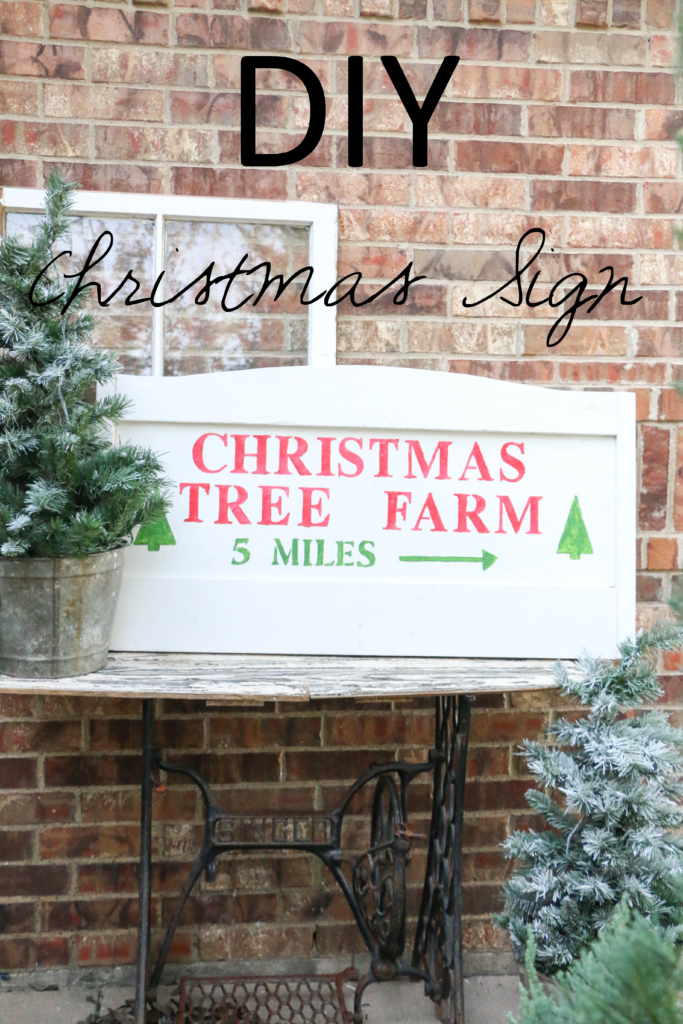
diy-christmas-sign

DIY Projects, Tutorials

DIY Pallet Flag

Now that summer is officially here, it’s almost time for one of my favorite holidays… the Fourth of July! I’ve always loved this holiday, and I don’t even really know why. The fact that it’s in the summertime probably helps! 🙂

The past few weeks I haven’t been super productive, but this past weekend we went away to celebrate our anniversary, and some time on the beach has done me some good! I came back feeling pretty refreshed, and inspired to create something new.

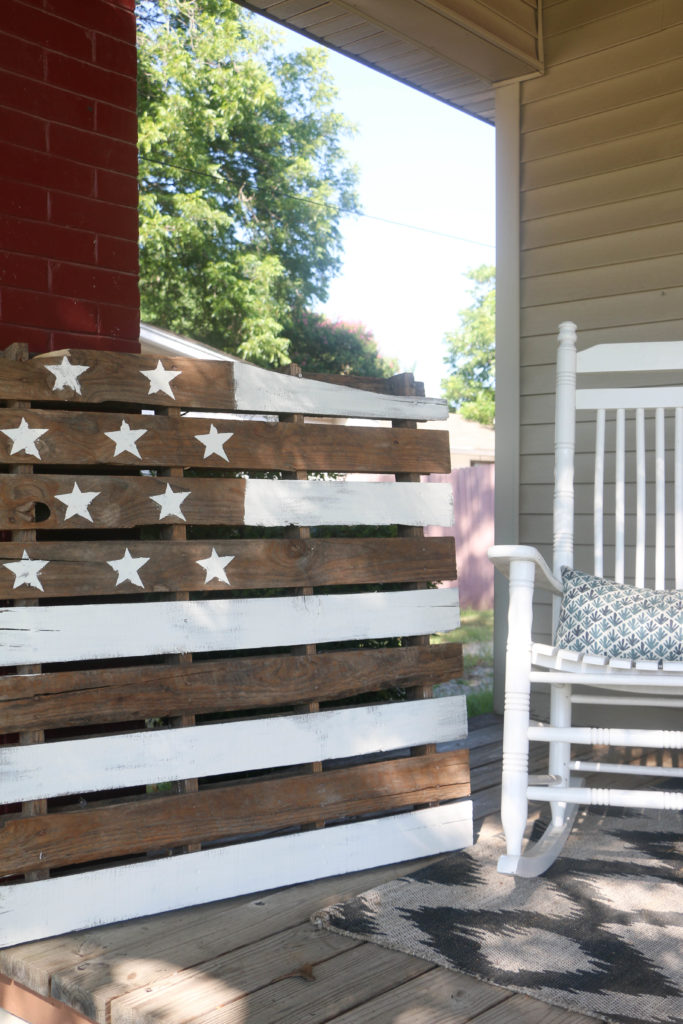
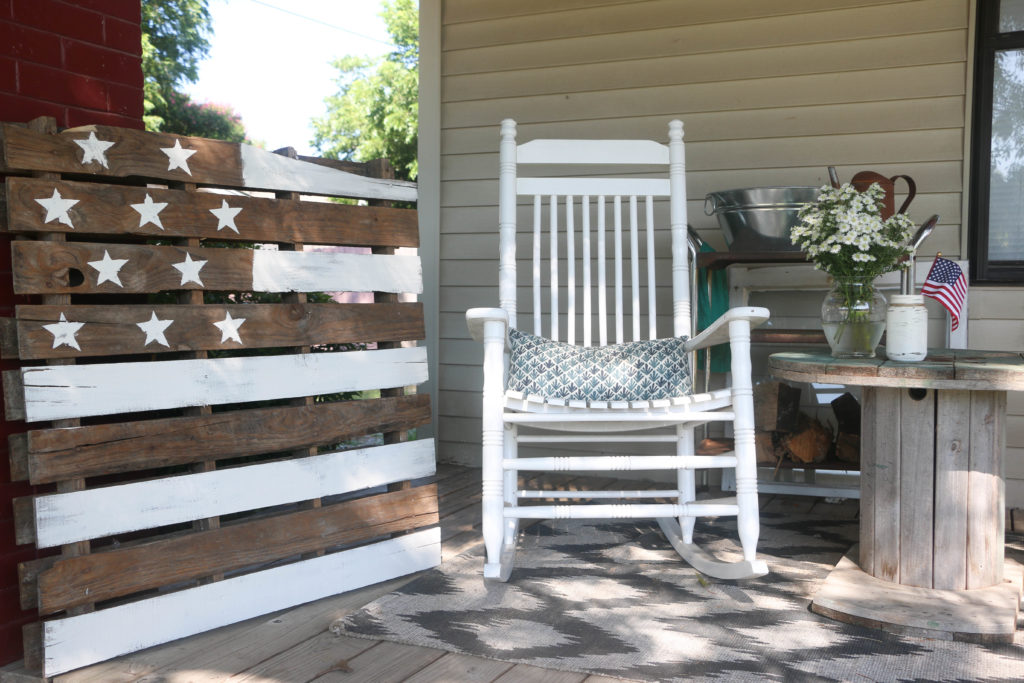
As I mentioned in my last post, this summer we are saving all our pennies for a big goal, so we don’t have a ton of room in our budget for extra fun stuff. Which is totally fine. Because I am super excited about the possibility of something new. Anyway, I was wanting to add something new to our front porch for the holiday, but I wanted to spend zero dollars. Mission accomplished. palletflag2

I found this old pallet in the trash pile while I was driving down the road… #noshame. I had Ethan drive by in the truck and pick it up. I’ve had it for about a month with no purpose, sitting in the garage. Until yesterday I decided to make a quick project out of it. See, there are perks to hoarding junk in your garage. Totally justifiable.

I didn’t have any red paint on hand (because red is pretty nonexistent around my house), so I decided to make this pallet flag a neutral one. This isn’t my original idea, I’ve seen it all over Pinterest. But this neutral one is my own version.

It took me about fifteen minutes to do the whole thing. I just free handed the stripes, and for the stars, I made my own little stencil. To make the stencil, I just drew a star on a piece of paper, and cut it out. I then used the paper to place my stars where I wanted them. Easy peasy.

palletflag1

Now my little porch area is Fourth of July ready! This little rental that we’ve lived in for the past two years of our marriage has been both a blessing and a curse. The list of things we dislike about this rental is more than a mile long, and the list of things we like are pretty slim. Actually, the positives can be narrowed down to two things: the rent is cheap and there’s a front porch. I am not kidding when I say that’s about it. But this little porch area really is my favorite spot, and I have loved adding more fun touches to this spot.

Now I’m feeling pretty productive for a Monday morning, but I have much more to do. I just wanted to pop in and show you this little DIY! This (like all my projects) is an easy one, and I hope it inspires you to create something today!

Well, I’m off to cross more things off my to-do list. That’s it for today, friends. Have a fabulous day!
DIY Projects, Holidays

The Importance of Wrapping

When I was a kid, Christmas Eve was a big deal. Our family tradition was that everyone would sleep in the living room on Christmas Eve night, so that on Christmas morning, we would wake up right next to the tree. I remember how much I loved this tradition. I remember the year I pretended to still be sleeping as my parents rolled our new bikes into the living room from the garage. I also remember sitting in my nightgown on my sleeping bag opening my first “grown-up” tape recorder (and by grown up, I mean that it was a normal tape recorder, and not a Fisher-Price one). I spent hours in my room with that tape recorder making my own “radio show,” where I would be the DJ, playing my favorite songs, talking about my favorite things, and interviewing very interesting people (my brother and sister). I wonder if I still have those tapes somewhere.

We all have childhood memories associated with “the best gift we ever received.” Now please don’t hear me say that giving and receiving gifts is the most important thing about the holiday, because we all know it’s not. However, as we do give and receive gifts, we form emotional memories of years past. The feeling you have as a child of tearing open the package is a beautiful feeling. To me, giving gifts is a way of showing you love and appreciate someone.

So why in the world would we not do our best to make our gifts as presentable and beautiful as we can? Again, I am not implying that gifts must be perfect, or that pretty wrapping makes a gift any more meaningful. For me, it is simply another creative outlet. So here are a few of my tips for pretty (and inexpensive) gift wrapping.

giftwrapping3

giftwrapping8

giftwrapping1

giftwrapping5

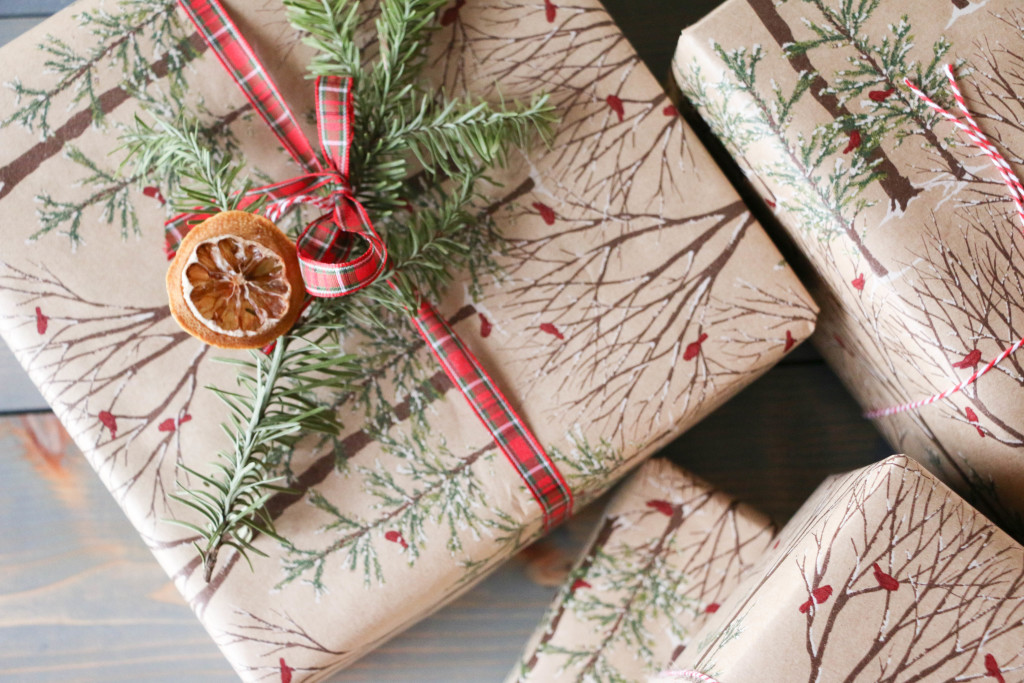
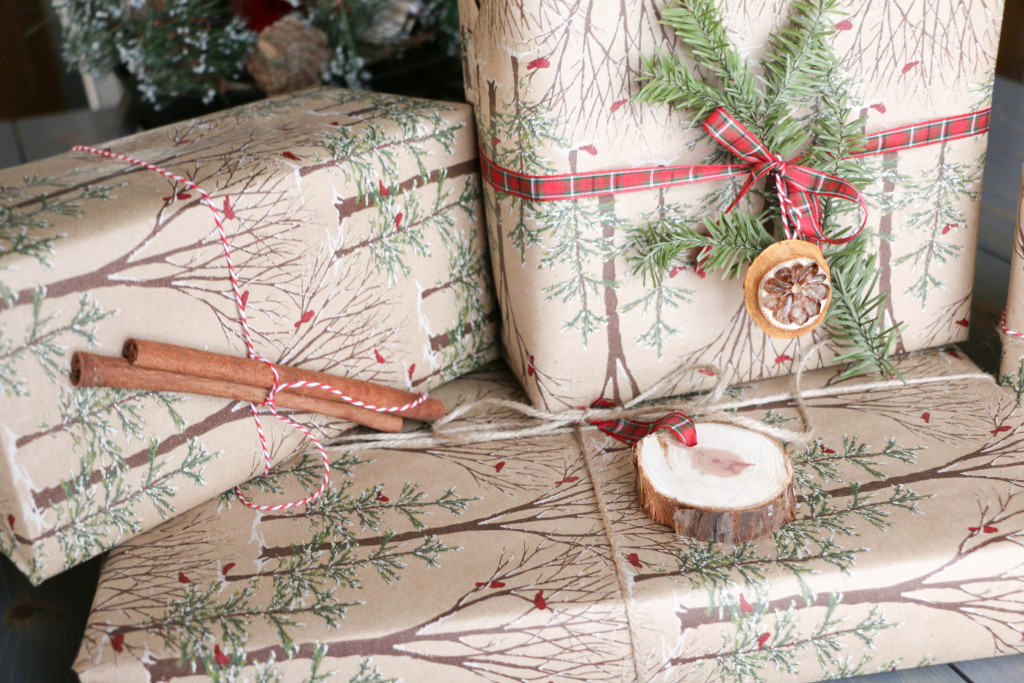
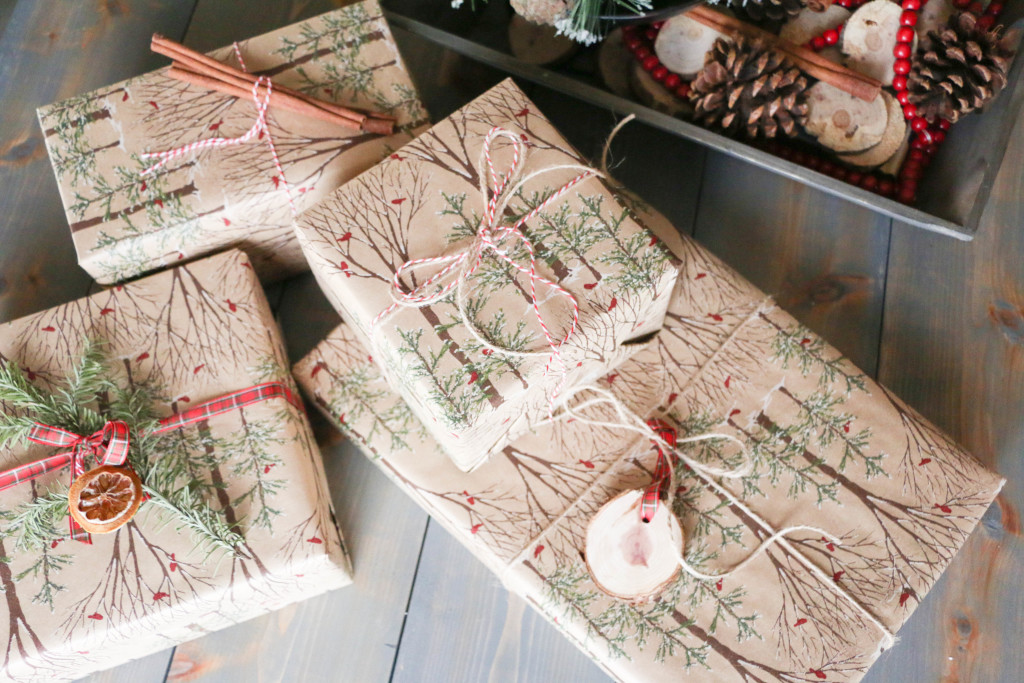
This paper came from Hobby Lobby last year or the year before, and everything else I had on hand.

Gift wrapping has three important factors: the paper, the ribbon, and some type of embellishment.

Let’s talk paper. I never pay full price for wrapping paper. I re-use the same paper from previous years most of the time. I also pick up a roll or two the day after Christmas when everything is marked down 50-70% off normal retail prices. If you’re without holiday paper, have no fear! One of my favorite things to use is plain brown craft paper because it works for all occasions. Baby shower? Check. Christmas? Check. Birthday? Check. Wedding gift? Check. You get the point. You can also use black and white newspaper (I have seen some GORGEOUS wrapping using newspaper), wrap your gift in a scarf (both pretty and reusable!), or in a real pinch, use any themed paper on its opposite side so that it simply shows white.

Next up is ribbon. The options are unlimited! I do occasionally use normal cloth ribbon, but my favorite things to wrap a gift in is regular twine, or colored baker’s twine. My suggestion is to look around your house and see what you can find. Thinly sliced strips of a coordinating wrapping paper can work as ribbon as well. A thin scarf can work here as well. Don’t go out and buy something new every time you have a gift to purchase. Look around your house and I’m sure you can come up with some thing to wrap your gift in. There’s a reason Julie Andrews mentions “brown paper packages tied up with string” as one of her favorite things…the string is an important detail!

Lastly, let’s talk about embellishments. I think a gift looks perfectly topped off with anywhere from one to three finishings. The amount, of course, depends on what it is that you’re using. I like to use a lot of natural things, such as small pinecones, sticks, dried citrus slices (see my tutorial for that here), cinnamon sticks, leaves, pine clippings, wood slices. The possibilities are endless. I also often add a name tag of some kind, just so that I don’t forget who the gift is for after I finish wrapping it. For kids, you can add a tiny toy as embellishment, or a pretty piece of candy. This is the step that brings it all together, so it’s an important thing to add. The good news is that you can add just about anything you want here, so you can certainly find something you have at home or go out into your yard and find something just as easily.

How do you wrap your gifts? What’s your go-to accessory for finishing your wrapping? I’d love to hear about it! Be sure to follow me on Instagram @rumfieldhomestead for the latest updates on what I’m doing! That’s all for today, friends! Have a fabulous day!
Holidays, Home Decor

My Christmas Decorating Secret

Christmas prep is in full swing over here! I’ve been super busy with the semester winding down at school, and the buzz of Christmas is alive and well in first grade. Thankfully there’s just ONE WEEK left of school before it’s officially Christmas vacation! Our home is fully decked out for Christmas, and I am *almost* done with my Christmas shopping. There are always those last minute things to get accomplished, but I can’t deny that I love the hustle and bustle of the holiday season.

Today I want to share with you all what I’m deeming THE BEST KEPT SECRET OF CHRISTMAS (y’all know I’m dramatic). Seriously though, if you’re cheap like me, you’ll want to keep reading.

I was too impatient this year to wait around for the real Christmas trees to come out, and so we caved and bought an artificial tree in early November. I don’t regret that at all, however, we missed the homey scent that comes with a real tree. Ever the optimist, I came up with a plan to get the best of both worlds: get an artificial tree early in the season, and still have the homey smell of a real tree. I was inspired by some friends who used tree clippings from their yard to make garland for their staircase. Now, I have neither a staircase nor the proper tree (nor the money to spend for that matter). But that has yet to stop me!

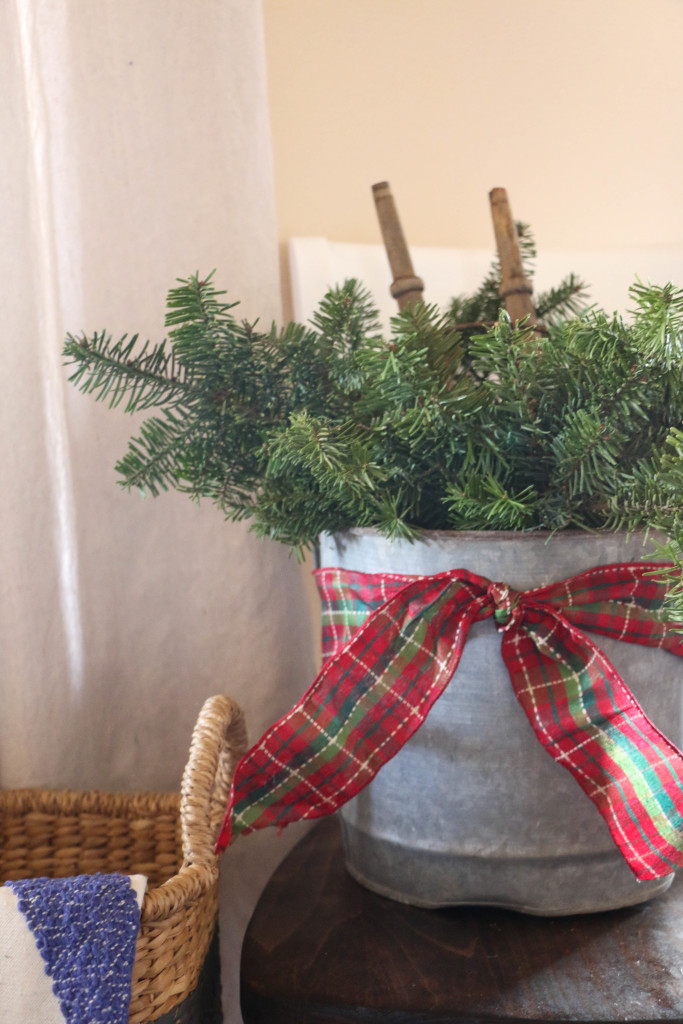
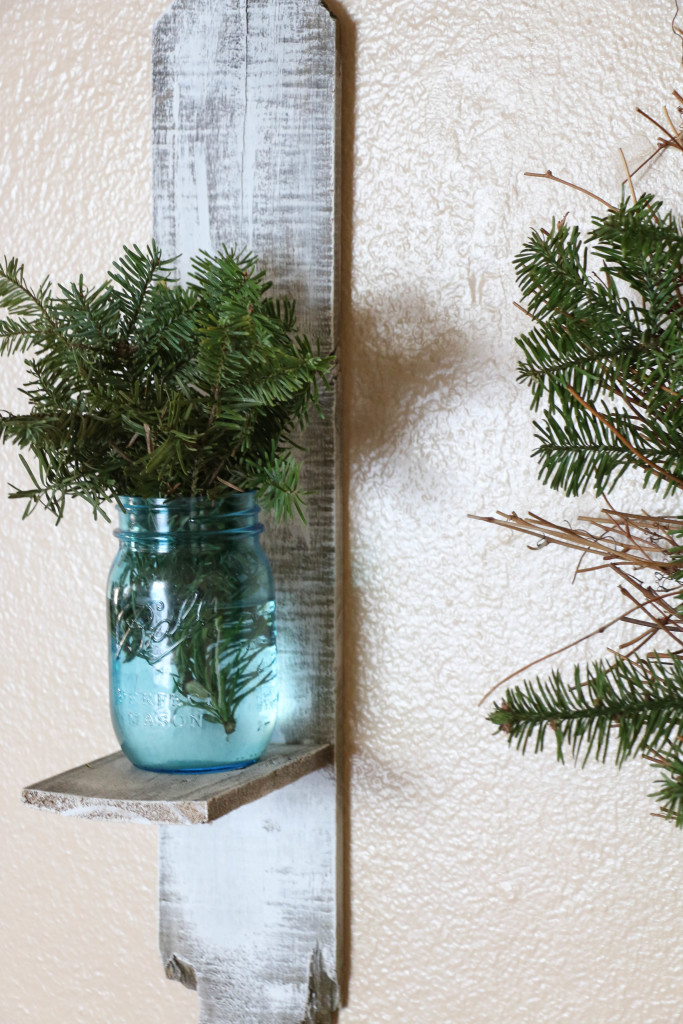
Here’s what I did. THIS IS THE SECRET, SO READ CLOSELY. Did you know (I didn’t) that Home Depot has their own tree selection (0kay this part I knew, but the rest I didn’t)? Each time someone purchases a tree, they trim the bottom/excess and put the clippings in a large bin. Here’s the cool part: the clippings are FREE for anyone to take. I said they’re FREE!!! How awesome is that?!

We simply asked the kind gentleman at the cutting counter for the clippings, and he directed us to the free bin. I may be the only person on the planet who didn’t know this, I don’t know. But if there’s someone out there who is like me, you might be excited to find this information out. I broke the boughs down when we got home and placed them in various places around the house.

treeclippings

treeclippings2

treeclippings3

treeclippings4

treeclippings5

treeclippings6

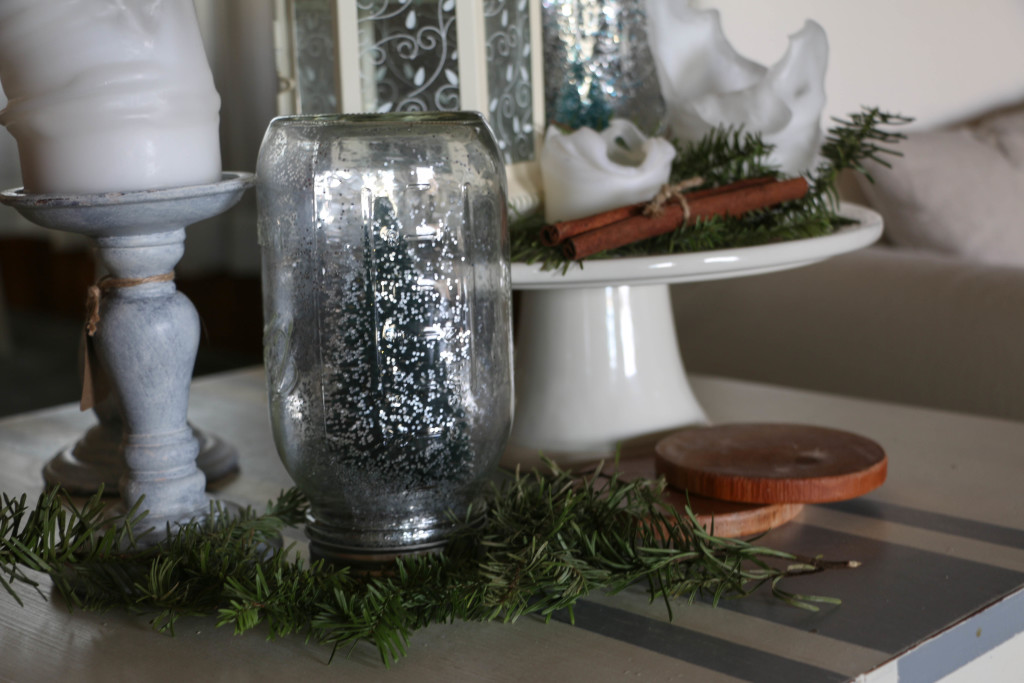
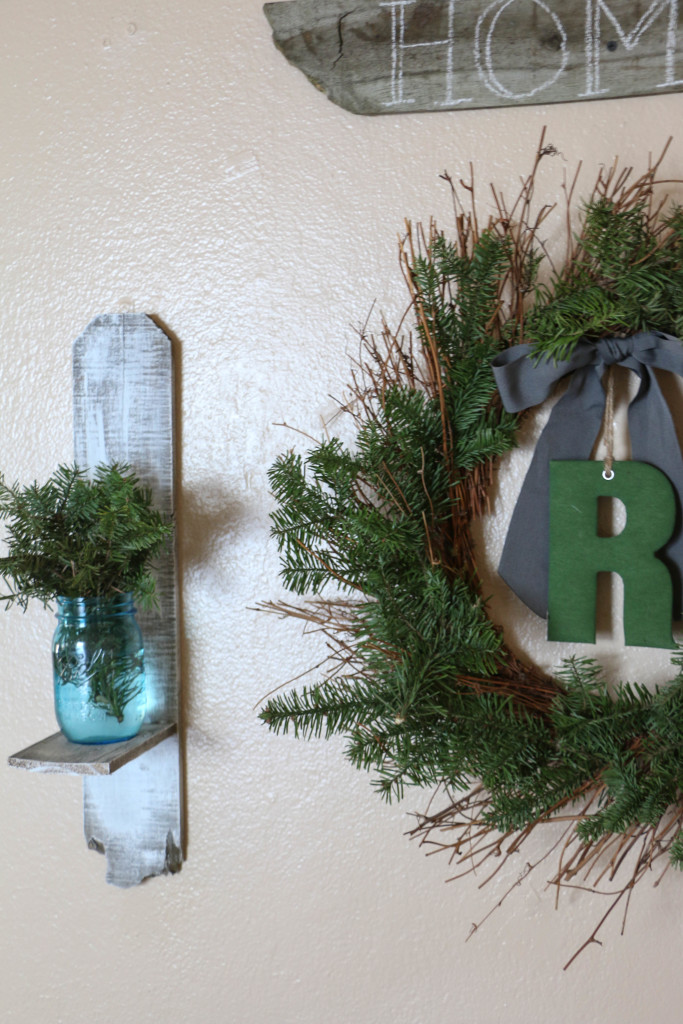
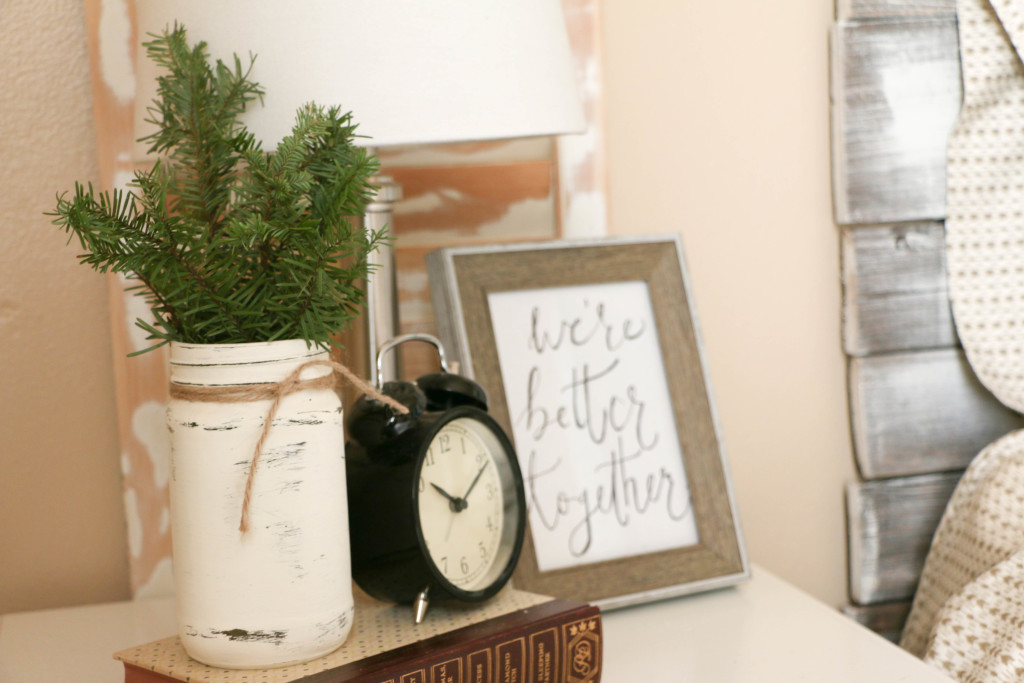
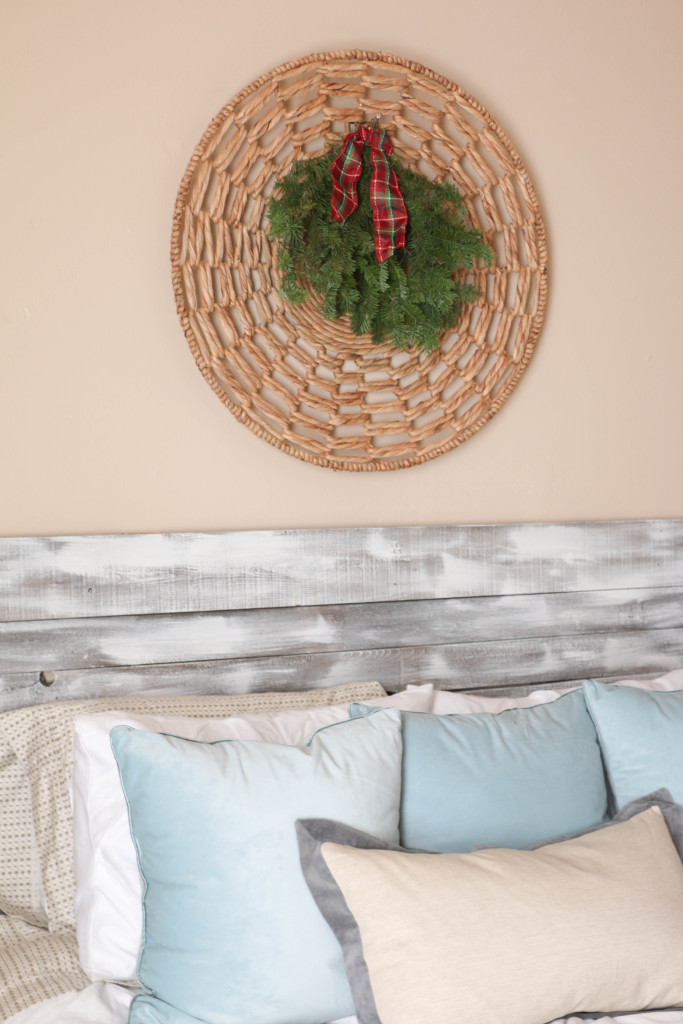
I spread them out all around my home in jars, vases, wreaths, and mixed in with my decor. It smells amazing! We’ve had our tree up for weeks, but now it smells like Christmas in our home too! I think my favorite look is in the first picture, the cuttings in a big bucket. Having these clippings around makes the house not only feel homey, but it also adds to the rustic/primitive look I was going for this year.

I got mine from Home Depot just because that was the closest thing to us locally, but I’ll bet you could ask just about anywhere trees are sold and you’d be able to take some some clippings free of charge. I’m a pretty budget conscious gal, but this is big even for me! The clippings make an impact in several rooms in our house and it cost me nothing at all!

Have you done this before? Did you already know about The Best Kept Secret Of Christmas? I’d love to hear about it in the comments below or if you plan on trying it this year. That’s all for today. Have a fabulous day, friends!

Holidays, Tutorials

DIY Citrus Slice Ornament

HAPPY DECEMBER Y’ALL!!!! Okay, I’ll admit I’m excited. It’s officially the Christmas season now that it’s December. I can post all the photos of my tree and Christmas decor without shame! It’s a wonderful world, friends.

Today I wanted to show y’all the last of my DIY ornament ideas. My Christmas decor this year is super rustic and primitive, and so this last DIY was the one that I really think brought the whole look together. If you haven’t seen the other two ornament DIYs, you can check them out here and here. I remember seeing photos of dried fruit as Christmas decor years ago, but I never really thought anything of it until this year. I needed something with a pop of color, and so it was time to test out this project!

citrus slices

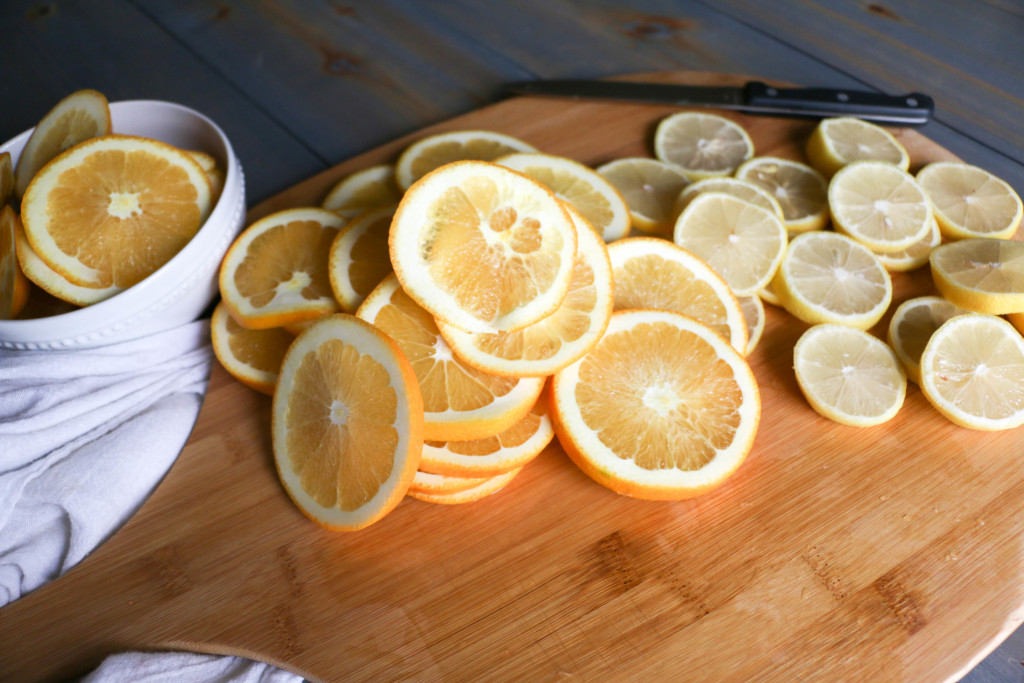
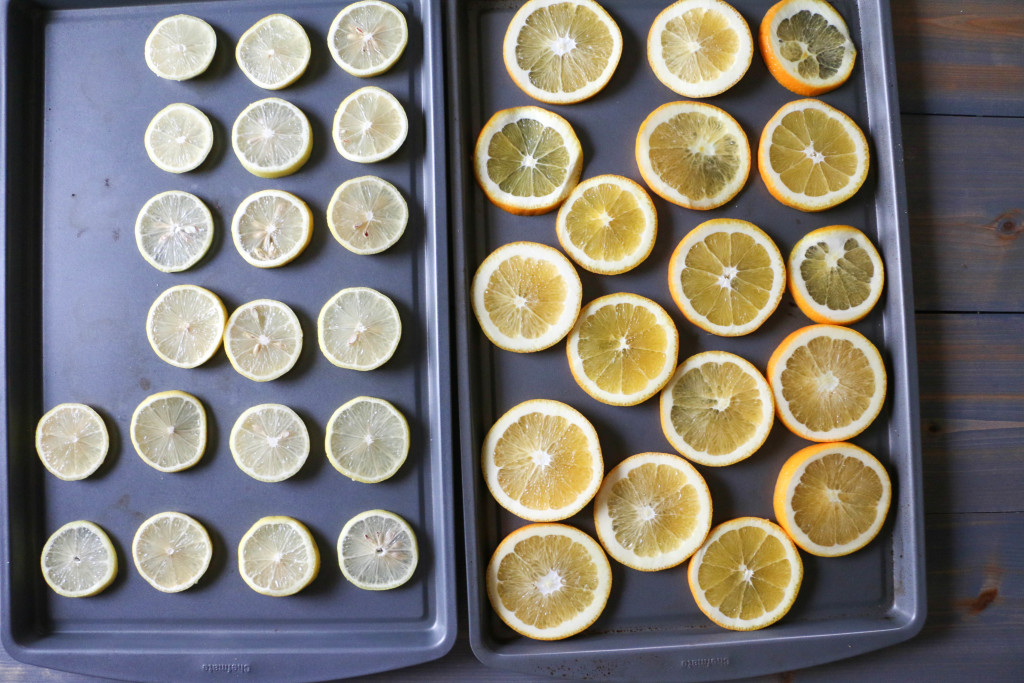
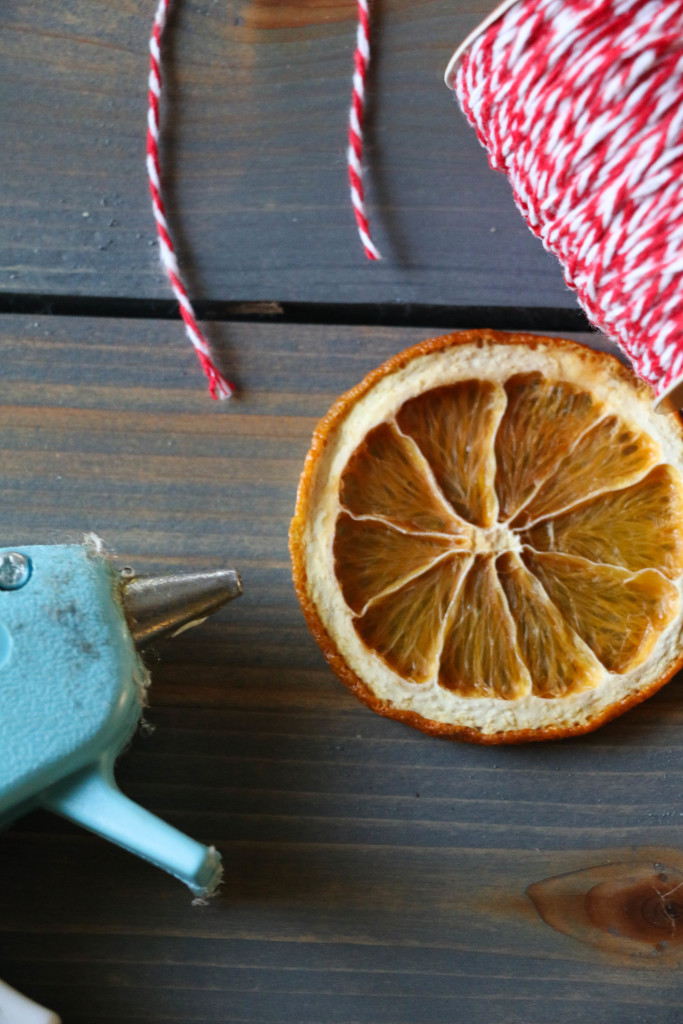
The first thing I did was slice several oranges and lemons. I think I did four of each. I wasn’t sure which I would prefer, so I did both. I cut the ends off and simmered them on the stove using this recipe so they wouldn’t go to waste. citrus slices2

I separated the oranges and lemons on my (badly stained) cookie sheets so that if they cooked at different rates it would be easier to remove them from the oven. I placed them on the lowest setting on my oven (I think it was about 150 degrees) and put the slices in. In total, I cooked them for about five hours. Every hour or so, I would turn the slices over so that they would dry evenly. I really don’t know if this necessary, but I’m a little paranoid. The good thing about the temperature being so low is that I could turn the slices over with my bare hand. In general, the lemons cooked a bit faster than the oranges did, because they were thinner I think.

citrus oranment1

After they were fully dehydrated came the fun part! I cut little pieces of red baker’s twine, the same twine I used previously on our pinecone ornaments, and hot glued it to the back to make a loop. Easy.

citrusornament3

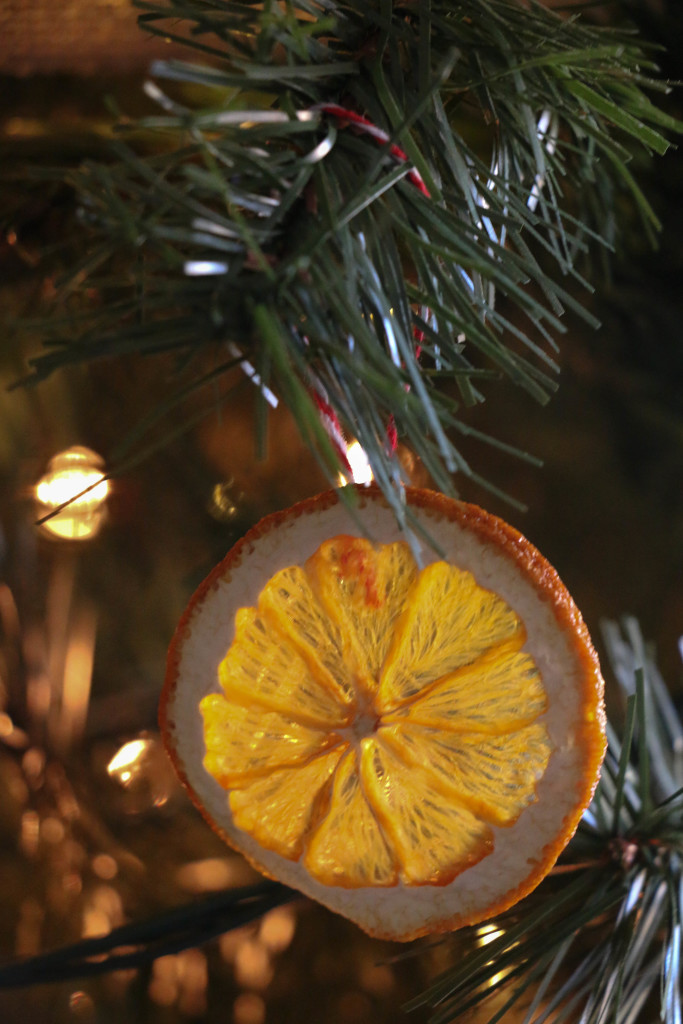
When they were finished, they looked like this, and I am so excited about how they turned out. They have just the look I was hoping for. As it turned out, I ended up liking the orange slices better than the lemon slices because the oranges had a thicker rind (is that the right word? I don’t even know.). I did these a few weeks ago, and they’ve lasted just fine, which was an initial concern of mine.  I love the way the tree lights shine through the fruit. It feels super cozy! I also placed some of these slices on the wreath I have on the front door, and I love how it feels there too! I’m deeming this year “the year of the fruit” when it comes to decorating.

I’d love to hear what you think, and if you’ve tried this out. That’s it for today. Have a fabulous day, friends!

DIY Projects, Holidays

How to Make Your Home Feel Super Cozy

Hey y’all! I hope your week is going well! Fall has still not arrived here in North Texas, but we’re pretending. My students are busy making pumpkin crafts, and I’ve been drinking tea nonstop at the house. Even though it’s in the eighties every day still, I’ve broken out the boots for work. Call me crazy, but I’m not wasting my time when it comes to all things fall. #sorry #notsorry

Anyway, today I want to share with you something I like to do at home during the fall. And all the time, really, but during the fall it seems especially appropriate. I don’t know what it is about the month of October, but it makes me want to cozy up EVERYTHING. For me, cozy equals good smells. There’s nothing like a warm home that smells heavenly.

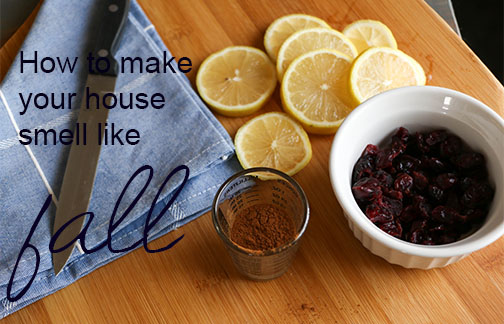
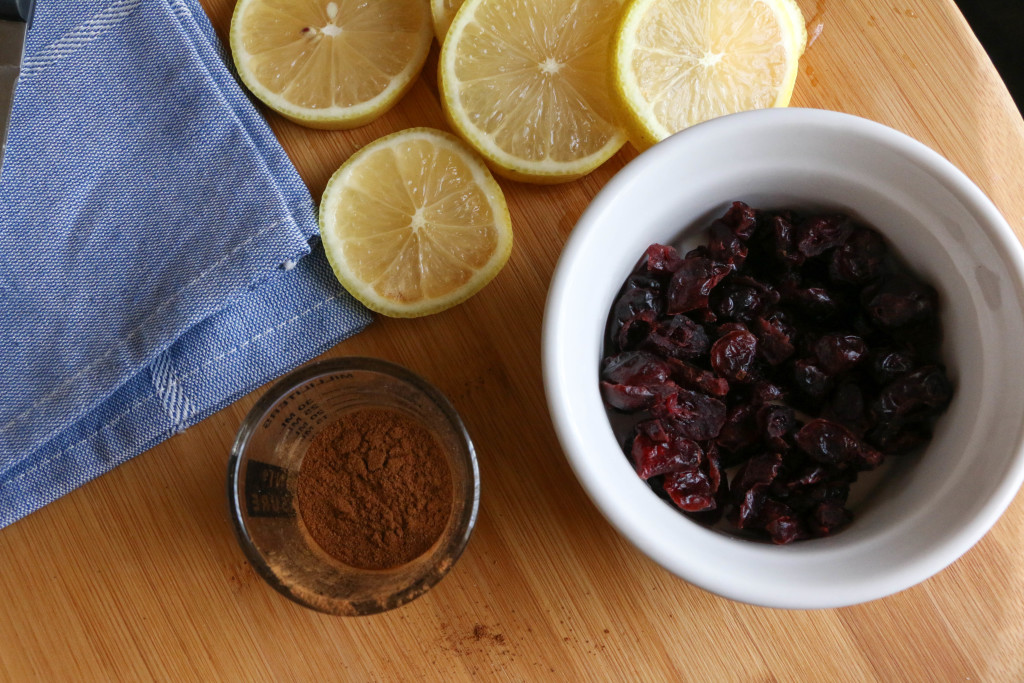
So here’s what I do. This isn’t even a DIY because it’s the easiest thing possible. IMG_2414

I like to take a few lemon slices, a sprinkle of cinnamon, and some cranberries (or in my case, dried cranberries, because that’s all I had on hand), and put them on the stove with just enough water to cover the fruit. I put them on a low heat and simmer alllllllll day long. Seriously, it is ah-mazing. I have to check and refill the water every once in a while, because the water will evaporate over time. Other than checking on it every now and then, there’s nothing else to it. It makes the house SO COZY. I kid you not. It puts me in a great mood, and the house just feels homey. Does that make sense? It might sound weird, but a house that smells good feels like home to me.

Fall makes me go into major nesting mode, and start doing lots of things around the house. This ‘recipe’ makes everything better. It just feels like fall. If fall is a feeling, this is it. If you try it out, I promise you won’t be disappointed. There are also other things that you can simmer in the pot like vanilla, oranges, lavender, pine needles, etc. Cranberries + lemon + cinnamon just happens to be my favorite combination. Find a combination that works for you, and run with it! I do this all the time and I cannot recommend it more. It’s the simplest of things and it totally makes me feel like Martha Stewart (even though there zero skills involved).

I hope you do try this out at home, it’s super easy. Have you already done something similar? I’d love to hear about it. Do you have a better recipe? I’d love to hear about that as well. Thanks for reading along. That’s all for today, friends. Have a fabulous night!

smelfall

Holidays, Home Decor

Transitional Fall Table Setting

Hey y’all! I don’t know if you’ve realized this…but it’s September now, so that means when it comes to fall decor, it’s on! Here in Texas though, we’re still averaging temps in the nineties each day. I’m ready for fall, but the weather says otherwise! My response to that is a sort of transitional summer/fall decor theme around my house. I’ve put out pumpkins and pinecones, but my hydrangeas are still out as well.

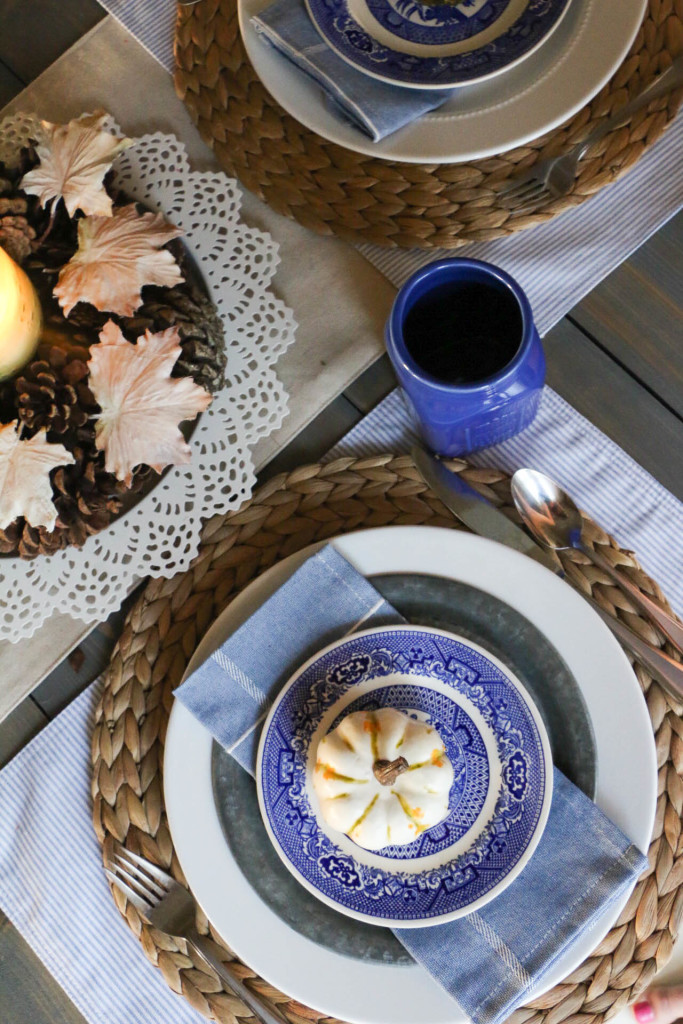
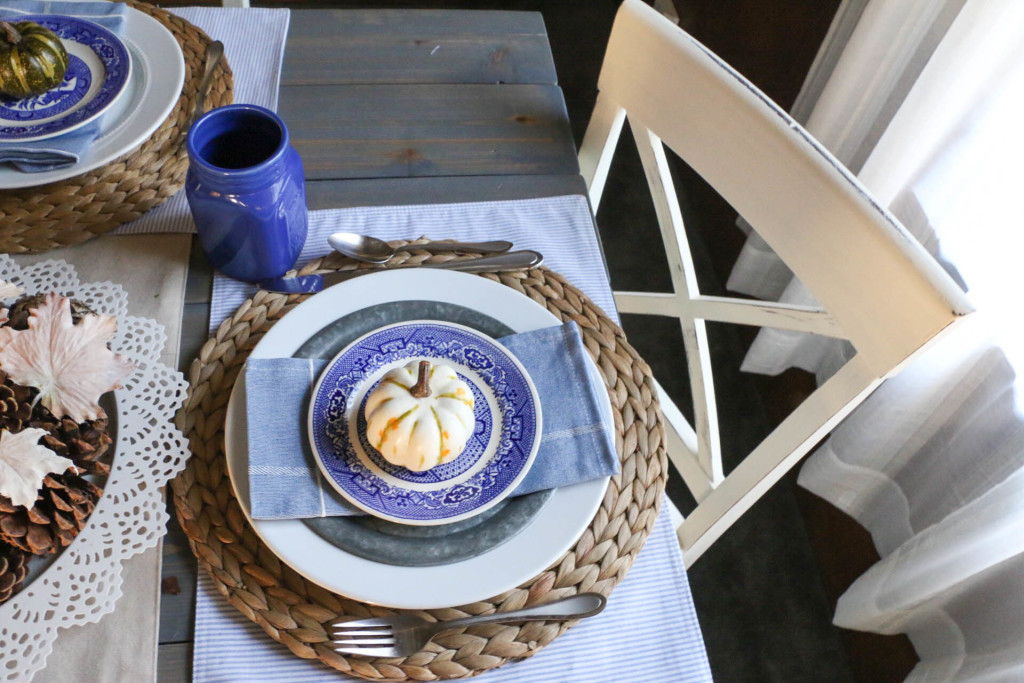
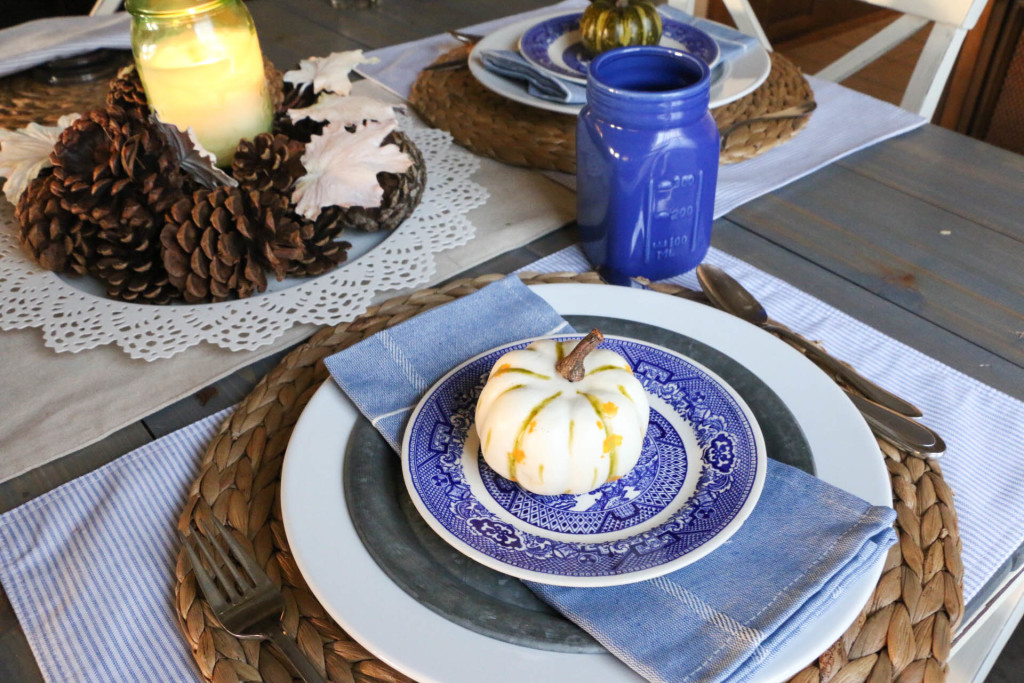
Today I wanted to share with you a quick summer/fall table setting. Y’all know I’m all about cheap decor around here, so this table setting is a hodge-podge of thrifted, gifted, and found items. summerfalltable3

My smaller plates were found at a flea market, and everything else has been bought on sale. I’m learning in decorating that there really aren’t many rules that can’t be broken. Seersucker and pumpkins? Sure, why not?!

(Is there a hand hidden in this picture? I’ll never tell.)

Summerfalltable1

I wanted this setting to say both “summer” and “fall” without being too clashy. This eclectic mix of pieces works for me because it’s casual, easy, and it feels both summery and autumnal.

summerfalltable2

Just wanted to drop in and show y’all a little seasonal inspiration. I realize this is super quick, but it was easy! Set your table, I promise you, it’ll make you feel like you’re way on top of things. A pretty table inspires me to sit and eat dinner (and staying away from dinner on the couch…which NEVER happens at our house. *cough*).

 Are you bringing in fall decor? Are you in full blown pumpkin mode, or are you more like me doing things slowly? I’d love to hear about it! That’s all for today. Have a fabulous day, friends!