You guys. Every time I have updated on here in the last year, it has started off with, “So it has been forever since I’ve posted…” and I suppose today is no different! In the last year, I have only posted about five times, and the last time was all the way back in January! I have been slacking to say the least. Things around here have been a little crazy and unpredictable, so I thought I might give a little quick recap of the last year or so.
First, if you follow me on Instagram, you know that we are expecting our first baby this fall. So that alone is enough to have me freaking out. I was feeling pretty sick for a while, and just generally not like myself. I’m feeling much better, and I’ve been able to get back into running and not having to slowly eat pretzels in bed before standing up. 🙂 Now all I can think about is the fact that I am totally and completely unprepared for all of this!
Secondly, because of the baby coming this fall, I won’t be able to do any fall shows. For the last two or so years, I have done several shows per season, while working my full time job. I’ll be taking the fall season off, and after that, I’m not too sure what the future holds. Having a baby will definitely make doing shows a much bigger endeavor, so we will have to see how things go. Meanwhile, I have been selling most of my inventory that I’ve had from my booth, so if you’re local to the North Texas area, shoot me an email or IG message and you can come shop my workshop!

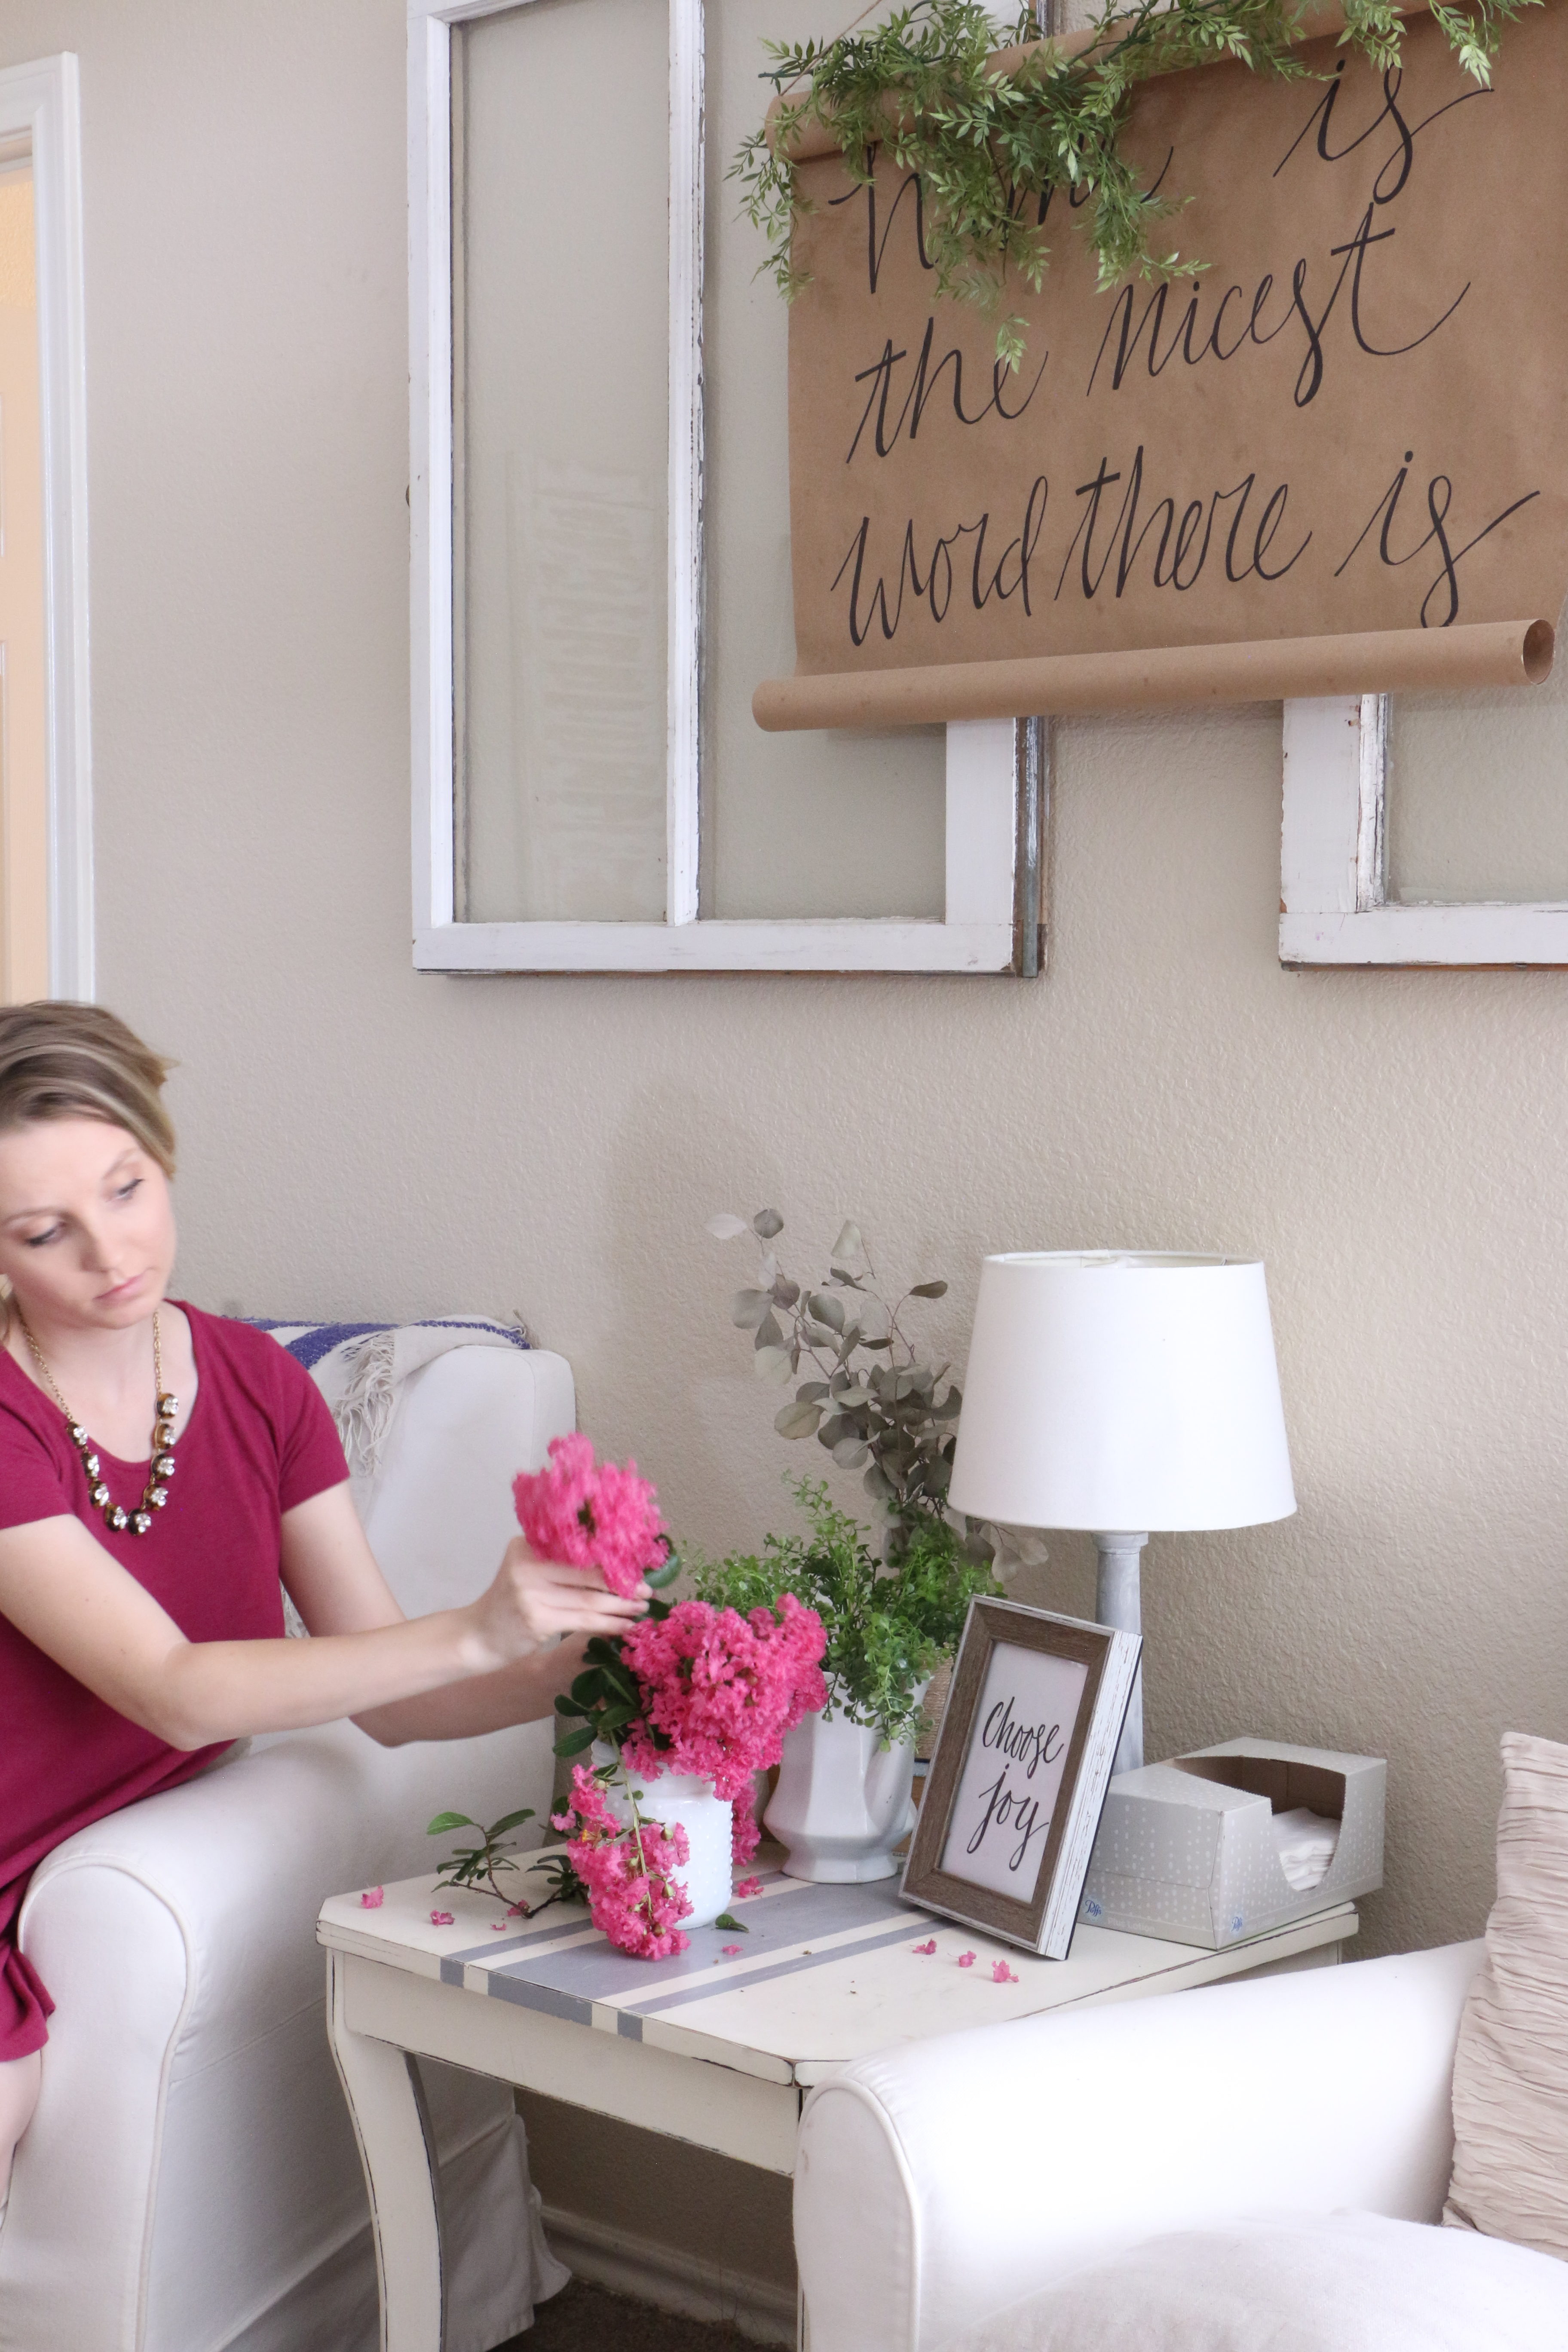
Third, since I’m taking a temporary step back from doing shows, I’ve got my etsy shop back up and running. These hymnal pages have always been my top selling item at my shows and events. I’ve listed them on etsy, because I’ll easily be able to work on them from home, even when I’m home with a newborn. These are my absolute favorite things to decorate with, and they are also my go-to baby and wedding shower gift garnish. If you’d like to check out the shop, click here.
And, lastly, the thing that has me in the biggest slump is our current living situation. Let me give you the most up to date info. So, we’ve lived in our current rental for just under two years. In fact, our lease ends in just a couple weeks. Since early this year, we have been looking to purchase a home. Our first home! So exciting! Well, it was. And then we found out we were pregnant, and it was even more exciting. We started looking and looking, and well, maybe you need a little backstory. The area we live in is rapidly growing. Which means one thing: the housing market is. out. of. control.
There are so many historic homes in our area, and we would absolutely love to purchase an older home that needs work and slowly bring it back to life. But here’s the thing. Houses sell within a few days. The area is growing faster than homes can be built, and so most homes have multiple offers within a few days, driving up the prices. We’ve lost out on a few houses that we’ve had our hopes set on, because the sellers have chosen other offers.
So, what started as an exciting time has quickly become stressful and disappointing as we loom closer and closer to the end of our lease, and the baby’s due date. I can only plan in theory what the nursery is going to look like because I have literally no idea what the room is going to look like. And I’m a planner. So, it has been incredibly hard not to start working on nursery projects.
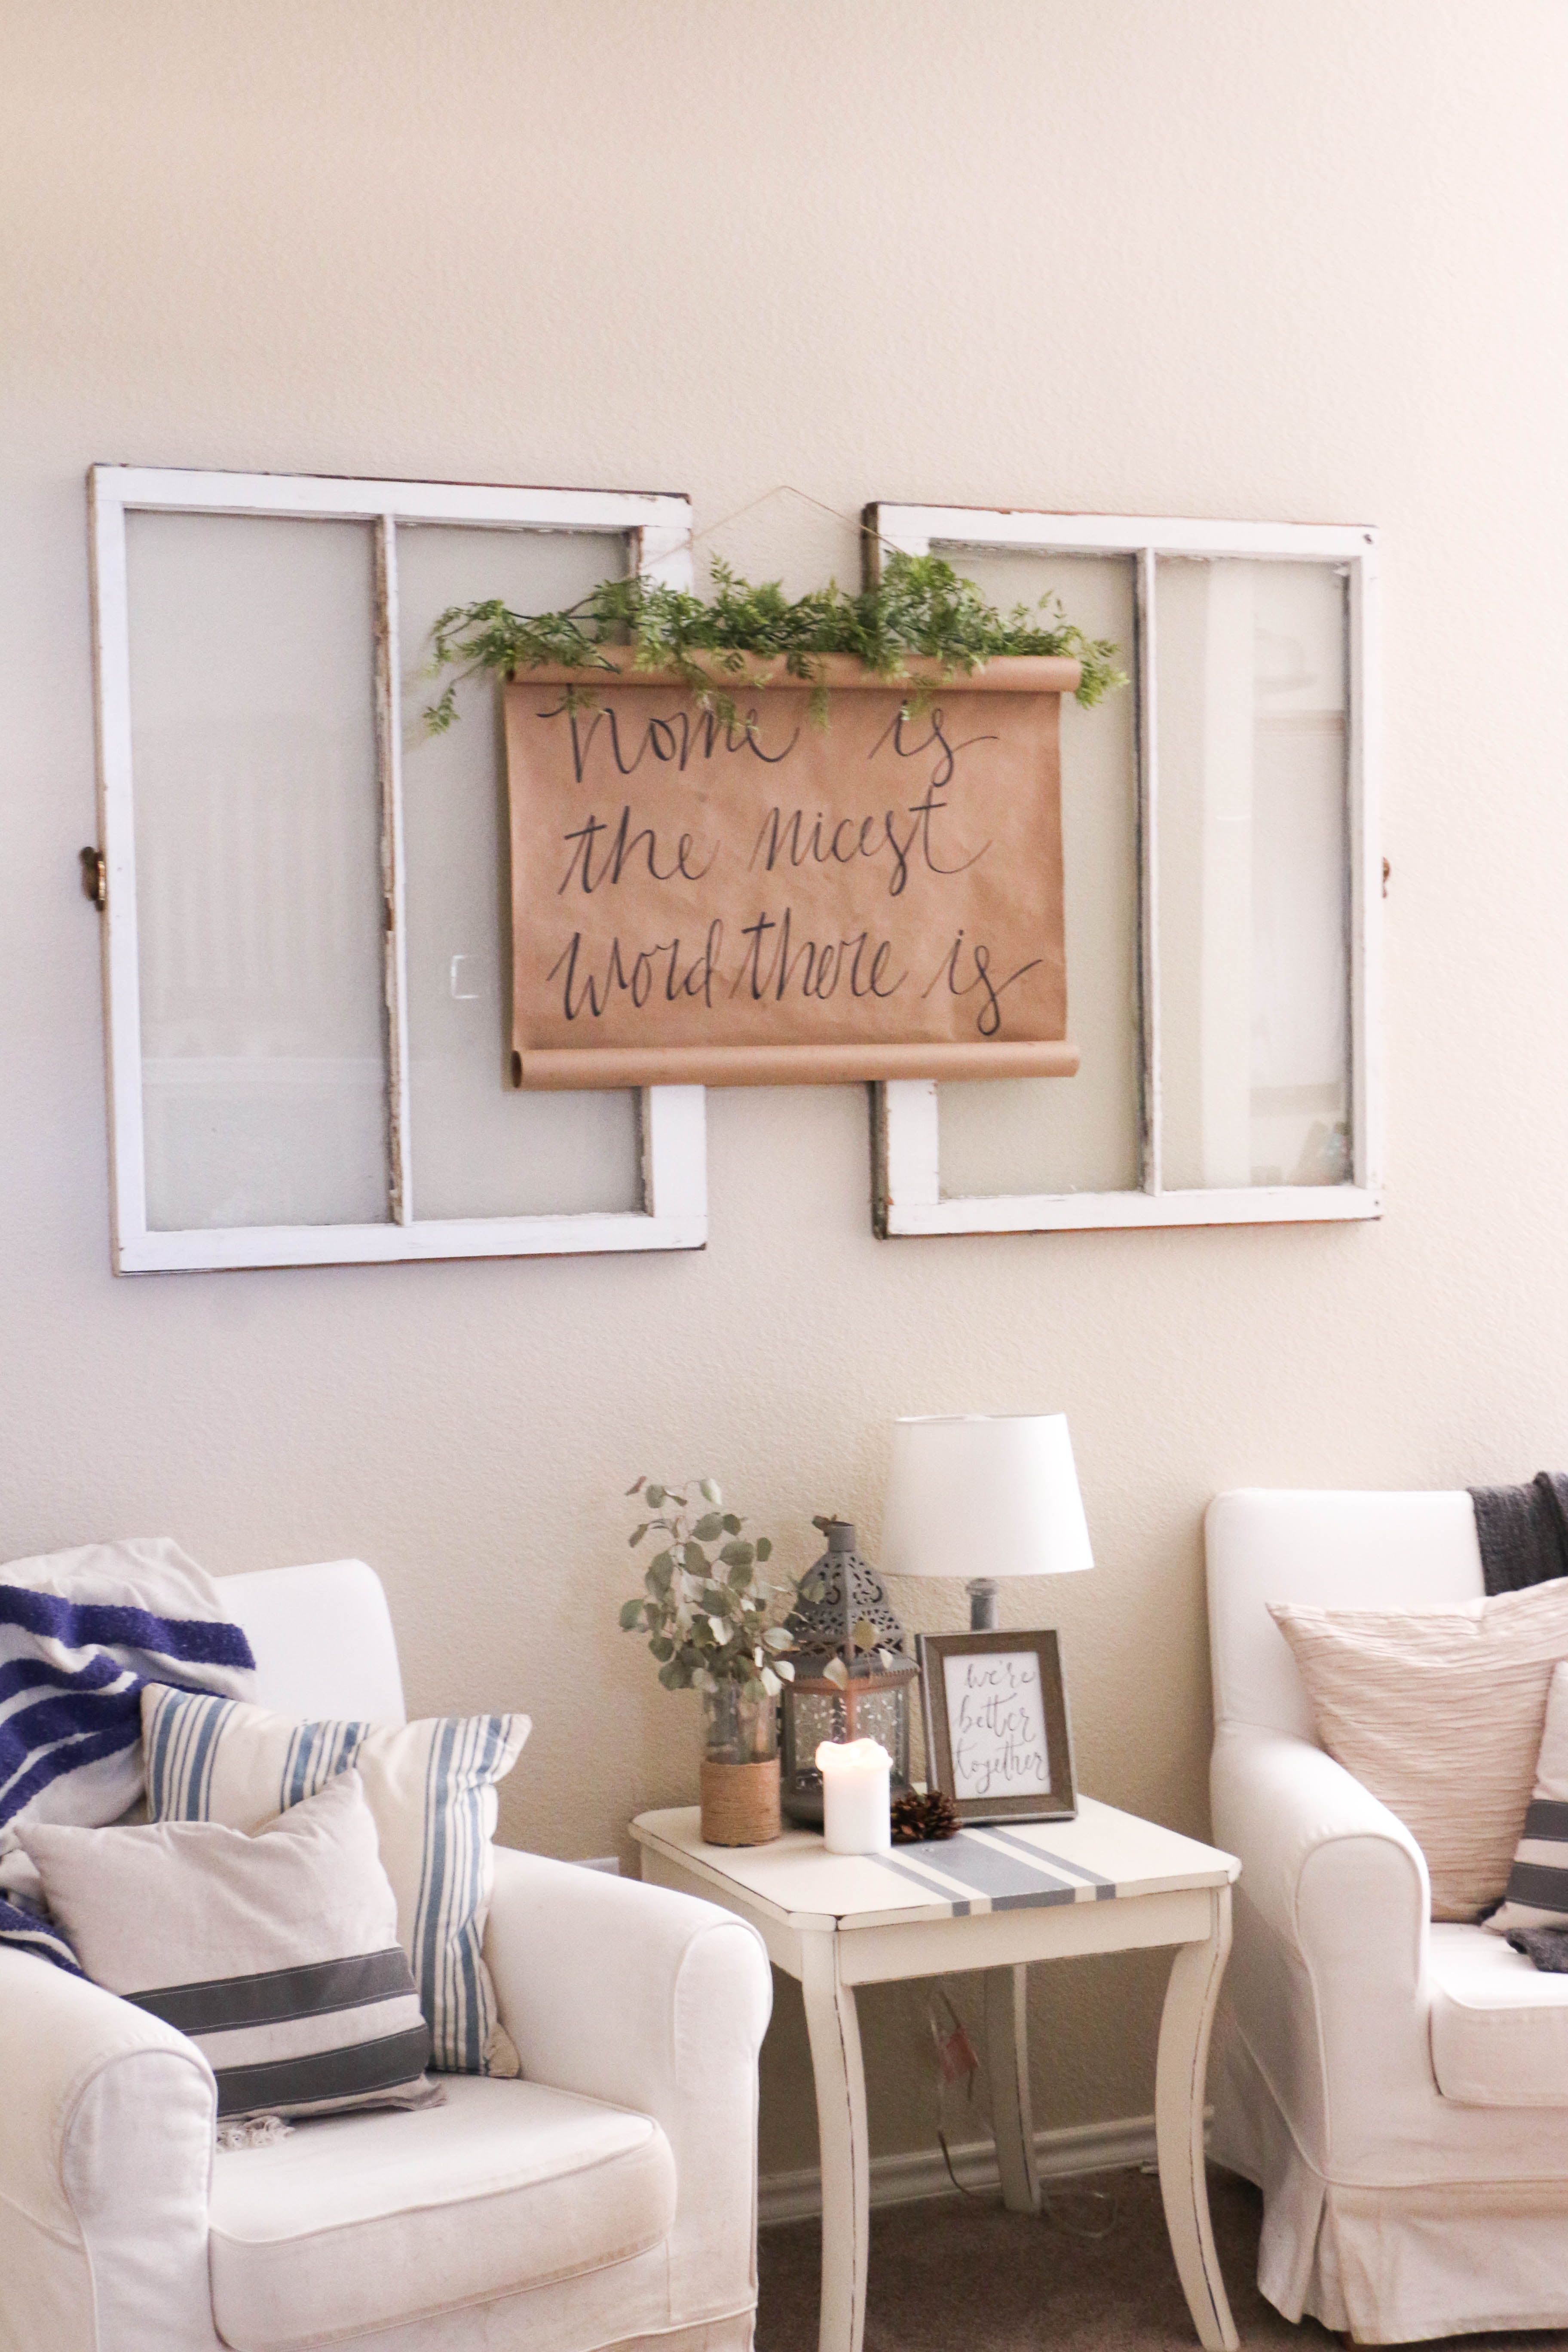
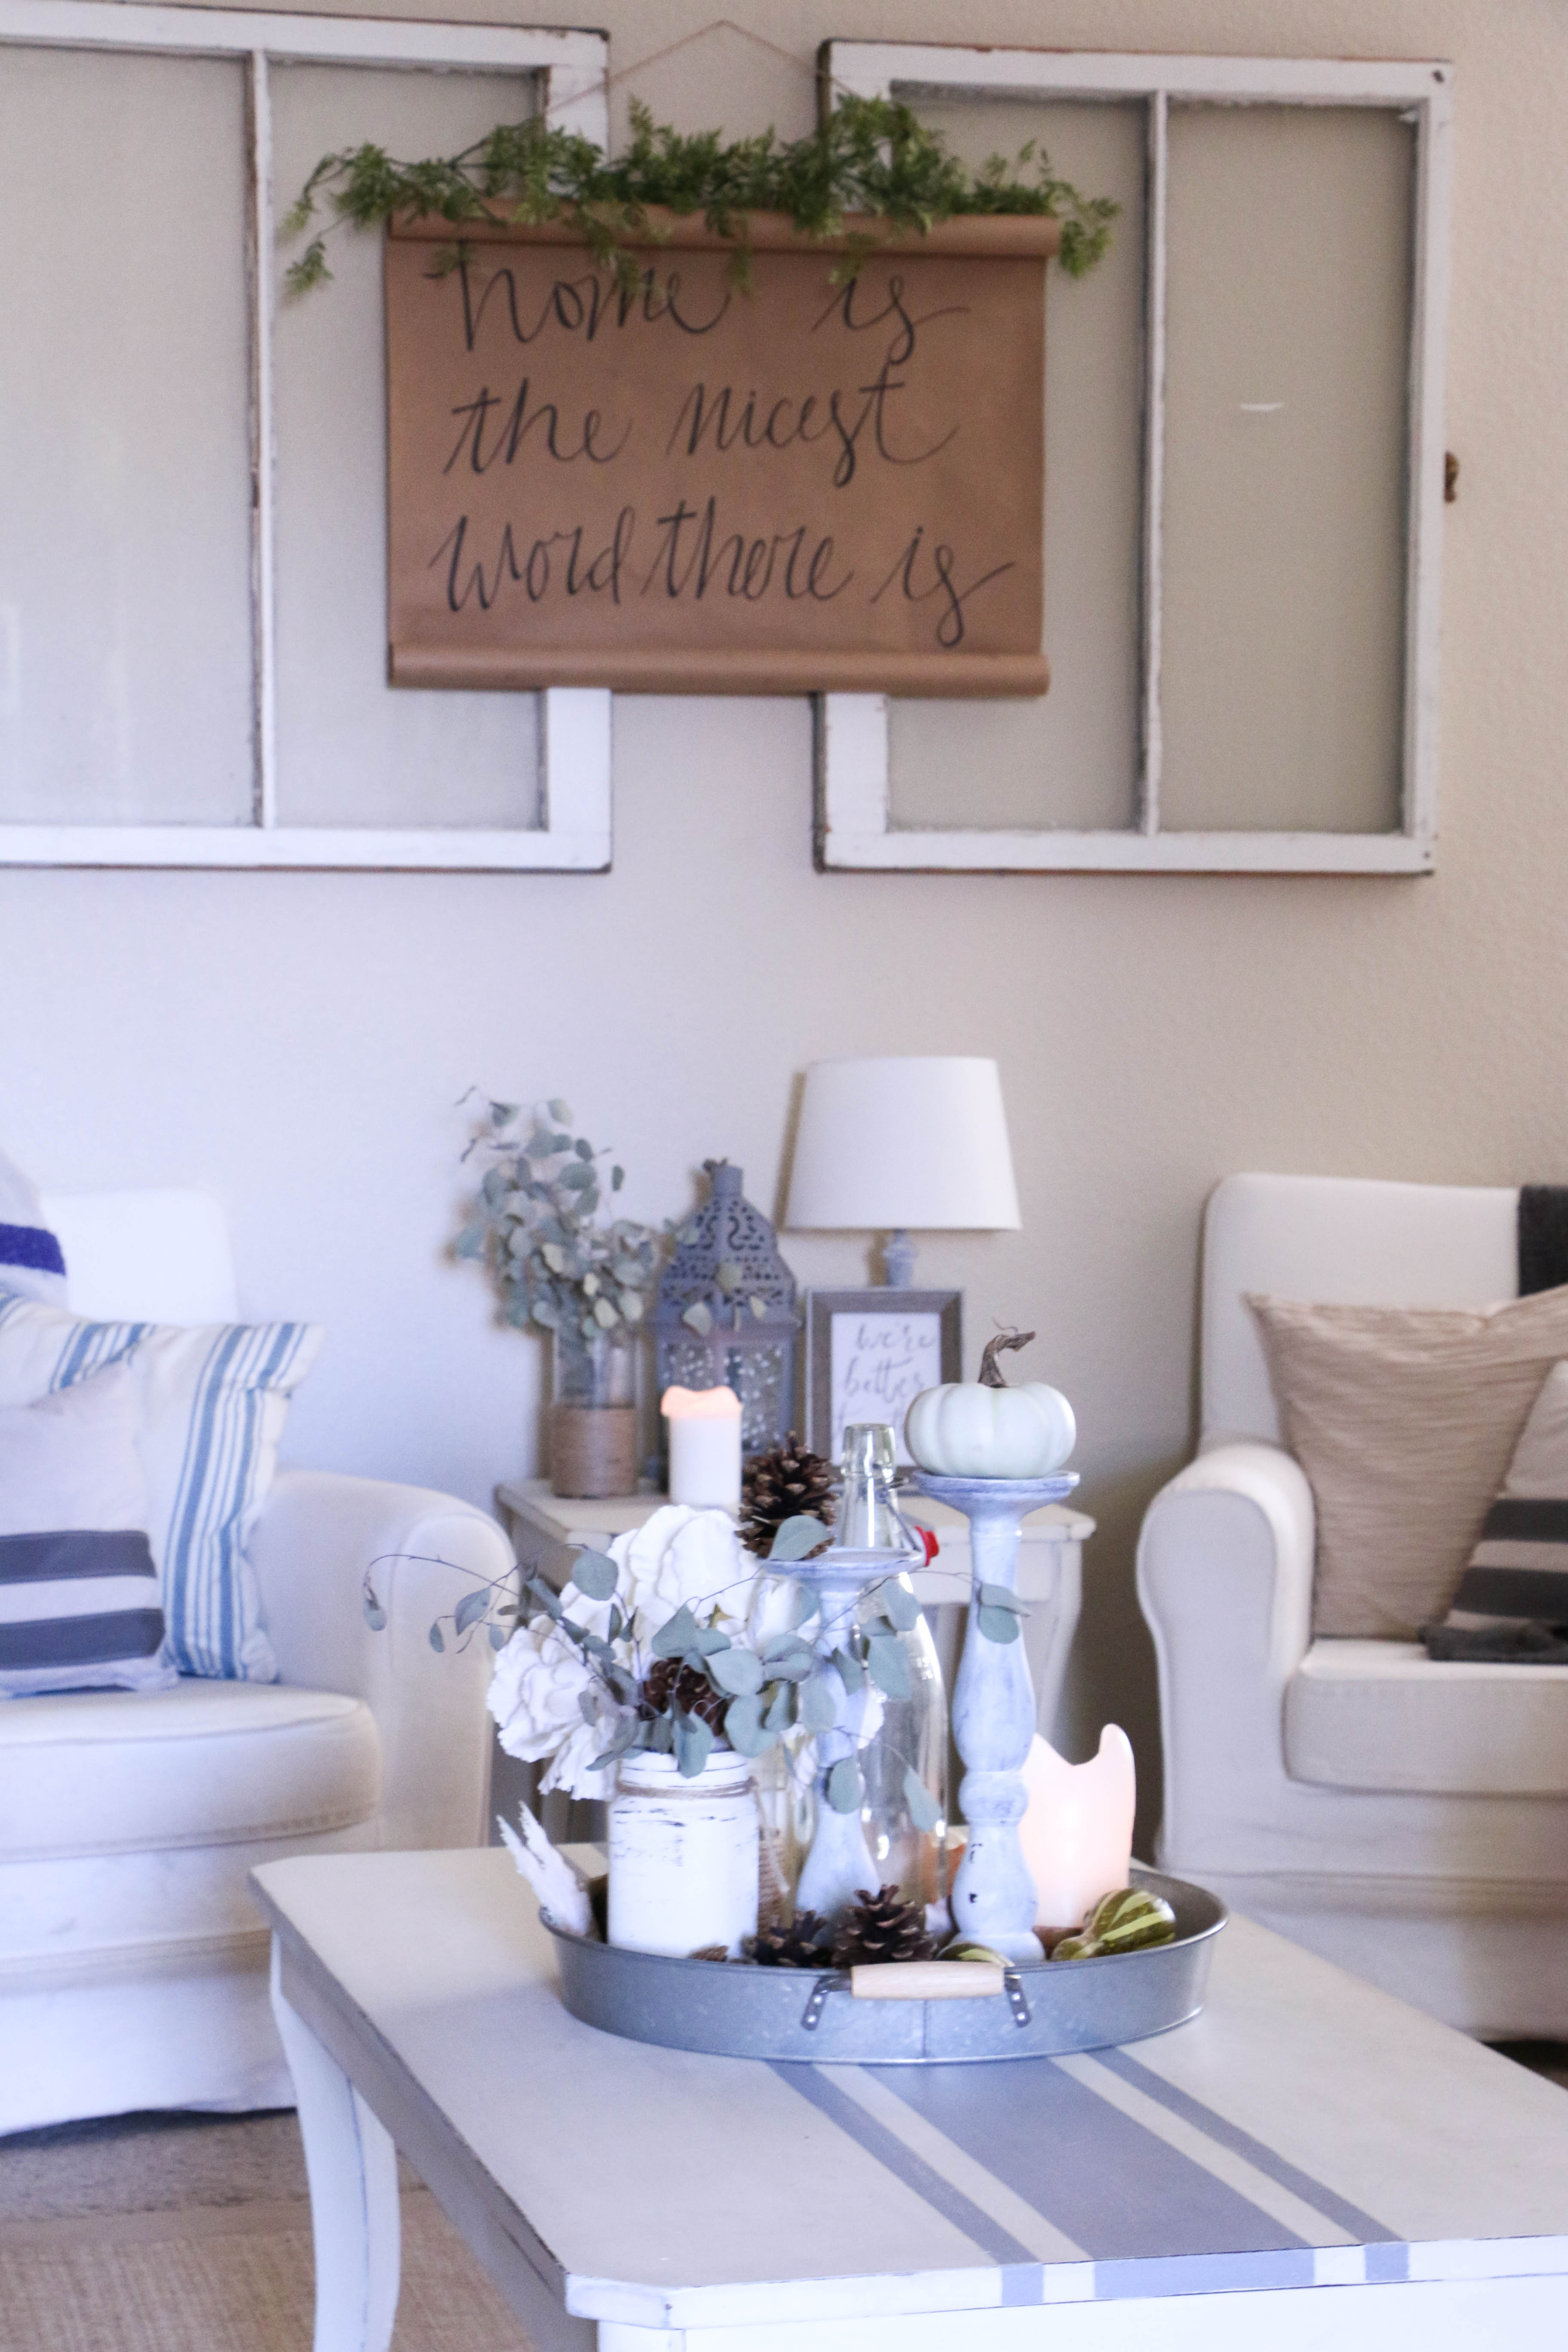
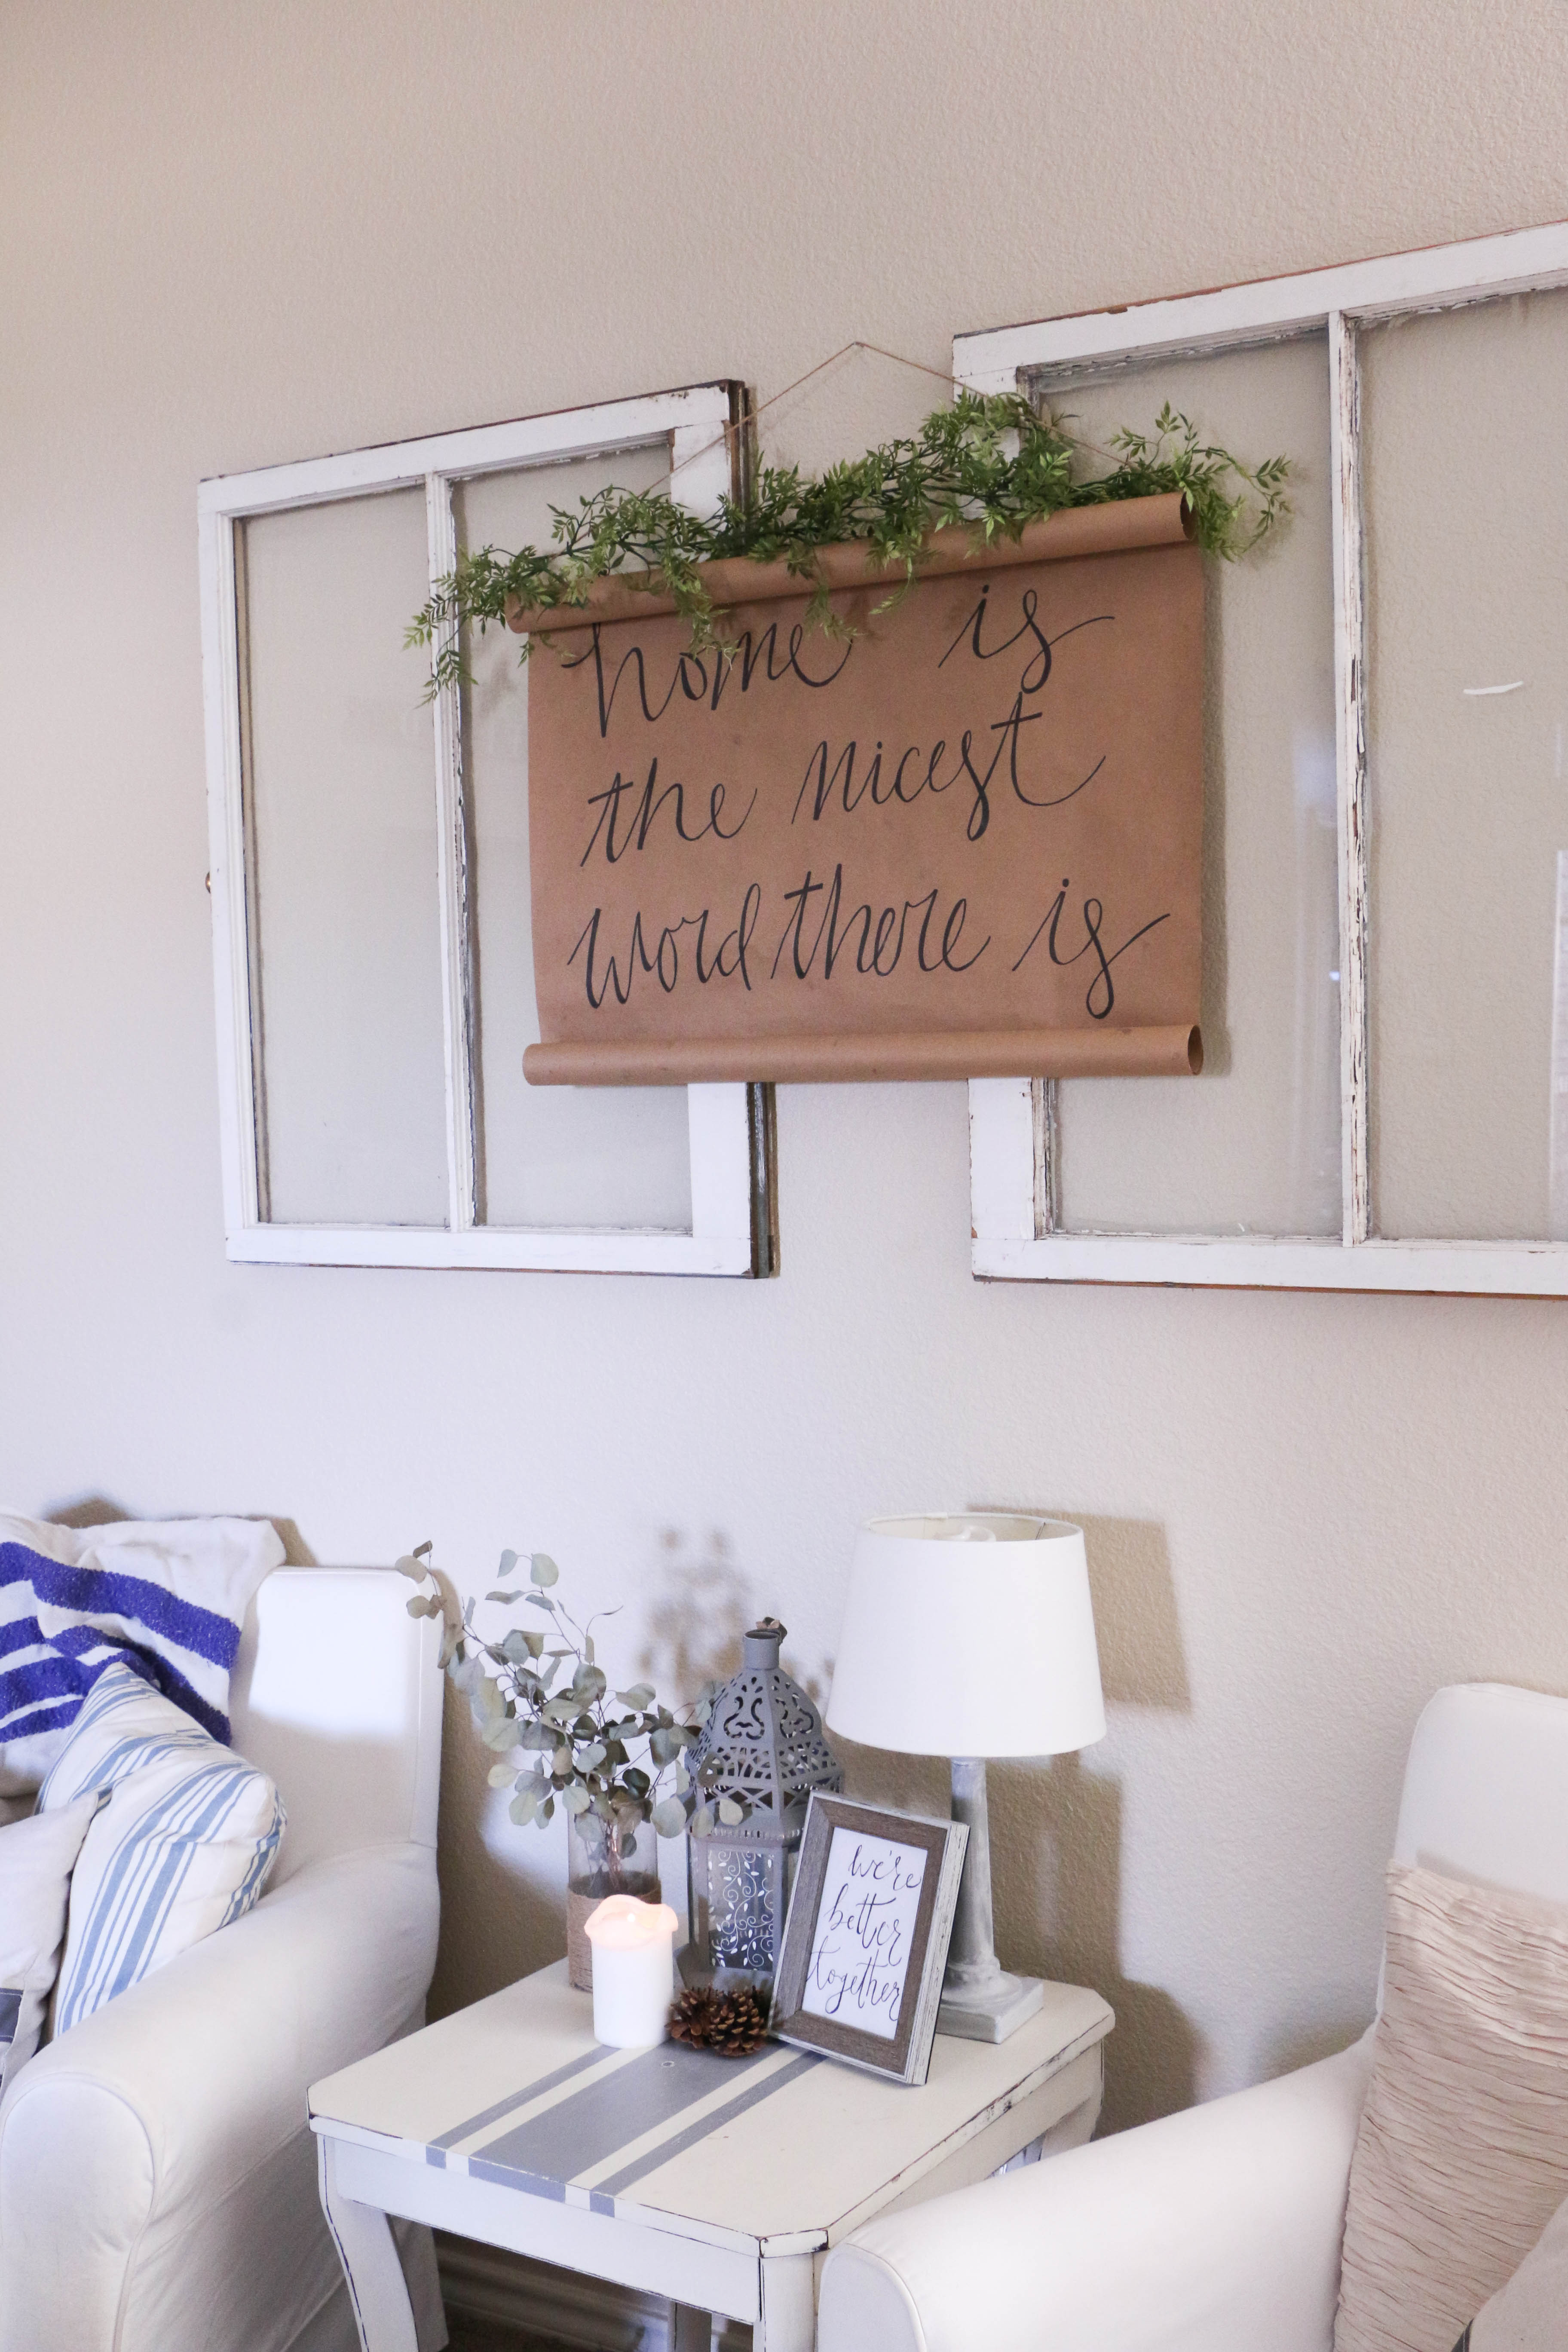
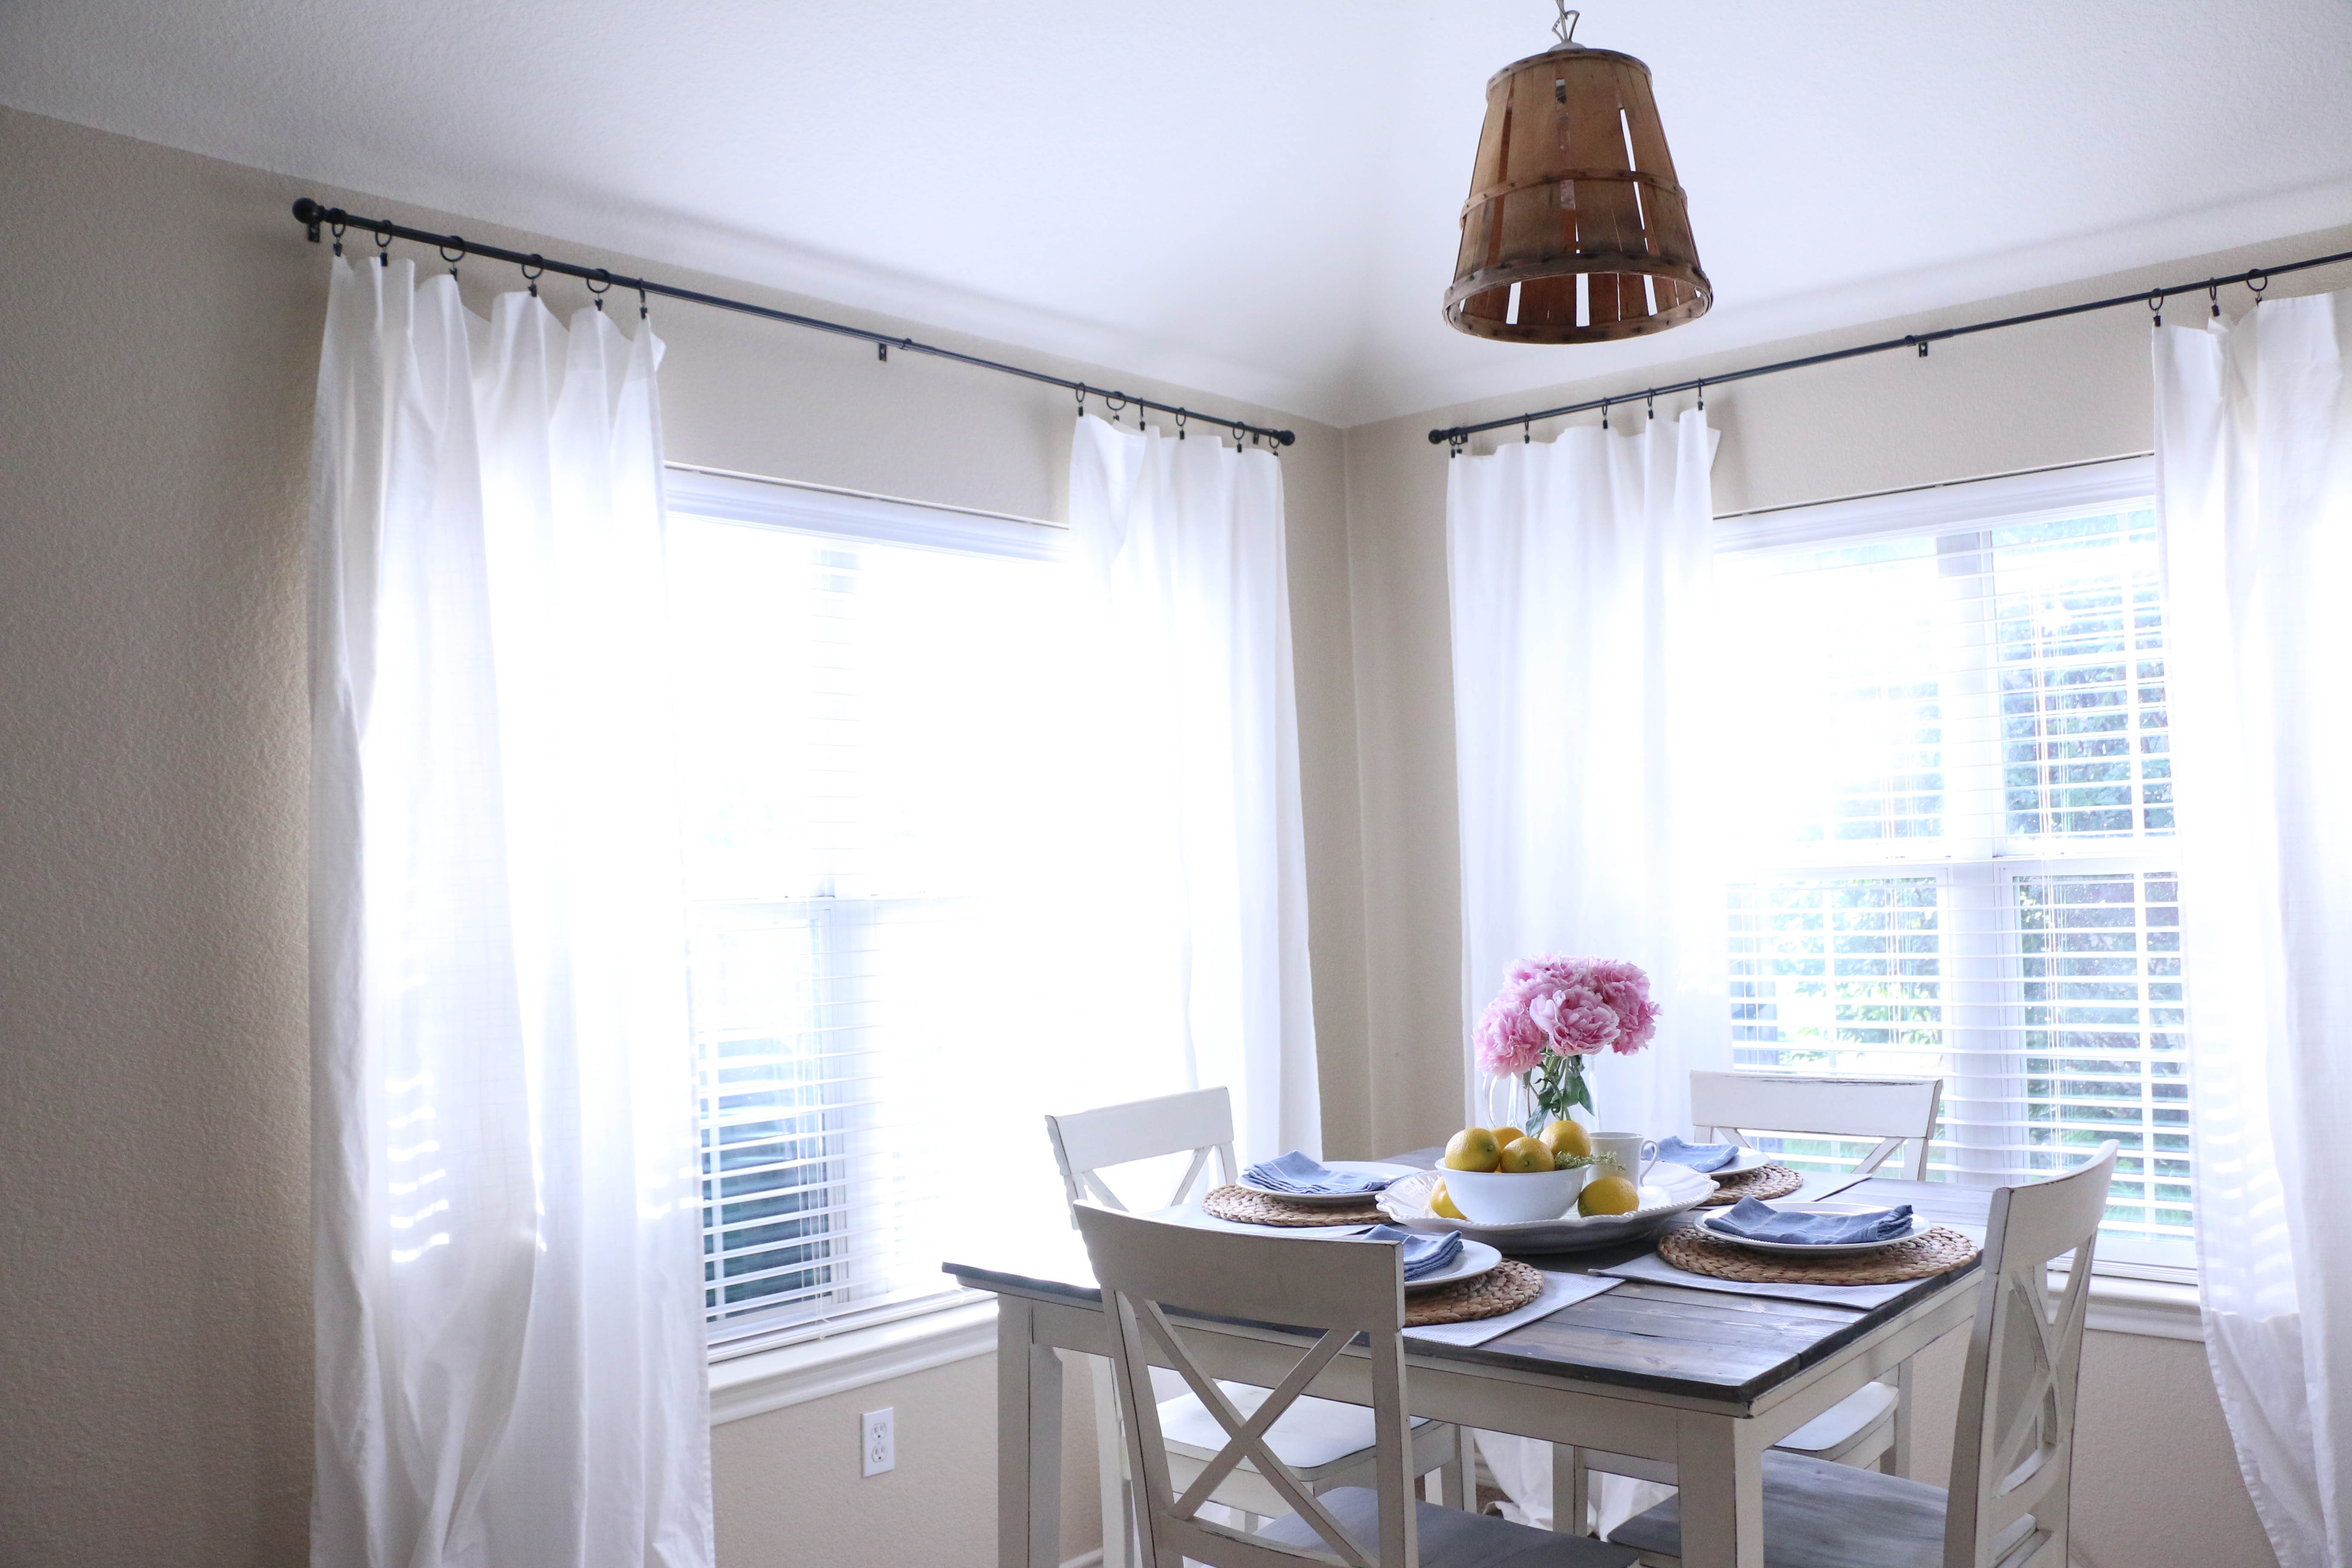
Knowing that we’re going to be moving “soonish” but not knowing any type of time frame has put me in a creative slump in our current house. All I’ve been doing is purging, organizing, and throwing things out. I haven’t been doing projects or working on decorating certain areas in new ways because I’ve just been viewing it all as temporary. When we do finally move into our new house, I plan on bringing you all along for the ride! Of course, I’ll still be sharing small decorating DIY projects, but for a while, I’ll be focused on large, full scale projects. I’ll finally be able to do things like paint! I have been waiting SO. LONG.
So, all that to say, who knows what may change before the next time we chat. I’ll try to keep you posted. That’s all for today, friends! Have a fabulous day!