Browsing Tag

DIY

Home Decor

How to Make Grocery Store Flowers Look Expensive

Hi you guys! I’m so glad you stopped by today! I feel like I haven’t been able to consistently post for a while, but I have a ton of ideas for some upcoming posts that I’m super excited about! I was thinking about it the other day, and I realized that it was almost exactly one year ago today that I started this little blog and posted my very first post! Since then I have shared some really fun projects that I’m proud of, as well as a few personal pieces. In the next year, I want to continue to add more things here on the blog that encompass more things that I love, branching out a little bit from my main focus which has been DIY projects. I hope you don’t mind!

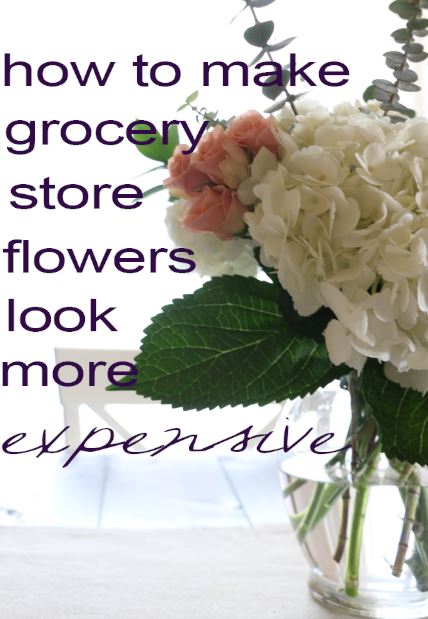
So today I wanted to share with you a recent hobby that I’ve taken on (which if you can’t tell by the title, is all about flower!). I’ve always loved florals, and when I grocery shop, I usually pick up an inexpensive bunch of flowers and stick them in a vase. For my wedding, I did my own flowers (which were admittedly pretty simple), and since then, I’ve been a little obsessed with floral design. Now, I am in absolutely no way any type of professional, nor do I even really know what I’m doing. All I know is that when I buy a four dollar bunch of flowers from the grocery store, it doesn’t look the same as the pretty floral arrangements I find on Pinterest.

With a little bit of fun experimentation, I’ve been able to figure out how to make the florals I buy at the grocery store a little bit more expensive looking (without the high florists’ price tag). Here’s what I do:

floralbuch1 floralbunch2

I purchased a few hydrangeas, a bunch of mini pink roses, and a bunch of greenery. I like the mini roses simply because they are much cheaper than the large ones. Most bunches of individual types of flowers at my grocery store are just a few dollars. I tend to stay away from the pre-made bouquets, because they can get procey pretty quickly.

I like to make a floral arrangement from one basic large flower type, one smaller flower type, and some greenery. This is just my personal opinion, and I’m sure someone who has some actual floral knowledge might cringe reading this, but it’s just what works for me.

So here’s what I came up with:

floralarrangement3floralarrangement5floralarrangement4 floralarrangement1

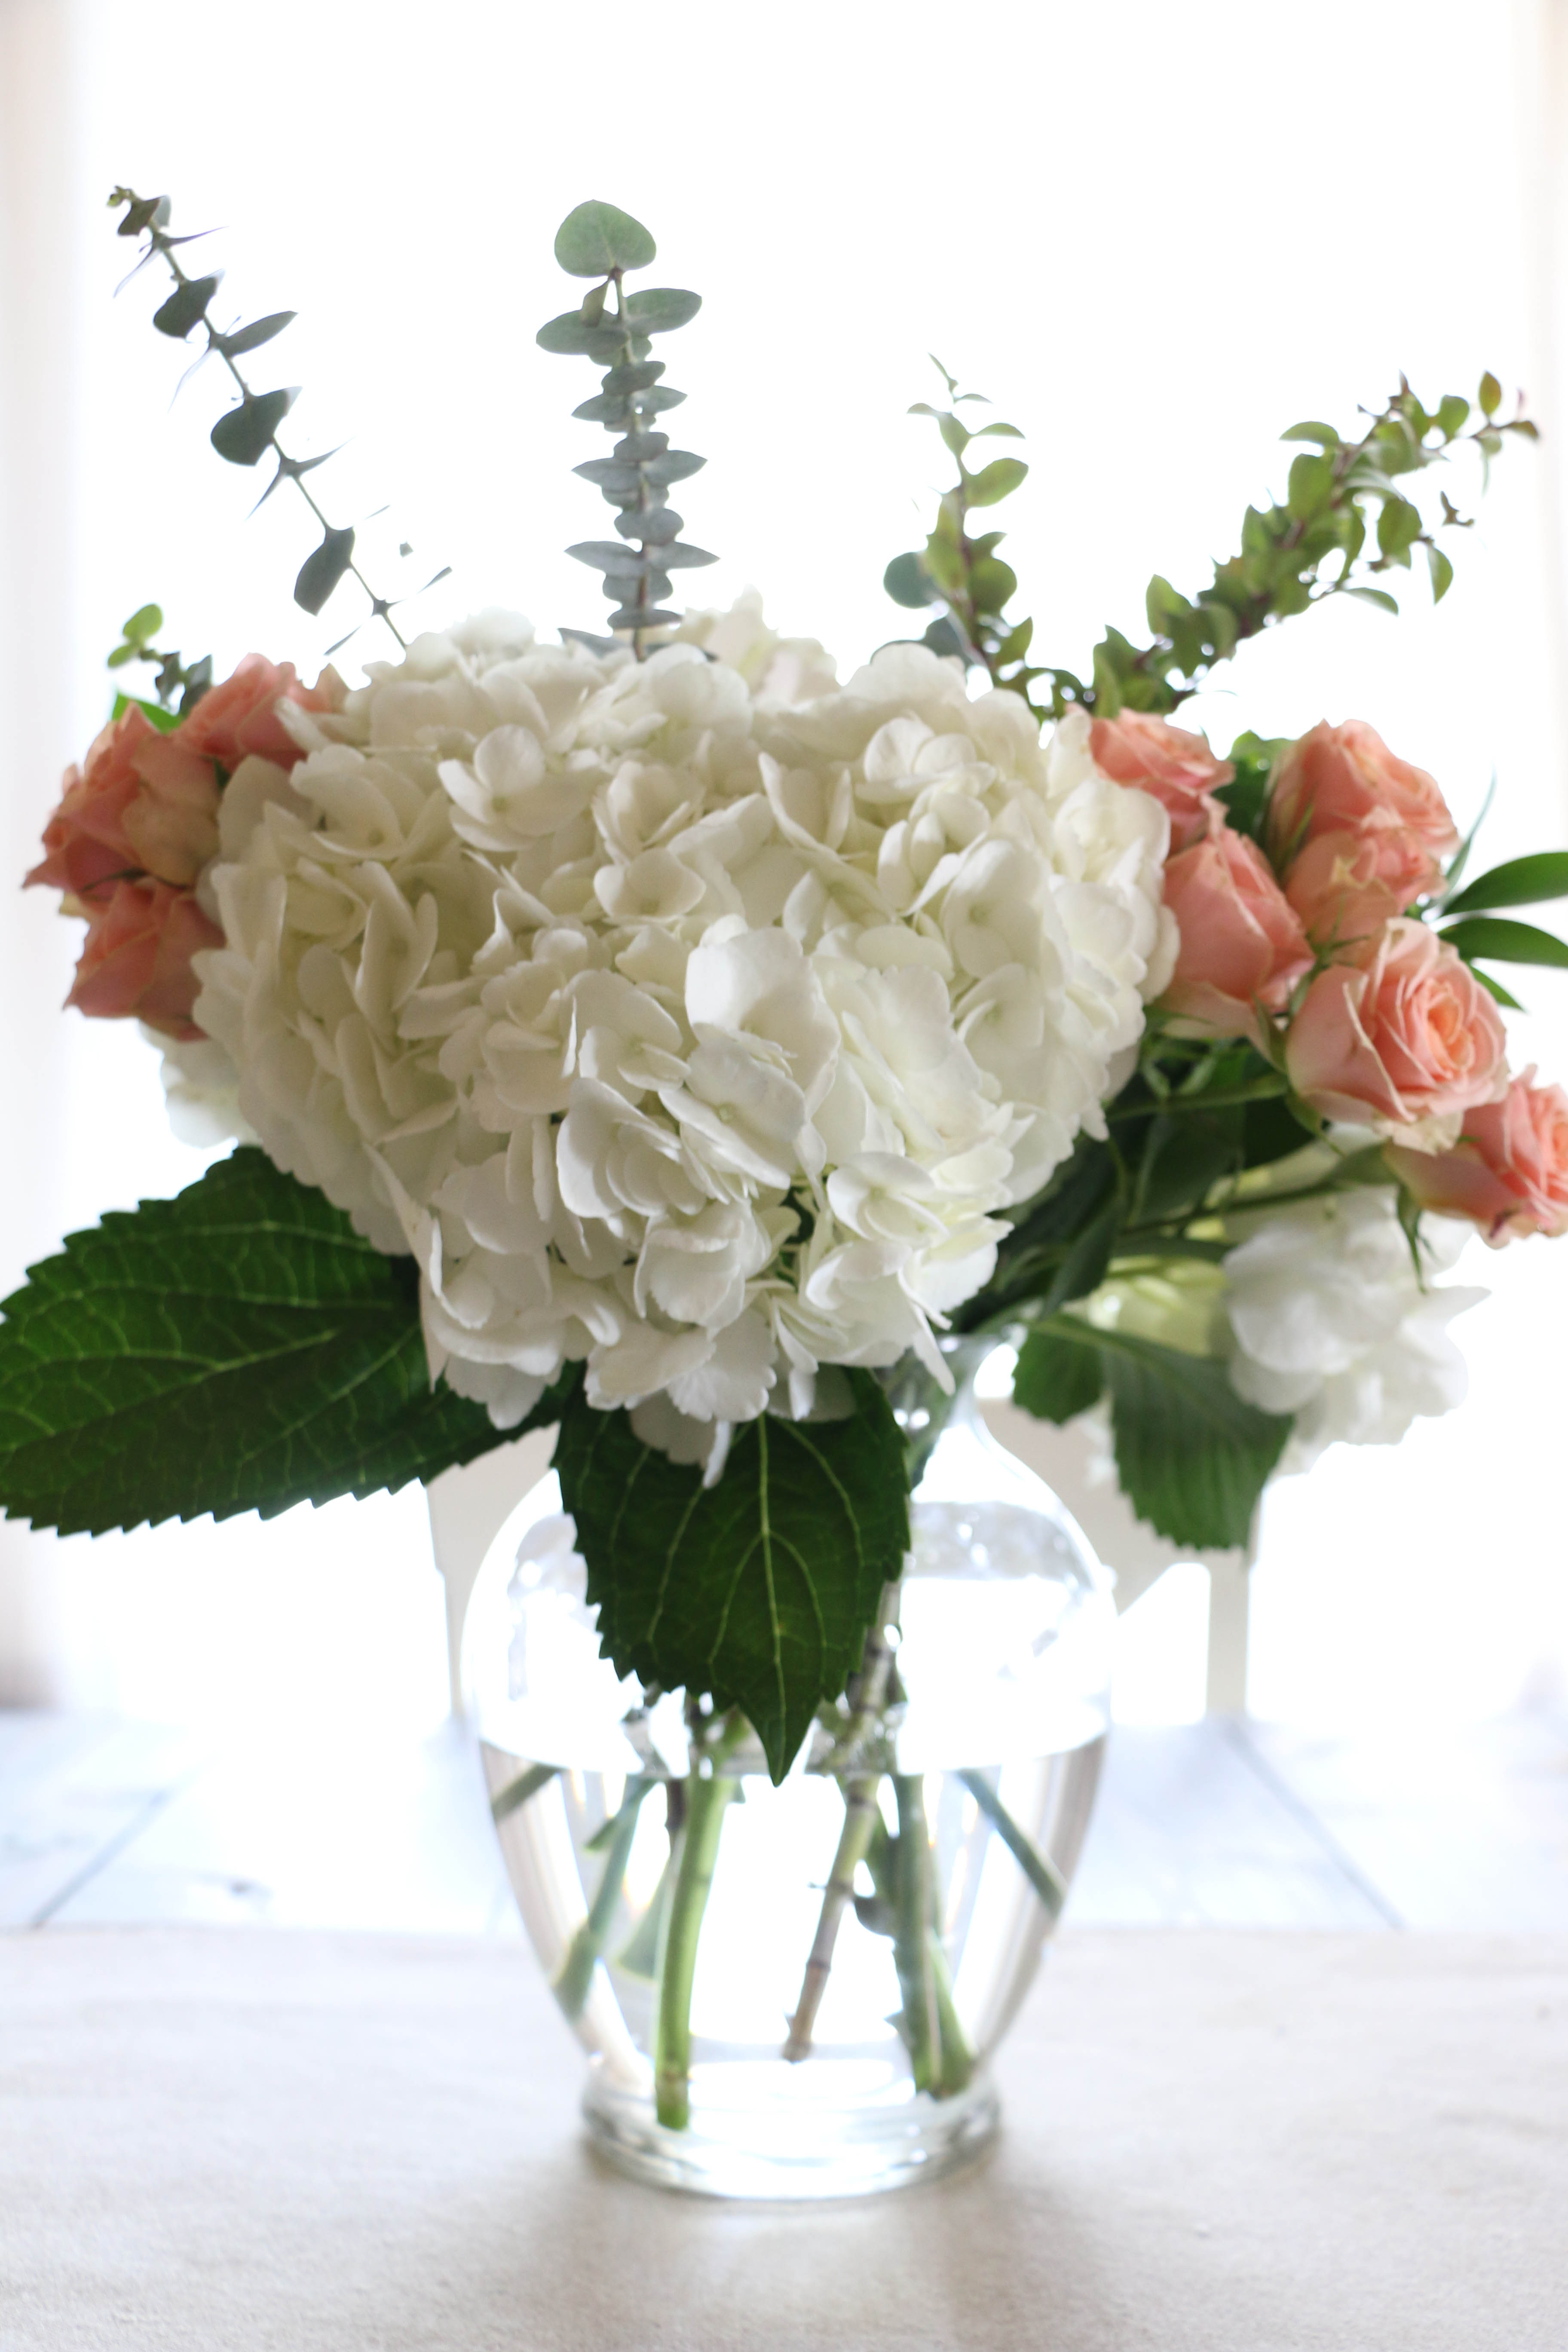
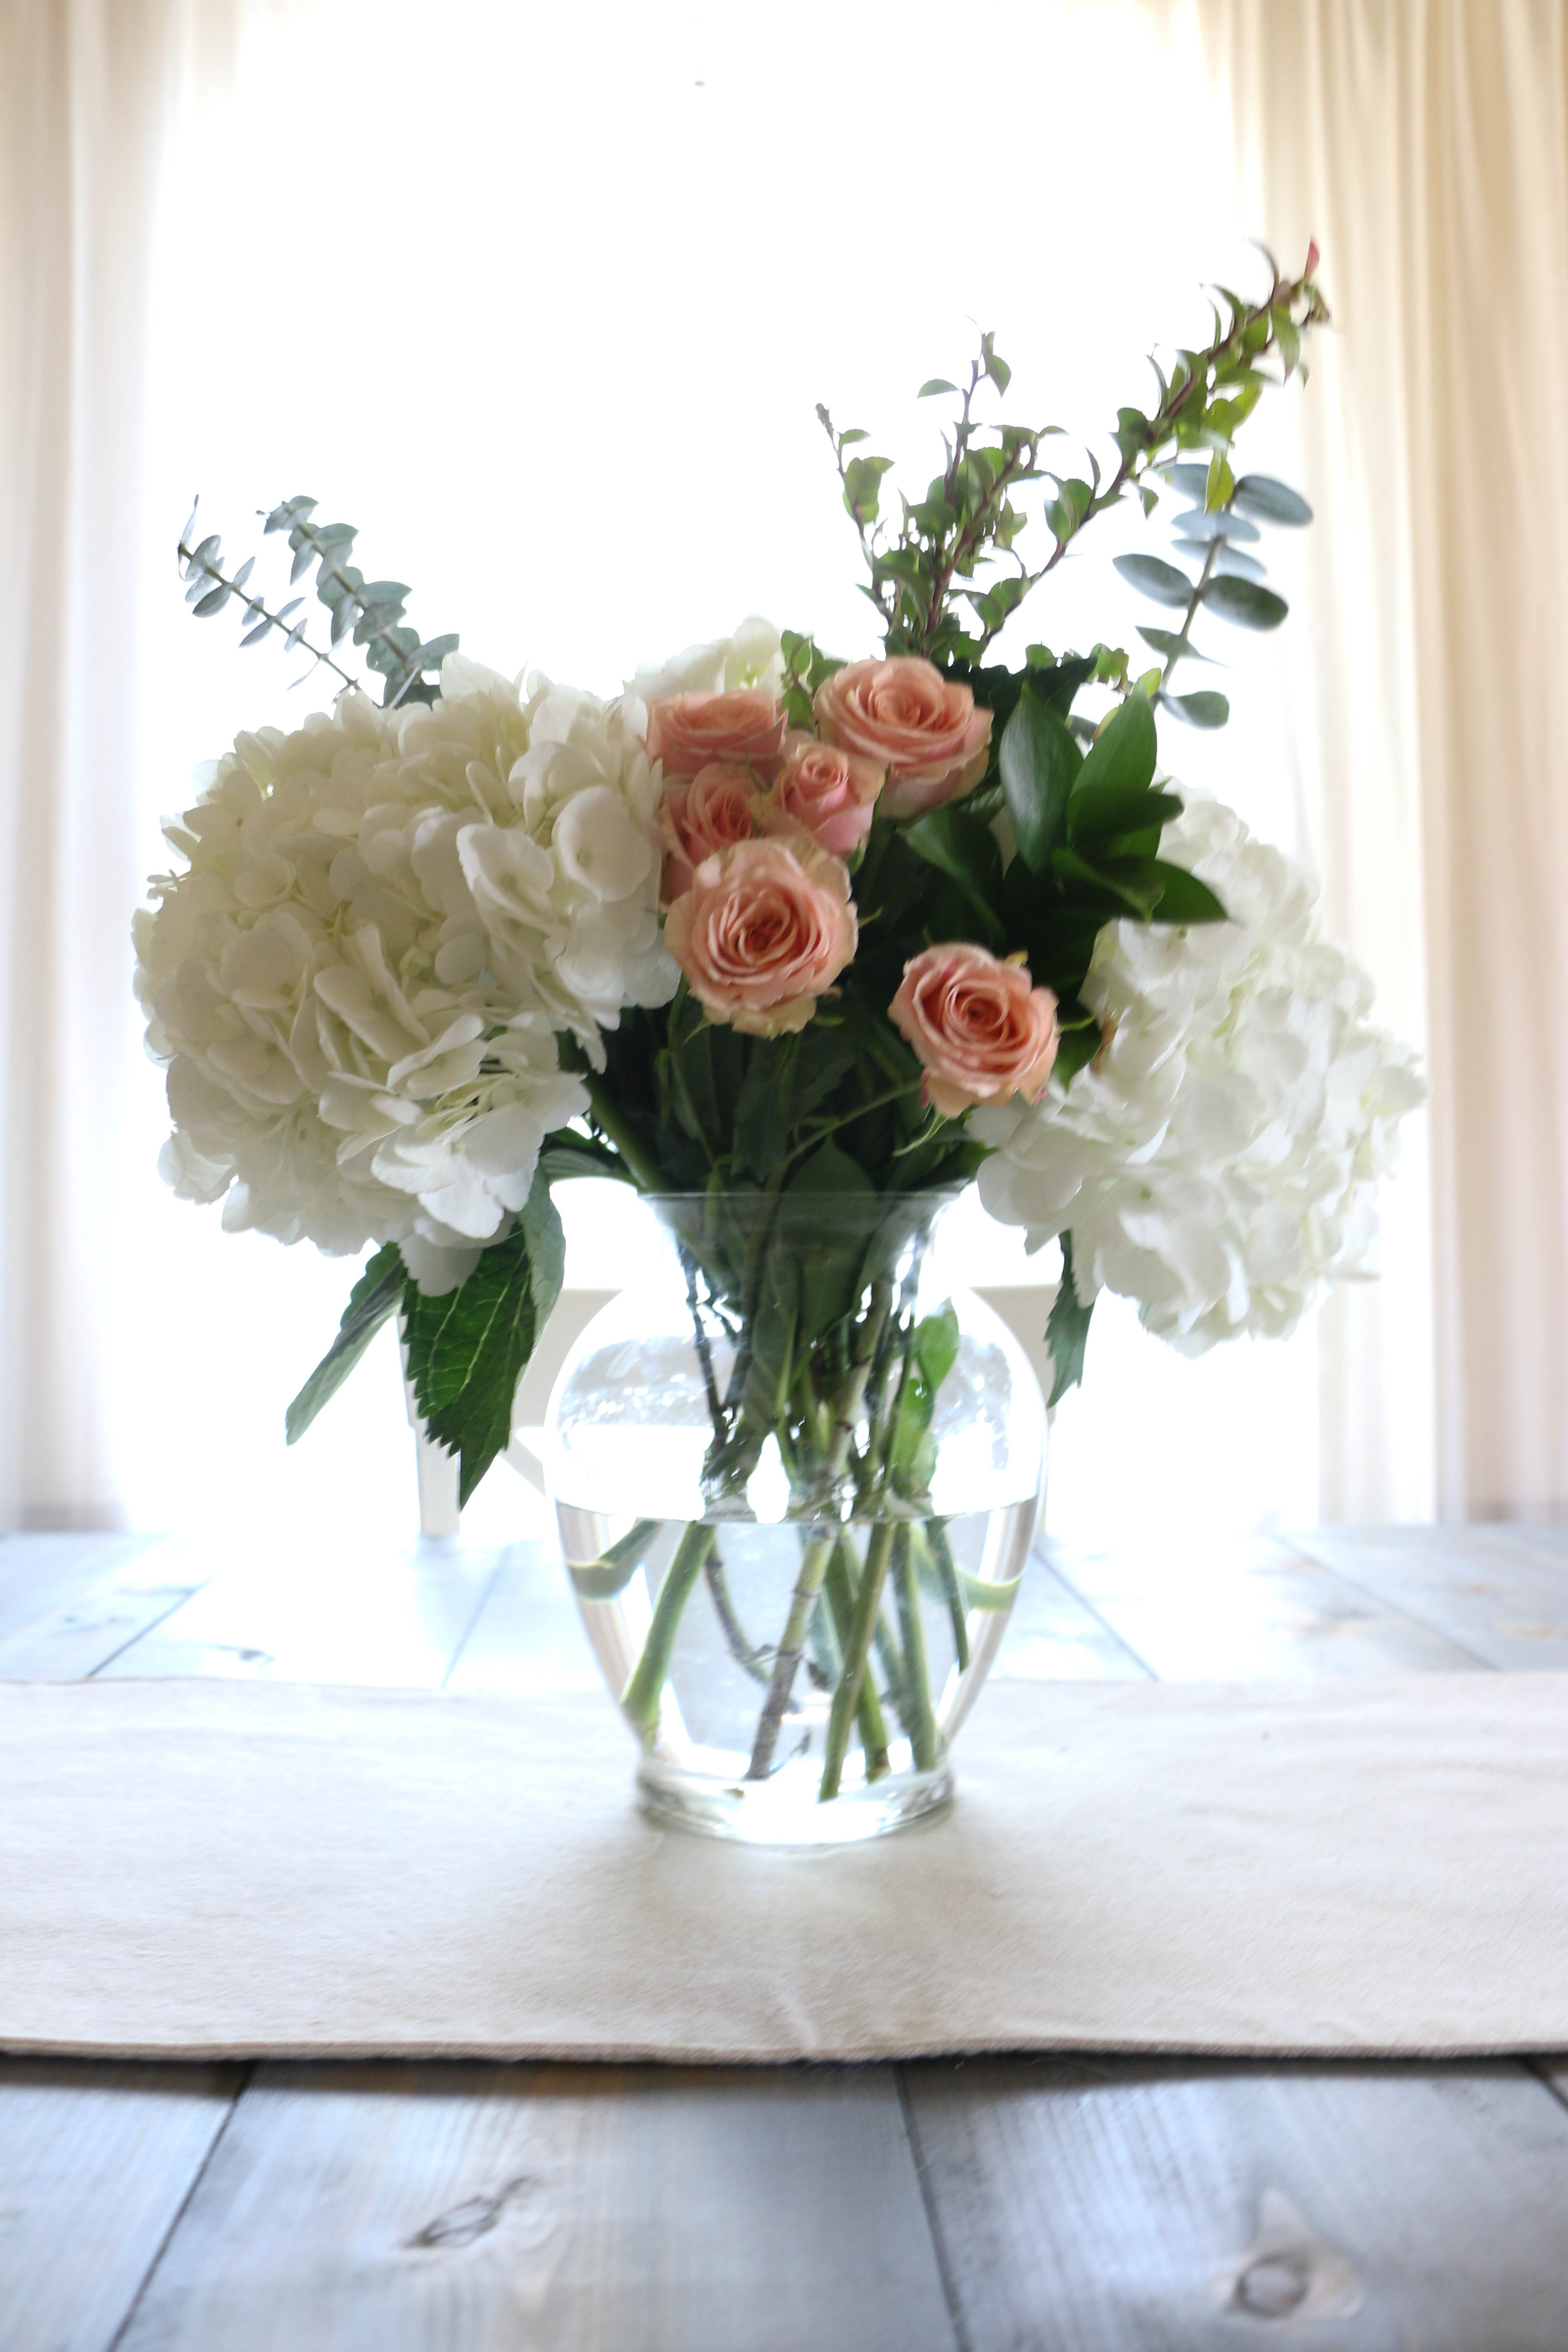
Like I said before, I have no experience with arranging florals other than just for fun, but boy is it fun! Keeping flowers in the house is a simple way to brighten the room, and I love the way this arrangement looks! For this arrangement, I placed the hydrangeas in the vase first, and then added small bunches of roses, followed by the sprigs of greenery. I usually just mess around with arranging it in different ways until I loke the way it looks. I don’t follow any proportion rules, but I think it looks pretty good (if I do say so myself, 😉 ).

How about you? Have you ever played around with florals? It sure is fun! I’d love to hear all about it! That’s all for today friends, have a fabulous day!

Capture

DIY Projects

Antique Window Project

Hi you guys! I’m so glad you stopped by today! This week is flying by, and it’s hard to believe that Easter is just a few days away! Despite the weird highs and lows that we’ve seen in the tempurature the last few weeks, I’m so glad that spring is officially here!

I wanted to share with you guys a fun project I completed this week, which I think is in perfect timing for the upcoming Easter holiday. A few weeks back, I was roaming around my favorite flea market (why does it seem like half of my posts start with that sentence?), and I found  this super old, really pretty hymnal. It was way older than me, but it was still super nostalgic, because I grew up singing hymns from a hymnal. I grabbed it for five dollars, and I immediately had this project in mind.

I went through the book and found some familiar songs and cut those pages out. I know you may say that by doing that, I’m not respecting the integrity of the hymnal, but I think that I will enjoy what I’ve done with it far more than anyone else was going to use the hymnal for. If that even makes sense. I carefully sliced the pages I wanted with an X-Acto knife to be sure I had a clean cut.

Then I used scotch tape (very teeny tiny pieces) to tape the pages I had cut out onto the panes of an antique window I had. The window was something I already had, it was hanging on the wall previously with nothing on it. So here’s what I came up with: HymnalWindow5

Each hymn is a title that I’m familiar with, and each one is a sweet reminder of His love and all that He has done thoughout our lives. If you look super closely, you can see the tape, but I didn’t want to use another method that would either damage the pages or make it so that I was unable to recreate something using these materials.

I placed it above our bed, and I absolutely adore it.

HymnalWindow4

HymnalWindow1

HymnalWindow3

I really think it just adds a thoughtful touch to the decor in here. Really, what’s the point in putting together a home if it isn not meaningful? I’m already thinking of other projects I can do with the rest of the hymnal pages, seeing as how I’ve barely used a few.

There are Chrsitmas carols and classic American choruses, so the seasonal possibilities with this little hymnal are pretty endless. Plus, there’s just something about the yellowed pages of sheet music that is just beautiful. I seriously can’t get enough.  Can you tell I’m excited about this one?

What do you think of this project? It’s such an easy thing, I don’t know if it can actually be considered a a project! I hope you enjoyed this little project, and that it insires you to do something meaningful with the decor in your own home! That’s all for today, friends. Have a fabulous day!

Organization

DIY Laundry Soap

Hello friends! I hope this week has been treating you well! Spring Break is winding down for me, and I am silently crying tears of regret after not having accomplished everything that I had planned. Just kidding. Sort of.

We did have a super fun and relaxing week of camping for a few nights, which was wonderful! Even though we were only about twenty minutes from home, it felt as though we were truly out of town. And it just feels good to get away! Coming home from camping, everything in our bags smelled like campfire smoke. Which is wonderful while you’re actually out, but once you come home, it’s not so great (in my opinion anyway). I had a bunch of laundry to do, and I realized it would be a great idea to share my homemade laundry detergent recipe with y’all.

DIYlaundrysoap2

I’ve been making my own laundry soap for about three years now, and I have not had to re-buy supplies since I first started. Talk about thrifty.

So here’s what you’ll need: 

3 Tablespoons of Washing Soda

3 Tablespoons of Borax

2 Tablespoons of Original Dawn Dish Soap

Any scent of essential oils (this part is totally optional)

Here are the (super simple) steps:

First, you’ll mix your washing soda, borax, and dish soap together in a gallon size container, adding about one cup of hot water. No need to boil the water, I just use the hottest water I can get out of my faucet. This amount of water is just enough to dissolve the power into the water. You’ll need to shake well until everything is dissolved.

Next (and you will need to do this in your sink), you’ll fill your container with the cold water. I just use the tap water from my faucet. This process will create a mess load of bubbles, so I cannot tell you how important it is to do this in a sink! Once the container is filled, I close it up and shake again. This will allow any particles that didn’t disolve before to fully dissolve.

Last, and this step is optional, I like to add a few drops of essential oil. No need for the expensive stuff, I just bought one bottle of lemongrass oil from my local grocery store, which may have cost about five bucks. The oil will make the laundry soap scented, which I prefer in a laundry soap. It is totally optional though. The cool thing is that you can make it any scent you want. After adding a few drops, I close it up and shake thoroughly.

That’s it! It really is that easy. like I mentioned before, I have been making this laundry soap for about three years, and I have yet to buy new supplies. I would estimate the total cost at about fifteen dollars, but for three plus years of laundry soap, I would say that’s a pretty good deal! Now, I use this recipe mainly for economical reasons, and not necessarily for all-natural health reasons, so if you’re looking for an organic or suchandsuch-free product, this is probably not for you.

Personally, I love it. It takes just a few minutes to make, and my clothes and linens smell and feel just as fresh as with any other laundry soap I have purchased. I use about a cup of the soap per load, and one “batch” will last me a few weeks. I would definitely recommend making your own laundry soap!

Have you tried making your own laundry soap before? If so, I’d love to hear about it! That’s all for today, friends. Have a fabulous day!

DIYlaundrysoap