Browsing Tag

DIY

DIY Projects, Home Decor

Rusty Porch Bar Cart

Good Morning, friends! Today is my first official day of summer break, and as I’m typing this, I’m lounging around in my pajamas. I’m ready to have a nice refreshing break from work this summer!

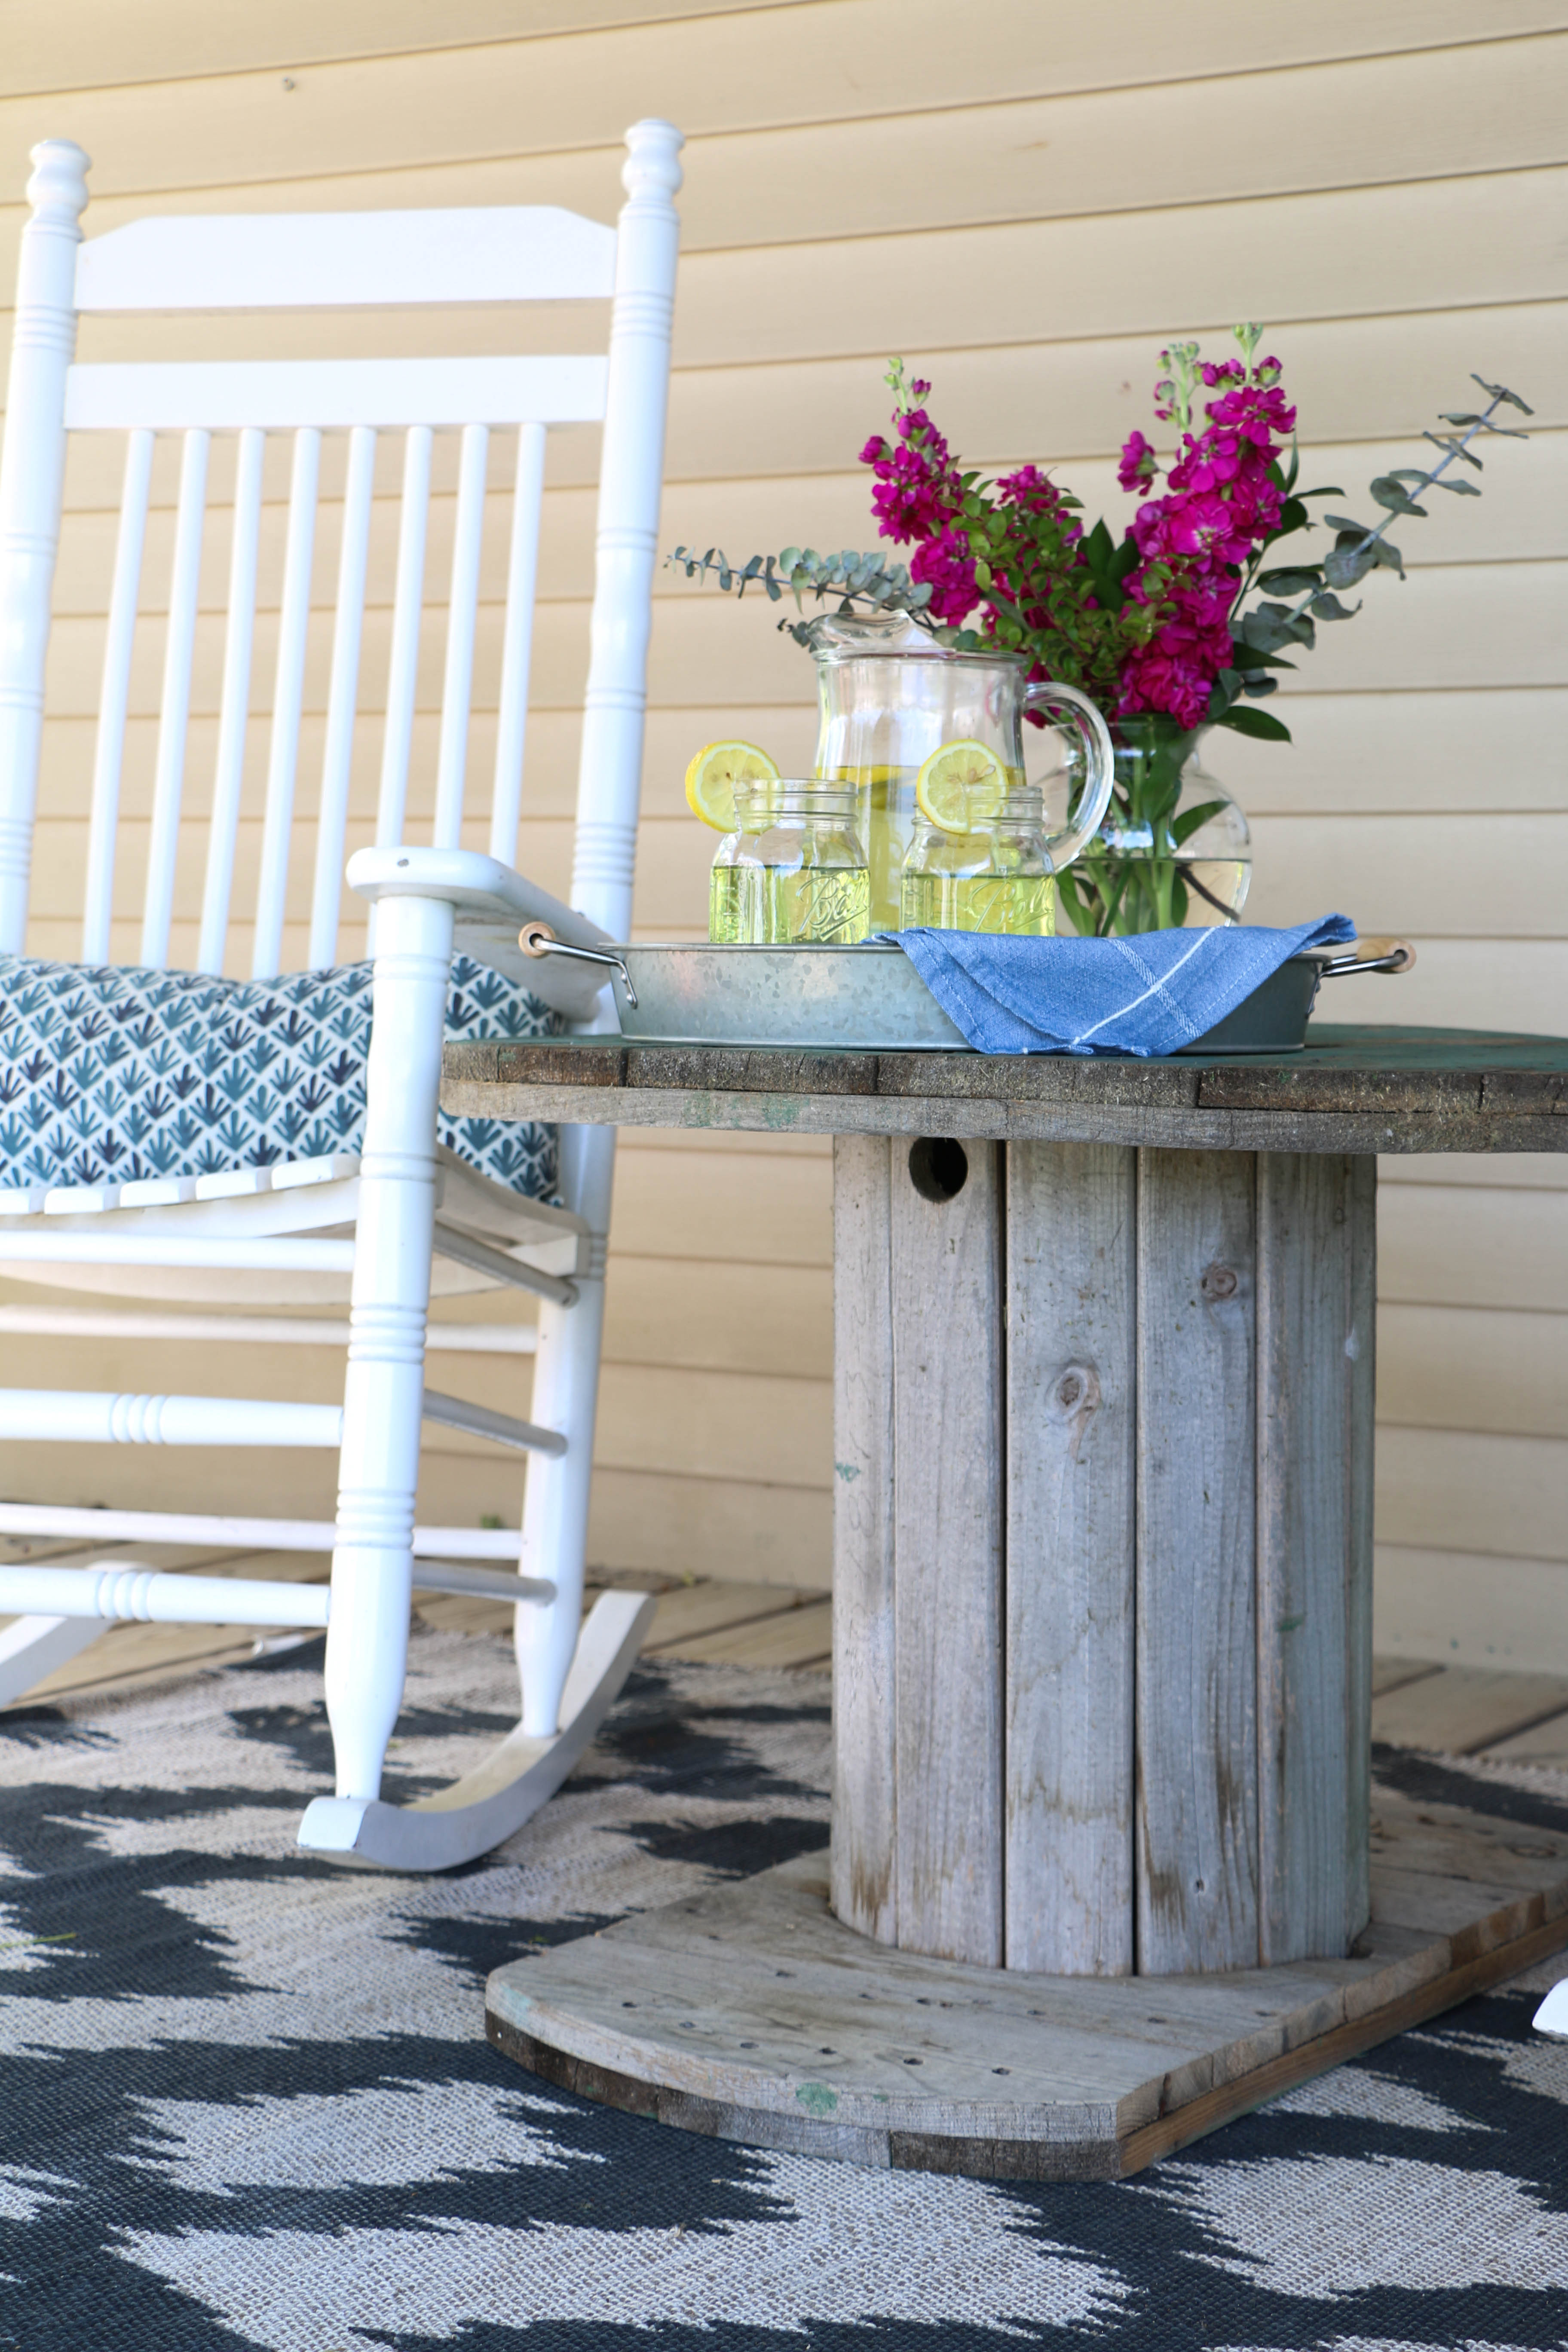
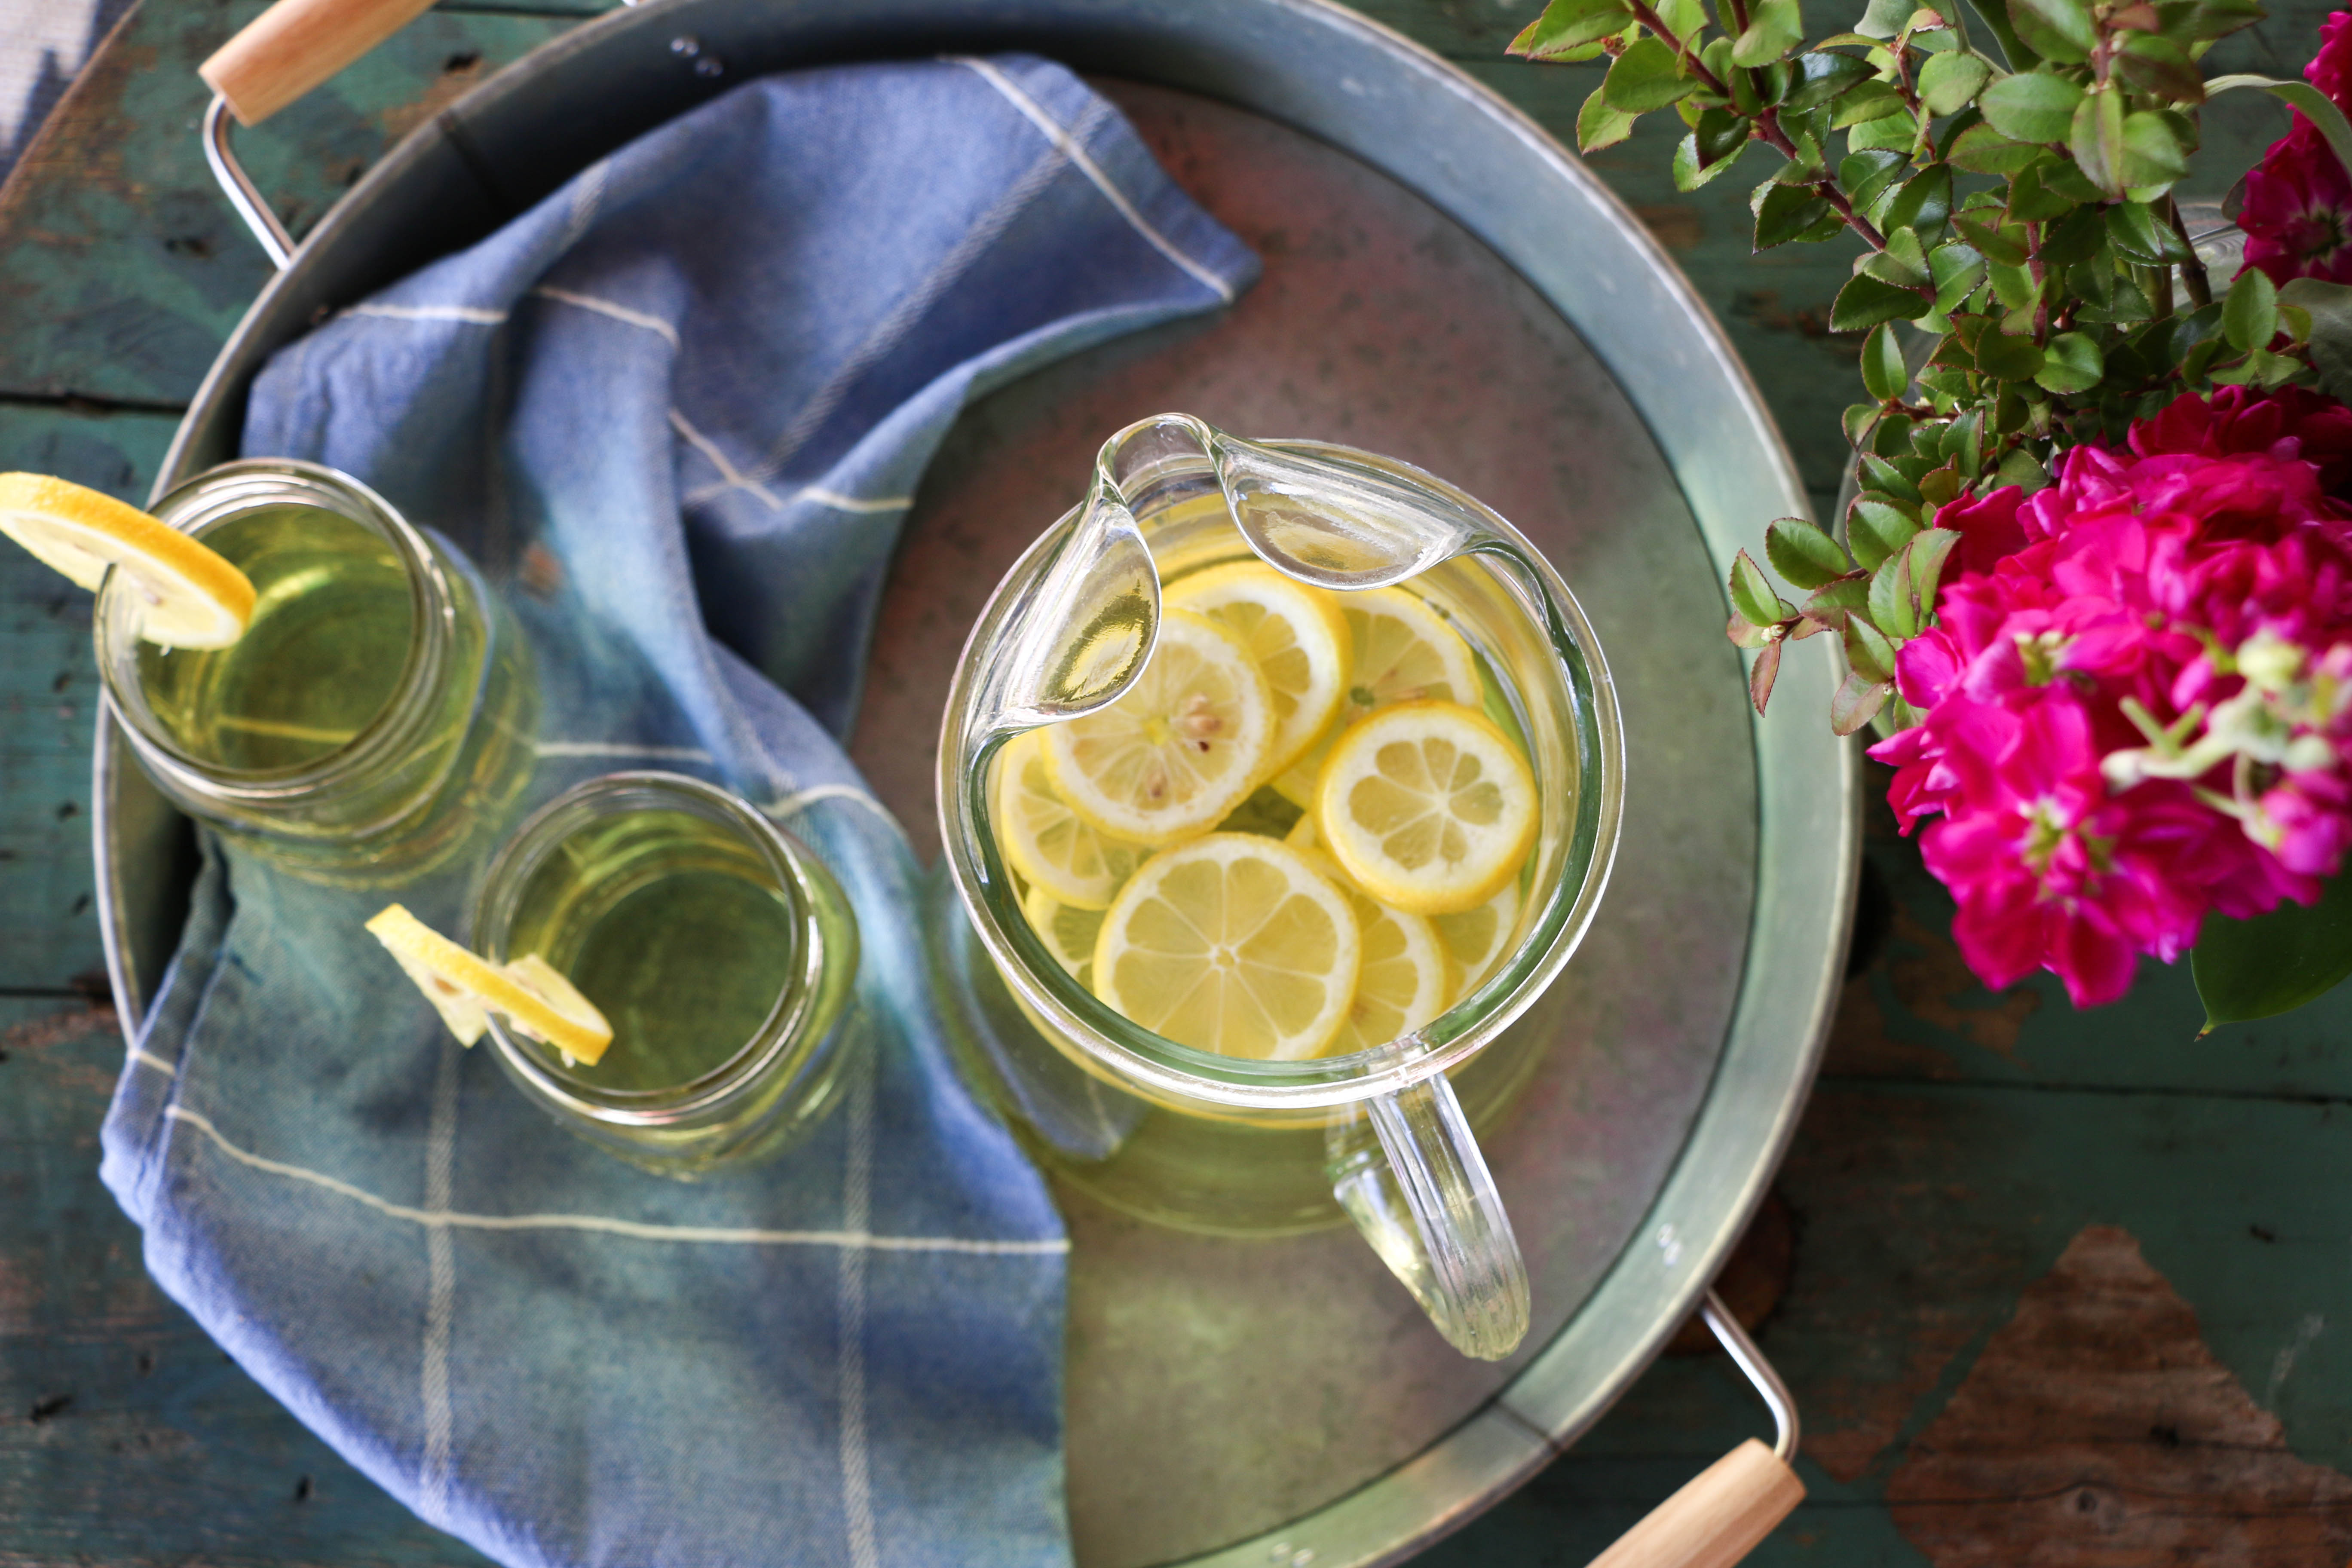
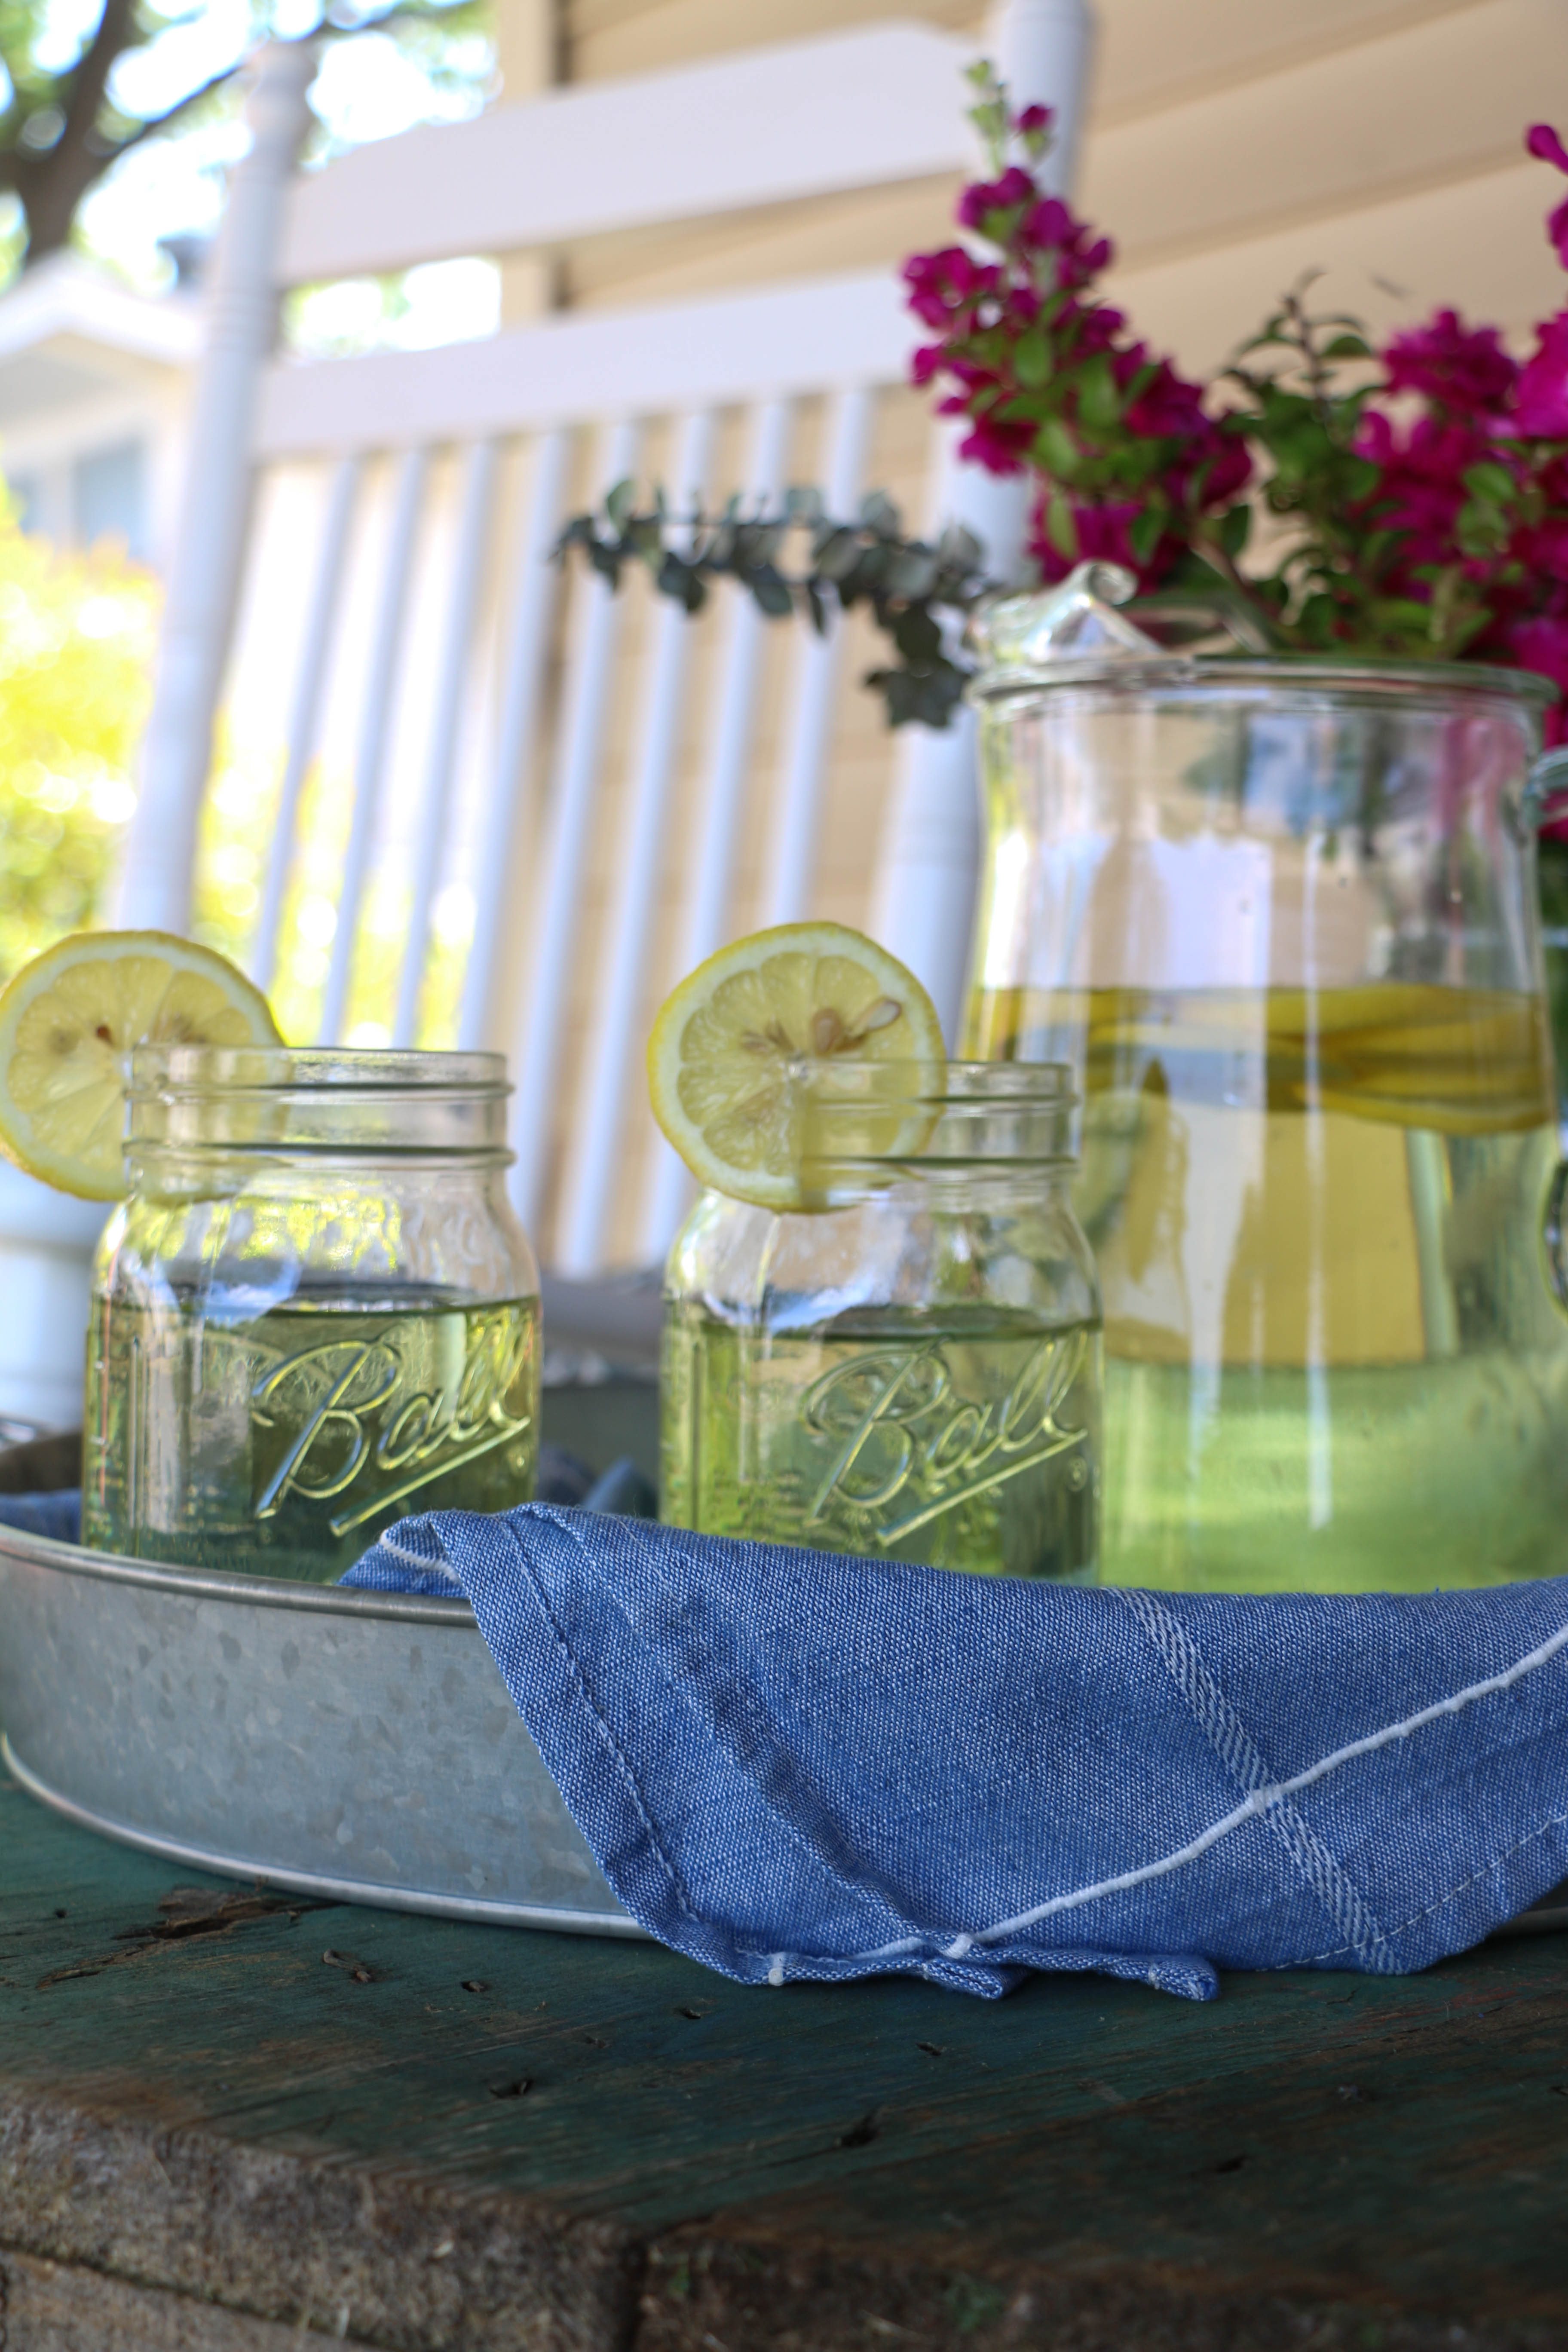
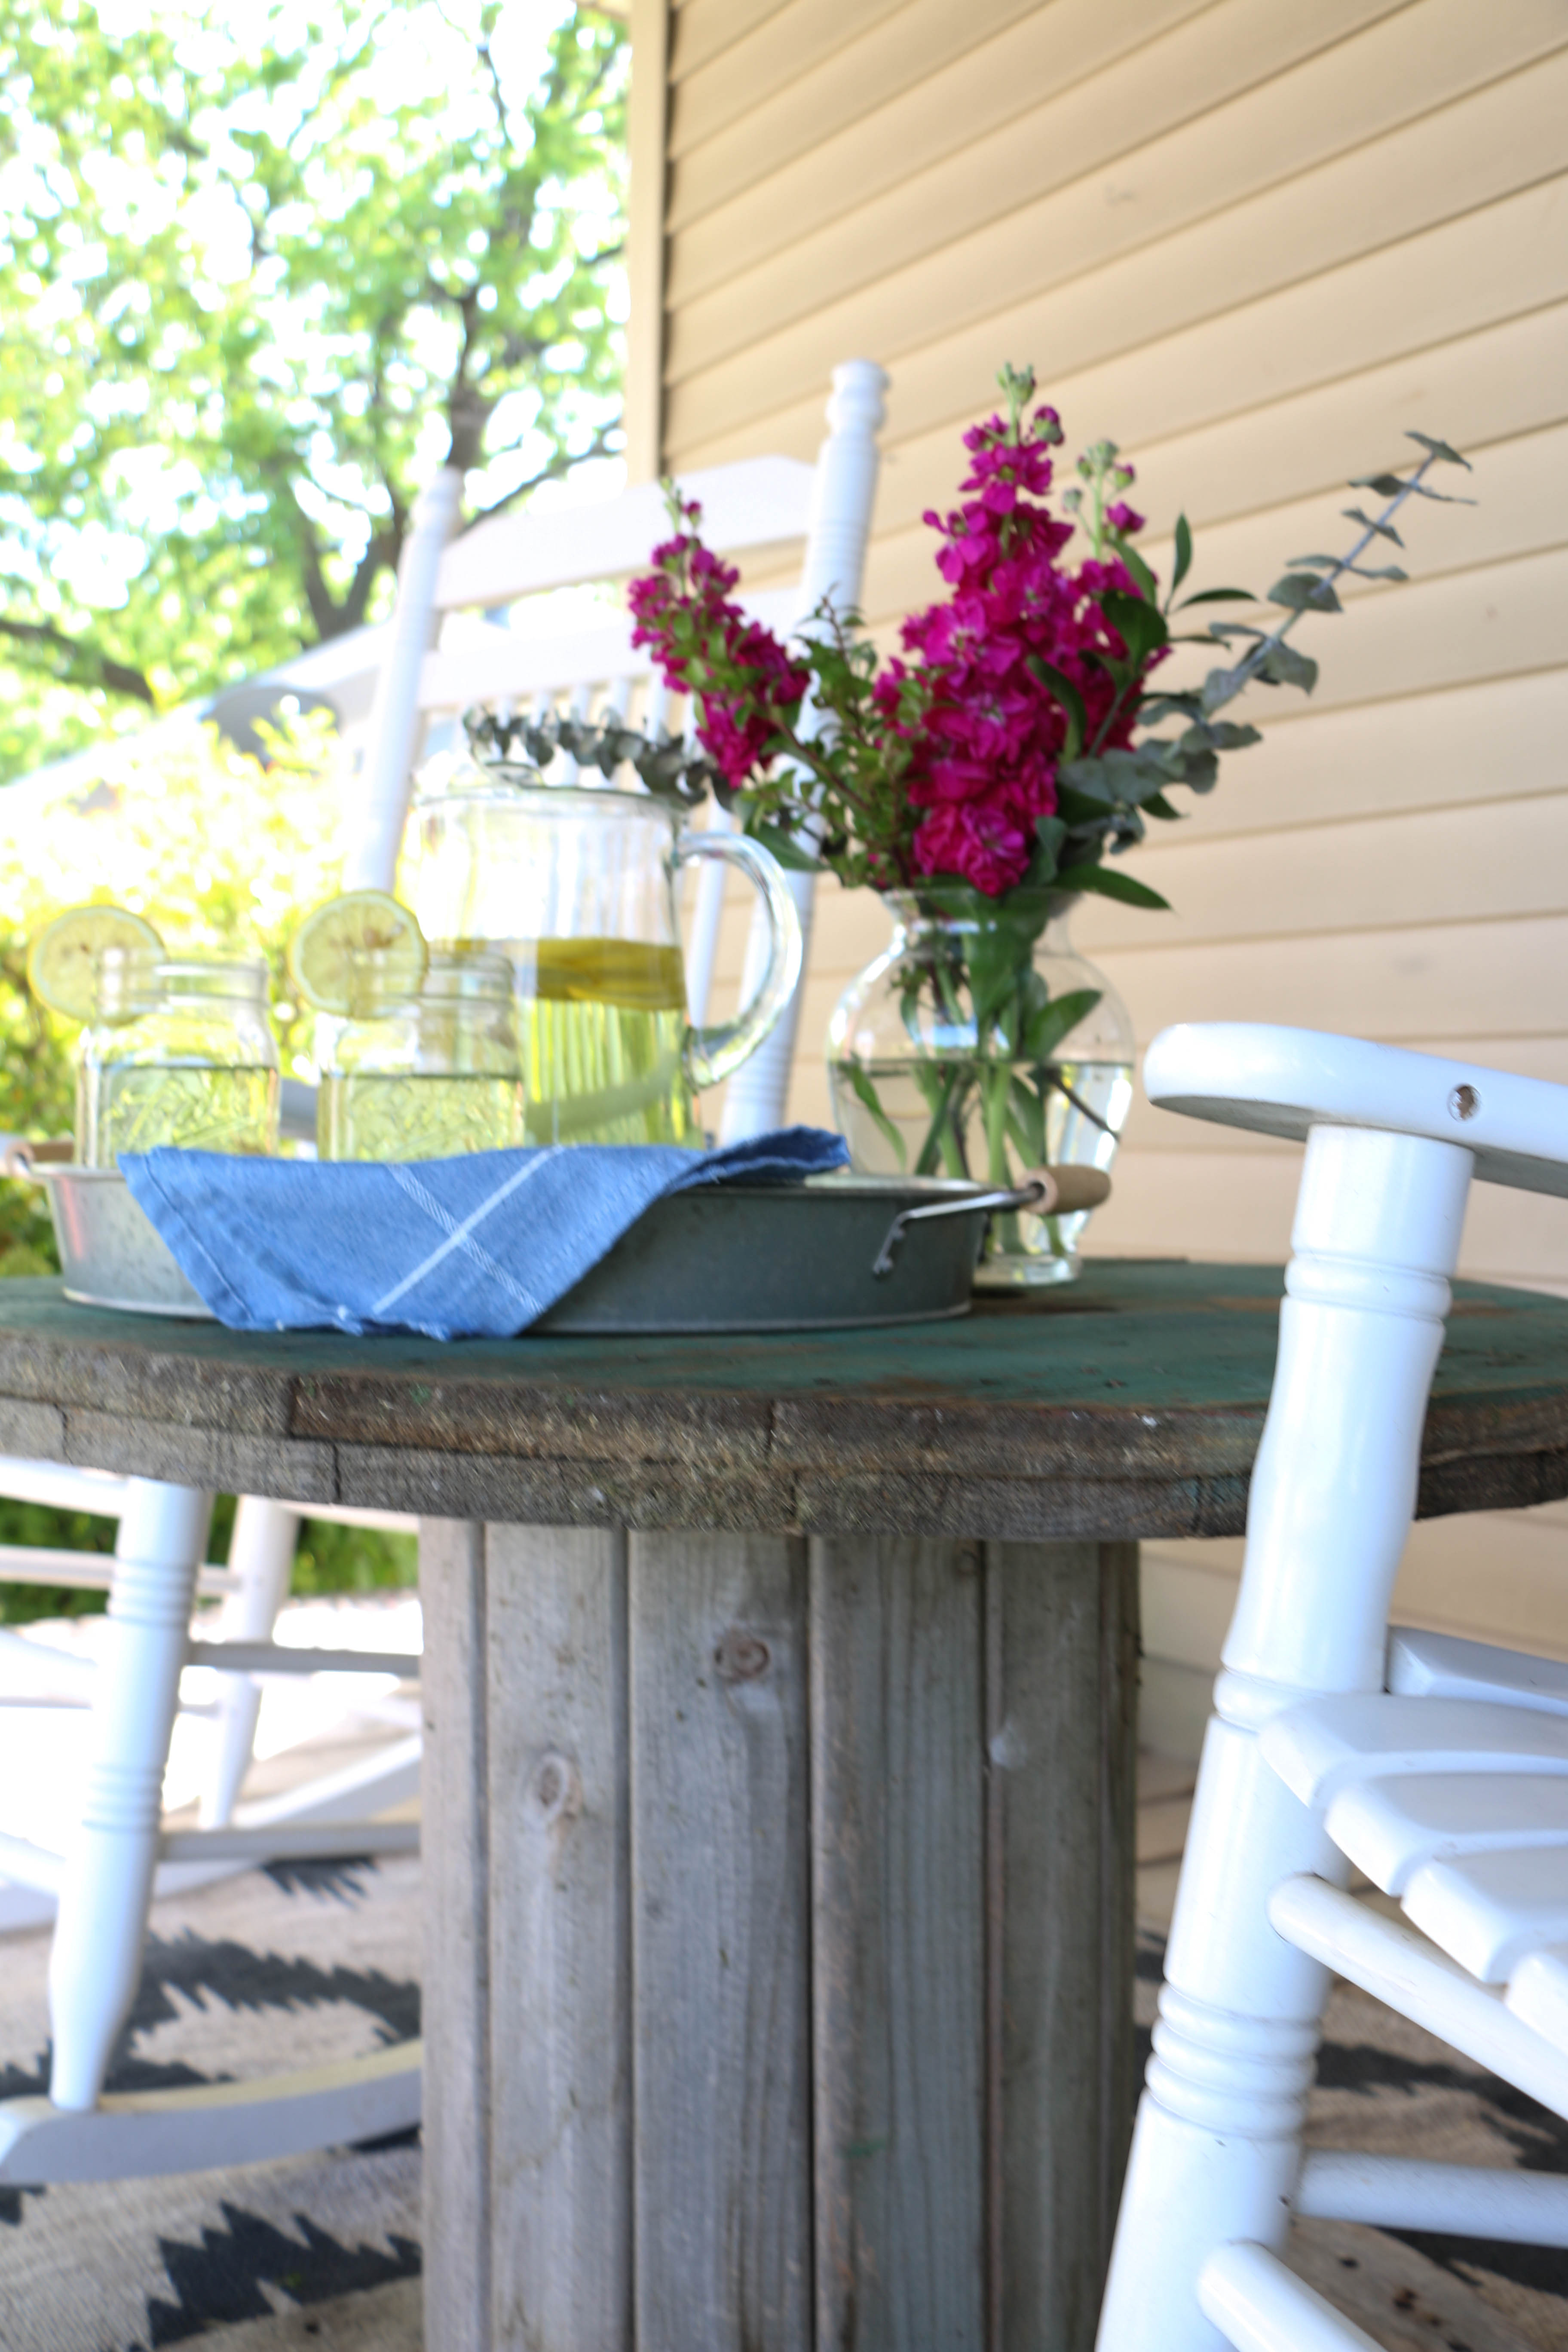
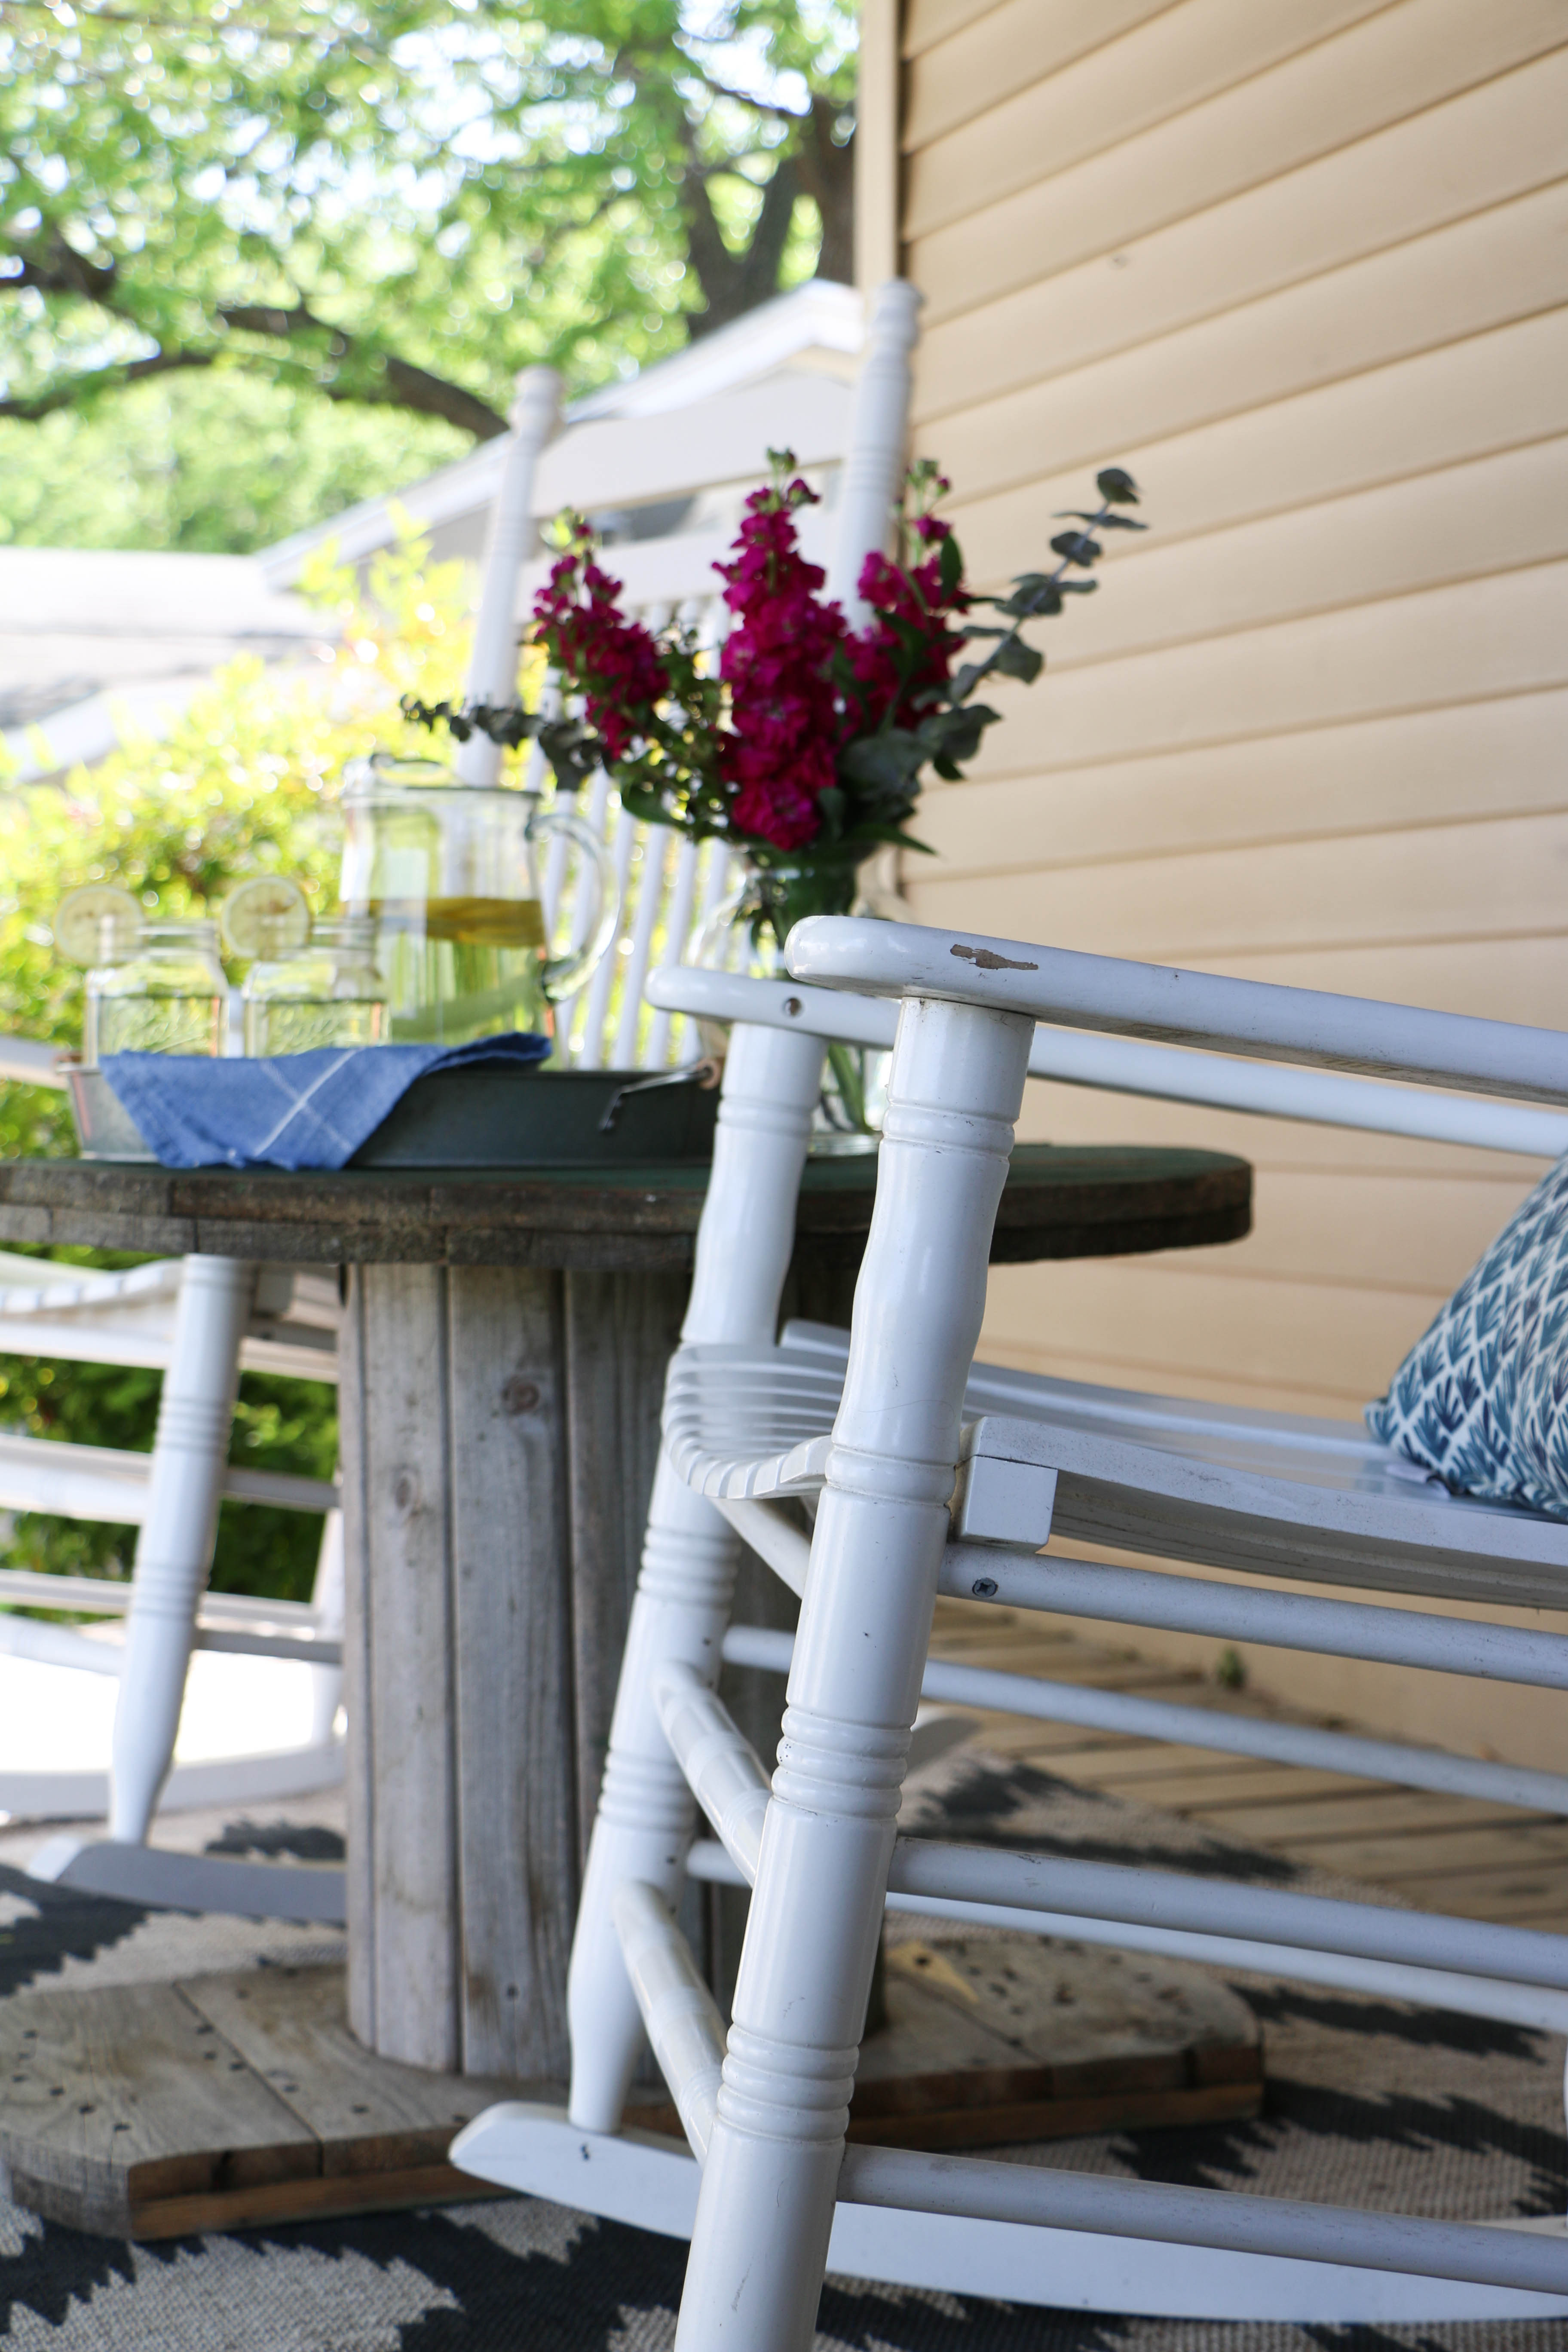
Now that summer is officially here, I have lots of plans which include porch sitting, painting things, lounging, and not much else. 🙂 I’ve been working on making our porch a little bit more enjoyable this season, and I wanted to share a new addition to the front porch. A month or so ago, I added our cable spool table to the porch, and it has been wonderful! I knew that I wanted to add more, so when my father-in-law sent me a picture of a rusty old bar cart asking if I wanted it, I jumped at the chance.

Porch Barcart  7

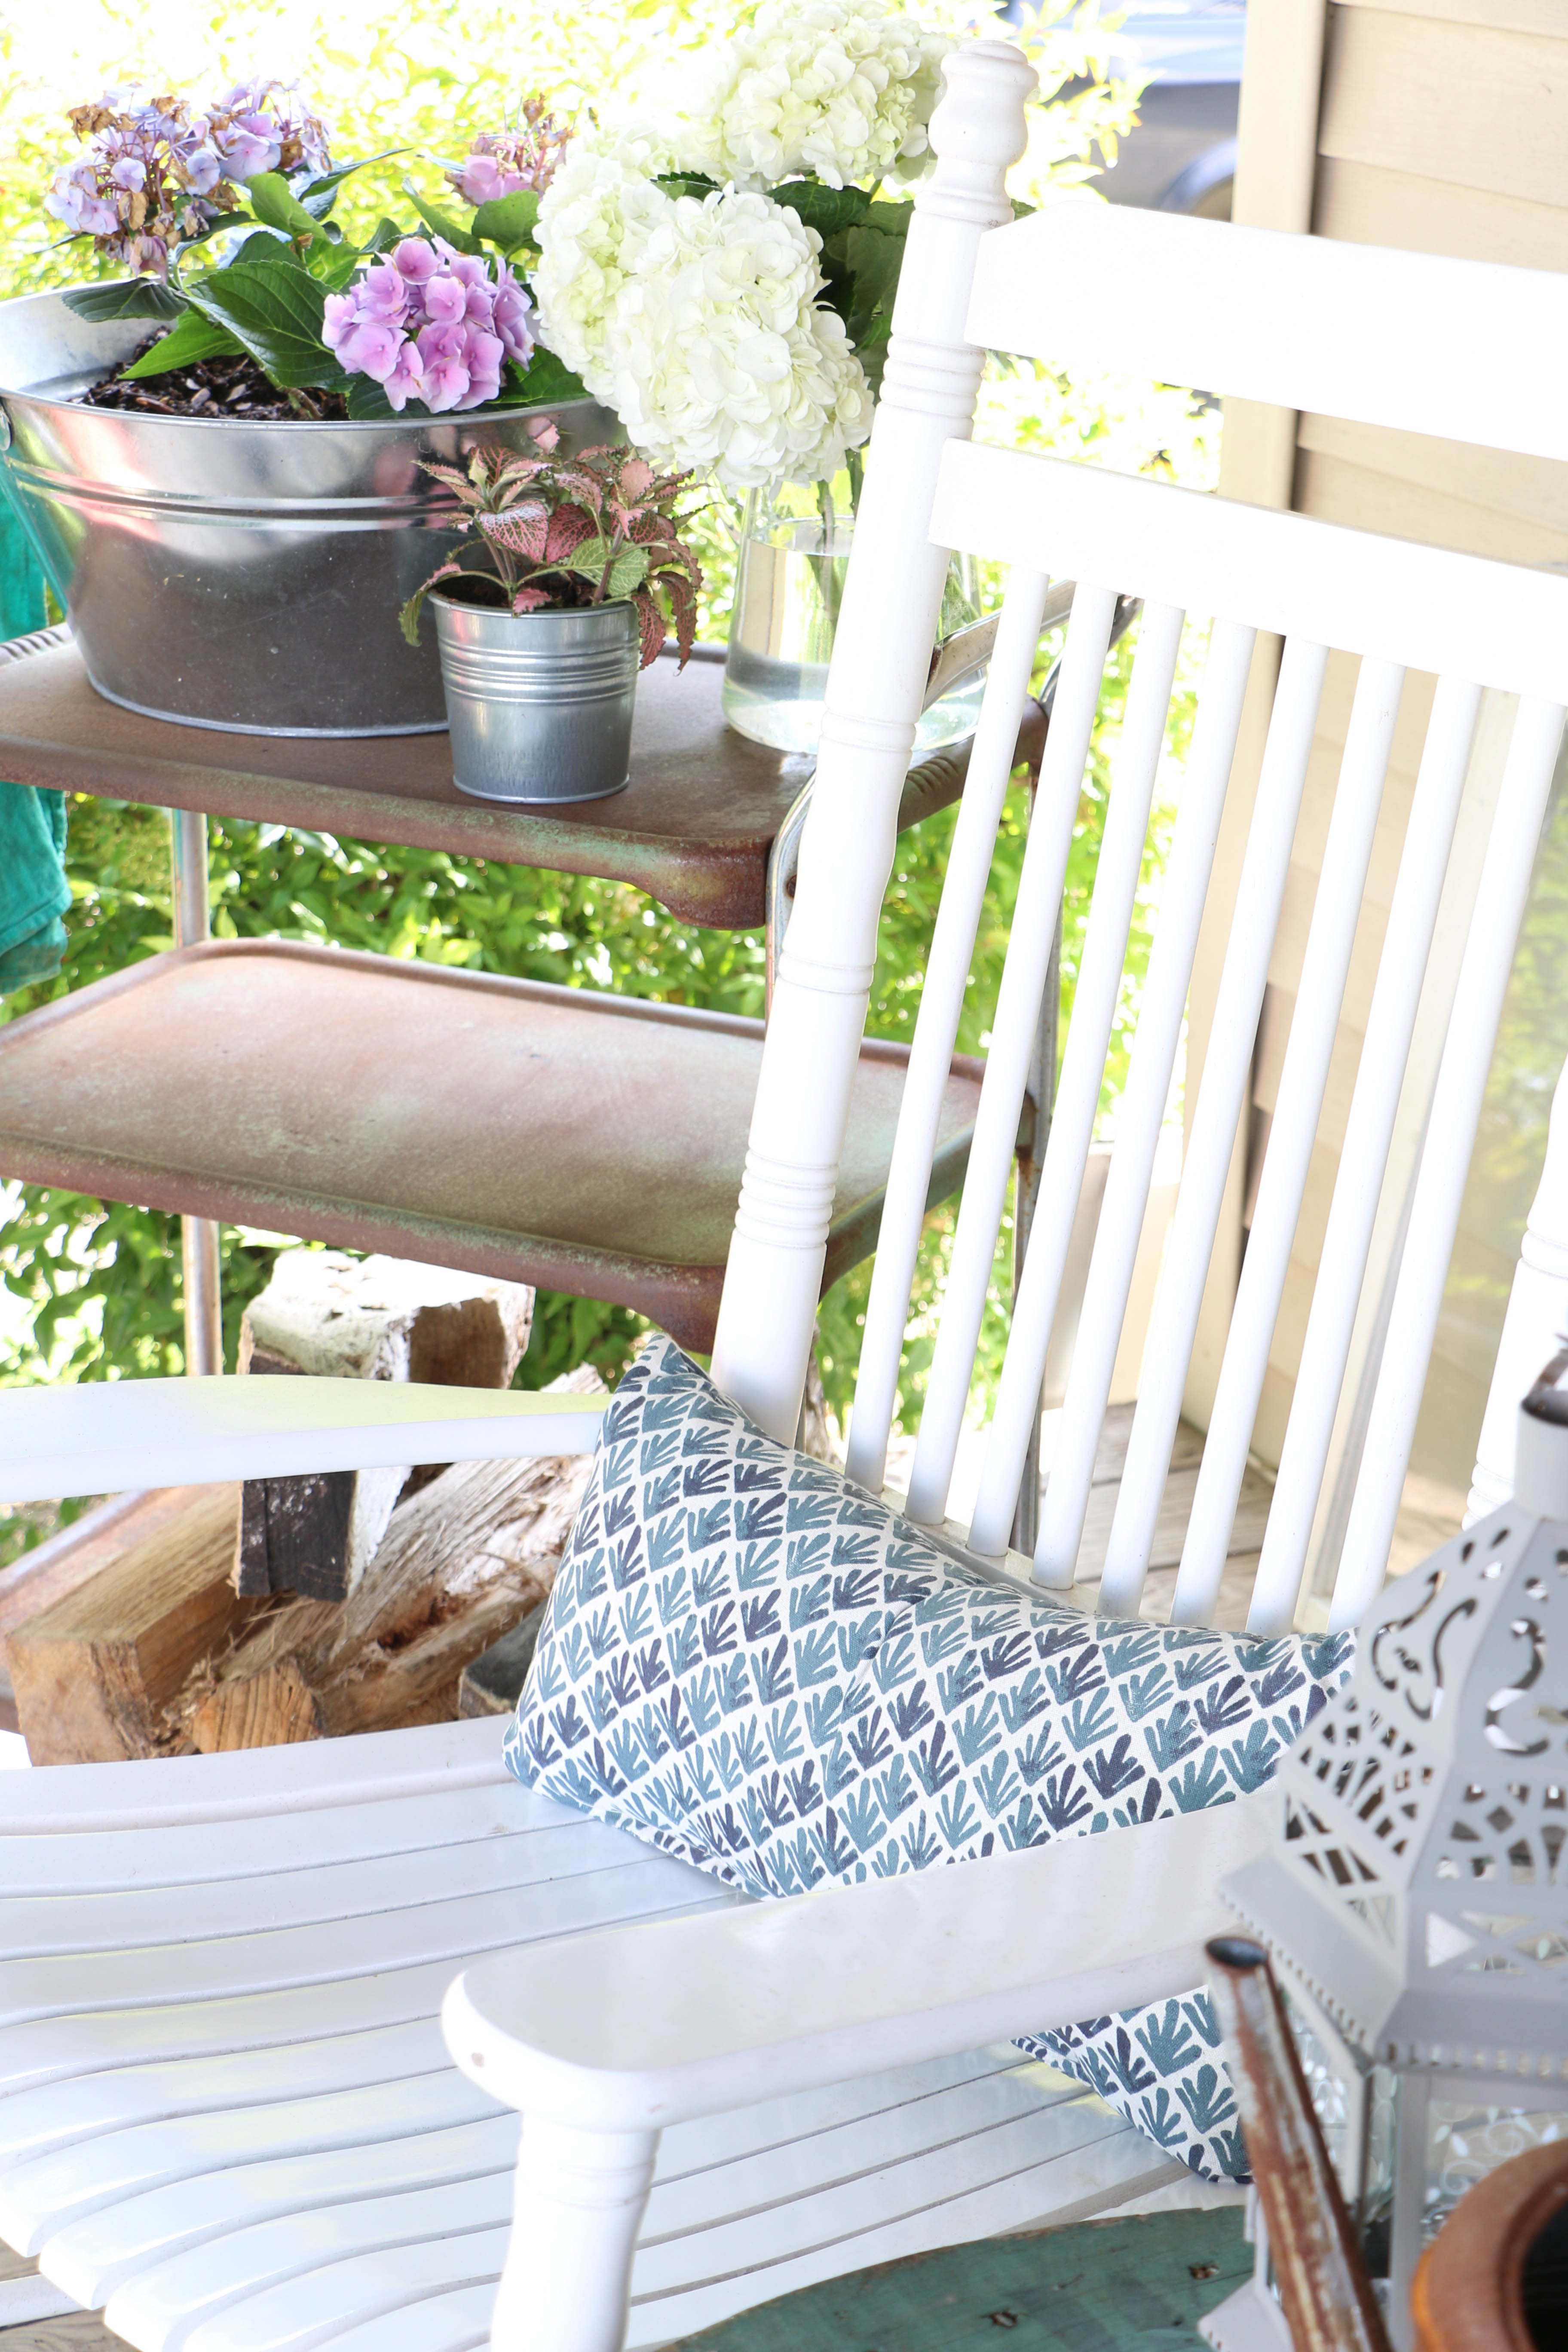
I’ve been desperately trying to keep a few plants alive (not very well, I might add), and I knew an old bar cart would be the perfect thing to house my little plants. The problem was that it was so rusty, I couldn’t even tell what color it was originally. I wanted it to be rusted, but I wanted to see if there was a way to scrub some of the rust off so that some of the original paint was exposed.

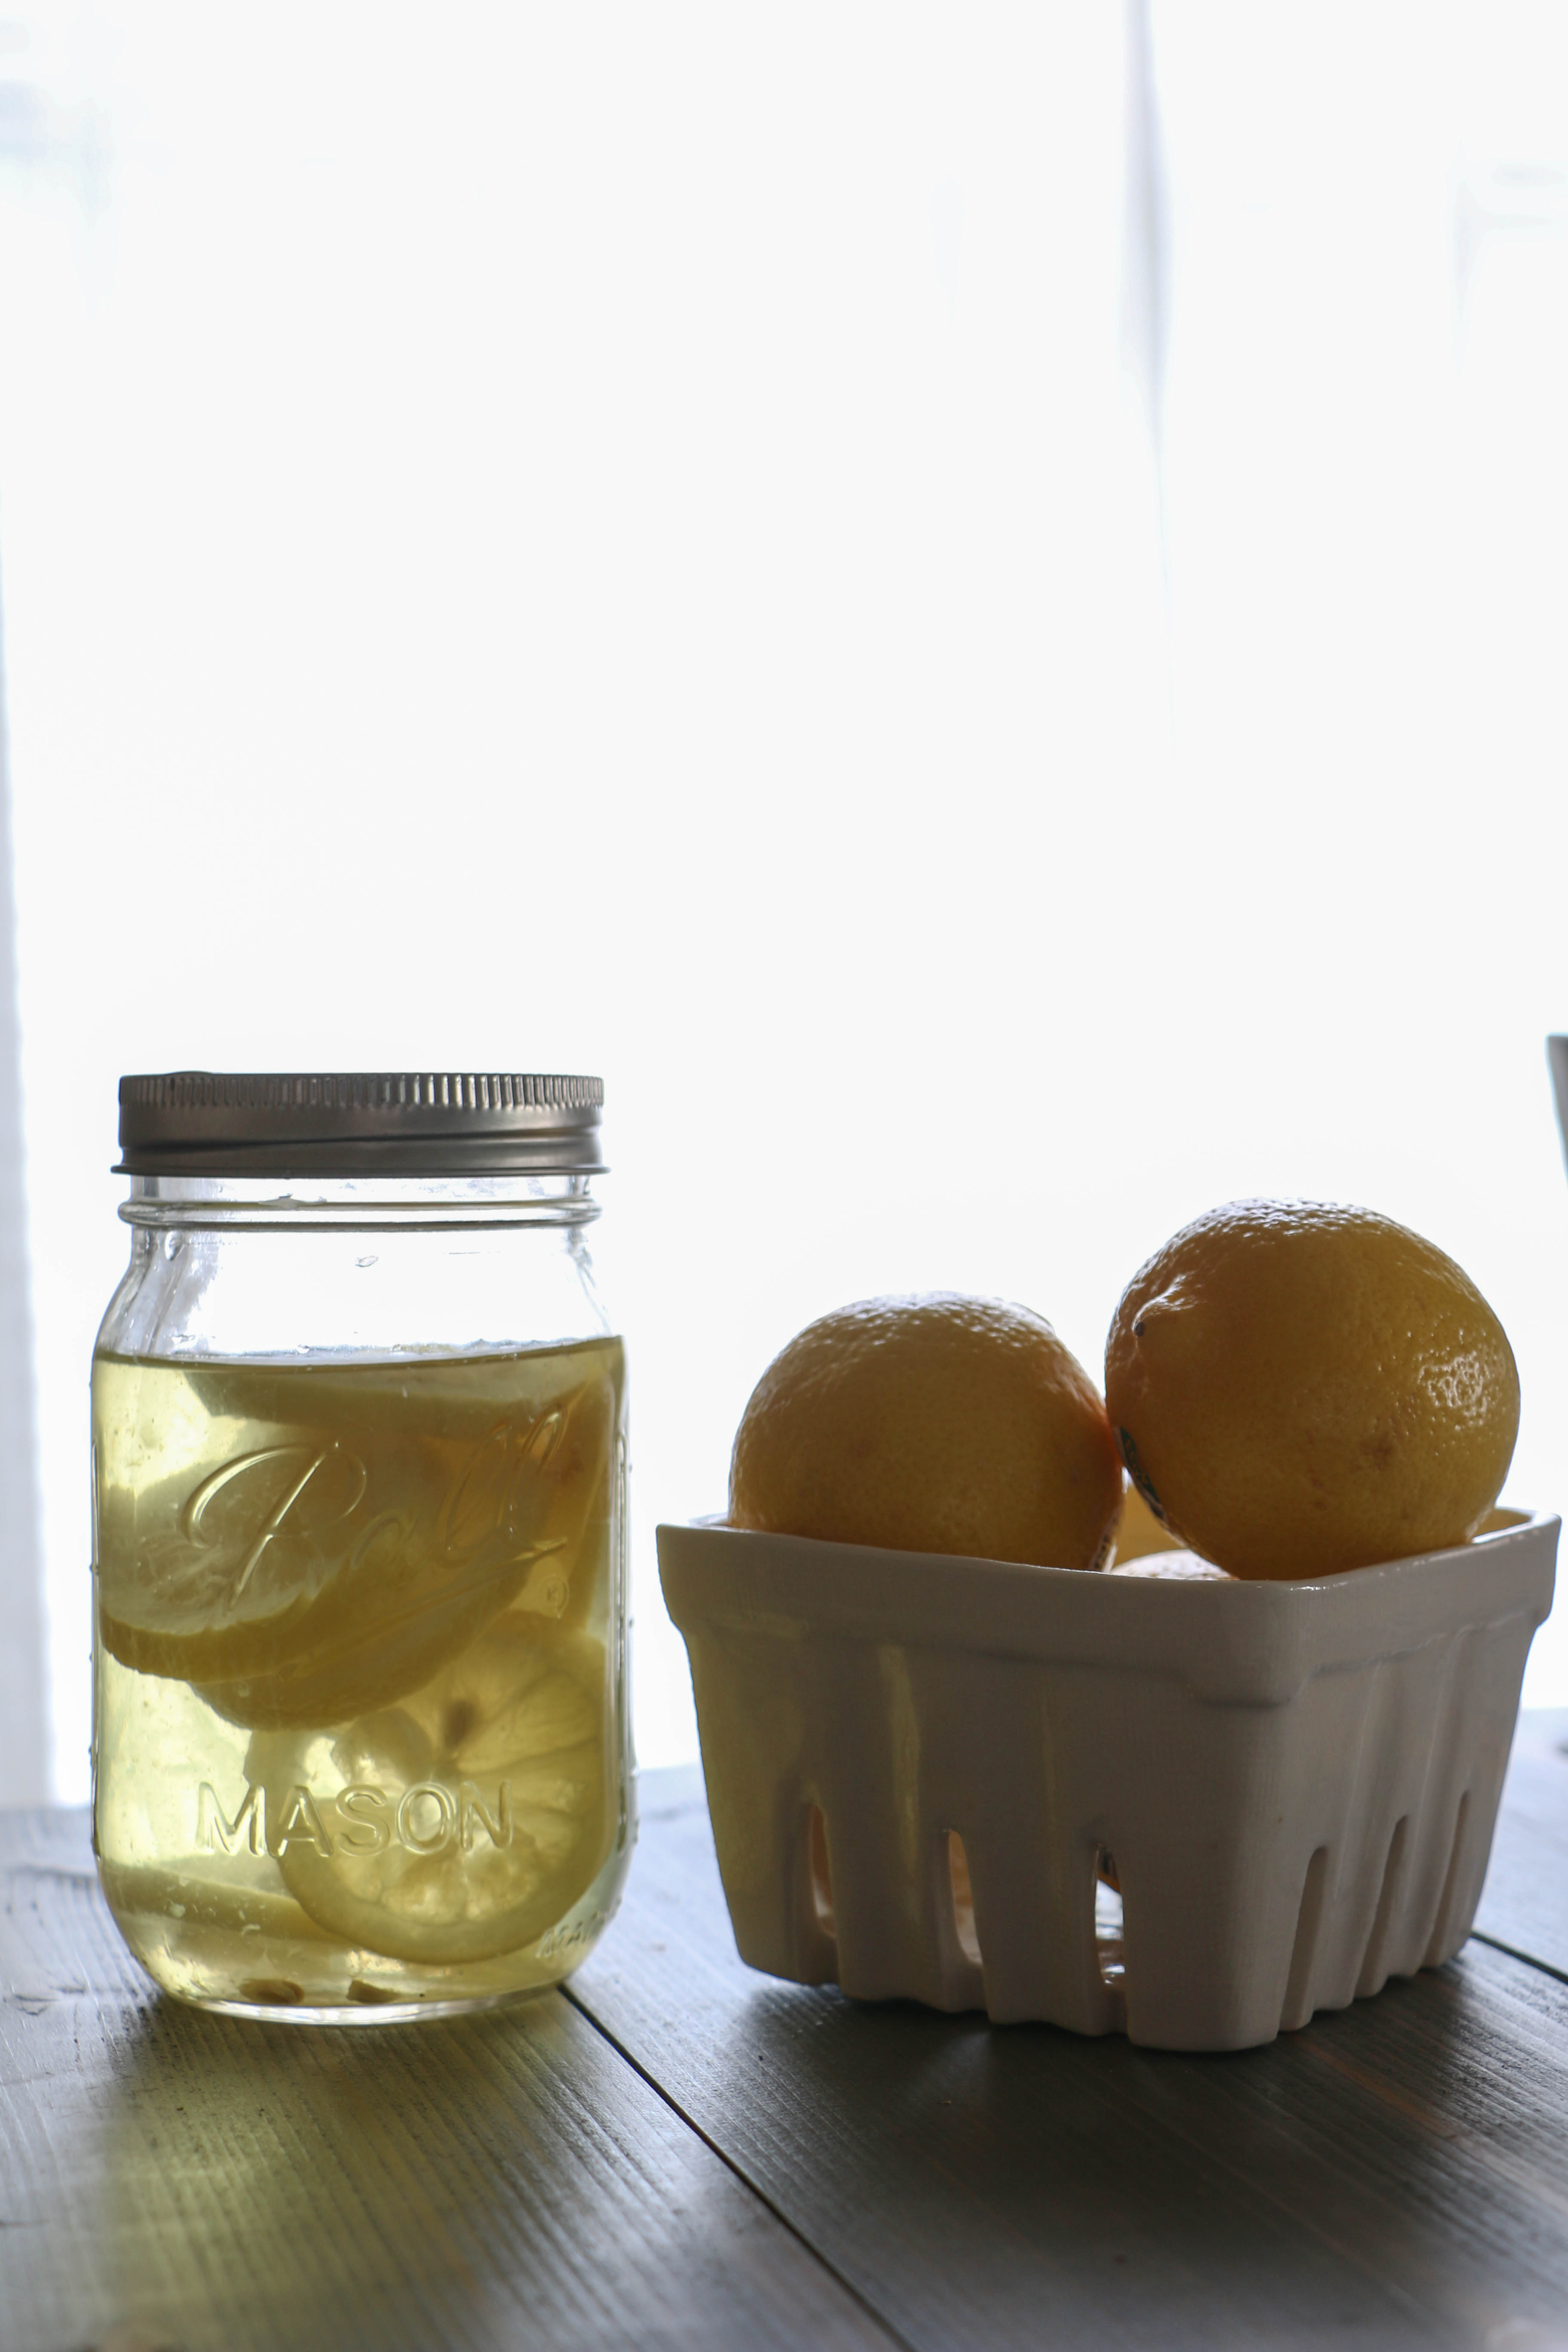
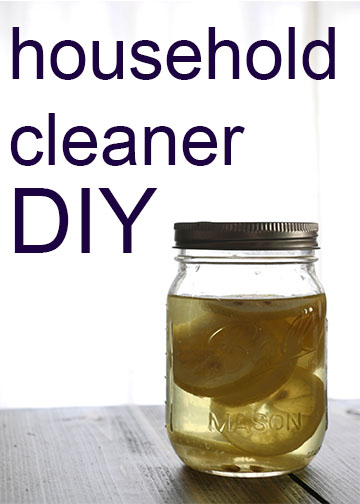
I didn’t really want to buy anything to remove the rust with, knowing I would only use it for this project (assuming it even worked) and would then be destined to cluttering the back of my cleaning supply closet. So, I figured I’d do my own thing. Recently, I shared my DIY all-purpose household cleaner, and I’m happy to report that it truly does work for all purposes. You can check out the full article in the link above, but it’s what I used to expose some of the original paint on this little cart.

I generously sprayed the cart completely. I let it sit for about an hour, spraying a bit more at that time (the Texas heat didn’t quite allow for a soak, as it just dried it up). After about two hours of the solution on the cart, I began scrubbing with the same brush we generally use to clean the grill. As I would scrub a certain spot, I would hose it down. If it needed more scrubbing, I would spray a little more solution on it, and immediately continue scrubbing.

Porch Barcart 6

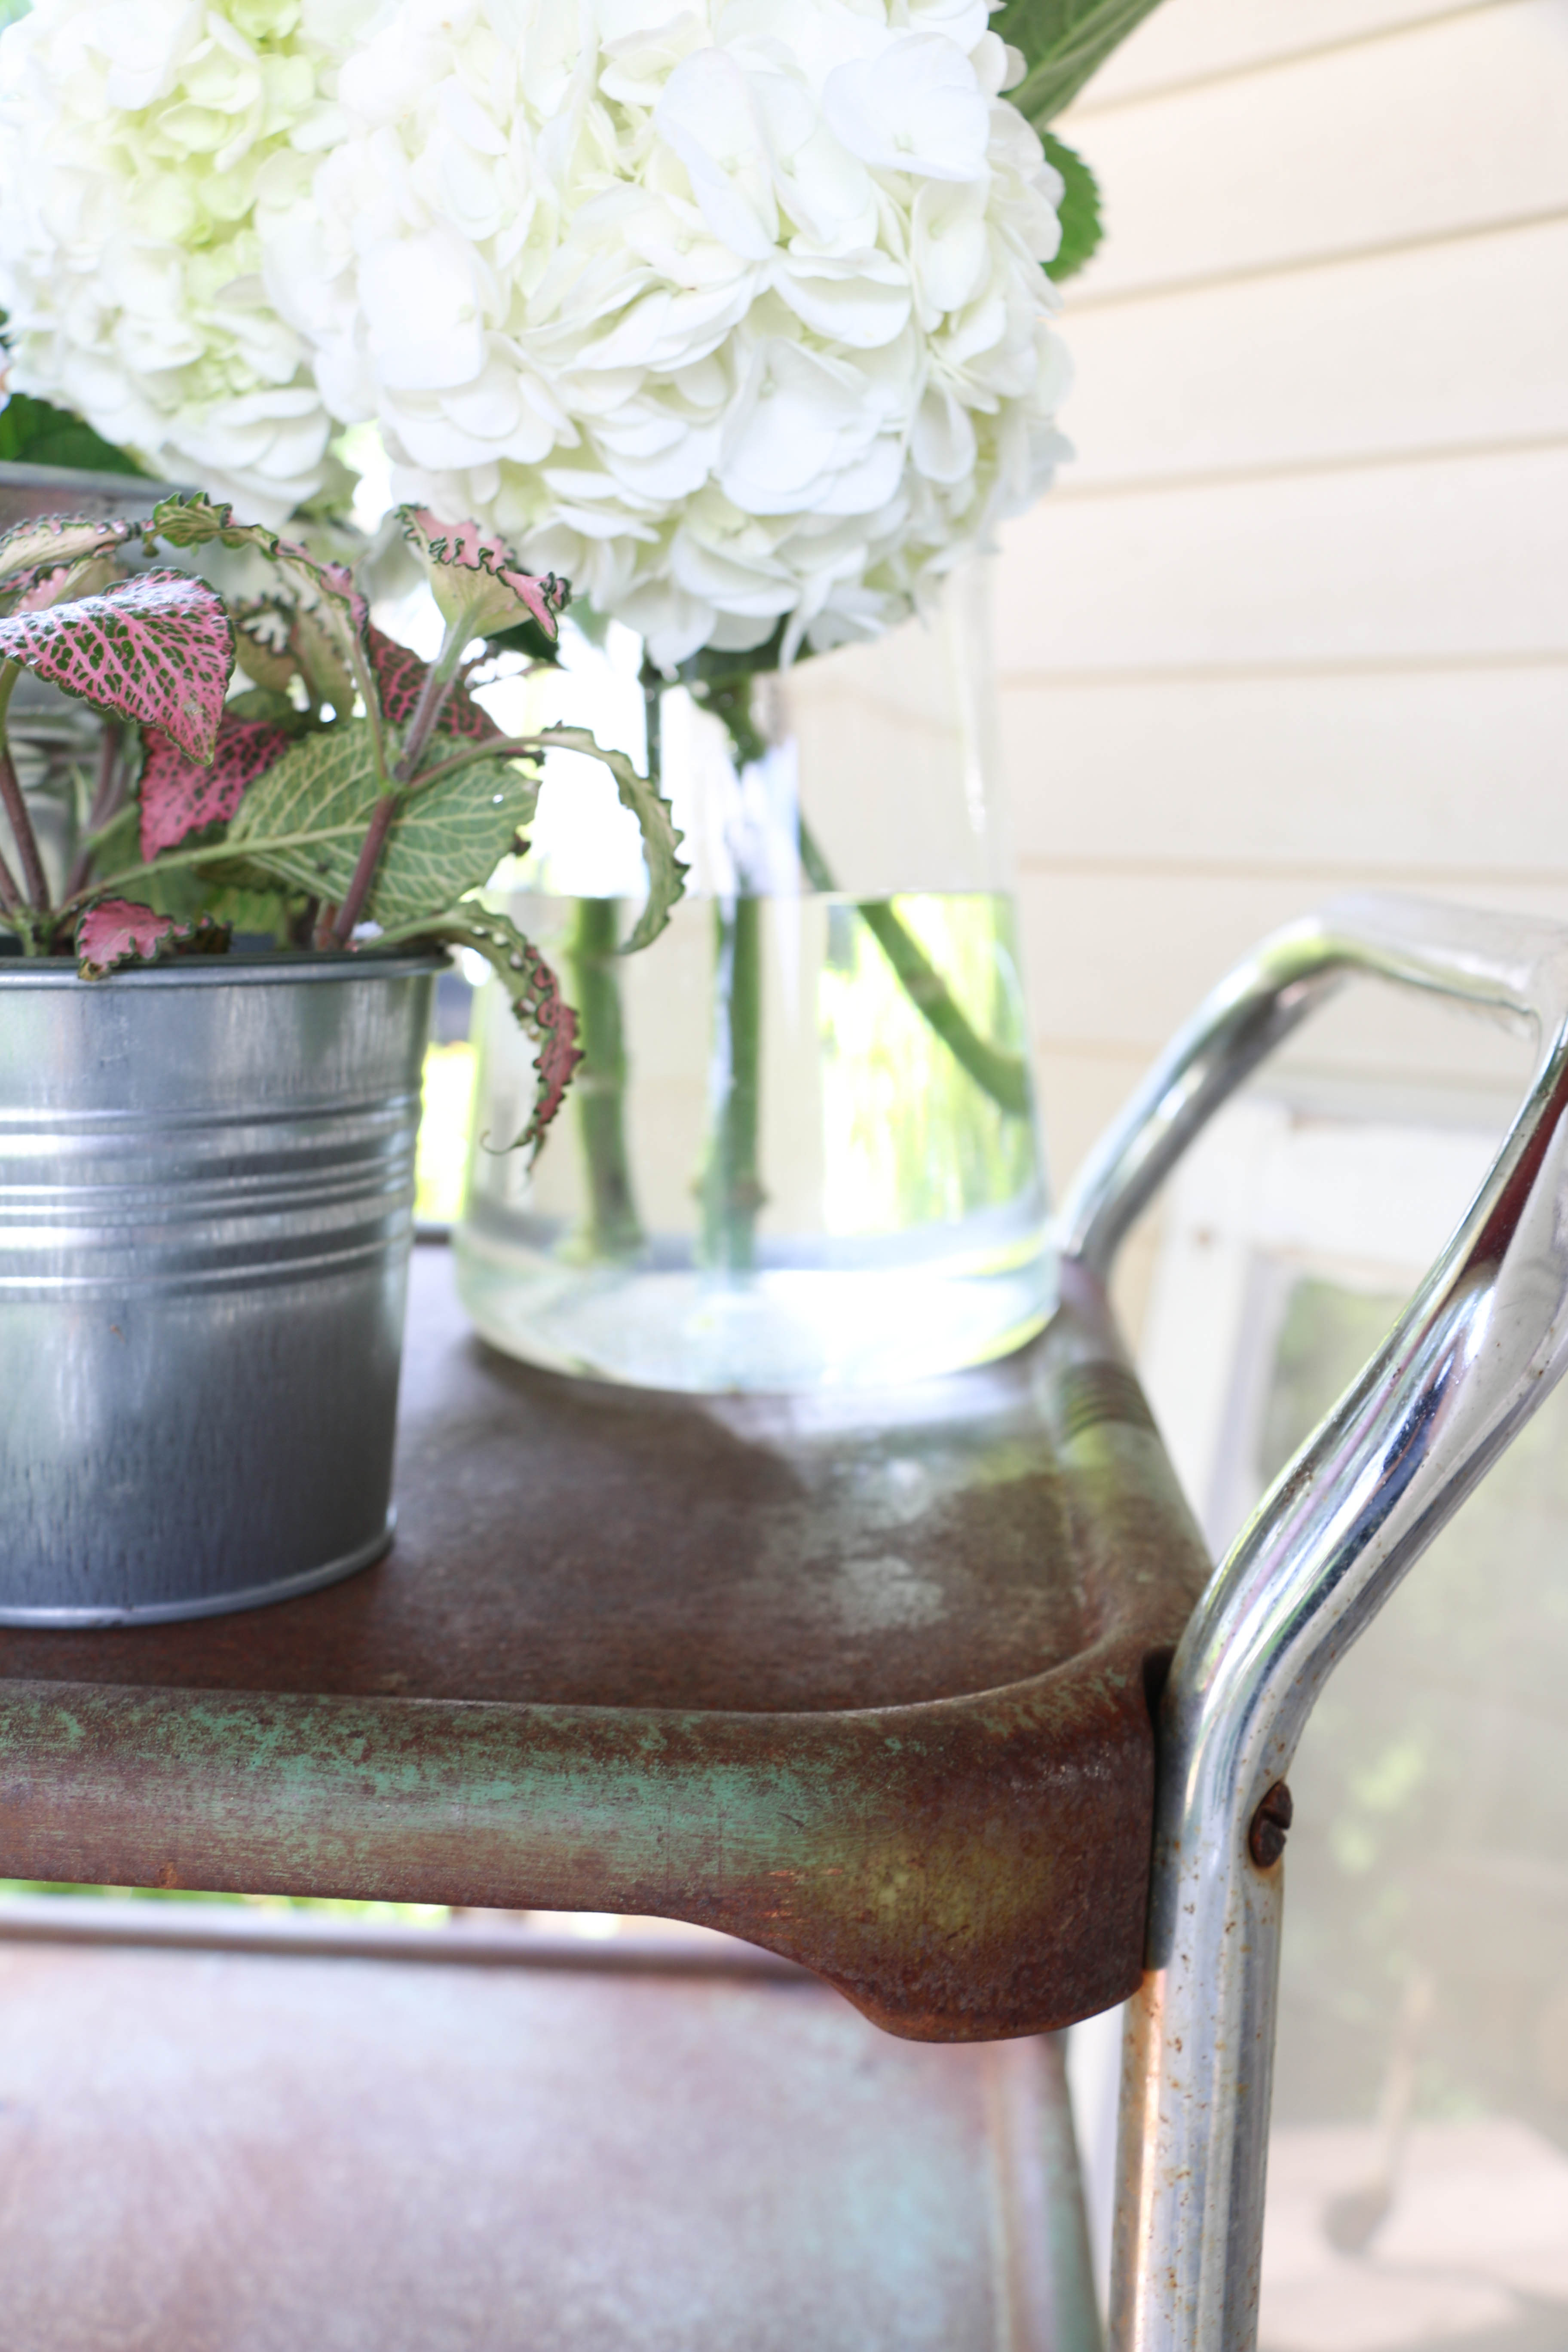
Eventually I began to see little spots of green paint emerge from behind the scrub brush. I’m not going to lie and say this was super easy; it took quite a bit of elbow grease. I did intentionally stop at this point, since I wanted the cart to keep a bit of it’s rusty charm. If you have a bit more muscle than I do, you could certainly scrub off more rust than I was able to.

Porch Barcart 5

Porch Barcart 2

Porch Barcart 8

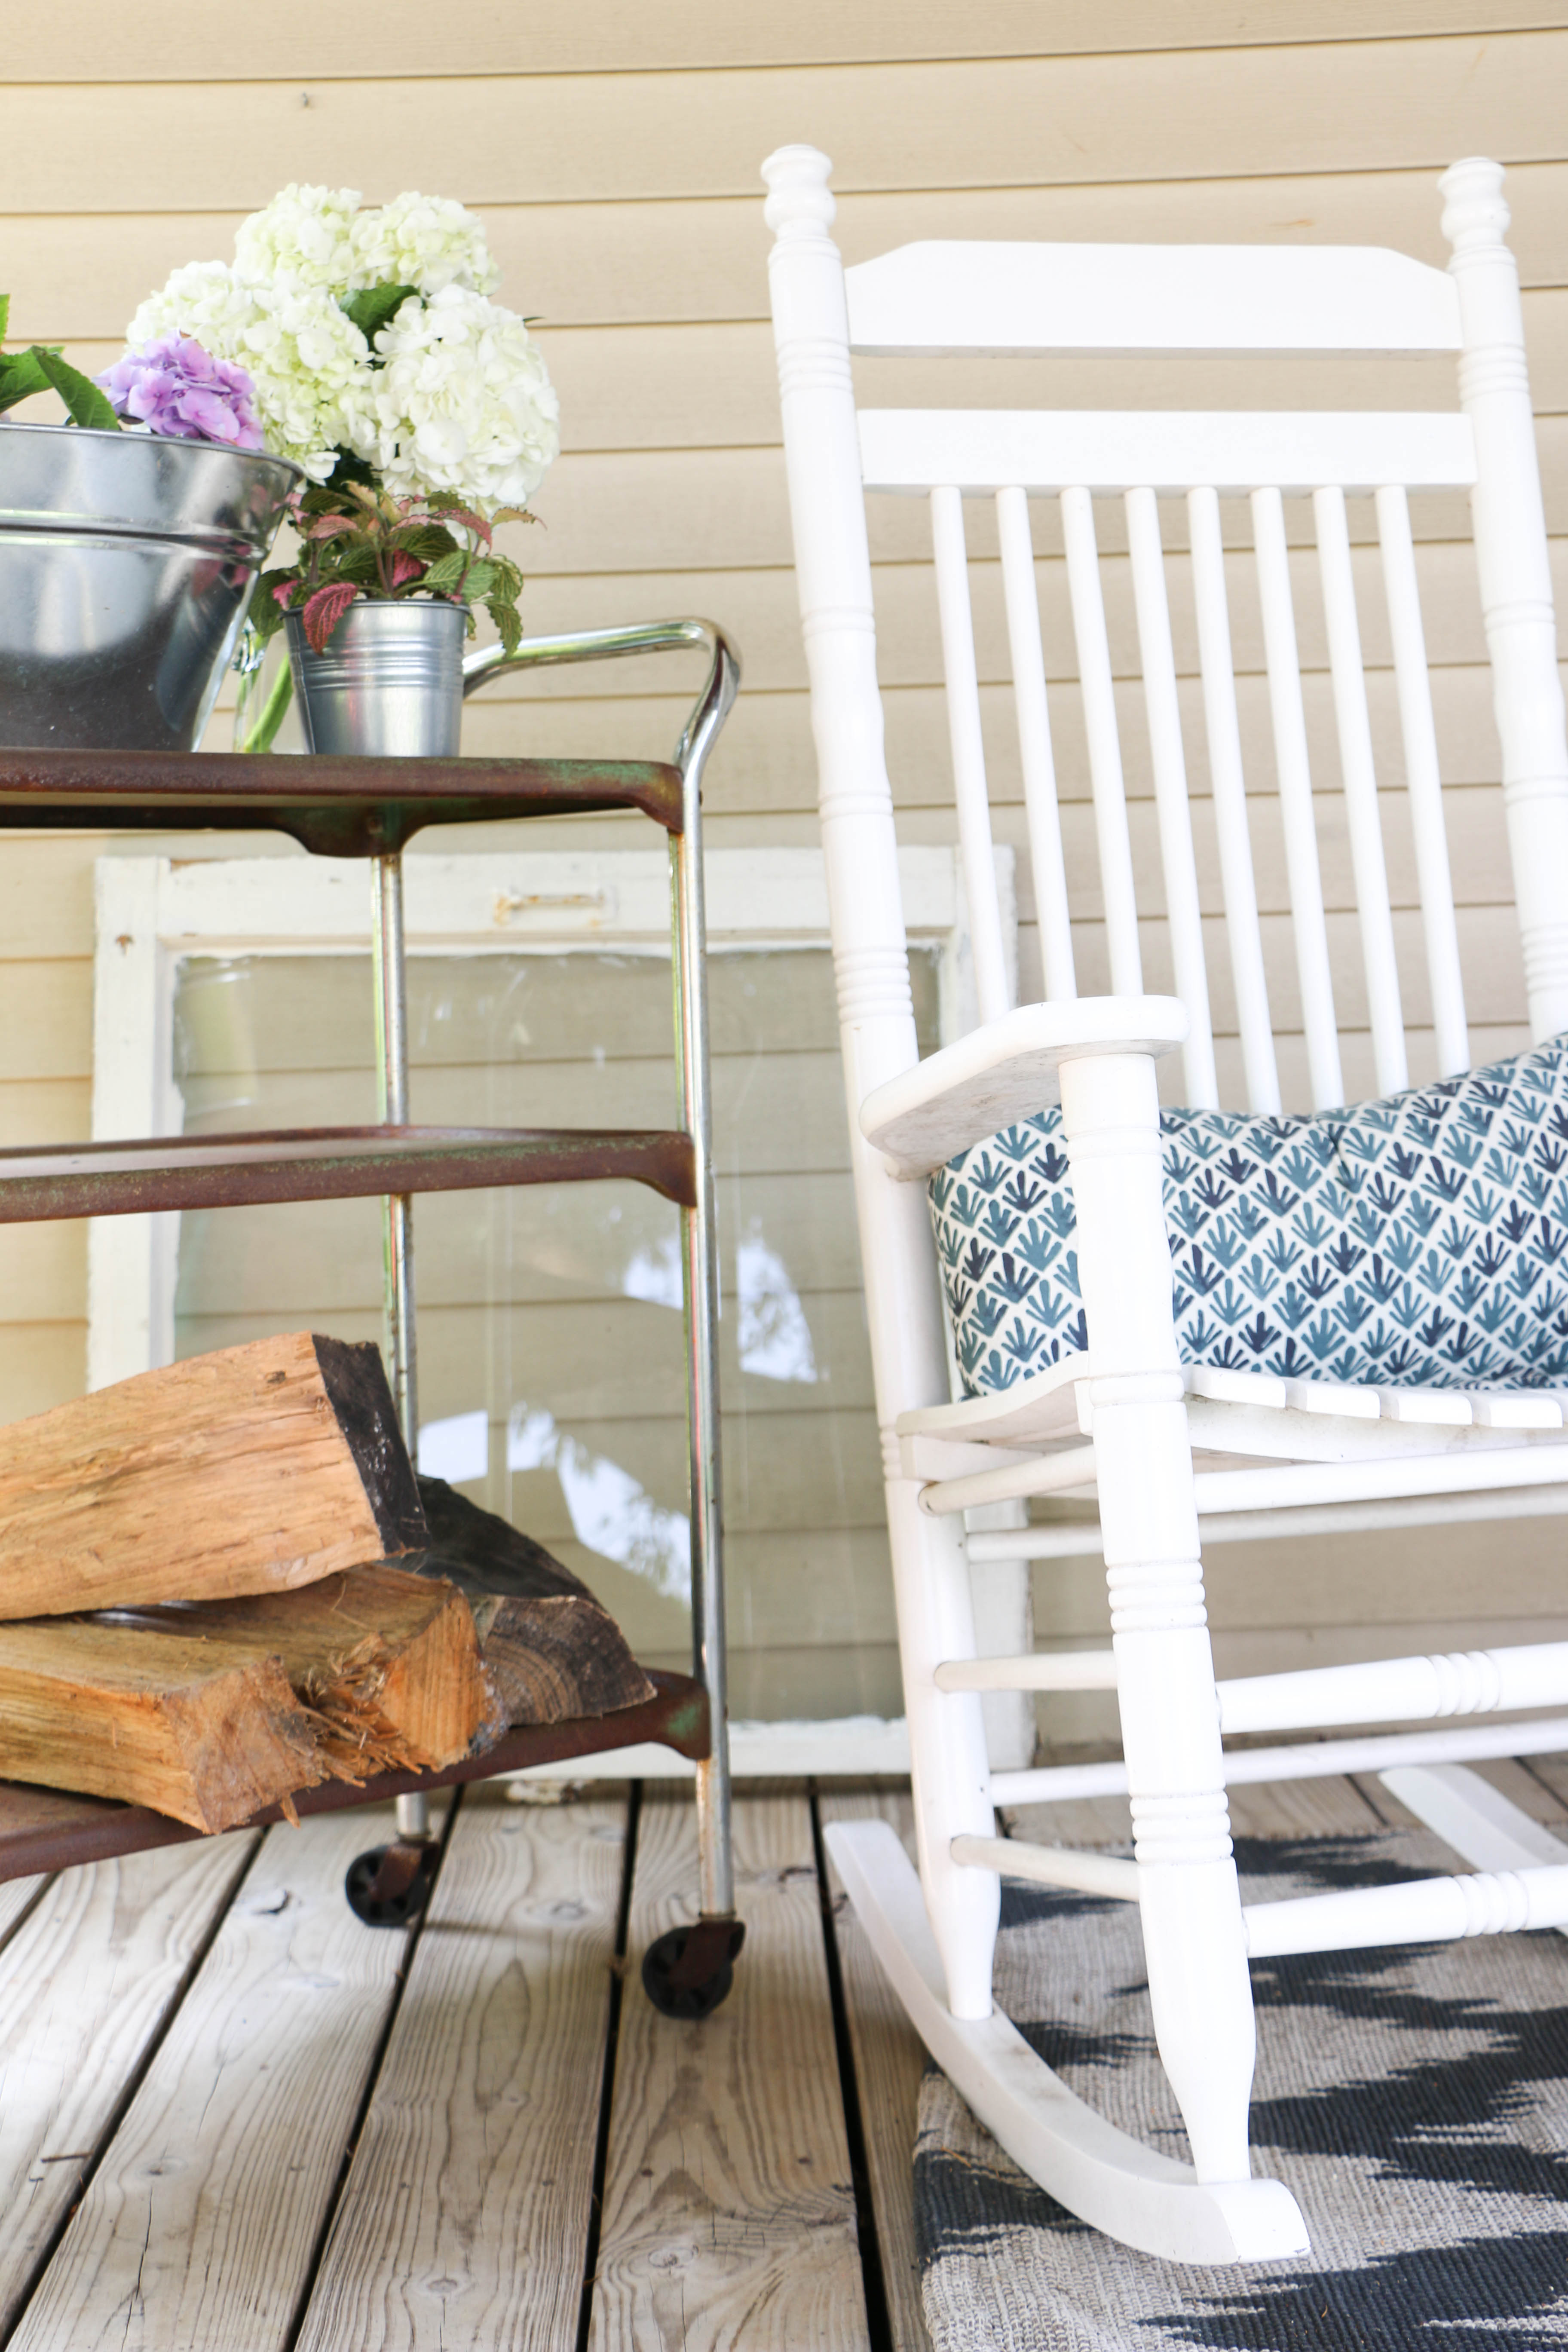
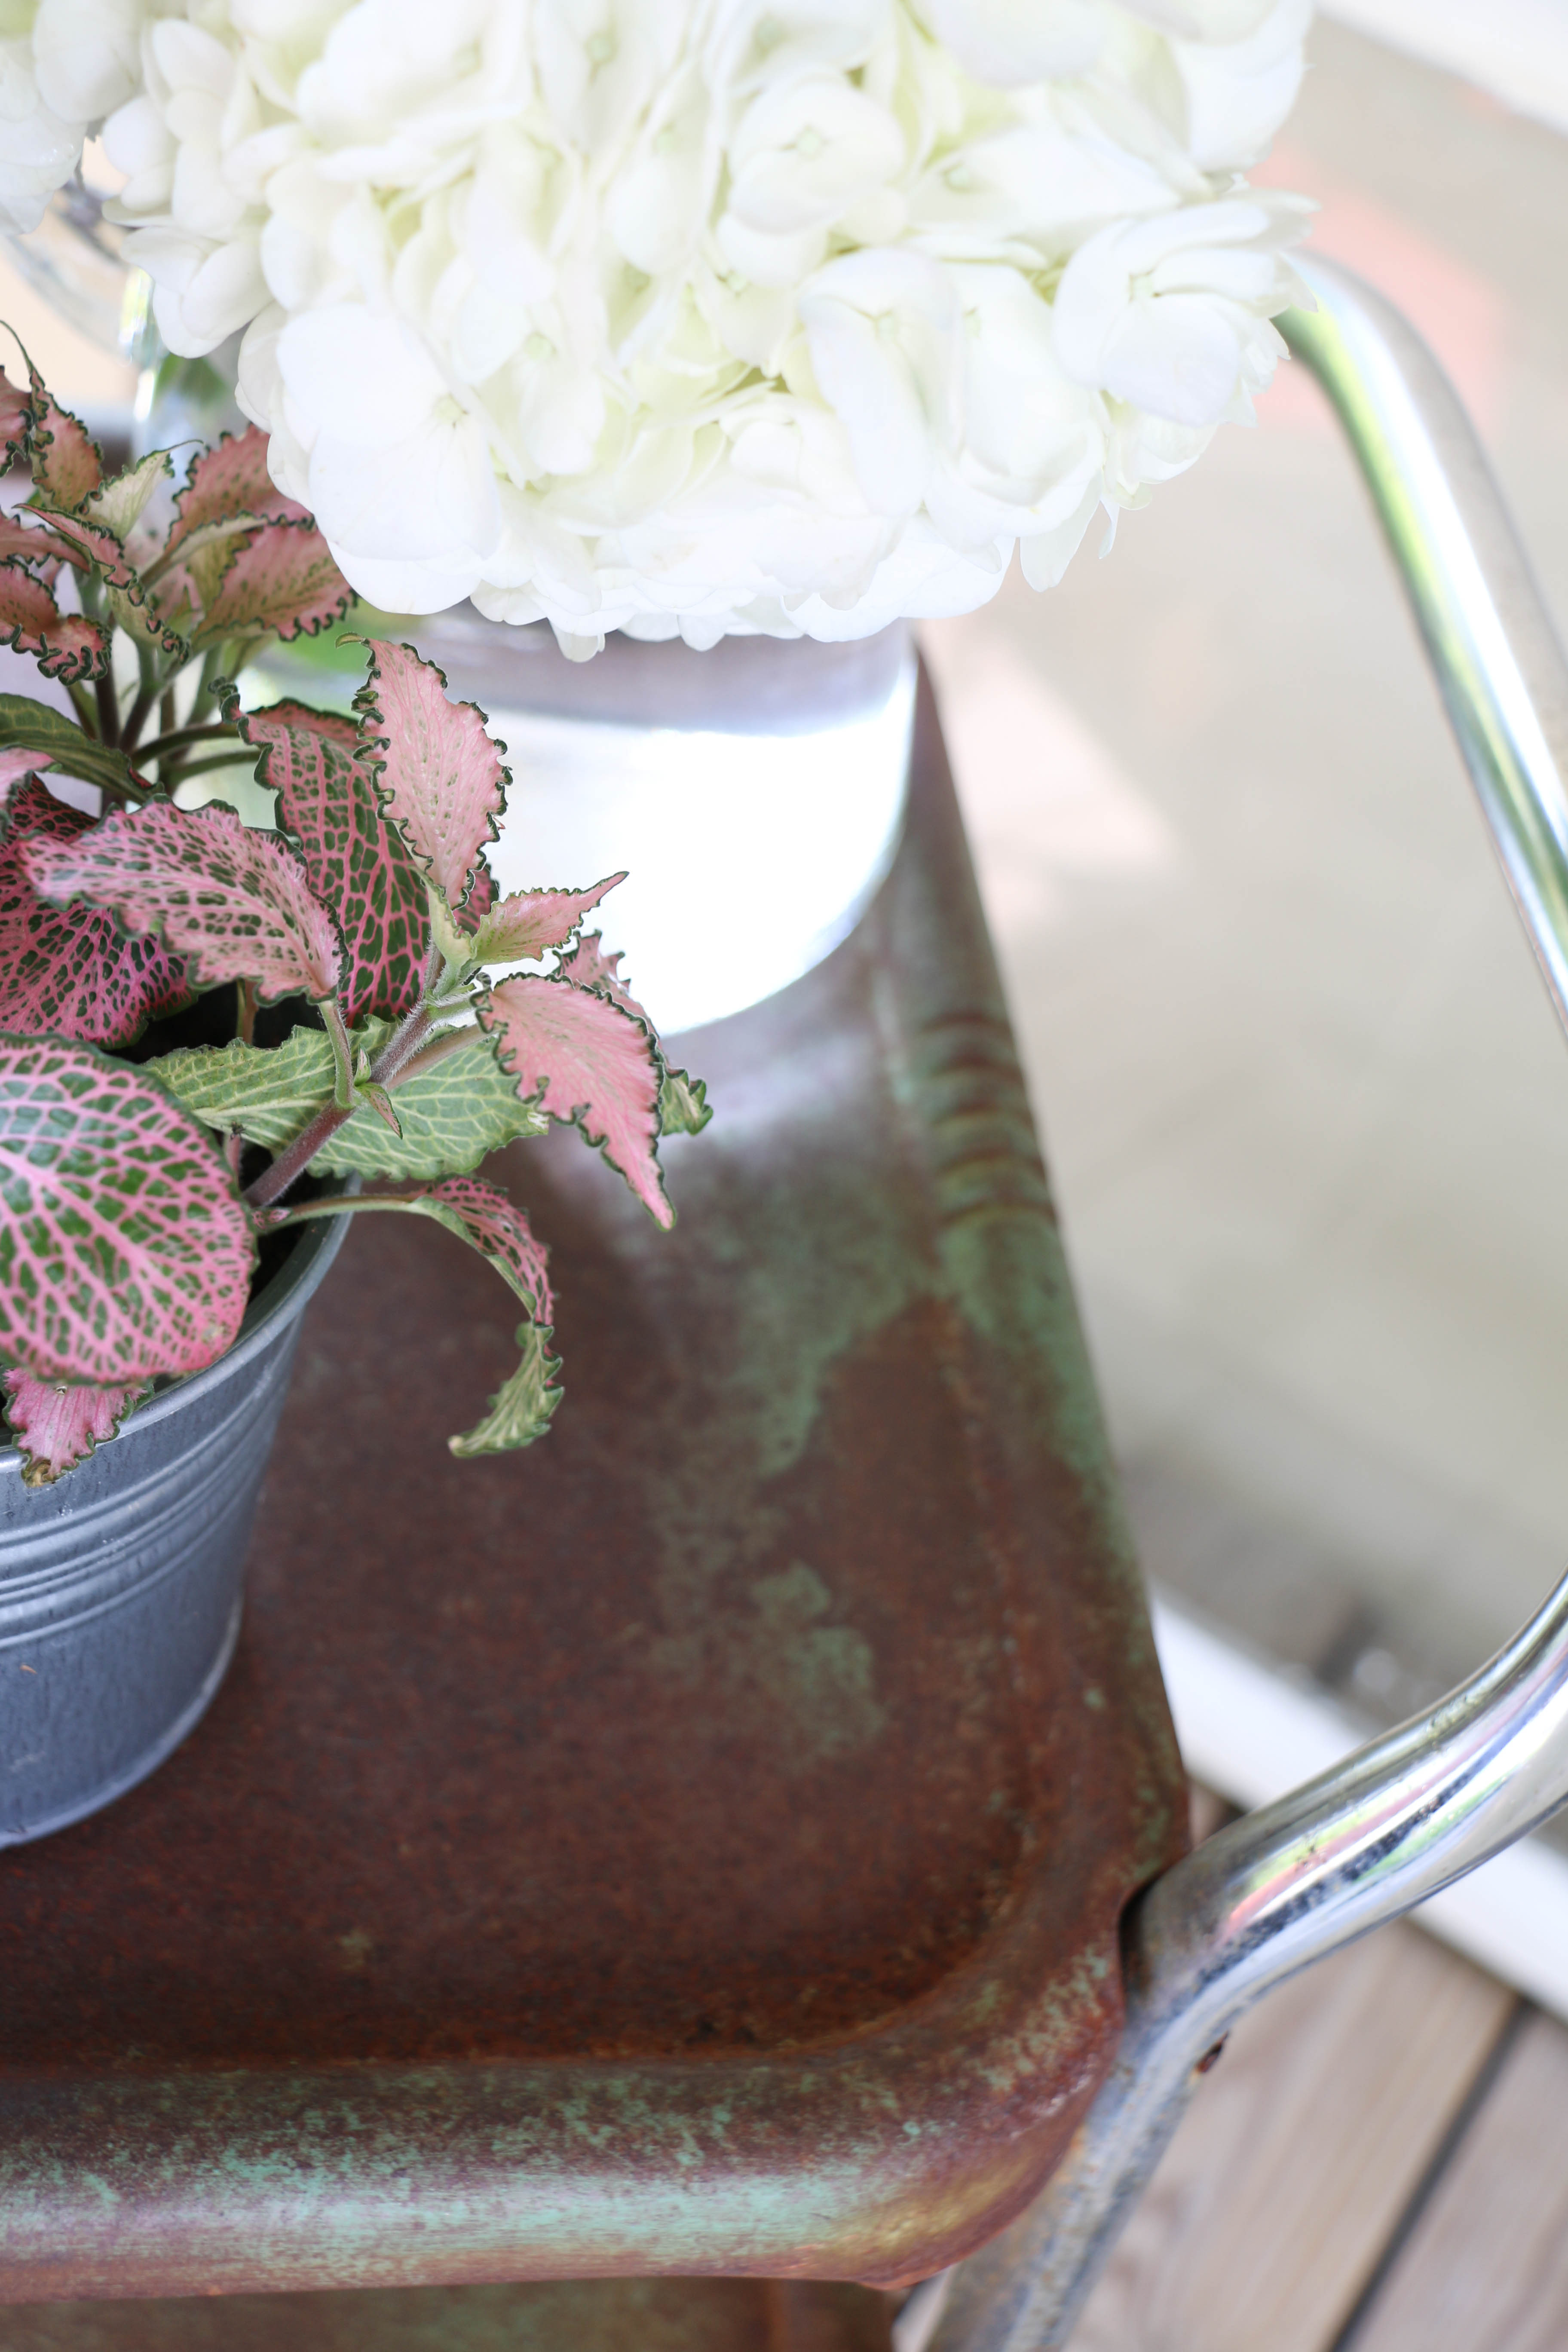
This little cart makes the porch just a little bit more cozy! And I’m absolutely thrilled with how it turned out, with it’s rusty, chippy goodness. I think once I get up from this couch, I’ll make my way out there to enjoy this little spot. Do you have something old and rusty? I’d be willing to bet you can clean it up a bit with some elbow grease and some items you have around the house!

Well, that’s all for today, friends! Have a fabulous day!

Organization

DIY Household Cleaner

Hi friends! Long time no chat! I’ve seriously been so busy lately I haven’t had a spare moment to update here and I feel terrible! I’m so glad I could finally carve out a little time to stop by and say hello! School (which is work for me, since I’m a teacher) is moving full steam ahead into the end of the school year and I’m struggling to keep up. Thankfully in just two weeks I’ll actually have some free time!

Well, I’ll be short and sweet today, but I wanted to share with you a little homemaking tip for you fellow budget conscious friends. If there’s one thing I hate spending my money on, it’s cleaning products. They can be so expensive, and it seems like you need a different product for everything! I don’t know about you, but I’d rather spend my money on pretty things for the house than boring cleaning supplies. A while back, I shared my DIY laundry soap, which has saved me tons of money over the past few years. If you didn’t catch that post, you can read all about it here.

Recent’y I’ve started making an all purpose cleaner, something that takes the place of many of the bottles that I previously had under my sink. So here’s the super easy all purpose cleaner that I make for my home.

diycleaner1

I use about 1.5 cups of vinegar and put it in a jar, and then add one small lemon, thinly sliced. I place the lemons in the vinegar, and leave the jar to sit for a few weeks. This will allow the lemons to fully soak into the vinegar. I don’t really know much about chemistry (I barely passed that class in high school), but I know both lemons and vinegar have some super strong stuff in them, so working together makes them doubly great I  suppose? Who knows. I just made that up.

After two weeks, I pour the liquid into a spray bottle, and that’s about it! My spray bottle has a pretty narrow neck, so I don’t bother trying to squeeze the lemon slices into it. I just throw them away.  My spray bottle was something I picked up for a dollar or so in the cleaning section at Walmart. Lemon and vinegar are both pretty inexpensive, so this is something that comes out to be much more budget friendly than typical cleaners.

I use this spray for just about anything. Countertops, stove top, sinks, shower walls, and even the inside of the fridge and microwave. The lemons take away the strong smell of the vinegar, and it smells more like citrus than like vinegar. I absolutely love using this method because it saves me a couple dollars, and I do enjoy making the things I use in my home. It’s also chemical free, which I know is a big deal for a lot of people. Safe for expectant mamas, and easy to make!

I told you I’d be short and sweet today, but once my summer vacation has started, I’ll be around much more frequently. I hope you enjoyed this little post, and that you’ll give it a try. I would definitely recommend this one, I can’t stress enough how easy it is! Well, that’s all for today, friends! Have a fabulous day!

diycleaner

DIY Projects, Home Decor

Cable Spool Porch Table

Hi guys! Thanks for stopping by! I’m so glad you did! It means so much to me that you would take a moment of your day to stop by my little corner of the internet. Anyway, enough of the sappy stuff. Is it getting warmer where you are? I hope so! Here in Texas we’re reaching some pretty high temperatures which have me itching for two things: summer break and outdoor life!

We have about six weeks left of school, but who’s counting!? 😉 We have a large front porch on our house, which is one of the only positive things about our sad little rental. I mean, for real you guys. Over summer break, I like to spend as much time on the porch as possible! Give me some magazines, some lemonade, and I’m good to go for hours!

Recently, I’ve been looking for a cable spool, but I really haven’t wanted to spend a lot on it. I know that the cable spool as an outdoor table is totally not my original idea, but stick with me. I know everyone and their next door neighbor is doing this, but I still wanted to share. The table we had on our front porch previously was a small glass top one, maybe only 18 inches across. It wasn’t really large enough to place a lot of stuff on it, which is why I was looking for a cable spool to use as a table.

For the past few months I’ve been looking, but I’ve only been able to find them for about $60, which was more than I wanted to spend on a piece like this. So imagine my delight when I found one on the side of the road for free?! Ethan was driving, and I totally made him do a real quick turn around to scoop that bad boy up. It was actually a little scary looking because there was some additional wood attached to the top, and several pieces of wire wrapped around various parts on the spool. I just cut off the wire and pried off the pieces of wood that were nailed to the top. Ain’t no thing.

So, without further ado, here’s what our front porch looks like now:

cable spool table 3

You might notice that the bottom piece it not a full circle. I actually found it this way, and was a little disappointed at first until I realized how much better this actually is. Since we have rocking chairs, the narrow bottom actually allows the chairs to fully rock while still being close to the tabletop.

cable spool table 5

There’s so much more room on the surface than there was on the old table, I’m loving it! I can just imagine some plates out here, maybe a little pie….I don’t know where pie came from. I’m just really ready for summer, okay?!

cable spool table 9

cable spool table 8 cable spool table1

If you have your own cable spool, I would reccomend cutting the bottom to be more narrow.

cable spool table 6

cable spool table 4

I case you were wondering, the rug is from Hobby Lobby, the chairs are from Cracker Barrel, the pillows are from Target, and the serving tray is from Walmart. This little outdoor area is fresh and cheery, and I cannot wait to get out here and enjoy myself. Especially since I’m so close to endless lounging during my carefree summer break. Ahhhh, summer. Alright, I’ll stop now y’all, I promise.

So what do you think of the cable spool as an outdoor table? Is this a trend you’re willing to go along with? I will say that even Ethan loves it! I am sensing some meals eaten out here together, and I cannot be more excited about that! That’s all for today, friends. Have a fabulous day!