Browsing Tag

DIY

DIY Projects, Tutorials

DIY Pallet Flag

Now that summer is officially here, it’s almost time for one of my favorite holidays… the Fourth of July! I’ve always loved this holiday, and I don’t even really know why. The fact that it’s in the summertime probably helps! 🙂

The past few weeks I haven’t been super productive, but this past weekend we went away to celebrate our anniversary, and some time on the beach has done me some good! I came back feeling pretty refreshed, and inspired to create something new.

As I mentioned in my last post, this summer we are saving all our pennies for a big goal, so we don’t have a ton of room in our budget for extra fun stuff. Which is totally fine. Because I am super excited about the possibility of something new. Anyway, I was wanting to add something new to our front porch for the holiday, but I wanted to spend zero dollars. Mission accomplished. palletflag2

I found this old pallet in the trash pile while I was driving down the road… #noshame. I had Ethan drive by in the truck and pick it up. I’ve had it for about a month with no purpose, sitting in the garage. Until yesterday I decided to make a quick project out of it. See, there are perks to hoarding junk in your garage. Totally justifiable.

I didn’t have any red paint on hand (because red is pretty nonexistent around my house), so I decided to make this pallet flag a neutral one. This isn’t my original idea, I’ve seen it all over Pinterest. But this neutral one is my own version.

It took me about fifteen minutes to do the whole thing. I just free handed the stripes, and for the stars, I made my own little stencil. To make the stencil, I just drew a star on a piece of paper, and cut it out. I then used the paper to place my stars where I wanted them. Easy peasy.

palletflag1

Now my little porch area is Fourth of July ready! This little rental that we’ve lived in for the past two years of our marriage has been both a blessing and a curse. The list of things we dislike about this rental is more than a mile long, and the list of things we like are pretty slim. Actually, the positives can be narrowed down to two things: the rent is cheap and there’s a front porch. I am not kidding when I say that’s about it. But this little porch area really is my favorite spot, and I have loved adding more fun touches to this spot.

Now I’m feeling pretty productive for a Monday morning, but I have much more to do. I just wanted to pop in and show you this little DIY! This (like all my projects) is an easy one, and I hope it inspires you to create something today!

Well, I’m off to cross more things off my to-do list. That’s it for today, friends. Have a fabulous day!

Recipes

Homemade Strawberry Pie

Hey y’all! It’s June and you may not know what that means, but in my world, that means it’s strawberry season! I don’t know about you, but I love me some strawberries. I love them because they’re so sweet they’re not even like fruit, they’re more like candy. Which is exactly why they are incredible.

When I was growing up, every June we would go strawberry picking at a local farm. Now, we were not farm people at all, we could best be described as extreme suburbia. When strawberry season came around though (in New York where I grew up it was usually the last week of June), we would head out the the farm to do some picking. My mom and my siblings and I would fill up basket after basket, eating yummy berries as we made our way through the rows. After we loaded our trunk with berries, we would head home where we would make strawberry jam for the rest of the year, pies, shortcakes, and of course some just to eat. Those were some good times.

The last time I picked strawberries myself was two years ago when, two days before our wedding, Ethan and I picked fresh berries for the chocolate covered strawberries served at our wedding. I haven’t been picking lately, which is fine because I don’t have a need for a ton of berries. When they’re in season though, they’re super cheap at the grocery store and so I stock up and get baking.

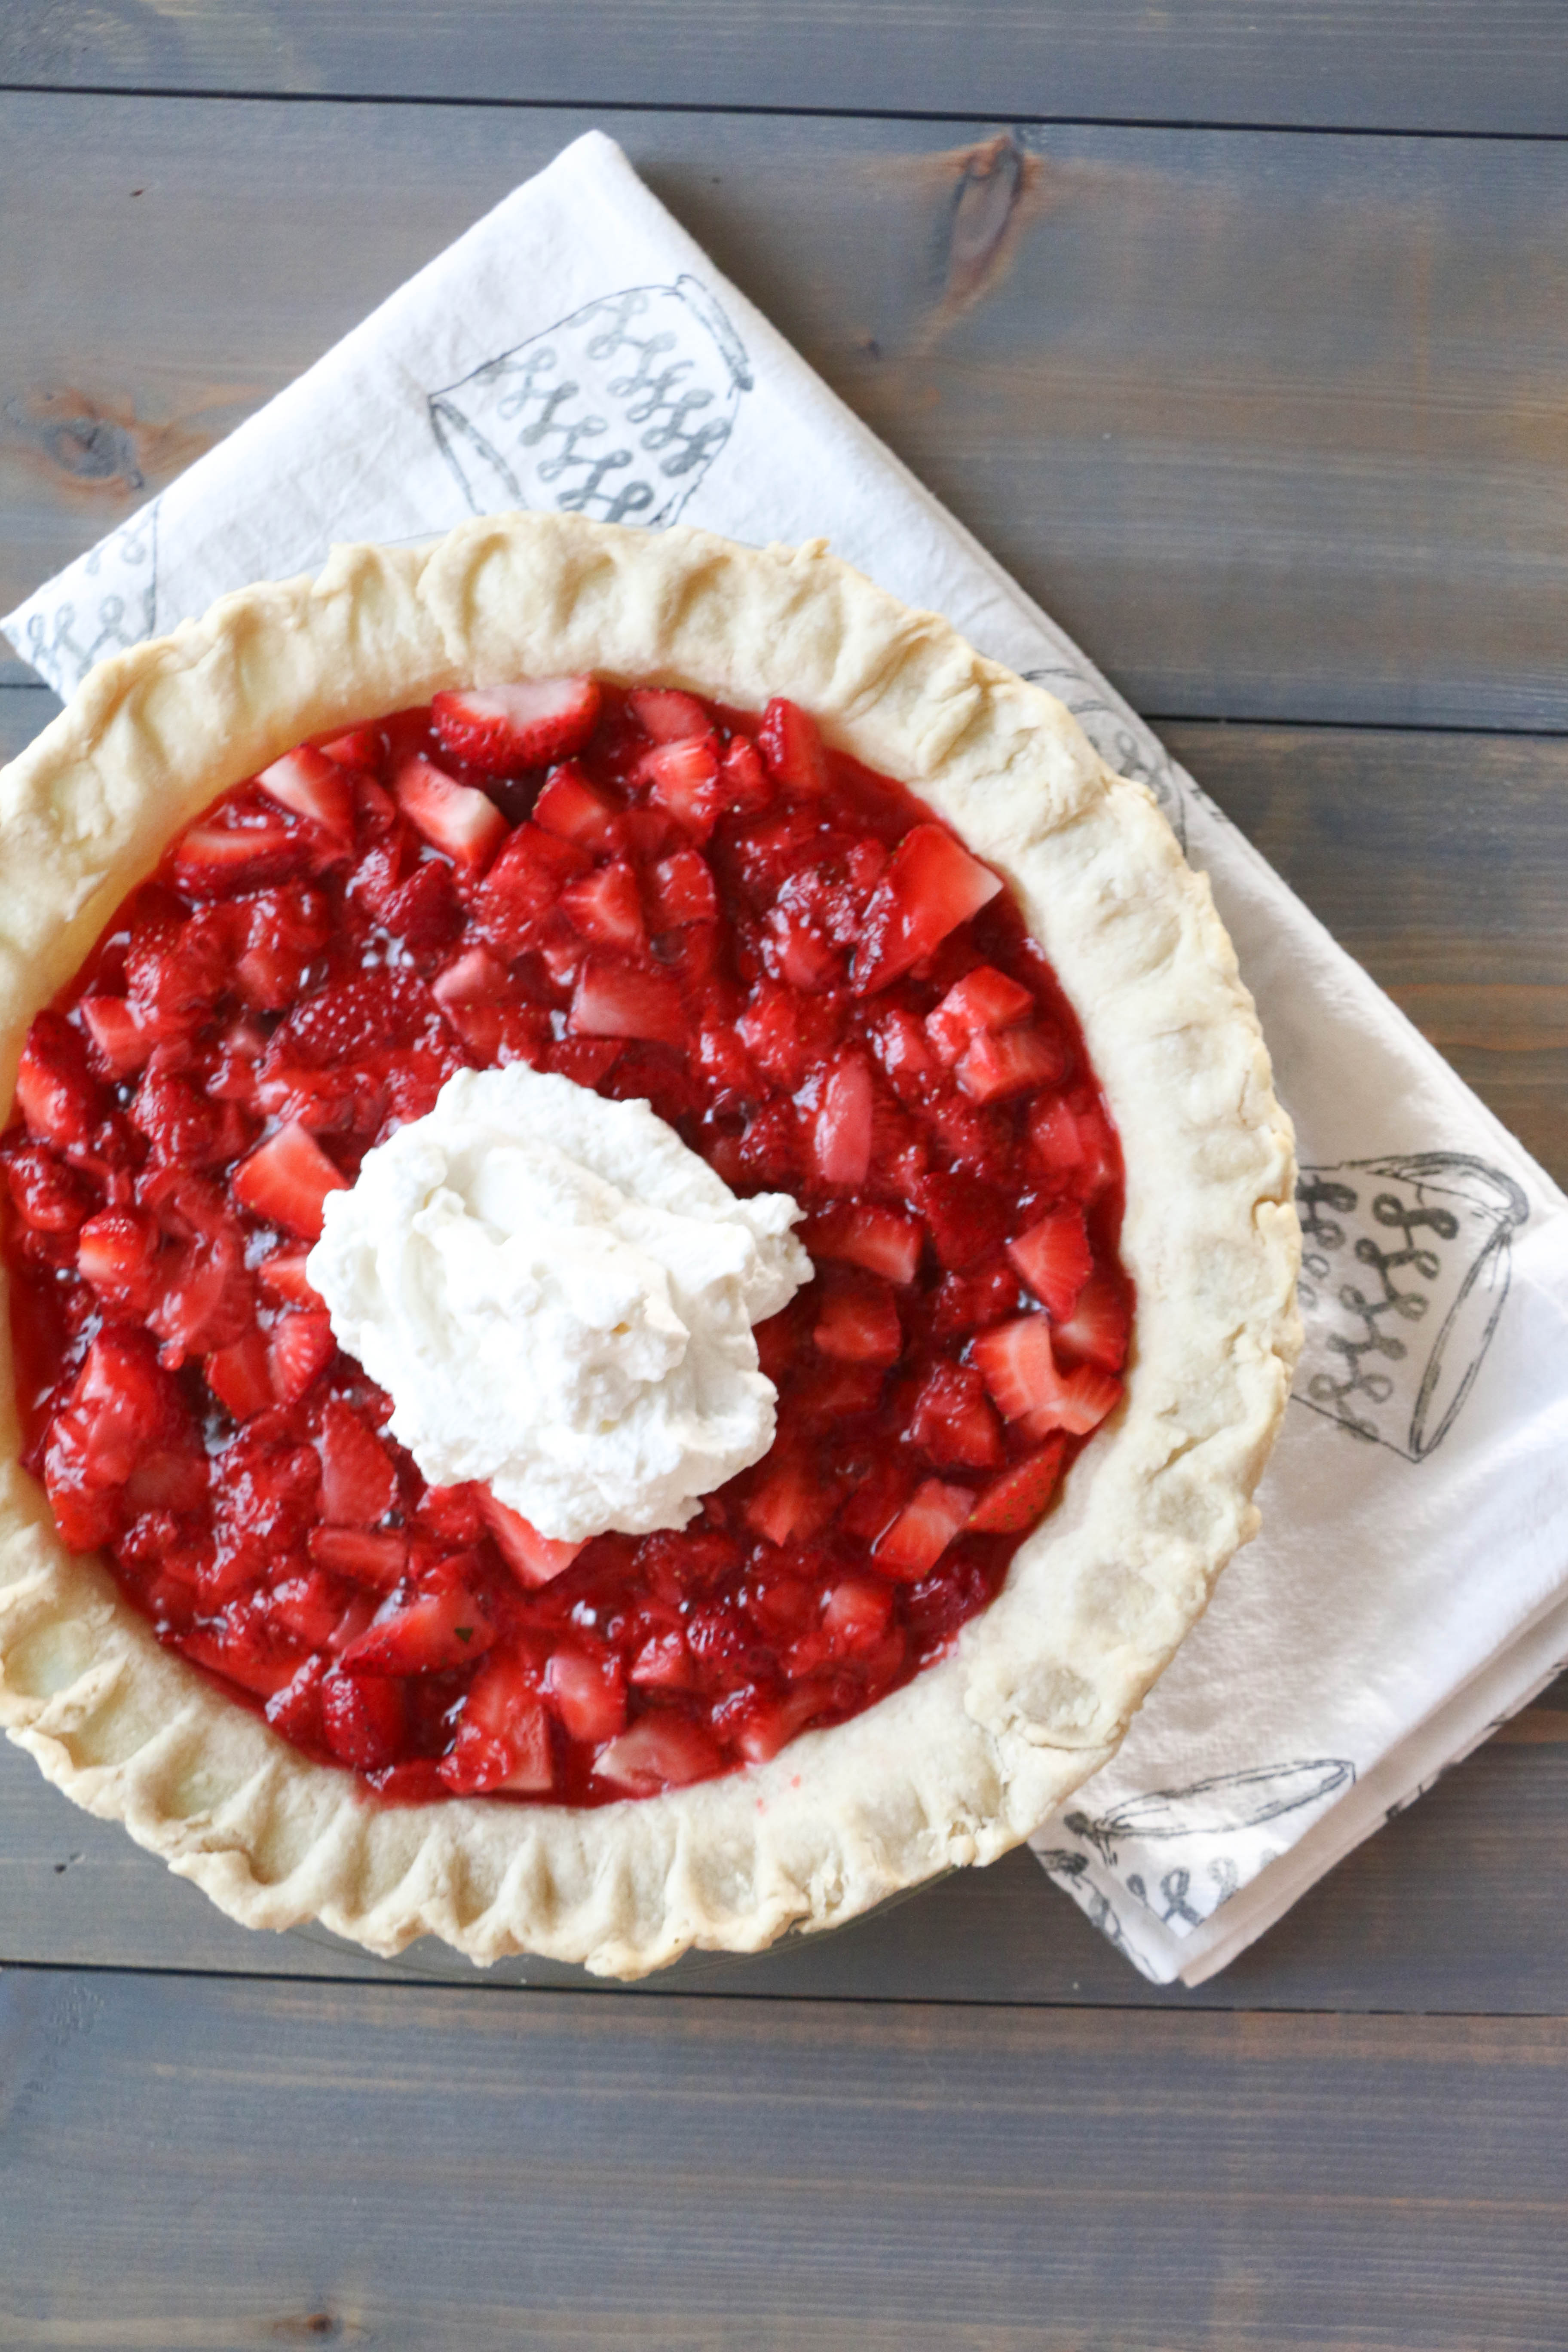
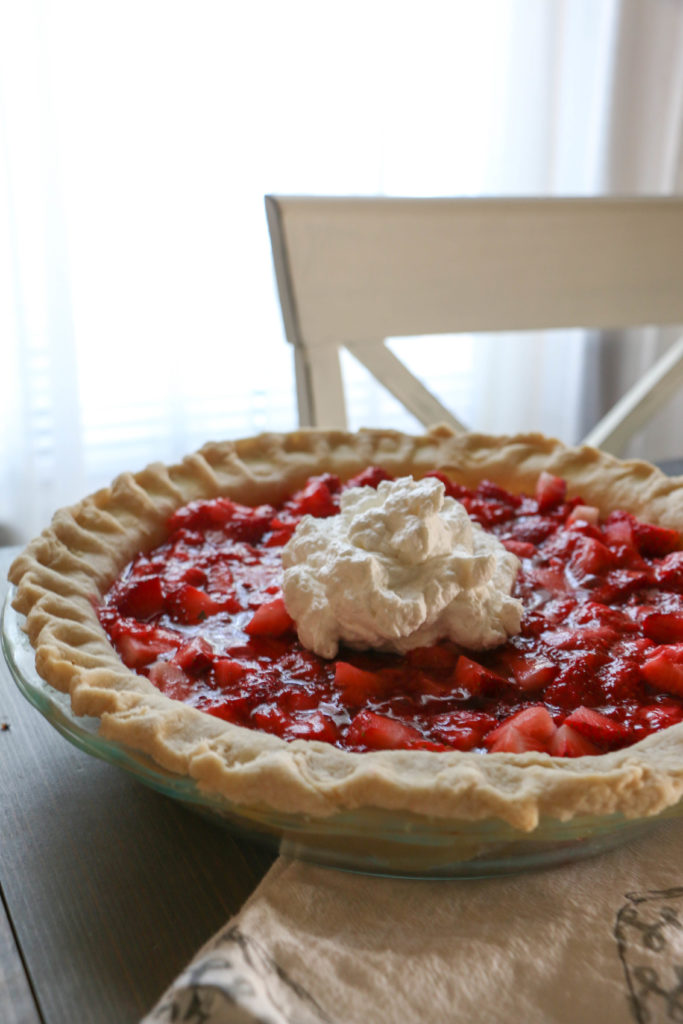
Today I want to share with you guys my homemade strawberry pie recipe. This is the first (and pretty much only) recipe that I have tweaked and changed myself to truly be able to call it mine. Now, I’m sure there is someone else out there in the world who has the same recipe as me, and that’s totally fine. I can honestly say though that this is my own recipe from my own baking experience. And I make everything from scratch. The crust, the filling, and the whipped cream. I know that some people can get overwhelmed by making their own crust. But let me tell you a secret… it is SO EASY. And it’s way tastier than store-bought crust. I promise if you make your own crust, you’ll be wondering why you didn’t do it sooner.

Strawberry Pie3

The first thing you’ll want to prepare is the crust. You will need:

2 cups flour

2/3 cup shortening

1/3 cup cold water

So, you add your shortening and flour info a mixing bowl. Mix it around with a fork until the shortening is in small, pea-sized bits. Then slowly add your water, a little at a time. Pour some water in the bowl (about a tablespoon or so), and mix into the flour mixture. Continue to add water until a dough forms. Toward the end, you will use your hands to form a dough ball. Then. on a floured surface, flatten the dough with your hands. With a rolling pin, roll it until it is about 16 inches across. You will want this to be as circular as possible. Once it is rolled out, fold the dough in half, and then half again. It should basically look like a fraction (1/4) of a circle. Lift the folded pie dough into a pie plate, and unfold. The folding is just a trick to transfer it from countertop to pie plate. Use your fingers to mold the crust into the dish. I usually use the back of a spoon to create a pattern around the edge of the crust. Poke holes in the crust with a fork. Now you’re ready to bake! Place the empty crust in the oven at 450 for 5 minutes.

Strawberry Pie 2

Once the crust is done and cooled, you’ll get started on the filling. Here’s what you will need:

8 cup strawberries

1/2 cup water

1 packet of strawberry gelatin

1 tbsp cornstarch

2/3 cup sugar

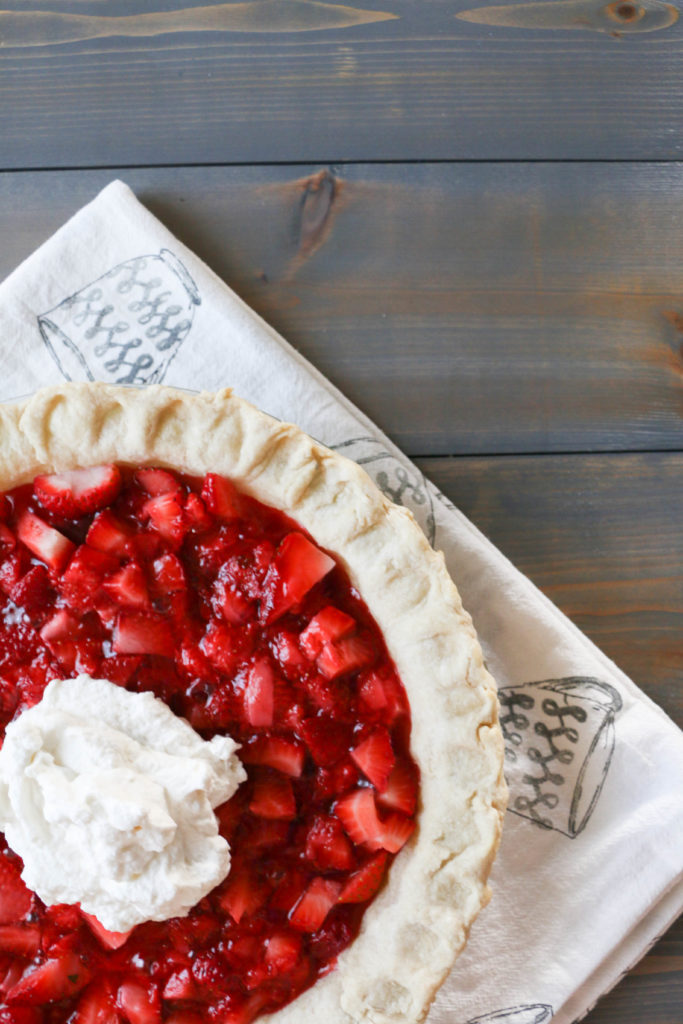
First, you’ll take six cups of strawberries, and set them aside. Cut off the greenery, and cut the berries into quarters. Some people like to put whole berries in their pie, I prefer smaller pieces. That’s totally a personal preference though. Place these strawberries into the pie crust.

With the remaining two cups of strawberries, cut them (this time you will want them to be in pretty small pieces) and place them in a bowl. Using a berry masher, mash the berries until they are as pulpy as possible. It should basically look like juice with some small chunks mixed in. Transfer these into a pot.

On medium heat, add your water to the strawberries. After you add the water, you will add the sugar, gelatin, and cornstarch. Continue mixing until the sauce thickens and begins to boil. Once it is boiling, take it off the heat, and pour over the fresh strawberries in the pie plate. You will want to make sure the sauce is poured evenly around the pie.

Strawberry Pie 4

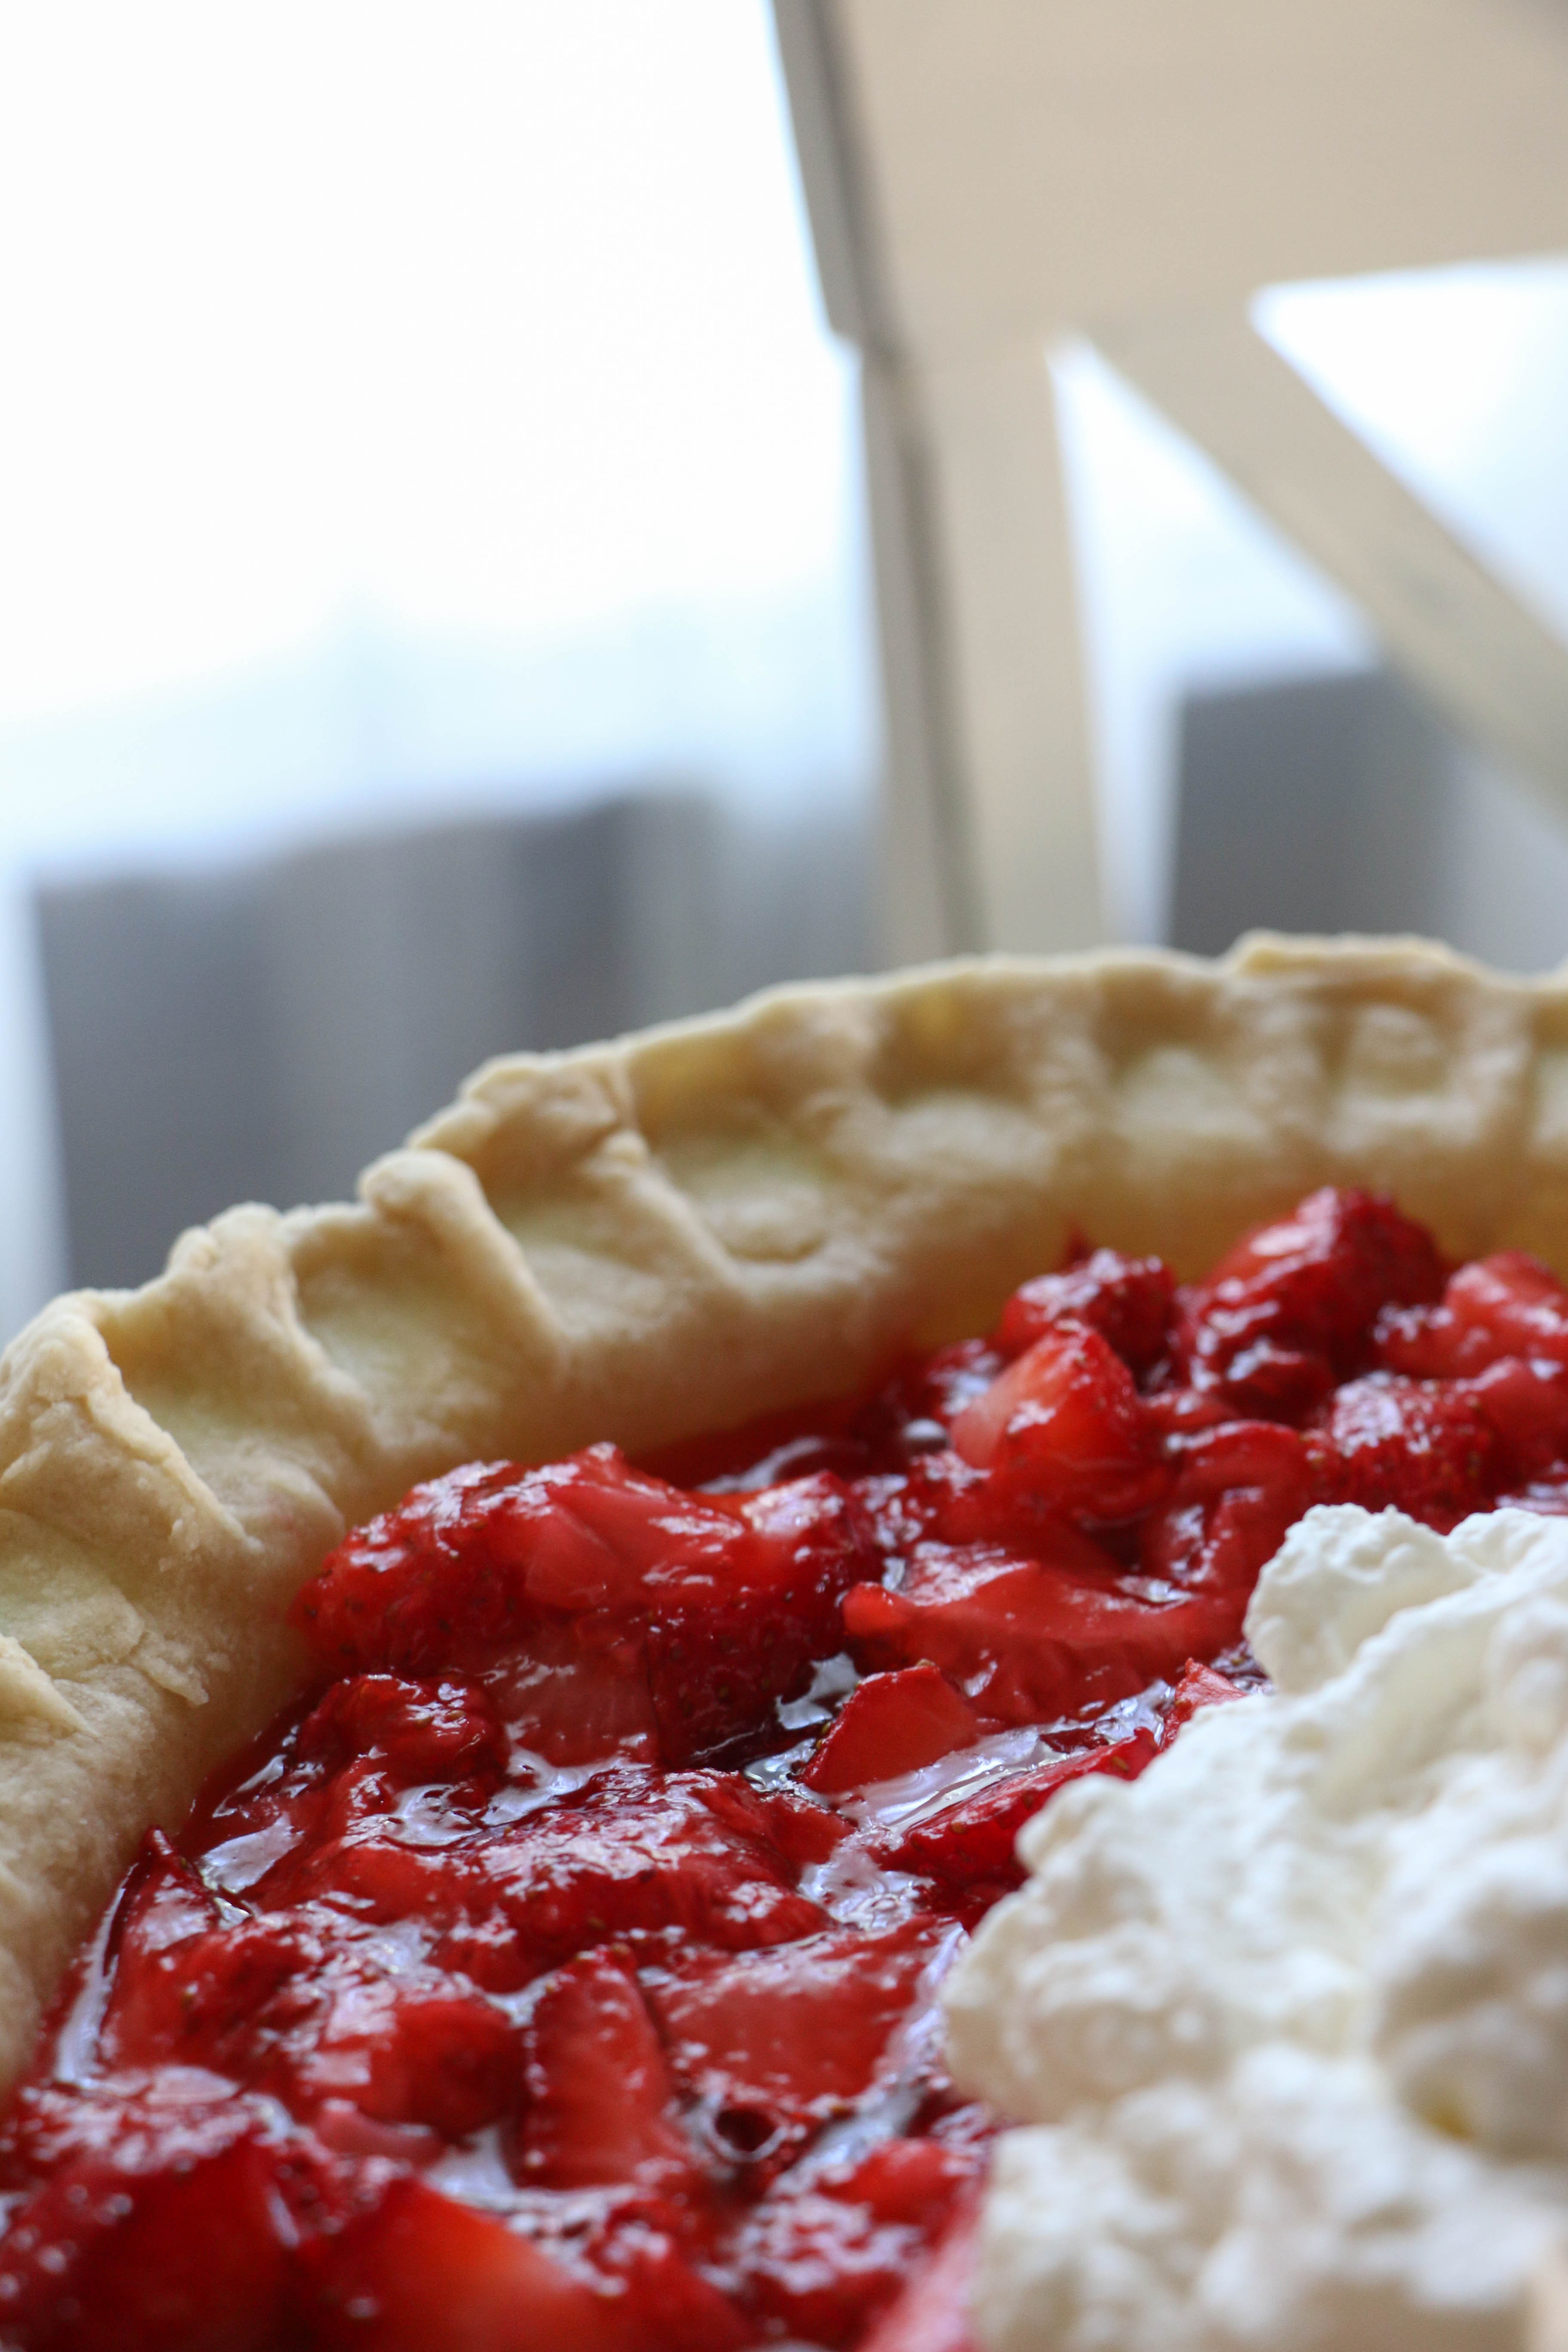
Once the dish cools a bit, place it in the fridge for three hours. Just before serving, you’ll want to make the whipped cream, which in my opinion, is the best part! You will need:

1 cup heavy whipping cream

approximately 1 tbsp sugar

approximately 1 tsp vanilla

I say approximately because I don’t actually measure these, I just kind of pour them into the mixing bowl. I leave them in the Kitchenaid for about five minutes, or until the cream starts to thicken. You can add more sugar or vanilla, depending on your taste preferences. It’s totally easy and totally up to you!  Scoop a little on your pie, and enjoy!

Strawberry Pie1

And that’s pretty much it! The most time consuming part is cutting all the strawberries, but overall, it takes me about 40 minutes to prepare. Guys, I seriously love this pie. I’ve experimented with a few different factors, and this is what I’ve found to be the best! I cannot recommend this one enough, especially now that strawberries are in season and super fresh. Well, I’m off to enjoy some pie! Have a fabulous day, friends!

Strawberry Pie

DIY Projects

How I Fake Calligraphy

Hey guys! Hope you’re having a great day! I just got in from mowing the lawn (yuck). It’s hot and sticky outside, and I’m pretty sure my outdoor quotient has been met for the day. Now that Memorial Day has passed, summer is here, and that means BBQ and fireflies and porch sitting and bringing a little red white and blue into the home.  Yesterday I took out a few patriotic decor items out of the closet, and I put a few things together. I made a little hand-lettered print, and I realized it’s totally something I should share!

Now, a little background. It seems like everyone is on this hand-lettered kick in decorating, and I’m all about it. I have seen some really beautiful calligraphy around, and I just don’t have that sort of talent. I’ve never taken a class or anything, I really would not consider myself someone who actually knows something about the matter. I do, however, love creating little prints for our house. It’s basically free art, and there’s no way I’m not getting on that train!

So here’s how I, someone who is totally not an expert, create simple hand-lettered pieces from my home. I bought a multi-pack of pens from Hobby Lobby. I don’t see them listed online, but it was a three pack of square tip pens in various sizes. Are they good? They work for me, and that’s good enough.

Calligraphy1

You may still be able to find this pen in the store, and with their 40% off coupon, it only cost me a few dollars.

calligraphy2

This pen has a square tip, which is pretty much the secret to creating pretty writing.

calligraphy3

When I’m writing something, I use a normal cursive font, the same that I would write with using a normal pen. The trick to using these calligraphy pens is holding them at about a 45 degree angle. It took me a little while to get used to holding the pens correctly without moving them.

For this little print, I used a page from my old hymnal, the page with My Country Tis of Thee on it. Perfect for the upcoming Fourth of July holiday. I printed a line from the song, and this is what I came up with:

calligraphy4 calligraphy5

Easy. (I think that might be my motto around here: do I do anything that’s not easy.) I have little prints around the house, and I love it because it’s so cheap and quick. And on the hymnal, I love it even more. It adds such a nostalgic touch for me. And the mini clipboard is from Hobby Lobby. I got it recently, and it’s perfect for switching out seasonal prints.

Have you ever tried hand-lettering? I promise, it’s much easier than it seems! Well, that’s all for today, friends. Have a fabulous day!