Browsing Tag

dining room

DIY Projects, House Progress

Status Update: End of 2018

Hi friends! I’m so glad you’re here! If you’ve been following along on our house progress on Instagram then you probably have seen lots of little projects we’ve been working on as we’ve been doing them. These days, it’s a bit easier for me to do a quick update there than on here, just because life with a newborn is busy! In case you haven’t been following along, here’s the deal with this post. My  Status Updates (Check out the first one here or the second one here) are a series of unedited, real life photos rounding up the entire process of what we’ve accomplished thus far.

At the time of my last update, we had not yet moved into the house. We have since moved, had a baby, and continued working. To say things are a bit crazy would be an understatement. We are definitely still in “fixer upper mode,” when looking at any room in the house, there are at least five undone projects that come to mind. So, bearing all of that in mind, let’s have a look at what our house looks like right now.

The Foyer 

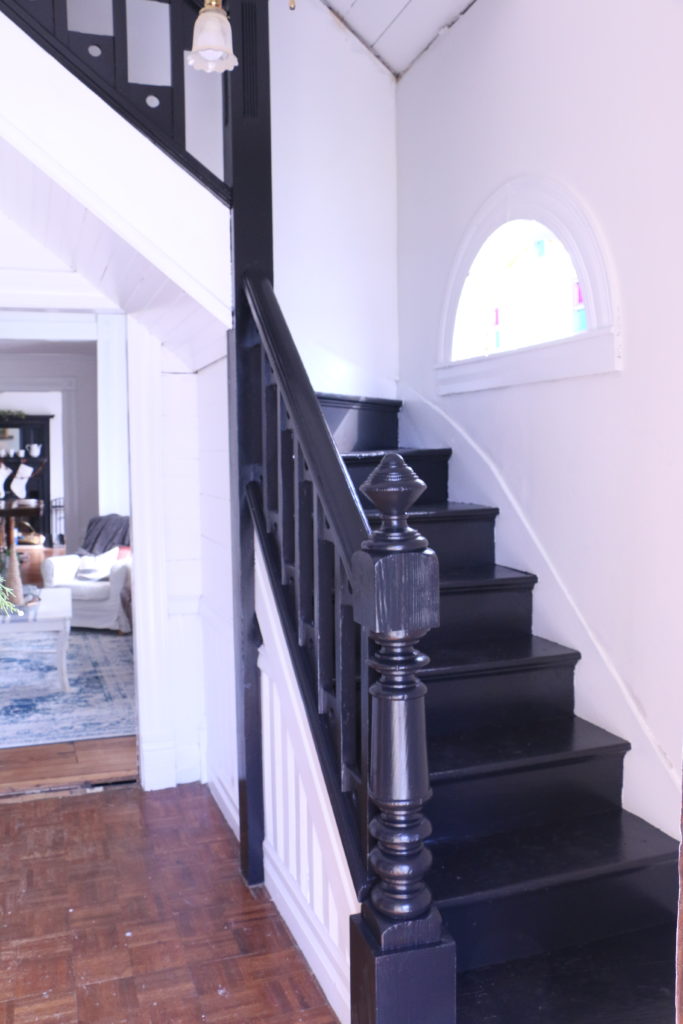
We lived with completely undone stairs for a little while before I went ahead and painted the stairs. This is the view from our front door, and it’s a very tight space. Painting the stairs and the walls made it look a little bit more open though. Still to do in this space: replace the light fixture, add trim along the ceiling going up the stairs, add a runner up the stairs, do something about the floors (we aren’t sure what the plan is…there are no original hardwoods, so we might lay a statement tile. We are still in the very early planning stages on that particular project), and lay a transition piece between this an the living room floor.

The Living Room

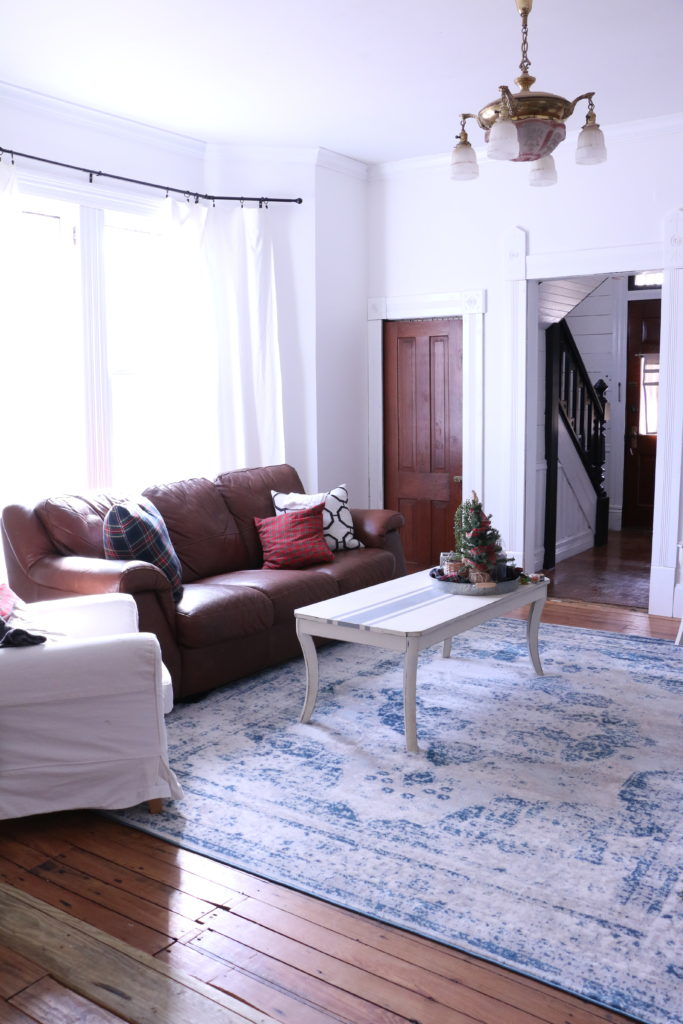
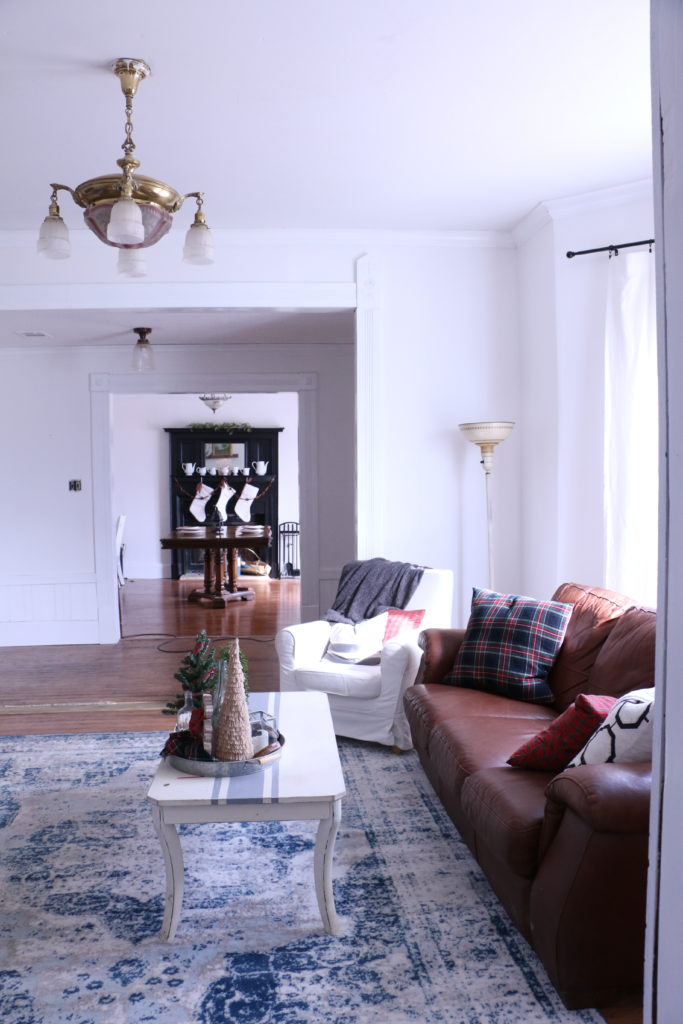
This room is mostly “done” with the exception of the transitions on the floor from one section to the next, and replacing the light fixture (we haven’t done that in any area of the house yet). If you look closely in the first picture, you can see a thin cable running along the floor. It’s something for the internet that needs to be run underneath the house. I also want to replace 99% of the furniture here, but that’s not necessarily considered a project.

The Dining Room

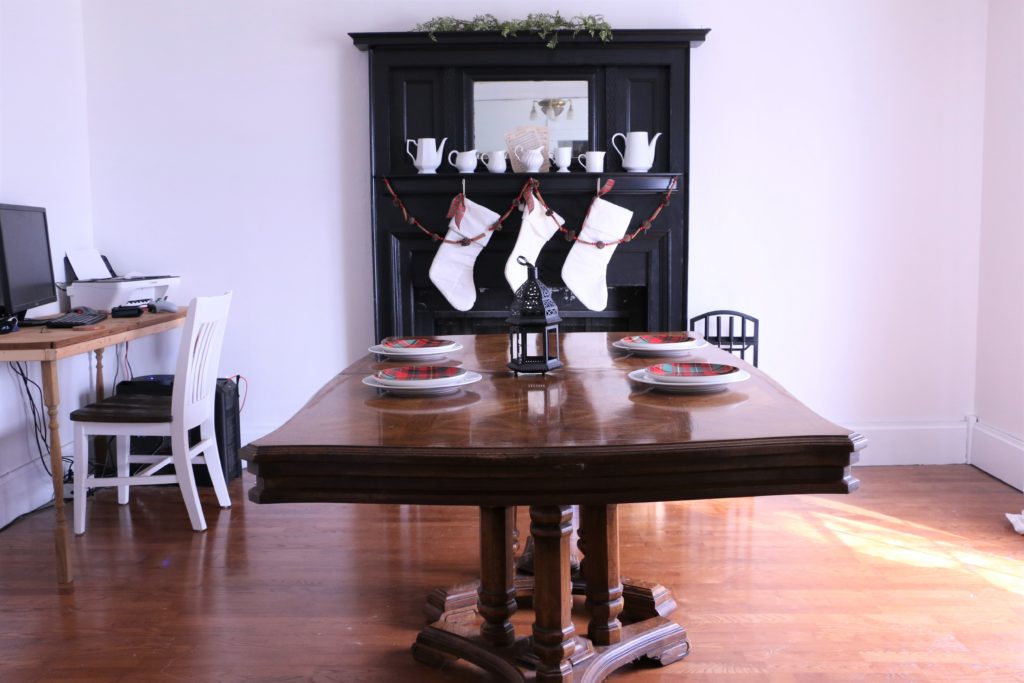
The dining room is the most embarrassing in its current state. It took me a month to clear the moving boxes from here, we had no table for two months, and Ethan still has a makeshift desk sitting in the corner (the room that will be the office upstairs is completely undone). We don’t have chairs or any other dining room furniture, but it’ll get there. The fireplace has been painted, and everything else is complete, with the exception of caulking along the ceiling trim.

The Bedroom

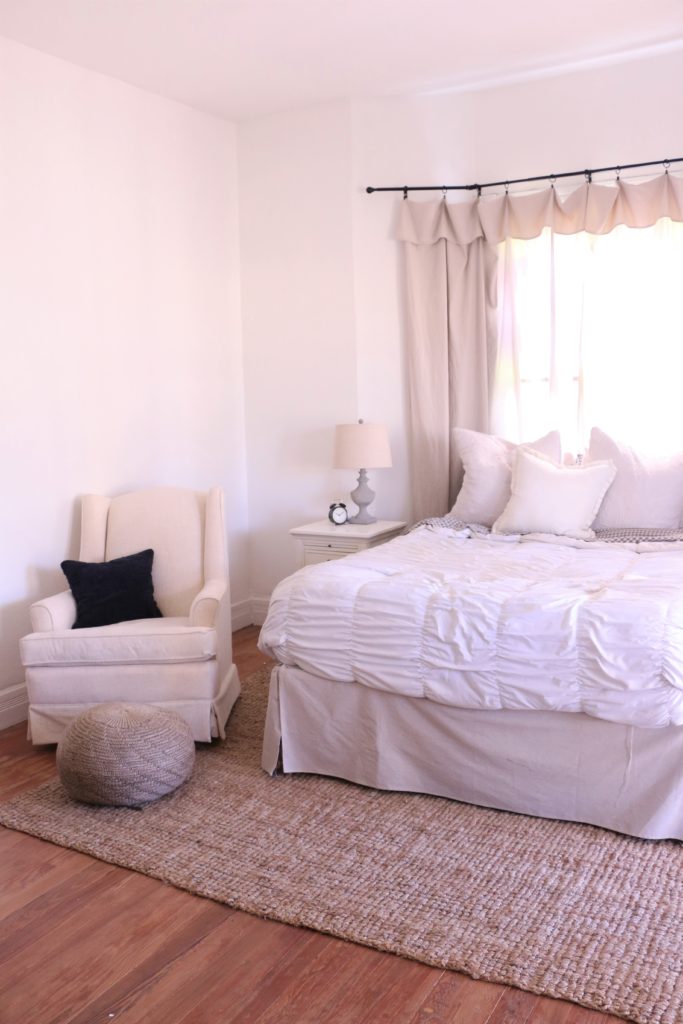
Our room has a ways to go, but since our son is still sleeping in here in the bassinet (not pictured), everything is temporarily out of place. The rocker will eventually go back into the nursery once he starts sleeping through the night, and once the extra furniture is out of there, I’ll feel more inspired to decorate and finish things in here. We need to add some trim pieces in here, and add a light fixture. This room doesn’t have an overhead fixture at all, so it’ll be a bit more labor intensive than fixtures in the other rooms.

The Bathroom 

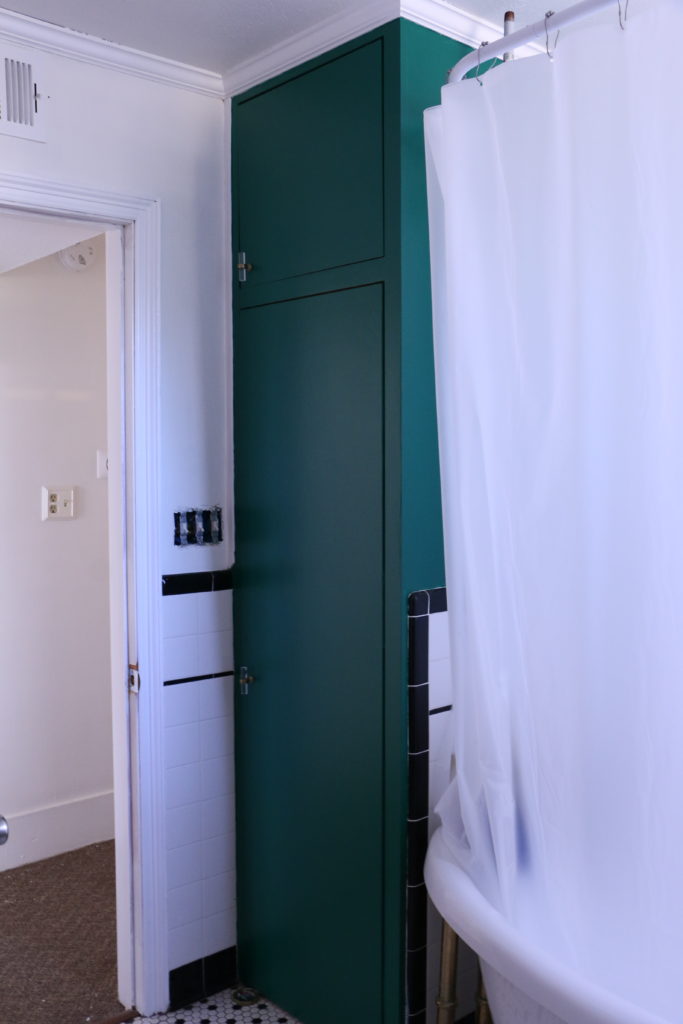
The bathroom is small and hard to photograph, but the only thing completed in here is the cabinetry has been painted this emerald green color. As you can see, we need to replace the light switch box, which we will do in the entire house all at once. We replaced the outlets, but we haven’t done the light switches yet.

The Nursery 

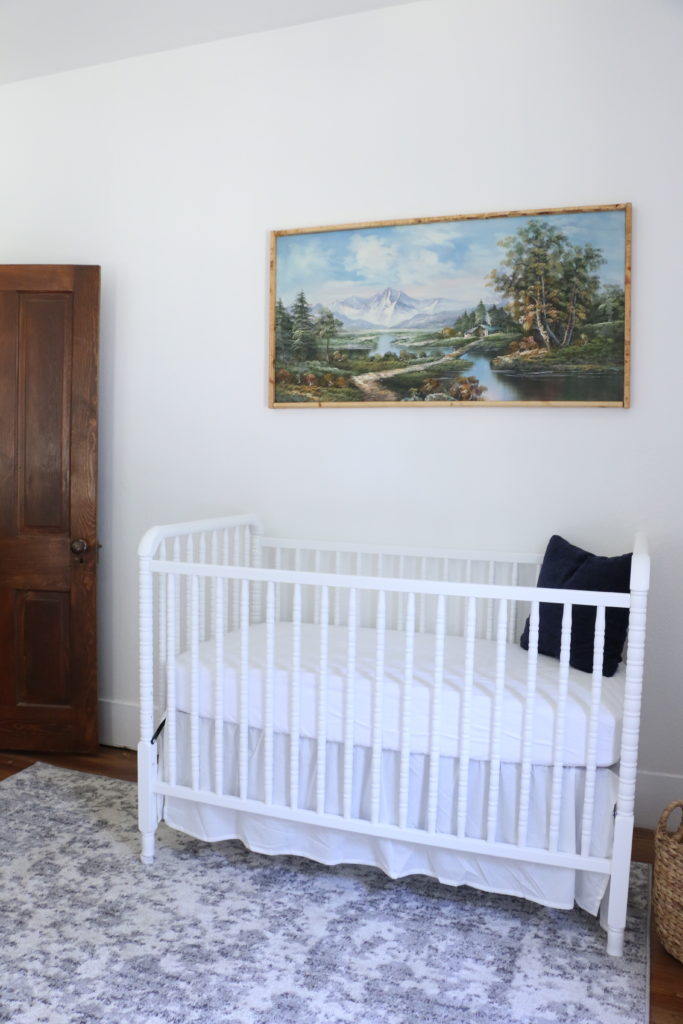
I did a whole post about our son’s room, because it’s the only room that’s “done.” It actually still needs a new light fixture and light switch box, but other than that it is done. If you missed that post, you can check out more photos of it here.

We haven’t done anything else on the outside just yet, but we do have some major plans for that yellow house. (Hint – it won’t be yellow forever). We’re at a point now where we have to slowly plan things out. In part, because we spent all the money we had earmarked for house projects when we bought the house, but also because things move at a much slower pace with a newborn around. When I was 8 months pregnant, I was working 12 hour days in the house, and people thought that was crazy. It may have been, but now I can only work in one or two hour increments during naptime. So, in 2019, we’ll be moving a bit slower. Anywho, that’s the update for today. This house has come a looooooong way since our closing date, but she still has a long way to go before she is everything we envision. That’s all for today, friends. Have a fabulous day!

Home Decor

When “Your Style” Seems to be Changing

Have you heard from design magazines or HGTV shows about finding “your style” and sticking with it? For the last four years as I’ve been making our two different rental houses home, I’ve been drawn to a farmhouse-y, cottage-like style characterized by lots of chippy, white, antique-y looking things. I’ve sourced all kinds of materials from flea markets, and made things we owned to look older by distressing them.

I started a business refinishing furniture and sourcing antiques and I have done well for my home and others’ homes using all things “farmhouse style.” But guess what? Can I tell you these possibly forbidden words? I’m starting to get sick of it. Whaaaaaaaat? Am I even allowed to say that? Let’s backtrack a little bit.

In my personal style (the clothes I wear and how I present myself), I generally use words like classic, erring on the side of “preppy” using lots of neutrals and blues. I try to stick with only buying pieces that won’t be out of style in five years. But guess what? Would you believe that in high school, for a short time, I was really into duct tape. As in, I made myself all kinds of accessories out of colored duct tape. Belts, purses, wallets, bracelets, you name it. Now, does this fit in with the classic, natural, timeless way I try to present myself? Absolutely not! Because it was a phase and I moved on past that phase.

I think you may be able to see where this is going. I am going to step out on a limb here and say that in our homes, we’re allowed to have phases too. We don’t have to stick to something that we picked five or ten years ago just because that’s what we chose and now we’re stuck with it. So that brings me back to my own home. I have been a lover of the modern farmhouse vibe in all it’s white and gray and chippy paint glory for several years. But I sense myself moving beyond that.

Don’t get me wrong. I love antiques. I love shopping flea markets. I don’t see myself stopping that trend and solely shopping Target from now on. But I feel that I may be moving (or trying to) toward a more timeless, classic and traditional look in my home. Not so shabby chic, but polished. This is going to be a process. I’ve always been on a budget, so there’s not going to be room to re-furnish our entire house just because I don’t like our stuff anymore. No, I’m going to do things as I always have – slowly evolving over time.

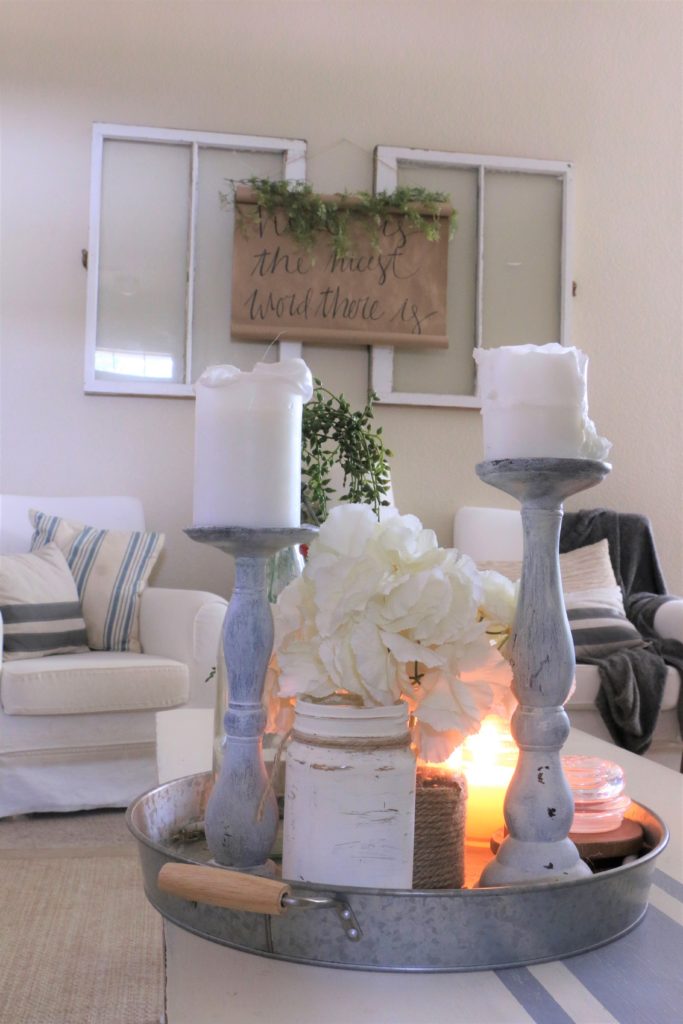
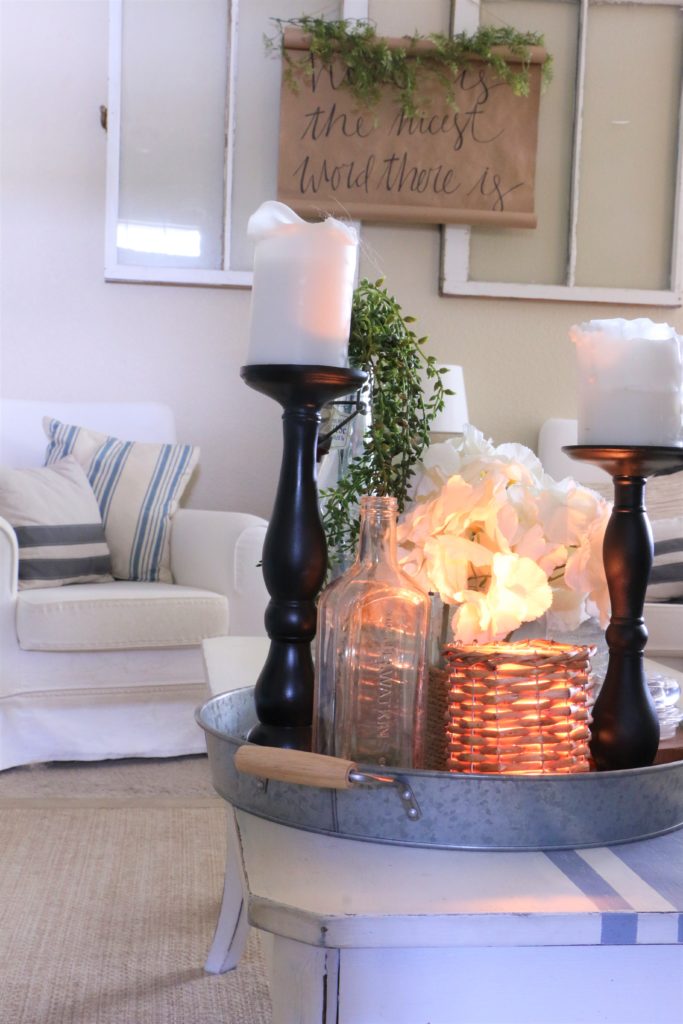
Take this vignette for example. White on white, some galvanized metal, twine, distressing. These are staples in my design choices and have been for a long time. Yesterday, I made some small and simple changes to this vignette. Because one teeny tiny change can make you feel like you’re doing something, even if it’s not an entire house or room.

I took some matte black spray paint I had in the garage and gave these candlesticks a new look. I swapped out the distressed jar for a basket-weave candle holder. I added this antique medicine bottle. But that’s it. Everything else is the same. The flowers, the greenery in the jar in the back. I didn’t change the table (though that’s on my list), the tray, the furniture along the wall.

I took a tiny step in the direction I want to move toward. I don’t know what words you might use to describe the look I have in mind. I have words like “neutral,” “traditional,” and “casual” in my mind. I am loving elements of matte black, natural textures like jute and basket weave, and dark brass. I was looking around my house and realized I don’t have a thing in it that’s black! Good thing I know my way around a can of paint. 🙂

I plan on slowly replacing things like furniture and large decor items on a budget, and you can bet I’ll bring you all along for the ride. I will sell some things like my dining room set to make room for new things (are you local? My dining room set that I refinished (click here for the original posting details) will be for sale soon!). Slowly, over time, I’m going to move on. Because if I can get past the high school duct tape phase, I can get past this modern farmhouse phase too.

That’s it for today, friends! Have a fabulous day!

DIY Projects, Home Decor

Our DIY (Renter-Friendly) Dining Room Chandelier

Hi friends! It’s been a while, I know! I have been busy busy busy, but I missed being here, so I had to hop on! I wanted to share something we did this week to our dining room that was incredibly easy and I am in love with!

As you know, we rent our home, and we recently signed our lease for another year. We’ve been here for almost one full year now and it has been tricky to make this super builder basic home more my style while staying in the confines of our rental agreement. Most of our lighting is the typical low-grade fixtures and haven’t been changed since the house was built fifteen years ago.

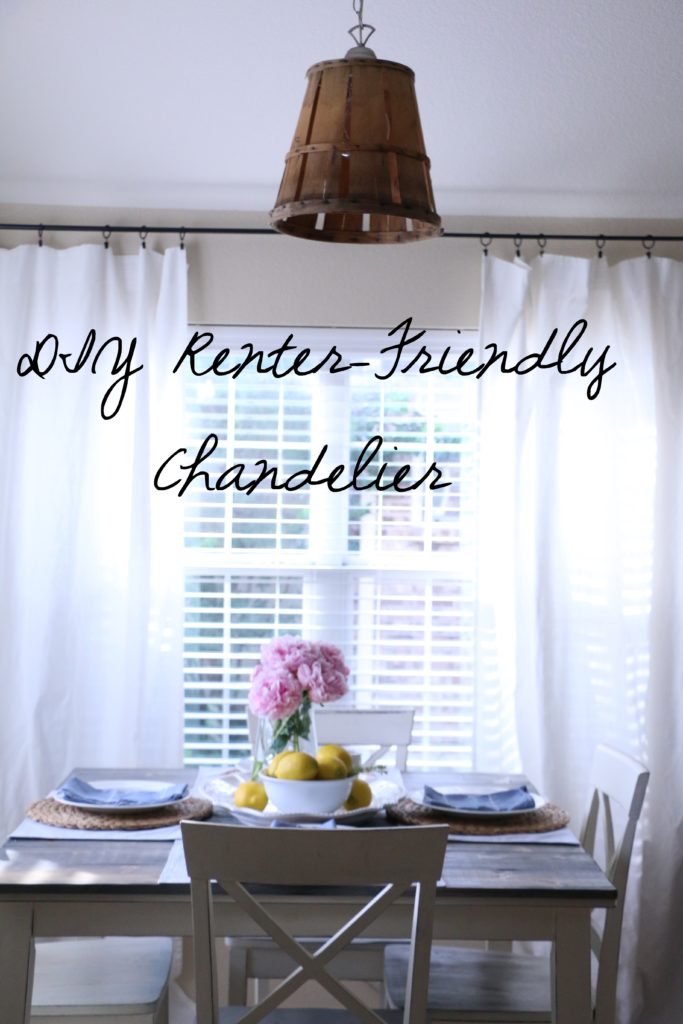
Signing that lease for another year made me really think about what I could do to make this house a little bit more me. I came up with this basket chandelier, which is in no way an original idea, but I love it nonetheless.

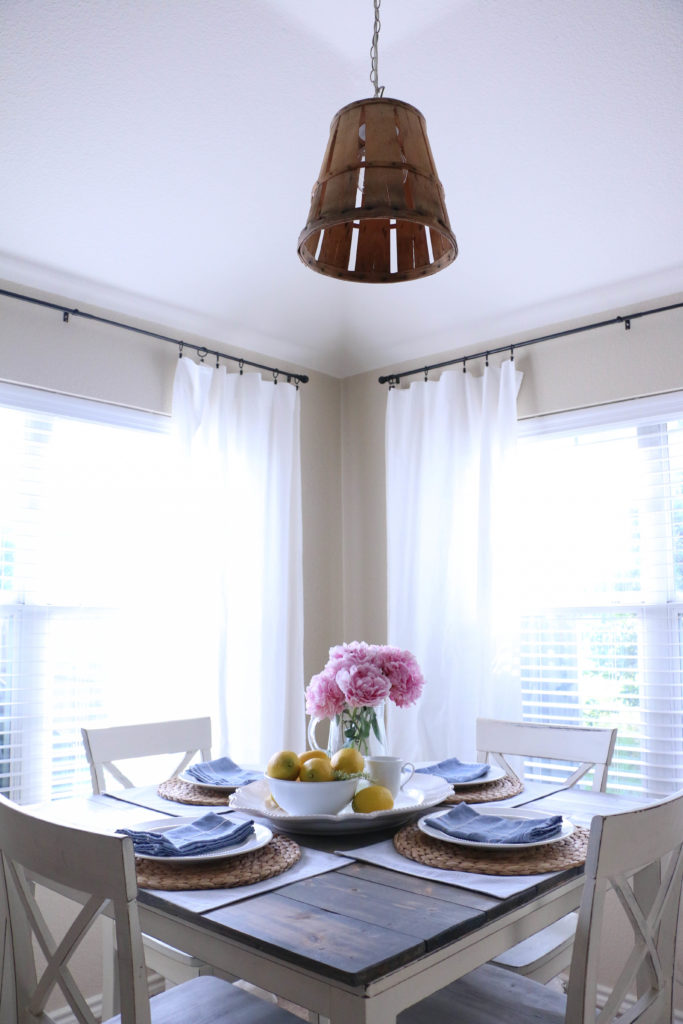
It was so incredibly easy! We unscrewed the existing hardware which released the old glass dome. Ethan then cut a 2.5in circle in the center of the bottom of the basked using a jigsaw. We then replaced the basket where the glass dome was and re-applied the hardware on the underside of the basket. It took about ten minutes I think!

Seriously, I cannot believe we didn’t do this earlier! It isn’t something I would choose if we owned this home, but it definitely adds a bit of my style within the confines of what we’re allowed to do here. Plus, it was incredibly budget friendly! The only cost was the basket which only cost me a few dollars! It’s a total win-win!

Just because you live in a rental doesn’t mean you can’t make things your own! Sure, there’s a ton you can’t do as a renter, but if you get creative, you can add a bit of your style into your rental home!

So that’s it y’all. I’m in love with this little update and I couldn’t wait to share it with you guys! That’s all for today! Have a fabulous day!

Home Decor

Clean and Wintry Tablescape

How is it January already?! This is crazy! I am heading into two years of blogging, and that is crazy to me as well! Every year when Christmas is over, and all my decor comes down, I crave simplicity. And, let’s be honest, I am pretty much ready for spring. I know that we will have winter weather yet, but so far the temperatures have been around sixty each day, which just feels wonderfully spring-like.

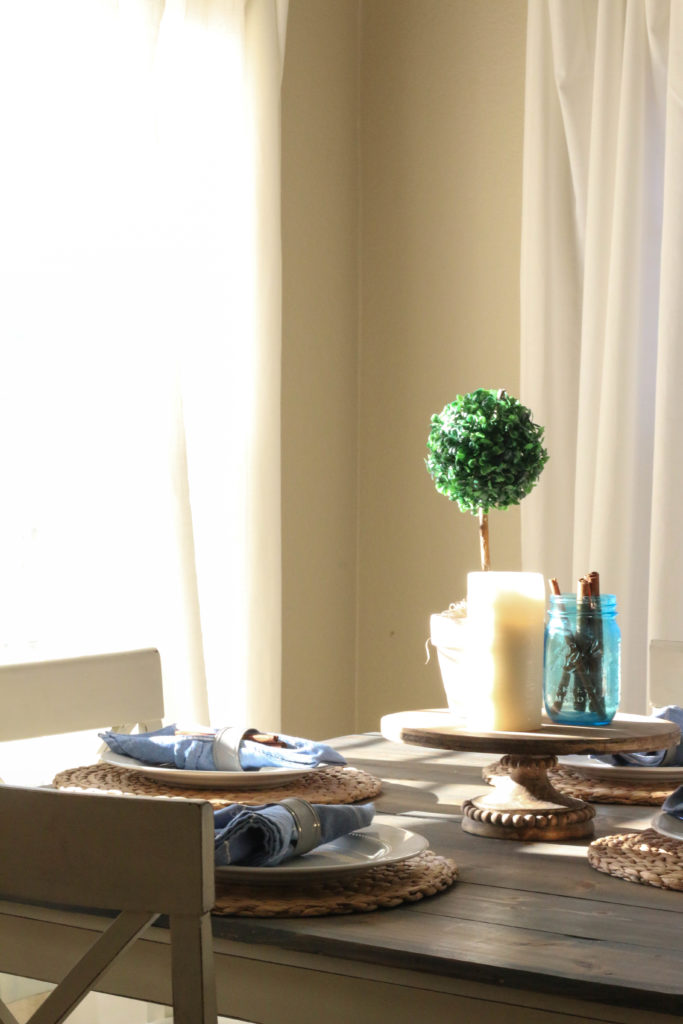
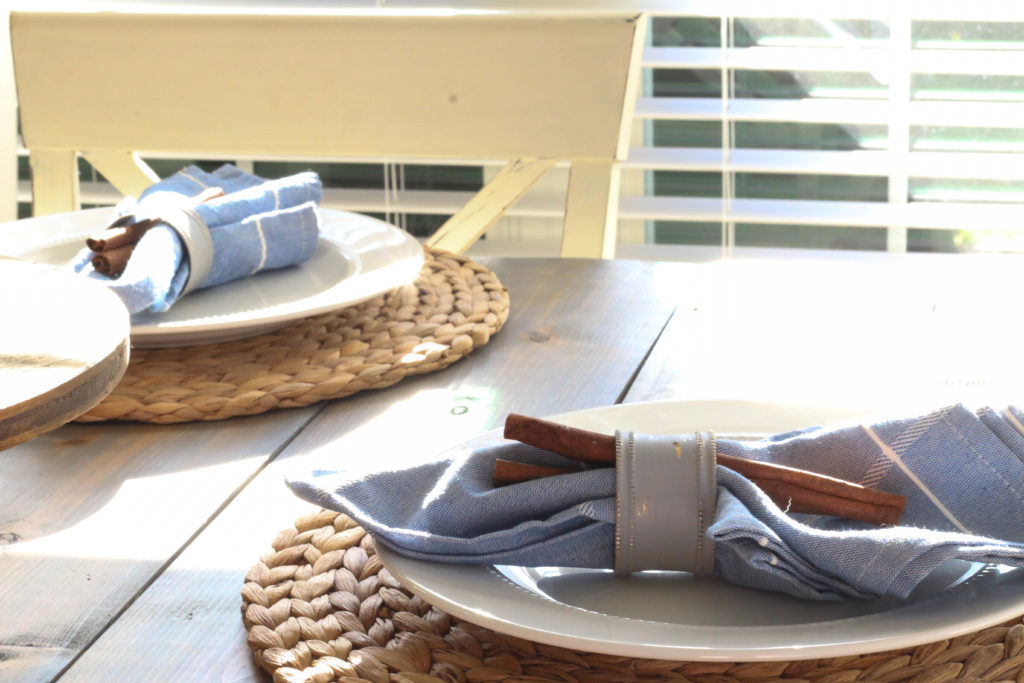
Anyway, I took down all my Christmas decor and I made my table simple and clean for the wintry months ahead. I know it might seem silly, but I really do always have my table made up. It brings me joy to have a pretty looking table, and no one should be able to steal your joy, so I say do what you want! I like to use a lot of blues in our house, and so I have one set of blue napkins that are my absolute favorite. I tend to mix these in with each season.

winter-table-1

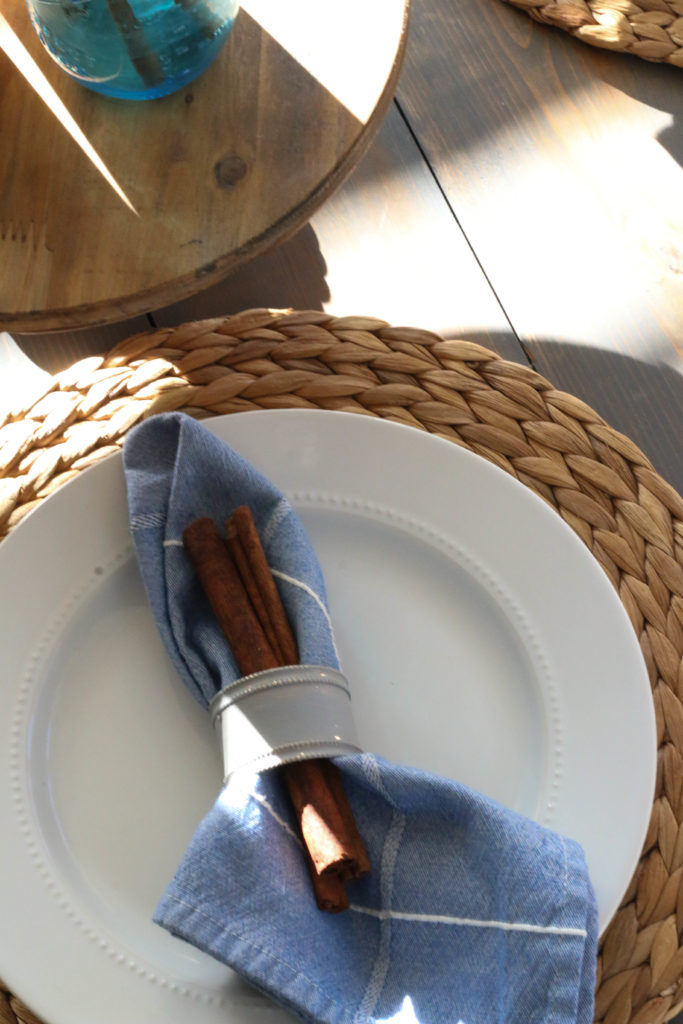
I’ve been meaning to buy some napkin rings for a while now, but my cheap self never could pull the trigger. I found these the day after Christmas at Hobby Lobby. They were a metallic gold, which was a little too “holiday glitzy” for me, so I painted over them with a quick gray paint. The paint naturally wore off in a few areas (probably because of the slick texture), and it turned out to be perfectly chippy. I love it!

winter-table-4

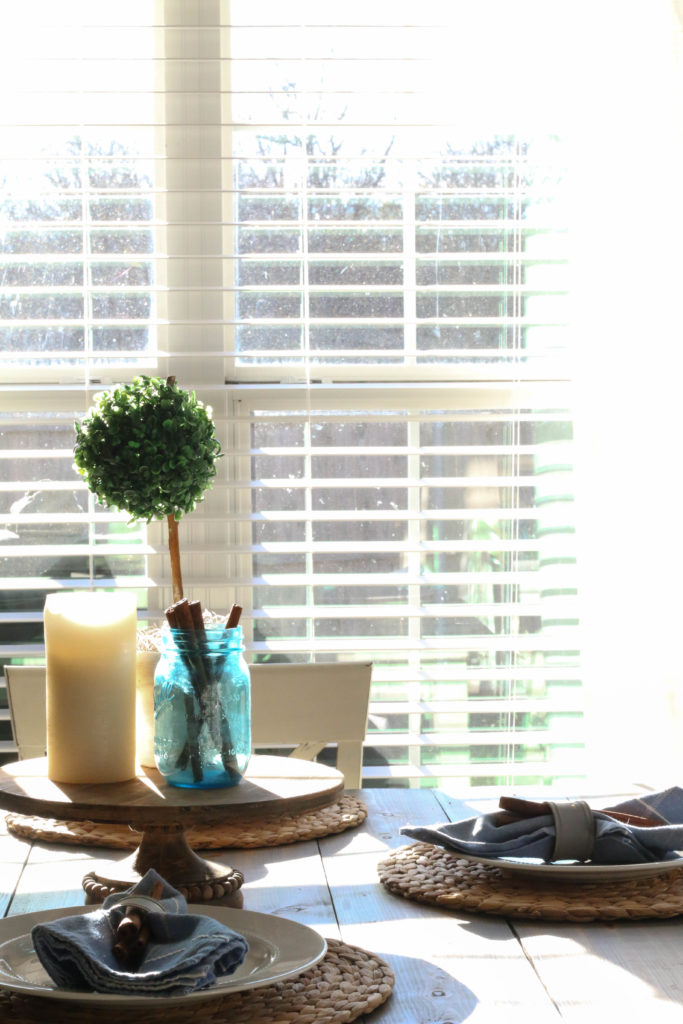
The white pillar candle was also an after Christmas clearance special (my favorite time to shop). A simple jar with cinnamon and my DIY Boxwood Topiary  make my little cakestand look finished yet clean.

 winter-table-6

And can we talk about this afternoon sunlight pouring in? For some reason late afternoon sun perfectly equates to winter for me. I’m not sure why, but this season really can be beautiful (even if it gets dark incredibly early and we don’t even have snow).

winter-table-5

For me, setting the table really can be a theraputic and meaningful time. I love the finished product of course, but the act of designing and putting together a table is incredibly rewarding to me. What about you? Do you have a table that’s typically set, or do you prefer a blank canvas?

A few sources for this design if you’re interested:

Napkins: Tuesday Morning

Napkin Rings: Hobby Lobby

Cake Stand: Magnolia

Plates: Target

Chargers: IKEA

That’s all for today, friends. Have a fabulous day!
Room Tours

Our Dining Room: A Blank Slate

Whoooooie! This month has been busy! Progress at the new house is going super slow, and we’re not even remodeling anything! I can’t imagine how slow things will be when we actually buy our own house. We have been busy busy busy with summer ending and school starting back up. It has taken me forever to unpack all the things (still not finished), and actually putting rooms together is taking longer than I thought it would. But, this is my favorite process, even if it does take forever, so I can’t complain too much.

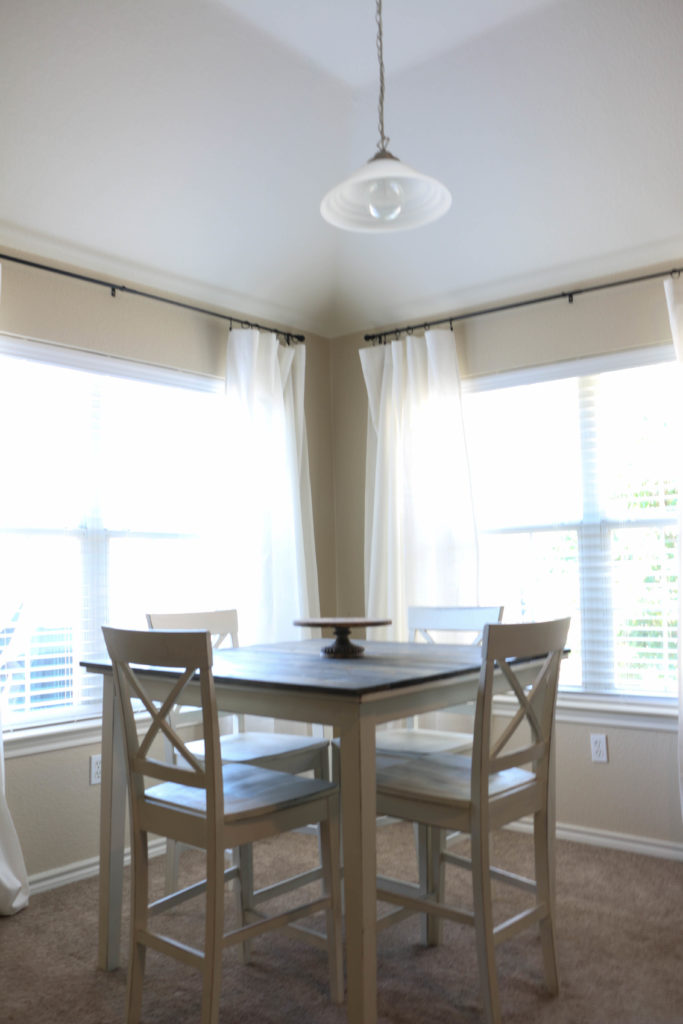
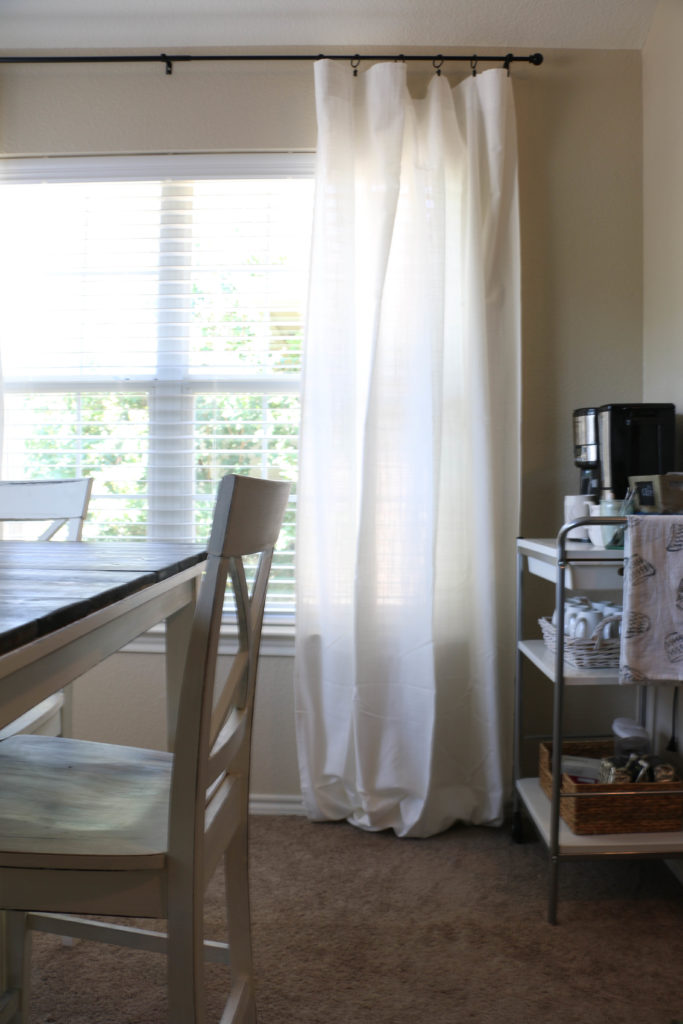
Today I want to share with you guys where our dining room is currently. I have to preface this by telling you that it’s unfinished, but if you read the title of this post you probably already knew that. I just recently got curtains hung, which was a whole hassle in itself. I originally bought curtains from Target, which would have been perfect but they were too short and they were sold out of the length I needed. So those got returned. Then I bought some online from JCPenney, and although the length was good, I didn’t like the texture (silky was not what I was going for when I envisioned a calming, farmhouse feel), so those got returned. Then I waited a week until I had a chance to make the drive up to IKEA, and I finally got the perfect curtains. Third time’s the charm, I should have known.

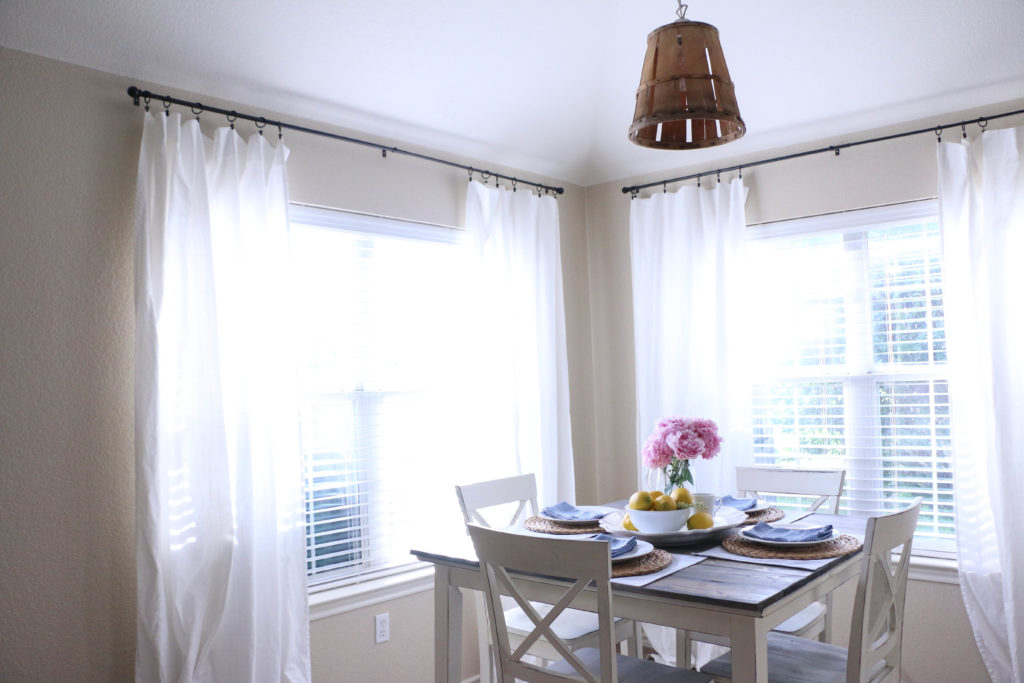
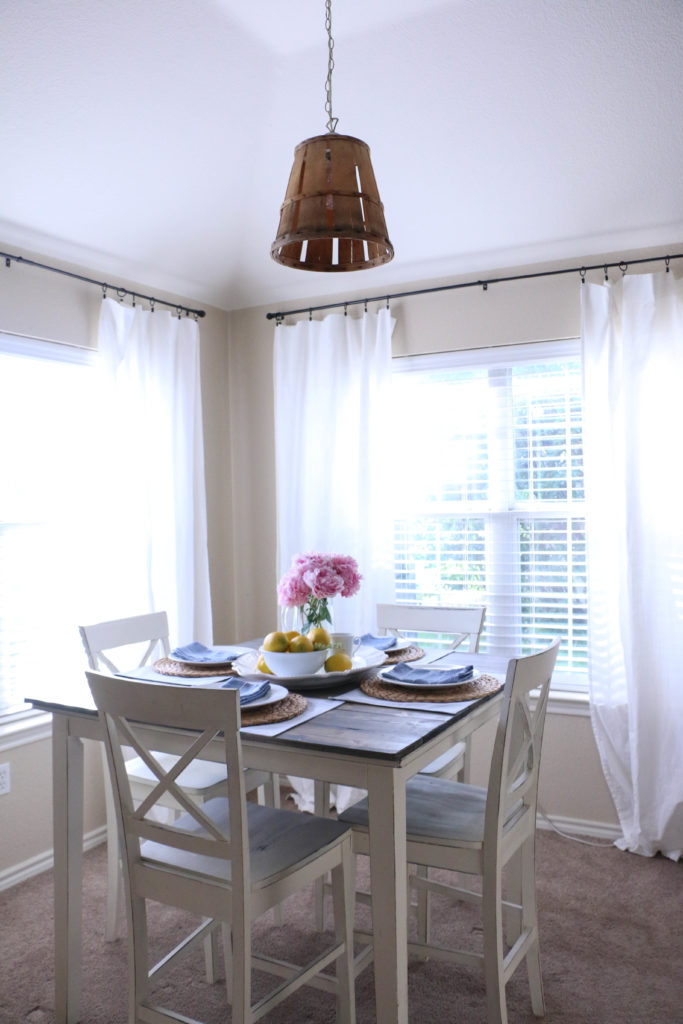
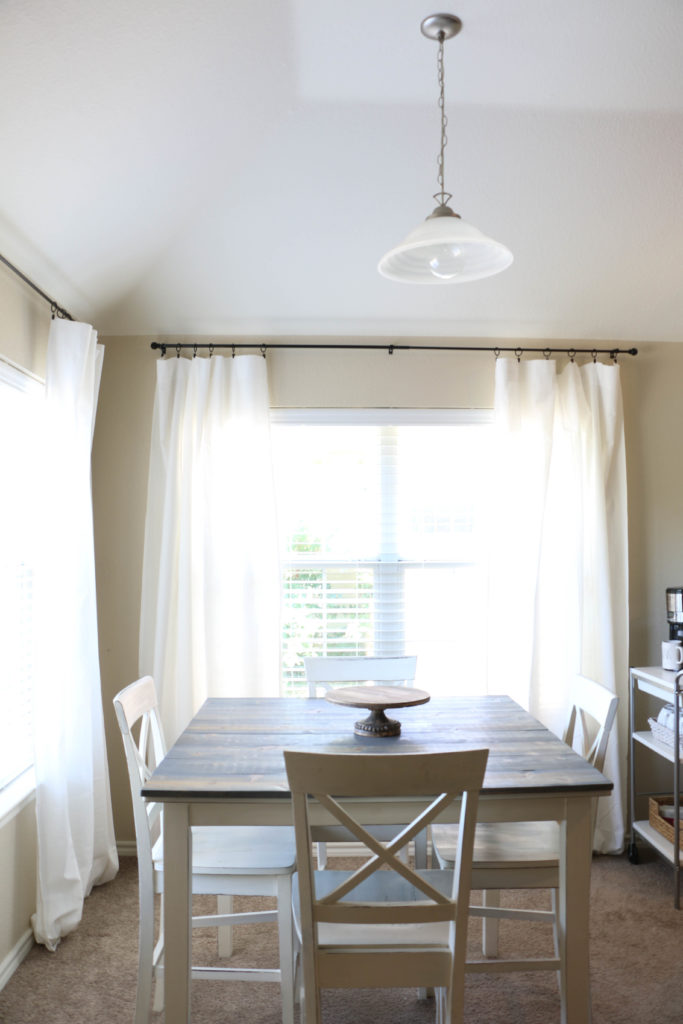
Okay, so these are the curtains I bought from IKEA and they are perfect. Plus they were the cheapest of the three pair I bought, so I was definitely stoked about that. Now that I have the curtains hung, I feel like I’m in a place to start decorating. It’s a perfectly blank slate which currently looks like this: diningroom2

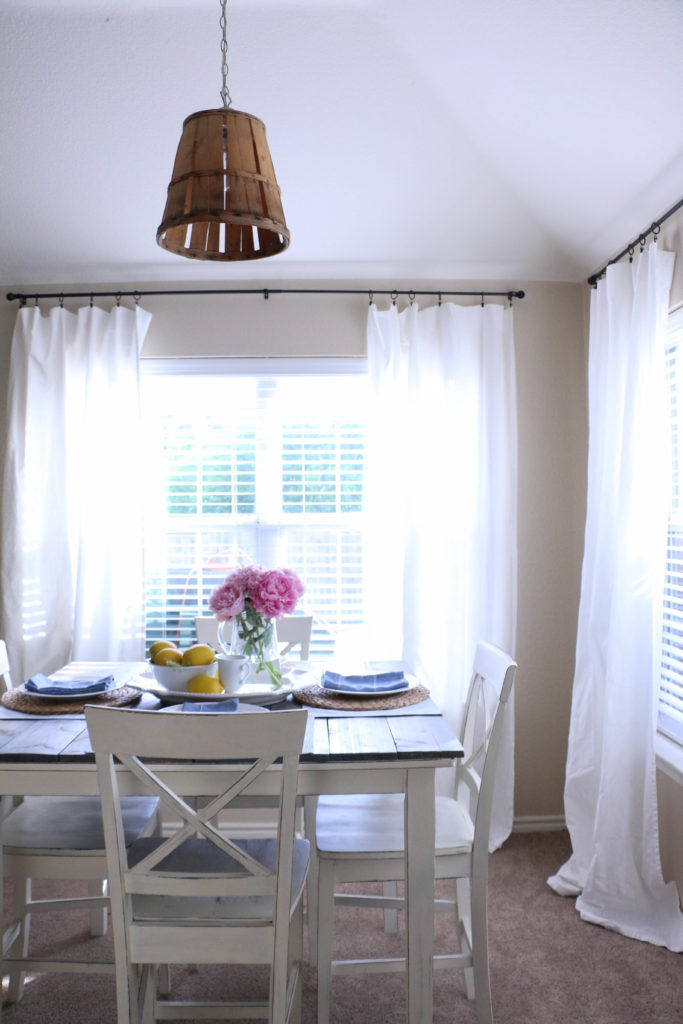
We have an open concept floor plan at our new house, and it really isn’t very big, so the dining room is really more of a nook in the main living area. It also has two large windows that take up most of the entire wall space here.

diningroom4

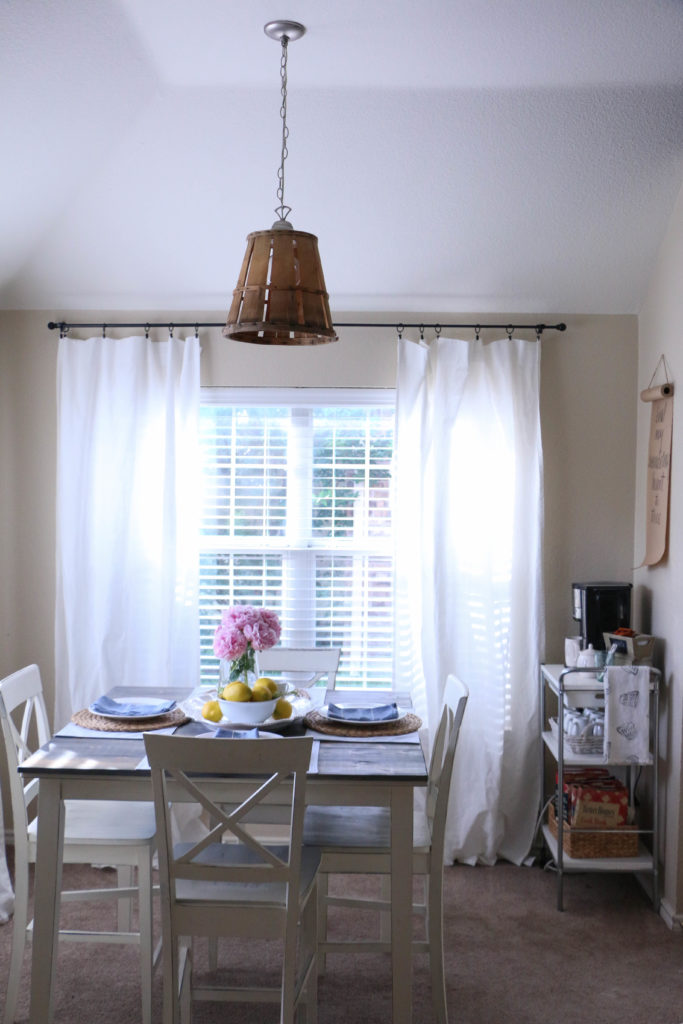
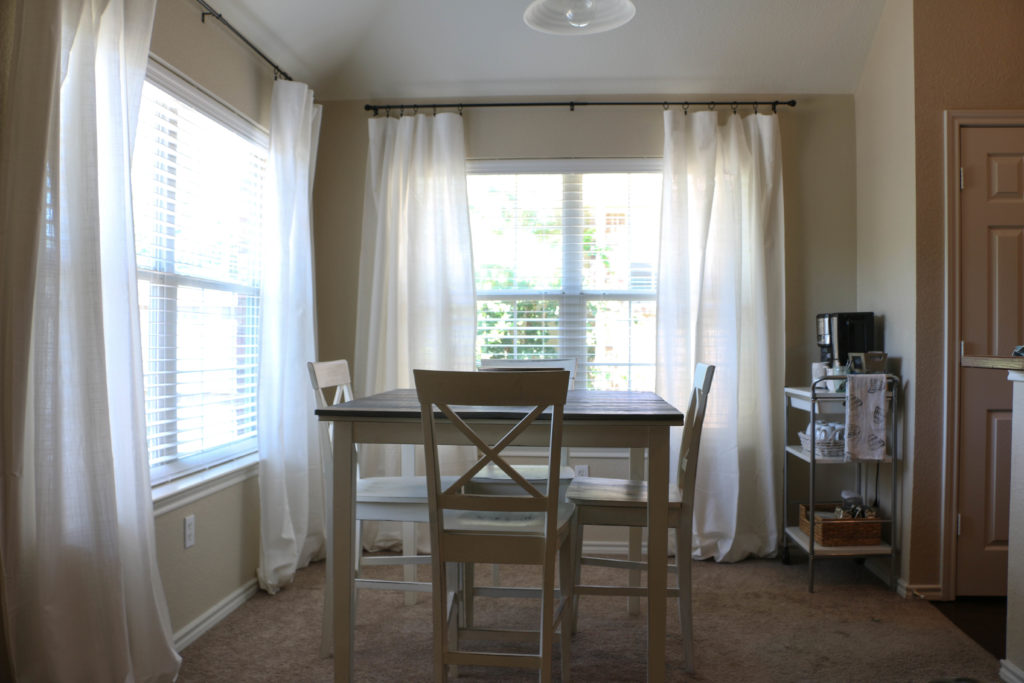
On the right hand side is the kitchen, and this picture is taken from the main living area. We have our little coffee station set up, and that’s about it. Honestly, I kind of like the bare look. Obviously that won’t be staying, but since I have little wall space here, it will never look super cluttered in here.

diningroom5

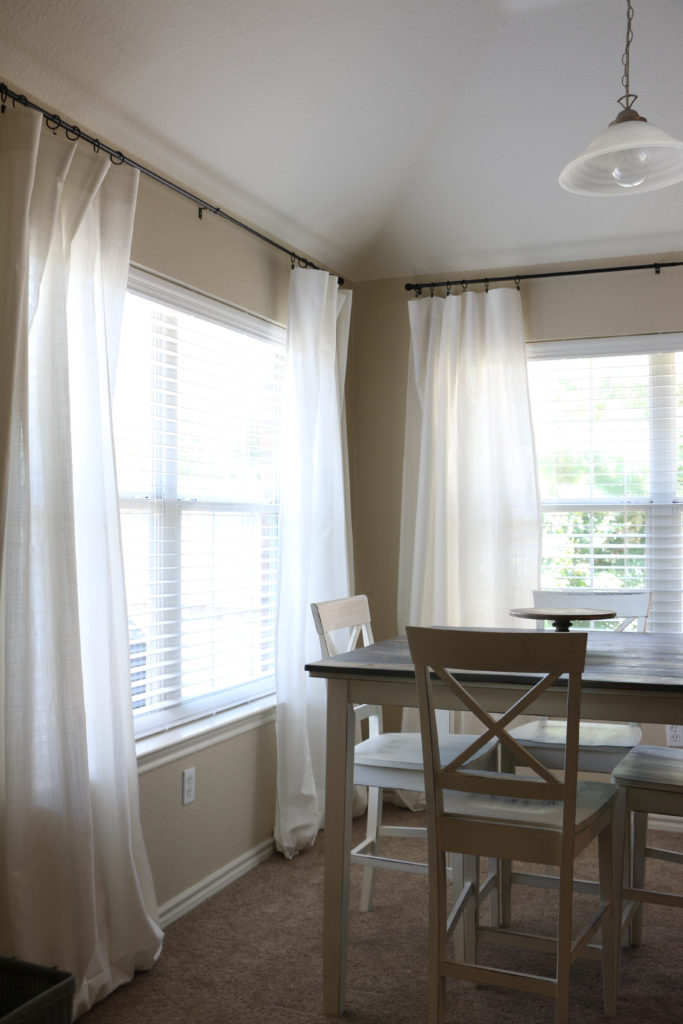
The curtains are a little bit long, as you can see here. I know some people are a fan of the puddle look, and at this point, I’m really not sure about it. I know it’ll stay this way for a while out of sheer laziness, but I might eventually get around to hemming them.

diningroom3

In the background here you can see our little coffee cart. I have an idea on what I want to put on the wall above that, but I haven’t gotten around to that yet either. It’s about the process y’all.

 diningroom1

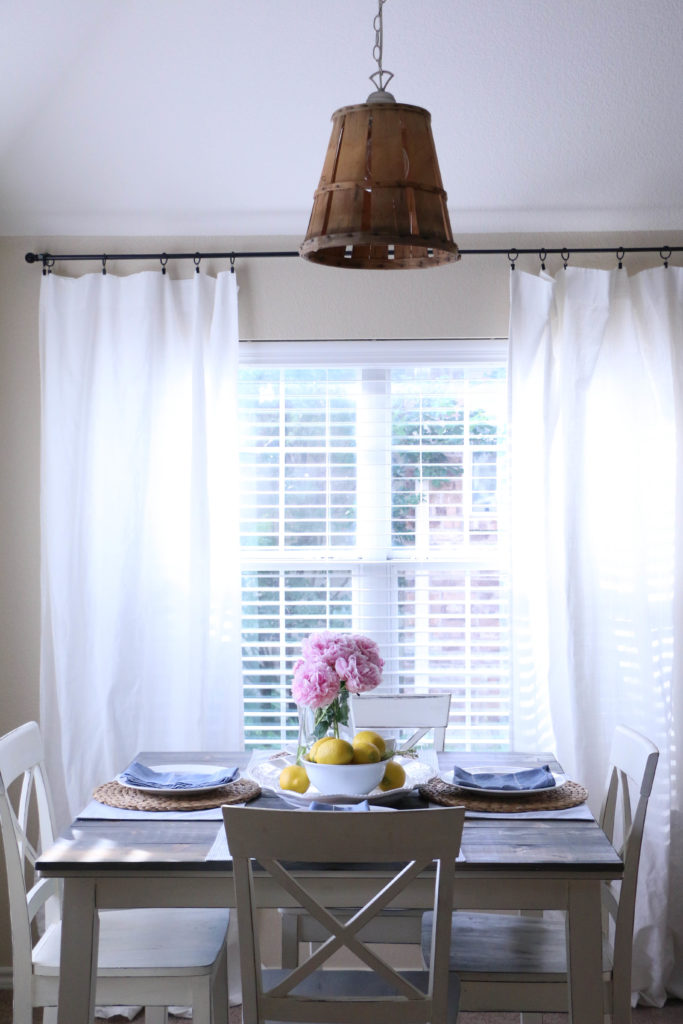
We actually have been eating here much more frequently than we ever did at our old home. I don’t really know why that is, since we had the same table and chairs (which I madeover here). This space is light and bright, and I certainly couldn’t be upset with that. For now I’m enjoying the process of putting this together slowly but surely.

blankdiningroom

The tabletop will probably be left blank until I’m ready to start decorating for fall. But since I have a whole house to put together before then, I am in no rush for fall decorating this year. I hope you enjoyed this little mini tour of our unfinished dining room. Well, that’s all for today friends. Have a fabulous day!
Holidays, Home Decor

Transitional Fall Table Setting

Hey y’all! I don’t know if you’ve realized this…but it’s September now, so that means when it comes to fall decor, it’s on! Here in Texas though, we’re still averaging temps in the nineties each day. I’m ready for fall, but the weather says otherwise! My response to that is a sort of transitional summer/fall decor theme around my house. I’ve put out pumpkins and pinecones, but my hydrangeas are still out as well.

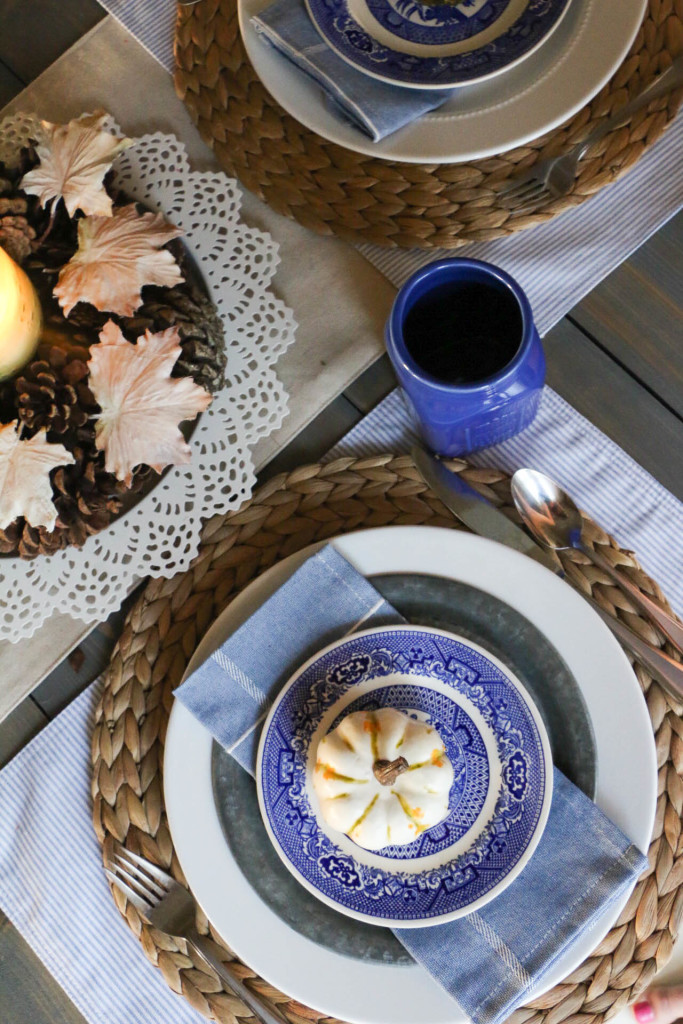
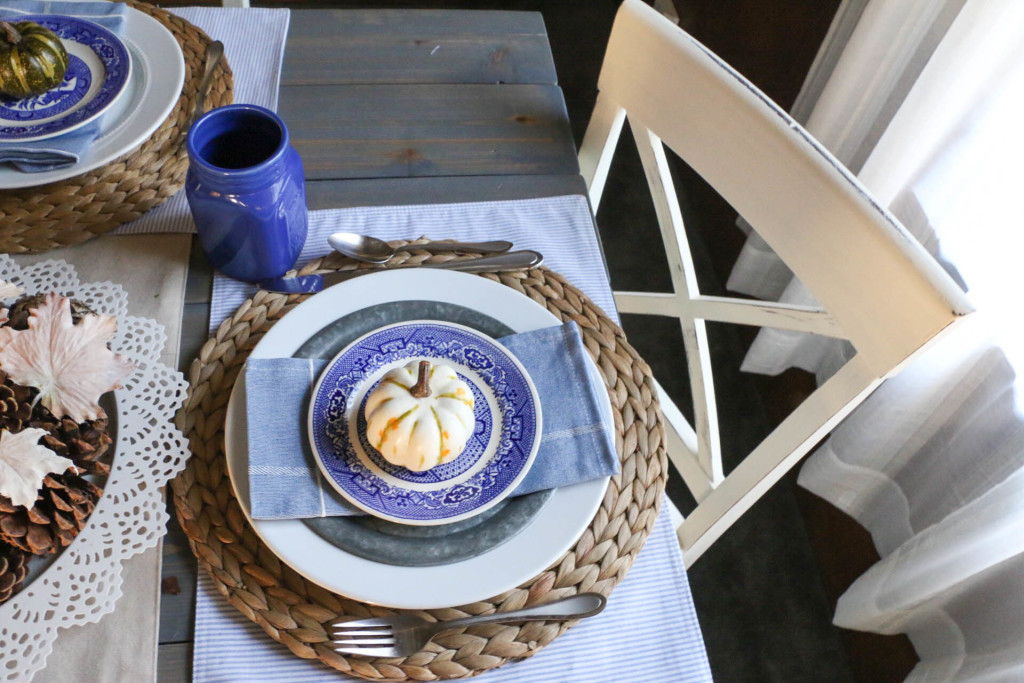
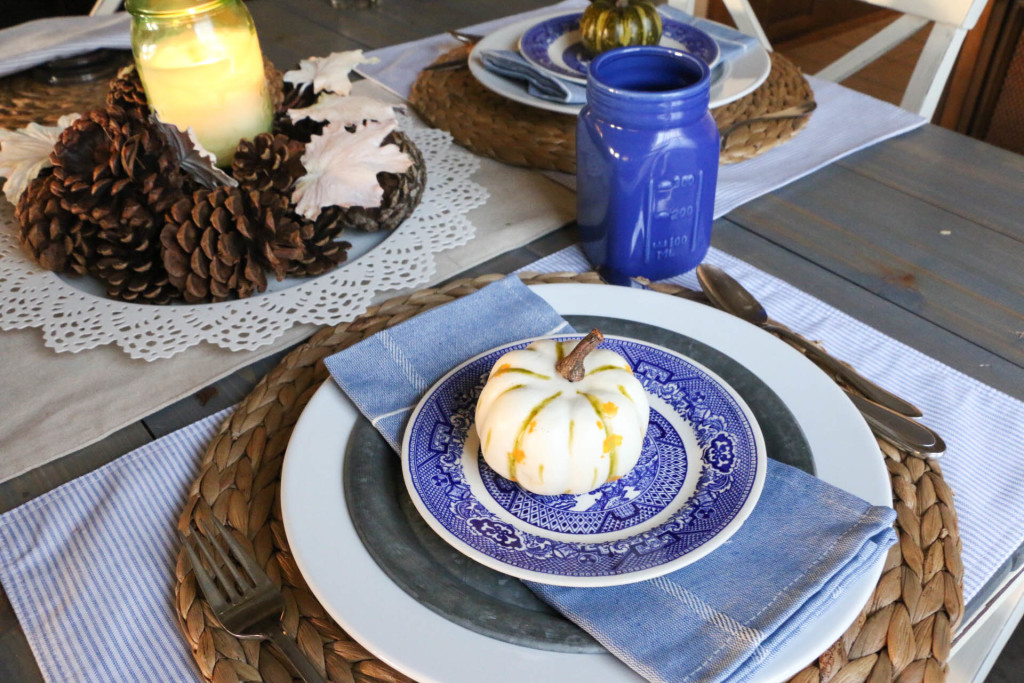
Today I wanted to share with you a quick summer/fall table setting. Y’all know I’m all about cheap decor around here, so this table setting is a hodge-podge of thrifted, gifted, and found items. summerfalltable3

My smaller plates were found at a flea market, and everything else has been bought on sale. I’m learning in decorating that there really aren’t many rules that can’t be broken. Seersucker and pumpkins? Sure, why not?!

(Is there a hand hidden in this picture? I’ll never tell.)

Summerfalltable1

I wanted this setting to say both “summer” and “fall” without being too clashy. This eclectic mix of pieces works for me because it’s casual, easy, and it feels both summery and autumnal.

summerfalltable2

Just wanted to drop in and show y’all a little seasonal inspiration. I realize this is super quick, but it was easy! Set your table, I promise you, it’ll make you feel like you’re way on top of things. A pretty table inspires me to sit and eat dinner (and staying away from dinner on the couch…which NEVER happens at our house. *cough*).

 Are you bringing in fall decor? Are you in full blown pumpkin mode, or are you more like me doing things slowly? I’d love to hear about it! That’s all for today. Have a fabulous day, friends!

DIY Projects, Furniture Makeover

Dining Room Table Makeover

Hey Y’all! Today I’m sharing what is hands down my favorite project to date. This is definitely the biggest impact project I have done, and I am IN LOVE with the result.

So, cue the before picture:

TableBefore

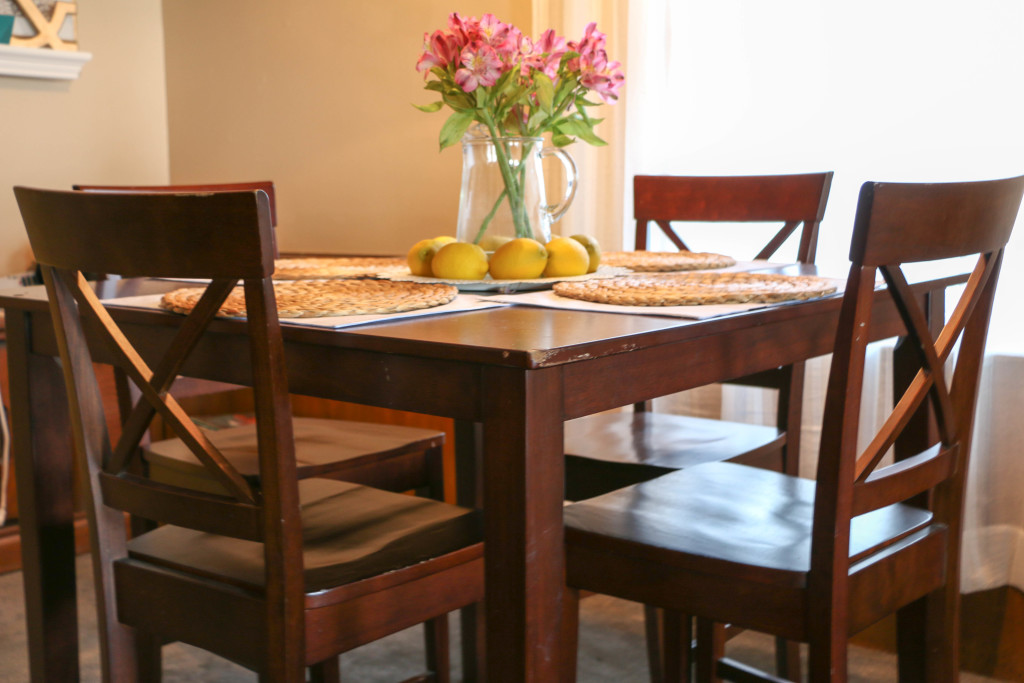
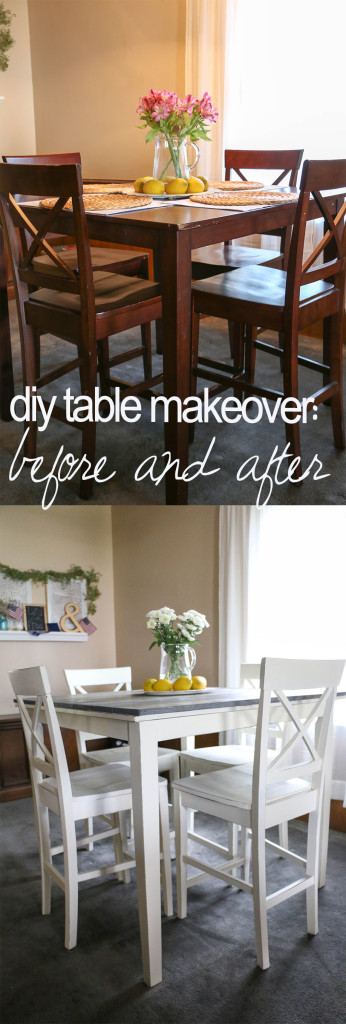
This dining set has seen better days. I believe it’s from Target, but I’m honestly not even sure. My husband bought it for $50 long before we were married from a couple who was moving. It had been their newlywed table, and we inherited it as our newlywed table. It’s not awful, but it’s a dark, basic, “starter” table in all its MDF glory. Clearly not my favorite thing. You can see why I needed to update this baby.

I got my first supply of Annie Sloan Chalk Paint for my birthday, and I decided to give it a try.

Chair during

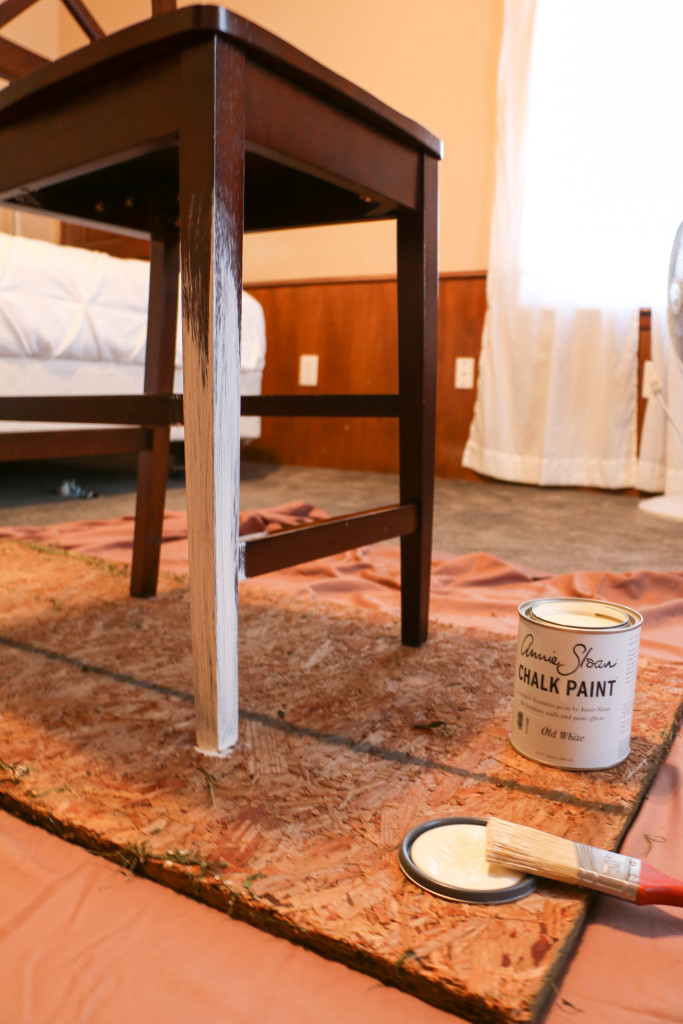
This labor of love took several days, but it was so worth it. As you can see, I started with a coat of Annie Sloan’s Old White. What’s shown here is the very first coat. I ended up doing two full coats and a third coat just in certain areas.

Chair After

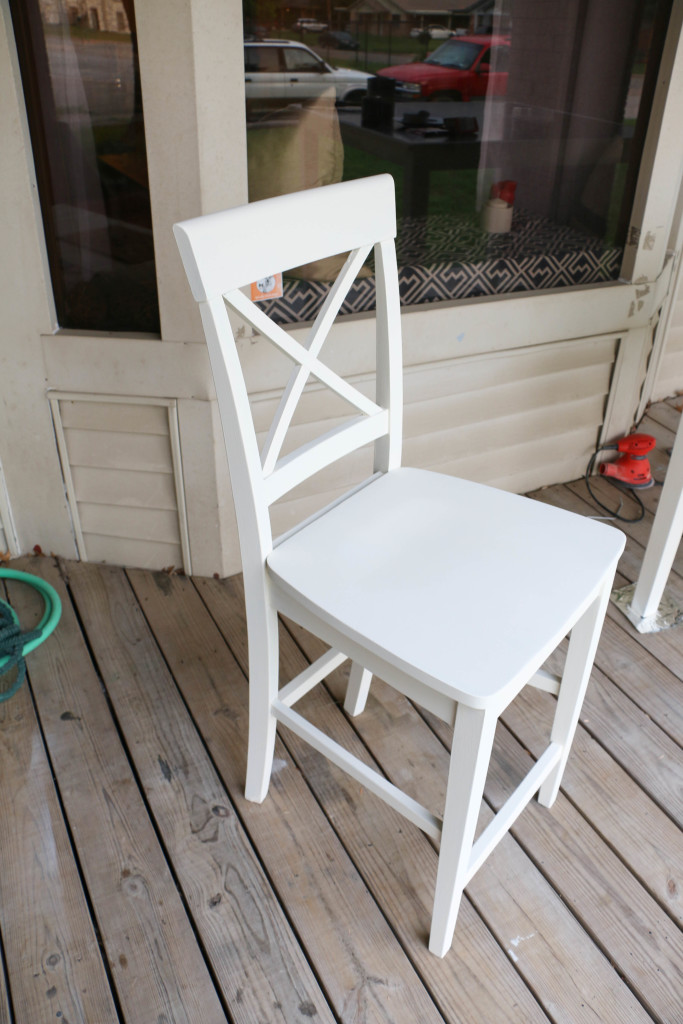
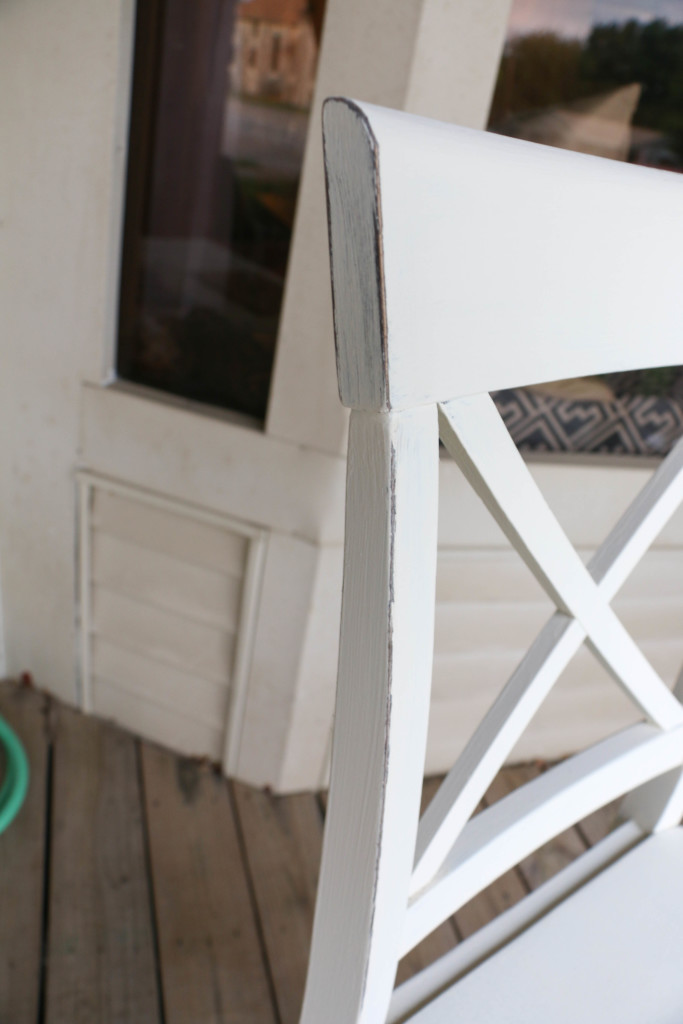
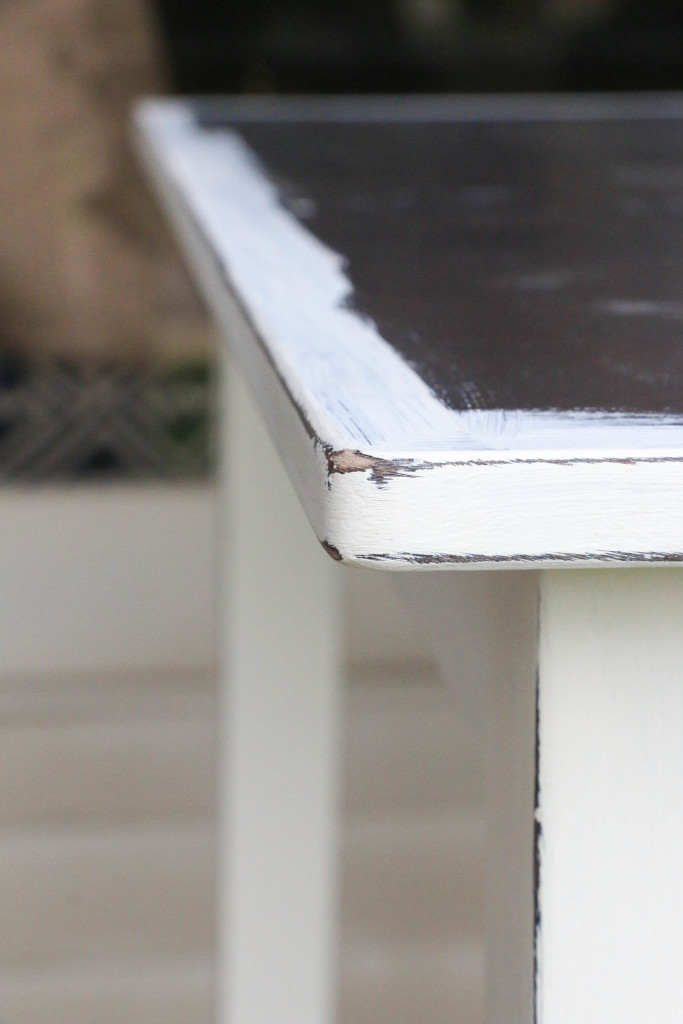
This is the end result of my hard work. I wanted to go for a bit of a distressed look (not too much), so I lightly sanded around the natural edges of the chairs and tables.

 Chair Close Up

table close up

That messy porch workshop of mine. Sorry, y’all. In the photo of the table, you can see that I painted about an inch onto the tabletop. I didn’t paint the whole thing, because I felt like that would just be a waste. I didn’t want any unpainted parts to show through when I added the top though, so I just painted around the edges.

wax

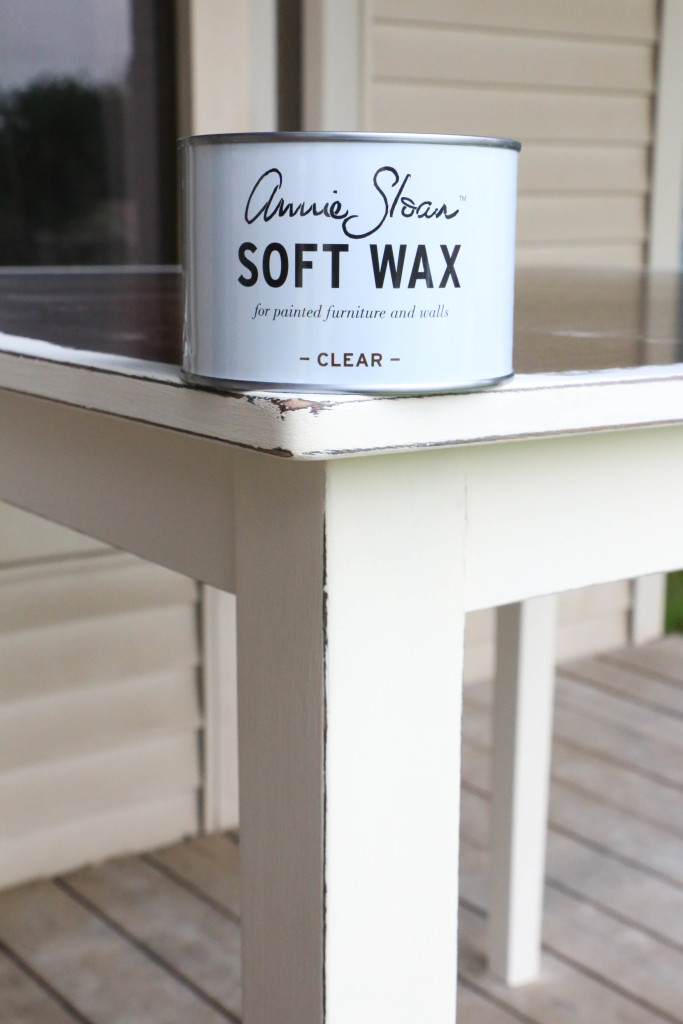
Next comes the wax. Chalk paint needs an application of wax after the paint is dry. It’s a tricky process, but I seemed to manage. I think I’m going to do a separate post on my experience using this paint. Anyway, once the wax was applied, it was time to work on the tabletop.

Sanded Boards

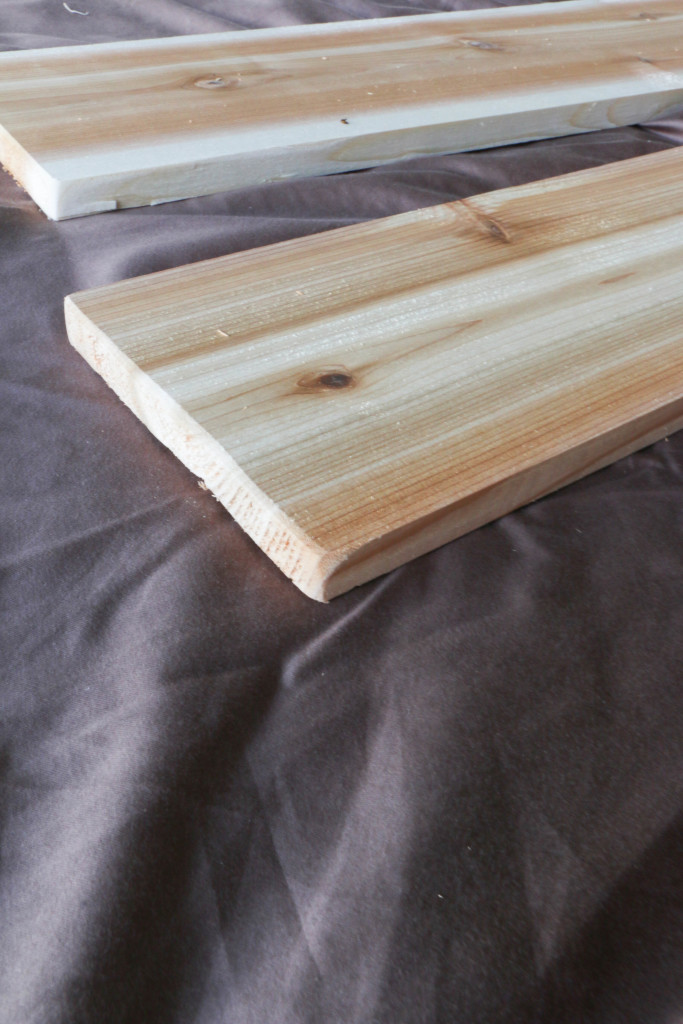
First thing I did was sand the sharp edges of each board. We used 8 1×6 cedar planks cut to 42 inches (the width of our table). I wanted a rustic look, but not a give-you-splinters-while-you’re-eating-dinner look.

Stained Boards

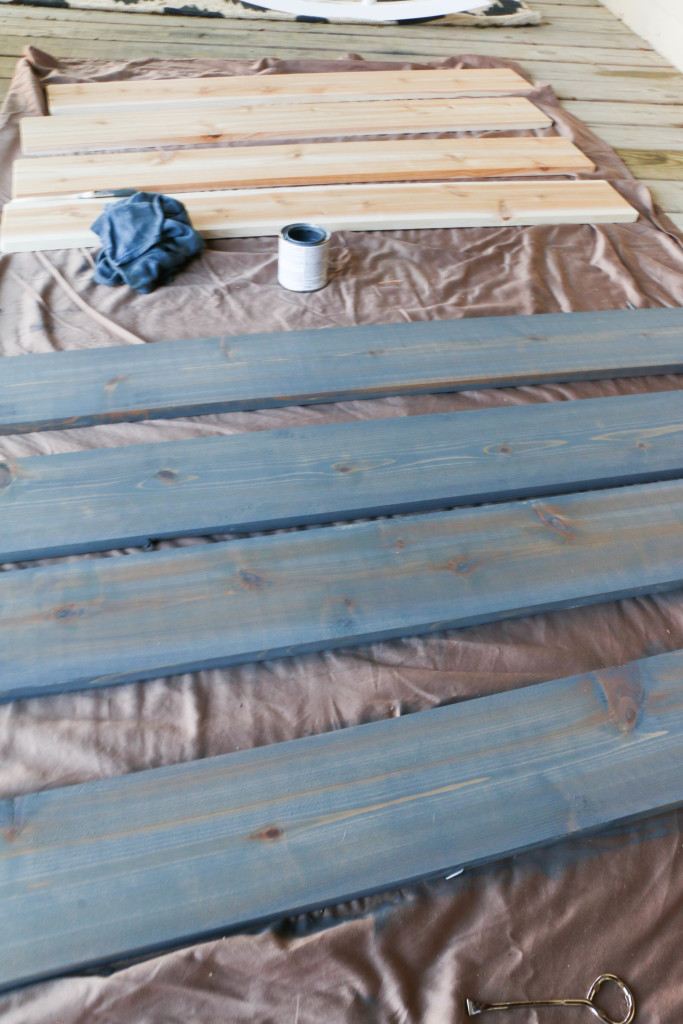
Then I stained each of the boards. I have learned by now that gloves are a must while staining. Just…don’t go to school with stain all over your hands and knees. Your students will not appreciate it.

This is the stain I used:

IMG_1395

As you can see in the above photo, the color on the can isn’t quite how it turned out, but that’s alright. Up until this point, this project had been completely mine. I did have to enlist my husband to help with the next step, though.

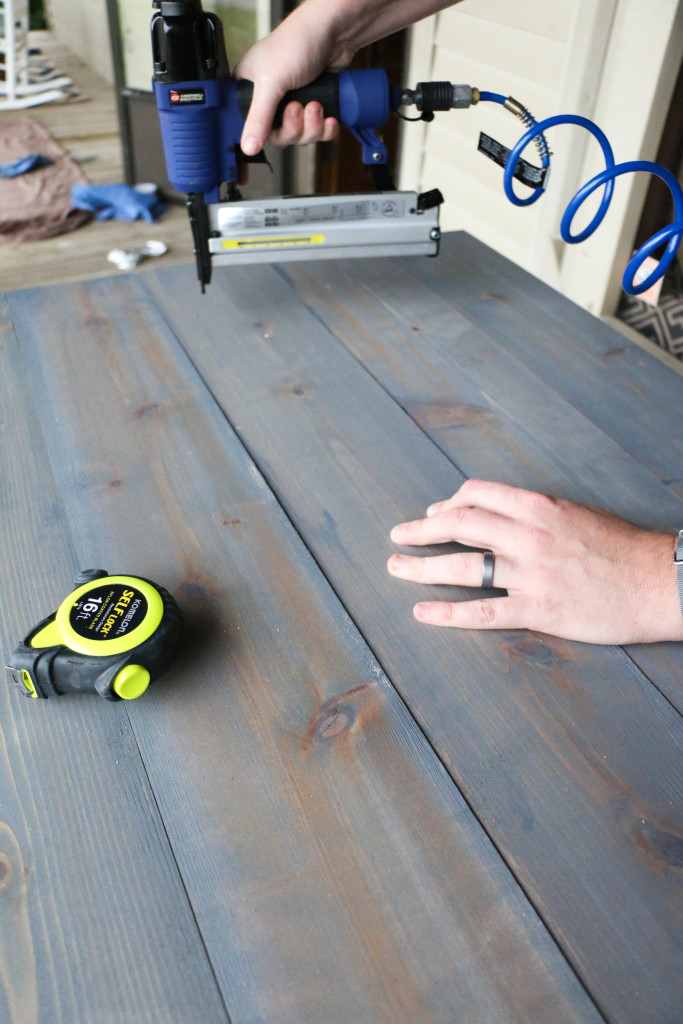
We lined the tabletop with the newly stained boards, and nailed them in place.

nailed boards

Can I also just say that nail guns are really awesome? Okay, that’s all.

Poly

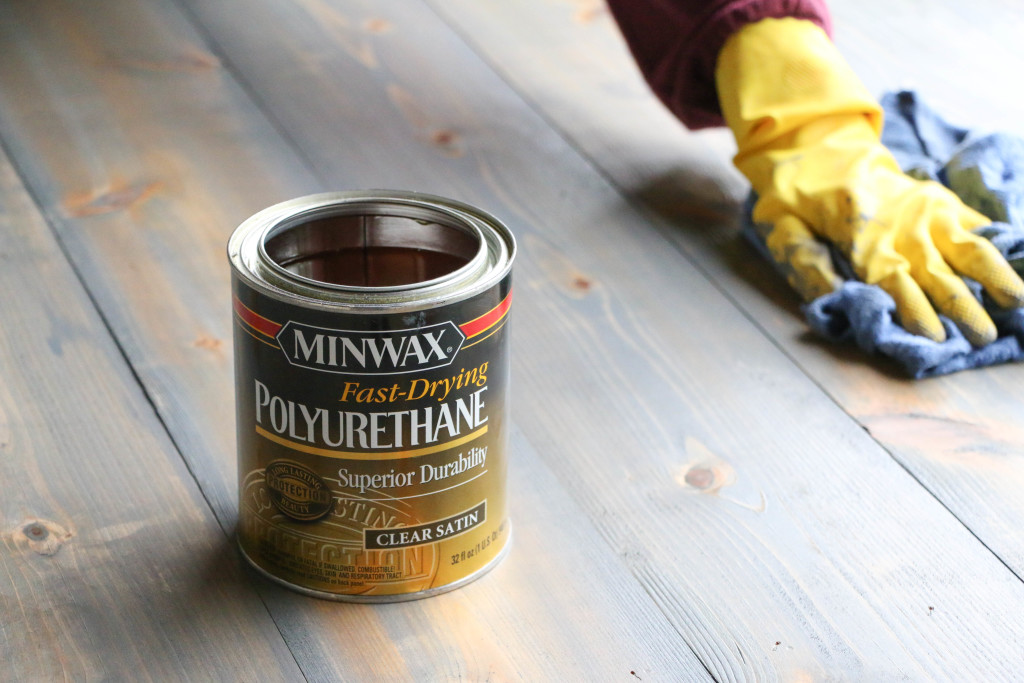
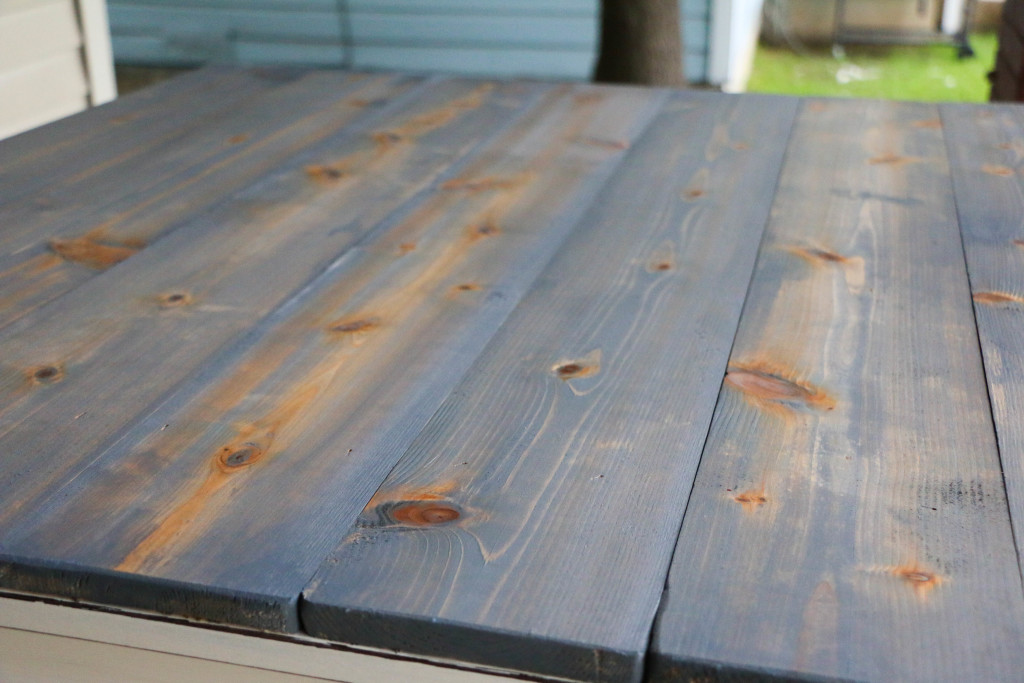
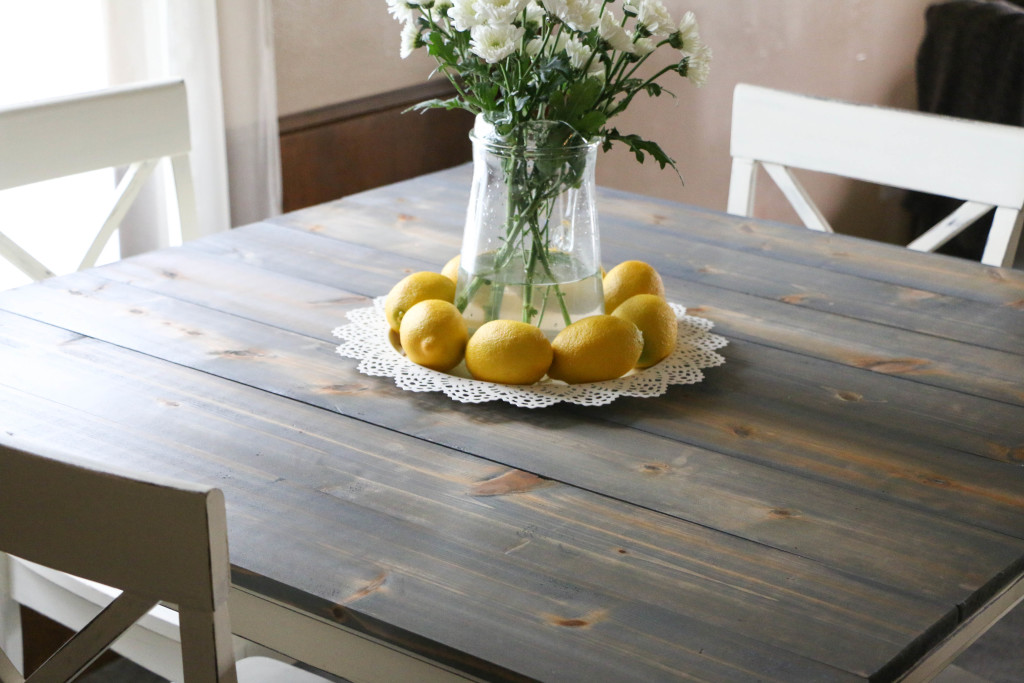
I added a coat of Polyurethane to the top to protect the finish. The poly brought out the wood grain even more and made the top look SO GOOD.

poly2

This photo shows how much the poly enhanced the wood grain. Hello, beautiful. After this, we waited for it to dry so we could move it back into the dining room. Never mind the fact that the dining room had been awkwardly empty for a week at this point.

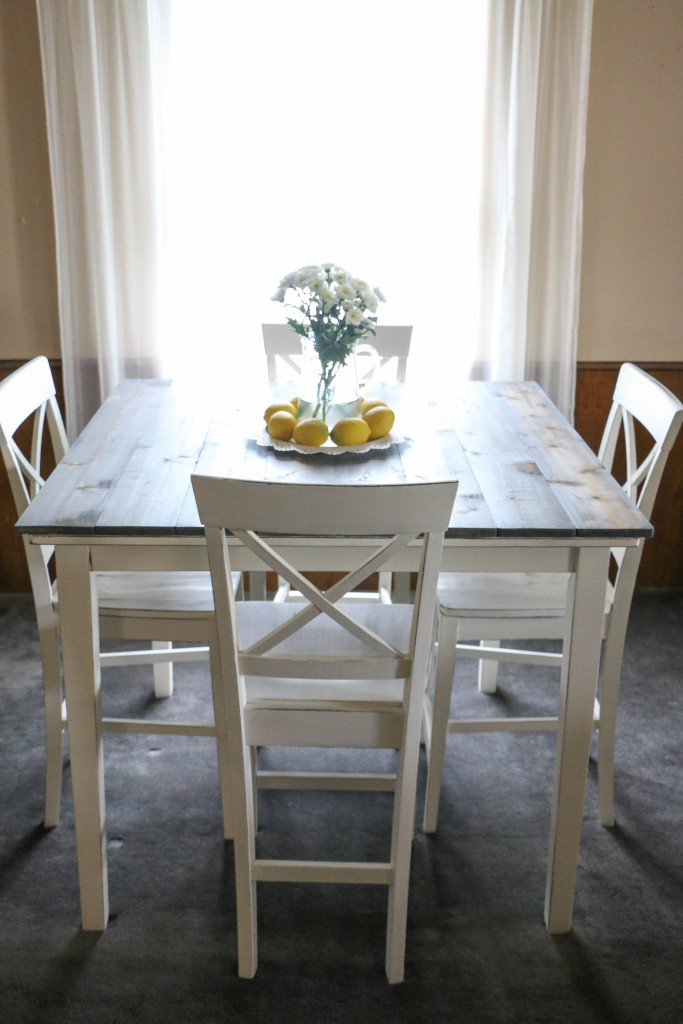
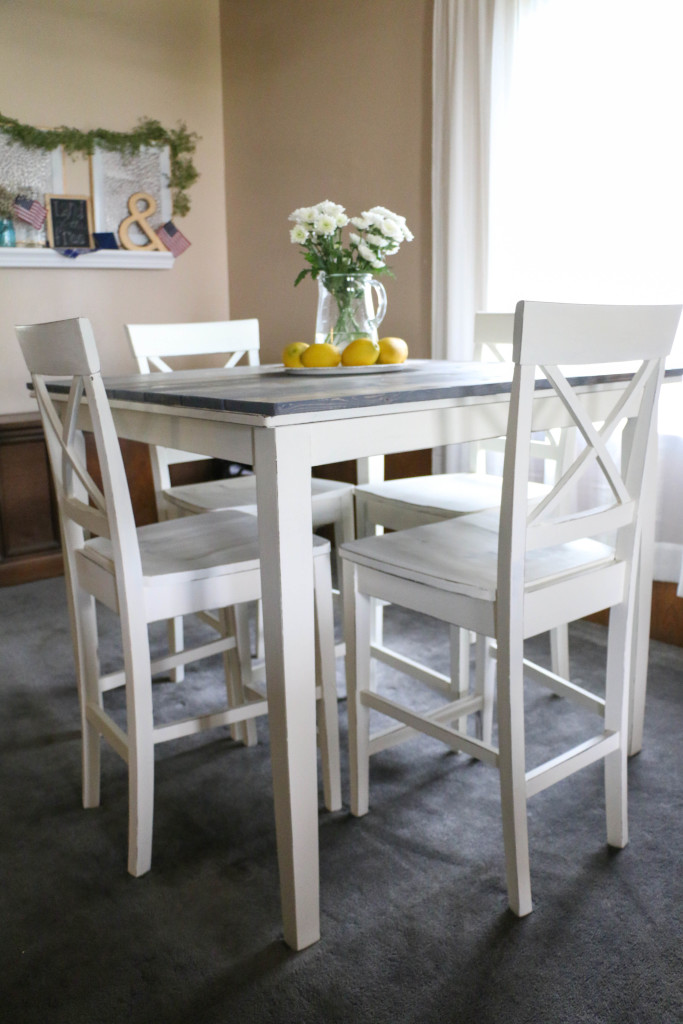
Here she is, my new table! She doesn’t look quite so newlywed basic anymore!

after5

We decided to leave about an inch of overhang on either side to create just a little bit more surface area.

after4

We can’t do anything about the dark carpet or paneling, or wall color, so this table makes a big impact. It lightens up the space so much!

after3

after1

Remember how dark it was before? The before/after pictures were taken at the same time of day! I am loving this table now, and definitely won’t be parting with it for a LONG time.
Like I mentioned earlier, I’m going to do a more in depth post on my experience with Annie Sloan Chalk Paint, so stay tuned for that! That’s all for today. Have a fabulous day, friends!
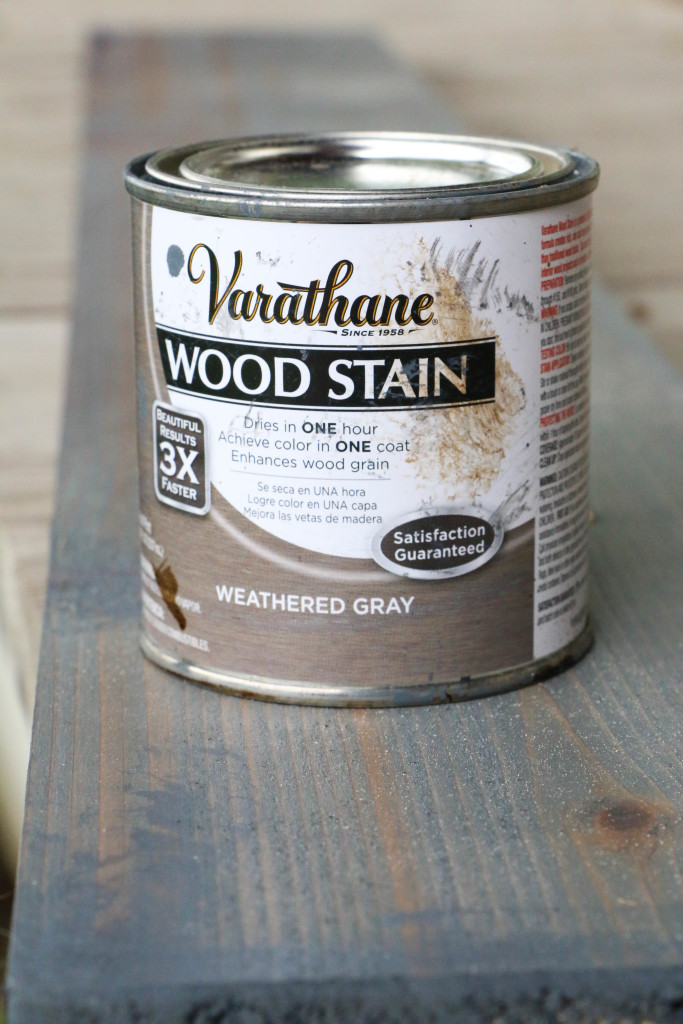
table before after