Browsing Tag

budget friendly

Room Tours, Uncategorized

Bedroom Update: We Have a Rug!

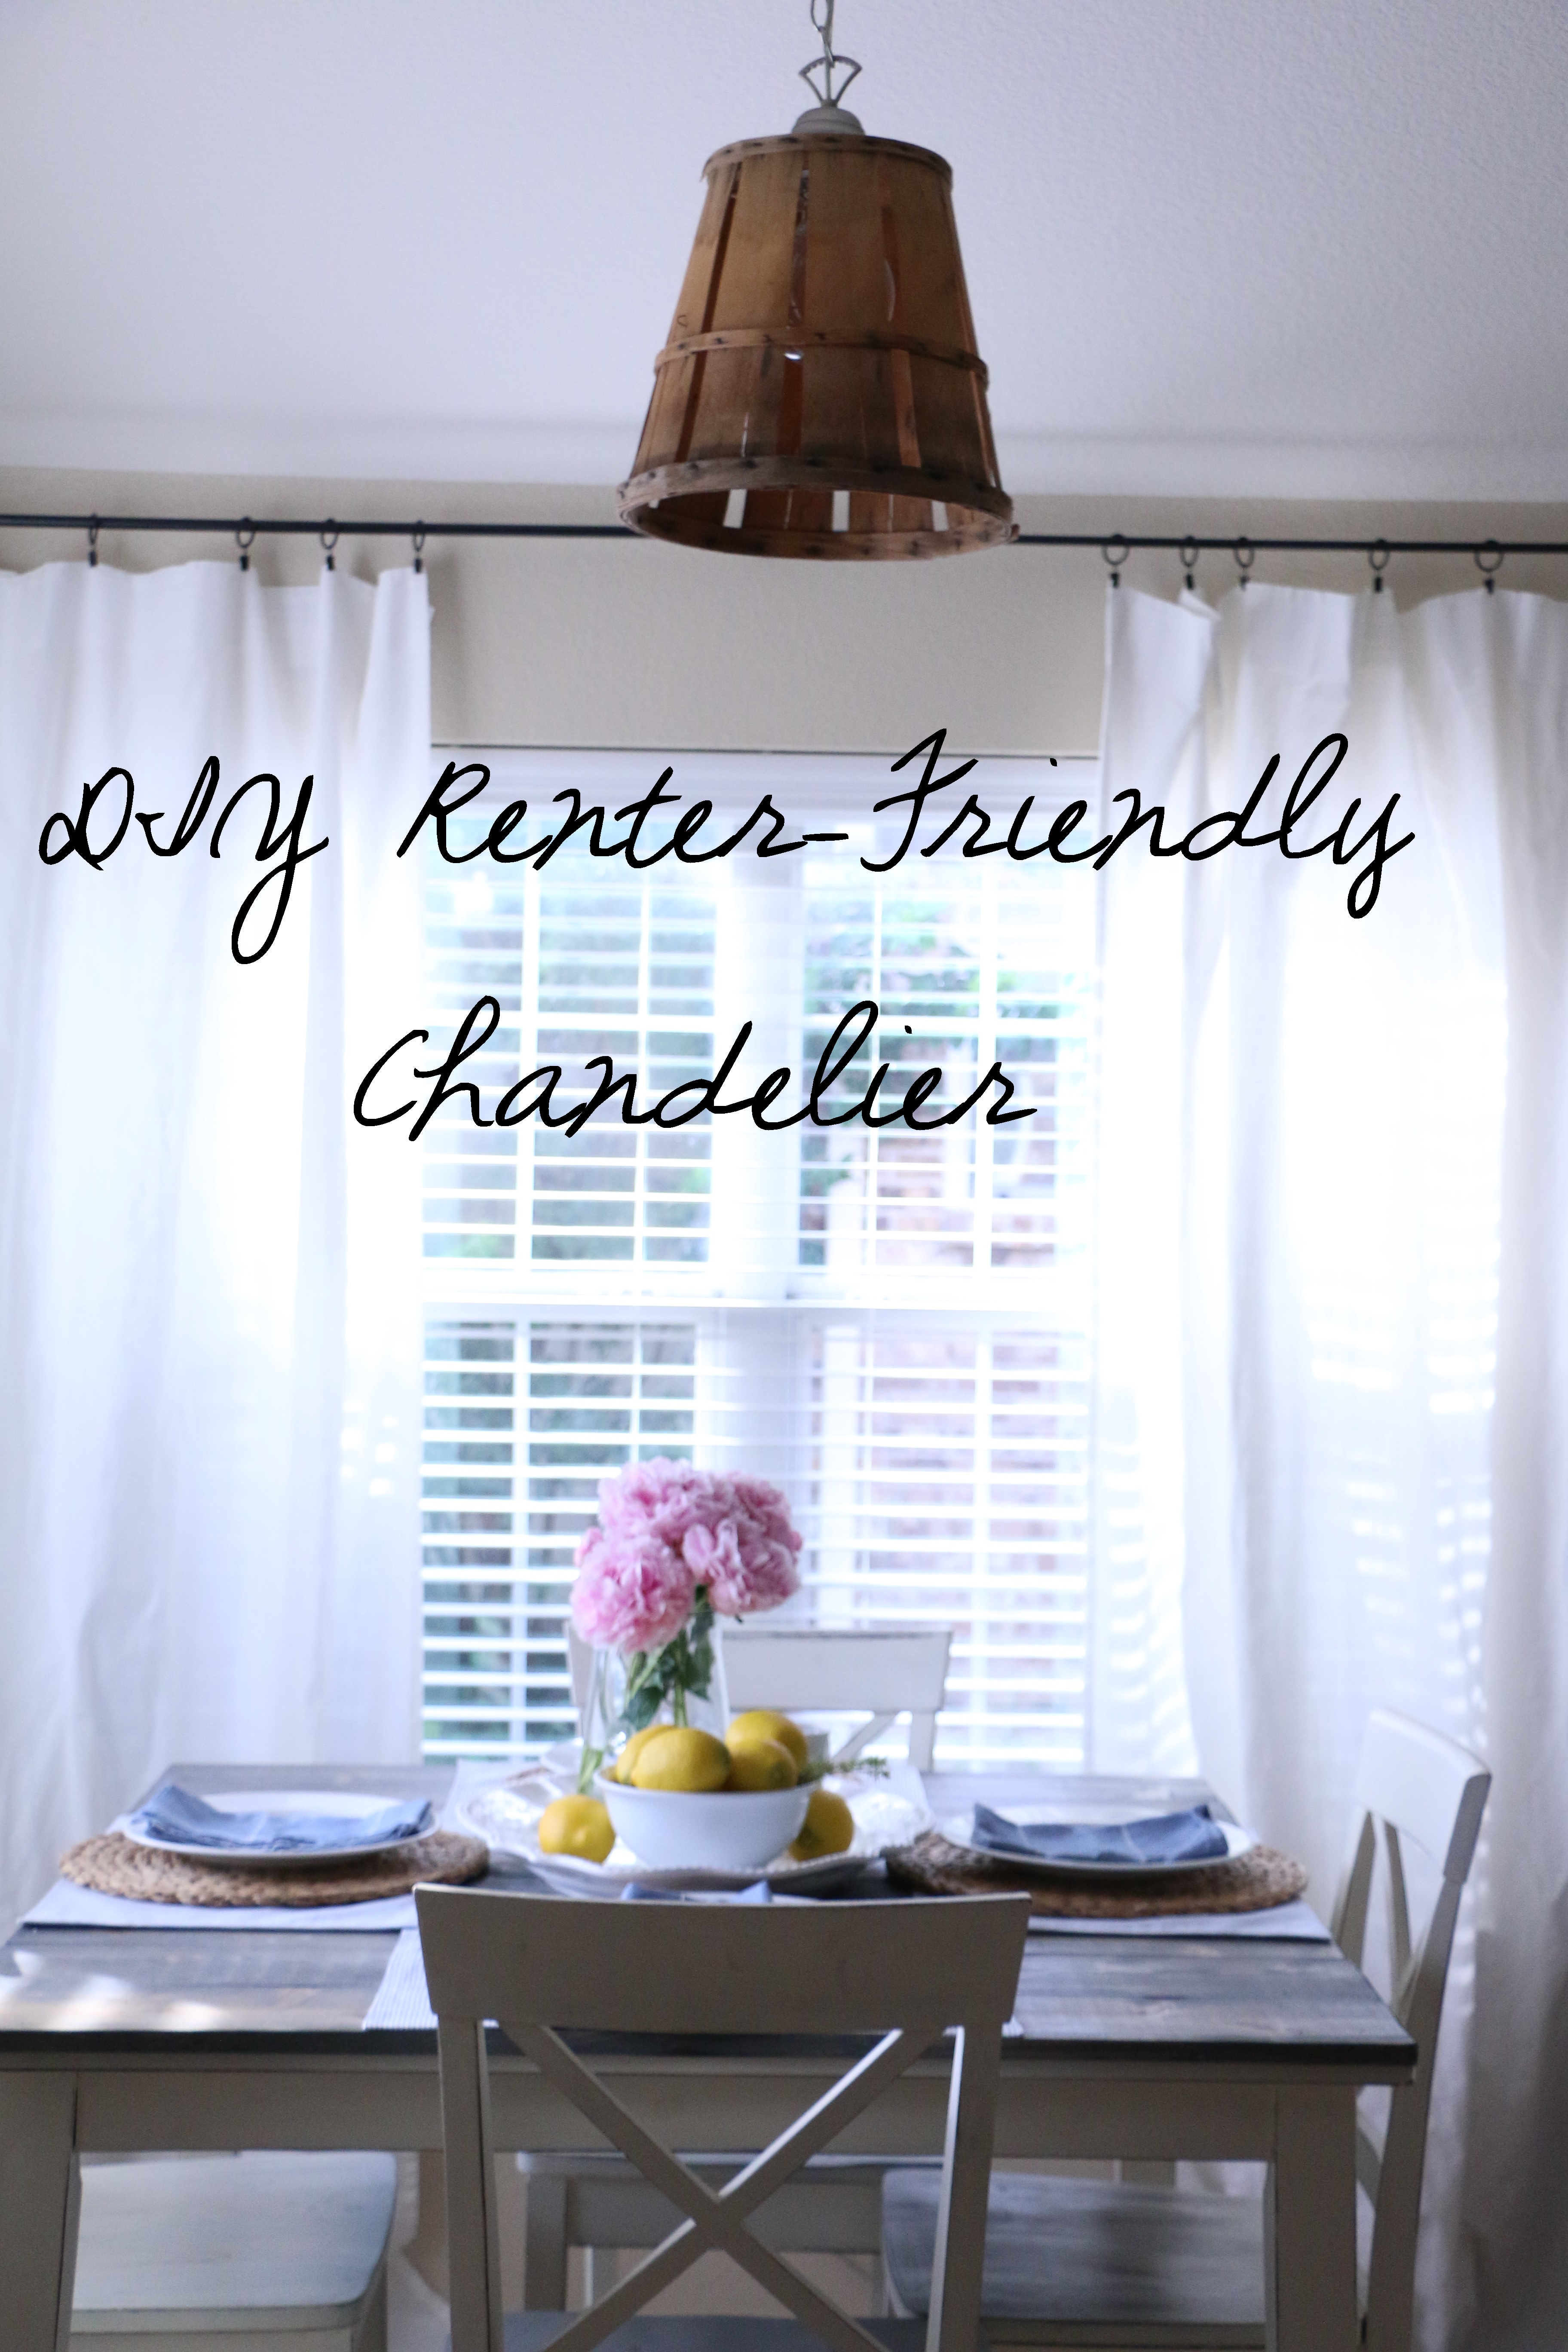
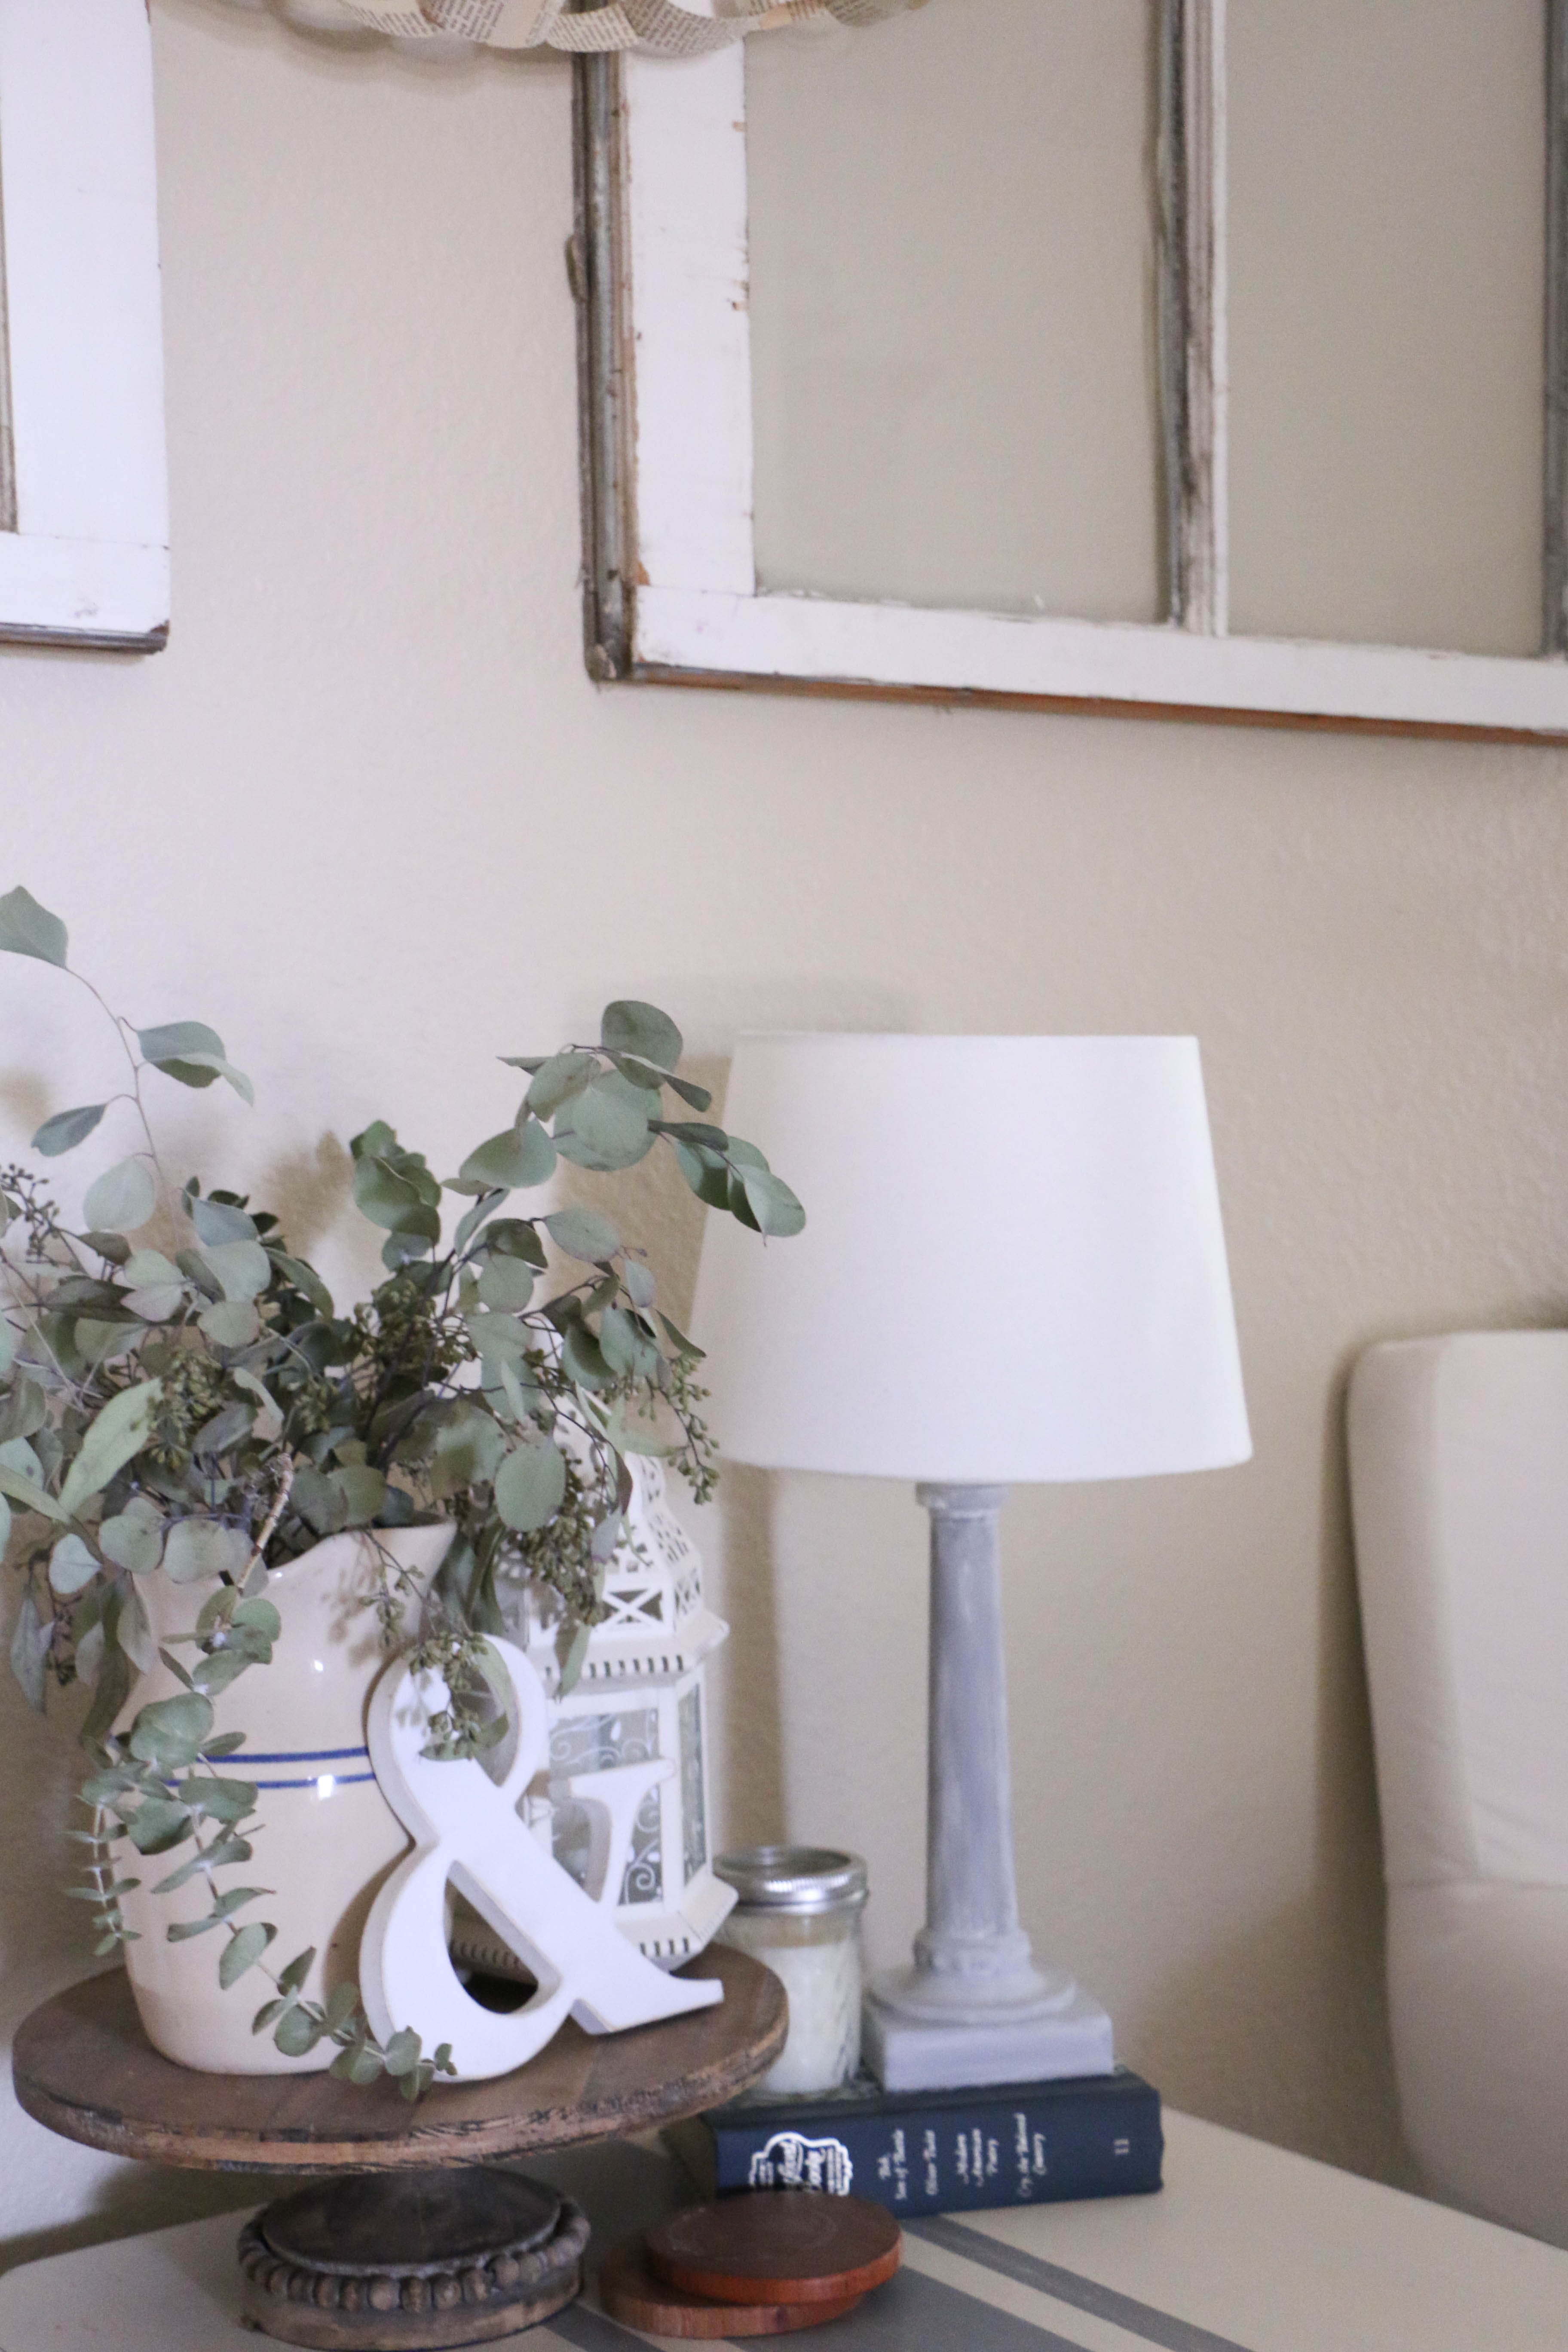
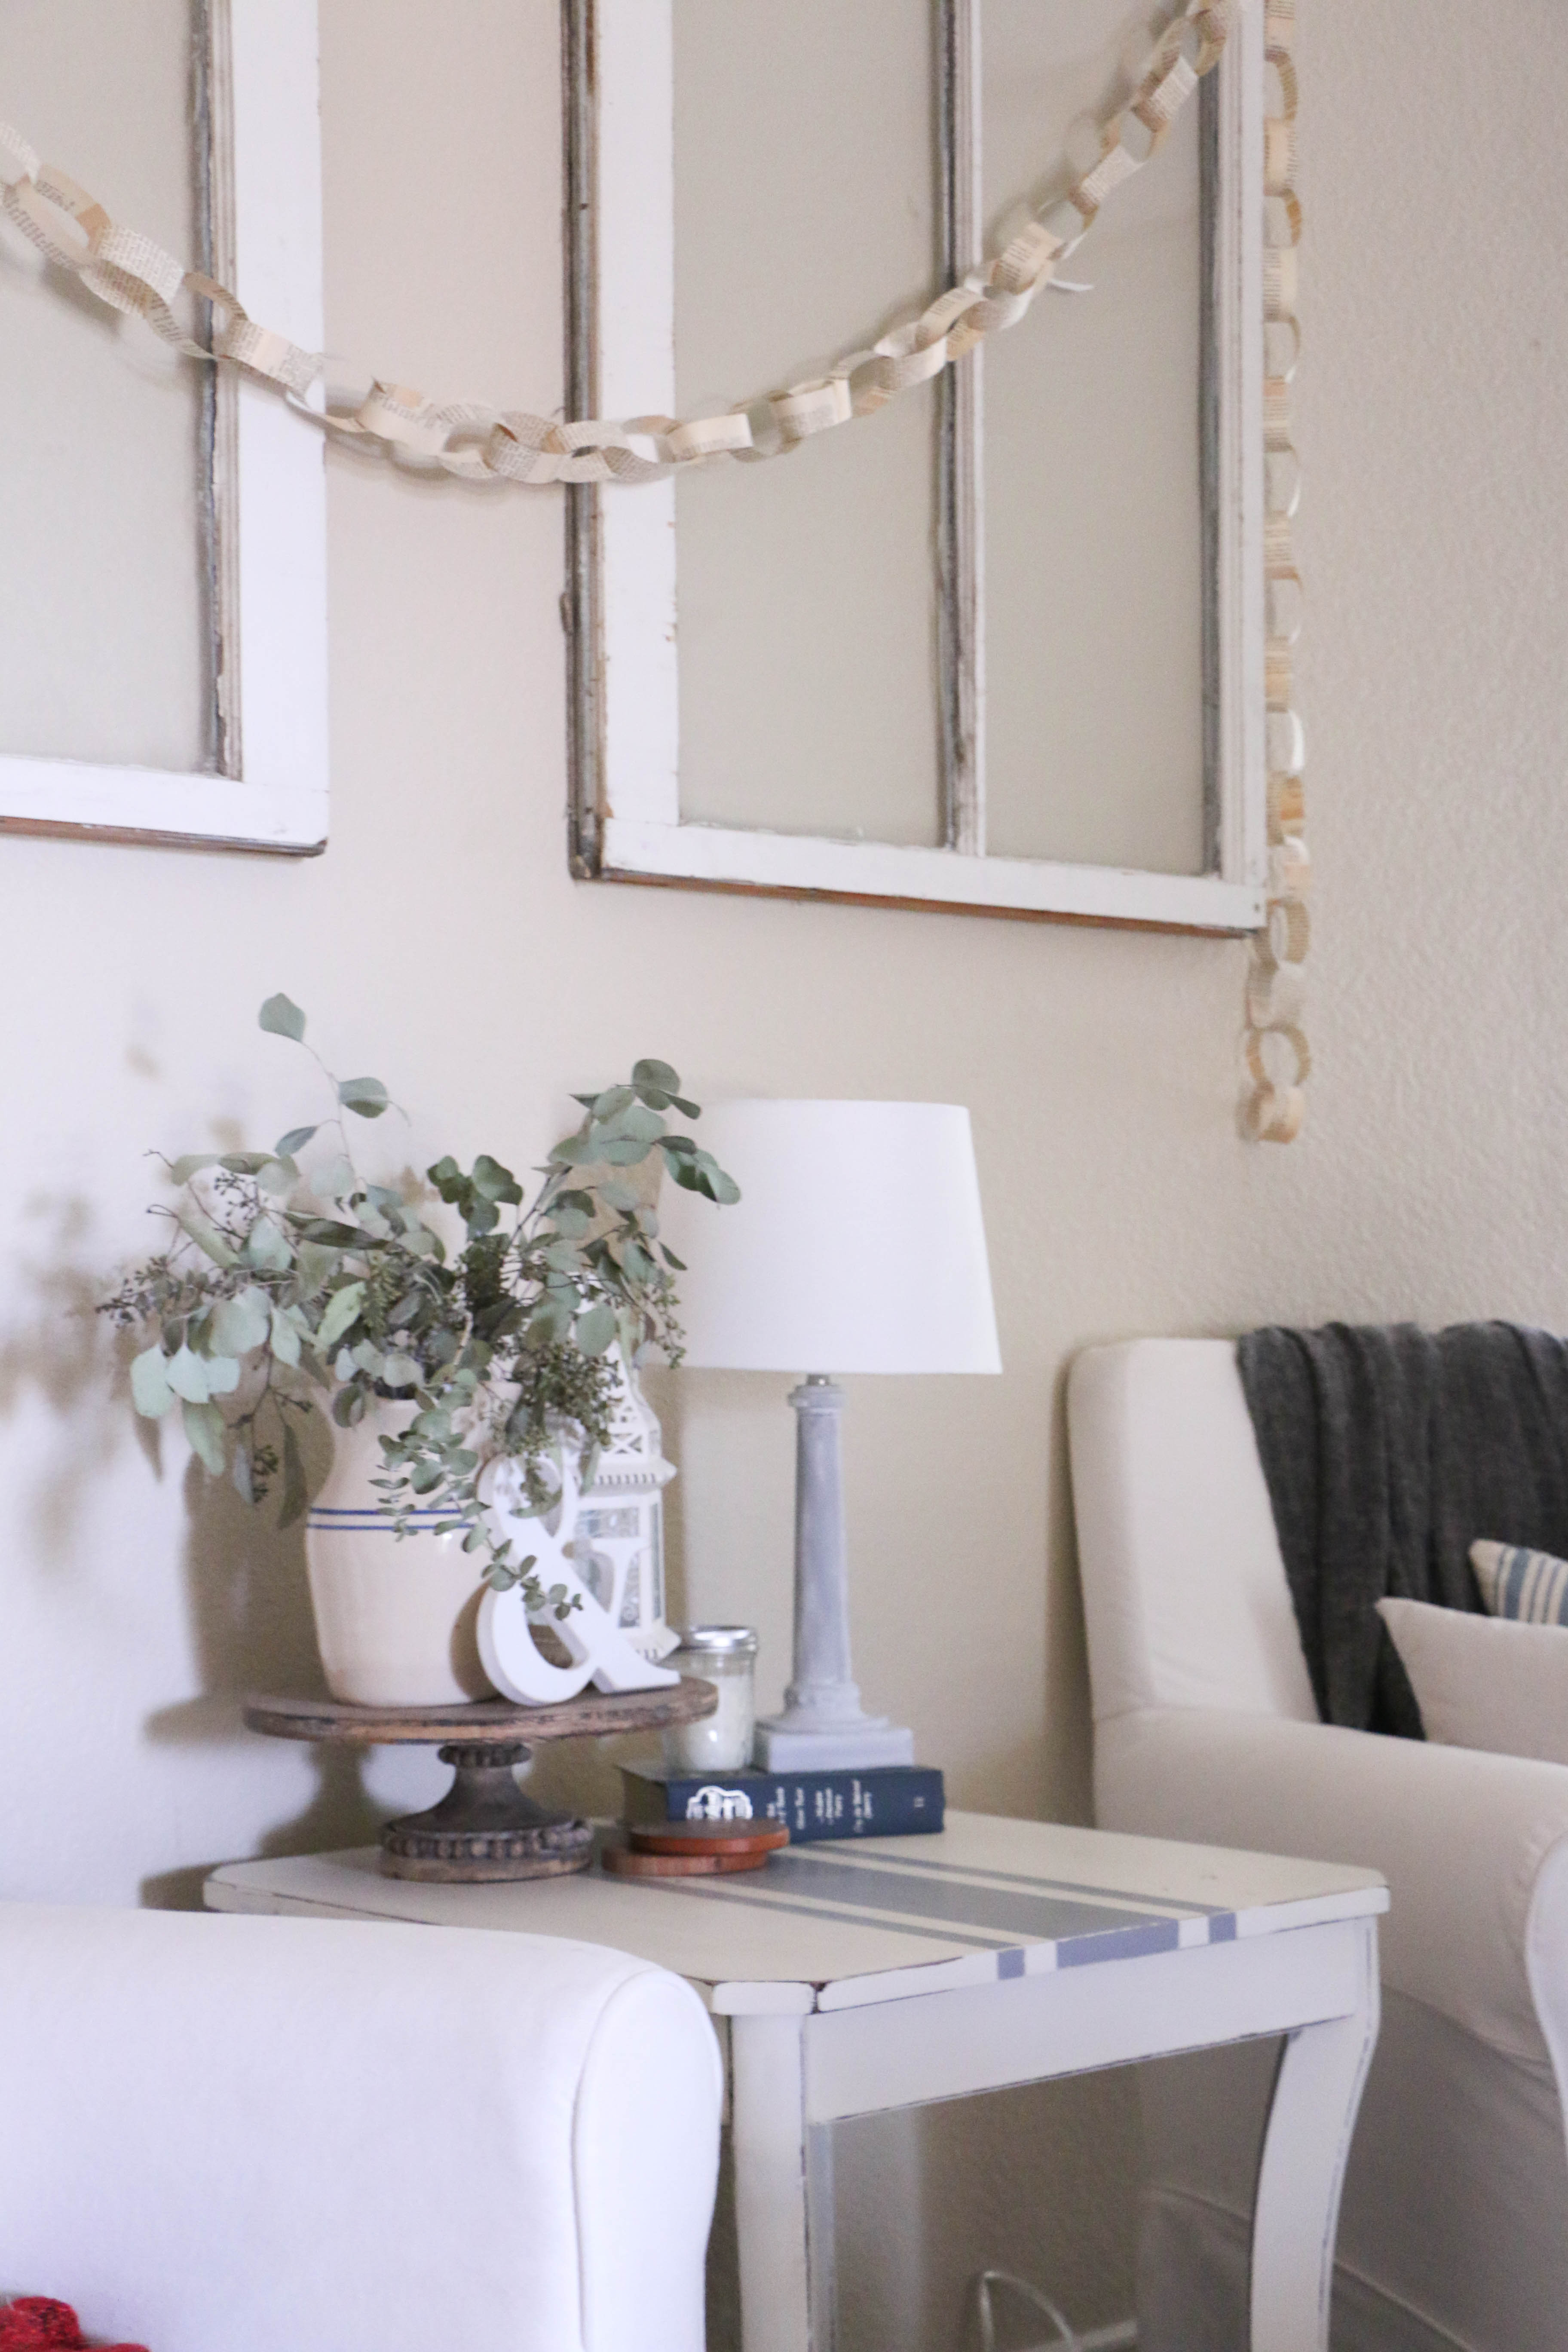
Hello all! Wow. It’s been awhile! *covers face in shame* I’m so sorry about that…time gets away so quickly, doesn’t it? Well, I have a little update to share today, which really could be summed up by the title alone, but of course, I’m going to chat about it a bit.

So, we’ve lived in this house for a year and a half. It’s a rental, blah blah blah, you know the spiel. Our bedrooms have tile, and that’s absolutely the last thing I would choose for a bedroom if I were the owner of this house, but I’m not, so I suck it up and move along. Anyway, we have been here a while, and I have always intended to add a rug to this bedroom, but for whatever reason, I’ve never set aside the money in the budget.

So when I received some gift cards, the hunt was finally on for a bedroom rug. If you follow me on Instagram, you may have seen in my stories a few weeks ago where I posted a few options of rugs that I was thinking of. I ended up going with the one less people liked, but #yolo guys. Go with your gut.

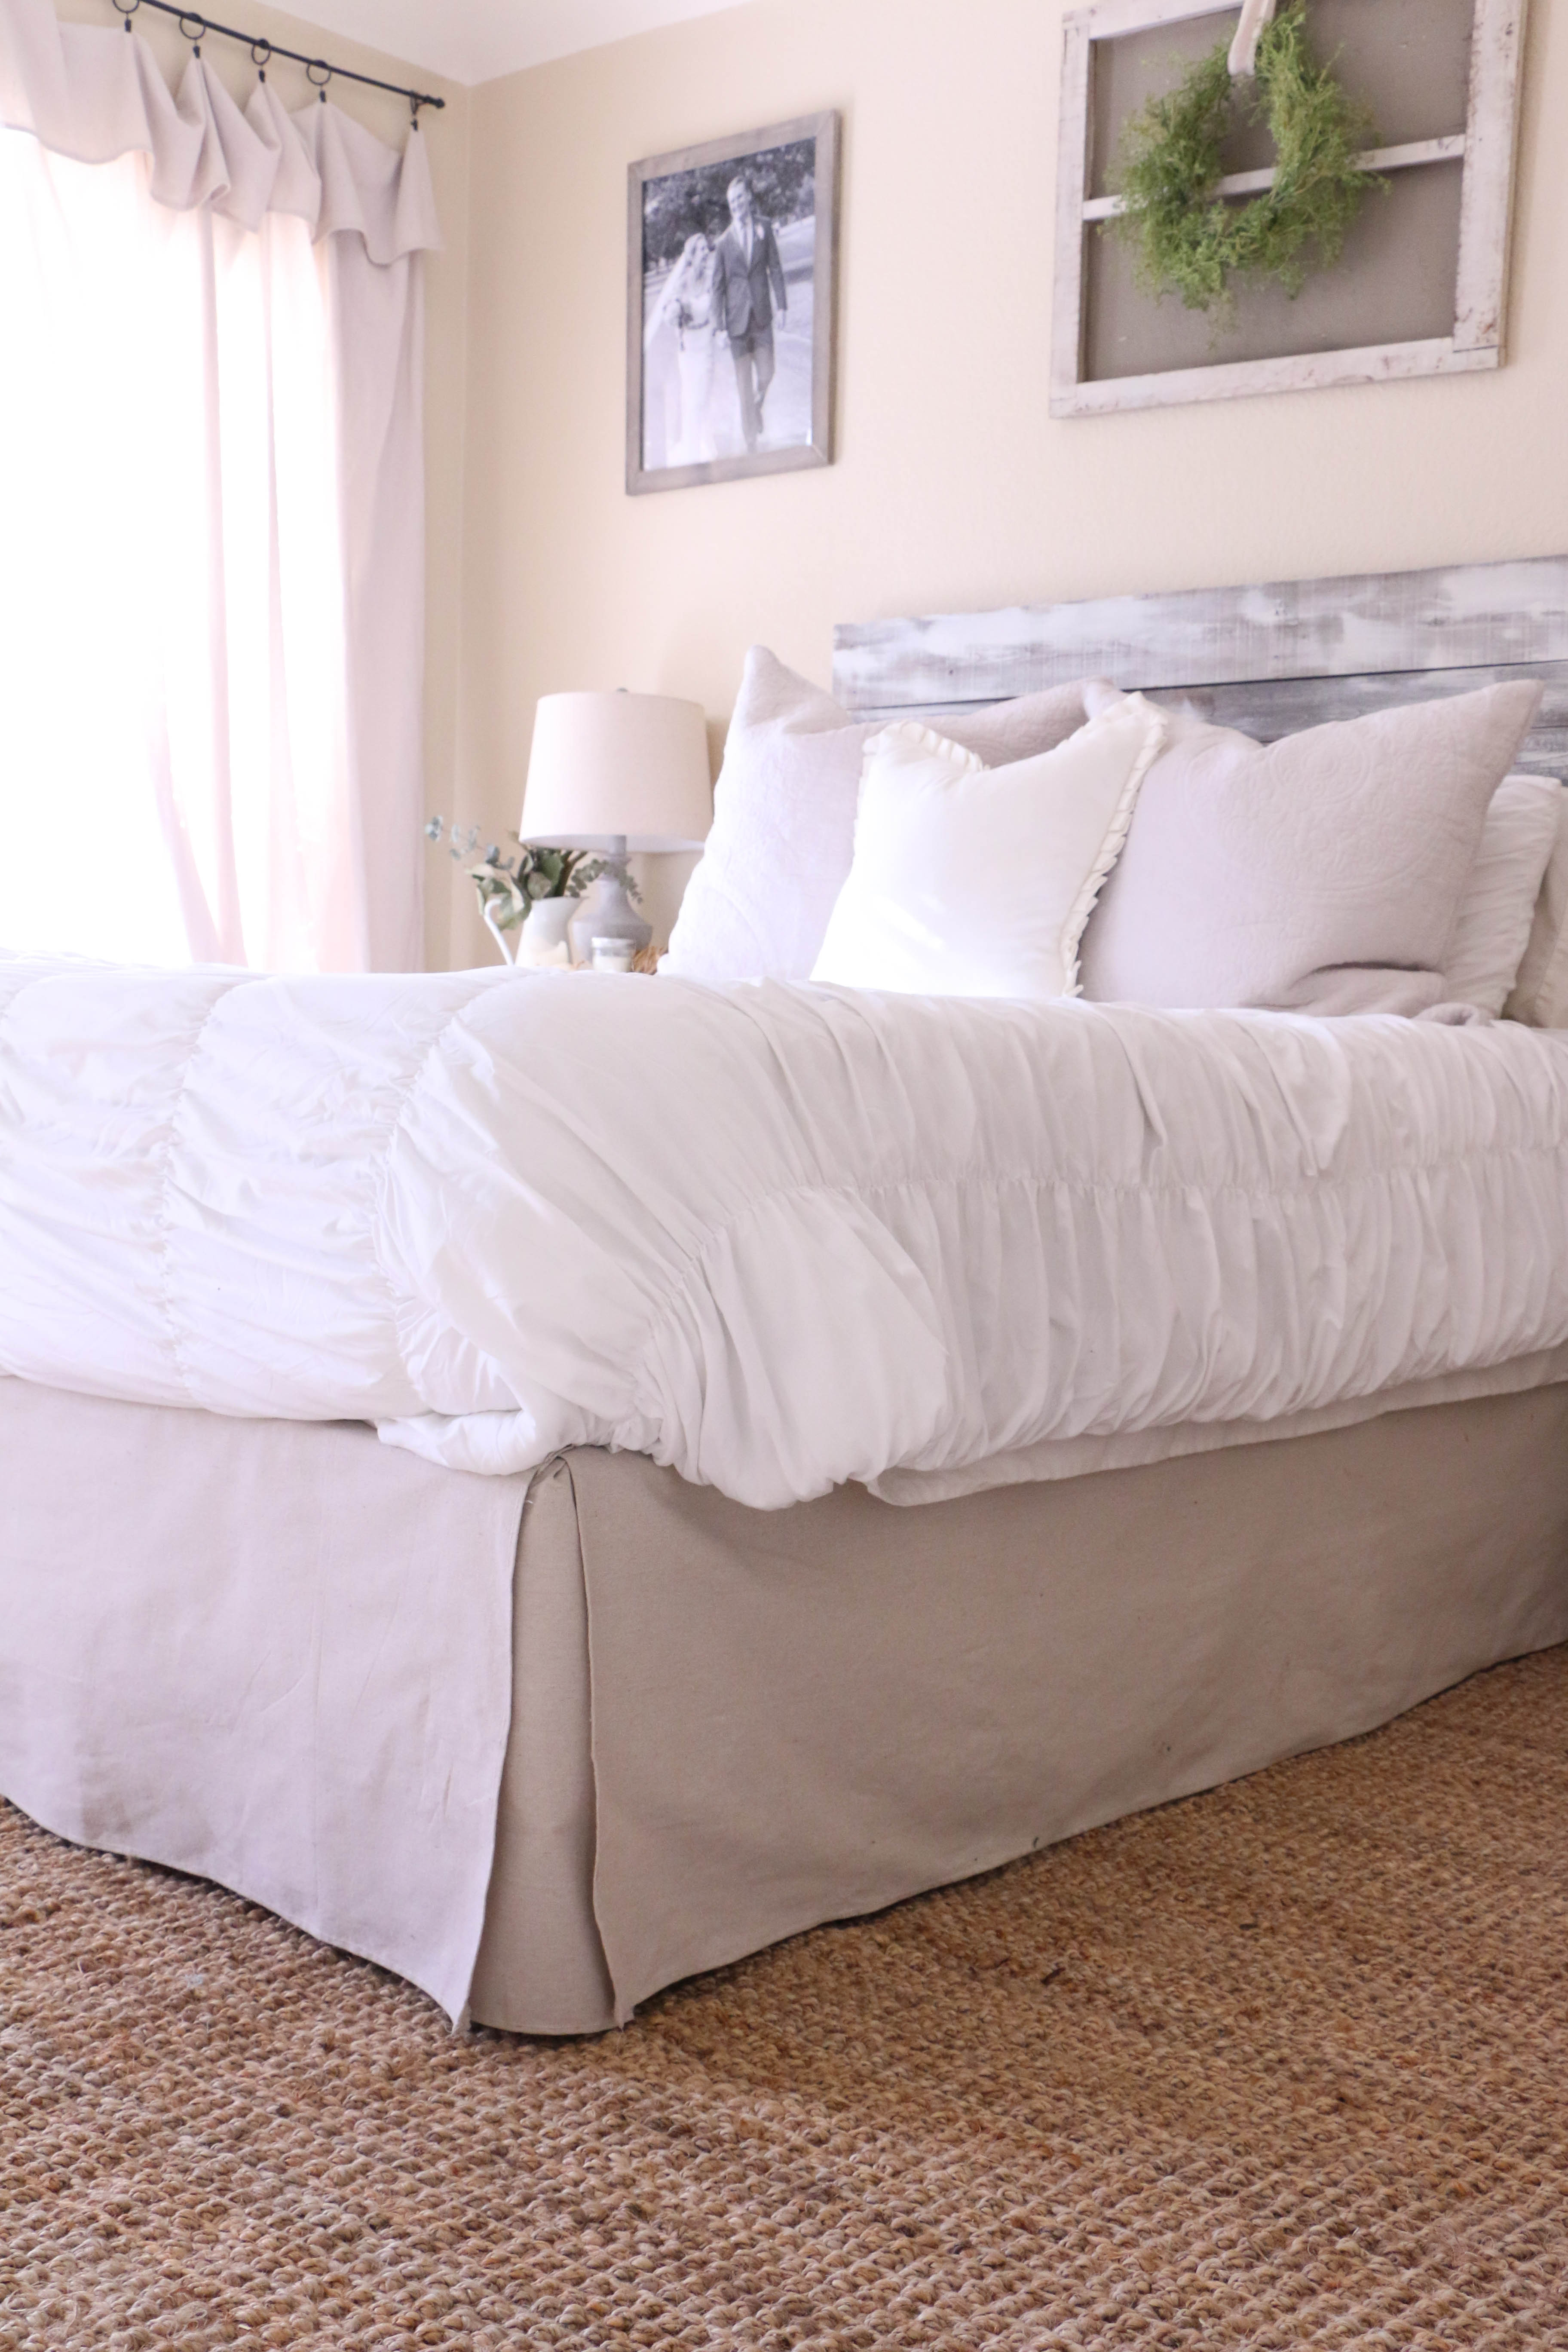
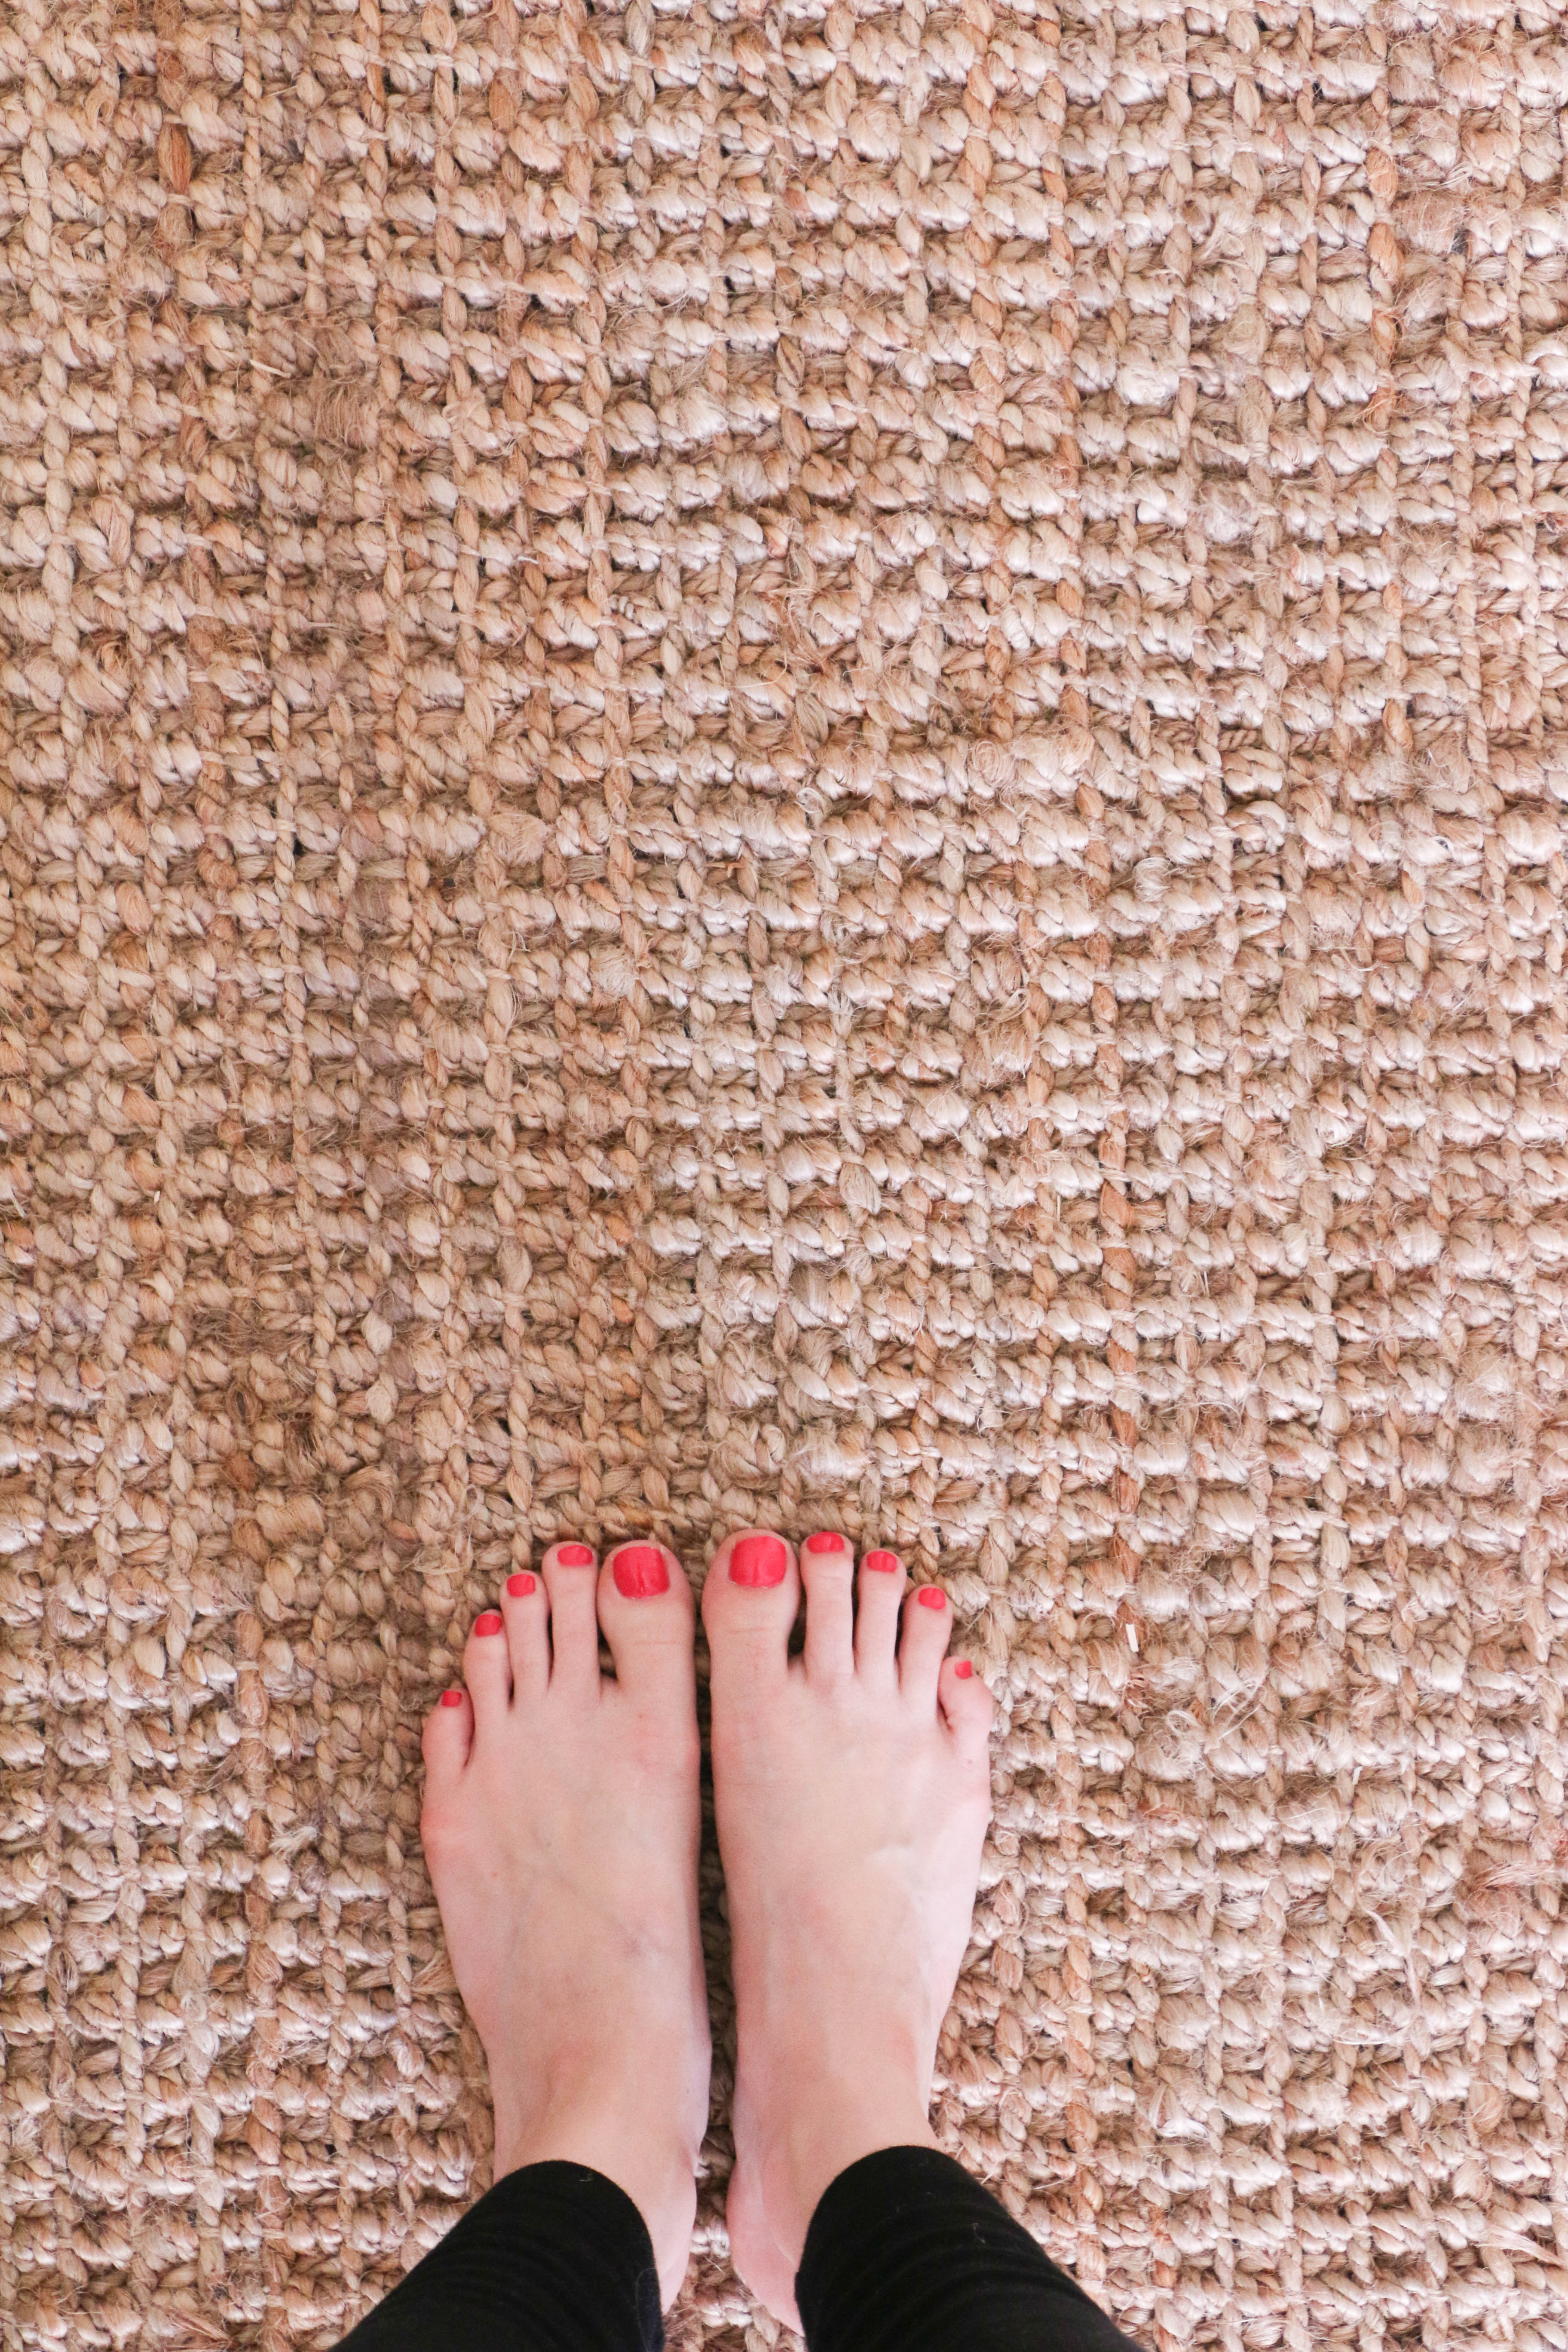
So, I got an 8×10 foot jute rug, and let me just say, I am in love with it! I don’t know why I didn’t do it sooner!

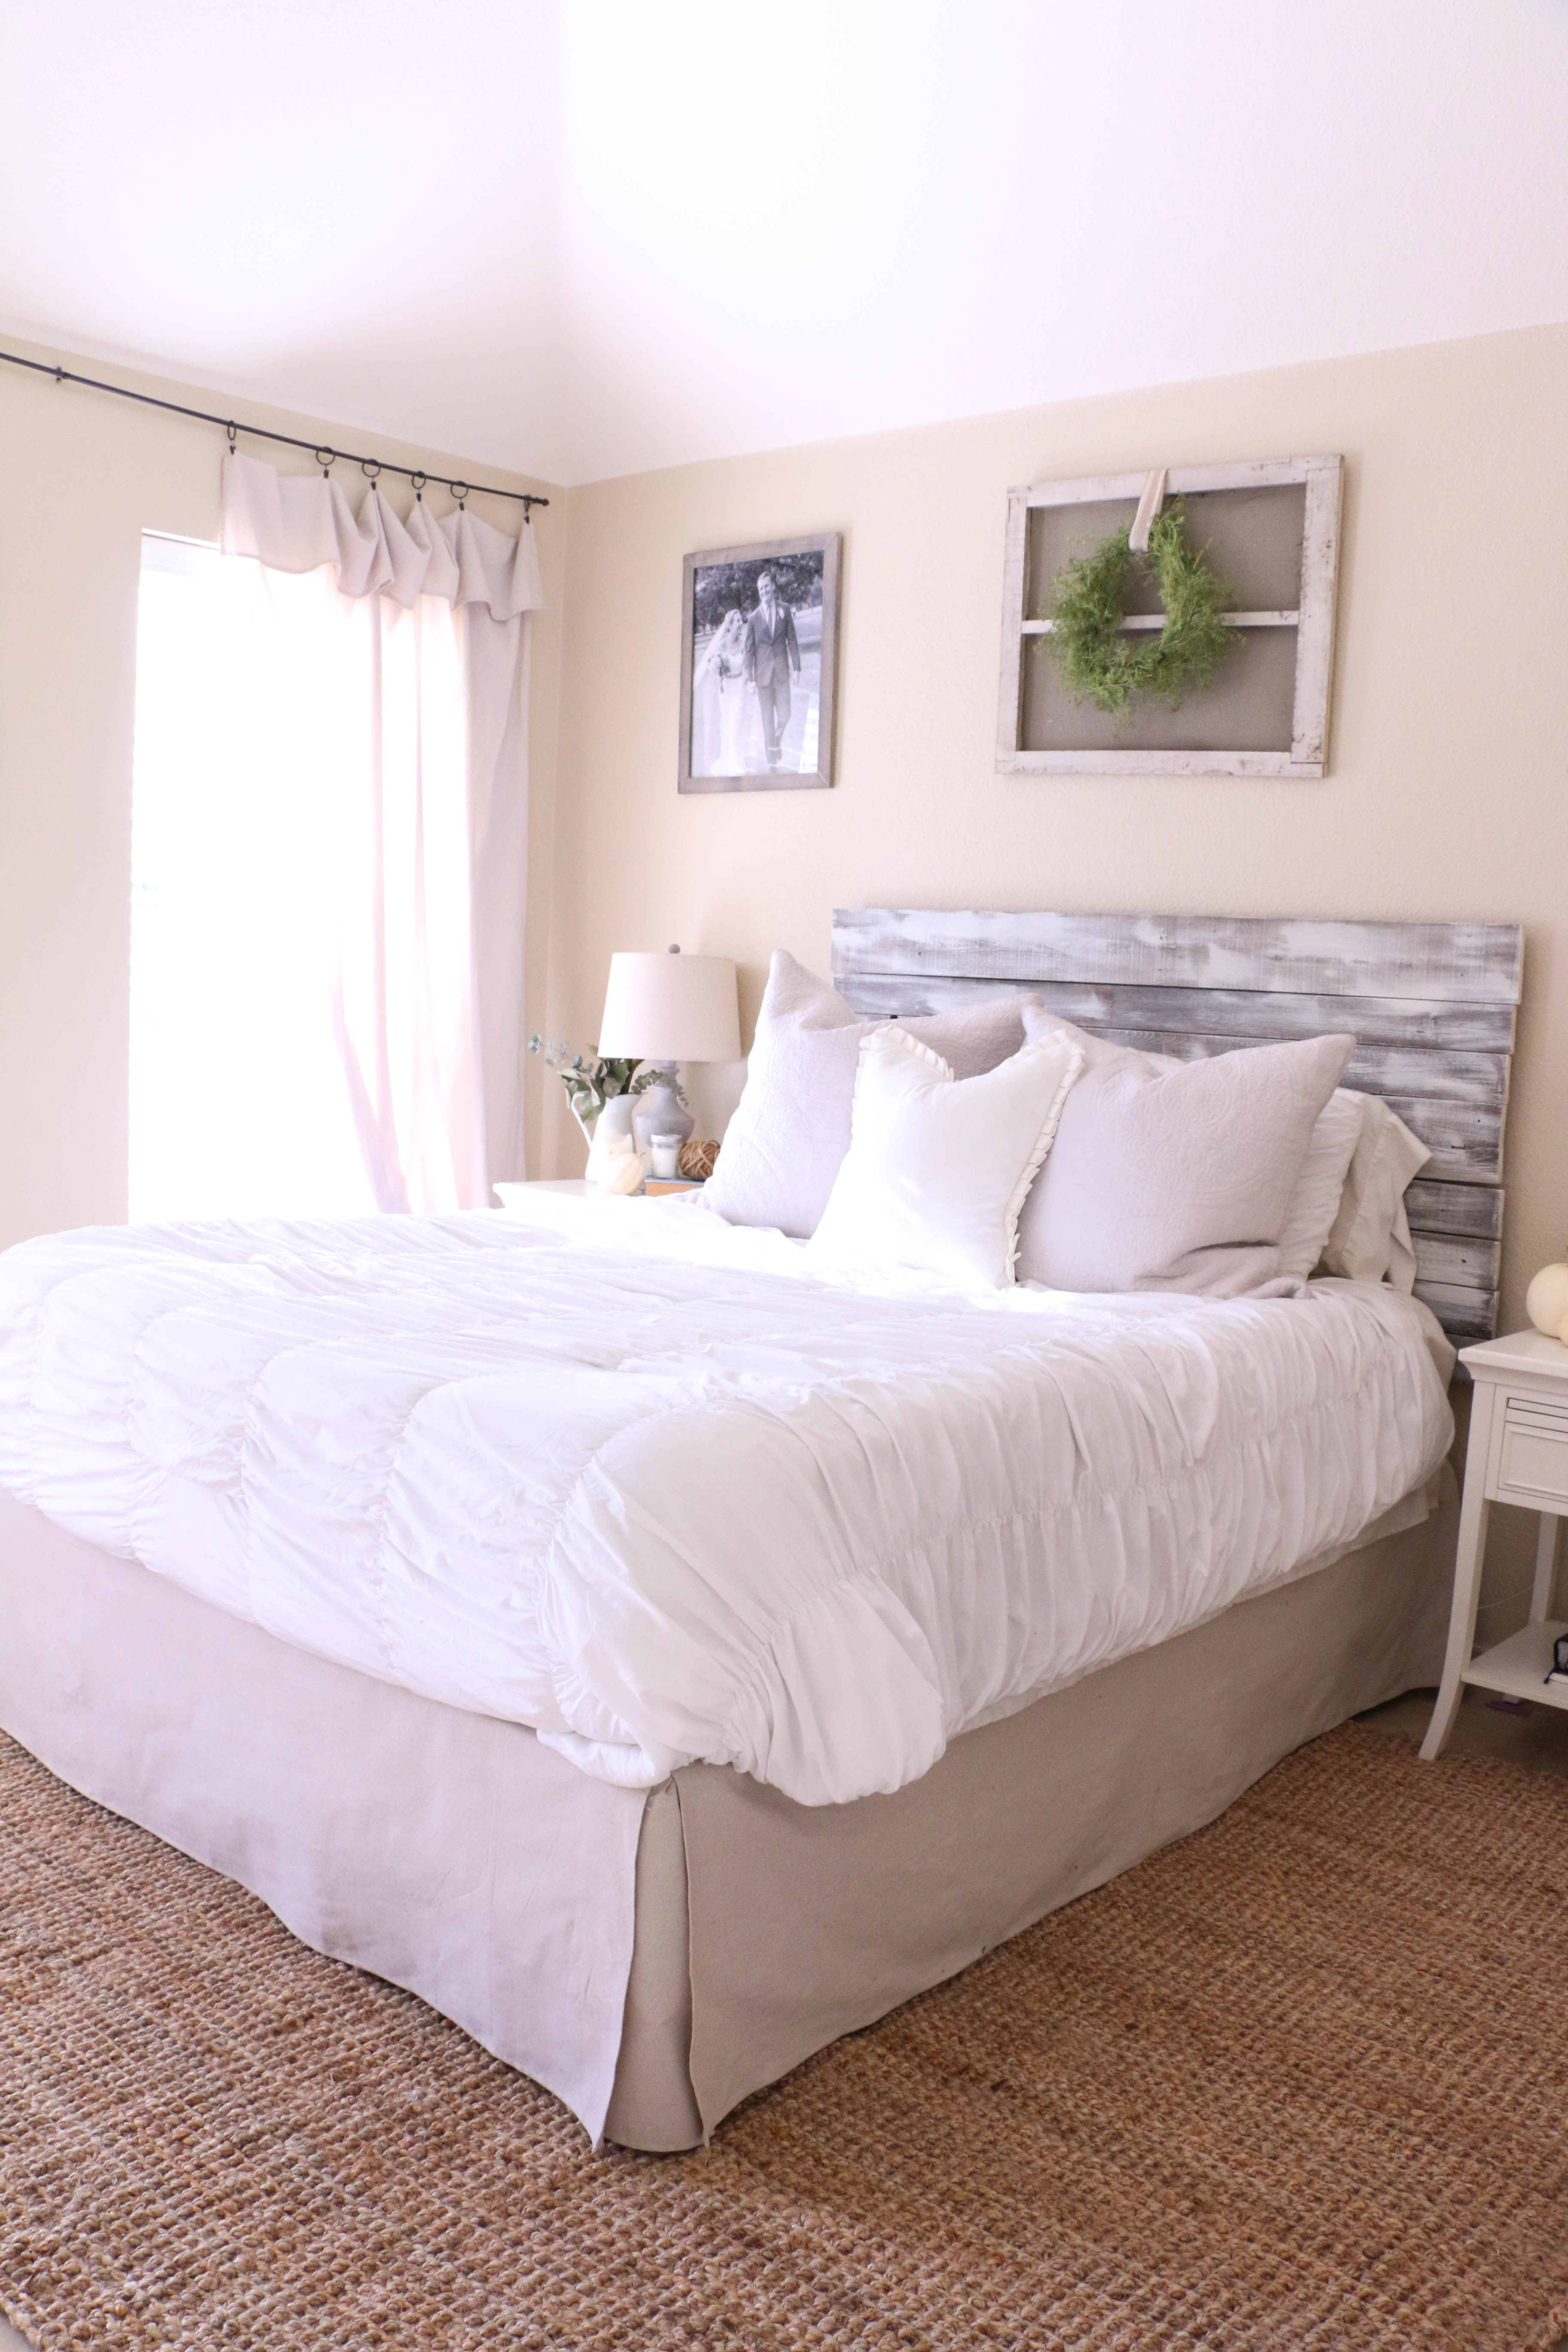
I like the natural texture, and I think it adds the perfect warmth to the room.

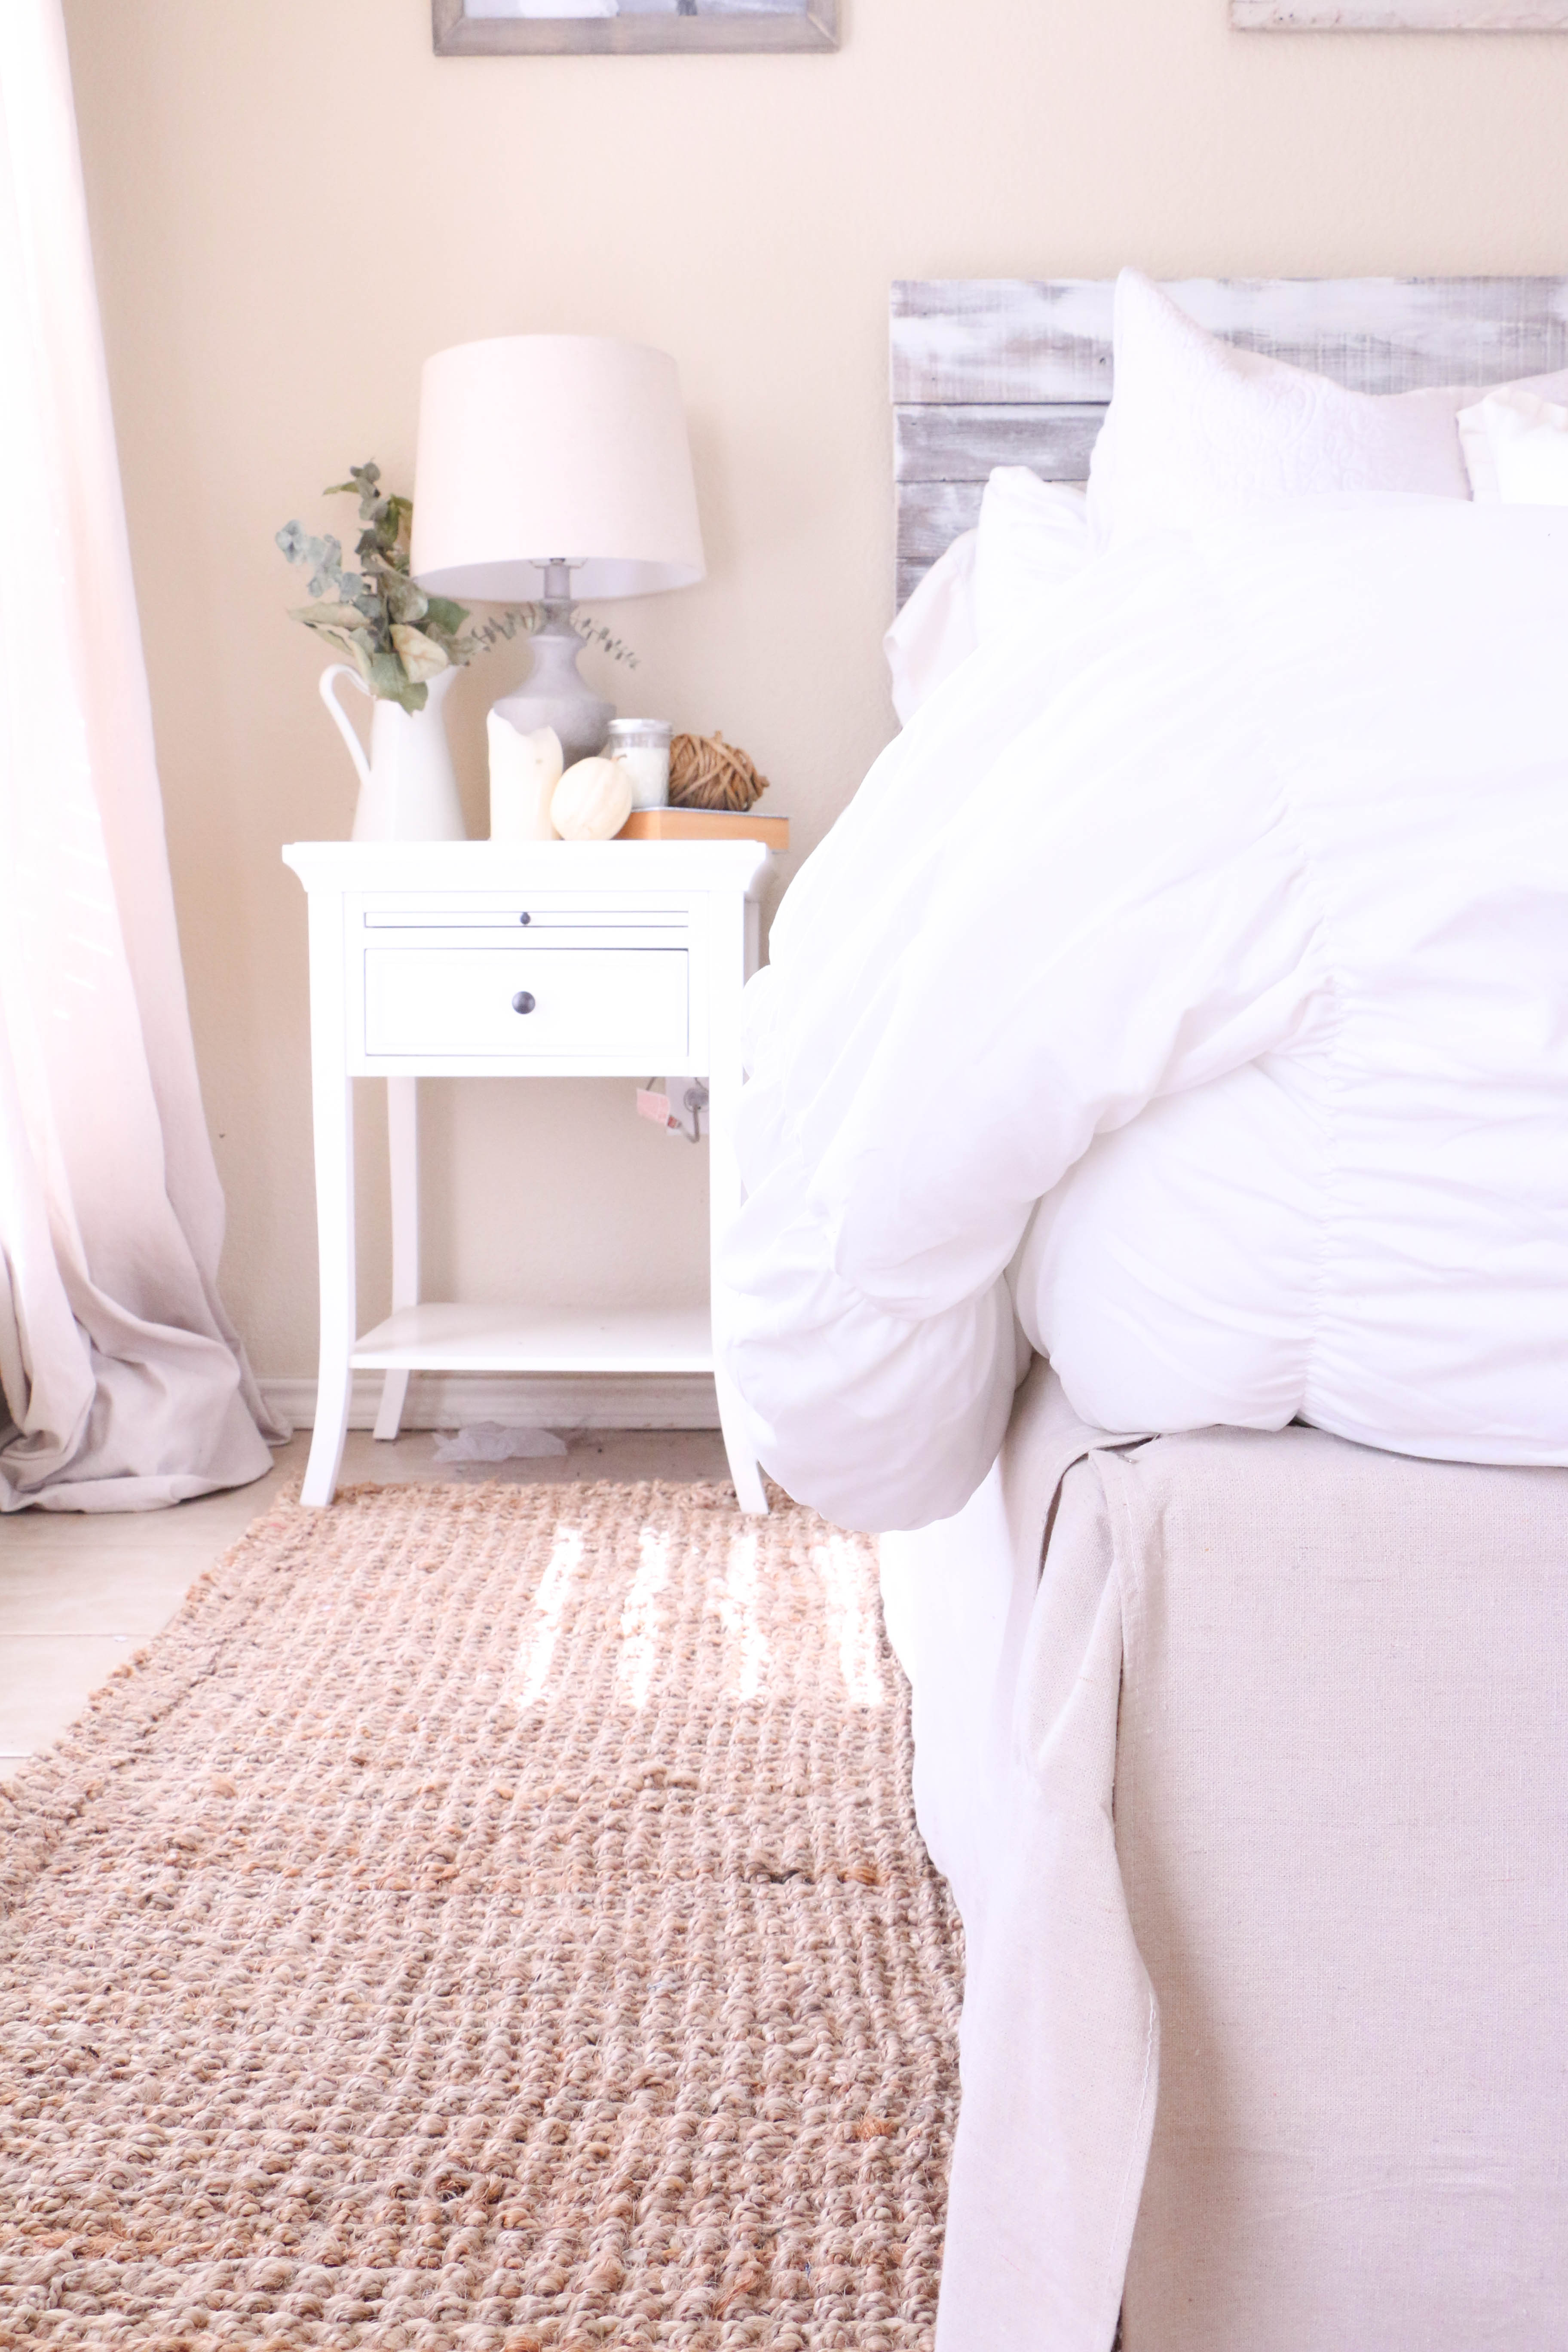
I chose this rug from At Home, and the best part is that it was only $150! For an 8×10 size rug, that is the most affordable option I came across. I was slightly skeptical of the quality for the price, but I was pleasantly surprised when I saw it in person!

The other concern that I had with this type of rug is that it would be rough or scratchy, which isn’t what you’d like in a bedroom. The best way that I can describe it is that it is sturdy, but not scratchy. It has a stiff texture, but it is not uncomfortable.

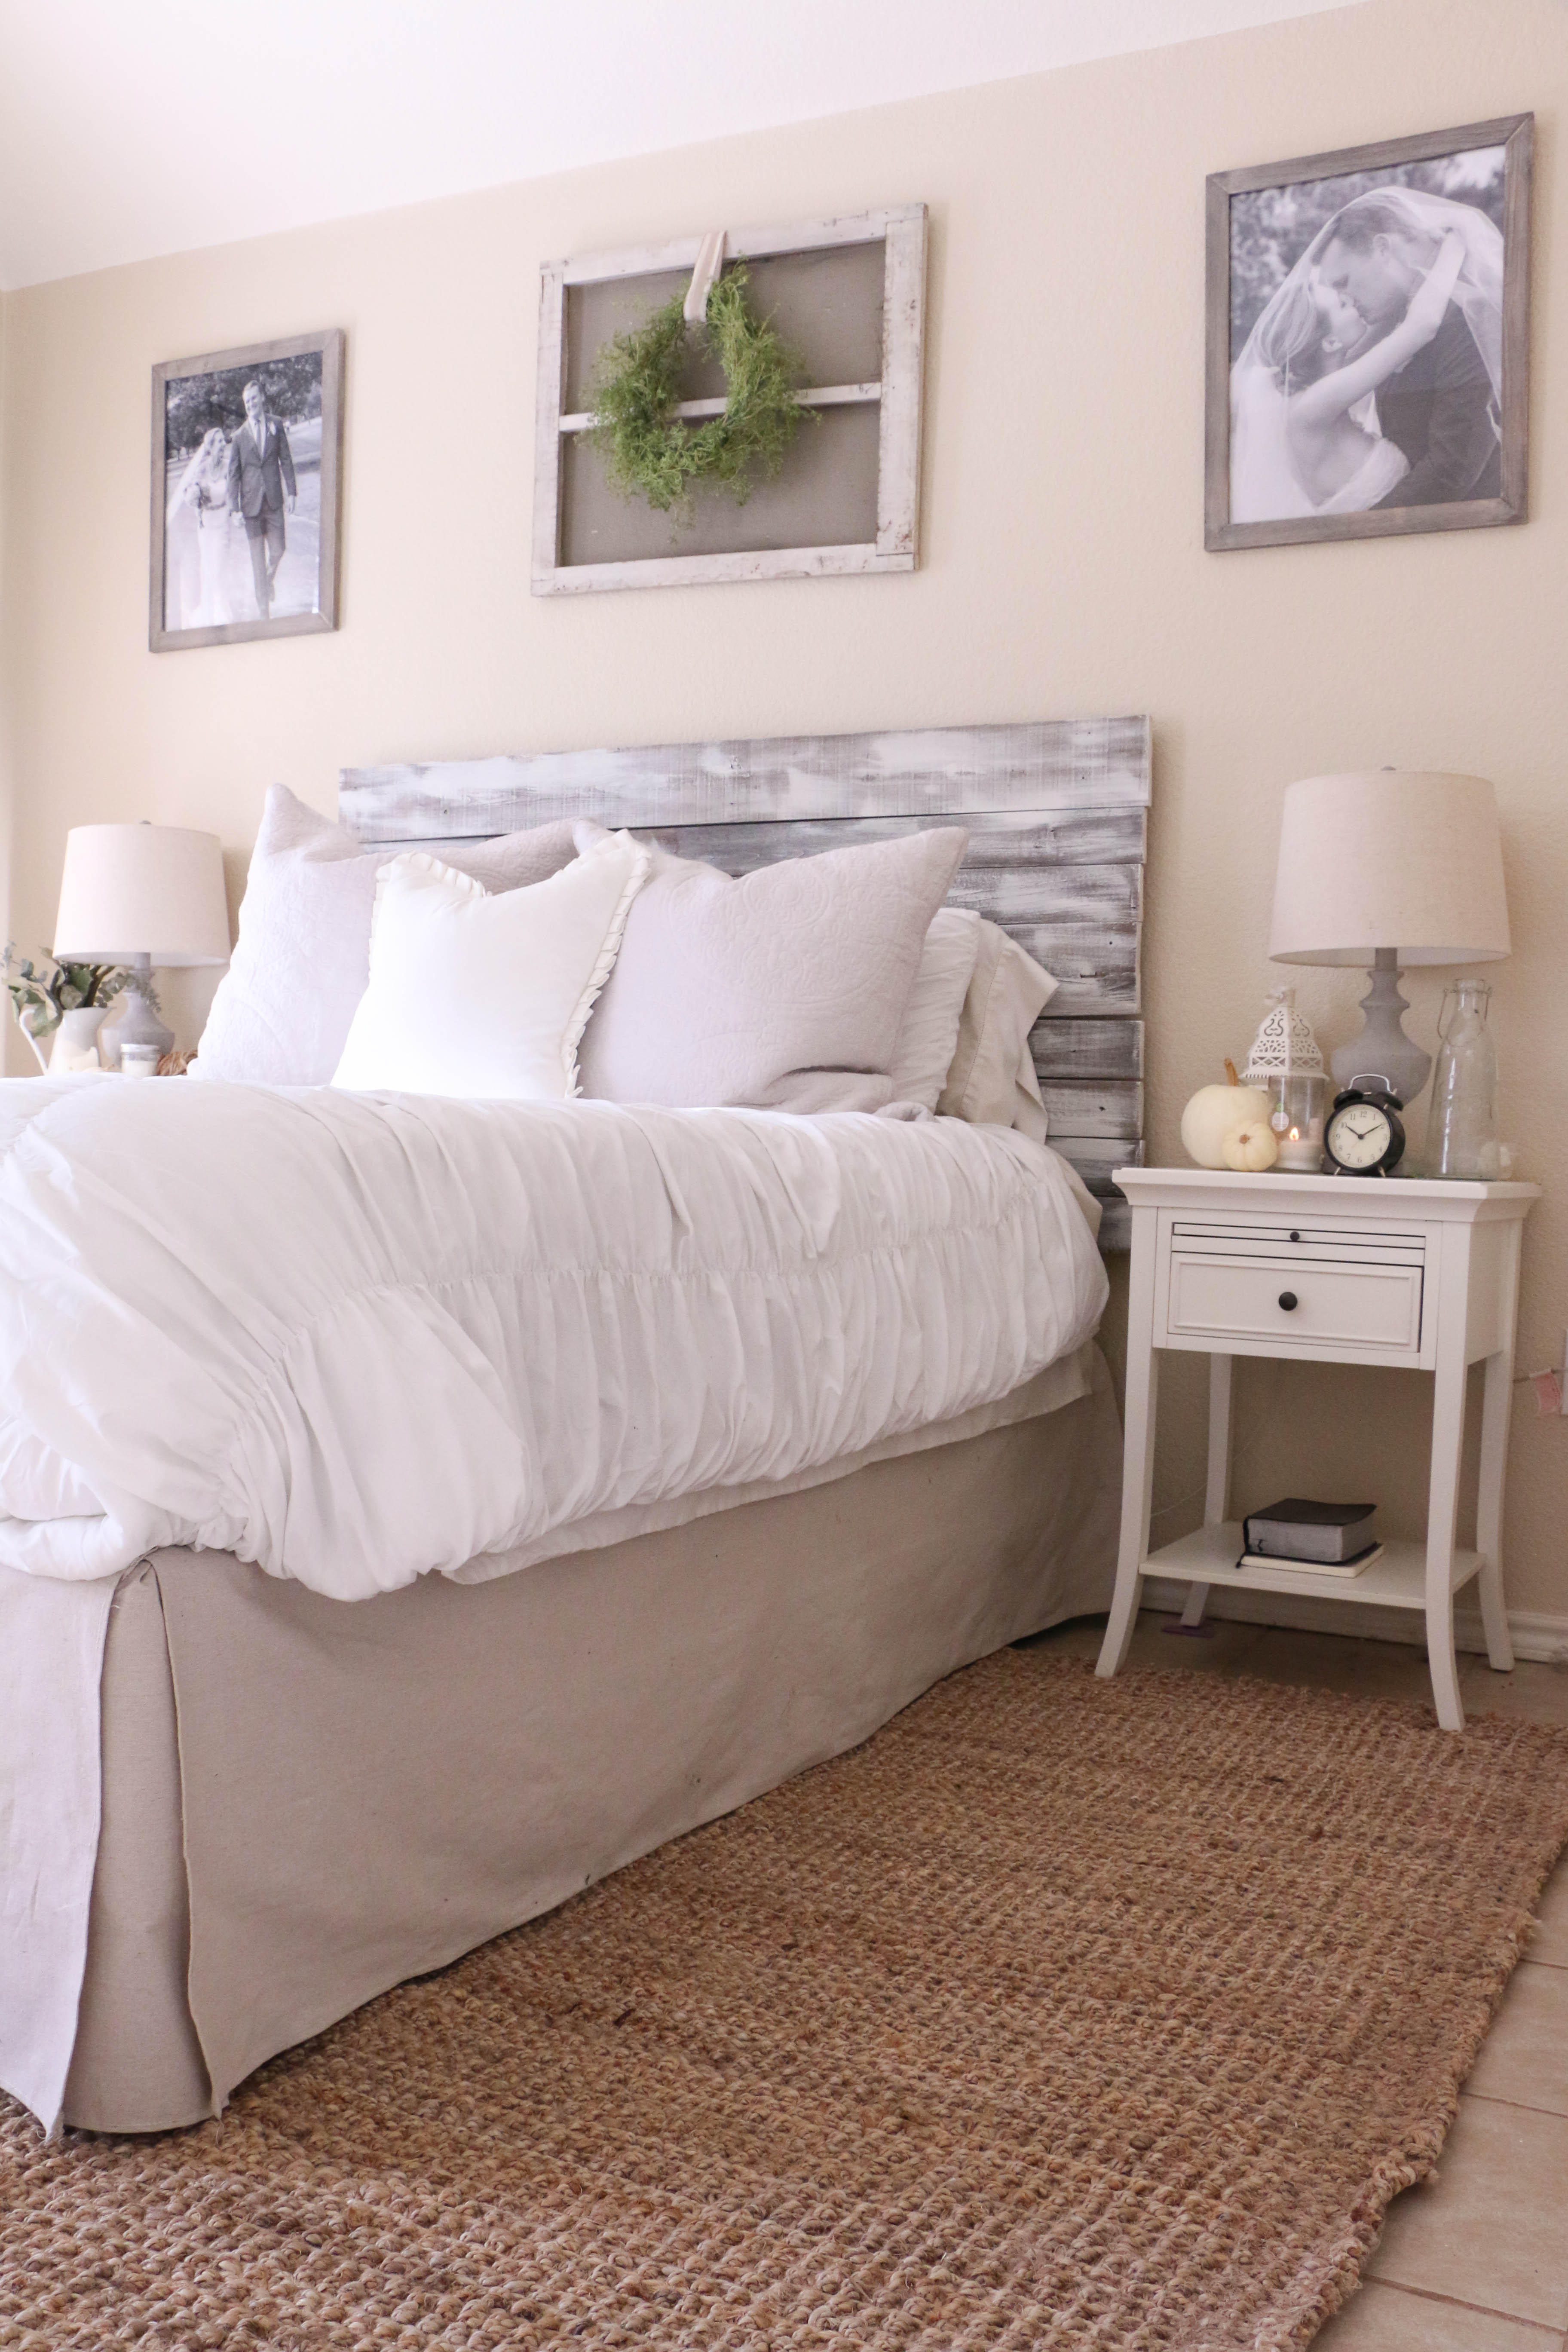
I’m so happy with this purchase. Took me long enough, I suppose! I’m loving this simple update in our room, and I think it makes a big impact! I’m so excited about it, I may or may not find myself sitting on my bed just so I can stare at it.

Anyway, that’s all for today, friends. Have a fabulous day!

DIY Projects, Home Decor

Our DIY (Renter-Friendly) Dining Room Chandelier

Hi friends! It’s been a while, I know! I have been busy busy busy, but I missed being here, so I had to hop on! I wanted to share something we did this week to our dining room that was incredibly easy and I am in love with!

As you know, we rent our home, and we recently signed our lease for another year. We’ve been here for almost one full year now and it has been tricky to make this super builder basic home more my style while staying in the confines of our rental agreement. Most of our lighting is the typical low-grade fixtures and haven’t been changed since the house was built fifteen years ago.

Signing that lease for another year made me really think about what I could do to make this house a little bit more me. I came up with this basket chandelier, which is in no way an original idea, but I love it nonetheless.

It was so incredibly easy! We unscrewed the existing hardware which released the old glass dome. Ethan then cut a 2.5in circle in the center of the bottom of the basked using a jigsaw. We then replaced the basket where the glass dome was and re-applied the hardware on the underside of the basket. It took about ten minutes I think!

Seriously, I cannot believe we didn’t do this earlier! It isn’t something I would choose if we owned this home, but it definitely adds a bit of my style within the confines of what we’re allowed to do here. Plus, it was incredibly budget friendly! The only cost was the basket which only cost me a few dollars! It’s a total win-win!

Just because you live in a rental doesn’t mean you can’t make things your own! Sure, there’s a ton you can’t do as a renter, but if you get creative, you can add a bit of your style into your rental home!

So that’s it y’all. I’m in love with this little update and I couldn’t wait to share it with you guys! That’s all for today! Have a fabulous day!

DIY Projects, Home Decor, Tutorials

Chalk Paint All the Things!

Hi there! Hope your day is going well! I’m here with a super easy project today that can’t even really be considered a project. It’s something that is seemingly obvious, but I had never thought to do, so maybe you haven’t either. I don’t know. Anyway, y’all know I love chalk paint. I use it all the time on my projects for both my house and my pop-up shows.

I have used it on a variety of items, but never lamps. I had these lamps that were out of commission from our bedroom. You can see the corner of it here in this photo. They were from our wedding registry, when I didn’t know what I liked or what I was doing. So they didn’t really mesh with my style anymore, now that I feel like I have an established theme in our home.

So while I replaced these lamps, they were still perfectly good lamps, and I wanted to see if there was something I could do to make them fit into my style a bit more. So, I used my trusty old chalk paint and went to work! Like I said, this isn’t really a tutorial or anything, because it’s seriously the world’s easiest DIY. I just slapped some paint on it and called it a day.

I used my own homemade chalk paint, so I don’t have an exact color match to show you, but I used a white, and then added some gray on top to give it a little more dimension.

I think it gives the lamp just the right touch to take away that builder-grade base we were working with.

It makes it a little more subtle and farmhouse-y. I moved one into the living room, and the other went over to my booth at Farmhouse in Downtown Waxahachie, TX. I should have tried this a long time ago; I’ve spent so long wanting to replace them that I missed a perfectly good opportunity to relove them! Waste not, want not, right?

So in case you were wondering, chalk paint works on all kinds of things! Don’t be afraid to slap a coat on to something that needs a little love. It’s not just for furniture!

Anyway. That’s pretty much it. Have you ever chalk painted anything in particular? How did it go? I’d love to hear about it in the comments below. Well, that’s all for today, friends. Have a fabulous day!