Browsing Tag

budget friendly

Personal

We Paid off All Our Debt! How living on a budget helped define my design style

If you follow me on Instagram, you saw that as of this week, we officially paid off all of my student loans and other consumer debt. It was a big deal for us. I went to a private christian university that was very expensive. At eighteen years old I did not have the forethought to consider how the loans would affect me entering my adult life. There are a lot of things I would have done differently given the opportunity to do it all again. Coulda shoulda woulda. I figured in case anyone was interested, I would share a bit about our story in general, how we did it, some tips/tricks, and since you all are here for house content, how living on a budget affected my design style.

For some context, I got married six months after college at age 22. So from the moment I had to start paying on my loans, I was working with a (albeit fairly small) dual income. Unfortunately, I have no experience with being a young single professional trying to pay off debt, but I think a lot of the same principles can apply. We loosely followed Dave Ramsey’s Baby Steps. I say loosely because he advises not purchasing a home (if you don’t already own one) until your debt is paid off. We obviously did not do that. But we had almost 100k in a small credit card, one car loan, medical bills, and a majority student loans. It took us six years. That’s a long freaking time.

One thing we did was set a very intentional budget each month. We designated an amount for every expense we had. This form is a really helpful starting point. (By the way, none of this is sponsored, this is just what helped us!) The most important thing was deciding what was important and spending our dollars there. That might be different for everyone. If spending quality time out with friends is important to you, set aside an amount you’re willing to spend on that, and write it in the budget! Then, boom. You get to spend guilt-free money going out! Just don’t overspend in that category, and you have nothing to worry about.

One thing that helped us make sure we didn’t overspend in different categories was using a cash envelope system. In my wallet I have an envelope with cash for groceries, household items, entertainment, and personal spending money. This helped me make sure I wasn’t blowing my budget because I could clearly see how much money was left for the month. Personal spending money was vitally important because I never felt guilty about roaming Target as long as I had cash in my envelope. And you can bet your bottom dollar that if I had extra grocery money on my last grocery shopping trip for the month, I was going to spend $20 on a cookie cake. It’s not about depriving yourself, it’s about having a plan.

When we were writing our budget, everything extra on top of all of our normal expenditures went toward debt. There were months (before kids lol) that we would make an $2,000 payment toward our debt. Now, that’s not to say every month was perfect. There were long periods of time when things were really hard or we had to put a pause on things. We needed a new truck, so we saved up cash for a few months and didn’t pay anything extra on loans. We needed medical intervention to start a family. That cost us a lot of money. When we actually had our first child, those medical expenses were high (don’t get me started on the the high cost of healthcare in this country). We experienced a job loss and lived on one income for about a year and were just barely making it. There were normal highs and lows, but that’s part of the reason it took so long. We had to stay motivated through long periods of lows, and it was really freaking hard. I stay at home now, but for the first 18 months of my son’s life I was teaching full time and had a pretty high daycare bill. It ate quite a bit into our budget to be honest. But it all came down to the budget. We wrote in line items for formula, diapers, baby clothes, all of it. Kids are expensive, no way around it.

It was hard to stay motivated at times, I’ll be honest. Six years is such a long time. But we constantly reminded ourselves of how much easier life would be without these extra payments lying around. Once our kids were born, we knew it would be so much better for them growing up to grow up in a household where money isn’t a stressful topic. That’s what kept us going.

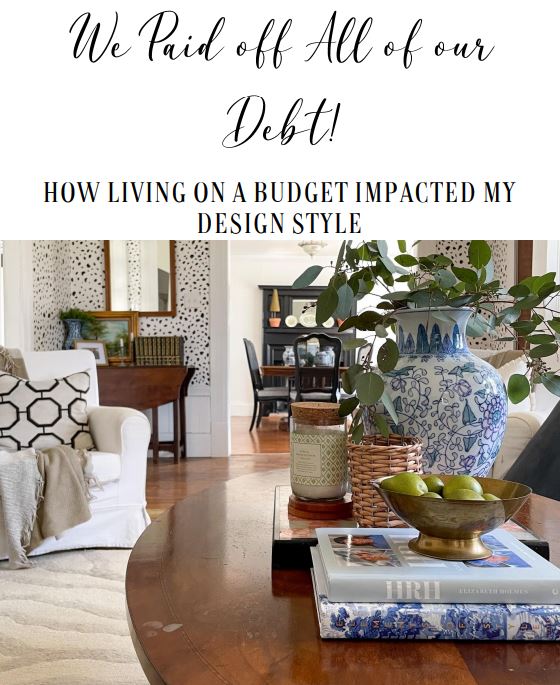
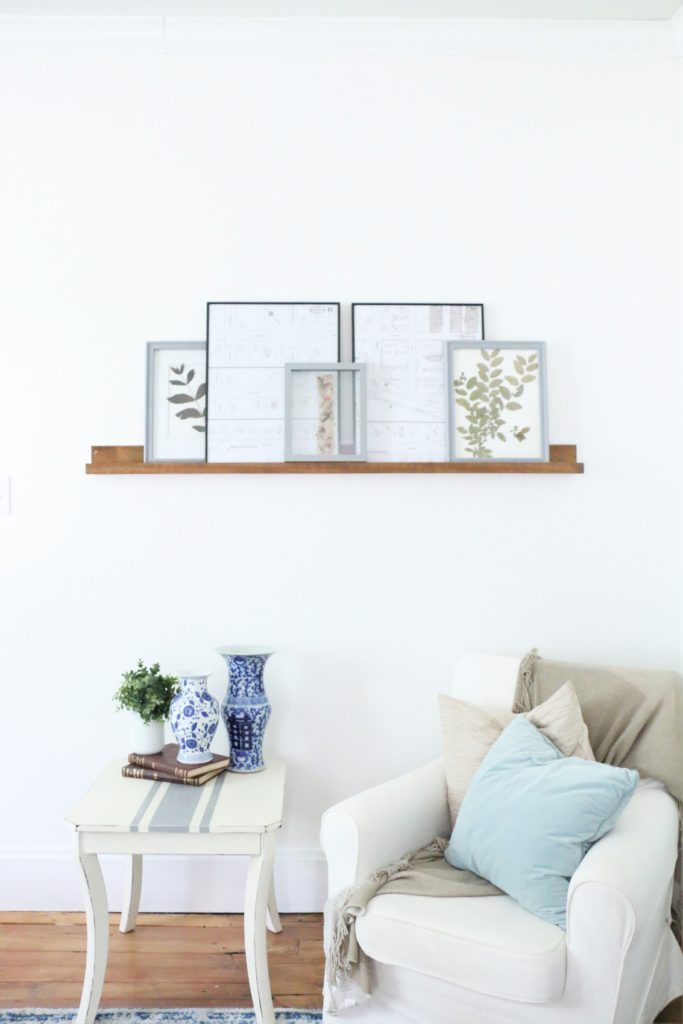
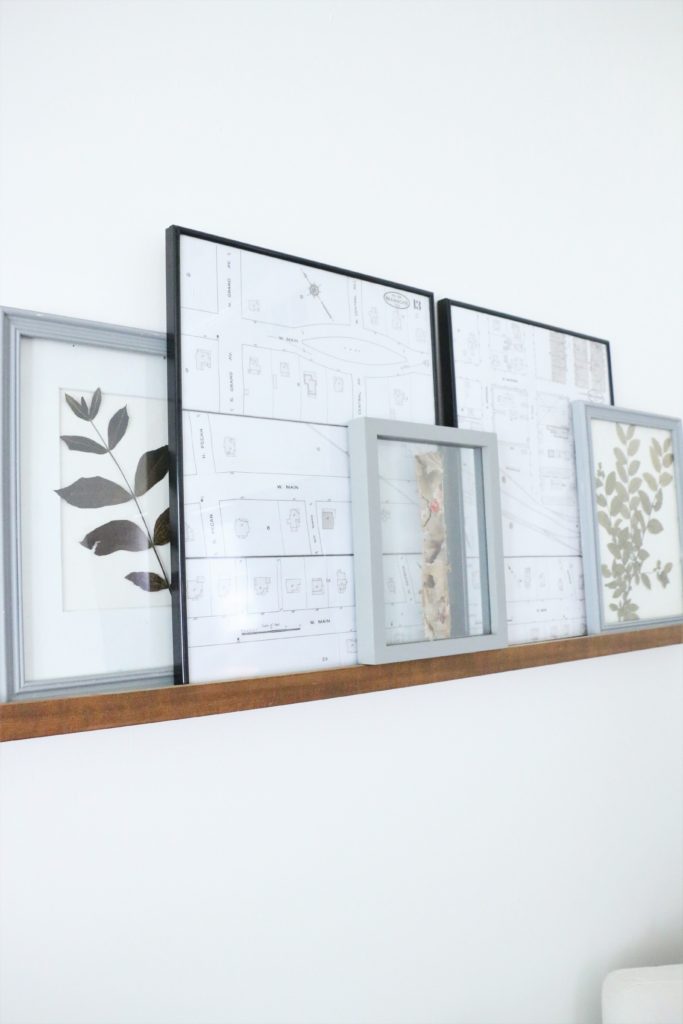
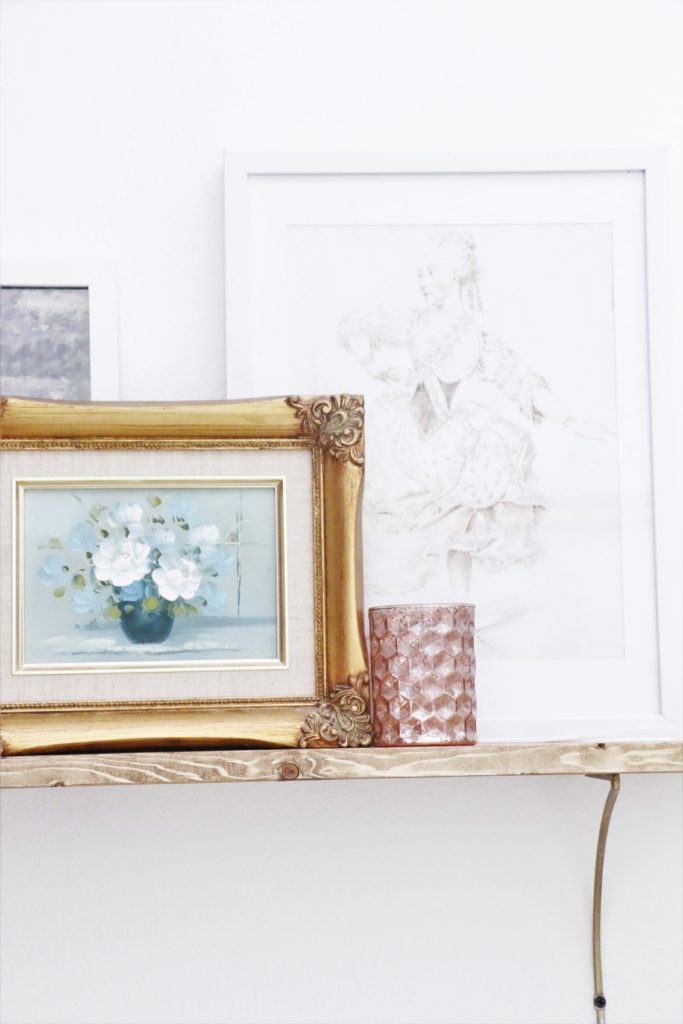
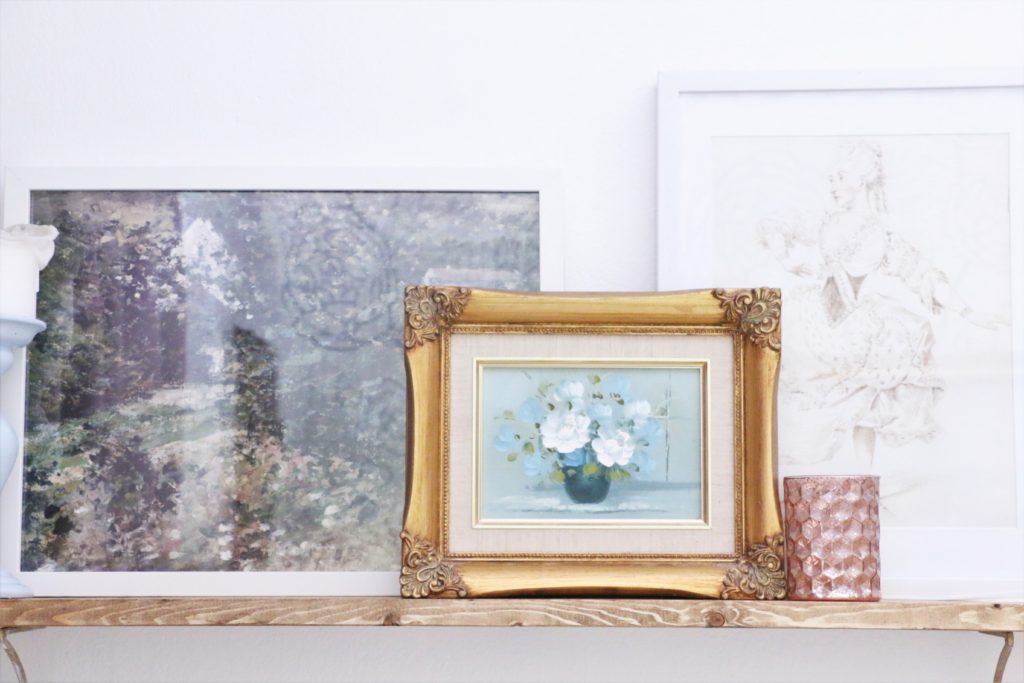
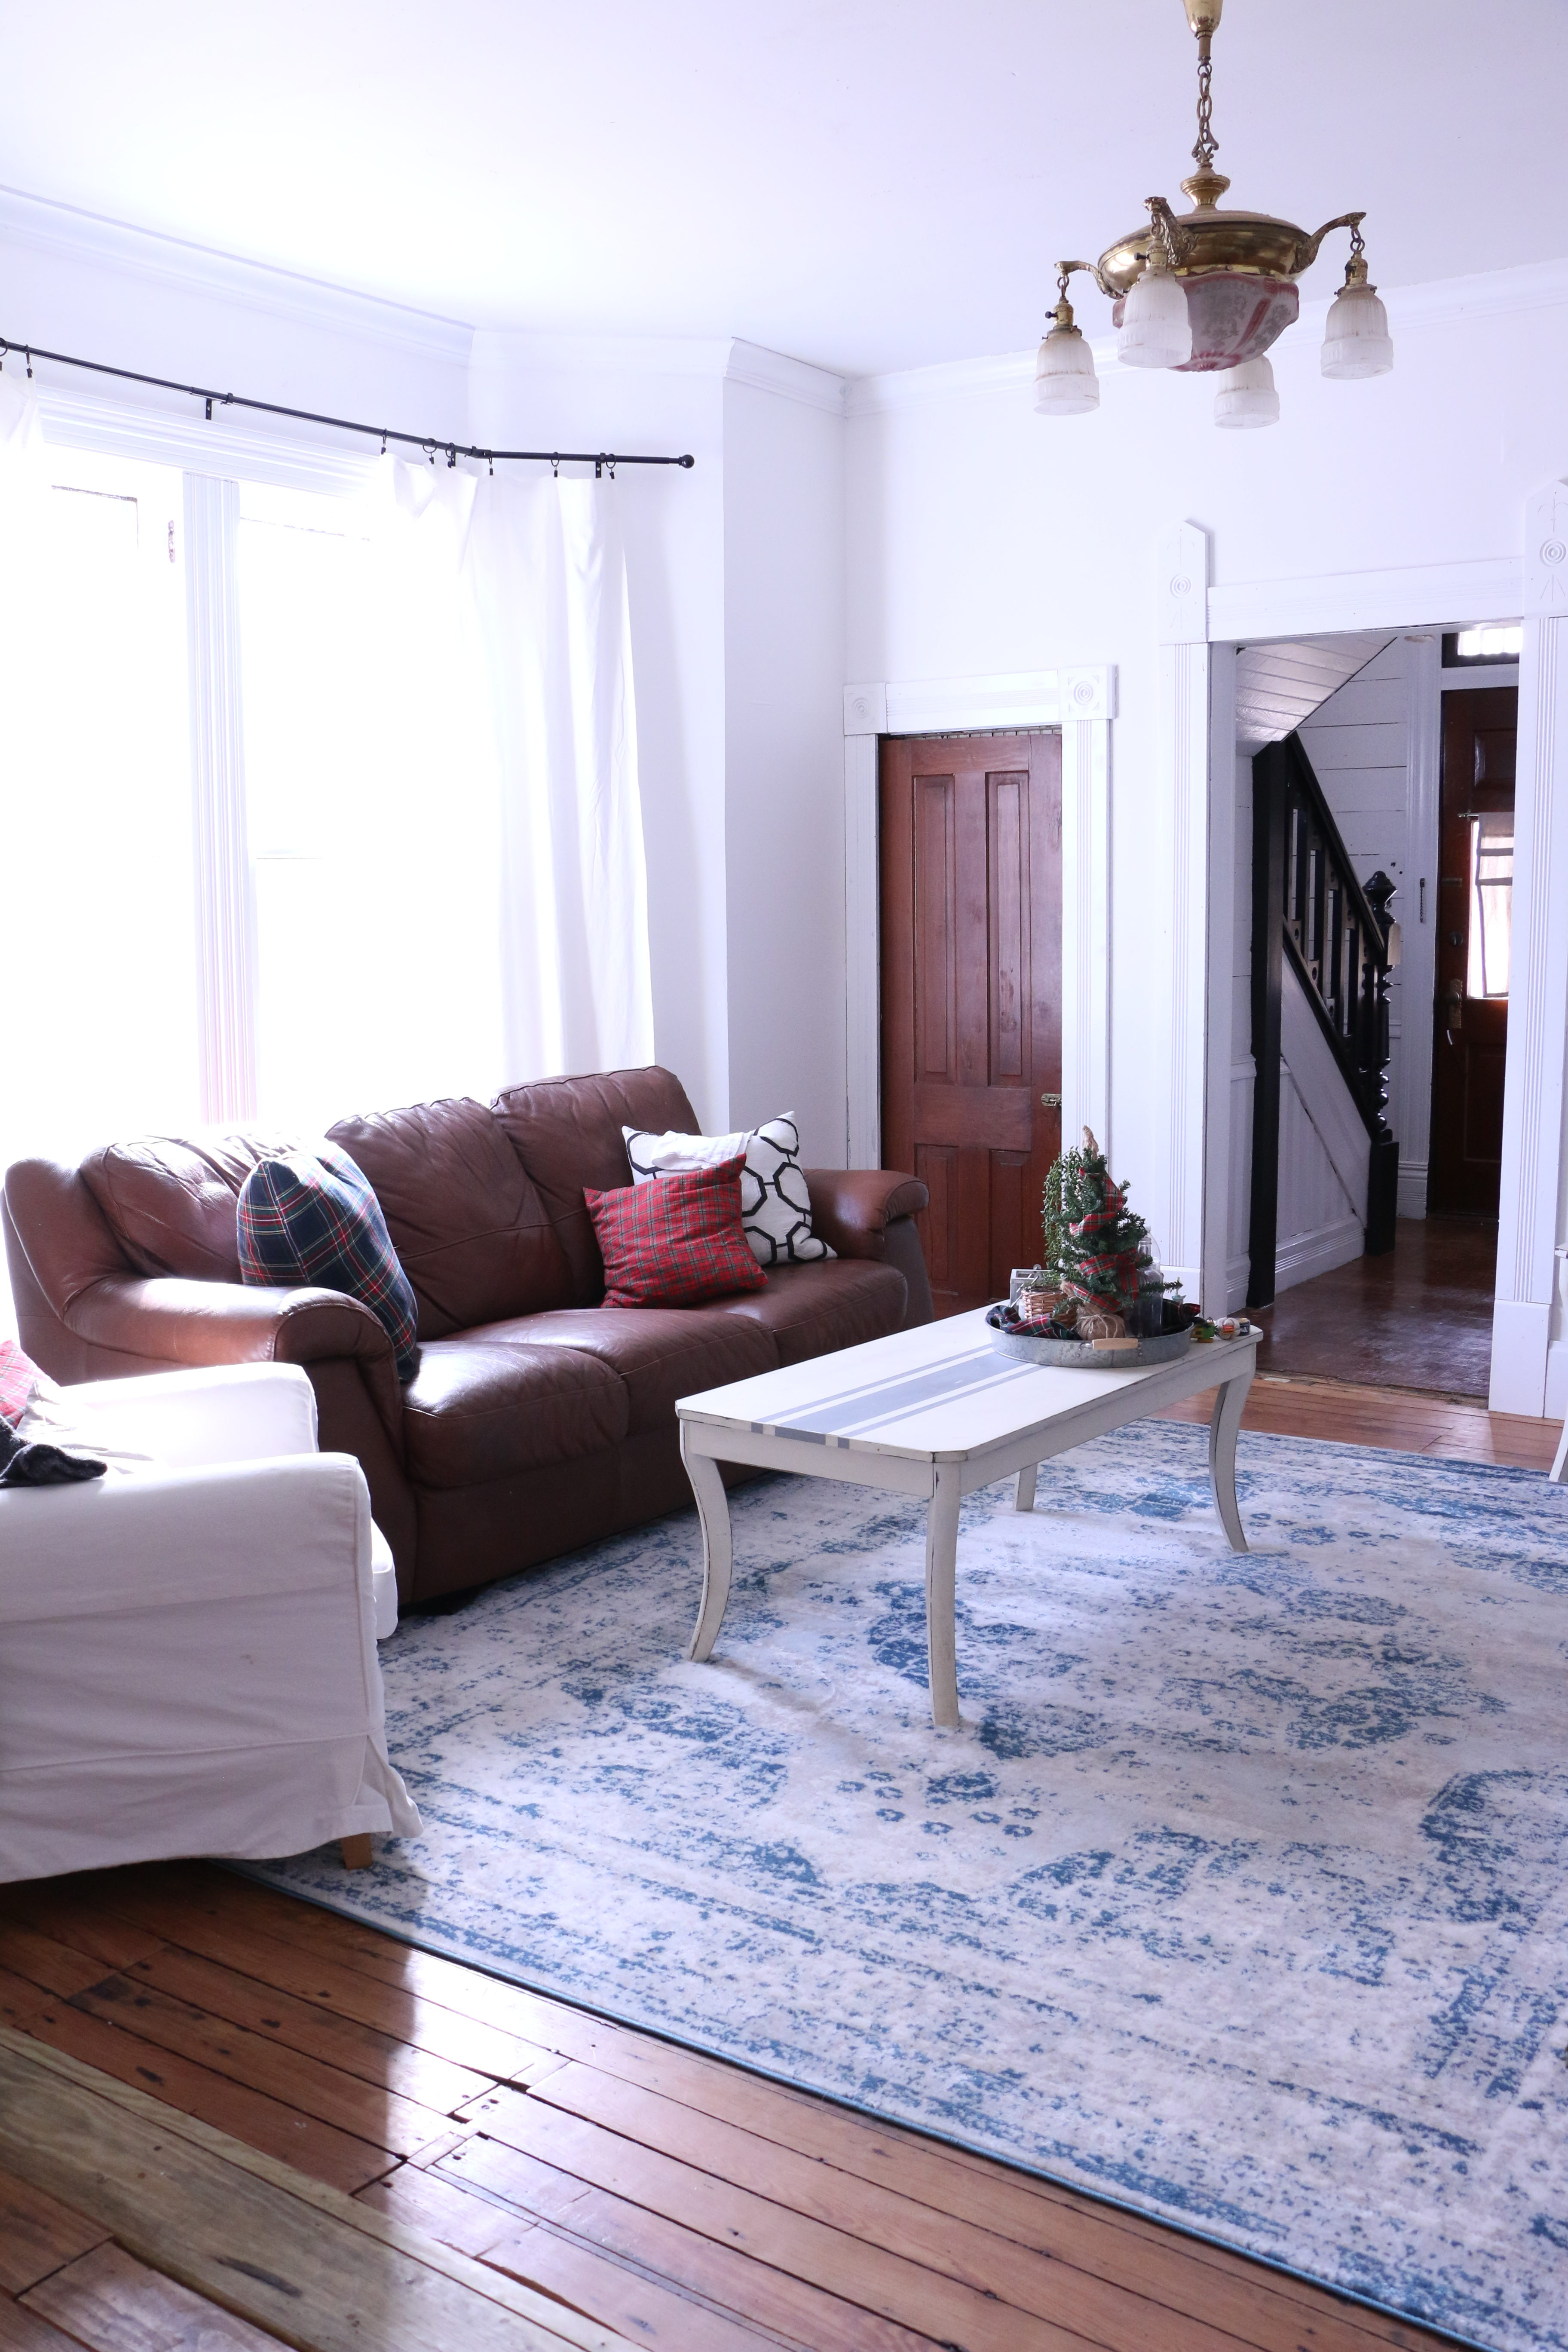
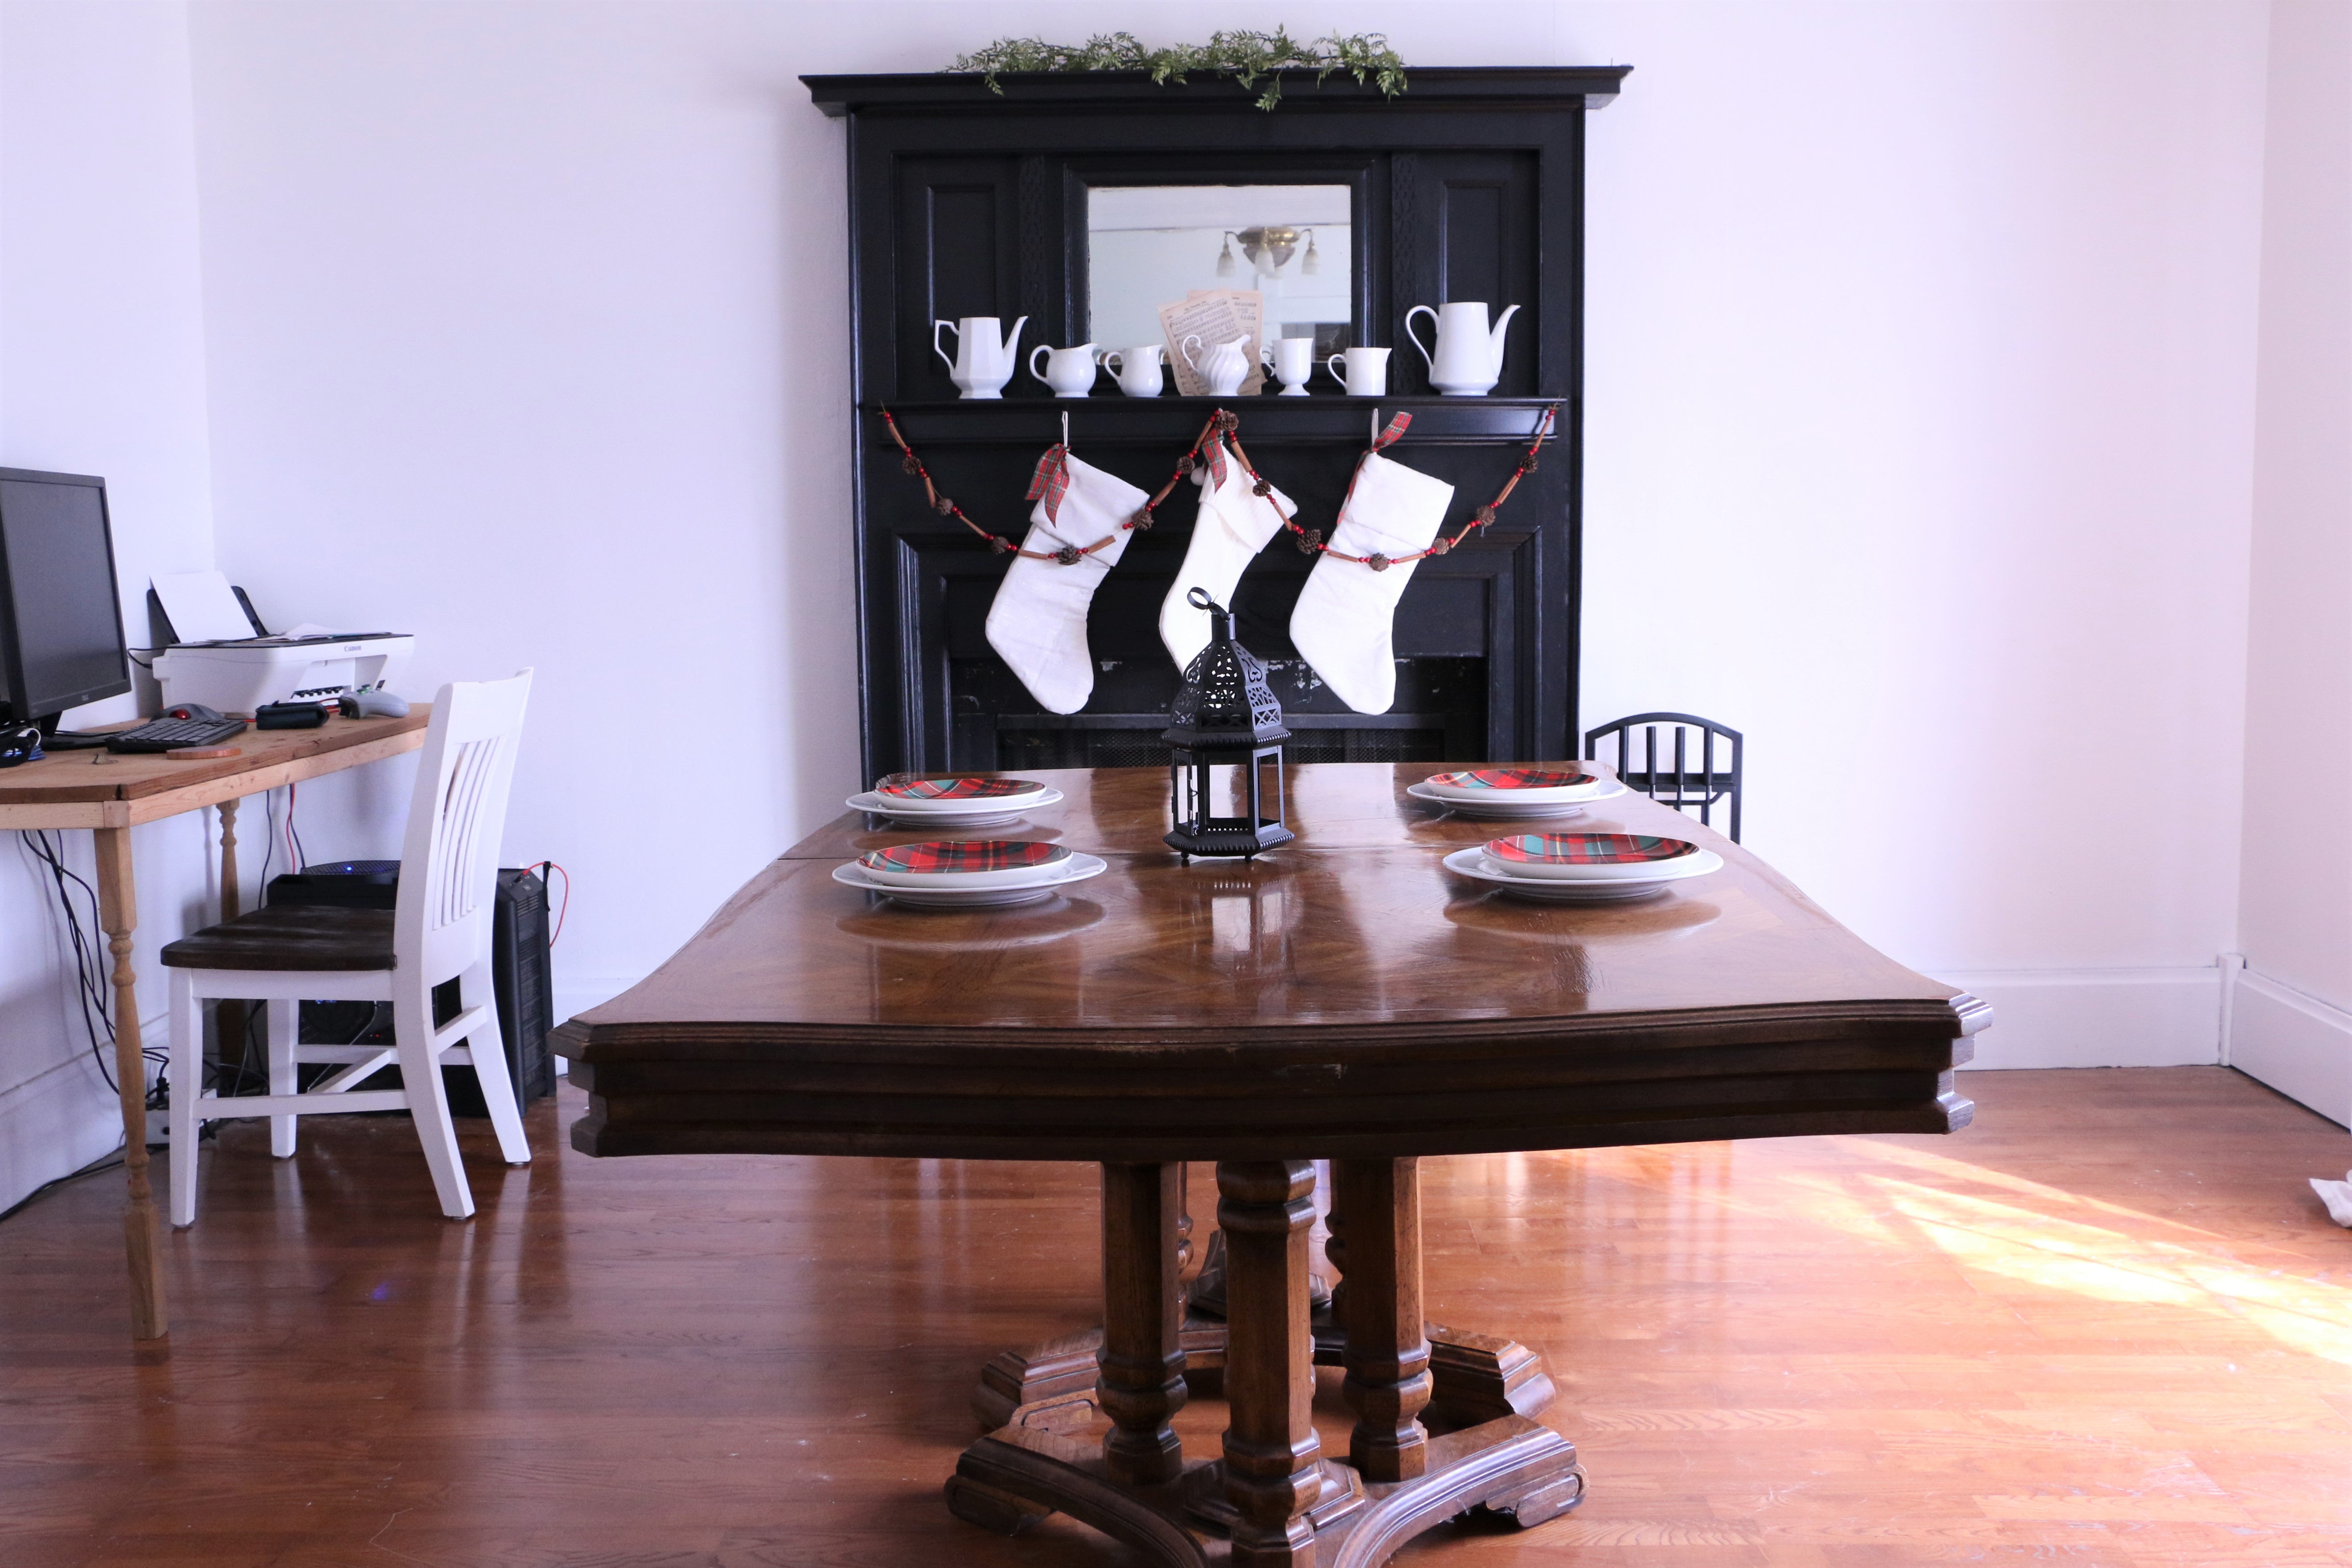
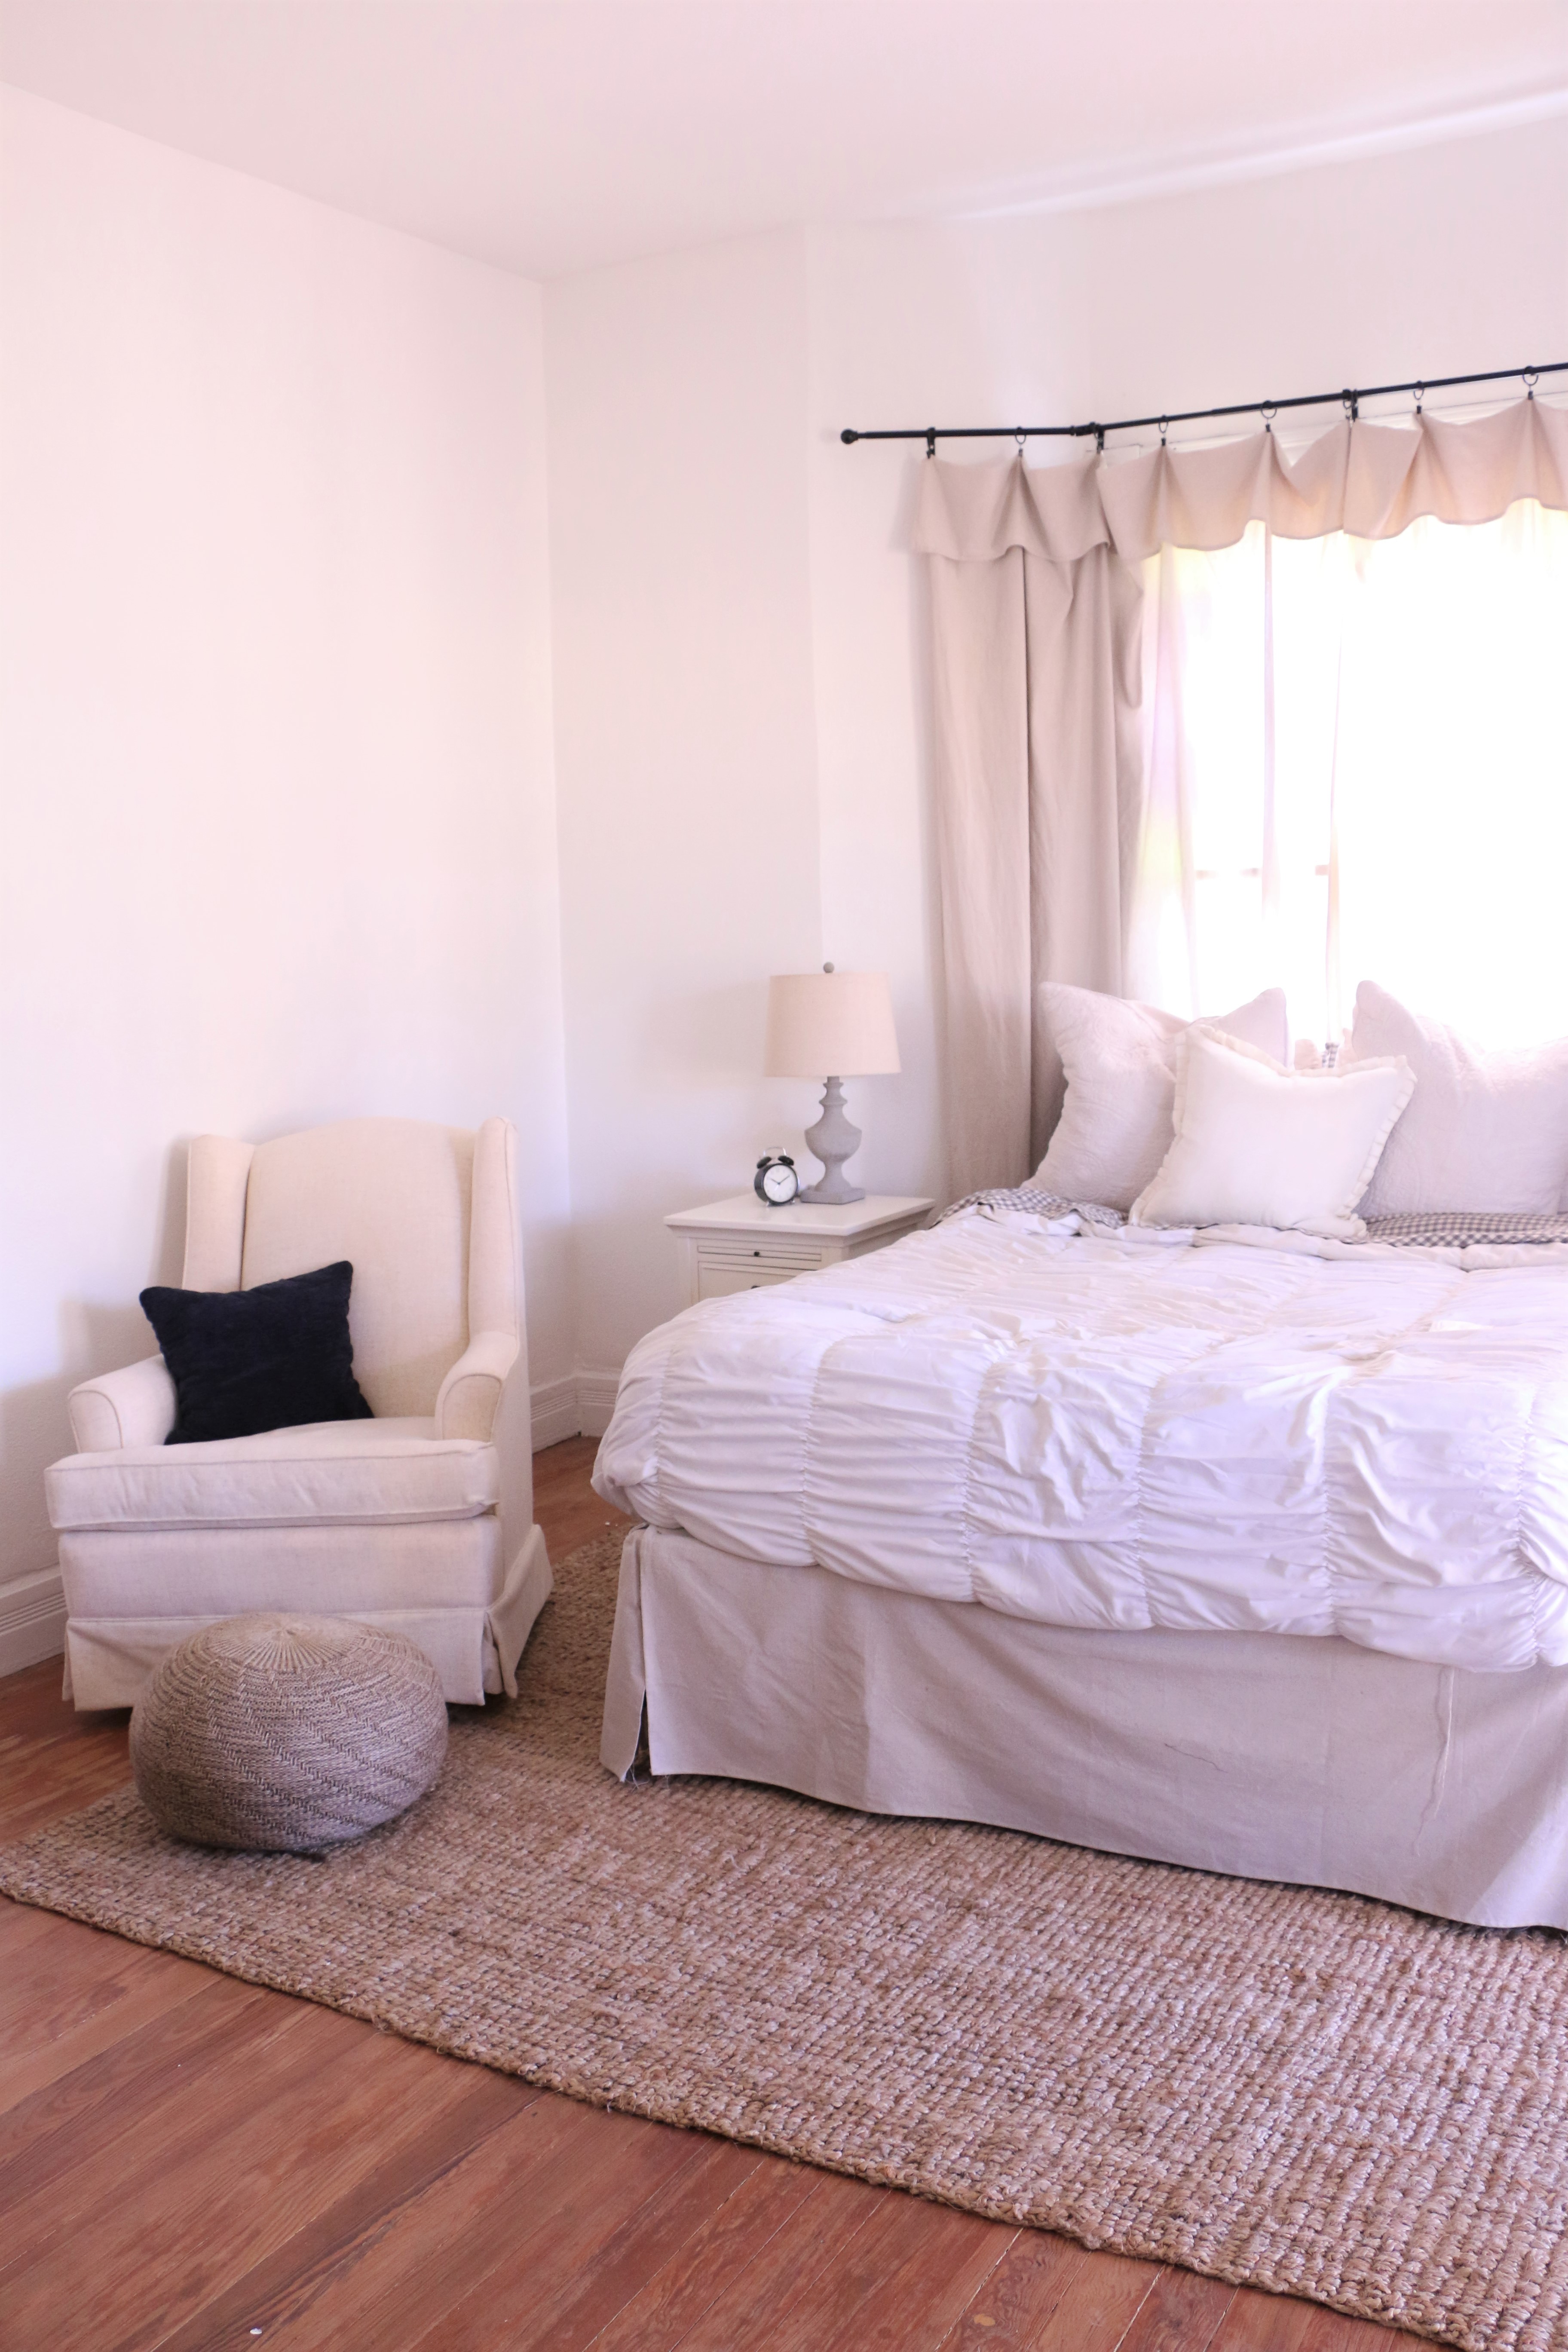
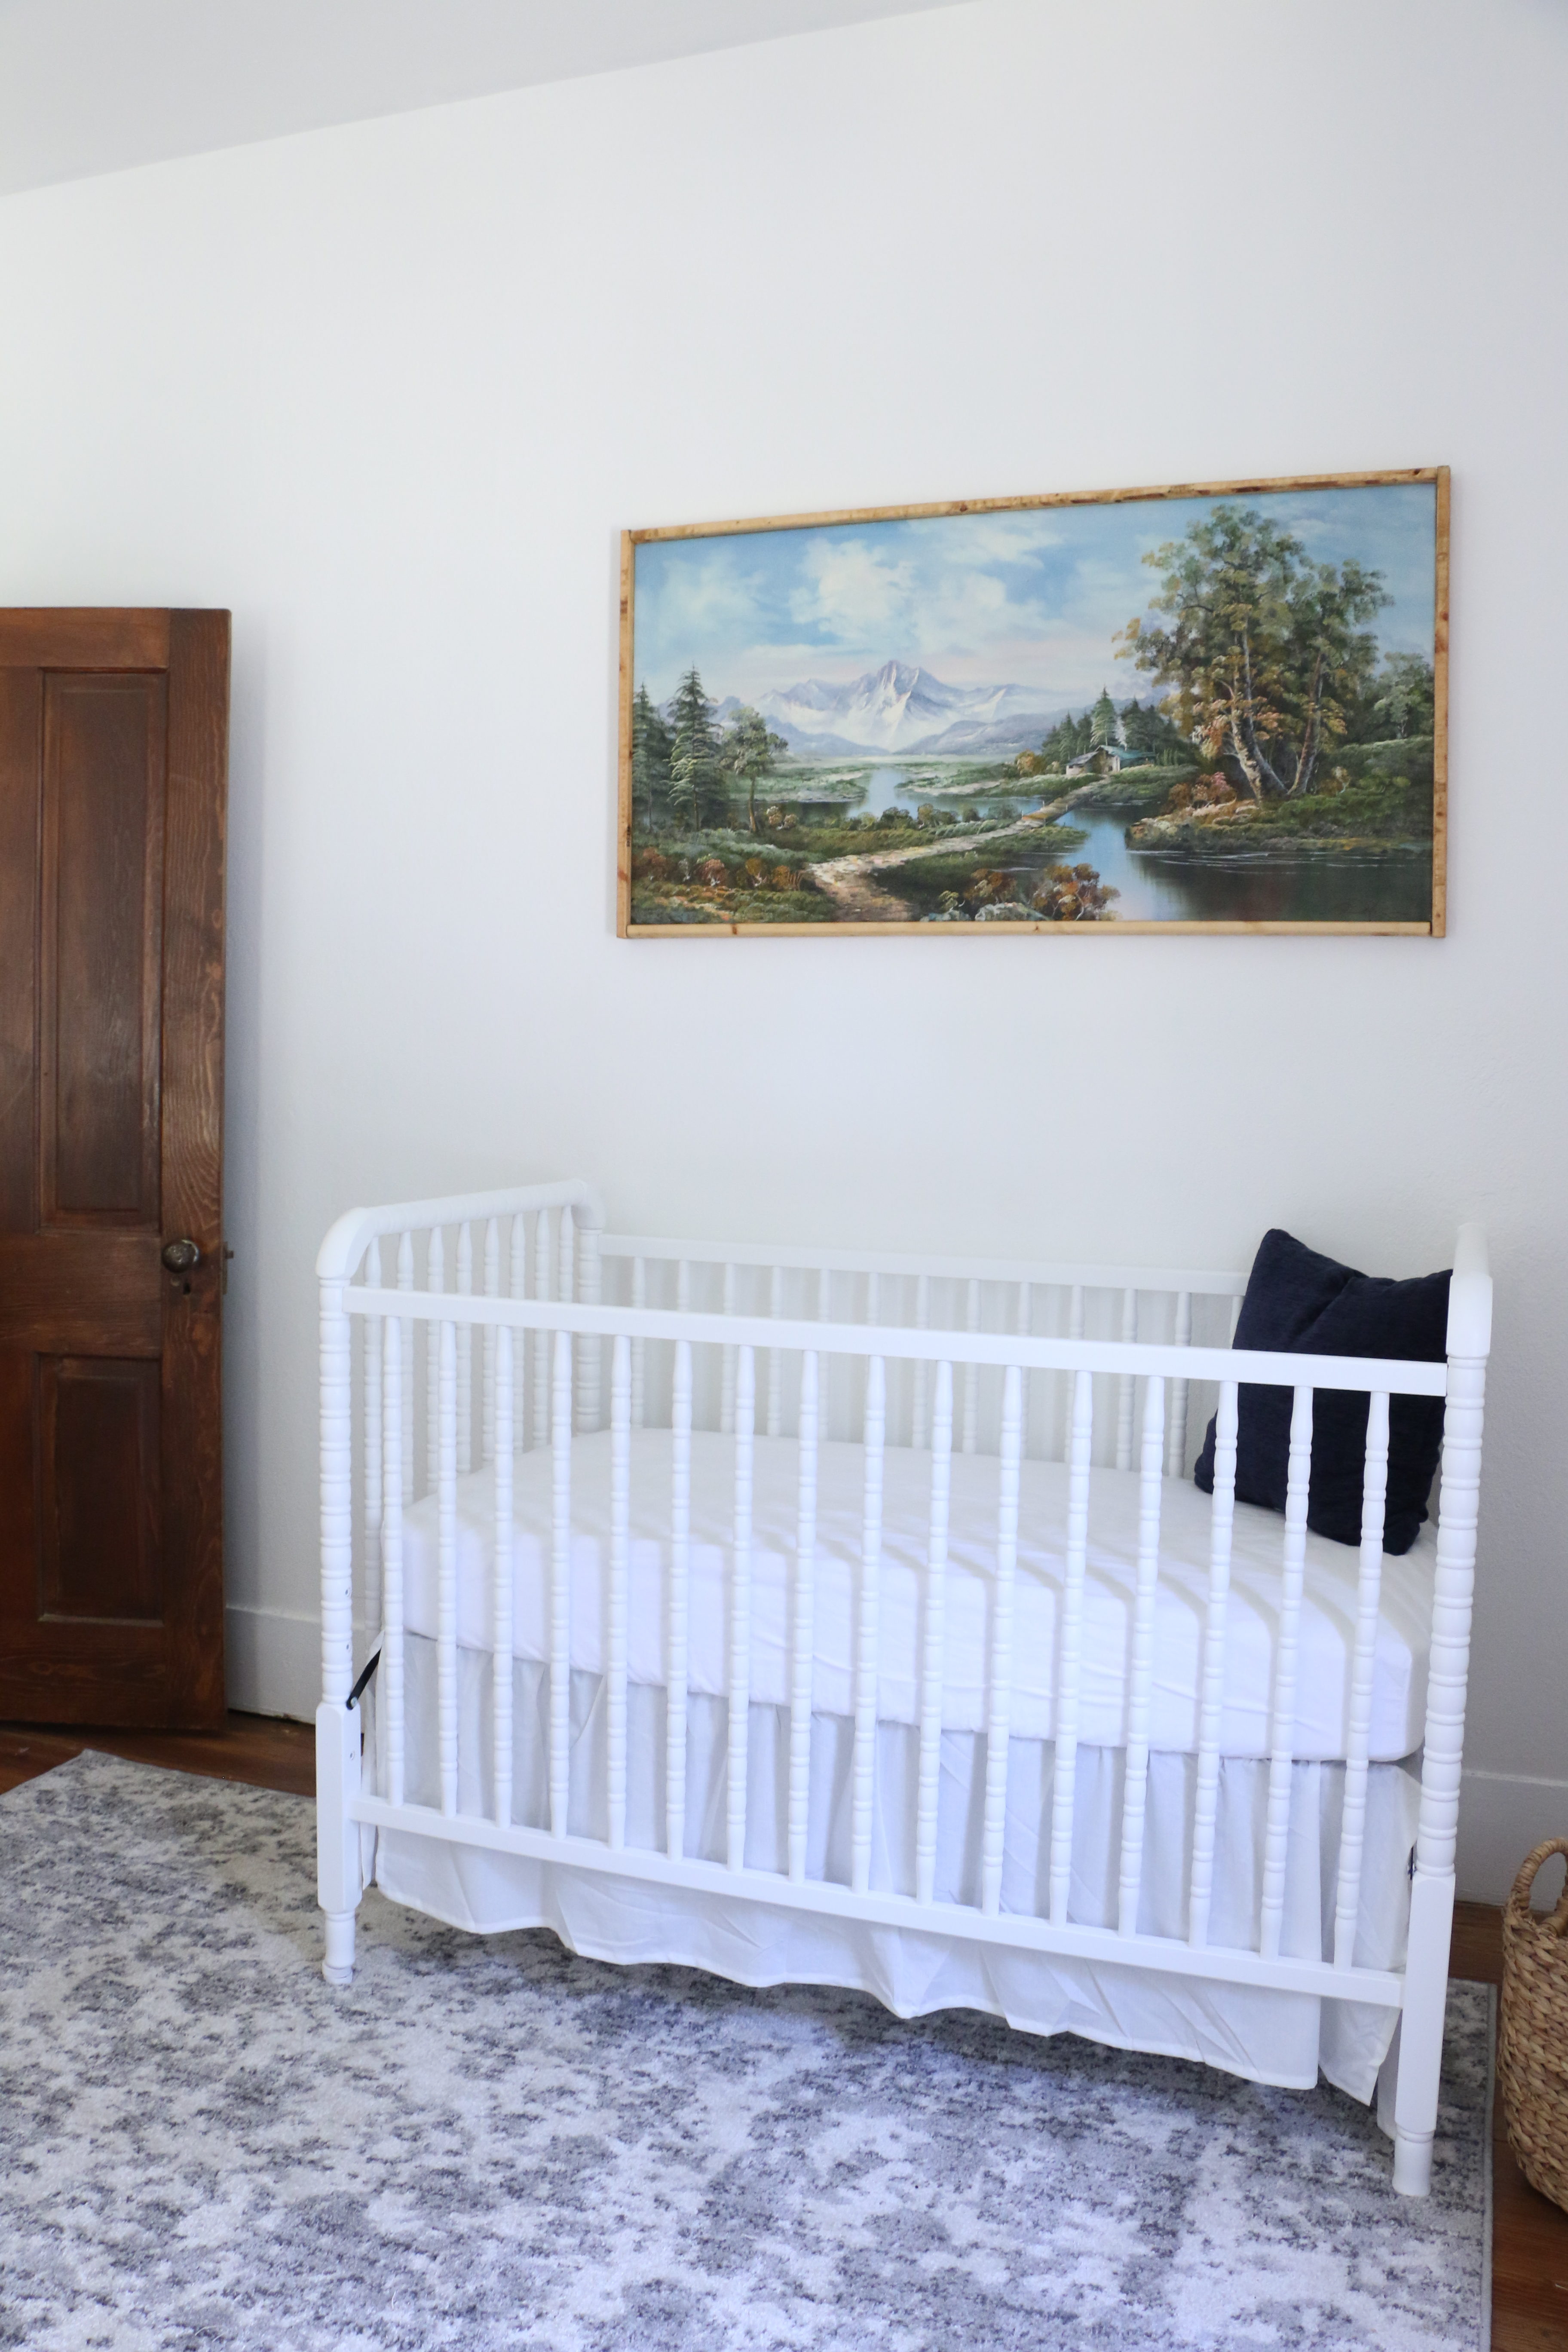
At the risk of making this the longest post I’ve ever written, I did promise to discuss how living this way has affected my design style, so I wanted to touch on that. Every month I would spend my “spending cash” on house stuff. But I wanted to stretch my spending money as far as it would go, hence the love of thrift stores, estate sales, and flea markets. Why would I pay $200 for a dining chair at Target when I could buy a whole set of higher quality dining chairs at a thrift store with a little patience and persistence for $40? (That is a real example, by the way.) And shopping secondhand made me appreciate classic, traditional pieces that were different from what was trending at the big box store. I had to practice a lot of patience and be content with what I had in the interim, but I’m grateful for the forced exercise in self control.

Does any of that make sense? I feel like I both rambled on and on and also barely scratched the surface. If you have questions, let me know. That’s all for today, friends! Have a fabulous day!

Home Decor

Free and Low Cost Art

They say that to make a house feel more homey, it needs art. Well, I agree, but what I know about art is that it’s expensive. And if I go to a big box store and buy something off the shelf, chances are someone I know has the same one in their house. And that doesn’t make my house feel special or unique. Today I wanted to share with you a few ideas for finding art for free or inexpensively that are unique and make your home feel special!

First, let’s talk free. It’s my favorite word.

This is a view of the art ledge in our living room. Our living room is a work in progress. Let’s look beyond that. A couple of things I have here are some literal weeds that I cut from my yard and pressed under some magazines. I stuck them in some thrifted frames I had on hand, and boom. Done. I also have a framed scrap of wallpaper that we found while tearing out a wall in our house. It’s probably close to 100 years old. Now, you may not have 100 year old wallpaper you want to frame, but you might have something personally special to you like a handwritten recipe card from your grandmother, or a silk scarf that your mom used to wear. Frame it, and it’s personal and unique and free art!

You can also paint your own abstract art. I would consider myself “creative,” but not “artistic” if that makes sense. But anyone can paint some circles or blobs on a piece of paper and call it art, right? (Also, check out this sneak peek of my bathroom refresh! I’m waiting on a few things to be delivered before I share more, but it’s coming! And it’s green!)

And while you’re browsing your favorite magazine, be on the lookout for pages that appeal to you. You can always cut pictures from books and magazines and frame those too!

Now let’s move to the “low cost” category.

Not quite as good, but still pretty cheap, so listen up.

These large frames in our living room are prints of Sanborn Maps. These are map views of our neighborhood from the early 20th century that I had printed. They are available for free on the library of congress website, but I’m including them in the “low cost” category because I had to pay a few dollars to have them printed in large format at my local office supply store. You may not live in an old house and so these may not be relevant to you, but I wanted to share with you my favorite and new found obsession for amazing prints.

The Smithsonian has thousands of archived digital files available to download right on their website for free. Can you even believe that?! Through Smithsonian Open Access, you can browse tons of actual paintings and photographs that you can legally download at a great resolution. These are free to download, but I’m including them in the “low cost” category as well, because I print them as posters or large scale photographs at my local drugstore. This ballerina print in the nursery was one that I downloaded from their website.

And lastly, you know I’m going to tell you to thrift. This original mini oil painting was $4 including the frame. No one else has one, and it helps the room feel unique. Thrift stores, flea markets, and estate sales are filled with framed art for just a few dollars. Sure, you have to look beyond the 90’s prints of flying ducks or the “live, laugh, love” posters, but there are some real gems to be found.

You can fill your home with pieces that not everyone has on a budget! You can fill your walls with art and special things without spending a ton of money. That’s all for today, friends! Have a fabulous day!

DIY Projects, House Progress

Status Update: End of 2018

Hi friends! I’m so glad you’re here! If you’ve been following along on our house progress on Instagram then you probably have seen lots of little projects we’ve been working on as we’ve been doing them. These days, it’s a bit easier for me to do a quick update there than on here, just because life with a newborn is busy! In case you haven’t been following along, here’s the deal with this post. My  Status Updates (Check out the first one here or the second one here) are a series of unedited, real life photos rounding up the entire process of what we’ve accomplished thus far.

At the time of my last update, we had not yet moved into the house. We have since moved, had a baby, and continued working. To say things are a bit crazy would be an understatement. We are definitely still in “fixer upper mode,” when looking at any room in the house, there are at least five undone projects that come to mind. So, bearing all of that in mind, let’s have a look at what our house looks like right now.

The Foyer 

We lived with completely undone stairs for a little while before I went ahead and painted the stairs. This is the view from our front door, and it’s a very tight space. Painting the stairs and the walls made it look a little bit more open though. Still to do in this space: replace the light fixture, add trim along the ceiling going up the stairs, add a runner up the stairs, do something about the floors (we aren’t sure what the plan is…there are no original hardwoods, so we might lay a statement tile. We are still in the very early planning stages on that particular project), and lay a transition piece between this an the living room floor.

The Living Room

This room is mostly “done” with the exception of the transitions on the floor from one section to the next, and replacing the light fixture (we haven’t done that in any area of the house yet). If you look closely in the first picture, you can see a thin cable running along the floor. It’s something for the internet that needs to be run underneath the house. I also want to replace 99% of the furniture here, but that’s not necessarily considered a project.

The Dining Room

The dining room is the most embarrassing in its current state. It took me a month to clear the moving boxes from here, we had no table for two months, and Ethan still has a makeshift desk sitting in the corner (the room that will be the office upstairs is completely undone). We don’t have chairs or any other dining room furniture, but it’ll get there. The fireplace has been painted, and everything else is complete, with the exception of caulking along the ceiling trim.

The Bedroom

Our room has a ways to go, but since our son is still sleeping in here in the bassinet (not pictured), everything is temporarily out of place. The rocker will eventually go back into the nursery once he starts sleeping through the night, and once the extra furniture is out of there, I’ll feel more inspired to decorate and finish things in here. We need to add some trim pieces in here, and add a light fixture. This room doesn’t have an overhead fixture at all, so it’ll be a bit more labor intensive than fixtures in the other rooms.

The Bathroom 

The bathroom is small and hard to photograph, but the only thing completed in here is the cabinetry has been painted this emerald green color. As you can see, we need to replace the light switch box, which we will do in the entire house all at once. We replaced the outlets, but we haven’t done the light switches yet.

The Nursery 

I did a whole post about our son’s room, because it’s the only room that’s “done.” It actually still needs a new light fixture and light switch box, but other than that it is done. If you missed that post, you can check out more photos of it here.

We haven’t done anything else on the outside just yet, but we do have some major plans for that yellow house. (Hint – it won’t be yellow forever). We’re at a point now where we have to slowly plan things out. In part, because we spent all the money we had earmarked for house projects when we bought the house, but also because things move at a much slower pace with a newborn around. When I was 8 months pregnant, I was working 12 hour days in the house, and people thought that was crazy. It may have been, but now I can only work in one or two hour increments during naptime. So, in 2019, we’ll be moving a bit slower. Anywho, that’s the update for today. This house has come a looooooong way since our closing date, but she still has a long way to go before she is everything we envision. That’s all for today, friends. Have a fabulous day!