Three weeks in and I’m starting to feel like I can *see* this room. (If you haven’t caught up on weeks one and two, you may want to do that first.) You know when you still have so much left to do, but all of a sudden there’s a point in a project where you can start to see your vision come to life? That’s where I am this week.
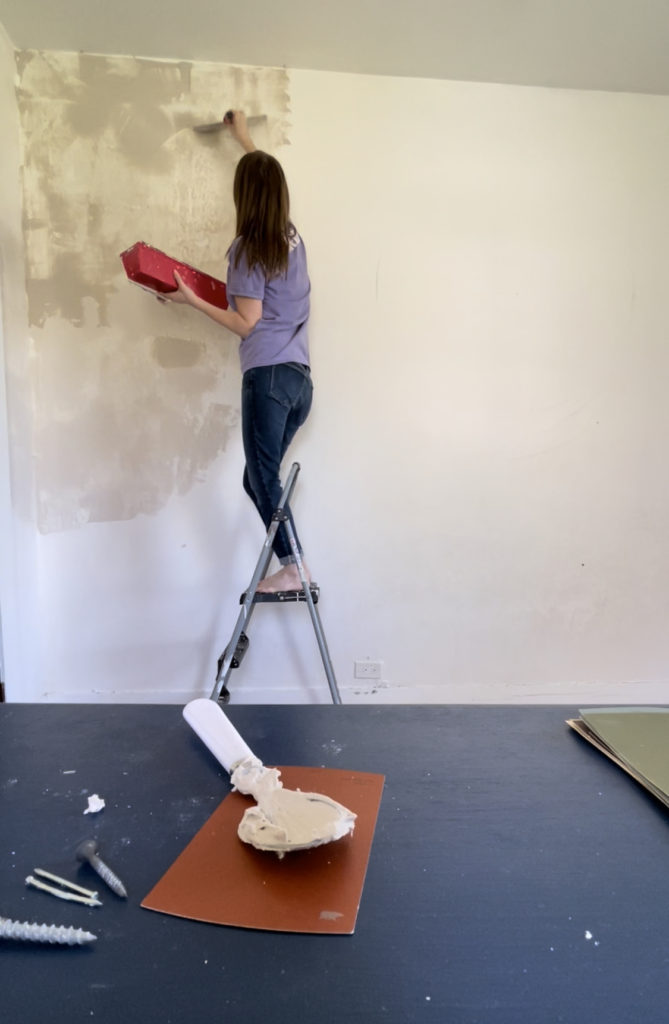
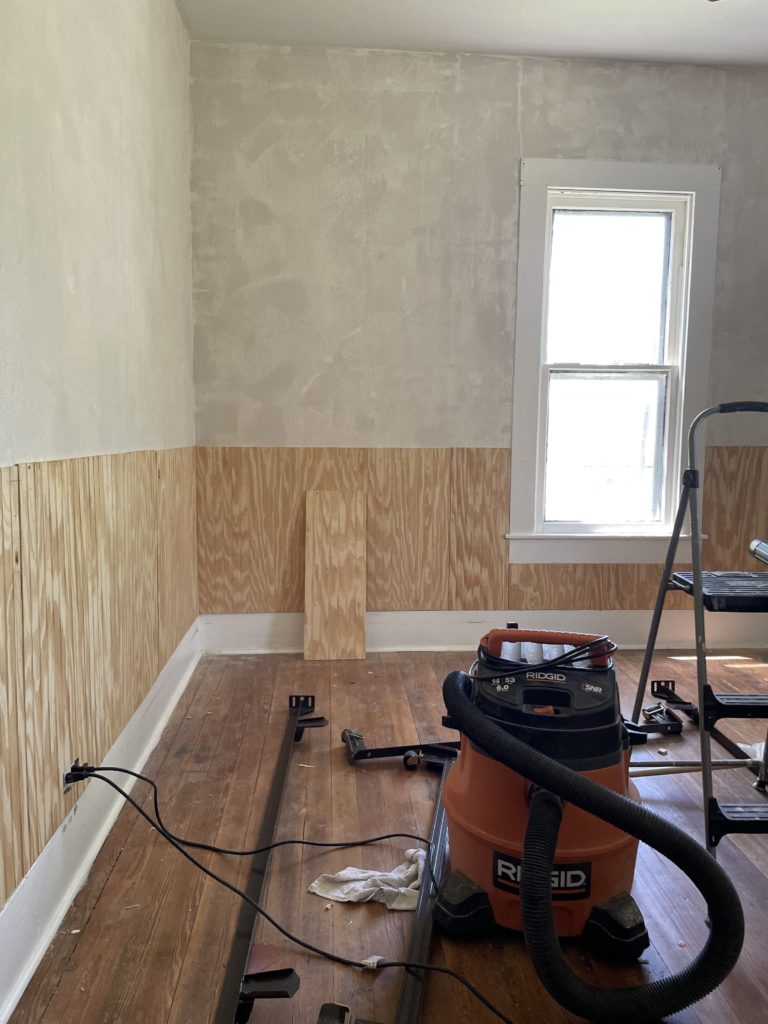
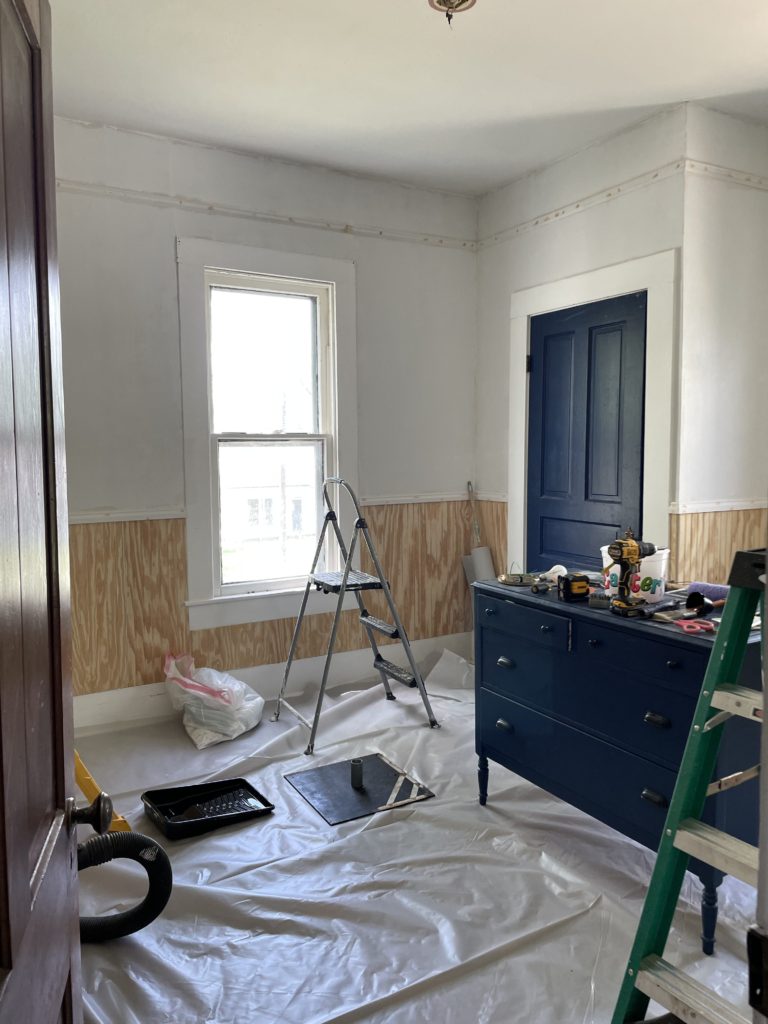
We finished last week with beadboard up on the wall and that was it. I had to do a lot of work to actually finish out the beadboard so it looked good, and even more to do before I could start getting paint on the wall, but I was determined to start getting color on this week. Thankfully Ethan was home this week and able to help me. I wouldn’t have gotten as much done as I did without him, but we made it with not a moment to spare!
Let’s walk through what we did this week.
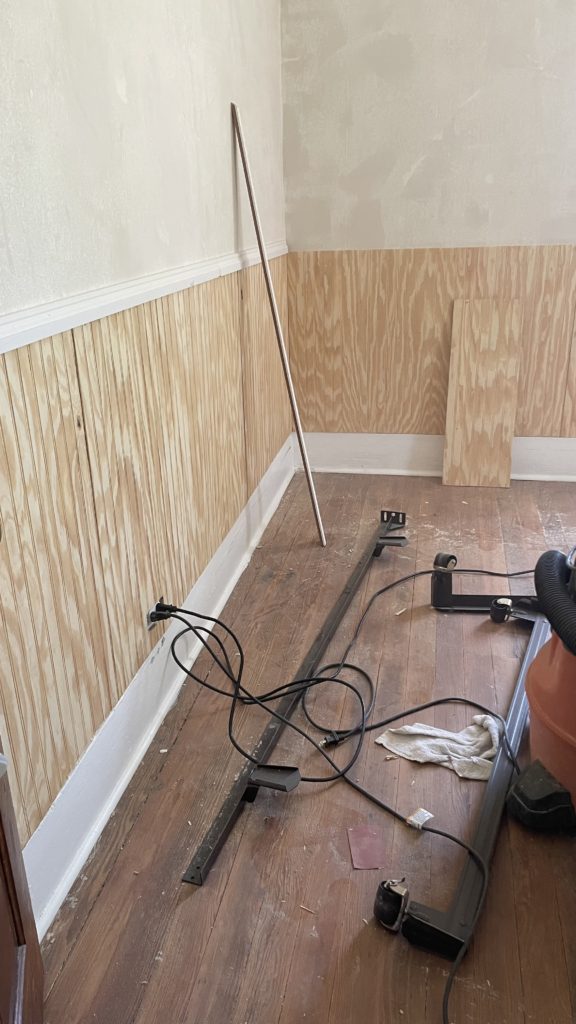
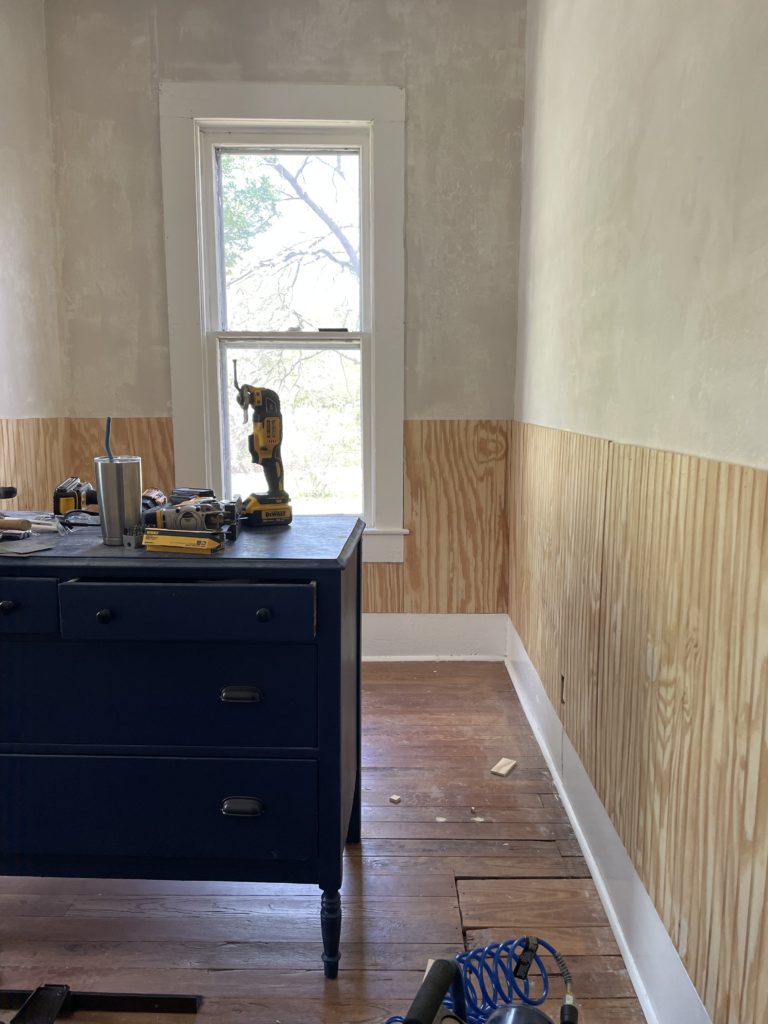
First thing we did was add the chair rail to sit along the top of the beadboard. It immediately looks so much more professional with just that simple addition. It’s easy to gloss over all of the finish work, but it takes hours to fill nail holes, sand, caulk seams, and clean up in between each of those steps, so I don’t want to negate that work.
Once we completely finished the beadboard, we were ready to install picture rail. A lot of people don’t know what picture rail is, and if you had asked me a few years ago, I wouldn’t have known either. Picture rail is a type of decorative molding somewhere near the ceiling. Sometimes it’s installed right up close to the ceiling, mimicking the look of crown molding, and other times it’s installed 10-12 inches down on the wall. It’s most common in historic homes and in art museums. The profile of the rail or molding is round, and the purpose is to hang a round hook from the top to be able to hang and display art. In older homes it was common to have plaster walls, which are notoriously difficult to hang things from. Enter the solution. You can easily hang things without any nails, screws, etc. It’s super practical!
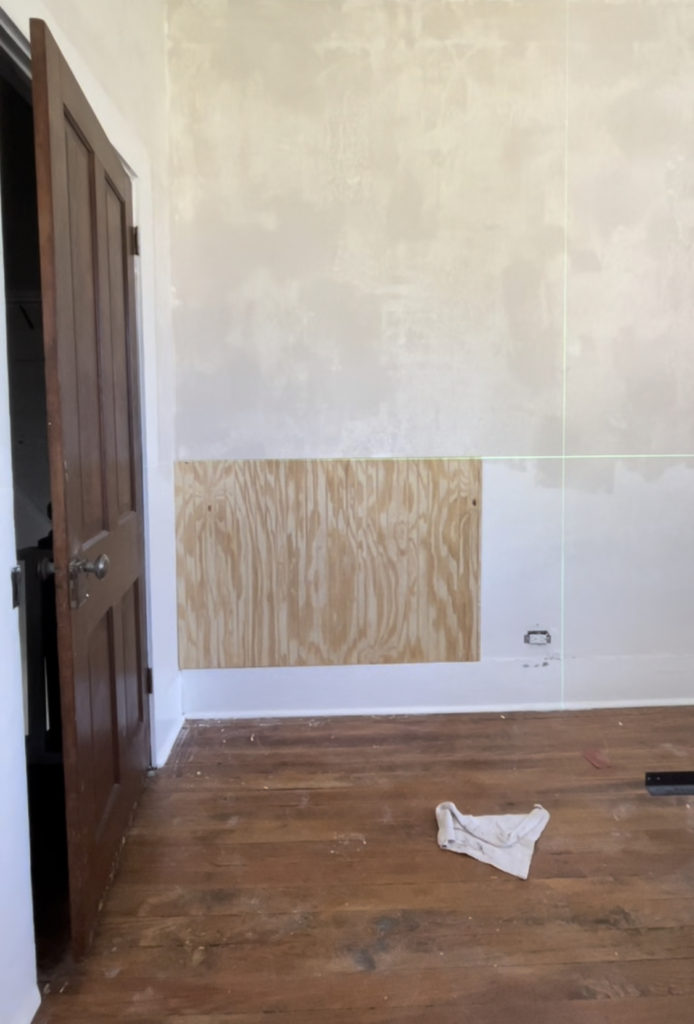
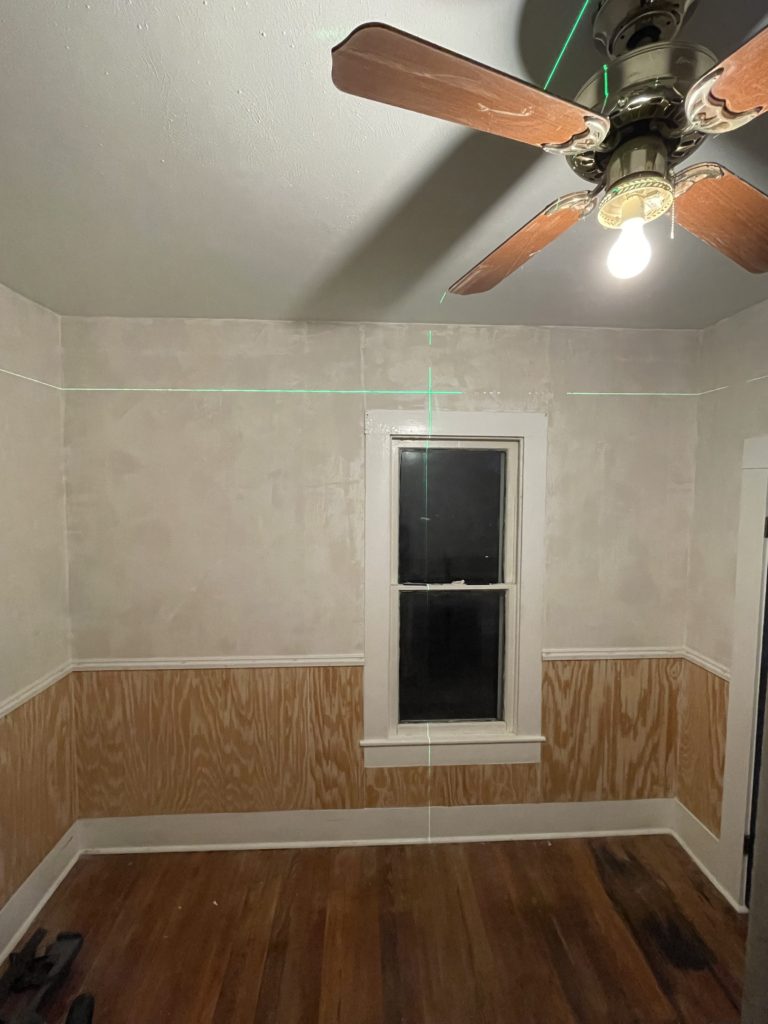
Since our second floor has nine foot ceilings, we decided to install it a little bit down on the wall, and our laser level came in handy…for demonstrating once again how nothing in this house is actually straight. If you look closely above the window you can see how the top of the window does not line up with the laser. Thankfully once I hang curtains you won’t be able to tell. Remember that because this room is totally crooked, I’m trying to give the illusion of straight visual lines.
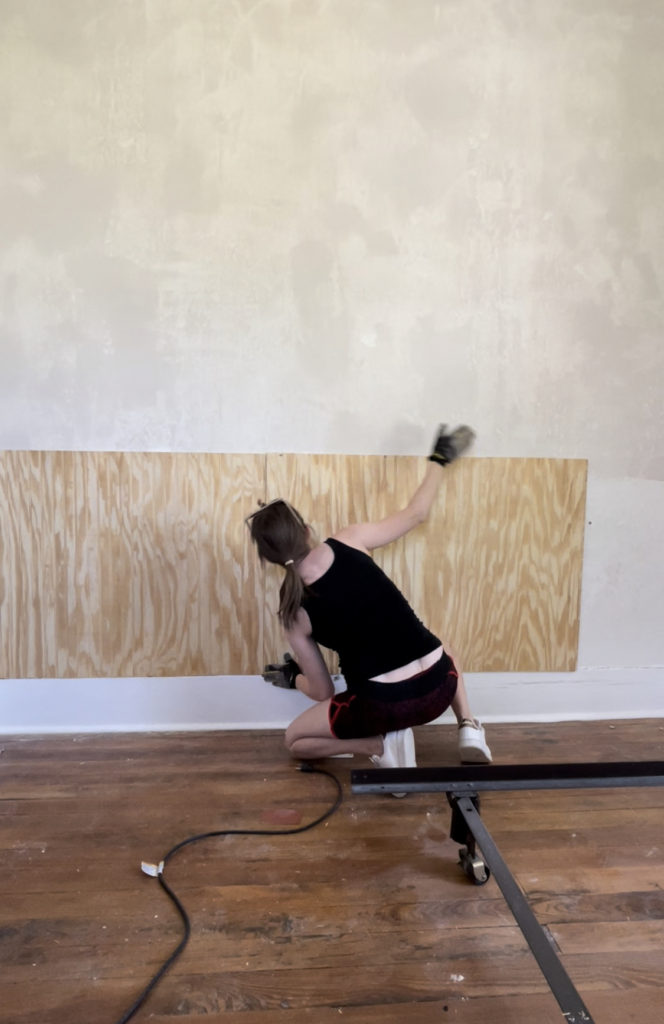
So picture rail was hung (that was 100% Ethan, all I did was stand back and make sure it was lined up and pass the nail gun), caulked, wood filled, and sanded. I am so glad we added this, it is definitely in keeping with the historic feel of our home, and definitely helps with the traditional style I’m going for in this room. I also primed all the walls that had been floated last week.
Then, my dear friends, it was time to start painting. I don’t usually do this, and certainly can’t recommend this, but I did not want to waste time with painting different samples on the walls, so I picked straight from the chip and oh.my.gosh. I am in love.
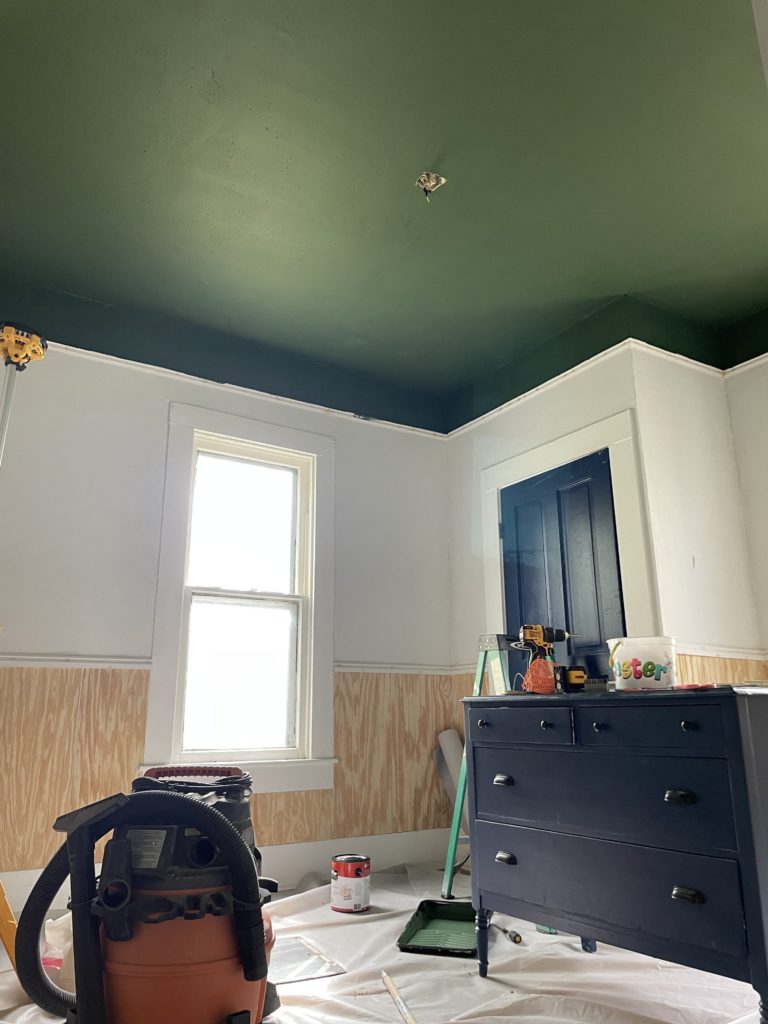
This is after just one coat of Behr Equestrian Green (we love to see a paint color name on theme!). I did paint a second coat since this photo was taken. It’s my first time painting a colored ceiling and I’m wishing I had done it sooner! I also decided to extend the color on the wall above the picture rail as well, which I’m really pleased with.
So, that’s the update. The next weeks will be painting myself into oblivion, as there is so much painting yet to do, but I’m really excited to keep you posted. Make sure you check out the other bloggers who are doing the One Room Challenge, things are starting to get really good! That’s it for today, have a fabulous day!