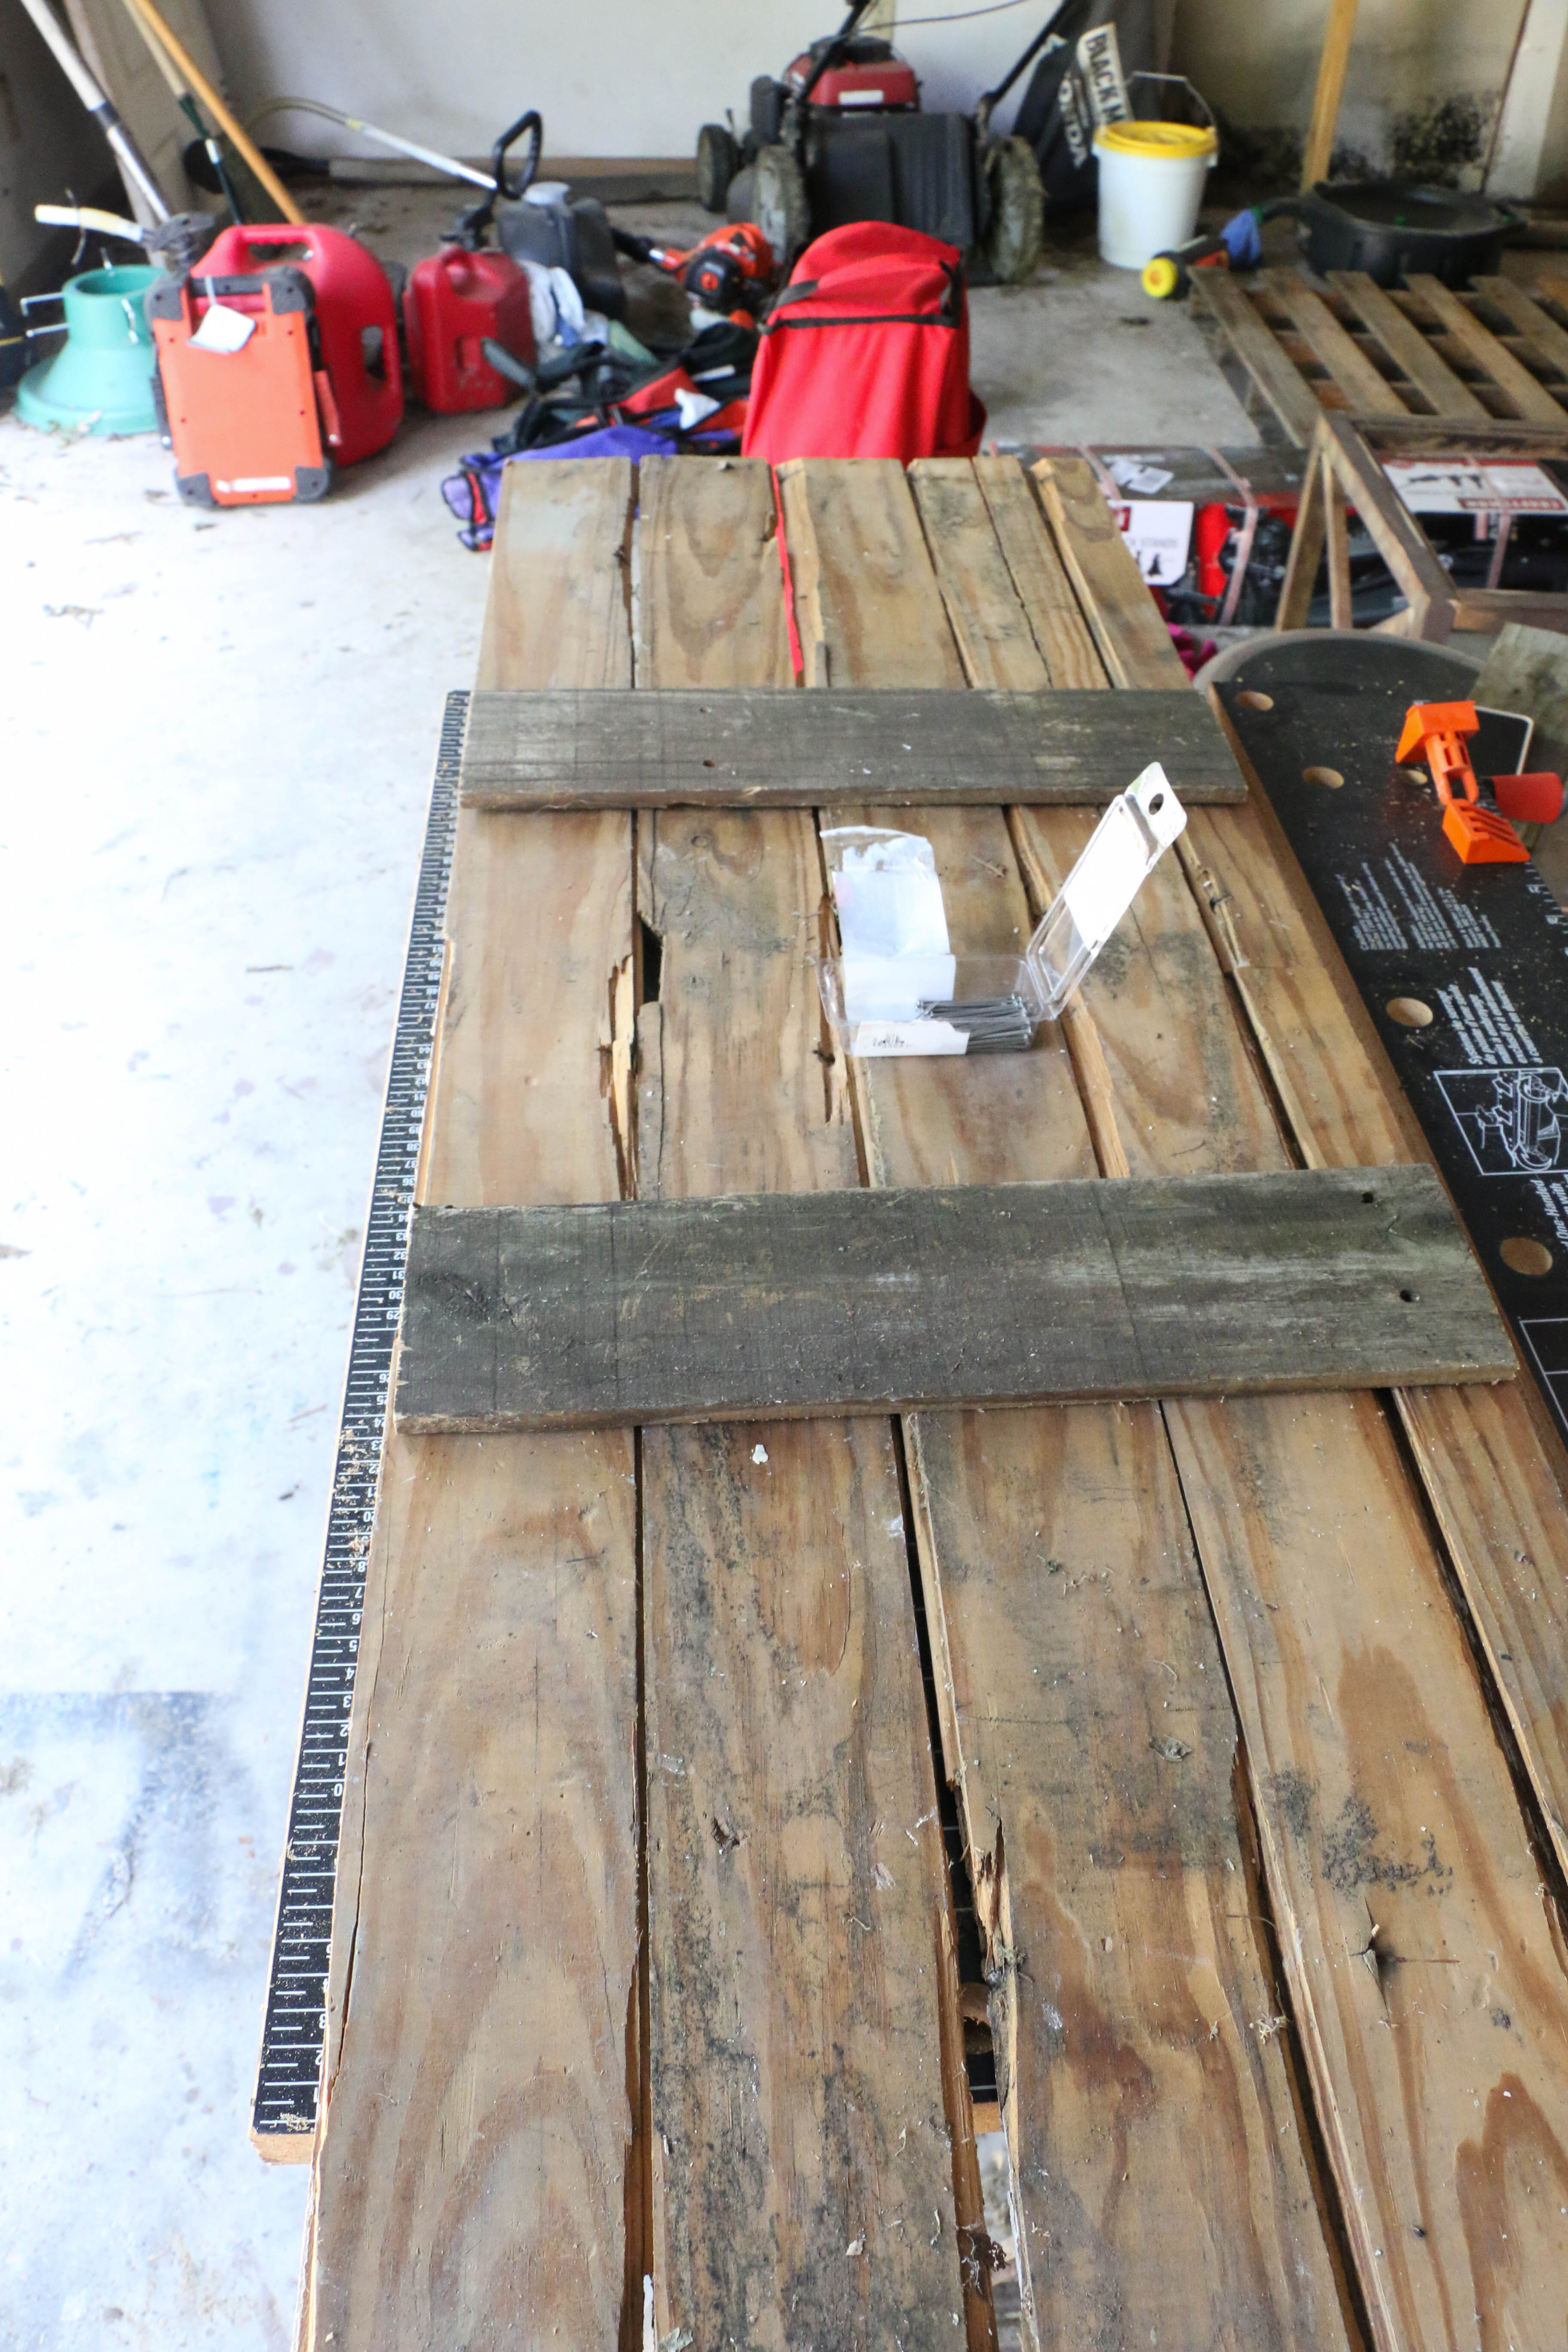
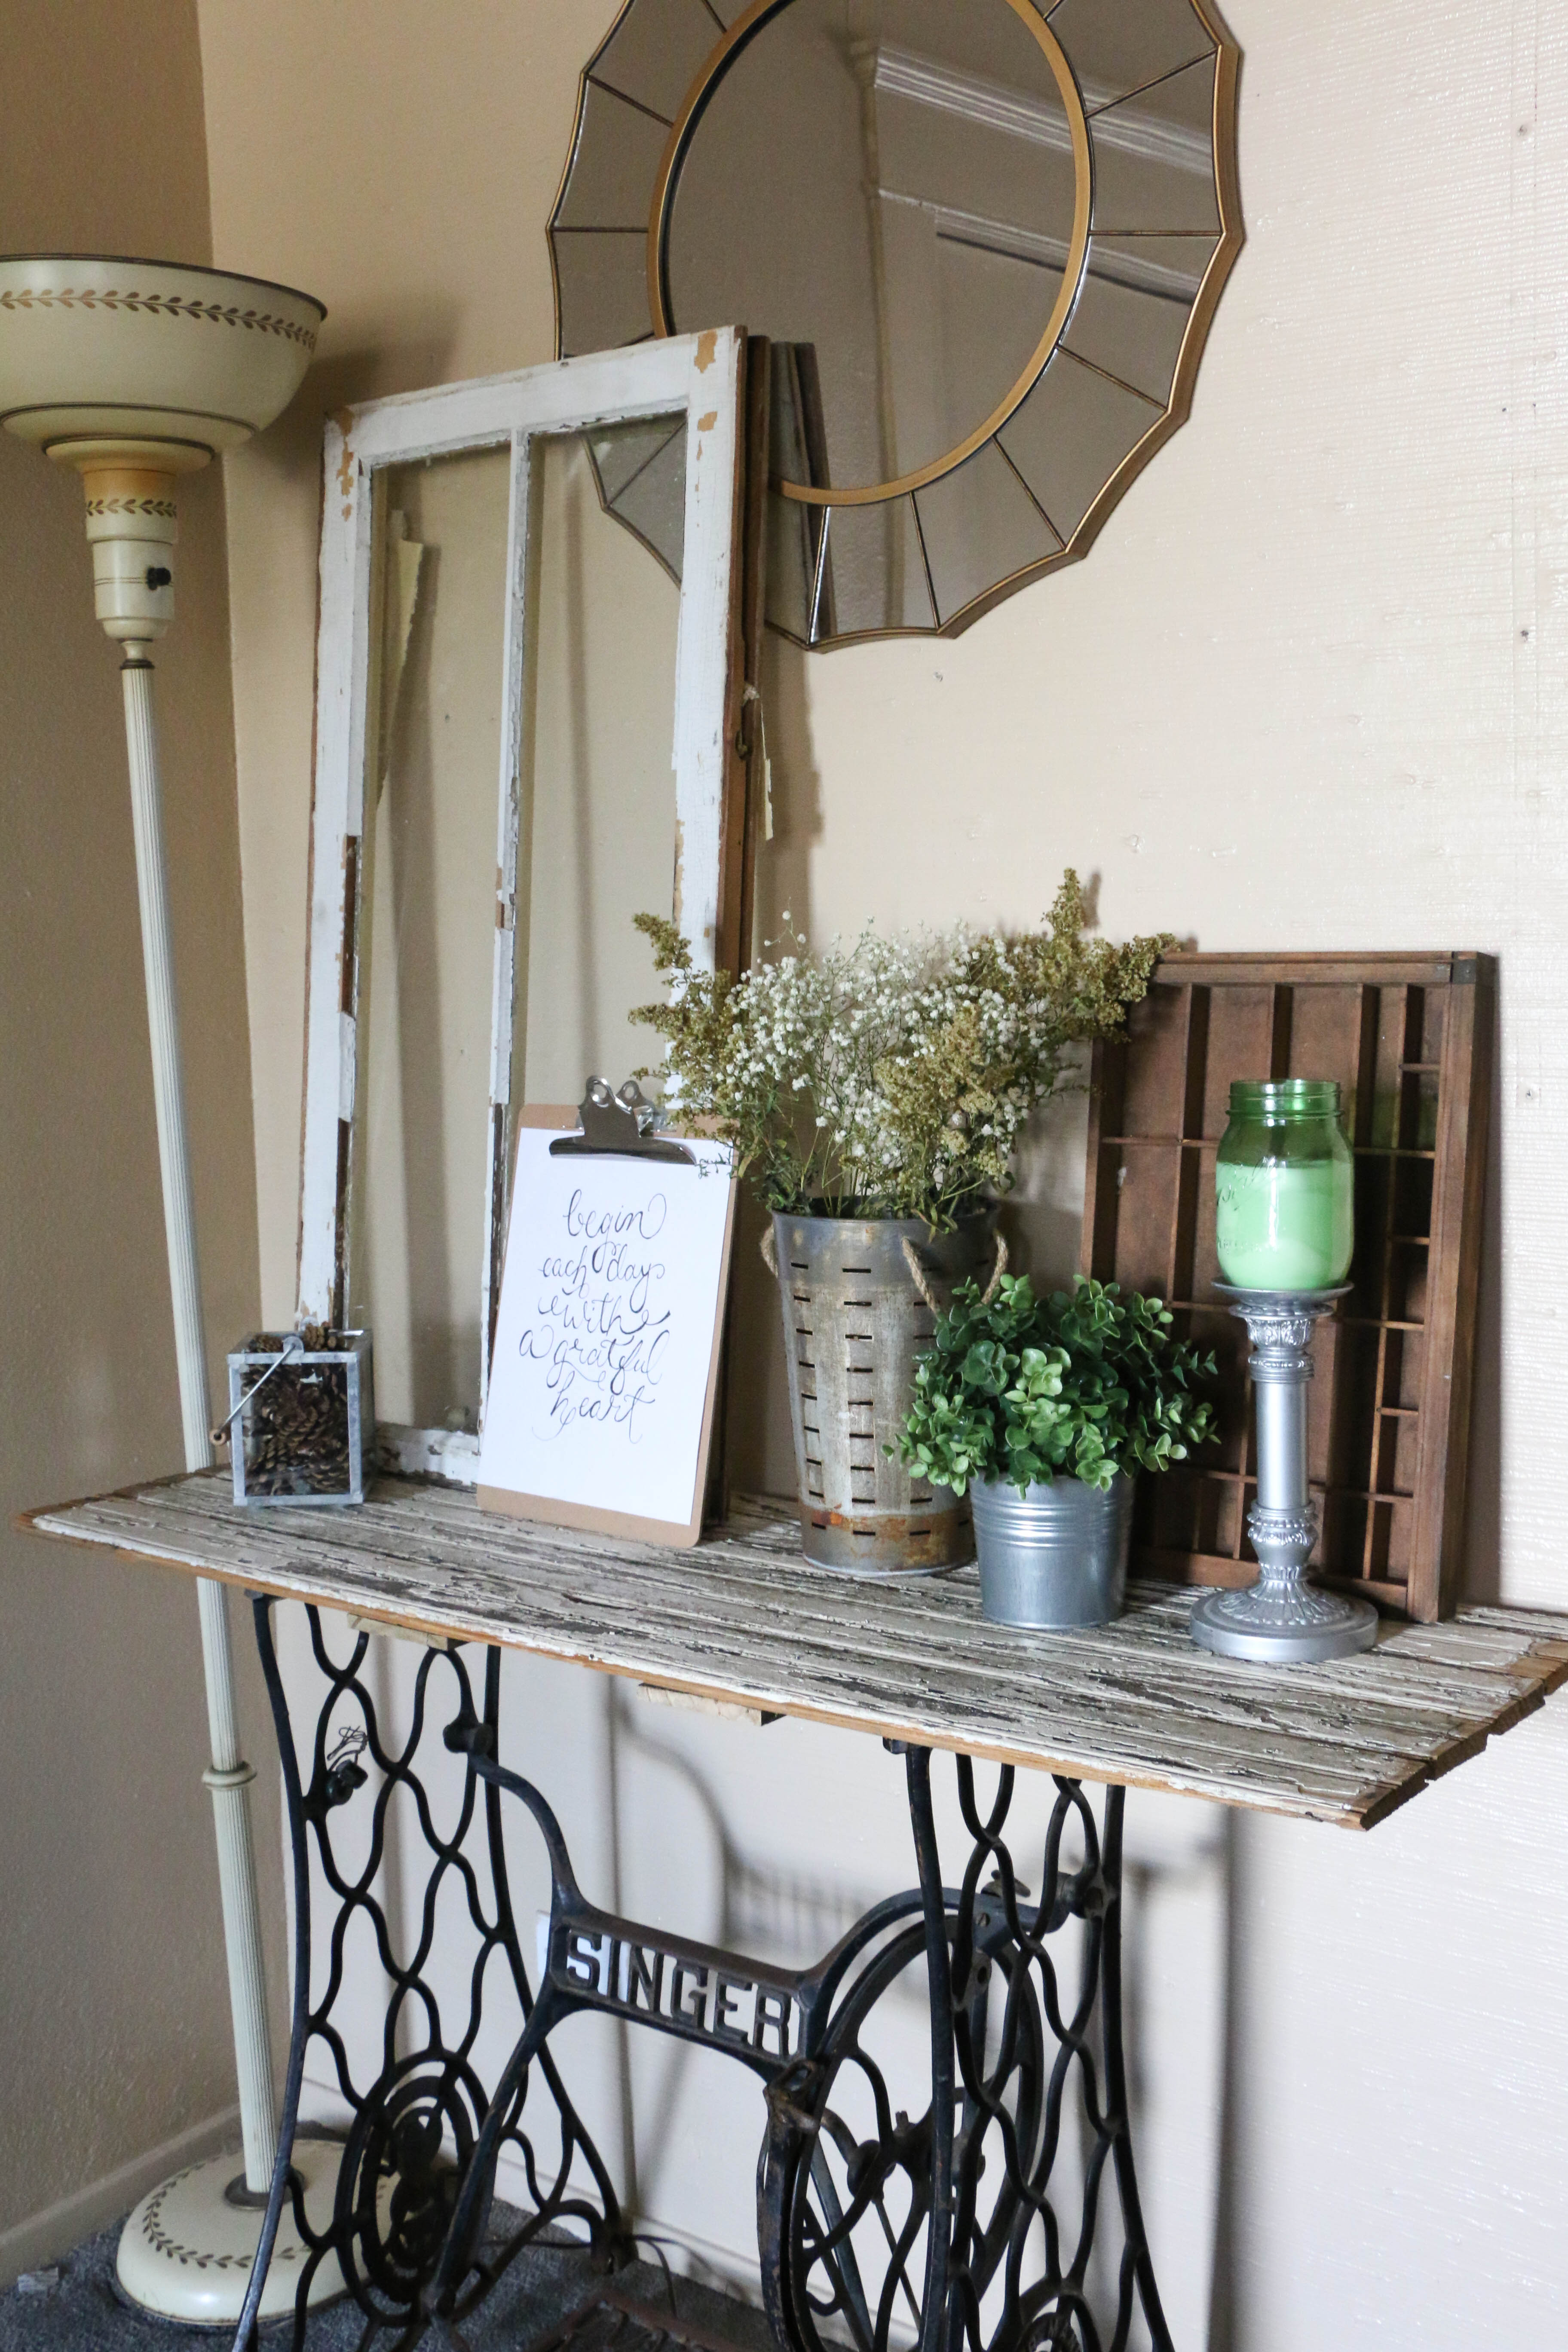
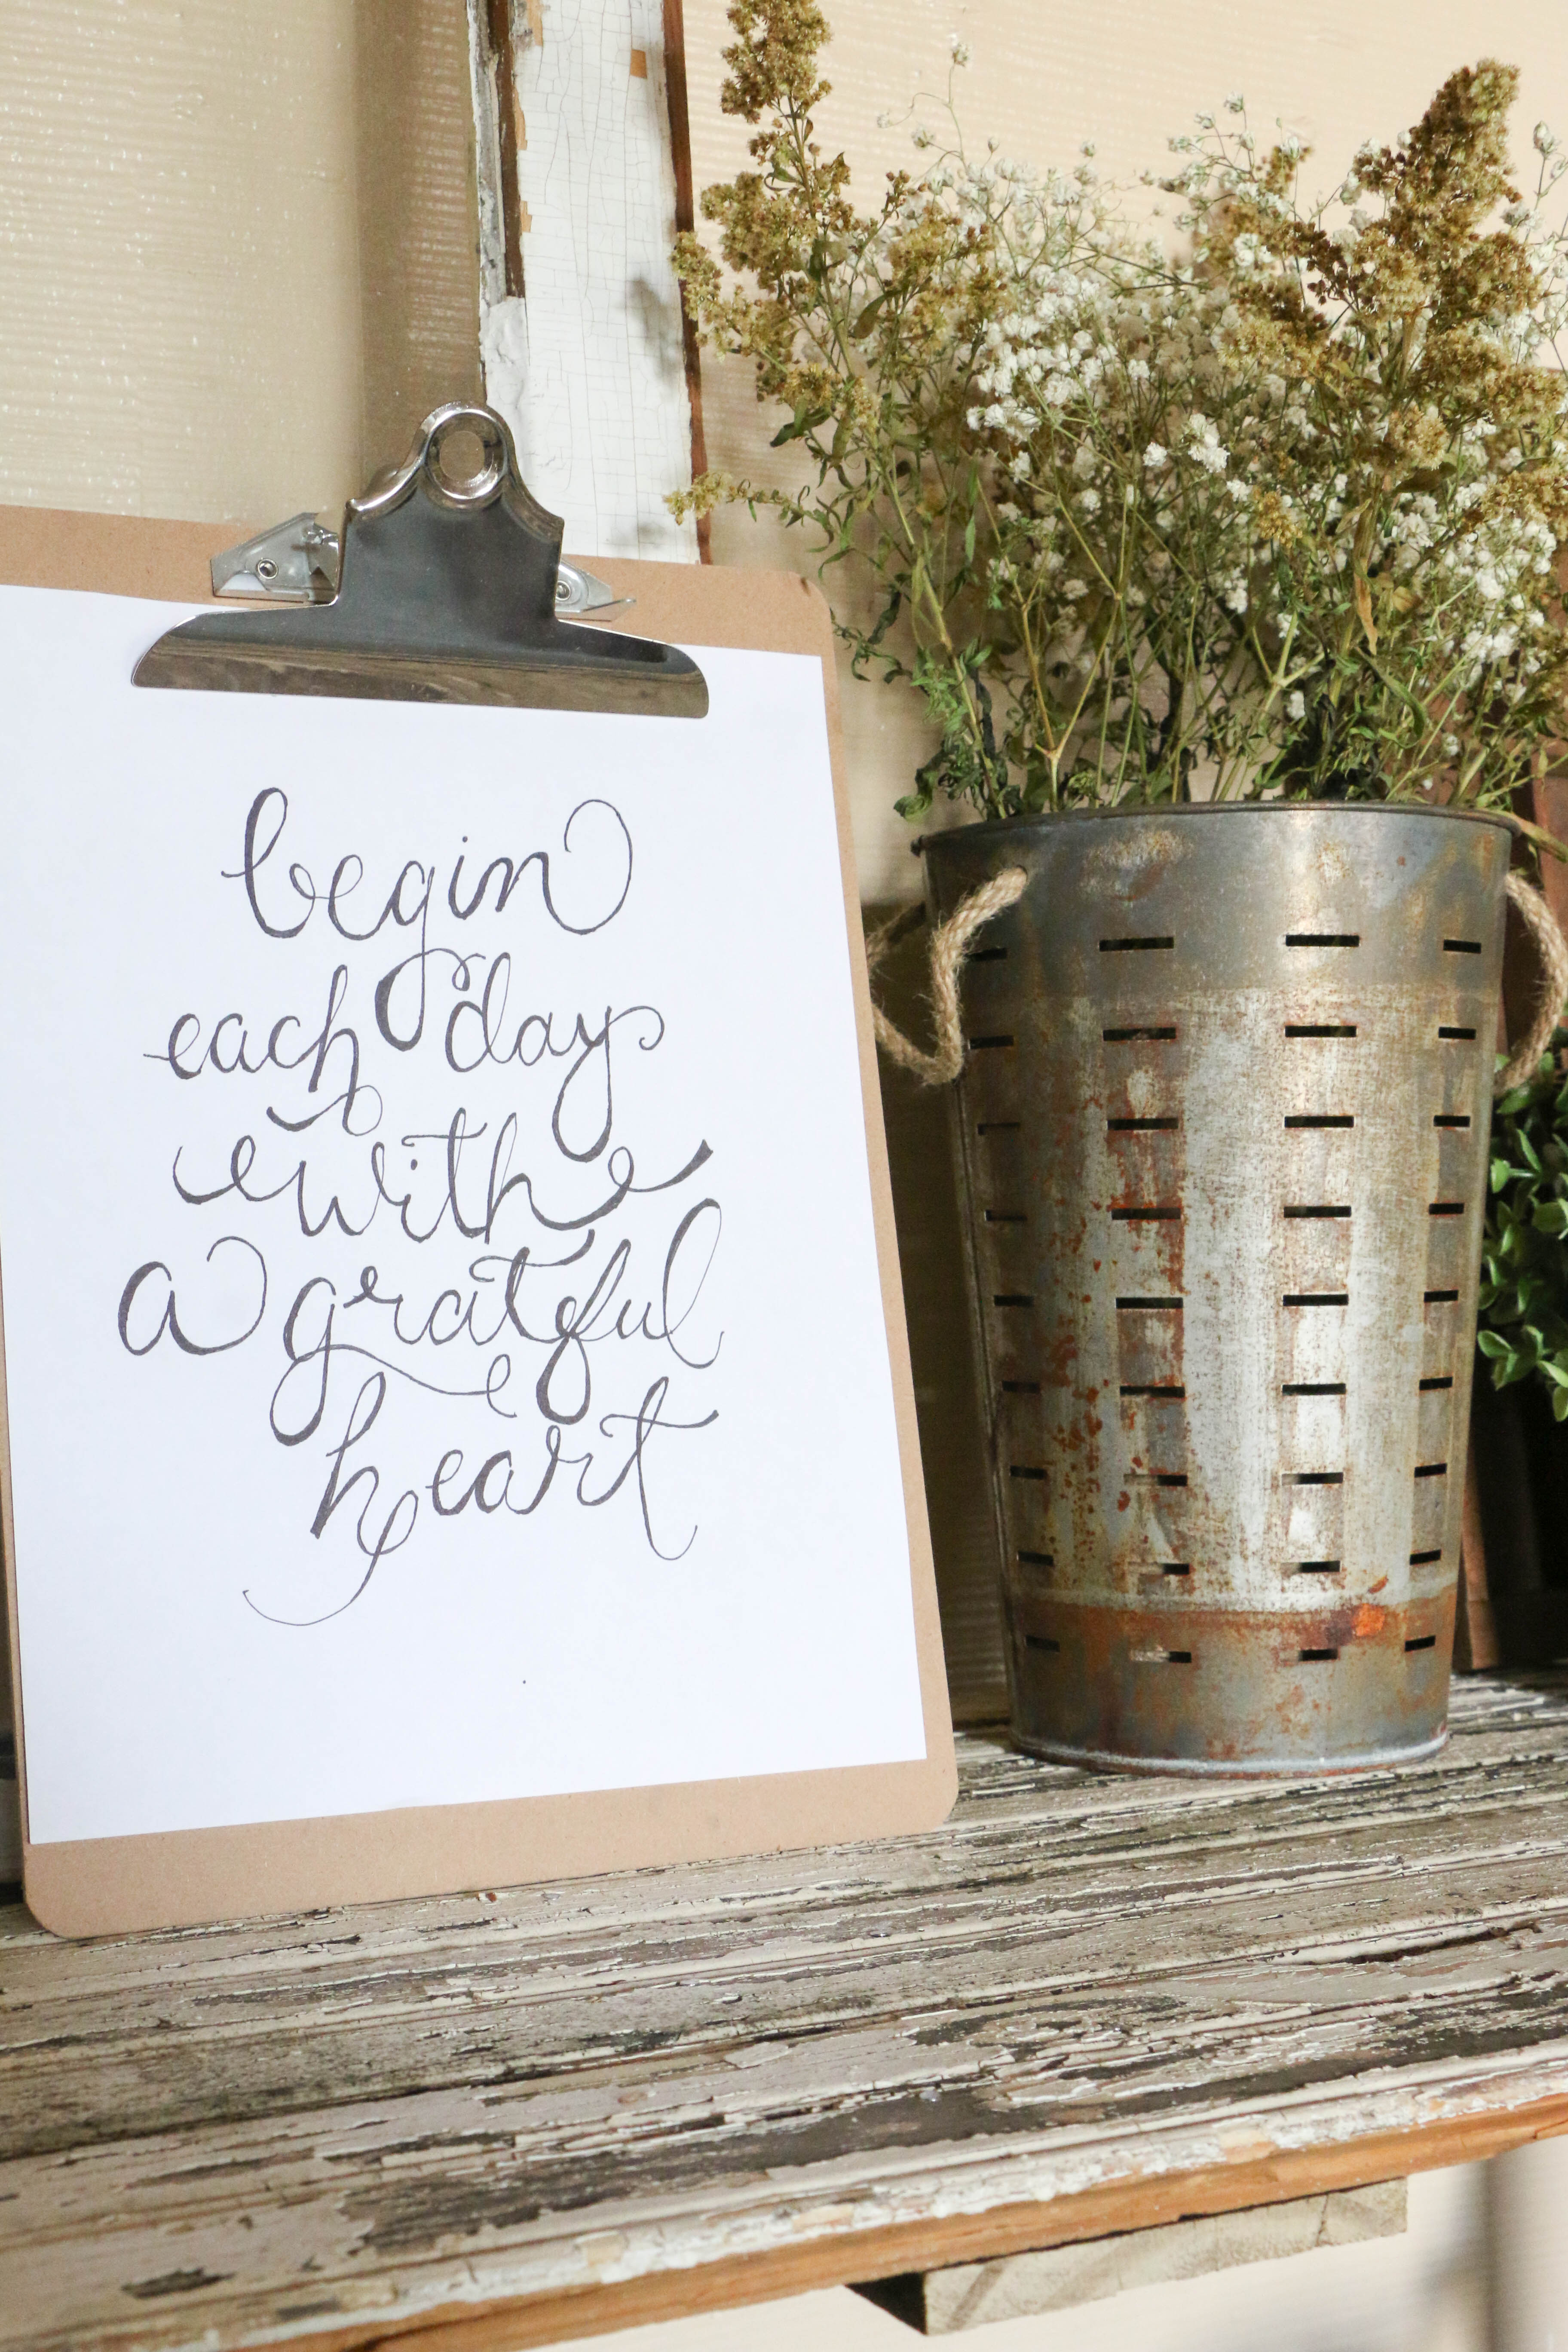
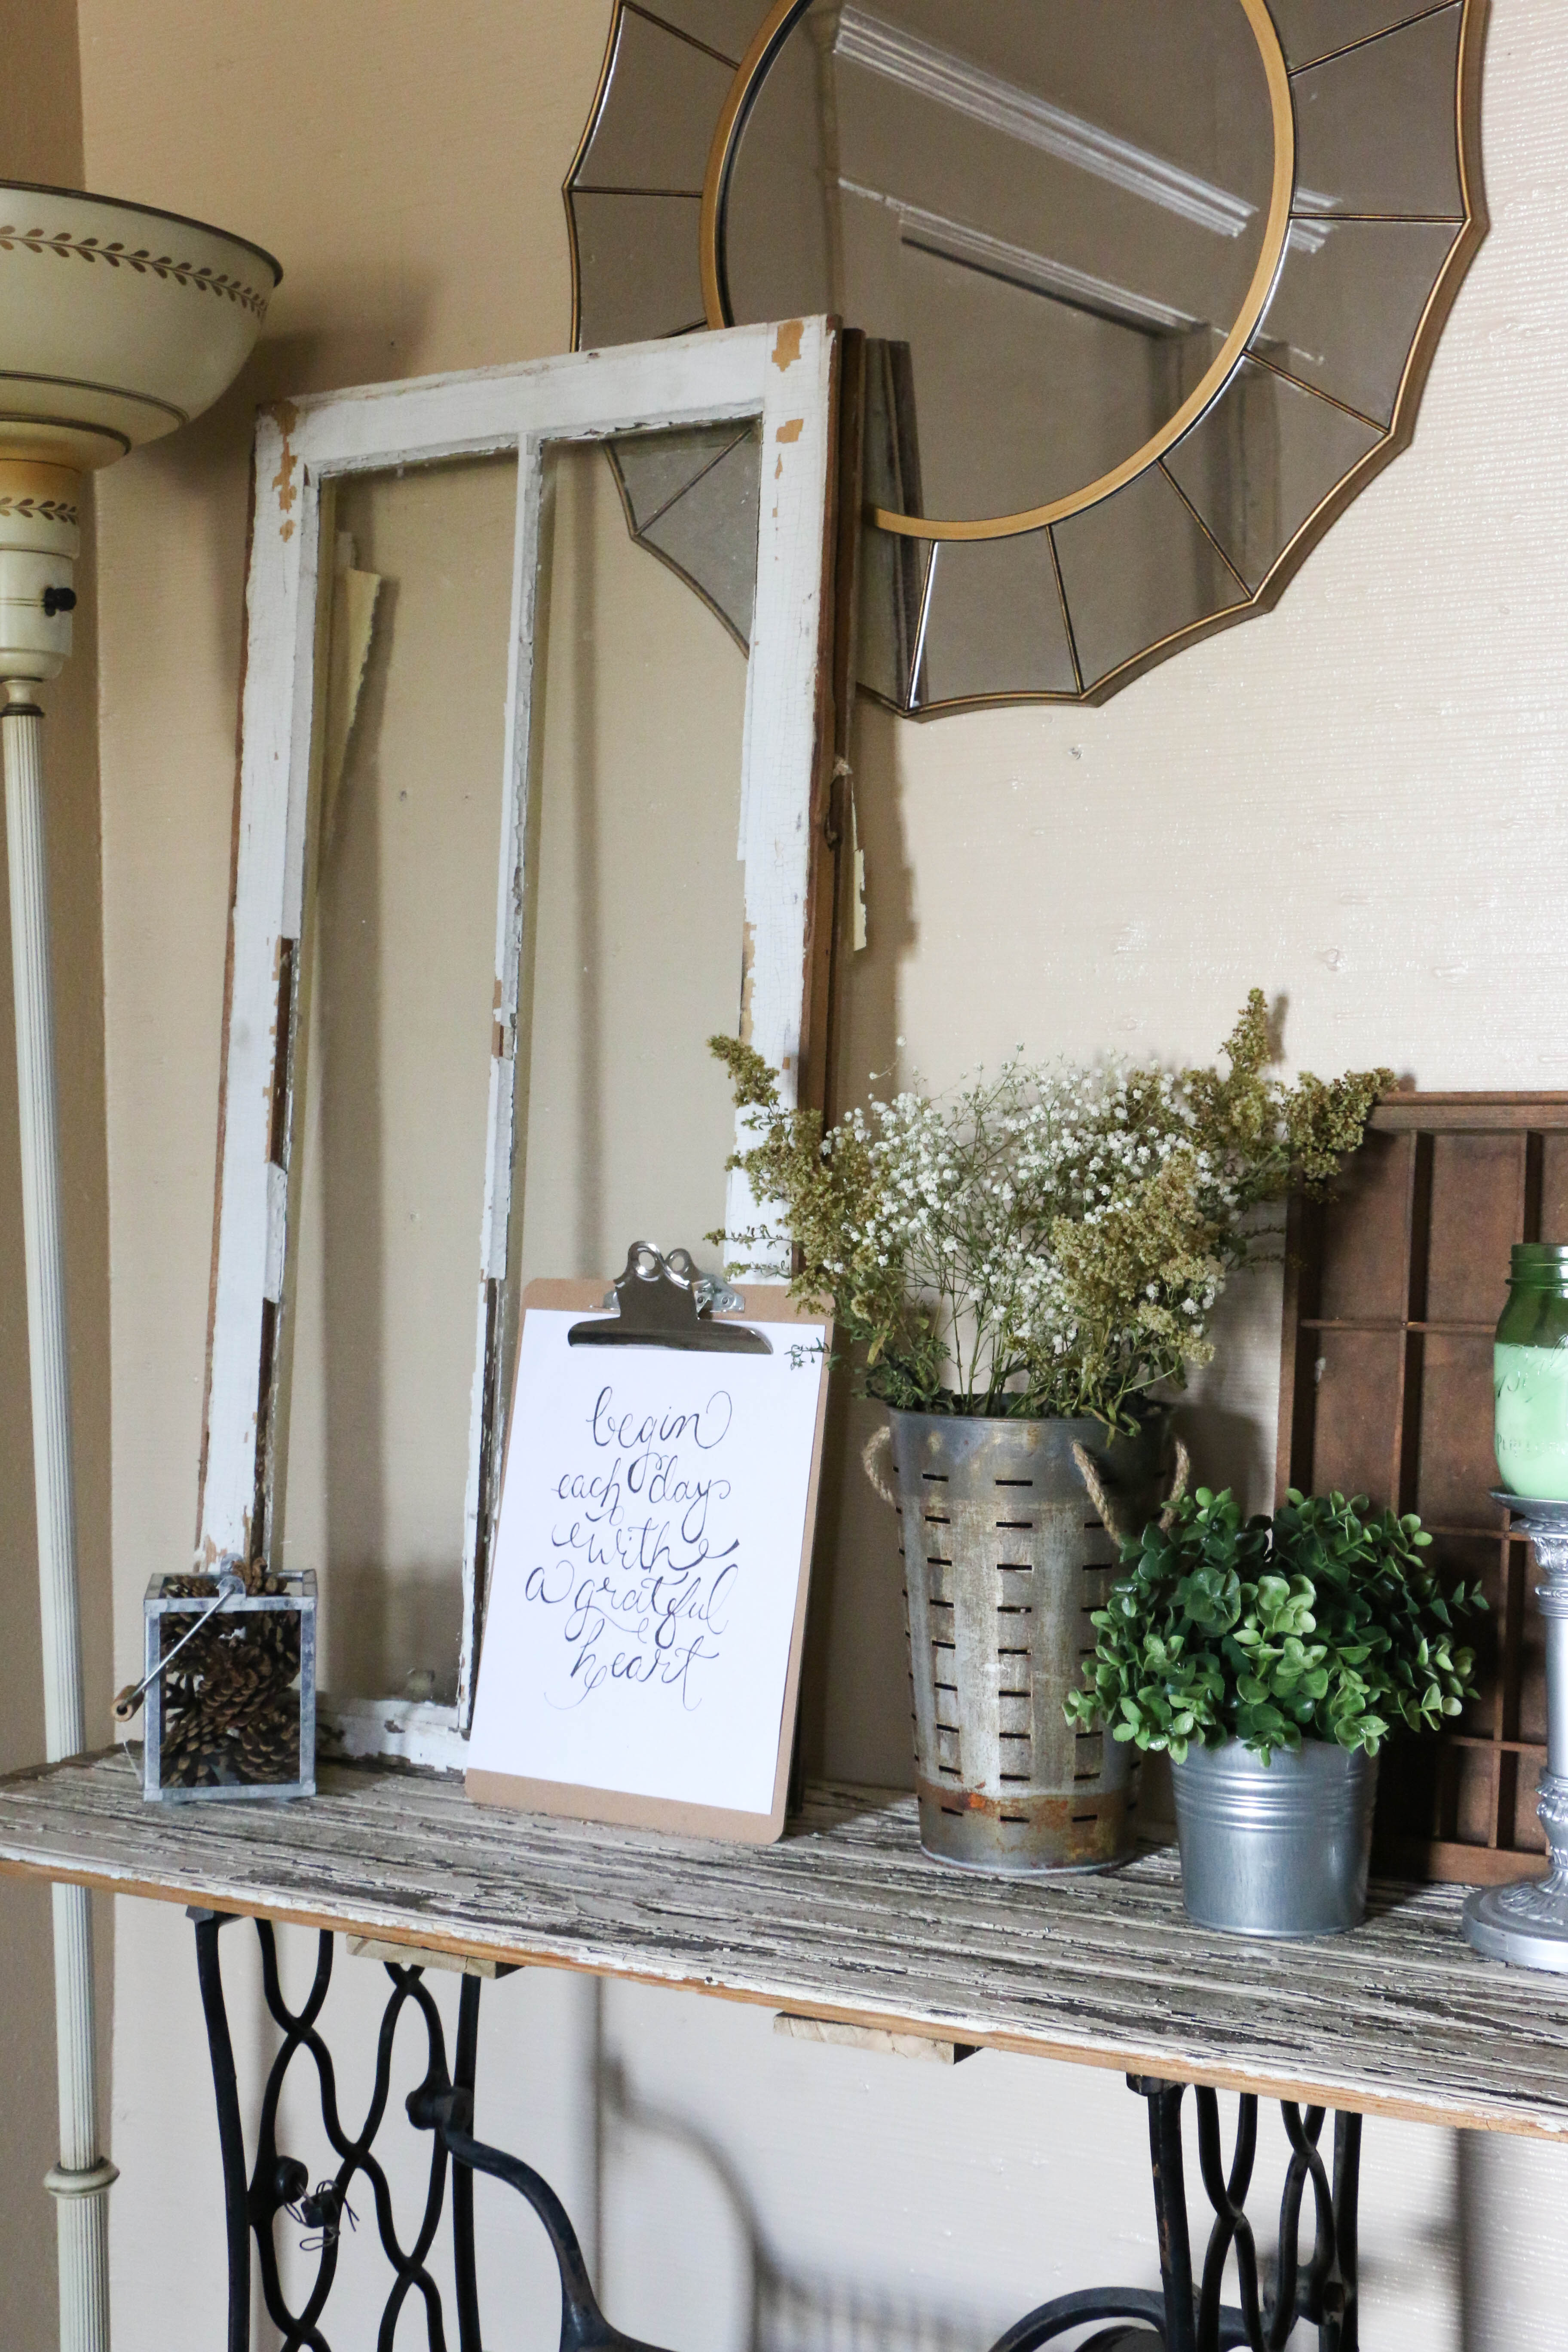
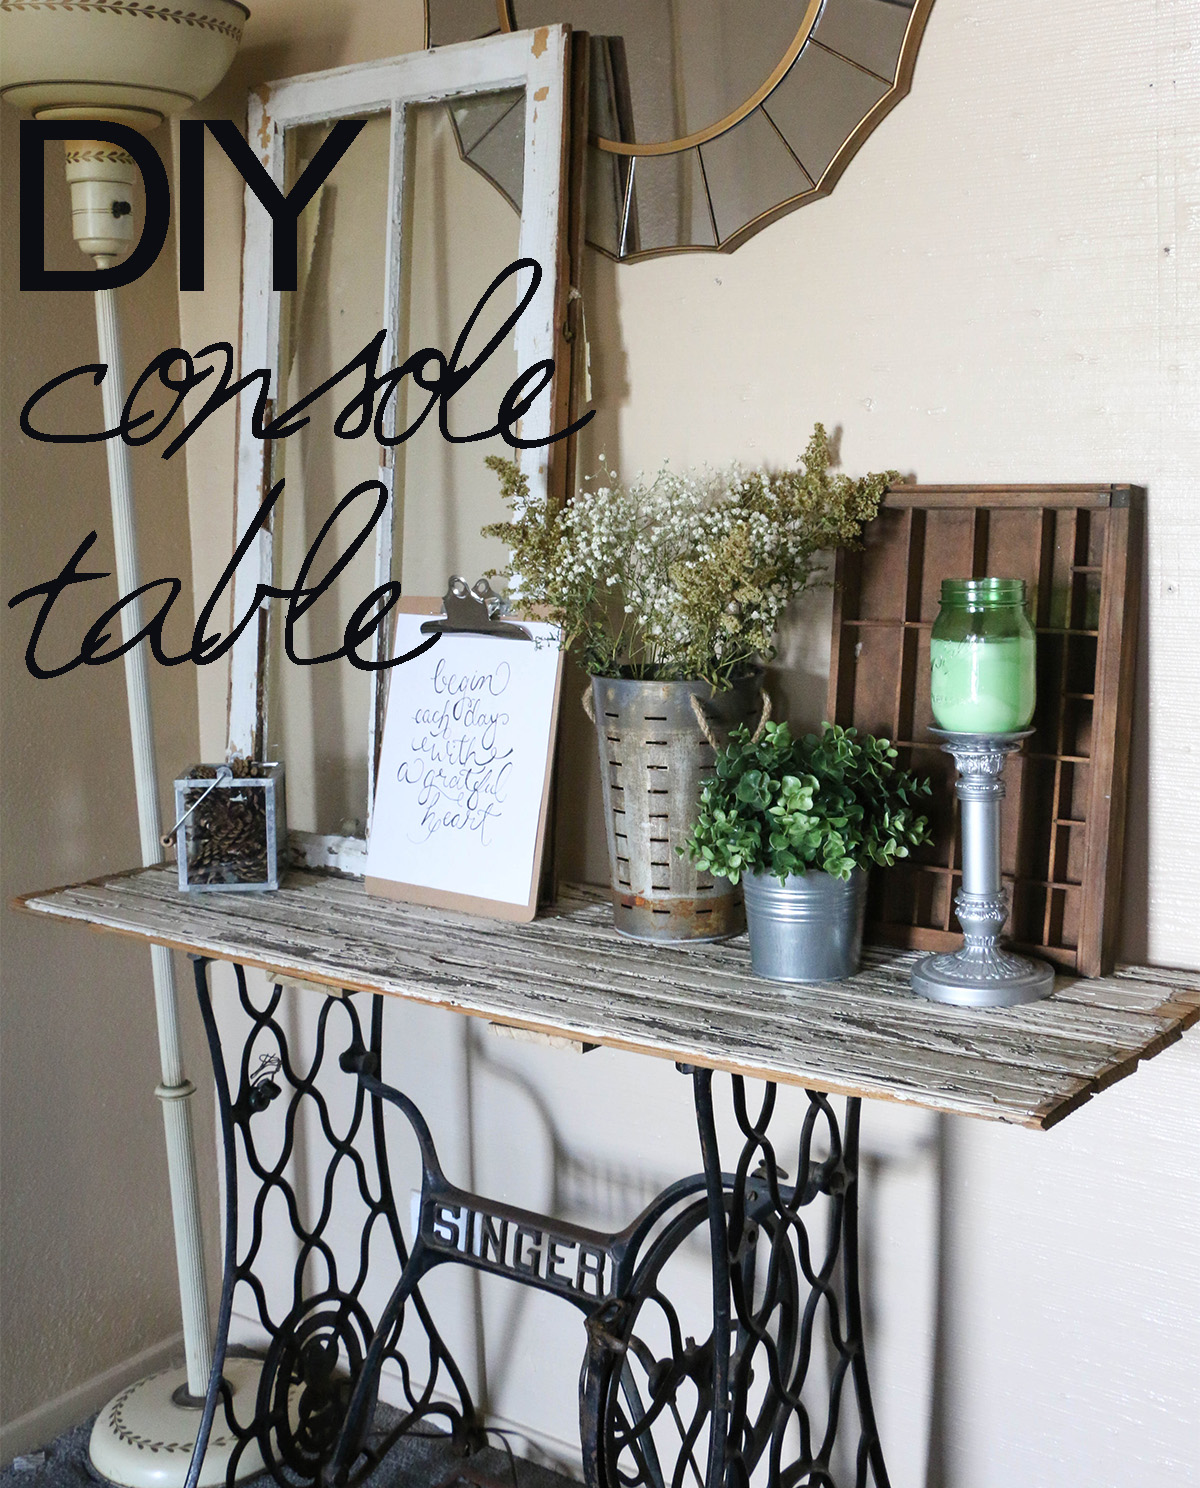
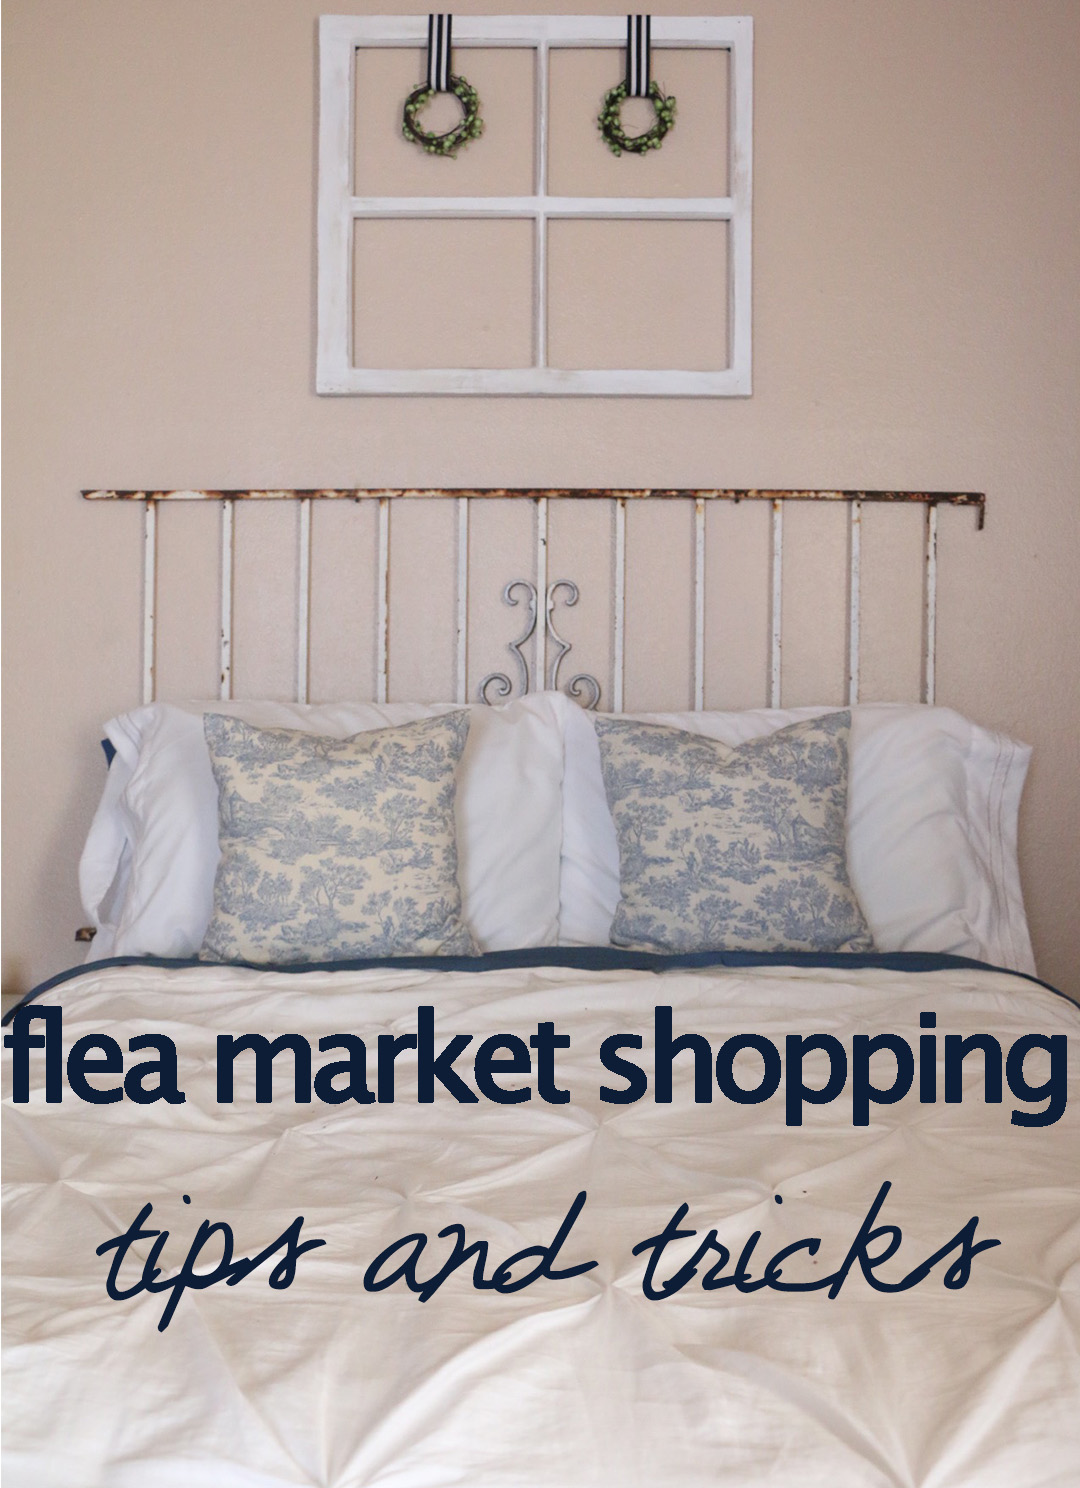
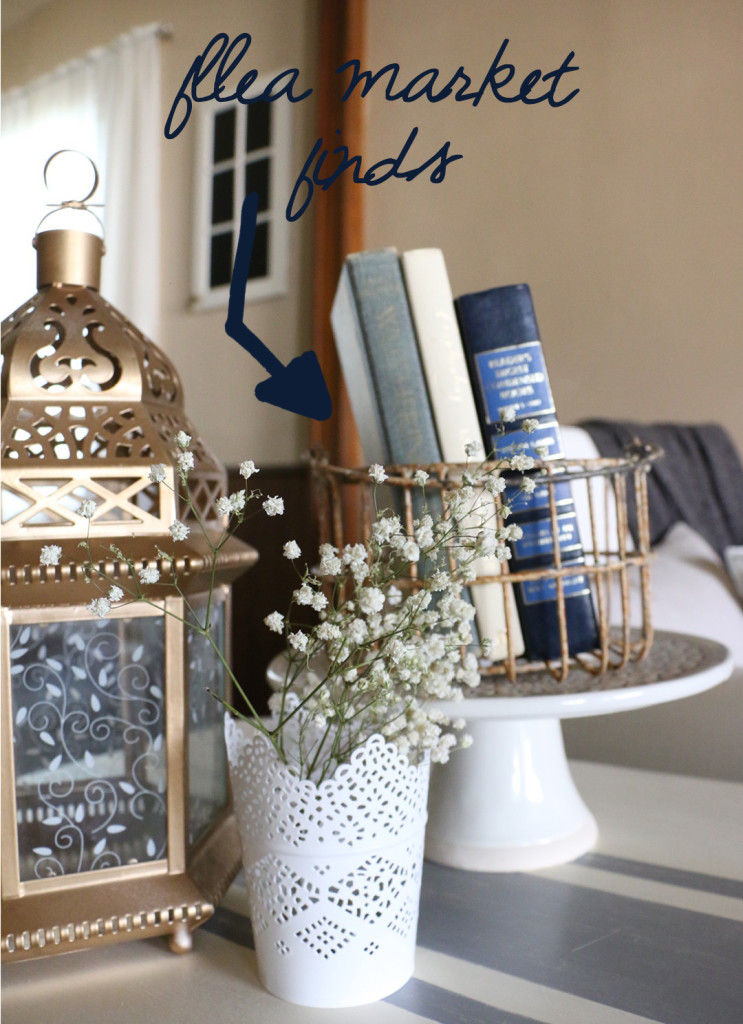
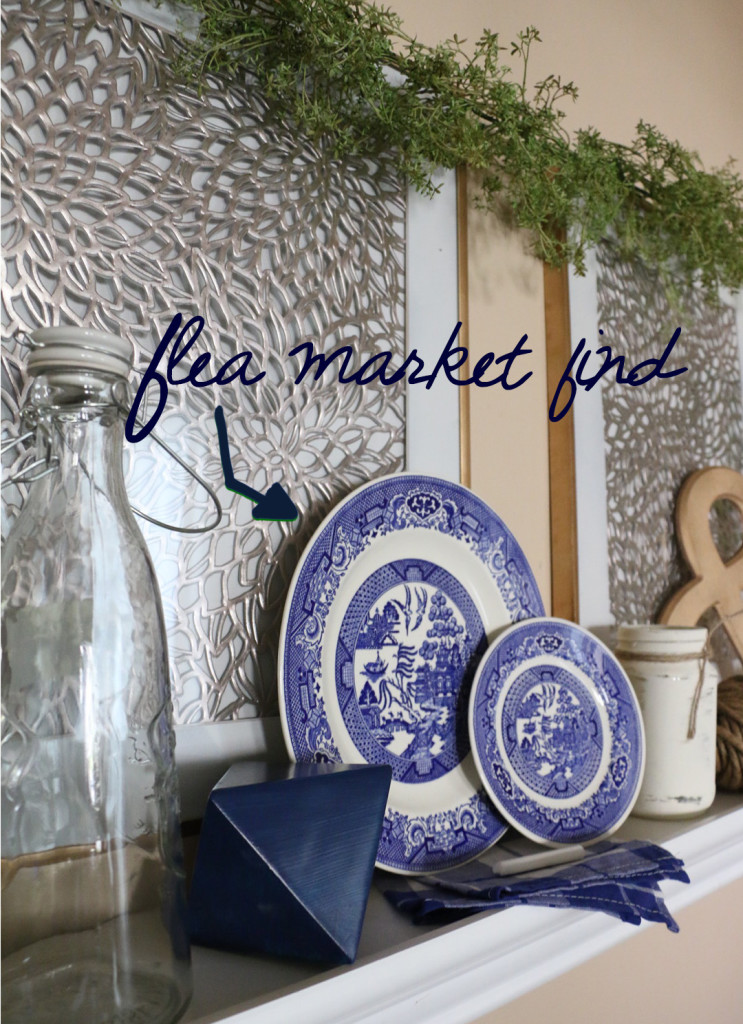
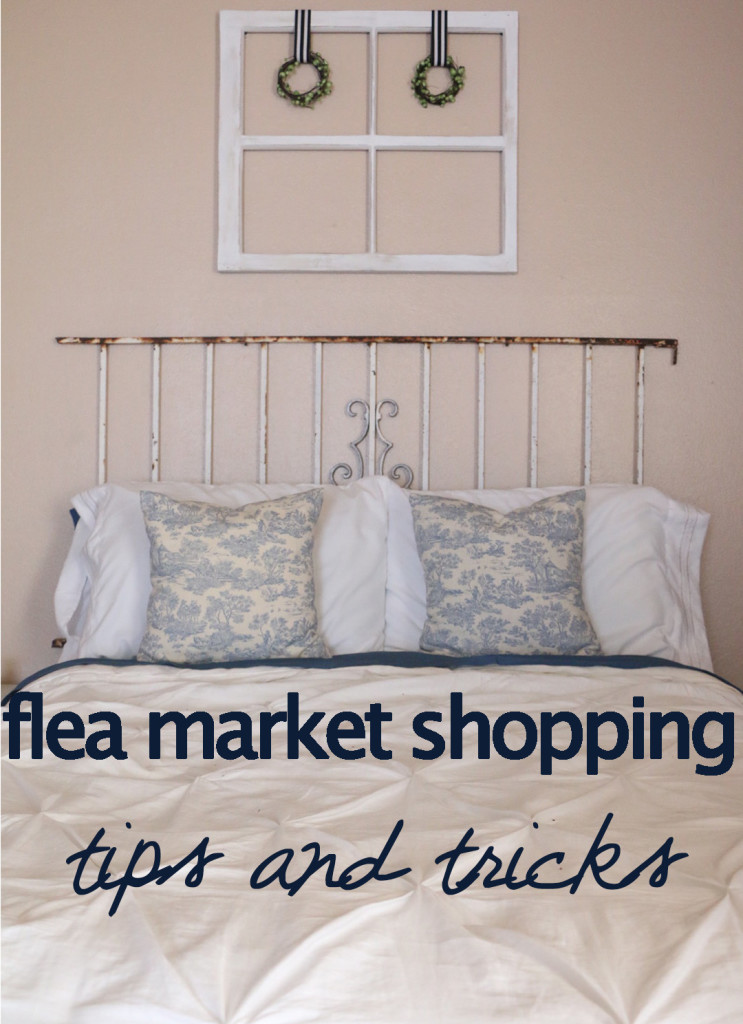
Do y’all shop at flea markets? It is one of my favorite things to do. I have to admit, it can be a bit addictive. I have found that shopping at flea markets can be great for decorating my home on the cheap. I decorate with TONS of items I’ve picked up from flea markets over time.
I wanted to share a few tips with you guys for navigating flea markets the smart way (and by smart I mean the way that allows you to bring home the most stuff. Which your husband will LOVE. Trust me.).
1. Separate your money and keep it in separate pockets.
When I’m shopping, I’ll leave my wallet in the car. It’s a hassle to keep in a bag and pull it out, and keeping it in your pockets can work to your advantage. I’ll bring as many different bills as possible, and put them in separate pockets. For example, I’ll have ones in one pocket, fives in another, etc. I also don’t fold them all together, I keep each bill folded individually. This way you can grab the exact amount that you want without having to dig around and look for it. It also keeps the vendor from seeing how much cash you have on you. If a vendor is asking $25 for an item, he is mostly likely willing to accept $20 if you pull a single bill out without flashing all your cash.
2. Sometimes it’s best to walk away.
If a vendor just isn’t willing to come down in price, WALK AWAY. One of two things can happen here. First, a desperate vendor might change his mind once you’re willing to leave the item behind. If he doesn’t: keep walking. Walk around, look at other vendors, see if you can find something similar somewhere else. If not, the second of two things can happen. Close to the end of the day, head back to the vendor and see if they still have the item (they may not, and that’s a risk you’ll have to take). If a vendor hasn’t been able to sell the item all day, they’re much more likely to come down to the price you want if you come back for it.
3. Have a list of items that you’re looking for.
This isn’t absolutely necessary, but it’s especially helpful if you’re like me. I hate to buy things without a list because I’m afraid I’ll find something better later on after I’ve already spent my money. When I go in with a list, I’m much more likely to pick up something I like and actually buy it. I won’t talk myself out of it for fear of finding something better later because it’s on the list.
4. Know where you’re going to put something before you hand over the cash.
Don’t buy something unless you know where it’s going to go or how it’s going to be used. If you don’t know, don’t buy it. Buying something just because it looks cool is a great way to add more unnecessary junk to your house. And let’s be honest, no one wants that. Don’t bring in more junk for no reason. Just don’t.
5. Start at the back.
Just like in any retail store, you’ll find the cheaper items in the back. At flea markets you’ll usually find that there are more organized, professional vendors toward the main entrances. Steer clear of these as they’ll be much more expensive. Head to the back where people are selling items that obviously came out of their van that morning. These people are much easier to haggle prices with, and you’ll usually find more interesting pieces. These sections are usually less organized, but so worth the hassle!
6. Be kind, friendly, and courteous.
A smile and a “hey y’all” goes a long way. Talk to the vendors, make polite conversation. If they feel like they know you, they may offer a lower price, or they may be willing to offer a second item for free along with an item you’re purchasing.
7. Ask questions.
There may be a really cool story about a piece that you might never know if you don’t ask. Ask where it came from or if they know how old it is. Some vendors can tell you a personal story connected to an item. They like talking about their stuff, and in my opinion, having knowledge of the history of the piece makes it more special.
I hope these tips are helpful for you next time you find yourself at a flea market. That’s all for today, friends. Happy flea marketing!