Holidays, Home Decor

My Christmas Decorating Secret

Christmas prep is in full swing over here! I’ve been super busy with the semester winding down at school, and the buzz of Christmas is alive and well in first grade. Thankfully there’s just ONE WEEK left of school before it’s officially Christmas vacation! Our home is fully decked out for Christmas, and I am *almost* done with my Christmas shopping. There are always those last minute things to get accomplished, but I can’t deny that I love the hustle and bustle of the holiday season.

Today I want to share with you all what I’m deeming THE BEST KEPT SECRET OF CHRISTMAS (y’all know I’m dramatic). Seriously though, if you’re cheap like me, you’ll want to keep reading.

I was too impatient this year to wait around for the real Christmas trees to come out, and so we caved and bought an artificial tree in early November. I don’t regret that at all, however, we missed the homey scent that comes with a real tree. Ever the optimist, I came up with a plan to get the best of both worlds: get an artificial tree early in the season, and still have the homey smell of a real tree. I was inspired by some friends who used tree clippings from their yard to make garland for their staircase. Now, I have neither a staircase nor the proper tree (nor the money to spend for that matter). But that has yet to stop me!

Here’s what I did. THIS IS THE SECRET, SO READ CLOSELY. Did you know (I didn’t) that Home Depot has their own tree selection (0kay this part I knew, but the rest I didn’t)? Each time someone purchases a tree, they trim the bottom/excess and put the clippings in a large bin. Here’s the cool part: the clippings are FREE for anyone to take. I said they’re FREE!!! How awesome is that?!

We simply asked the kind gentleman at the cutting counter for the clippings, and he directed us to the free bin. I may be the only person on the planet who didn’t know this, I don’t know. But if there’s someone out there who is like me, you might be excited to find this information out. I broke the boughs down when we got home and placed them in various places around the house.

treeclippings

treeclippings2

treeclippings3

treeclippings4

treeclippings5

treeclippings6

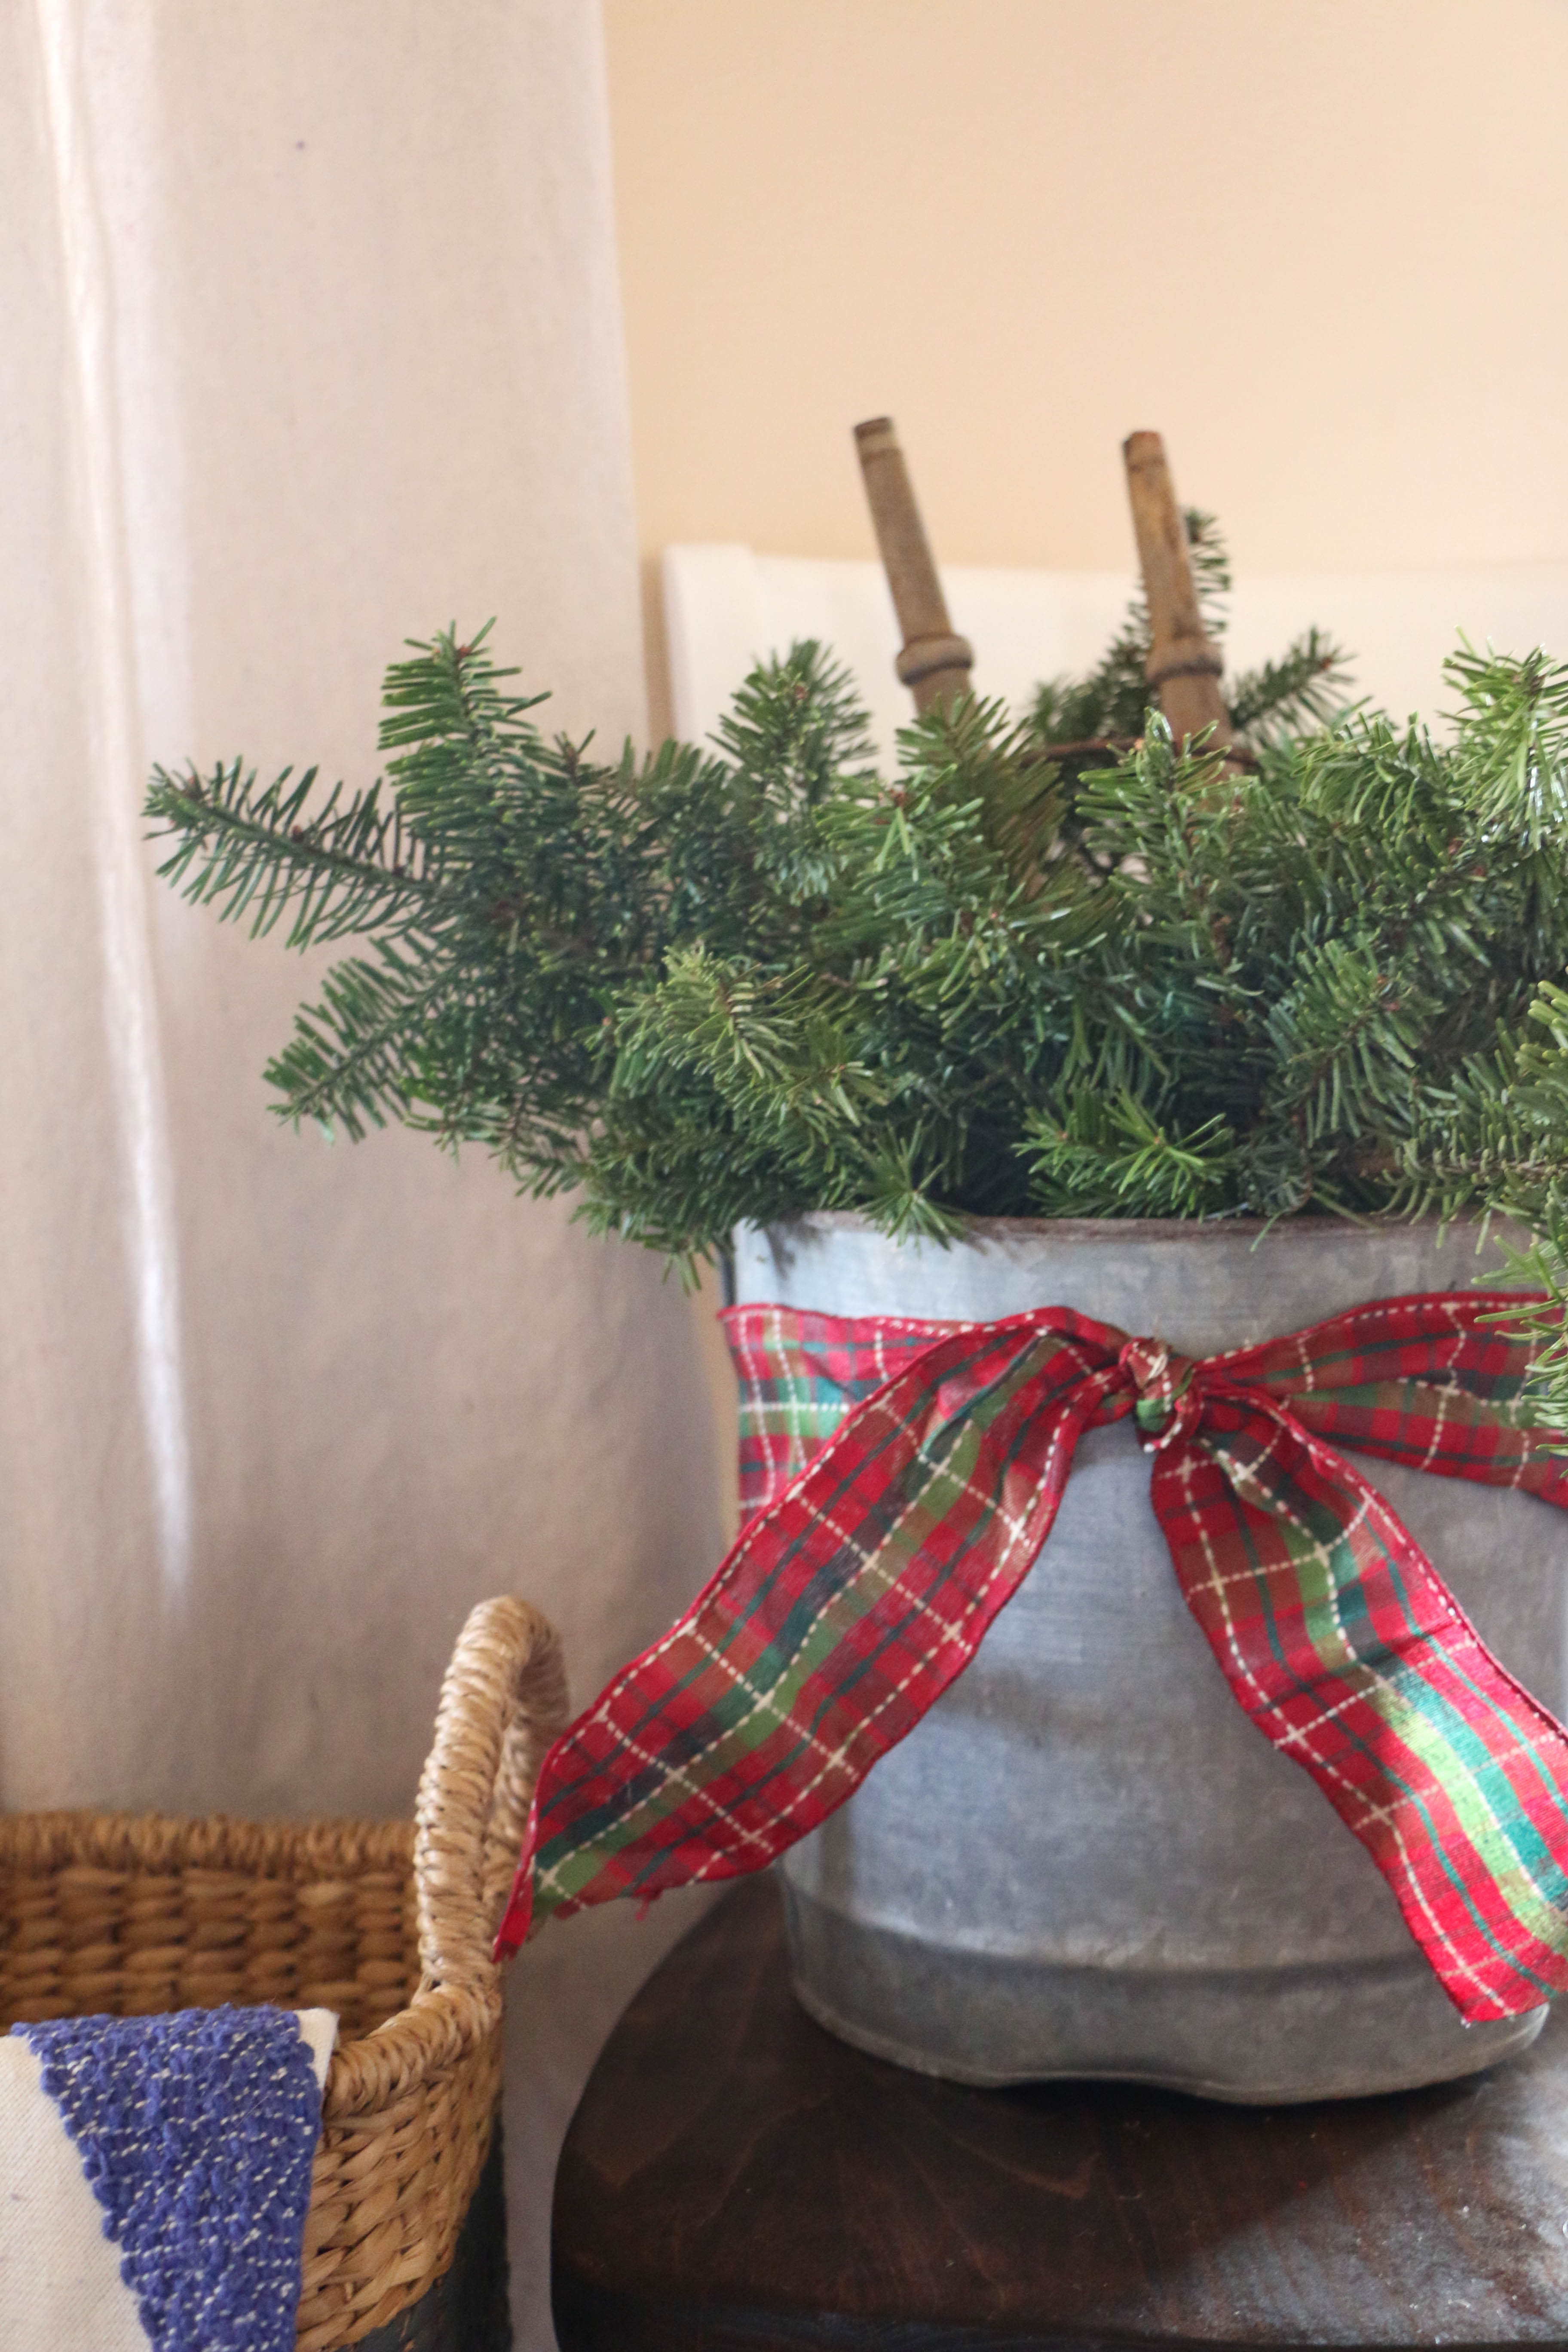
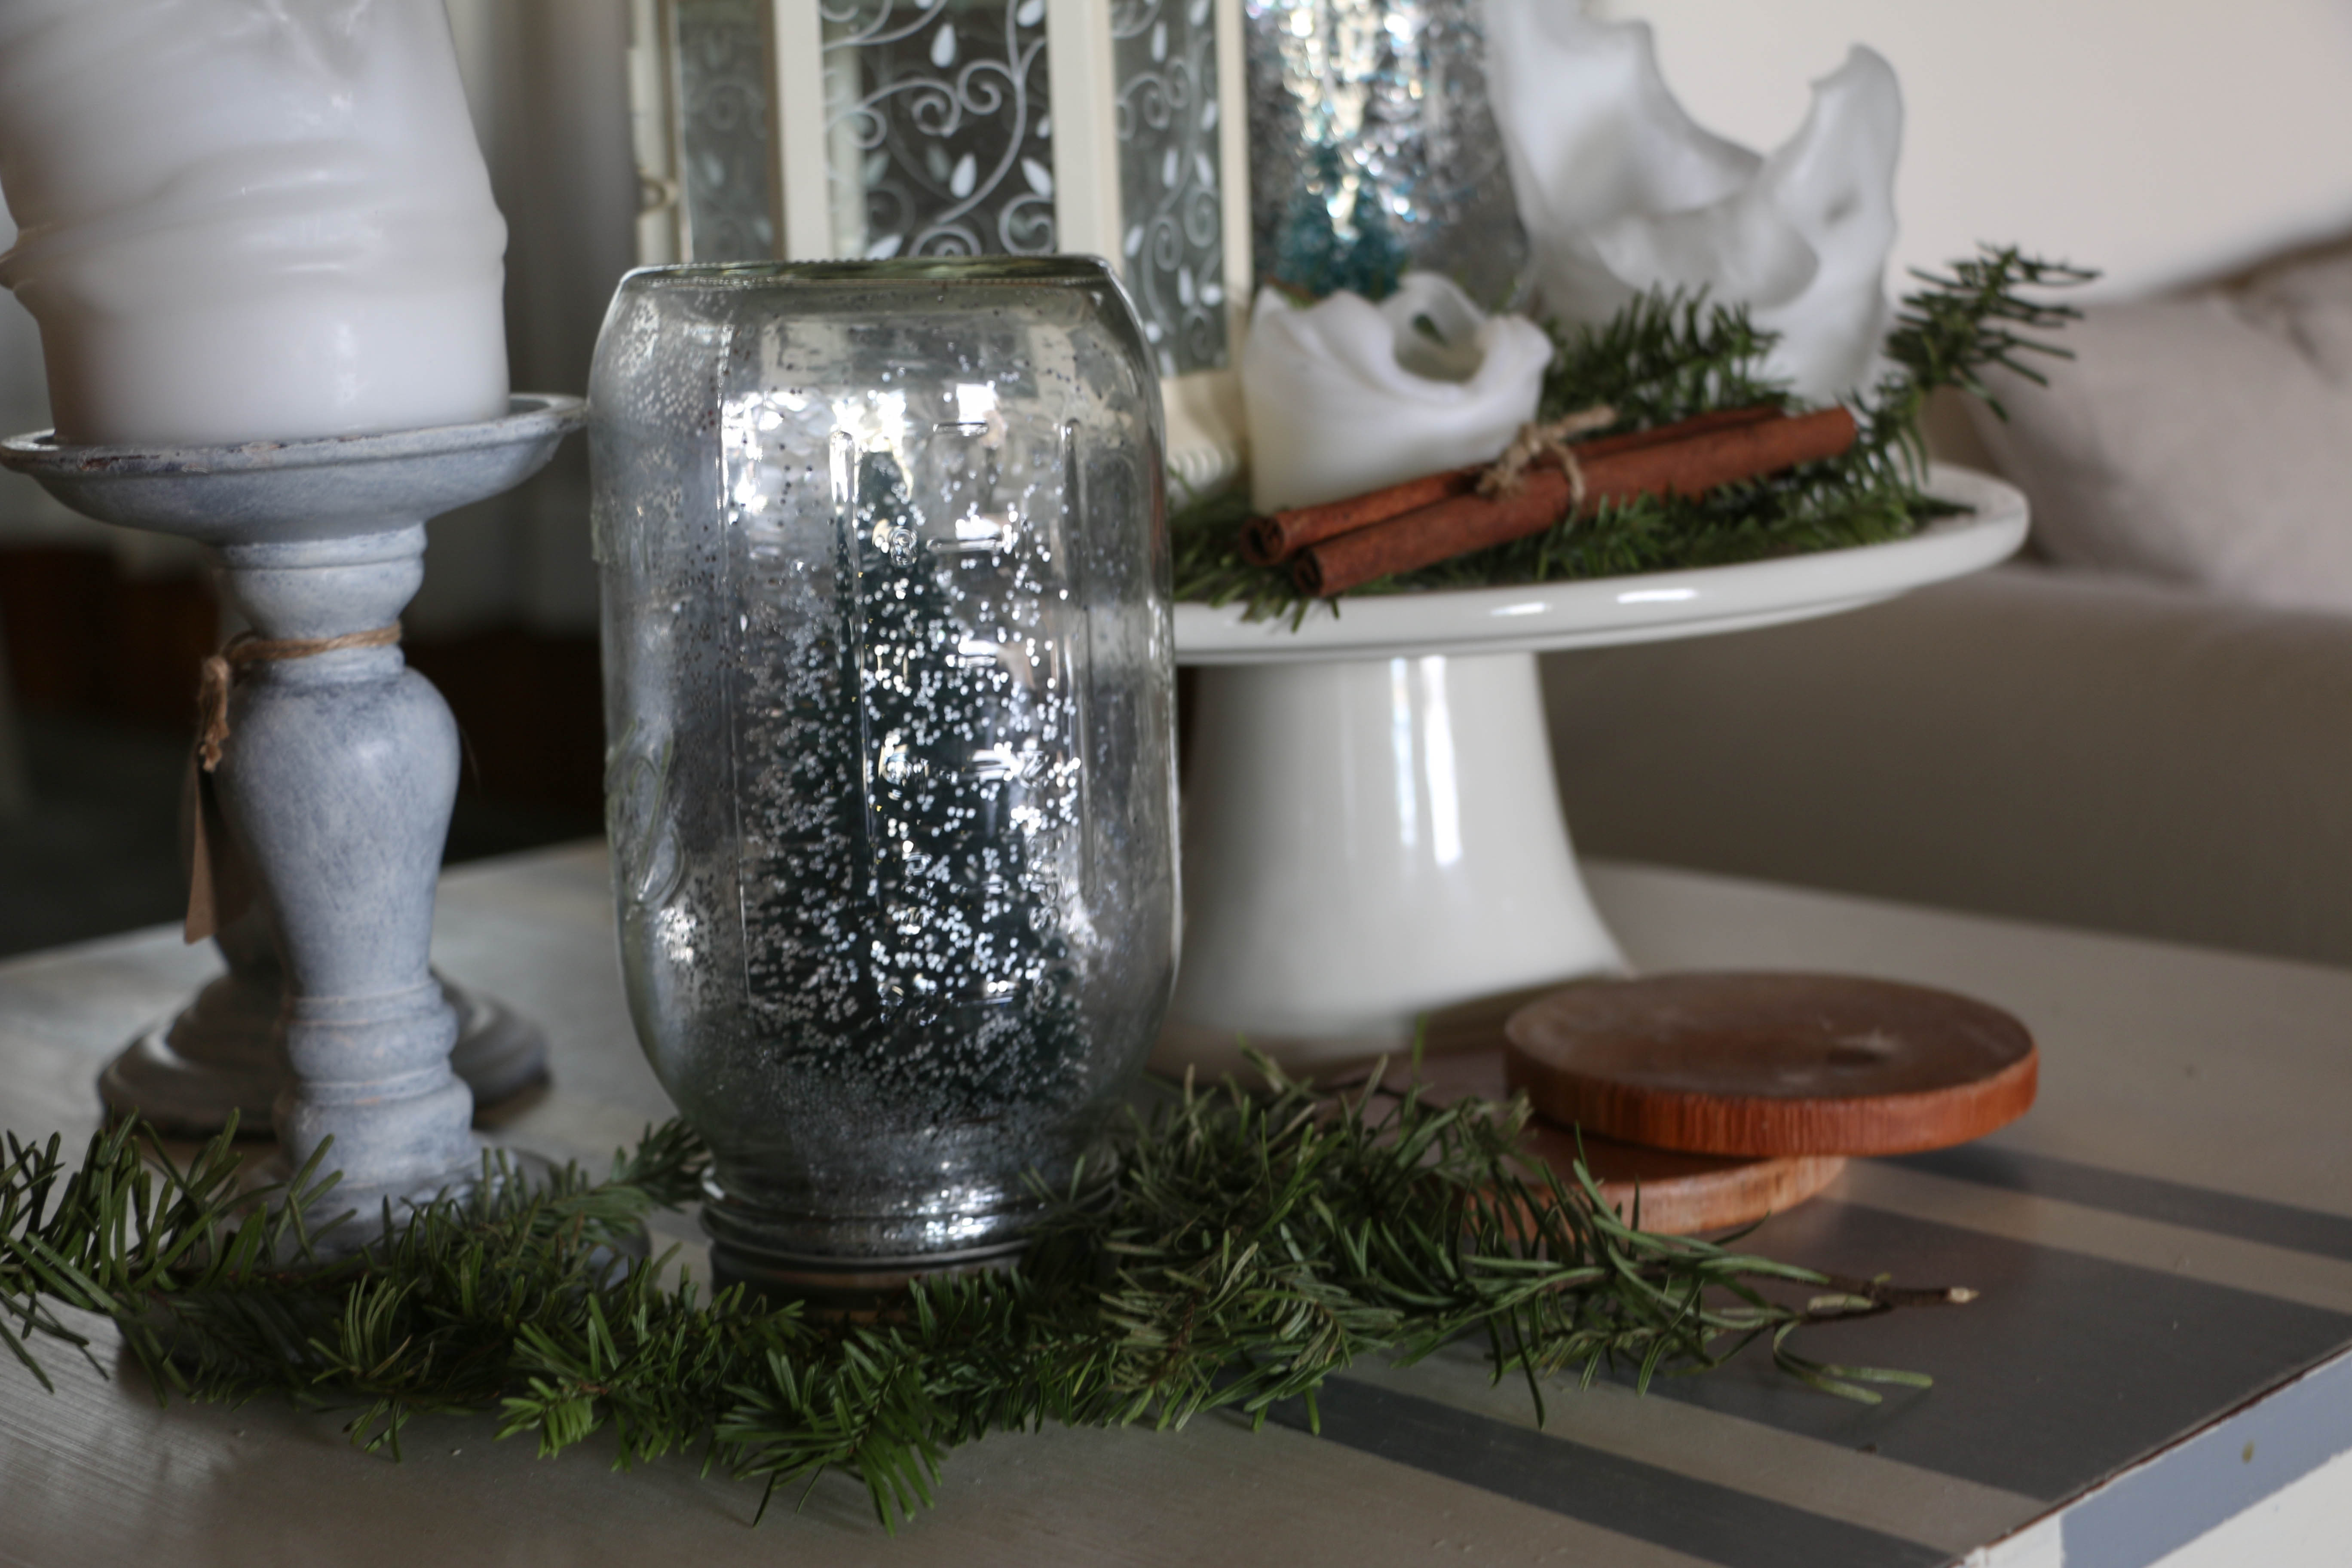
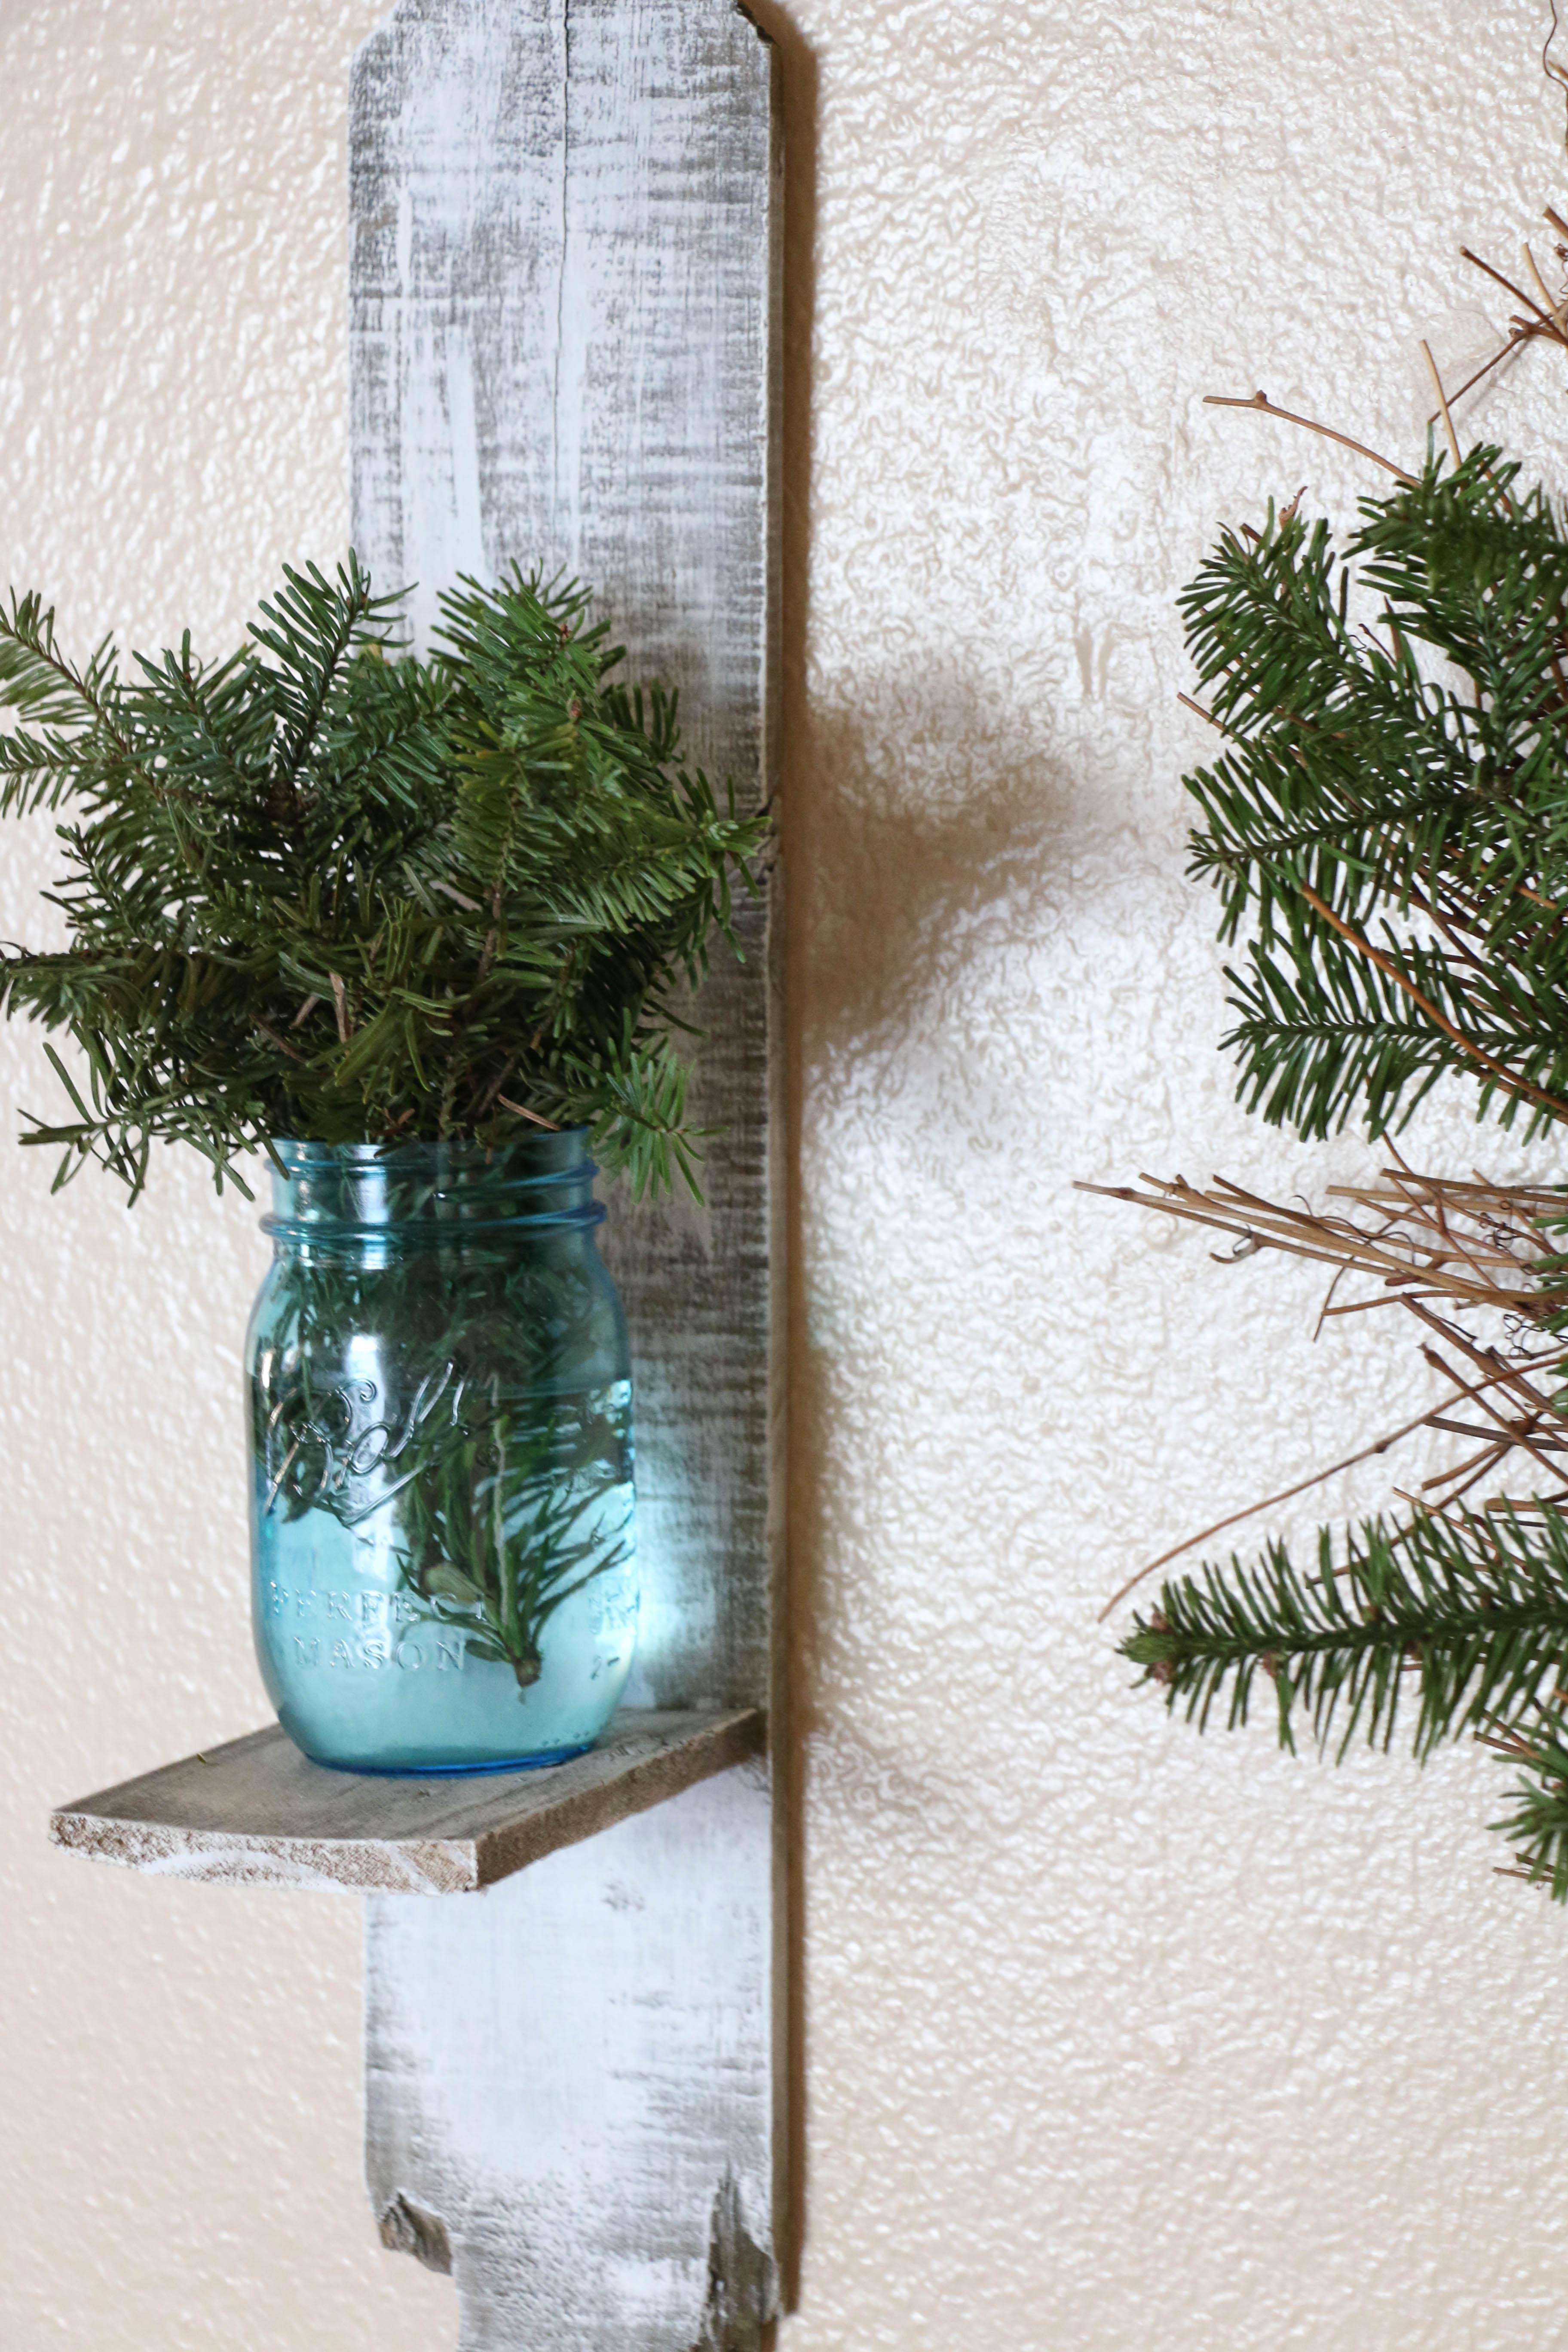
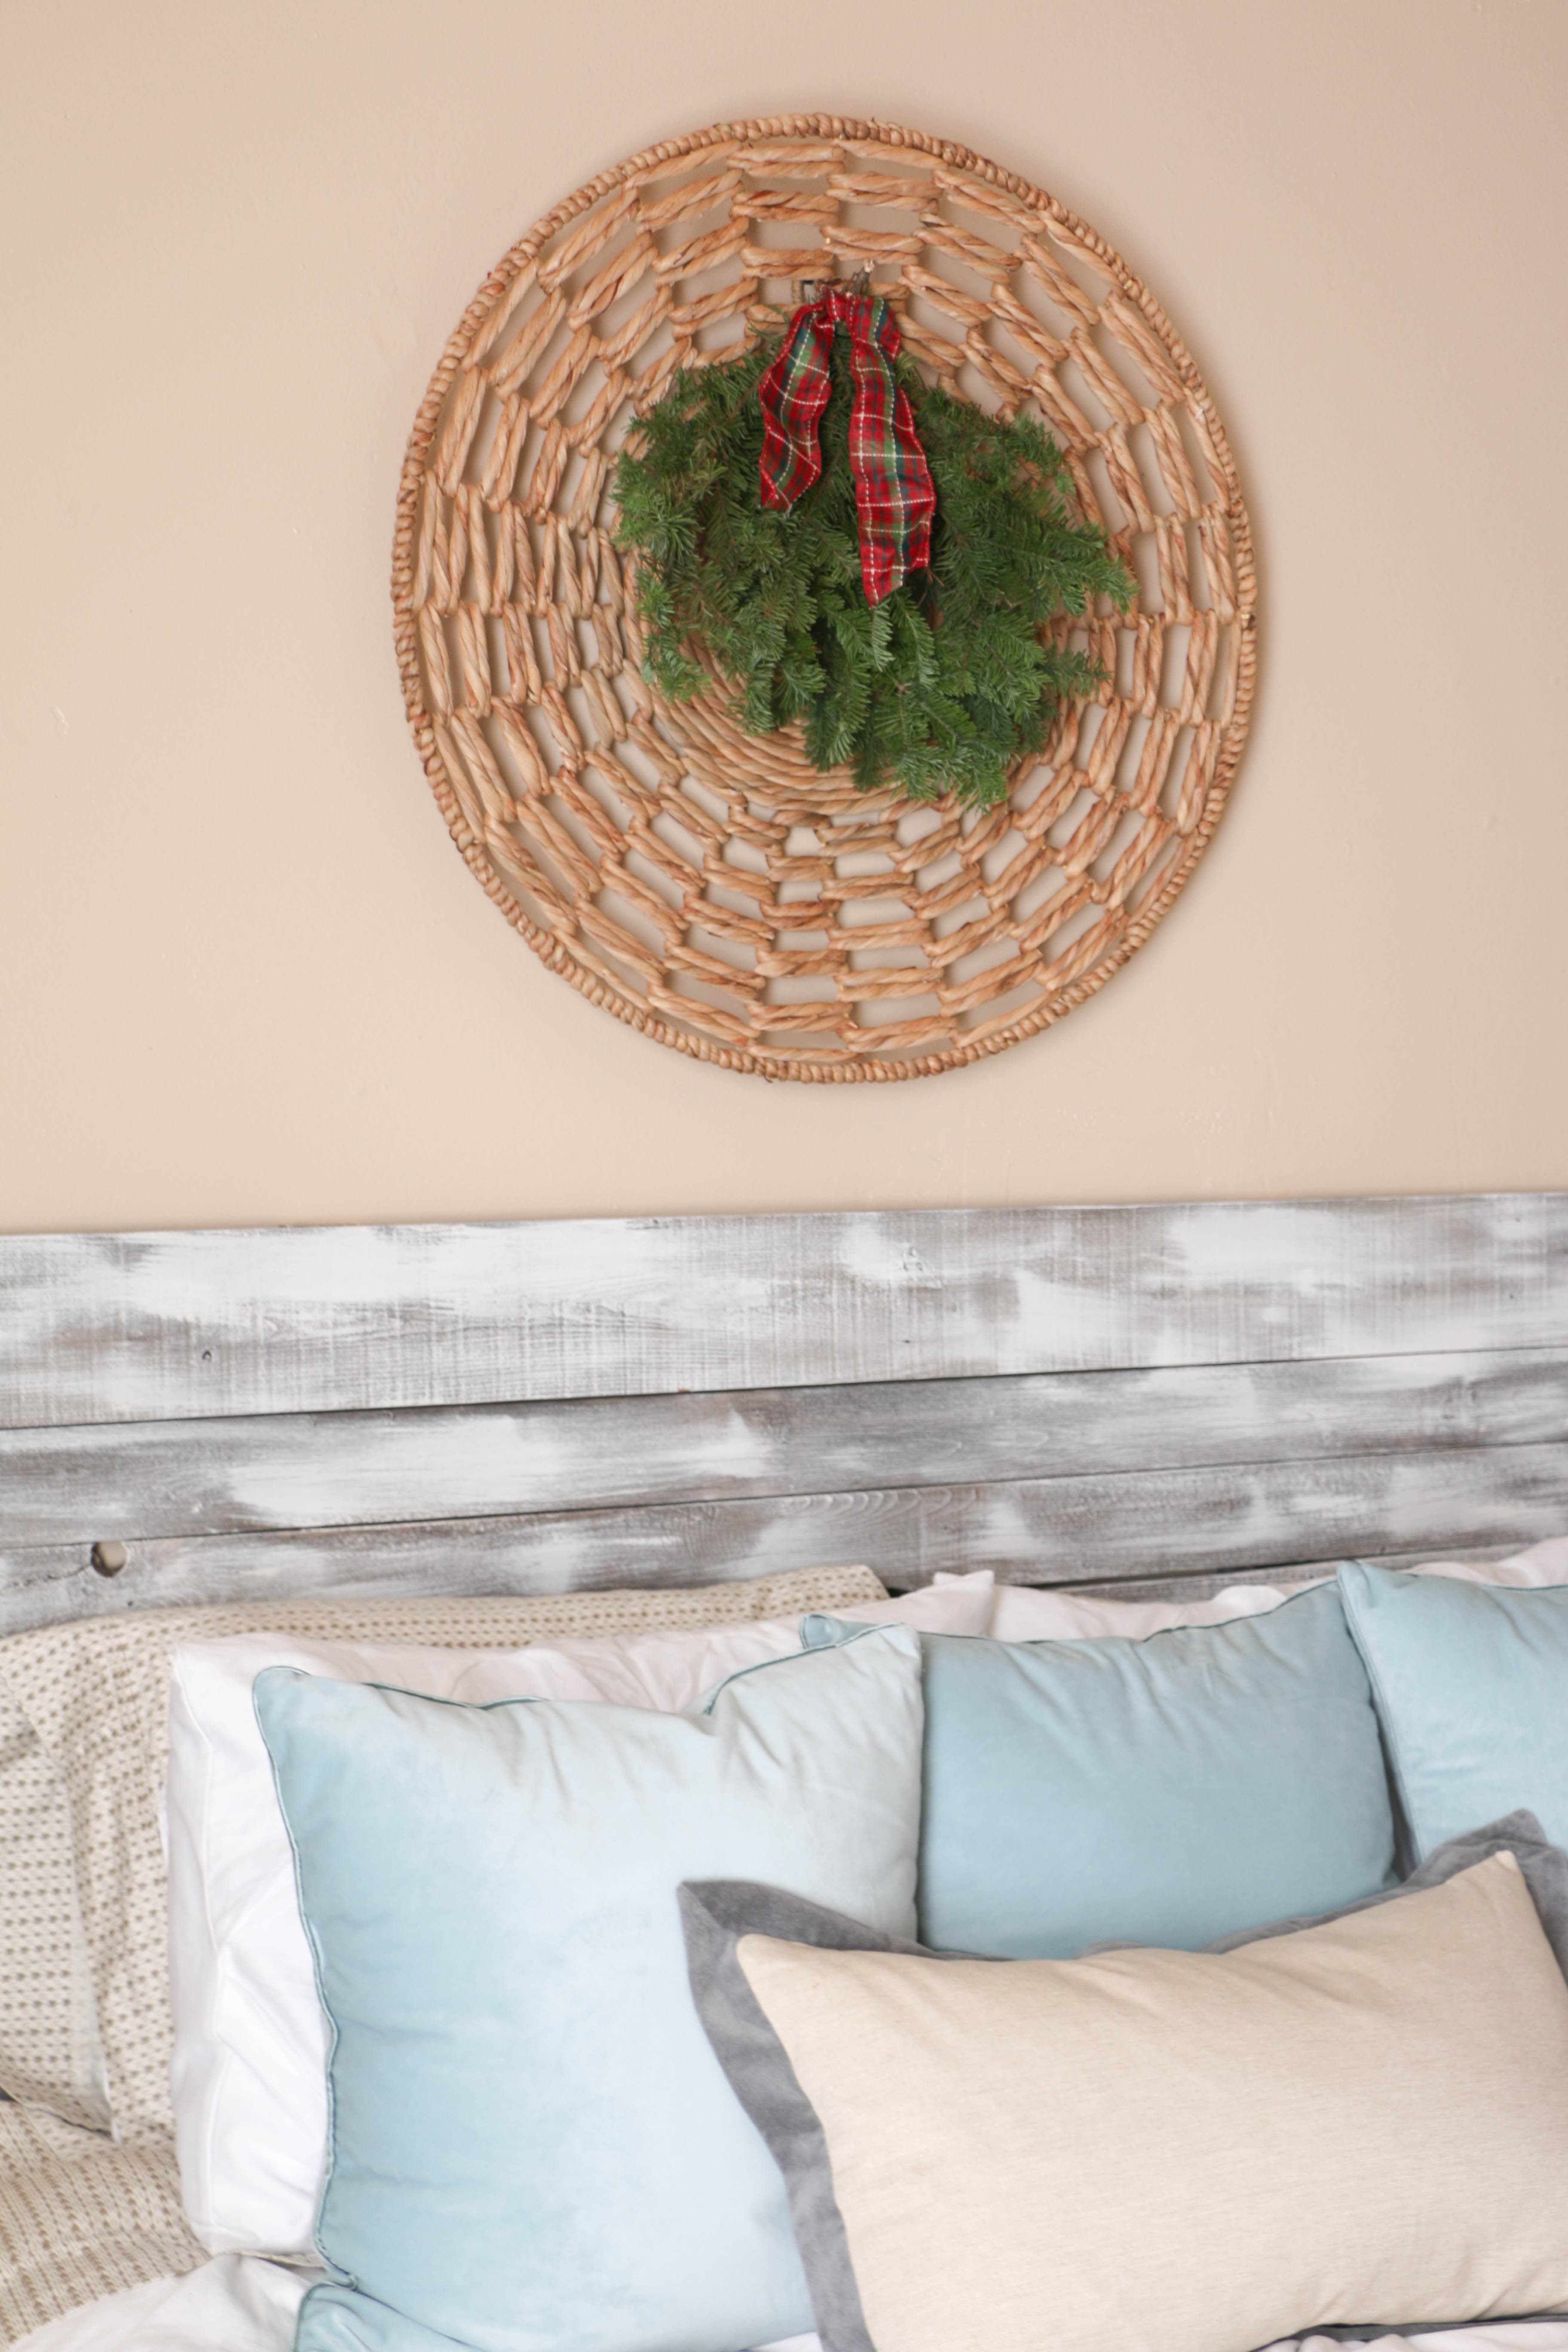
I spread them out all around my home in jars, vases, wreaths, and mixed in with my decor. It smells amazing! We’ve had our tree up for weeks, but now it smells like Christmas in our home too! I think my favorite look is in the first picture, the cuttings in a big bucket. Having these clippings around makes the house not only feel homey, but it also adds to the rustic/primitive look I was going for this year.

I got mine from Home Depot just because that was the closest thing to us locally, but I’ll bet you could ask just about anywhere trees are sold and you’d be able to take some some clippings free of charge. I’m a pretty budget conscious gal, but this is big even for me! The clippings make an impact in several rooms in our house and it cost me nothing at all!

Have you done this before? Did you already know about The Best Kept Secret Of Christmas? I’d love to hear about it in the comments below or if you plan on trying it this year. That’s all for today. Have a fabulous day, friends!

Holidays, Tutorials

DIY Citrus Slice Ornament

HAPPY DECEMBER Y’ALL!!!! Okay, I’ll admit I’m excited. It’s officially the Christmas season now that it’s December. I can post all the photos of my tree and Christmas decor without shame! It’s a wonderful world, friends.

Today I wanted to show y’all the last of my DIY ornament ideas. My Christmas decor this year is super rustic and primitive, and so this last DIY was the one that I really think brought the whole look together. If you haven’t seen the other two ornament DIYs, you can check them out here and here. I remember seeing photos of dried fruit as Christmas decor years ago, but I never really thought anything of it until this year. I needed something with a pop of color, and so it was time to test out this project!

citrus slices

The first thing I did was slice several oranges and lemons. I think I did four of each. I wasn’t sure which I would prefer, so I did both. I cut the ends off and simmered them on the stove using this recipe so they wouldn’t go to waste. citrus slices2

I separated the oranges and lemons on my (badly stained) cookie sheets so that if they cooked at different rates it would be easier to remove them from the oven. I placed them on the lowest setting on my oven (I think it was about 150 degrees) and put the slices in. In total, I cooked them for about five hours. Every hour or so, I would turn the slices over so that they would dry evenly. I really don’t know if this necessary, but I’m a little paranoid. The good thing about the temperature being so low is that I could turn the slices over with my bare hand. In general, the lemons cooked a bit faster than the oranges did, because they were thinner I think.

citrus oranment1

After they were fully dehydrated came the fun part! I cut little pieces of red baker’s twine, the same twine I used previously on our pinecone ornaments, and hot glued it to the back to make a loop. Easy.

citrusornament3

When they were finished, they looked like this, and I am so excited about how they turned out. They have just the look I was hoping for. As it turned out, I ended up liking the orange slices better than the lemon slices because the oranges had a thicker rind (is that the right word? I don’t even know.). I did these a few weeks ago, and they’ve lasted just fine, which was an initial concern of mine.  I love the way the tree lights shine through the fruit. It feels super cozy! I also placed some of these slices on the wreath I have on the front door, and I love how it feels there too! I’m deeming this year “the year of the fruit” when it comes to decorating.

I’d love to hear what you think, and if you’ve tried this out. That’s it for today. Have a fabulous day, friends!

DIY Projects, Tutorials

Salvaged Wood Headboard DIY

It’s been a few weeks since we updated our bedroom and I am still living in a fairy-dream world because of it. I showed you guys the full result a week or so ago, and you guys have been so sweet about how it turned out. If you didn’t get a chance to check that post out, you can read all about it here. Today what I wanted to do was show you guys with a little more detail the headboard that I made for this space.

When I bought all the new pillows for the bed, I knew something was still missing. Our old headboard was a pre-blog DIY that was imperfect but served us well for the time that it did. I made it back when I was still unsure about the style direction I was heading in with our house, so it just didn’t quite work. And let’s be honest. I still don’t think I know the style I’m headed toward. Live and learn.

I wanted to make something, but I didn’t want to spend any money. Yes, you read that correctly. I wanted to spend zero dollars. Story of my life, right? I knew that I could only justify to Ethan building a new headboard if I could do it for free since I had just built one a year prior. Now that I think about it, I think Ethan has learned not to question my unreasonable antics. The other stipulation for this project was that I had to do it completely by myself. Normally our DIY projects are a team effort (and by that I mean Ethan does the work and I make it pretty). This time, before I knew what I was thinking, I told him that I was going to make this project for free, and I was going to do it completely on my own. Cue “On My Own” from Les Mis as I head to the garage to work on this project.

So here’s how it went down. A few months back, our neighbors were replacing a portion of their wood fence. I hoarded rescued some of the pieces and they have been sitting in my garage, safe from harm. I headed to my stash and chose the best looking pieces for the job. I (and when I say I, I do mean me myself and I. All by my lonesome) cut the pieces using a circular saw to 60″. We have a queen size bed, so that was the size we needed. If you were to do something similar, be sure to measure the size of your bed. I did wash these with warm water and soap, and lightly sanded them, just to make sure they were clean. And not going to give me splinters. Because those things are important, I guess.

So I laid out all the pieces on the garage floor to make sure I liked to order of them, since all the pieces were slightly different.

headboarddiy1

Then I used two cross pieces to screw onto the backside of my headboard. These pieces were vertical, and were 54″ tall. Our old headboard was a bit taller than this, but I always thought it looked kind of weird, so I was very mindful of how tall this one was going to be. I don’t know if there are official rules about how tall a headboard should be, but I think y’all all know that I make up my rules as I go when it comes to home decor. I wish I could show you the pictures of me screwing this together just to show off my brute strength, but alas, I did this one on my own. And I don’t have enough hands to photograph myself building a headboard. You’ll just have to trust me in the fact that I did make this.

headboarddiy2

After I screwed the back pieces together, I turned it around to paint it. It looked like this:

headboarddiy3

Technically, it didn’t need to be painted, I did like the way it looked like this, I just love lighter colors, so it didn’t really stand a chance. I used my dry-brushing technique, which you can read about here. It took about ten minutes total to paint. Have I mentioned that’s my favorite way to paint things?

headboarddiy4

The color is Mourning Dove by Behr, and I use that for tons of projects around the house.

After I let it dry (which didn’t take long with the amount of paint I used), Ethan helped me carry it into the house to put it behind the bed. So I guess he did help. BUT OTHER THAN THAT I did this one on my own, and I am so proud of myself. Picture me pridefully kissing my biceps.

diyheadboard9

 You can see more after photos in the original reveal post. I cannot tell you guys how much this little project changed the feel of our bedroom. And it was 100% free! This cheap-loving girl is jumping up and down with excitement over this one! I promise you, I am super wimpy, and I did this in an afternoon, so I know you can too!

All the sources for the items you see here are in my original reveal post, which you’re welcome to check out! I’d love to hear what you think about this project in the comments below, or you can find more on my Instagram. That’s all for today, friends! Have a fabulous day!

rusticheadboard