Hello friends! If you are here today because you clicked on a link that said I spent fifteen dollars on a room makeover and you’re wondering what in the world this is about, welcome. If you’re wondering how in the world that is possible, hold on. I’m about to tell you. But first, let’s rewind.
We moved into this rental house in July. And in July we had fabulous plans of quickly making each of the additional bedrooms into a purposeful, functional space. The guestroom quickly became usable (albeit with mismatched hand-me-downs from other rooms), but then there was this third room. It was like the junk drawer of rooms. No organization, no purpose. It housed all the things I hadn’t used in the months since moving in. You know, all the super important things. I’m going to show you some before pictures, but before I can do that, you have to promise that you’re actually going to scroll to the bottom and see what it looks like now. Don’t judge me based on my ugly junk drawer room and then leave. Promise? Okay cool. Here’s some pictures of what the room looked like four months after moving in:
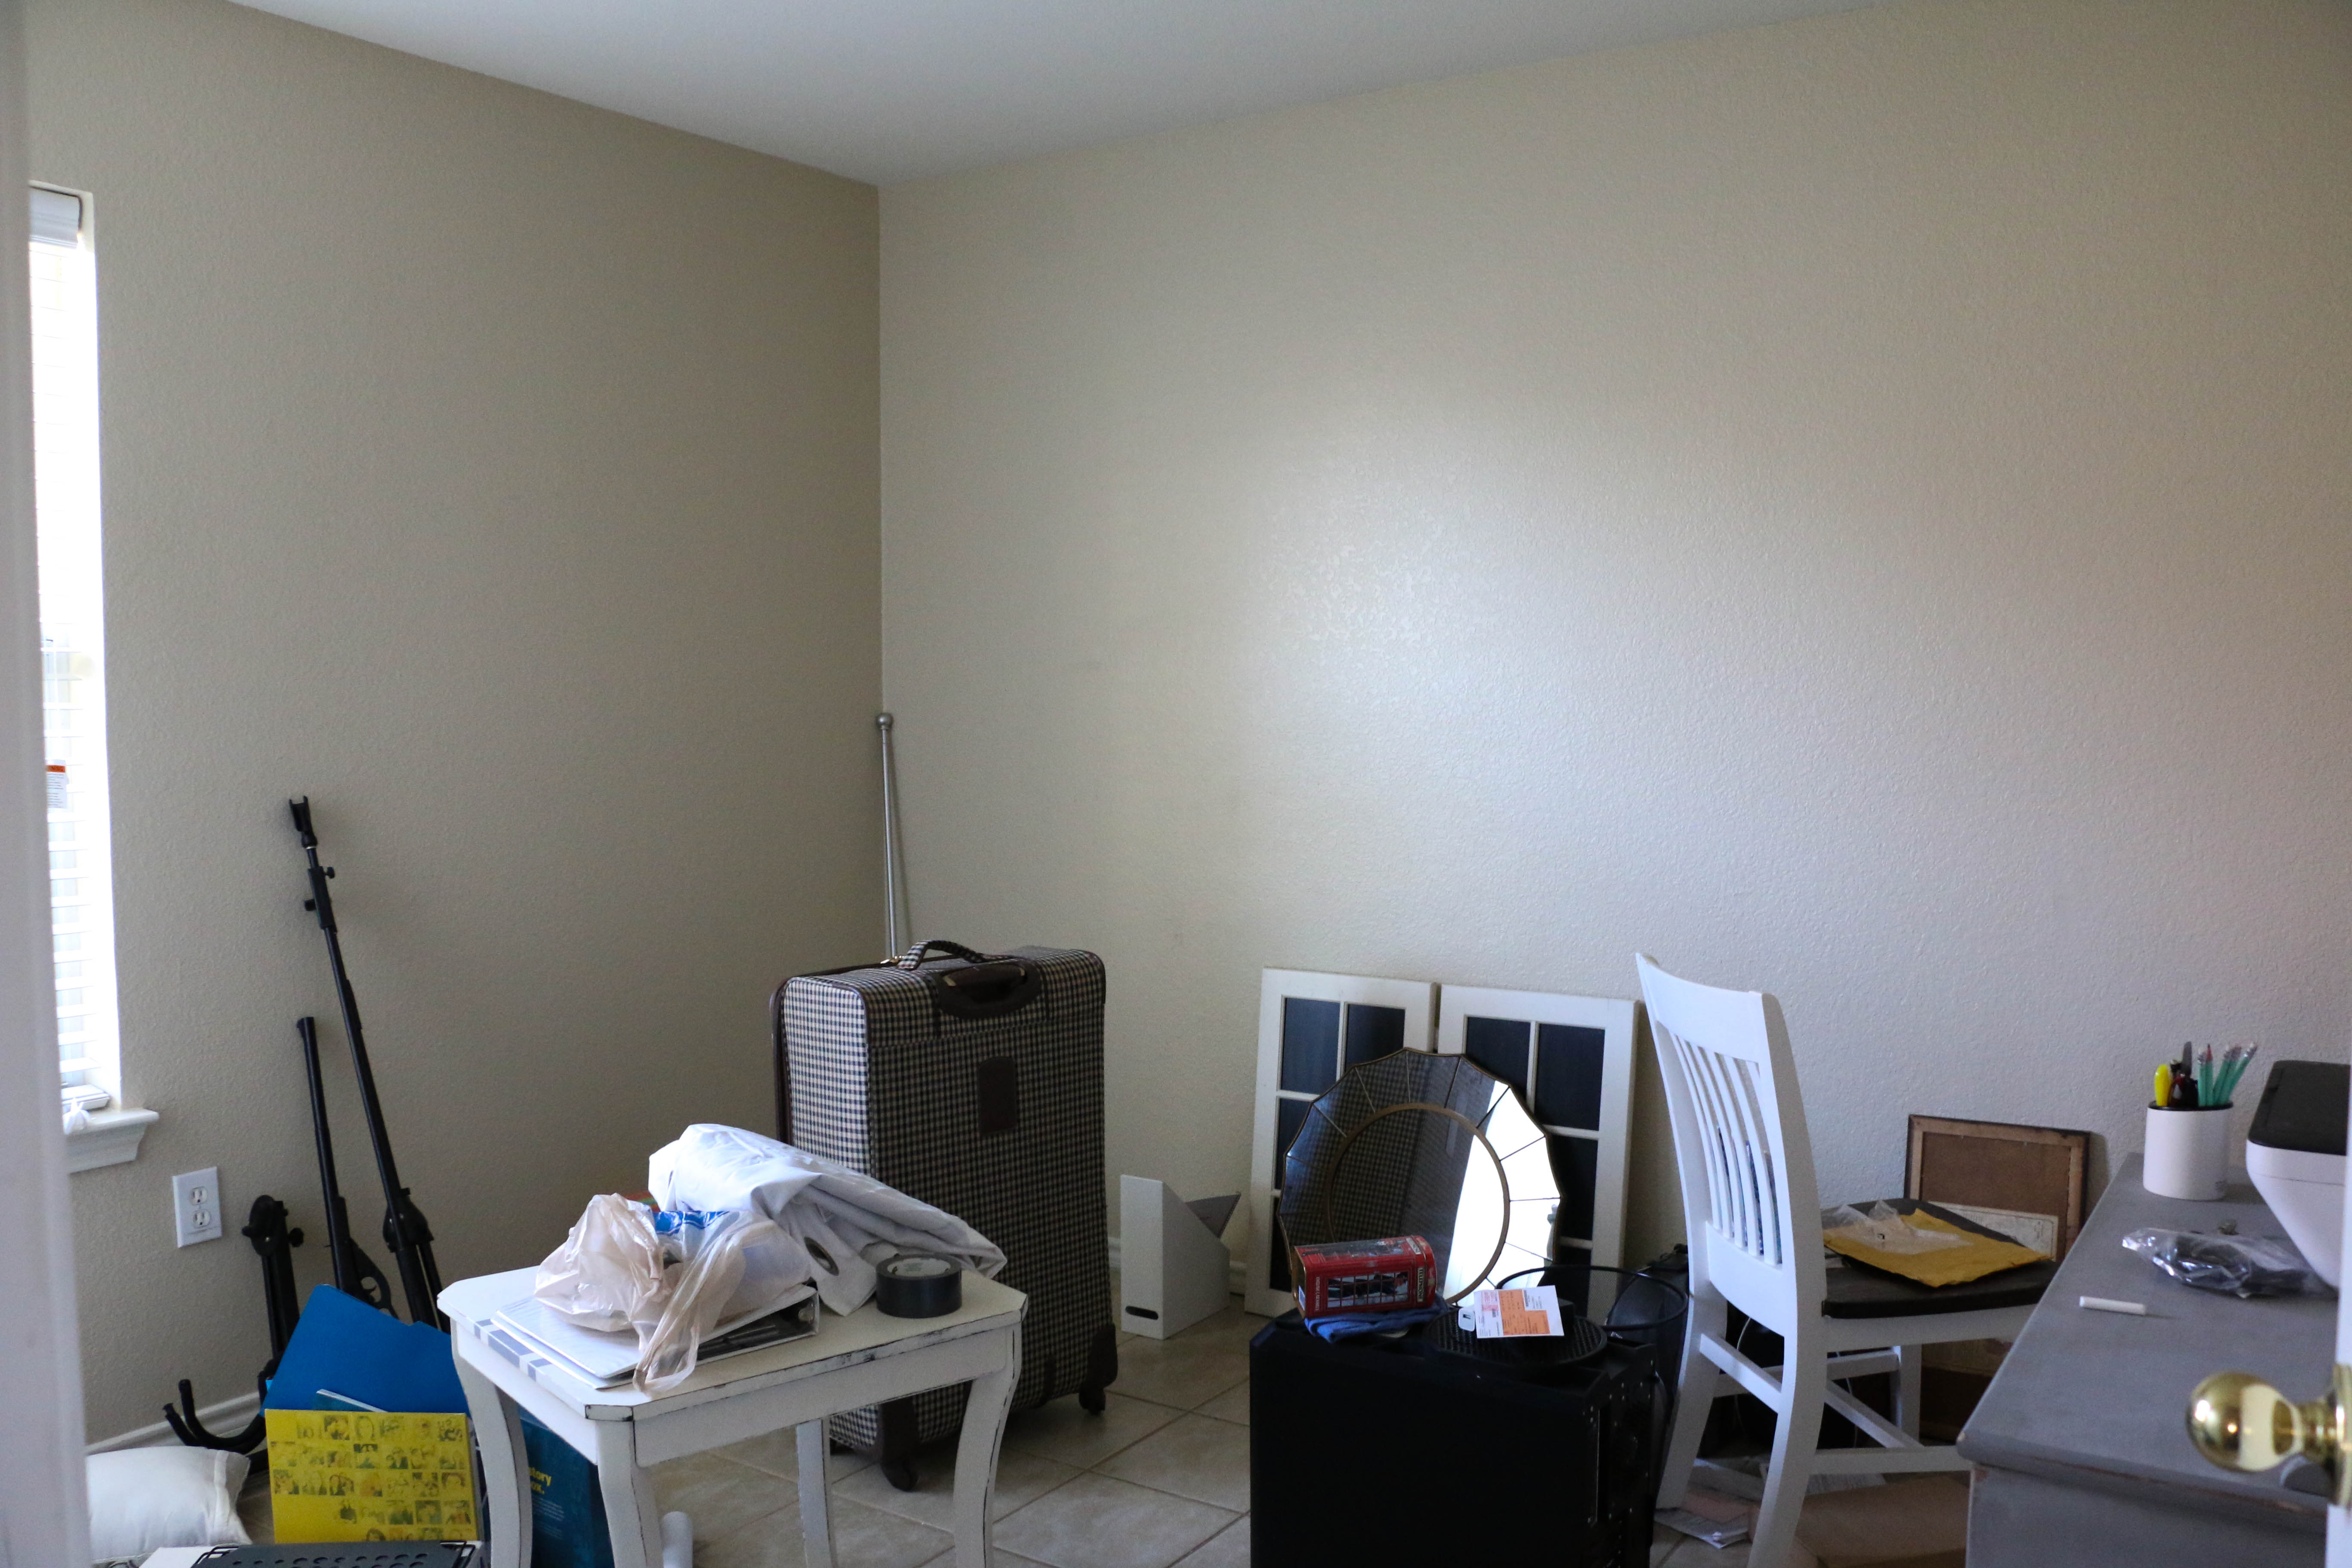
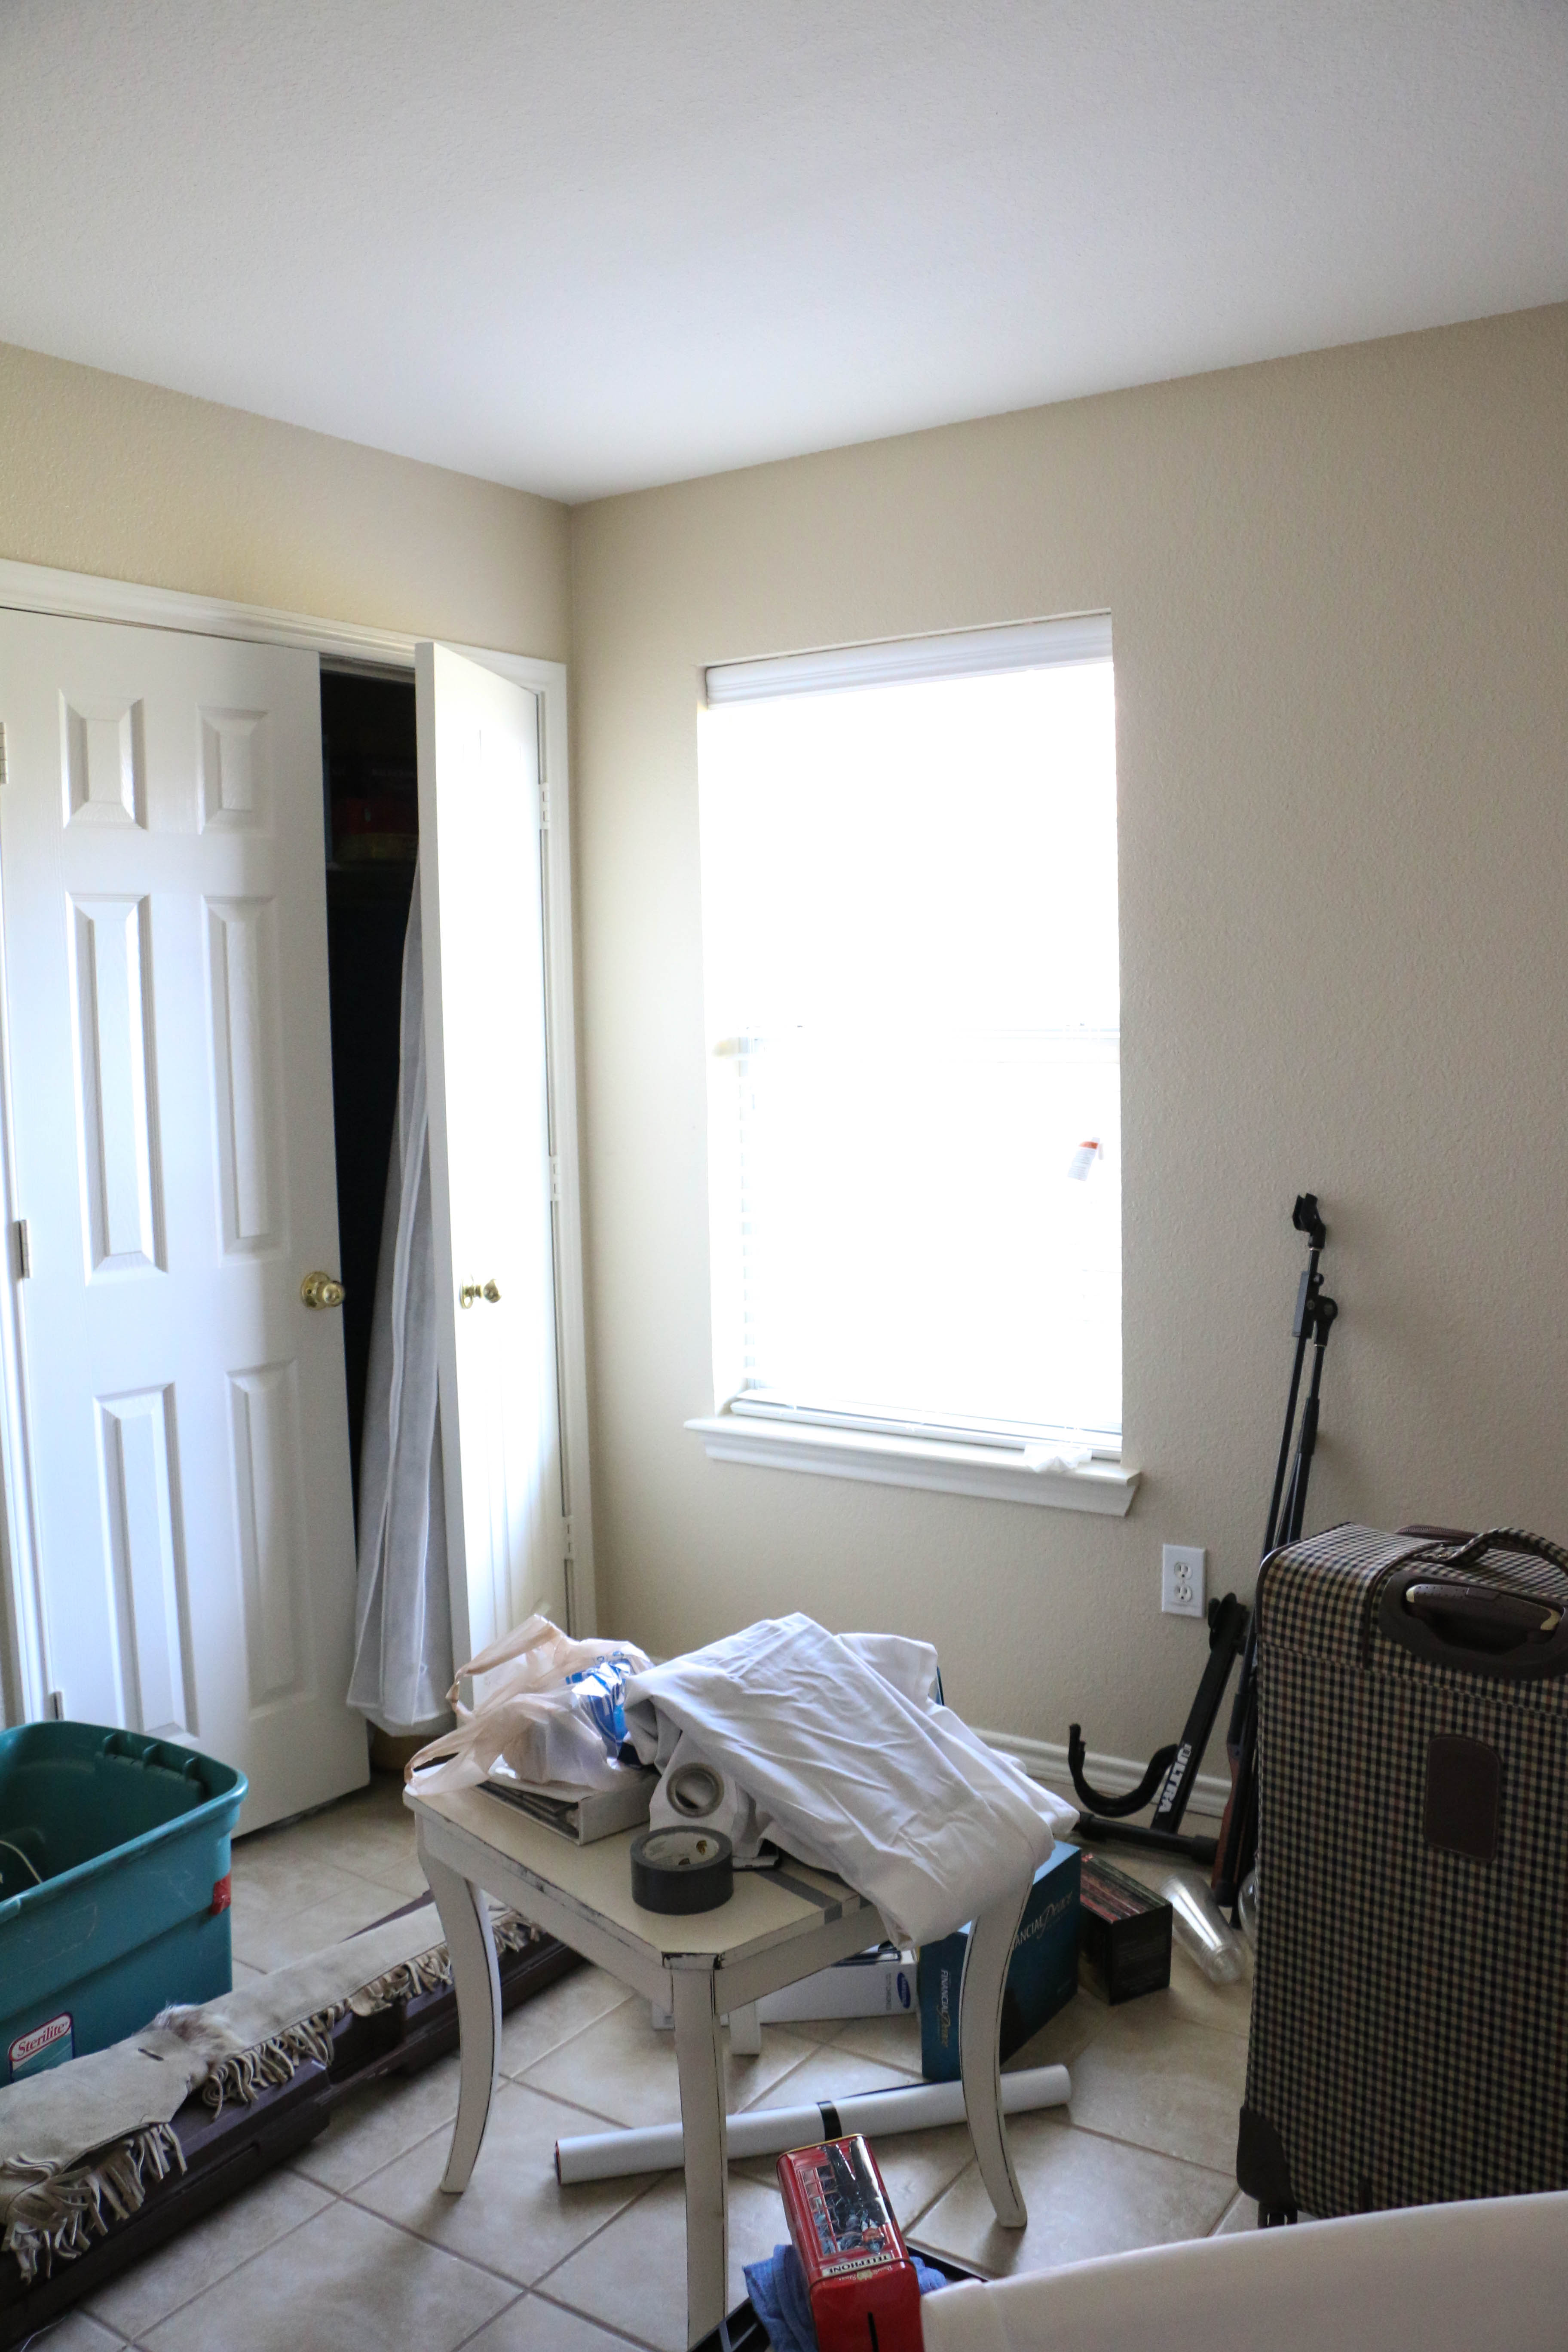
Now, don’t stare too long because you might get sucked into a vortex of clutter. You get the point. Moving on.
So my plan was to make this room into something usable pretty. The only problem being that I didn’t really want to spend any money on this room. So, I did what I always do and put my super cheap creative thinking hat on and got to work.
I shopped the house for items that I could re-use in this room. I dug things out of the garage from our previous house that we weren’t using and brought everything together. I slowly started piecing things together until a room started to form. The only problem was that I didn’t have a desk. Can’t really have an office without a desk, huh?
I had some scrap wood in the garage, enough to make part of a desk, but my rudimentary woodworking skills didn’t know how to fashion legs for a desk on my own. So I went to the architectural salvage shop in town and told the gentleman what I was looking for. Thankfully he makes all kinds of repurposed furniture and so he was super helpful.
He showed me an old child’s bedframe with decorative posts on the ends. He told me that he could cut the posts off for me in the shop, and they would work perfectly as legs to a table. The best part is that he would charge me fifteen dollars for the four legs. (Now is the title of this blog post coming together?)
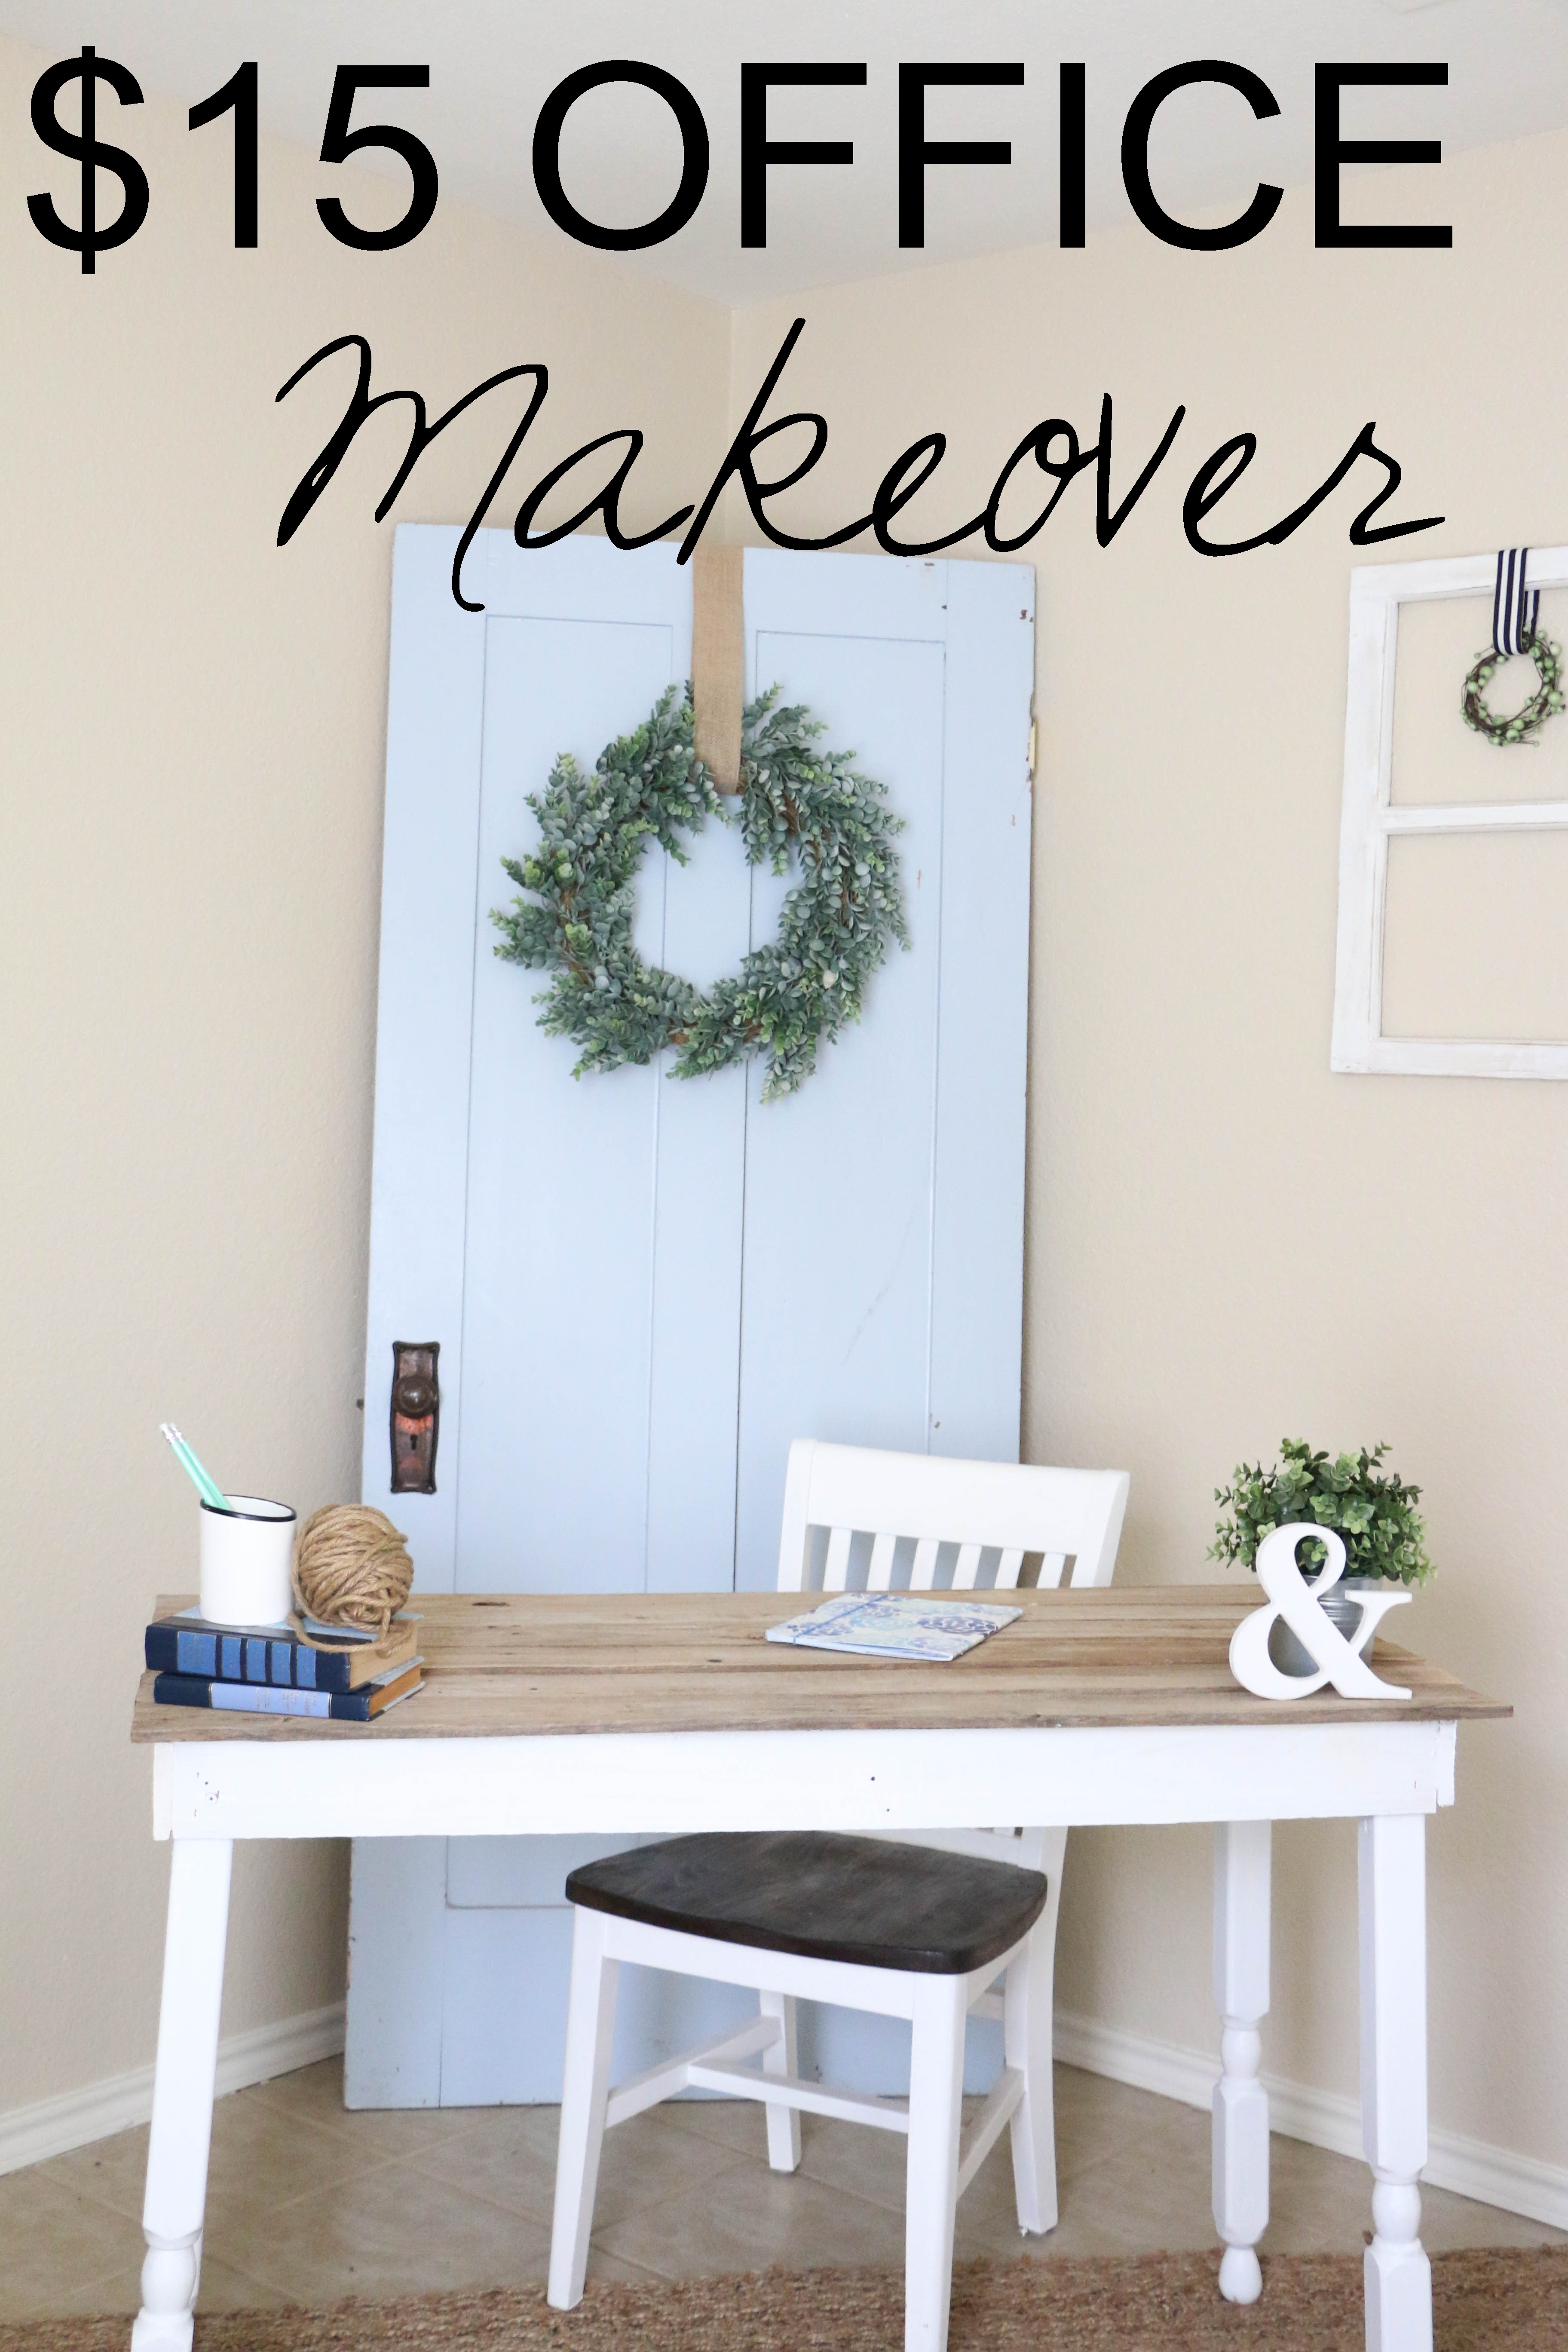
So on my very own, with no help from Ethan (my choice, not his) I built this desk for the office for a grand total of fifteen dollars.
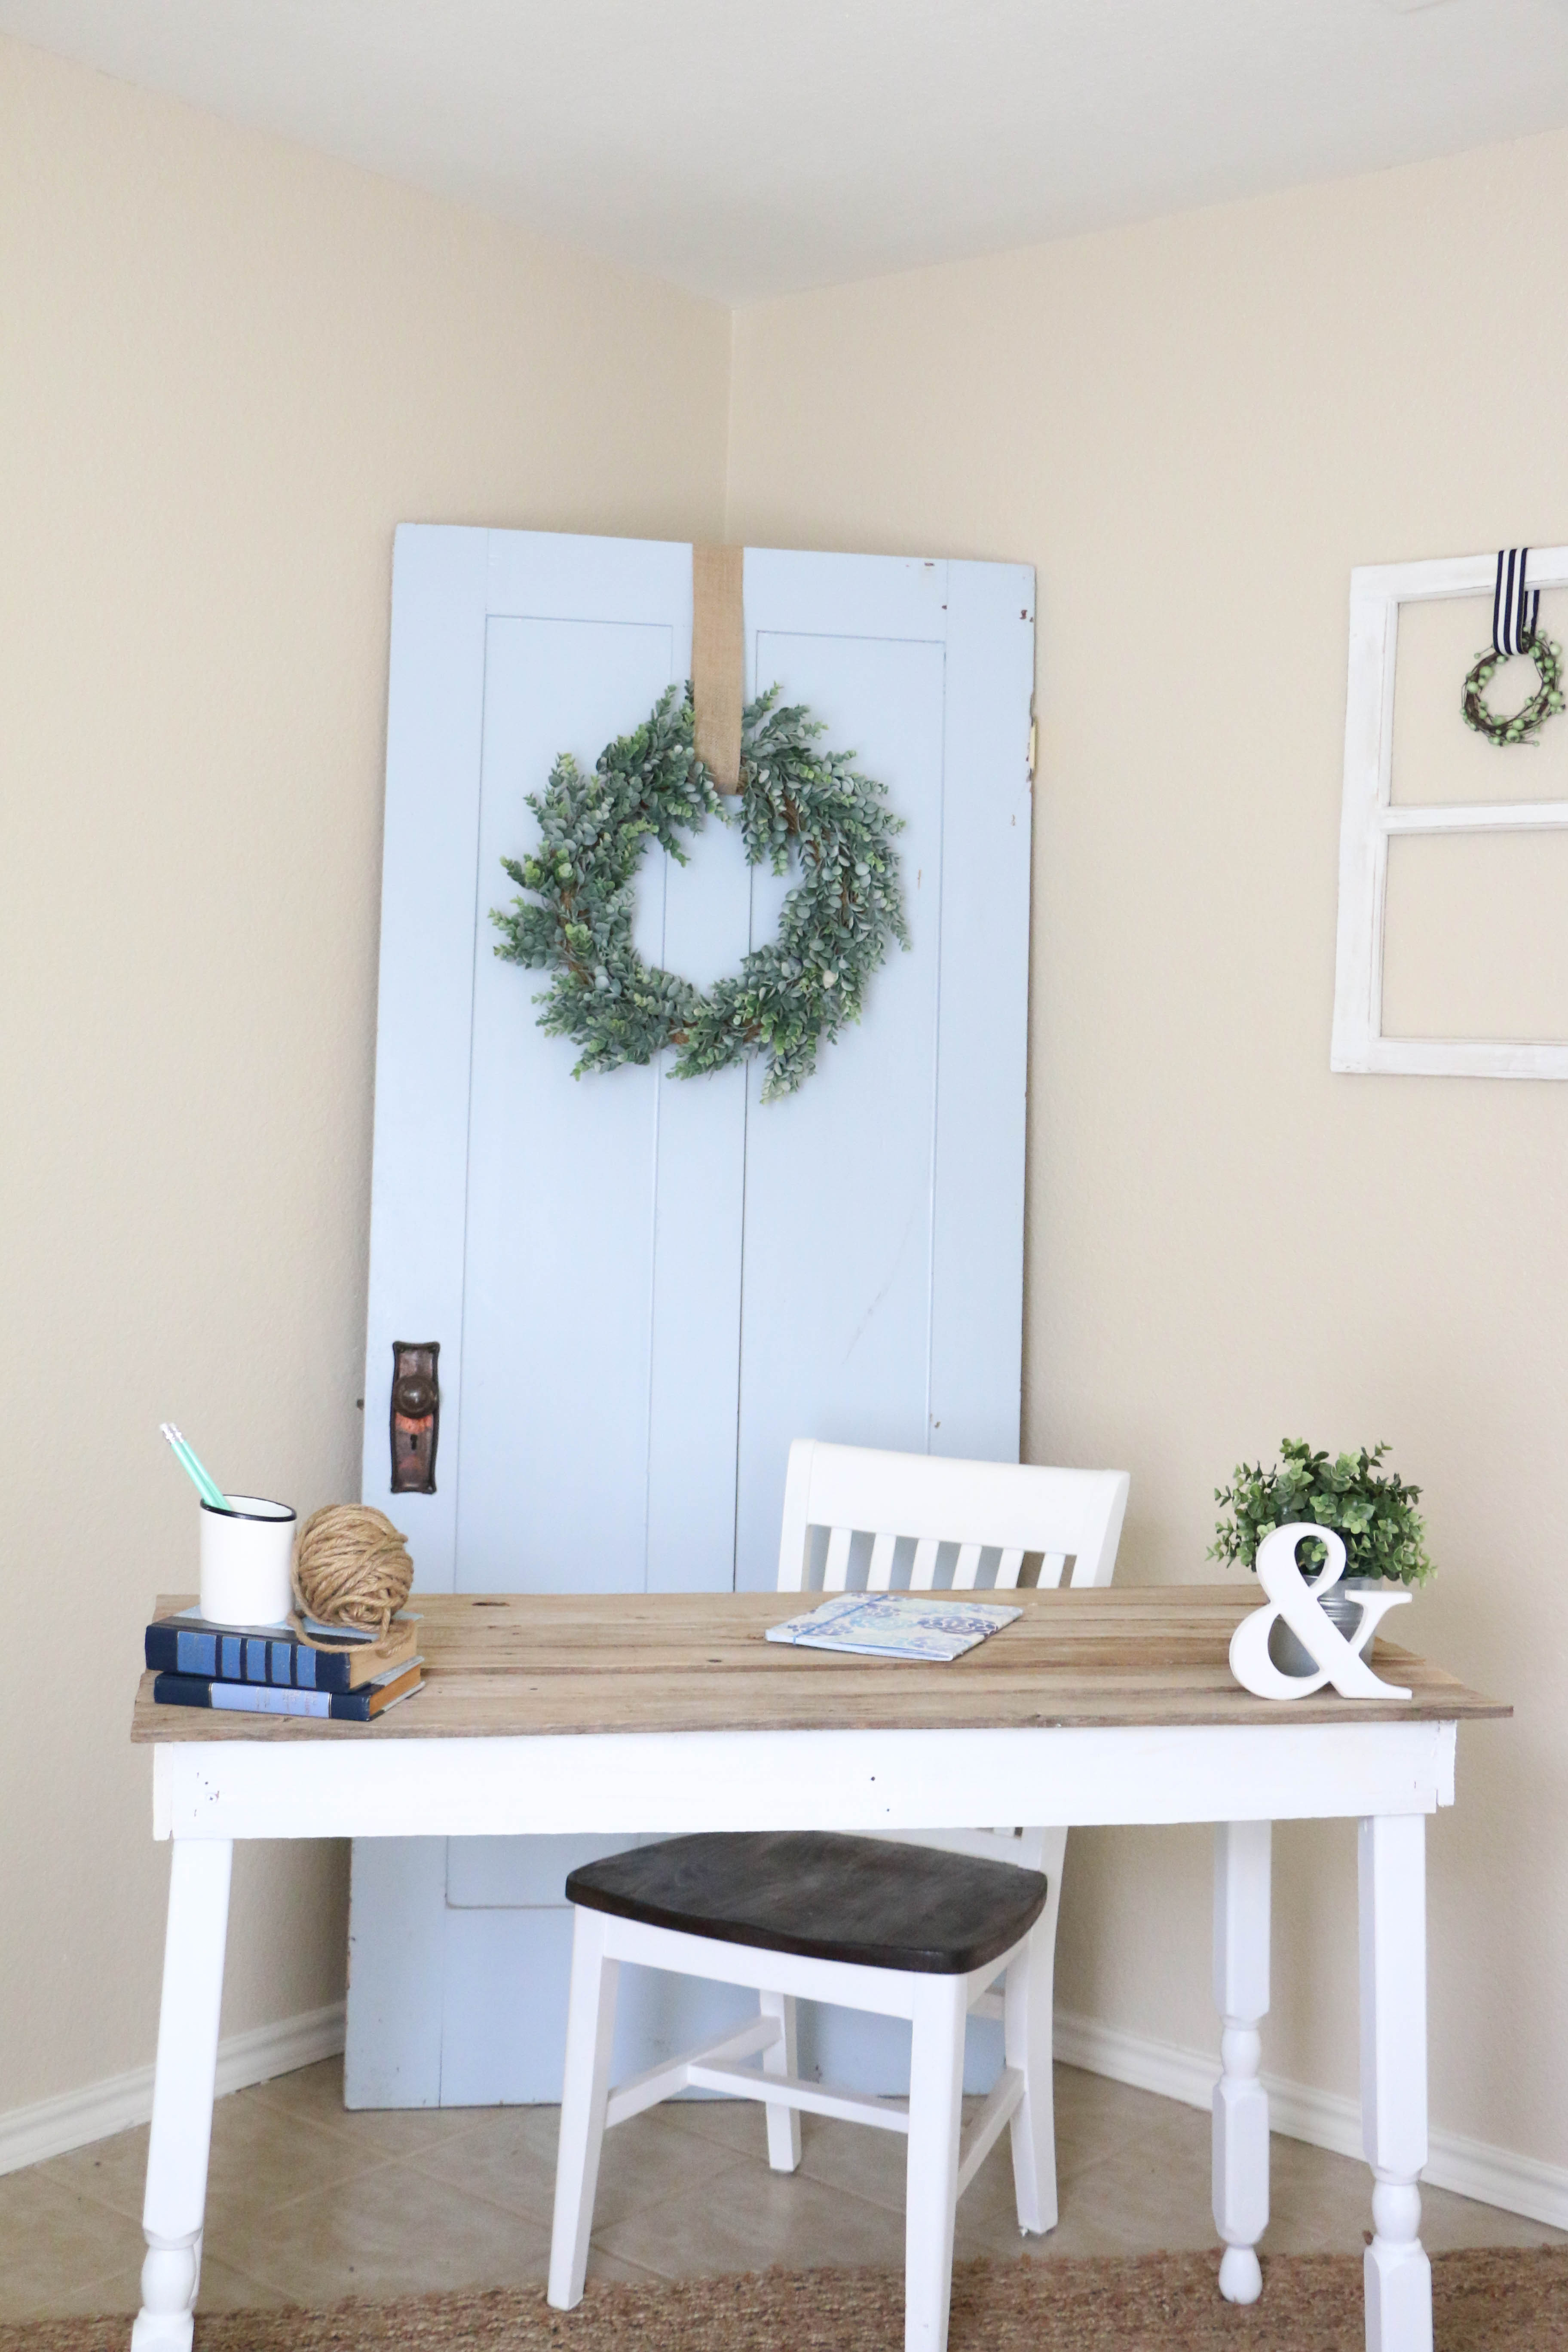
I added a little frame and then the top, which was all made from scrap wood we found on the side of the road. Can you picture the legs as part of a bed frame? I turned them upside down and painted them white.
Literally every other thing in this room was something I already owned. Which is why this room isn’t quite the office of my dreams, but it’s something that’ll do for now.

This crate was something I found at a yard sale this summer and it had been sitting in my garage for a while. It houses our record collection, and offers a place to sit or drop a bag by the door to the room.
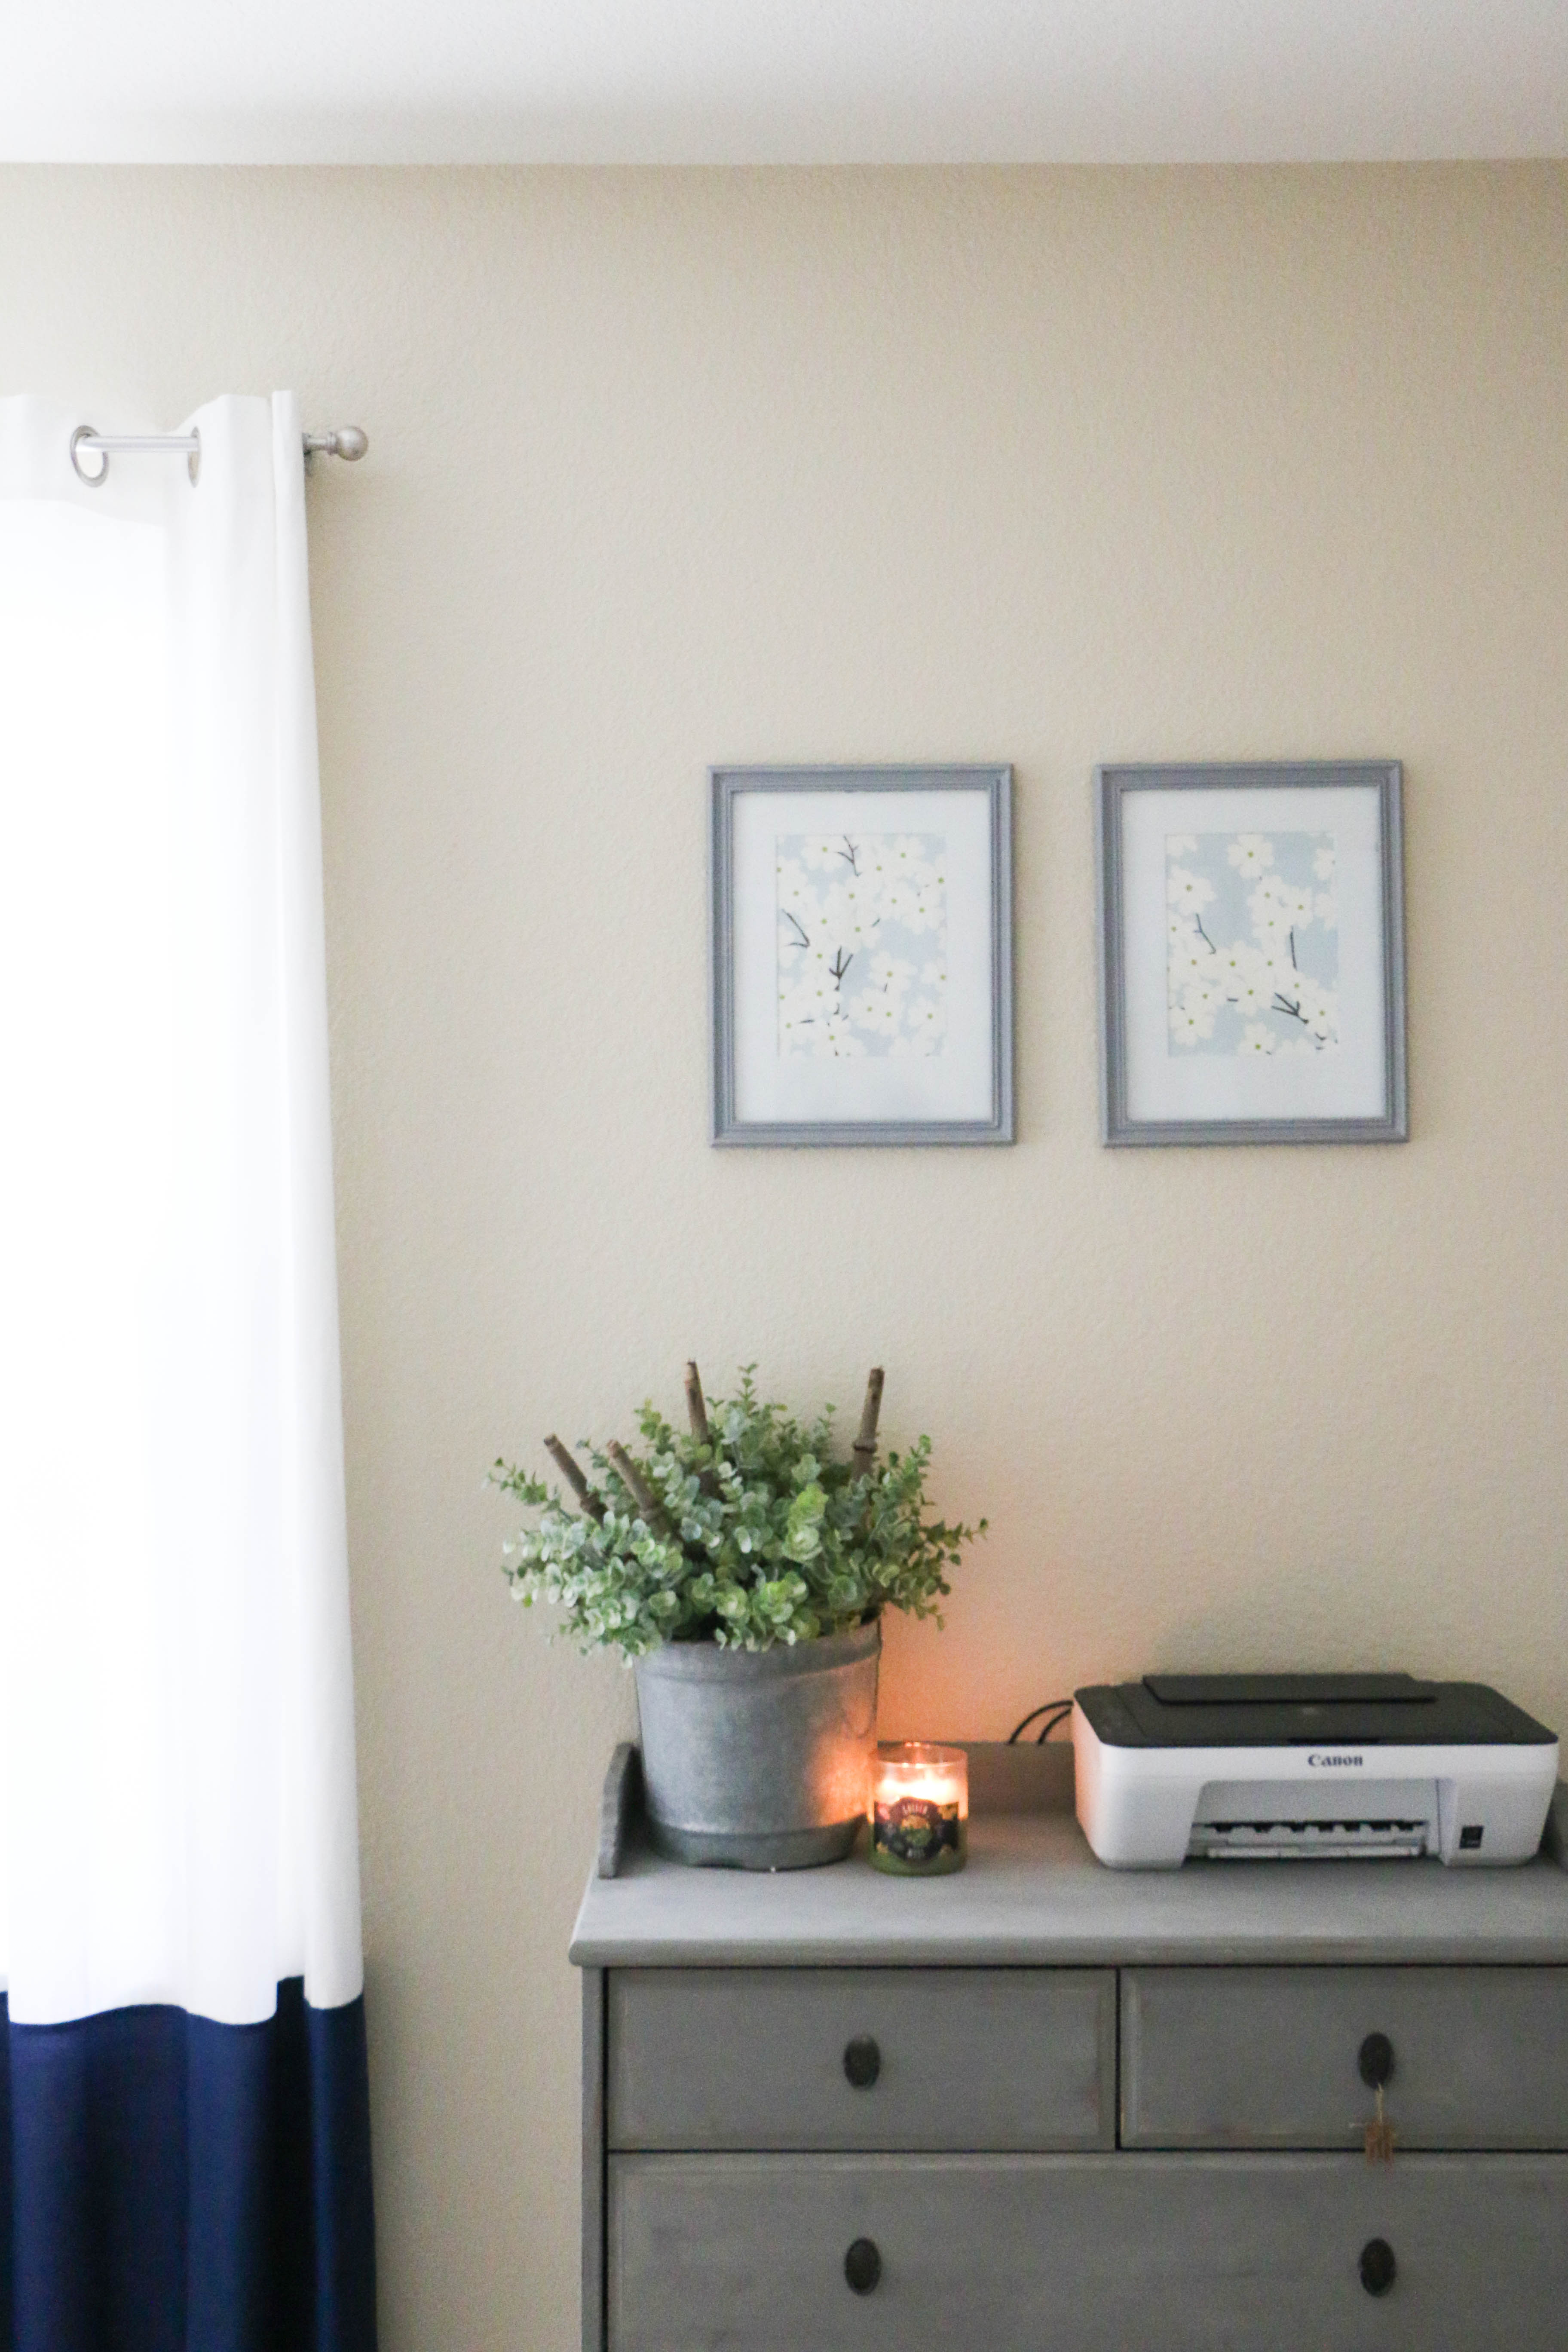
The dresser was a piece I made to sell (see the tag still on it?), but I decided to keep it rather that taking it to my next show. We needed a place for storage, and it’s a perfect spot to put the printer.
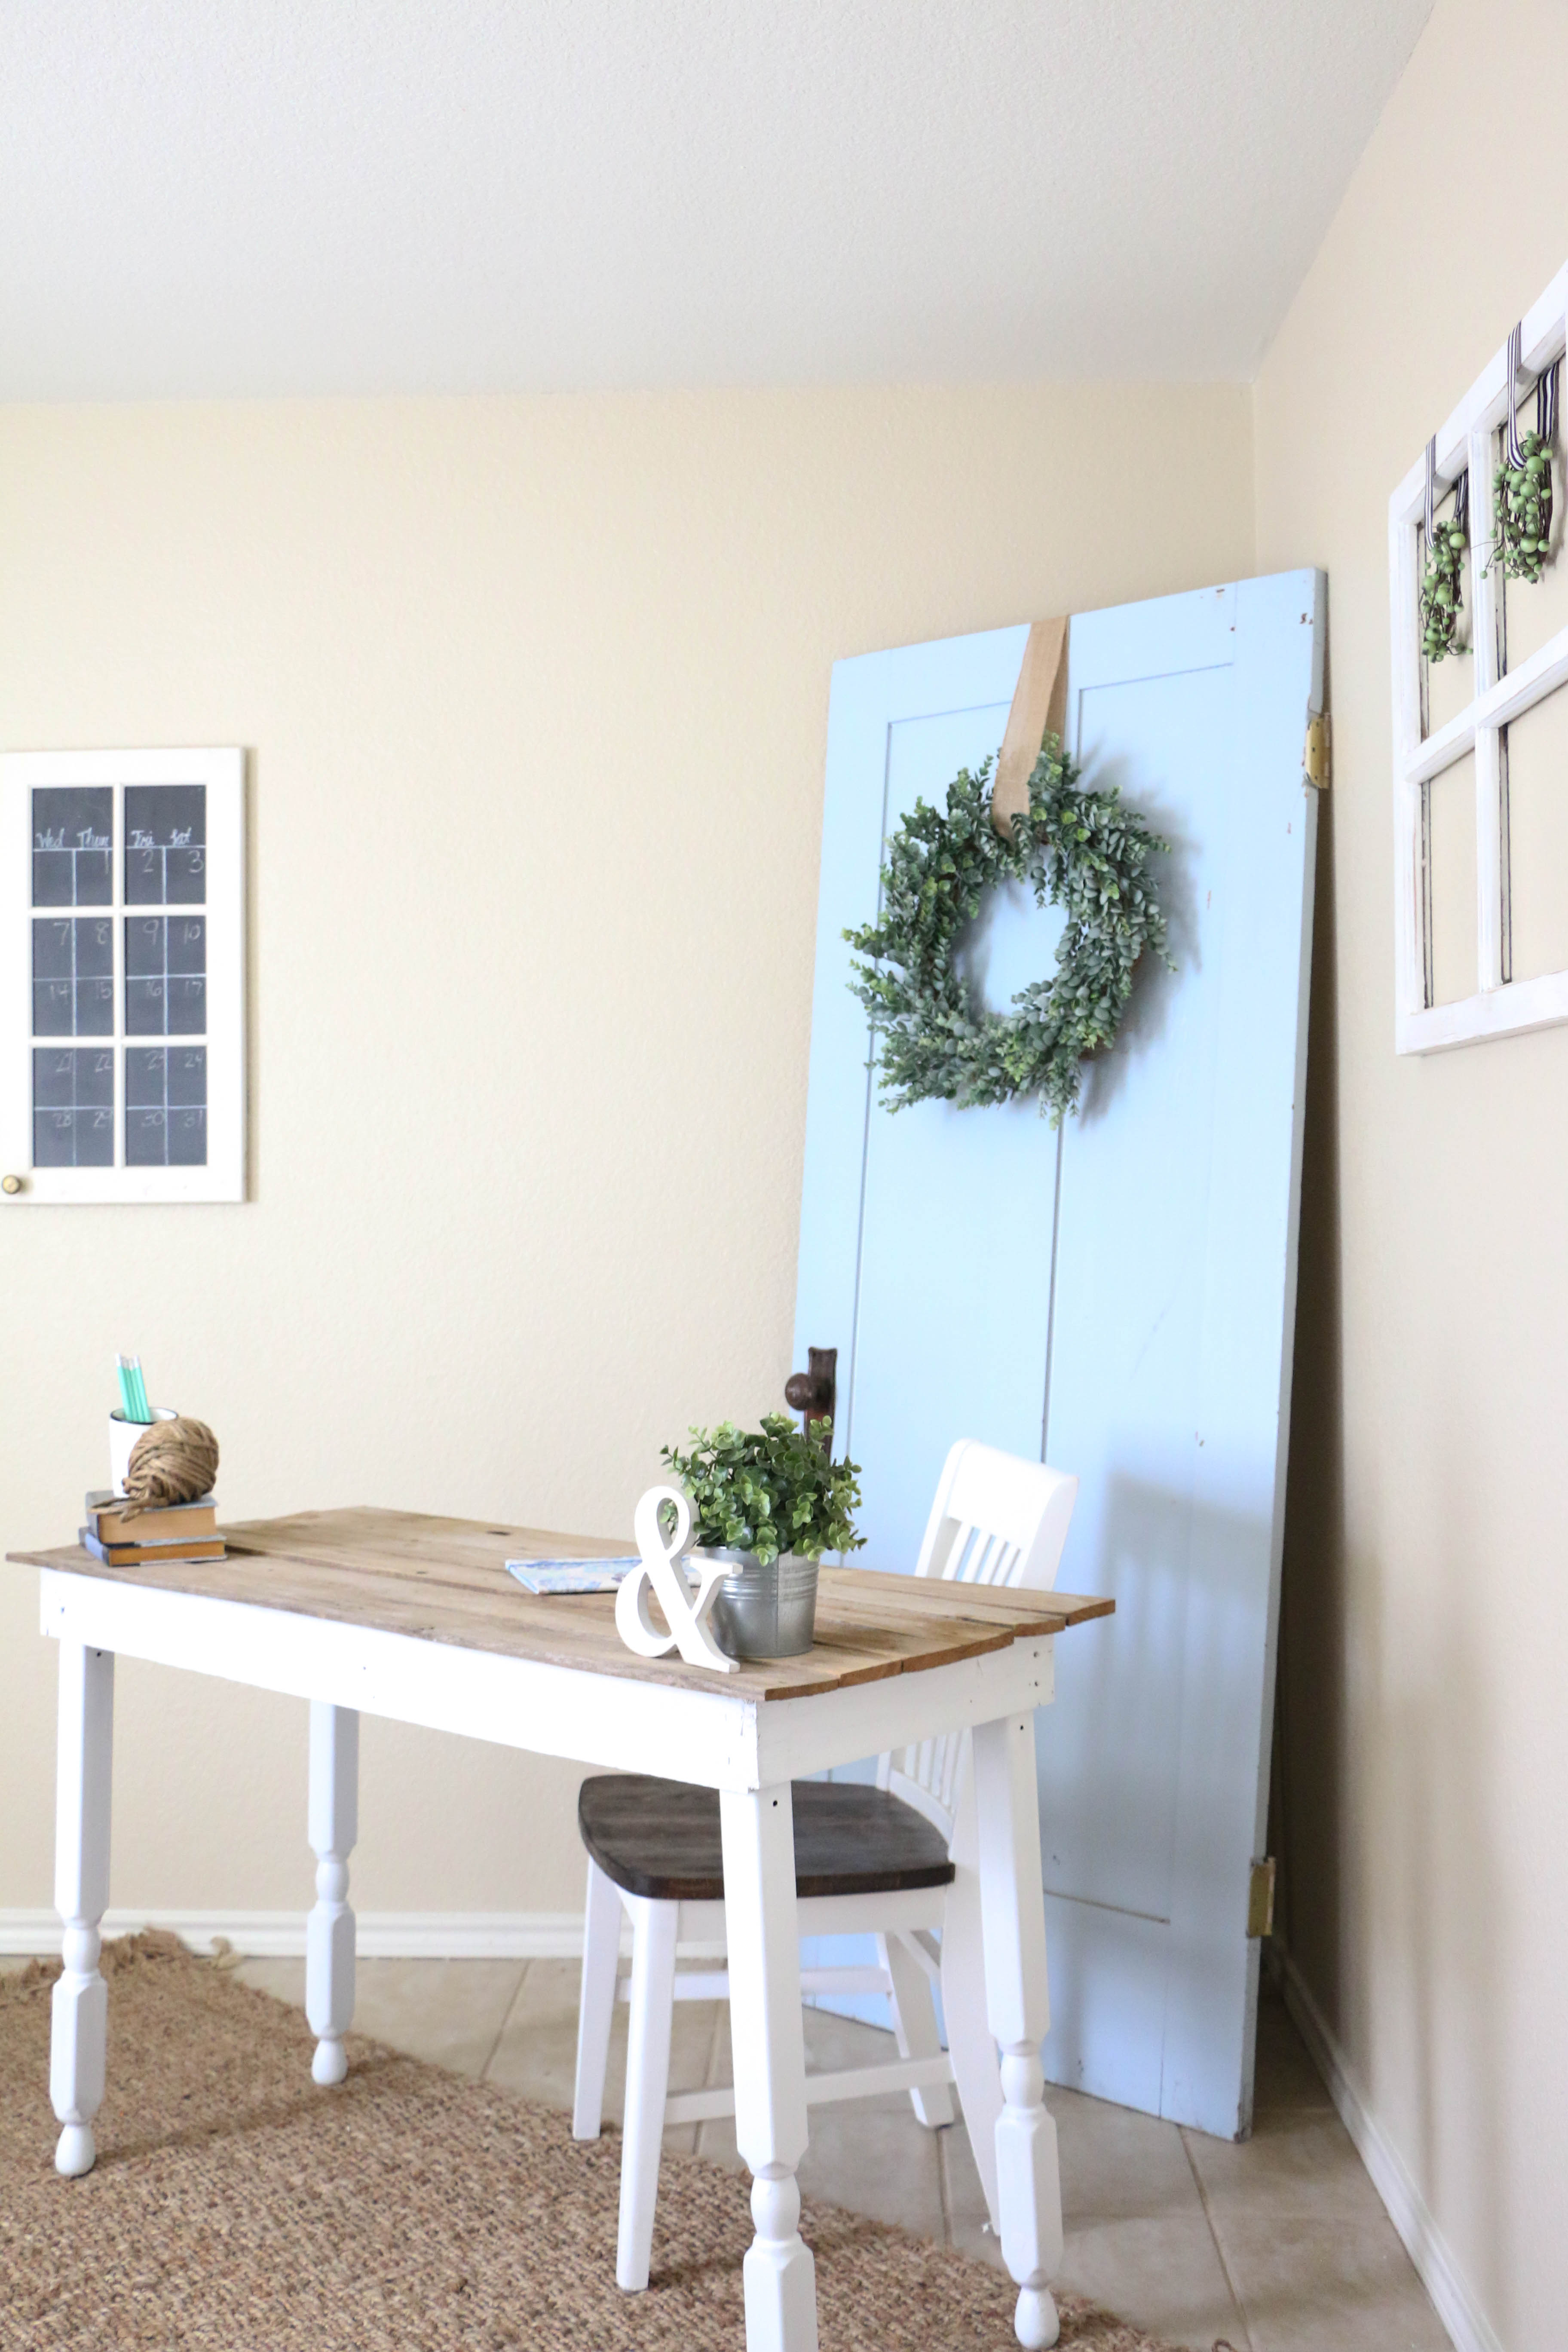
In the top left of this photo you can see my calendar that I made from some old cupboard doors. We used them originally as decor at our wedding, and they’ve been useless since then. I used a chalkboard marker to add dates to it, and now we have a functional calendar that doubles as wall art. Plus it was free, so I’d call that a win.

I placed this old door behind the desk as a focal point to the room, another thing I found at a yard sale this summer. It was an original door to a church in our town built in the 1890’s. I love that I know where exactly it came from.
Literally everything in this room had been sitting in a closet or in my garage until I brought it in here and cleaned out the space. I just love the fact that it’s possible to make do with what you have and still have a pretty home.
I could have spent hundreds of dollars in here, buying all kinds of things to fit here, but at the end of the day, I’d rather stretch myself creatively and do it on a budget anyway. I ended up making that desk on my own. It’s pretty rickety, but I’m super proud of it because I did it by myself. I wouldn’t have the same feeling if I had bought a desk from Target or wherever. My wallet wouldn’t be as happy either!
Well, that’s all for today, friends. I hope you’re inspired by my little office. Maybe it’ll inspire you to shop your house instead of buying something new. Have a fabulous day, friends!