Hello everyone! I hope you’ve had a marvelous weekend, I know I have! I am in New York visiting some family, but I wanted to take a few minutes and make sure I wasn’t neglecting the old blog. 🙂
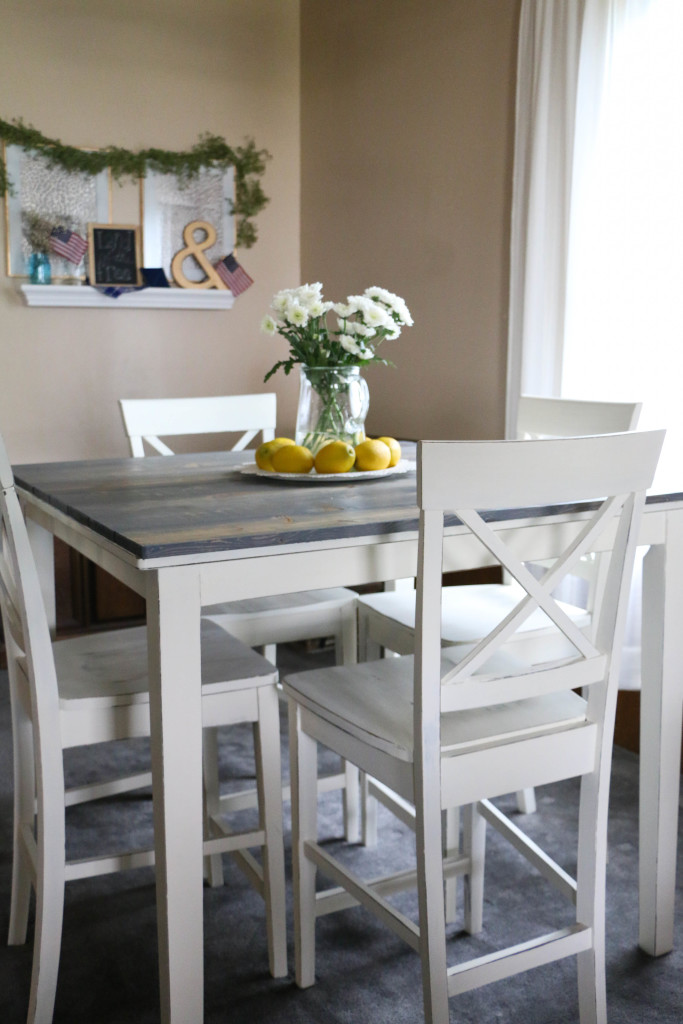
So last week I blogged about my new dining room table. If you haven’t checked that out, go ahead and do so. It’s cool, I’ll wait. I want you to have a frame of reference when reading this post. Okay, you read it? Cool, let’s continue.
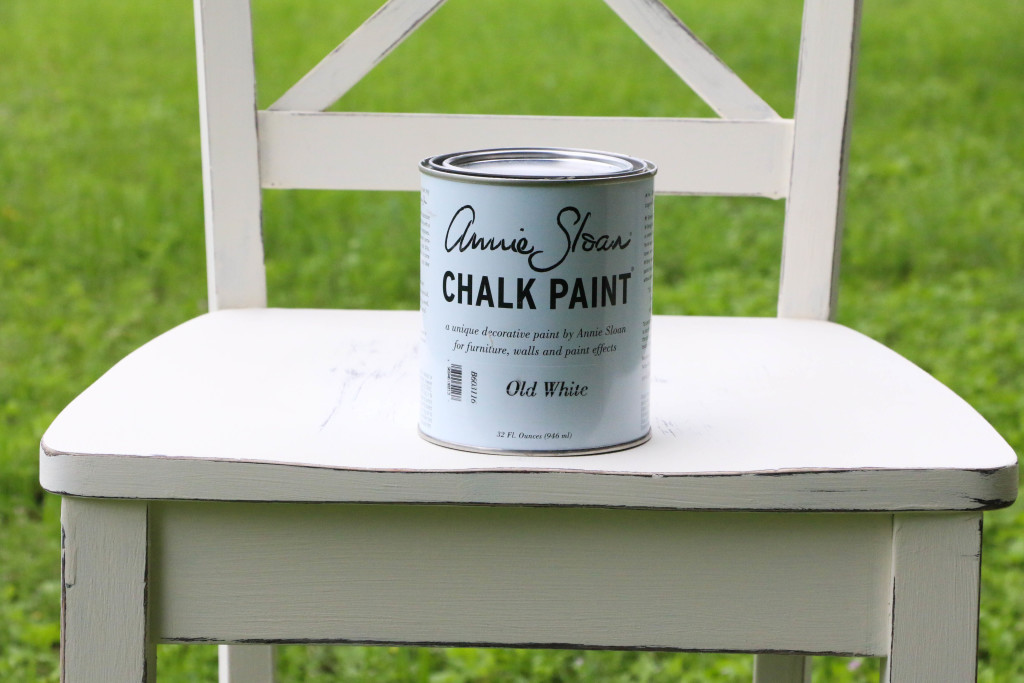
I painted the table and chairs using Annie Sloan Chalk Paint. If you haven’t heard of this paint before, you are really missing out. Seriously, this stuff is awesome! It’s called chalk paint not because it creates a chalkboard finish, but because of its matte look. It has a “chalky” feel to it when the paint dries. There is no sanding or prep work required with this paint (can I get an amen?!), and it will adhere to most any surface. Did I mention it has no VOCs? Pretty cool stuff.
Annie Sloan is a company based in Britain, so while you can order online, there are only limited stockists in the United States. You can click here to find a stockist near you. I got mine from Nest, a cute little store in Mansfield, TX. It is suggested that you take a workshop to learn about the paint before tackling any big projects, but being the rebel that I am (mostly I’m just cheap), I opted to just try it for myself. I did do some internet research, and Lauren over at The Thinking Closet has a great tutorial on this topic as well. I referenced her post several times during my project.
So let’s get down to it, shall we? First off, I chose my color, Old White.
This color is a not-quite-cream-not-quite-pure-white color that’s perfect for my space, so I went with it. The actual application of the paint is easy-peasy. I’m assuming you know how to dip a paintbrush in a can and slap it on something. I won’t insult your intelligence.
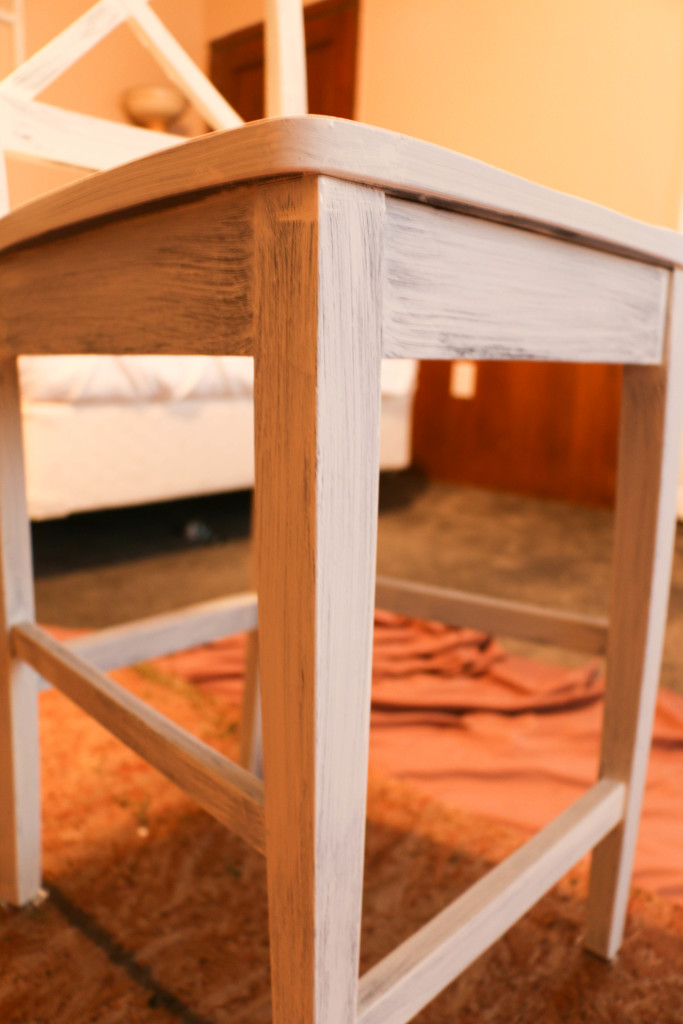
While the can states that one coat will be sufficient, I found this not to be true. Pardon the HORRIBLE lighting, but you can see here with just one coat, there were still visible areas. Now, these chairs are not solid wood, so that may be why it took more paint, I’m not sure.
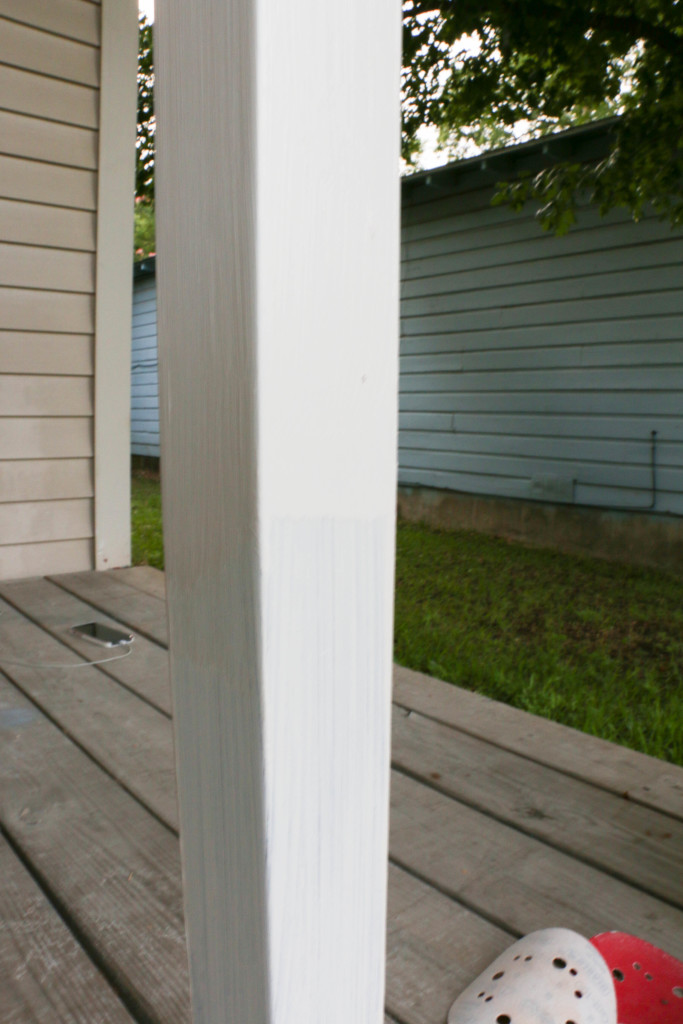
Overall, I did two complete coats, with a third coat over some small areas. If you look closely in this picture, you can see the defining line between one coat and two coats of paint.
This paint dries quickly and is very easy to distress, if that’s the look you’re going for. If so, you would simply sand down the edges you want distressed and be done with it.
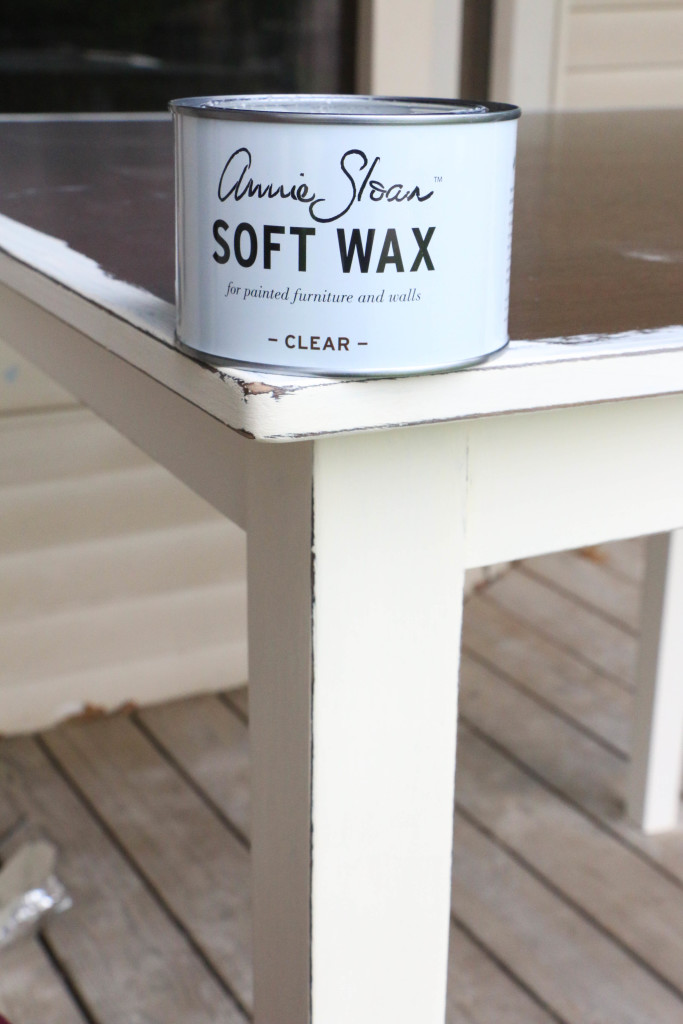
After your paint is fully dry and distressed, it’s time for the wax. I applied the wax the next day. This is the part that is unique to this type of paint, and the main reason a workshop is suggested. I however, did not attend a workshop and didn’t have any problems.
There are suggested brushes for applying the wax. I used a regular old cheap brush from Home Depot. You will want to make sure the paintbrush you use will be solely for wax. You won’t want to mix your brushes used for paint with your brushes used for wax.
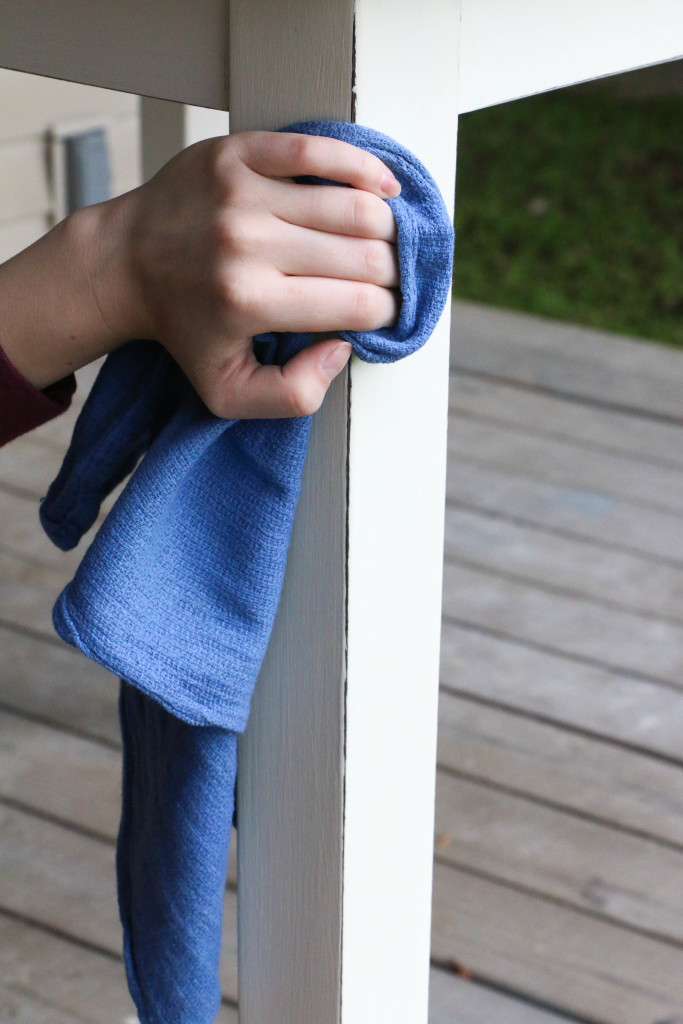
You will want to apply a small amount of wax to your brush, brush it onto your piece, and then immediately rub the wax into the piece using a dry cloth. This allows the piece to have the wax fully worked in. It also removes any excess wax. THIS IS SO IMPORTANT. If you have too much wax, it will leave a tacky residue on your finished project and that’s just no good.
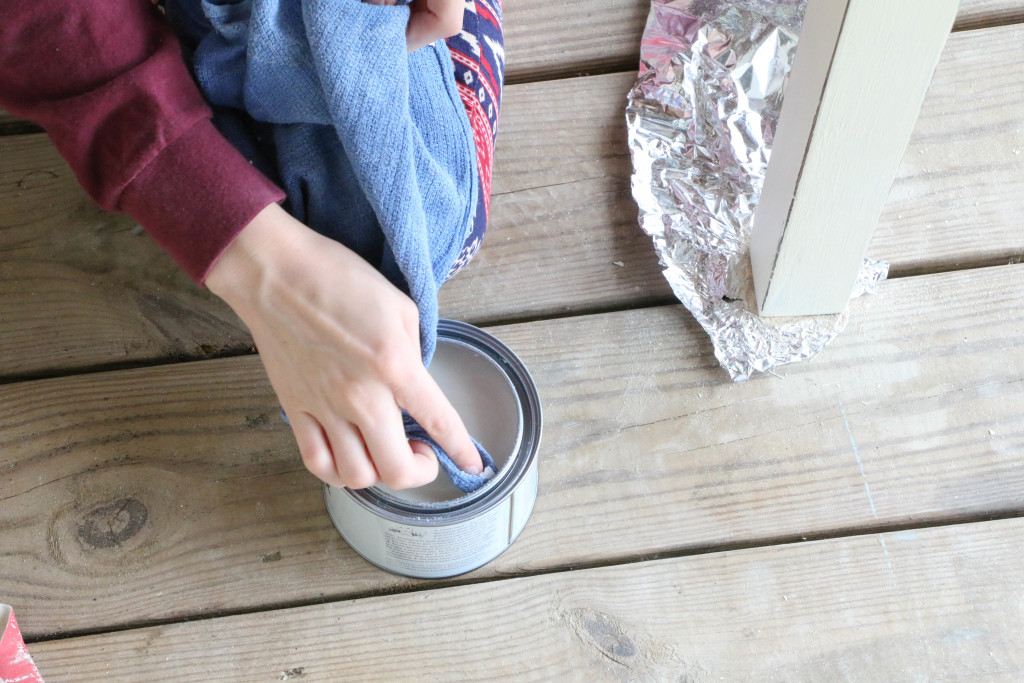
It didn’t take me long to completely abandon the paint brush (this is not the professional way to do this, but it worked for me). I would dip the cloth into the wax, and apply directly from the cloth.
In my opinion, this was much easier than using a brush, since I applied and worked in the wax in one cohesive step. It also eliminated brush strokes in the wax.
By the time I was done, my cloth was pretty oily, so I took a clena cloth and wiped down the entire surface once more. I did not have any issues with tacky wax after drying. I waited another day after applying the wax to place my furniture back in my dining room.
I am totally a novice with this product, but I’d say I had a pretty easy experience with great results. I would definitely recommend doing a little research, but if you’ve been hesitant to try it, DON’T BE! I had a really good experience with it, and I know you can too!
That’s all for today! If you have any questions, please let me know, and I’ll try to answer them as best I can. Have a fabulous day, friends!

3 Comments
Thanks so much for the link-love! So glad my post was helpful to you as you painted your table and chairs. They turned out grrrrreat! Brava!
[…] up, I give you Fawn, who made-over her table and chairs using Old White. I love the gentle distressing she did on the […]
I’ve been exploring for a little bit for any high-quality articles or weblog posts in this kind of house . Exploring in Yahoo I finally stumbled upon this website. Reading this information So i am satisfied to exhibit that I have a very just right uncanny feeling I discovered exactly what I needed. I most definitely will make certain to do not overlook this website and give it a glance on a constant basis.