Browsing Category

Tutorials

DIY Projects, Tutorials

DIY Pallet Flag

Now that summer is officially here, it’s almost time for one of my favorite holidays… the Fourth of July! I’ve always loved this holiday, and I don’t even really know why. The fact that it’s in the summertime probably helps! 🙂

The past few weeks I haven’t been super productive, but this past weekend we went away to celebrate our anniversary, and some time on the beach has done me some good! I came back feeling pretty refreshed, and inspired to create something new.

As I mentioned in my last post, this summer we are saving all our pennies for a big goal, so we don’t have a ton of room in our budget for extra fun stuff. Which is totally fine. Because I am super excited about the possibility of something new. Anyway, I was wanting to add something new to our front porch for the holiday, but I wanted to spend zero dollars. Mission accomplished. palletflag2

I found this old pallet in the trash pile while I was driving down the road… #noshame. I had Ethan drive by in the truck and pick it up. I’ve had it for about a month with no purpose, sitting in the garage. Until yesterday I decided to make a quick project out of it. See, there are perks to hoarding junk in your garage. Totally justifiable.

I didn’t have any red paint on hand (because red is pretty nonexistent around my house), so I decided to make this pallet flag a neutral one. This isn’t my original idea, I’ve seen it all over Pinterest. But this neutral one is my own version.

It took me about fifteen minutes to do the whole thing. I just free handed the stripes, and for the stars, I made my own little stencil. To make the stencil, I just drew a star on a piece of paper, and cut it out. I then used the paper to place my stars where I wanted them. Easy peasy.

palletflag1

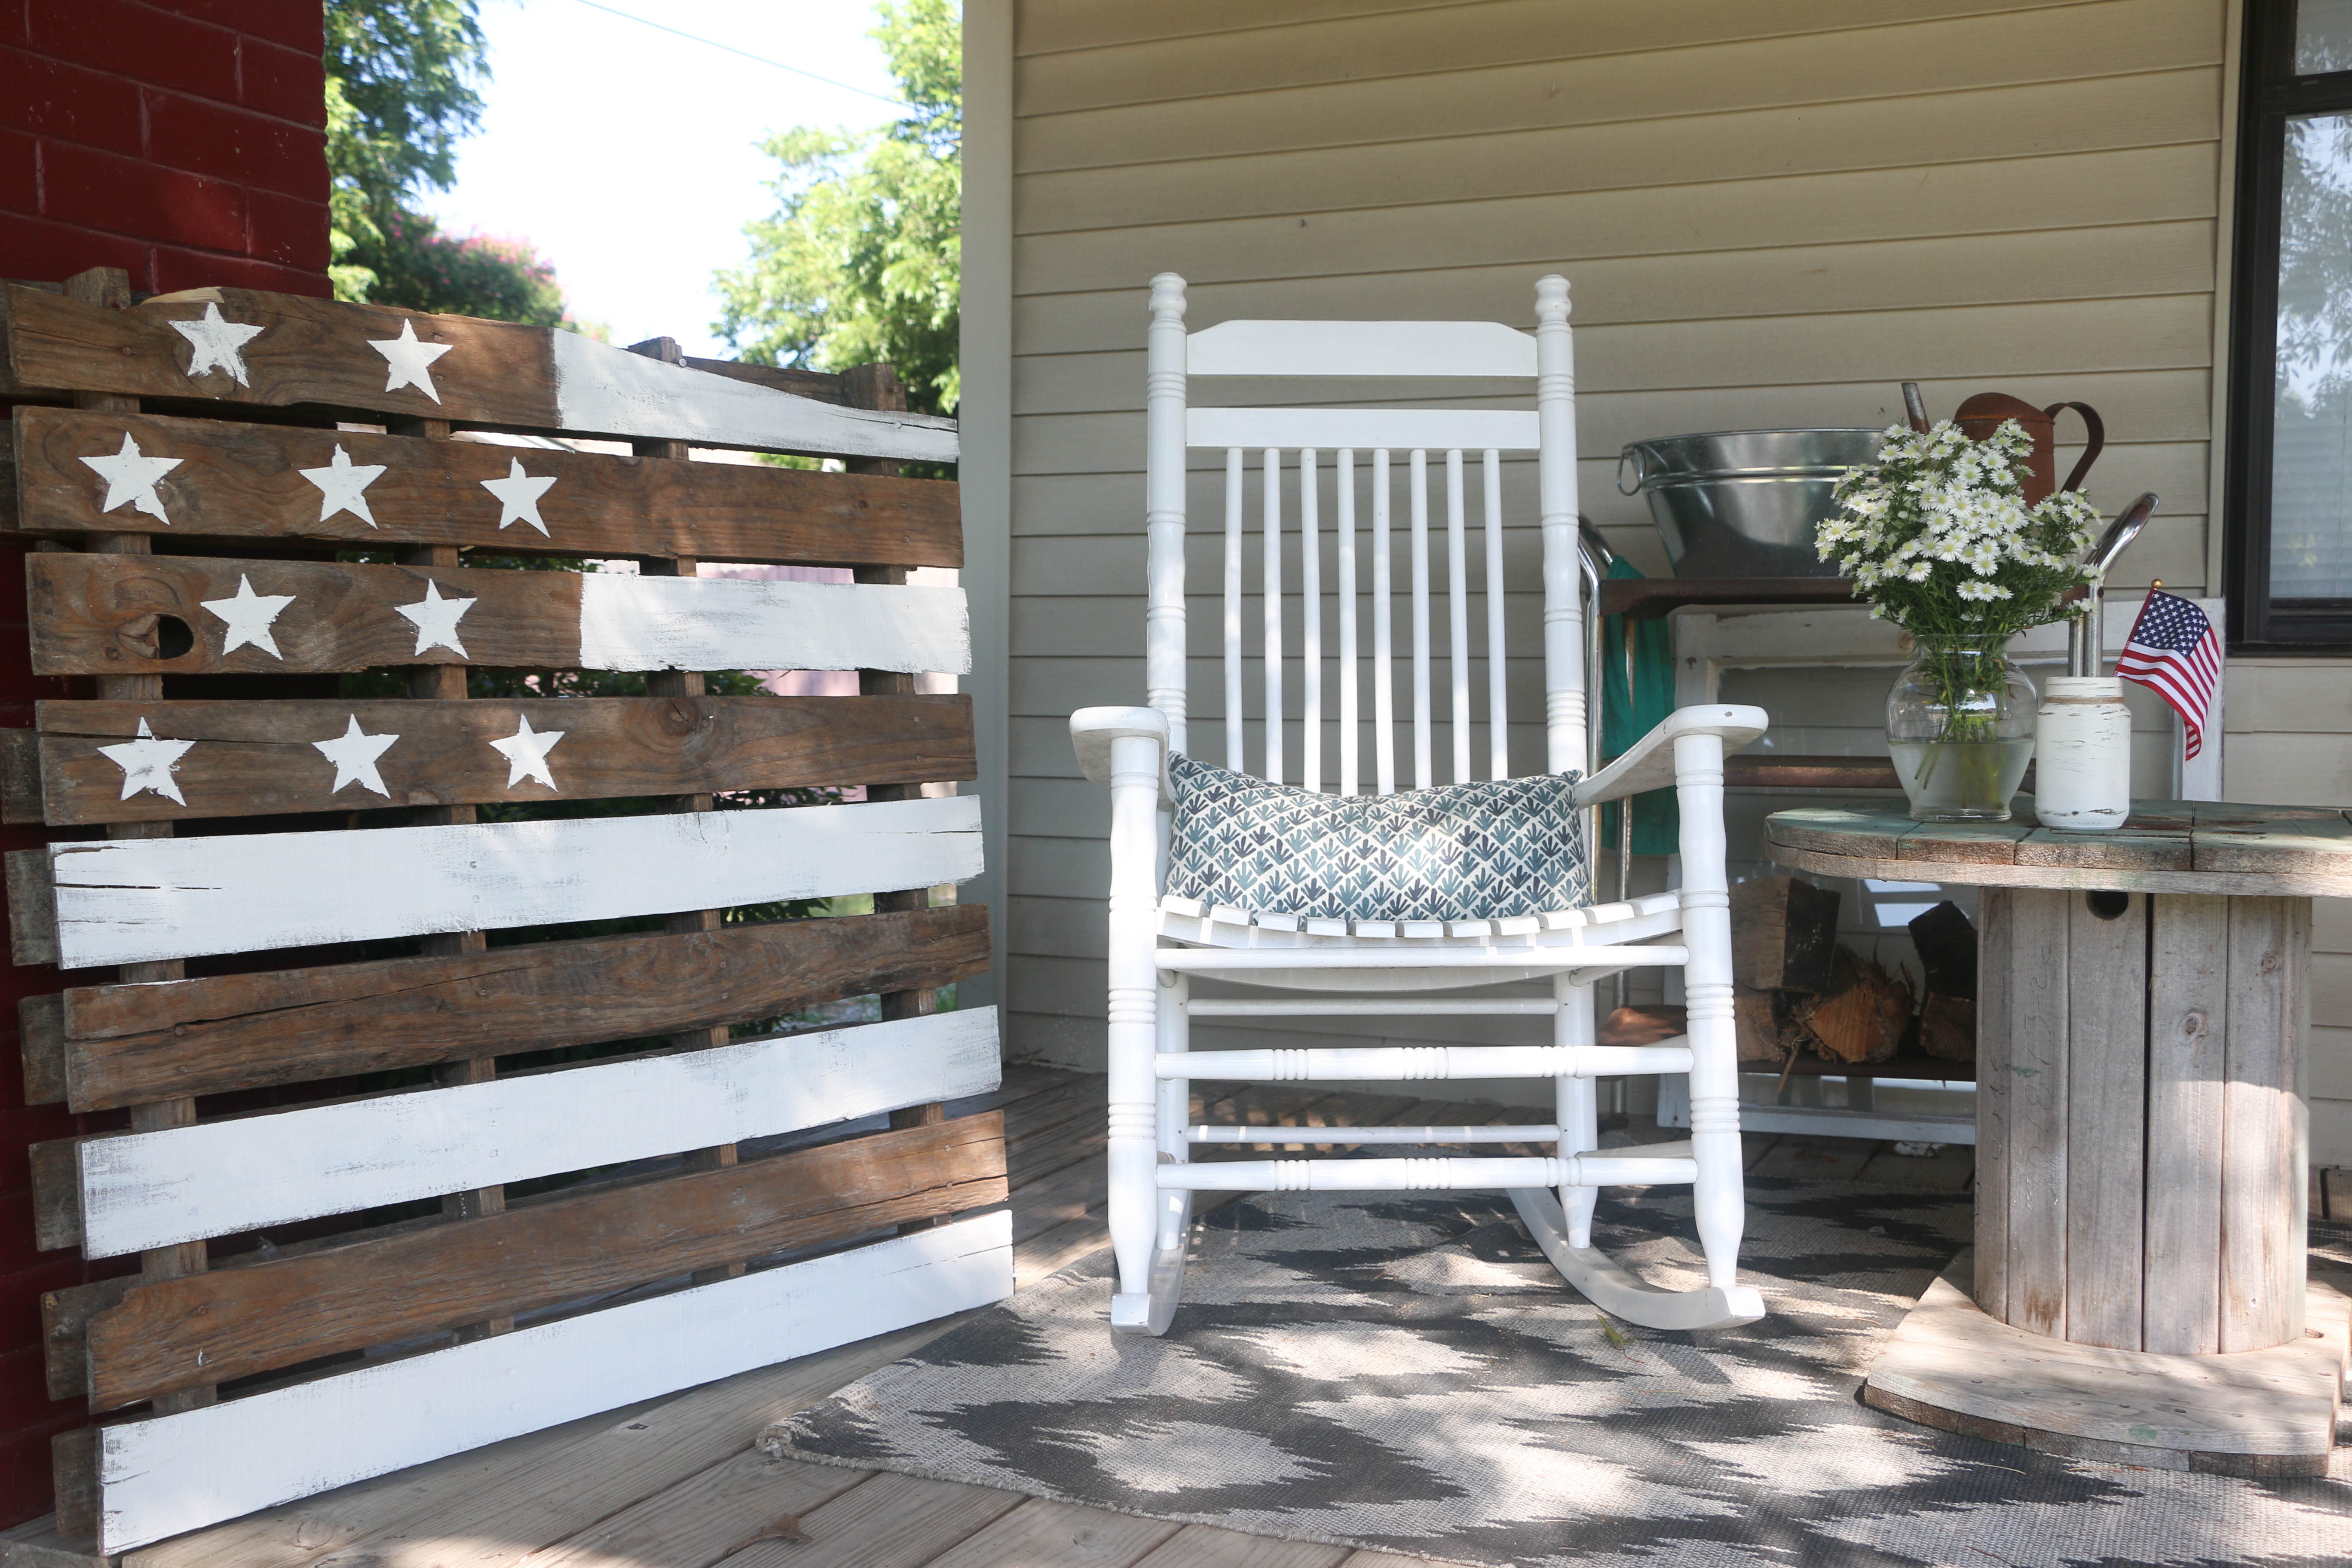
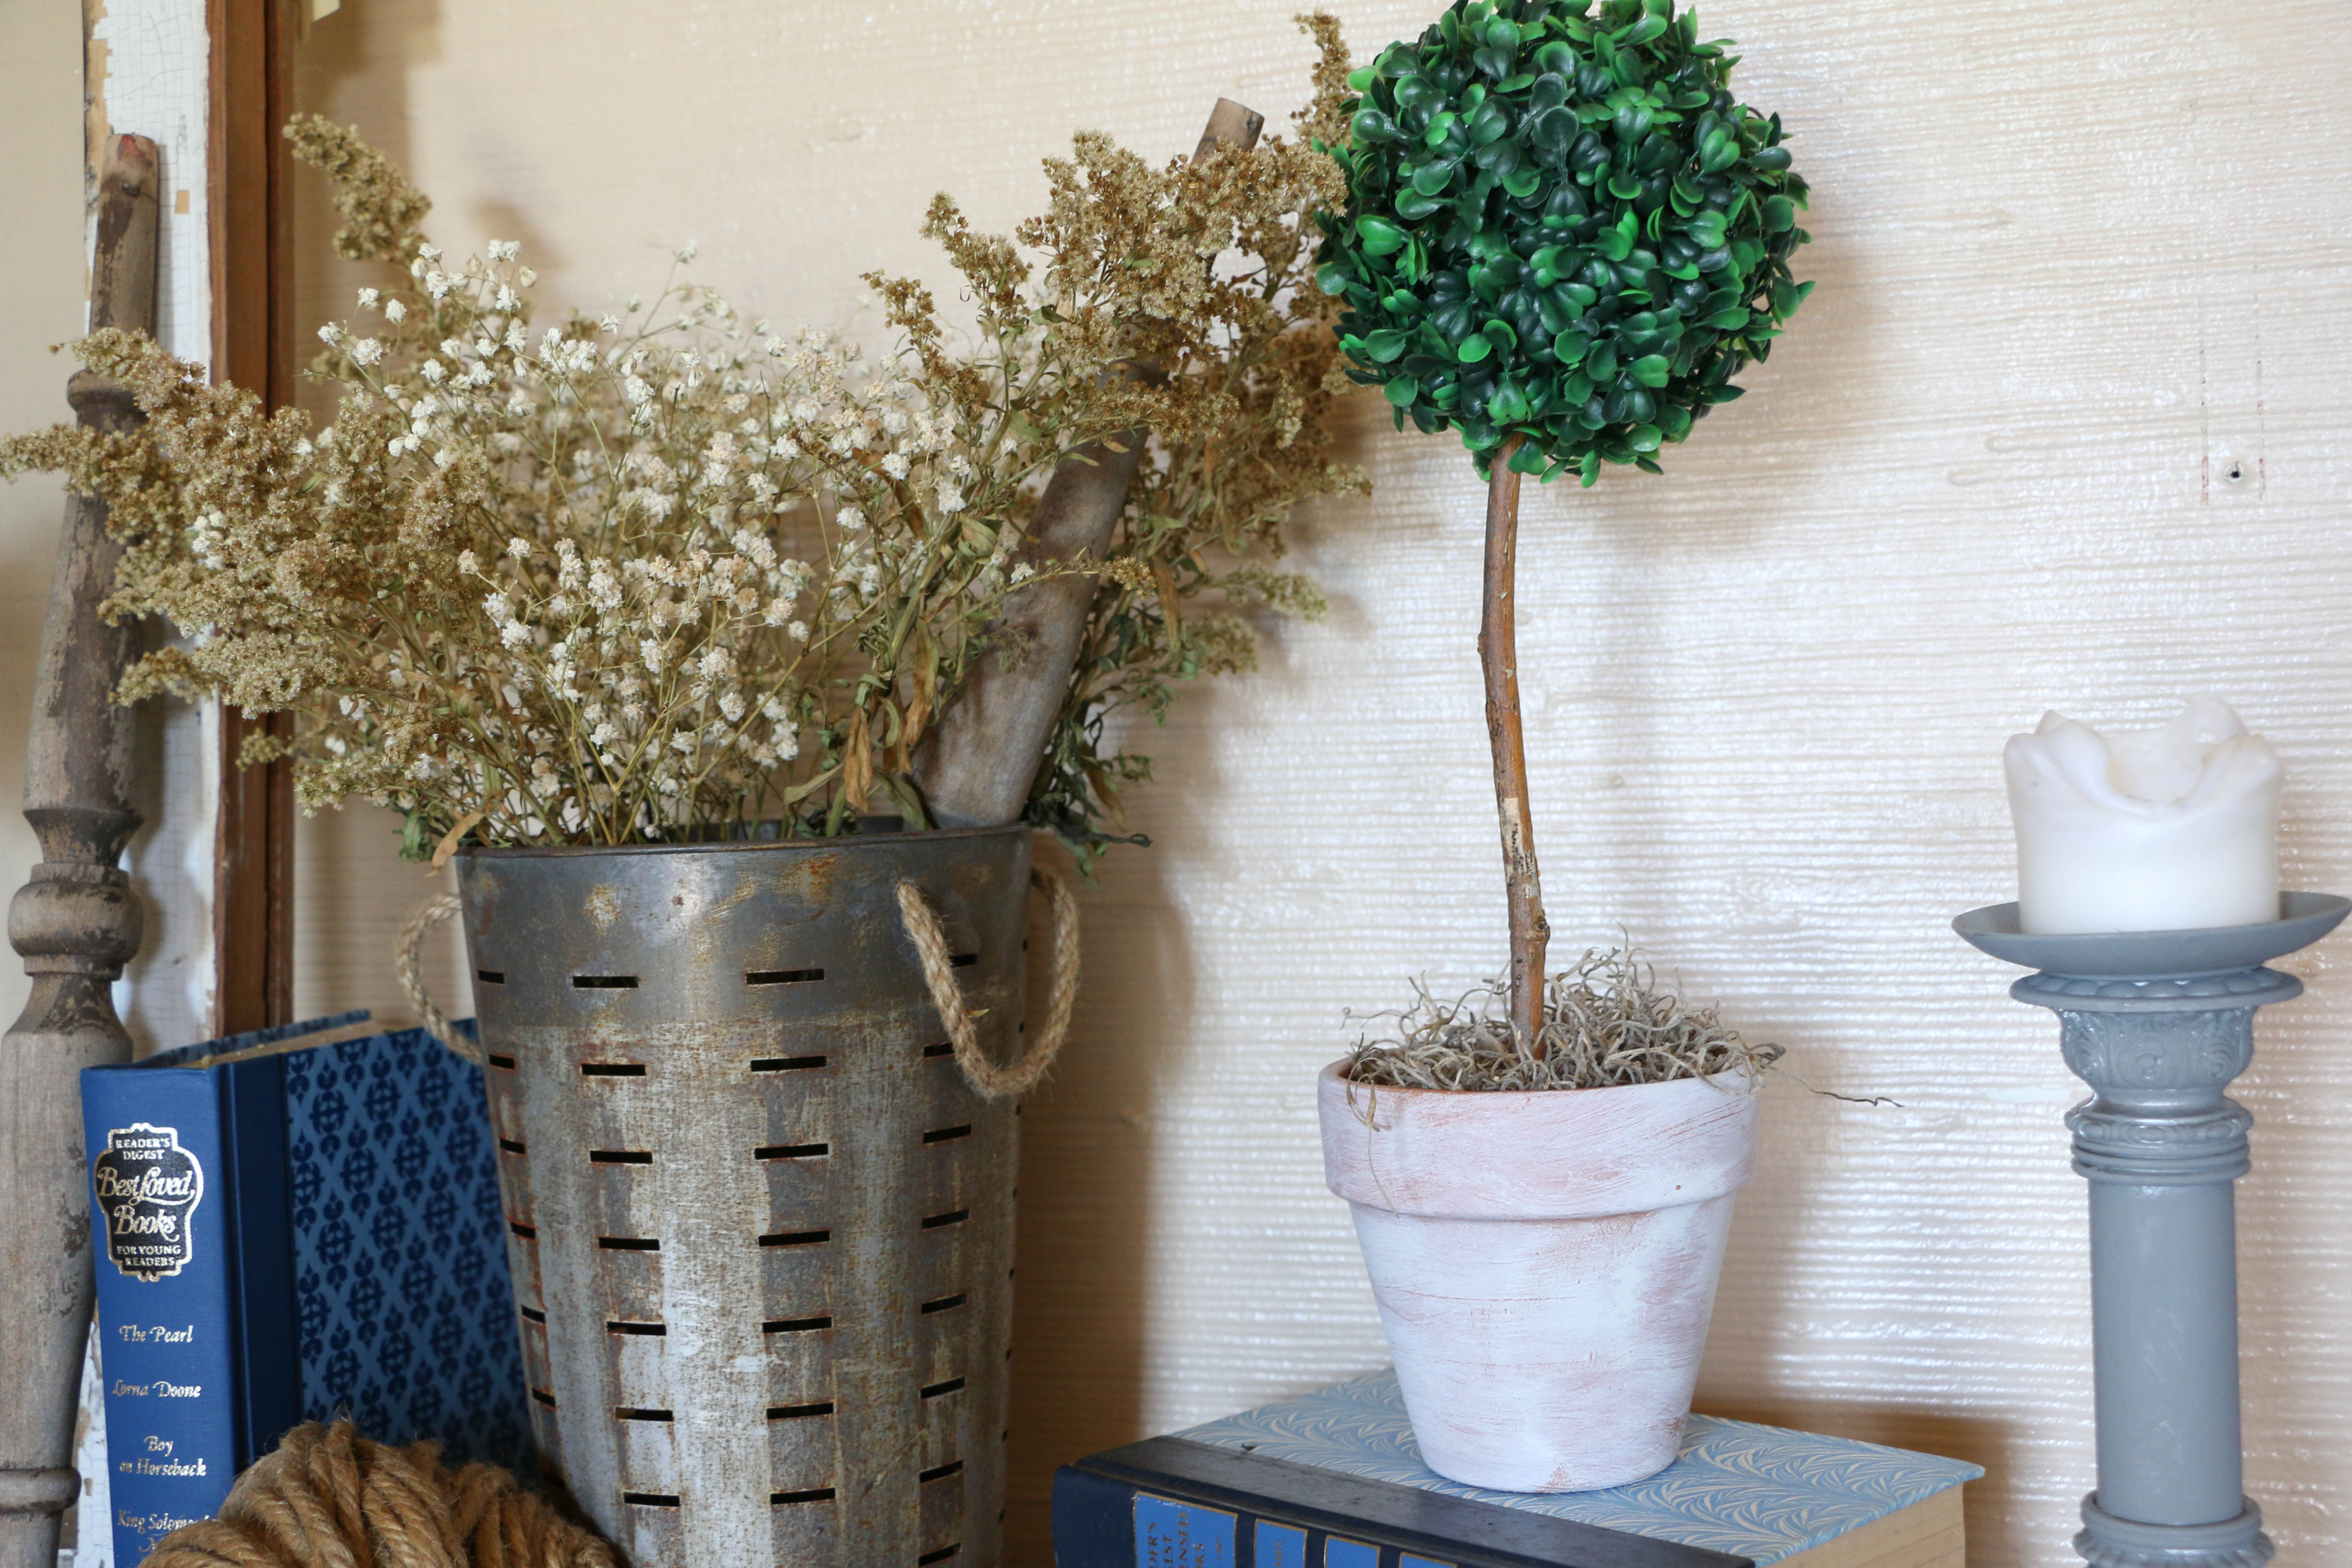
Now my little porch area is Fourth of July ready! This little rental that we’ve lived in for the past two years of our marriage has been both a blessing and a curse. The list of things we dislike about this rental is more than a mile long, and the list of things we like are pretty slim. Actually, the positives can be narrowed down to two things: the rent is cheap and there’s a front porch. I am not kidding when I say that’s about it. But this little porch area really is my favorite spot, and I have loved adding more fun touches to this spot.

Now I’m feeling pretty productive for a Monday morning, but I have much more to do. I just wanted to pop in and show you this little DIY! This (like all my projects) is an easy one, and I hope it inspires you to create something today!

Well, I’m off to cross more things off my to-do list. That’s it for today, friends. Have a fabulous day!

DIY Projects, Home Decor, Tutorials

DIY Boxwood Topiary

Hi you guys! I’m so glad you stopped by today! I don’t know if it’s feeling spring like where you are, but here in North Texas it definitely is! I was coming into the house after work the other day and I noticed little green buds popping up in the tree in the front yard. There’s no better sight! Not to mention that the weather has been warming up, which means it’s closer to time for front porch and grilling! I think it’s safe to say that spring is my favorite season (and it’s not just because I have a spring birthday…)!

Today I want to share with you guys a super fun super cheap DIY that totally has me ready for spring. I’ve been adding pops of greenery in the house everywhere, whether it be fresh flowers, or faux greenery I’ve collected from Ikea. I’ve been eyeing some of those adorable boxwood topiaries that seem to be everywhere (okay, maybe just Target and HomeGoods, but everywhere important!), but with my monthly free spending allowance, it didn’t seem worth it to pay for them. I’ve seen some at multiple places, usually anywhere from $20 – $30. Which isn’t a ton of money, I know. I’m just Cheapster McGee, as you all already know.

So I did what I do best, which is set out to make my own DIY version. So here’s what I came up with:

Topiary1

This is a very basic little craft that cost me just a few bucks.

Topiary7

I purchased all of my supplies at Hobby Lobby. The pots were under two dollars, and the boxwood balls (I’m fairly certain that’s not an actual phrase) were about five dollars for both, as they were seasonal clearance.

Topiary4

The rest of the supplies I had on hand. First, I put a coat of wax on the pots, mainly because I had never used strictly wax on something before, and I wanted to see how it would turn out. Since it was clear wax, it didn’t change the color at all. Duh, I should have known. However, I then immediately did a quick drybrush over the wax coat. Because the wax was not yet dry, it allowed me to wipe the whole thing with a rag, giving me the unfinished look I was going for.

Topiary3

I used sticks (the free kind from the front yard) and hot glued them to the bottom of my pot. The pots had a small hole in the bottom, which I covered with a small piece of duct tape so that the glue wouldn’t come out the bottom. After a few minutes, I filled in the pot with Spanish moss, something I had on hand already.

Topiary8

The boxwood balls have sort or a net texture under the leaves, which was perfect to just wedge them onto the stick. I did add a dab of hot glue just to keep them in place. Including paint and dry time (they dried incredibly fast, since I used my drybrushing technique), this project took me about fifteen minutes.

The cost of supplies I had to purchase was about seven dollars, making these cute little topiaries about $3.50 each. As opposed to the $20-$30 range. So I consider this little DIY a definite win.

I love how the fresh, springlike vibe they have. Even Ethan commented on how cool they looked, so I’m pretty pleased with how this one turned out. I think the best part is how well they’ll transition into summer as well. I do hope you try this one! It was definitely a fun project for me, and just about anyone can do this!

I hope you have something awesome planned for today! That’s all for today! Have a fabulous day, friends!

DIYTopiaries

Holidays, Tutorials

DIY Citrus Slice Ornament

HAPPY DECEMBER Y’ALL!!!! Okay, I’ll admit I’m excited. It’s officially the Christmas season now that it’s December. I can post all the photos of my tree and Christmas decor without shame! It’s a wonderful world, friends.

Today I wanted to show y’all the last of my DIY ornament ideas. My Christmas decor this year is super rustic and primitive, and so this last DIY was the one that I really think brought the whole look together. If you haven’t seen the other two ornament DIYs, you can check them out here and here. I remember seeing photos of dried fruit as Christmas decor years ago, but I never really thought anything of it until this year. I needed something with a pop of color, and so it was time to test out this project!

citrus slices

The first thing I did was slice several oranges and lemons. I think I did four of each. I wasn’t sure which I would prefer, so I did both. I cut the ends off and simmered them on the stove using this recipe so they wouldn’t go to waste. citrus slices2

I separated the oranges and lemons on my (badly stained) cookie sheets so that if they cooked at different rates it would be easier to remove them from the oven. I placed them on the lowest setting on my oven (I think it was about 150 degrees) and put the slices in. In total, I cooked them for about five hours. Every hour or so, I would turn the slices over so that they would dry evenly. I really don’t know if this necessary, but I’m a little paranoid. The good thing about the temperature being so low is that I could turn the slices over with my bare hand. In general, the lemons cooked a bit faster than the oranges did, because they were thinner I think.

citrus oranment1

After they were fully dehydrated came the fun part! I cut little pieces of red baker’s twine, the same twine I used previously on our pinecone ornaments, and hot glued it to the back to make a loop. Easy.

citrusornament3

When they were finished, they looked like this, and I am so excited about how they turned out. They have just the look I was hoping for. As it turned out, I ended up liking the orange slices better than the lemon slices because the oranges had a thicker rind (is that the right word? I don’t even know.). I did these a few weeks ago, and they’ve lasted just fine, which was an initial concern of mine.  I love the way the tree lights shine through the fruit. It feels super cozy! I also placed some of these slices on the wreath I have on the front door, and I love how it feels there too! I’m deeming this year “the year of the fruit” when it comes to decorating.

I’d love to hear what you think, and if you’ve tried this out. That’s it for today. Have a fabulous day, friends!