Browsing Category

Organization

Home Decor, Organization

How to Make Your Guest Room Guest Ready

Hey y’all! Don’t mind me over here just eating Hershey’s Kisses and listening to Johnny Cash records because #summer. Seriously someday I’m going to have responsibilities in the summertime like children, or a job that doesn’t have the summer off, but for now I’m going to soak up my precious freedom to do nothing!

This weekend my mom and my sister are flying in from New York to spend a week with us, and I’m super excited! I’ve been getting the guest room cleaned out because let’s be honest here: it’s the most neglected room in the house and we all know it. Our guestroom is super weird. We live in an old southern house, and apparently back in the day it was custom to have two front doors to a house. One for the family to enter, and one for guests to enter. The guest entry would lead into a nicer parlor than the family entrance. All that to say, we have two front doors to our weird little rental, and one of them leads directly into the guest room. It’s sealed, but it’s still weirdly there. It’s also the biggest room in our house, bigger even than our bedroom. Anyway, it’s usually filled with loads of furniture and drop cloths and paint until we have overnight guests and I’m forced to clean it out. Like now.

So that’s what I’ve been doing the past few days, and so I thought it might be a good idea to share some tips on how to make that poor neglected room a little more comfortable for visiting guests. So here’s a few things you might want to consider next time you have people staying.

guestroom

One. The most obvious thing: clean the room. Make sure the sheets are freshly washed, the floors are cleaned and the dust bunnies aren’t too big. Unless you intentionally use it for storage, check under the bed and in the closets. Make sure there’s no trash or random items that don’t belong.

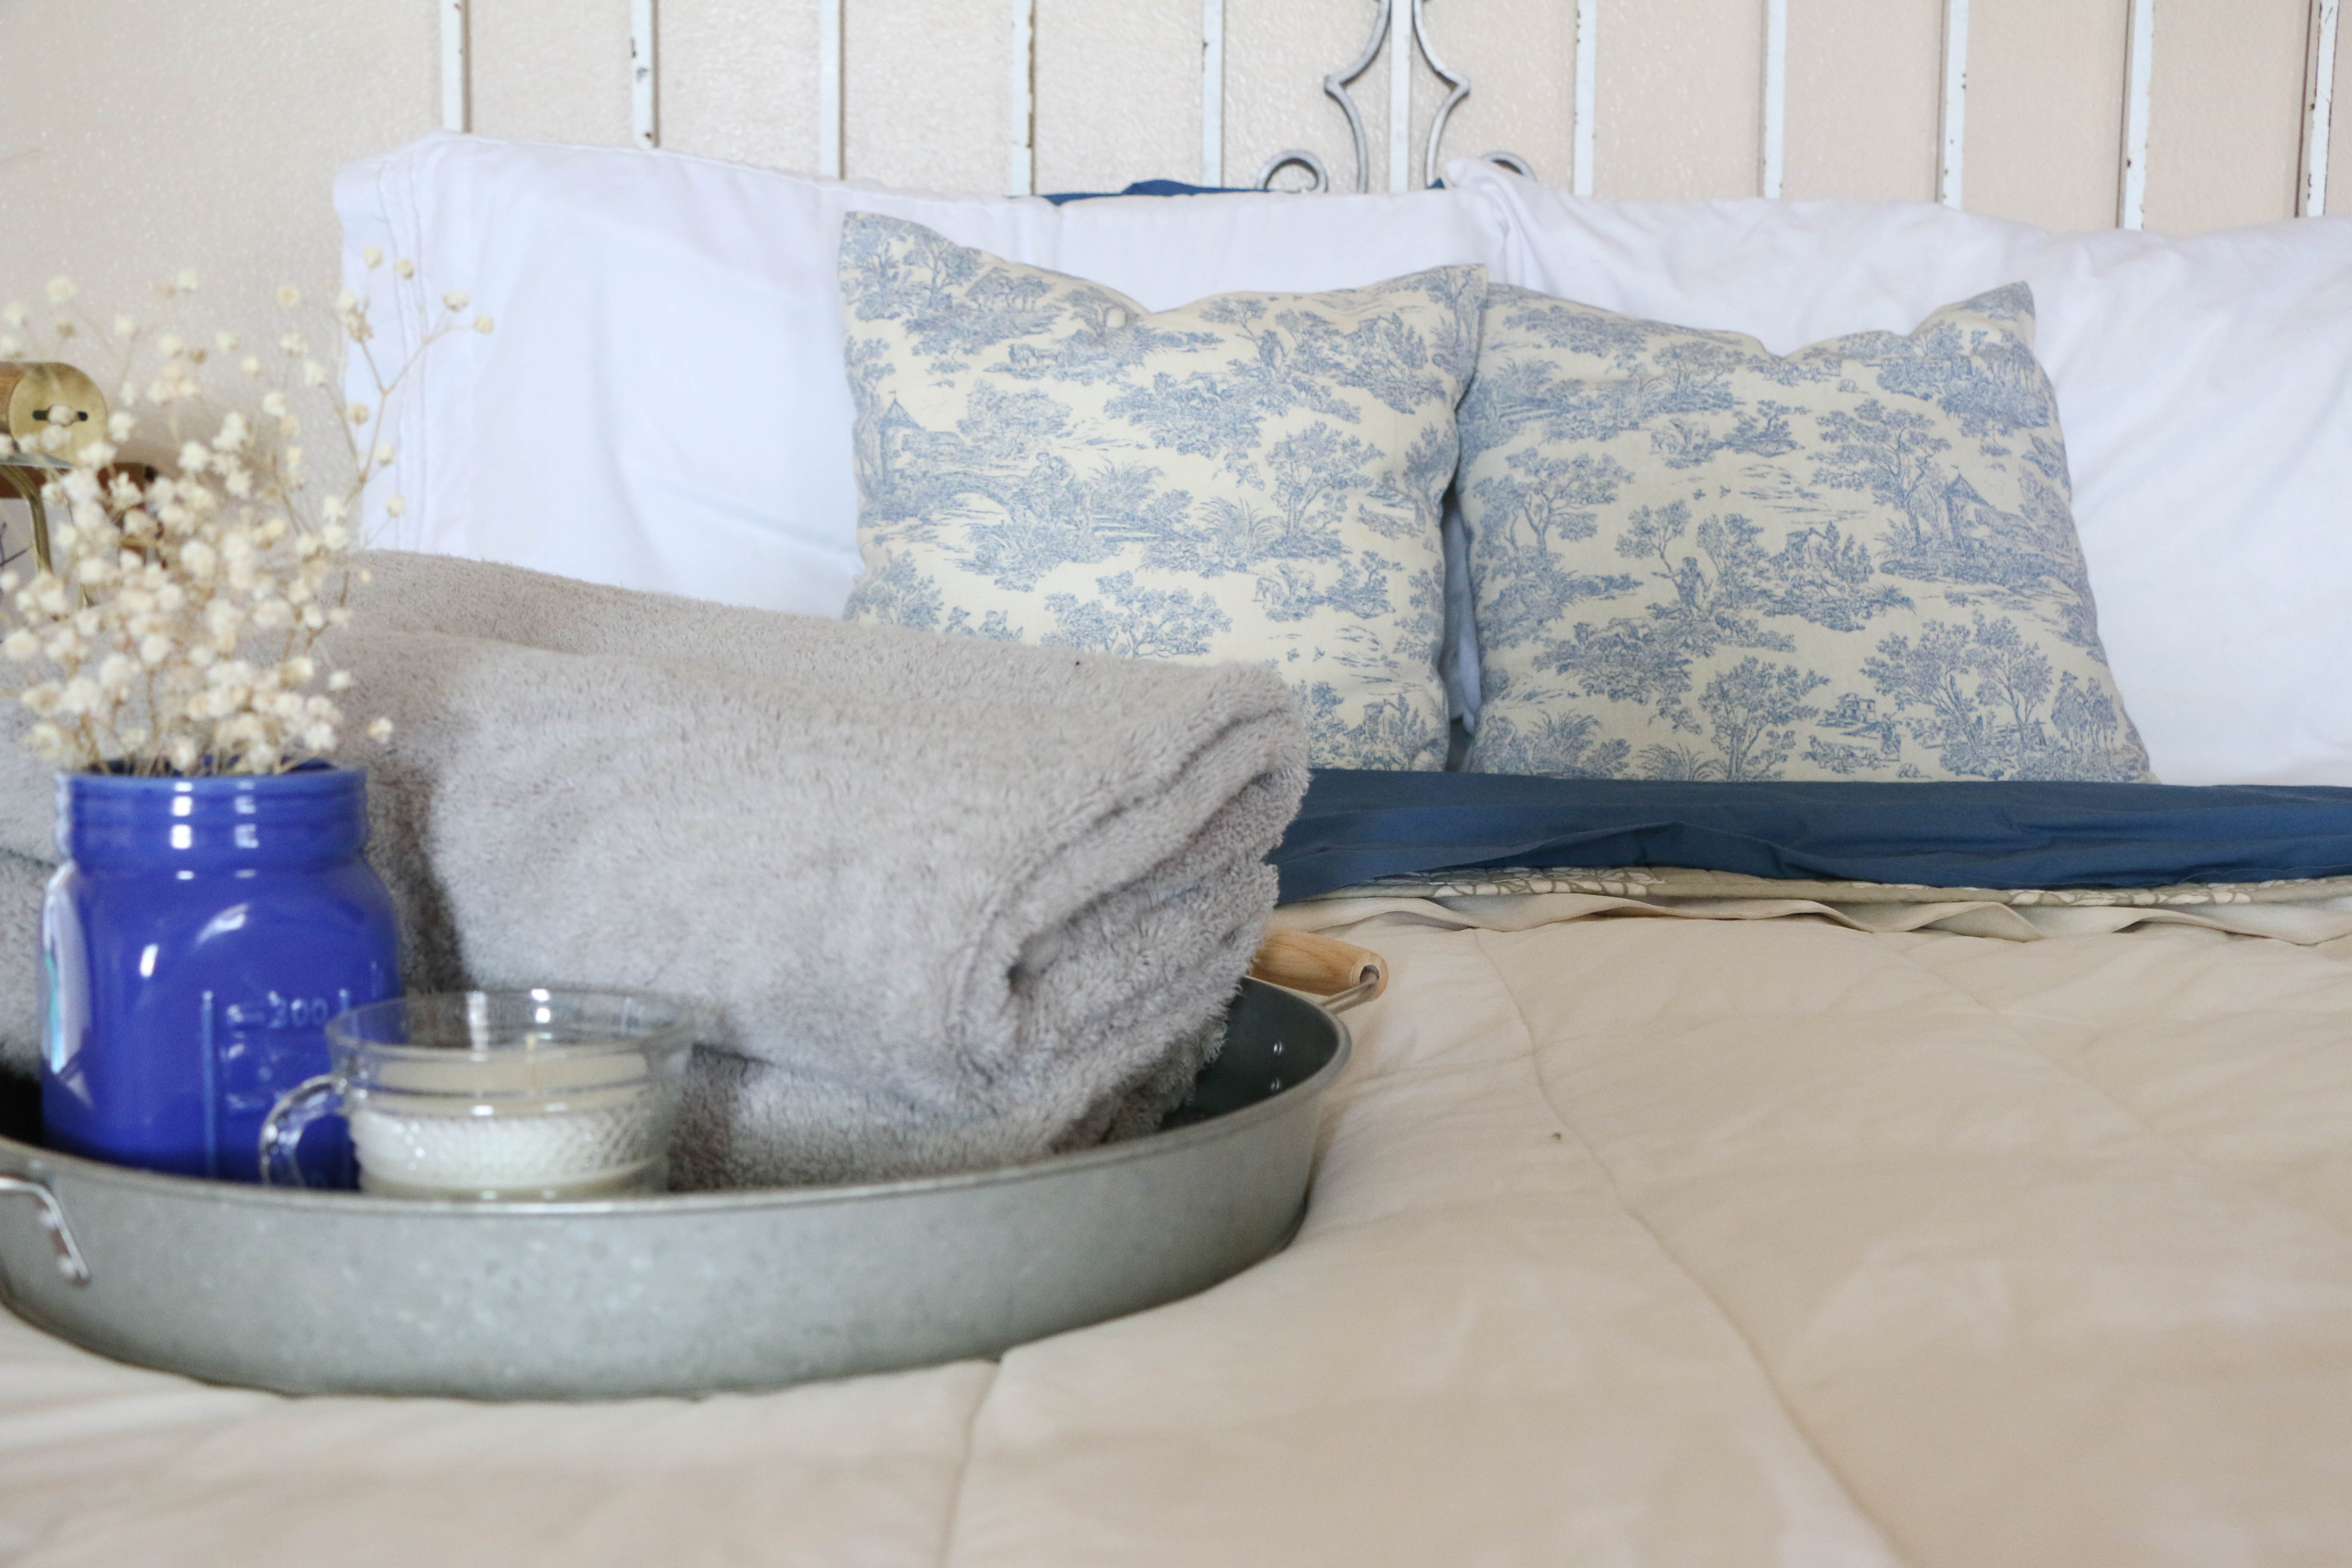
Two. Lay out towels for your guests in the guest room, even if you don’t have an attached guest bath. I try to think about how I feel when I stay overnight at other people’s house, and sometimes you don’t know where fresh towels are, or which ones you’re supposed to use. Make this easier for your guests by simply placing a few on the bed, or on the bathroom counter if your guest bath is attached.

guestroom2

Three. Post the wifi password somewhere. I have seen some really cute printables online that are for posting the wifi password. You can make your own, write it on a chalkboard, or find one online and print and frame it yourself. This way your guests don’t have to ask, and it’s just another thing you can do to make them feel at home.

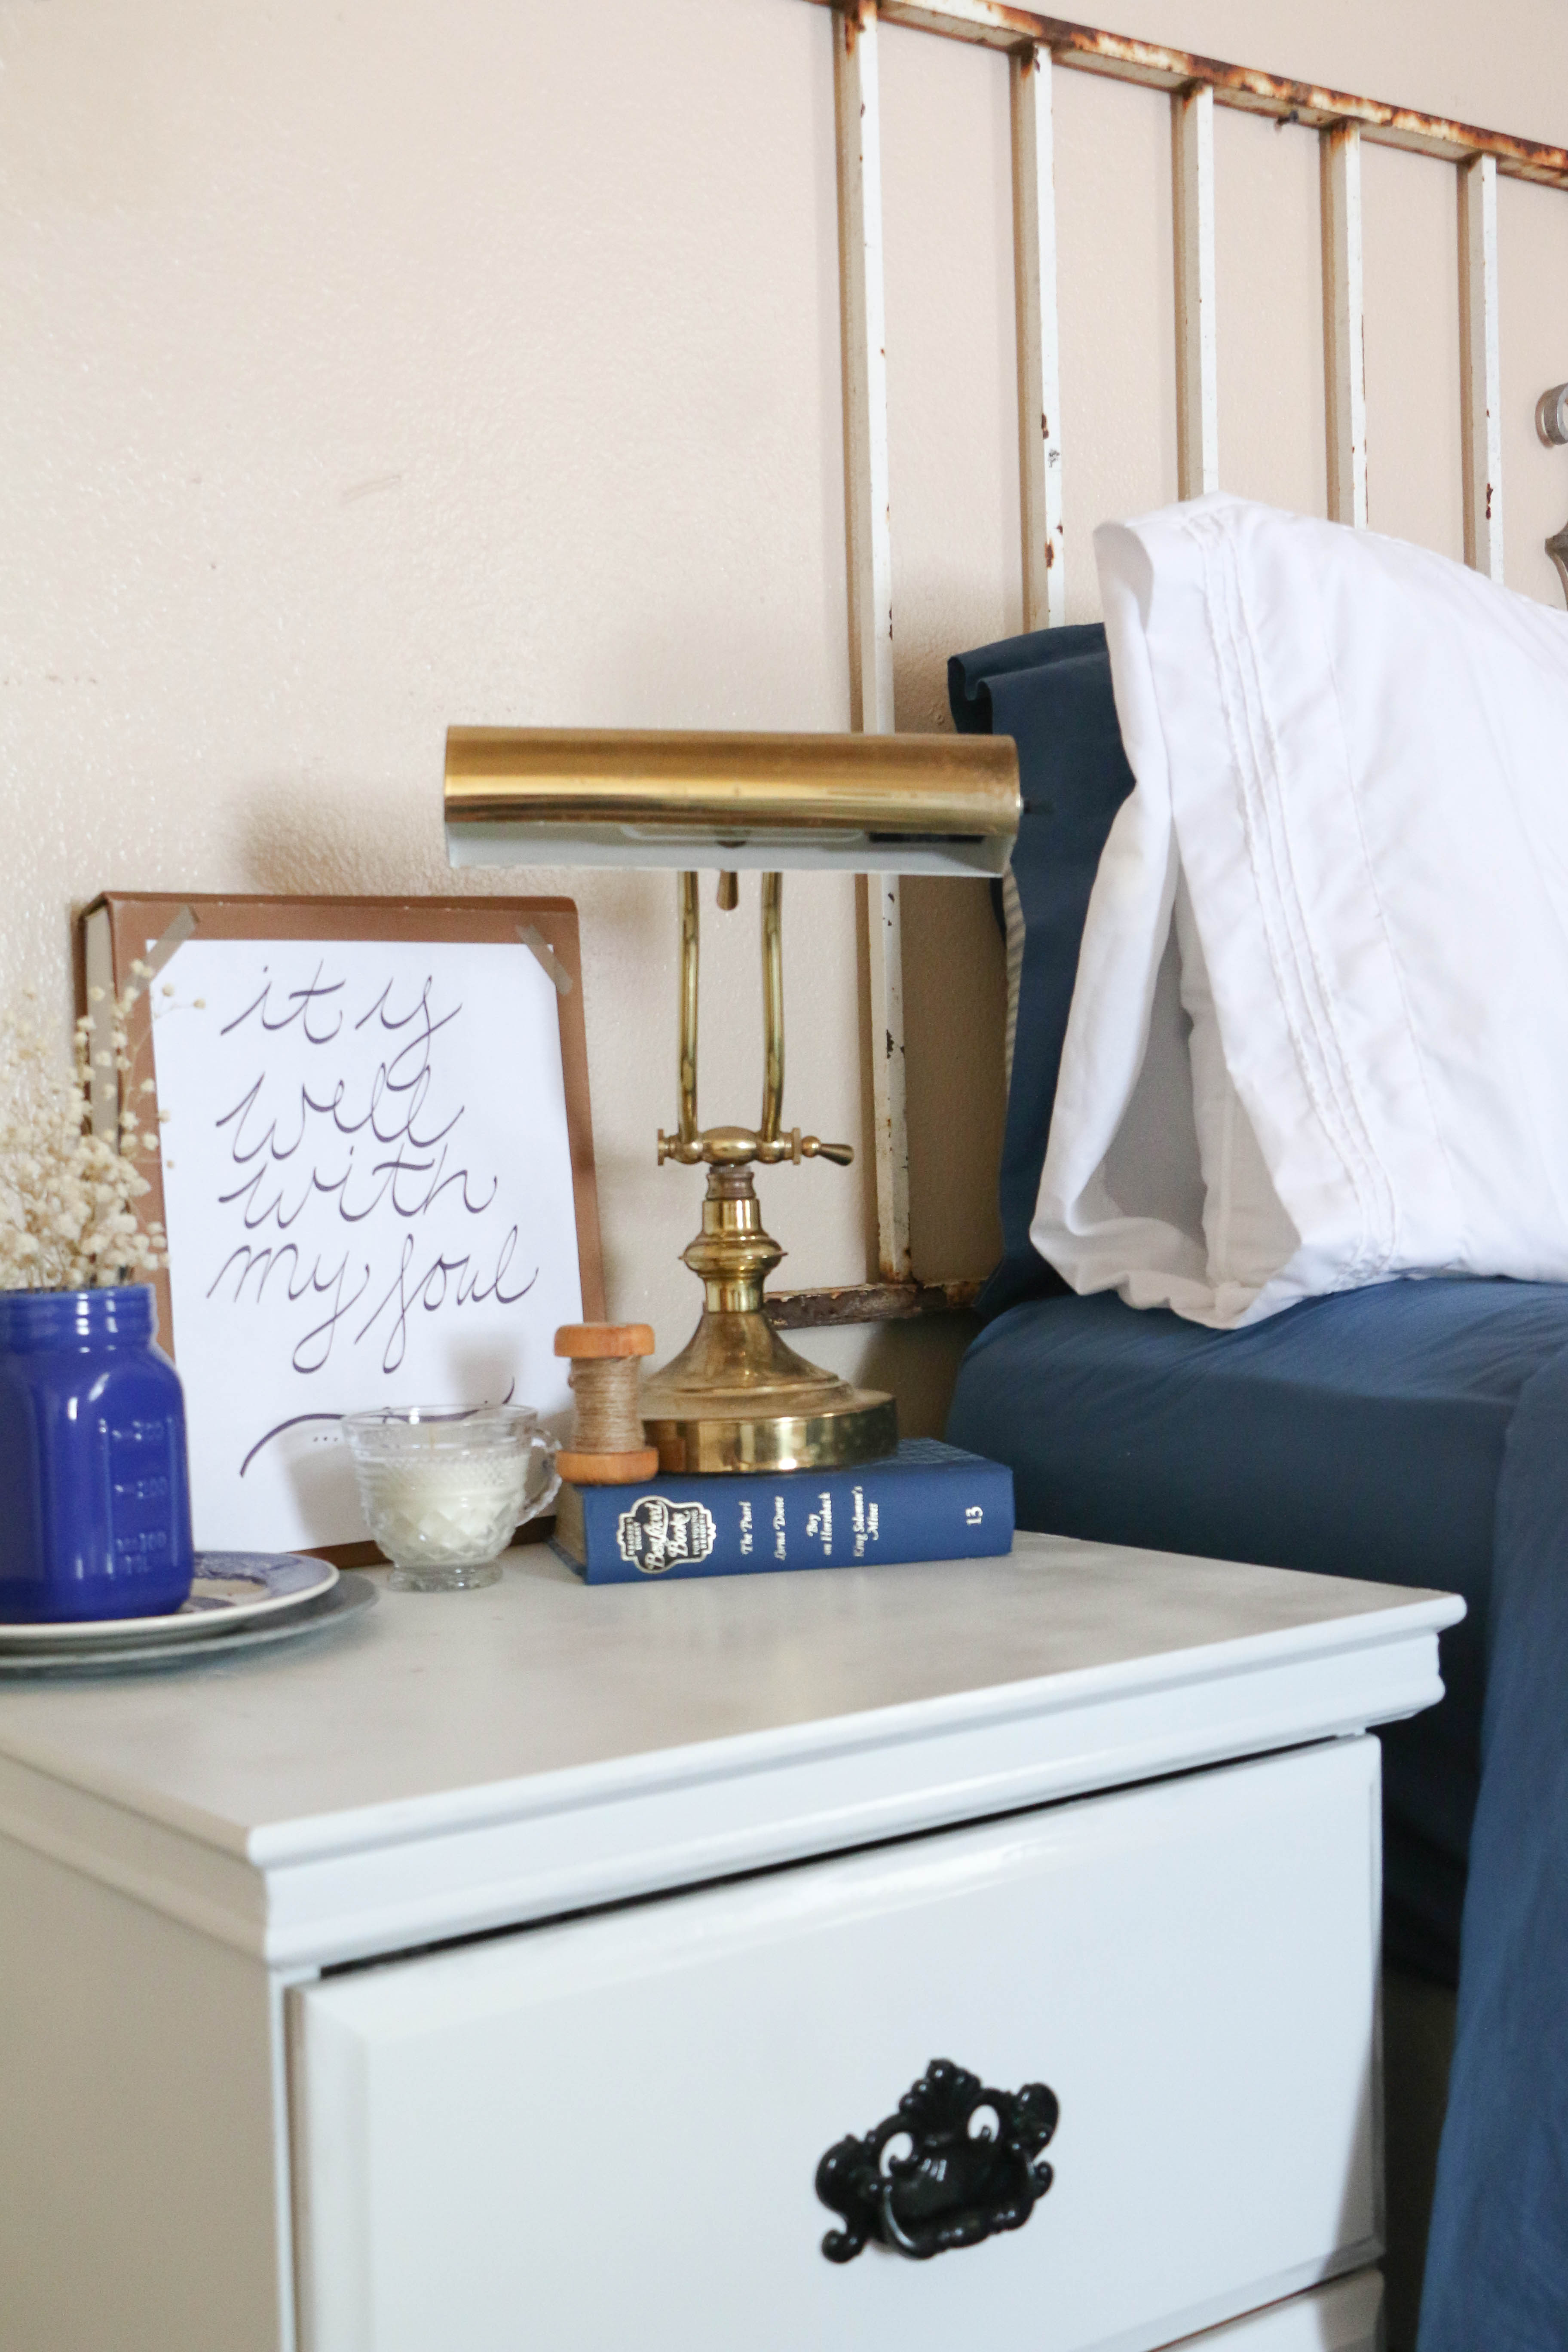
Four. Do something about the smell. No, I’m not saying my house smells, nor yours. But have you ever noticed that every house you go into has a slightly different scent? Not even a bad one, just individual to the people that live there. It’s more noticeable the first time you walk into someone’s home, but if it’s your own home, you probably don’t even notice. Place a yummy scented candle or fresh flowers in the room to give it a pleasant smell. I’ll be burning one of my own homemade vanilla candles when my mom and sister arrive, but any candle or flower will do. If you’re really feeling festive, do both!

guestroom1

Five. Keep extra blankets and a fan available. Everyone has different sleep preferences when it comes to temperature, so have you’re guests covered either way. Make sure they’re comfortable whether it’s hot or cold at night.

Six. And this is just above and beyond. (And mom, if you’re reading this, don’t be expecting this one, since, you know, you’re my mom, not the president.) Have a tray of bottled water or drinks, and a bowl of candies. Bonus point if you have some local goodies for out of towners. Nothing better for your guests than to have something to drink or snack on at night without having to tiptoe through an unfamiliar house in the dark looking for the kitchen.

Well, that’s about it. I’ve got to get back to doing some laundry, and vacuuming out the guest room. What do you do to make your guests comfortable? I’d love to hear about it! That’s all for today friends, have a fabulous day!

Organization

DIY Household Cleaner

Hi friends! Long time no chat! I’ve seriously been so busy lately I haven’t had a spare moment to update here and I feel terrible! I’m so glad I could finally carve out a little time to stop by and say hello! School (which is work for me, since I’m a teacher) is moving full steam ahead into the end of the school year and I’m struggling to keep up. Thankfully in just two weeks I’ll actually have some free time!

Well, I’ll be short and sweet today, but I wanted to share with you a little homemaking tip for you fellow budget conscious friends. If there’s one thing I hate spending my money on, it’s cleaning products. They can be so expensive, and it seems like you need a different product for everything! I don’t know about you, but I’d rather spend my money on pretty things for the house than boring cleaning supplies. A while back, I shared my DIY laundry soap, which has saved me tons of money over the past few years. If you didn’t catch that post, you can read all about it here.

Recent’y I’ve started making an all purpose cleaner, something that takes the place of many of the bottles that I previously had under my sink. So here’s the super easy all purpose cleaner that I make for my home.

diycleaner1

I use about 1.5 cups of vinegar and put it in a jar, and then add one small lemon, thinly sliced. I place the lemons in the vinegar, and leave the jar to sit for a few weeks. This will allow the lemons to fully soak into the vinegar. I don’t really know much about chemistry (I barely passed that class in high school), but I know both lemons and vinegar have some super strong stuff in them, so working together makes them doubly great I  suppose? Who knows. I just made that up.

After two weeks, I pour the liquid into a spray bottle, and that’s about it! My spray bottle has a pretty narrow neck, so I don’t bother trying to squeeze the lemon slices into it. I just throw them away.  My spray bottle was something I picked up for a dollar or so in the cleaning section at Walmart. Lemon and vinegar are both pretty inexpensive, so this is something that comes out to be much more budget friendly than typical cleaners.

I use this spray for just about anything. Countertops, stove top, sinks, shower walls, and even the inside of the fridge and microwave. The lemons take away the strong smell of the vinegar, and it smells more like citrus than like vinegar. I absolutely love using this method because it saves me a couple dollars, and I do enjoy making the things I use in my home. It’s also chemical free, which I know is a big deal for a lot of people. Safe for expectant mamas, and easy to make!

I told you I’d be short and sweet today, but once my summer vacation has started, I’ll be around much more frequently. I hope you enjoyed this little post, and that you’ll give it a try. I would definitely recommend this one, I can’t stress enough how easy it is! Well, that’s all for today, friends! Have a fabulous day!

diycleaner

Organization

DIY Laundry Soap

Hello friends! I hope this week has been treating you well! Spring Break is winding down for me, and I am silently crying tears of regret after not having accomplished everything that I had planned. Just kidding. Sort of.

We did have a super fun and relaxing week of camping for a few nights, which was wonderful! Even though we were only about twenty minutes from home, it felt as though we were truly out of town. And it just feels good to get away! Coming home from camping, everything in our bags smelled like campfire smoke. Which is wonderful while you’re actually out, but once you come home, it’s not so great (in my opinion anyway). I had a bunch of laundry to do, and I realized it would be a great idea to share my homemade laundry detergent recipe with y’all.

DIYlaundrysoap2

I’ve been making my own laundry soap for about three years now, and I have not had to re-buy supplies since I first started. Talk about thrifty.

So here’s what you’ll need: 

3 Tablespoons of Washing Soda

3 Tablespoons of Borax

2 Tablespoons of Original Dawn Dish Soap

Any scent of essential oils (this part is totally optional)

Here are the (super simple) steps:

First, you’ll mix your washing soda, borax, and dish soap together in a gallon size container, adding about one cup of hot water. No need to boil the water, I just use the hottest water I can get out of my faucet. This amount of water is just enough to dissolve the power into the water. You’ll need to shake well until everything is dissolved.

Next (and you will need to do this in your sink), you’ll fill your container with the cold water. I just use the tap water from my faucet. This process will create a mess load of bubbles, so I cannot tell you how important it is to do this in a sink! Once the container is filled, I close it up and shake again. This will allow any particles that didn’t disolve before to fully dissolve.

Last, and this step is optional, I like to add a few drops of essential oil. No need for the expensive stuff, I just bought one bottle of lemongrass oil from my local grocery store, which may have cost about five bucks. The oil will make the laundry soap scented, which I prefer in a laundry soap. It is totally optional though. The cool thing is that you can make it any scent you want. After adding a few drops, I close it up and shake thoroughly.

That’s it! It really is that easy. like I mentioned before, I have been making this laundry soap for about three years, and I have yet to buy new supplies. I would estimate the total cost at about fifteen dollars, but for three plus years of laundry soap, I would say that’s a pretty good deal! Now, I use this recipe mainly for economical reasons, and not necessarily for all-natural health reasons, so if you’re looking for an organic or suchandsuch-free product, this is probably not for you.

Personally, I love it. It takes just a few minutes to make, and my clothes and linens smell and feel just as fresh as with any other laundry soap I have purchased. I use about a cup of the soap per load, and one “batch” will last me a few weeks. I would definitely recommend making your own laundry soap!

Have you tried making your own laundry soap before? If so, I’d love to hear about it! That’s all for today, friends. Have a fabulous day!

DIYlaundrysoap