Browsing Category

Home Decor

Home Decor

Home Decor on a Budget

Hello all! Happy happy Tuesday! I hope you’re doing well. Today, as I was driving home from work thinking about setting up some more fall touches around the house, I started to calculate how much money I could spend on making fall happen around here. Now, if you know me at all, you know that there are two things I’m very passionate about: home decor and budgeting. Most of what I do here is super budget friendly, and it’s a part of everything I do, but I realized I’ve never shared exactly how I budget or why. So today I wanted to share with you a few things you can do to decorate on a budget, but more importantly, why you should keep a budget.

Now, this blog is not about money. It never has been. But I know most people feel like they could use some more of it (me included), and it seems like there’s never enough for extra things at the end of the month, especially for frivolous things like decorative pumpkins. I get it. But hear me out.

I budget absolutely everything. Ethan and I start each month with a written gameplan of what we’re going to spend our money on for the upcoming month. And because we’re like most millenials with a mountain of student loan debt, most of our extra cash goes there. But that’s not what’s important today. At the beginning of the month, each of us get a certain cash amount to spend on whatever we feel like spending on that month. For me, this usually falls into the frivolous decorative pumpkin category.

But here’s the cool part. I have cash that I get to spend on decor each month that is totally accounted for. It’s written into our budget, and so I can shop for house stuff completely guilt-free! If I want those curtains, or that pumpkin, or those candles, I can buy them because there’s a certain amount already set aside for that type of spending. Of course, it’s pretty tiny, but it’s there nonetheless.

Now, while we’re talking about tiny budgets, I have learned to get pretty creative when it comes to decorating. Here’s how:

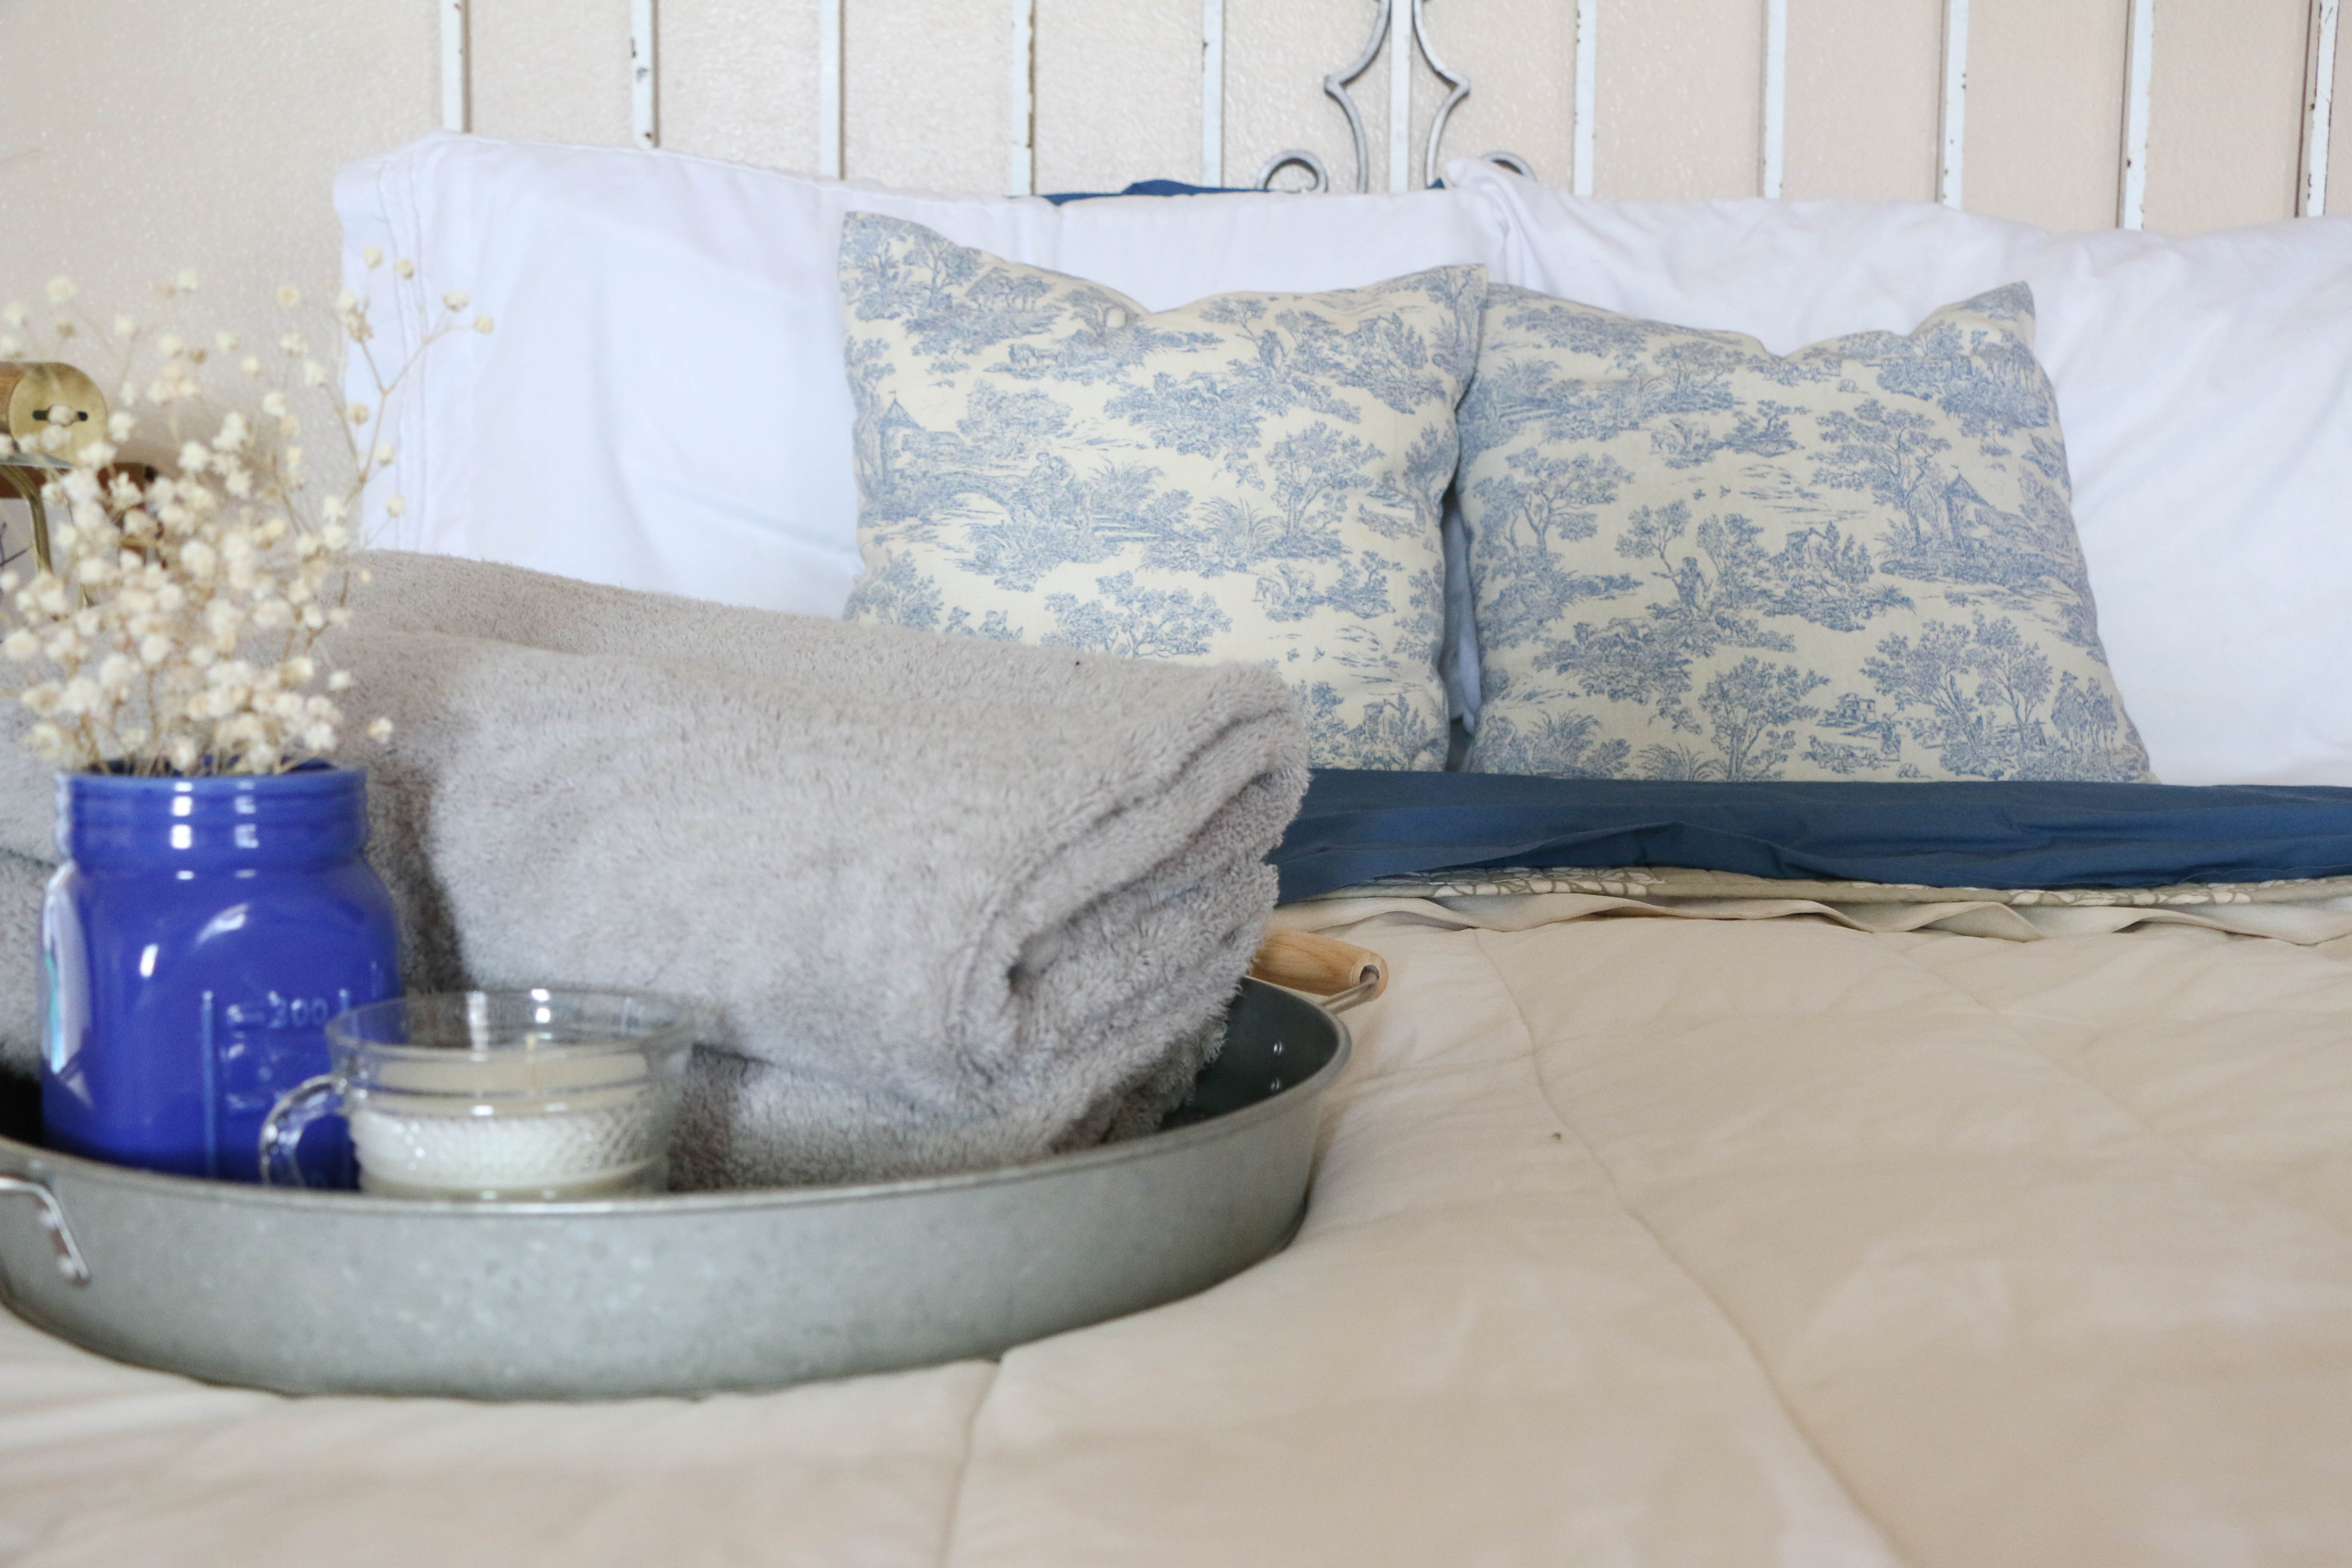
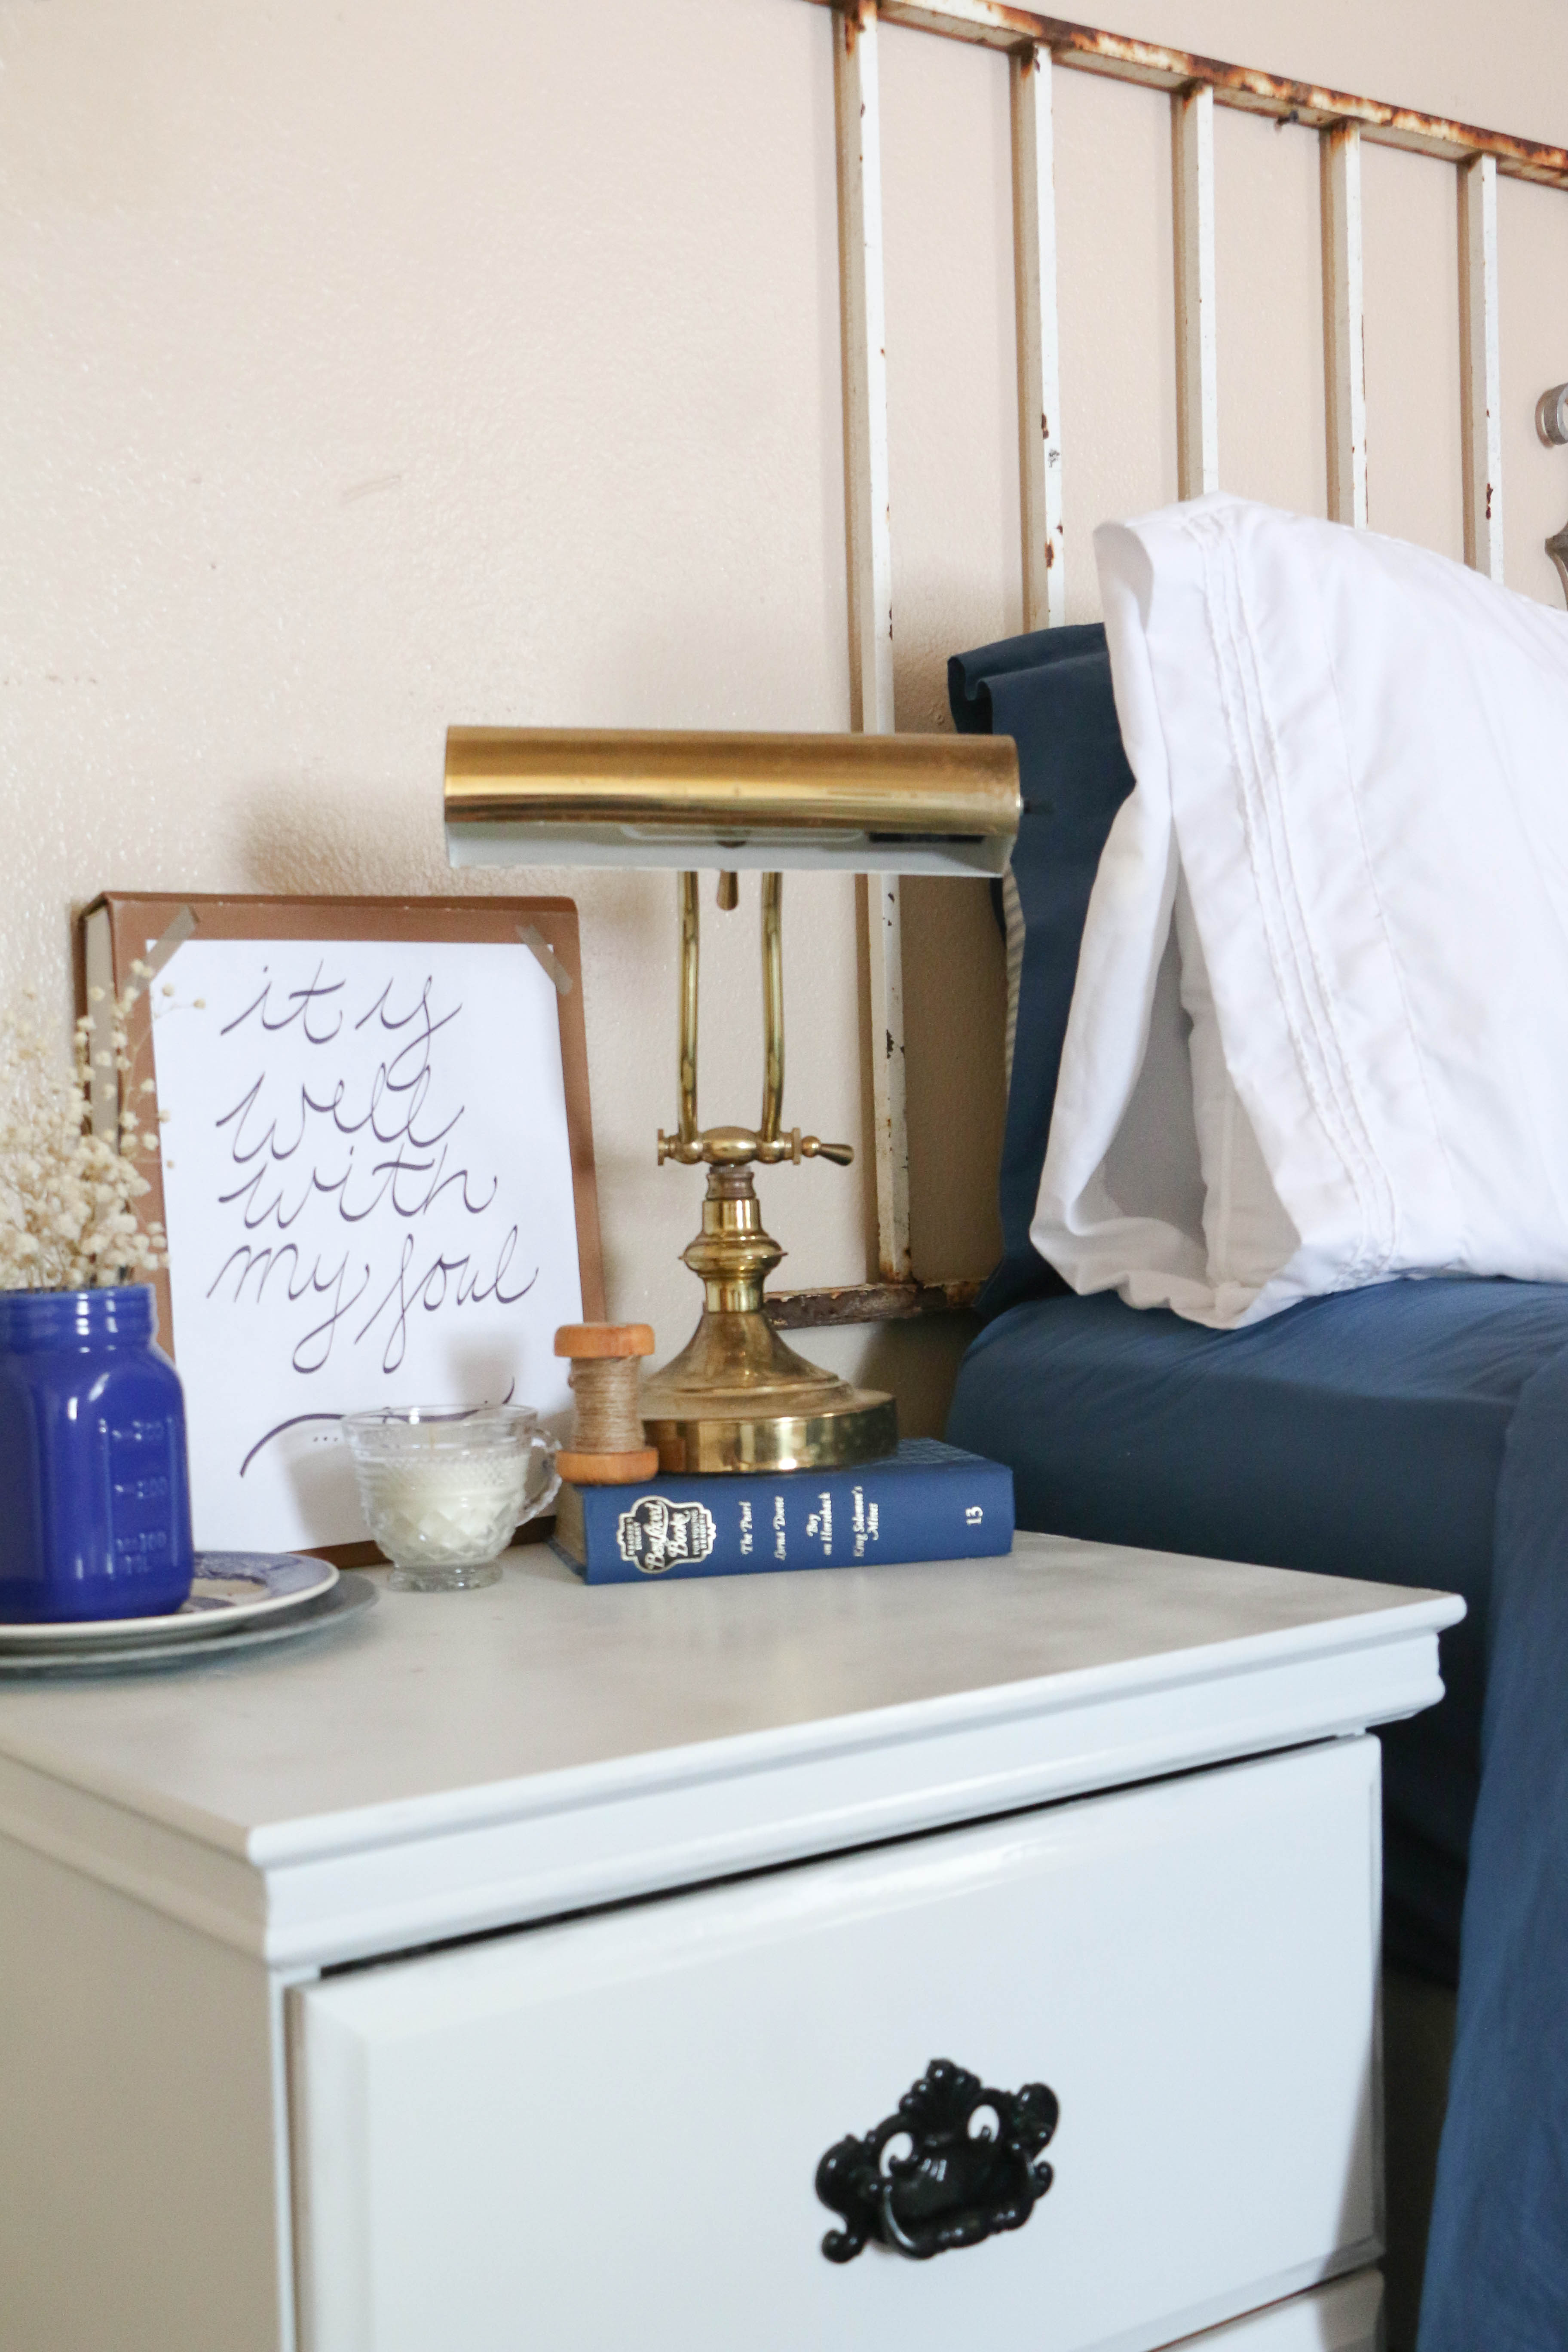
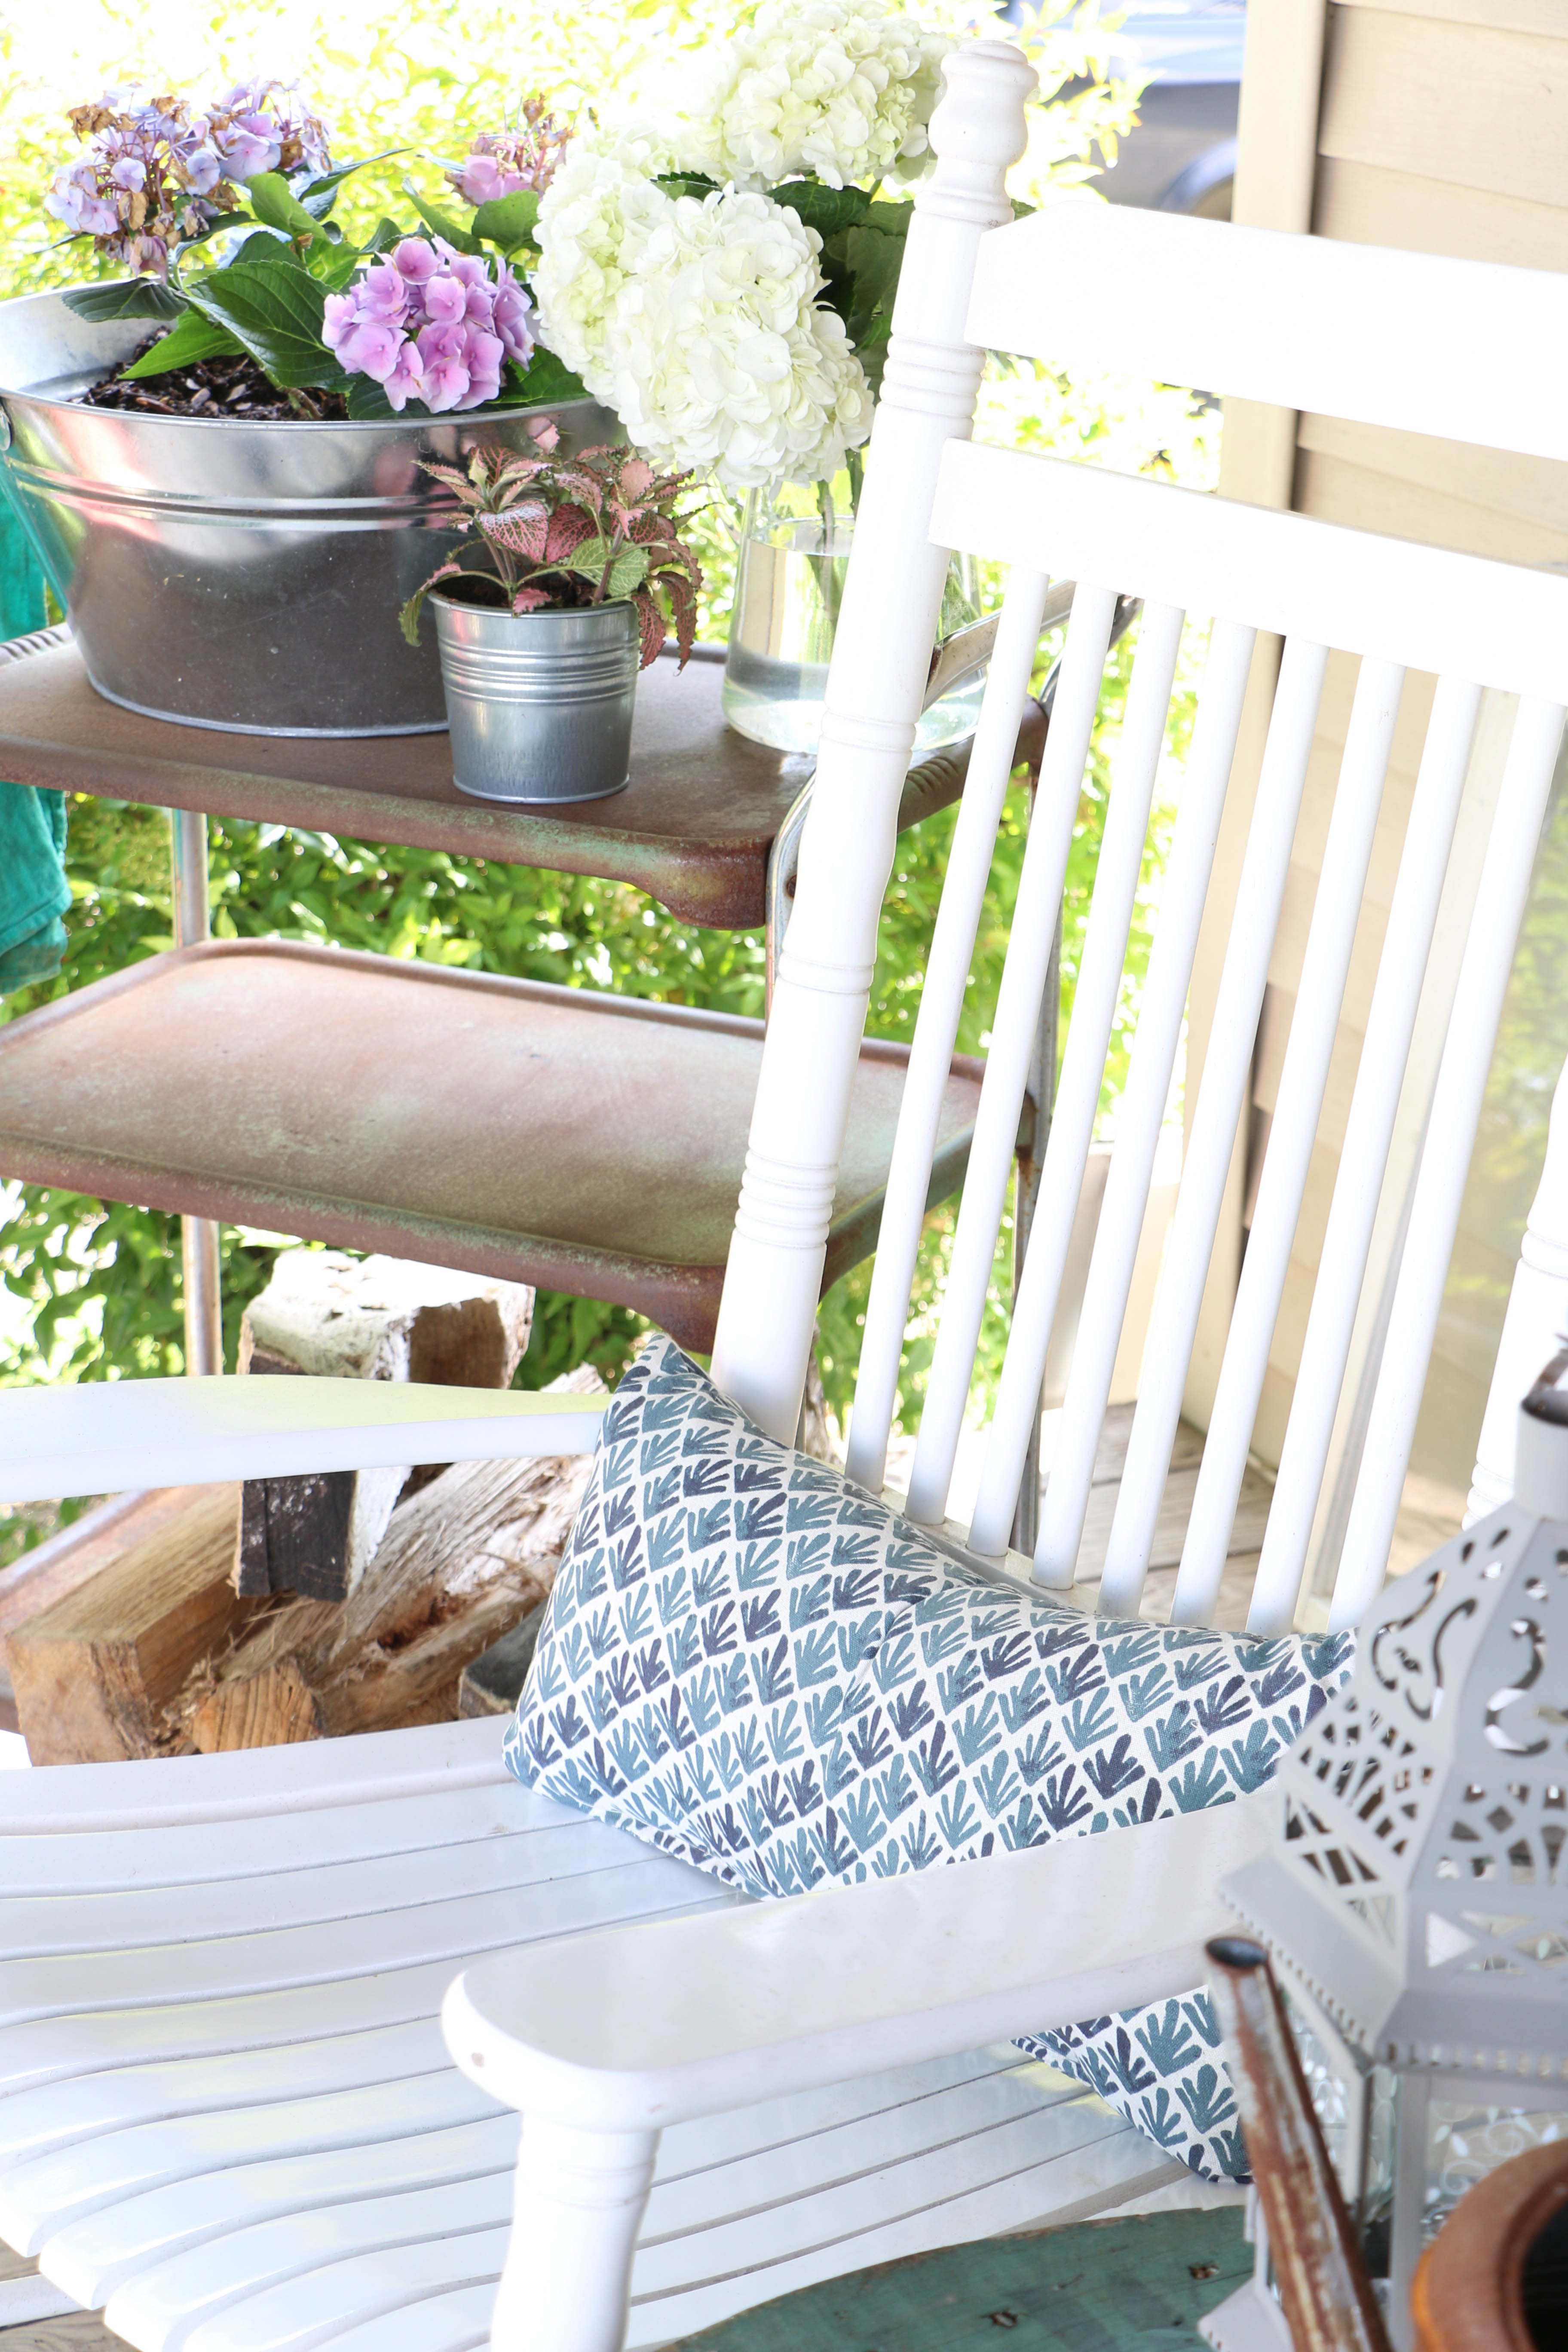
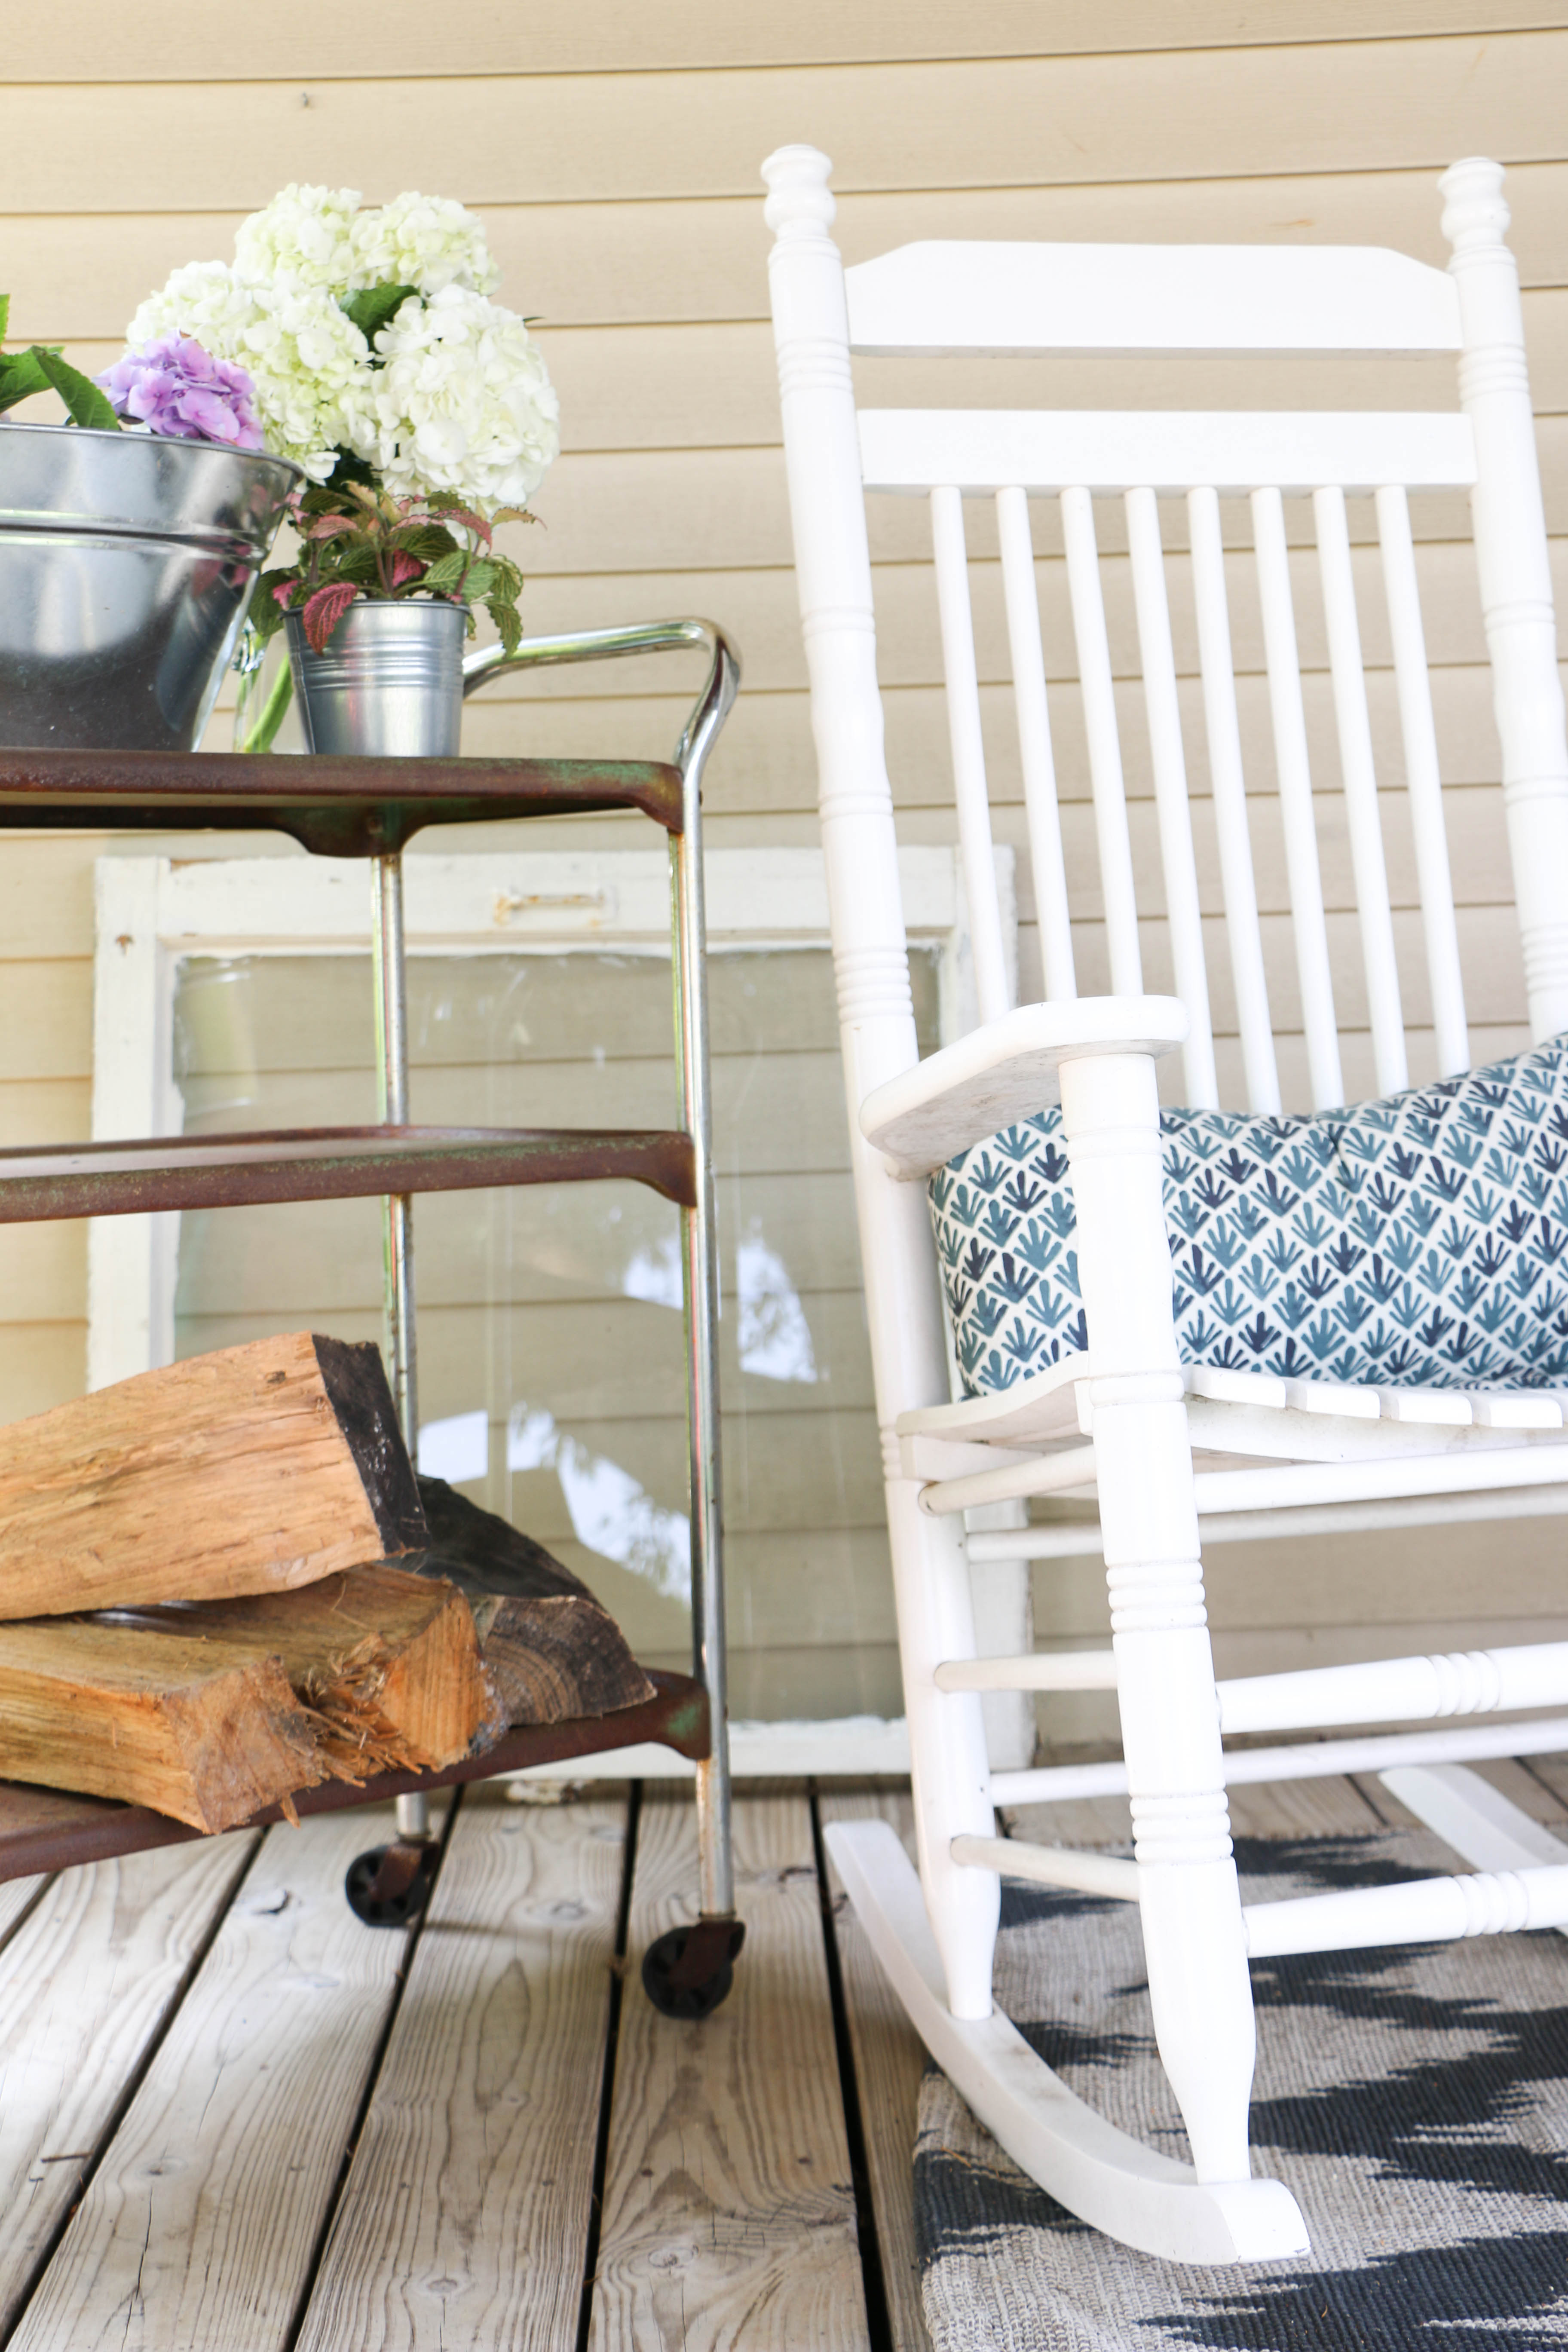
One. DIY it. Almost everything in our house is made or refinished by me. Our headboards, most furniture, candles, signs, wall art, just about everything. I can’t even calculate how much this has saved us throughout the entire house. Our headboard was made from fence posts our neighbors were replacing. Seriously! It cost me nothing! Getting creative with the things around you is my biggest advice to someone wanting to decorate on a budget.

Two. Shop after-season clearance. Since I was a little girl, my favorite shopping day has been the day after Christmas. It’s the best time to stock up on things for the next year because as soon as December 26th rolls around, everything is 50-80% off. This can be a little annoying because you have to wait an entire year to use it. But it is a pretty fun surprise opening the things you bought and forgot about a whole year later. It’s like getting gifts for yourself!

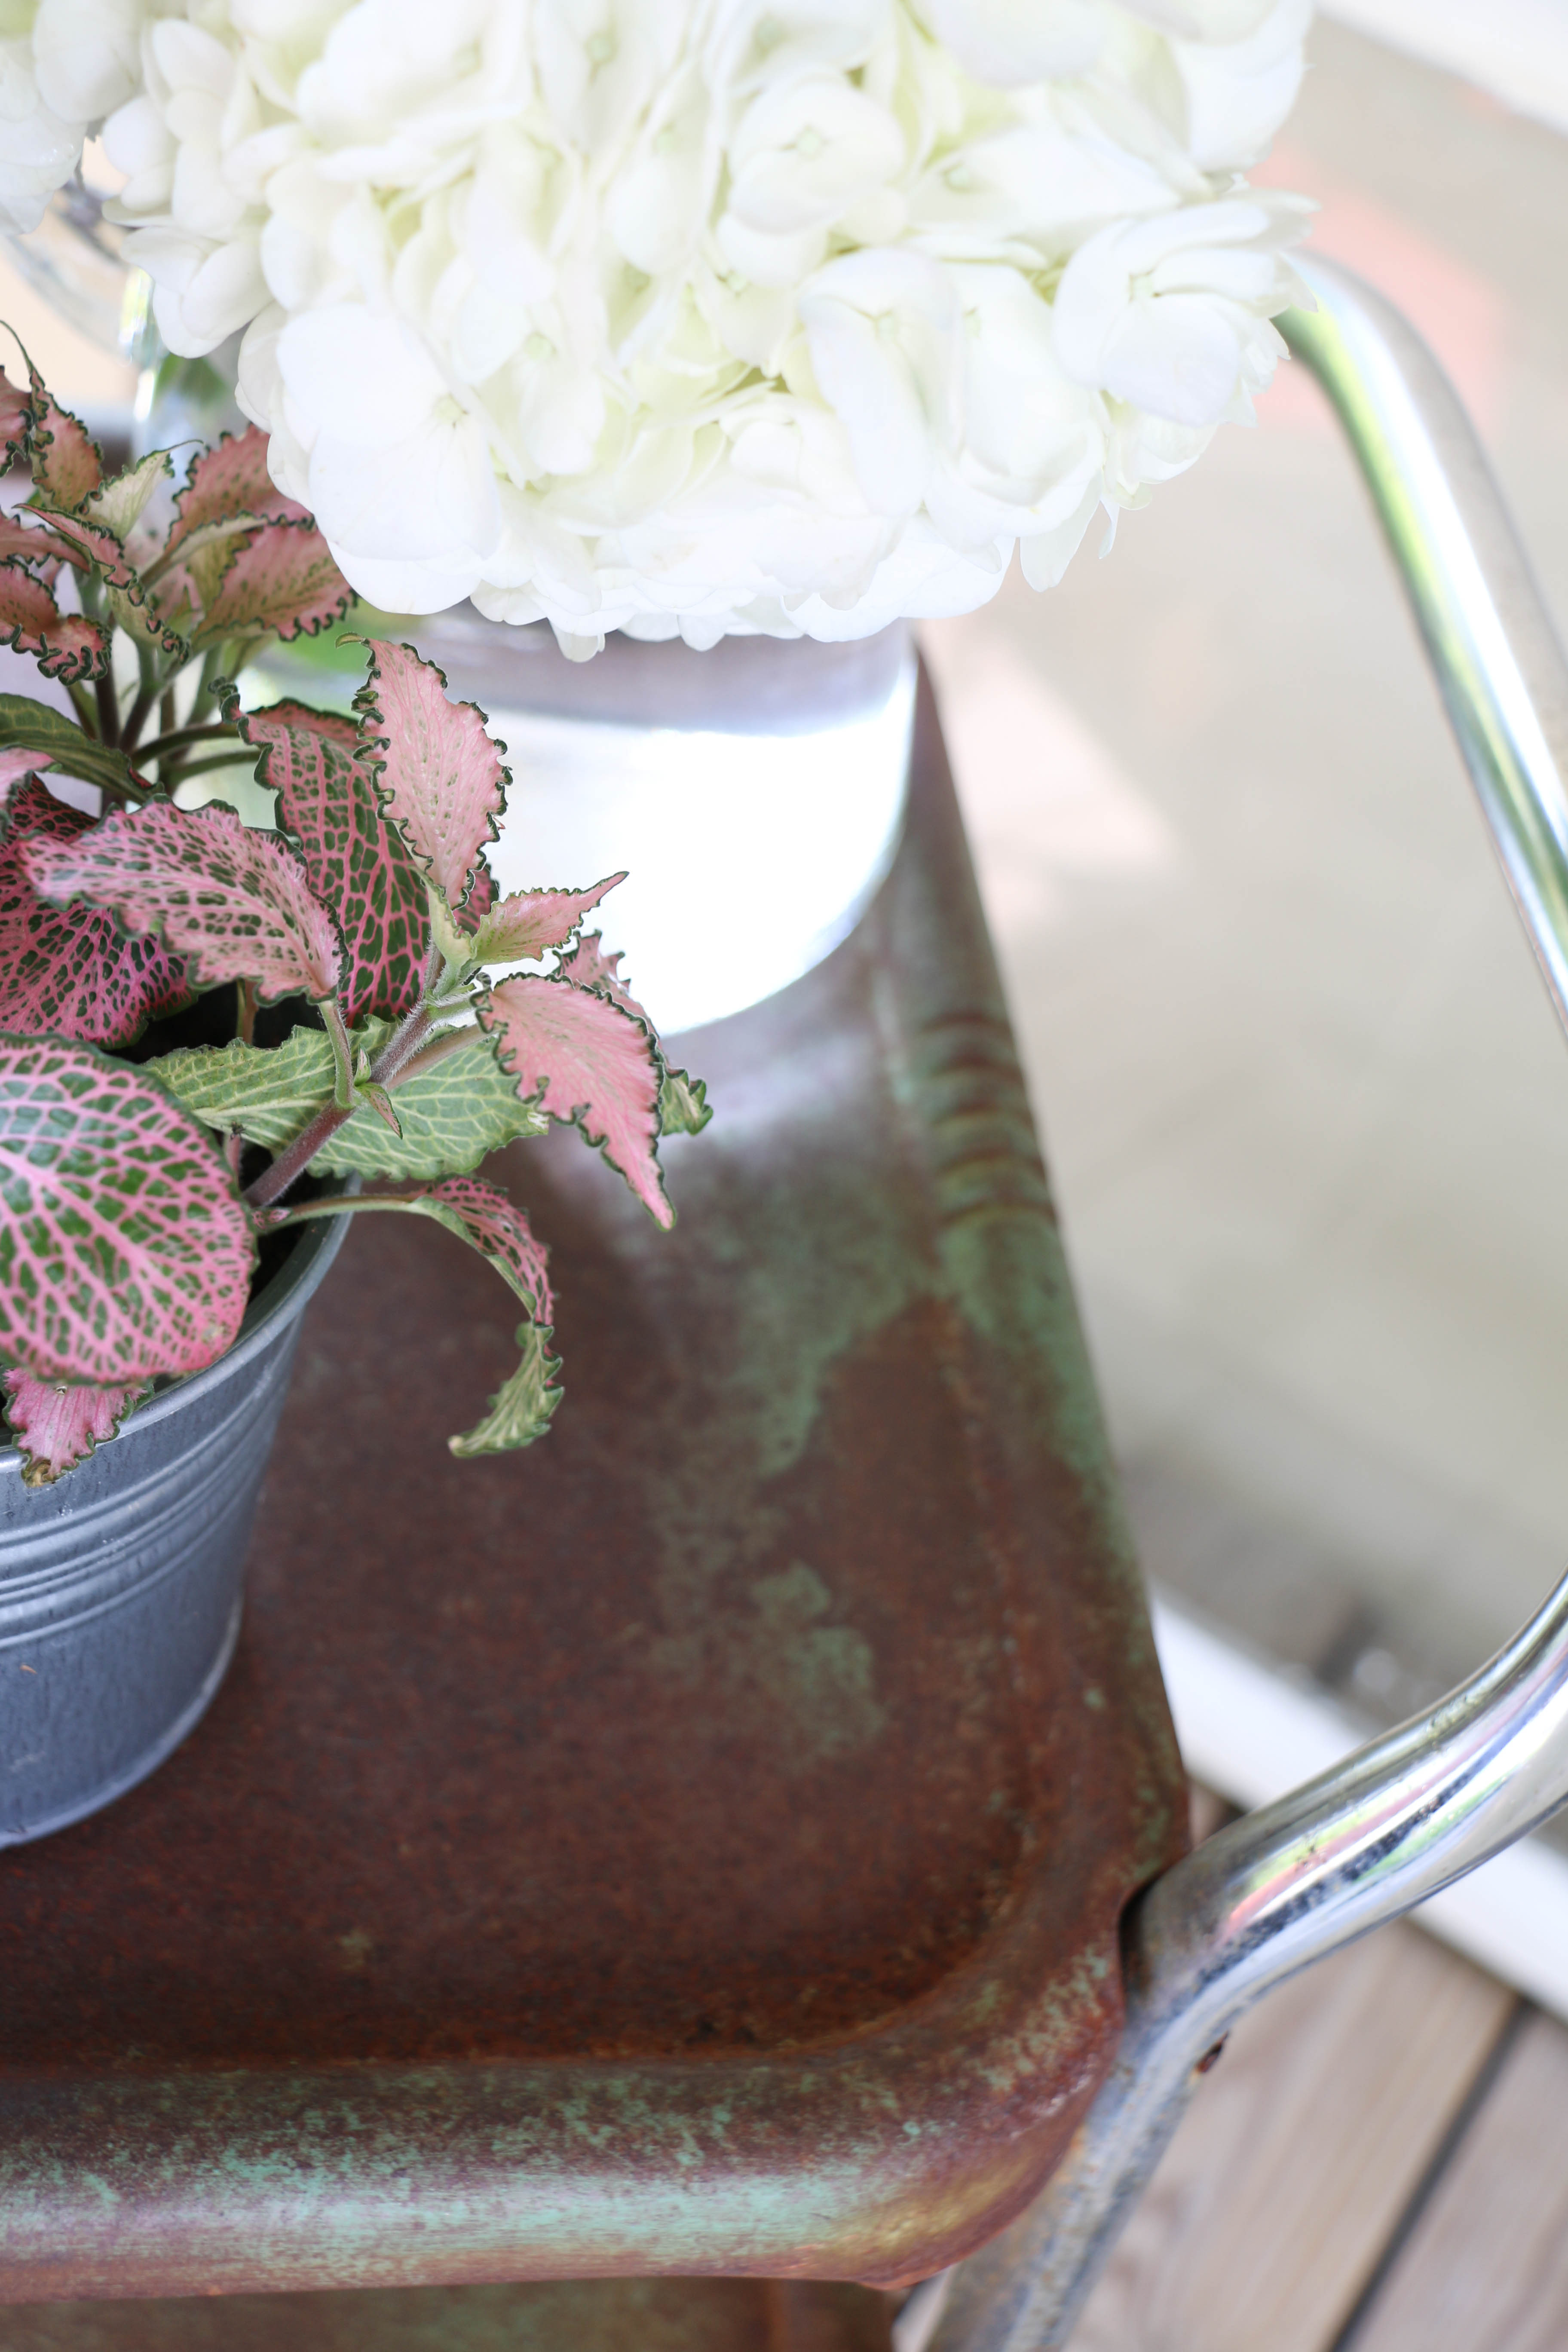
Three. Shop the flea markets and the thrift shops. I went down this weekend to our local thrift store where I realized when the owner approached me asking about my family, that I am now a regular. I mean, I’m in there all the time. But I’ve gotten a heck of a deal on many occasions. My favorite type of thrift store is one where you can negotiate prices, especially after you’ve built a relationship with the staff. I can talk down just about anything when it comes to flea market and thrift store shopping. And if the seller isn’t willing to come down, just walk away! Someone else will have something just like it who is dying to get rid of it! It’s all about patience.

Four. Allow yourself some spending. Seriously. Picture it as an allowance to yourself. I have bought almost everything in our house with my spending money, and I never have to worry about feeling guilty or saving for priorities. The essentials are taken care of, and this money is free for the spending!

fall-dining-room

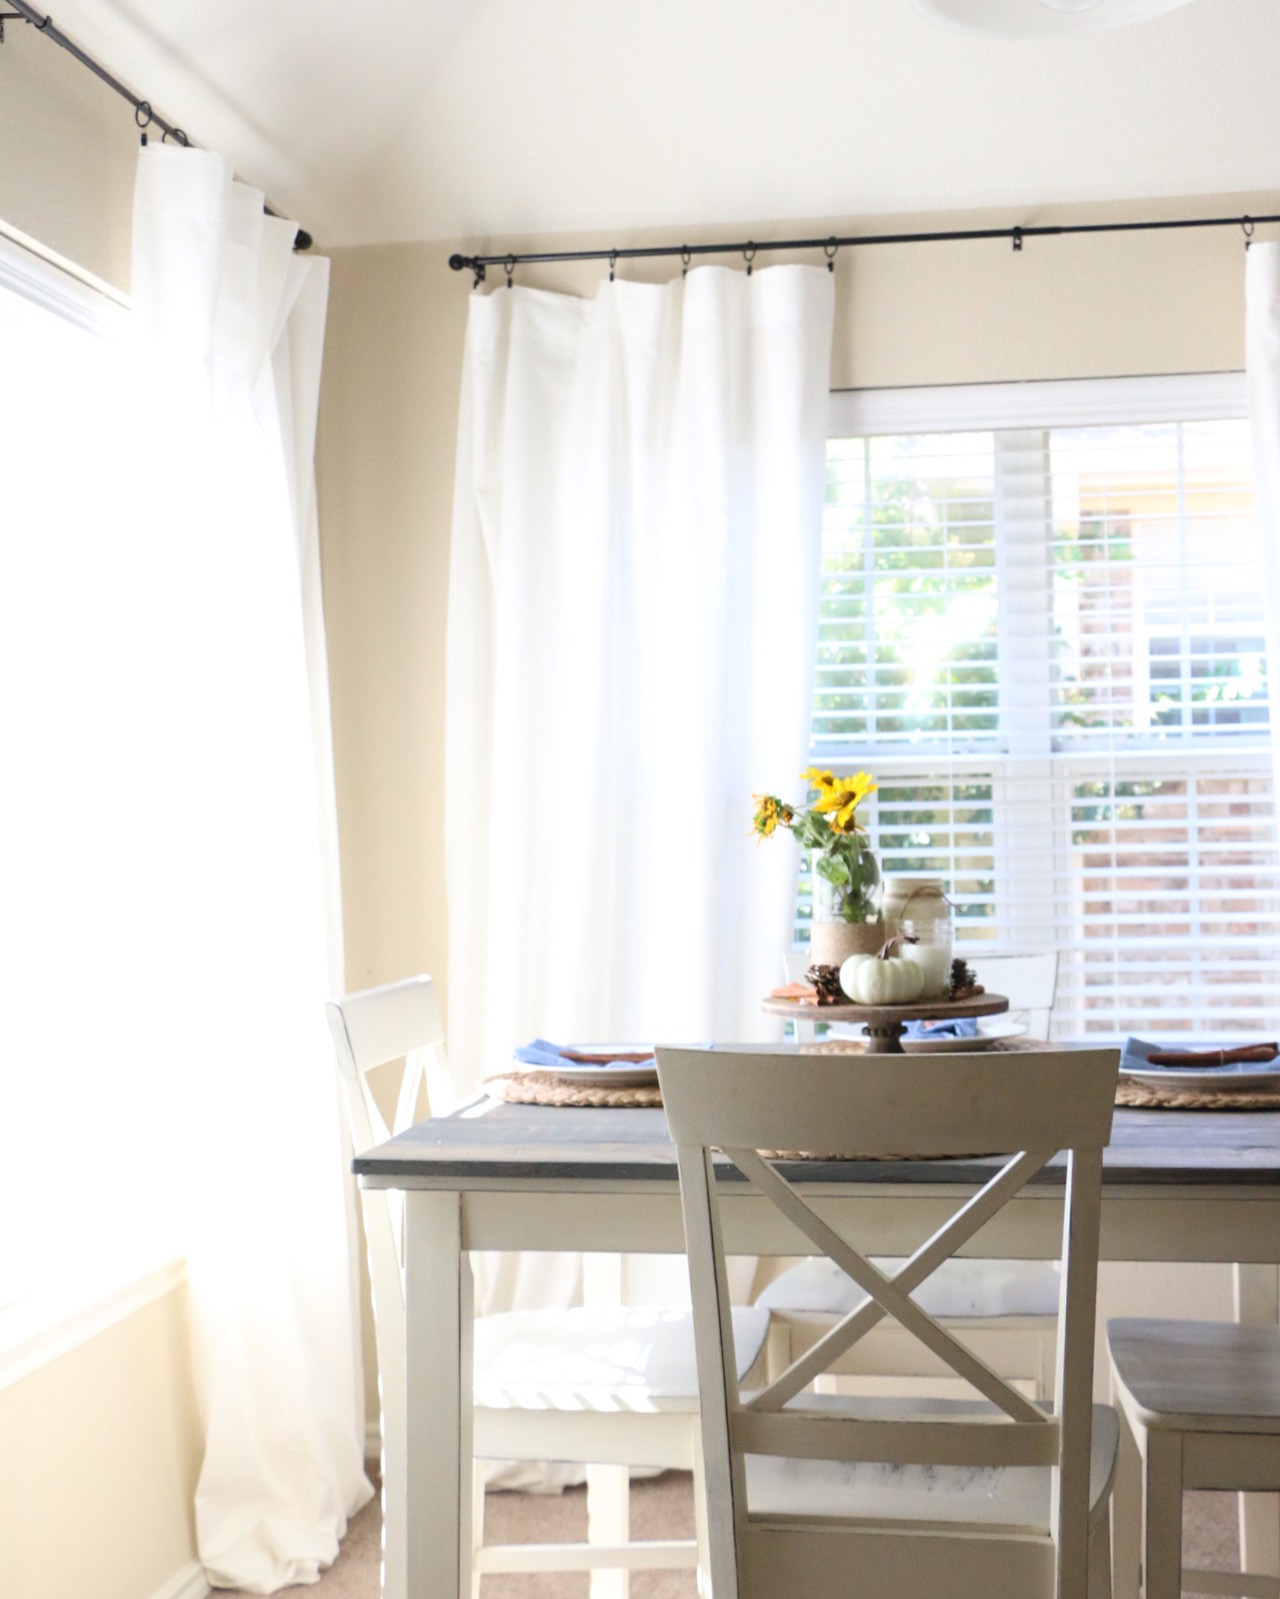
My house is certainly not very big or fancy, but I love making it my home. Sticking to my budget when I’m decorating is something I take super seriously. While I would love to go out and spend a ton of money on new furniture and rugs and all kinds of things, I piece things together super slowly as time and money allows. Here’s a sneak peek of our fall dining room. Those flowers? I picked them from the side of the road. They’re just weeds.

If you take away one thing from this, let it be this: I don’t spend a lot of money on my house. At all. But that doesn’t keep me from trying to make it a house that I love. I hope this inspires you to be able to decorate your own home on a small budget. I promise it can be done. That’s all for today, friends. Have a fabulous day.

Home Decor, Organization

How to Make Your Guest Room Guest Ready

Hey y’all! Don’t mind me over here just eating Hershey’s Kisses and listening to Johnny Cash records because #summer. Seriously someday I’m going to have responsibilities in the summertime like children, or a job that doesn’t have the summer off, but for now I’m going to soak up my precious freedom to do nothing!

This weekend my mom and my sister are flying in from New York to spend a week with us, and I’m super excited! I’ve been getting the guest room cleaned out because let’s be honest here: it’s the most neglected room in the house and we all know it. Our guestroom is super weird. We live in an old southern house, and apparently back in the day it was custom to have two front doors to a house. One for the family to enter, and one for guests to enter. The guest entry would lead into a nicer parlor than the family entrance. All that to say, we have two front doors to our weird little rental, and one of them leads directly into the guest room. It’s sealed, but it’s still weirdly there. It’s also the biggest room in our house, bigger even than our bedroom. Anyway, it’s usually filled with loads of furniture and drop cloths and paint until we have overnight guests and I’m forced to clean it out. Like now.

So that’s what I’ve been doing the past few days, and so I thought it might be a good idea to share some tips on how to make that poor neglected room a little more comfortable for visiting guests. So here’s a few things you might want to consider next time you have people staying.

guestroom

One. The most obvious thing: clean the room. Make sure the sheets are freshly washed, the floors are cleaned and the dust bunnies aren’t too big. Unless you intentionally use it for storage, check under the bed and in the closets. Make sure there’s no trash or random items that don’t belong.

Two. Lay out towels for your guests in the guest room, even if you don’t have an attached guest bath. I try to think about how I feel when I stay overnight at other people’s house, and sometimes you don’t know where fresh towels are, or which ones you’re supposed to use. Make this easier for your guests by simply placing a few on the bed, or on the bathroom counter if your guest bath is attached.

guestroom2

Three. Post the wifi password somewhere. I have seen some really cute printables online that are for posting the wifi password. You can make your own, write it on a chalkboard, or find one online and print and frame it yourself. This way your guests don’t have to ask, and it’s just another thing you can do to make them feel at home.

Four. Do something about the smell. No, I’m not saying my house smells, nor yours. But have you ever noticed that every house you go into has a slightly different scent? Not even a bad one, just individual to the people that live there. It’s more noticeable the first time you walk into someone’s home, but if it’s your own home, you probably don’t even notice. Place a yummy scented candle or fresh flowers in the room to give it a pleasant smell. I’ll be burning one of my own homemade vanilla candles when my mom and sister arrive, but any candle or flower will do. If you’re really feeling festive, do both!

guestroom1

Five. Keep extra blankets and a fan available. Everyone has different sleep preferences when it comes to temperature, so have you’re guests covered either way. Make sure they’re comfortable whether it’s hot or cold at night.

Six. And this is just above and beyond. (And mom, if you’re reading this, don’t be expecting this one, since, you know, you’re my mom, not the president.) Have a tray of bottled water or drinks, and a bowl of candies. Bonus point if you have some local goodies for out of towners. Nothing better for your guests than to have something to drink or snack on at night without having to tiptoe through an unfamiliar house in the dark looking for the kitchen.

Well, that’s about it. I’ve got to get back to doing some laundry, and vacuuming out the guest room. What do you do to make your guests comfortable? I’d love to hear about it! That’s all for today friends, have a fabulous day!

DIY Projects, Home Decor

Rusty Porch Bar Cart

Good Morning, friends! Today is my first official day of summer break, and as I’m typing this, I’m lounging around in my pajamas. I’m ready to have a nice refreshing break from work this summer!

Now that summer is officially here, I have lots of plans which include porch sitting, painting things, lounging, and not much else. 🙂 I’ve been working on making our porch a little bit more enjoyable this season, and I wanted to share a new addition to the front porch. A month or so ago, I added our cable spool table to the porch, and it has been wonderful! I knew that I wanted to add more, so when my father-in-law sent me a picture of a rusty old bar cart asking if I wanted it, I jumped at the chance.

Porch Barcart  7

I’ve been desperately trying to keep a few plants alive (not very well, I might add), and I knew an old bar cart would be the perfect thing to house my little plants. The problem was that it was so rusty, I couldn’t even tell what color it was originally. I wanted it to be rusted, but I wanted to see if there was a way to scrub some of the rust off so that some of the original paint was exposed.

I didn’t really want to buy anything to remove the rust with, knowing I would only use it for this project (assuming it even worked) and would then be destined to cluttering the back of my cleaning supply closet. So, I figured I’d do my own thing. Recently, I shared my DIY all-purpose household cleaner, and I’m happy to report that it truly does work for all purposes. You can check out the full article in the link above, but it’s what I used to expose some of the original paint on this little cart.

I generously sprayed the cart completely. I let it sit for about an hour, spraying a bit more at that time (the Texas heat didn’t quite allow for a soak, as it just dried it up). After about two hours of the solution on the cart, I began scrubbing with the same brush we generally use to clean the grill. As I would scrub a certain spot, I would hose it down. If it needed more scrubbing, I would spray a little more solution on it, and immediately continue scrubbing.

Porch Barcart 6

Eventually I began to see little spots of green paint emerge from behind the scrub brush. I’m not going to lie and say this was super easy; it took quite a bit of elbow grease. I did intentionally stop at this point, since I wanted the cart to keep a bit of it’s rusty charm. If you have a bit more muscle than I do, you could certainly scrub off more rust than I was able to.

Porch Barcart 5

Porch Barcart 2

Porch Barcart 8

This little cart makes the porch just a little bit more cozy! And I’m absolutely thrilled with how it turned out, with it’s rusty, chippy goodness. I think once I get up from this couch, I’ll make my way out there to enjoy this little spot. Do you have something old and rusty? I’d be willing to bet you can clean it up a bit with some elbow grease and some items you have around the house!

Well, that’s all for today, friends! Have a fabulous day!