Browsing Category

Home Decor

Home Decor

Clean and Wintry Tablescape

How is it January already?! This is crazy! I am heading into two years of blogging, and that is crazy to me as well! Every year when Christmas is over, and all my decor comes down, I crave simplicity. And, let’s be honest, I am pretty much ready for spring. I know that we will have winter weather yet, but so far the temperatures have been around sixty each day, which just feels wonderfully spring-like.

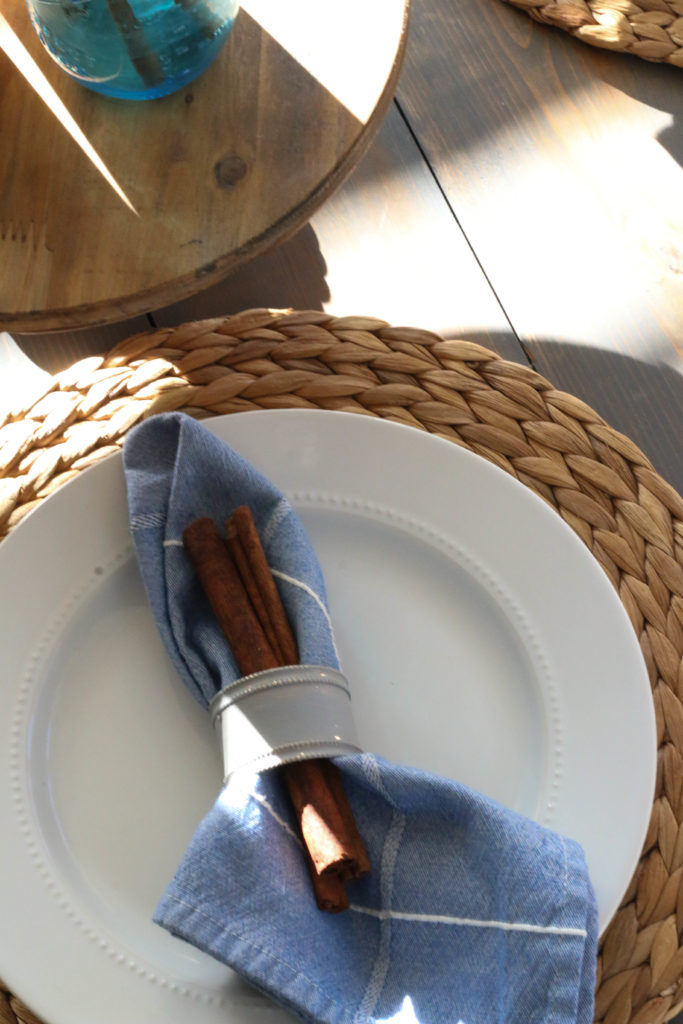
Anyway, I took down all my Christmas decor and I made my table simple and clean for the wintry months ahead. I know it might seem silly, but I really do always have my table made up. It brings me joy to have a pretty looking table, and no one should be able to steal your joy, so I say do what you want! I like to use a lot of blues in our house, and so I have one set of blue napkins that are my absolute favorite. I tend to mix these in with each season.

winter-table-1

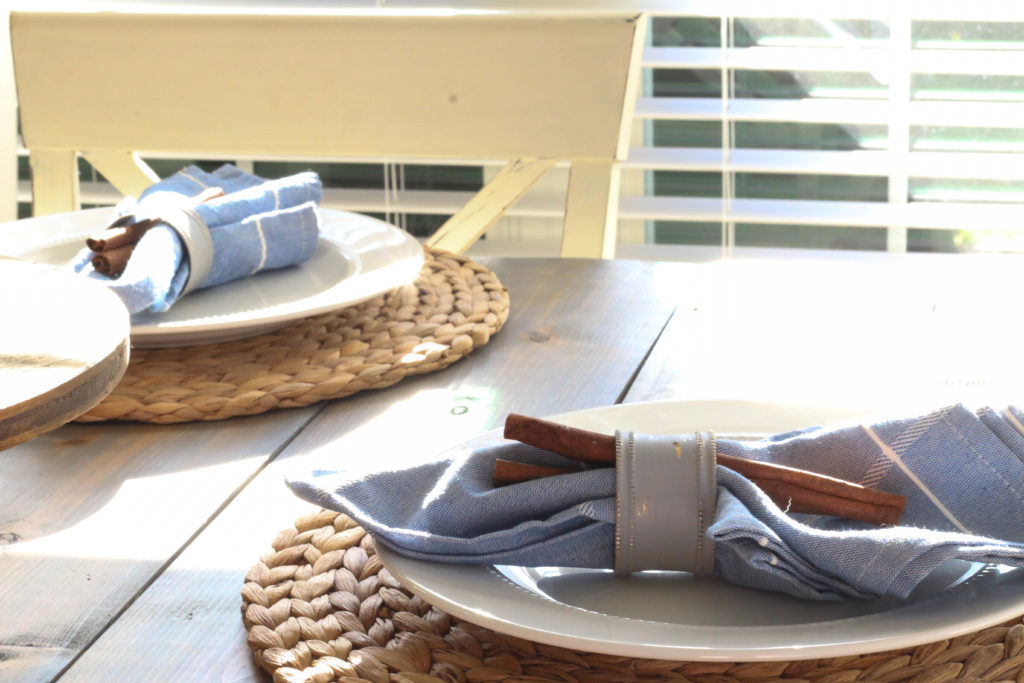
I’ve been meaning to buy some napkin rings for a while now, but my cheap self never could pull the trigger. I found these the day after Christmas at Hobby Lobby. They were a metallic gold, which was a little too “holiday glitzy” for me, so I painted over them with a quick gray paint. The paint naturally wore off in a few areas (probably because of the slick texture), and it turned out to be perfectly chippy. I love it!

winter-table-4

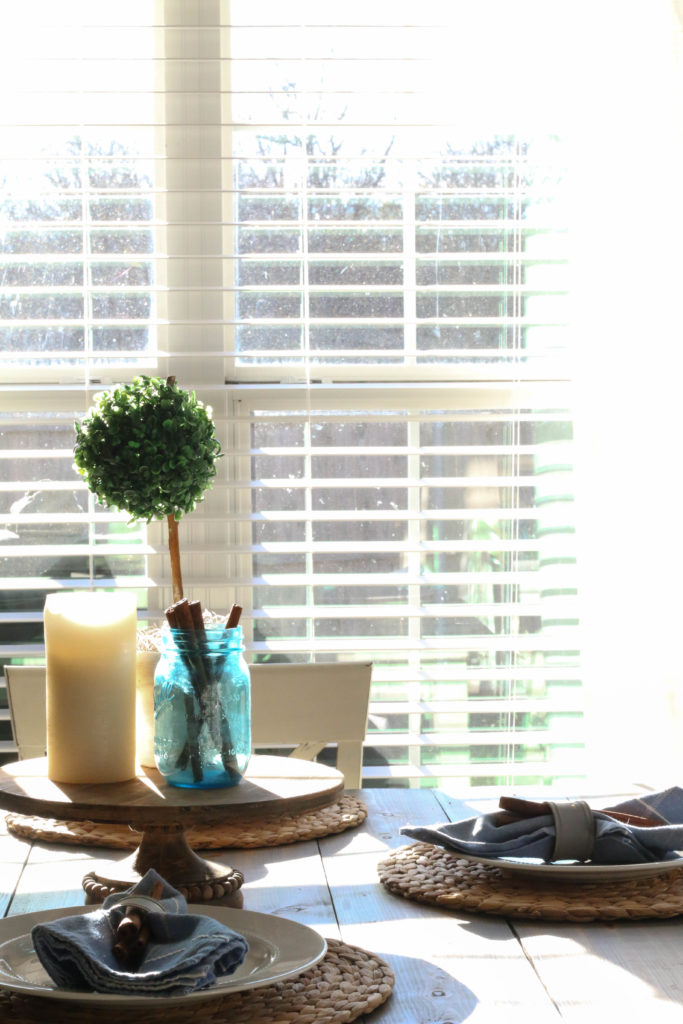
The white pillar candle was also an after Christmas clearance special (my favorite time to shop). A simple jar with cinnamon and my DIY Boxwood Topiary  make my little cakestand look finished yet clean.

 winter-table-6

And can we talk about this afternoon sunlight pouring in? For some reason late afternoon sun perfectly equates to winter for me. I’m not sure why, but this season really can be beautiful (even if it gets dark incredibly early and we don’t even have snow).

winter-table-5

For me, setting the table really can be a theraputic and meaningful time. I love the finished product of course, but the act of designing and putting together a table is incredibly rewarding to me. What about you? Do you have a table that’s typically set, or do you prefer a blank canvas?

A few sources for this design if you’re interested:

Napkins: Tuesday Morning

Napkin Rings: Hobby Lobby

Cake Stand: Magnolia

Plates: Target

Chargers: IKEA

That’s all for today, friends. Have a fabulous day!

Home Decor

Comfy Bed Sheets

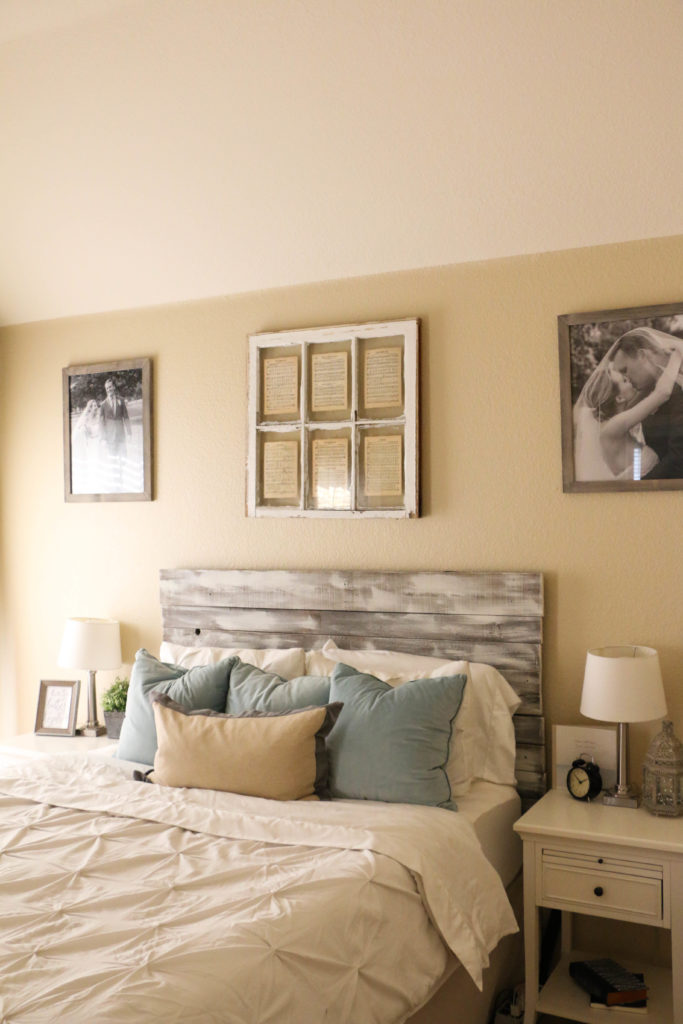
Hello friends! Happy Thanksgiving week! I’m excited to stop by and share with you another part of our ever-evolving home. We’ve been in this rental for four months now, and I’m still working on cozying up the space. The bedroom feels mostly finished, other than a large rug on (which I’m waiting on the budget for).

I’m all about repurposing and making things last as long as possible, but one thing I always want to feel new and fresh is our bed sheets.  I’ve had a difficult time finding good quality sheets that don’t wear out super quickly but also don’t break the bank. I recently discovered a new source for all things home where I ordered some new sheets, and I just couldn’t wait to share!

bedsheets5

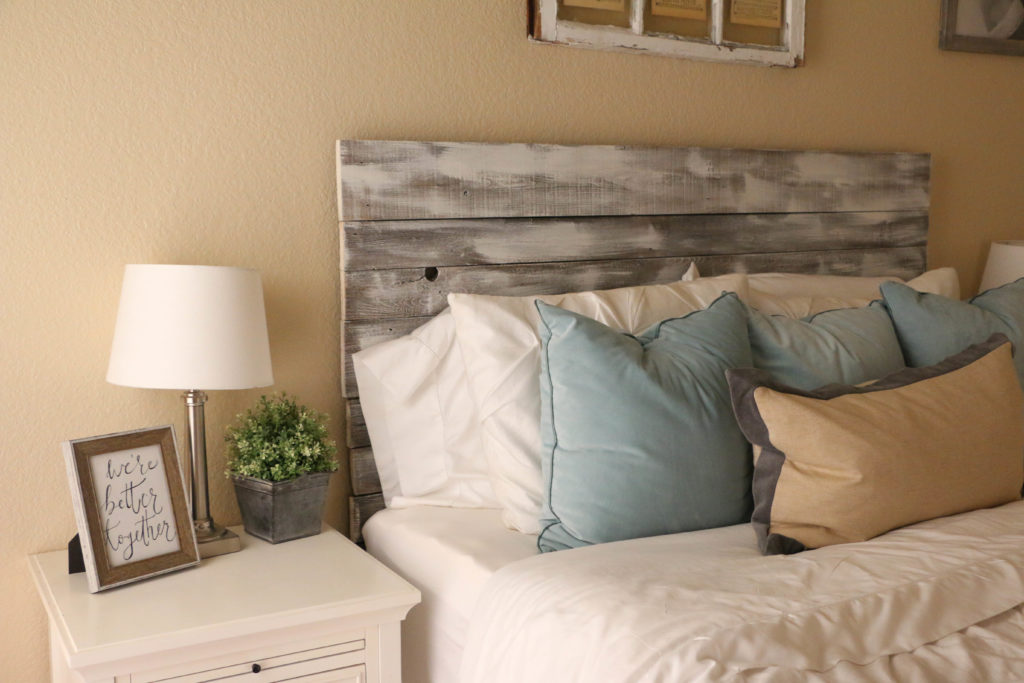
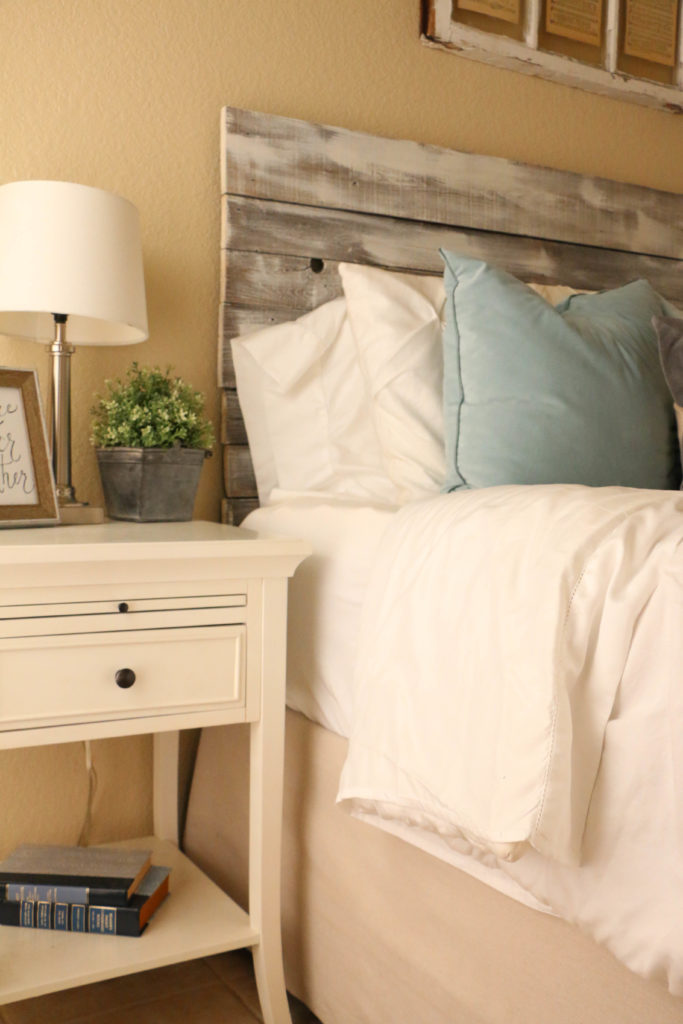
I finally caved and bought white sheets because I can bleach the whole thing every time I wash them. My style is pretty light and bright, but I’ve always been hesitant with white bedding because of how quickly it can get dingy looking.

bedsheets8

I ordered these sheets from Hayneedle.com, and so far I absolutely love them! We’ve had a couple weeks to sleep on them, and they are super comfortable and I love that I finally have white sheets!

bedsheets7 bedsheets6 bedsheets3

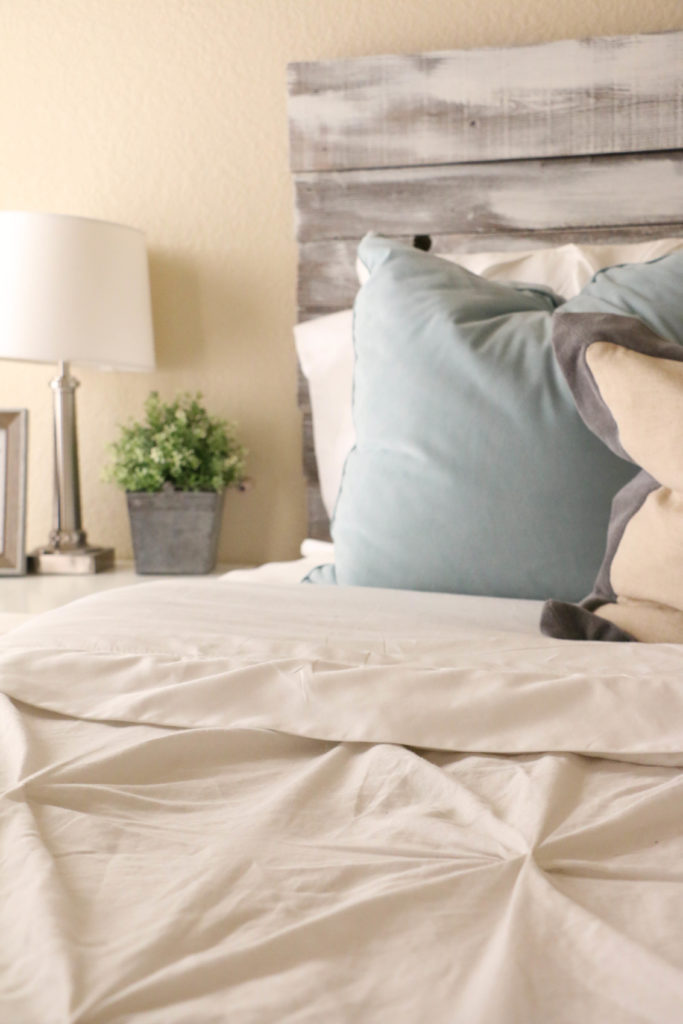
They help to make our bedroom a little bit more cozy! I’ve washed them a few times, and they have just gotten more and more soft and cozy.

bedsheets2 bedsheets1

I would absolutely recommend these sheets to anybody; they are so soft! Not to mention the price is awesome, and the quality is great. I’m super happy with them, and it’s another thing to check off the list in making this bedroom complete. Now I’m waiting on a rug and this room will be “finished.” I say that loosely because nothing is ever actually finished around here.

Now I’m off to work on some more projects today! Well, that’s all for today, friends! Have a fabulous day!

A few sources for this bedroom:

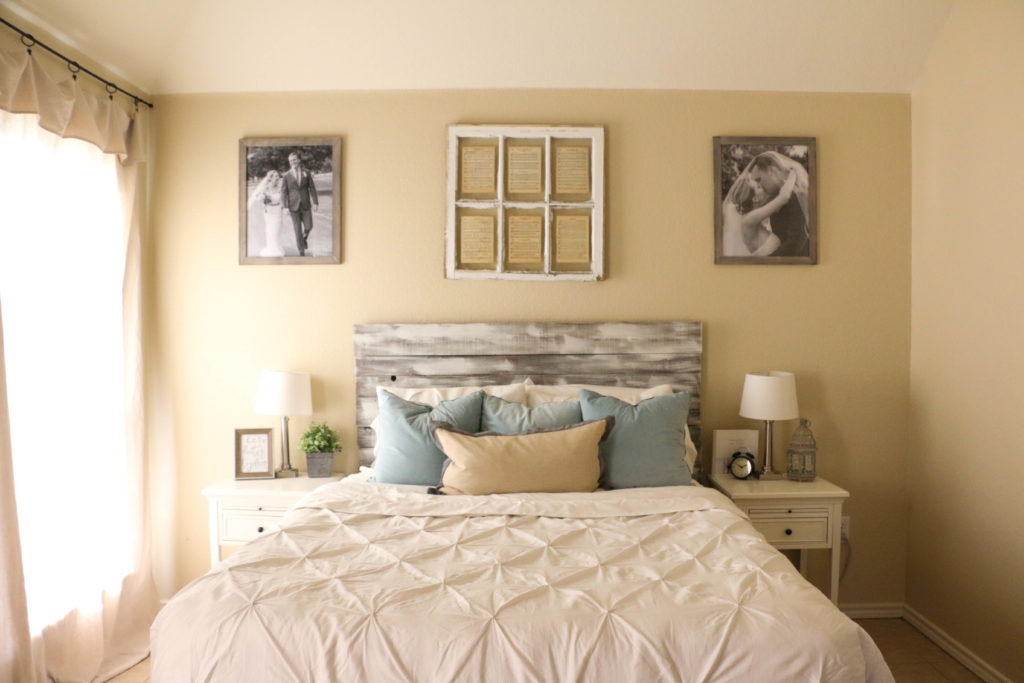
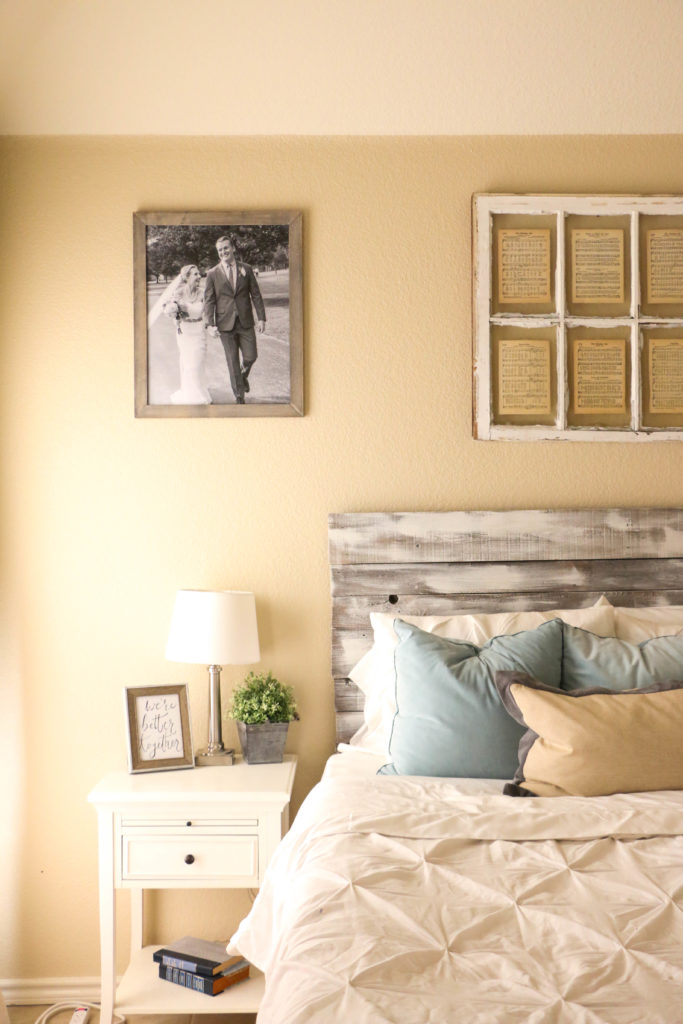
Comforter, lamps, and nightstands: Target

Blue Pillows: Pier One Imports

Gray and Linen Pillow: Homegoods

**Hayneedle was kind enough to send me this gorgeous bedding, but as always, opinions are my own.

Home Decor

Home Decor on a Budget

Hello all! Happy happy Tuesday! I hope you’re doing well. Today, as I was driving home from work thinking about setting up some more fall touches around the house, I started to calculate how much money I could spend on making fall happen around here. Now, if you know me at all, you know that there are two things I’m very passionate about: home decor and budgeting. Most of what I do here is super budget friendly, and it’s a part of everything I do, but I realized I’ve never shared exactly how I budget or why. So today I wanted to share with you a few things you can do to decorate on a budget, but more importantly, why you should keep a budget.

Now, this blog is not about money. It never has been. But I know most people feel like they could use some more of it (me included), and it seems like there’s never enough for extra things at the end of the month, especially for frivolous things like decorative pumpkins. I get it. But hear me out.

I budget absolutely everything. Ethan and I start each month with a written gameplan of what we’re going to spend our money on for the upcoming month. And because we’re like most millenials with a mountain of student loan debt, most of our extra cash goes there. But that’s not what’s important today. At the beginning of the month, each of us get a certain cash amount to spend on whatever we feel like spending on that month. For me, this usually falls into the frivolous decorative pumpkin category.

But here’s the cool part. I have cash that I get to spend on decor each month that is totally accounted for. It’s written into our budget, and so I can shop for house stuff completely guilt-free! If I want those curtains, or that pumpkin, or those candles, I can buy them because there’s a certain amount already set aside for that type of spending. Of course, it’s pretty tiny, but it’s there nonetheless.

Now, while we’re talking about tiny budgets, I have learned to get pretty creative when it comes to decorating. Here’s how:

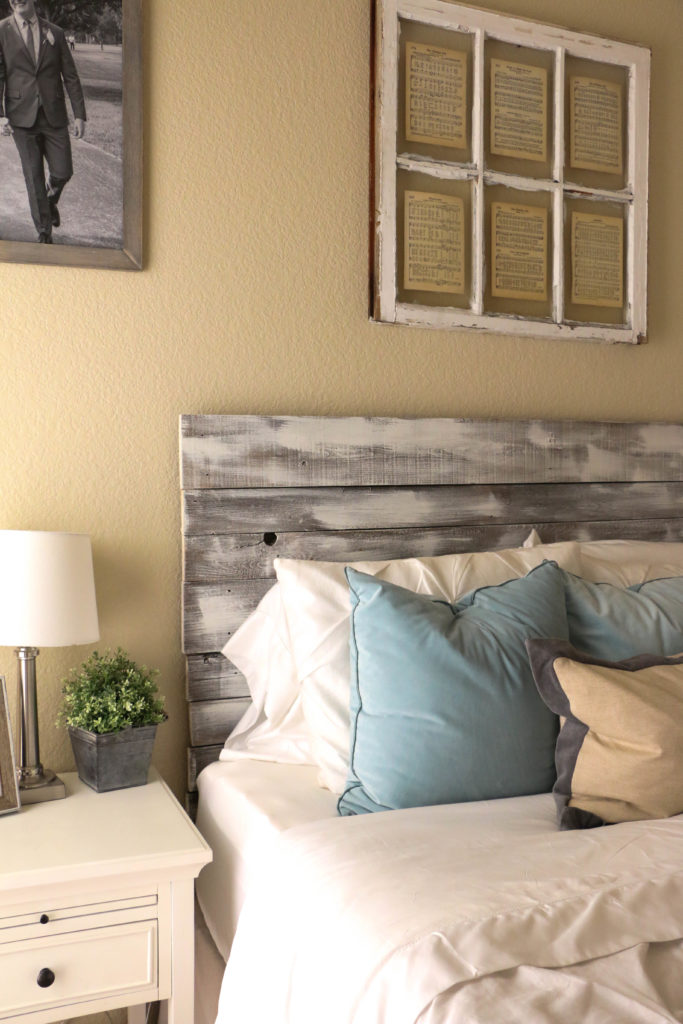
One. DIY it. Almost everything in our house is made or refinished by me. Our headboards, most furniture, candles, signs, wall art, just about everything. I can’t even calculate how much this has saved us throughout the entire house. Our headboard was made from fence posts our neighbors were replacing. Seriously! It cost me nothing! Getting creative with the things around you is my biggest advice to someone wanting to decorate on a budget.

Two. Shop after-season clearance. Since I was a little girl, my favorite shopping day has been the day after Christmas. It’s the best time to stock up on things for the next year because as soon as December 26th rolls around, everything is 50-80% off. This can be a little annoying because you have to wait an entire year to use it. But it is a pretty fun surprise opening the things you bought and forgot about a whole year later. It’s like getting gifts for yourself!

Three. Shop the flea markets and the thrift shops. I went down this weekend to our local thrift store where I realized when the owner approached me asking about my family, that I am now a regular. I mean, I’m in there all the time. But I’ve gotten a heck of a deal on many occasions. My favorite type of thrift store is one where you can negotiate prices, especially after you’ve built a relationship with the staff. I can talk down just about anything when it comes to flea market and thrift store shopping. And if the seller isn’t willing to come down, just walk away! Someone else will have something just like it who is dying to get rid of it! It’s all about patience.

Four. Allow yourself some spending. Seriously. Picture it as an allowance to yourself. I have bought almost everything in our house with my spending money, and I never have to worry about feeling guilty or saving for priorities. The essentials are taken care of, and this money is free for the spending!
fall-dining-room

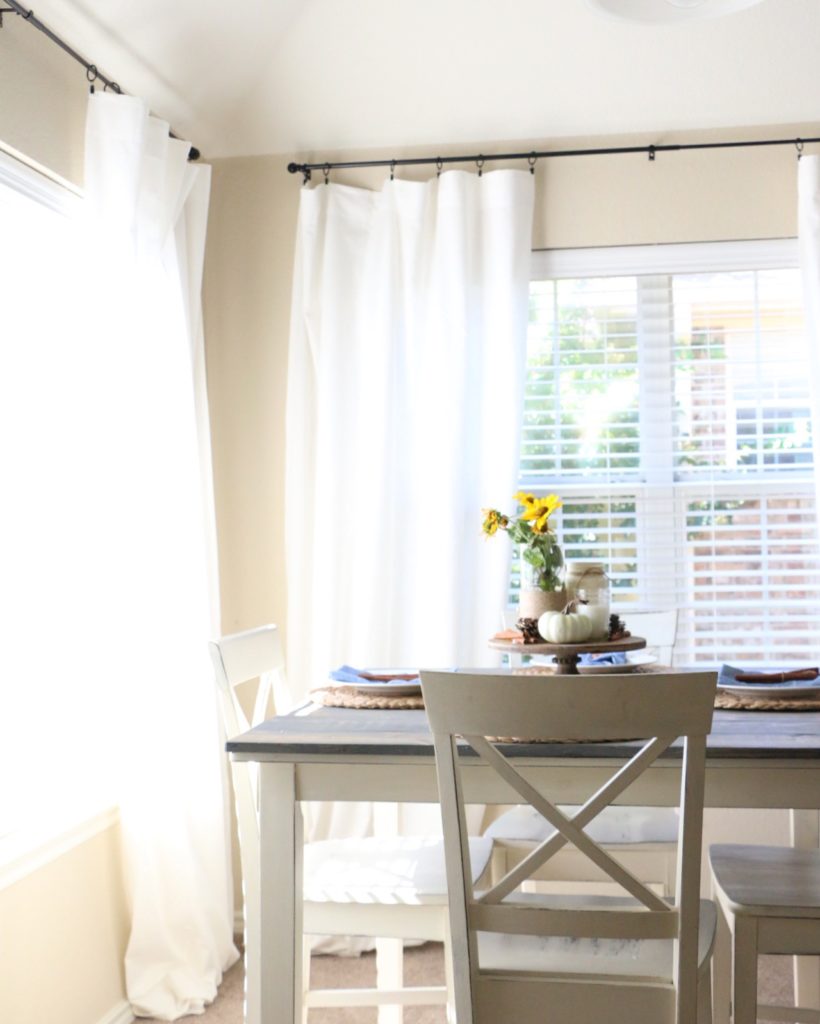
My house is certainly not very big or fancy, but I love making it my home. Sticking to my budget when I’m decorating is something I take super seriously. While I would love to go out and spend a ton of money on new furniture and rugs and all kinds of things, I piece things together super slowly as time and money allows. Here’s a sneak peek of our fall dining room. Those flowers? I picked them from the side of the road. They’re just weeds.

If you take away one thing from this, let it be this: I don’t spend a lot of money on my house. At all. But that doesn’t keep me from trying to make it a house that I love. I hope this inspires you to be able to decorate your own home on a small budget. I promise it can be done. That’s all for today, friends. Have a fabulous day.

Home Decor, Organization

How to Make Your Guest Room Guest Ready

Hey y’all! Don’t mind me over here just eating Hershey’s Kisses and listening to Johnny Cash records because #summer. Seriously someday I’m going to have responsibilities in the summertime like children, or a job that doesn’t have the summer off, but for now I’m going to soak up my precious freedom to do nothing!

This weekend my mom and my sister are flying in from New York to spend a week with us, and I’m super excited! I’ve been getting the guest room cleaned out because let’s be honest here: it’s the most neglected room in the house and we all know it. Our guestroom is super weird. We live in an old southern house, and apparently back in the day it was custom to have two front doors to a house. One for the family to enter, and one for guests to enter. The guest entry would lead into a nicer parlor than the family entrance. All that to say, we have two front doors to our weird little rental, and one of them leads directly into the guest room. It’s sealed, but it’s still weirdly there. It’s also the biggest room in our house, bigger even than our bedroom. Anyway, it’s usually filled with loads of furniture and drop cloths and paint until we have overnight guests and I’m forced to clean it out. Like now.

So that’s what I’ve been doing the past few days, and so I thought it might be a good idea to share some tips on how to make that poor neglected room a little more comfortable for visiting guests. So here’s a few things you might want to consider next time you have people staying.

guestroom

One. The most obvious thing: clean the room. Make sure the sheets are freshly washed, the floors are cleaned and the dust bunnies aren’t too big. Unless you intentionally use it for storage, check under the bed and in the closets. Make sure there’s no trash or random items that don’t belong.

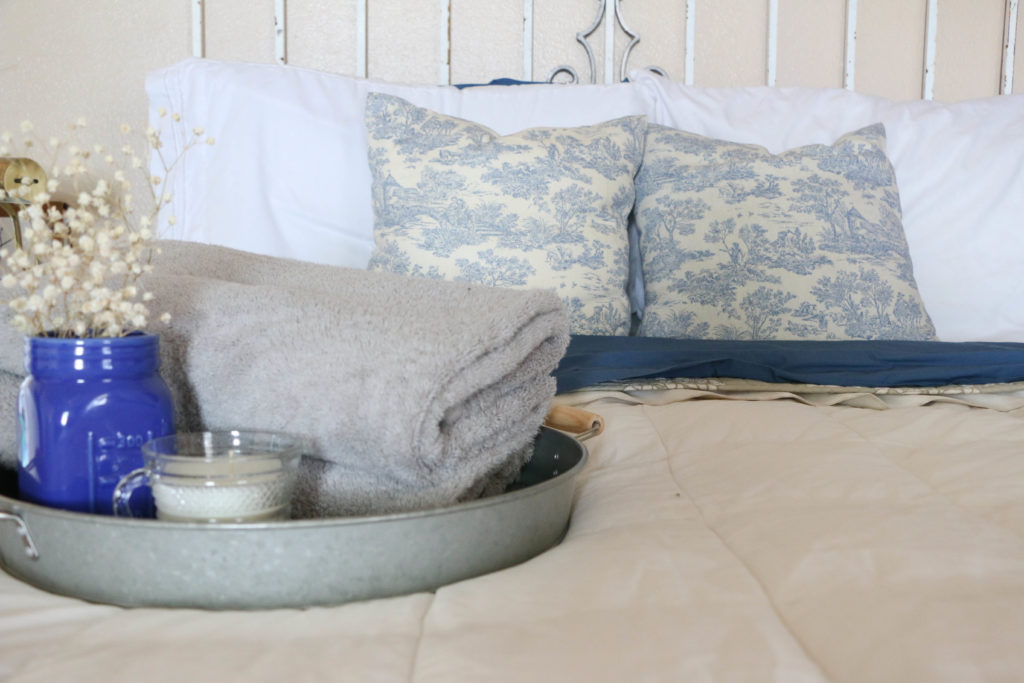
Two. Lay out towels for your guests in the guest room, even if you don’t have an attached guest bath. I try to think about how I feel when I stay overnight at other people’s house, and sometimes you don’t know where fresh towels are, or which ones you’re supposed to use. Make this easier for your guests by simply placing a few on the bed, or on the bathroom counter if your guest bath is attached.

guestroom2

Three. Post the wifi password somewhere. I have seen some really cute printables online that are for posting the wifi password. You can make your own, write it on a chalkboard, or find one online and print and frame it yourself. This way your guests don’t have to ask, and it’s just another thing you can do to make them feel at home.

Four. Do something about the smell. No, I’m not saying my house smells, nor yours. But have you ever noticed that every house you go into has a slightly different scent? Not even a bad one, just individual to the people that live there. It’s more noticeable the first time you walk into someone’s home, but if it’s your own home, you probably don’t even notice. Place a yummy scented candle or fresh flowers in the room to give it a pleasant smell. I’ll be burning one of my own homemade vanilla candles when my mom and sister arrive, but any candle or flower will do. If you’re really feeling festive, do both!

guestroom1

Five. Keep extra blankets and a fan available. Everyone has different sleep preferences when it comes to temperature, so have you’re guests covered either way. Make sure they’re comfortable whether it’s hot or cold at night.

Six. And this is just above and beyond. (And mom, if you’re reading this, don’t be expecting this one, since, you know, you’re my mom, not the president.) Have a tray of bottled water or drinks, and a bowl of candies. Bonus point if you have some local goodies for out of towners. Nothing better for your guests than to have something to drink or snack on at night without having to tiptoe through an unfamiliar house in the dark looking for the kitchen.

Well, that’s about it. I’ve got to get back to doing some laundry, and vacuuming out the guest room. What do you do to make your guests comfortable? I’d love to hear about it! That’s all for today friends, have a fabulous day!

DIY Projects, Home Decor

Rusty Porch Bar Cart

Good Morning, friends! Today is my first official day of summer break, and as I’m typing this, I’m lounging around in my pajamas. I’m ready to have a nice refreshing break from work this summer!

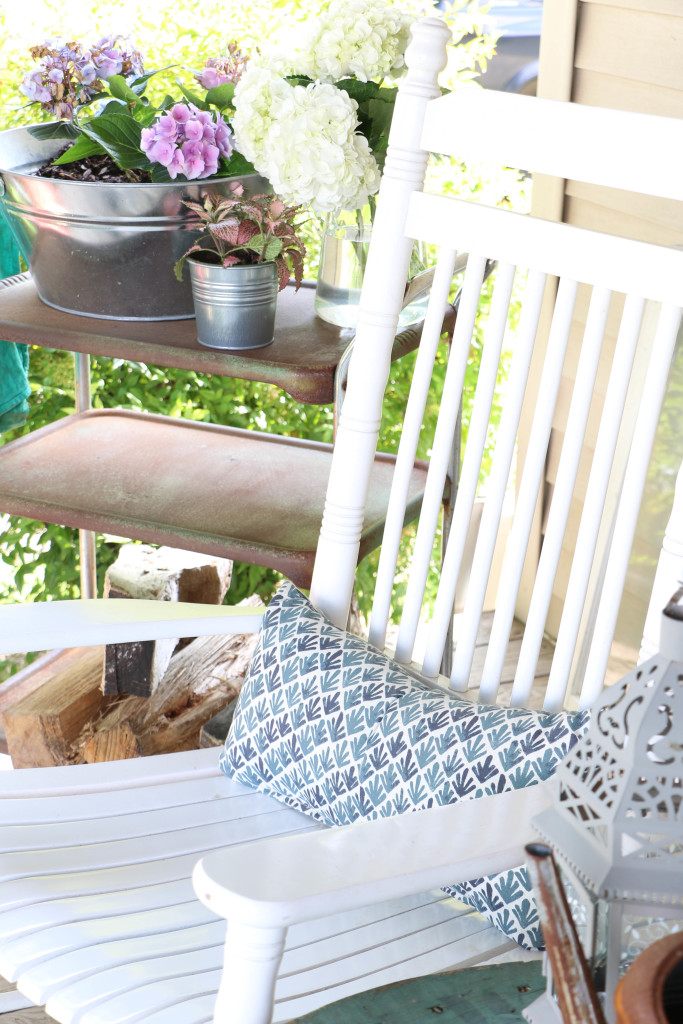
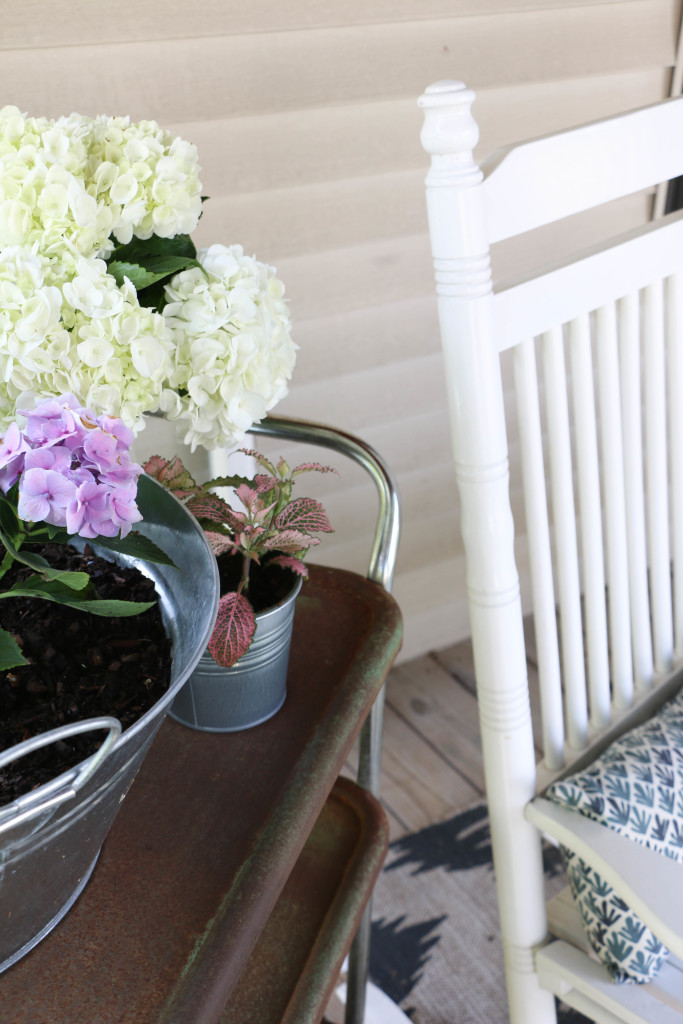
Now that summer is officially here, I have lots of plans which include porch sitting, painting things, lounging, and not much else. 🙂 I’ve been working on making our porch a little bit more enjoyable this season, and I wanted to share a new addition to the front porch. A month or so ago, I added our cable spool table to the porch, and it has been wonderful! I knew that I wanted to add more, so when my father-in-law sent me a picture of a rusty old bar cart asking if I wanted it, I jumped at the chance.

Porch Barcart  7

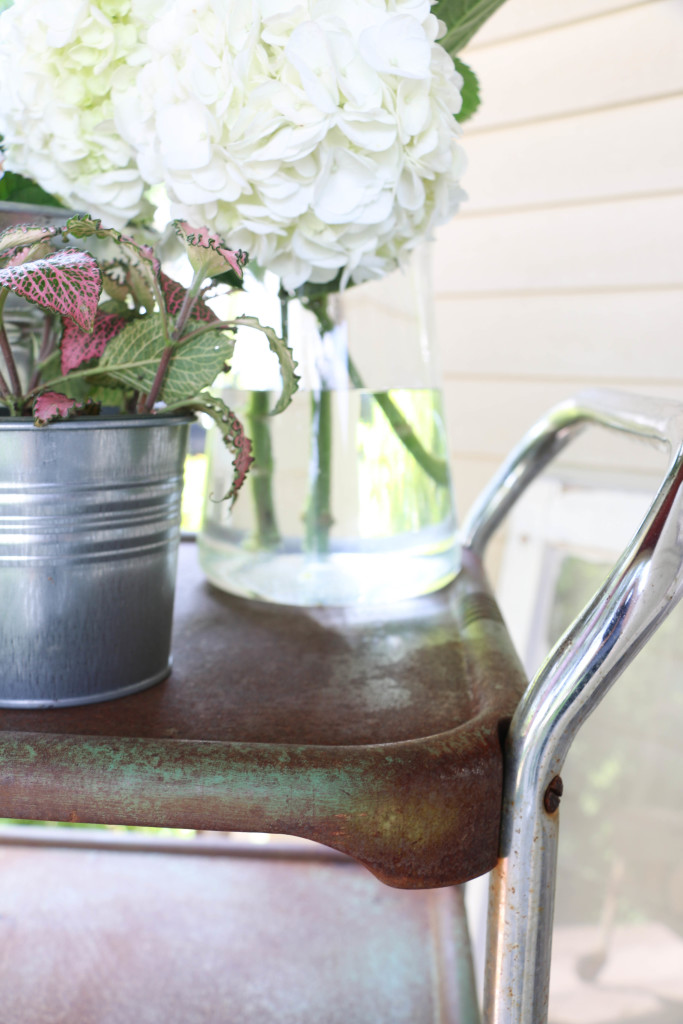
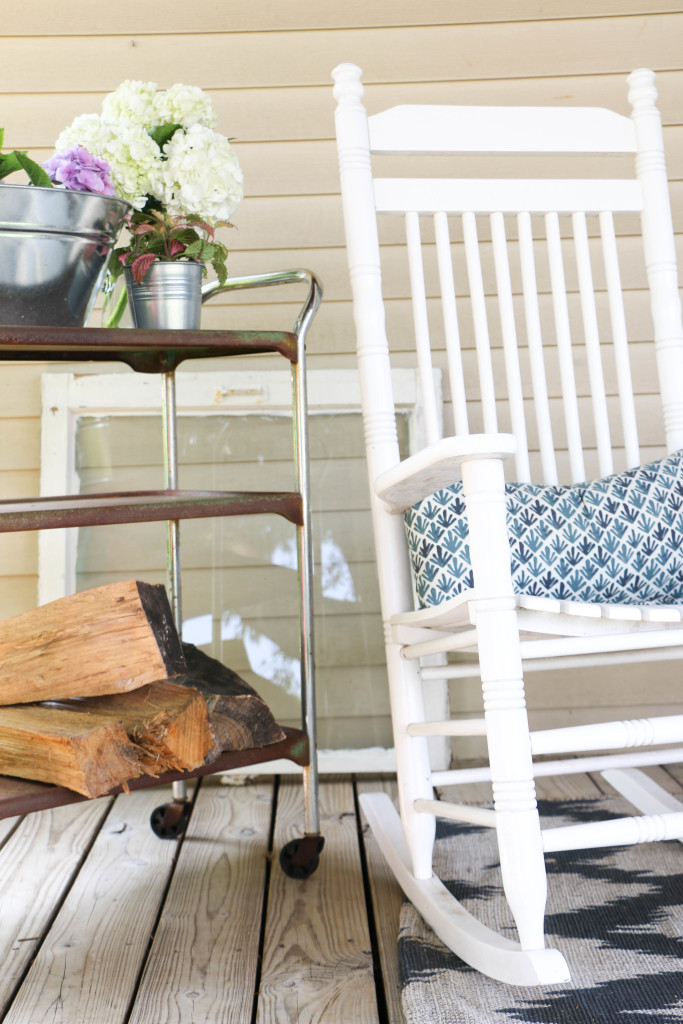
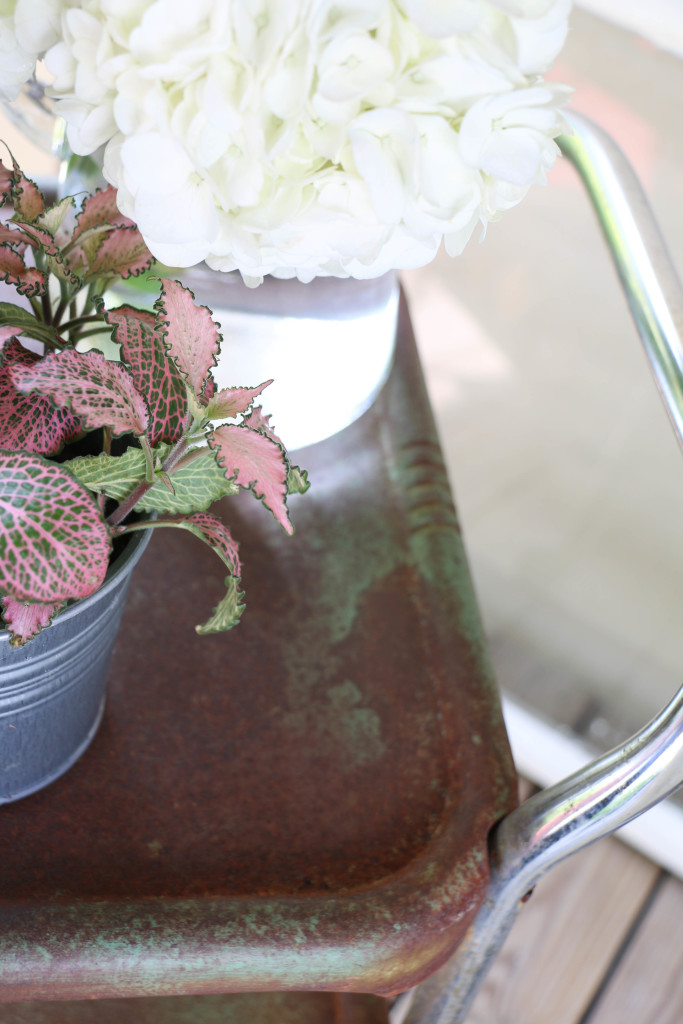
I’ve been desperately trying to keep a few plants alive (not very well, I might add), and I knew an old bar cart would be the perfect thing to house my little plants. The problem was that it was so rusty, I couldn’t even tell what color it was originally. I wanted it to be rusted, but I wanted to see if there was a way to scrub some of the rust off so that some of the original paint was exposed.

I didn’t really want to buy anything to remove the rust with, knowing I would only use it for this project (assuming it even worked) and would then be destined to cluttering the back of my cleaning supply closet. So, I figured I’d do my own thing. Recently, I shared my DIY all-purpose household cleaner, and I’m happy to report that it truly does work for all purposes. You can check out the full article in the link above, but it’s what I used to expose some of the original paint on this little cart.

I generously sprayed the cart completely. I let it sit for about an hour, spraying a bit more at that time (the Texas heat didn’t quite allow for a soak, as it just dried it up). After about two hours of the solution on the cart, I began scrubbing with the same brush we generally use to clean the grill. As I would scrub a certain spot, I would hose it down. If it needed more scrubbing, I would spray a little more solution on it, and immediately continue scrubbing.

Porch Barcart 6

Eventually I began to see little spots of green paint emerge from behind the scrub brush. I’m not going to lie and say this was super easy; it took quite a bit of elbow grease. I did intentionally stop at this point, since I wanted the cart to keep a bit of it’s rusty charm. If you have a bit more muscle than I do, you could certainly scrub off more rust than I was able to.

Porch Barcart 5

Porch Barcart 2

Porch Barcart 8

This little cart makes the porch just a little bit more cozy! And I’m absolutely thrilled with how it turned out, with it’s rusty, chippy goodness. I think once I get up from this couch, I’ll make my way out there to enjoy this little spot. Do you have something old and rusty? I’d be willing to bet you can clean it up a bit with some elbow grease and some items you have around the house!

Well, that’s all for today, friends! Have a fabulous day!

DIY Projects, Home Decor

Cable Spool Porch Table

Hi guys! Thanks for stopping by! I’m so glad you did! It means so much to me that you would take a moment of your day to stop by my little corner of the internet. Anyway, enough of the sappy stuff. Is it getting warmer where you are? I hope so! Here in Texas we’re reaching some pretty high temperatures which have me itching for two things: summer break and outdoor life!

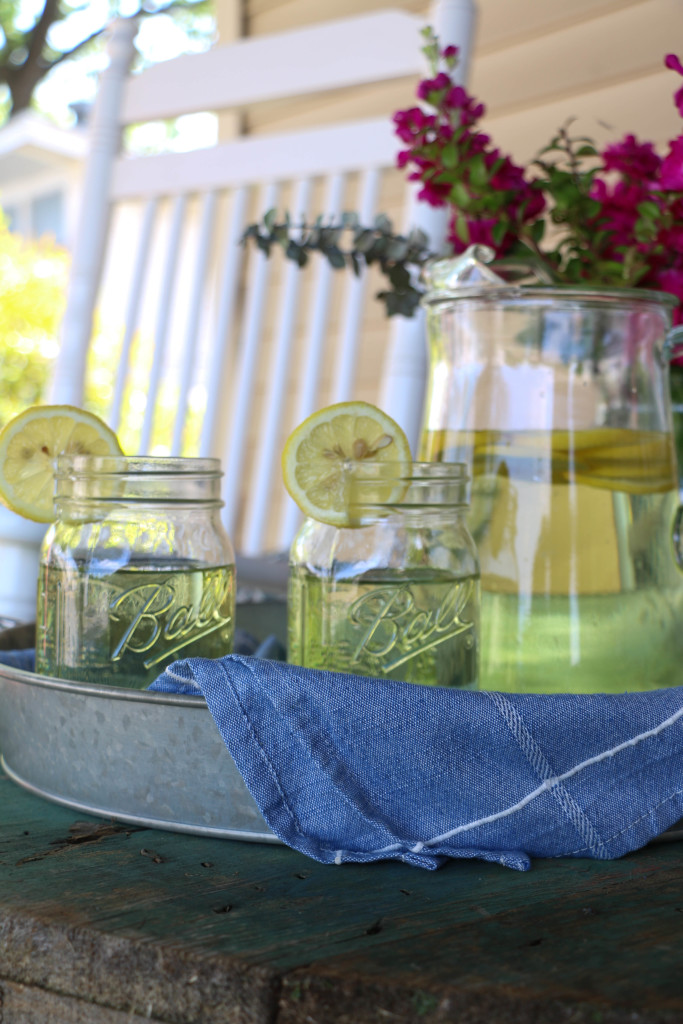
We have about six weeks left of school, but who’s counting!? 😉 We have a large front porch on our house, which is one of the only positive things about our sad little rental. I mean, for real you guys. Over summer break, I like to spend as much time on the porch as possible! Give me some magazines, some lemonade, and I’m good to go for hours!

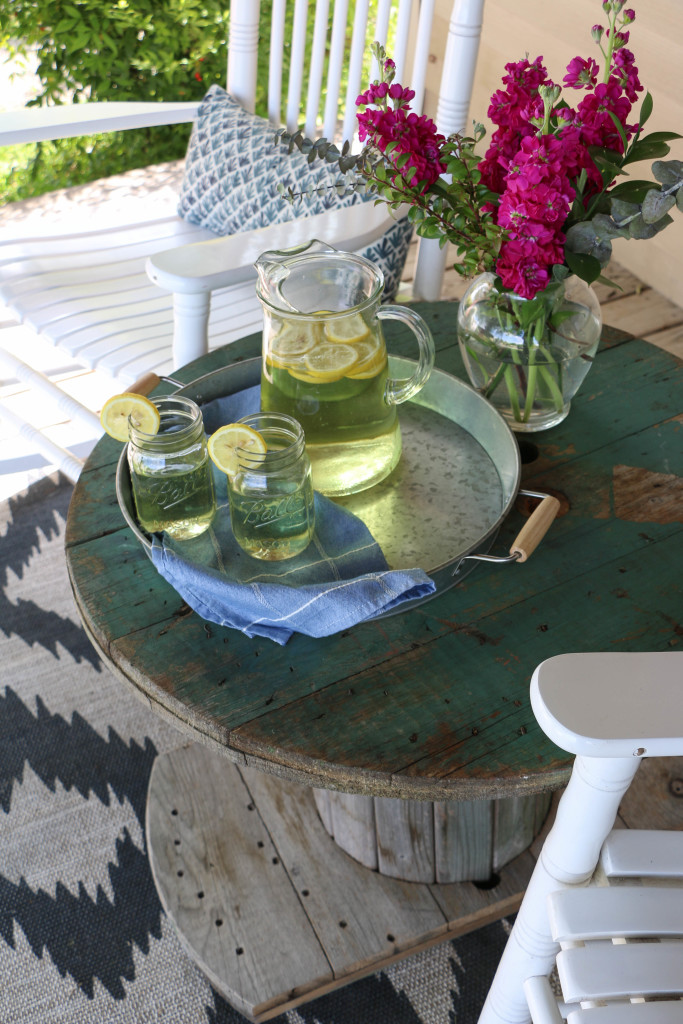
Recently, I’ve been looking for a cable spool, but I really haven’t wanted to spend a lot on it. I know that the cable spool as an outdoor table is totally not my original idea, but stick with me. I know everyone and their next door neighbor is doing this, but I still wanted to share. The table we had on our front porch previously was a small glass top one, maybe only 18 inches across. It wasn’t really large enough to place a lot of stuff on it, which is why I was looking for a cable spool to use as a table.

For the past few months I’ve been looking, but I’ve only been able to find them for about $60, which was more than I wanted to spend on a piece like this. So imagine my delight when I found one on the side of the road for free?! Ethan was driving, and I totally made him do a real quick turn around to scoop that bad boy up. It was actually a little scary looking because there was some additional wood attached to the top, and several pieces of wire wrapped around various parts on the spool. I just cut off the wire and pried off the pieces of wood that were nailed to the top. Ain’t no thing.

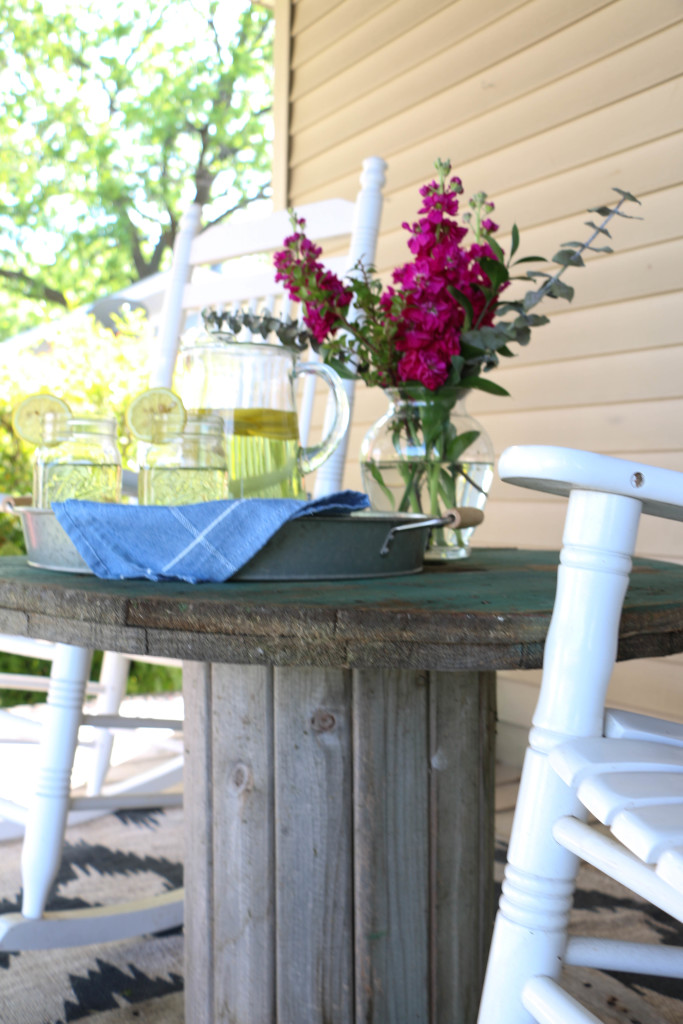
So, without further ado, here’s what our front porch looks like now:

cable spool table 3

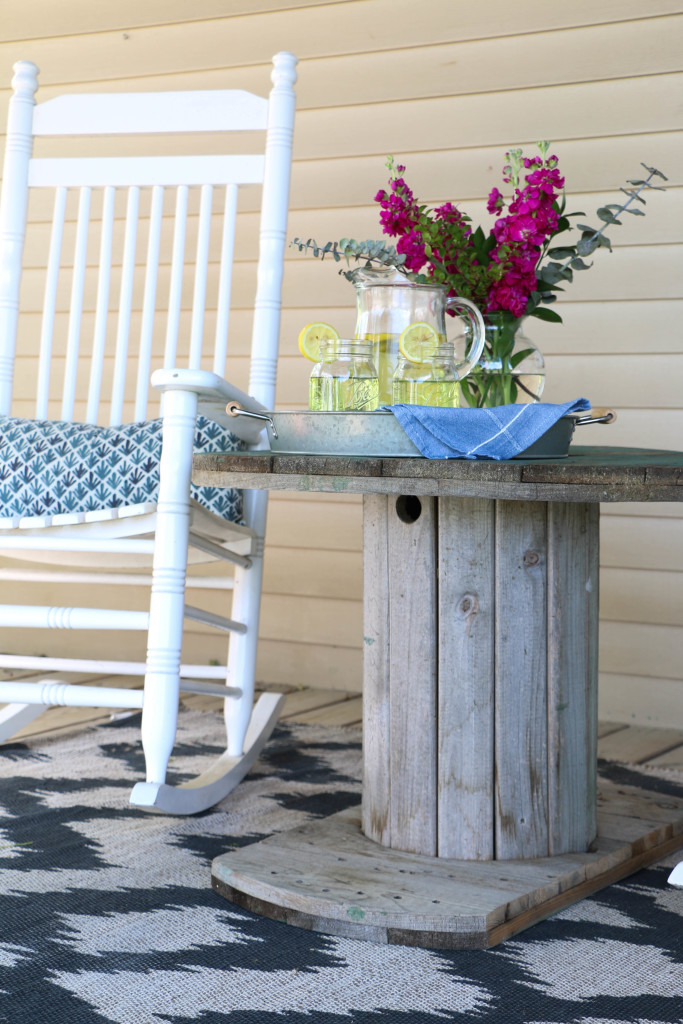
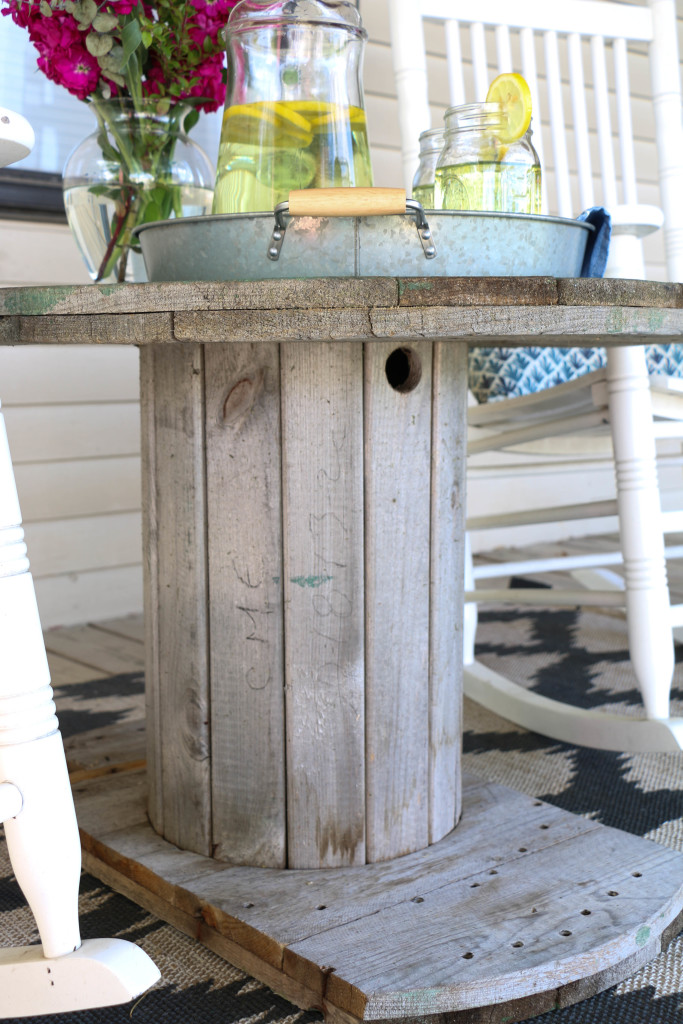
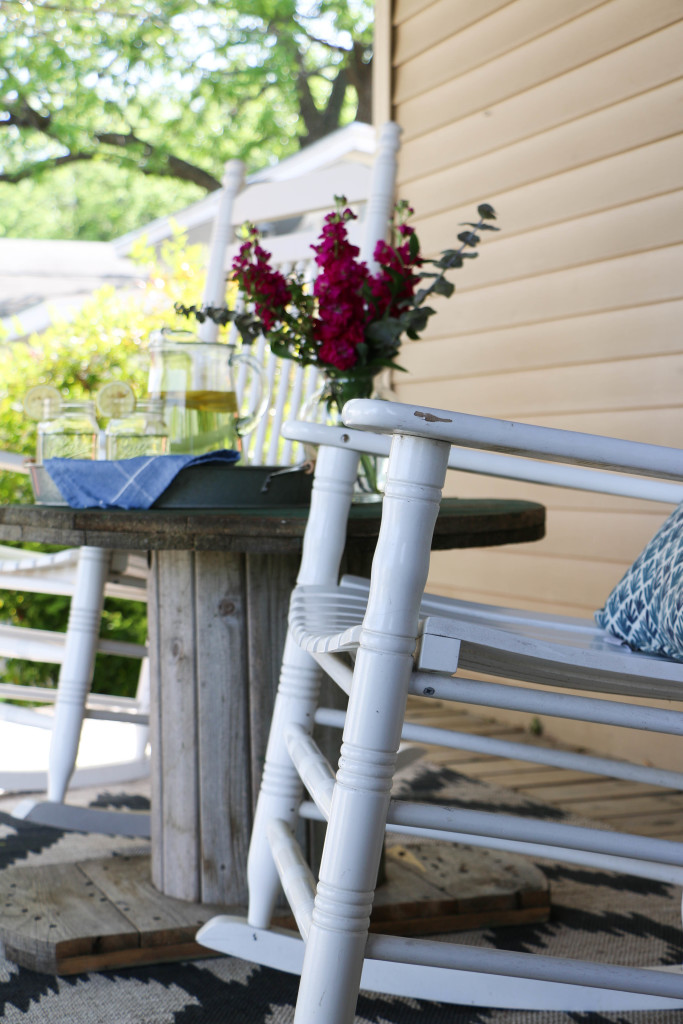
You might notice that the bottom piece it not a full circle. I actually found it this way, and was a little disappointed at first until I realized how much better this actually is. Since we have rocking chairs, the narrow bottom actually allows the chairs to fully rock while still being close to the tabletop.

cable spool table 5

There’s so much more room on the surface than there was on the old table, I’m loving it! I can just imagine some plates out here, maybe a little pie….I don’t know where pie came from. I’m just really ready for summer, okay?!

cable spool table 9

cable spool table 8 cable spool table1

If you have your own cable spool, I would reccomend cutting the bottom to be more narrow.

cable spool table 6

cable spool table 4

I case you were wondering, the rug is from Hobby Lobby, the chairs are from Cracker Barrel, the pillows are from Target, and the serving tray is from Walmart. This little outdoor area is fresh and cheery, and I cannot wait to get out here and enjoy myself. Especially since I’m so close to endless lounging during my carefree summer break. Ahhhh, summer. Alright, I’ll stop now y’all, I promise.

So what do you think of the cable spool as an outdoor table? Is this a trend you’re willing to go along with? I will say that even Ethan loves it! I am sensing some meals eaten out here together, and I cannot be more excited about that! That’s all for today, friends. Have a fabulous day!

Home Decor

How to Make Grocery Store Flowers Look Expensive

Hi you guys! I’m so glad you stopped by today! I feel like I haven’t been able to consistently post for a while, but I have a ton of ideas for some upcoming posts that I’m super excited about! I was thinking about it the other day, and I realized that it was almost exactly one year ago today that I started this little blog and posted my very first post! Since then I have shared some really fun projects that I’m proud of, as well as a few personal pieces. In the next year, I want to continue to add more things here on the blog that encompass more things that I love, branching out a little bit from my main focus which has been DIY projects. I hope you don’t mind!

So today I wanted to share with you a recent hobby that I’ve taken on (which if you can’t tell by the title, is all about flower!). I’ve always loved florals, and when I grocery shop, I usually pick up an inexpensive bunch of flowers and stick them in a vase. For my wedding, I did my own flowers (which were admittedly pretty simple), and since then, I’ve been a little obsessed with floral design. Now, I am in absolutely no way any type of professional, nor do I even really know what I’m doing. All I know is that when I buy a four dollar bunch of flowers from the grocery store, it doesn’t look the same as the pretty floral arrangements I find on Pinterest.

With a little bit of fun experimentation, I’ve been able to figure out how to make the florals I buy at the grocery store a little bit more expensive looking (without the high florists’ price tag). Here’s what I do:

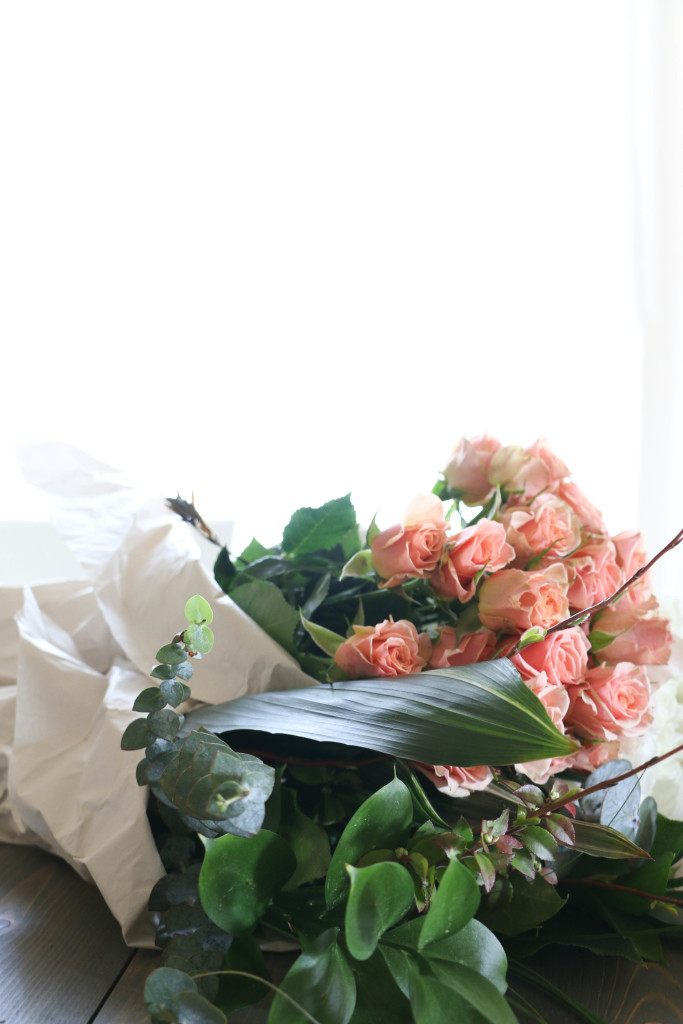
floralbuch1 floralbunch2

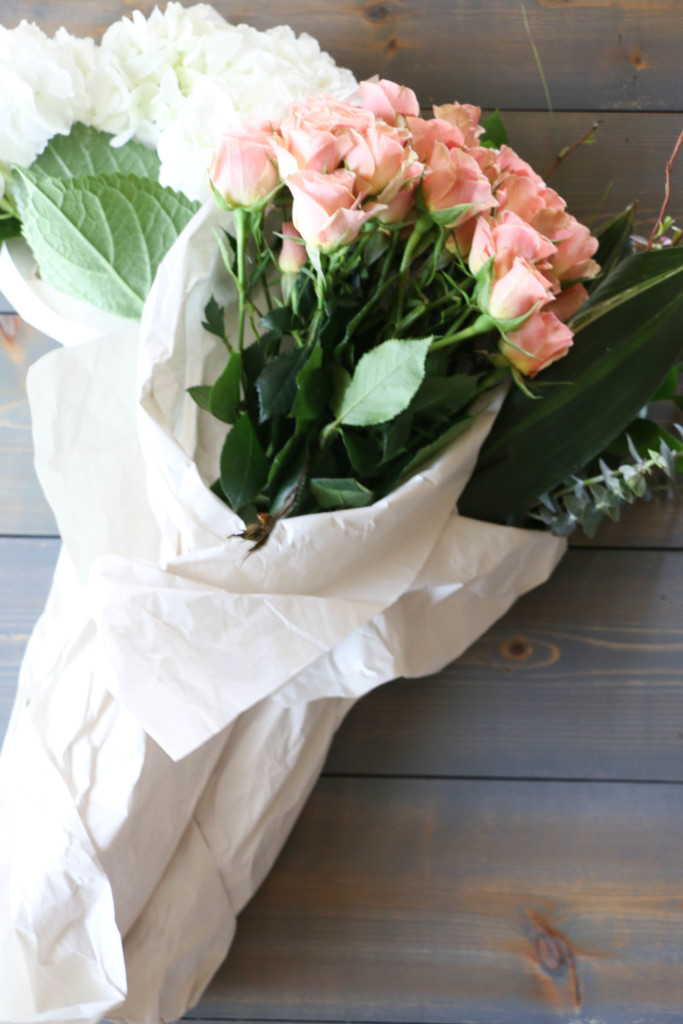
I purchased a few hydrangeas, a bunch of mini pink roses, and a bunch of greenery. I like the mini roses simply because they are much cheaper than the large ones. Most bunches of individual types of flowers at my grocery store are just a few dollars. I tend to stay away from the pre-made bouquets, because they can get procey pretty quickly.

I like to make a floral arrangement from one basic large flower type, one smaller flower type, and some greenery. This is just my personal opinion, and I’m sure someone who has some actual floral knowledge might cringe reading this, but it’s just what works for me.

So here’s what I came up with:

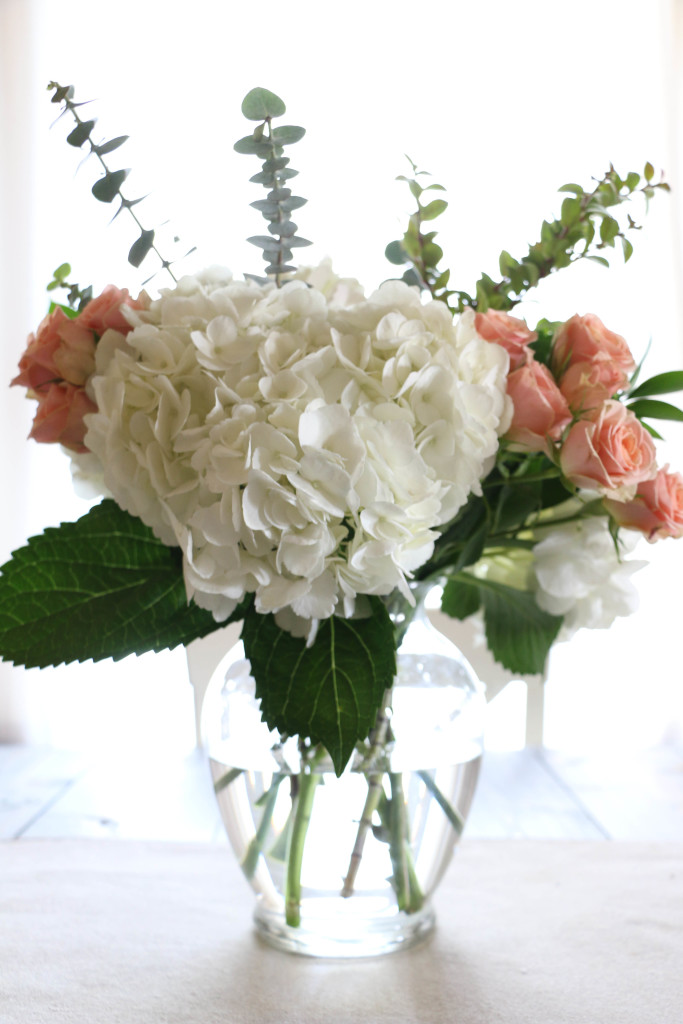
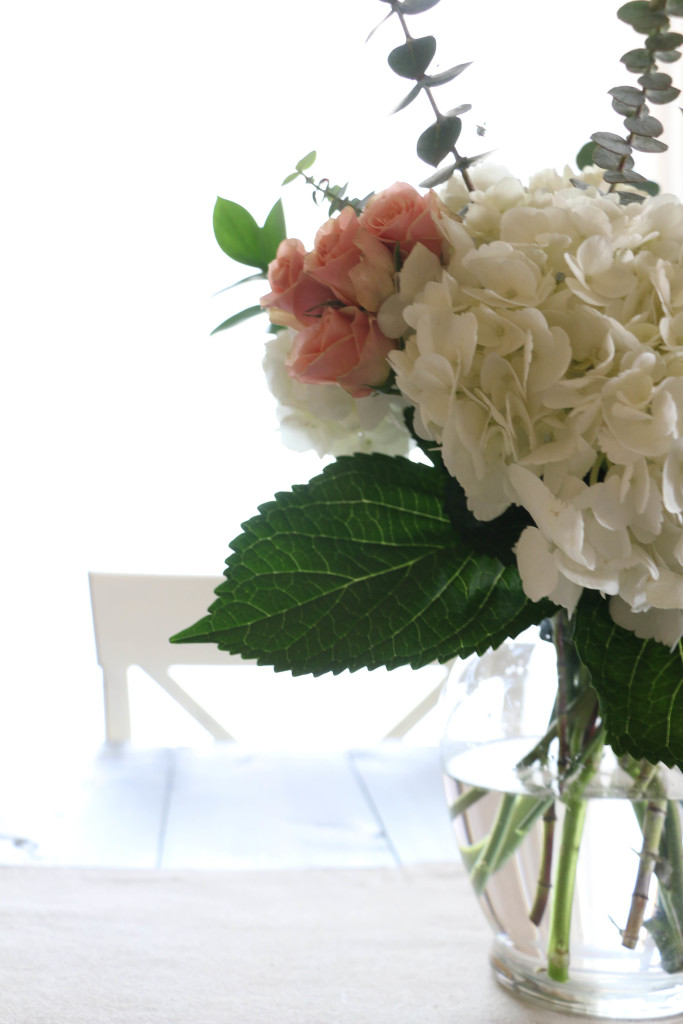
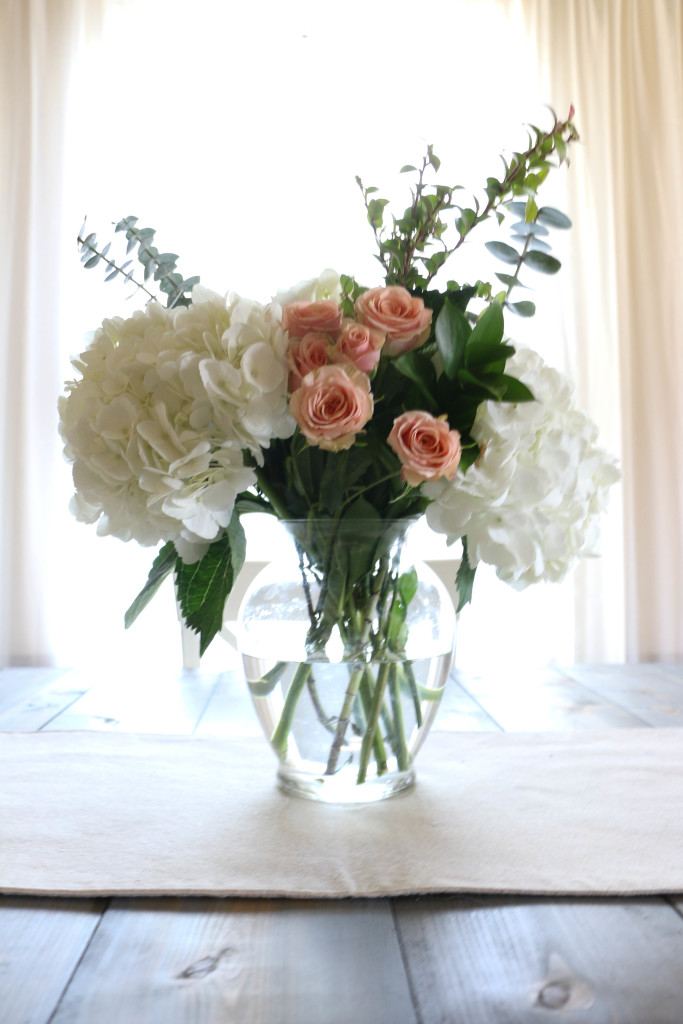
floralarrangement3floralarrangement5floralarrangement4 floralarrangement1

Like I said before, I have no experience with arranging florals other than just for fun, but boy is it fun! Keeping flowers in the house is a simple way to brighten the room, and I love the way this arrangement looks! For this arrangement, I placed the hydrangeas in the vase first, and then added small bunches of roses, followed by the sprigs of greenery. I usually just mess around with arranging it in different ways until I loke the way it looks. I don’t follow any proportion rules, but I think it looks pretty good (if I do say so myself, 😉 ).

How about you? Have you ever played around with florals? It sure is fun! I’d love to hear all about it! That’s all for today friends, have a fabulous day!

Capture

DIY Projects, Home Decor

Easy DIY Wreath Vignette

Hello friends! I hope you’re having a great day! Today is my first day of spring break and let me tell you – it is fabulous! I love being able to wake up when I want to with no worries about what to do for the day! Not to make you completely jealous if you do have to go into work today. Sorry!
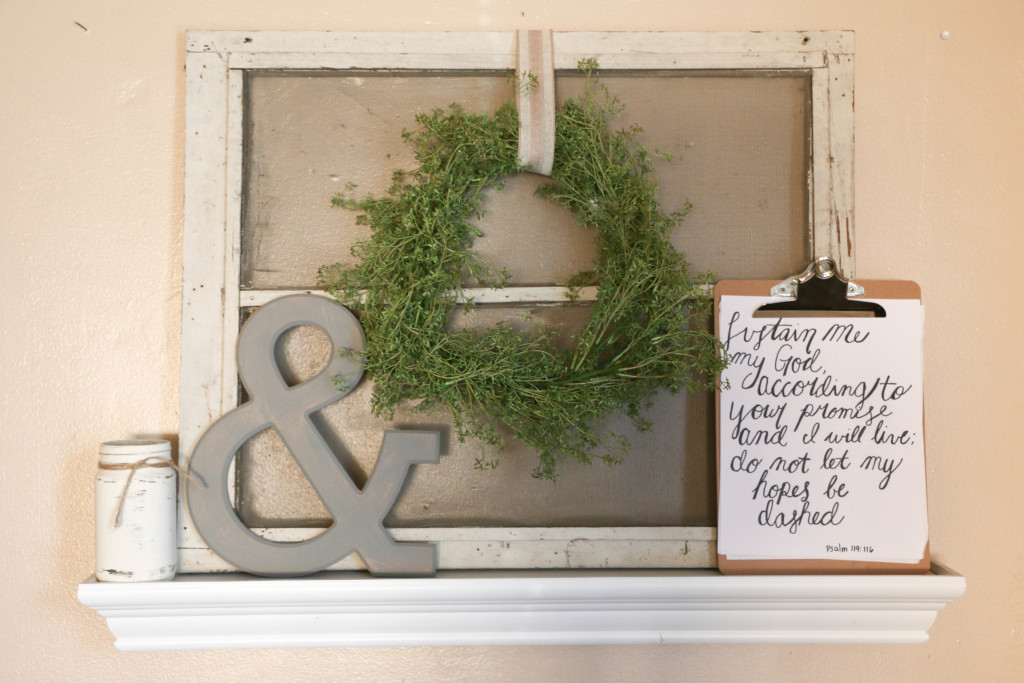
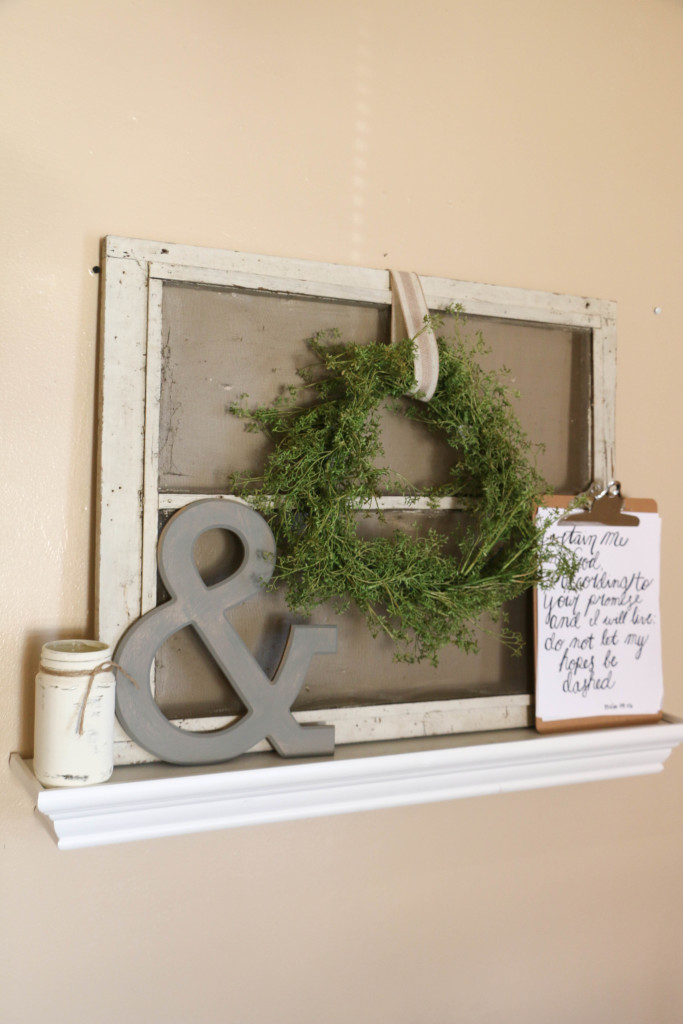
Anyway, I hope to complete a bunch of projects this week while I’m off work, this being the first of them. Last weekend, Ethan and I went to Canton Trade Days (my favorite flea market in the area) with his parents. We had  a great time and I brought home a few new treasures. One of which was this little screen window. I liked it because it’s a little different than the typical glass window panes everyone is using everywhere.

I brought it home, a little unsure of where to use it. But when you love it, you buy it, right? I sat on it for a few days before ultimately putting this together:

DIYWreath3

The little shelf there was an from an existing vignette, but it had just become a little bit out of my style. There had been a lot of gold in the previous vignette, and I think metalics are slowly phasing themselves out of my decor. Which I’m totally fine with.

DIYWreath7

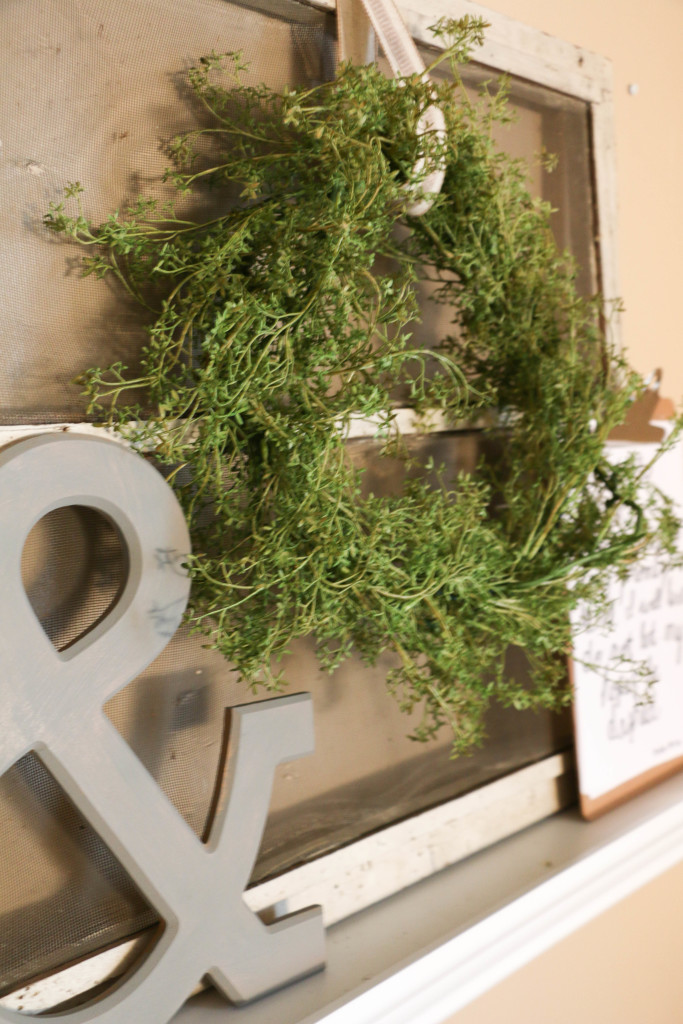
What I really want to talk to you guys about is this little wreath. I made it completely out of items I had at home. I used what used to be a leafy garland, and a coathanger! Yes, you read that correctly, a coathanger! I got the idea from my fifth grade teacher. That sounds super weird, I know. But as I was thinking about what to do with this area, I remembered a peppermint wreath I made in fifth grade as a Christmas project made from (you guessed it): a coathanger.

I found a small drycleaners hanger (the thin metal ones) and began sto stretch it into a circular shape. It didn’t have to be totally perfect, since the garland kind of disguised the hanger anyway. I used wire cutters to cut off the part of the hanger that actually hangs over the rod. You know, the part that looks like a question mark? I’m sure there’s a more official term, but obviously I don’t know it. Whatever.
DIYWreath2

I wrapped the garland around the wreath form, and it fit about two times exactly. Easy enough. I didn’t even secure it with anything, I just sort of twisted it into itself and around the wire.
DIYWreath4

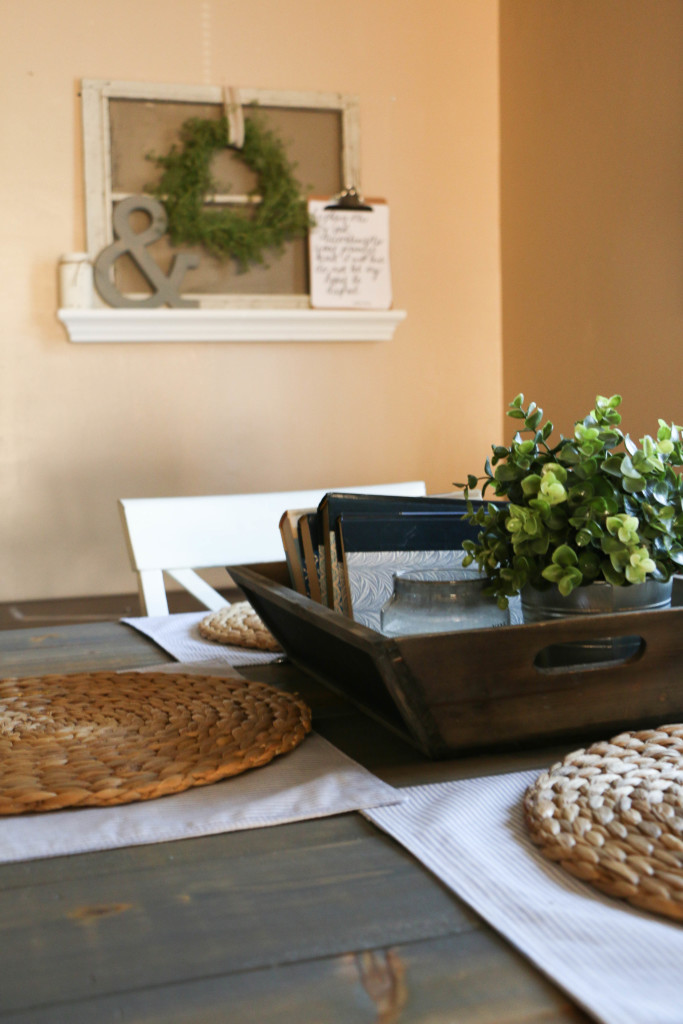
Here’s how it looks from our dining room table. I am loving the vibe it gives in here. It has a much more simple and monochomatic feel, which I love. Much better than the metallic party that was happening before.

DIYWreath1

DIYWreath5

In case you were wondering, the garland, the shelf, and the ribbon are both from Hobby Lobby, and everything else has been found/and or made by me. Thanks for stopping by today, I appreciate it so very much! Let me know what you think of this little project in the comments below.

That’s all for today, friends. Thanks for stopping by!

DIY Projects, Home Decor, Tutorials

DIY Boxwood Topiary

Hi you guys! I’m so glad you stopped by today! I don’t know if it’s feeling spring like where you are, but here in North Texas it definitely is! I was coming into the house after work the other day and I noticed little green buds popping up in the tree in the front yard. There’s no better sight! Not to mention that the weather has been warming up, which means it’s closer to time for front porch and grilling! I think it’s safe to say that spring is my favorite season (and it’s not just because I have a spring birthday…)!

Today I want to share with you guys a super fun super cheap DIY that totally has me ready for spring. I’ve been adding pops of greenery in the house everywhere, whether it be fresh flowers, or faux greenery I’ve collected from Ikea. I’ve been eyeing some of those adorable boxwood topiaries that seem to be everywhere (okay, maybe just Target and HomeGoods, but everywhere important!), but with my monthly free spending allowance, it didn’t seem worth it to pay for them. I’ve seen some at multiple places, usually anywhere from $20 – $30. Which isn’t a ton of money, I know. I’m just Cheapster McGee, as you all already know.

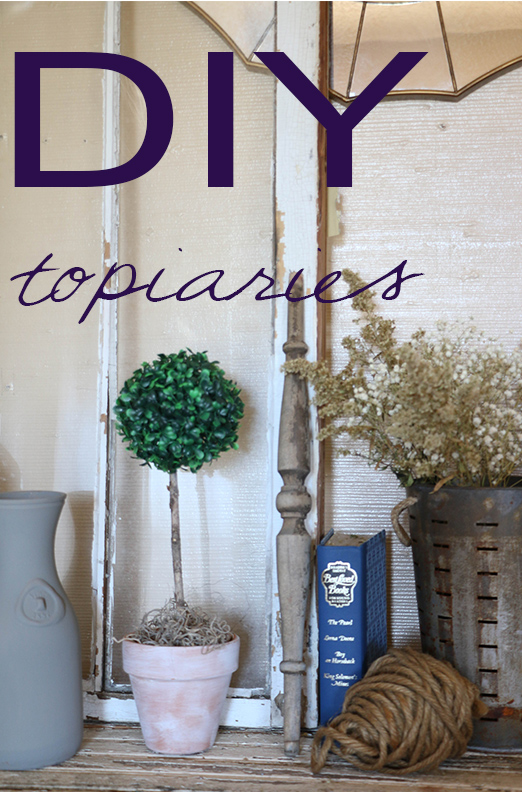
So I did what I do best, which is set out to make my own DIY version. So here’s what I came up with:

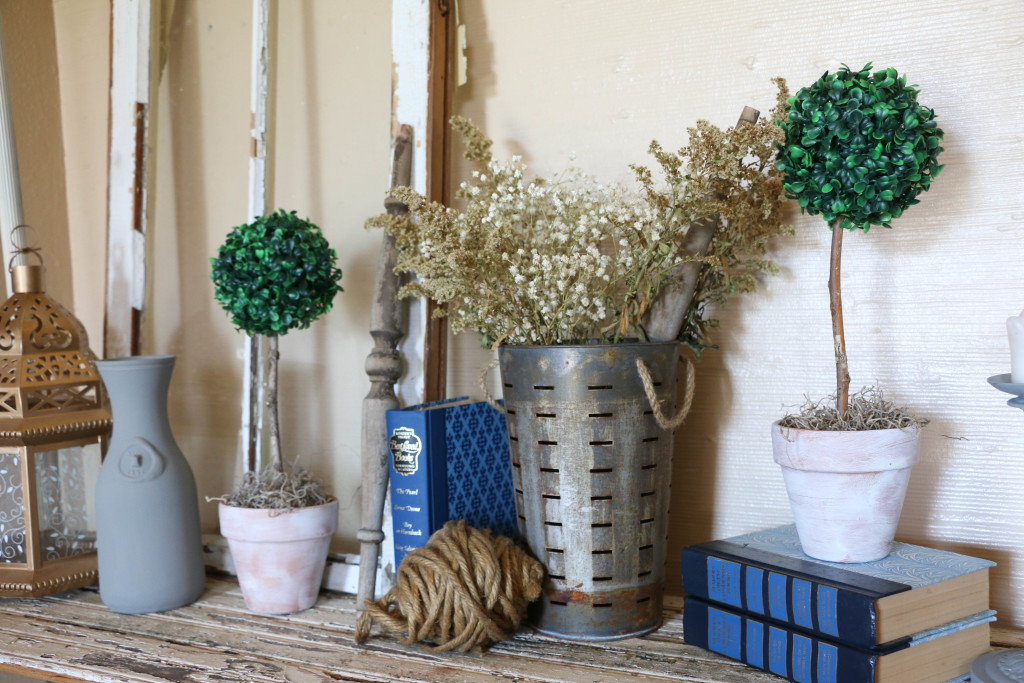
Topiary1

This is a very basic little craft that cost me just a few bucks.

Topiary7

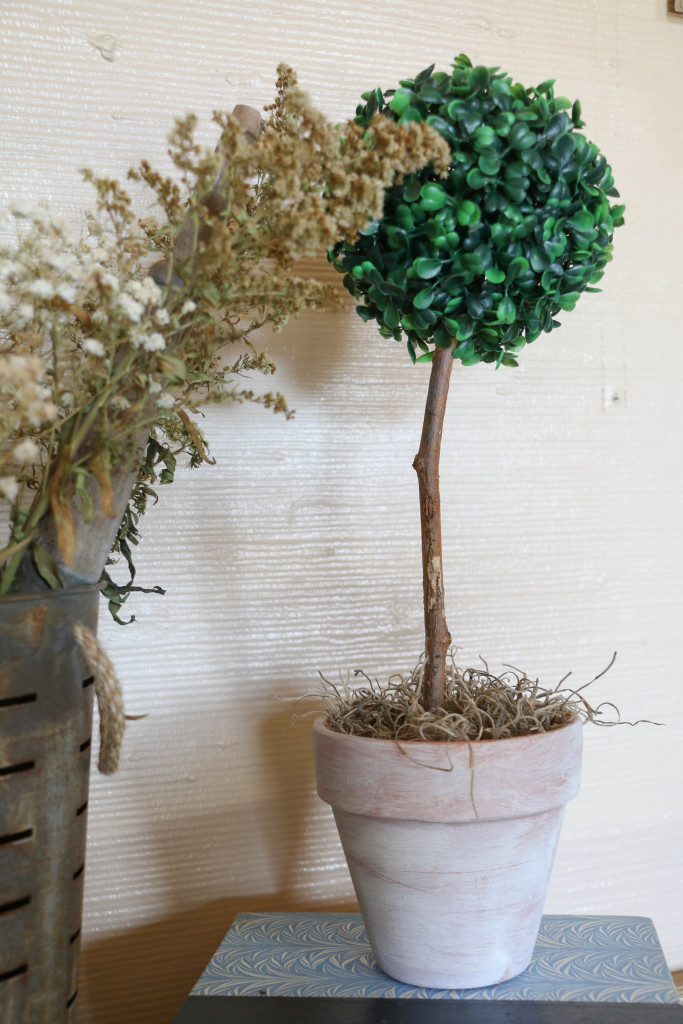
I purchased all of my supplies at Hobby Lobby. The pots were under two dollars, and the boxwood balls (I’m fairly certain that’s not an actual phrase) were about five dollars for both, as they were seasonal clearance.

Topiary4

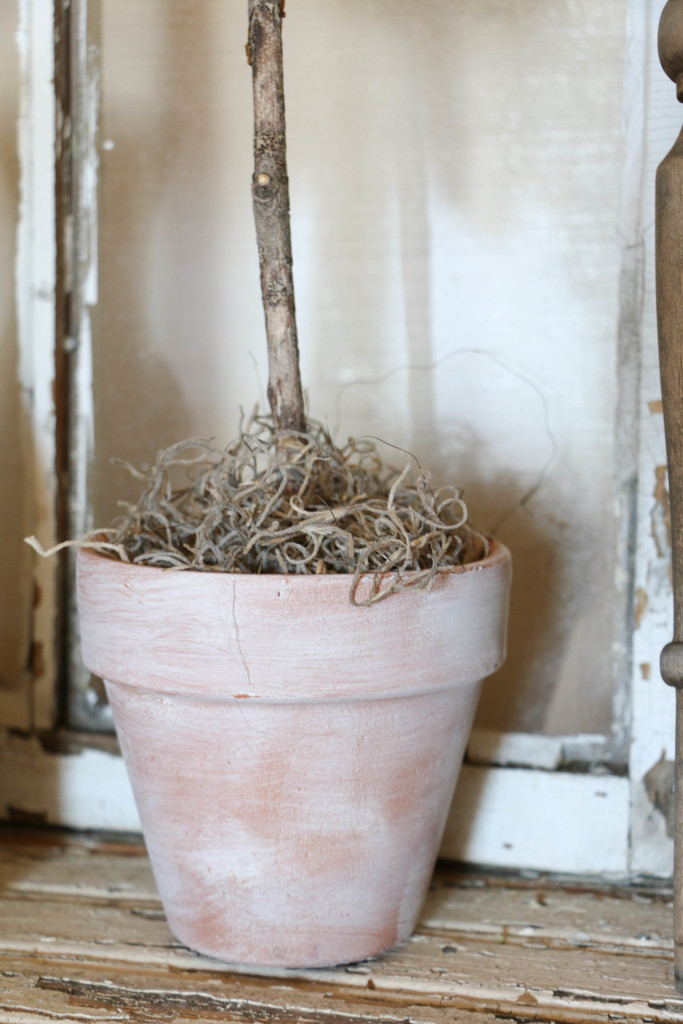
The rest of the supplies I had on hand. First, I put a coat of wax on the pots, mainly because I had never used strictly wax on something before, and I wanted to see how it would turn out. Since it was clear wax, it didn’t change the color at all. Duh, I should have known. However, I then immediately did a quick drybrush over the wax coat. Because the wax was not yet dry, it allowed me to wipe the whole thing with a rag, giving me the unfinished look I was going for.

Topiary3

I used sticks (the free kind from the front yard) and hot glued them to the bottom of my pot. The pots had a small hole in the bottom, which I covered with a small piece of duct tape so that the glue wouldn’t come out the bottom. After a few minutes, I filled in the pot with Spanish moss, something I had on hand already.

Topiary8

The boxwood balls have sort or a net texture under the leaves, which was perfect to just wedge them onto the stick. I did add a dab of hot glue just to keep them in place. Including paint and dry time (they dried incredibly fast, since I used my drybrushing technique), this project took me about fifteen minutes.

The cost of supplies I had to purchase was about seven dollars, making these cute little topiaries about $3.50 each. As opposed to the $20-$30 range. So I consider this little DIY a definite win.

I love how the fresh, springlike vibe they have. Even Ethan commented on how cool they looked, so I’m pretty pleased with how this one turned out. I think the best part is how well they’ll transition into summer as well. I do hope you try this one! It was definitely a fun project for me, and just about anyone can do this!

I hope you have something awesome planned for today! That’s all for today! Have a fabulous day, friends!

DIYTopiaries

Home Decor

Valentine’s Day Styling and a Free Printable

Hey you guys! I hope you’re doing well! Can you believe how quickly we’ve flown through the month of January?! I’m not going to lie, but springtime is already on my mind. Obviously I’m a bit premature, but the tempuratures have been in the seventies the past few days, and the birds have been chirping in the mornings when I’m waking up. It’s a beautiful feeling y’all. I’m sure it’ll turn cold again, but for now I’m enjoying the hint of spring. Anyway, now that January is coming to an end, Valntine’s Day is just around the corner!

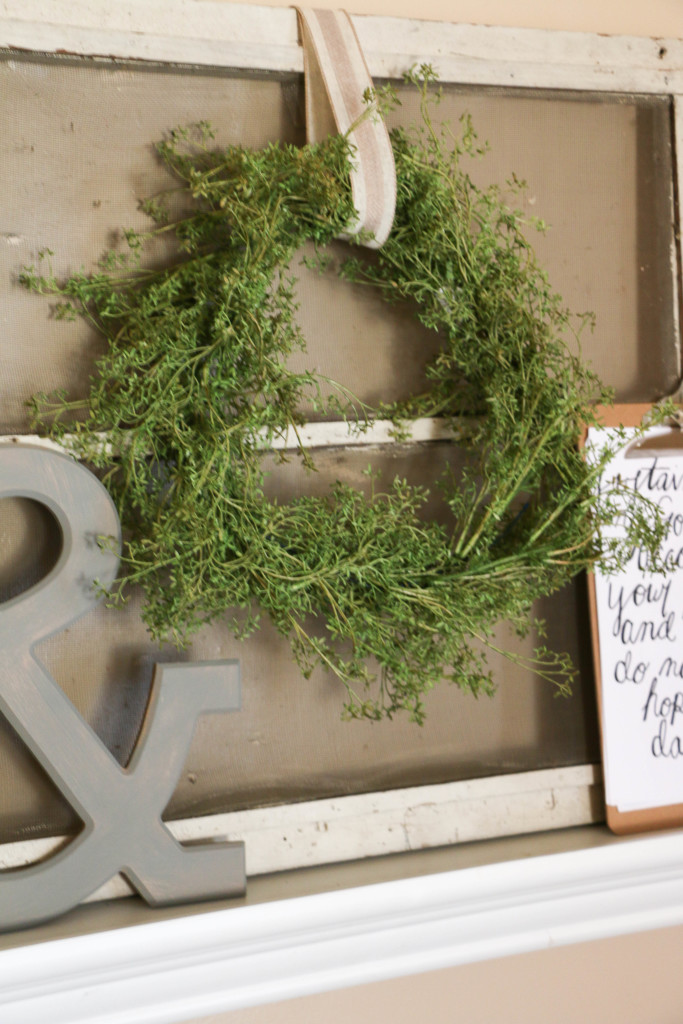
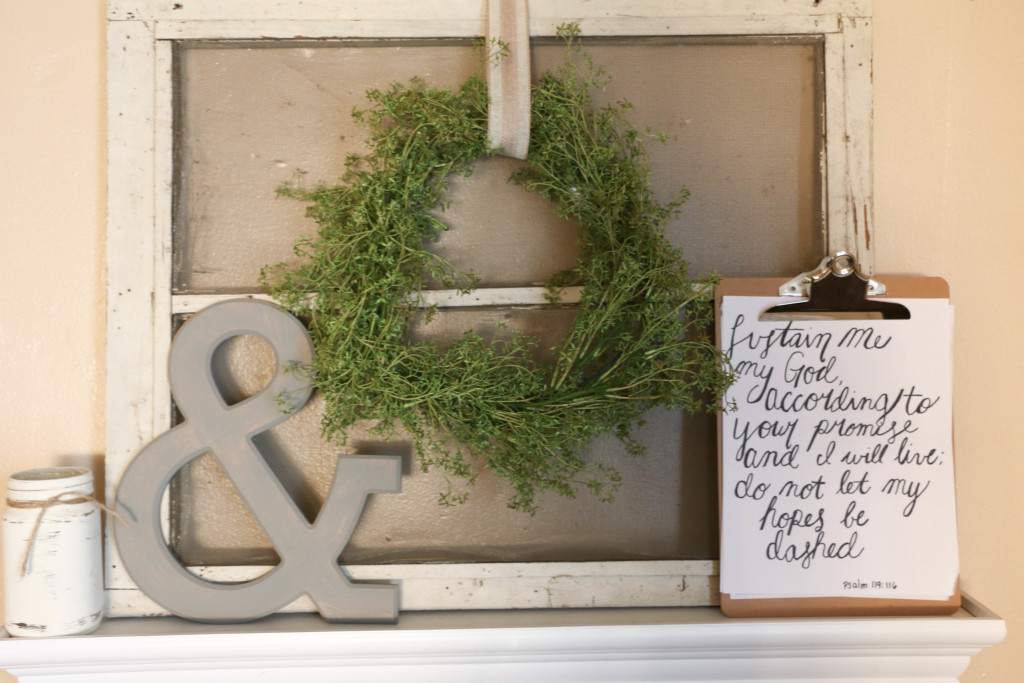
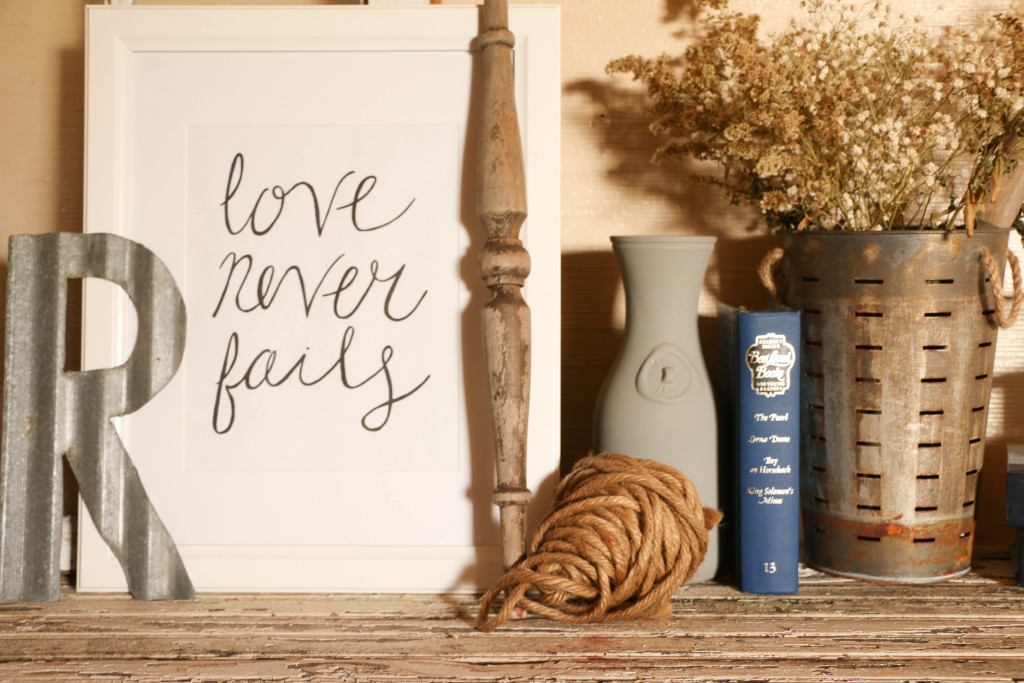
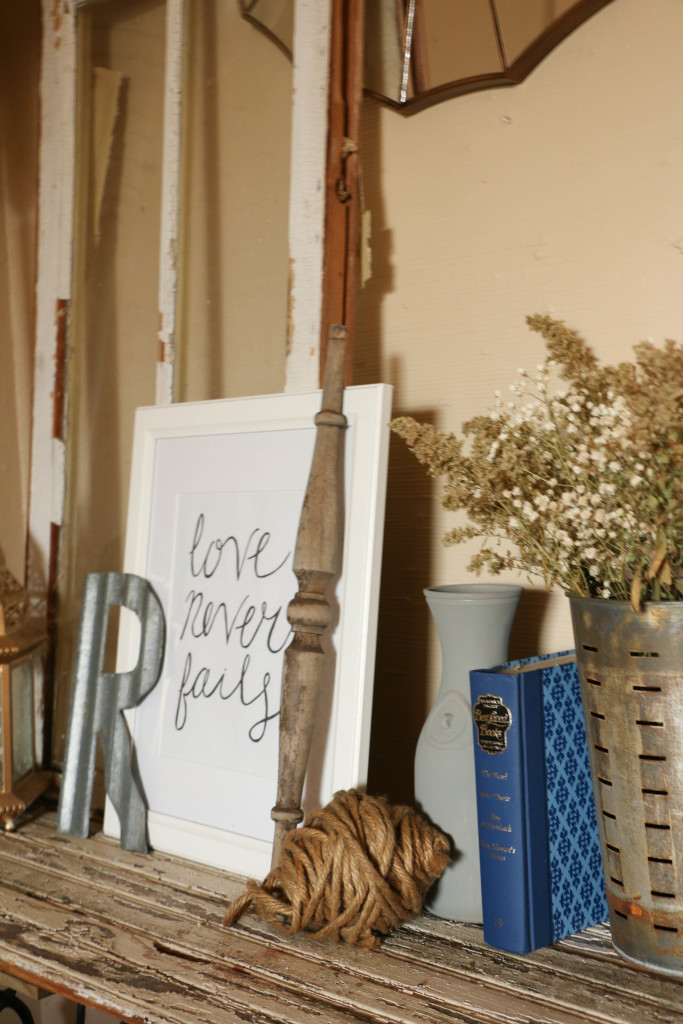
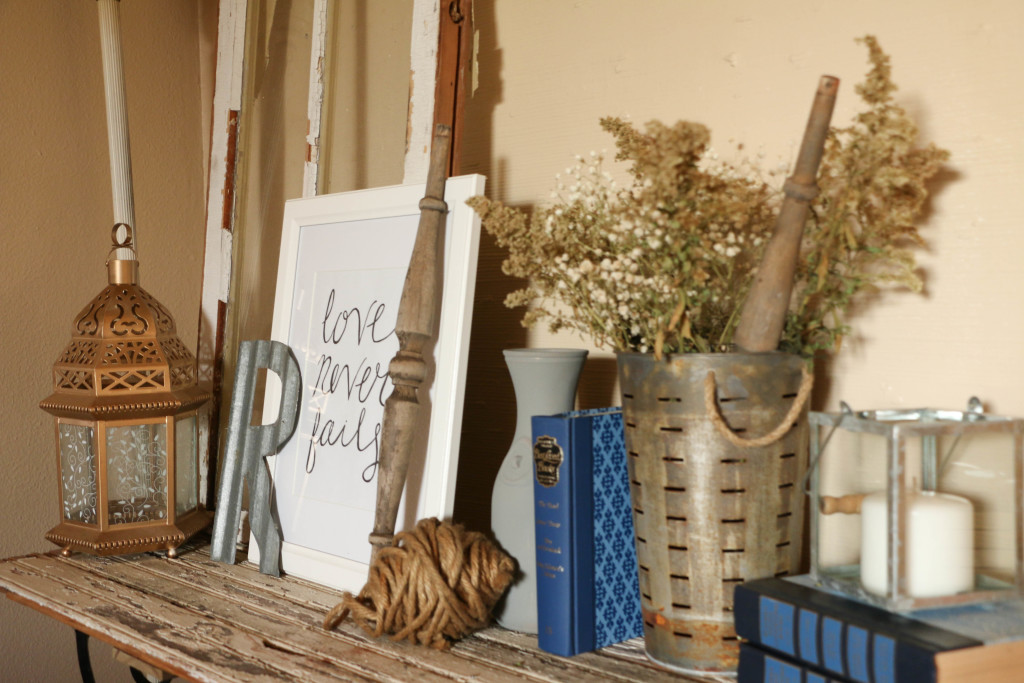
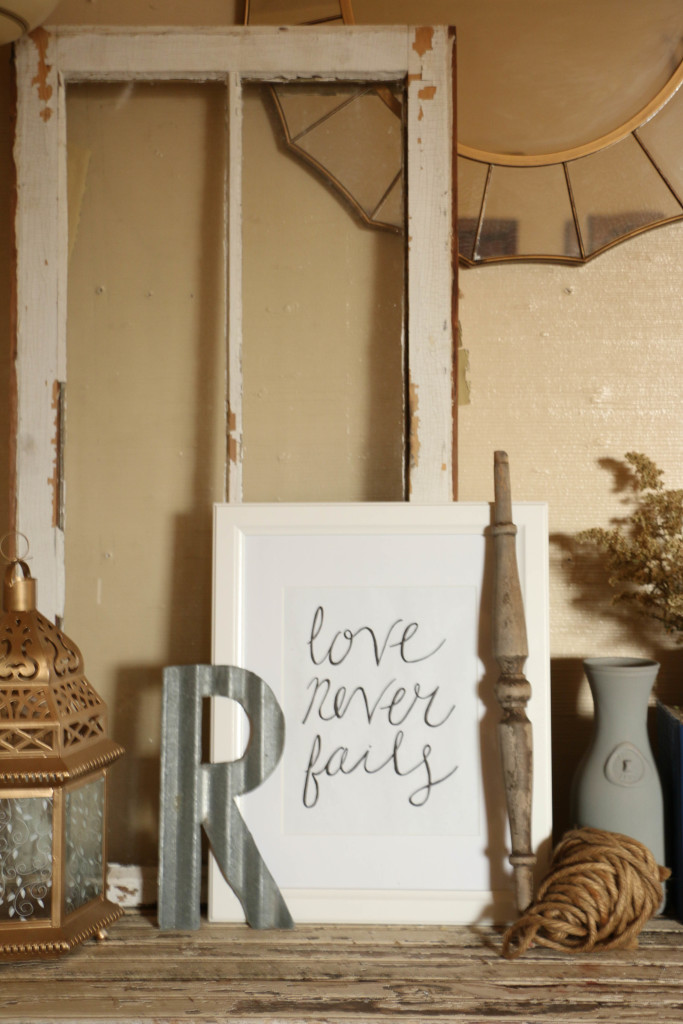
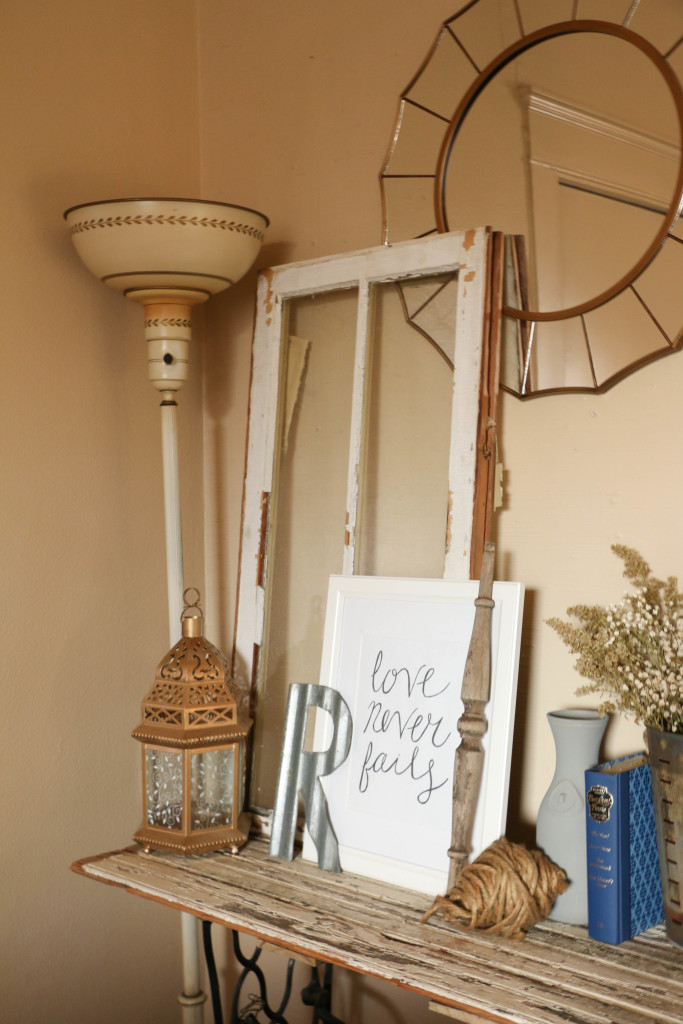
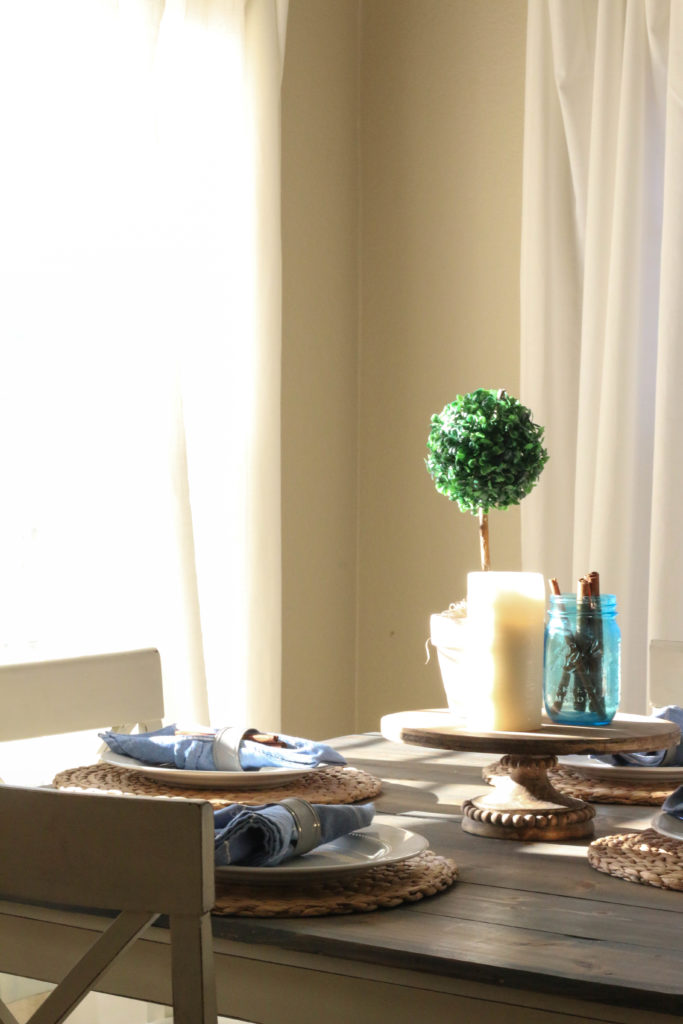
Now, I’ll be the first to say that Valentine’s Day decorating is not really my thing. I”m just not into the bright colors and seasonally distinctive decor, especially right after all the Christmas decor has come down. I did however, want to give a little nod to the upcoming holiday in the most neutral way possible. I hand lettered this print you see here one evening.

shelf8 shelf5

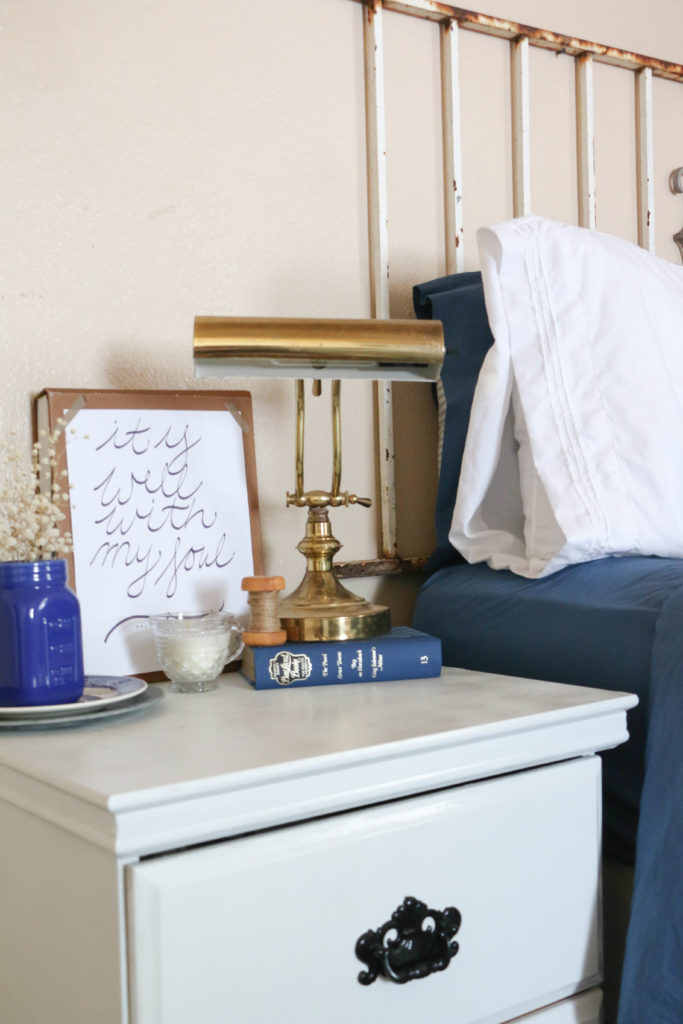
Although it’s not technically Valentines-y, I do think it gives a little nod to the theme of the holiday, and it doesn’t hurt that it comes from a favorite passage of scripture.

shelf6 shelf3 shelf2

I’m definitely going to leave this up after Vaentine’s Day though, because I think it works well in all seasons. Which, in my opinion, makes the best decor. The less stuff I have to change out after each holiday, the better.

I wanted to share with you guys this little print that I made. I’ve never done this (or anything like this before), but I wanted a way to share my new hobby with y’all. My writing is totally imperfect, and this print IS handmade, but if there’s someone out there who doesn’t mind the imperfections, then I think it’s worth sharing. I’m always looking for cheap ways to decorate my home, and hand lettered notes have become my go-to accessory.

If you’d like your own downloadable copy, you can click here. Mine is printed in an 8×10 format, but it will look great as a 5×7 print too. Thanks for letting me share my little hobby with y’all. I’d love to know how you’d use this little print in your own home.

Well, I’m off to run some errands, I hope you have some fun things planned today! That’s all for today friends, have a fabulous day!