Browsing Category

DIY Projects

DIY Projects, Home Decor

Easy DIY Wreath Vignette

Hello friends! I hope you’re having a great day! Today is my first day of spring break and let me tell you – it is fabulous! I love being able to wake up when I want to with no worries about what to do for the day! Not to make you completely jealous if you do have to go into work today. Sorry!

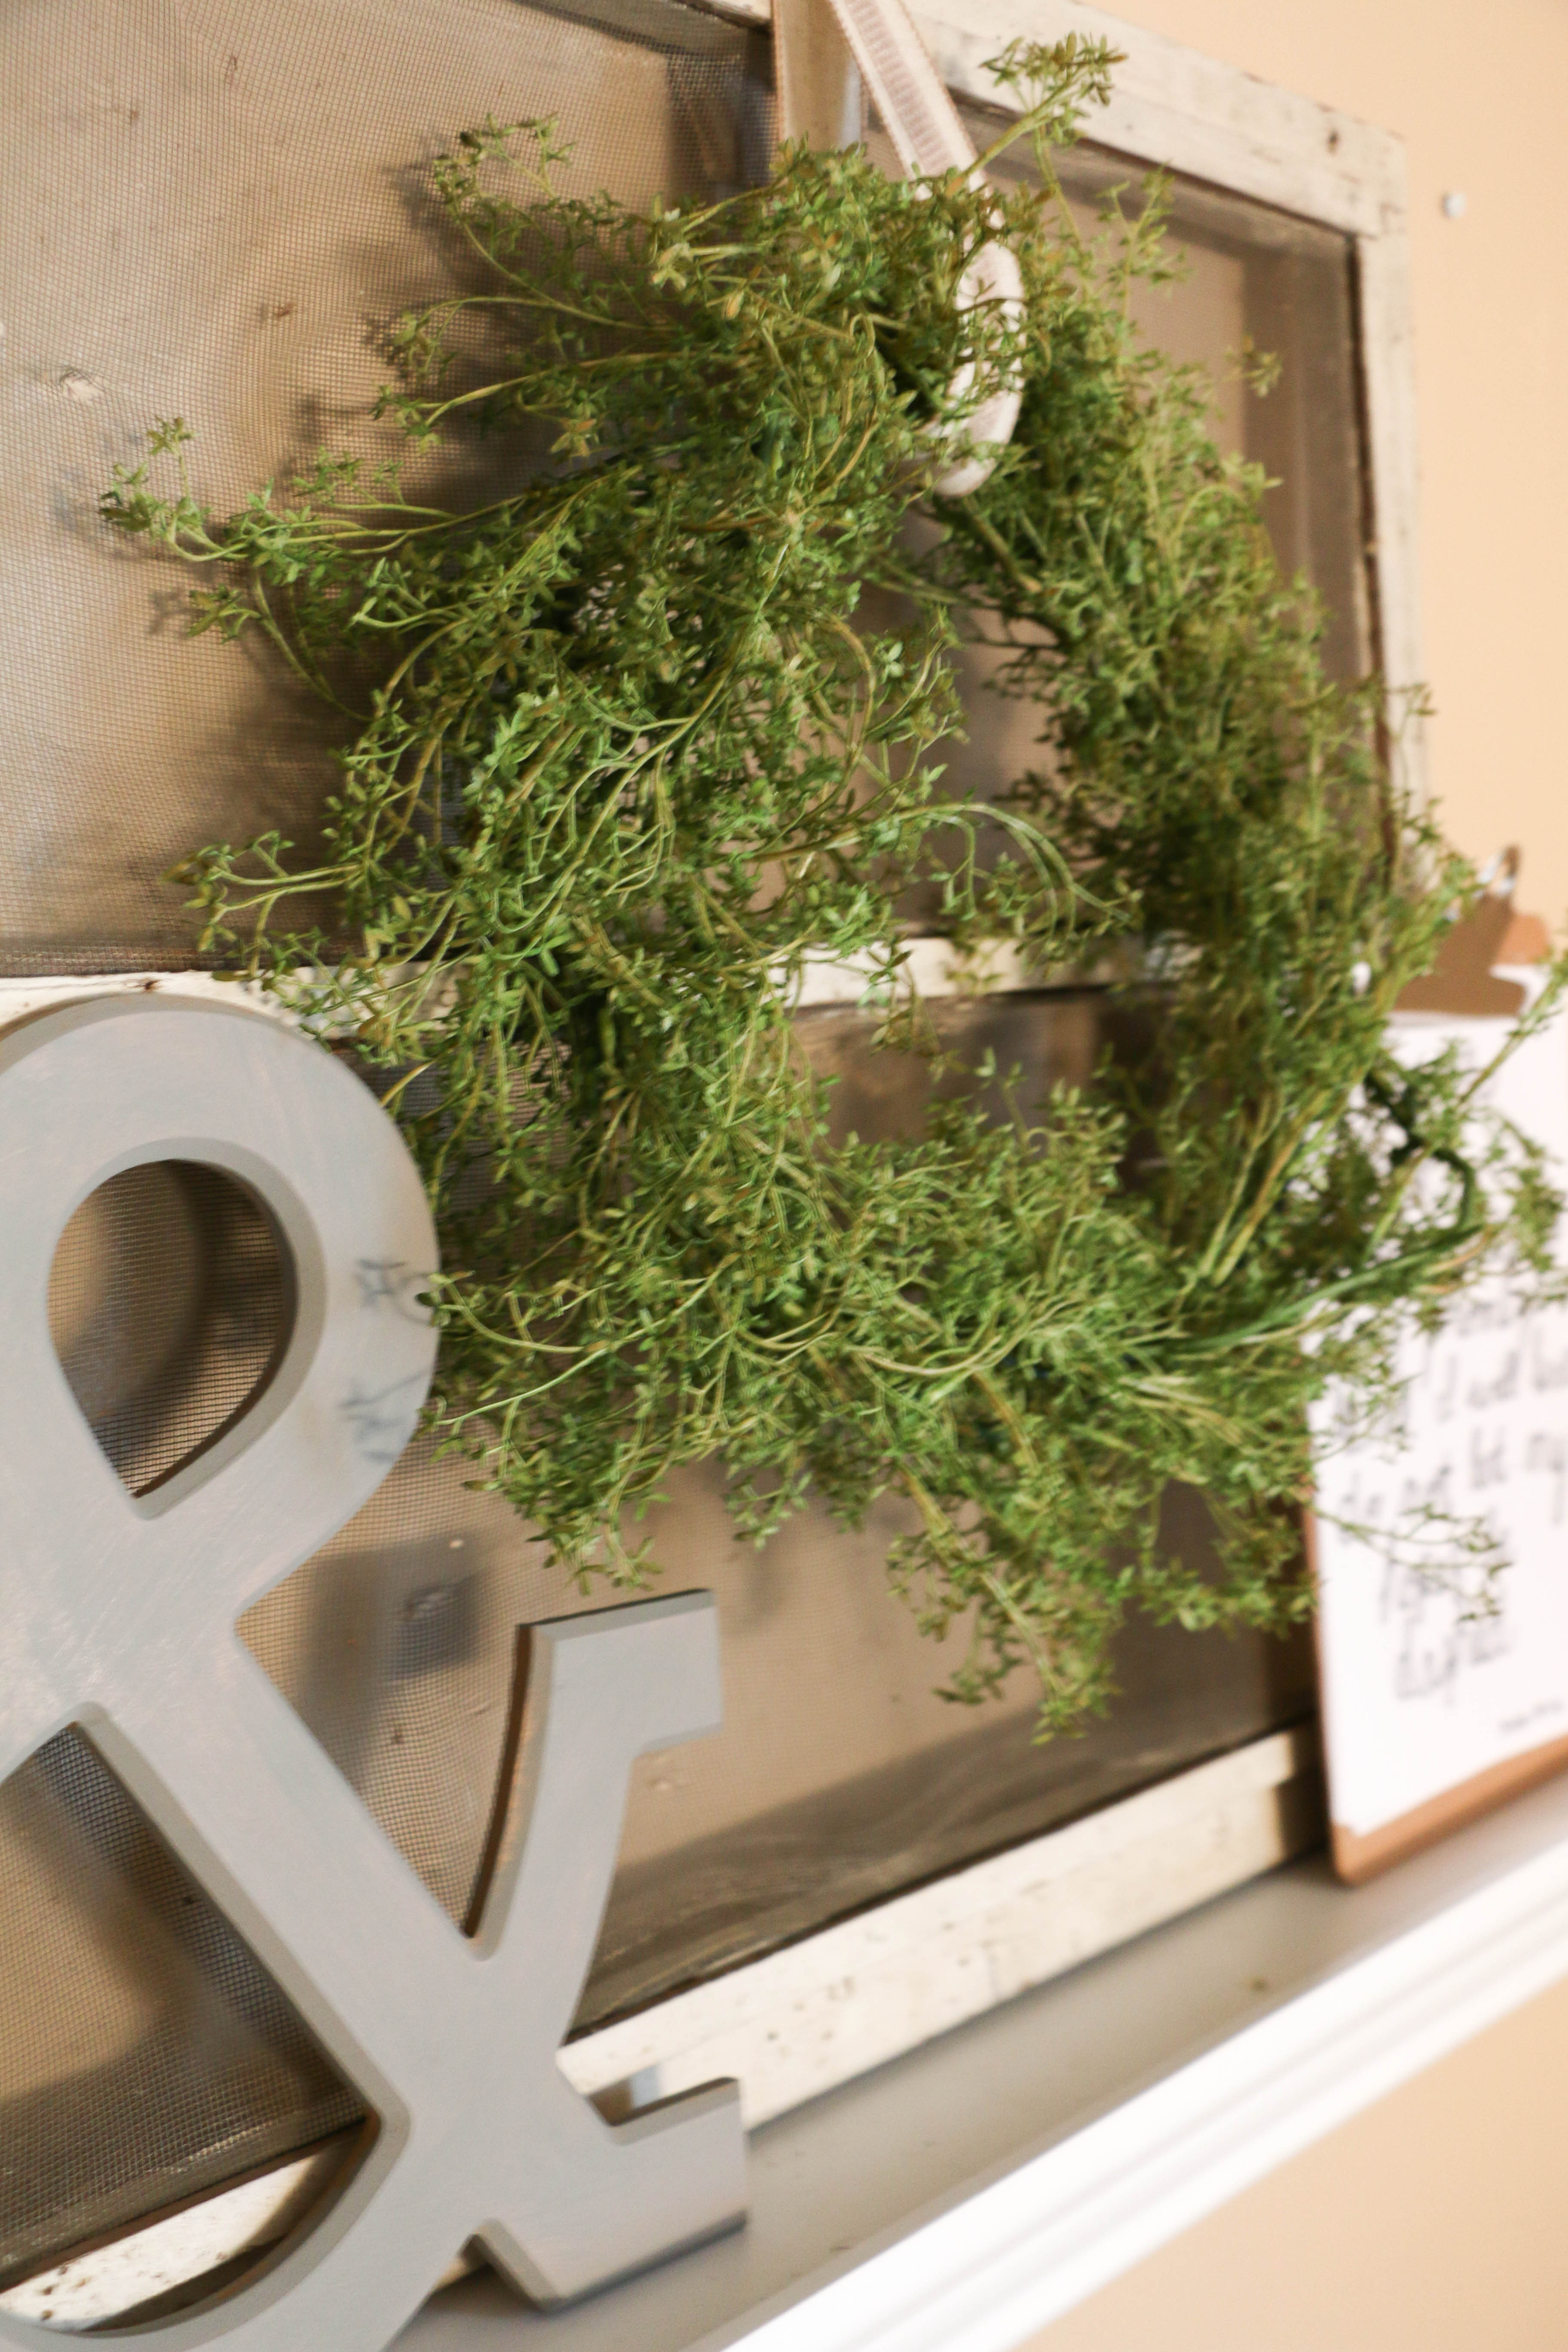
Anyway, I hope to complete a bunch of projects this week while I’m off work, this being the first of them. Last weekend, Ethan and I went to Canton Trade Days (my favorite flea market in the area) with his parents. We had  a great time and I brought home a few new treasures. One of which was this little screen window. I liked it because it’s a little different than the typical glass window panes everyone is using everywhere.

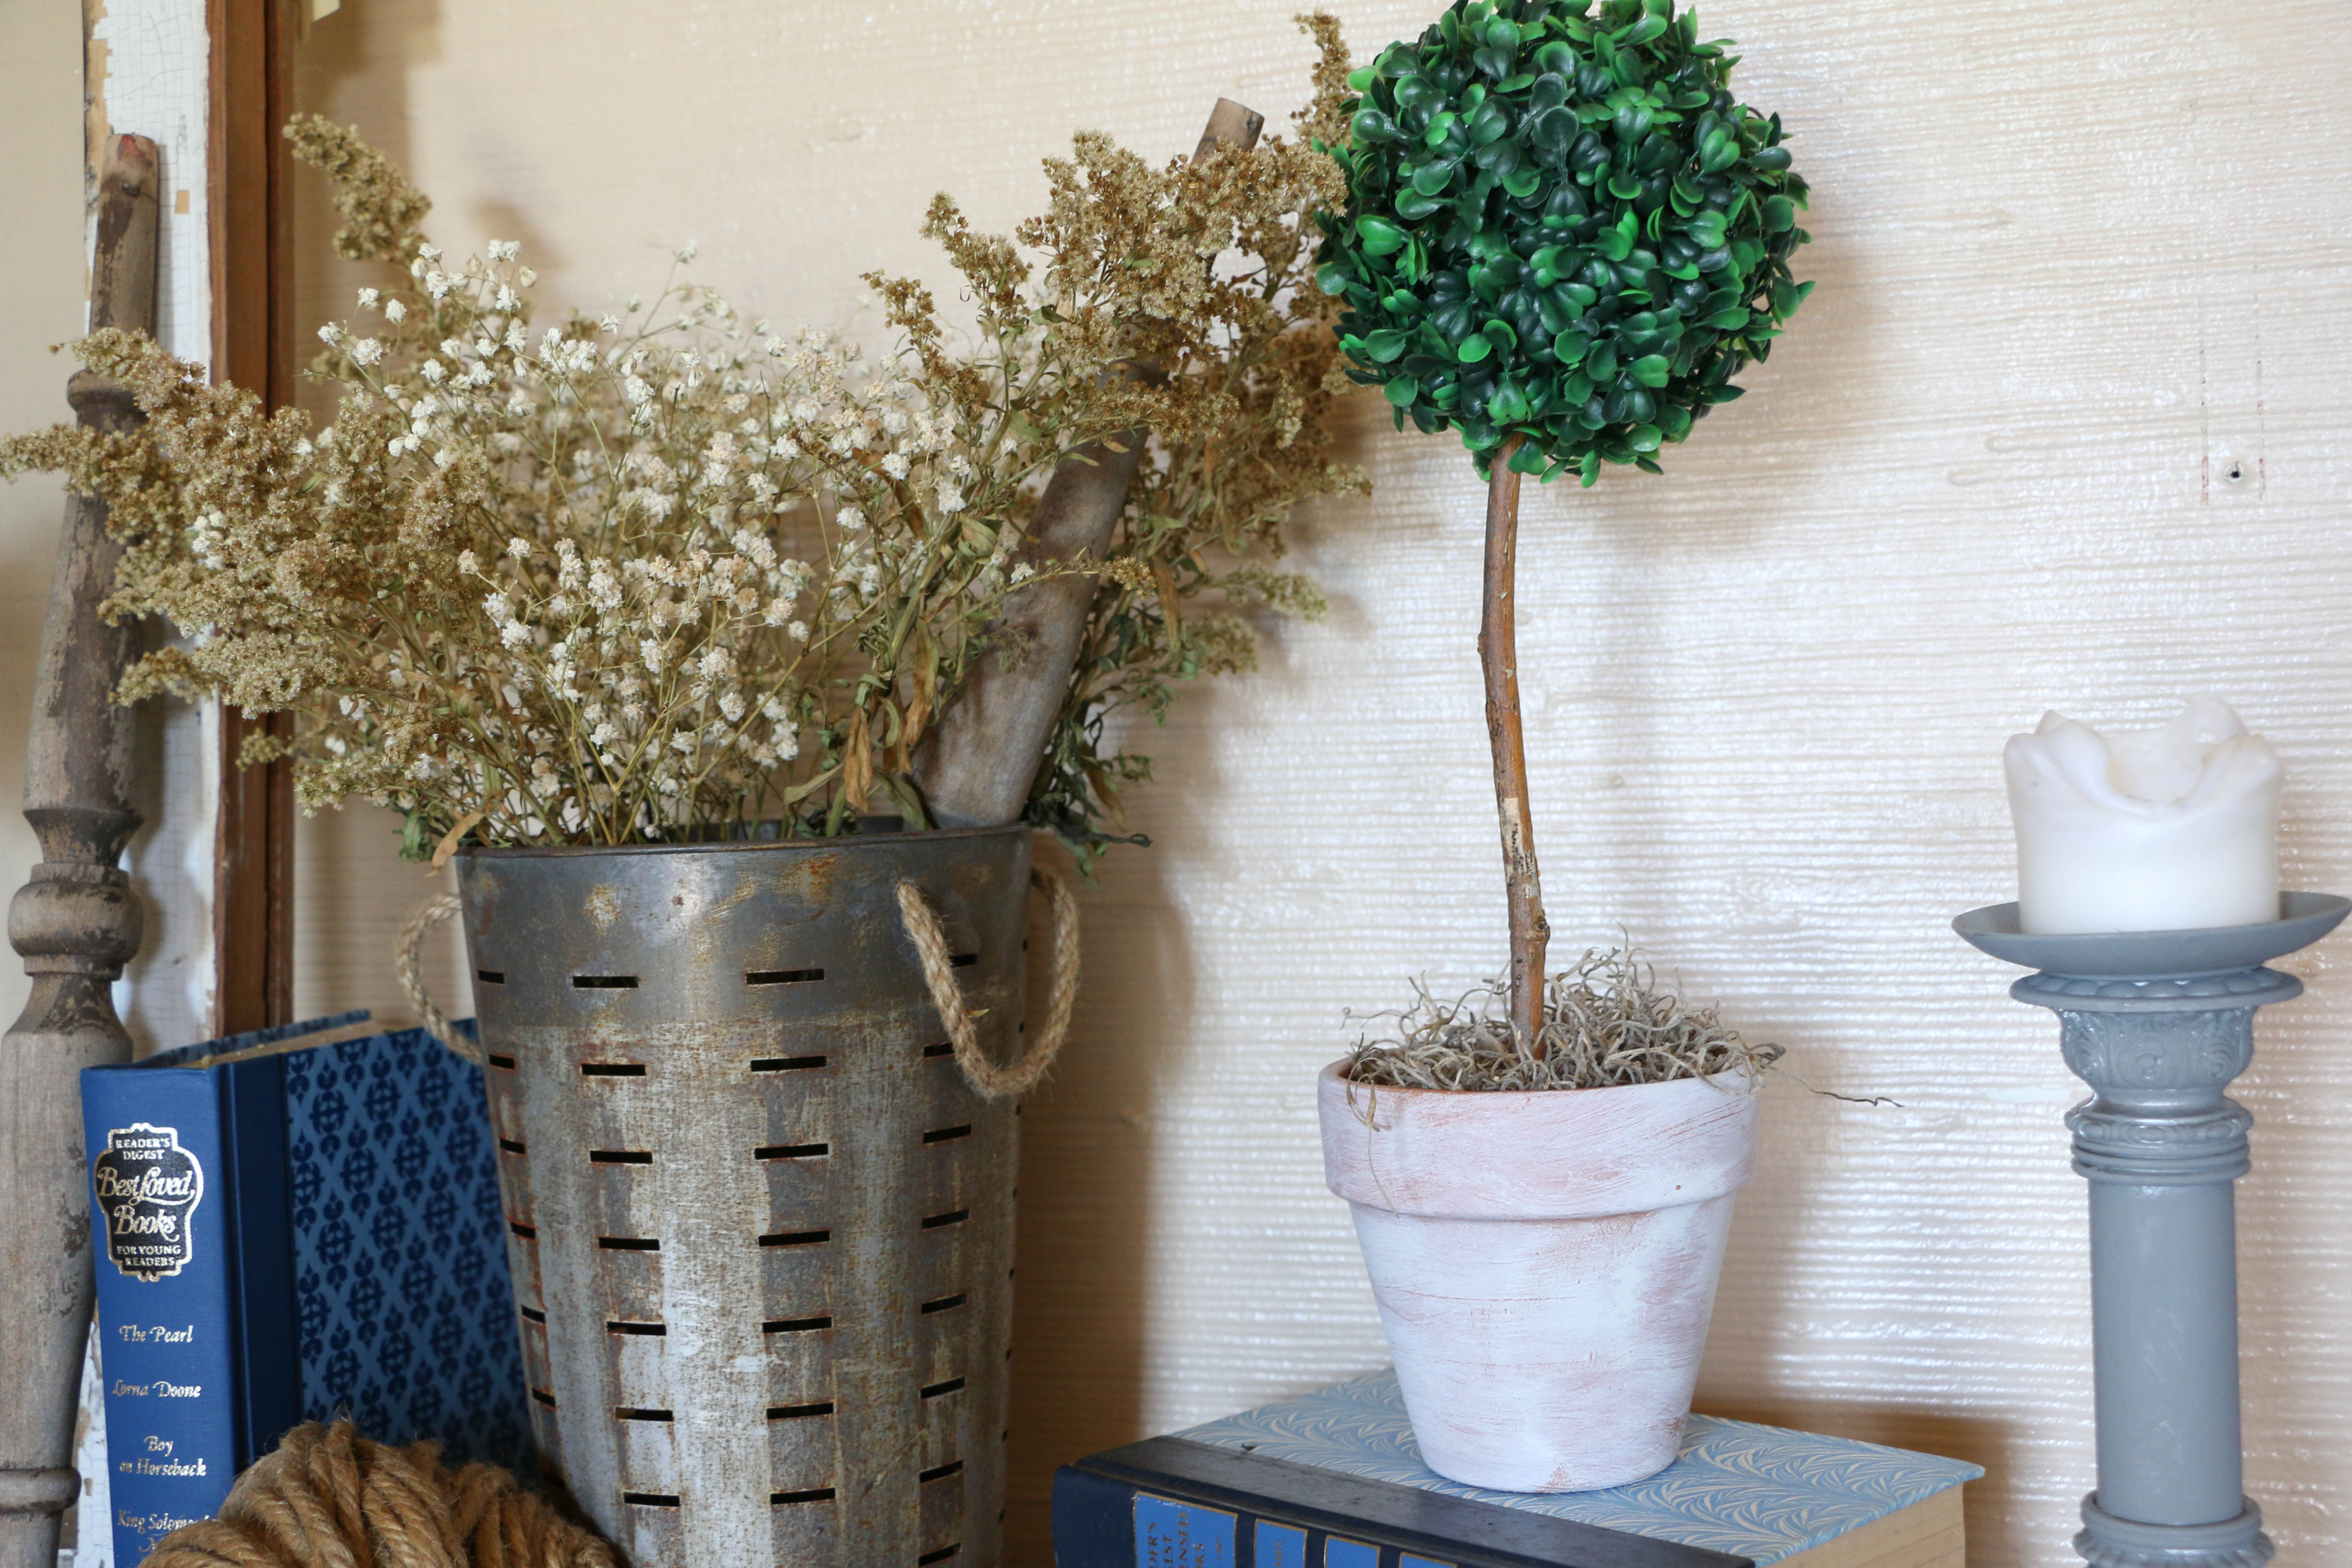
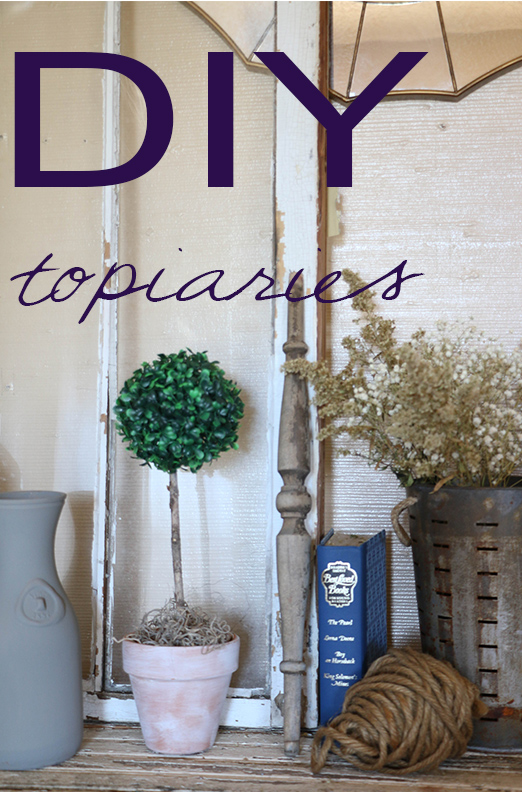
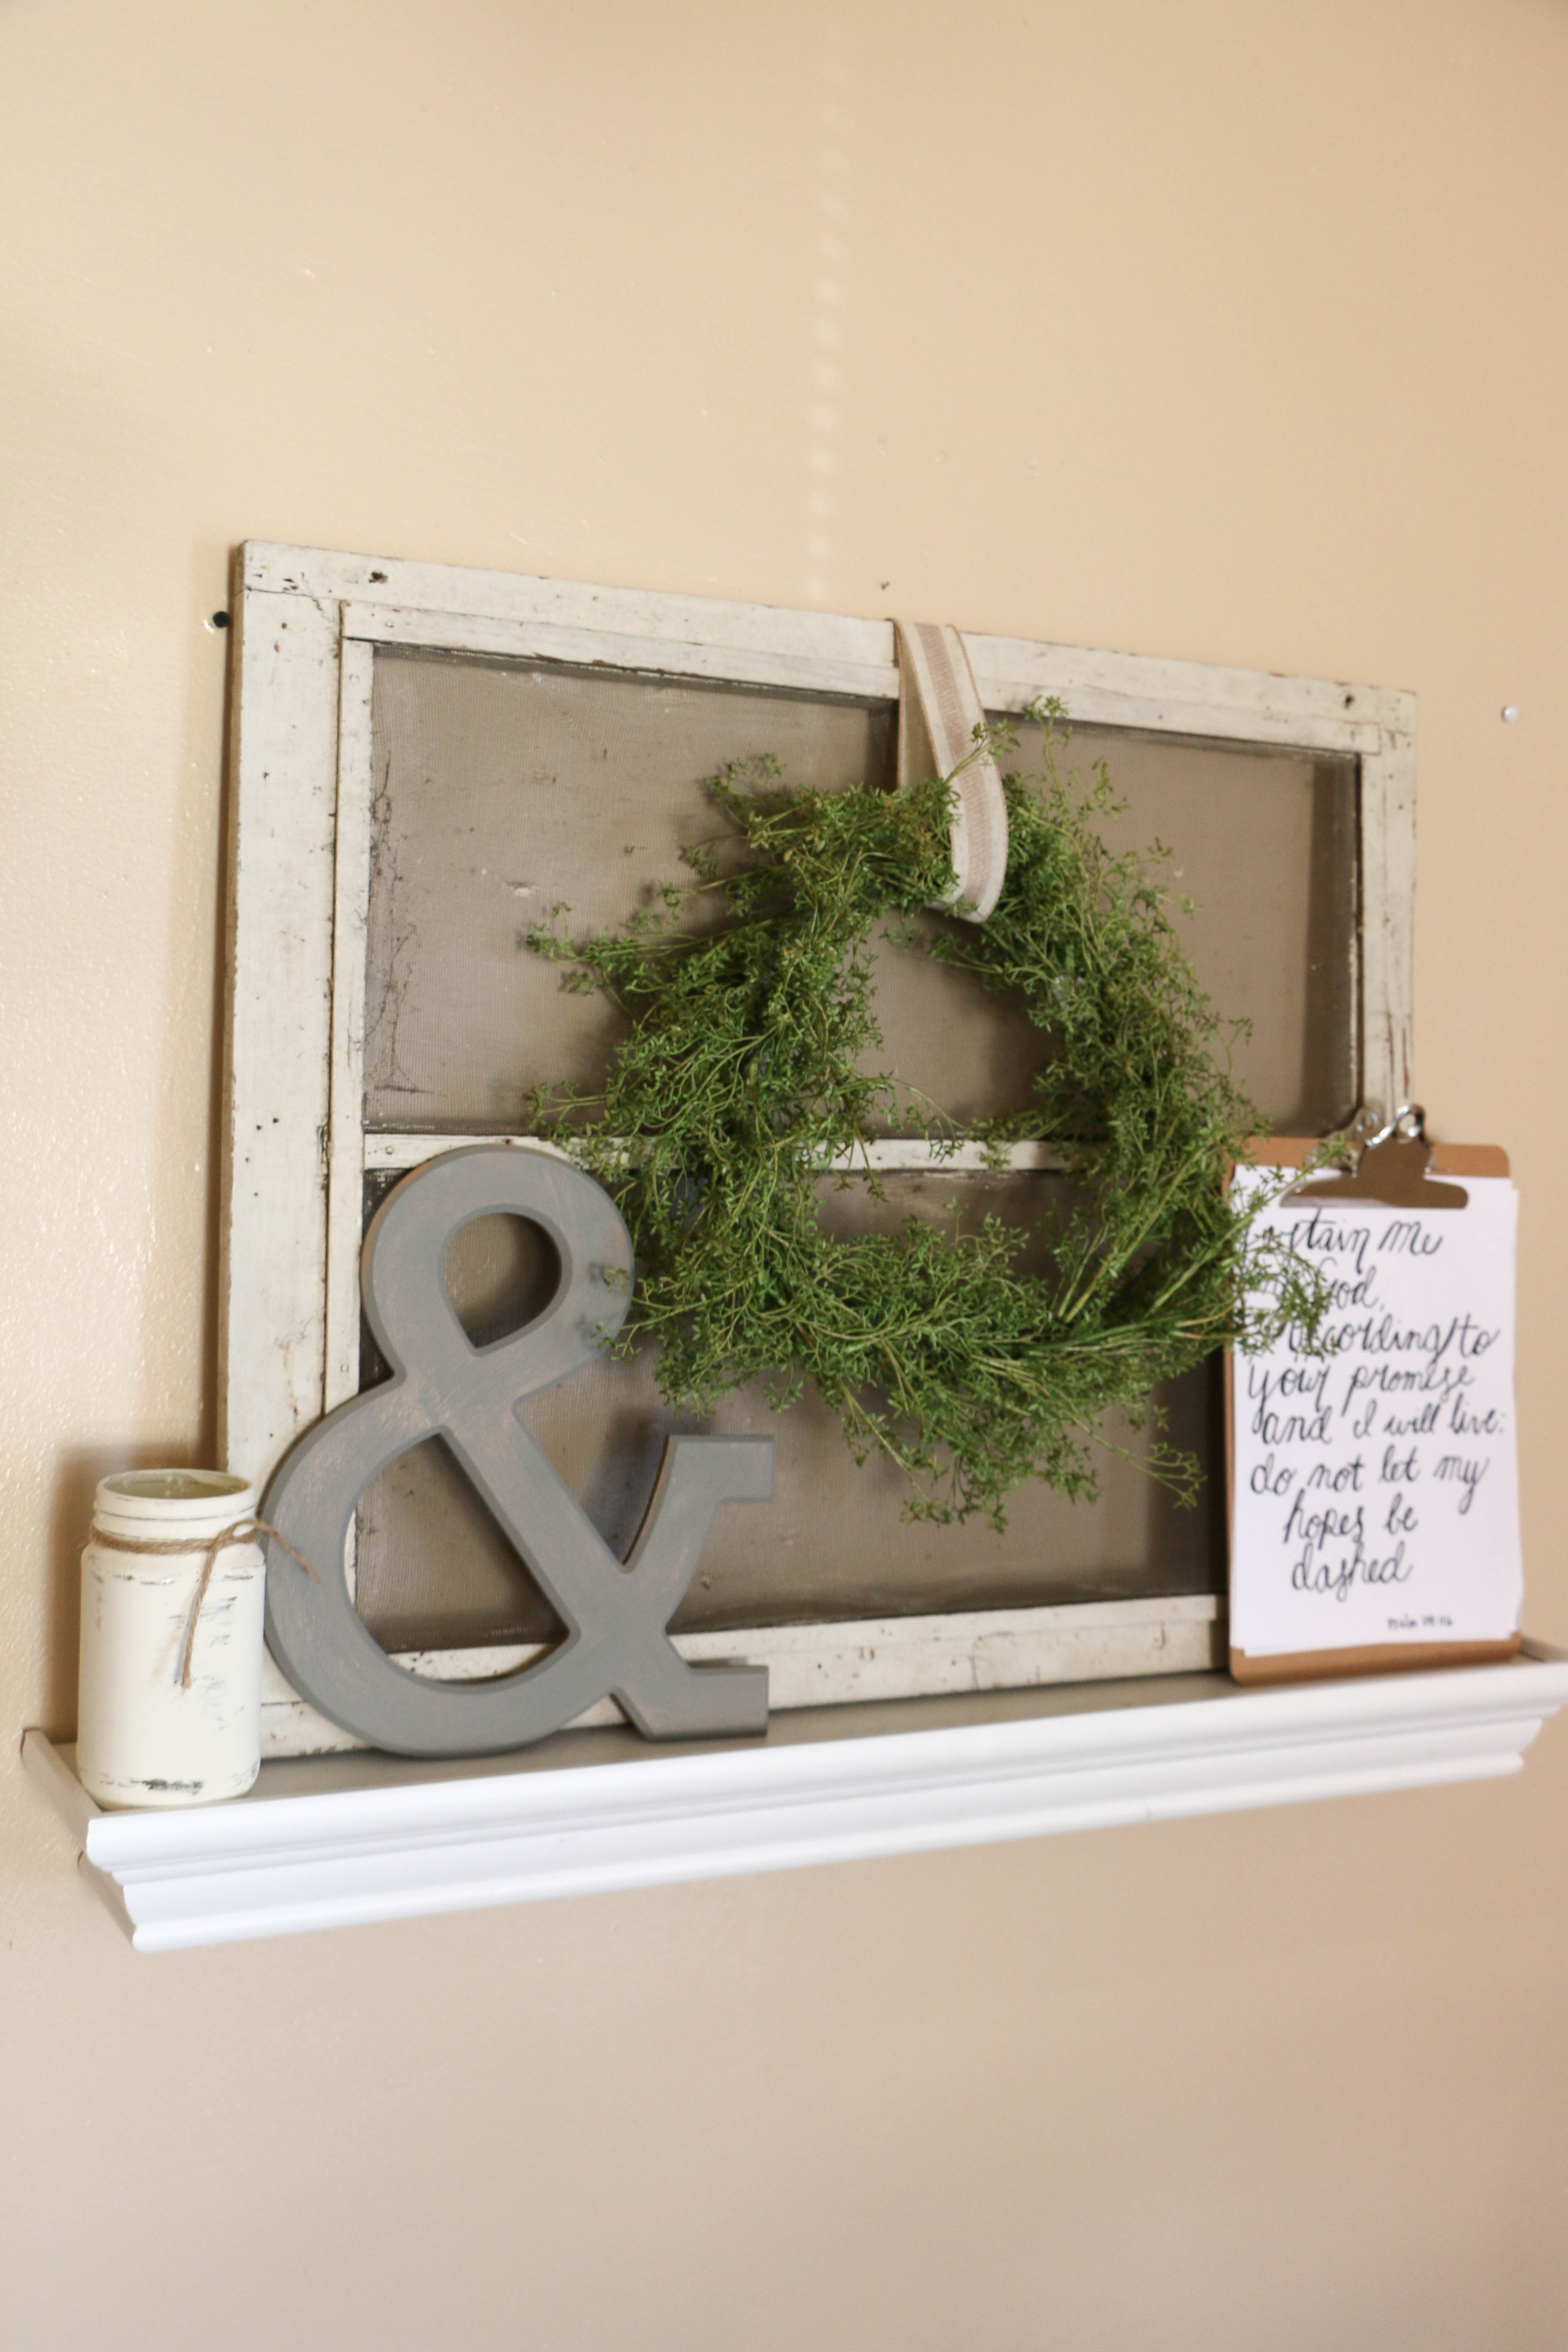
I brought it home, a little unsure of where to use it. But when you love it, you buy it, right? I sat on it for a few days before ultimately putting this together:

DIYWreath3

The little shelf there was an from an existing vignette, but it had just become a little bit out of my style. There had been a lot of gold in the previous vignette, and I think metalics are slowly phasing themselves out of my decor. Which I’m totally fine with.

DIYWreath7

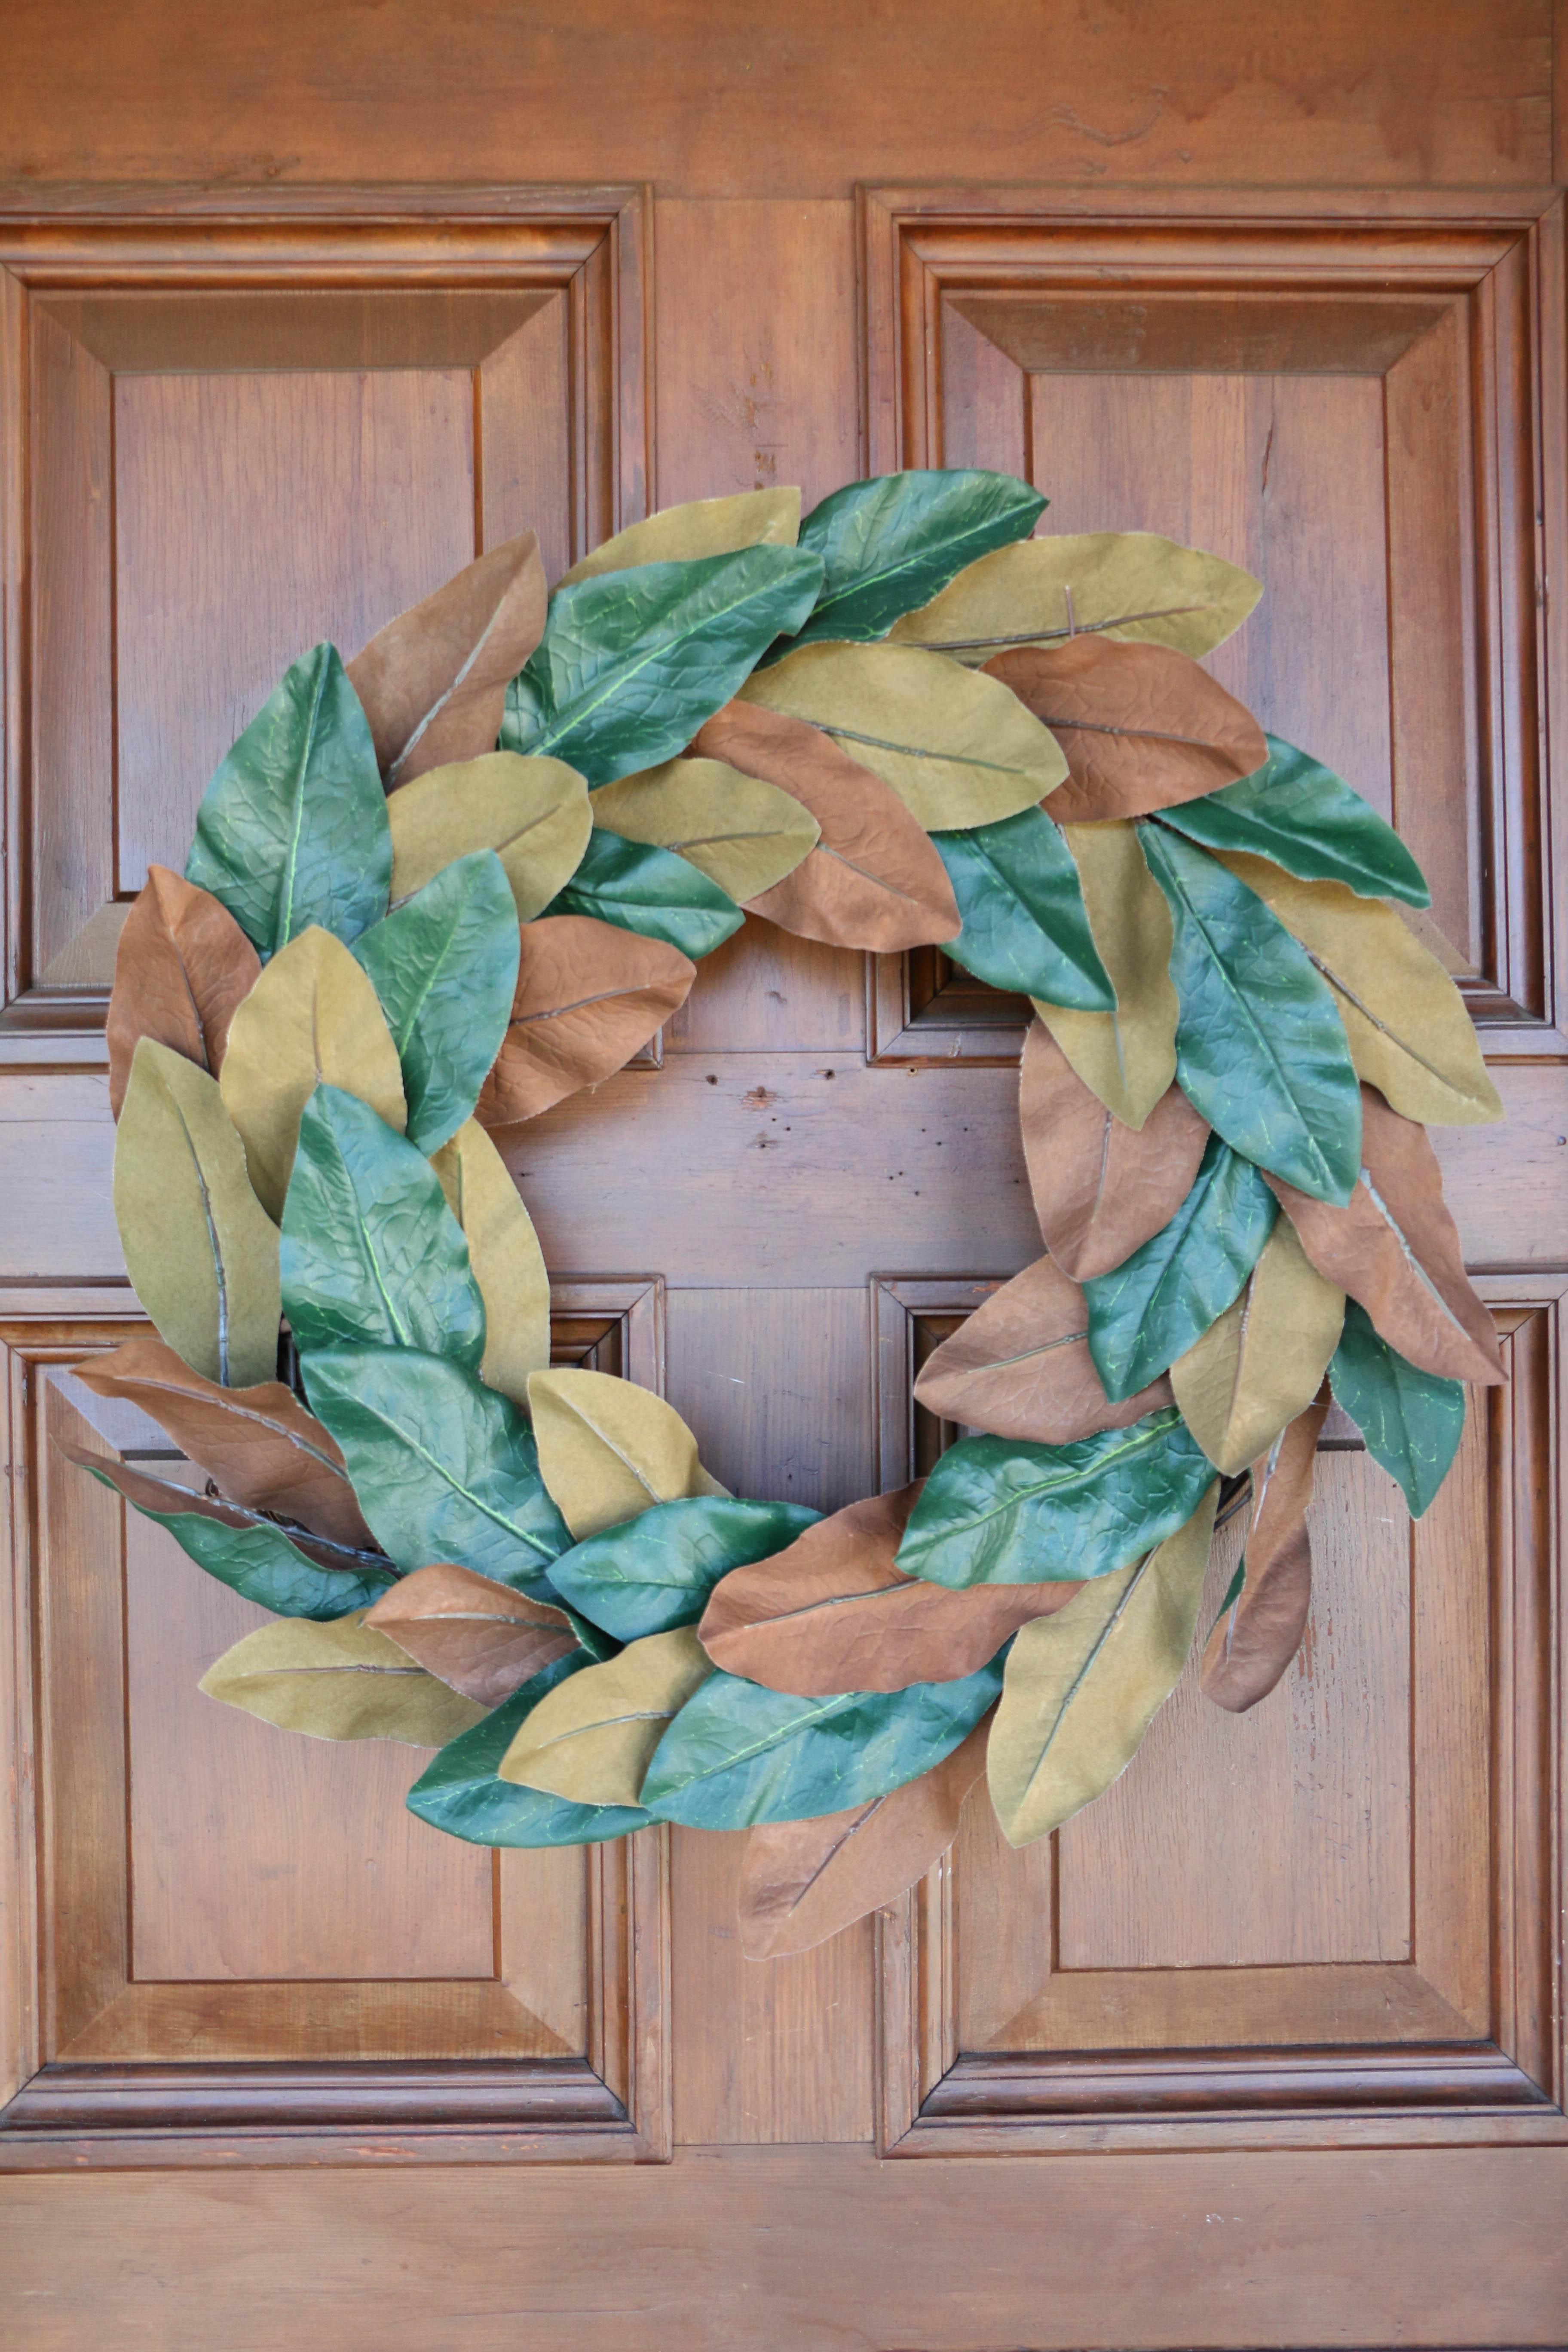
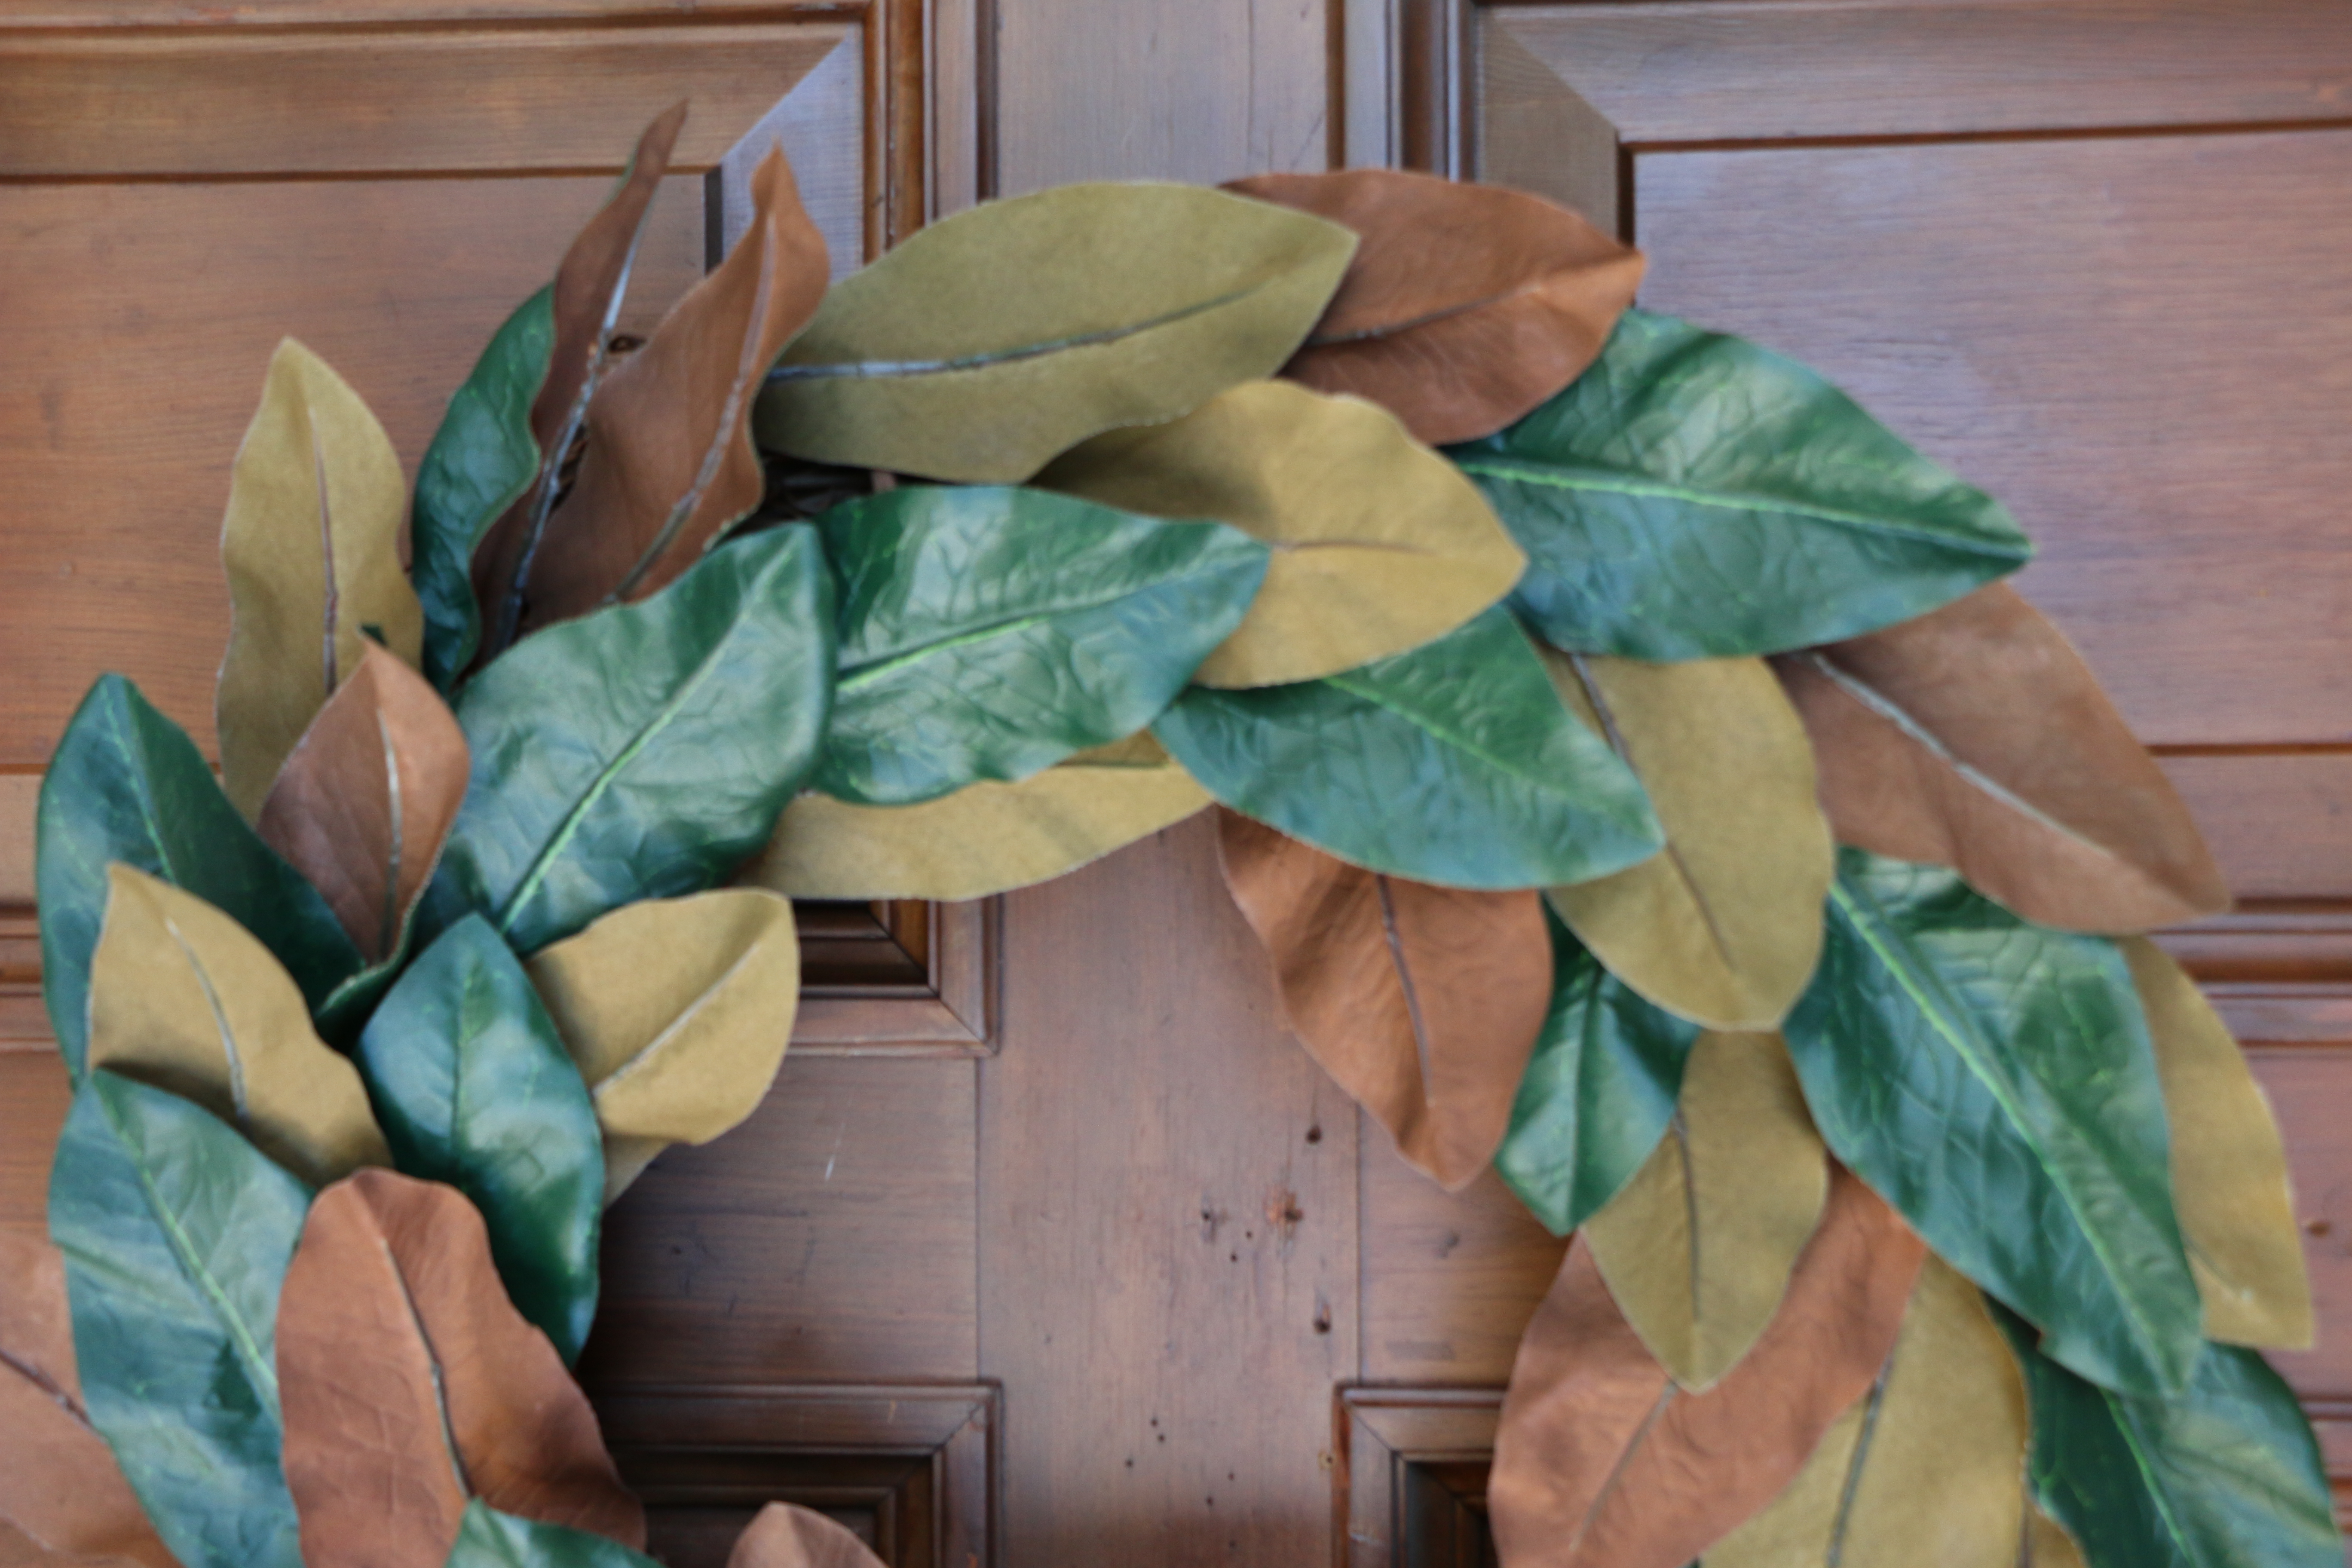
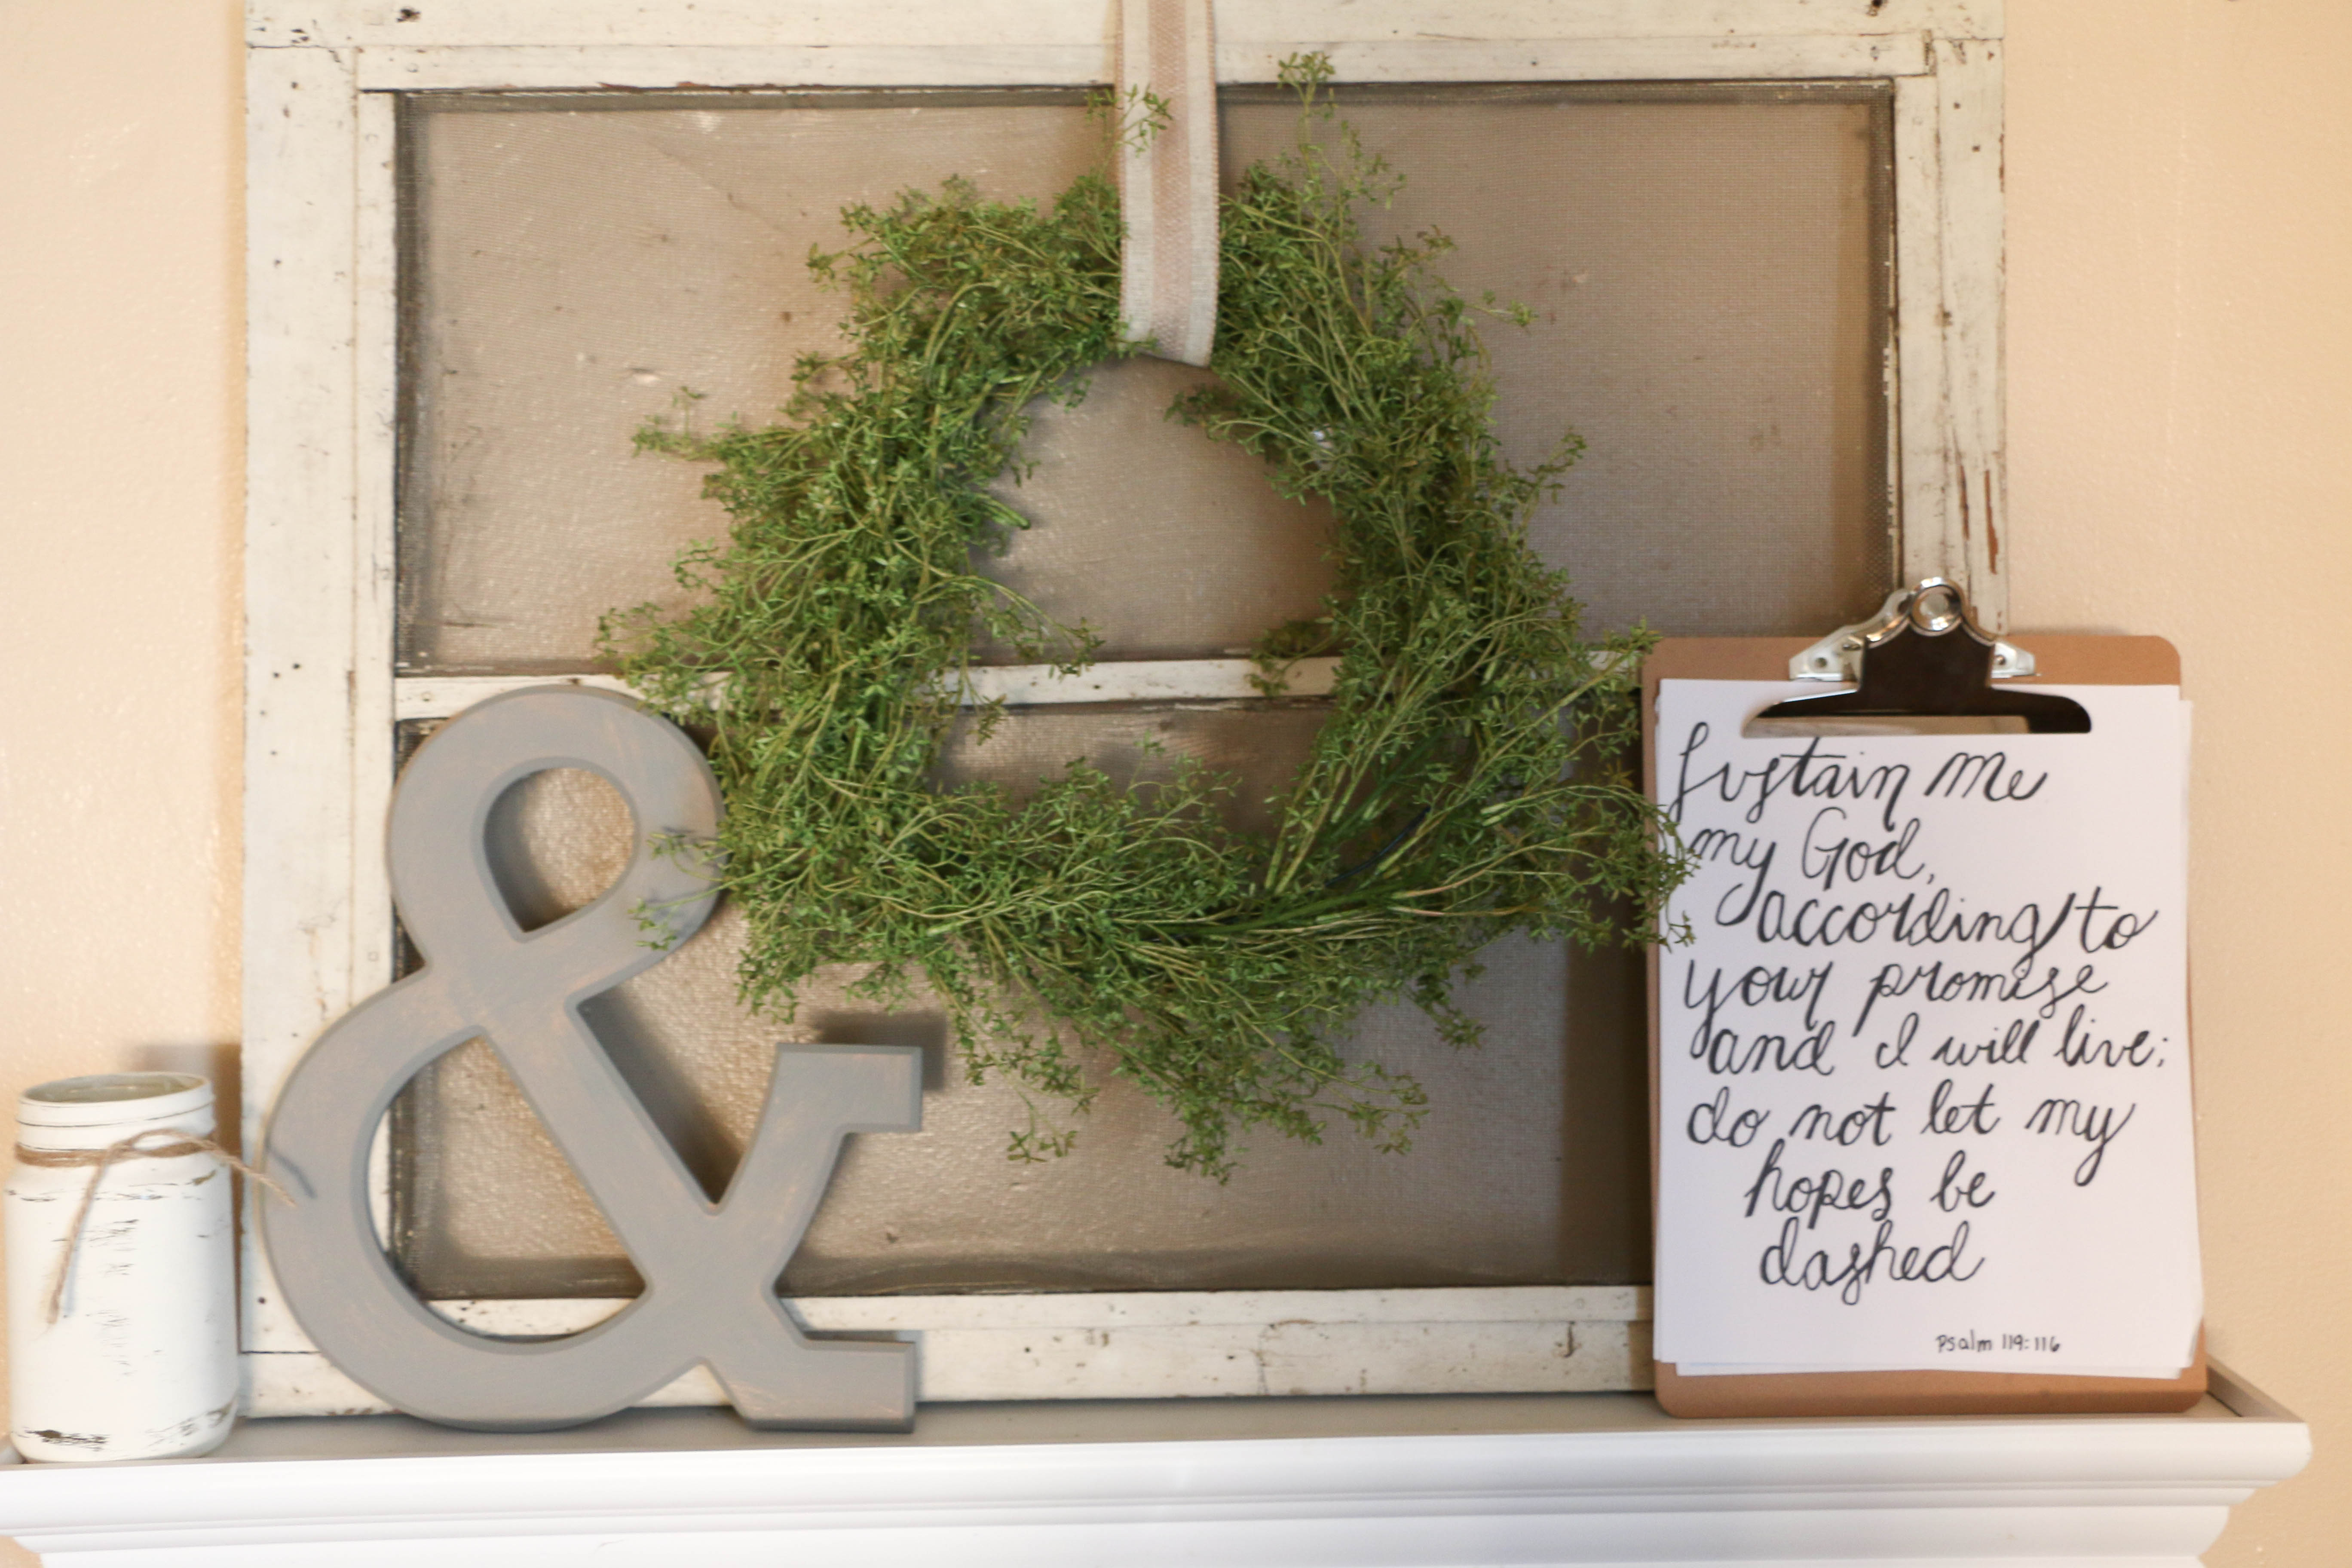
What I really want to talk to you guys about is this little wreath. I made it completely out of items I had at home. I used what used to be a leafy garland, and a coathanger! Yes, you read that correctly, a coathanger! I got the idea from my fifth grade teacher. That sounds super weird, I know. But as I was thinking about what to do with this area, I remembered a peppermint wreath I made in fifth grade as a Christmas project made from (you guessed it): a coathanger.

I found a small drycleaners hanger (the thin metal ones) and began sto stretch it into a circular shape. It didn’t have to be totally perfect, since the garland kind of disguised the hanger anyway. I used wire cutters to cut off the part of the hanger that actually hangs over the rod. You know, the part that looks like a question mark? I’m sure there’s a more official term, but obviously I don’t know it. Whatever.

DIYWreath2

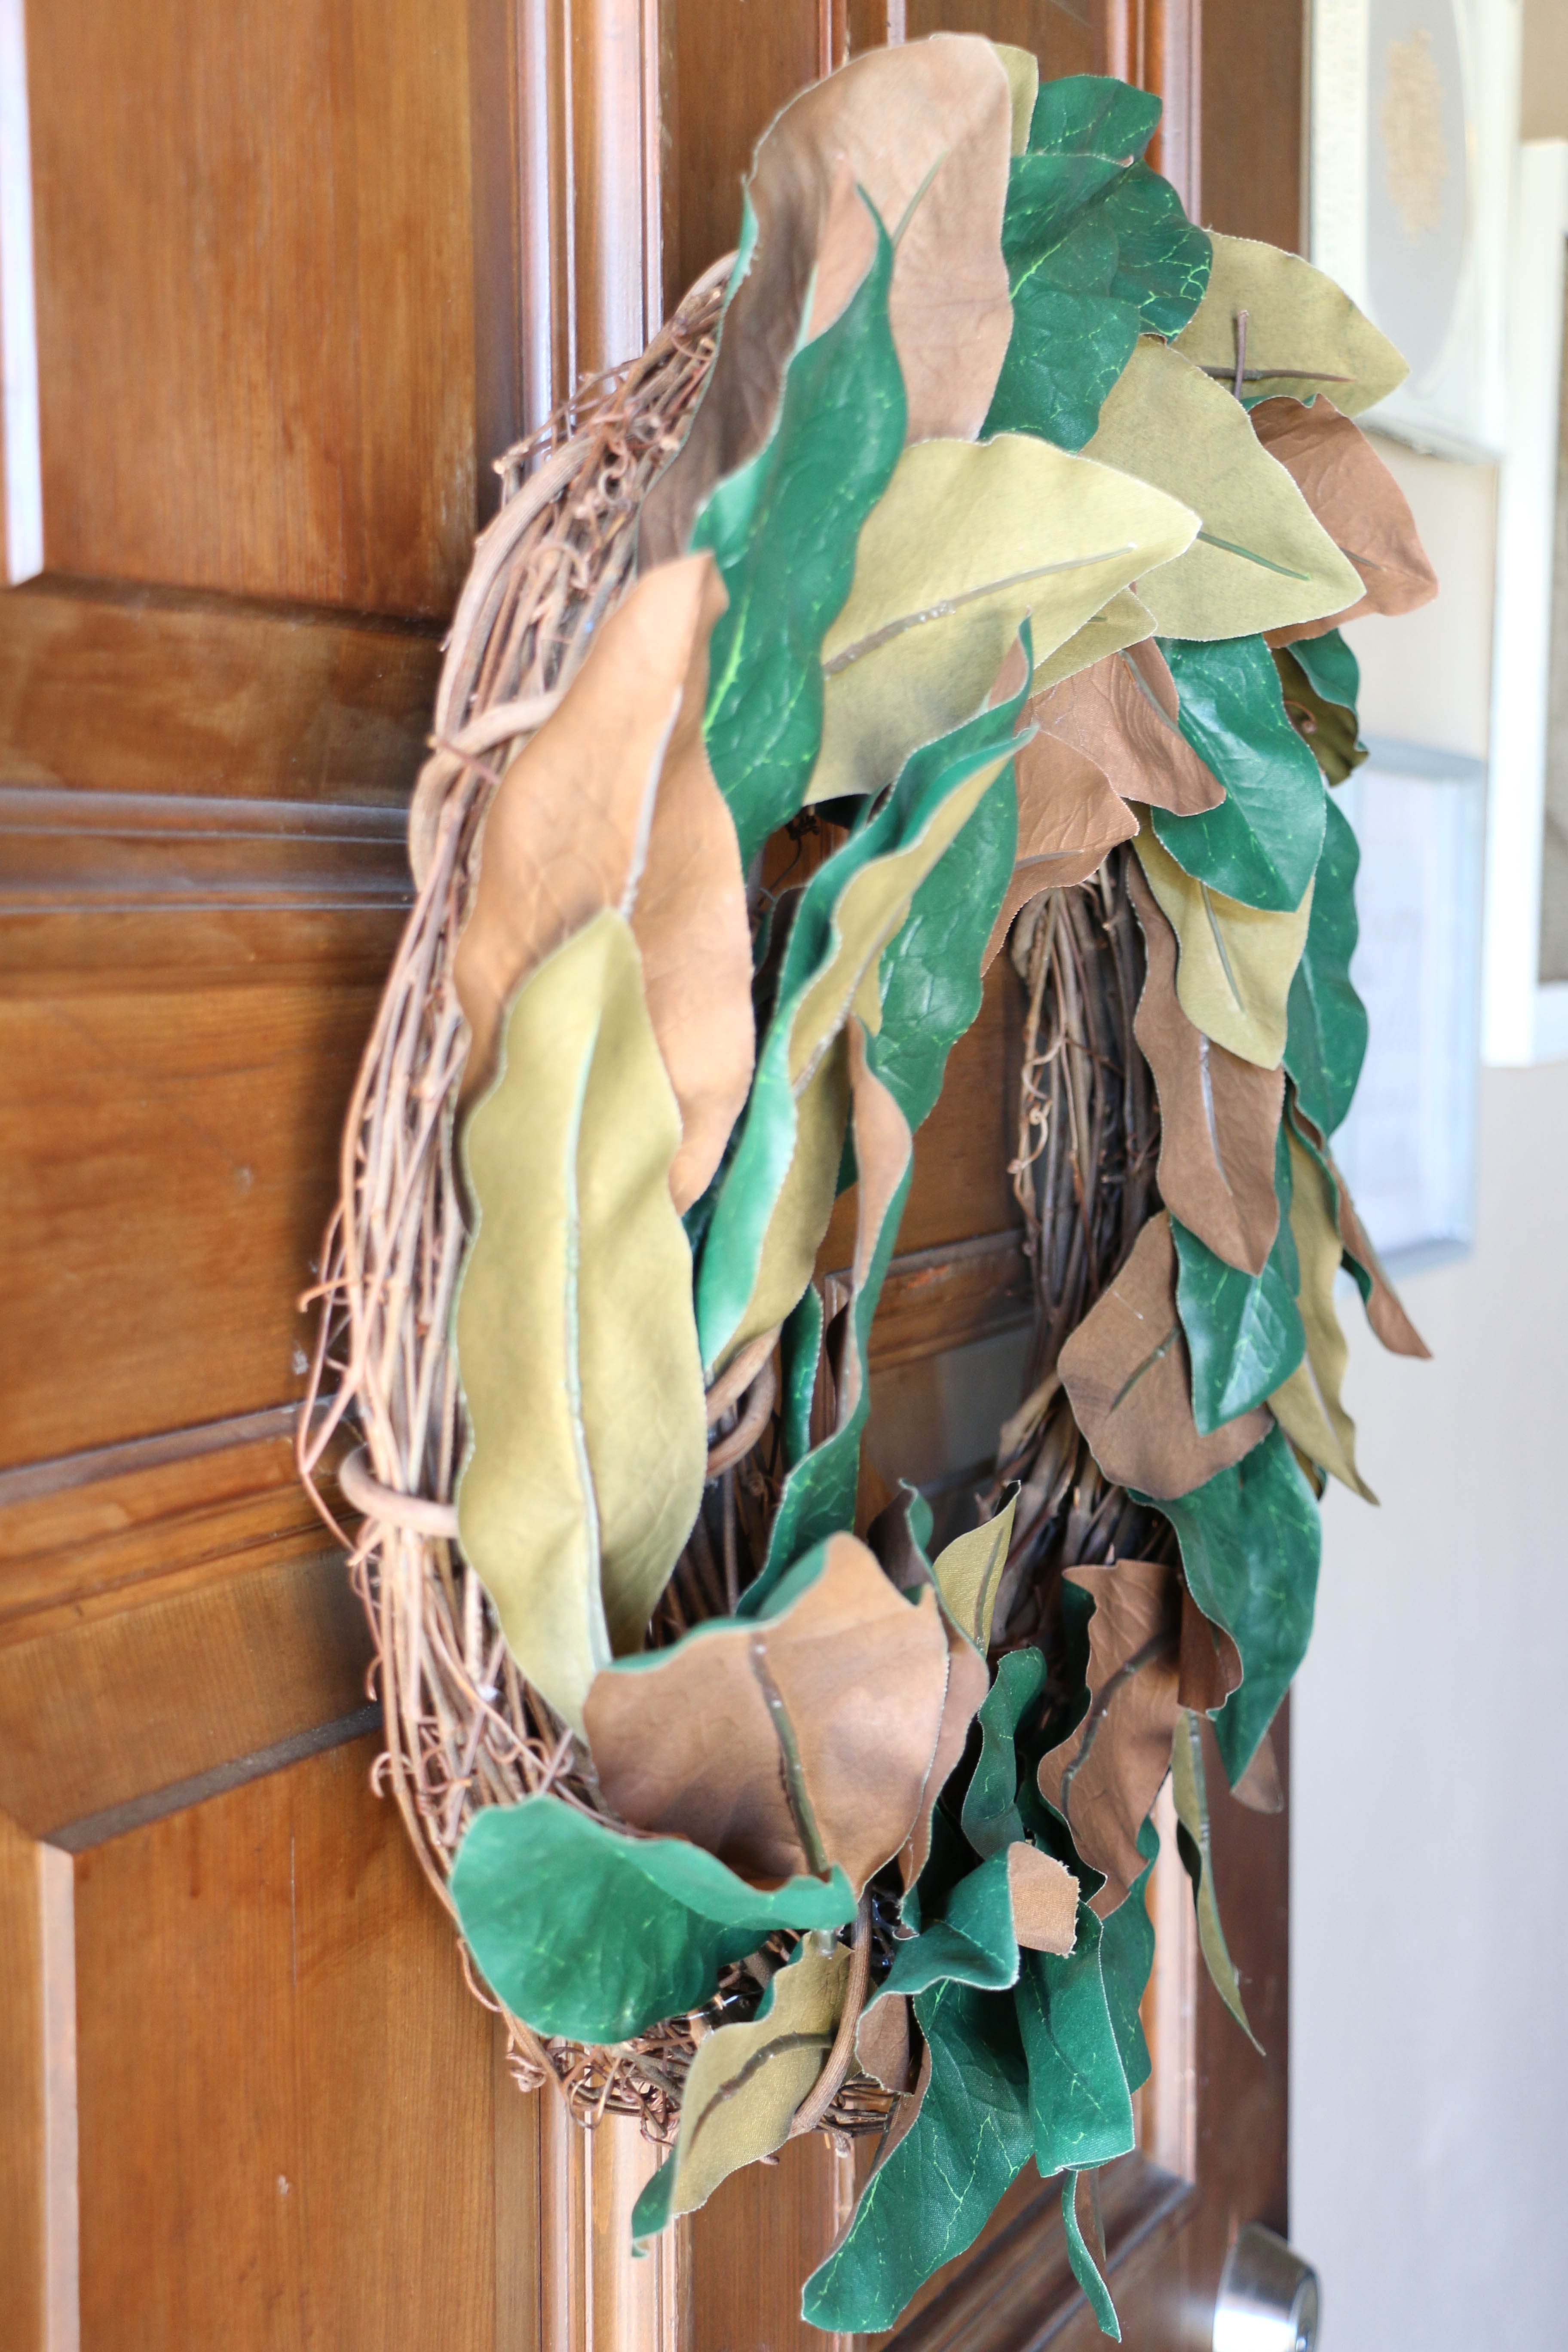
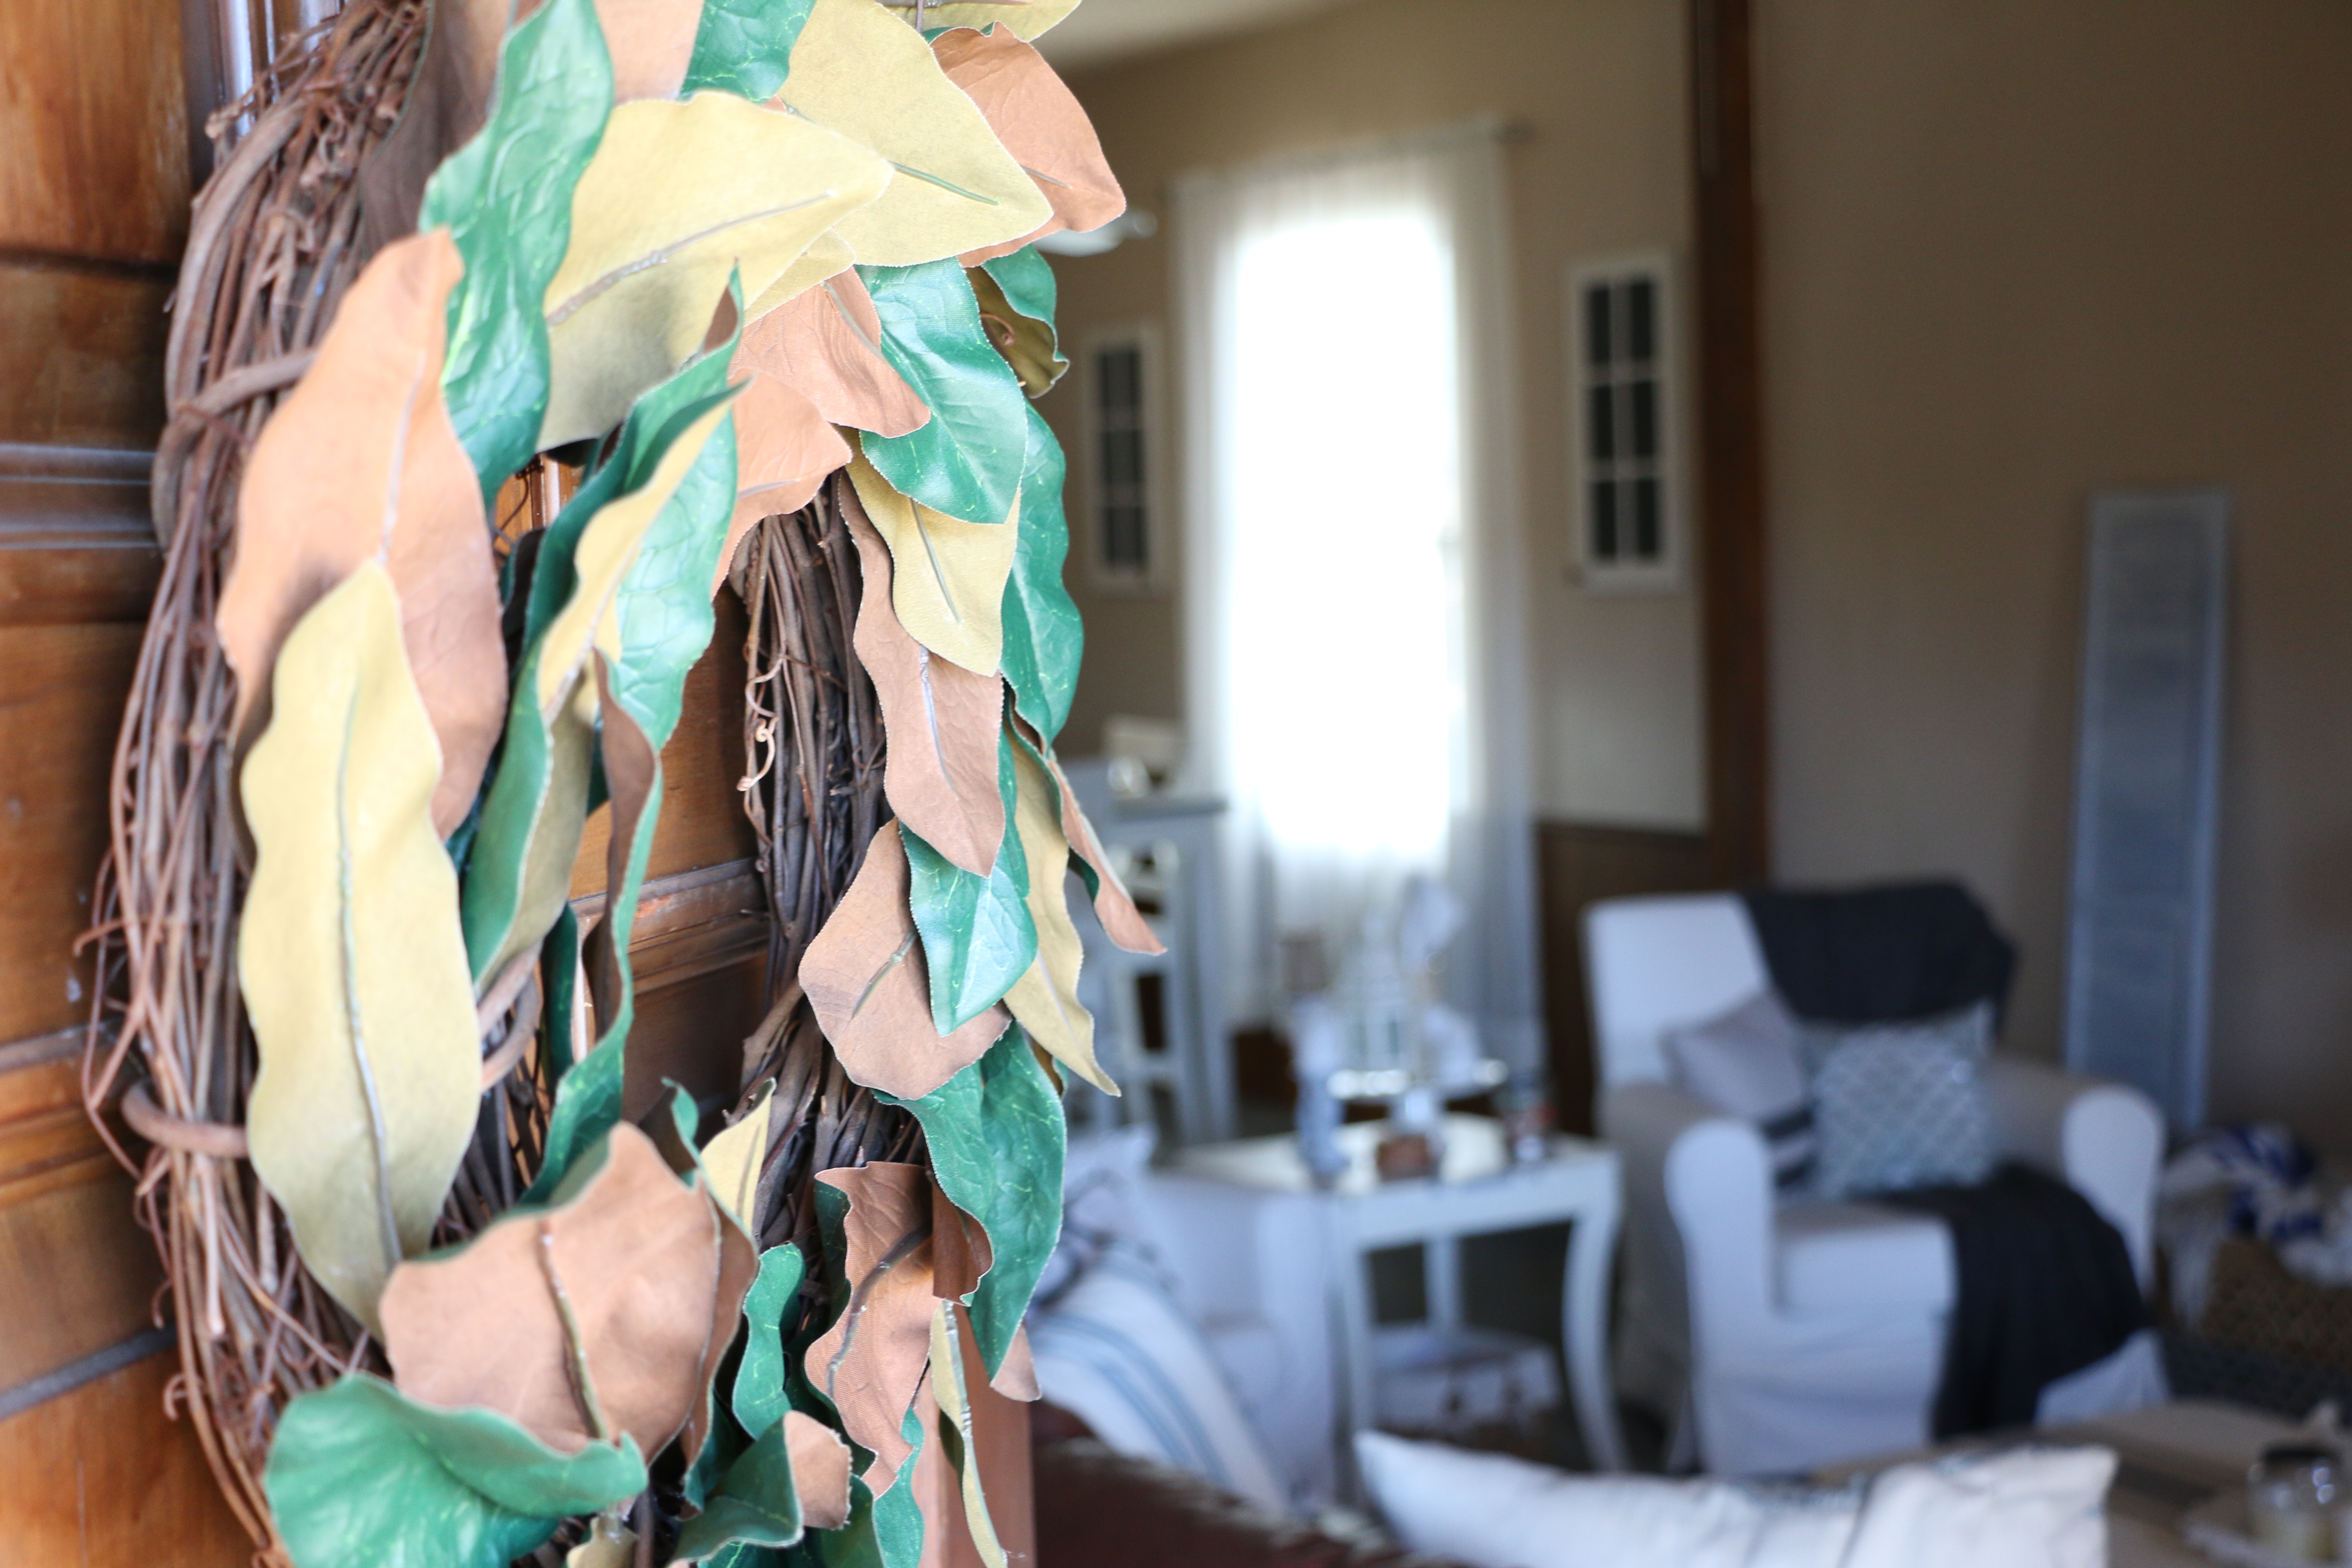
I wrapped the garland around the wreath form, and it fit about two times exactly. Easy enough. I didn’t even secure it with anything, I just sort of twisted it into itself and around the wire.

DIYWreath4

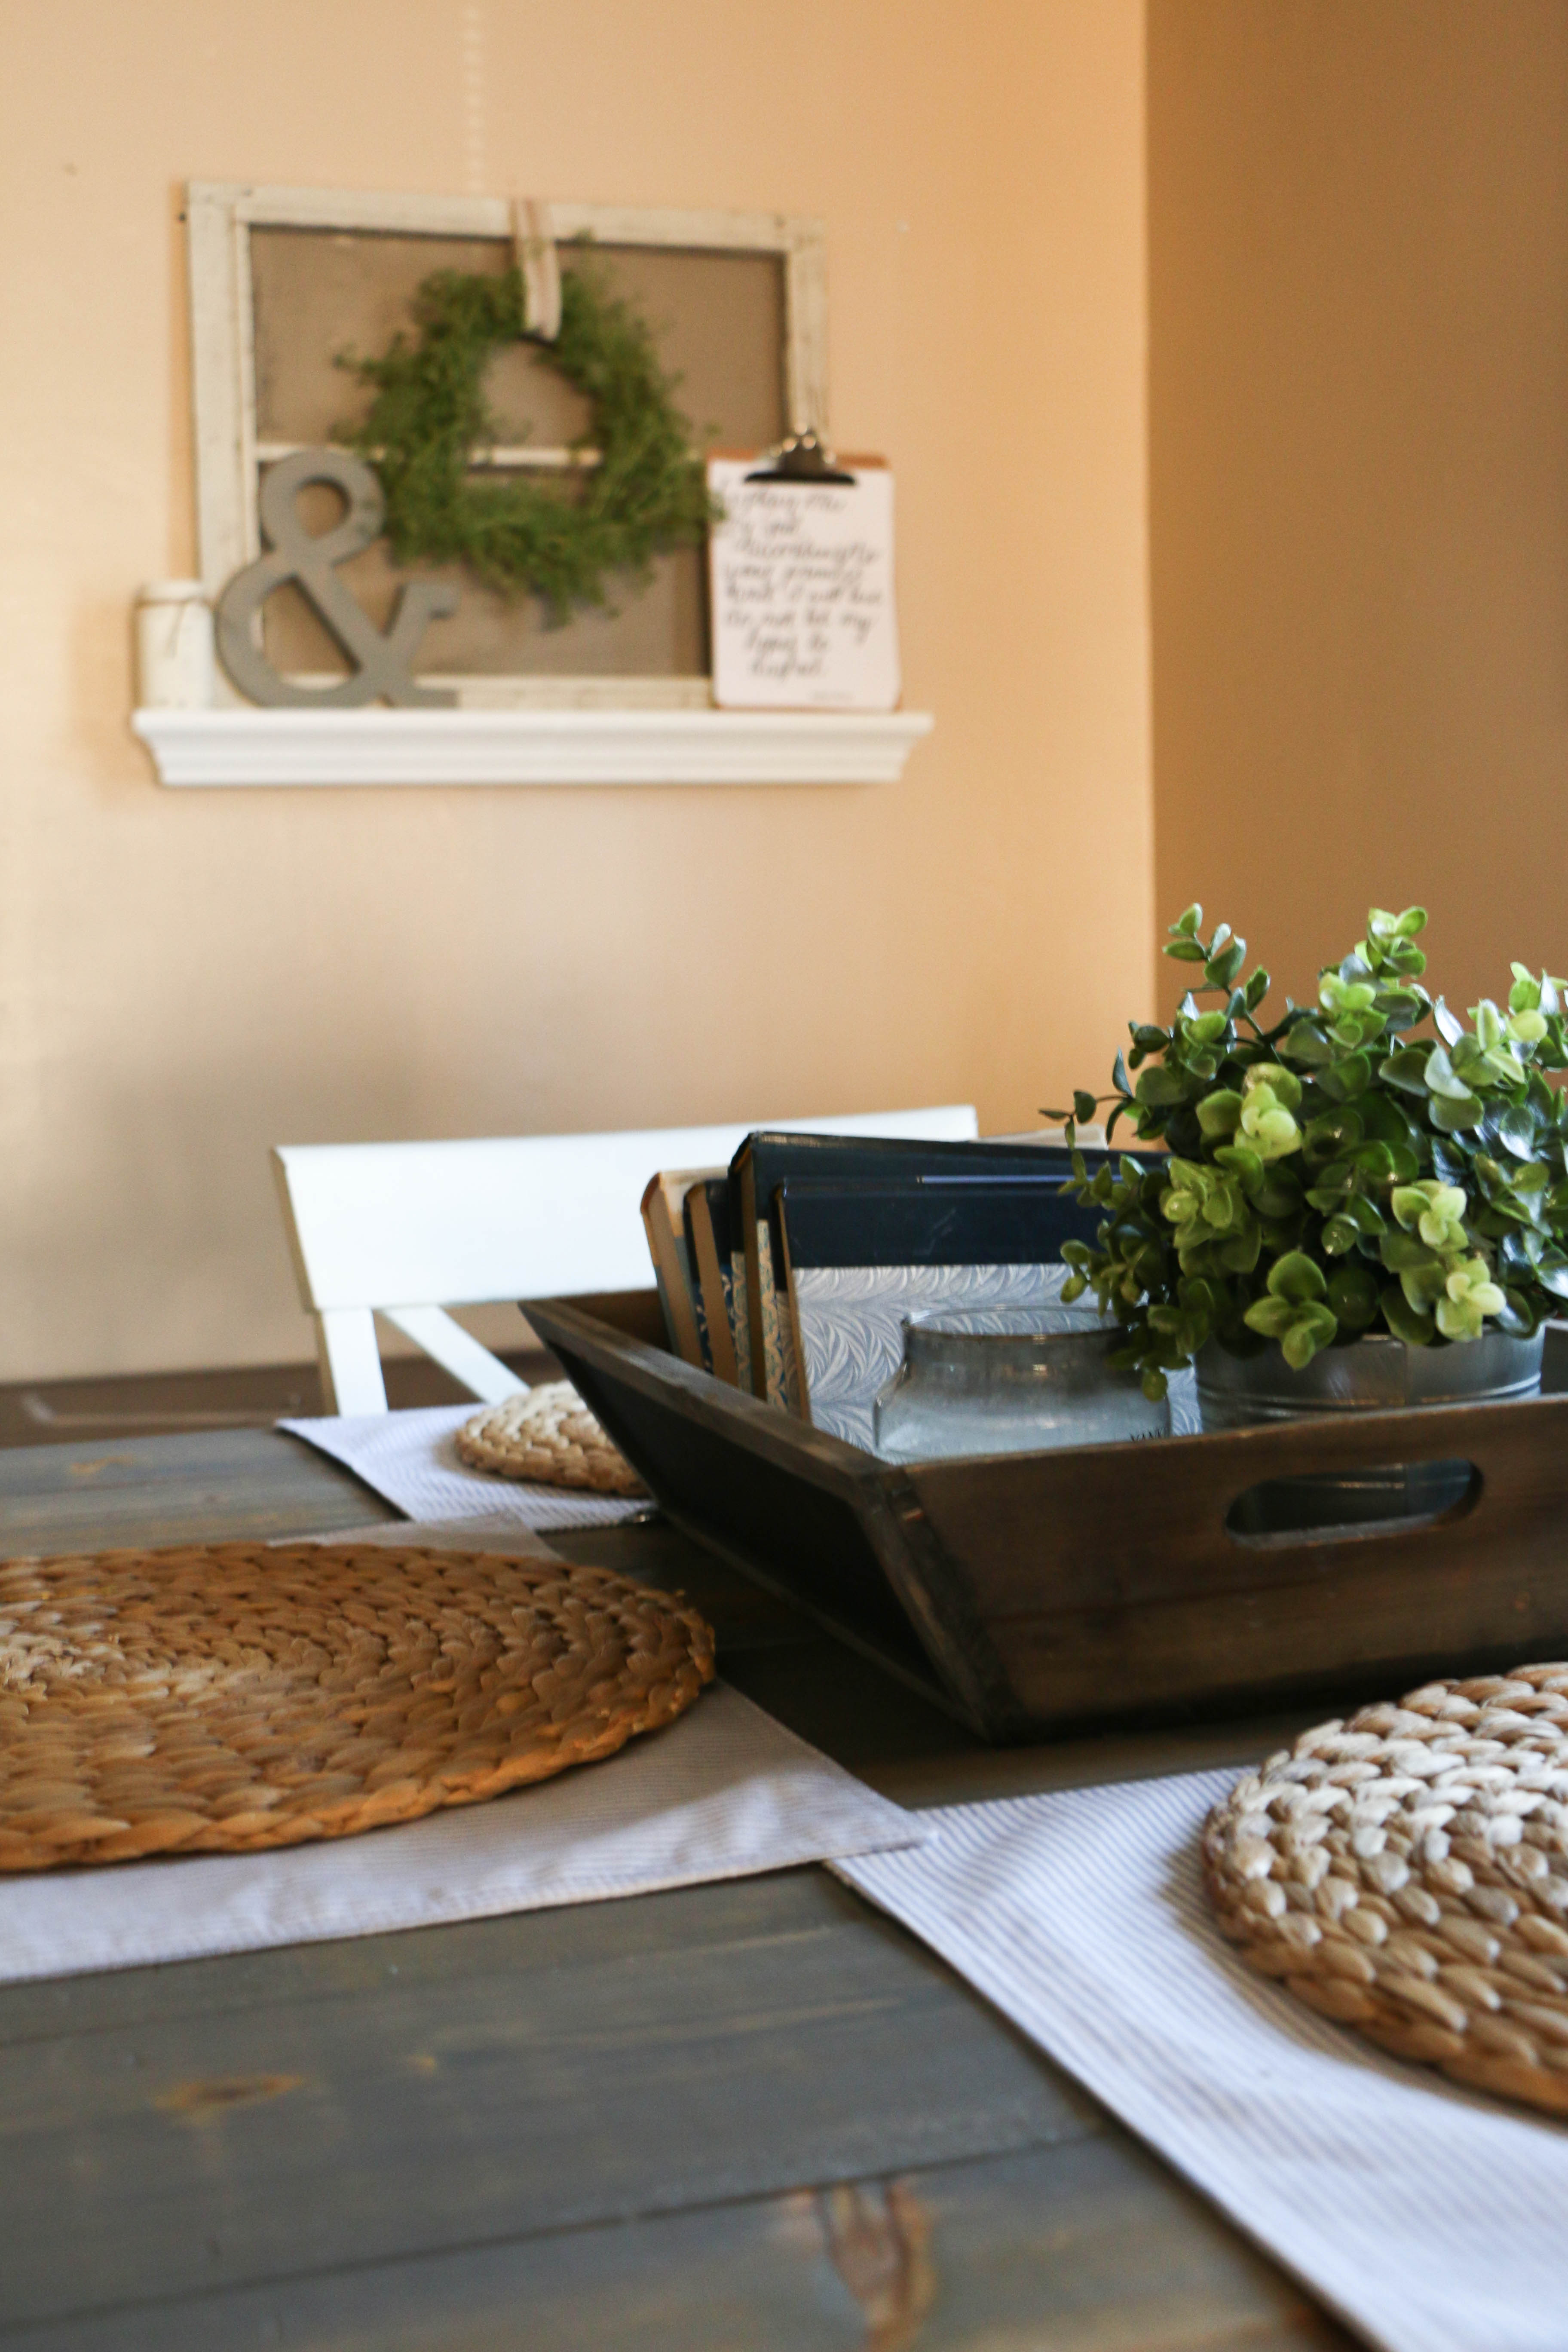
Here’s how it looks from our dining room table. I am loving the vibe it gives in here. It has a much more simple and monochomatic feel, which I love. Much better than the metallic party that was happening before.

DIYWreath1

DIYWreath5

In case you were wondering, the garland, the shelf, and the ribbon are both from Hobby Lobby, and everything else has been found/and or made by me. Thanks for stopping by today, I appreciate it so very much! Let me know what you think of this little project in the comments below.

That’s all for today, friends. Thanks for stopping by!

DIY Projects, Home Decor, Tutorials

DIY Boxwood Topiary

Hi you guys! I’m so glad you stopped by today! I don’t know if it’s feeling spring like where you are, but here in North Texas it definitely is! I was coming into the house after work the other day and I noticed little green buds popping up in the tree in the front yard. There’s no better sight! Not to mention that the weather has been warming up, which means it’s closer to time for front porch and grilling! I think it’s safe to say that spring is my favorite season (and it’s not just because I have a spring birthday…)!

Today I want to share with you guys a super fun super cheap DIY that totally has me ready for spring. I’ve been adding pops of greenery in the house everywhere, whether it be fresh flowers, or faux greenery I’ve collected from Ikea. I’ve been eyeing some of those adorable boxwood topiaries that seem to be everywhere (okay, maybe just Target and HomeGoods, but everywhere important!), but with my monthly free spending allowance, it didn’t seem worth it to pay for them. I’ve seen some at multiple places, usually anywhere from $20 – $30. Which isn’t a ton of money, I know. I’m just Cheapster McGee, as you all already know.

So I did what I do best, which is set out to make my own DIY version. So here’s what I came up with:

Topiary1

This is a very basic little craft that cost me just a few bucks.

Topiary7

I purchased all of my supplies at Hobby Lobby. The pots were under two dollars, and the boxwood balls (I’m fairly certain that’s not an actual phrase) were about five dollars for both, as they were seasonal clearance.

Topiary4

The rest of the supplies I had on hand. First, I put a coat of wax on the pots, mainly because I had never used strictly wax on something before, and I wanted to see how it would turn out. Since it was clear wax, it didn’t change the color at all. Duh, I should have known. However, I then immediately did a quick drybrush over the wax coat. Because the wax was not yet dry, it allowed me to wipe the whole thing with a rag, giving me the unfinished look I was going for.

Topiary3

I used sticks (the free kind from the front yard) and hot glued them to the bottom of my pot. The pots had a small hole in the bottom, which I covered with a small piece of duct tape so that the glue wouldn’t come out the bottom. After a few minutes, I filled in the pot with Spanish moss, something I had on hand already.

Topiary8

The boxwood balls have sort or a net texture under the leaves, which was perfect to just wedge them onto the stick. I did add a dab of hot glue just to keep them in place. Including paint and dry time (they dried incredibly fast, since I used my drybrushing technique), this project took me about fifteen minutes.

The cost of supplies I had to purchase was about seven dollars, making these cute little topiaries about $3.50 each. As opposed to the $20-$30 range. So I consider this little DIY a definite win.

I love how the fresh, springlike vibe they have. Even Ethan commented on how cool they looked, so I’m pretty pleased with how this one turned out. I think the best part is how well they’ll transition into summer as well. I do hope you try this one! It was definitely a fun project for me, and just about anyone can do this!

I hope you have something awesome planned for today! That’s all for today! Have a fabulous day, friends!

DIYTopiaries

DIY Projects

DIY Magnolia Market Inspired Wreath

Hey y’all! I hope you had a fabulous Valentine’s weekend! We had a low key weekend that was just perfect. Now that Valentine’s Day is over, I’d be lying if I said that I don’t have spring on my mind. Since Christmas, our front door has been bare, and I knew I needed something fresh for the door. Today I want to show you guys what I did for my front door on the cheap. Because if it wasn’t cheap, it wouldn’t be for me!

It’s no secret how much I adore Magnolia Market in Waco, TX. I’ve been several times, and each time I come home feeling refreshed and inspired. A few weeks ago, we drove down to visit their Scratch and Dent sale. I was able to snag a few things, but there was one thing I’ve really been wanting that I wasn’t able to find on sale. I’ve been eyeing their signature Magnolia wreaths for a while, but with the $95 pricetag, I couldn’t quite get on board.

While I was there, I realized, duh! Why don’t I just make my own wreath? So that’s exactly what I did. wreath3

All I did was hot glue some leaves onto a wreath form. Not even worth the explanation.

wreath2

The wreath was something I had already at home, and just took off what was on the wreath previously. So the cost of that was free. The florals came on a stem from Hobby Lobby that were priced at $4.99. Since Hobby Lobby rotates their inventory to be 50% off every few weeks, I was able to snag two stems for the price of one. To make this wreath, it took exactly two stems, making the grand total $4.99.

wreath6 (2)

The leaves were all the darker green, but I turned some of them around to make it more dimensional.

wreath6 (1)

I am simply in love with this little DIY! It took me maybe ten minutes to glue everything on, and the total cost to me was five dollars. Can’t beat that!

And sure, the quality of the leaves isn’t quite the same you would get from the original wreath. I’ll be the first to admit that. However, this was about 5% of the cost of the original. And that’s good enough for me.

 MagnoliaWreath

Have you ever made a knock-off version of home decor? Us budget conscious girls gotta do what we gotta o!

I hope you have a wonderful Monday! Thanks for stopping by! That’s all for today, have a fabulous day friends!