Browsing Category

DIY Projects

DIY Projects, Furniture Makeover

Annie Sloan: One Year Later

Hey y’all! Phew. The past few weeks have been CA-RAZY. With moving into the new house two weeks ago, and setting up my classroom, and Ethan being in and out of town for work, things have been hectic to say the least. Today is the first day we’ve had internet at our house. Like, we had to go to McDonald’s to pay bills last week. So that was a low point.

Things are starting to feel a tiny bit more settled now finally, and I can’t wait to share with you guys more of the house! Today I want to talk about something I think a lot of people have had questions about. How well does chalk paint hold up? Since I’ve been setting everything up at the new house, I’ve been inspecting and reworking all the things we had in our previous home.

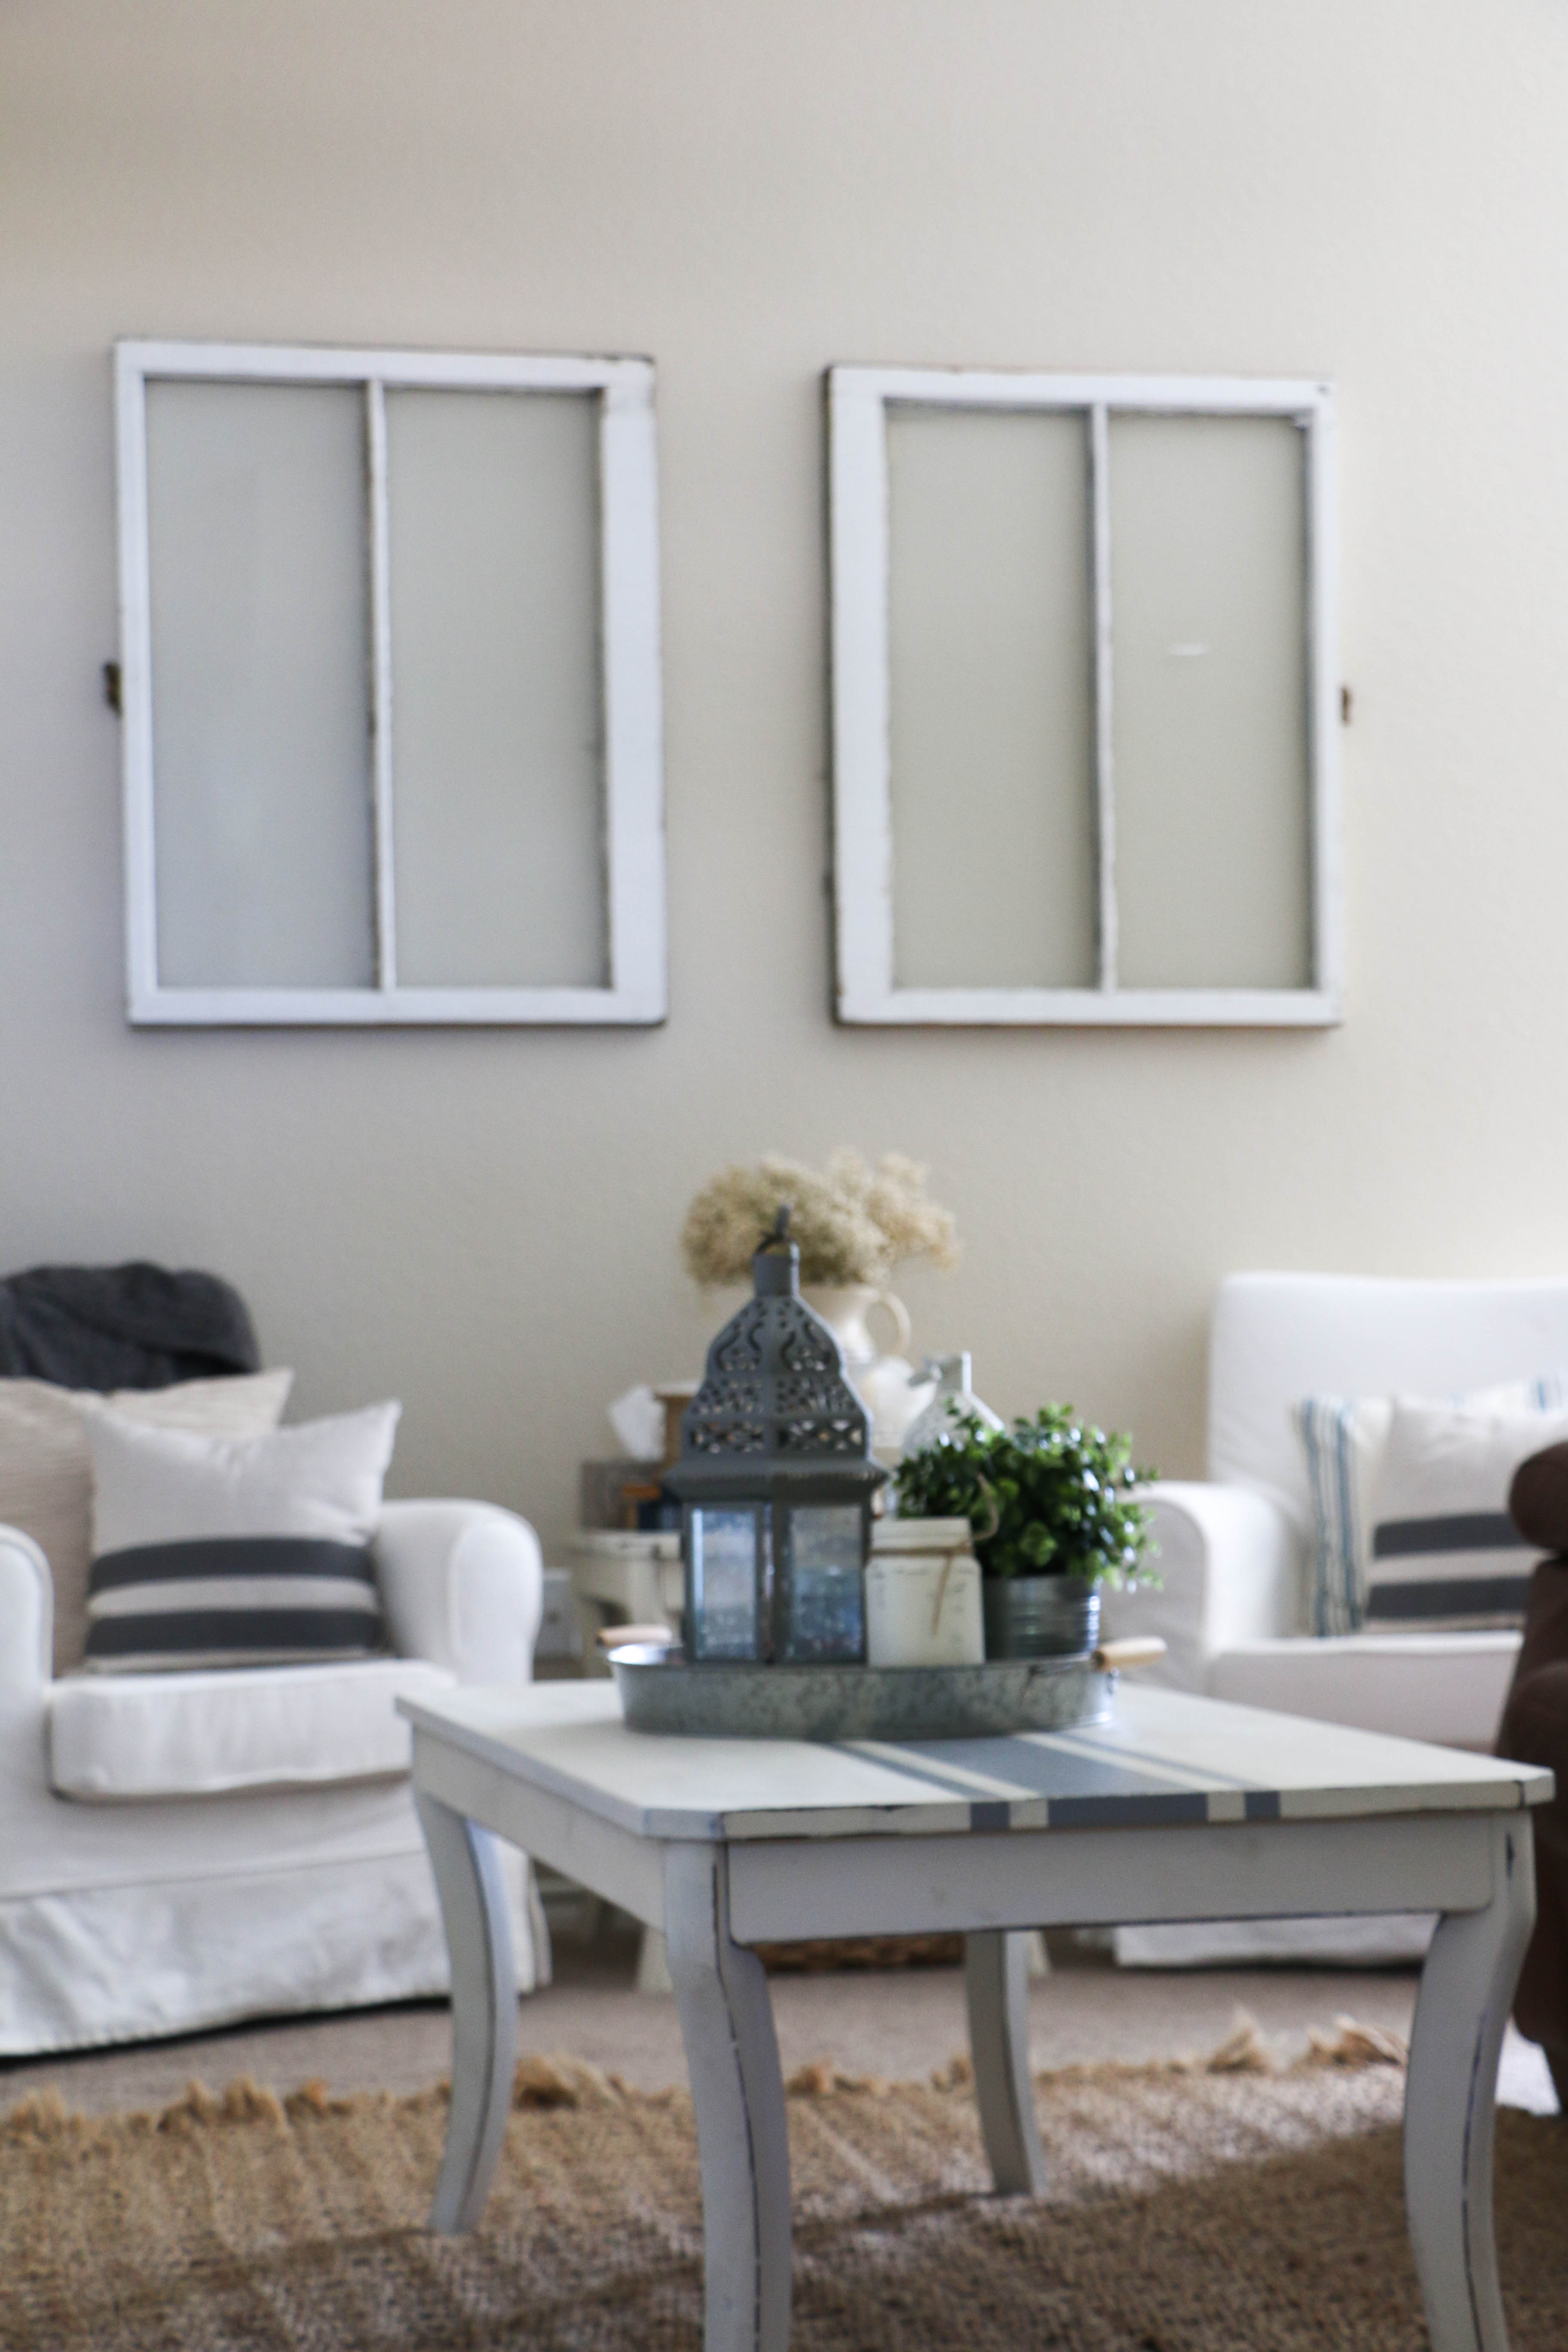
About a year ago, I gave our living room coffee and end table a little makeover. I used Annie Sloan chalk paint, which I’ve used for several other projects throughout our home. I love this paint, and I’ve talked about great it is, but I’ve never had much experience with the paint over a long period of time. Now, our coffee table is the hub of the living room. We’re pretty casual, so this table gets a lot of wear from putting our feet up on the table. We also eat off this table and write on it. It’s basically a work horse.

coffeetable4

I’m not being paid by anyone to tell you this, but I have to say, after about a year or so, the top of this table needed a second coat.

coffeetable2

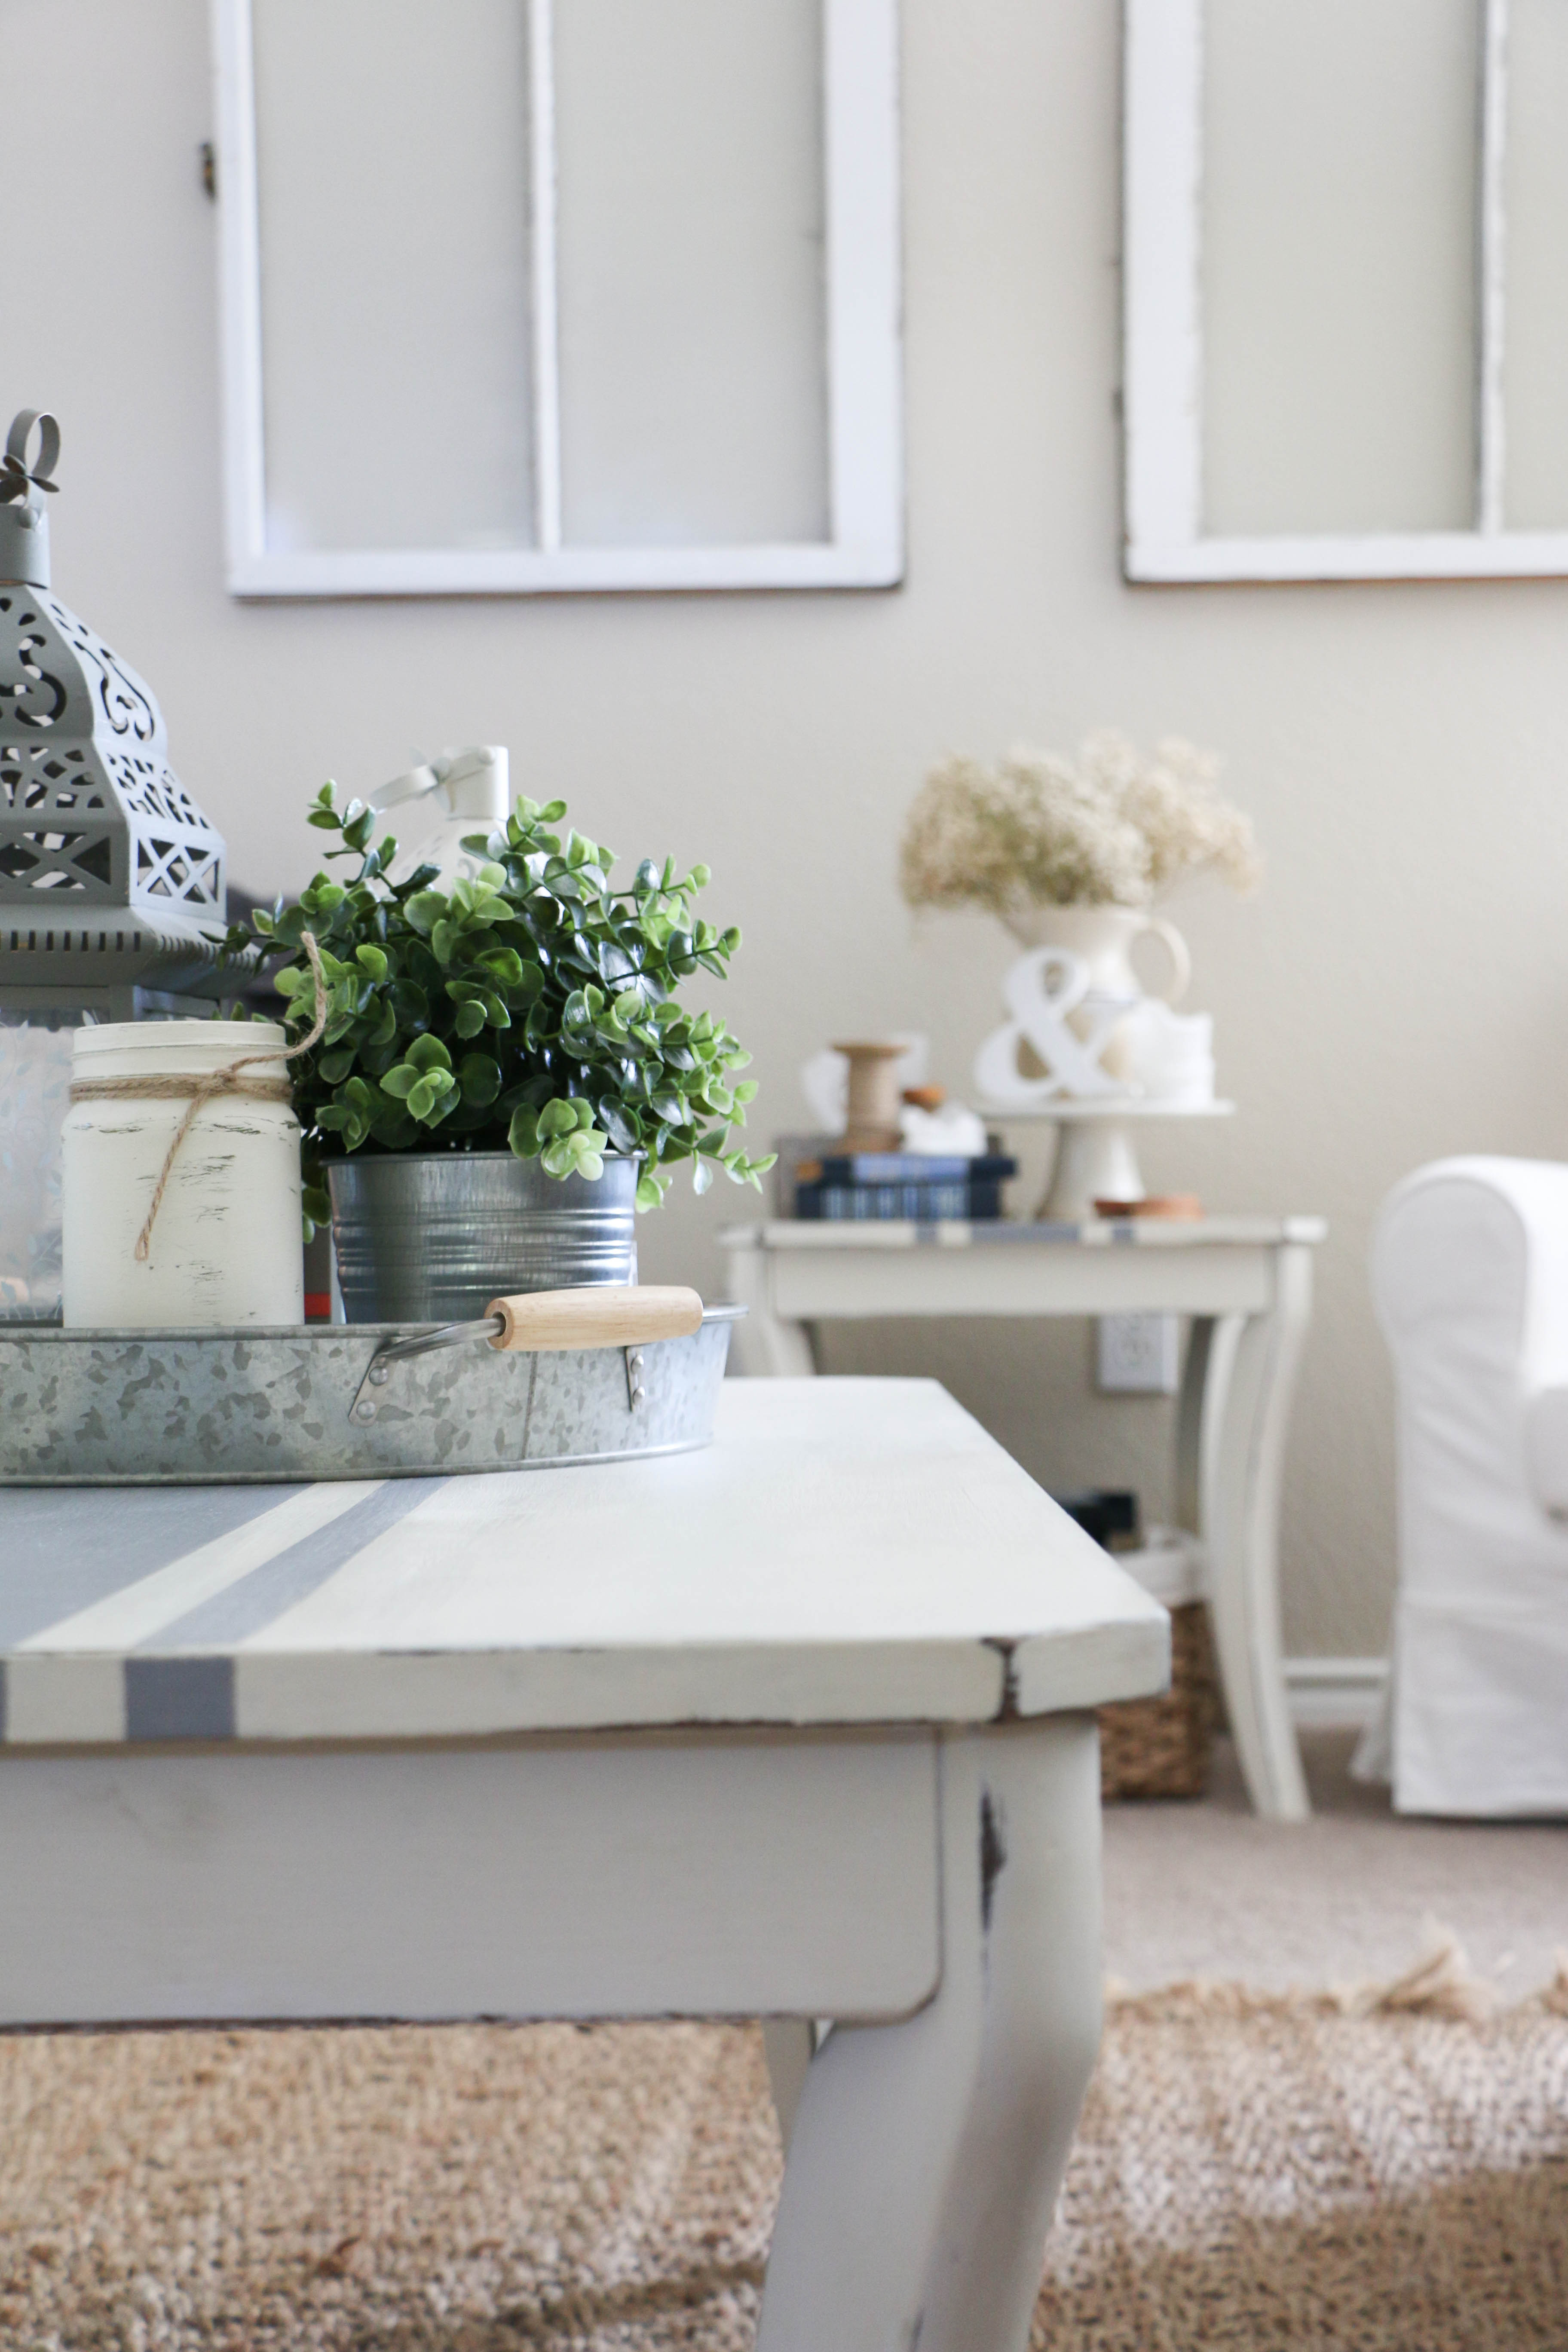
The edges of the table top started to wear down (and not from the distressing I intentionally added), and it was starting to look a little more shabby than I was wanting.

coffeetable

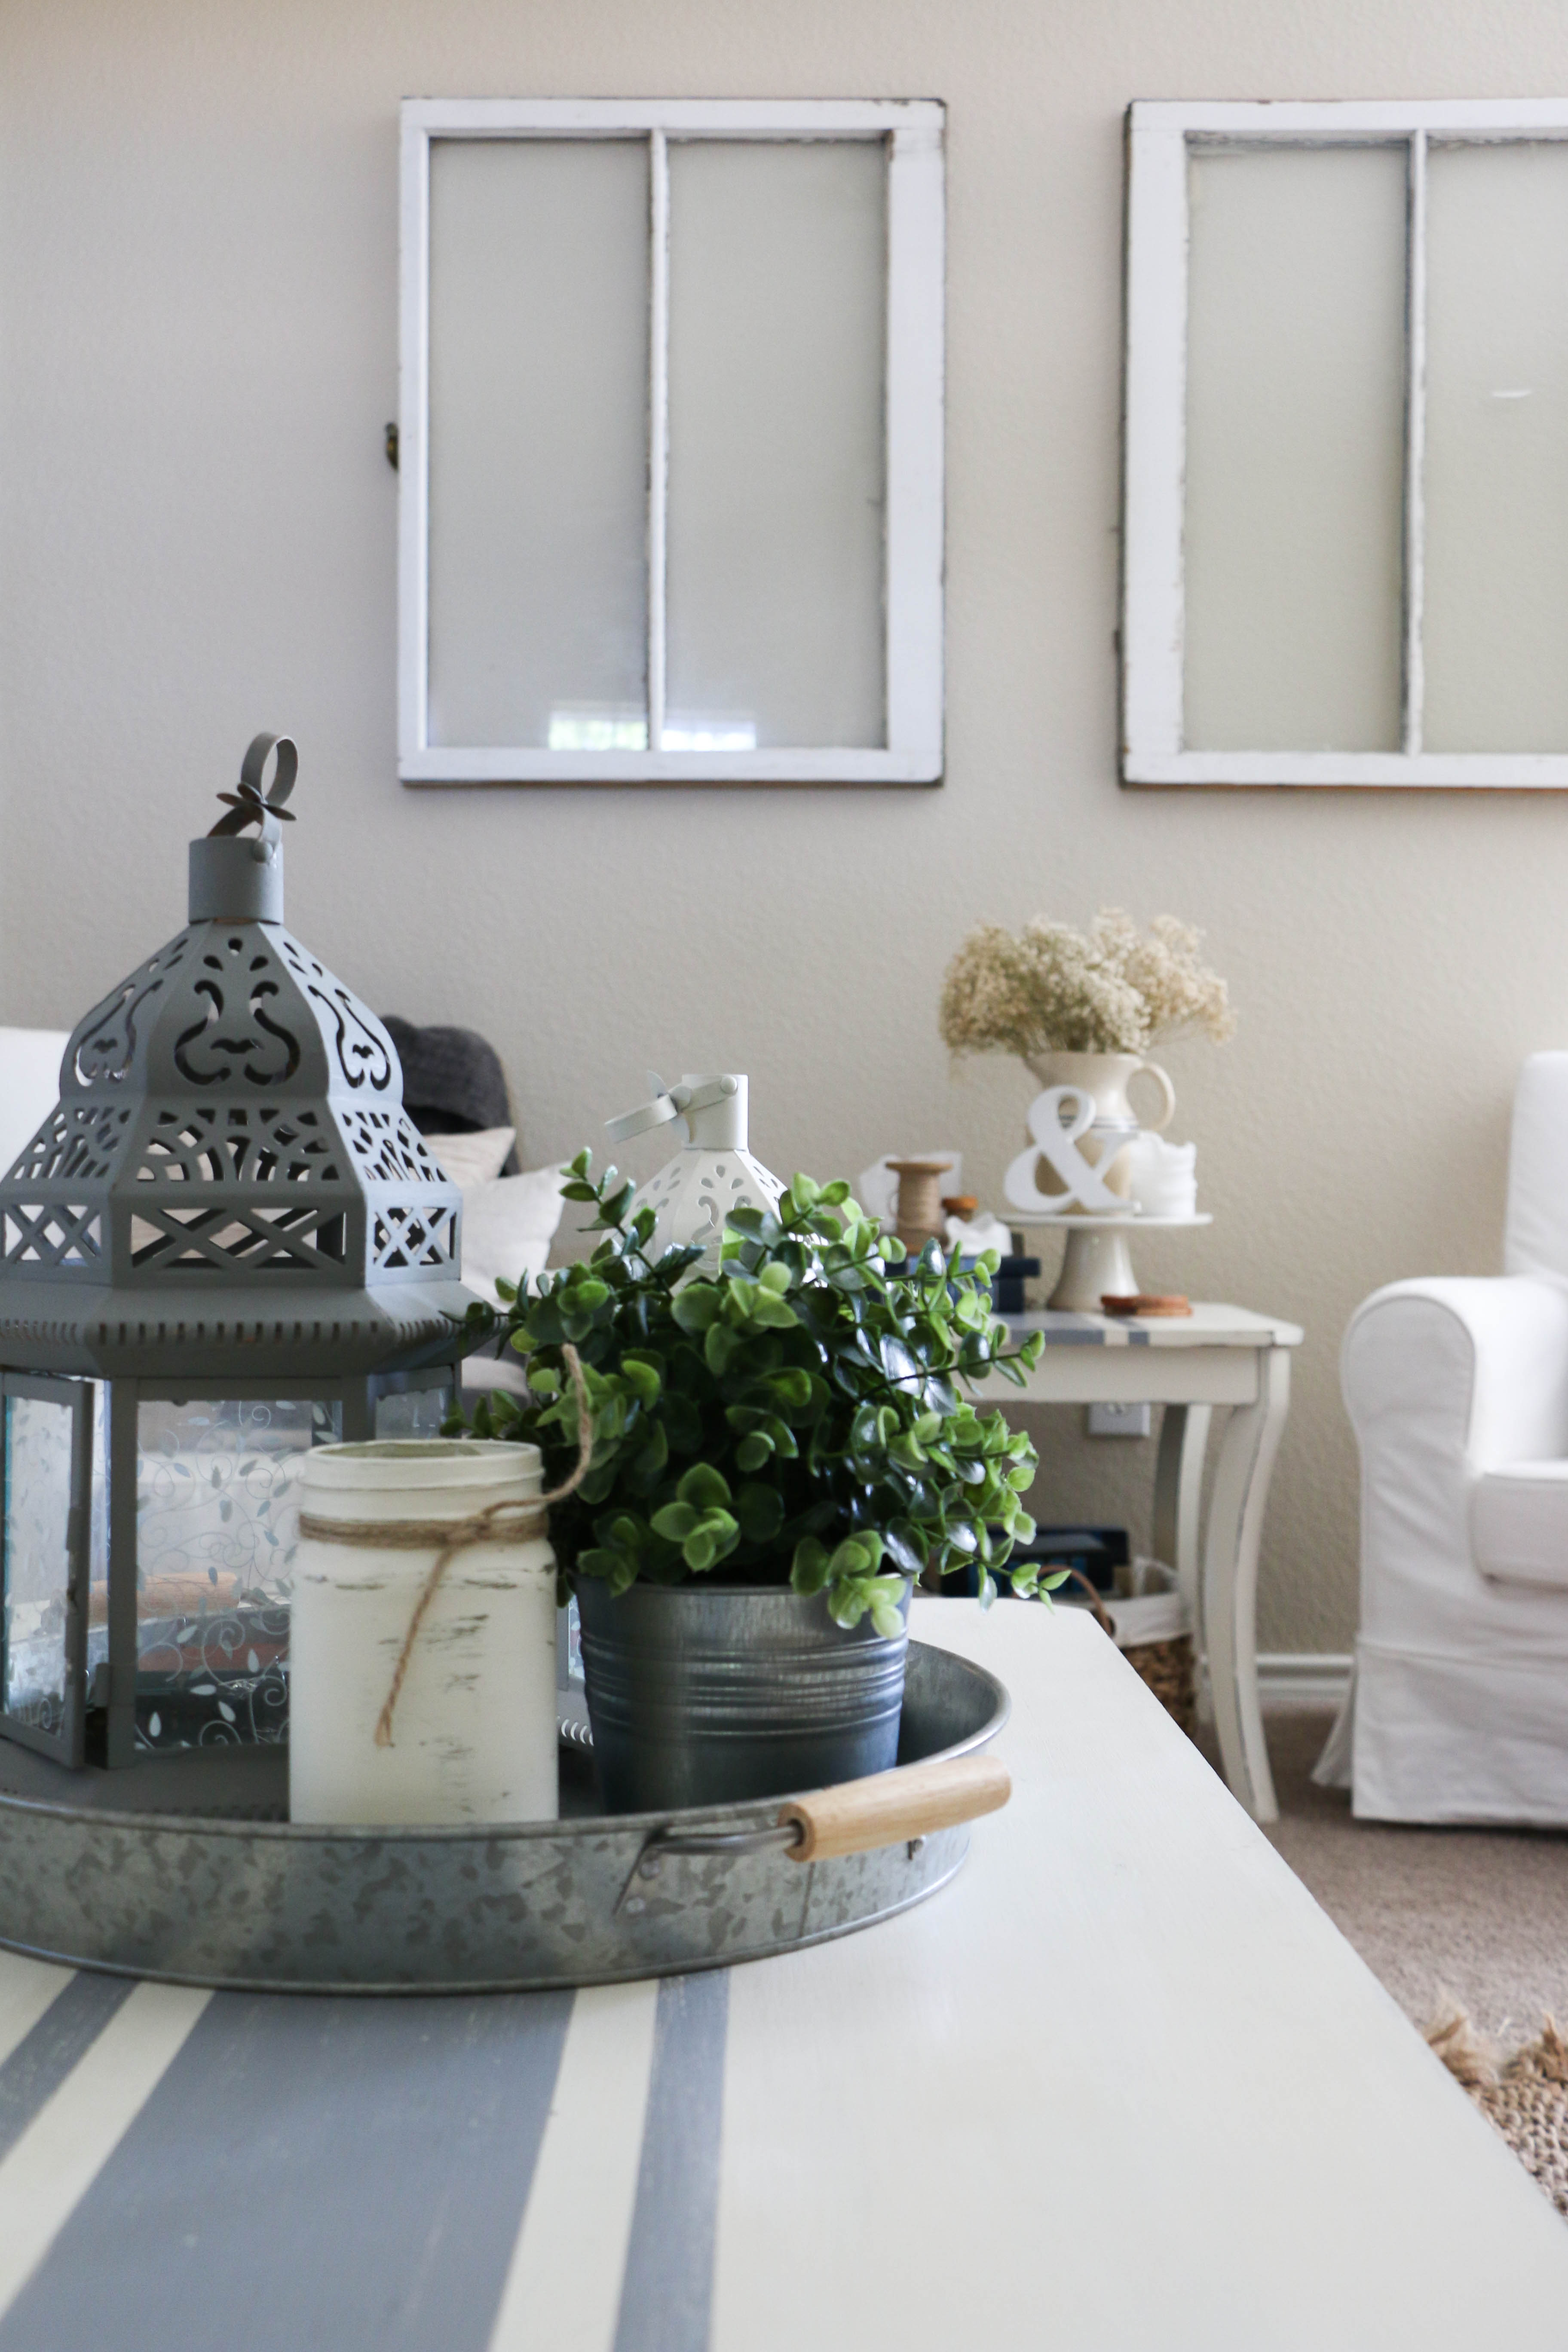
In about twenty minutes, I just slapped on a quick top coat of the paint in the Old White color. I didn’t even tape off where I had painted the gray stripes. Just a quick and painless coat of paint, and wax a few hours later.

With this specific project, it doesn’t bother me that I had to do a second coat. With something bigger and more time consuming, it might be a little bit more annoying. Now, there may be people who are better at applying the wax than I am, which could protect the paint better. I’m a novice at this stuff, but that’s my experience. This will in no way prevent me from continuing to use chalk paint in the future. I love the stuff! But, with something bigger, I might look into another solution in the future. We’ll see.

Have you ever had issues with this in the past? If so, I’d love to hear about how you solved them! I know that this has been a quick and simple post, but I wanted to pop in and share what I’ve been up to! Well, that’s all for today friends! Have a fabulous day!

anniesloan

DIY Projects, Tutorials

DIY Pallet Flag

Now that summer is officially here, it’s almost time for one of my favorite holidays… the Fourth of July! I’ve always loved this holiday, and I don’t even really know why. The fact that it’s in the summertime probably helps! 🙂

The past few weeks I haven’t been super productive, but this past weekend we went away to celebrate our anniversary, and some time on the beach has done me some good! I came back feeling pretty refreshed, and inspired to create something new.

As I mentioned in my last post, this summer we are saving all our pennies for a big goal, so we don’t have a ton of room in our budget for extra fun stuff. Which is totally fine. Because I am super excited about the possibility of something new. Anyway, I was wanting to add something new to our front porch for the holiday, but I wanted to spend zero dollars. Mission accomplished. palletflag2

I found this old pallet in the trash pile while I was driving down the road… #noshame. I had Ethan drive by in the truck and pick it up. I’ve had it for about a month with no purpose, sitting in the garage. Until yesterday I decided to make a quick project out of it. See, there are perks to hoarding junk in your garage. Totally justifiable.

I didn’t have any red paint on hand (because red is pretty nonexistent around my house), so I decided to make this pallet flag a neutral one. This isn’t my original idea, I’ve seen it all over Pinterest. But this neutral one is my own version.

It took me about fifteen minutes to do the whole thing. I just free handed the stripes, and for the stars, I made my own little stencil. To make the stencil, I just drew a star on a piece of paper, and cut it out. I then used the paper to place my stars where I wanted them. Easy peasy.

palletflag1

Now my little porch area is Fourth of July ready! This little rental that we’ve lived in for the past two years of our marriage has been both a blessing and a curse. The list of things we dislike about this rental is more than a mile long, and the list of things we like are pretty slim. Actually, the positives can be narrowed down to two things: the rent is cheap and there’s a front porch. I am not kidding when I say that’s about it. But this little porch area really is my favorite spot, and I have loved adding more fun touches to this spot.

Now I’m feeling pretty productive for a Monday morning, but I have much more to do. I just wanted to pop in and show you this little DIY! This (like all my projects) is an easy one, and I hope it inspires you to create something today!

Well, I’m off to cross more things off my to-do list. That’s it for today, friends. Have a fabulous day!

DIY Projects

How I Fake Calligraphy

Hey guys! Hope you’re having a great day! I just got in from mowing the lawn (yuck). It’s hot and sticky outside, and I’m pretty sure my outdoor quotient has been met for the day. Now that Memorial Day has passed, summer is here, and that means BBQ and fireflies and porch sitting and bringing a little red white and blue into the home.  Yesterday I took out a few patriotic decor items out of the closet, and I put a few things together. I made a little hand-lettered print, and I realized it’s totally something I should share!

Now, a little background. It seems like everyone is on this hand-lettered kick in decorating, and I’m all about it. I have seen some really beautiful calligraphy around, and I just don’t have that sort of talent. I’ve never taken a class or anything, I really would not consider myself someone who actually knows something about the matter. I do, however, love creating little prints for our house. It’s basically free art, and there’s no way I’m not getting on that train!

So here’s how I, someone who is totally not an expert, create simple hand-lettered pieces from my home. I bought a multi-pack of pens from Hobby Lobby. I don’t see them listed online, but it was a three pack of square tip pens in various sizes. Are they good? They work for me, and that’s good enough.

Calligraphy1

You may still be able to find this pen in the store, and with their 40% off coupon, it only cost me a few dollars.

calligraphy2

This pen has a square tip, which is pretty much the secret to creating pretty writing.

calligraphy3

When I’m writing something, I use a normal cursive font, the same that I would write with using a normal pen. The trick to using these calligraphy pens is holding them at about a 45 degree angle. It took me a little while to get used to holding the pens correctly without moving them.

For this little print, I used a page from my old hymnal, the page with My Country Tis of Thee on it. Perfect for the upcoming Fourth of July holiday. I printed a line from the song, and this is what I came up with:

calligraphy4 calligraphy5

Easy. (I think that might be my motto around here: do I do anything that’s not easy.) I have little prints around the house, and I love it because it’s so cheap and quick. And on the hymnal, I love it even more. It adds such a nostalgic touch for me. And the mini clipboard is from Hobby Lobby. I got it recently, and it’s perfect for switching out seasonal prints.

Have you ever tried hand-lettering? I promise, it’s much easier than it seems! Well, that’s all for today, friends. Have a fabulous day!