Browsing Category

DIY Projects

DIY Projects

DIY Dog Crate

Hello all! Today I am sharing something I have been waiting to share for a while. Like a long while. Let me backtrack. We moved into this house in July, and when we first moved in, the only major issue I had with the house was Atlas’ dog crate. I don’t know how many of you are dog owners, specifically large dog owners. If you are, you know how massive and ugly dog crates are. Well in this new house, we don’t have a designated separate area for a crate.

In our previous rental home, we had an area off the kitchen that was out of the way and perfect to hide a huge gaping hole of ugly crate. In this new house however, we had no such luck. There was no other option for us (without allowing Atlas to have a spare bedroom, and we’re just not really into that) other than to put his crate into the living room. So for the past few months we have had a massive eyesore of a dog crate sitting in the corner of the living room and it’s been totally cramping my style.

I haven’t been able to decorate around it because it’s been driving me crazy. I had an idea for a crate that Ethan could build that might look a little less ugly than the typical black metal that I could decorate around. It took a while for this to actually come into fruition, but this is what we came up with:

dog-crate-3

Ethan gets better with every building project he does, and this turned out perfectly! He pieced together the sides each made with chicken wire.

dog-crate-4

The top is made from old fence boards, and Ethan sanded them down to make a nice smooth finish.

dog-crate-7

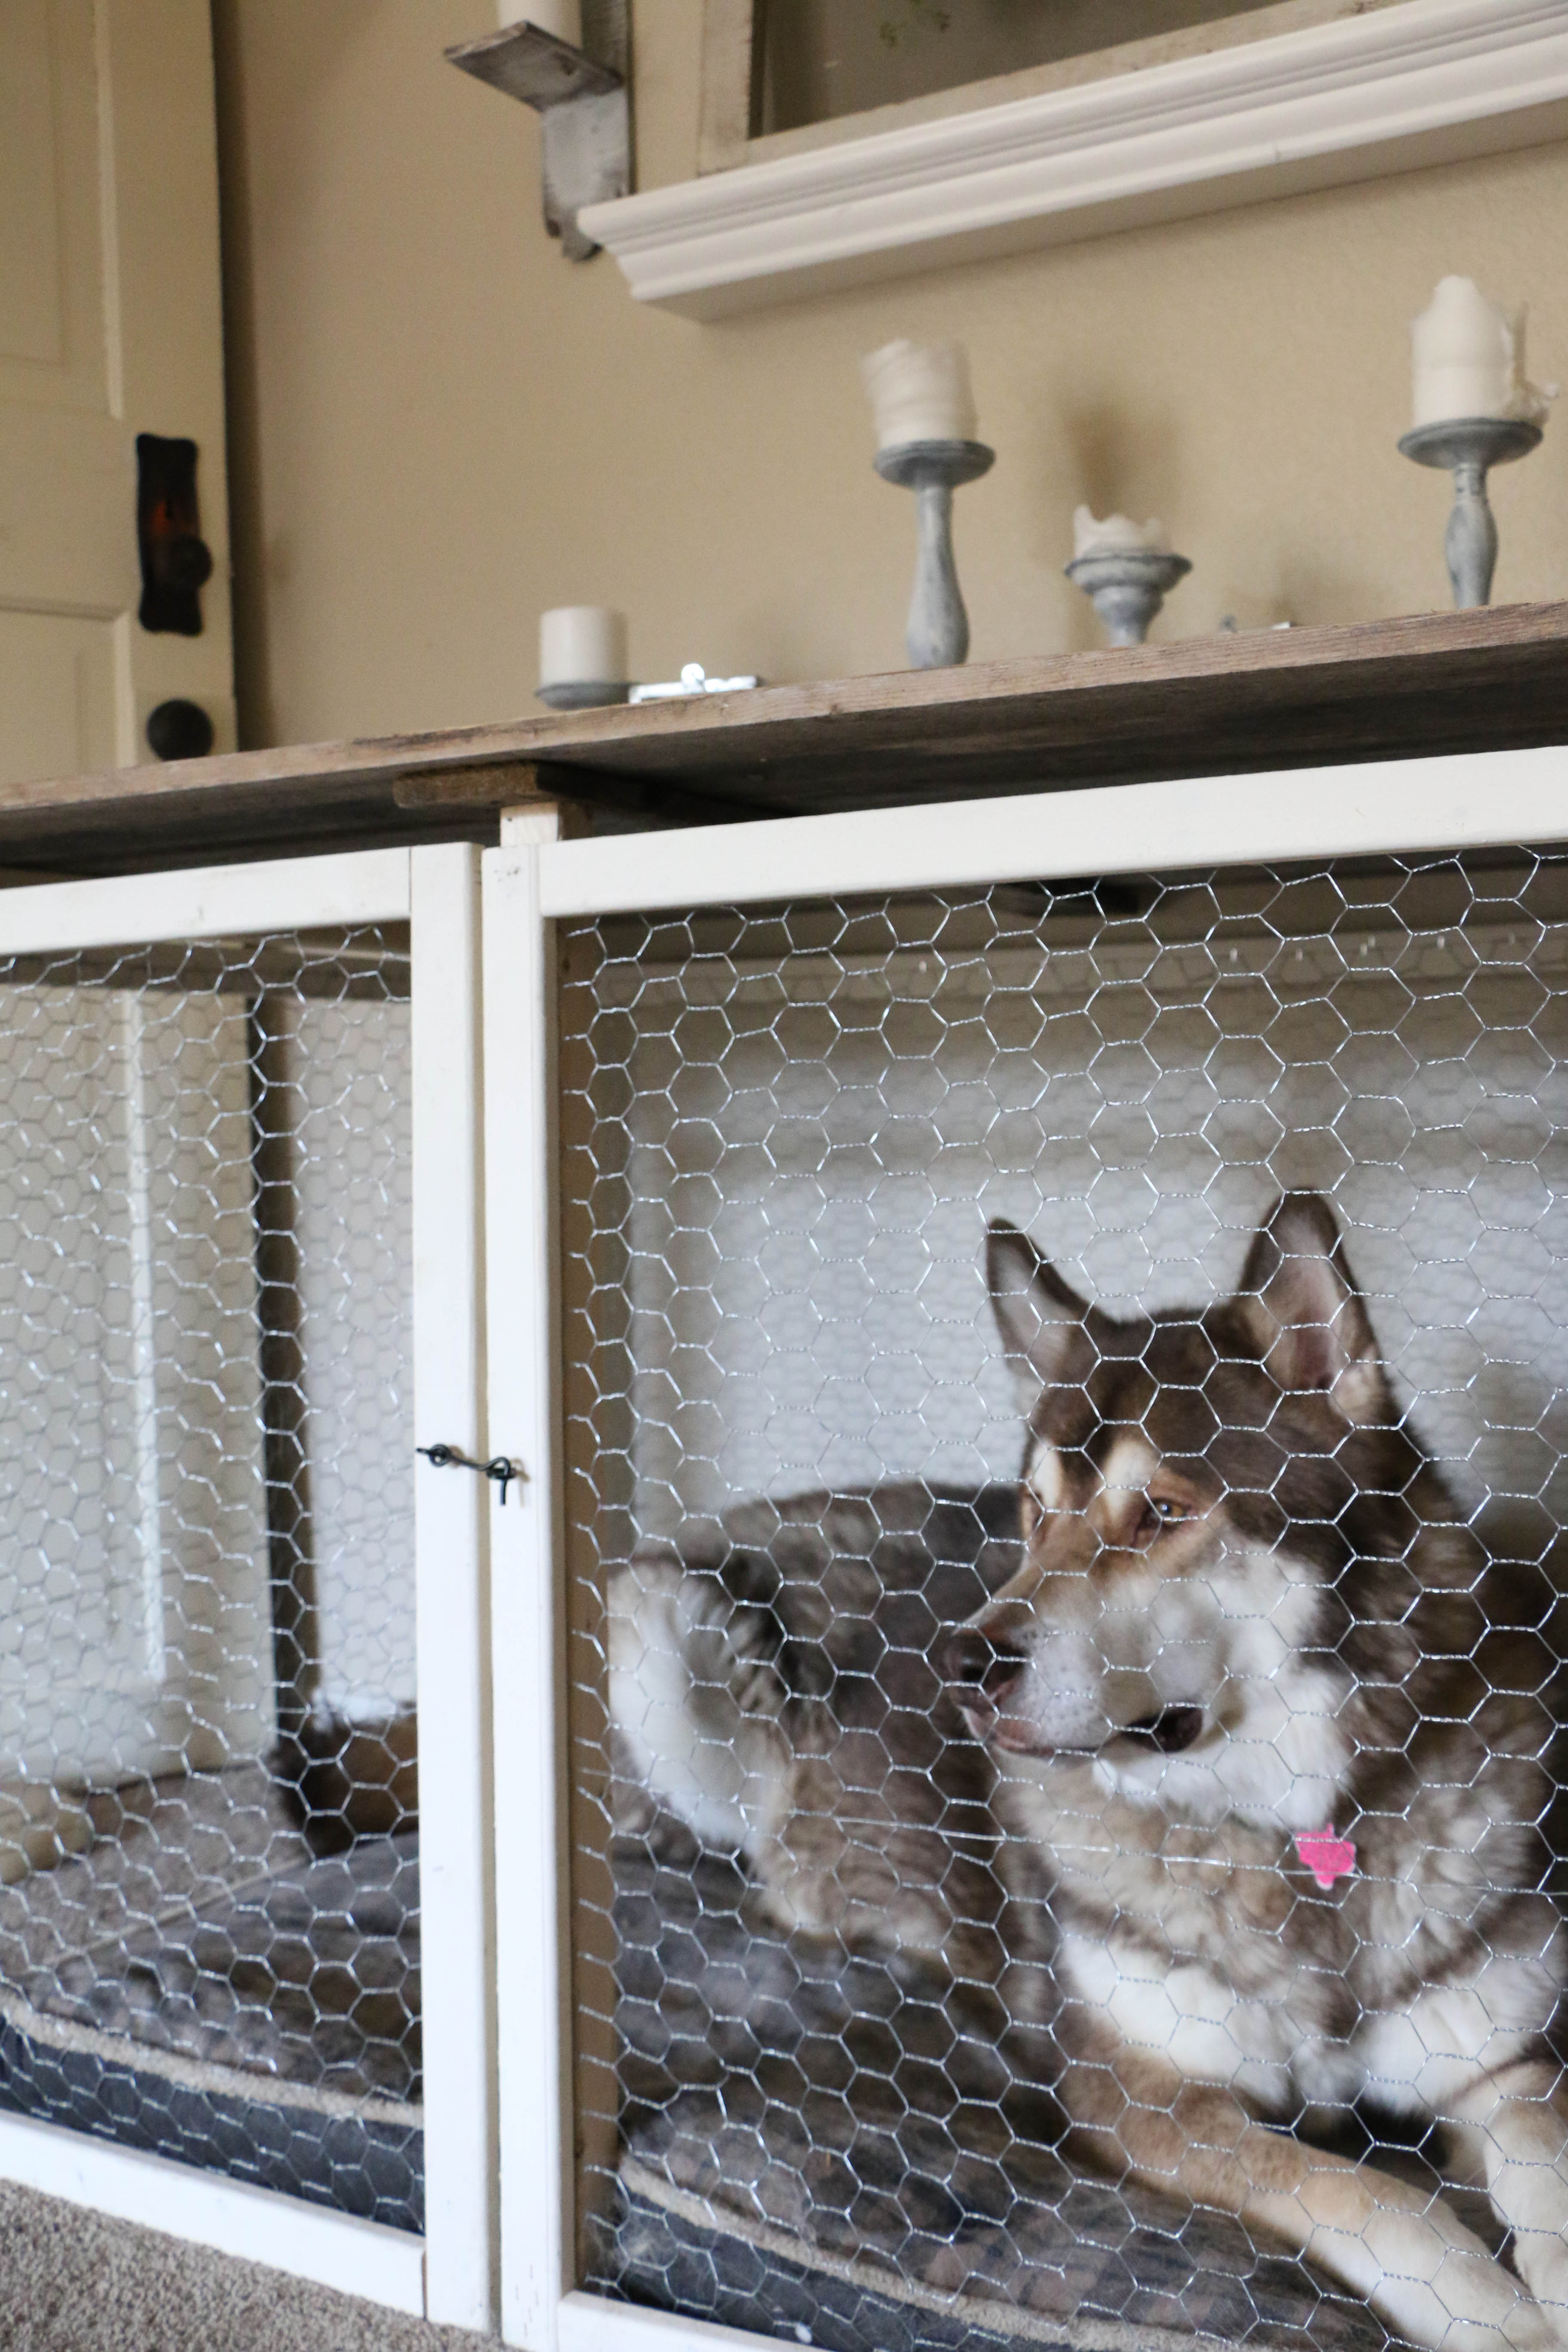
The front has a door that swings open with a little hook to keep it locked.

dog-crate-9

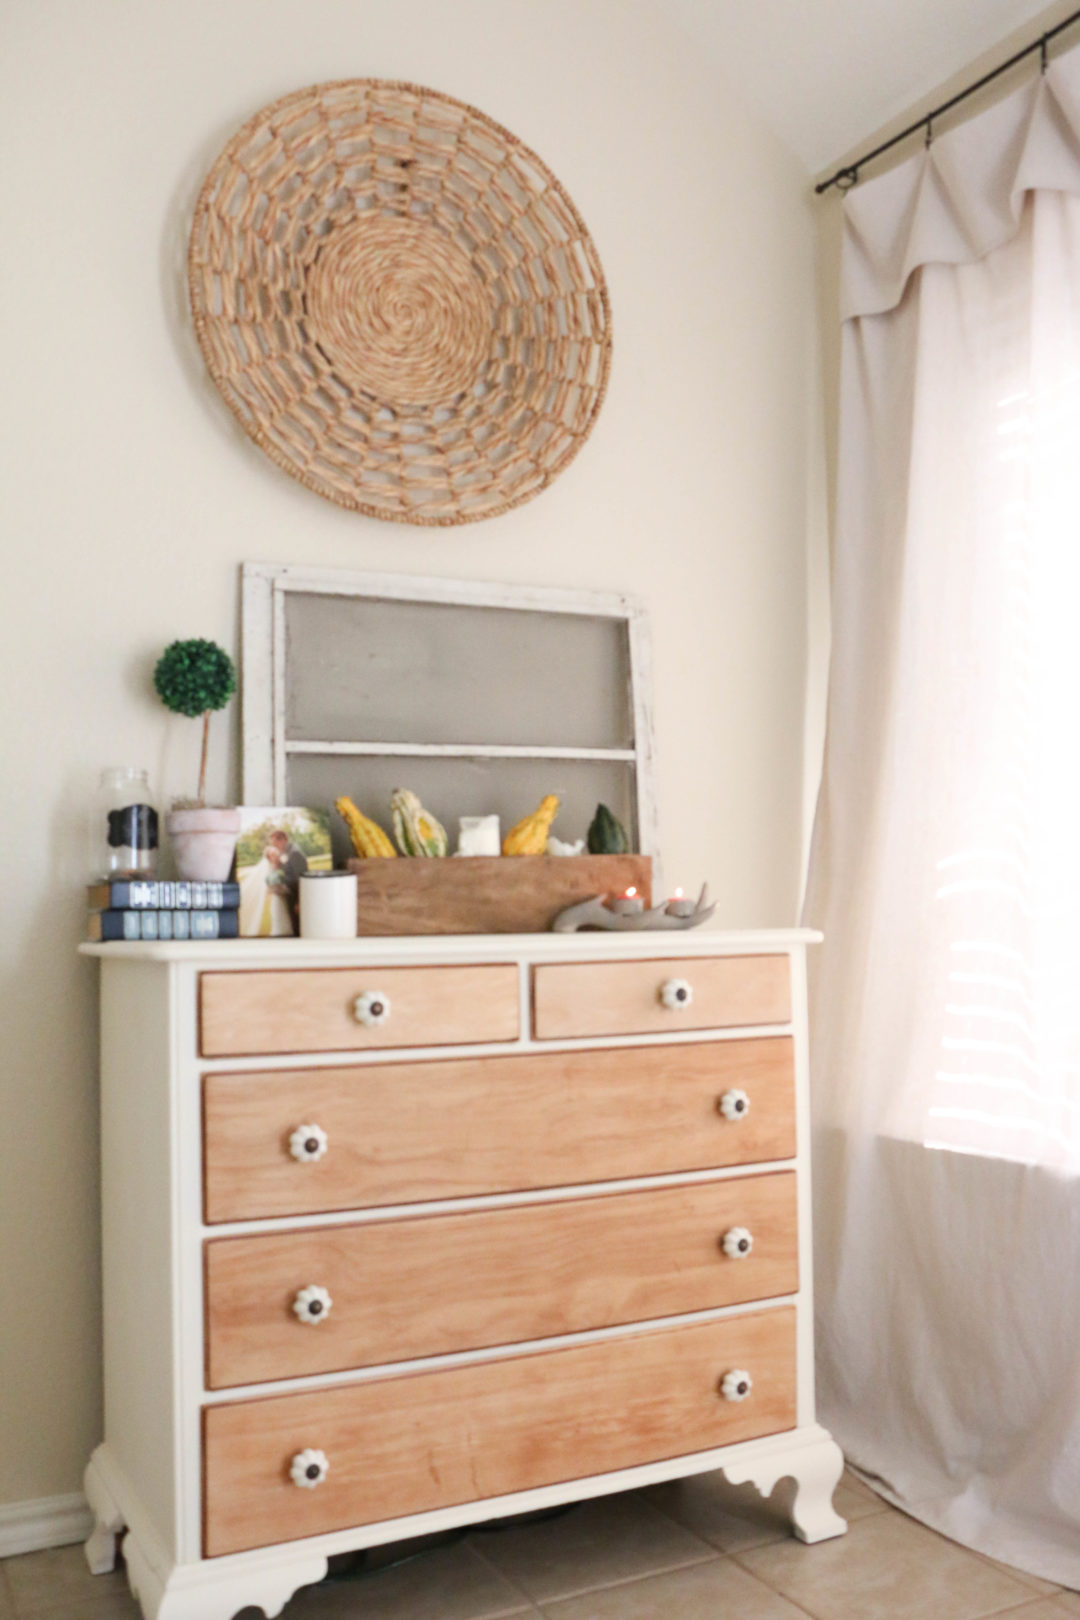
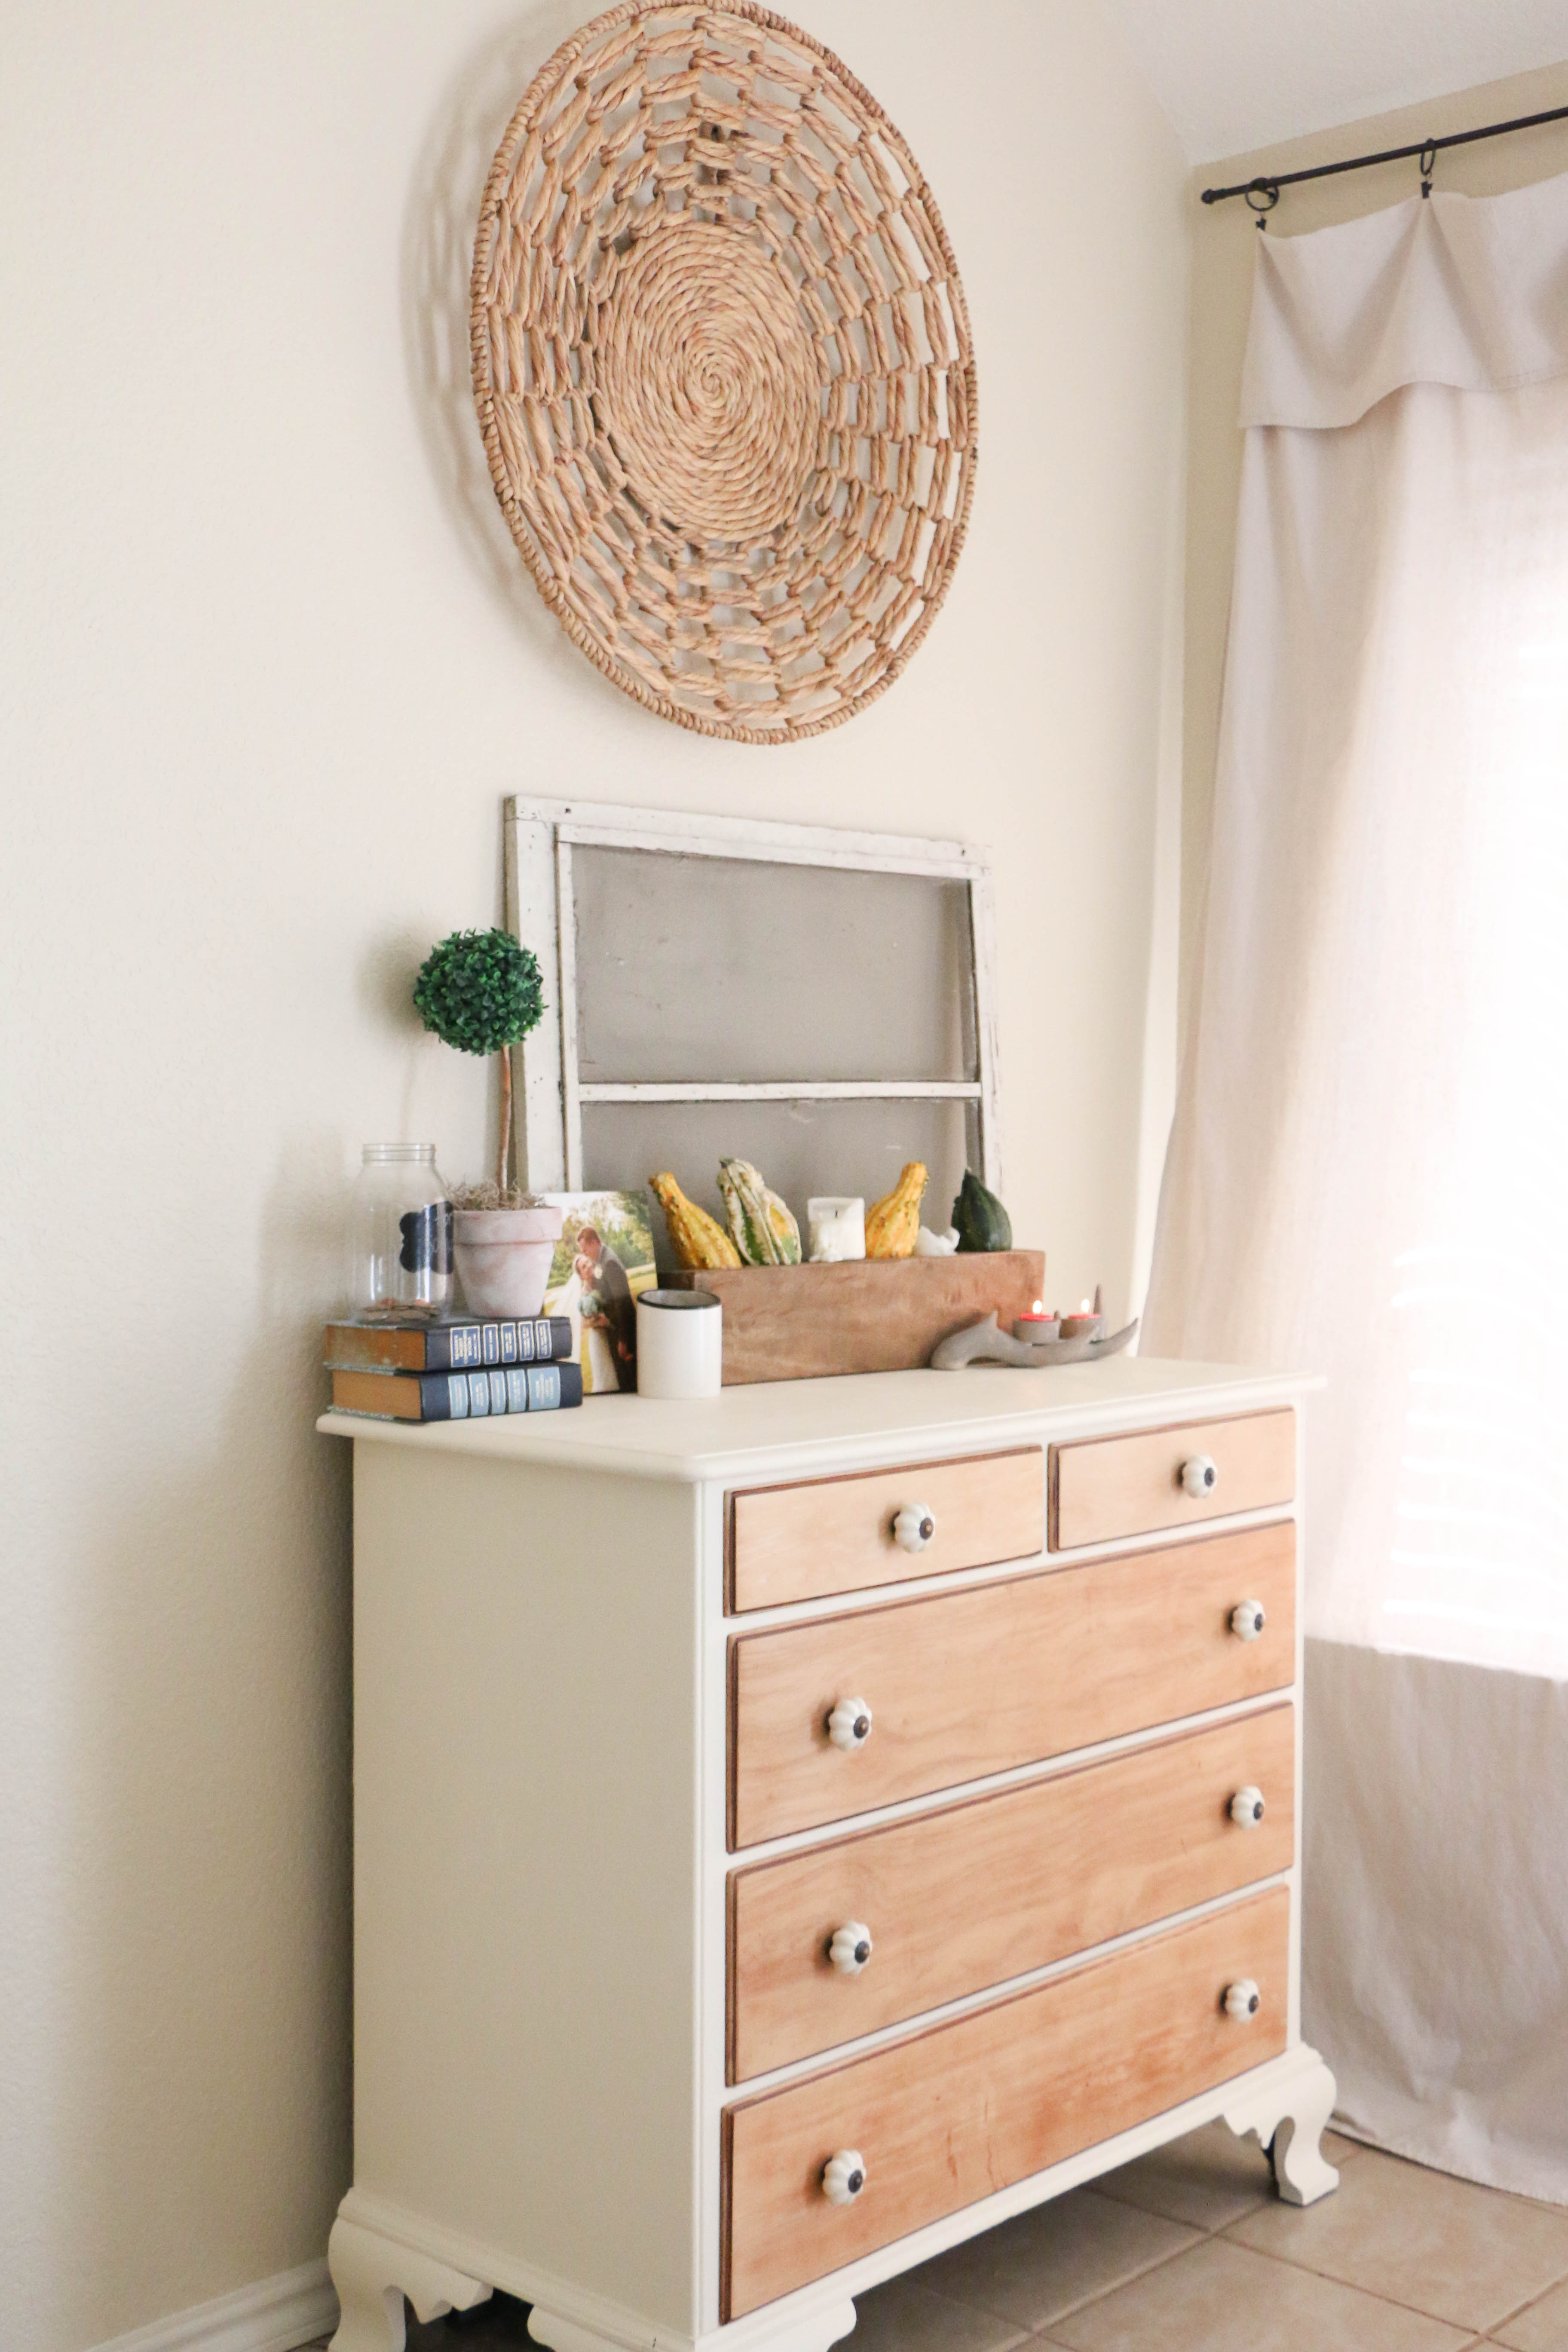
The best part is that I actually have actually been able to decorate around, without it looking too ugly. The plan is to eventually add curtains that we can close when we have company over, which is why we raised the top a bit off the sides.

It fits into our decor, and Atlas likes it pretty well too! He was even so kind as to pose for the camera while I was taking these photos! (Just kidding. You have no idea how hard it was to catch him not looking stupid.) Seriously though. This project is just what we needed to finish out this side of the living room, and I could not be more pleased with how it turned out.

In case you were curious, this whole project cost about $40. The most expensive part of it was the chicken wire which was about $30. (In order to get the height we wanted, we had to buy at least 50 feet.) The reclaimed wood was donated by a friend who had replaced a portion of their fence. The only thing we bought was the wood and the hardware, and of course the chicken wire.

The chicken wire isn’t super strong, but Atlas is pretty well behaved so we trust him not to try to bust out of his crate. Definitely a pretty and functional piece to add to our decor. Do you have an ugly dog crate at home? Would you ever do something like this instead? I’d love to hear about it!

Well, that’s all for today, friends. Have a fabulous day!

diy-dog-crate

DIY Projects, Furniture Makeover

Family Heirloom Dresser Refresh

Hello friends! Thanks for stopping by today! Has the fall weather hit where you are? It finally feels like fall around here, with the leaves finally falling and the hint of cool weather in the breeze. Texas falls are nothing like the falls in New York where I grew up, but I’ll take what I can get.

This season has brought a hint of change in the air, both literally and figuratively. I’ve been super inspired lately to create more, paint more, make more, etc. So what I’m showing you today is something I’m super excited about.

So this is the dresser in our bedroom.

dresser7

It has a beautiful shape that I have always loved. It’s a solid wood piece, and it’s something we’ll always have. It was Ethan’s growing up, and before that, was in my mother in law’s family when they moved from the northeast down to Texas. It’s such a gorgeous dresser, but it used to be an orange stained finish with large circular wooden handles. Not to mention the stickers that were put on the side by Ethan as a kid. So needless to say, I’ve wanted to give her a little facelift, but since it was a family piece, it just wasn’t a possibility. Until recently.

dresser2

My mother in law finally gave us the okay to paint, and I was super excited. I bought some new drawer pulls from Hobby Lobby, and knew exactly how I wanted to finish it.

dresser5

The outer part of the dresser got a coat of my favorite paint, Annie Sloan’s Old White, and the drawer fronts got sanded down and left bare. Guys. I am OBSESSED with this new look. I always knew there was a gorgeous dresser hiding behind that orange finish, but it’s even prettier than I thought.

dresser3

I’m so thankful to have gotten the okay to work on this piece. When there’s a family history you have to honor in a piece, it can be a little intimidating. Hopefully this little refresh honors my mother in law and her family. I know that it definitely finishes out our bedroom in a way that makes the dresser fit. This piece will definitely be with us forever.

dresser8

Good grief it’s just so pretty. Well y’all, that’s about it for today. Just wanted to pop in and share this fun project. Have you ever painted something that belonged in the family for a long time? How did it go?

That’s all for today friends, have a fabulous day!

DIY Projects, Tutorials

What I’ve Learned Finishing Furniture

Hello all! I hope your week is off to a great start! I’ve been busy busy busy with school starting a few weeks back, but now I’m ready to get into the routine of school being in full swing and I’m ready to start thinking fall!

I’ve been out in my garage working away on tons of projects out in the garage, and if you follow along on Instagram, you might have seen the early stages of this dresser I’m about to show y’all on my IG Story. This dresser turned out even cuter than I thought it might, and so I wanted to share with you guys some of the process and tips I use, now that I have more than a project or two under my belt.

graydresser1

Okay, so this is how this little guy turned out. So cute, right? I didn’t take a picture when I first started, because I’m so forgetful when it comes to that kind of stuff, but it was dark green. Like 90’s dark green. Gross.

The first thing I did was strip all the paint off the dresser. Using a good paint stripper is not for the faint of heart, since it smells, and I burnt my arms a couple of times, but it is essential in removing old paint more quickly.

What I couldn’t take off with the paint stripper, I took my sander to. This took a while, but prepping the entire thing helps the end result. Once I finished sanding, I wiped the entire thing down with Mineral Spirits to clean it off.

graydresser4

See those cute little scallops on the bottom? Adorable. Anyway, once it was all clean, I primed the entire thing. Even though chalk paint claims to be prep-free, I have found that it saves paint to prime first, as well as makes it last longer. After I primed, I sanded everything down with a 220 grit sandpaper. This is super fine, and eliminates brush strokes. I do it super lightly and super quickly to make sure I don’t sand off the primer completely.

graydresser5

I painted the frame with Annie Sloan Old White, and the drawers with a local handmade chalk paint (sorry I don’t have the color for it). I lightly sanded everything down again, and on the drawers, I sanded a bit longer to expose some of the primer. That happened kind of accidentally, but I ended up loving it!

graydresser2

Here’s a closeup of how the drawers turned out. I love them! After I finished painting, I gave everything a coat of Annie Sloan Clear Wax. This sweet little dresser was a super fun project, and it turned out even better than I imagined.

graydresser3

Now, this piece won’t be staying with me. I’ve been working hard gathering materials and working on projects like this one because I am going to be a vendor at the upcoming Vintage Market Days! I love this event so much, and this will be my first time as a vendor! Here’s a link directly to the Facebook event. It’s in Waxahachie, which is just south of Dallas. If you’re going to be in the Dallas – Fort Worth area that weekend, you’ll have to stop by. This event is going to be amazing, and if you’re in the area, I would love to meet you! This dresser and many others will be headed to my booth, and I cannot wait to show y’all more!

That’s all for today friends! Have a fabulous day!