Hi friends! I’m so glad you’re here! If you’ve been following along on our house progress on Instagram then you probably have seen lots of little projects we’ve been working on as we’ve been doing them. These days, it’s a bit easier for me to do a quick update there than on here, just because life with a newborn is busy! In case you haven’t been following along, here’s the deal with this post. My Status Updates (Check out the first one here or the second one here) are a series of unedited, real life photos rounding up the entire process of what we’ve accomplished thus far.
At the time of my last update, we had not yet moved into the house. We have since moved, had a baby, and continued working. To say things are a bit crazy would be an understatement. We are definitely still in “fixer upper mode,” when looking at any room in the house, there are at least five undone projects that come to mind. So, bearing all of that in mind, let’s have a look at what our house looks like right now.
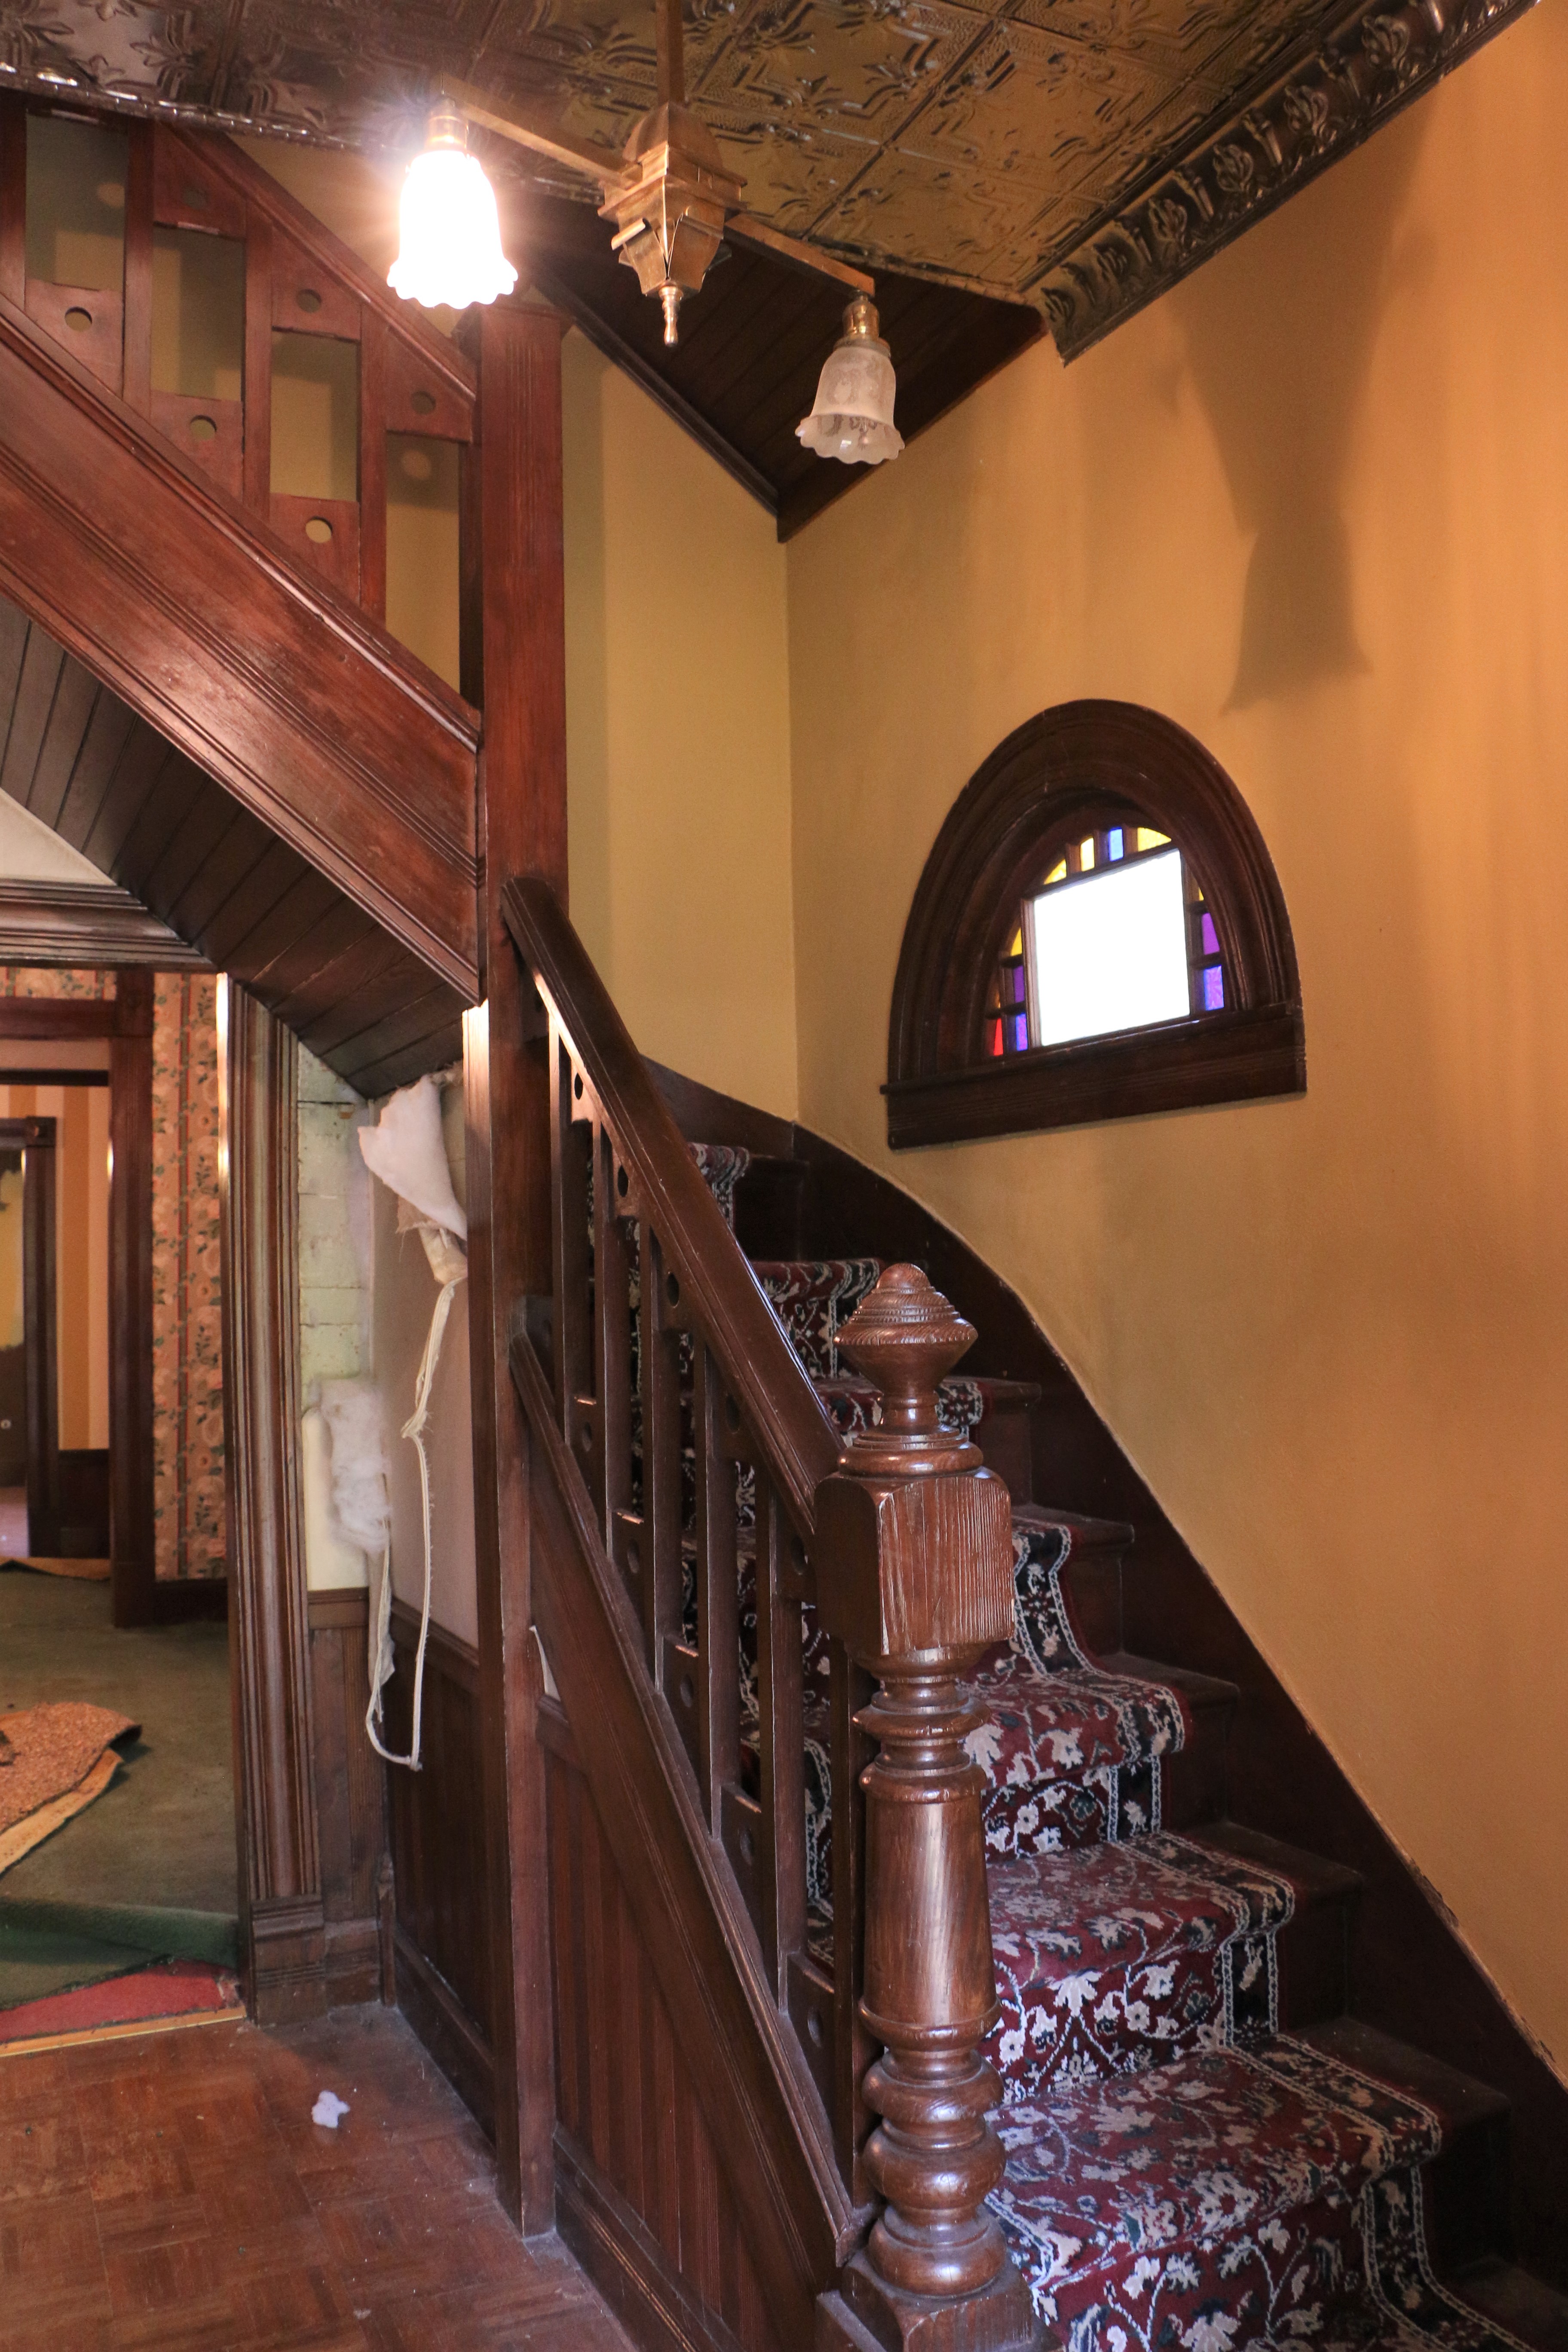
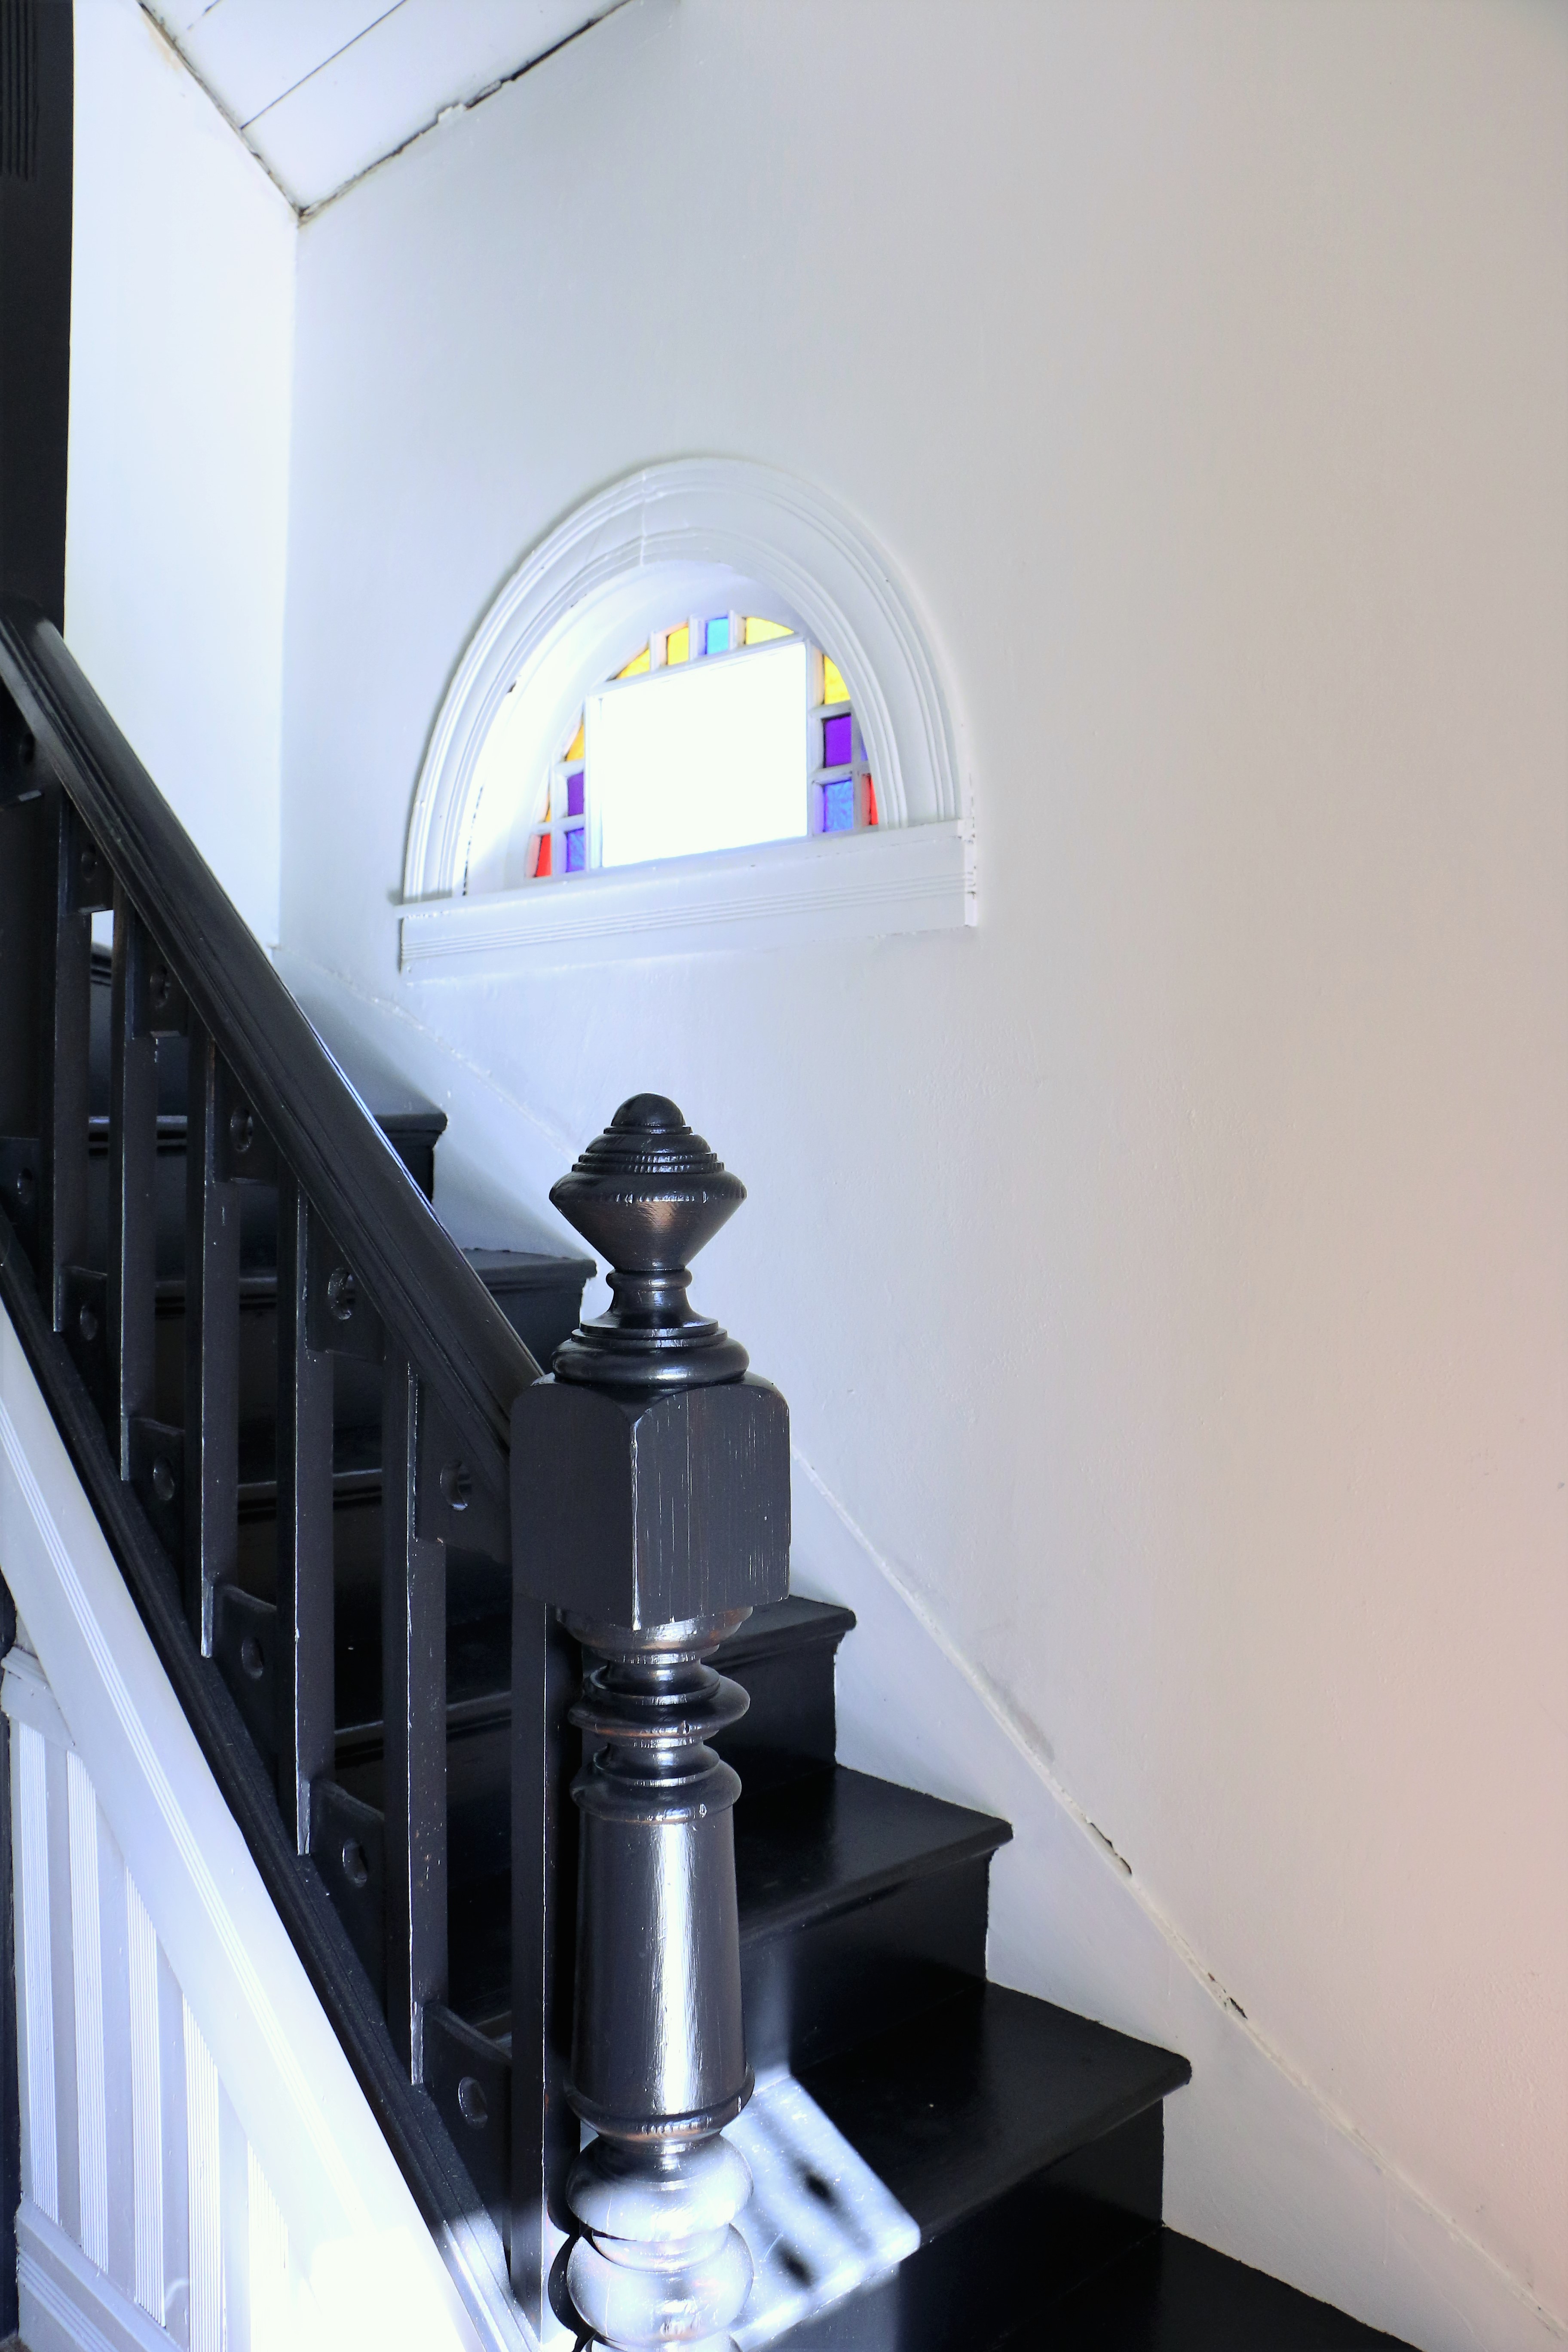
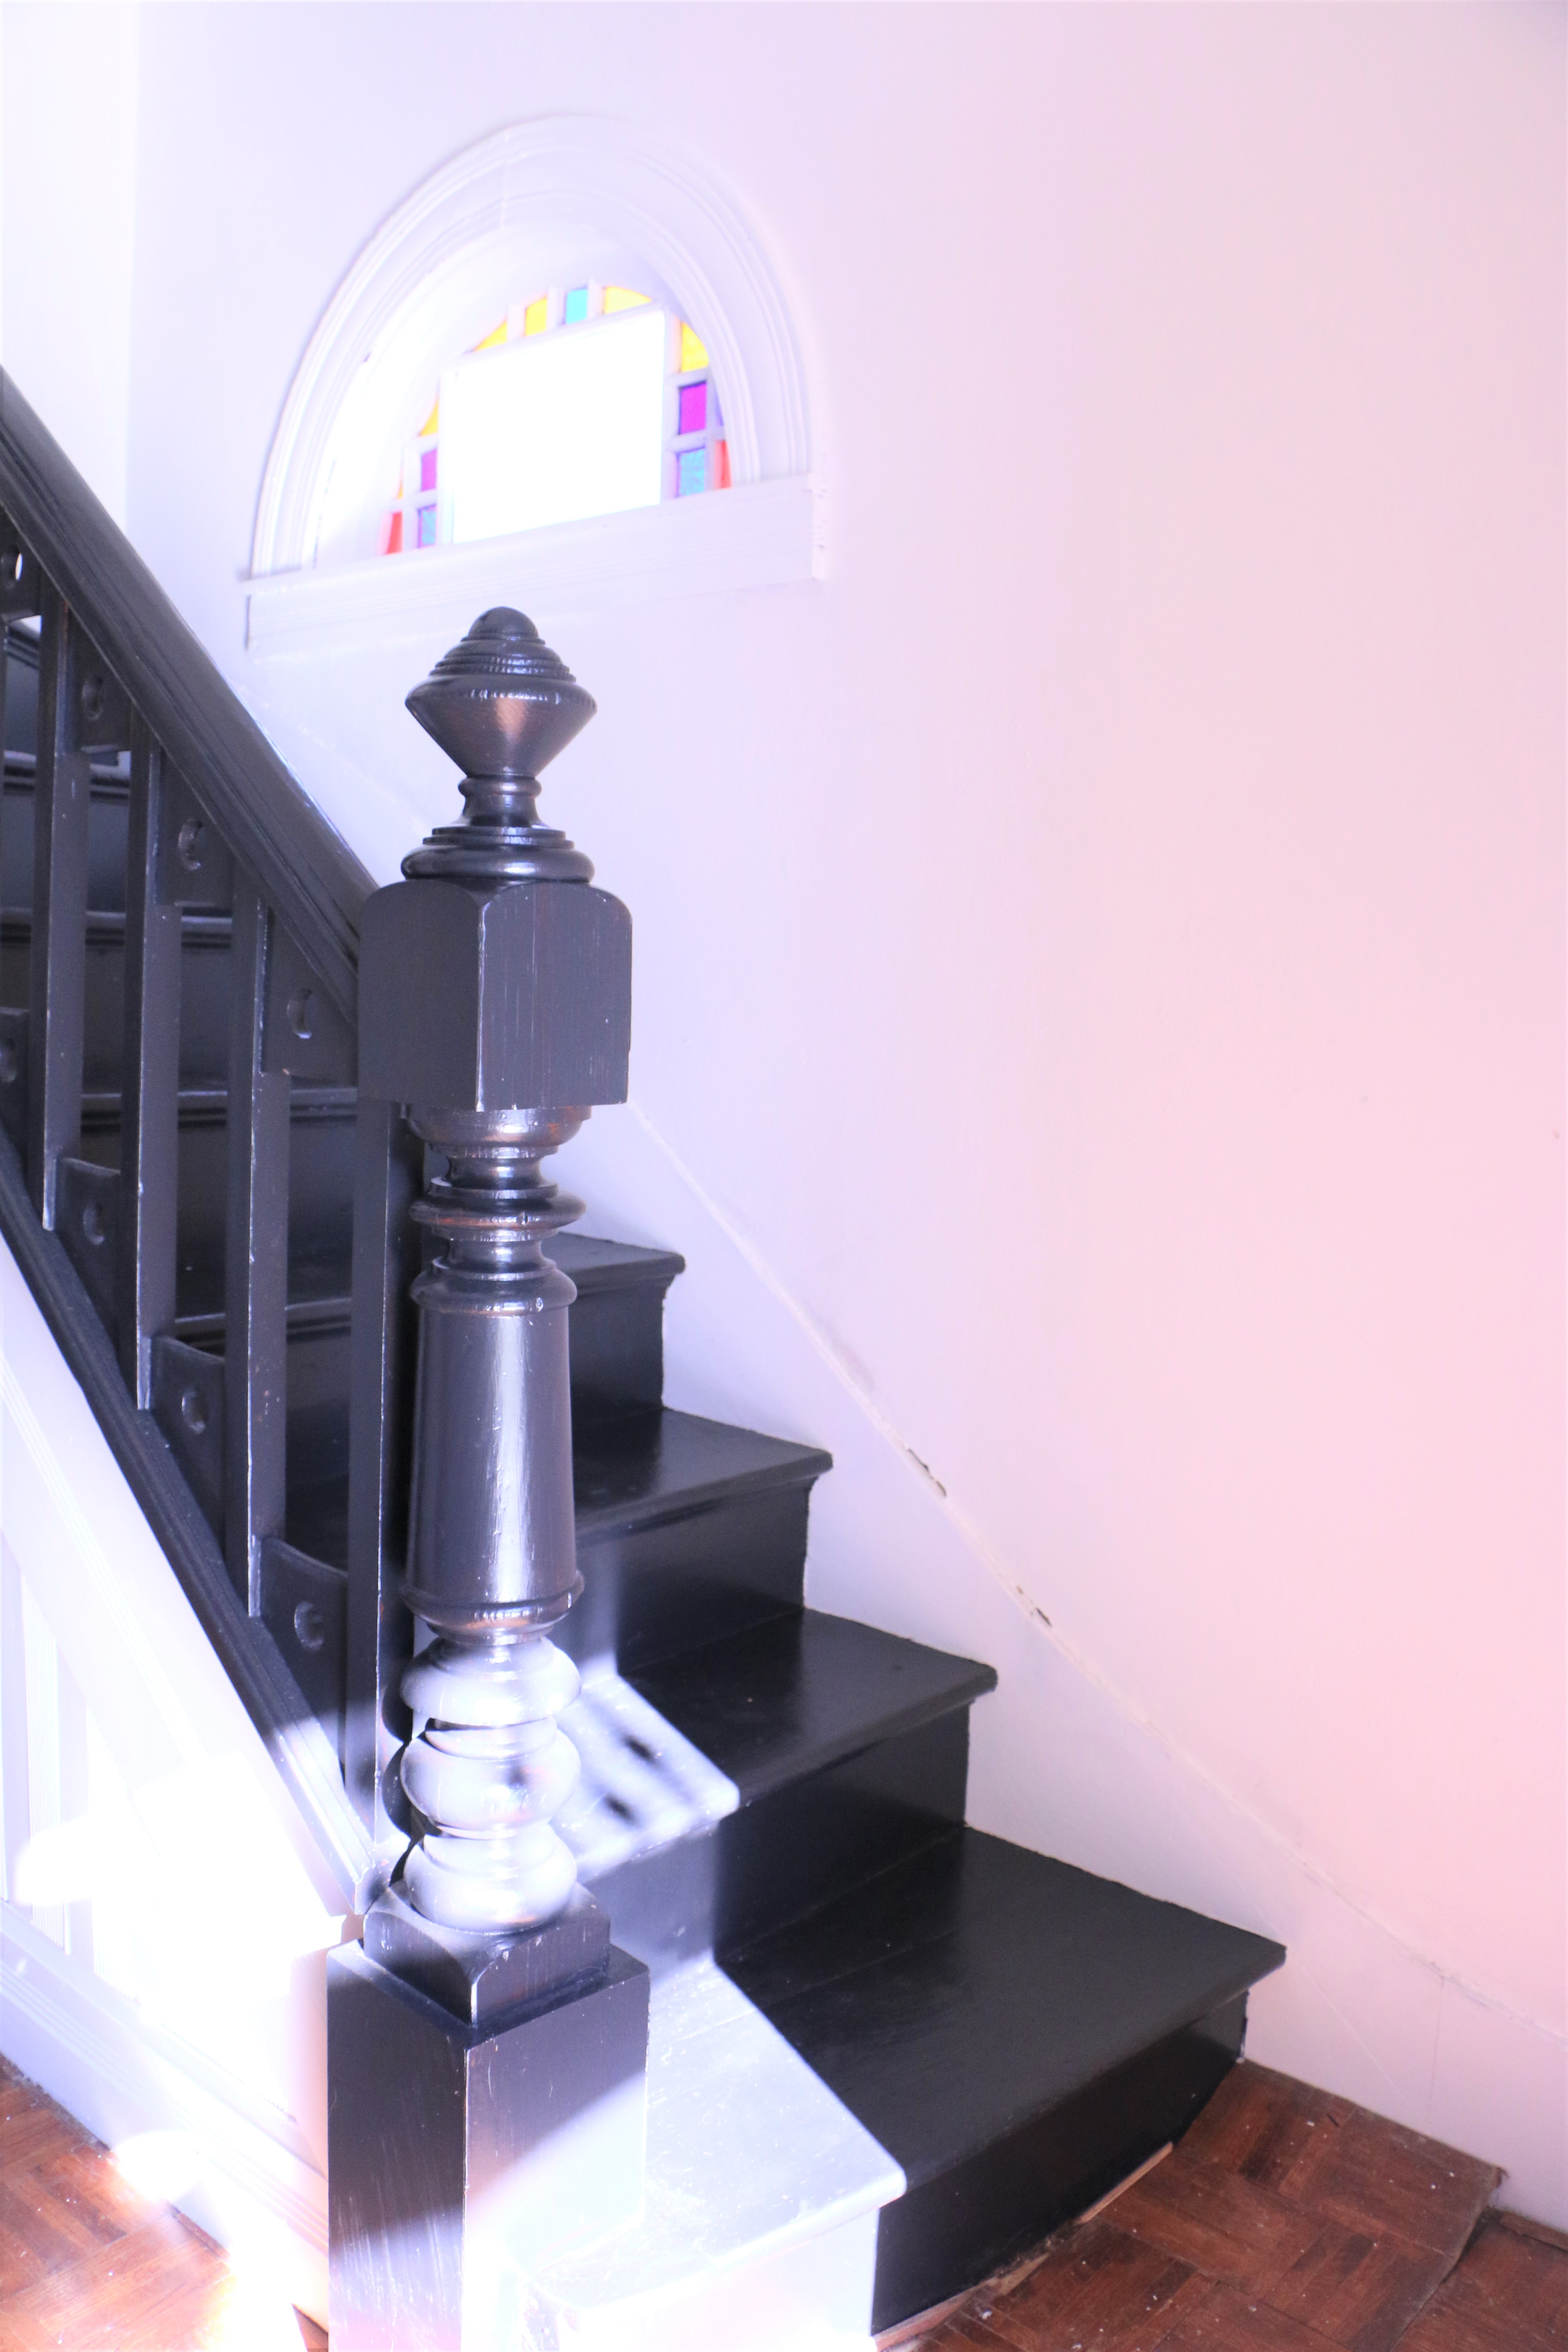
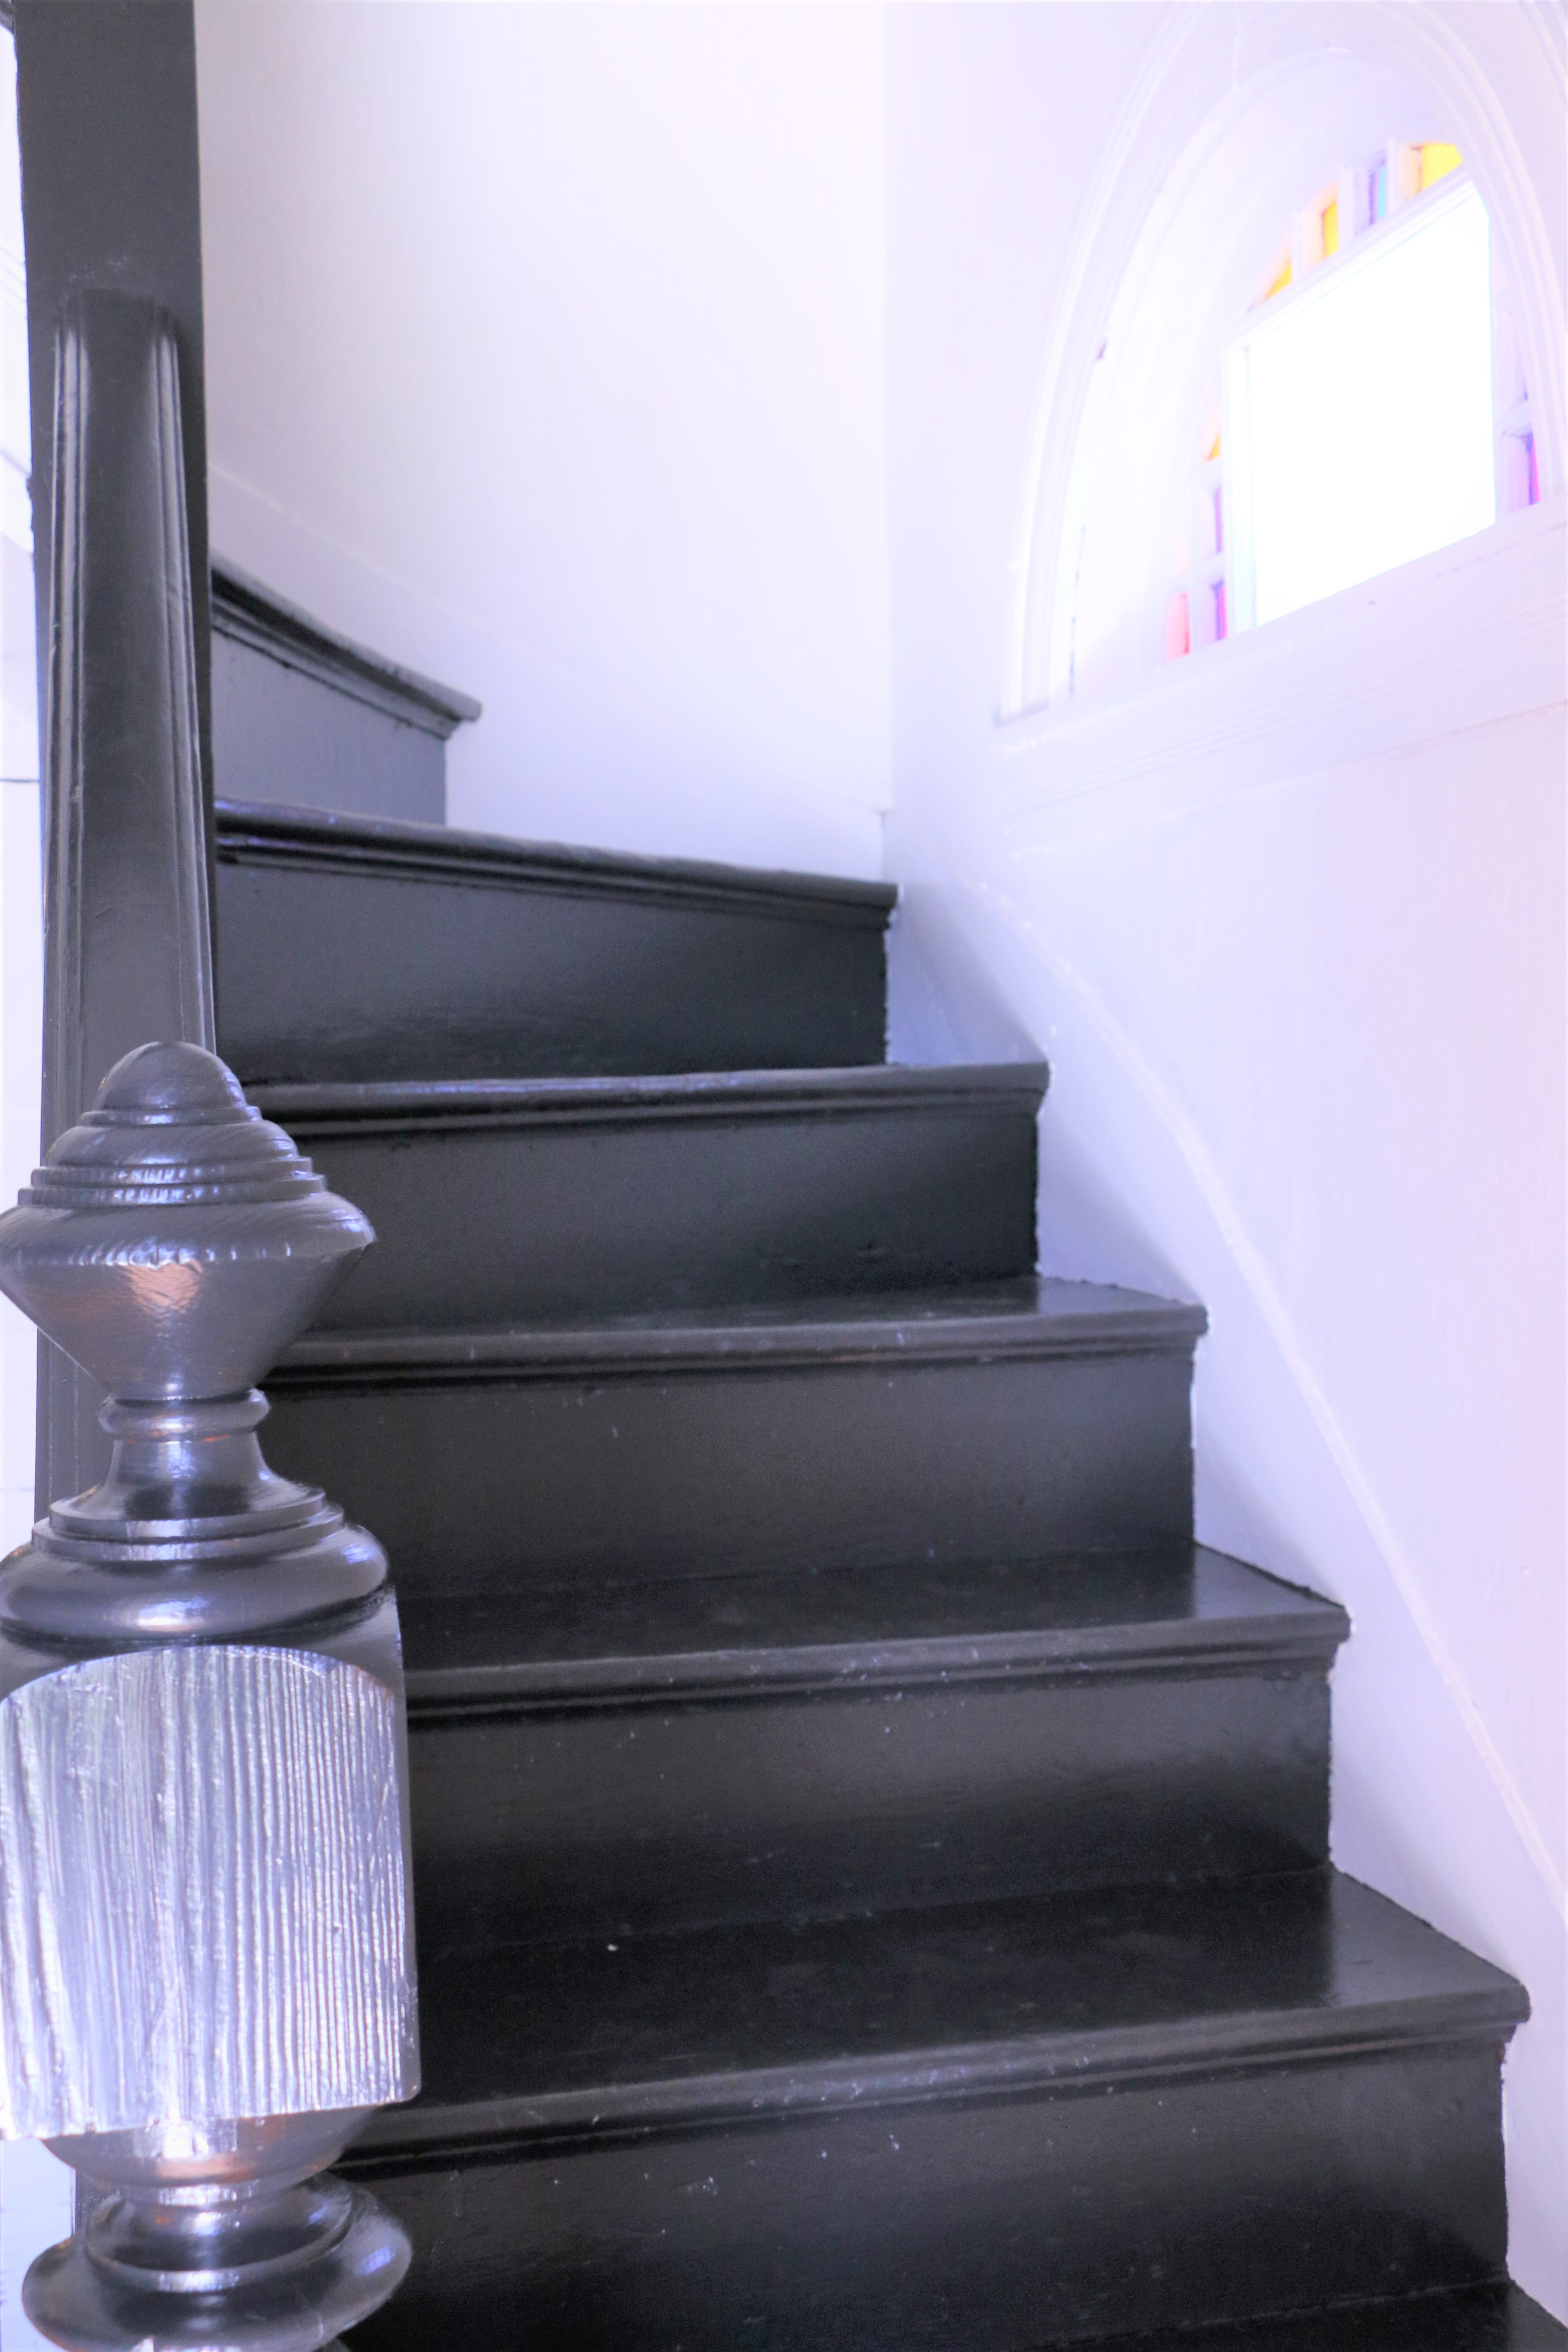
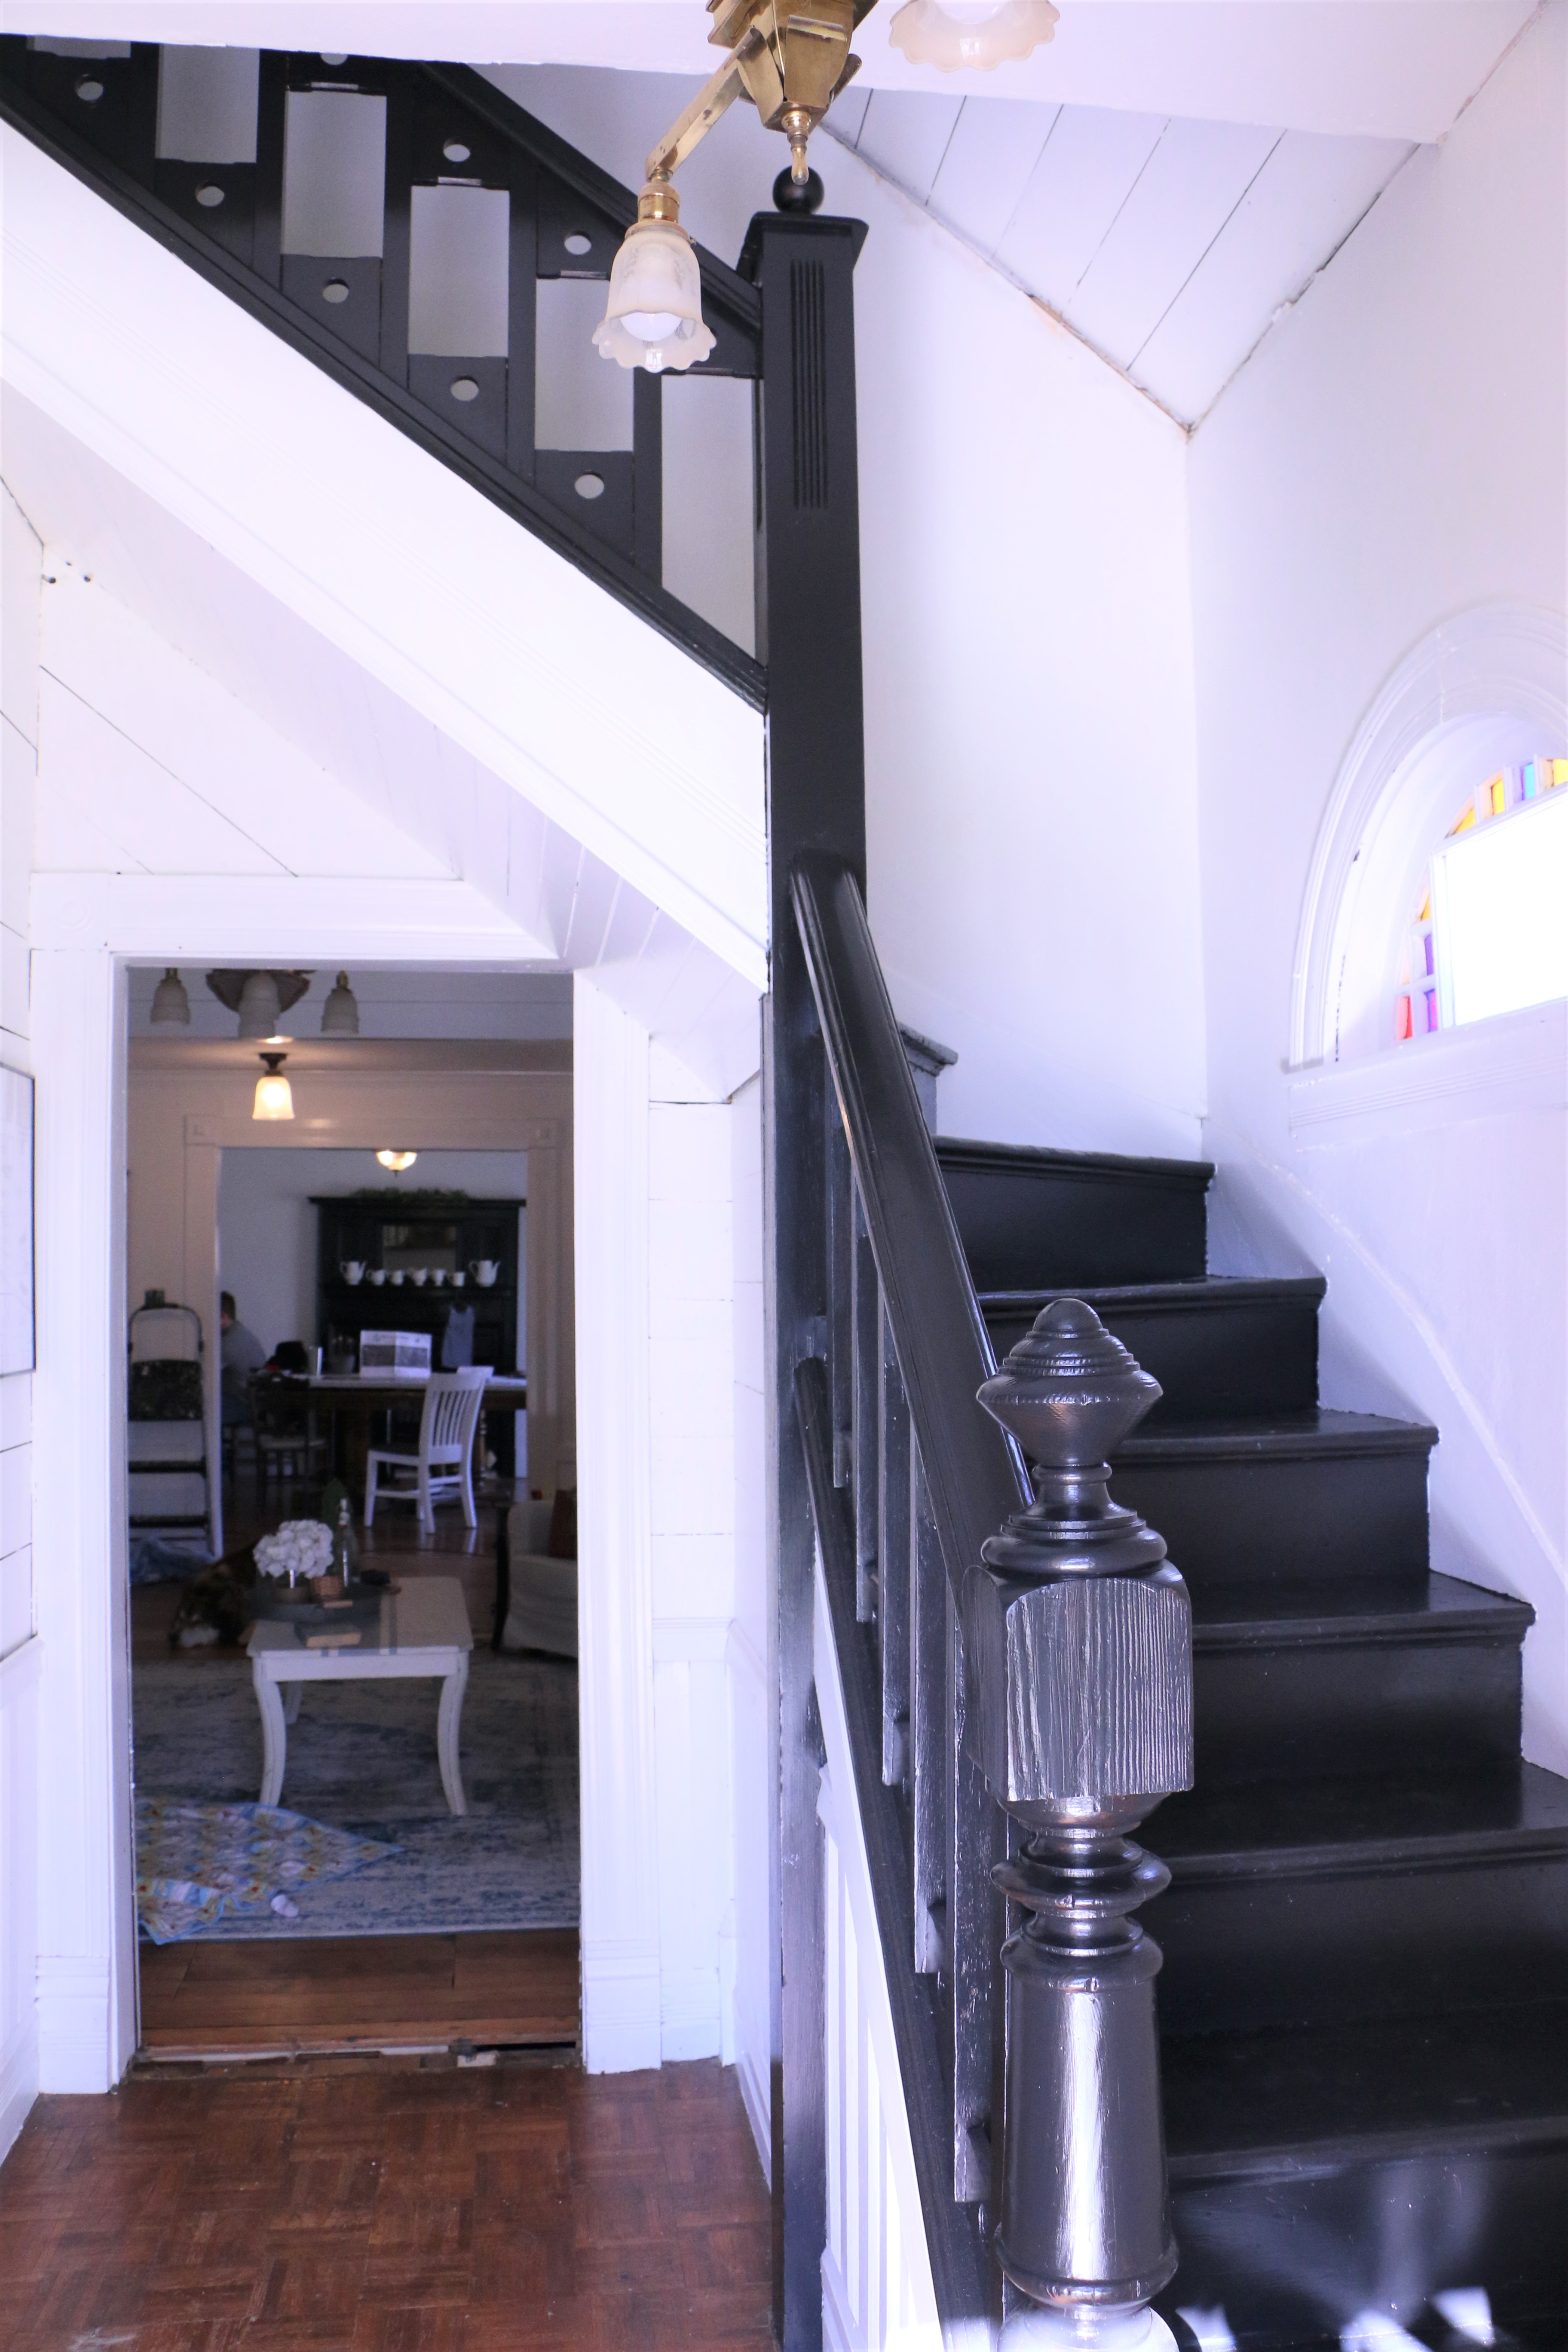
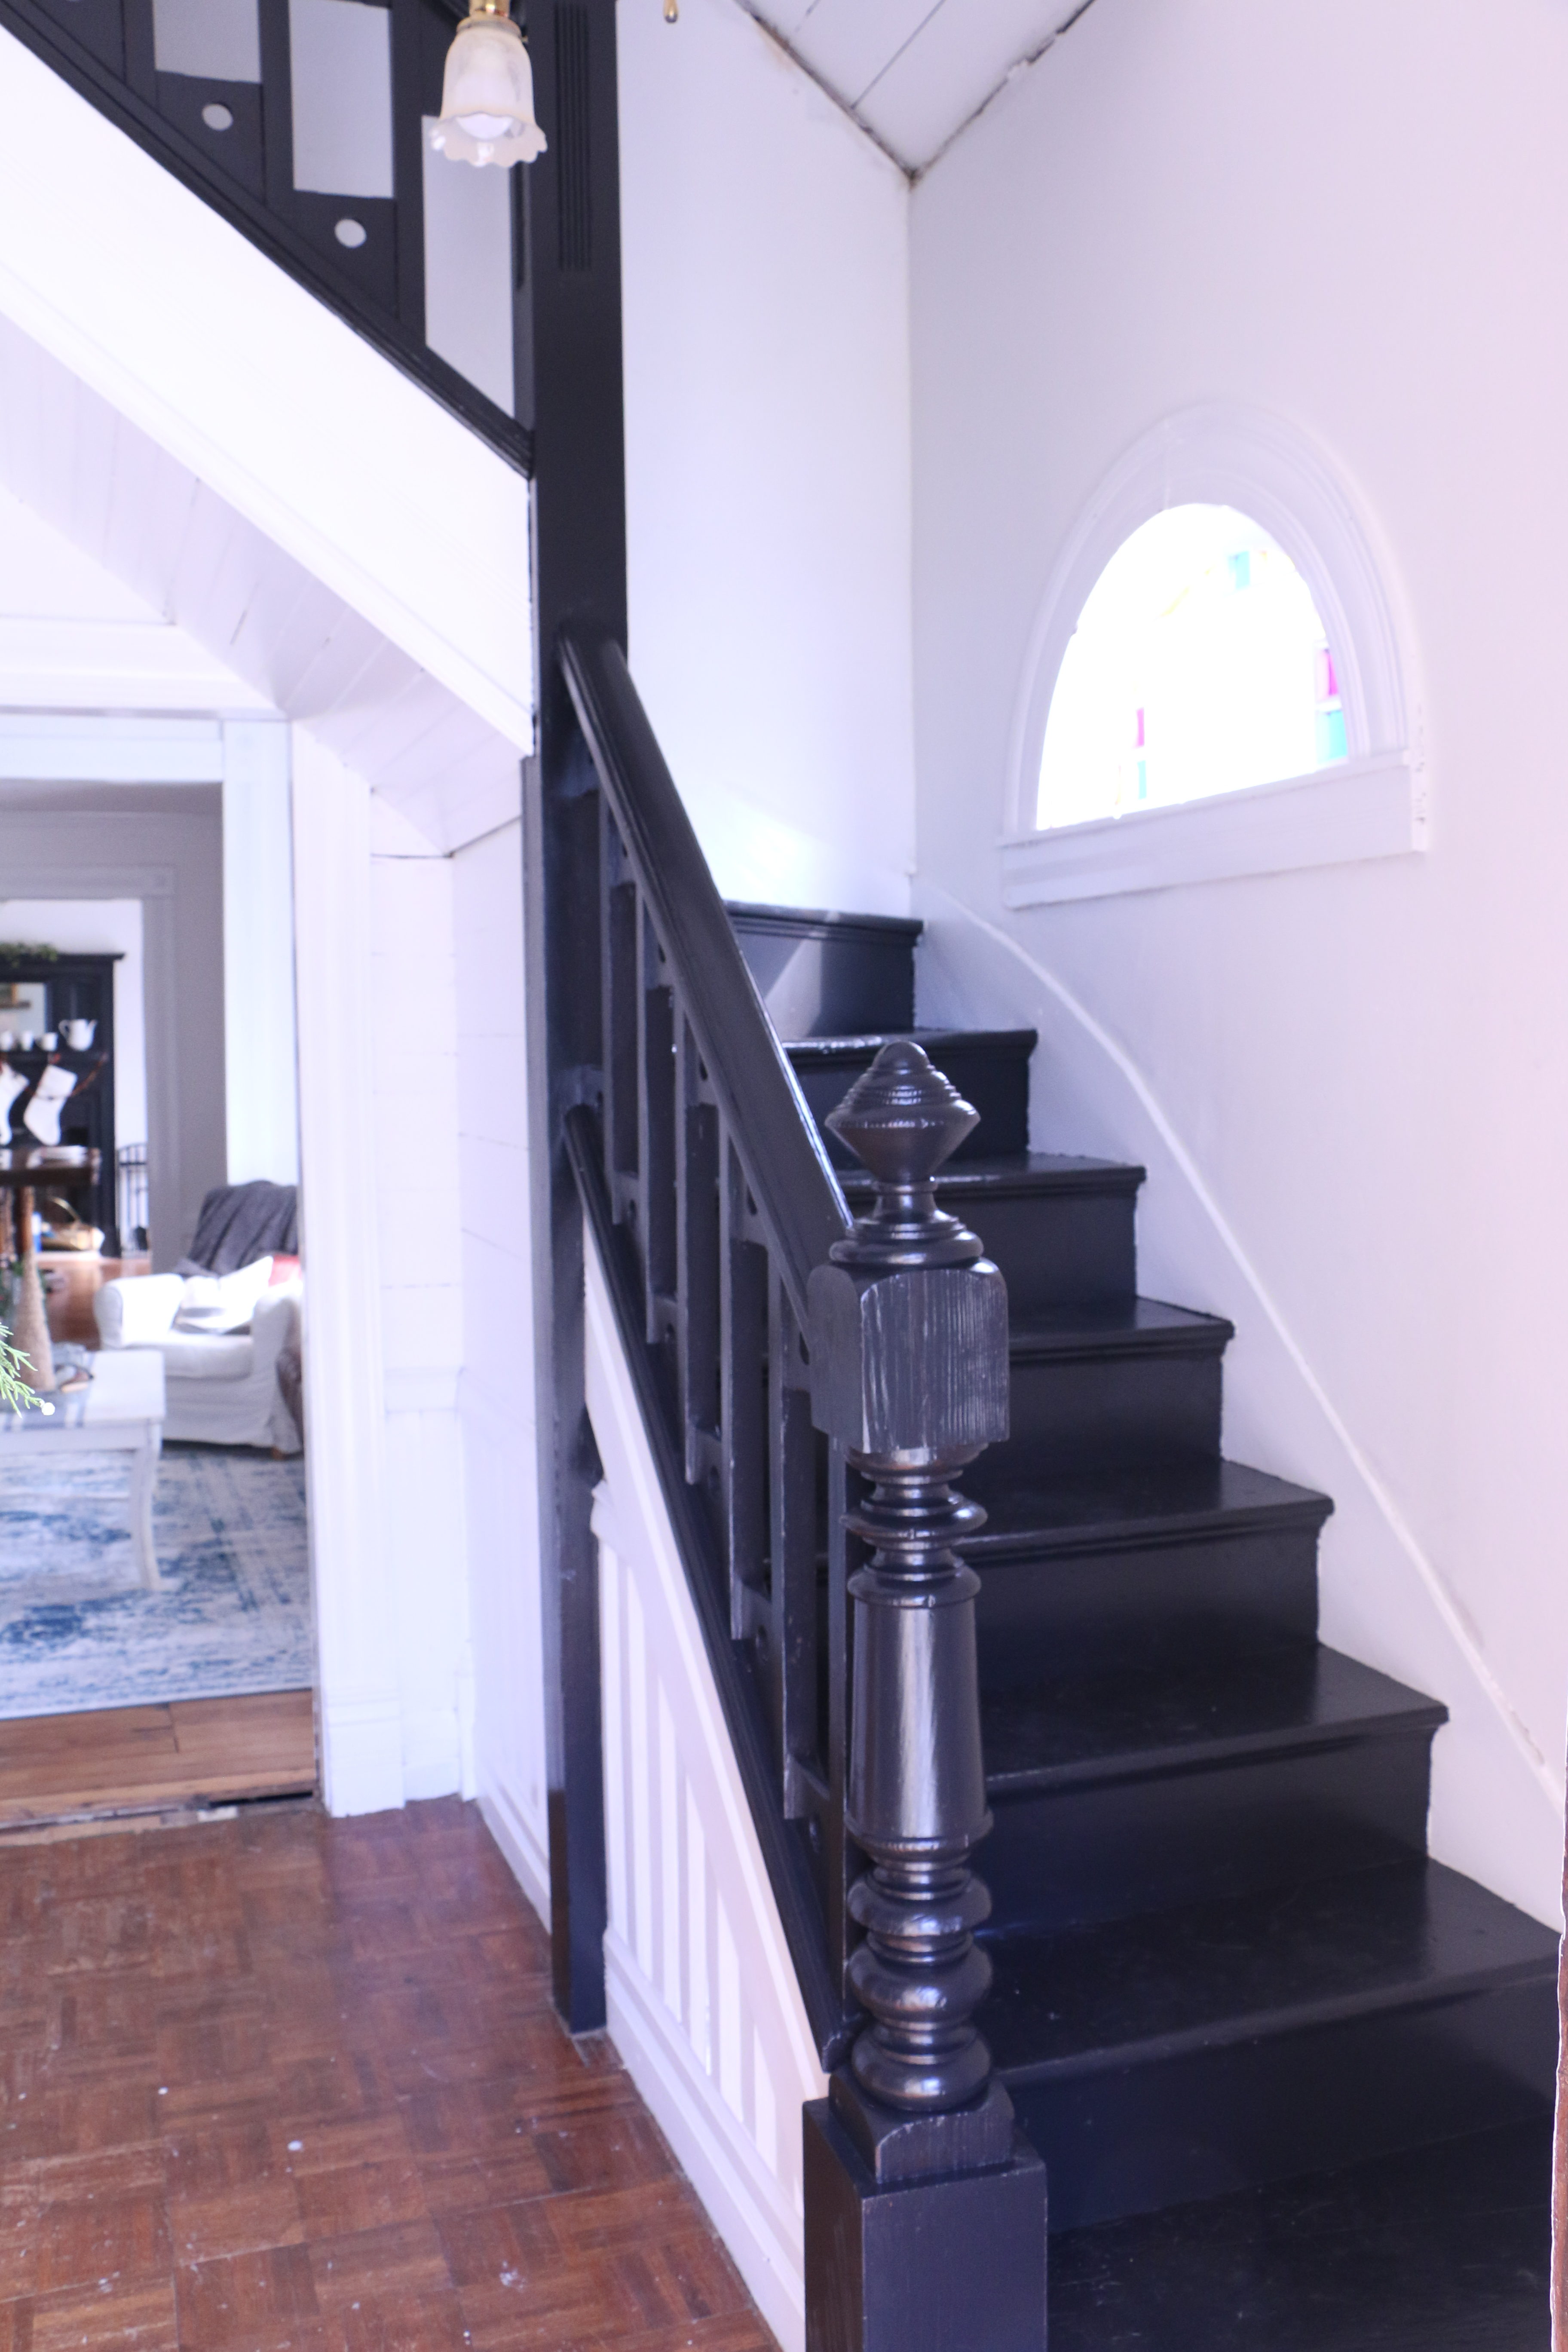
The Foyer
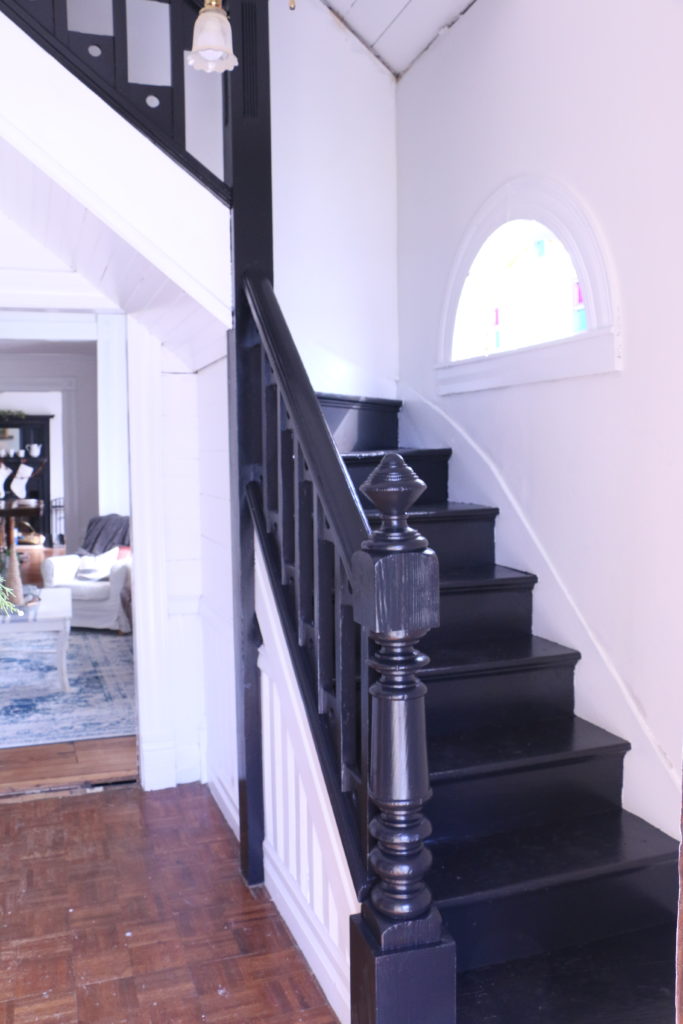
We lived with completely undone stairs for a little while before I went ahead and painted the stairs. This is the view from our front door, and it’s a very tight space. Painting the stairs and the walls made it look a little bit more open though. Still to do in this space: replace the light fixture, add trim along the ceiling going up the stairs, add a runner up the stairs, do something about the floors (we aren’t sure what the plan is…there are no original hardwoods, so we might lay a statement tile. We are still in the very early planning stages on that particular project), and lay a transition piece between this an the living room floor.
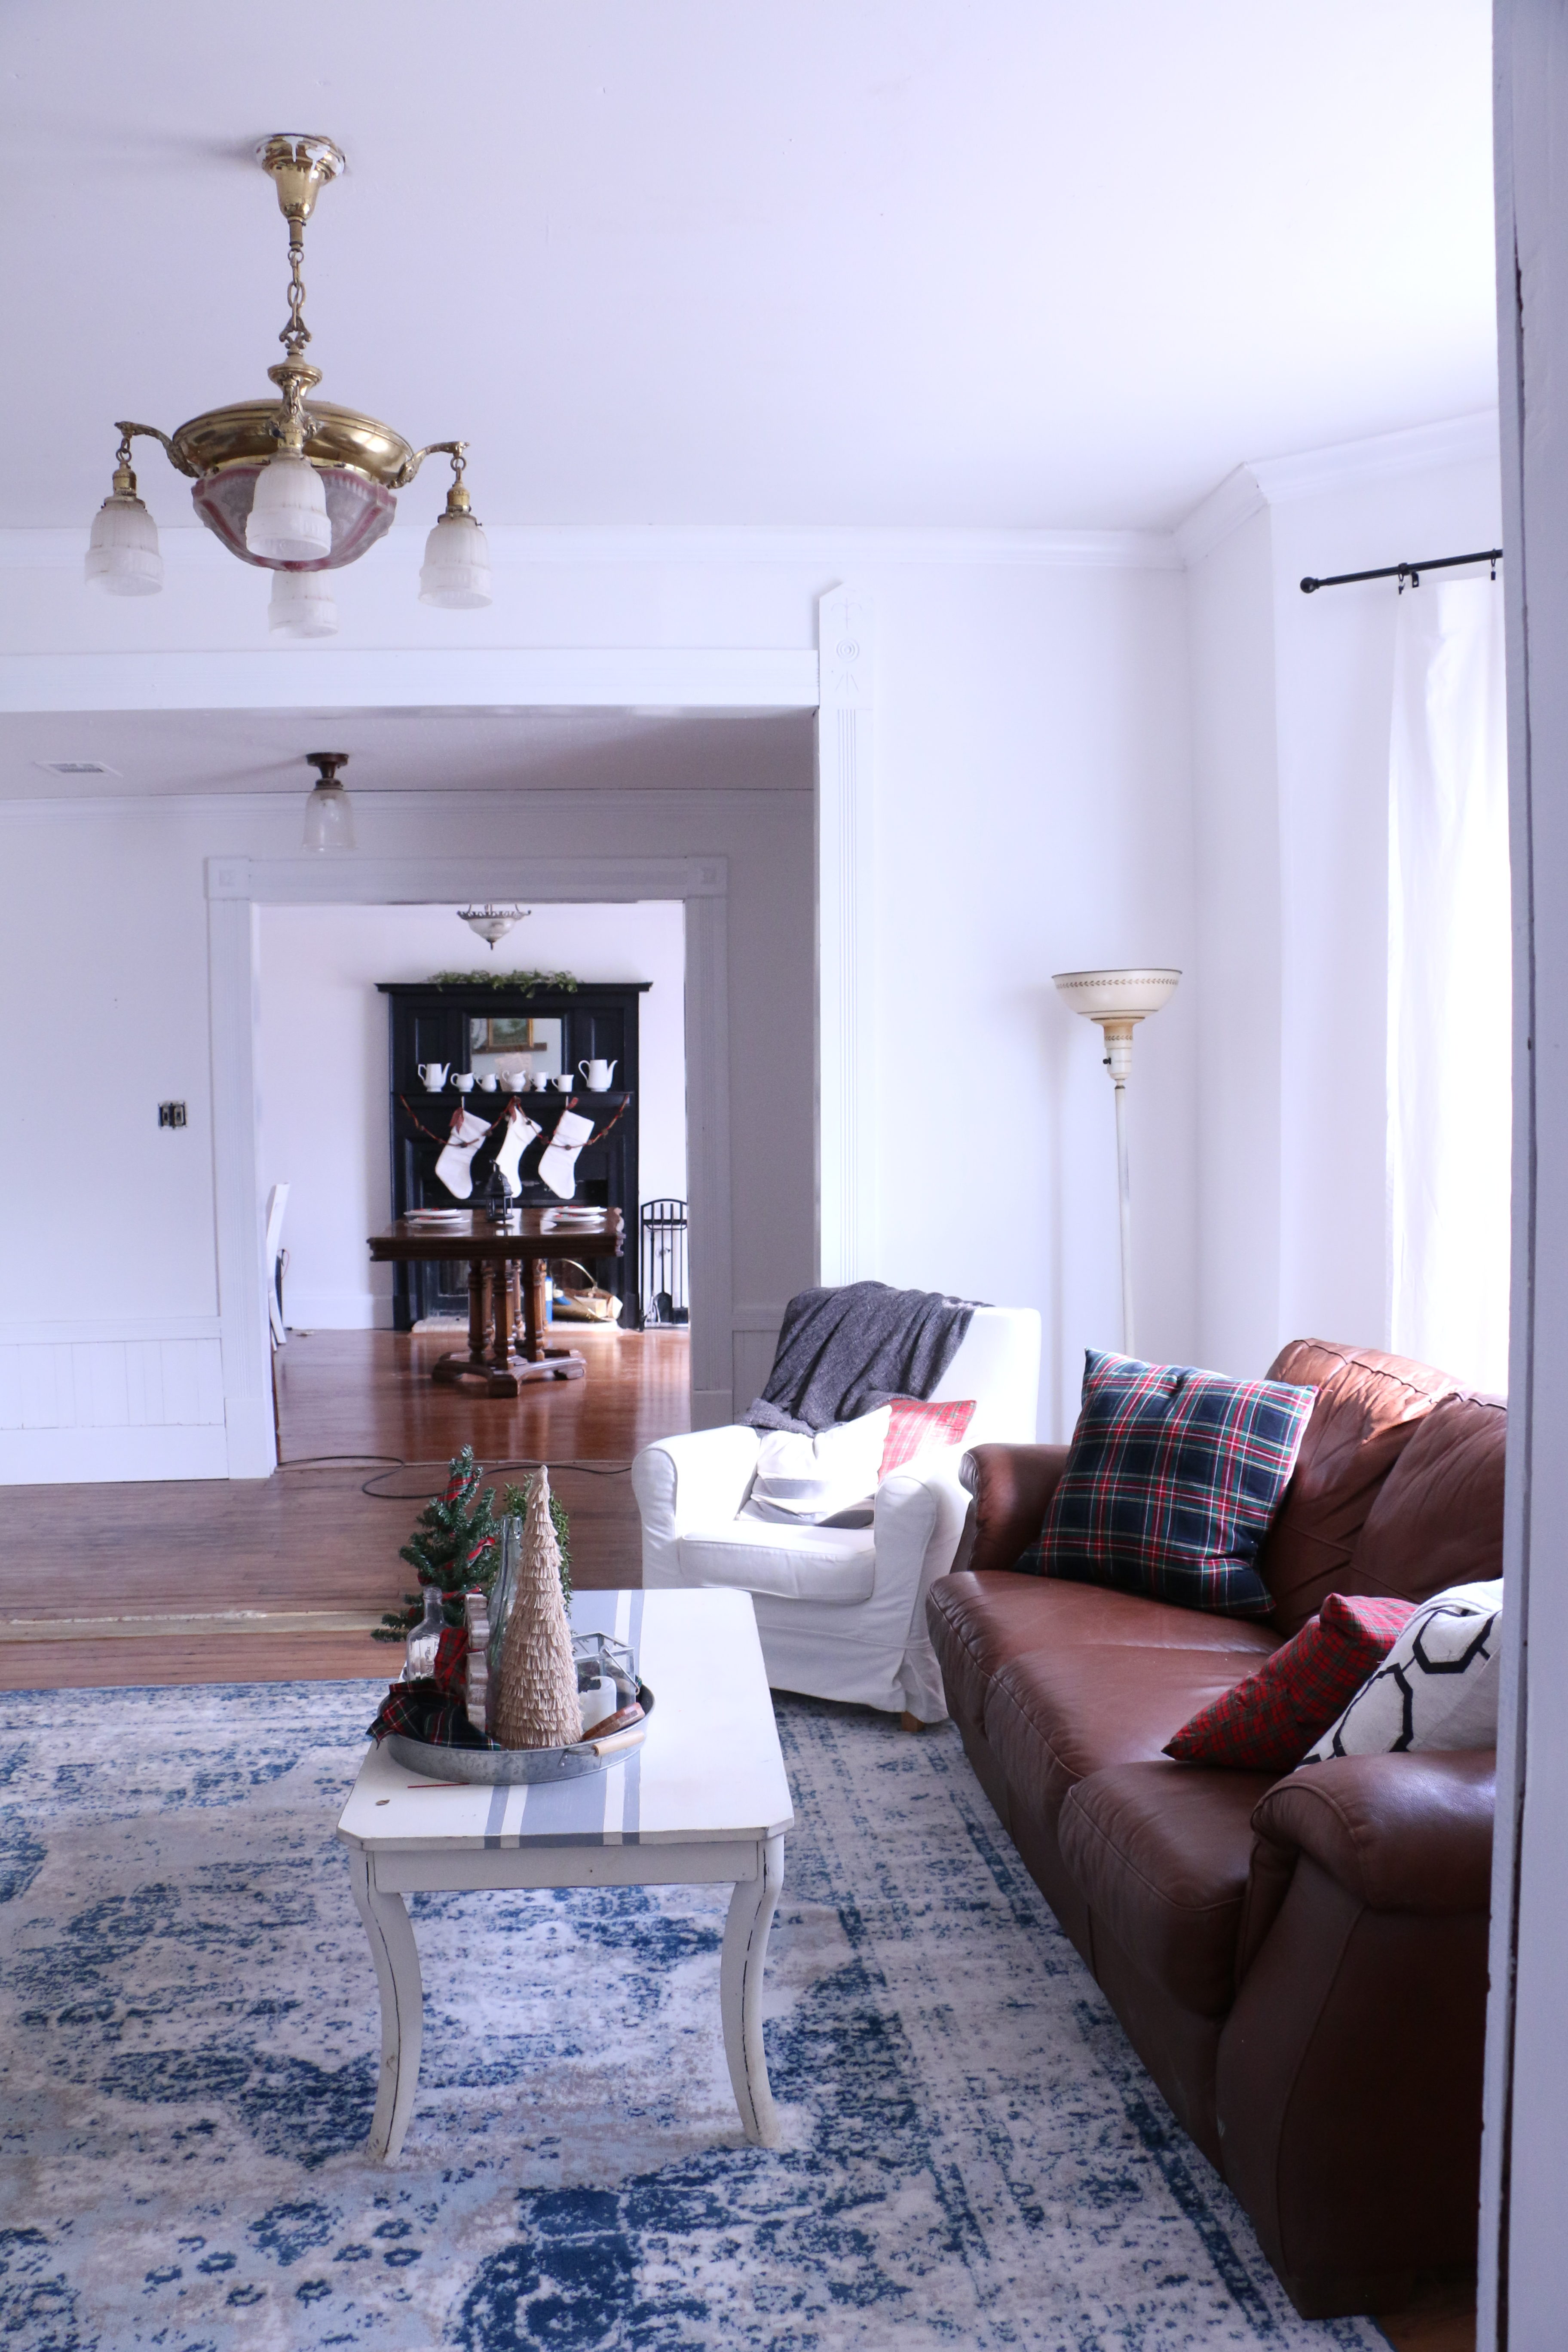
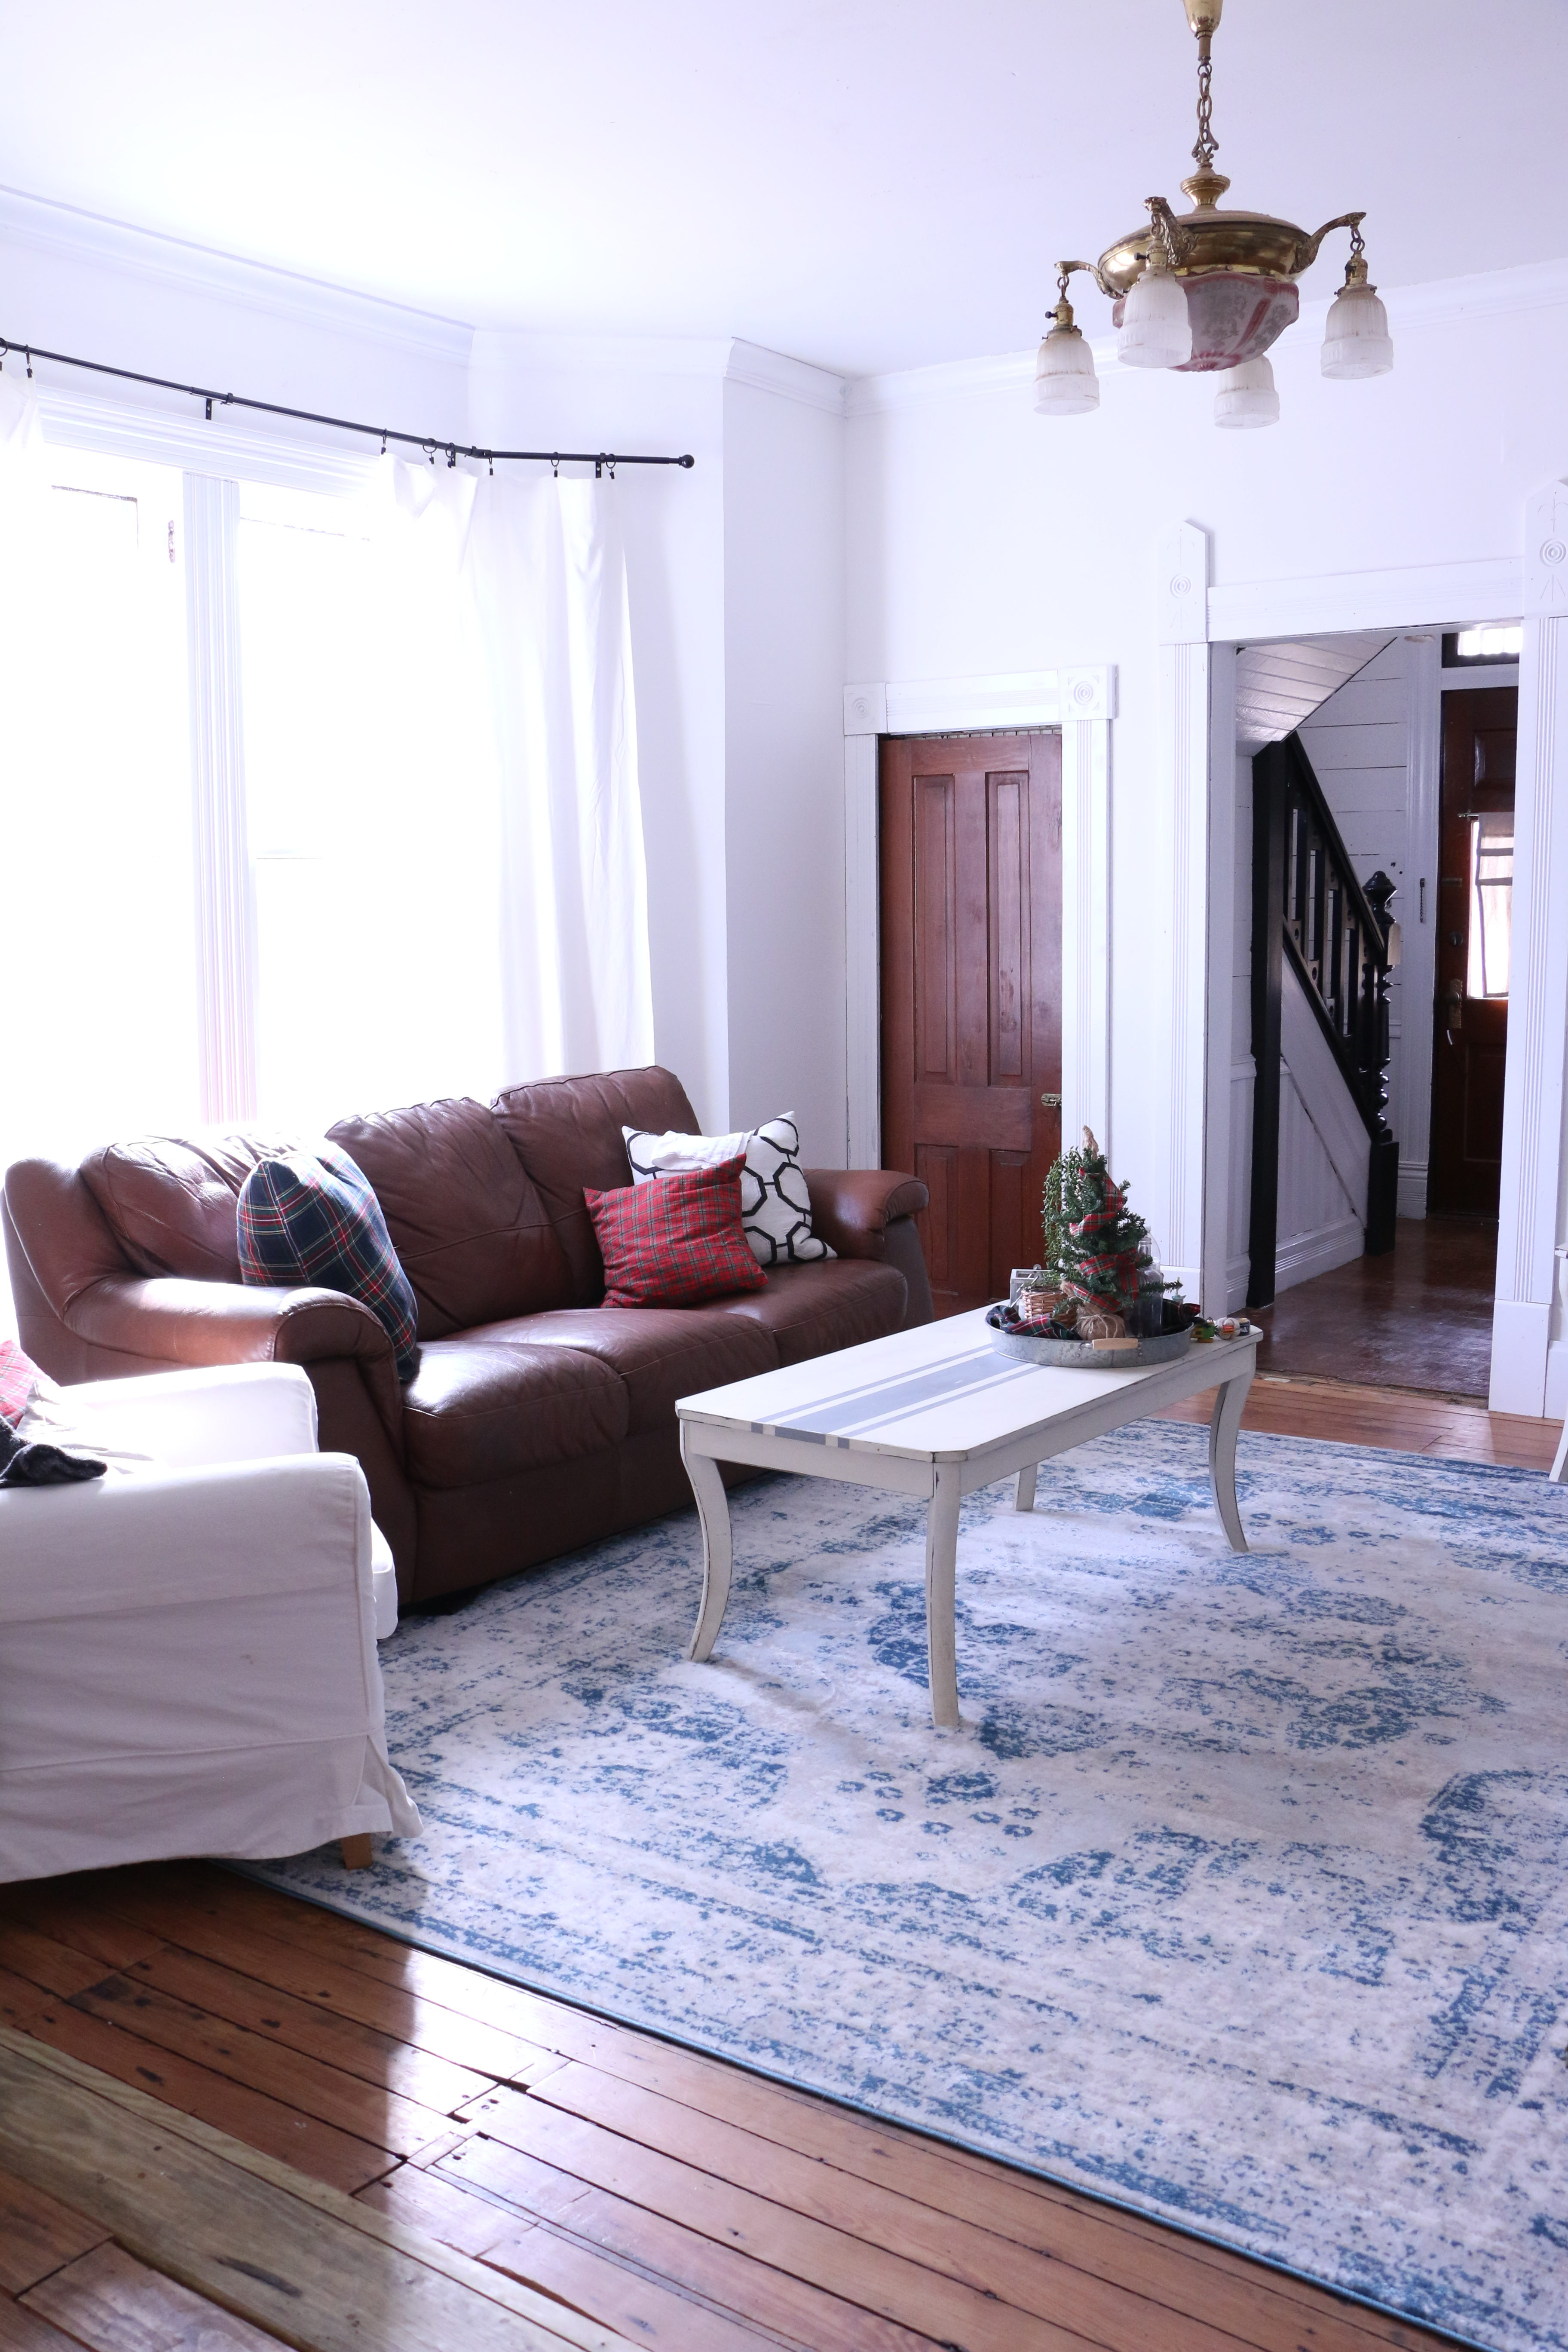
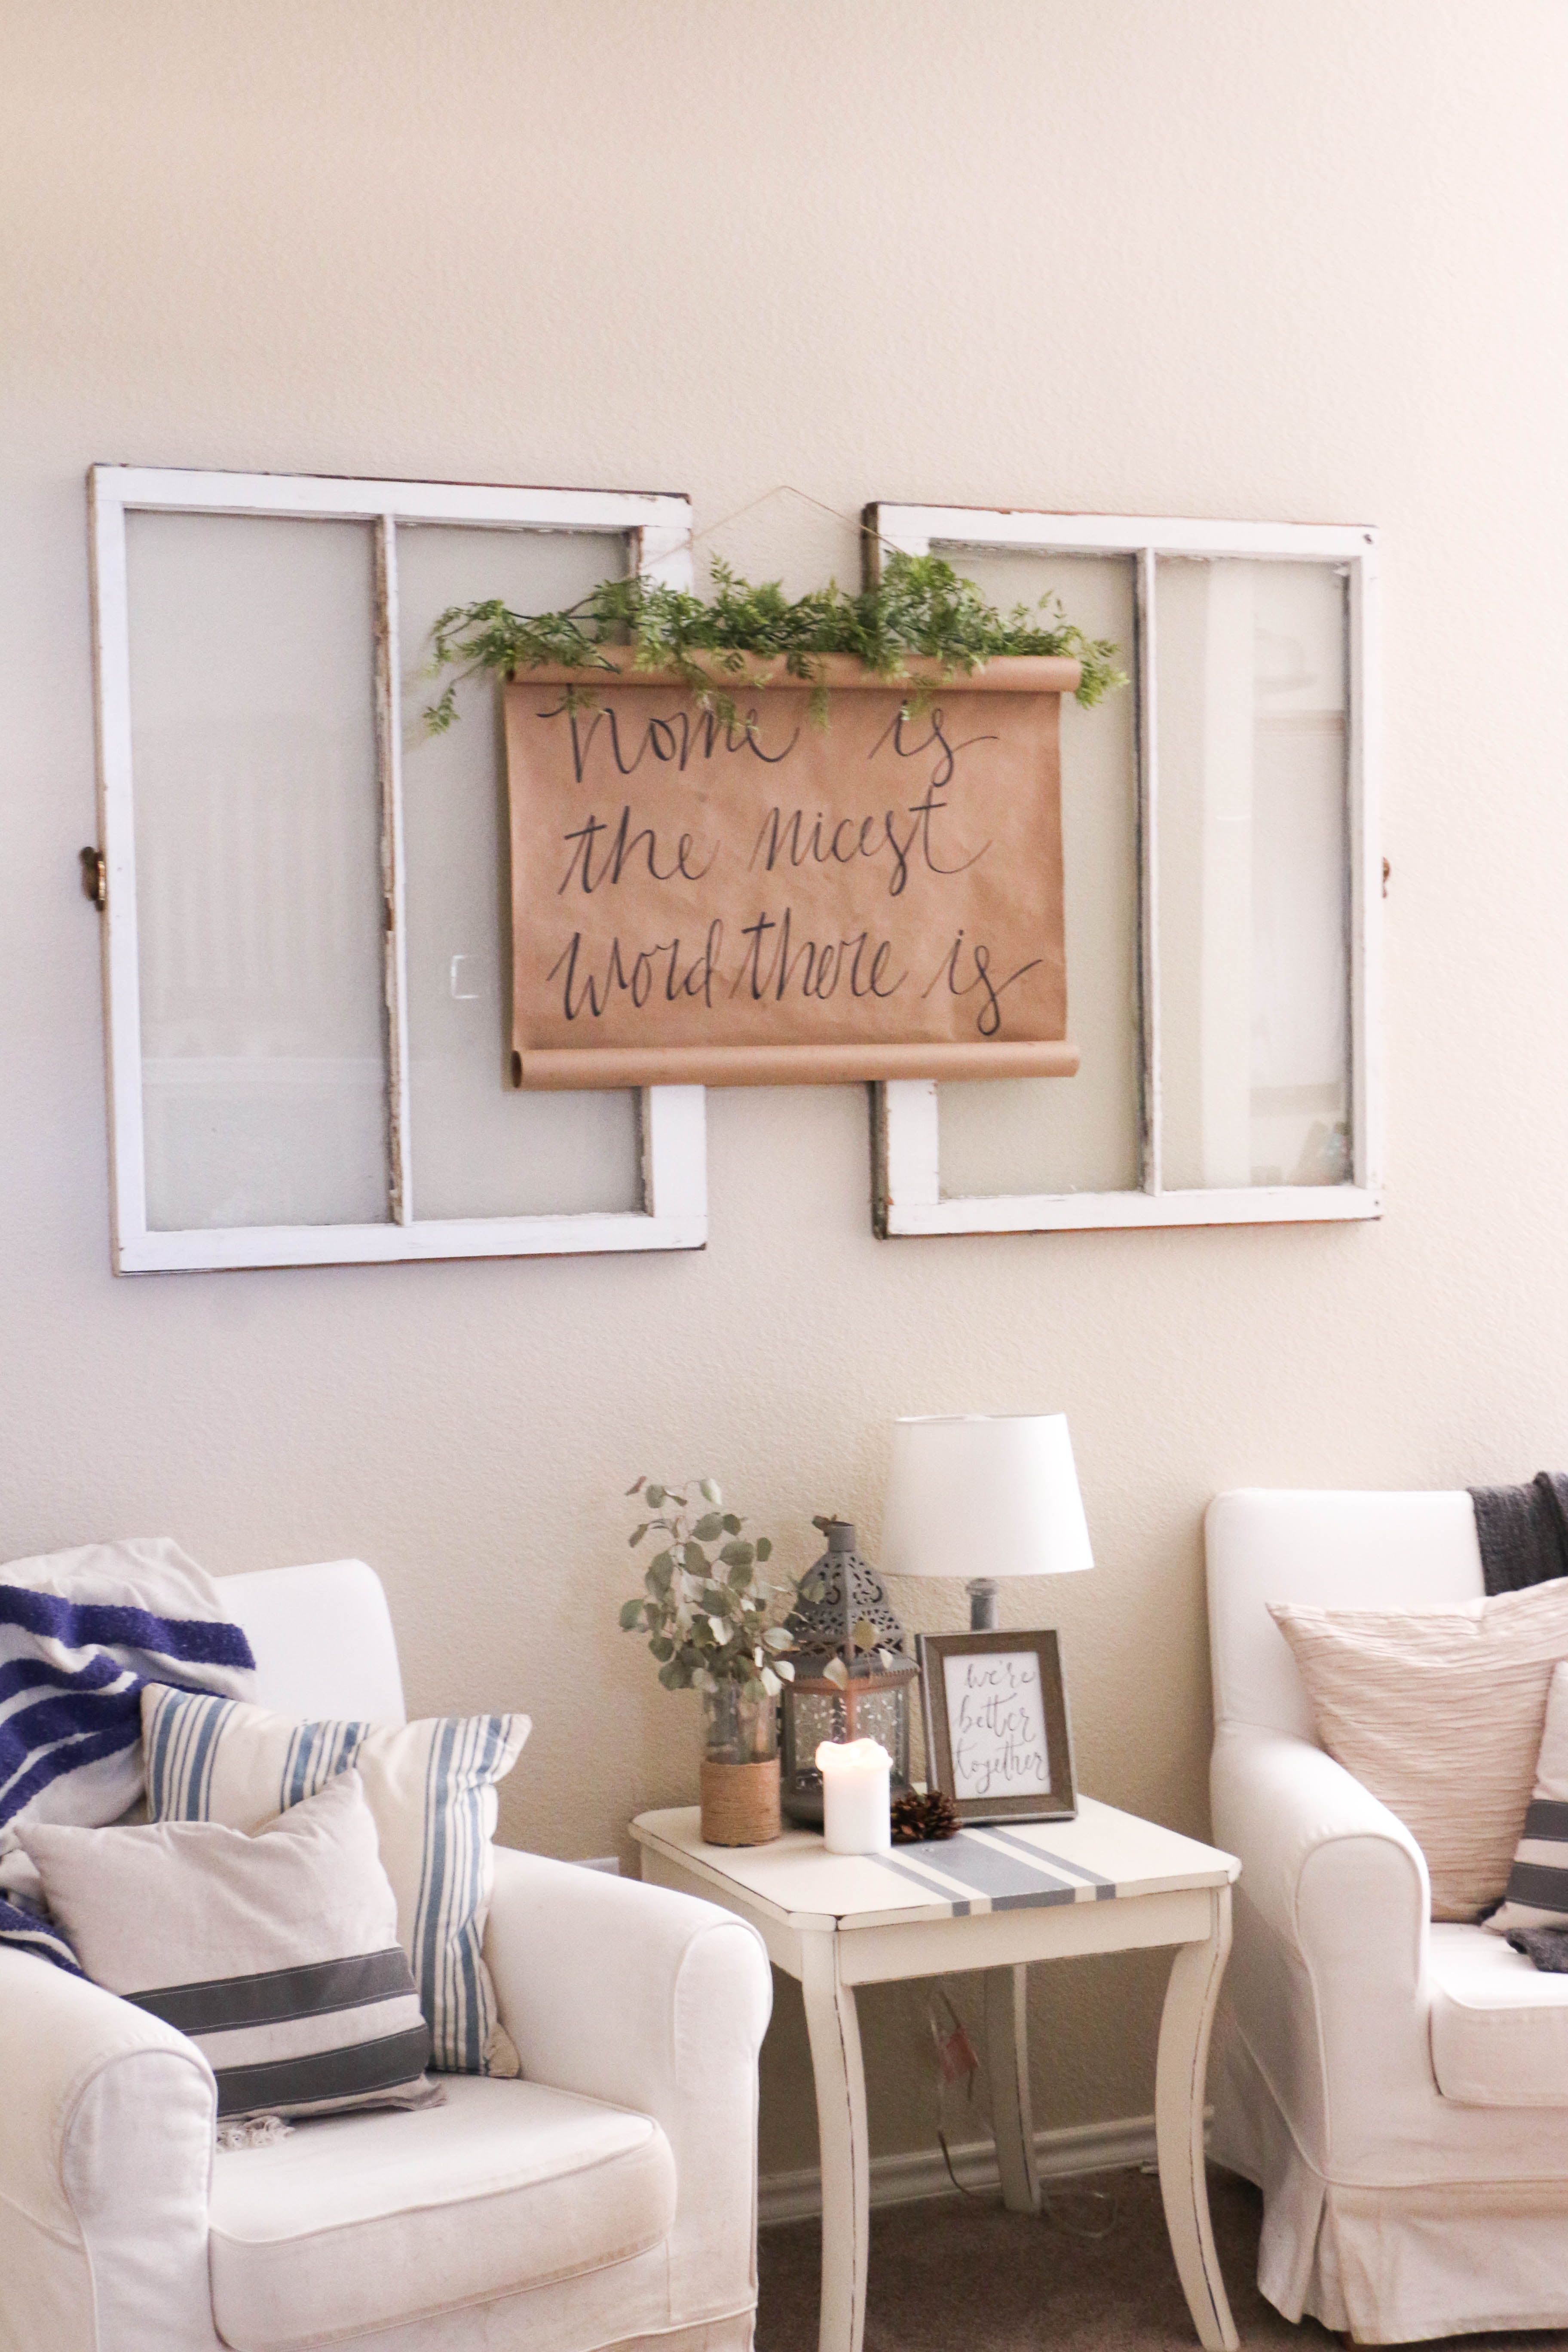
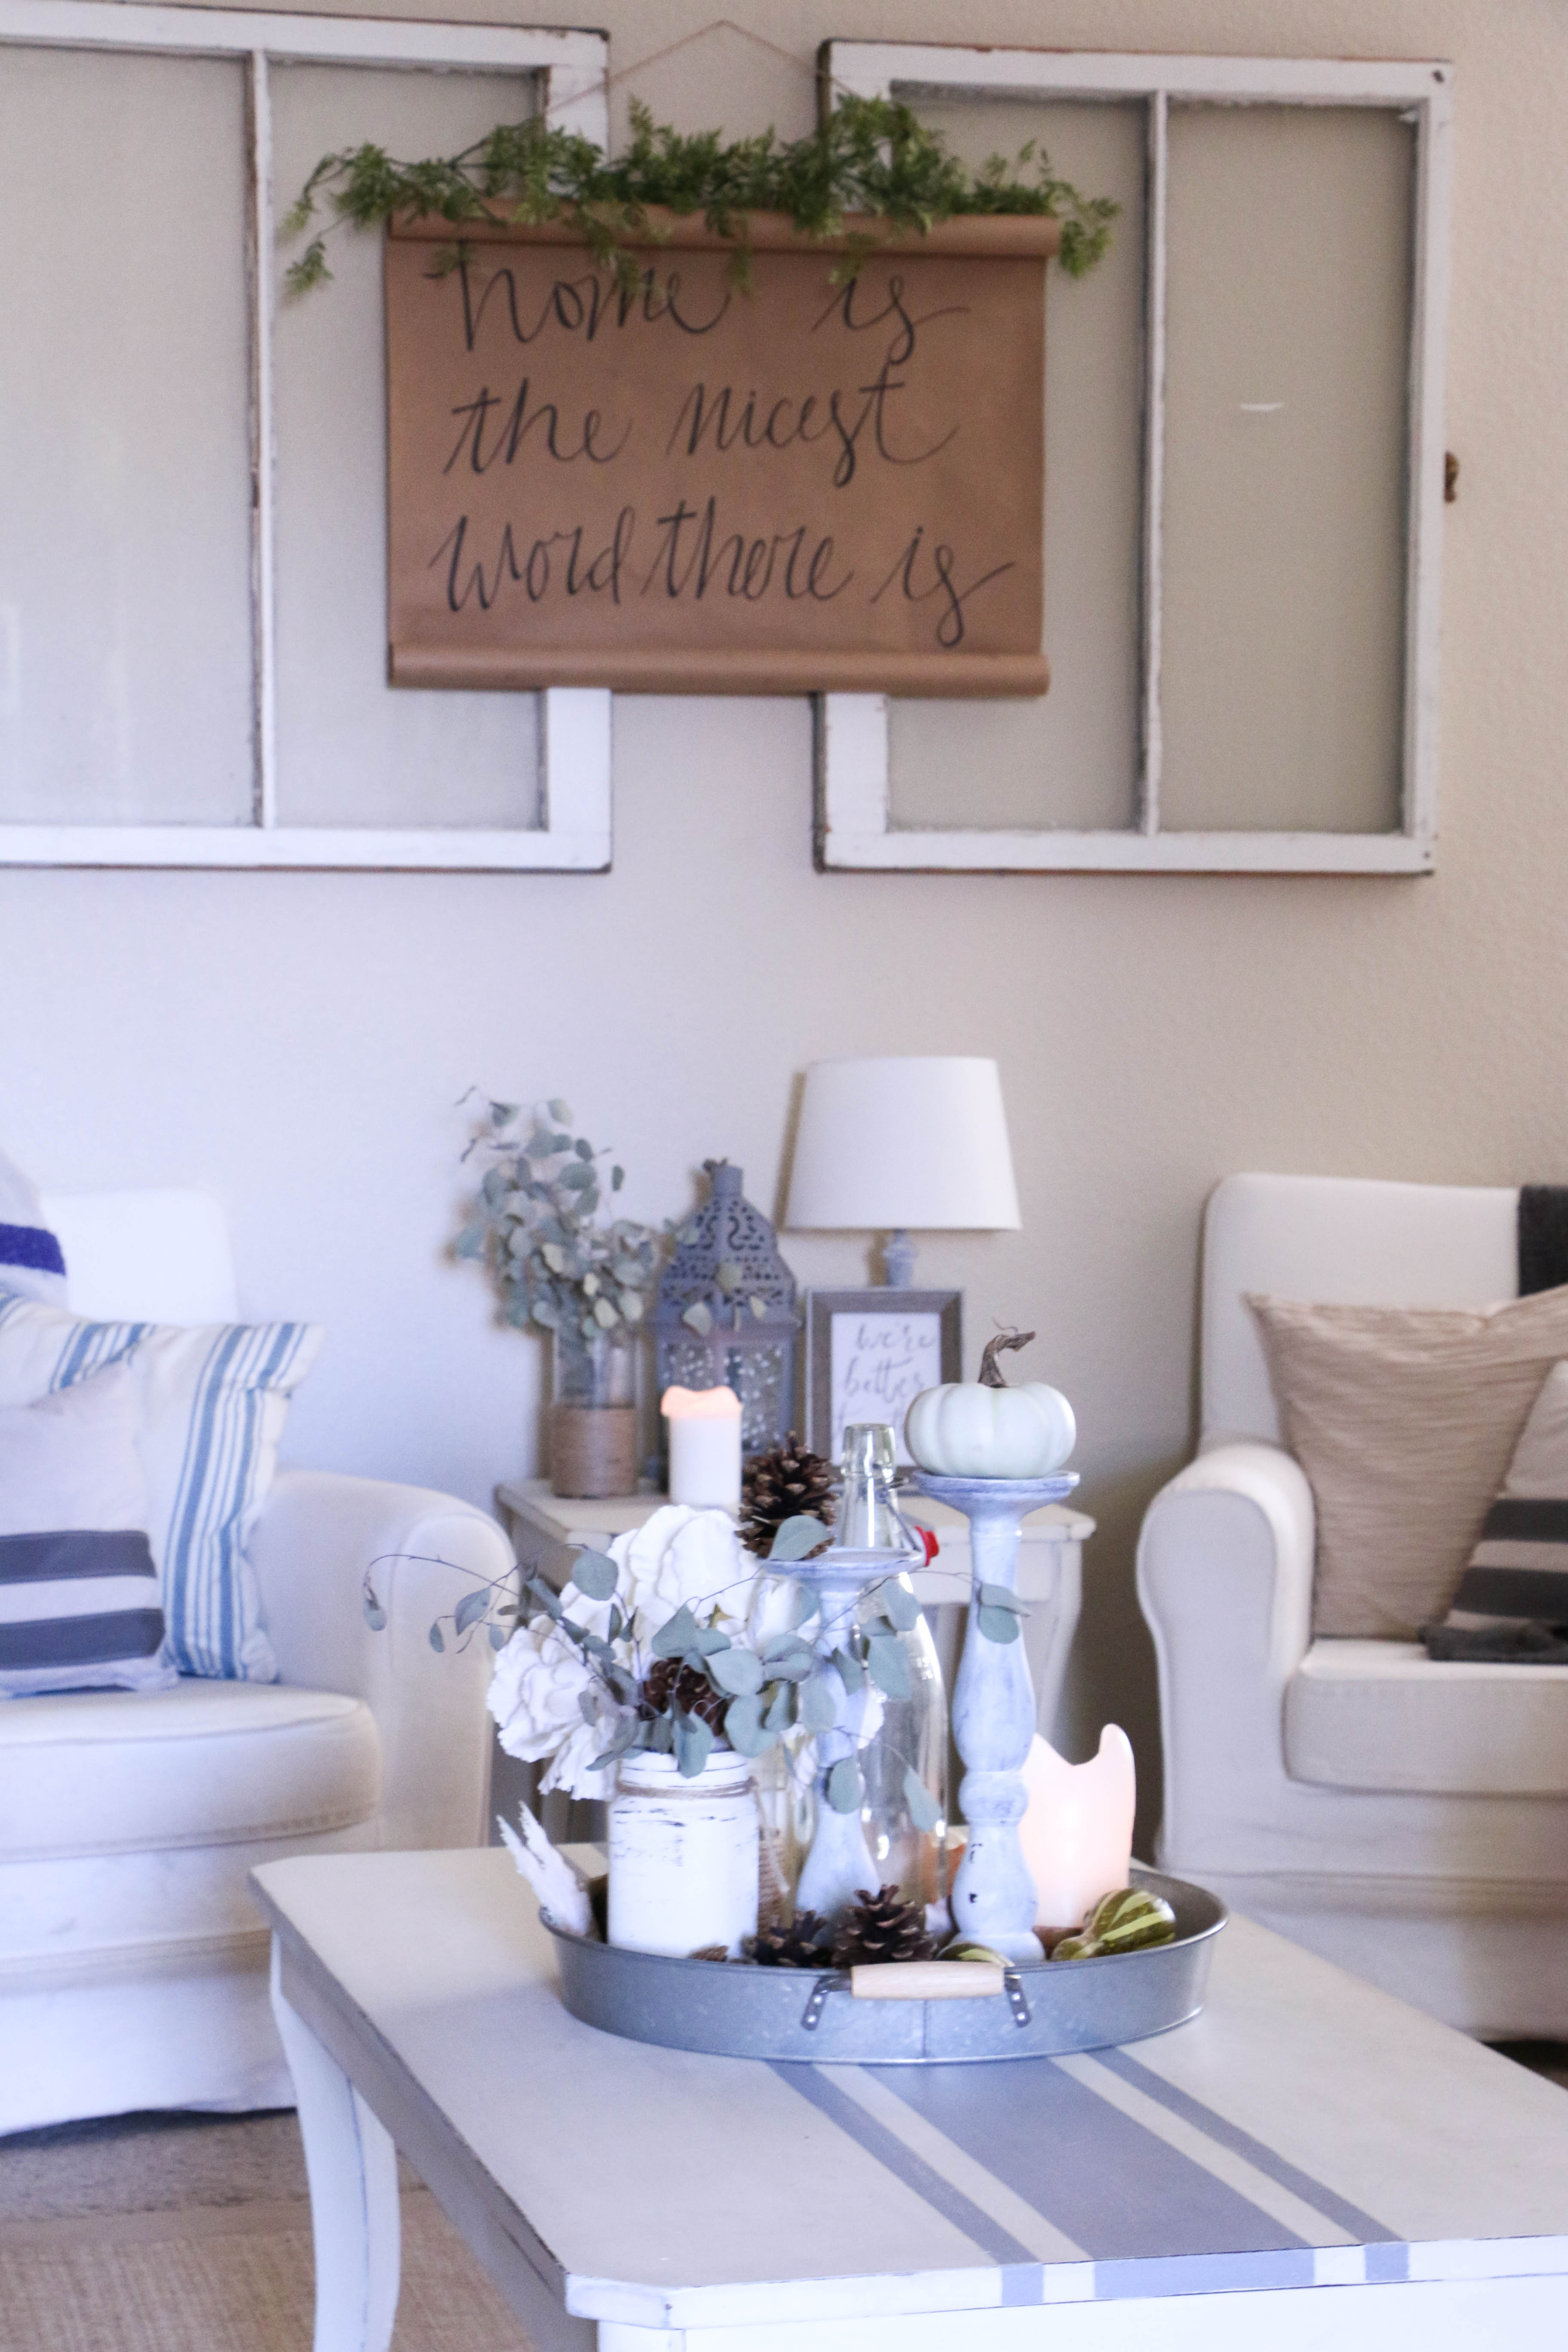
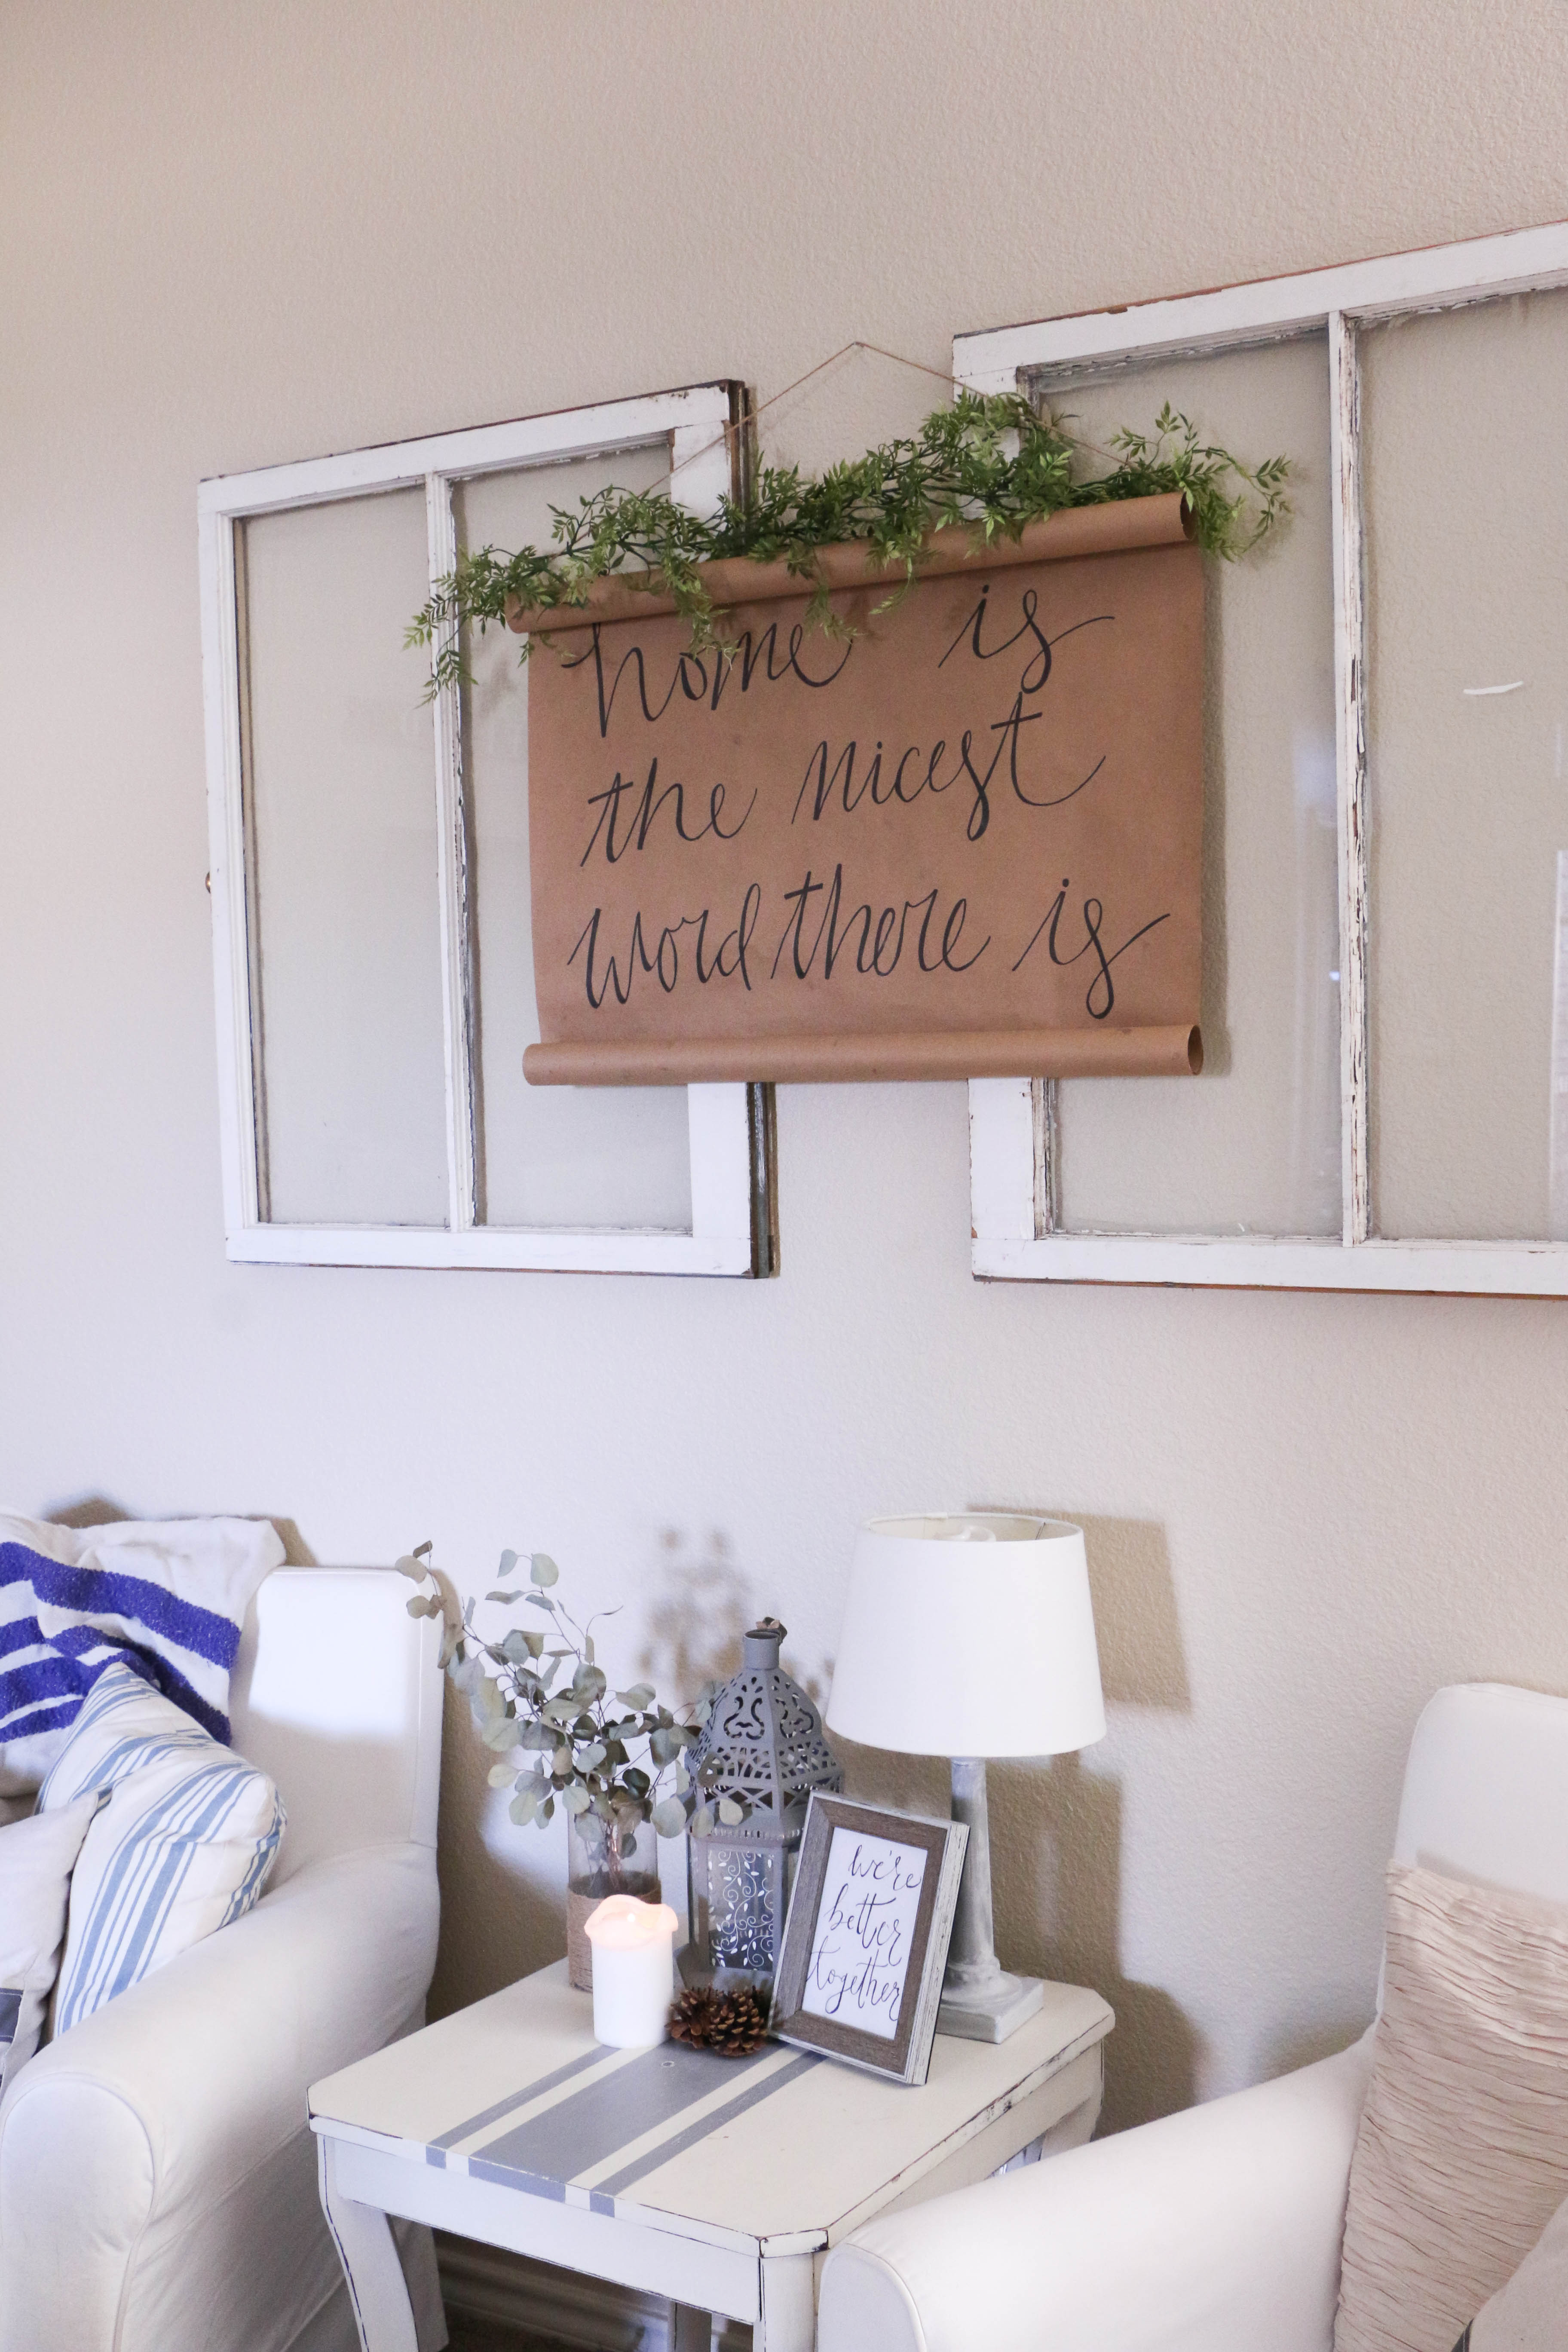
The Living Room


This room is mostly “done” with the exception of the transitions on the floor from one section to the next, and replacing the light fixture (we haven’t done that in any area of the house yet). If you look closely in the first picture, you can see a thin cable running along the floor. It’s something for the internet that needs to be run underneath the house. I also want to replace 99% of the furniture here, but that’s not necessarily considered a project.
The Dining Room
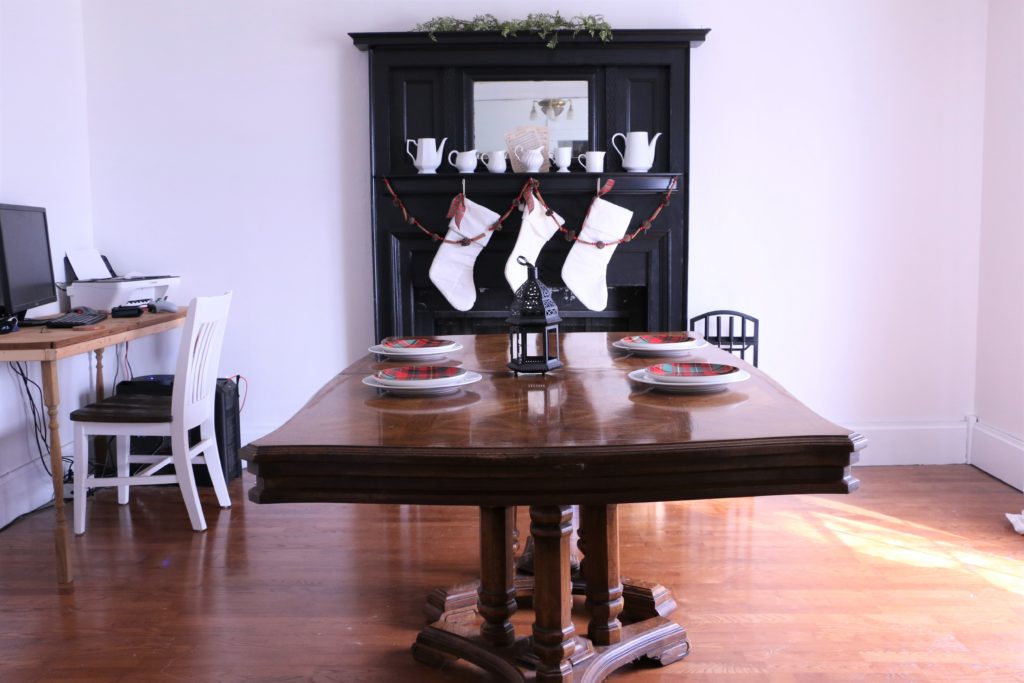
The dining room is the most embarrassing in its current state. It took me a month to clear the moving boxes from here, we had no table for two months, and Ethan still has a makeshift desk sitting in the corner (the room that will be the office upstairs is completely undone). We don’t have chairs or any other dining room furniture, but it’ll get there. The fireplace has been painted, and everything else is complete, with the exception of caulking along the ceiling trim.
The Bedroom
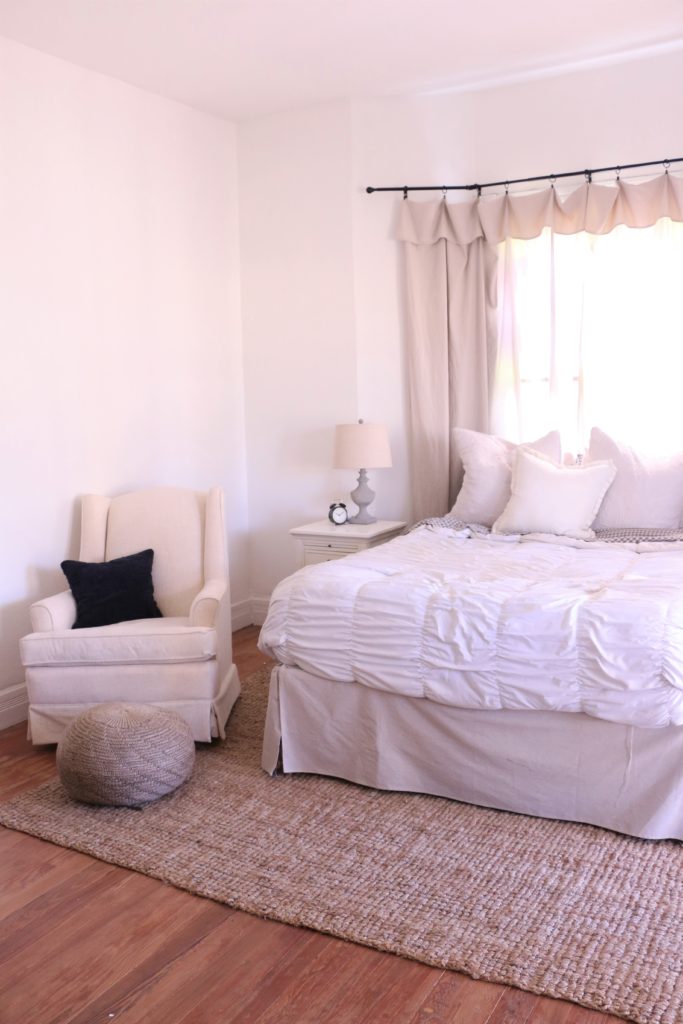
Our room has a ways to go, but since our son is still sleeping in here in the bassinet (not pictured), everything is temporarily out of place. The rocker will eventually go back into the nursery once he starts sleeping through the night, and once the extra furniture is out of there, I’ll feel more inspired to decorate and finish things in here. We need to add some trim pieces in here, and add a light fixture. This room doesn’t have an overhead fixture at all, so it’ll be a bit more labor intensive than fixtures in the other rooms.
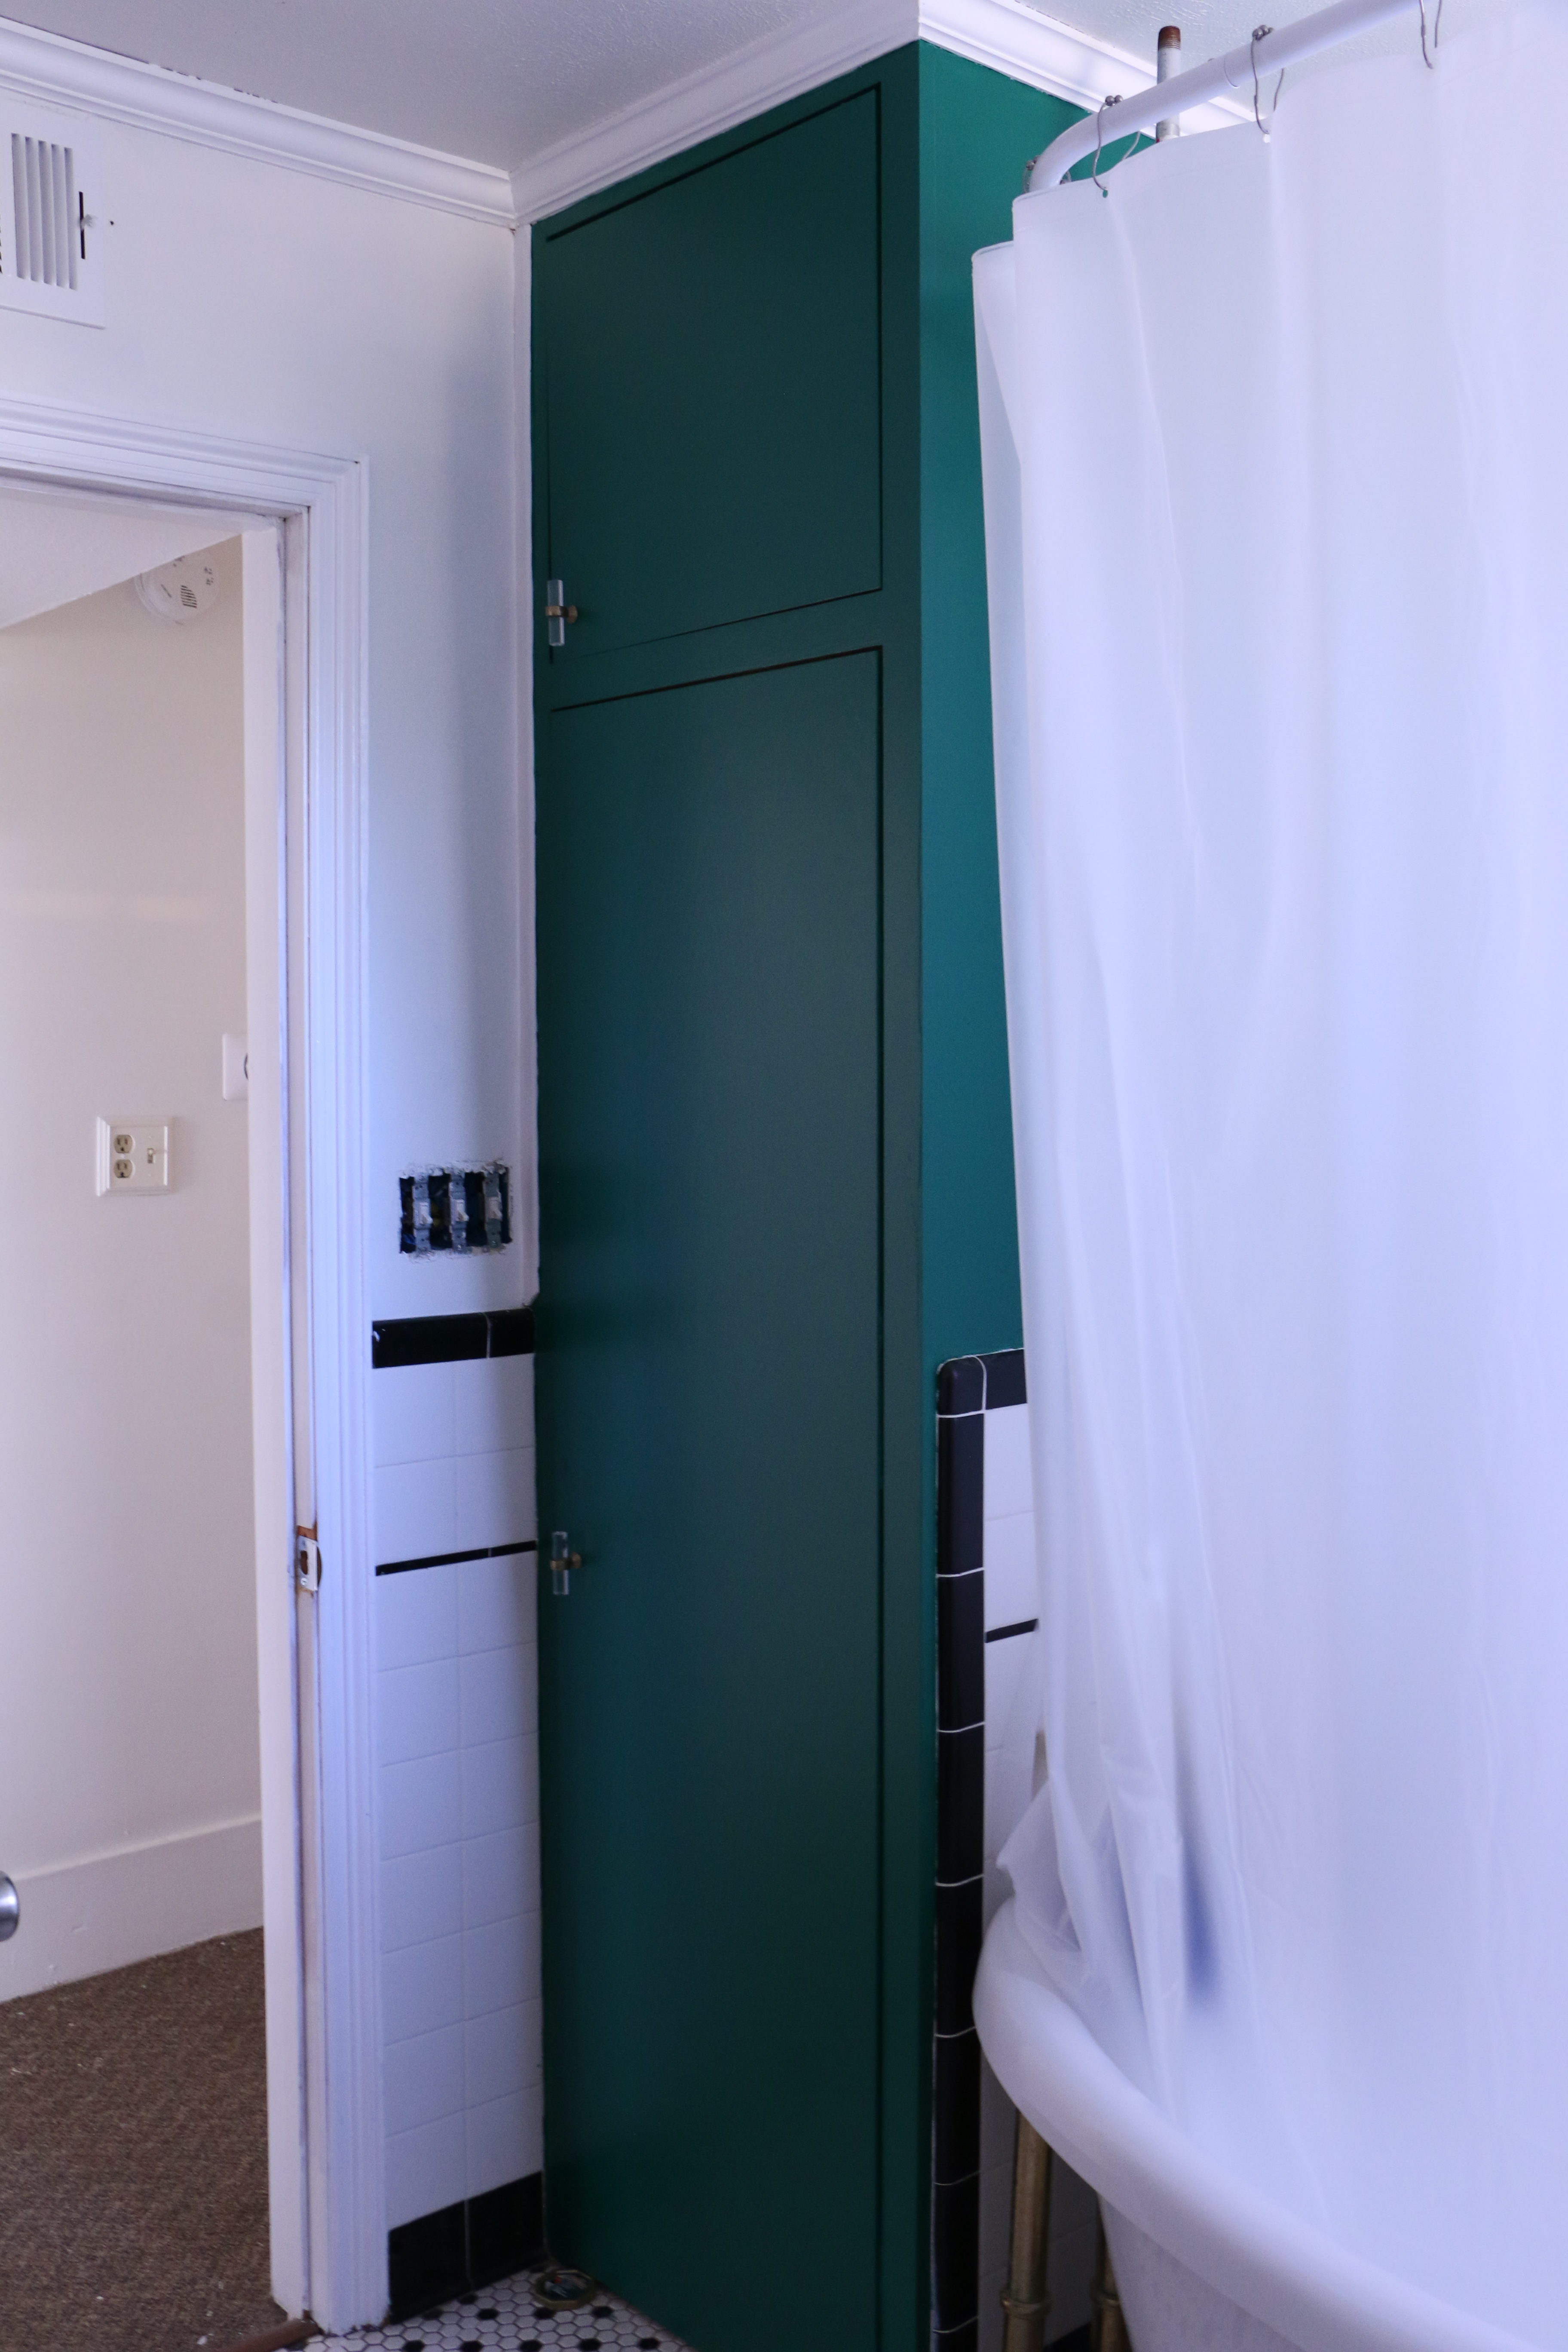
The Bathroom
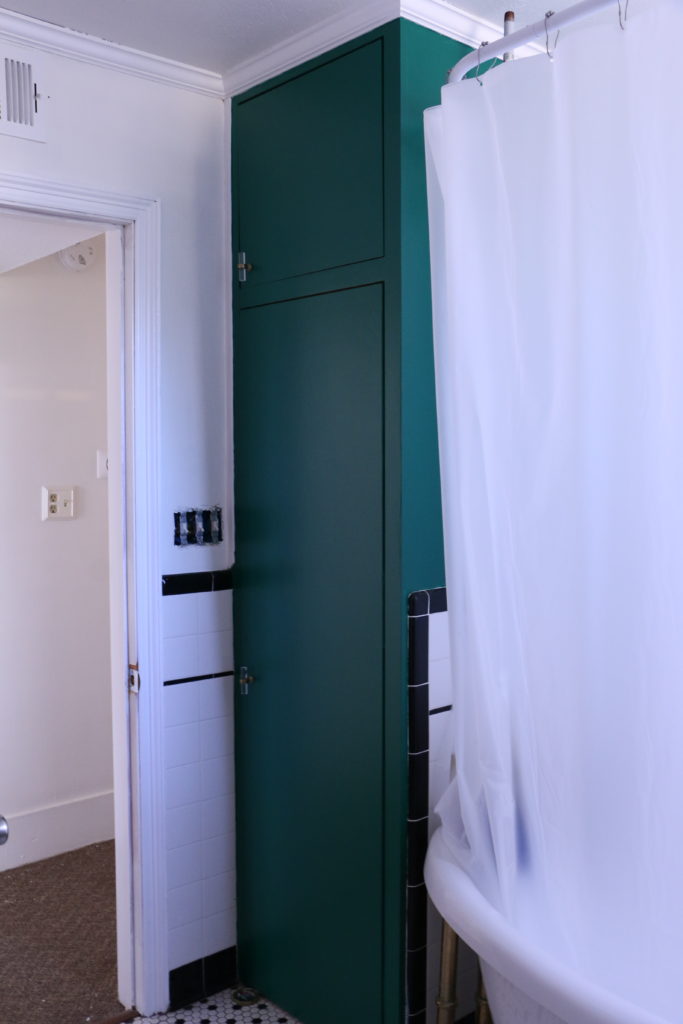
The bathroom is small and hard to photograph, but the only thing completed in here is the cabinetry has been painted this emerald green color. As you can see, we need to replace the light switch box, which we will do in the entire house all at once. We replaced the outlets, but we haven’t done the light switches yet.
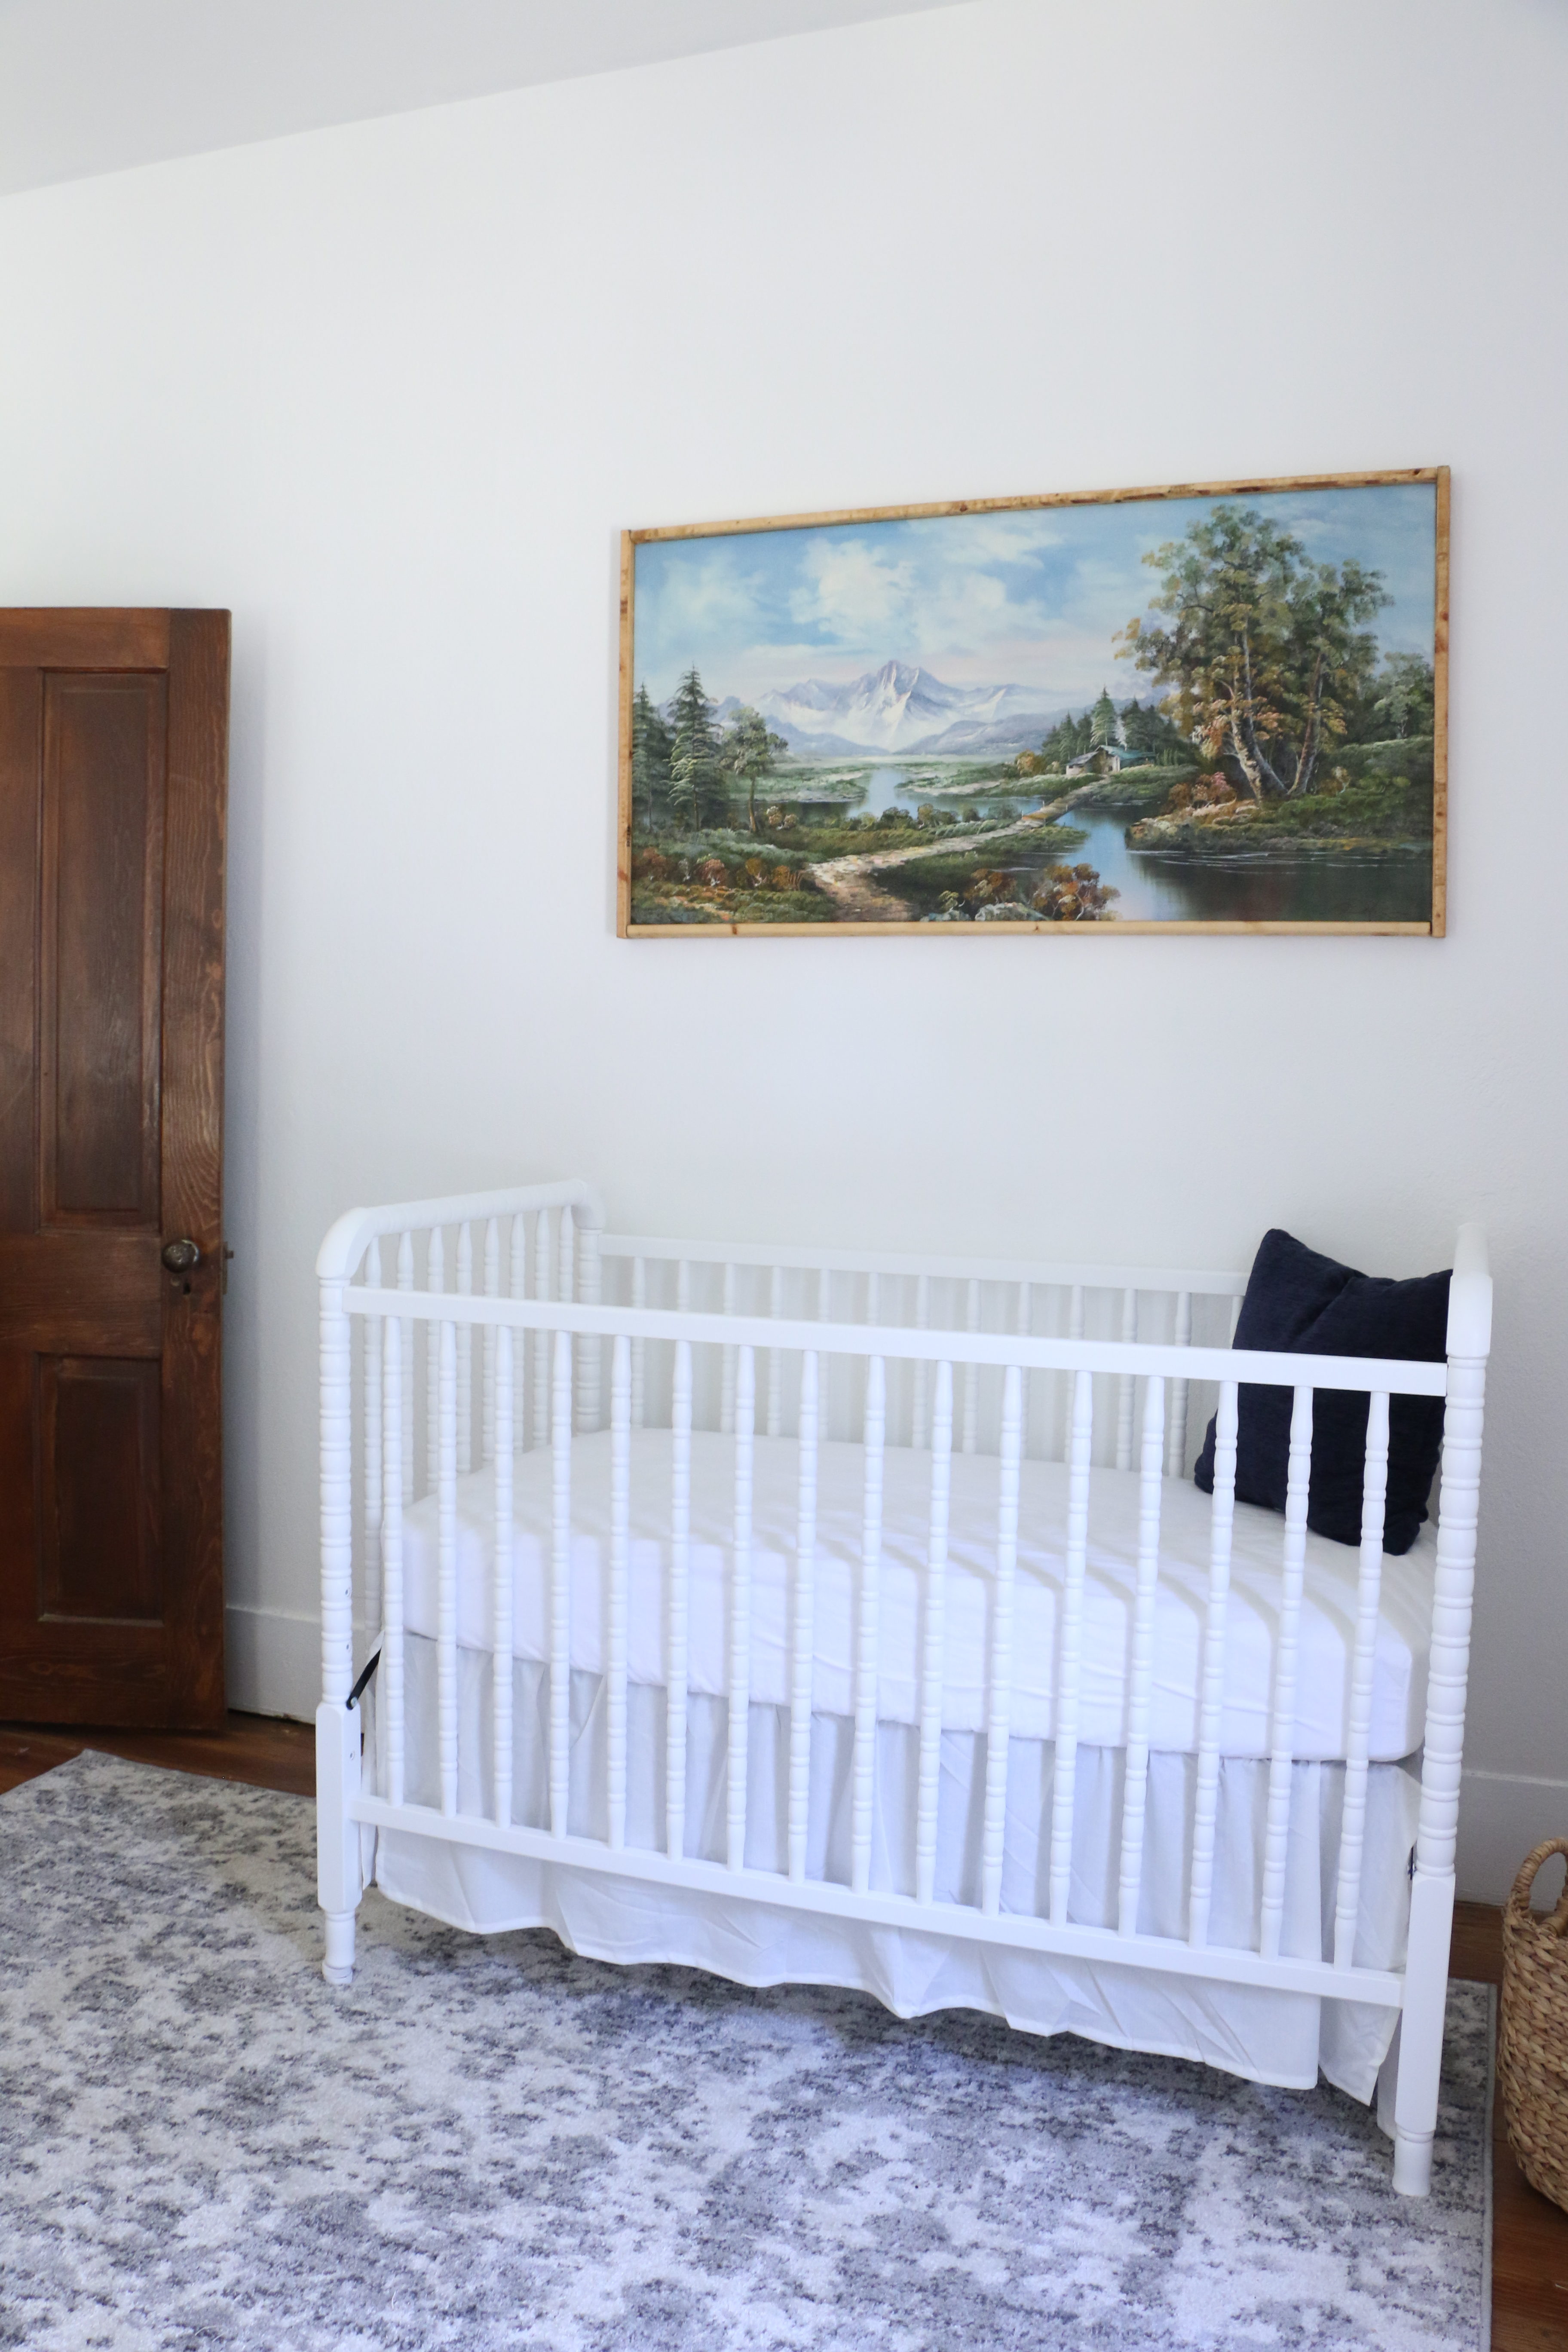
The Nursery

I did a whole post about our son’s room, because it’s the only room that’s “done.” It actually still needs a new light fixture and light switch box, but other than that it is done. If you missed that post, you can check out more photos of it here.
We haven’t done anything else on the outside just yet, but we do have some major plans for that yellow house. (Hint – it won’t be yellow forever). We’re at a point now where we have to slowly plan things out. In part, because we spent all the money we had earmarked for house projects when we bought the house, but also because things move at a much slower pace with a newborn around. When I was 8 months pregnant, I was working 12 hour days in the house, and people thought that was crazy. It may have been, but now I can only work in one or two hour increments during naptime. So, in 2019, we’ll be moving a bit slower. Anywho, that’s the update for today. This house has come a looooooong way since our closing date, but she still has a long way to go before she is everything we envision. That’s all for today, friends. Have a fabulous day!