All Posts By

Fawn Rumfield

DIY Projects, Furniture Makeover

Family Heirloom Dresser Refresh

Hello friends! Thanks for stopping by today! Has the fall weather hit where you are? It finally feels like fall around here, with the leaves finally falling and the hint of cool weather in the breeze. Texas falls are nothing like the falls in New York where I grew up, but I’ll take what I can get.

This season has brought a hint of change in the air, both literally and figuratively. I’ve been super inspired lately to create more, paint more, make more, etc. So what I’m showing you today is something I’m super excited about.

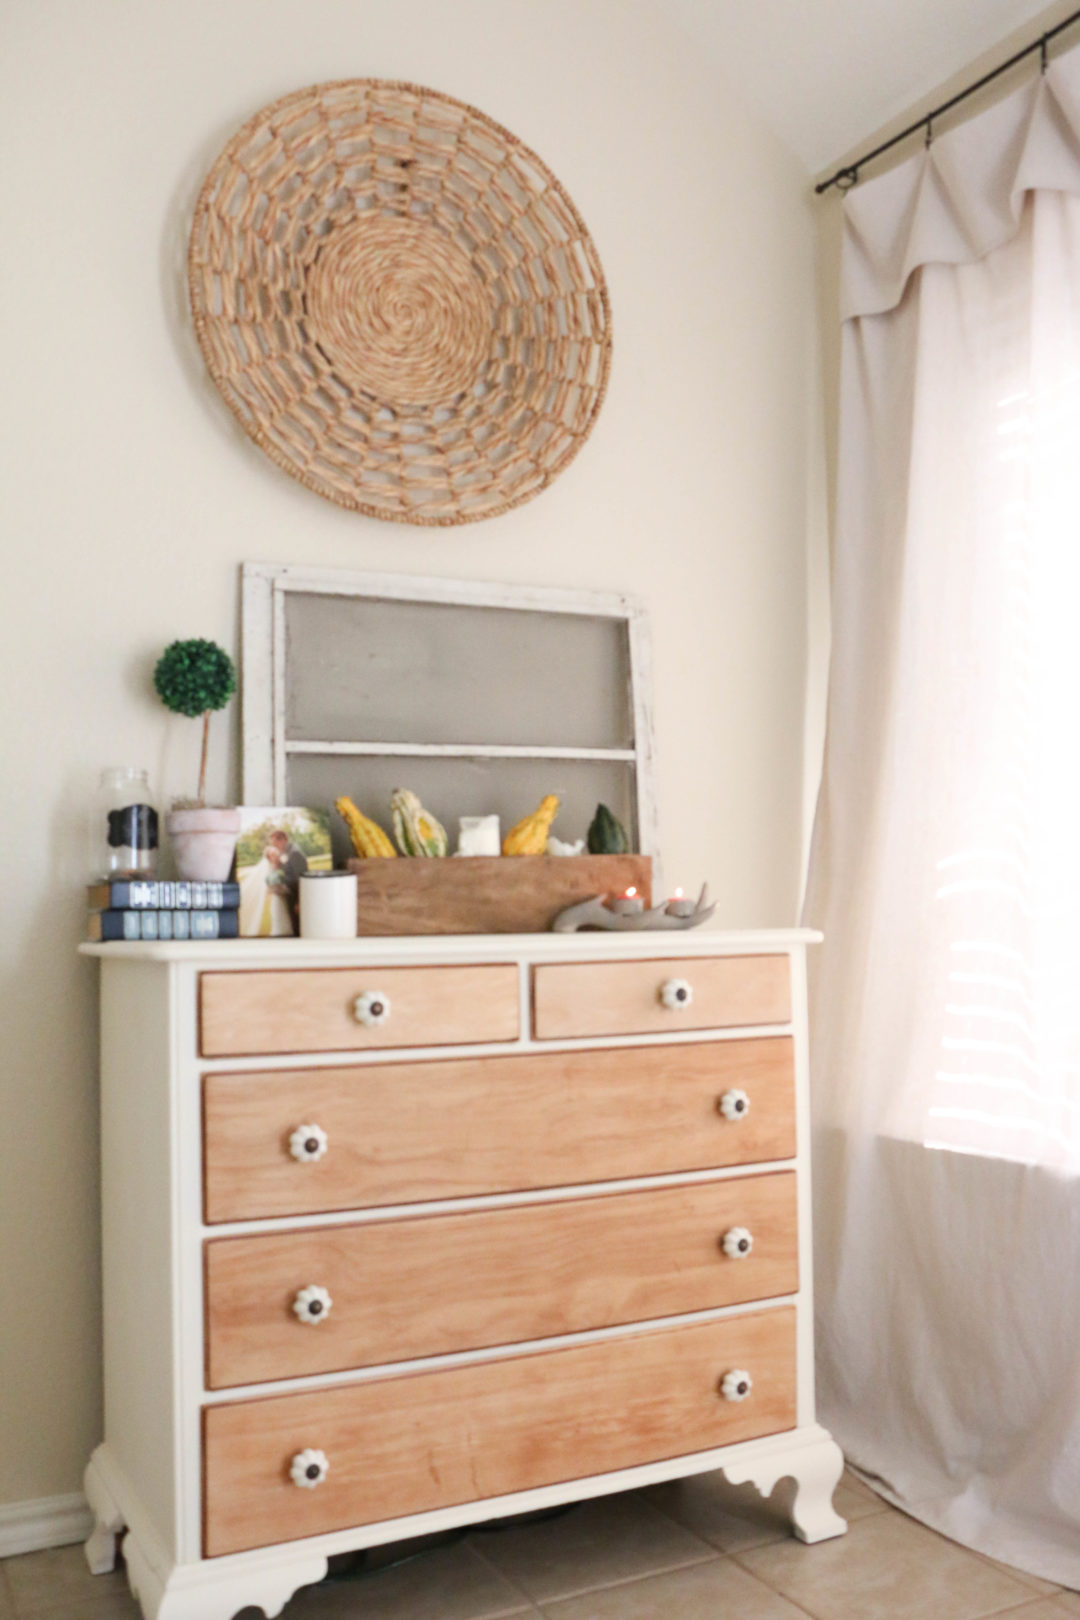
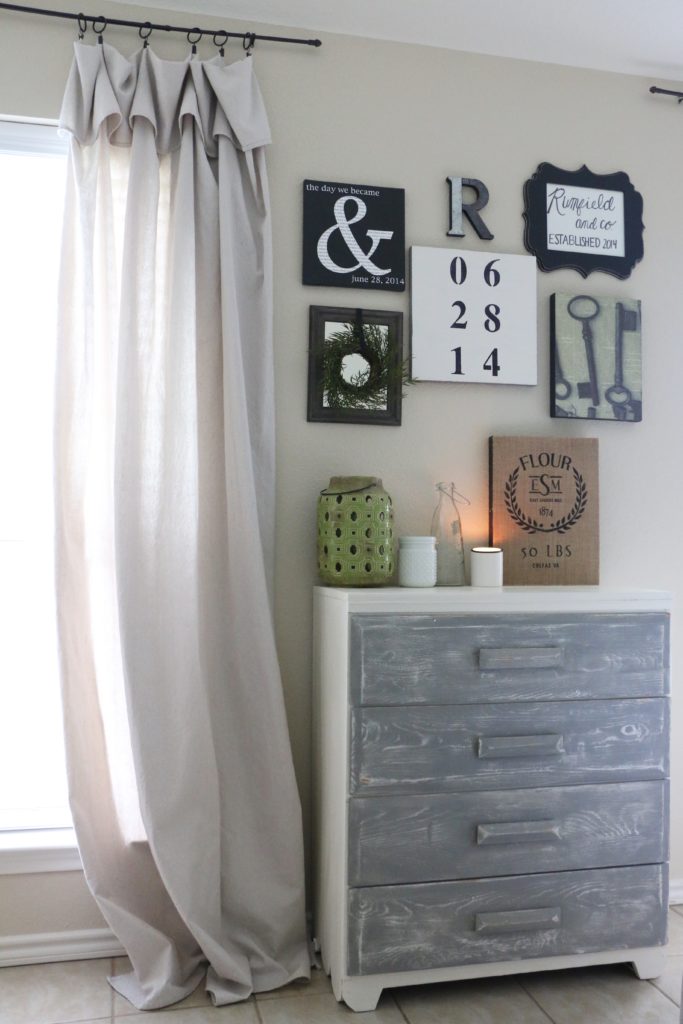
So this is the dresser in our bedroom.

dresser7

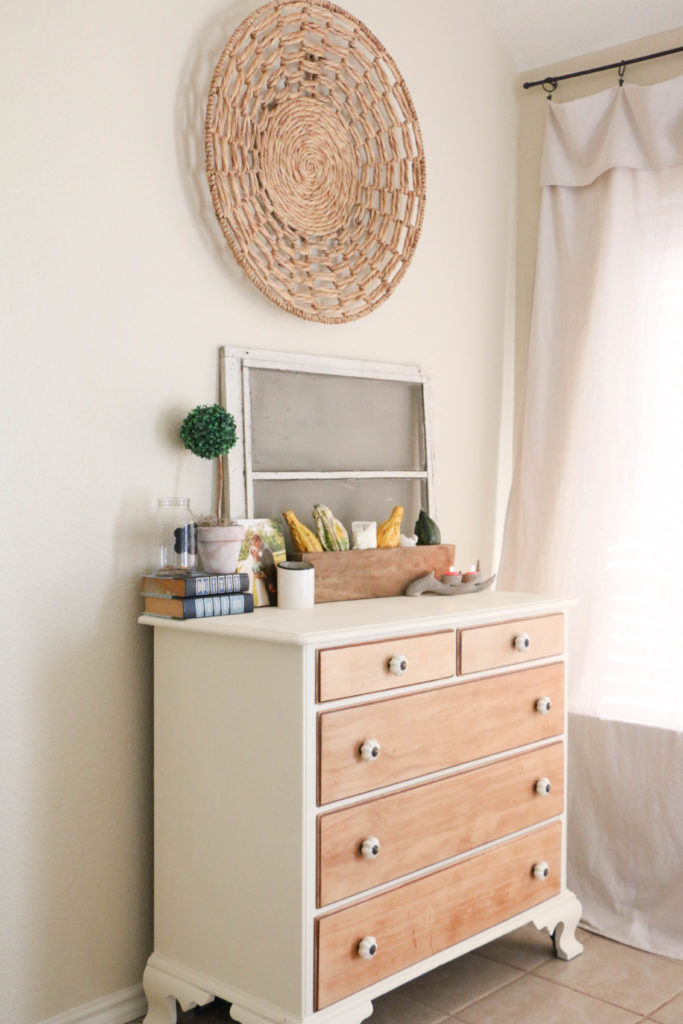
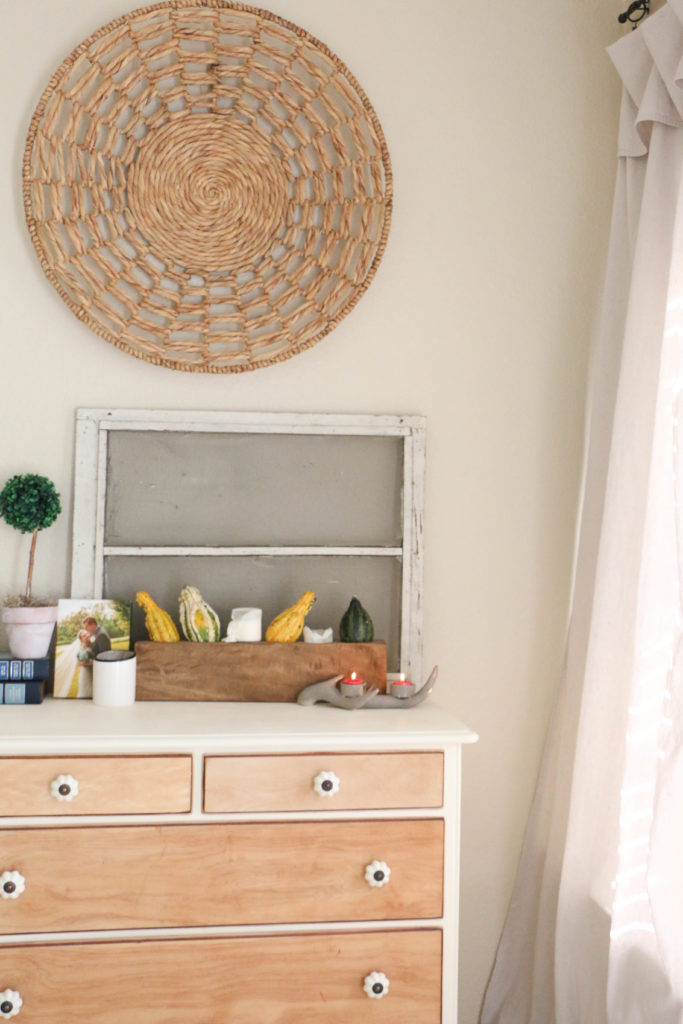
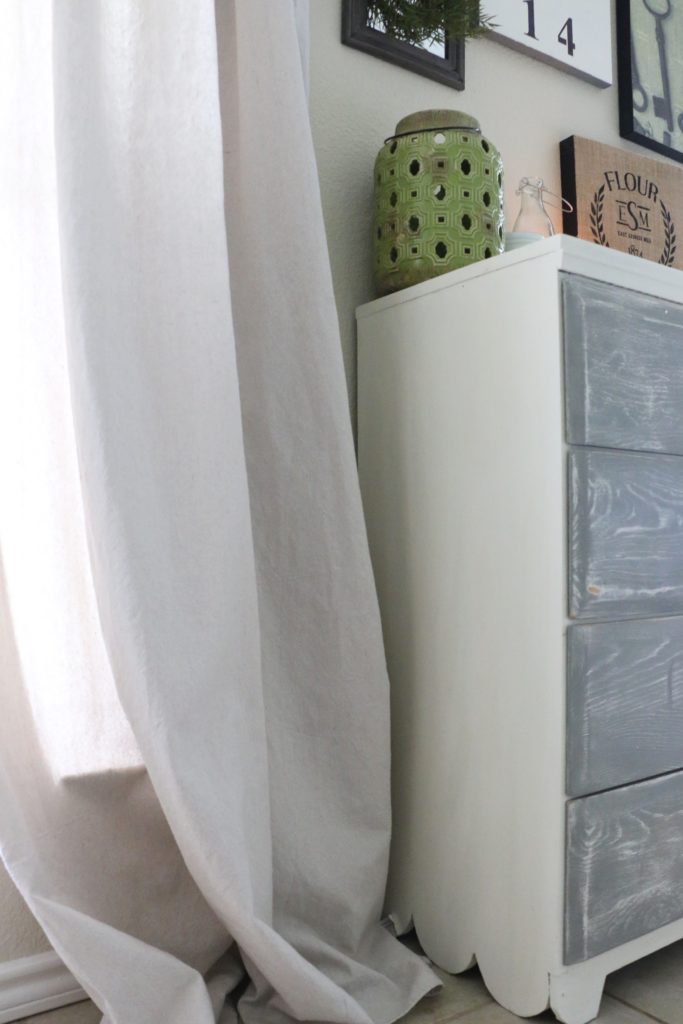
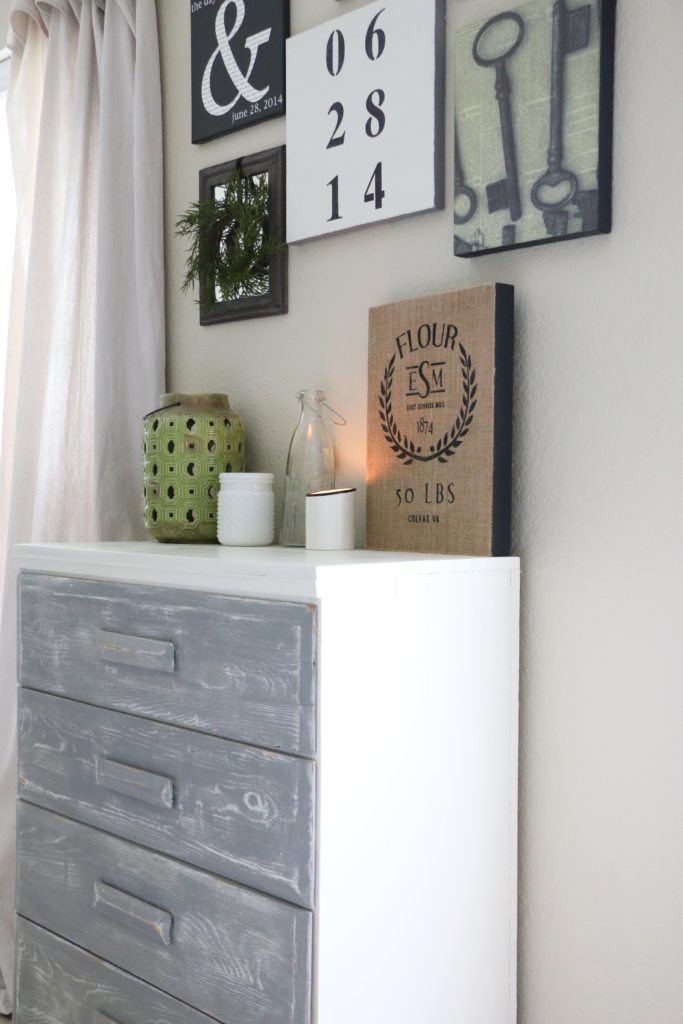
It has a beautiful shape that I have always loved. It’s a solid wood piece, and it’s something we’ll always have. It was Ethan’s growing up, and before that, was in my mother in law’s family when they moved from the northeast down to Texas. It’s such a gorgeous dresser, but it used to be an orange stained finish with large circular wooden handles. Not to mention the stickers that were put on the side by Ethan as a kid. So needless to say, I’ve wanted to give her a little facelift, but since it was a family piece, it just wasn’t a possibility. Until recently.

dresser2

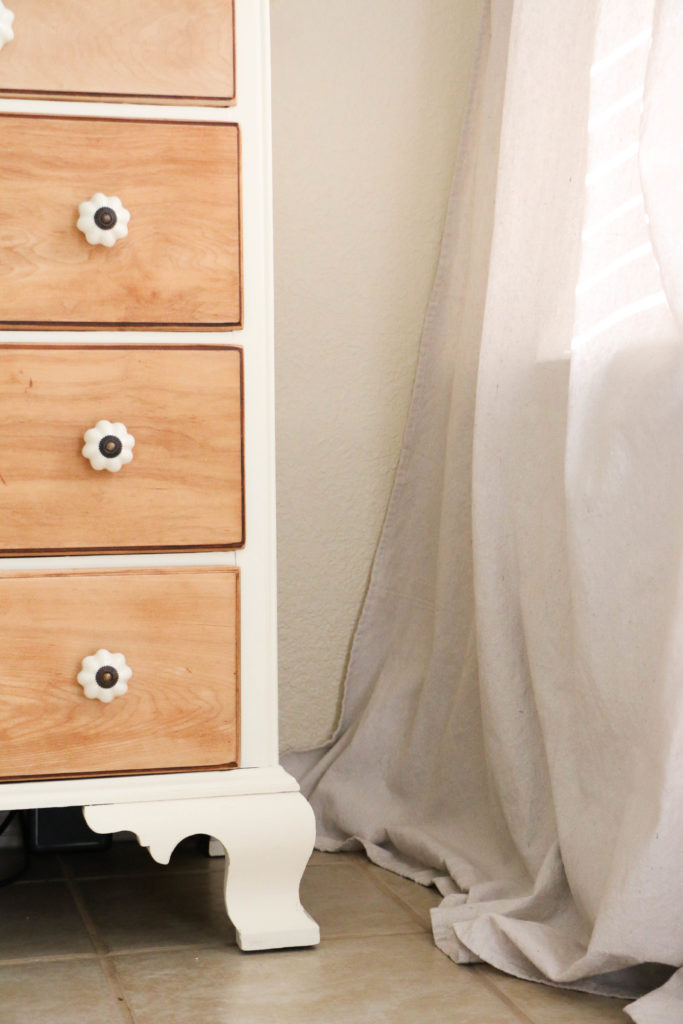
My mother in law finally gave us the okay to paint, and I was super excited. I bought some new drawer pulls from Hobby Lobby, and knew exactly how I wanted to finish it.

dresser5

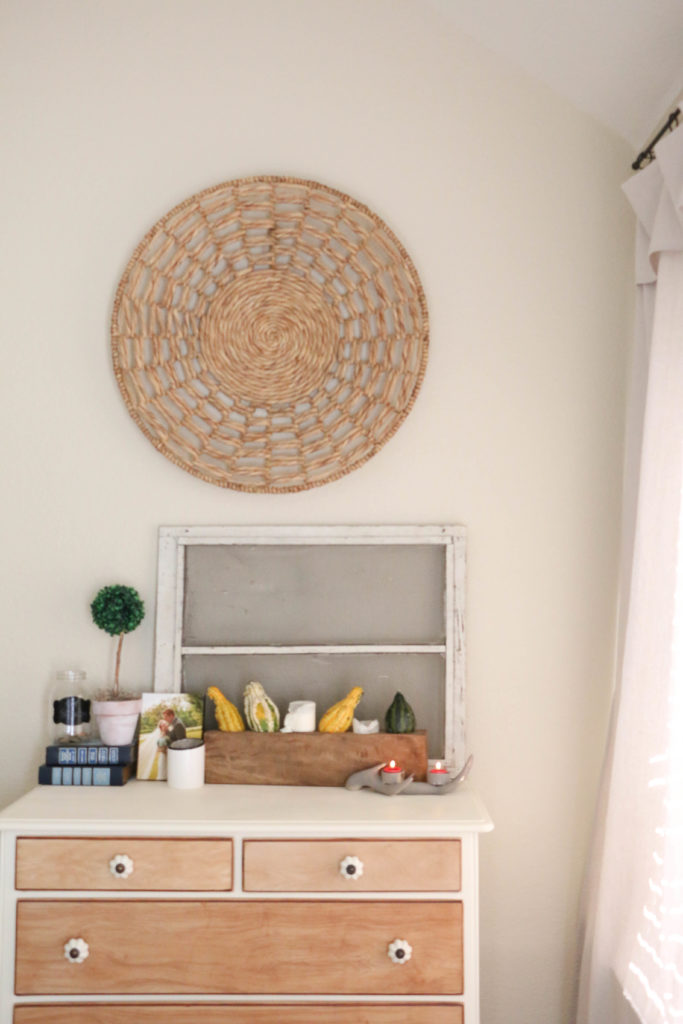
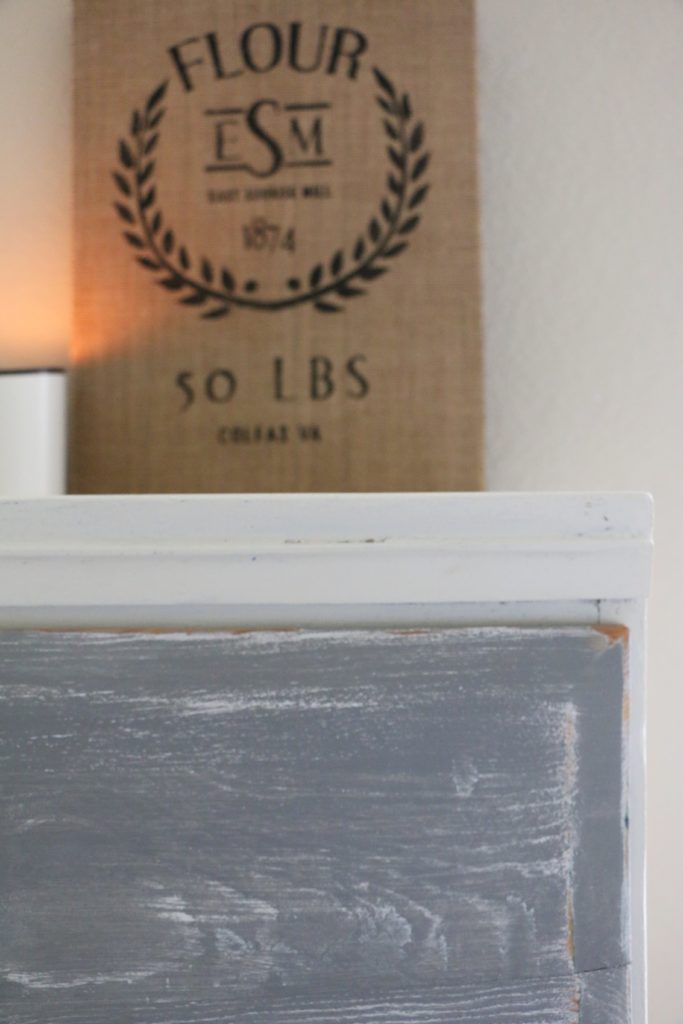
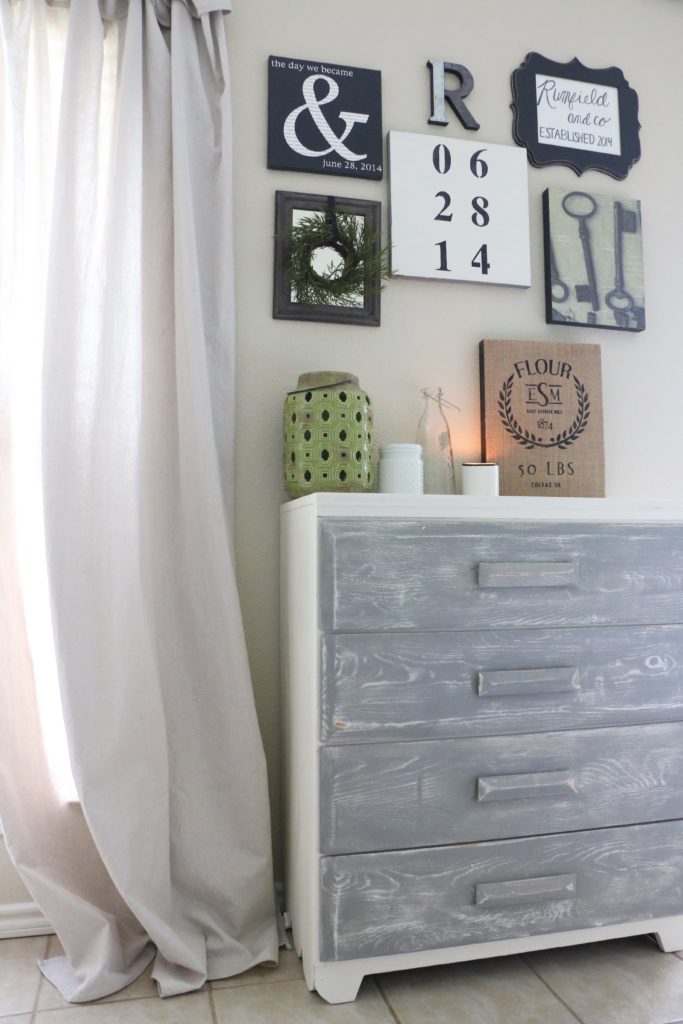
The outer part of the dresser got a coat of my favorite paint, Annie Sloan’s Old White, and the drawer fronts got sanded down and left bare. Guys. I am OBSESSED with this new look. I always knew there was a gorgeous dresser hiding behind that orange finish, but it’s even prettier than I thought.

dresser3

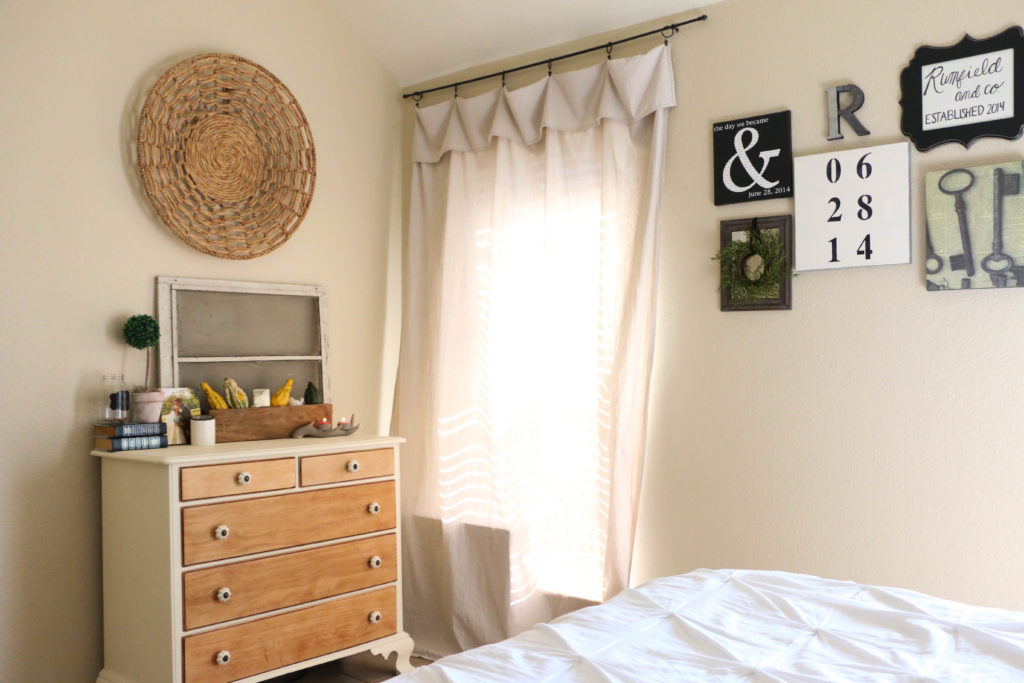
I’m so thankful to have gotten the okay to work on this piece. When there’s a family history you have to honor in a piece, it can be a little intimidating. Hopefully this little refresh honors my mother in law and her family. I know that it definitely finishes out our bedroom in a way that makes the dresser fit. This piece will definitely be with us forever.

dresser8

Good grief it’s just so pretty. Well y’all, that’s about it for today. Just wanted to pop in and share this fun project. Have you ever painted something that belonged in the family for a long time? How did it go?

That’s all for today friends, have a fabulous day!

Personal

Weekend Recap: Vintage Market Days

This weekend was nothing short of awesome. I could leave it at that and it would be enough. Seriously. This weekend I had a booth at Vintage Market Days in Waxahachie, TX. This was my first time with a booth at a reputable event. I did a local show once last year, but it was really not something that I wanted to pursue due to a few different factors. This weekend however, was different. I left this weekend feeling refreshed and inspired and ready to try something new.

So here’s the deal. I’ve known about Vintage Market Days for a long time. I have always kind of wondered if I could do something like that, but for whatever reason, never put myself out there. This summer, I was trying to focus on what I wanted to do with this little hobby I have of decorating/antiquing/painting furniture. I thought about getting a booth at a local store, and for several reasons that too fell through. So over the summer I thought, well, I might as well apply for VMD and just see what happens. The worst that can happen is I don’t get in. And if I do get in, it’s only a three day commitment. I can do this. So I hit this apply button and got on with my day. When I found out that I was accepted into the event, I was surprised more than anything. Me? I just have this little hobby that’s not even a big deal.

As the event got closer, I was busy in my garage painting, sanding, creating. If you follow me on Instagram, you may have seen some videos projects I’ve been working on in my garage. I staged a mock booth setup in my garage by taping a 10×10 square on the floor like I had any idea what the heck I was doing.

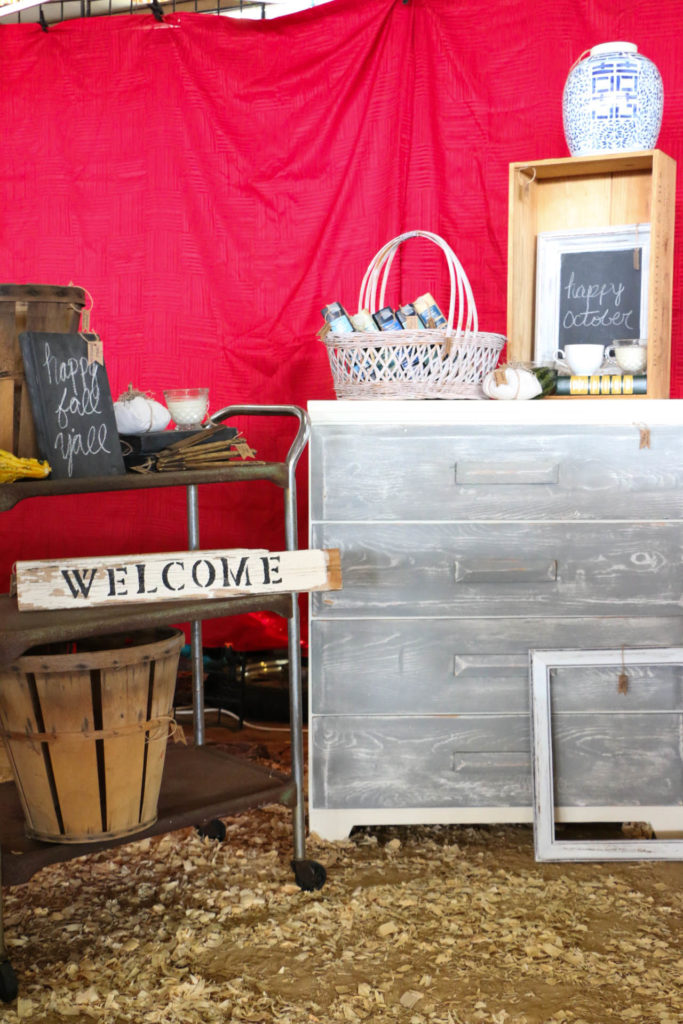
I set my booth up the night before the event, and realized I didn’t have enough stuff at all. So after I went home that evening I finished a few things in my garage and brought them to my booth the morning of the show. Now, let me tell you a little about my booth. I was clearly a newbie. The other vendors around me had tents and beautiful backdrops to stage their booths with. These weren’t even things that had been on my radar. I felt super nervous and inexperienced compared to everyone around me.

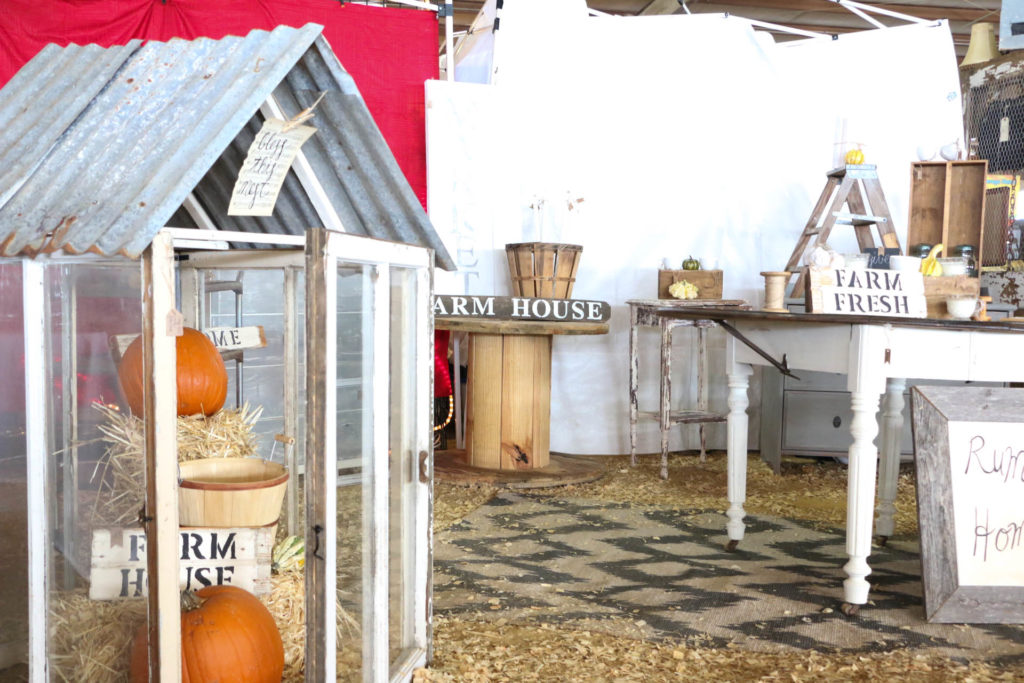
booth1

But you know what? It didn’t even matter. I had the most amazing weekend. Everyone was so kind and accommodating, I sold some of my pieces, which felt awesome. I received a lot of affirmation from customers and other vendors about what I was doing, despite the fact that I felt totally inexperienced. I got so many complements on my booth, the styling, the furniture pieces. It was exactly what I needed to confirm the possibility of wanting to pursue this more frequently.

booth3

People were constantly asking if I had a storefront, or if I had a card. Both of the answers to those were no. I kept telling people that this was the first thing I had done, and I was just getting started. The fact that people thought that about my few little projects though was incredibly humbling. At some point I realized, wow. I actually can do this.

booth2

I learned so much this weekend. So much. I think the most important thing I realized was that number one, I am actually able to do this,  and number two, this is something I enjoy. As we were leaving after the weekend was over, I kept telling Ethan I just really like this. It feels so good to put yourself out there not knowing what the result is going to be, and then to feel so accomplished and humbled at the same time. Y’all, I have no idea what this weekend means for me. I teach full time, and I have this little hobby of making my house a home. Those are two very distinct parts of me, that I love. I have no idea what I’m going to do next, but I can assure you, I want to pursue whatever this is.

booth4

So guys, I’ll let you know when my next event is. That’s all for today. Have a fabulous day, friends!

Holidays

Early Fall Dining Room Table

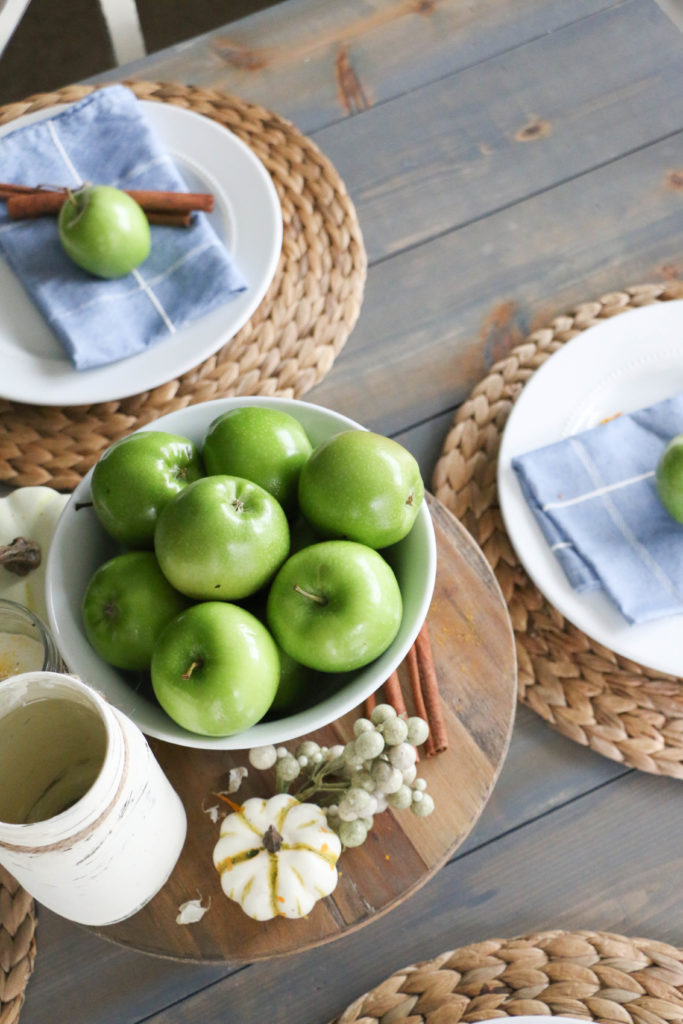
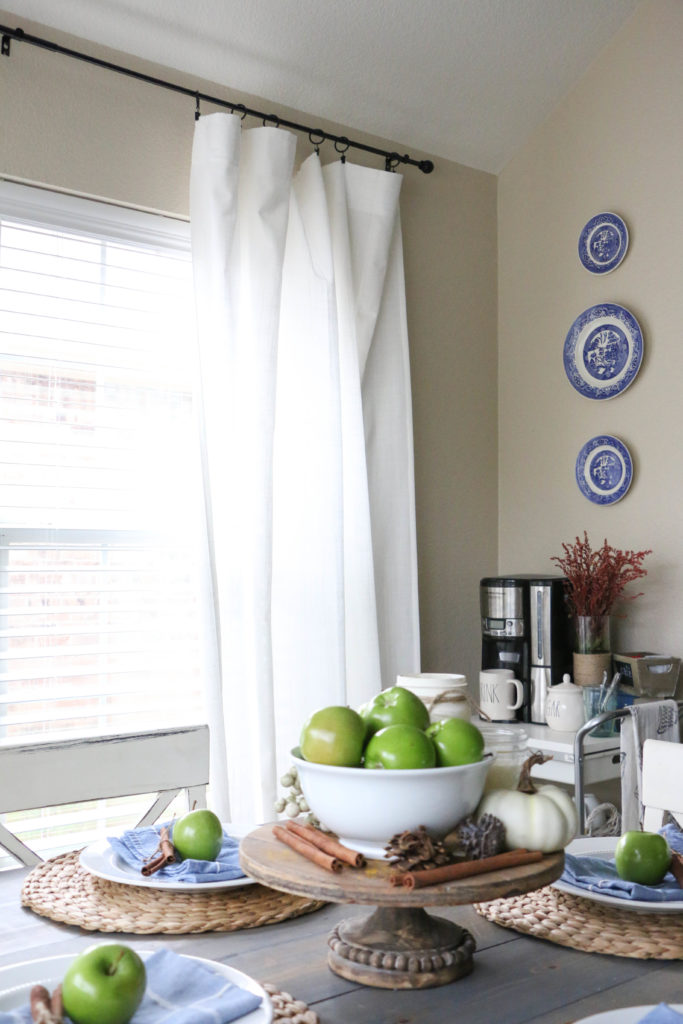
Guys. I woke up this morning, and it was fall. Like for real. I know the first official day of fall was last week, but today was actually cool and breezy. The sky is gray, and I just feel like getting a raspberry hot chocolate and snuggling on the couch. So now that the weather has finally turned, I’m feeling super inspired to add some fall touches around my house. Last time I shared my dining room here it was in its blank slate form. Now I’ve added some touches for fall, and I’m super excited to share with you guys today.

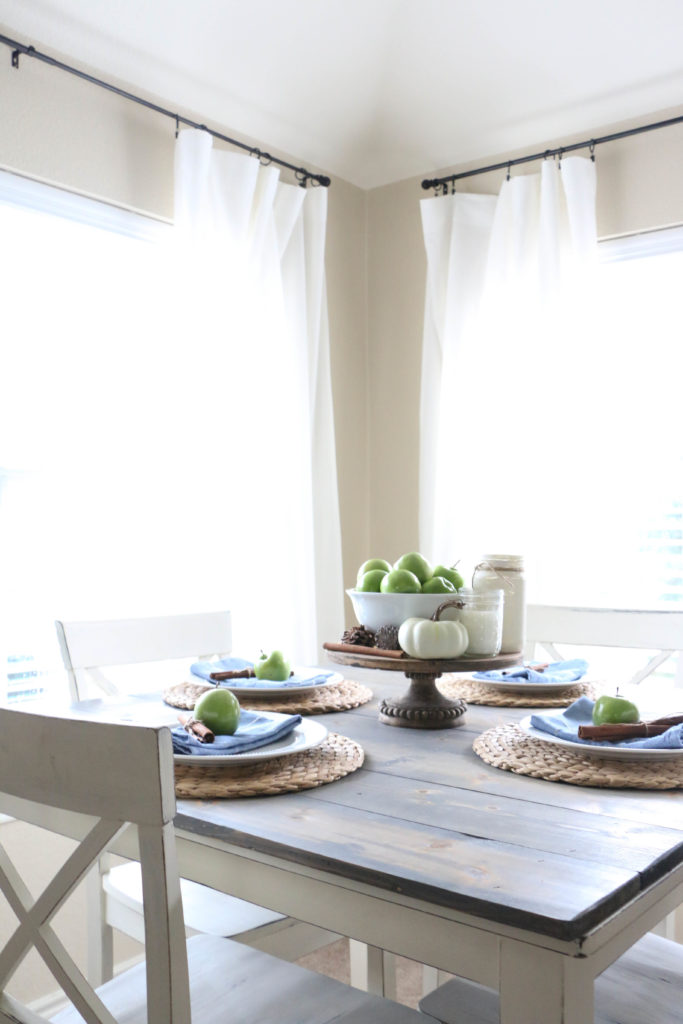
 falldiningroom1

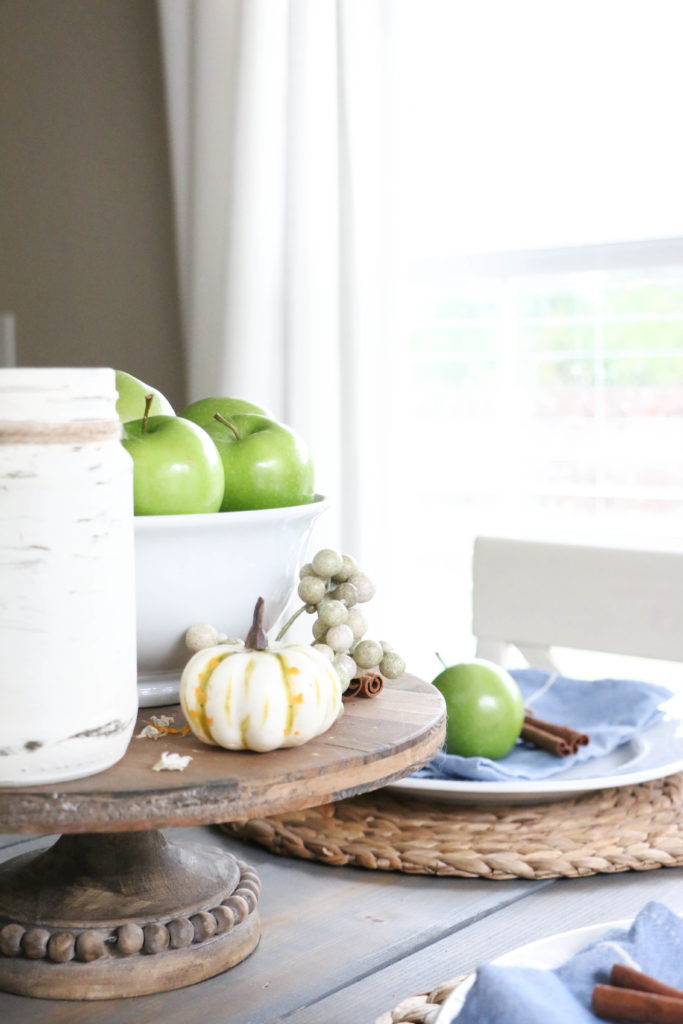
I’ve been loving natural touches recently, and I loved how this bowl of apples on my centerpiece looks so fresh. Apples are the perfect transitional thing to add from summer to fall. They’re green, which reminds me of summertime, but also fall is when apples are harvested and it just makes me want to make an apple pie.

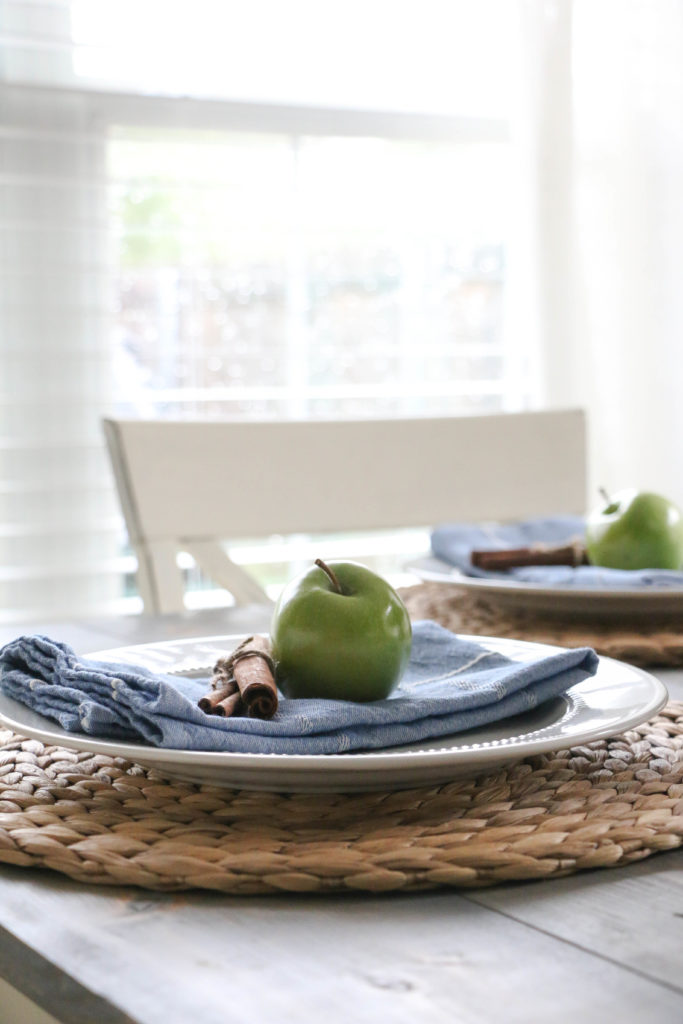
falldiningroom2

I also used cinnamon sticks to create this look, which I think is another natural touch to the season. It looks fresh and it smells fresh too!

falldiningroom4

This is the first thing I’ve truly “decorated” for a season in our new house, even though it’s been over two months since we’ve moved in. It feels good to put things together in a meaningful way. Setting things out in the house is my way of decompressing and it is what I love to do. This little tablescape totally has totally lifted my spirits and got me in the mood for the season.

falldiningroom5

falldiningroom6

I’m short and sweet today y’all. How do you decorate for the early part of fall. Have you ever considered using fruit as decor? I’d love to hear about it! Make sure you’re following along on Intagram and Facebook so you don’t miss any updates! That’s all for today, friends. Have a fabulous day!

Home Decor

Home Decor on a Budget

Hello all! Happy happy Tuesday! I hope you’re doing well. Today, as I was driving home from work thinking about setting up some more fall touches around the house, I started to calculate how much money I could spend on making fall happen around here. Now, if you know me at all, you know that there are two things I’m very passionate about: home decor and budgeting. Most of what I do here is super budget friendly, and it’s a part of everything I do, but I realized I’ve never shared exactly how I budget or why. So today I wanted to share with you a few things you can do to decorate on a budget, but more importantly, why you should keep a budget.

Now, this blog is not about money. It never has been. But I know most people feel like they could use some more of it (me included), and it seems like there’s never enough for extra things at the end of the month, especially for frivolous things like decorative pumpkins. I get it. But hear me out.

I budget absolutely everything. Ethan and I start each month with a written gameplan of what we’re going to spend our money on for the upcoming month. And because we’re like most millenials with a mountain of student loan debt, most of our extra cash goes there. But that’s not what’s important today. At the beginning of the month, each of us get a certain cash amount to spend on whatever we feel like spending on that month. For me, this usually falls into the frivolous decorative pumpkin category.

But here’s the cool part. I have cash that I get to spend on decor each month that is totally accounted for. It’s written into our budget, and so I can shop for house stuff completely guilt-free! If I want those curtains, or that pumpkin, or those candles, I can buy them because there’s a certain amount already set aside for that type of spending. Of course, it’s pretty tiny, but it’s there nonetheless.

Now, while we’re talking about tiny budgets, I have learned to get pretty creative when it comes to decorating. Here’s how:

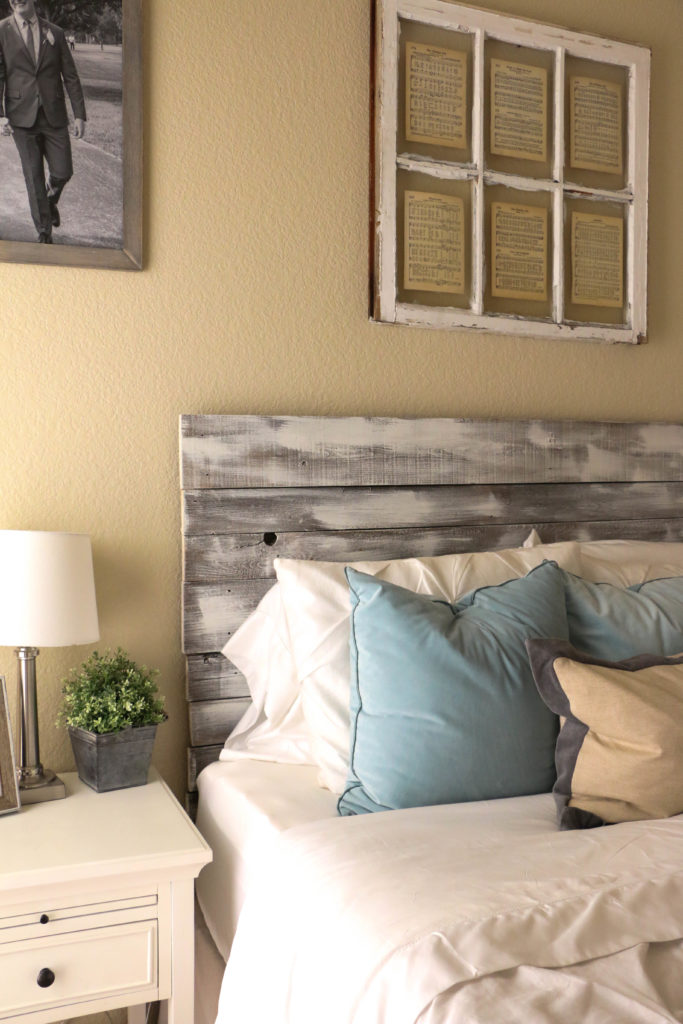
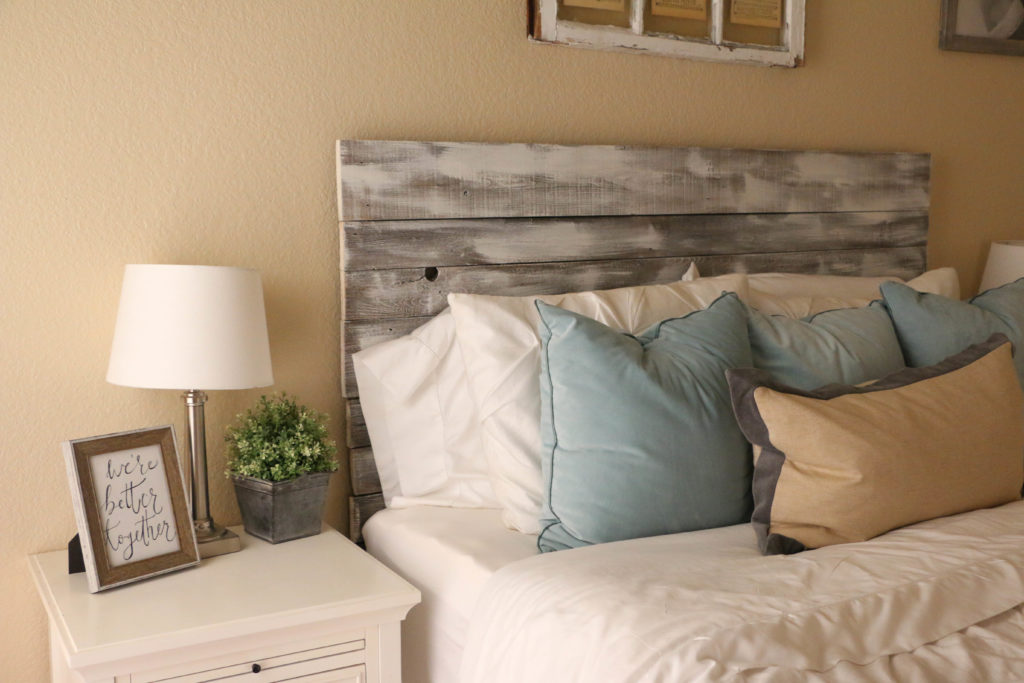
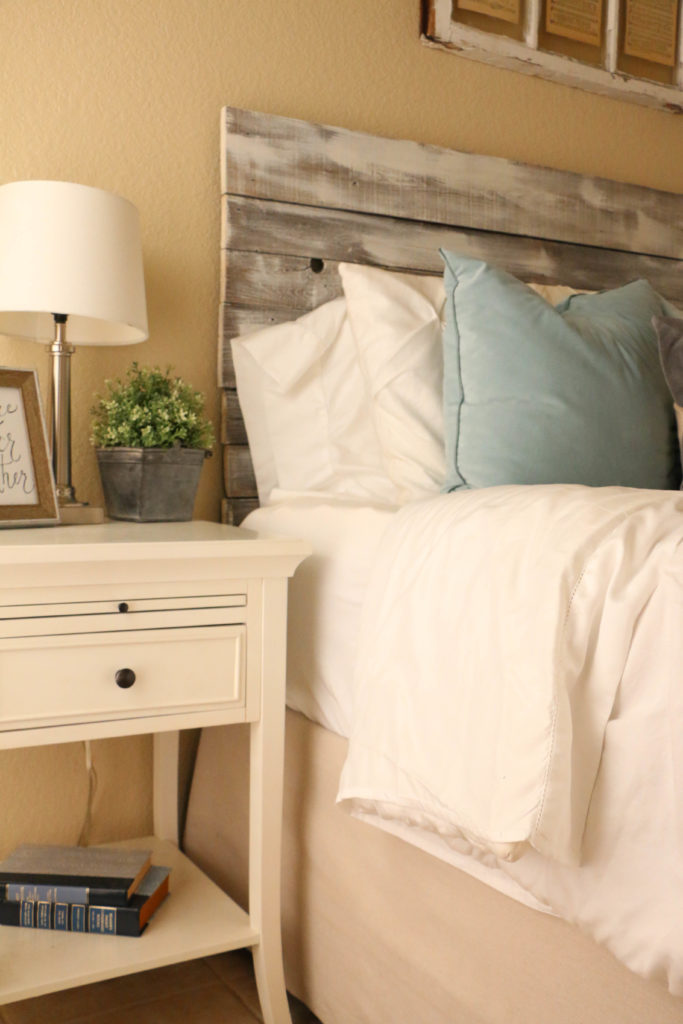
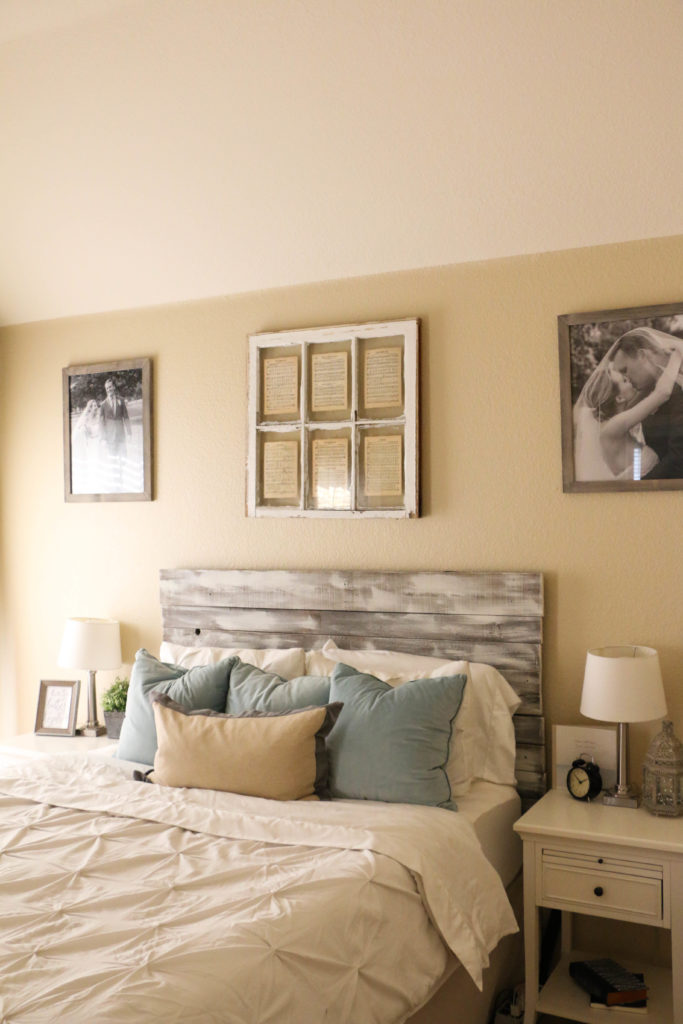
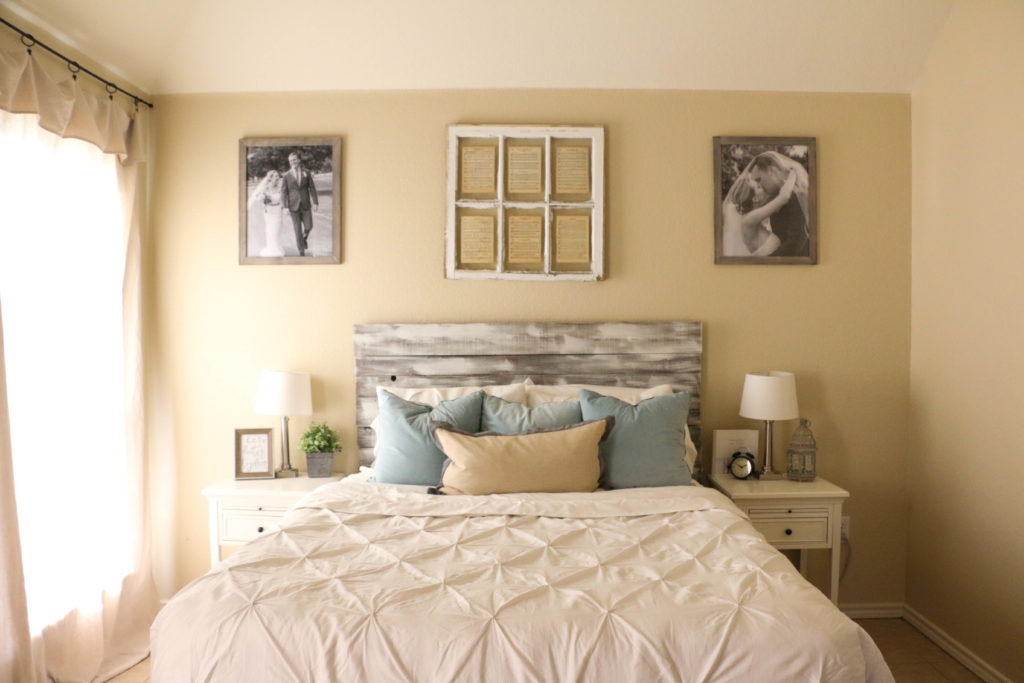
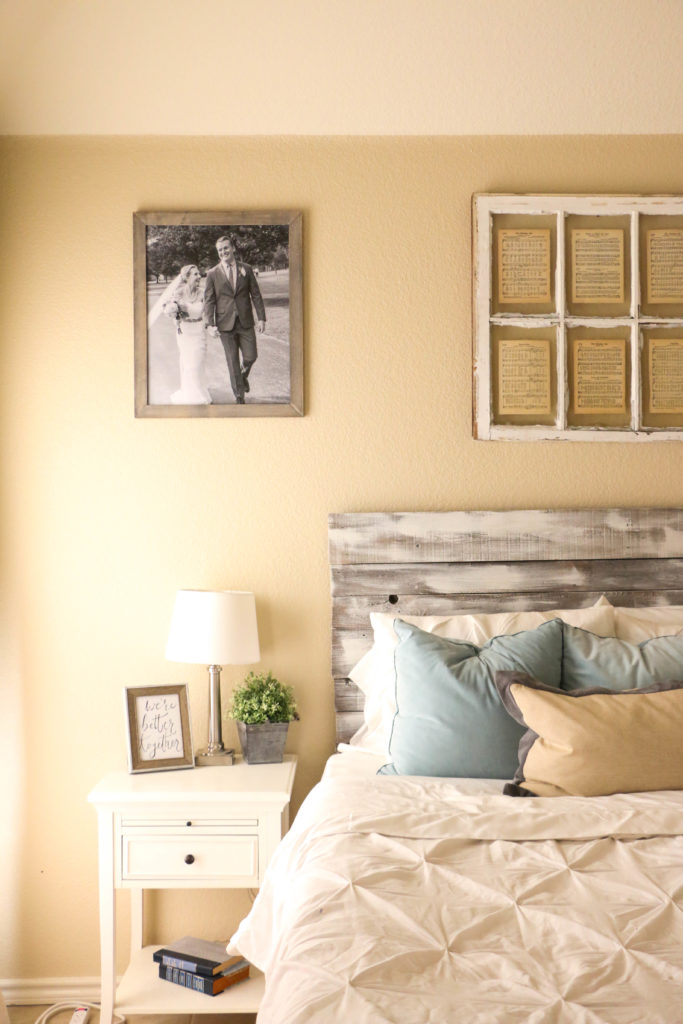
One. DIY it. Almost everything in our house is made or refinished by me. Our headboards, most furniture, candles, signs, wall art, just about everything. I can’t even calculate how much this has saved us throughout the entire house. Our headboard was made from fence posts our neighbors were replacing. Seriously! It cost me nothing! Getting creative with the things around you is my biggest advice to someone wanting to decorate on a budget.

Two. Shop after-season clearance. Since I was a little girl, my favorite shopping day has been the day after Christmas. It’s the best time to stock up on things for the next year because as soon as December 26th rolls around, everything is 50-80% off. This can be a little annoying because you have to wait an entire year to use it. But it is a pretty fun surprise opening the things you bought and forgot about a whole year later. It’s like getting gifts for yourself!

Three. Shop the flea markets and the thrift shops. I went down this weekend to our local thrift store where I realized when the owner approached me asking about my family, that I am now a regular. I mean, I’m in there all the time. But I’ve gotten a heck of a deal on many occasions. My favorite type of thrift store is one where you can negotiate prices, especially after you’ve built a relationship with the staff. I can talk down just about anything when it comes to flea market and thrift store shopping. And if the seller isn’t willing to come down, just walk away! Someone else will have something just like it who is dying to get rid of it! It’s all about patience.

Four. Allow yourself some spending. Seriously. Picture it as an allowance to yourself. I have bought almost everything in our house with my spending money, and I never have to worry about feeling guilty or saving for priorities. The essentials are taken care of, and this money is free for the spending!
fall-dining-room

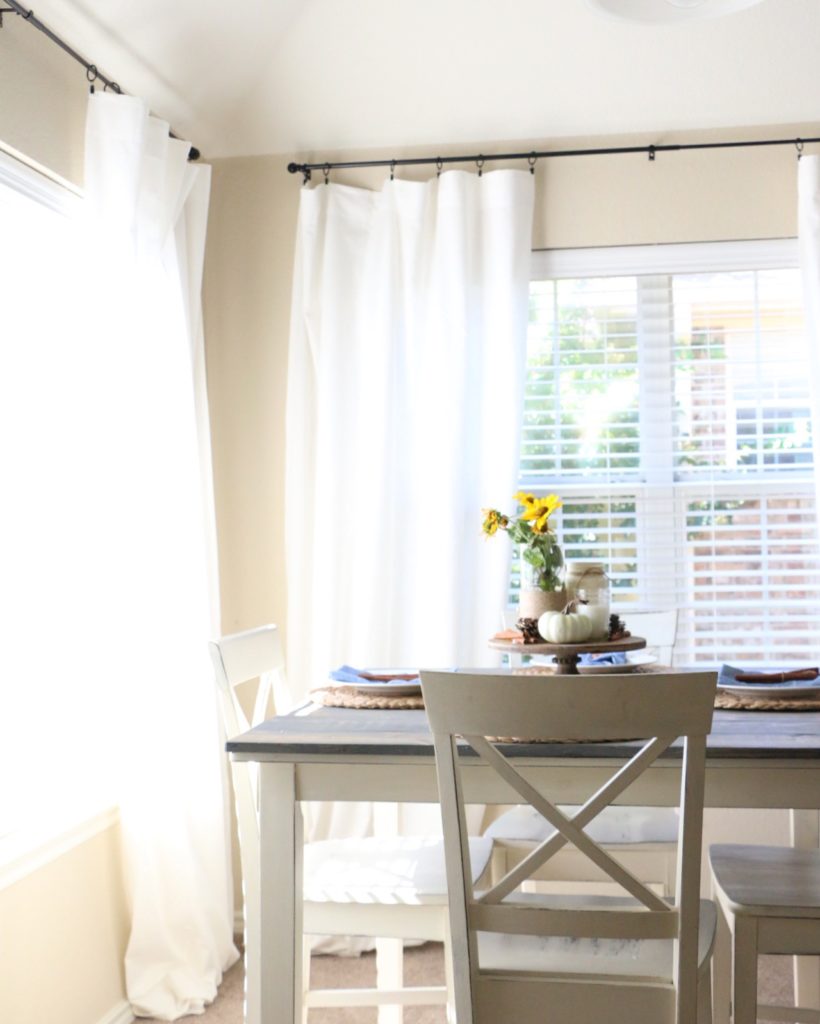
My house is certainly not very big or fancy, but I love making it my home. Sticking to my budget when I’m decorating is something I take super seriously. While I would love to go out and spend a ton of money on new furniture and rugs and all kinds of things, I piece things together super slowly as time and money allows. Here’s a sneak peek of our fall dining room. Those flowers? I picked them from the side of the road. They’re just weeds.

If you take away one thing from this, let it be this: I don’t spend a lot of money on my house. At all. But that doesn’t keep me from trying to make it a house that I love. I hope this inspires you to be able to decorate your own home on a small budget. I promise it can be done. That’s all for today, friends. Have a fabulous day.


DIY Projects, Tutorials

What I’ve Learned Finishing Furniture

Hello all! I hope your week is off to a great start! I’ve been busy busy busy with school starting a few weeks back, but now I’m ready to get into the routine of school being in full swing and I’m ready to start thinking fall!

I’ve been out in my garage working away on tons of projects out in the garage, and if you follow along on Instagram, you might have seen the early stages of this dresser I’m about to show y’all on my IG Story. This dresser turned out even cuter than I thought it might, and so I wanted to share with you guys some of the process and tips I use, now that I have more than a project or two under my belt.

graydresser1

Okay, so this is how this little guy turned out. So cute, right? I didn’t take a picture when I first started, because I’m so forgetful when it comes to that kind of stuff, but it was dark green. Like 90’s dark green. Gross.

The first thing I did was strip all the paint off the dresser. Using a good paint stripper is not for the faint of heart, since it smells, and I burnt my arms a couple of times, but it is essential in removing old paint more quickly.

What I couldn’t take off with the paint stripper, I took my sander to. This took a while, but prepping the entire thing helps the end result. Once I finished sanding, I wiped the entire thing down with Mineral Spirits to clean it off.

graydresser4

See those cute little scallops on the bottom? Adorable. Anyway, once it was all clean, I primed the entire thing. Even though chalk paint claims to be prep-free, I have found that it saves paint to prime first, as well as makes it last longer. After I primed, I sanded everything down with a 220 grit sandpaper. This is super fine, and eliminates brush strokes. I do it super lightly and super quickly to make sure I don’t sand off the primer completely.

graydresser5

I painted the frame with Annie Sloan Old White, and the drawers with a local handmade chalk paint (sorry I don’t have the color for it). I lightly sanded everything down again, and on the drawers, I sanded a bit longer to expose some of the primer. That happened kind of accidentally, but I ended up loving it!

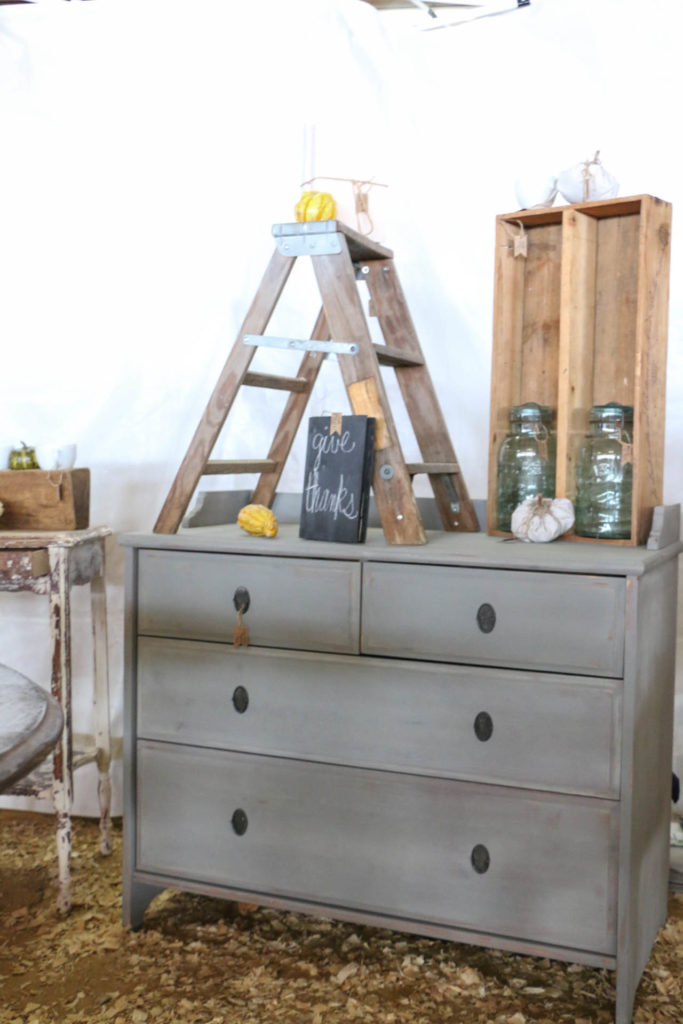
graydresser2

Here’s a closeup of how the drawers turned out. I love them! After I finished painting, I gave everything a coat of Annie Sloan Clear Wax. This sweet little dresser was a super fun project, and it turned out even better than I imagined.

graydresser3

Now, this piece won’t be staying with me. I’ve been working hard gathering materials and working on projects like this one because I am going to be a vendor at the upcoming Vintage Market Days! I love this event so much, and this will be my first time as a vendor! Here’s a link directly to the Facebook event. It’s in Waxahachie, which is just south of Dallas. If you’re going to be in the Dallas – Fort Worth area that weekend, you’ll have to stop by. This event is going to be amazing, and if you’re in the area, I would love to meet you! This dresser and many others will be headed to my booth, and I cannot wait to show y’all more!

That’s all for today friends! Have a fabulous day!

Room Tours

Our Dining Room: A Blank Slate

Whoooooie! This month has been busy! Progress at the new house is going super slow, and we’re not even remodeling anything! I can’t imagine how slow things will be when we actually buy our own house. We have been busy busy busy with summer ending and school starting back up. It has taken me forever to unpack all the things (still not finished), and actually putting rooms together is taking longer than I thought it would. But, this is my favorite process, even if it does take forever, so I can’t complain too much.

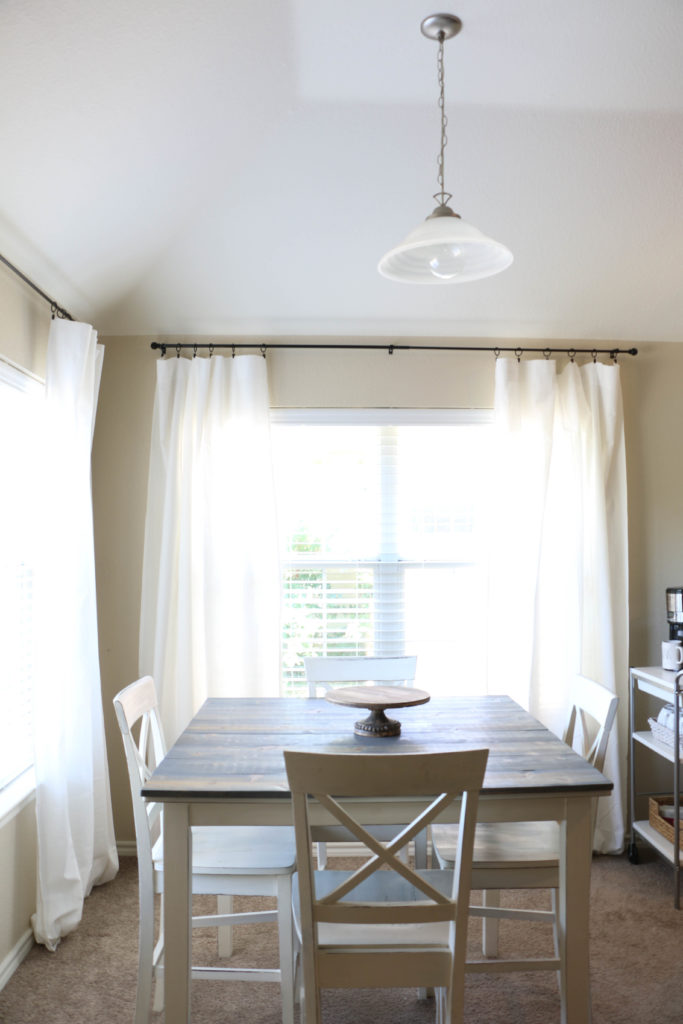
Today I want to share with you guys where our dining room is currently. I have to preface this by telling you that it’s unfinished, but if you read the title of this post you probably already knew that. I just recently got curtains hung, which was a whole hassle in itself. I originally bought curtains from Target, which would have been perfect but they were too short and they were sold out of the length I needed. So those got returned. Then I bought some online from JCPenney, and although the length was good, I didn’t like the texture (silky was not what I was going for when I envisioned a calming, farmhouse feel), so those got returned. Then I waited a week until I had a chance to make the drive up to IKEA, and I finally got the perfect curtains. Third time’s the charm, I should have known.

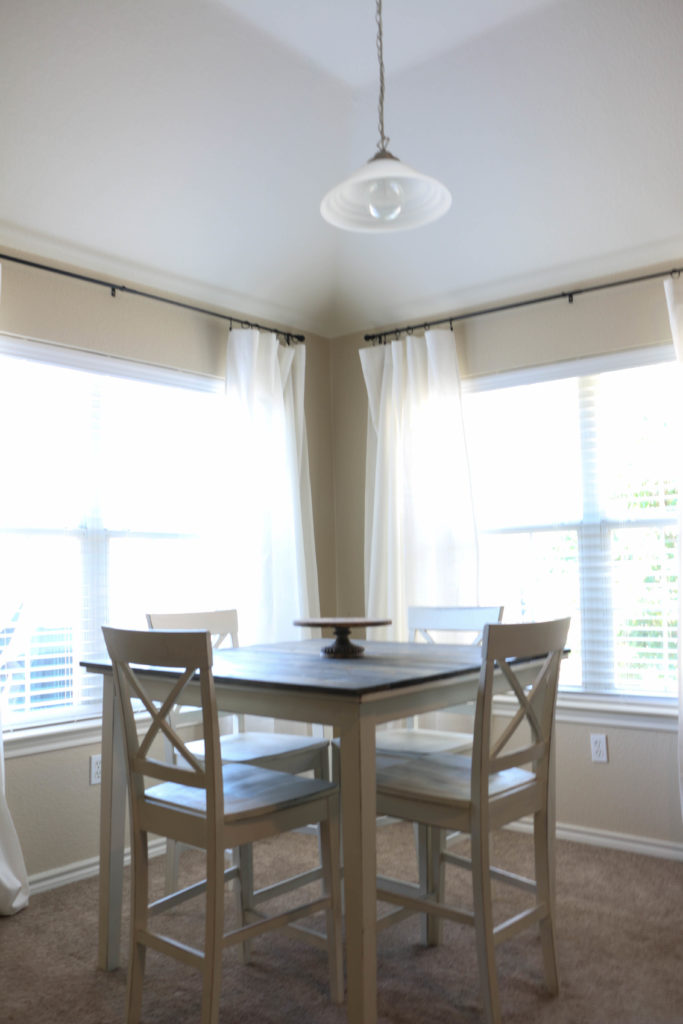
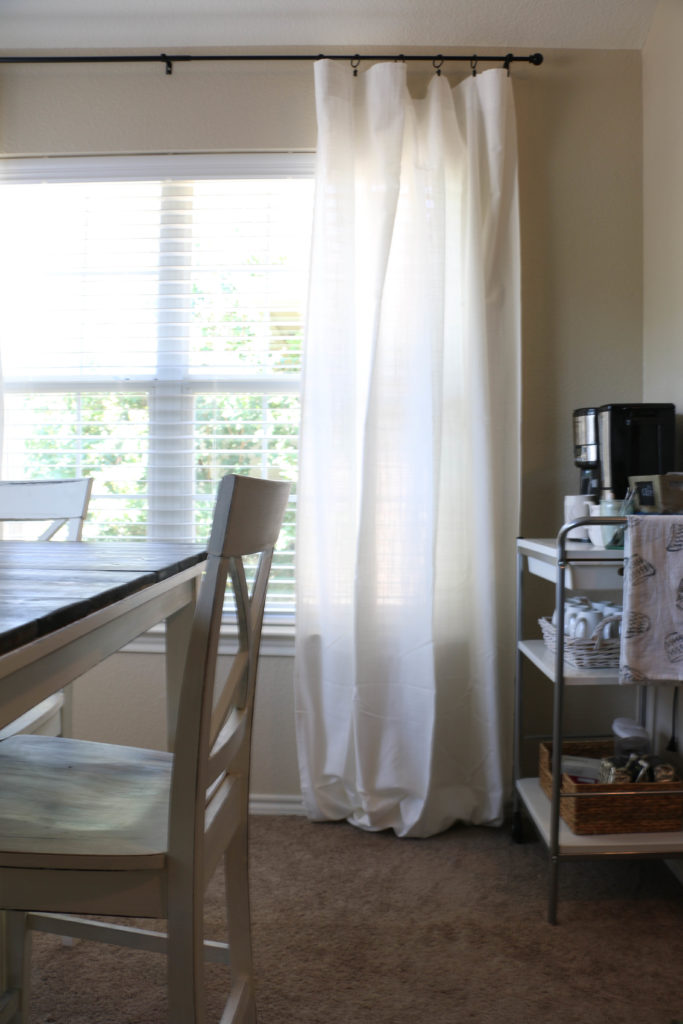
Okay, so these are the curtains I bought from IKEA and they are perfect. Plus they were the cheapest of the three pair I bought, so I was definitely stoked about that. Now that I have the curtains hung, I feel like I’m in a place to start decorating. It’s a perfectly blank slate which currently looks like this: diningroom2

We have an open concept floor plan at our new house, and it really isn’t very big, so the dining room is really more of a nook in the main living area. It also has two large windows that take up most of the entire wall space here.

diningroom4

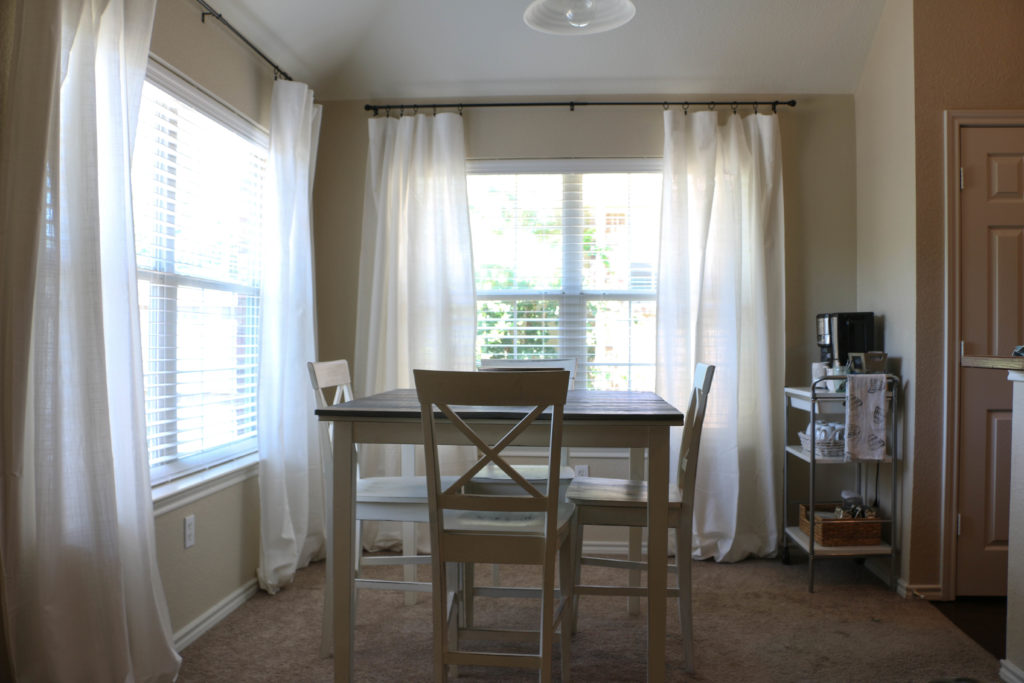
On the right hand side is the kitchen, and this picture is taken from the main living area. We have our little coffee station set up, and that’s about it. Honestly, I kind of like the bare look. Obviously that won’t be staying, but since I have little wall space here, it will never look super cluttered in here.

diningroom5

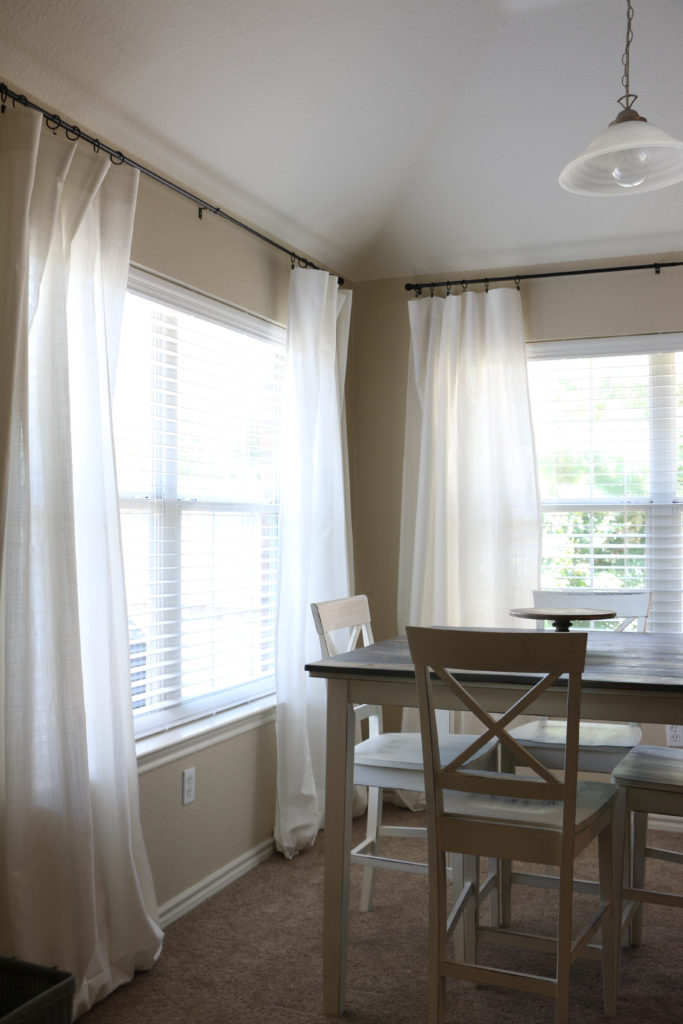
The curtains are a little bit long, as you can see here. I know some people are a fan of the puddle look, and at this point, I’m really not sure about it. I know it’ll stay this way for a while out of sheer laziness, but I might eventually get around to hemming them.

diningroom3

In the background here you can see our little coffee cart. I have an idea on what I want to put on the wall above that, but I haven’t gotten around to that yet either. It’s about the process y’all.

 diningroom1

We actually have been eating here much more frequently than we ever did at our old home. I don’t really know why that is, since we had the same table and chairs (which I madeover here). This space is light and bright, and I certainly couldn’t be upset with that. For now I’m enjoying the process of putting this together slowly but surely.

blankdiningroom

The tabletop will probably be left blank until I’m ready to start decorating for fall. But since I have a whole house to put together before then, I am in no rush for fall decorating this year. I hope you enjoyed this little mini tour of our unfinished dining room. Well, that’s all for today friends. Have a fabulous day!

Uncategorized

Back to School: Favorite Accessory

It’s back to school for me this week! Of course I’ve been working on my classroom for weeks, and if you follow along on Instagram, you may have seen a story that I posted there of my classroom. This past weekend I got to meet all my new firsties for this upcoming school year and their families. I am so excited for this upcoming year in first grade. Today is my first official day of school, and I can not tell you just how excited I am! Even though I’ve been teaching for a few years now, I still get that jittery excitement waiting for the first day to arrive and now it’s here! I know it’s going to be a great year.

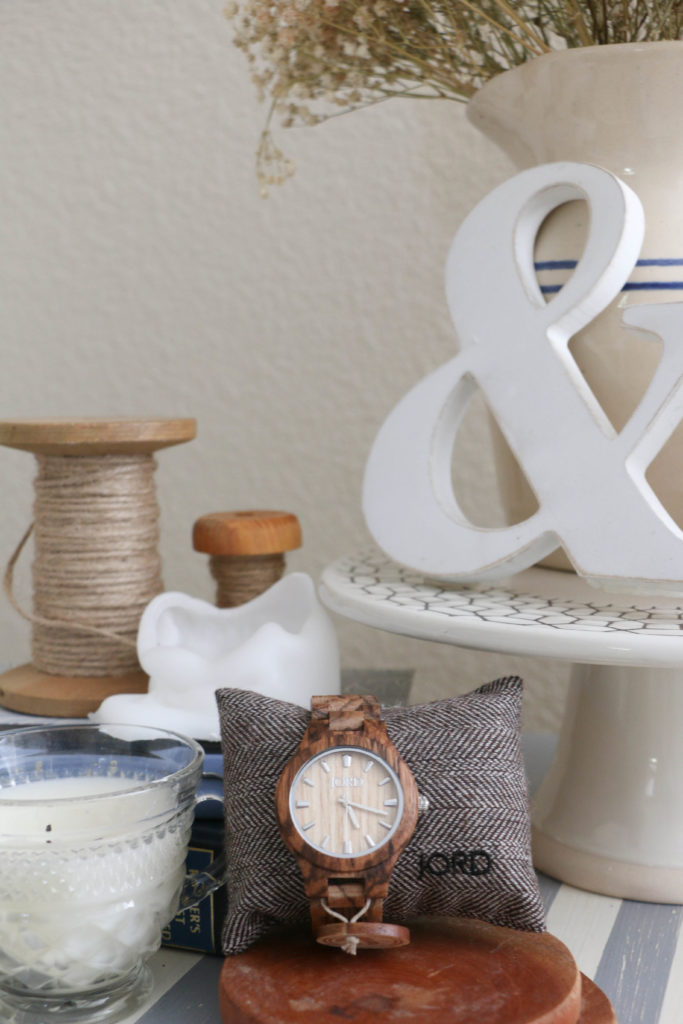
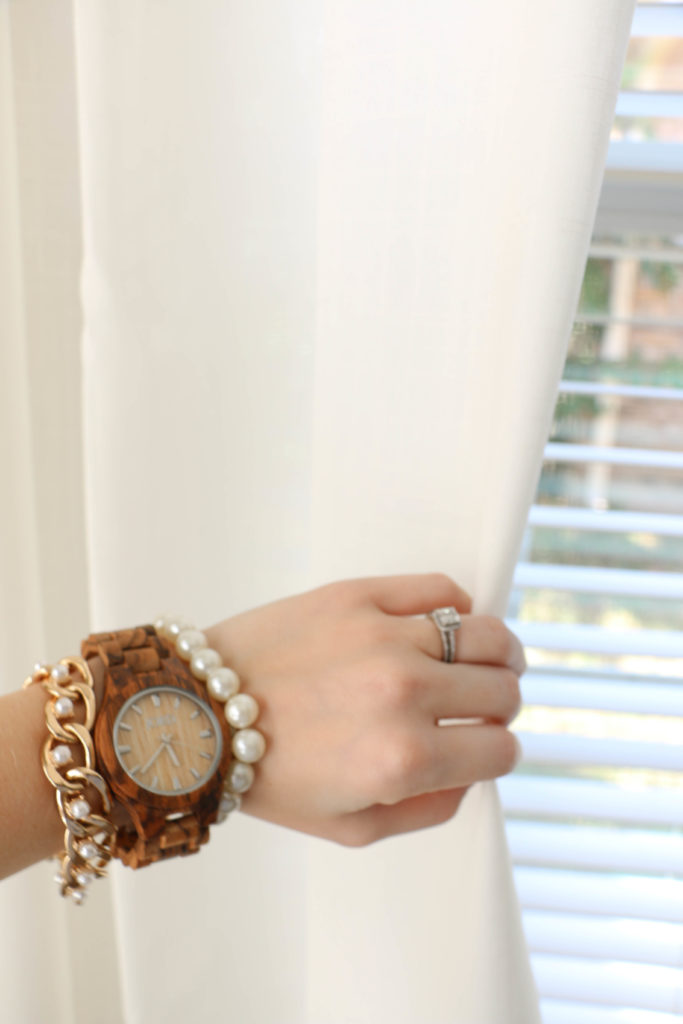
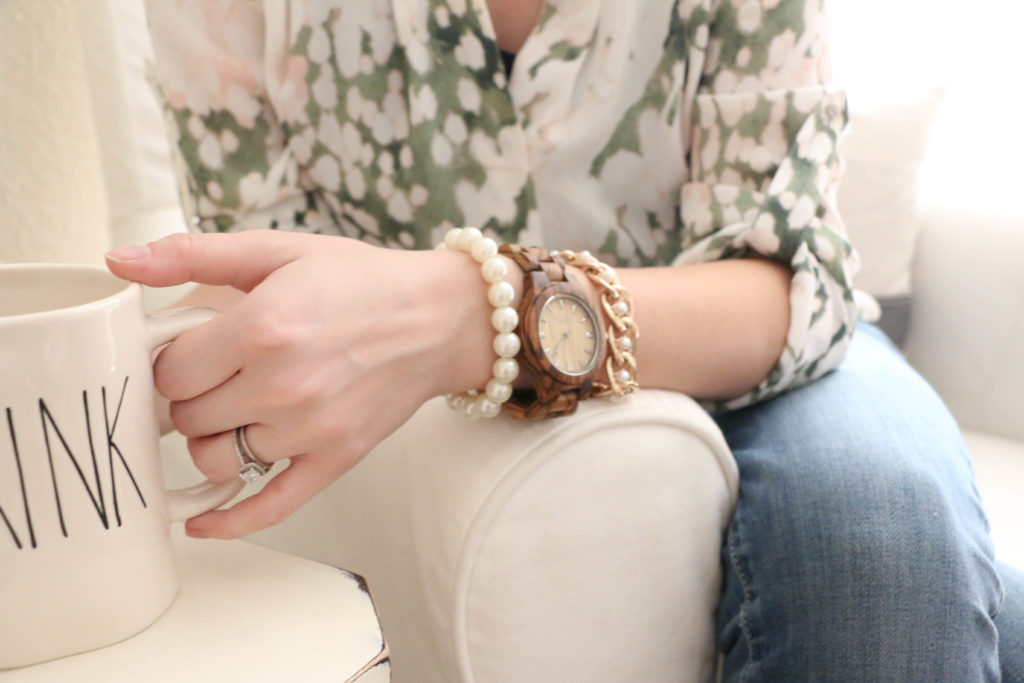
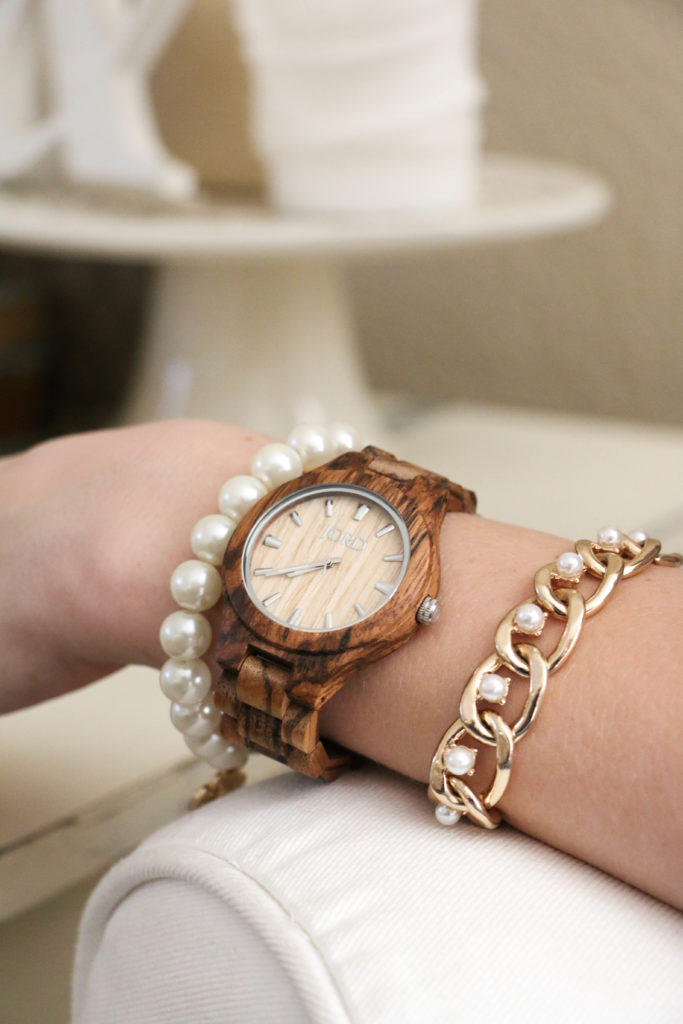
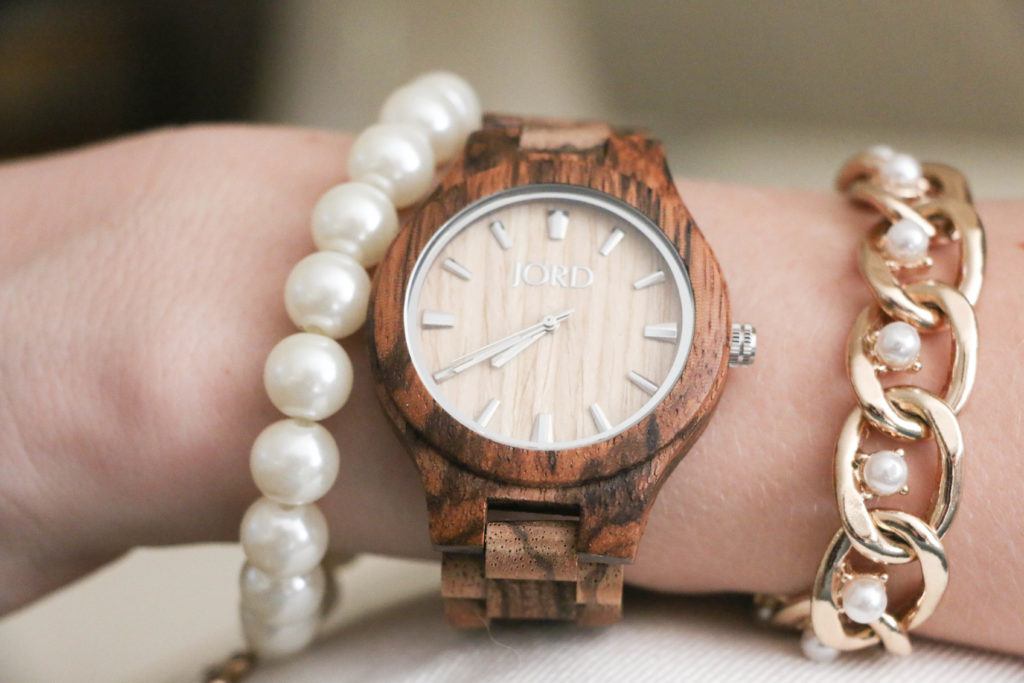
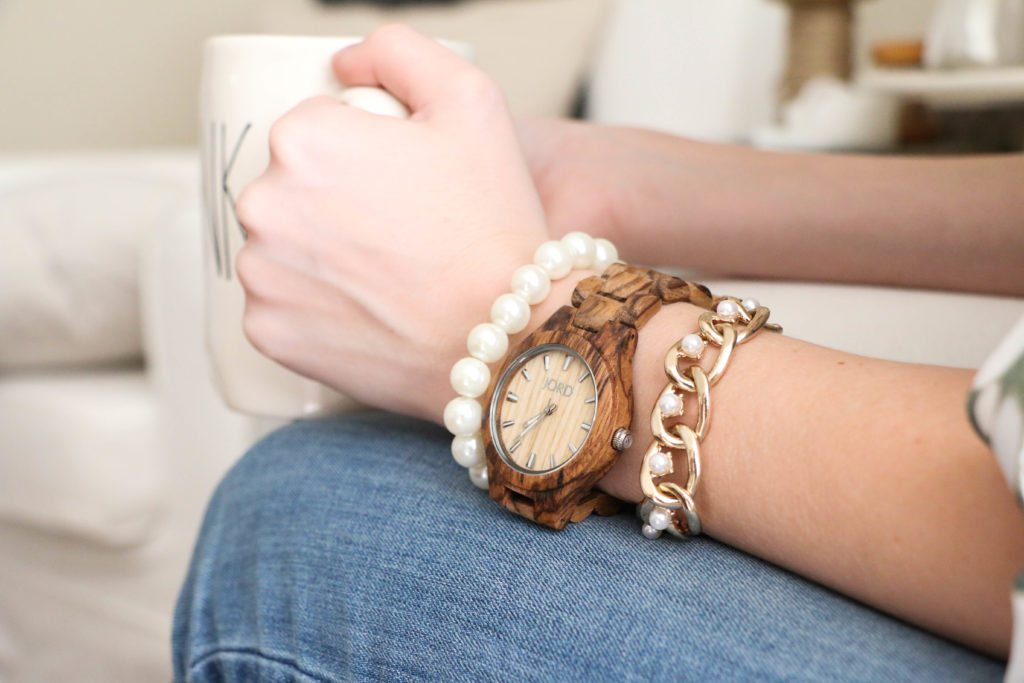
Even as teachers, we like to plan our outfits for the first day (or at least I do). This year, I am sporting my brand new wood wrist watch which I am obsessed with! This summer I have seen on social media many people wearing these super cool watches, and I loved them. So when JORD Wood Watches reached out to me, I was super excited. I’d been a long time admirer of their watches and now I am a proud owner of one! Looking at the pictures online, I was super impressed, but it is even prettier in person.

Wood Watch1

wood watch2

I chose the Zebrawood and Maple watch from their Fieldcrest series, and I could not be more pleased. It is so unique, and it really is the perfect accessory for back-to-school. I was drawn to the pretty wood tones of this watch. What’s cool about these is that while they’re all very unique watches, this particular watch fits my personal style so well! When it arrived in it’s beautiful packaging, it was already sized to my wrist! How awesome is that?! I have pretty small wrists, and usually have to have some links taken out of whatever watch I’m wearing. With this, I didn’t have to do that, since it was fitted just for me.

wood watch4 wood watch5

Now, here’s where this gets even better. I love this watch so much and I know you will too, so I am hosting a giveaway! If you click here, you can be entered to win a $75 credit to their shop! But it gets better. Just for entering, you will receive a $20 coupon code!!! So there’s no losers here at all! How stinking cool is that? The contest will be open until August 17th at 11:59pm. They have tons of great women’s watches to choose from as well as men’s watches if you’re looking for a unique gift idea. I know y’all are going to want to check that out!

wood watch6 wood watch3

Now, I should be off, since I do have a lot to do, being the first day of school and all. I have a feeling I will be wearing my new watch pretty frequently this school year. Well, that’s all for today friends. Have a fabulous day!

Jord Wood Watches kindly sent me this beautiful watch, but all opinions are my own.


Womens Wooden Watches

DIY Projects, Furniture Makeover

Annie Sloan: One Year Later

Hey y’all! Phew. The past few weeks have been CA-RAZY. With moving into the new house two weeks ago, and setting up my classroom, and Ethan being in and out of town for work, things have been hectic to say the least. Today is the first day we’ve had internet at our house. Like, we had to go to McDonald’s to pay bills last week. So that was a low point.

Things are starting to feel a tiny bit more settled now finally, and I can’t wait to share with you guys more of the house! Today I want to talk about something I think a lot of people have had questions about. How well does chalk paint hold up? Since I’ve been setting everything up at the new house, I’ve been inspecting and reworking all the things we had in our previous home.

About a year ago, I gave our living room coffee and end table a little makeover. I used Annie Sloan chalk paint, which I’ve used for several other projects throughout our home. I love this paint, and I’ve talked about great it is, but I’ve never had much experience with the paint over a long period of time. Now, our coffee table is the hub of the living room. We’re pretty casual, so this table gets a lot of wear from putting our feet up on the table. We also eat off this table and write on it. It’s basically a work horse.

coffeetable4

I’m not being paid by anyone to tell you this, but I have to say, after about a year or so, the top of this table needed a second coat.

coffeetable2

The edges of the table top started to wear down (and not from the distressing I intentionally added), and it was starting to look a little more shabby than I was wanting.

coffeetable

In about twenty minutes, I just slapped on a quick top coat of the paint in the Old White color. I didn’t even tape off where I had painted the gray stripes. Just a quick and painless coat of paint, and wax a few hours later.

With this specific project, it doesn’t bother me that I had to do a second coat. With something bigger and more time consuming, it might be a little bit more annoying. Now, there may be people who are better at applying the wax than I am, which could protect the paint better. I’m a novice at this stuff, but that’s my experience. This will in no way prevent me from continuing to use chalk paint in the future. I love the stuff! But, with something bigger, I might look into another solution in the future. We’ll see.

Have you ever had issues with this in the past? If so, I’d love to hear about how you solved them! I know that this has been a quick and simple post, but I wanted to pop in and share what I’ve been up to! Well, that’s all for today friends! Have a fabulous day!

anniesloan

Room Tours

Our New Rental: Before

In case you missed my last post, we have moved! As of today, we are 100% moved into our new rental. Our old placed is cleaned out and ready for some new renters and I could not be more happy to leave that sad little place behind. It has been a whirlwind of trying to move everything, clean everything, meanwhile trying to get a weekend away to visit some friends. Plus it’s Texas, and it’s July. So this week has included a lot of sweat. Not that you needed to know that. But it has been stressful.

Anyway. now that we’re moved in, I am ready to start setting up shop. And by shop I mean home. I snapped a few photos of what the house looked like before I started doing anything. And I’m not sure whether I’m sharing these because I really have no shame, or because I want to have a record of how far I’ve come when I’m looking back at this time.

So if you want to see some super terrible photos, continue reading!

diningroom

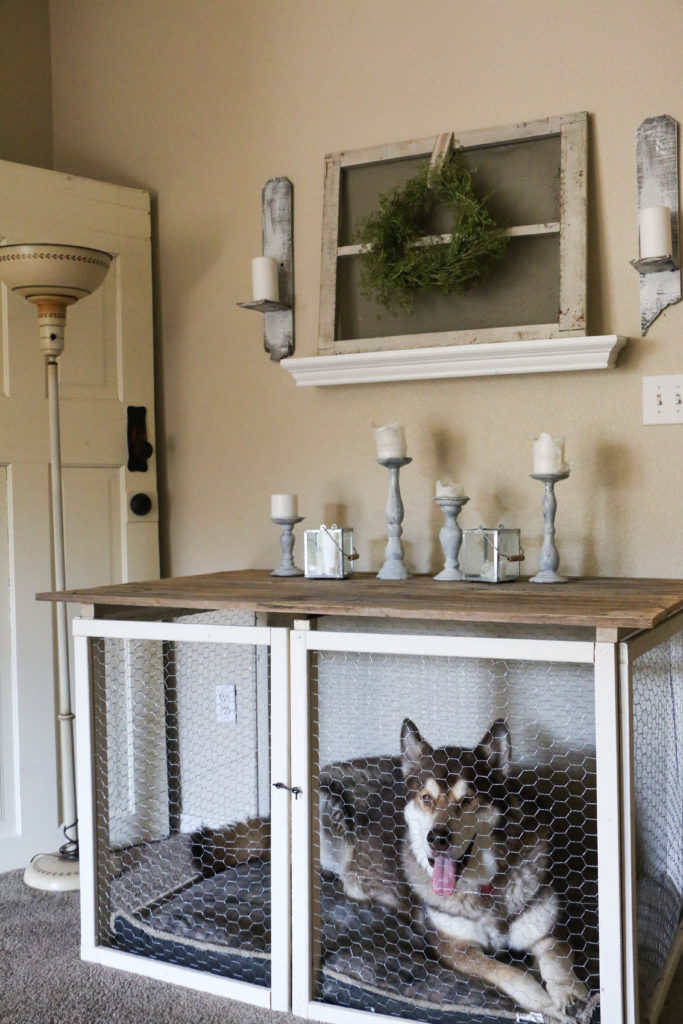
This first photo is part of the living room, looking into the dining room. There are two large windows in the dining room which let in a ton of light, so I’m super excited about that. What I’m not super excited about (and you can see it in the left corner of this picture) is Atlas’ crate. It’s huge and we don’t really have an out-of-the-way spot for it. So I’m still trying to figure that out.

guest room

this is the guest bedroom, which at the time of this photo, I couldn’t find any blankets for. Again, I really have no shame here.

guestbath

This is the guest bath…it’s small and has no window, but it is a full bath, which is an upgrade from our previous home that only had a half bath for the guestroom. So I’m really not complaining.

livingroom

Here’s a shot of the living room. I’m not totally sold on the furniture arrangement, but hey, at least I was getting the slipcovers washed, right?! The living room space is a bit wonky, so I think that’s going to be a fun little challenge for me. Obviously I need to decide quickly though so Ethan can mount the TV and we can continue on with our lives.

masterbath

Here’s a terribly embarrassing shot of the master bath. But I wanted to share it mostly because this is the first time we’ve had a master bath, and it has two closets and a big tub and a shower and double vanities and a window and if you can’t tell I’m really excited about all of that. Because we had none of that in the old house.

masterbedroom

Here is the actual master bedroom. It’s a bit smaller than our old bedroom, but it’s a much more efficient use of space, so it feels perfect.

office

This last room is one that I’m going to have to work really hard not to be the junk pile room. Because that’s currently what I’m working with. We have plans of turning it into an office, with a really cool DIY desk. First it has to be cleaned out. Obviously. You can see that this room has tile flooring, which is actually what all the bedrooms have as well. I’m not super excited about that, but we will have to get area rugs and make the best of it.

Overall, I’m super excited about this new house. We haven’t gotten the final word on whether or not we can paint the house, but the color is light enough that I can live with it if we can’t. If we are allowed to paint, this girl will be in heaven painting everything in sight white.

Well, I really should get going because as you can see, I have a lot of work to do! Hopefully you’re not too disgusted by the fact that I just shared these photos! I know they’re terrible, but I really do want to remember how it looked the exact moment we moved in. Hopefully y’all can see my vision with me! Well, that’s all for today! Have a fabulous day, friends!

Personal

WE’RE MOVING!!!

I have been waiting approximately 1.9 years to say those words. We have been married for two years, and for just about all of those two years I have been waiting to move. No joke. You’ve heard me complain on and on about this little house of ours and how terrible it is. It is the epitome of young married couples’ first homes. Old, dingy, and unlevel are just a few words to describe it.

Well friends, this week is officially the week… we are finally moving into our second house! It has been a crazy six or so months for us. We have desperately wanted to move, feeling like we’ve paid our dues in the crappy first place together, but still wanting to be financially wise. We went back and forth trying to decide whether to rent or to buy.

We fell in love with a historic home on a huge lot in town…and it closed before we could put in an offer. We went through the process of getting pre-approved for a loan (all the super fun stuff of house hunting…not). We looked at home listings multiple times per day. The cost of rental properties kept climbing higher and higher, and the housing market is in a huge boom right now. We saved all our pennies and we were ready for a change. We just couldn’t find anything.
So when a rental house came up that was actually decent AND in our price range, we just felt like it was the right thing for us right now. Now, we want to buy a home. Don’t get me wrong. I don’t think there is another couple who is as excited to tackle home ownership as we are…but #studentloans and #responsibility. We made a goal when we first got married that we would pay off my student loans before purchasing our first house. And I know that choice isn’t for everyone, but for us, buying a home right now knowing we still have that student loan hanging out there felt like we were cheating ourselves.
So, we’ll be moving into our second rental. And you know what? I could not be more excited. Our new house is miles above what our old house was, and I can’t wait to show you. For one, there isn’t a dark gray dingy wall to wall carpeting. So that’s a win right there. For the blog, you can expect more room posts from now on, as well as larger projects instead of just small DIYs. We’re moving down a little bit in sqare footage, but the layout is much more efficient and won’t feel like we’re moving down at all. I am super excited about our fresh start, and for a blank canvas to decorate.

I have loved making our first house a home. I have discovered a passion I didn’t know was in me, and we have learned and grown so much in this ugly little house. I will forever be thankful for the time we have had here…but for now, we are on to a new adventure! That’s all for today friends, have a fabulous day!