Hey y’all! Today I’m sharing my super secret cheapest possible pillow covers. Except it’s totally not a secret since I’m about to tell you all about it. Whatever. By this time, everyone on the planet knows what a huge impact throw pillows can have on changing the feel of a space. But if you’re like me, you can’t bring yourself to pay $30+ dollars for one pillow. I’m the kind of girl who walks into a Target with three dollars in her pocket fully intending to find the best possible deal. (Don’t lie, you’ve been there too.)
Back to what I was originally talking about. I’ve discovered the secret to time travel the cheapest throw pillows! A few weeks ago, I went into a World Market for the first time, and it suddenly hit me! I could make pillow covers from napkins! Now, before you stop reading this, I’m not talking about paper napkins covered in pizza grease (why pizza grease? I don’t know.). World Market has a great selection of cloth napkins that are perfect for making pillow covers. On my trip there, I picked up these cloth napkins. Under $8 for four! I was in cheap girl heaven!
Okay, so here’s the deal. This is not a sewing tutorial. My sewing skills are basic at best, so I’m not going to explain in that great of detail how to sew these. These napkins are 20×20 inches, so they are perfect for and 18×18 size pillow or smaller. After bringing my napkins home, I ironed them, and got them pinned and ready to go.
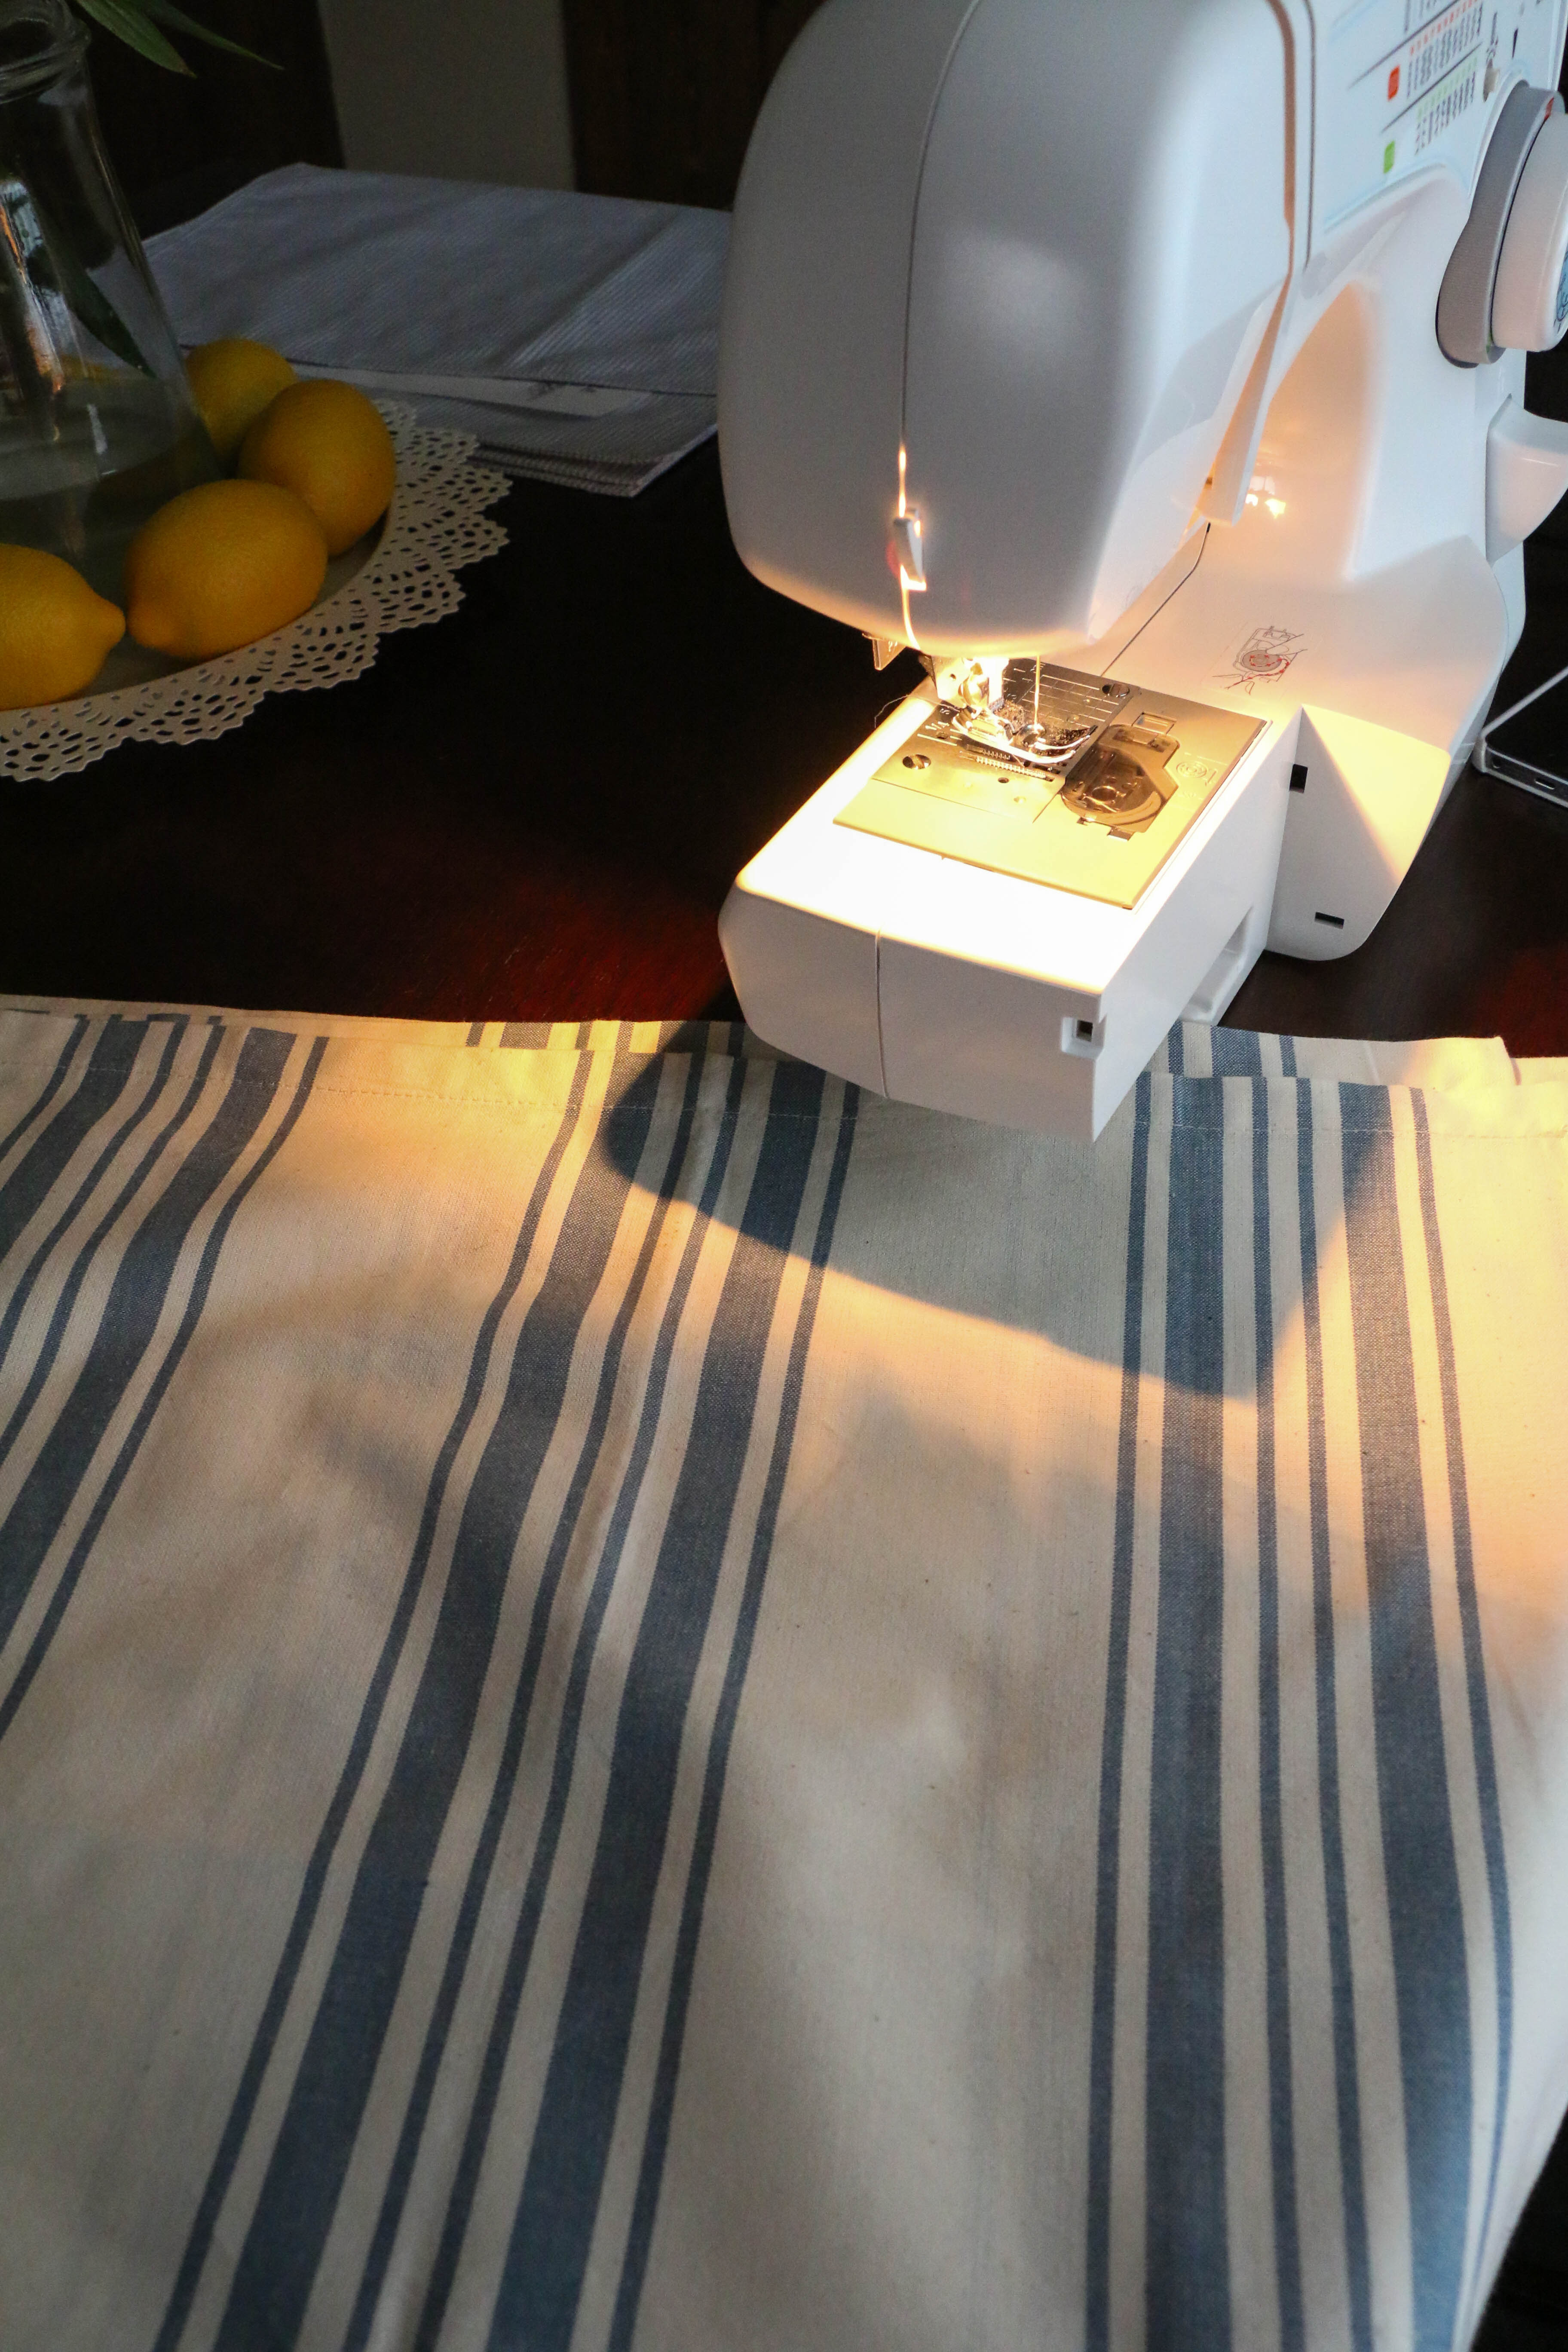
Again, I’m not going full out with the sewing tutorial here. The napkins are already cut in perfect squares, so I just sewed in some straight lines. Easy enough. Here’s how they look afterward:
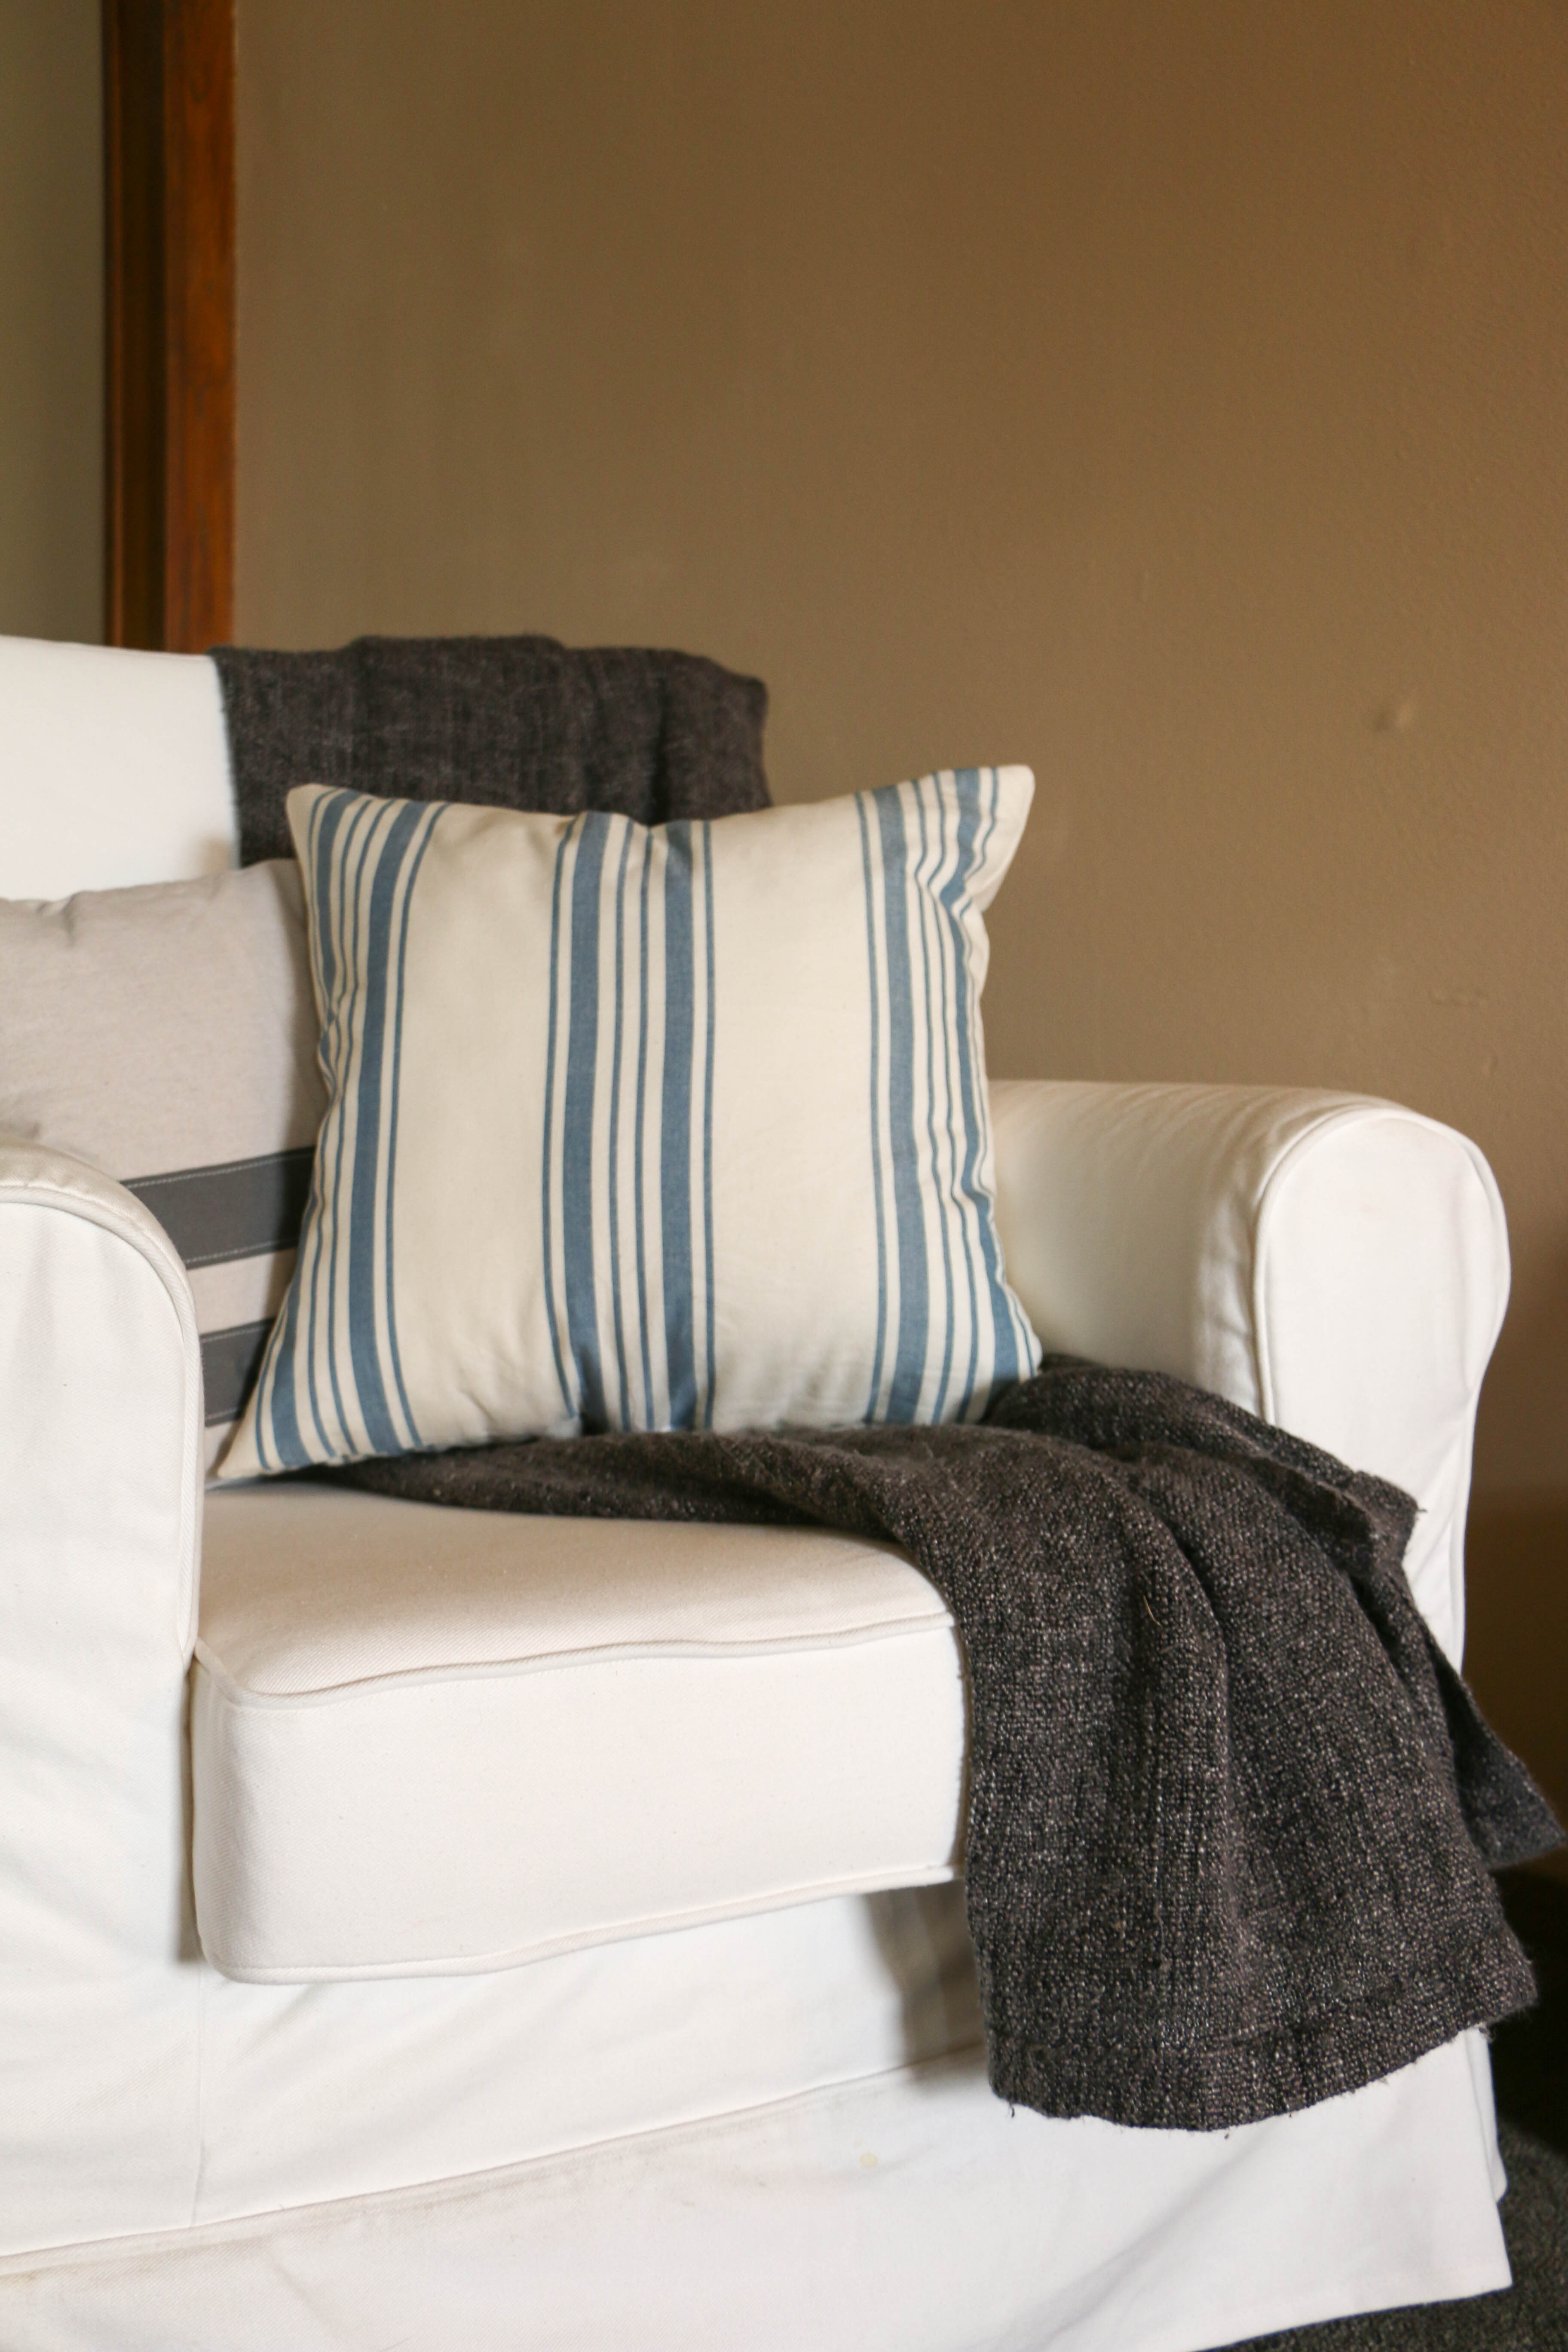
I really love the way that these turned out, and it was SO EASY. I made two covers for four dollars each. You really can’t beat that price.

I chose this pattern because it plays well with the neutral tones in our living room (and because the only color I add in decorating is blue). But there are so many choices at World Market, the possibilities are endless!

Seriously guys, this is so easy, and so cheap! You should definitely try this one!
That’s it for today. Have a fabulous day, friends!