All Posts By

Fawn Rumfield

Home Decor, Room Tours

Our Baby Boy’s Nursery Reveal!

Hi, friends! I am so glad you’re here today! I am so excited to share this with you guys… I’ve been planning this post for months (nine months to be exact 🙂 ). I have been pretty ambiguous about nursery planning and baby stuff in general on social media. We didn’t even share the gender on social media until he was born! But now that our baby boy is finally here, I want to share the nursery details with you all!

This was a fun room for me, because it’s the first room I’ve ever designed completely before even starting. Toward the beginning of my pregnancy, we were still house hunting, so I had a mood board of what I was planning, but no idea what the room itself would actually look like! I couldn’t buy anything, because I had no idea how many windows to buy curtains for, how big of a rug to purchase, etc. I had to be incredibly patient, which was hard.

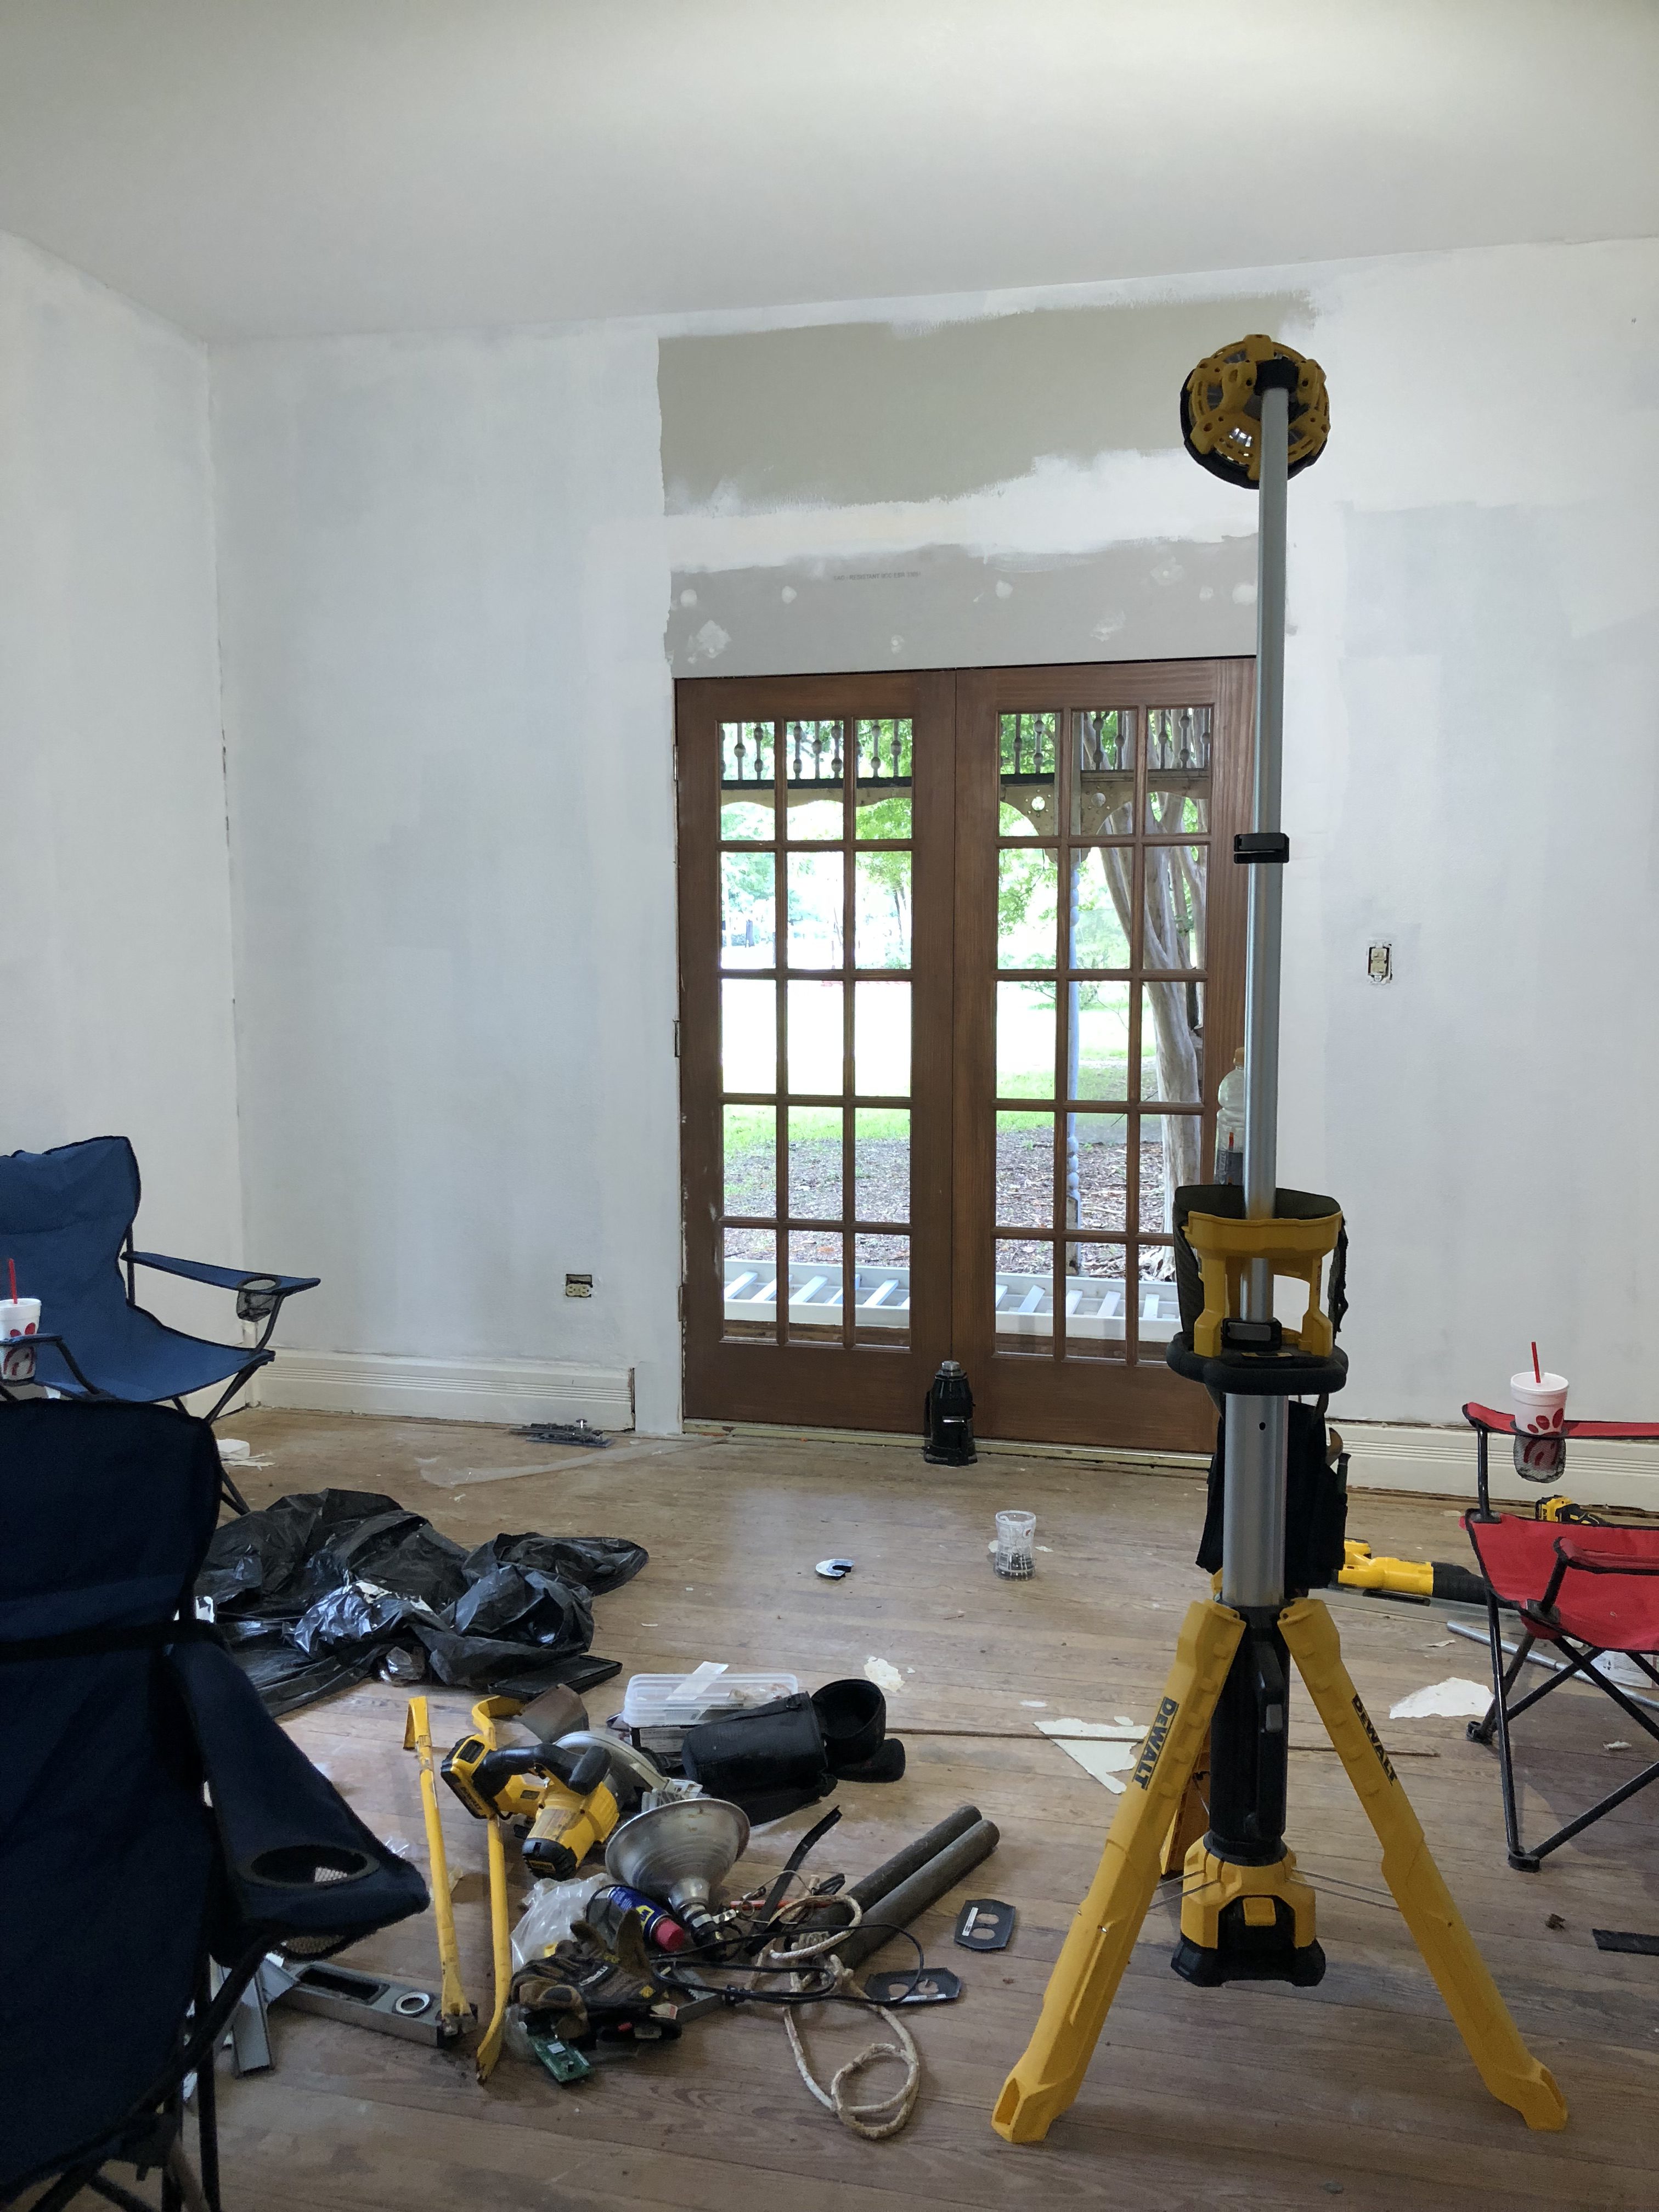
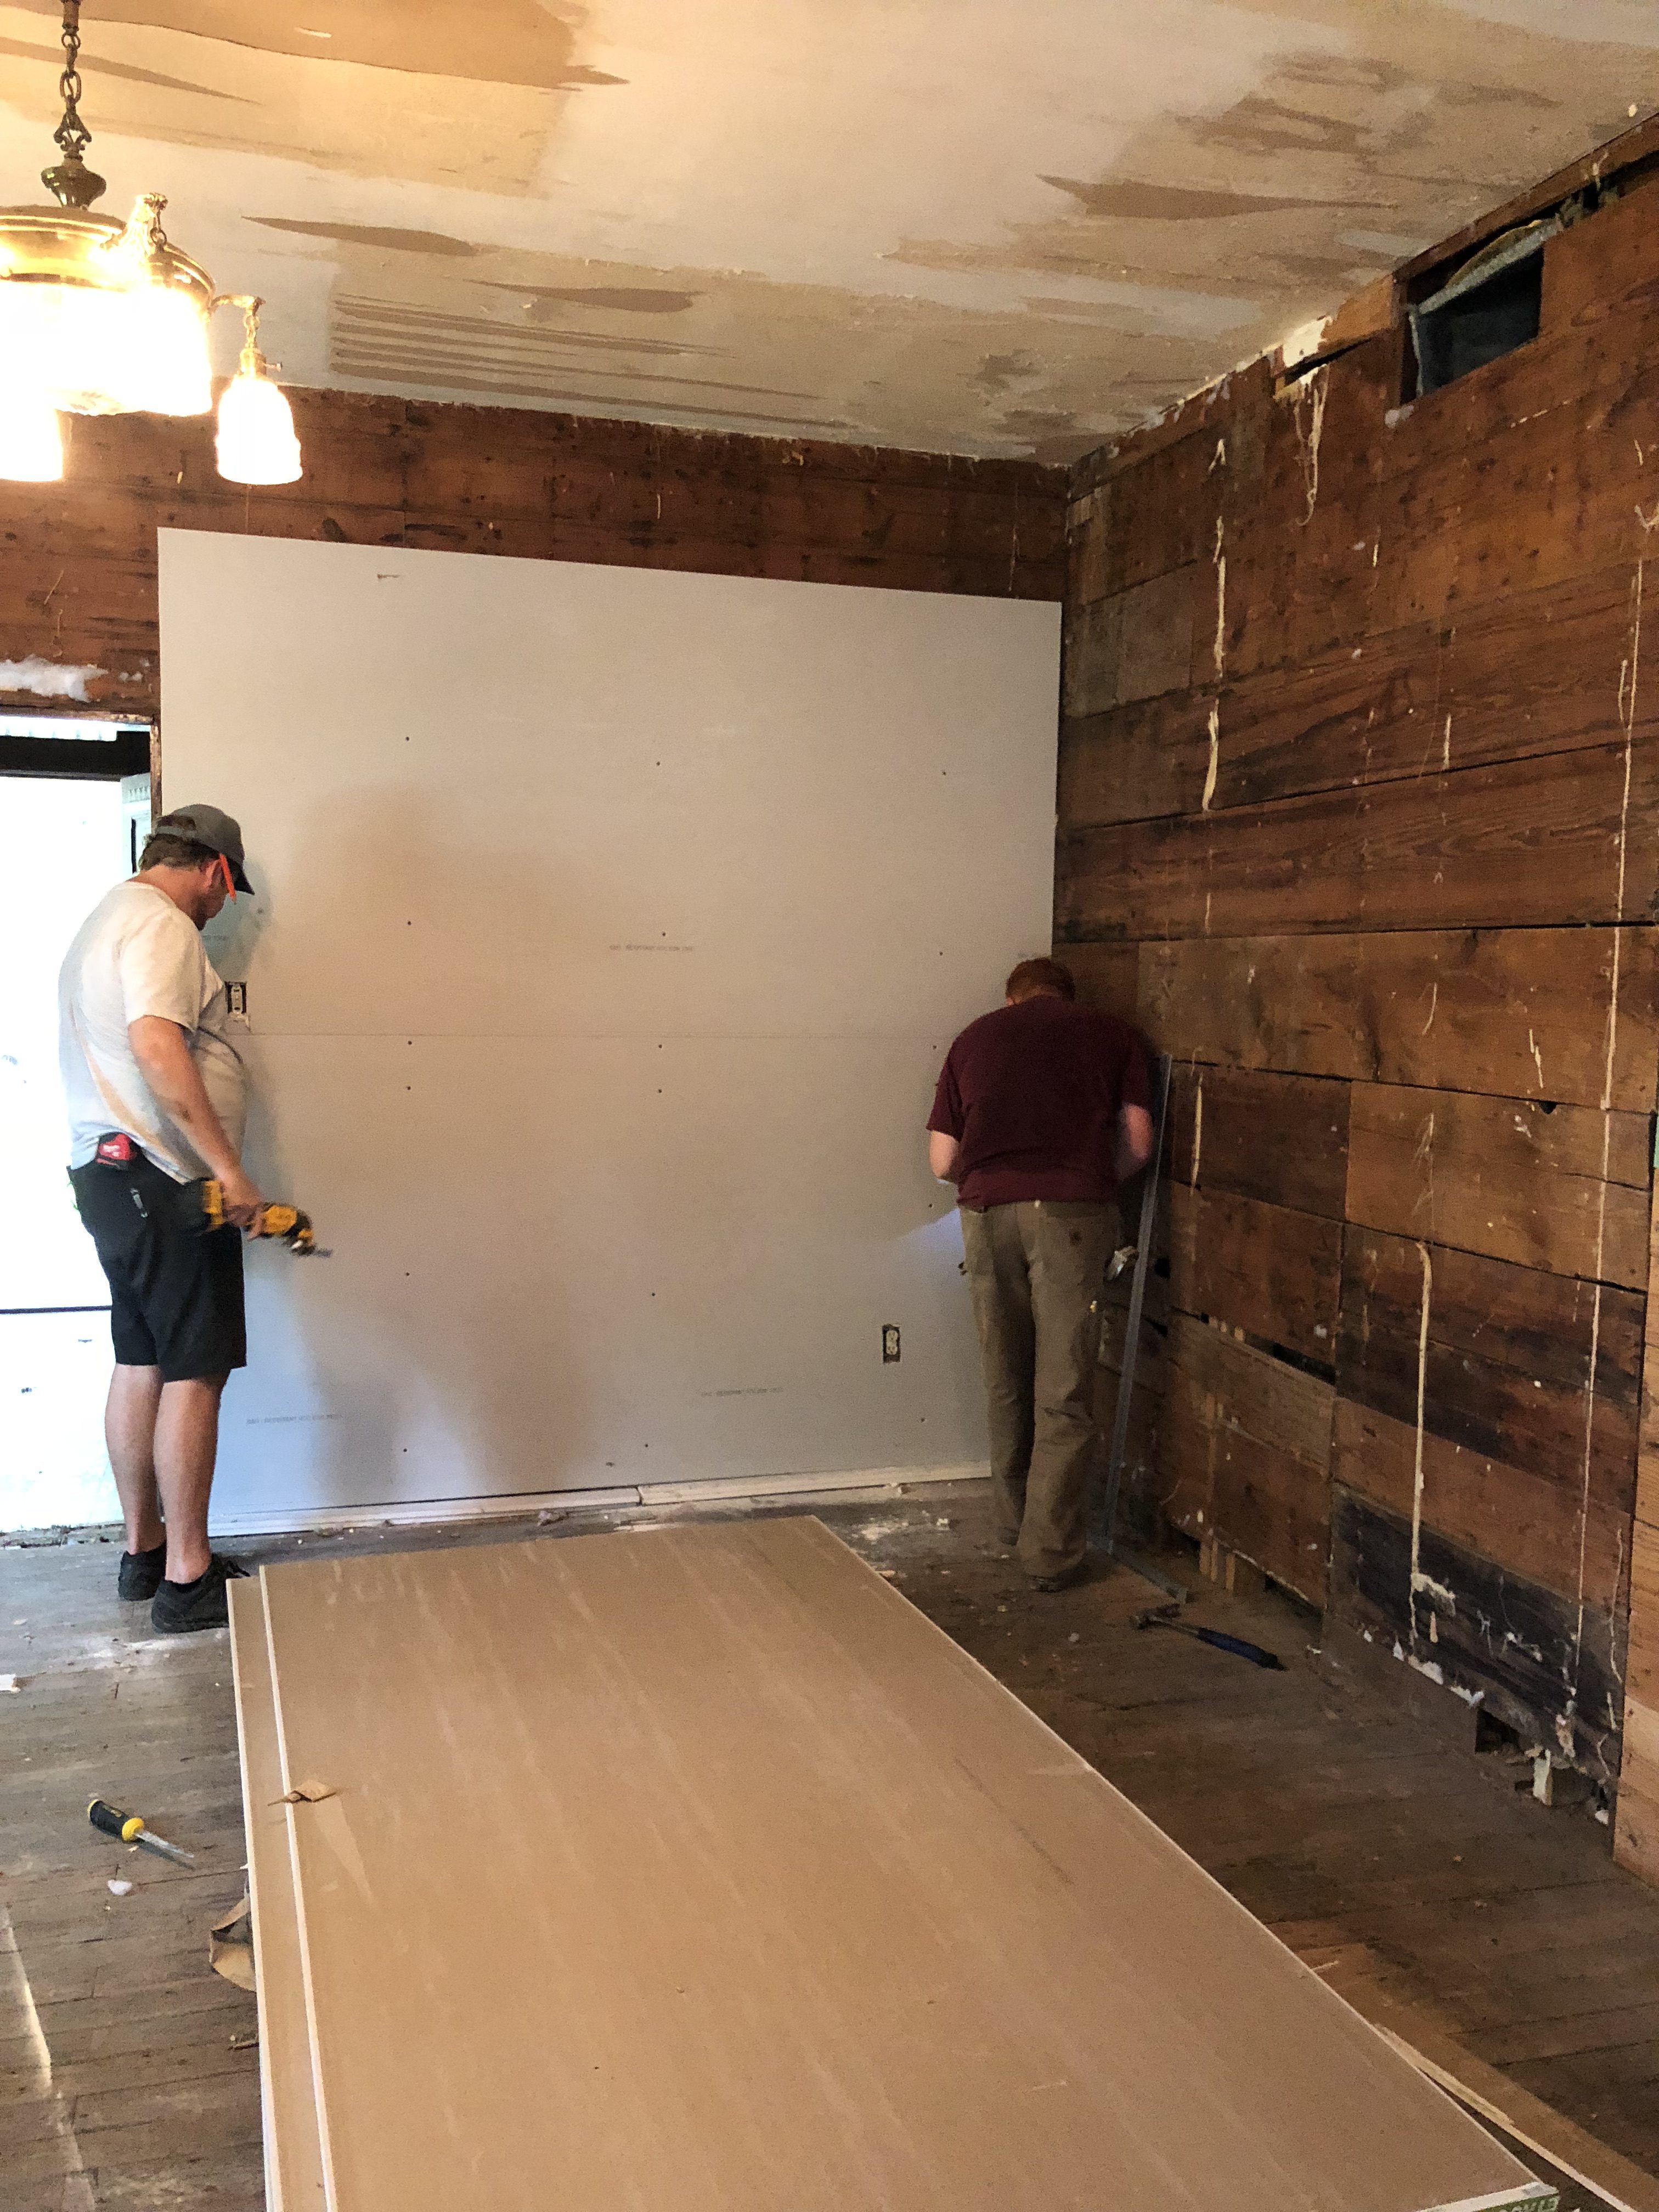
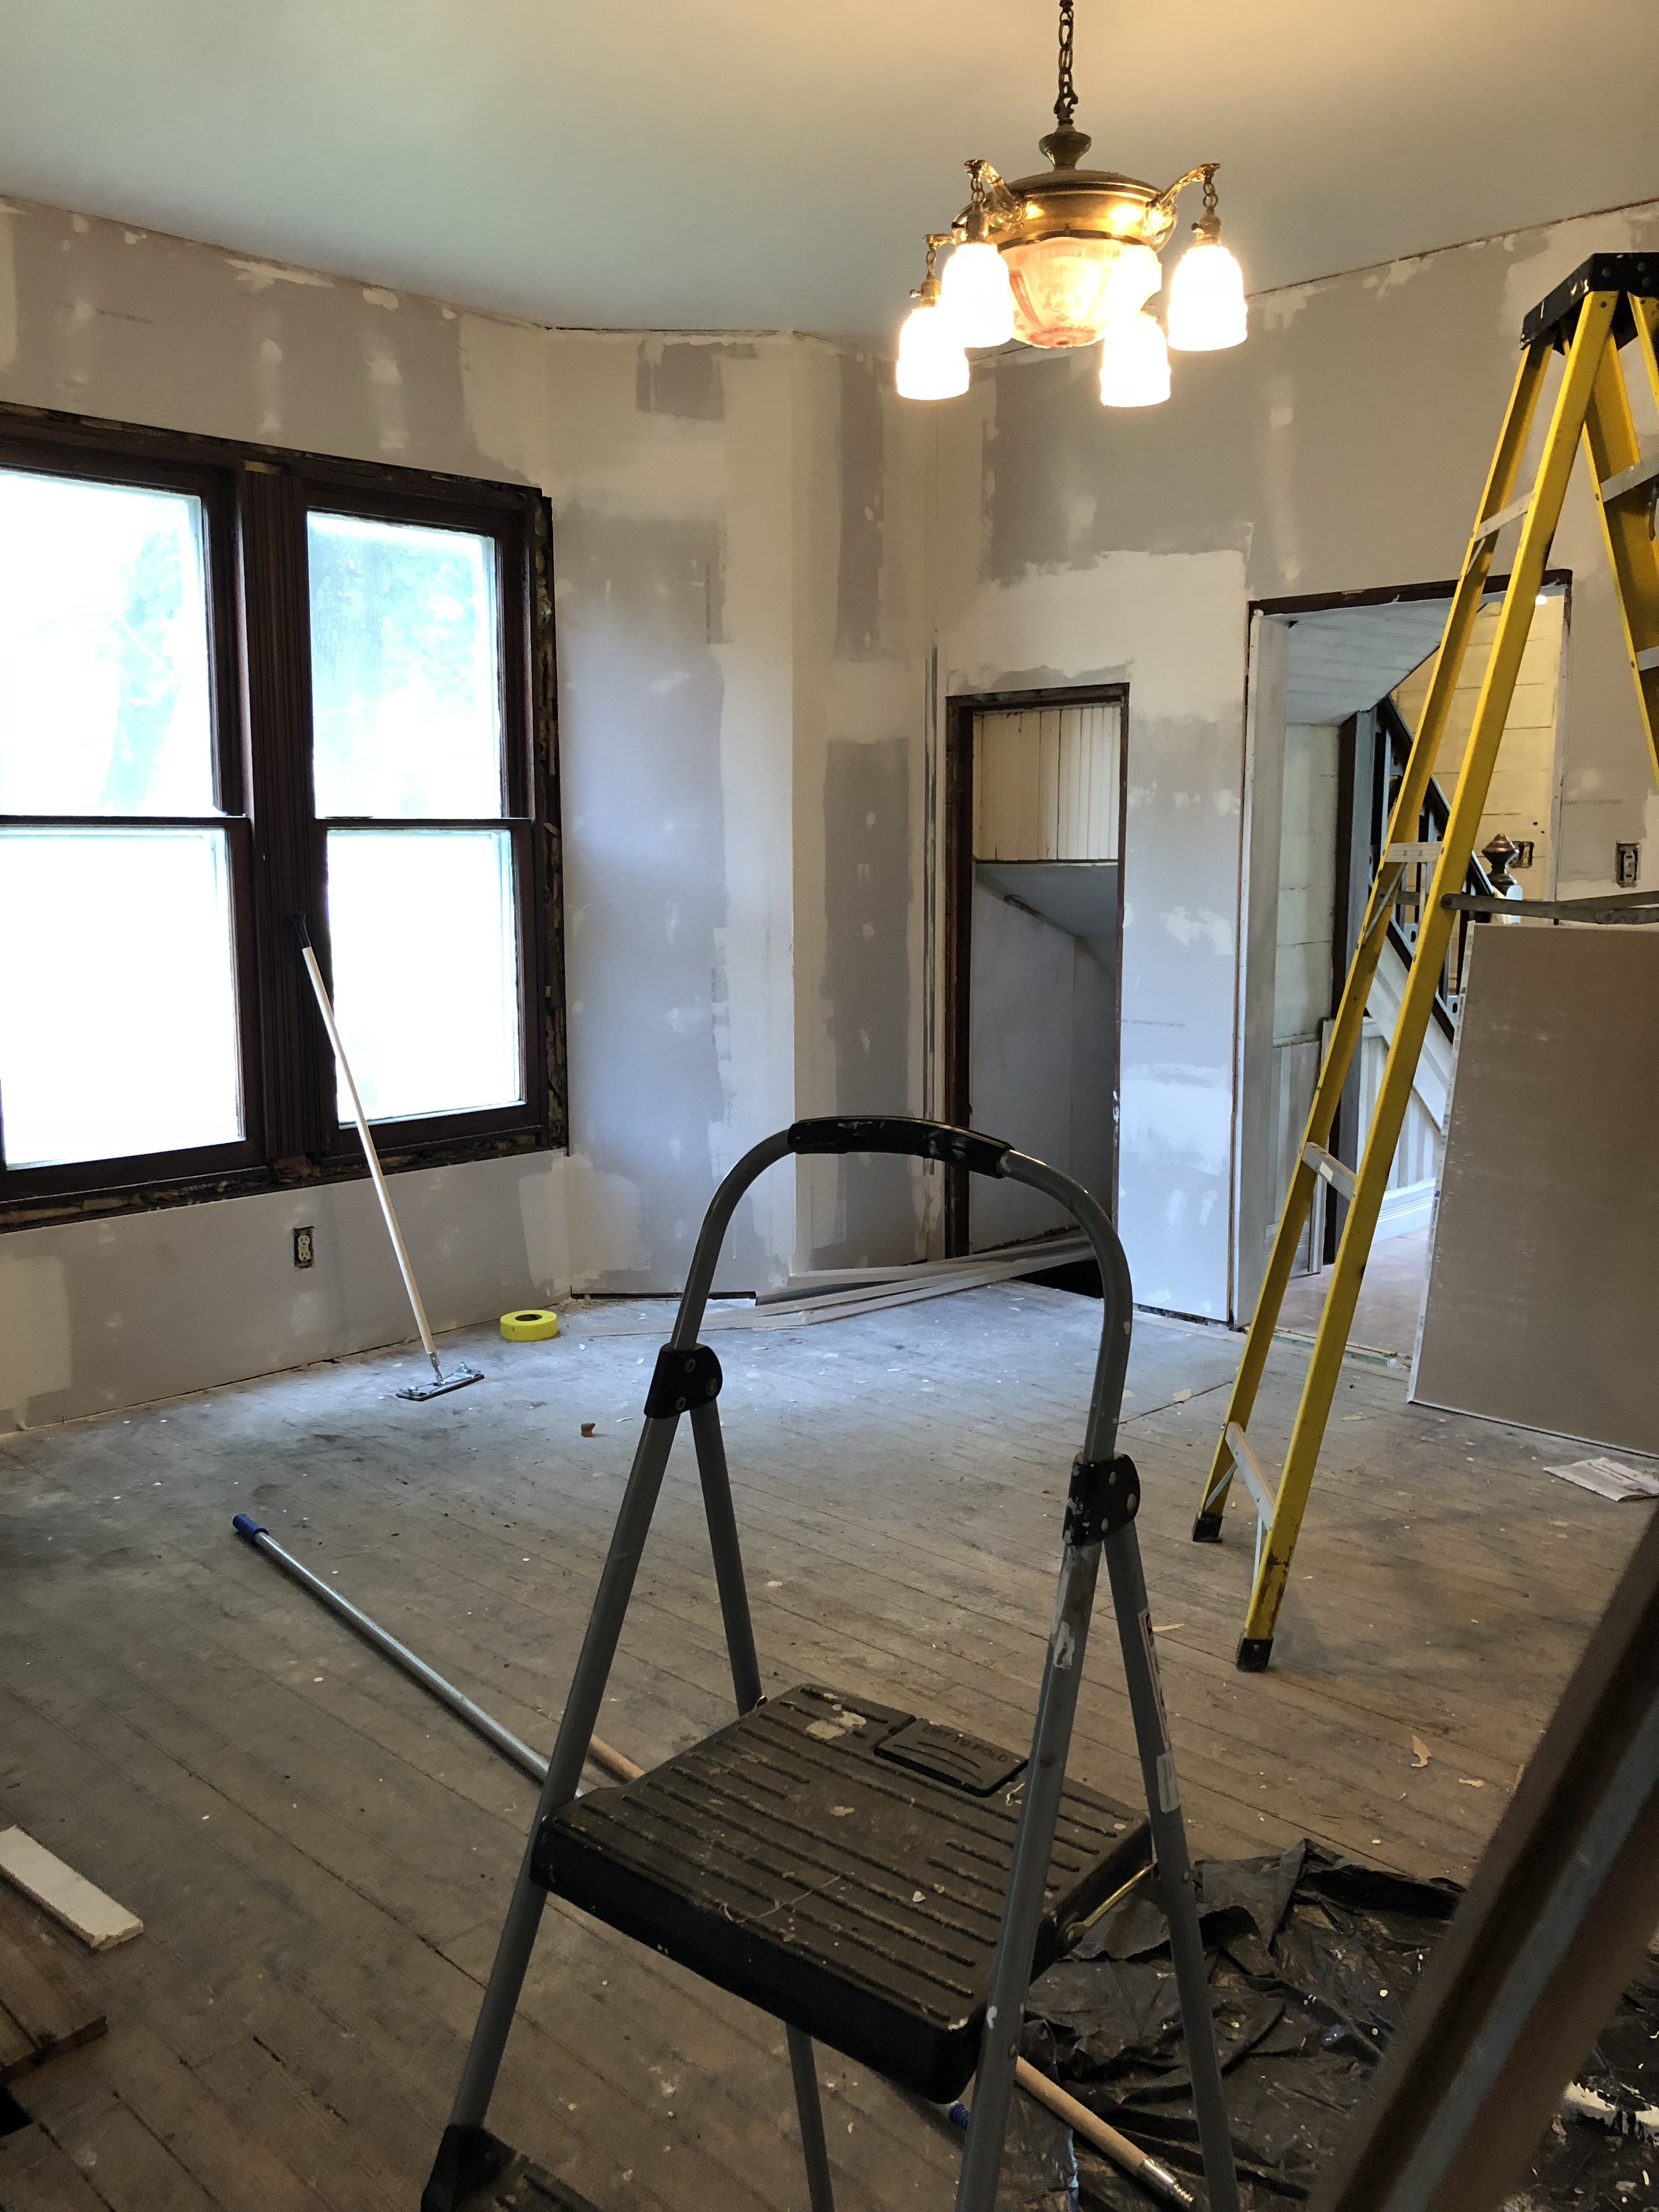
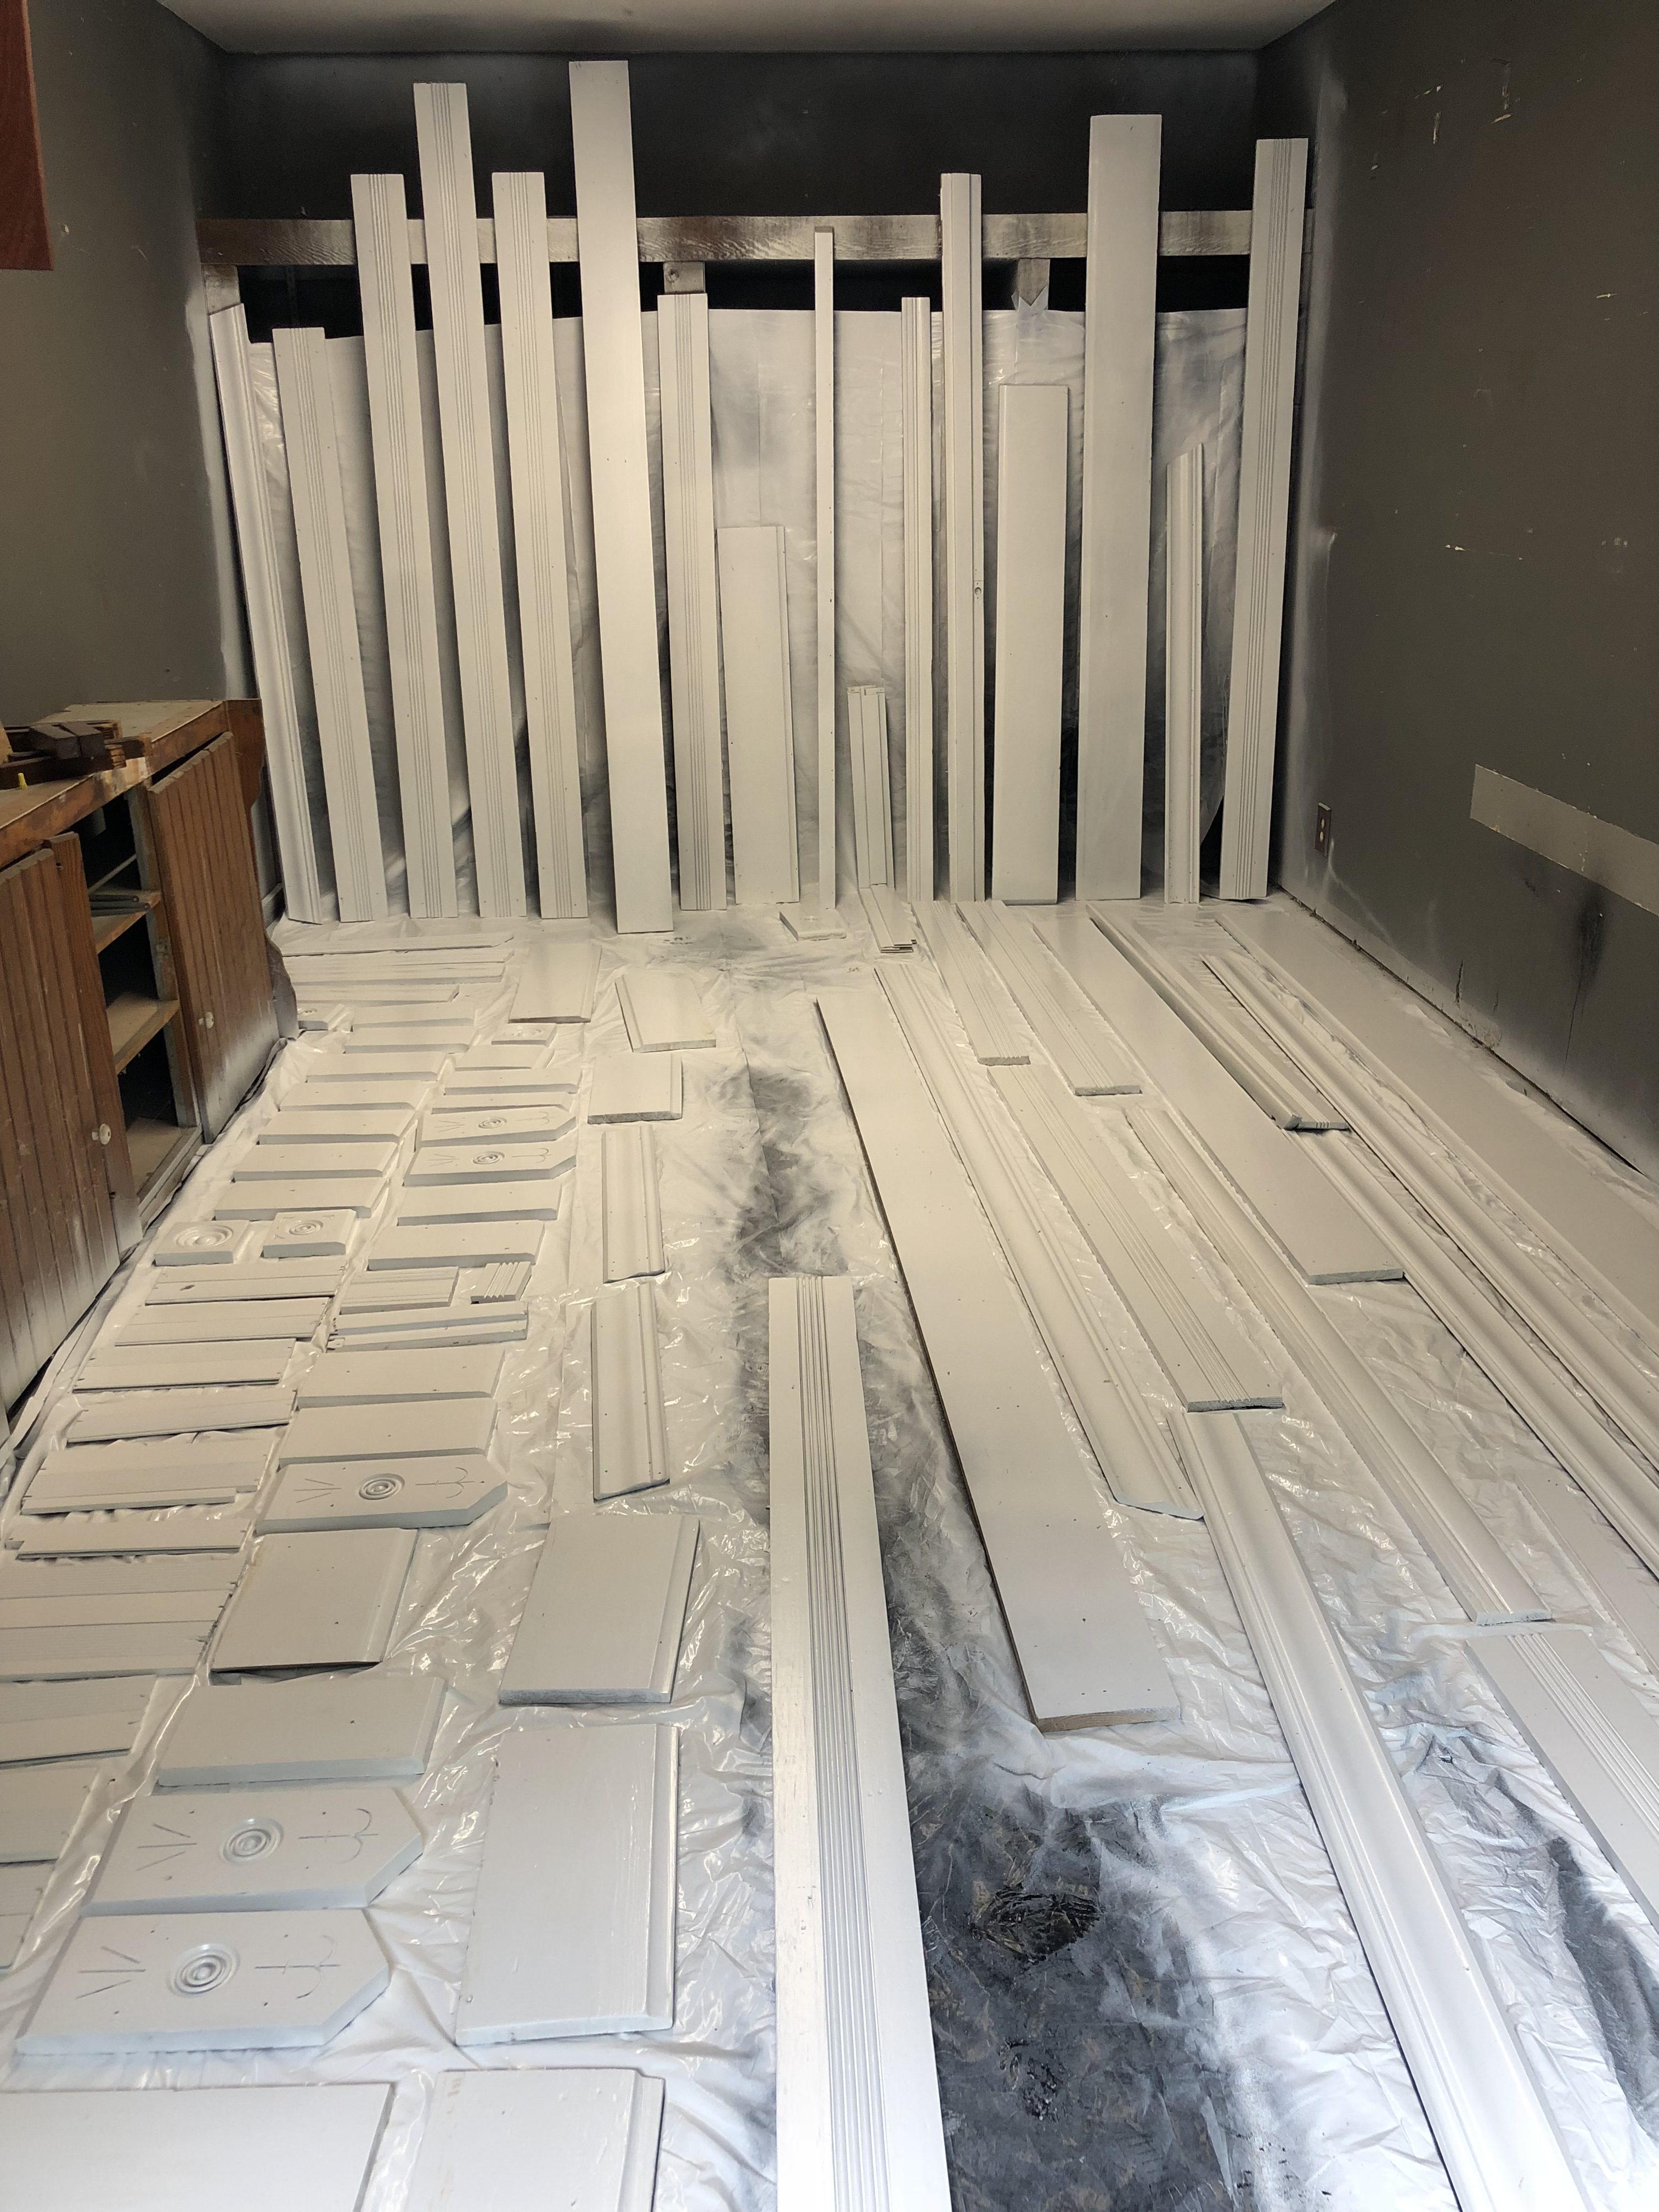
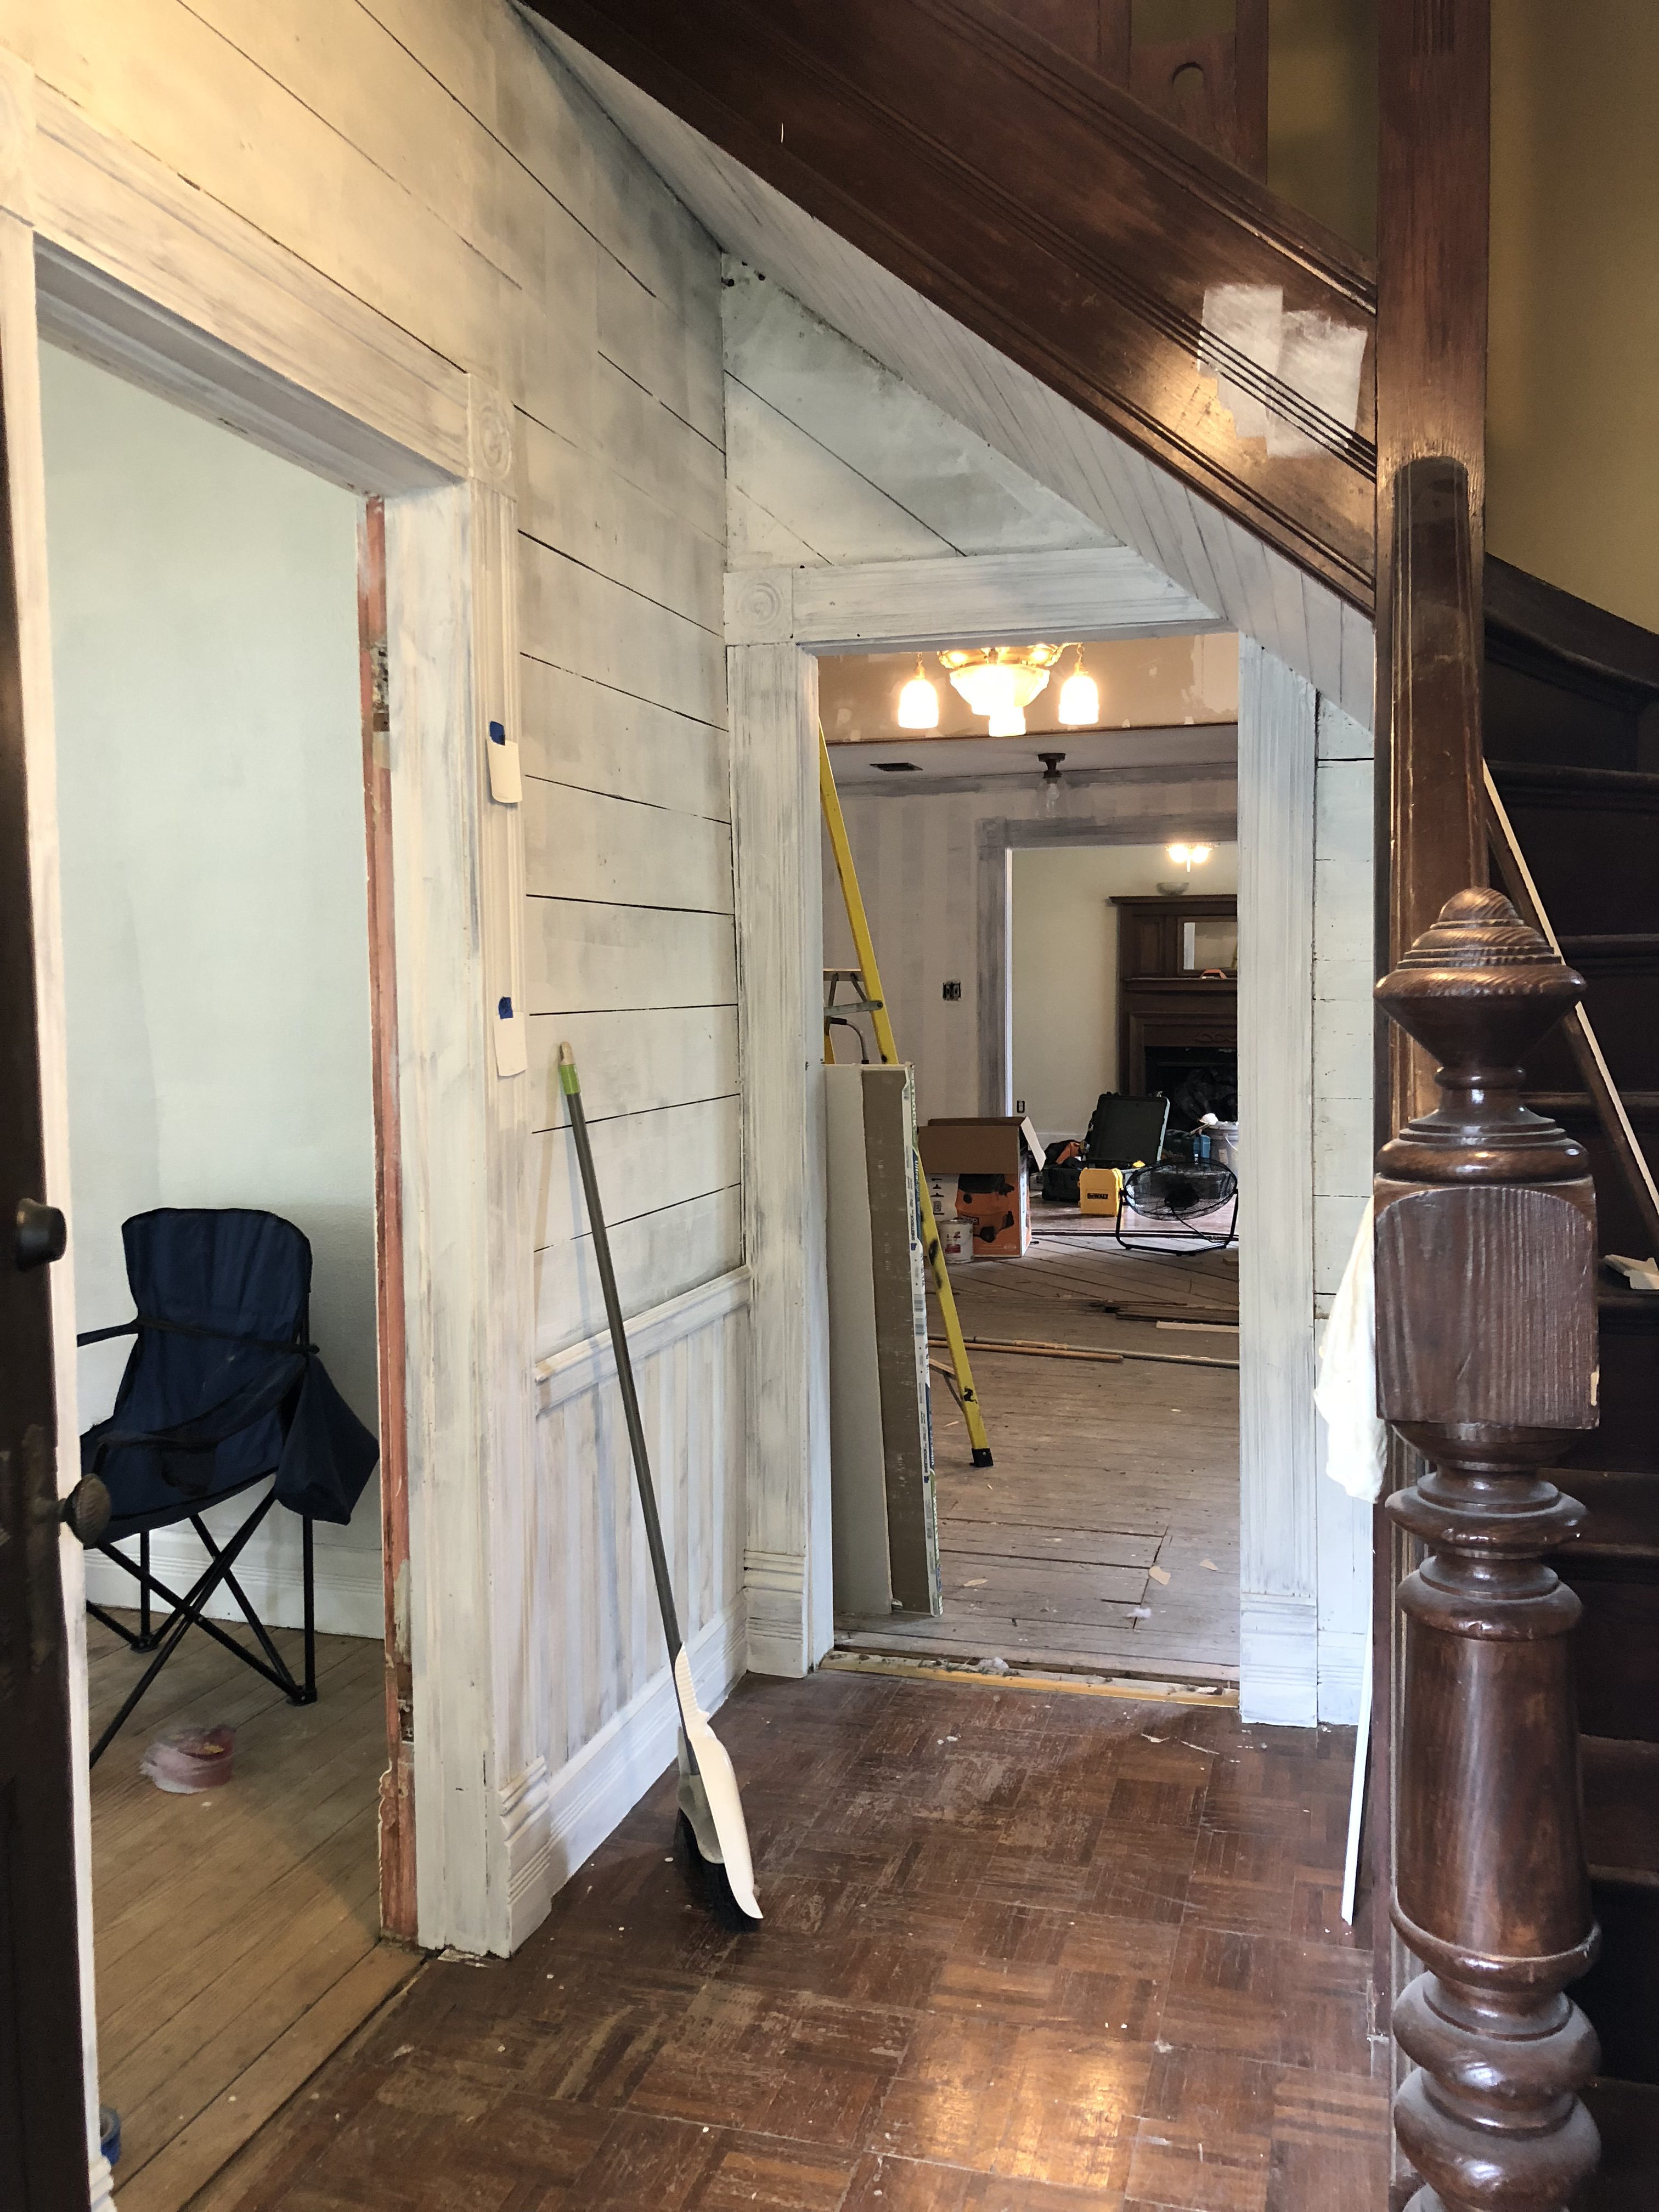
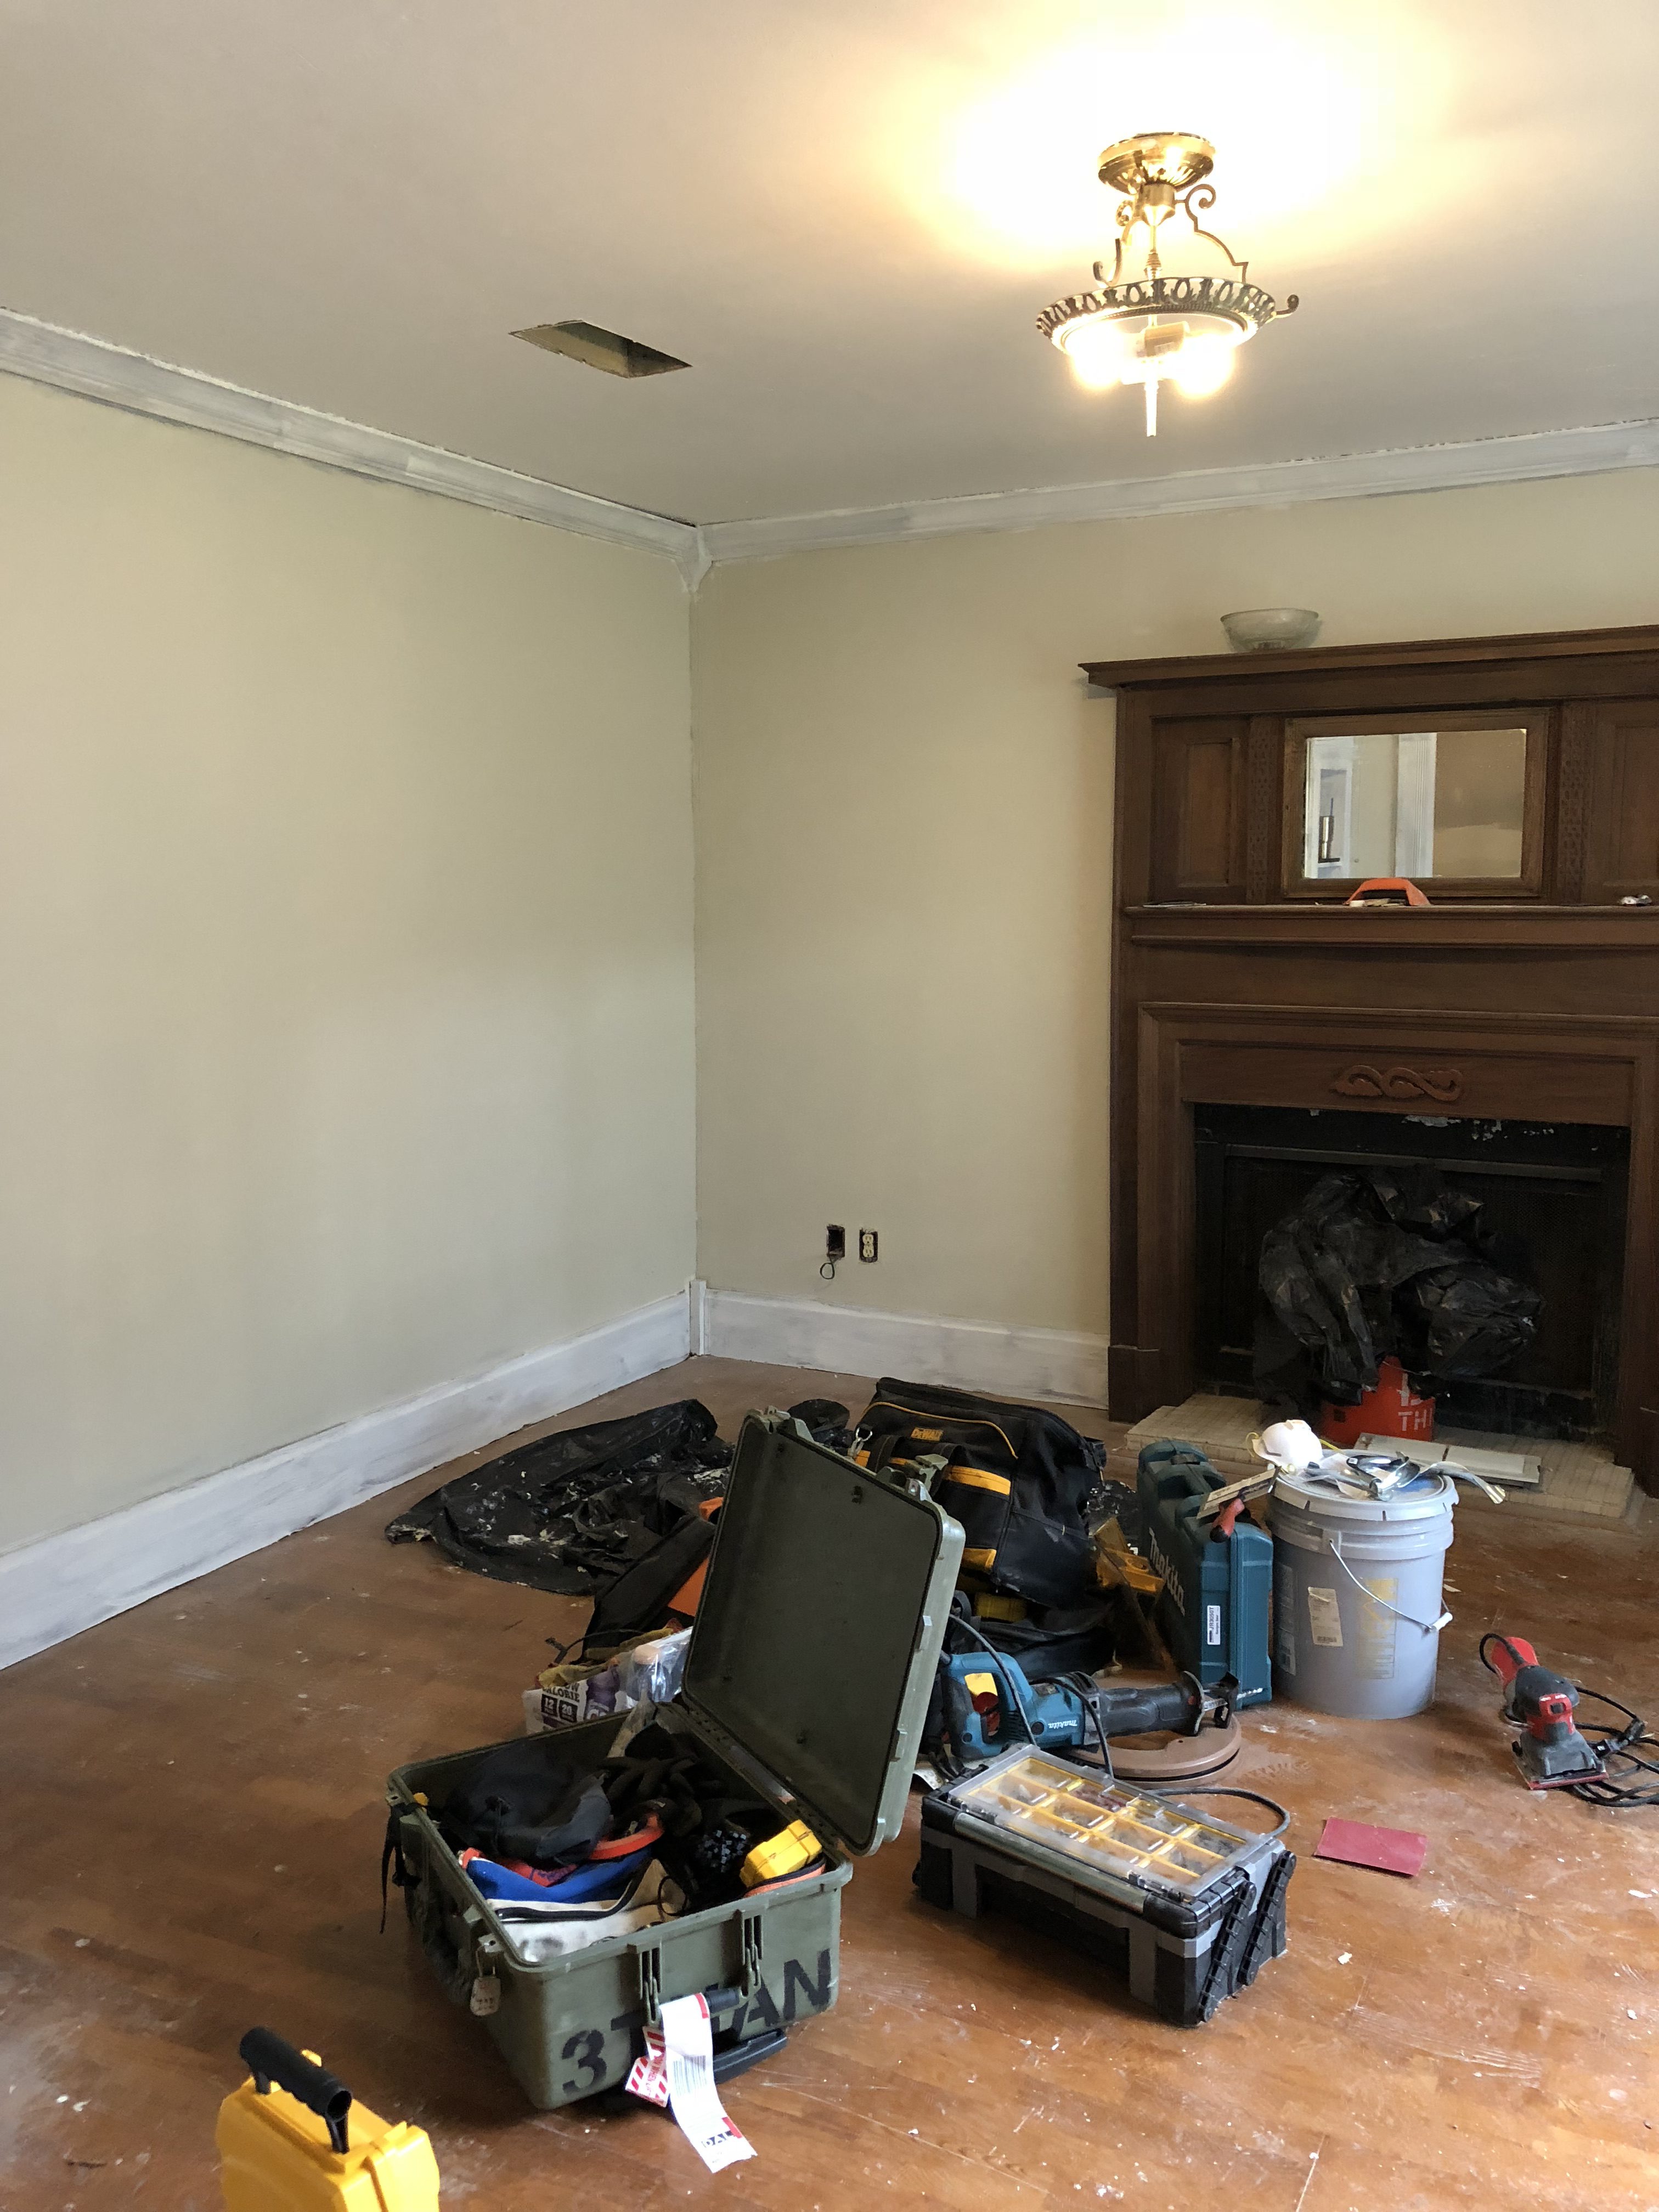
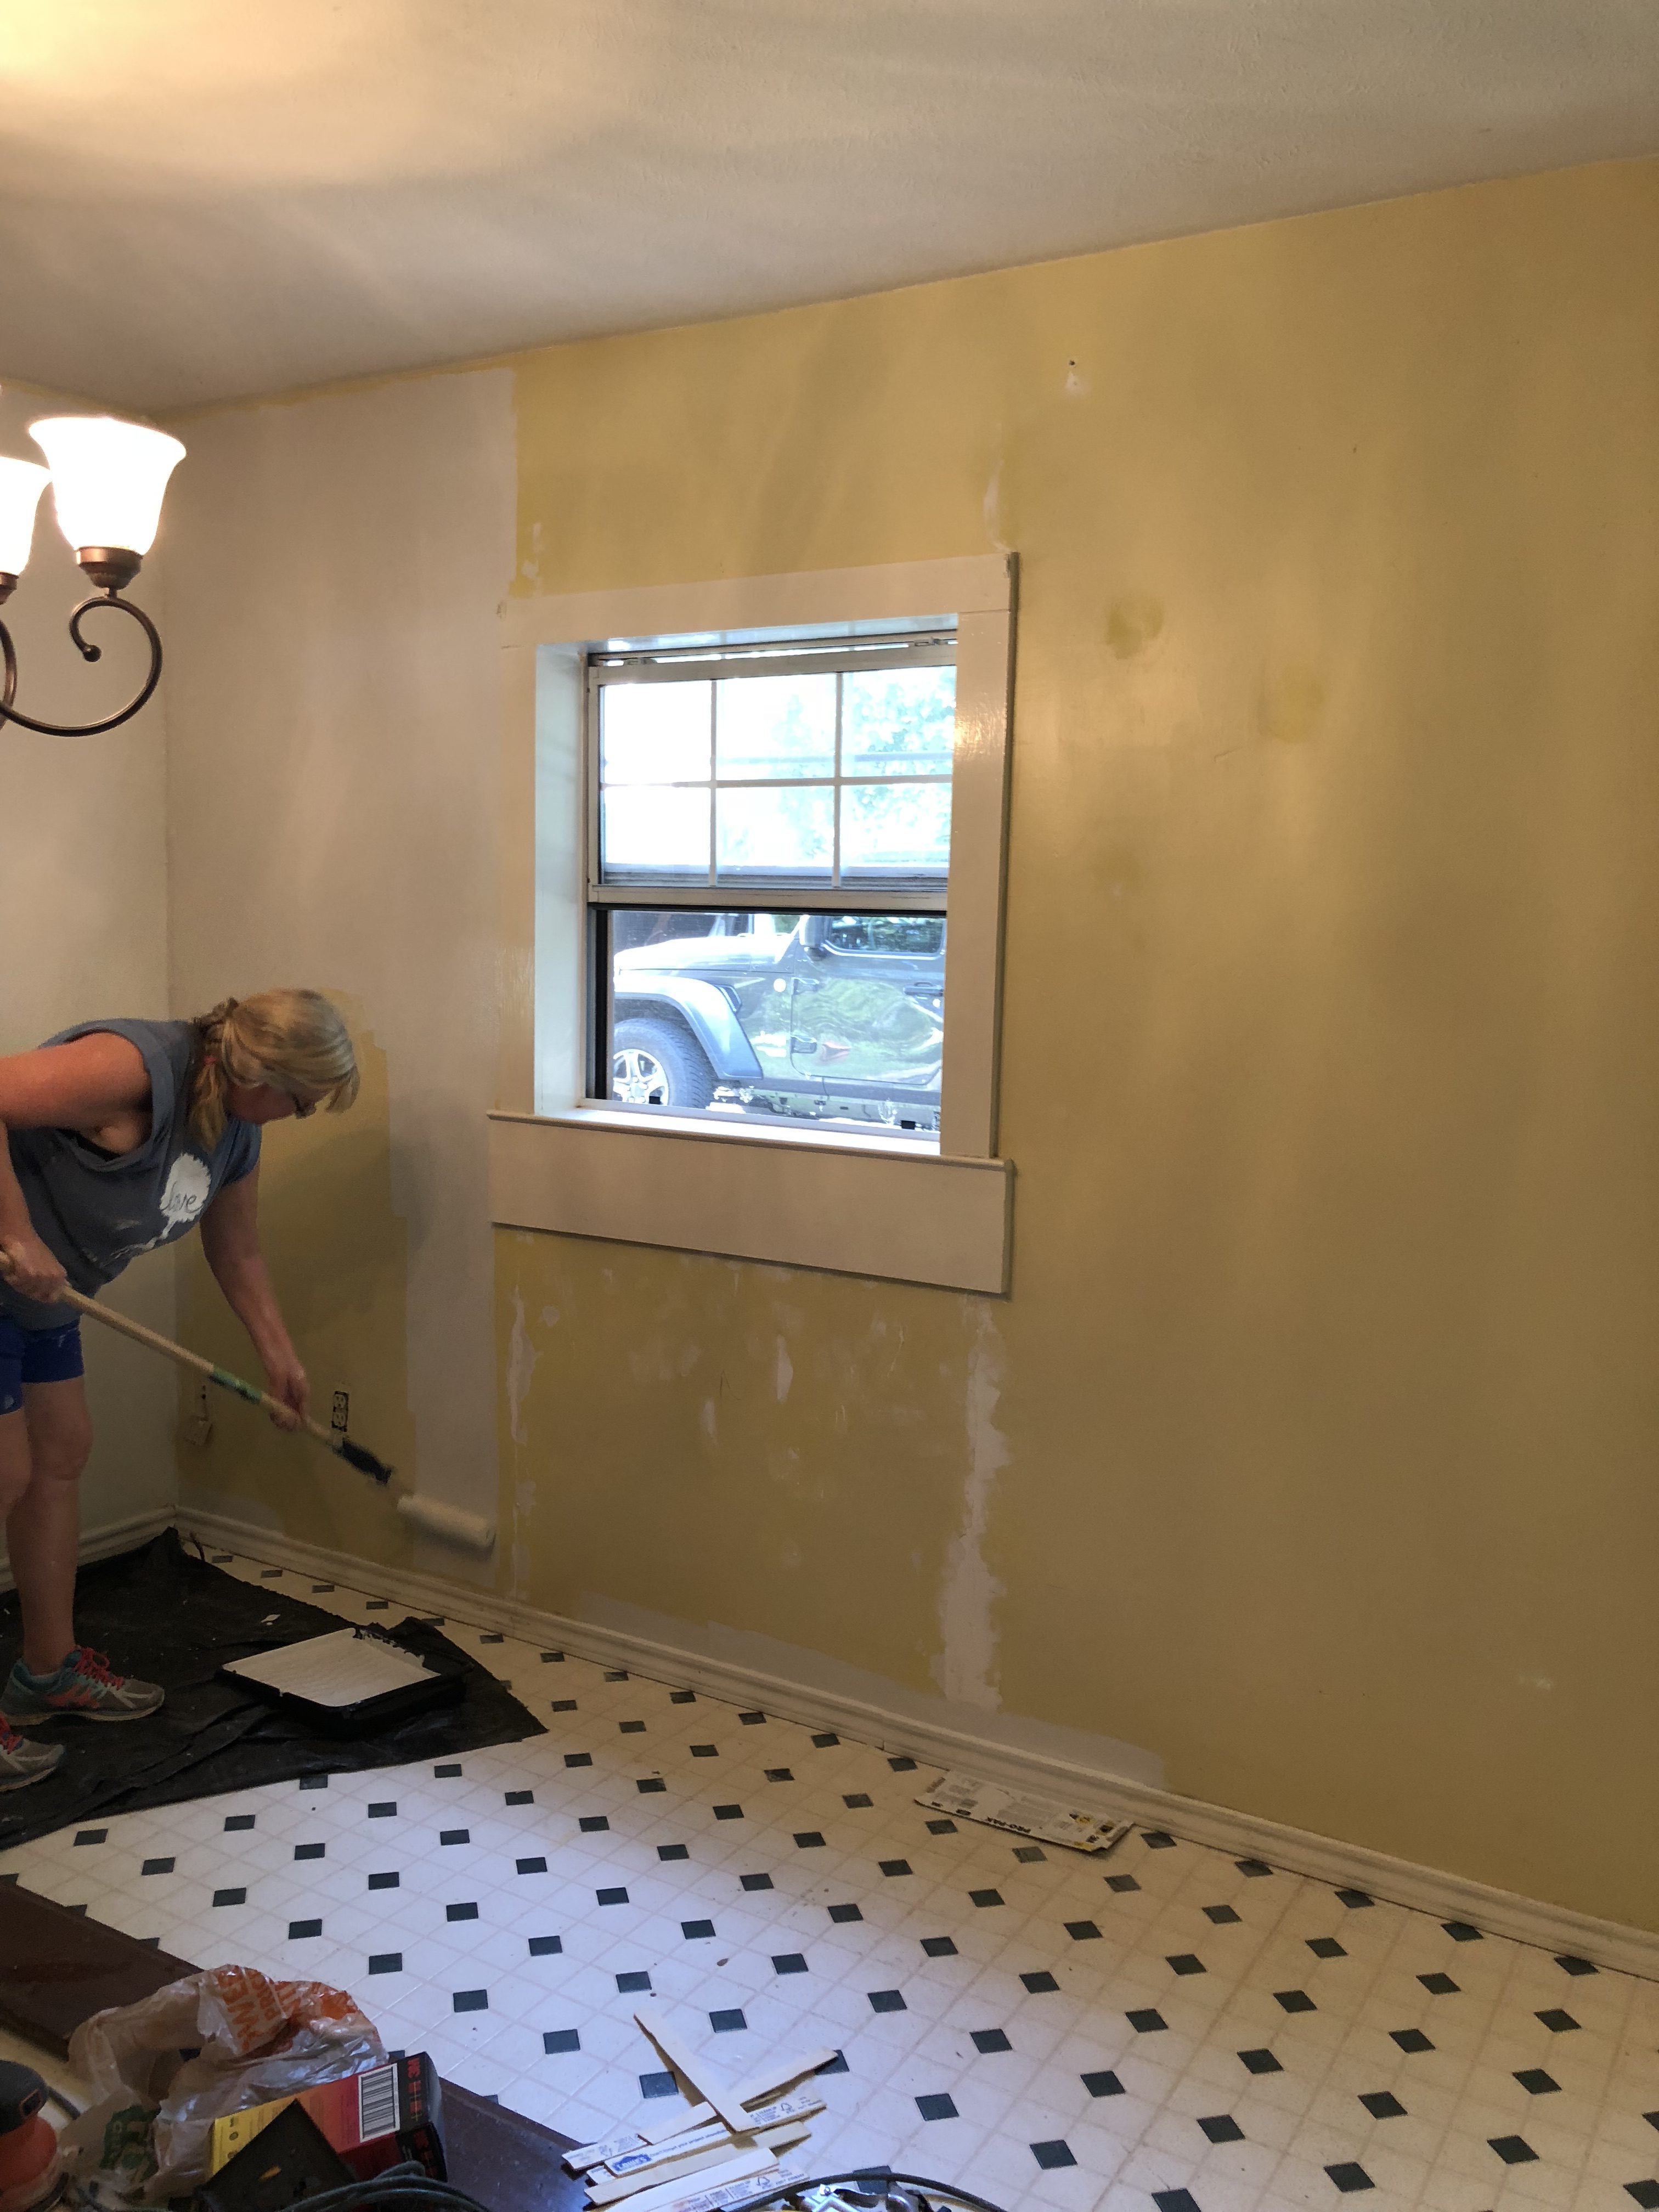
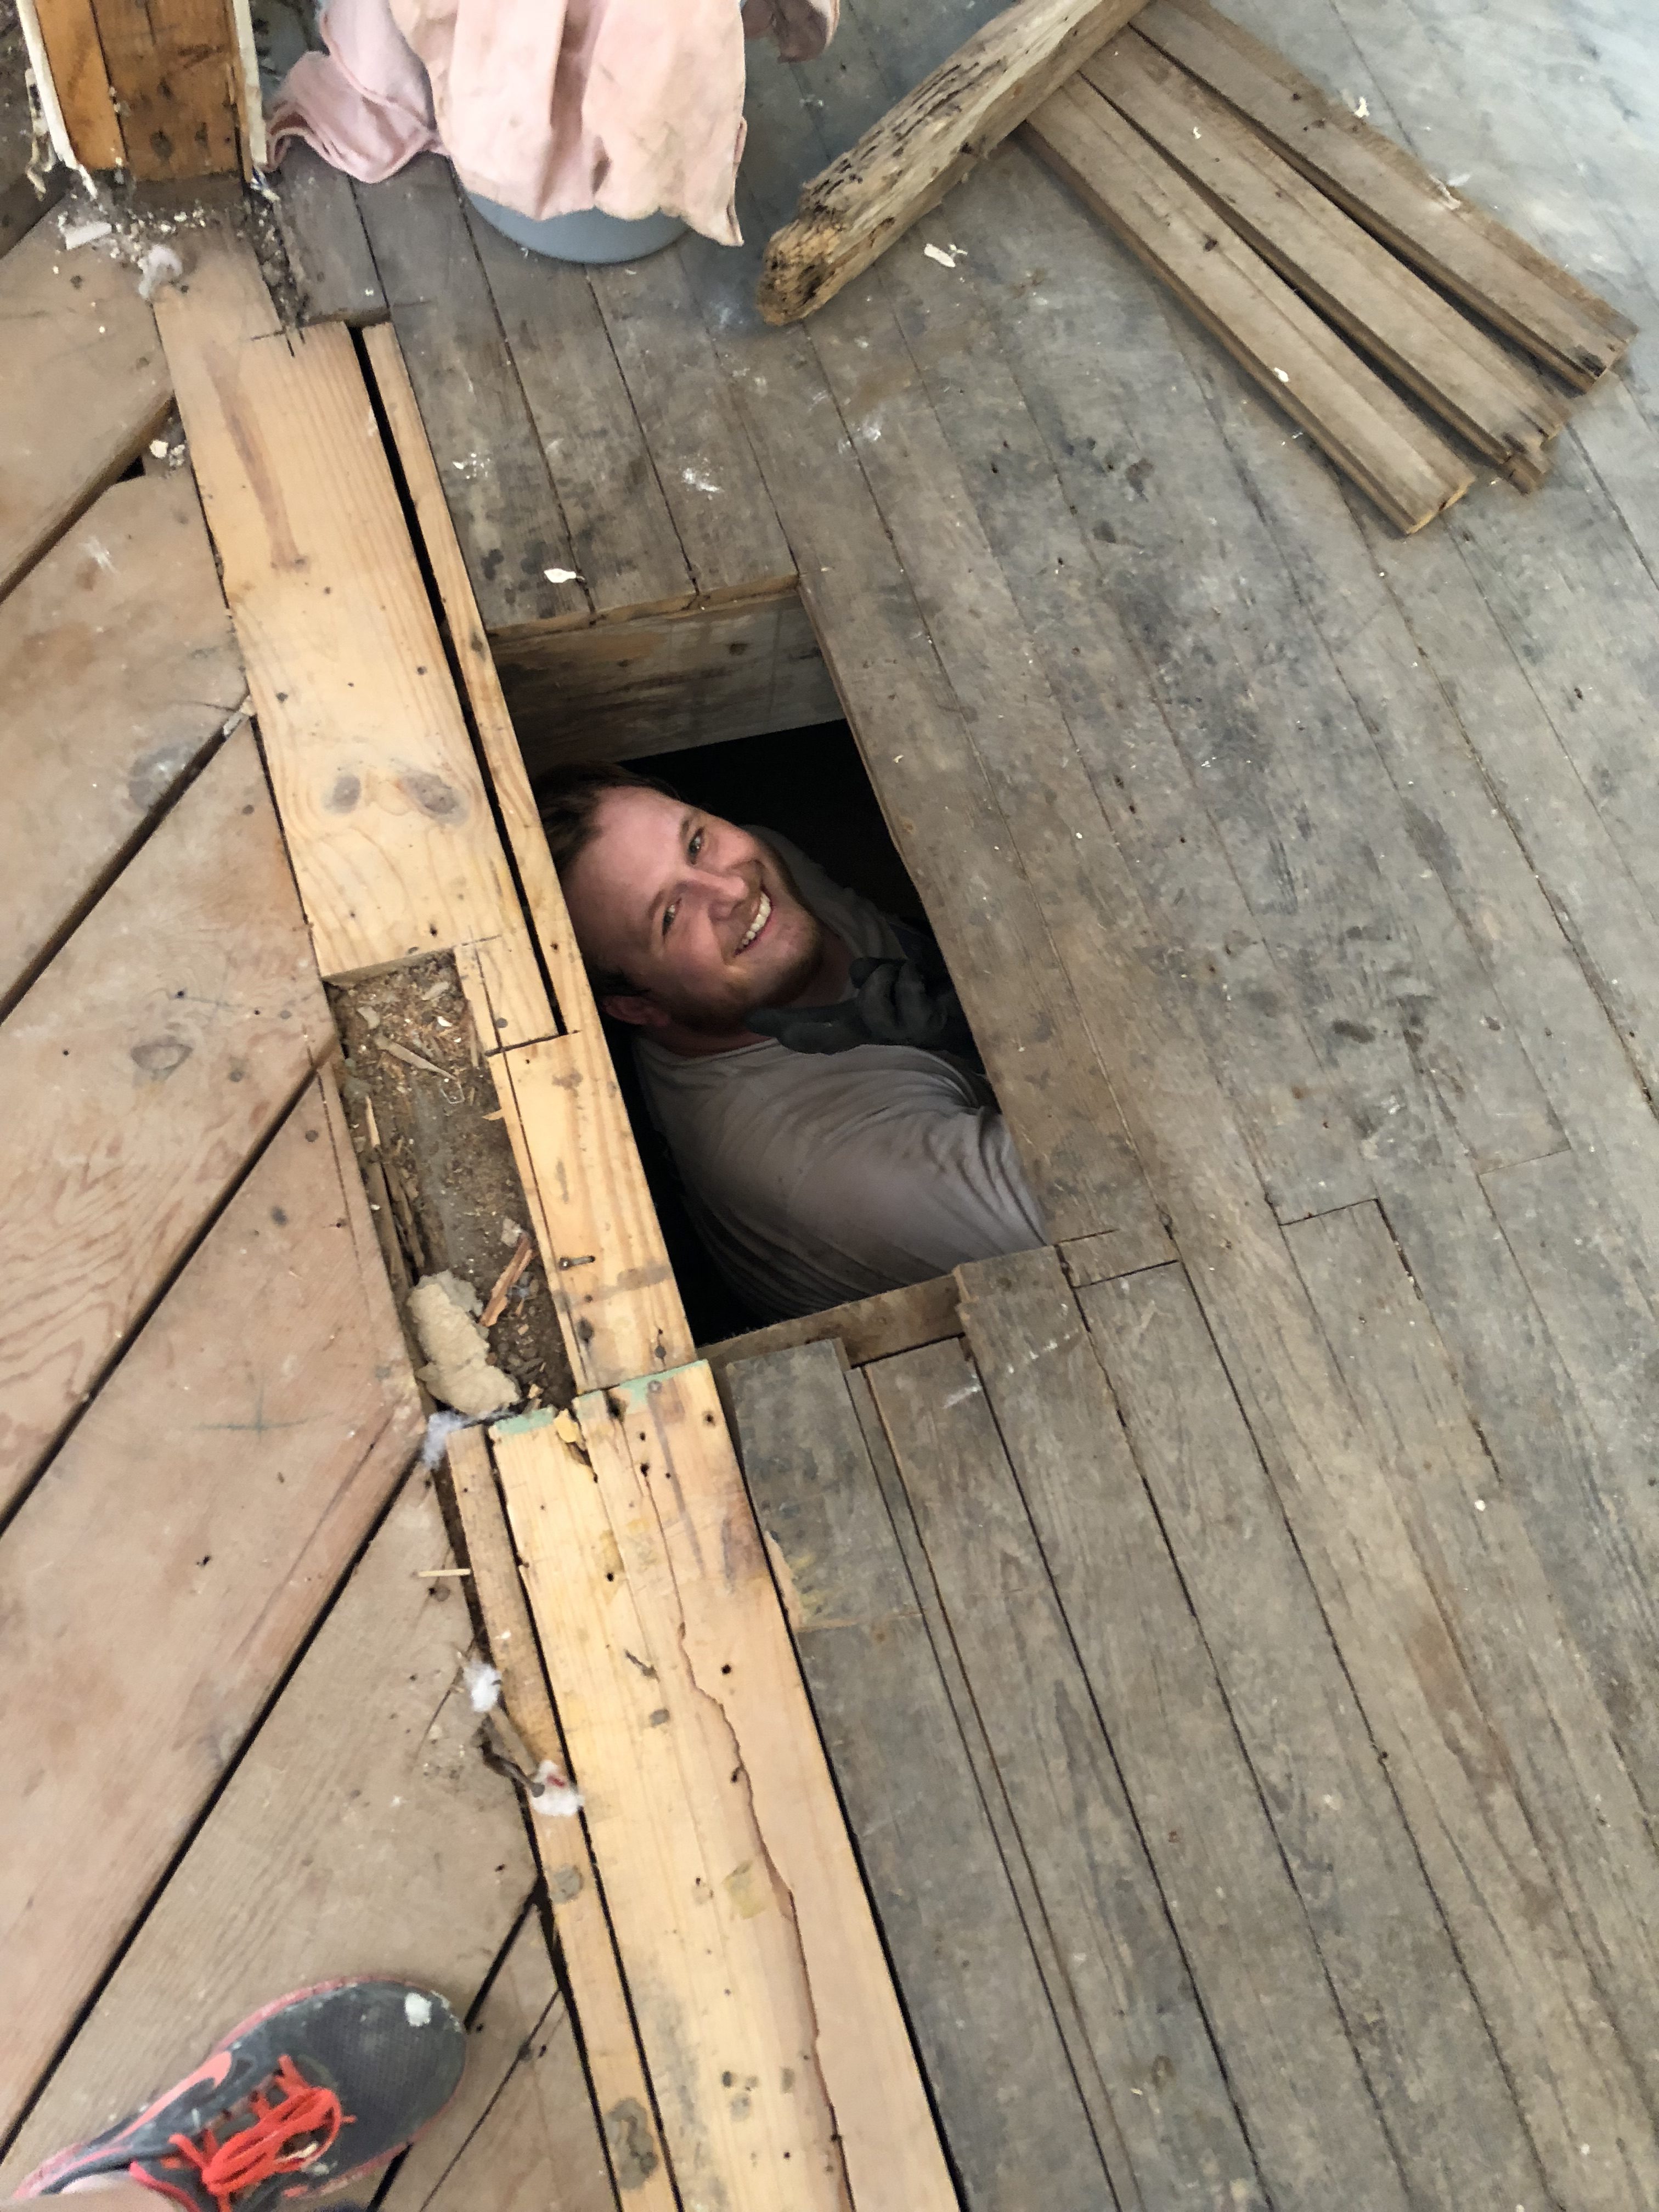
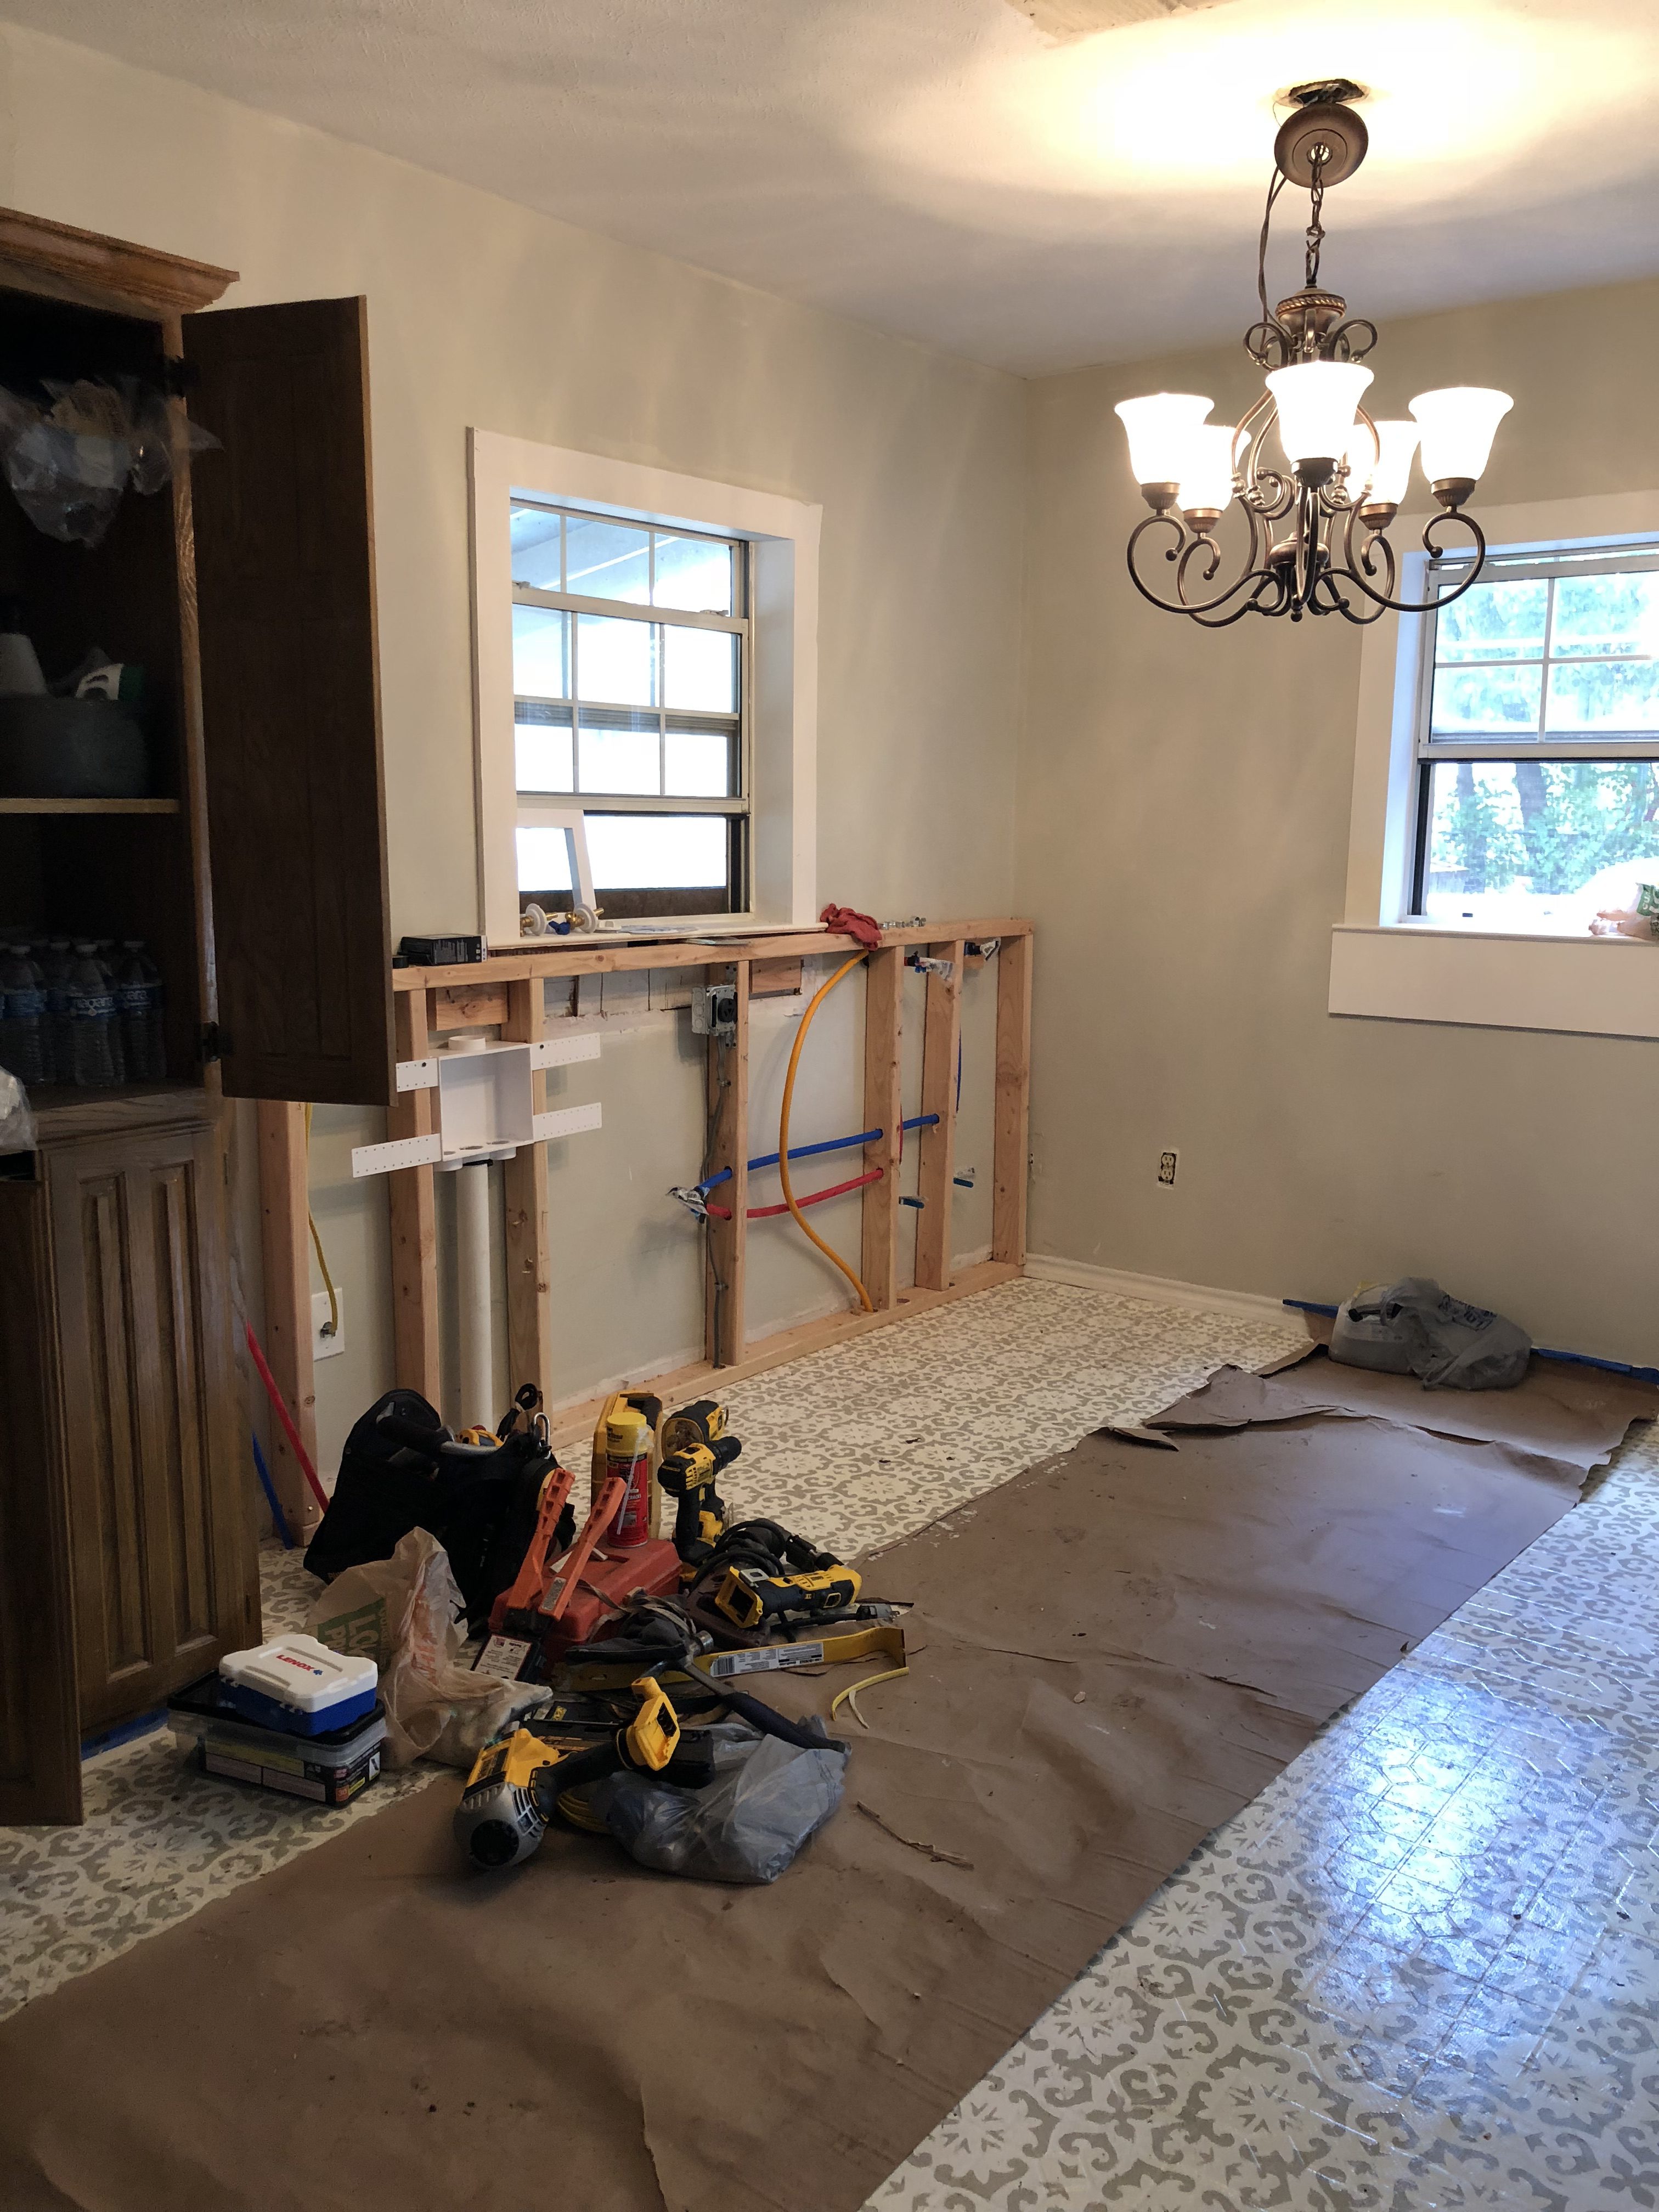
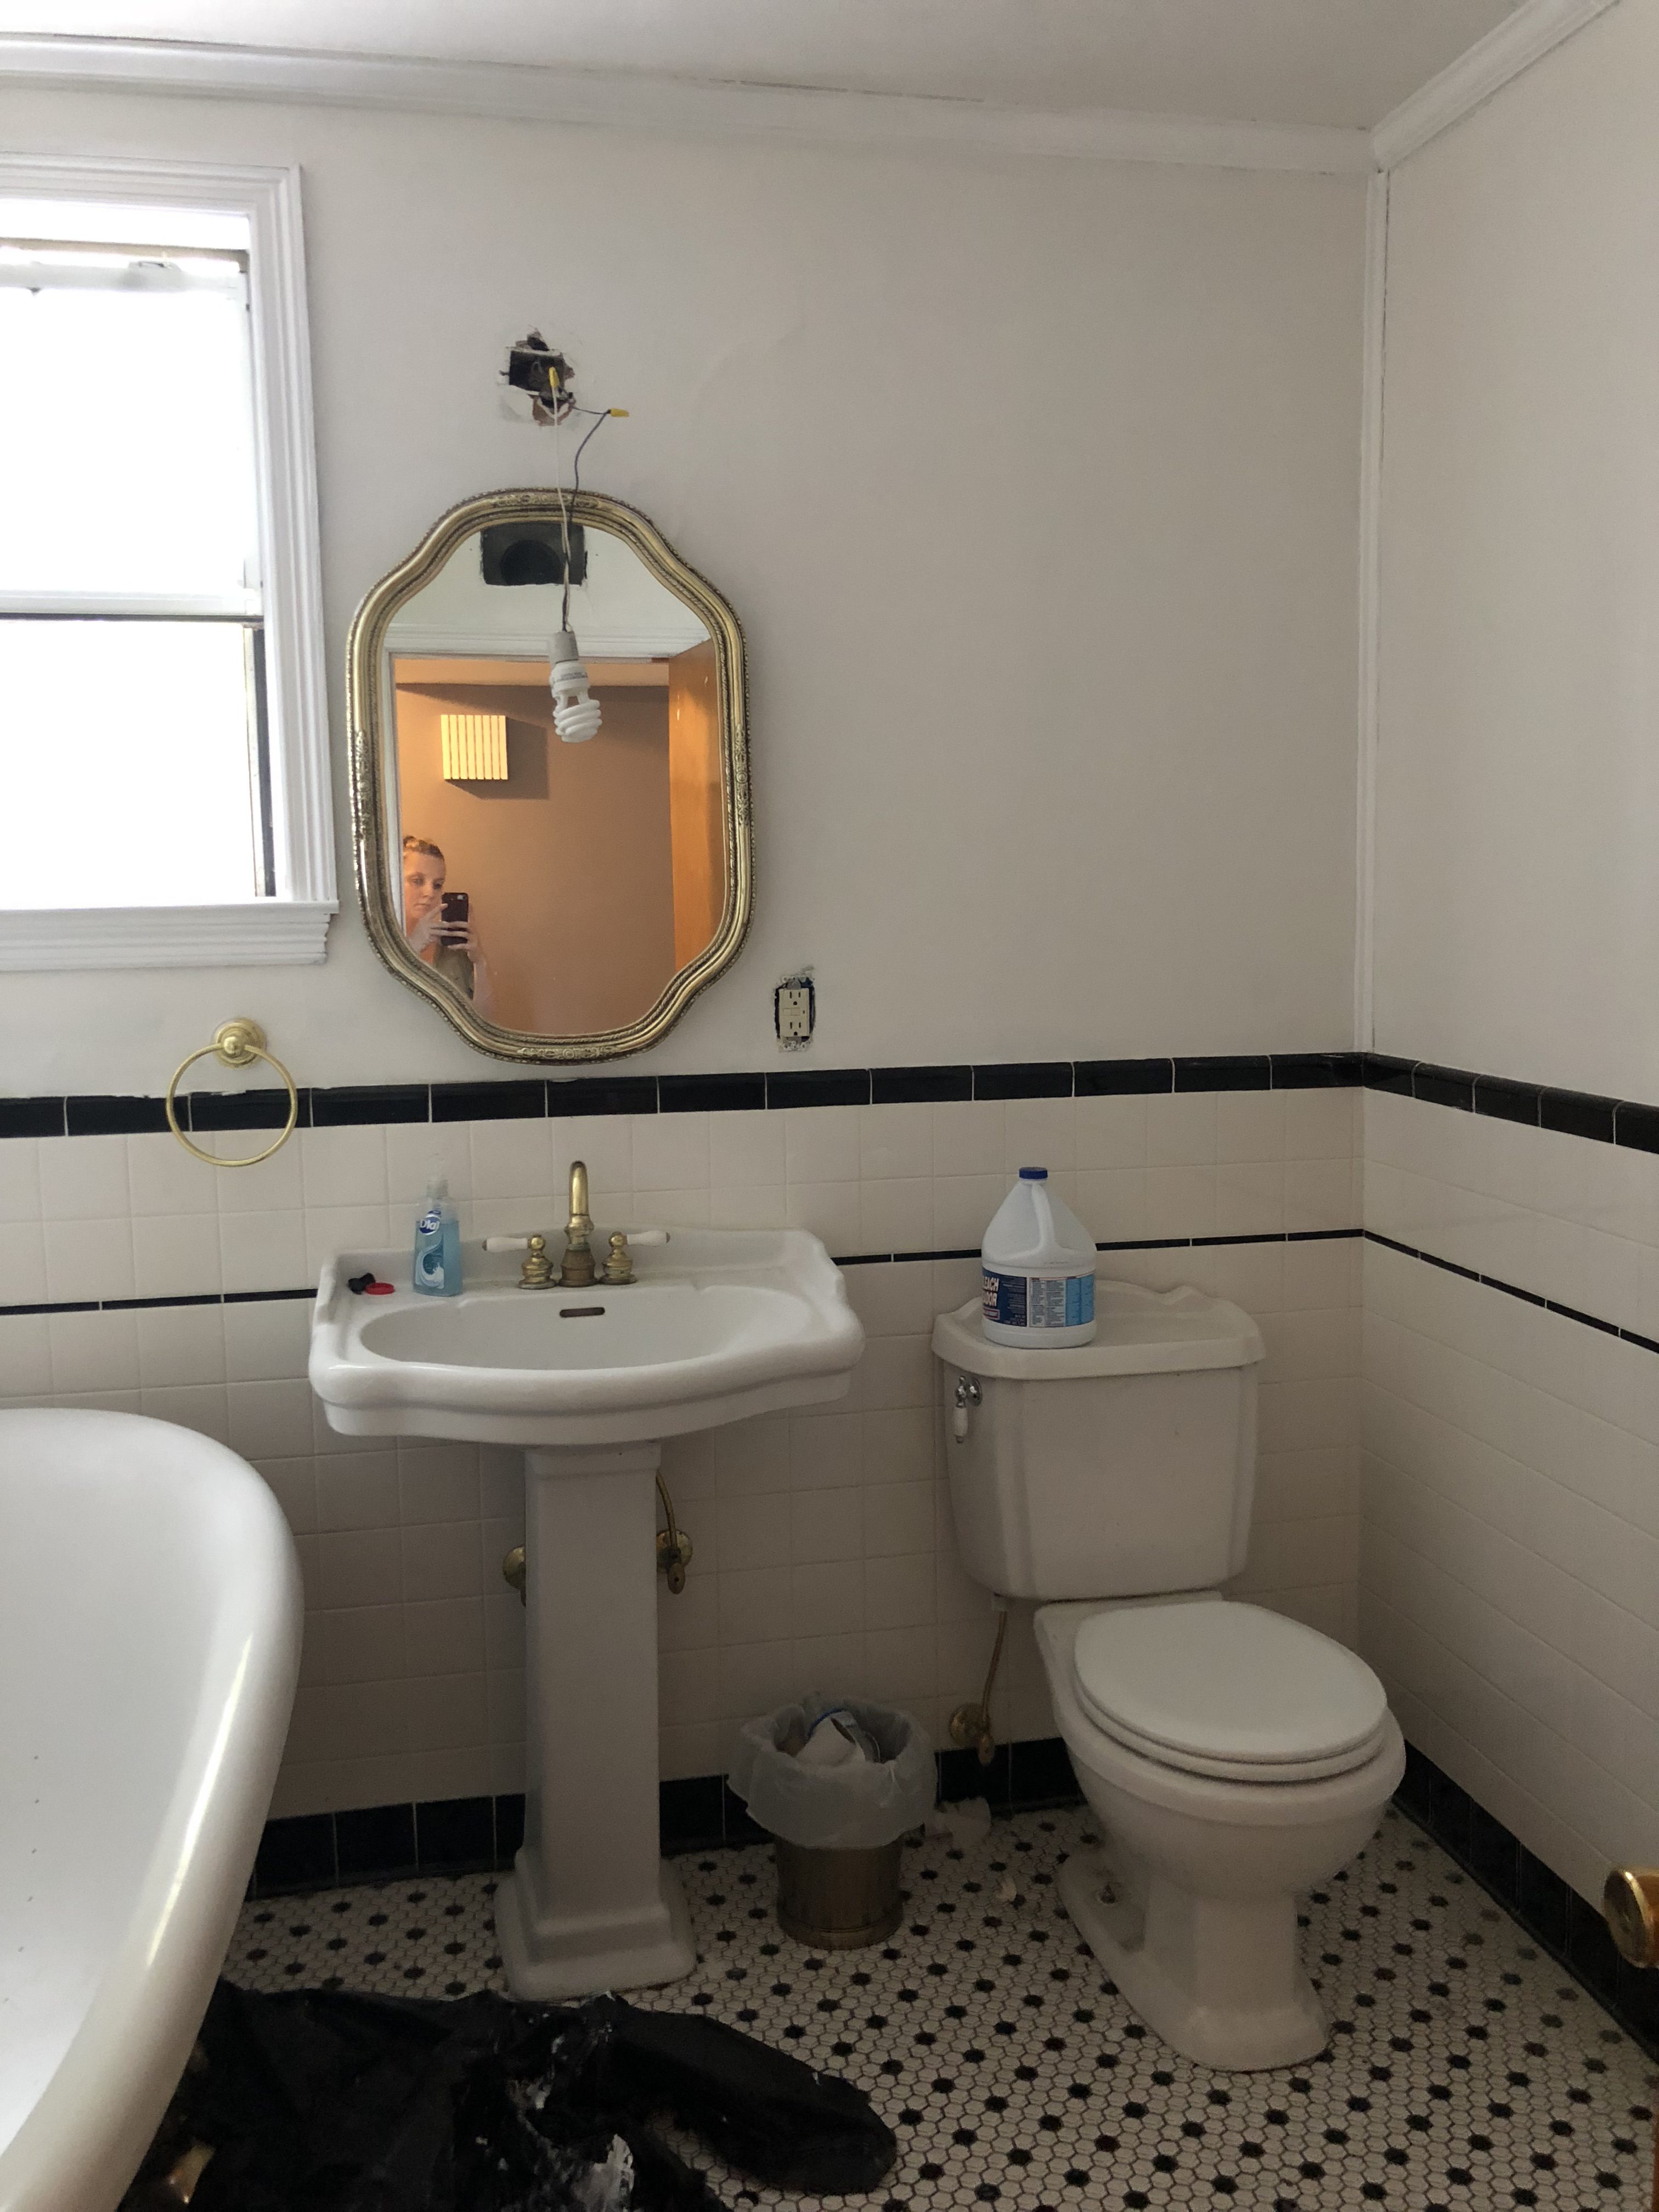
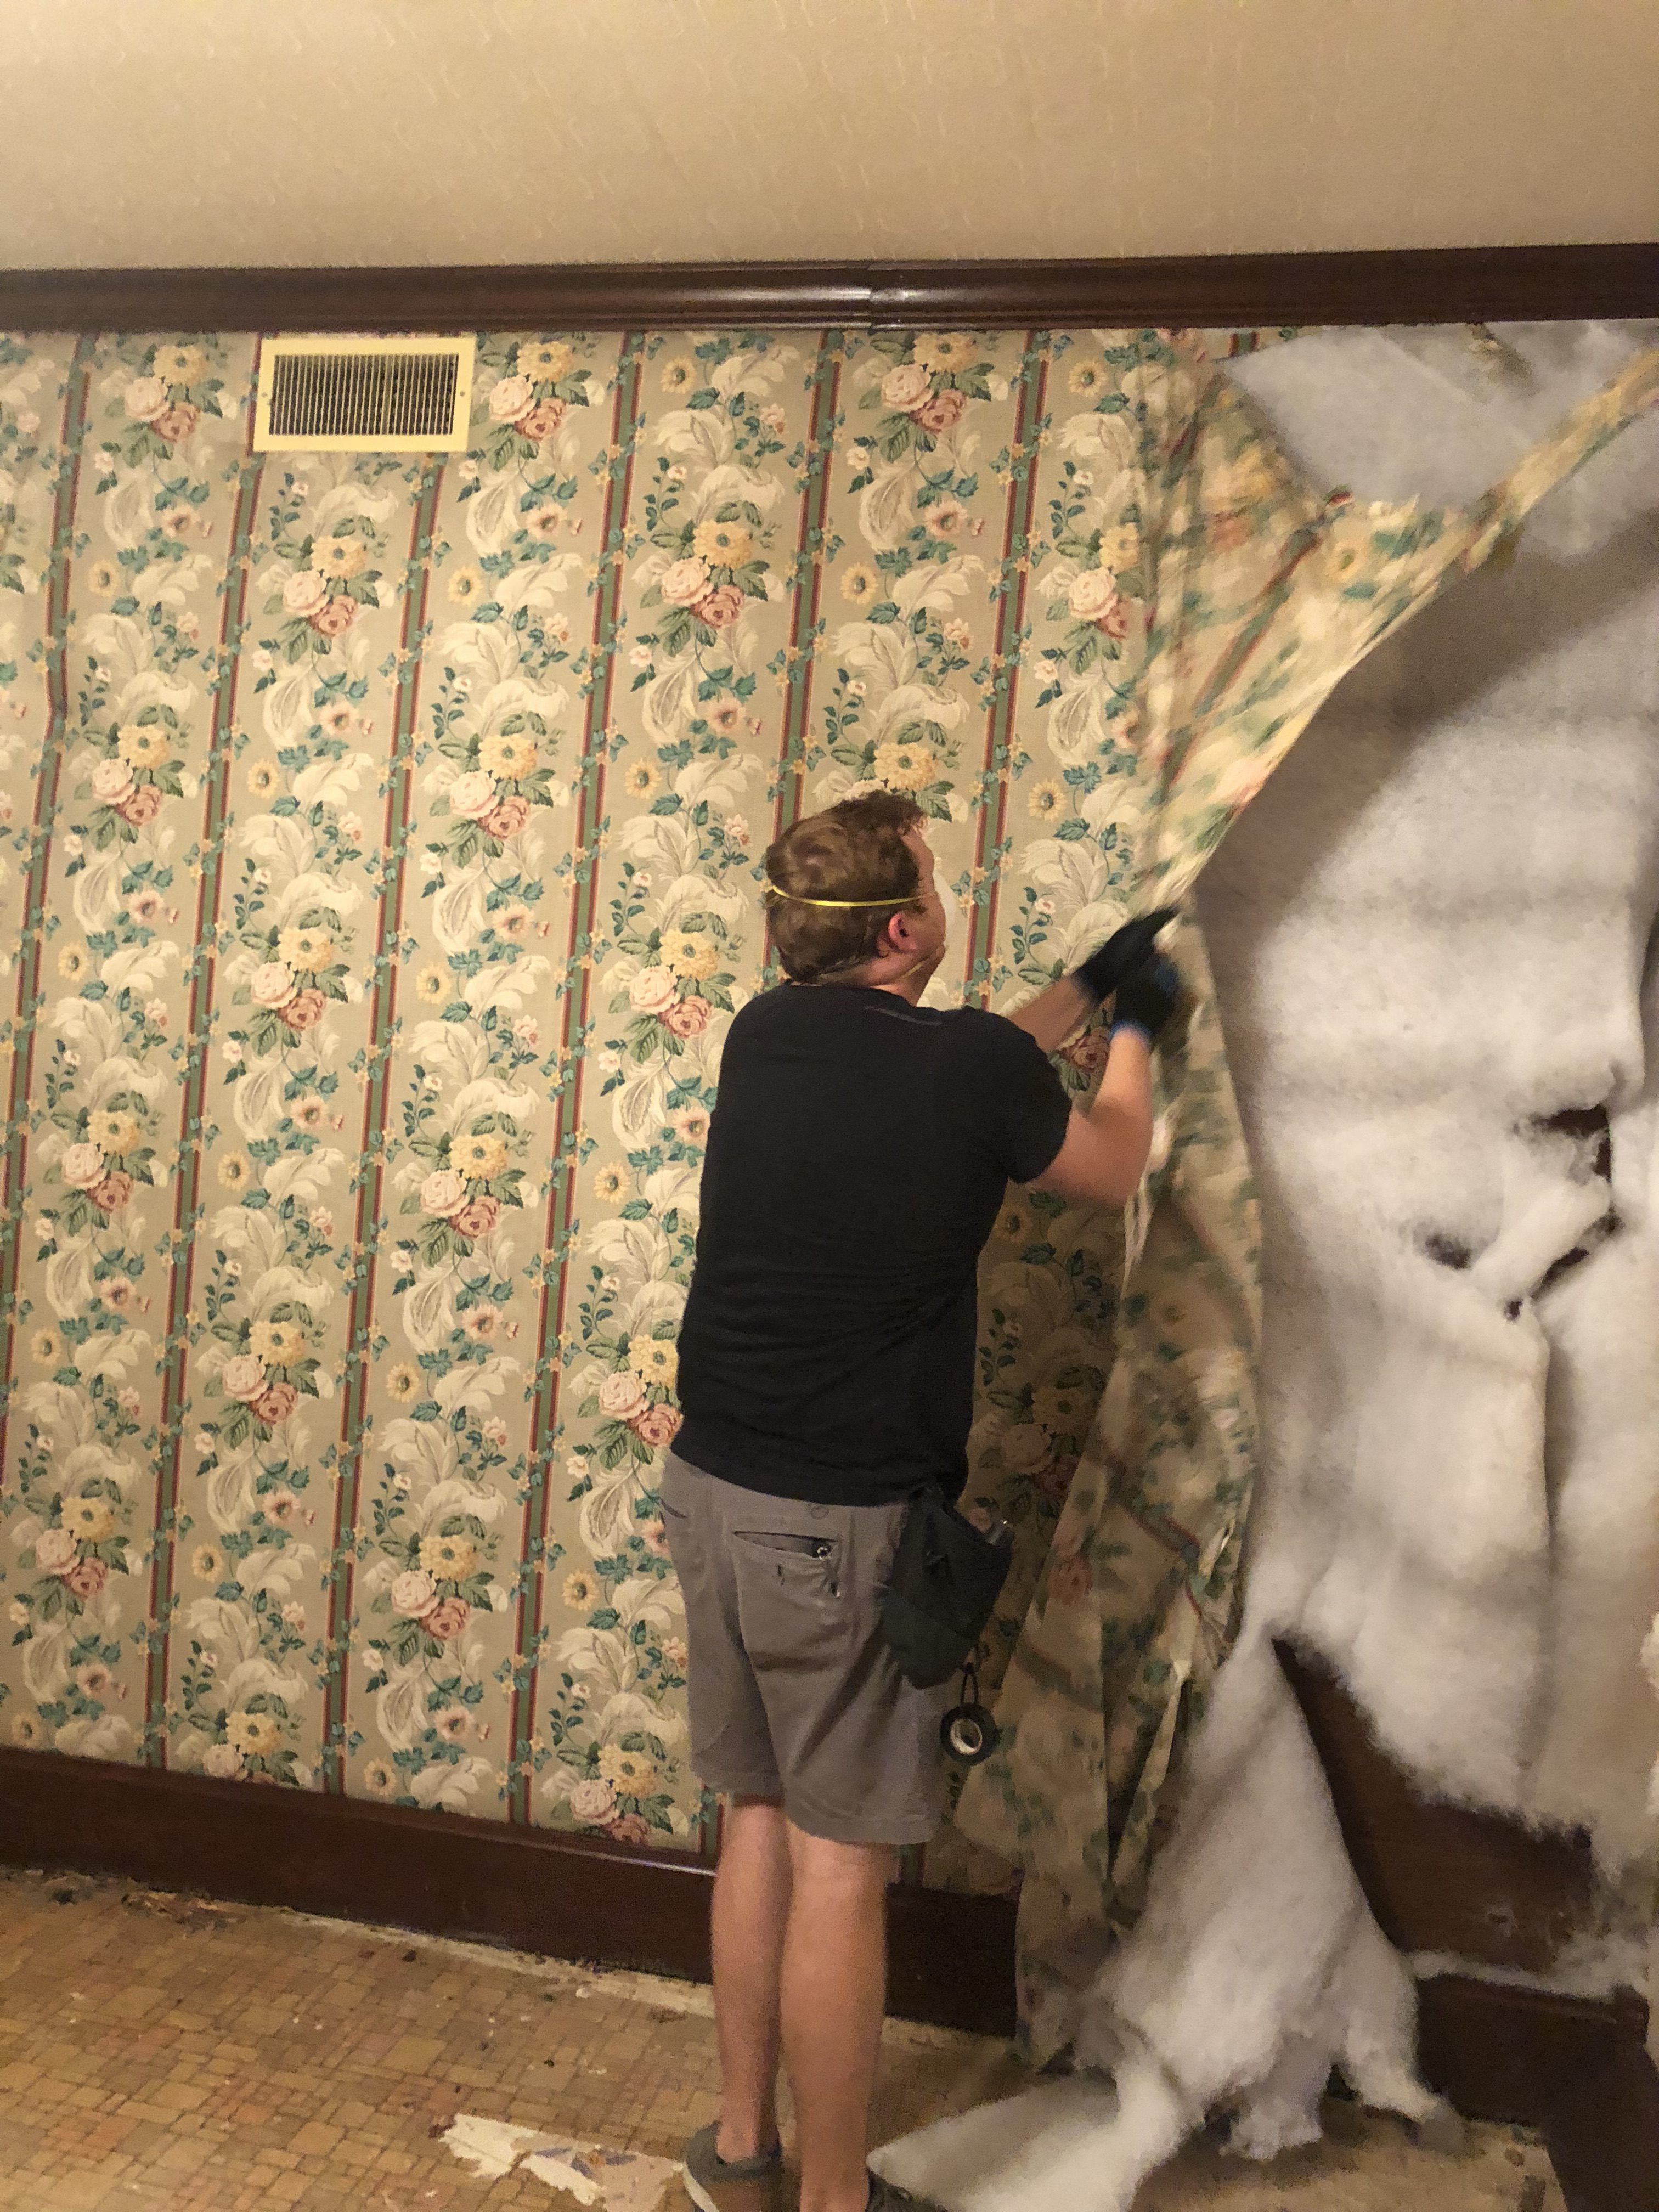
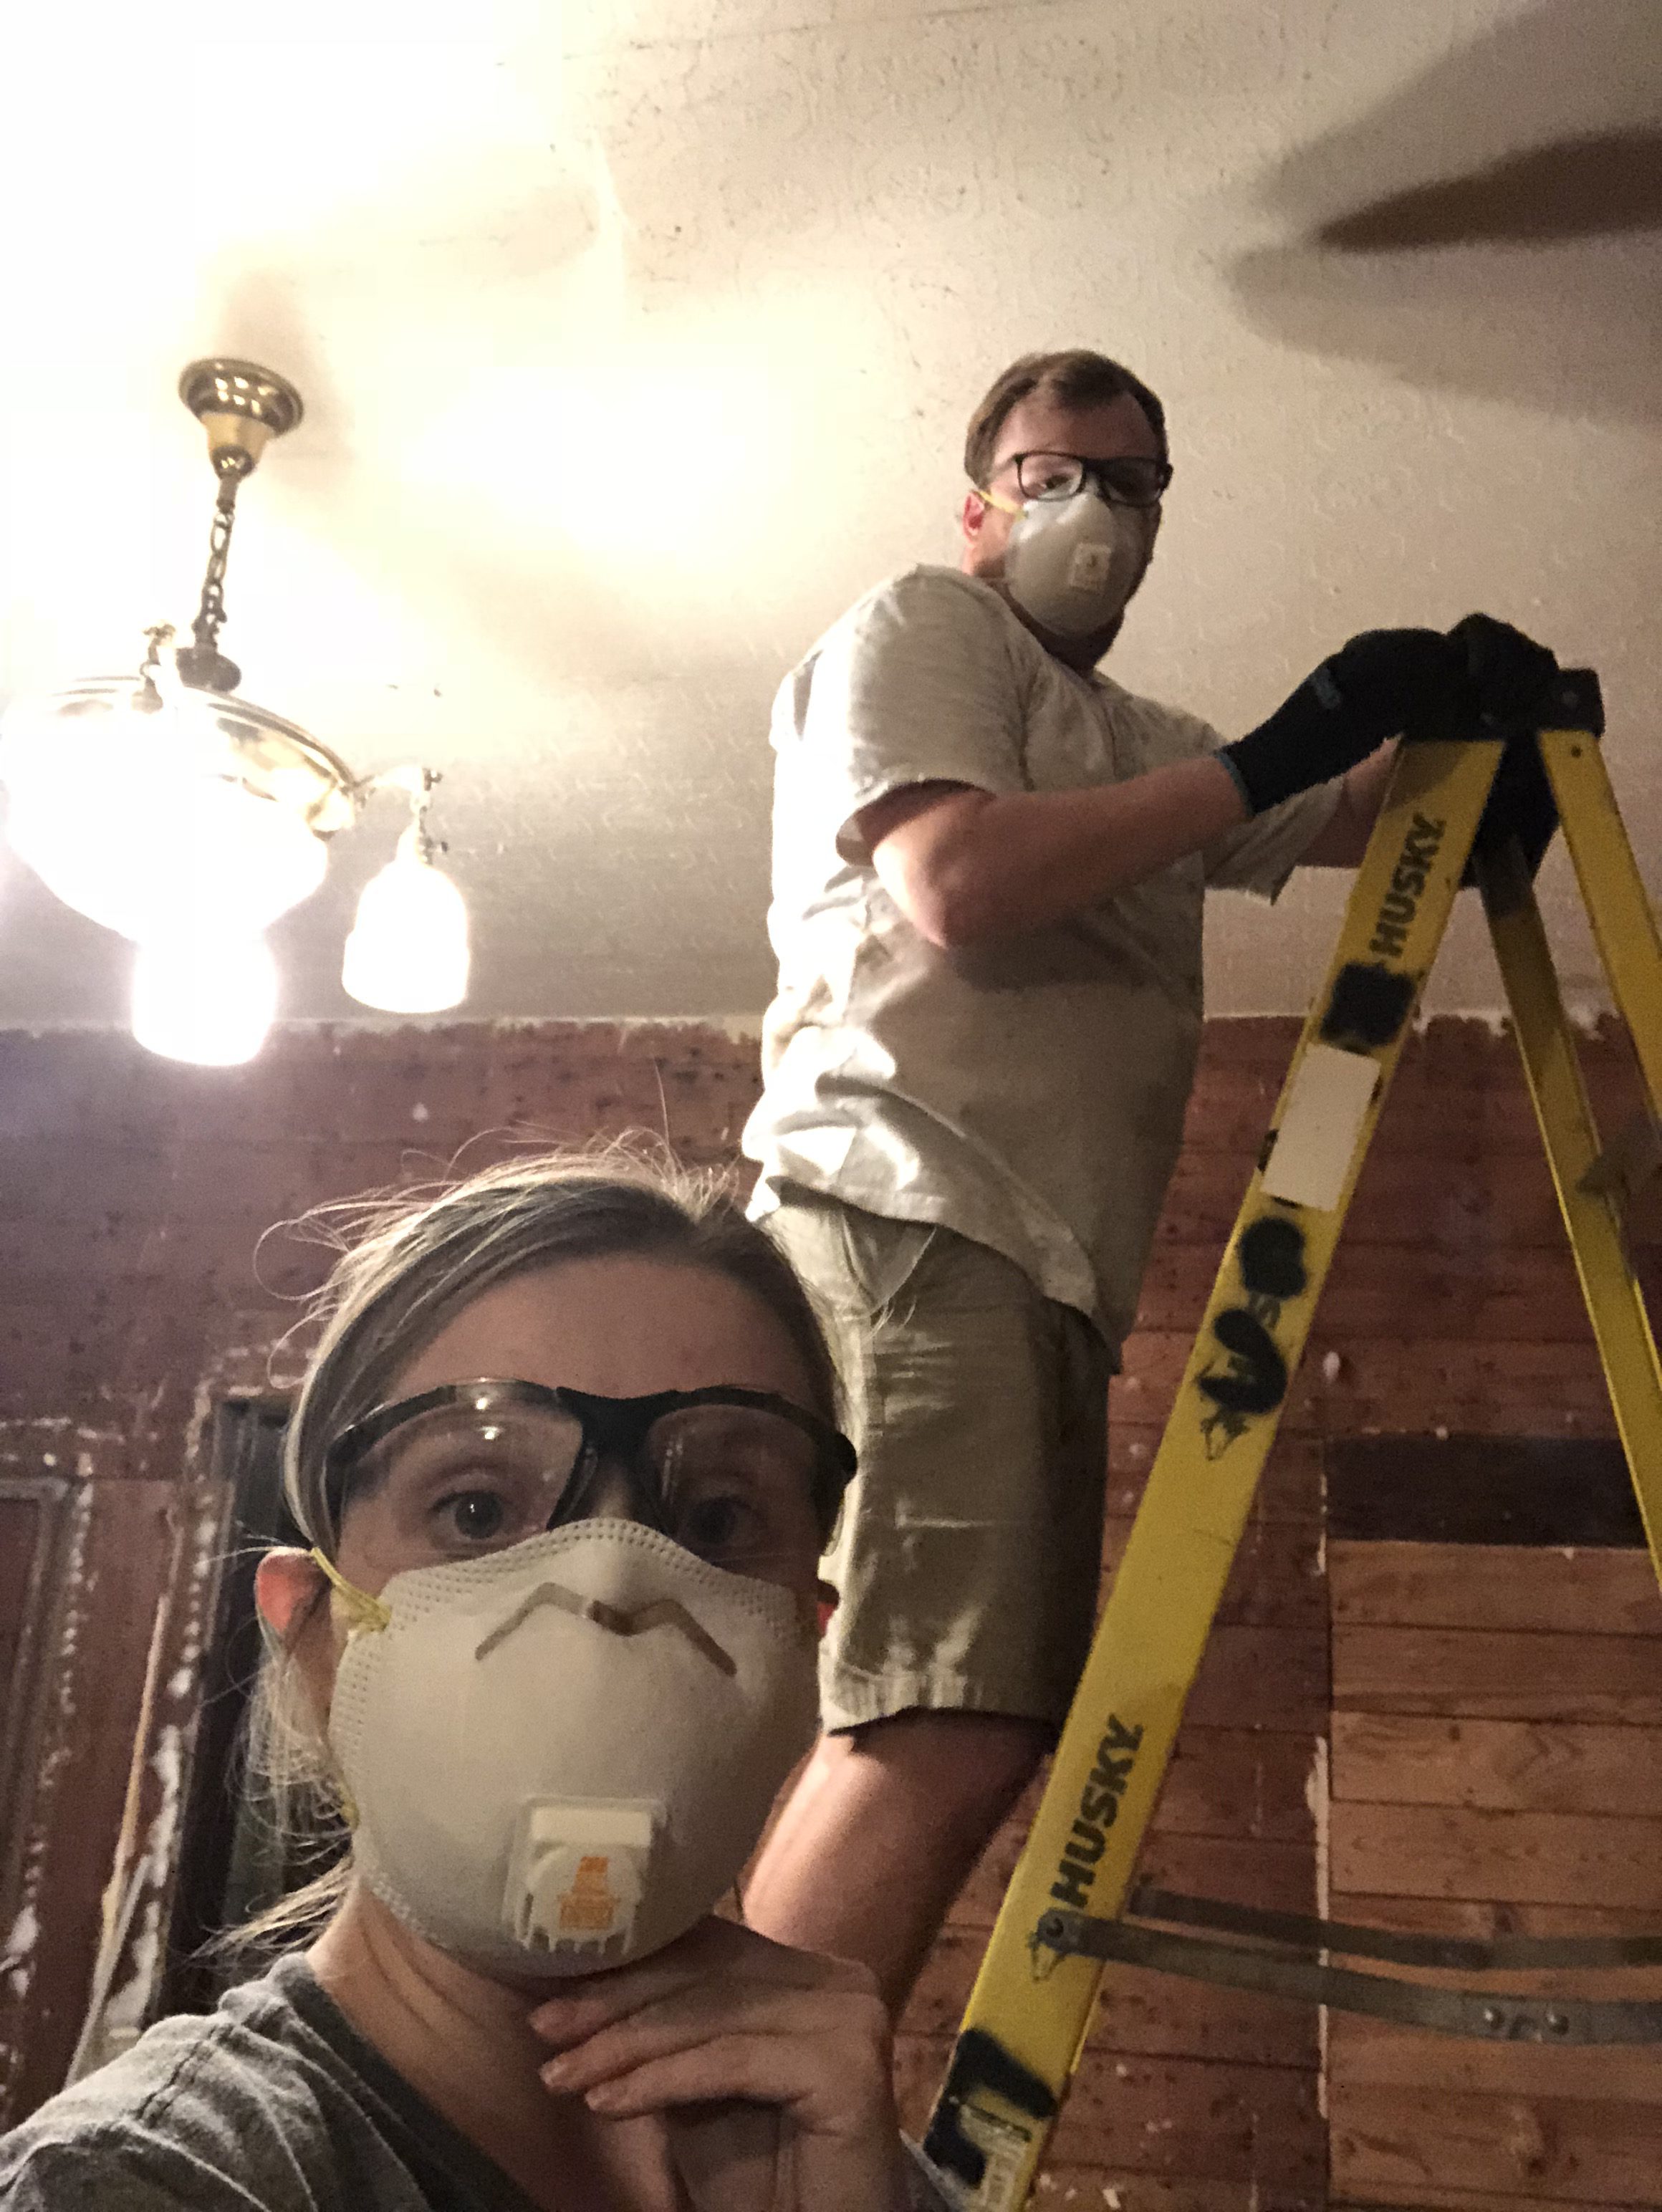
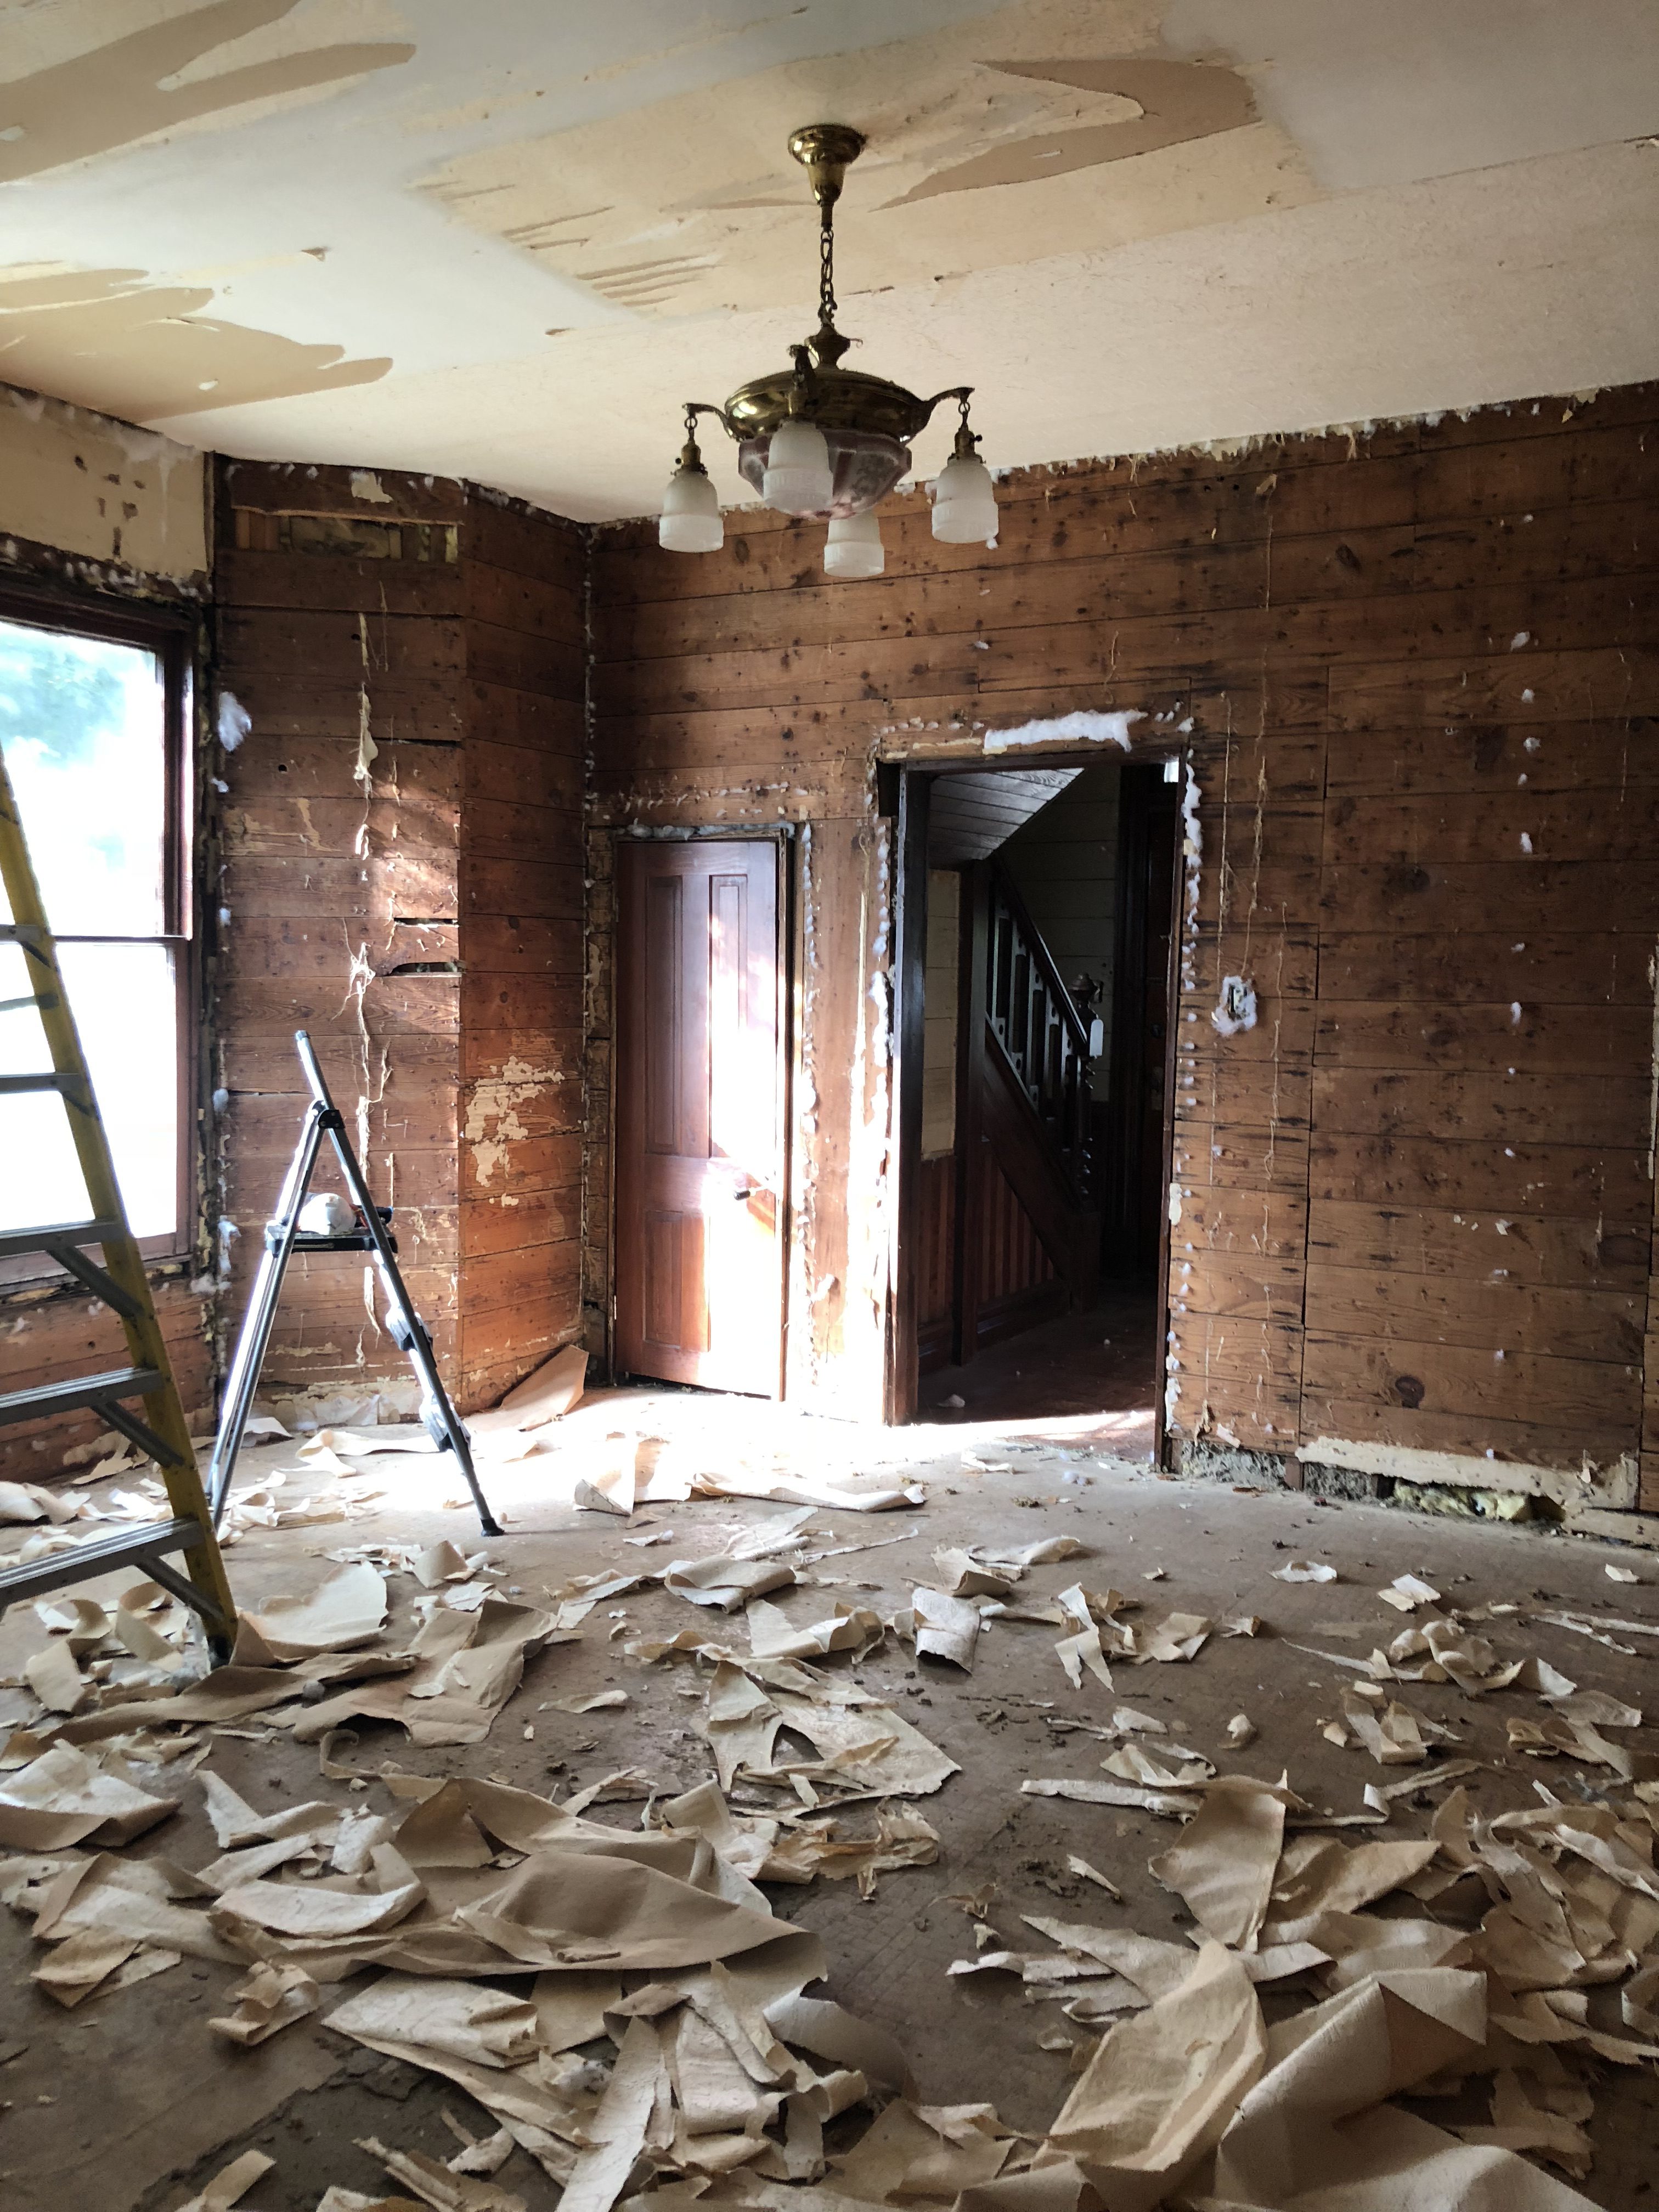
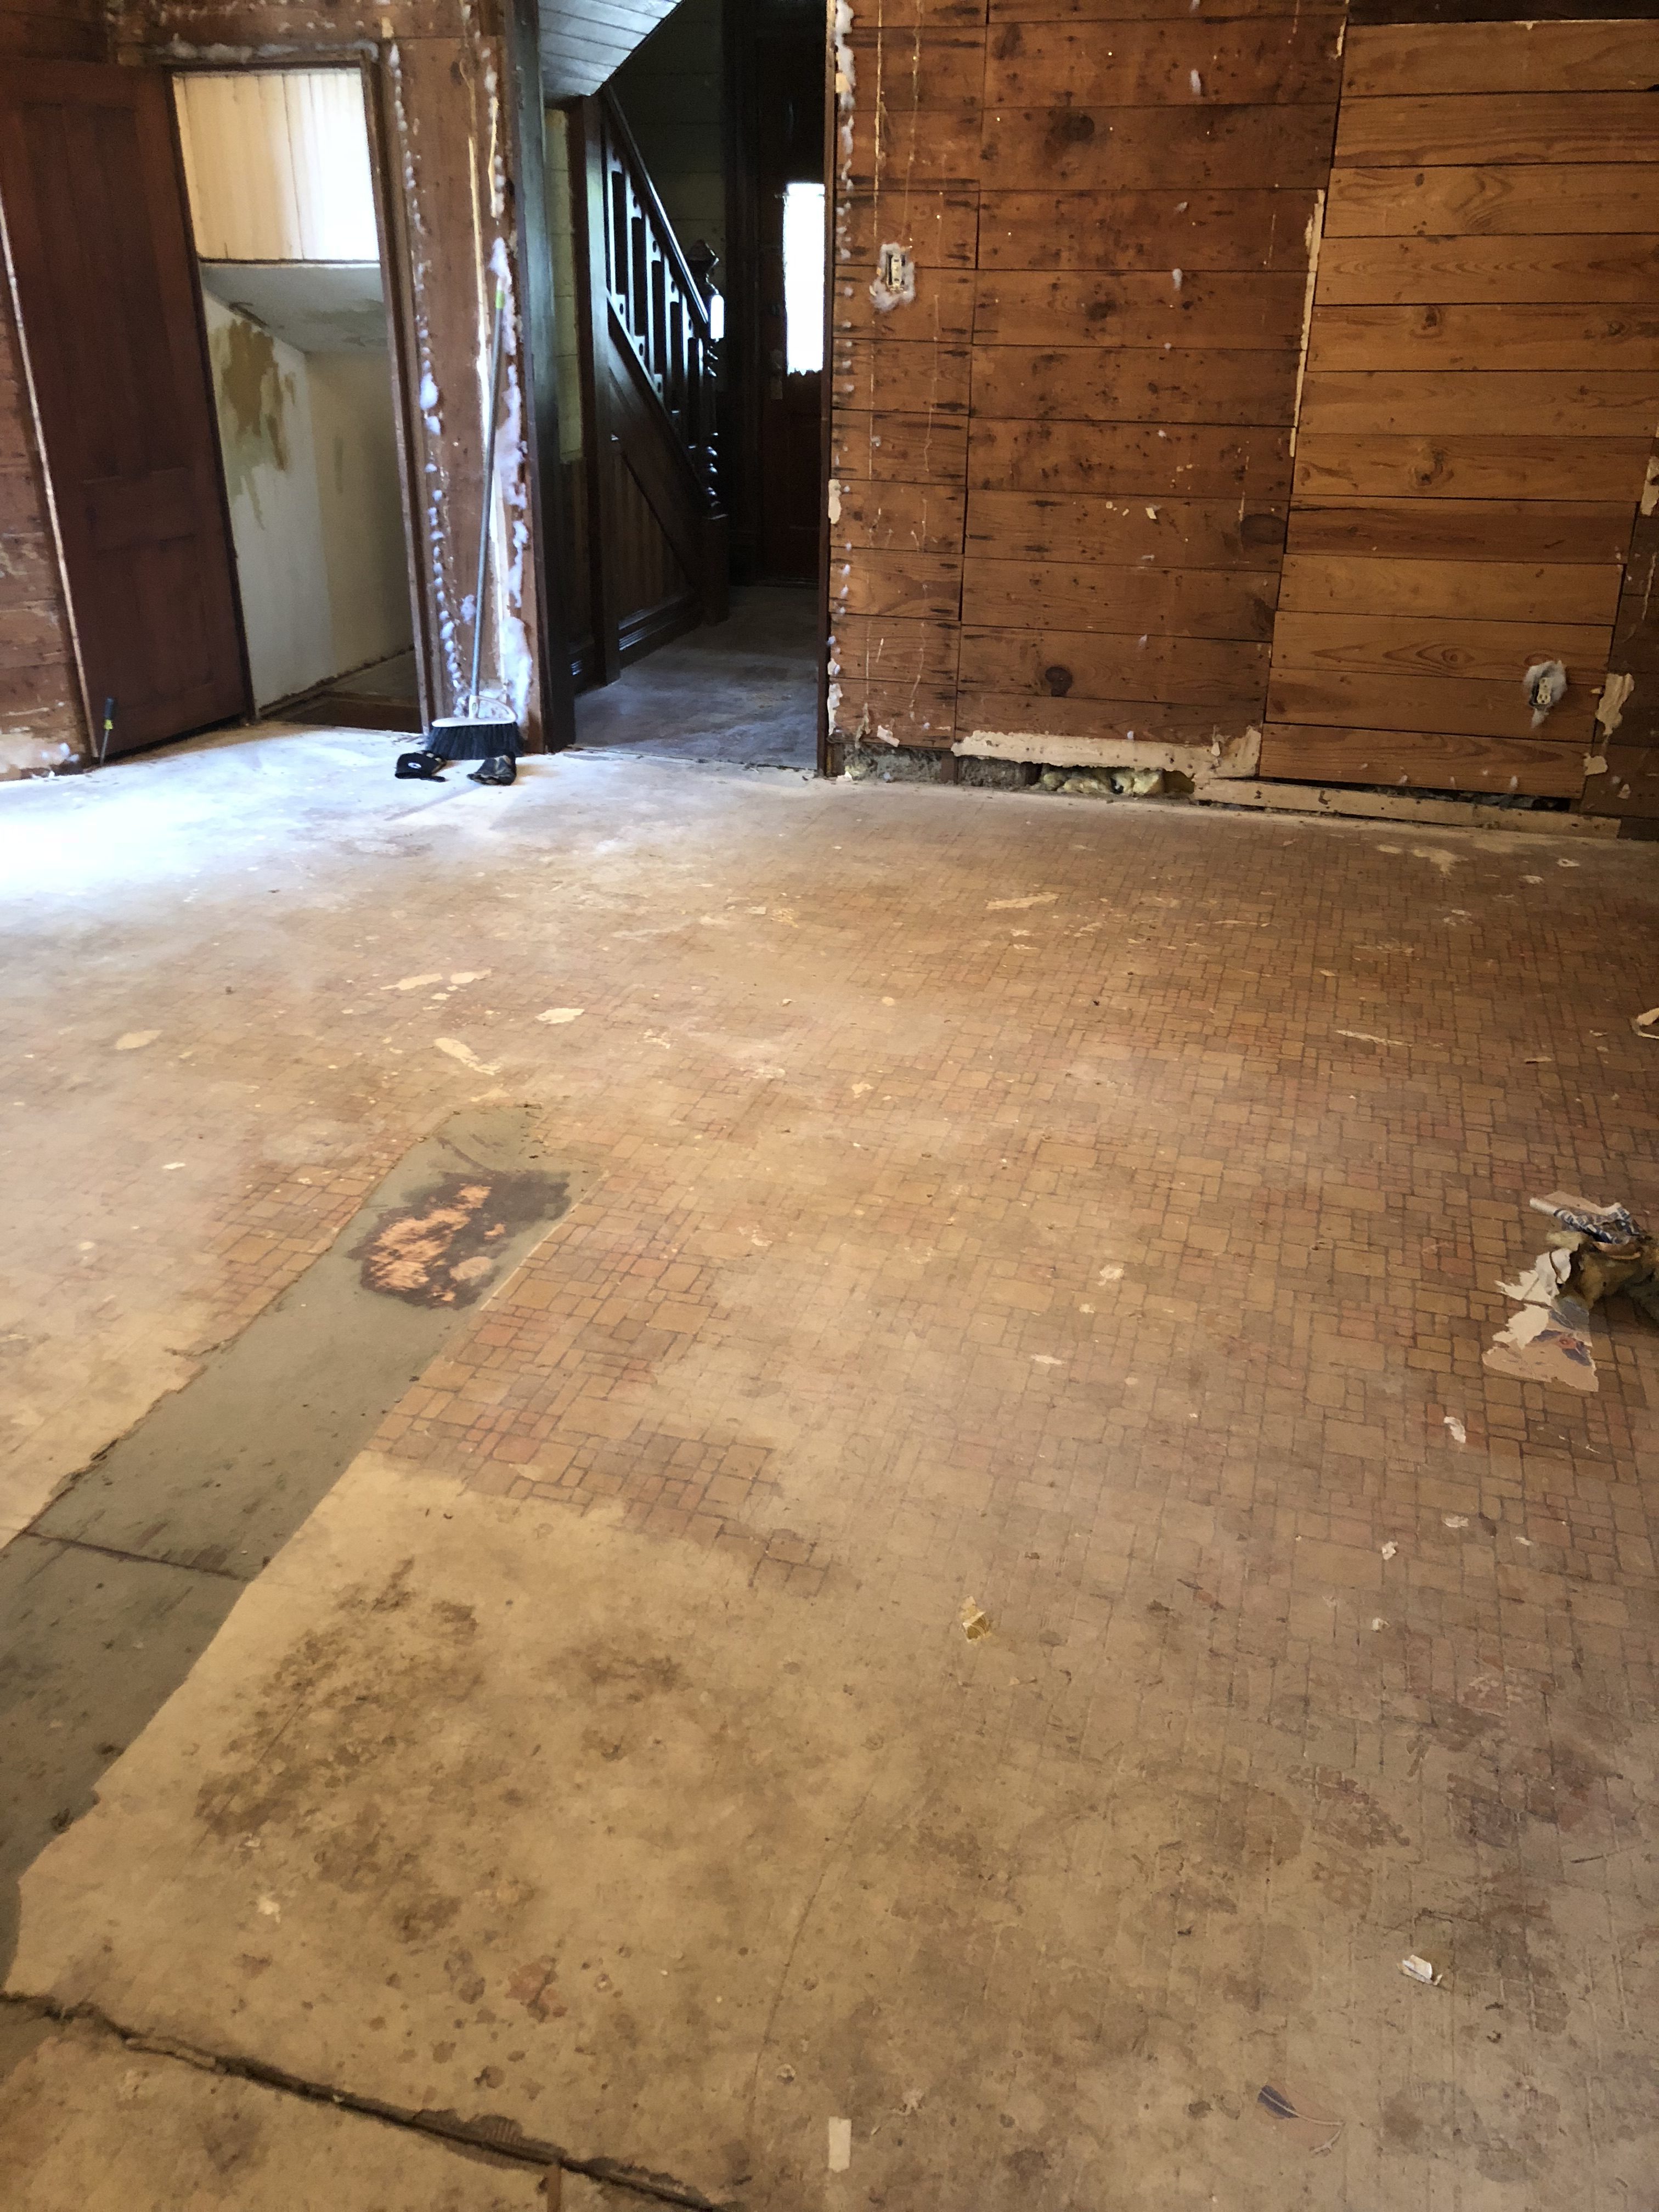
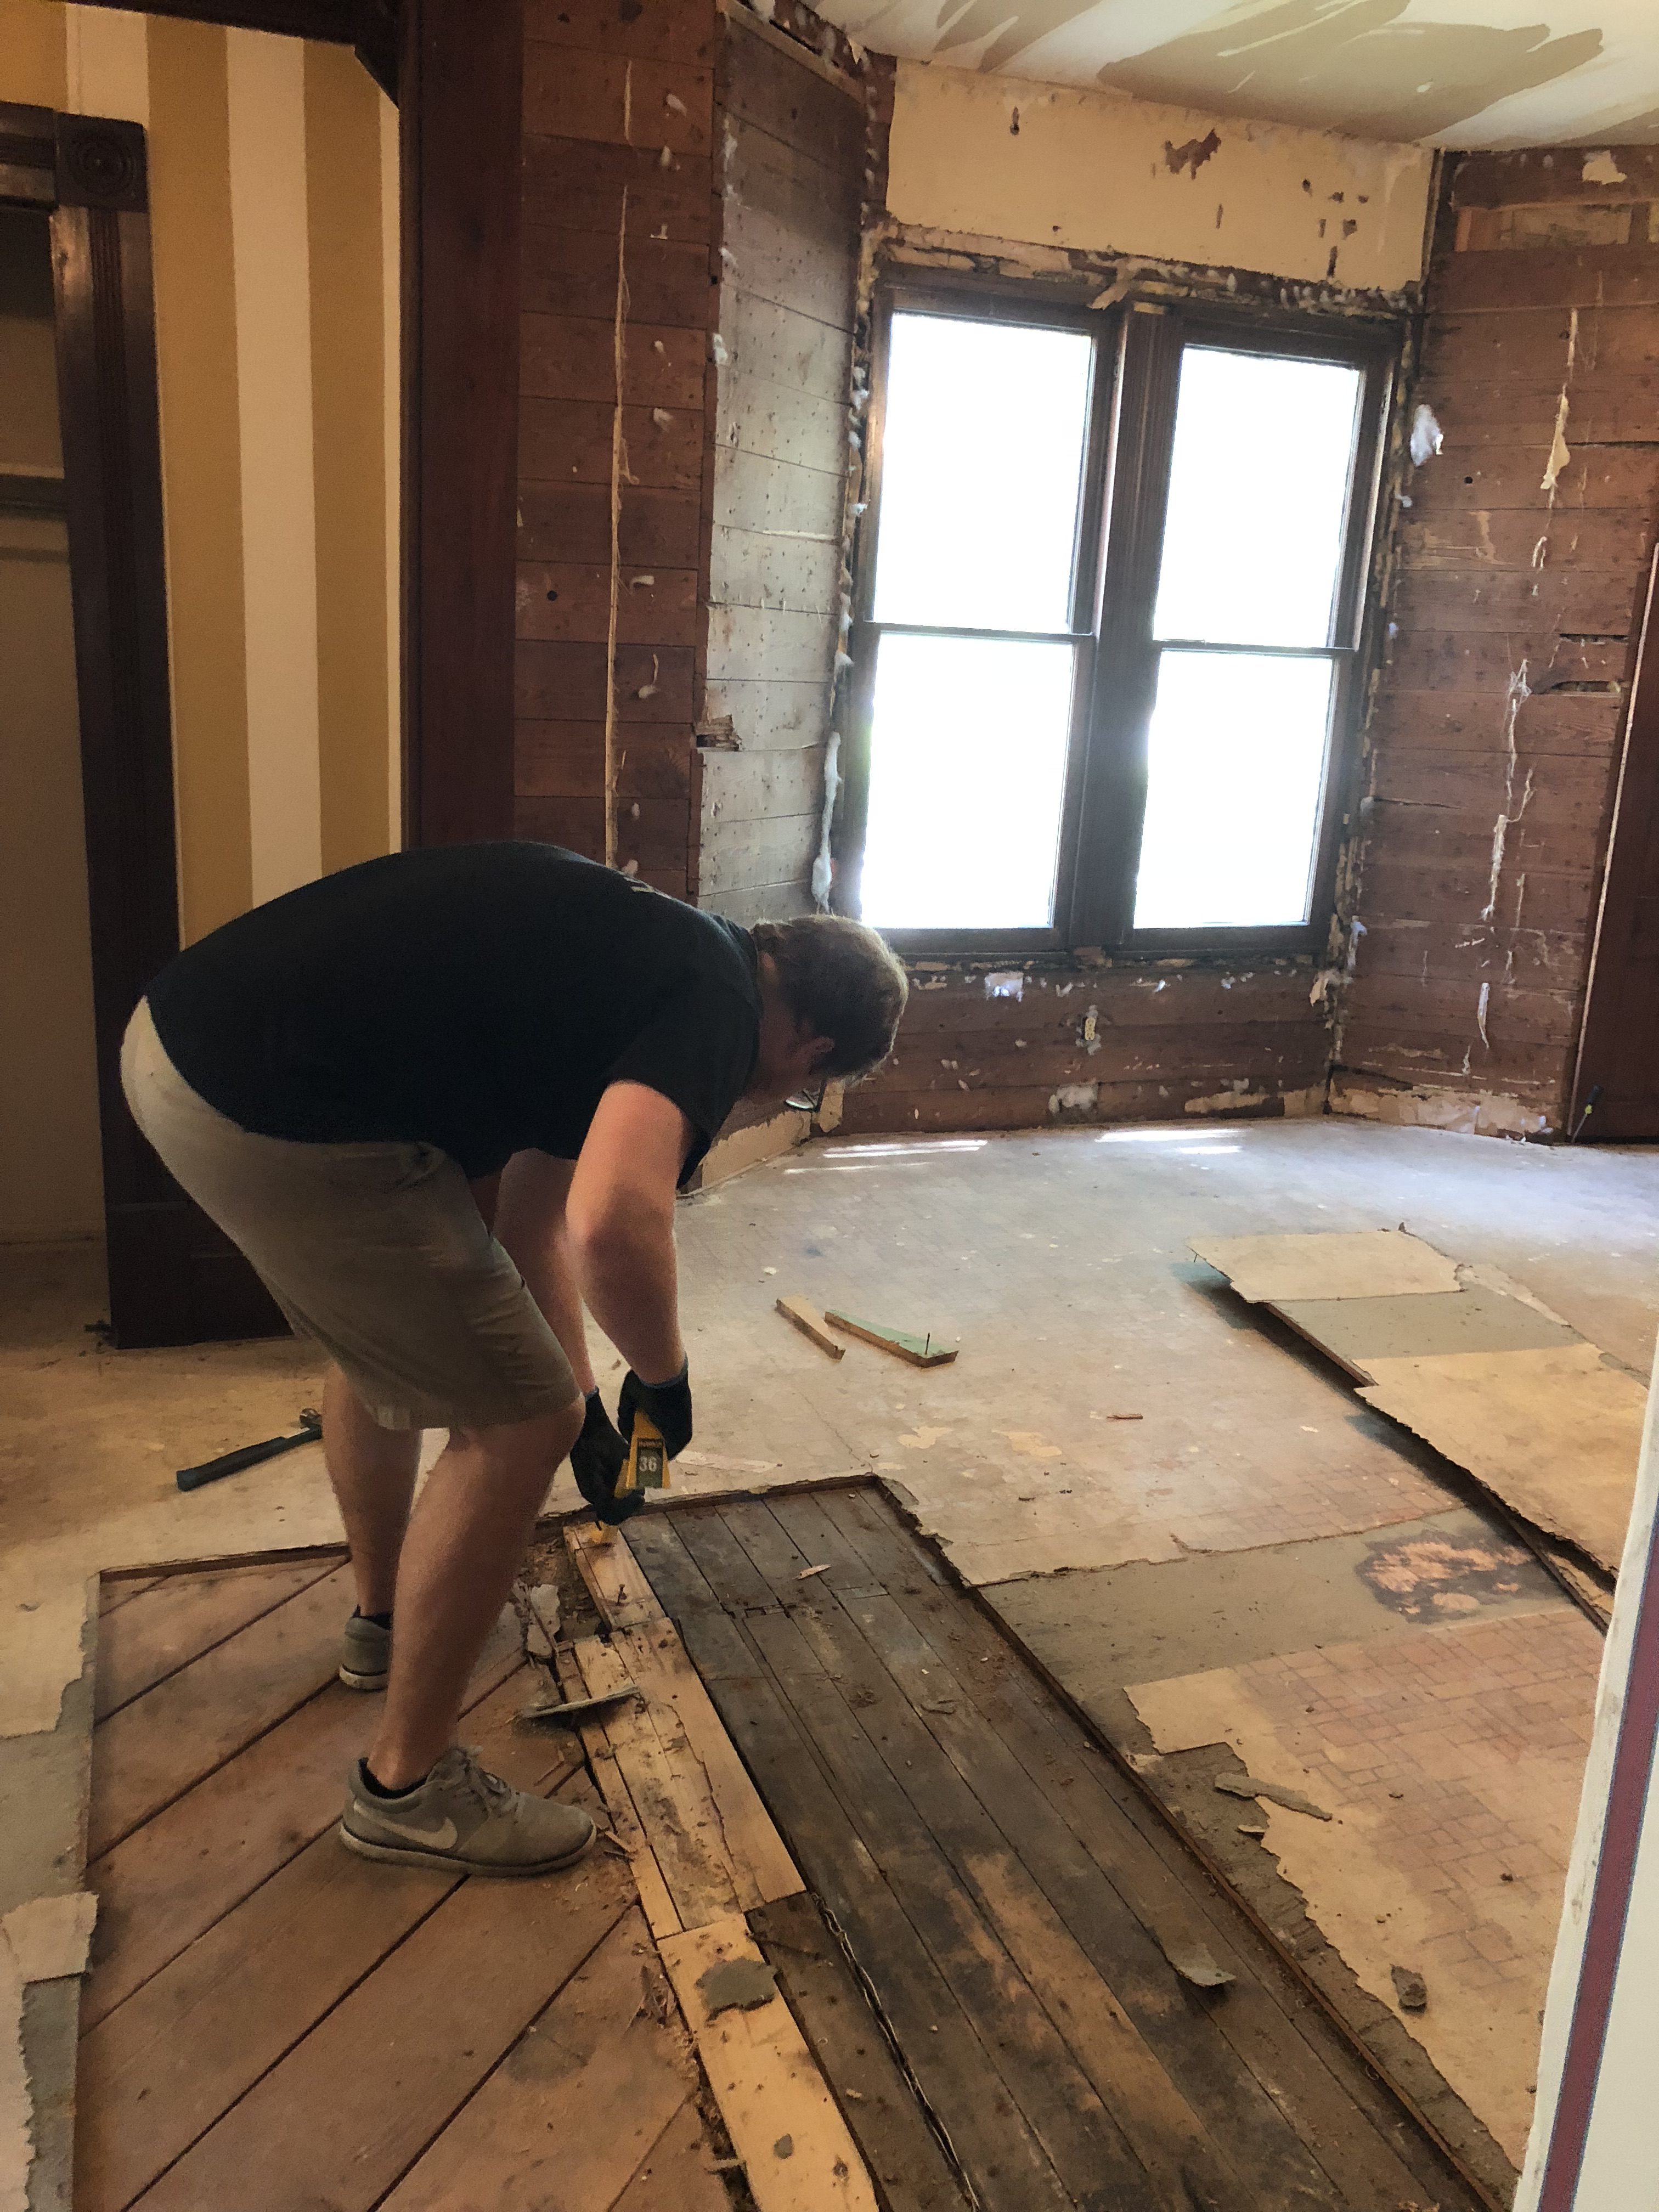
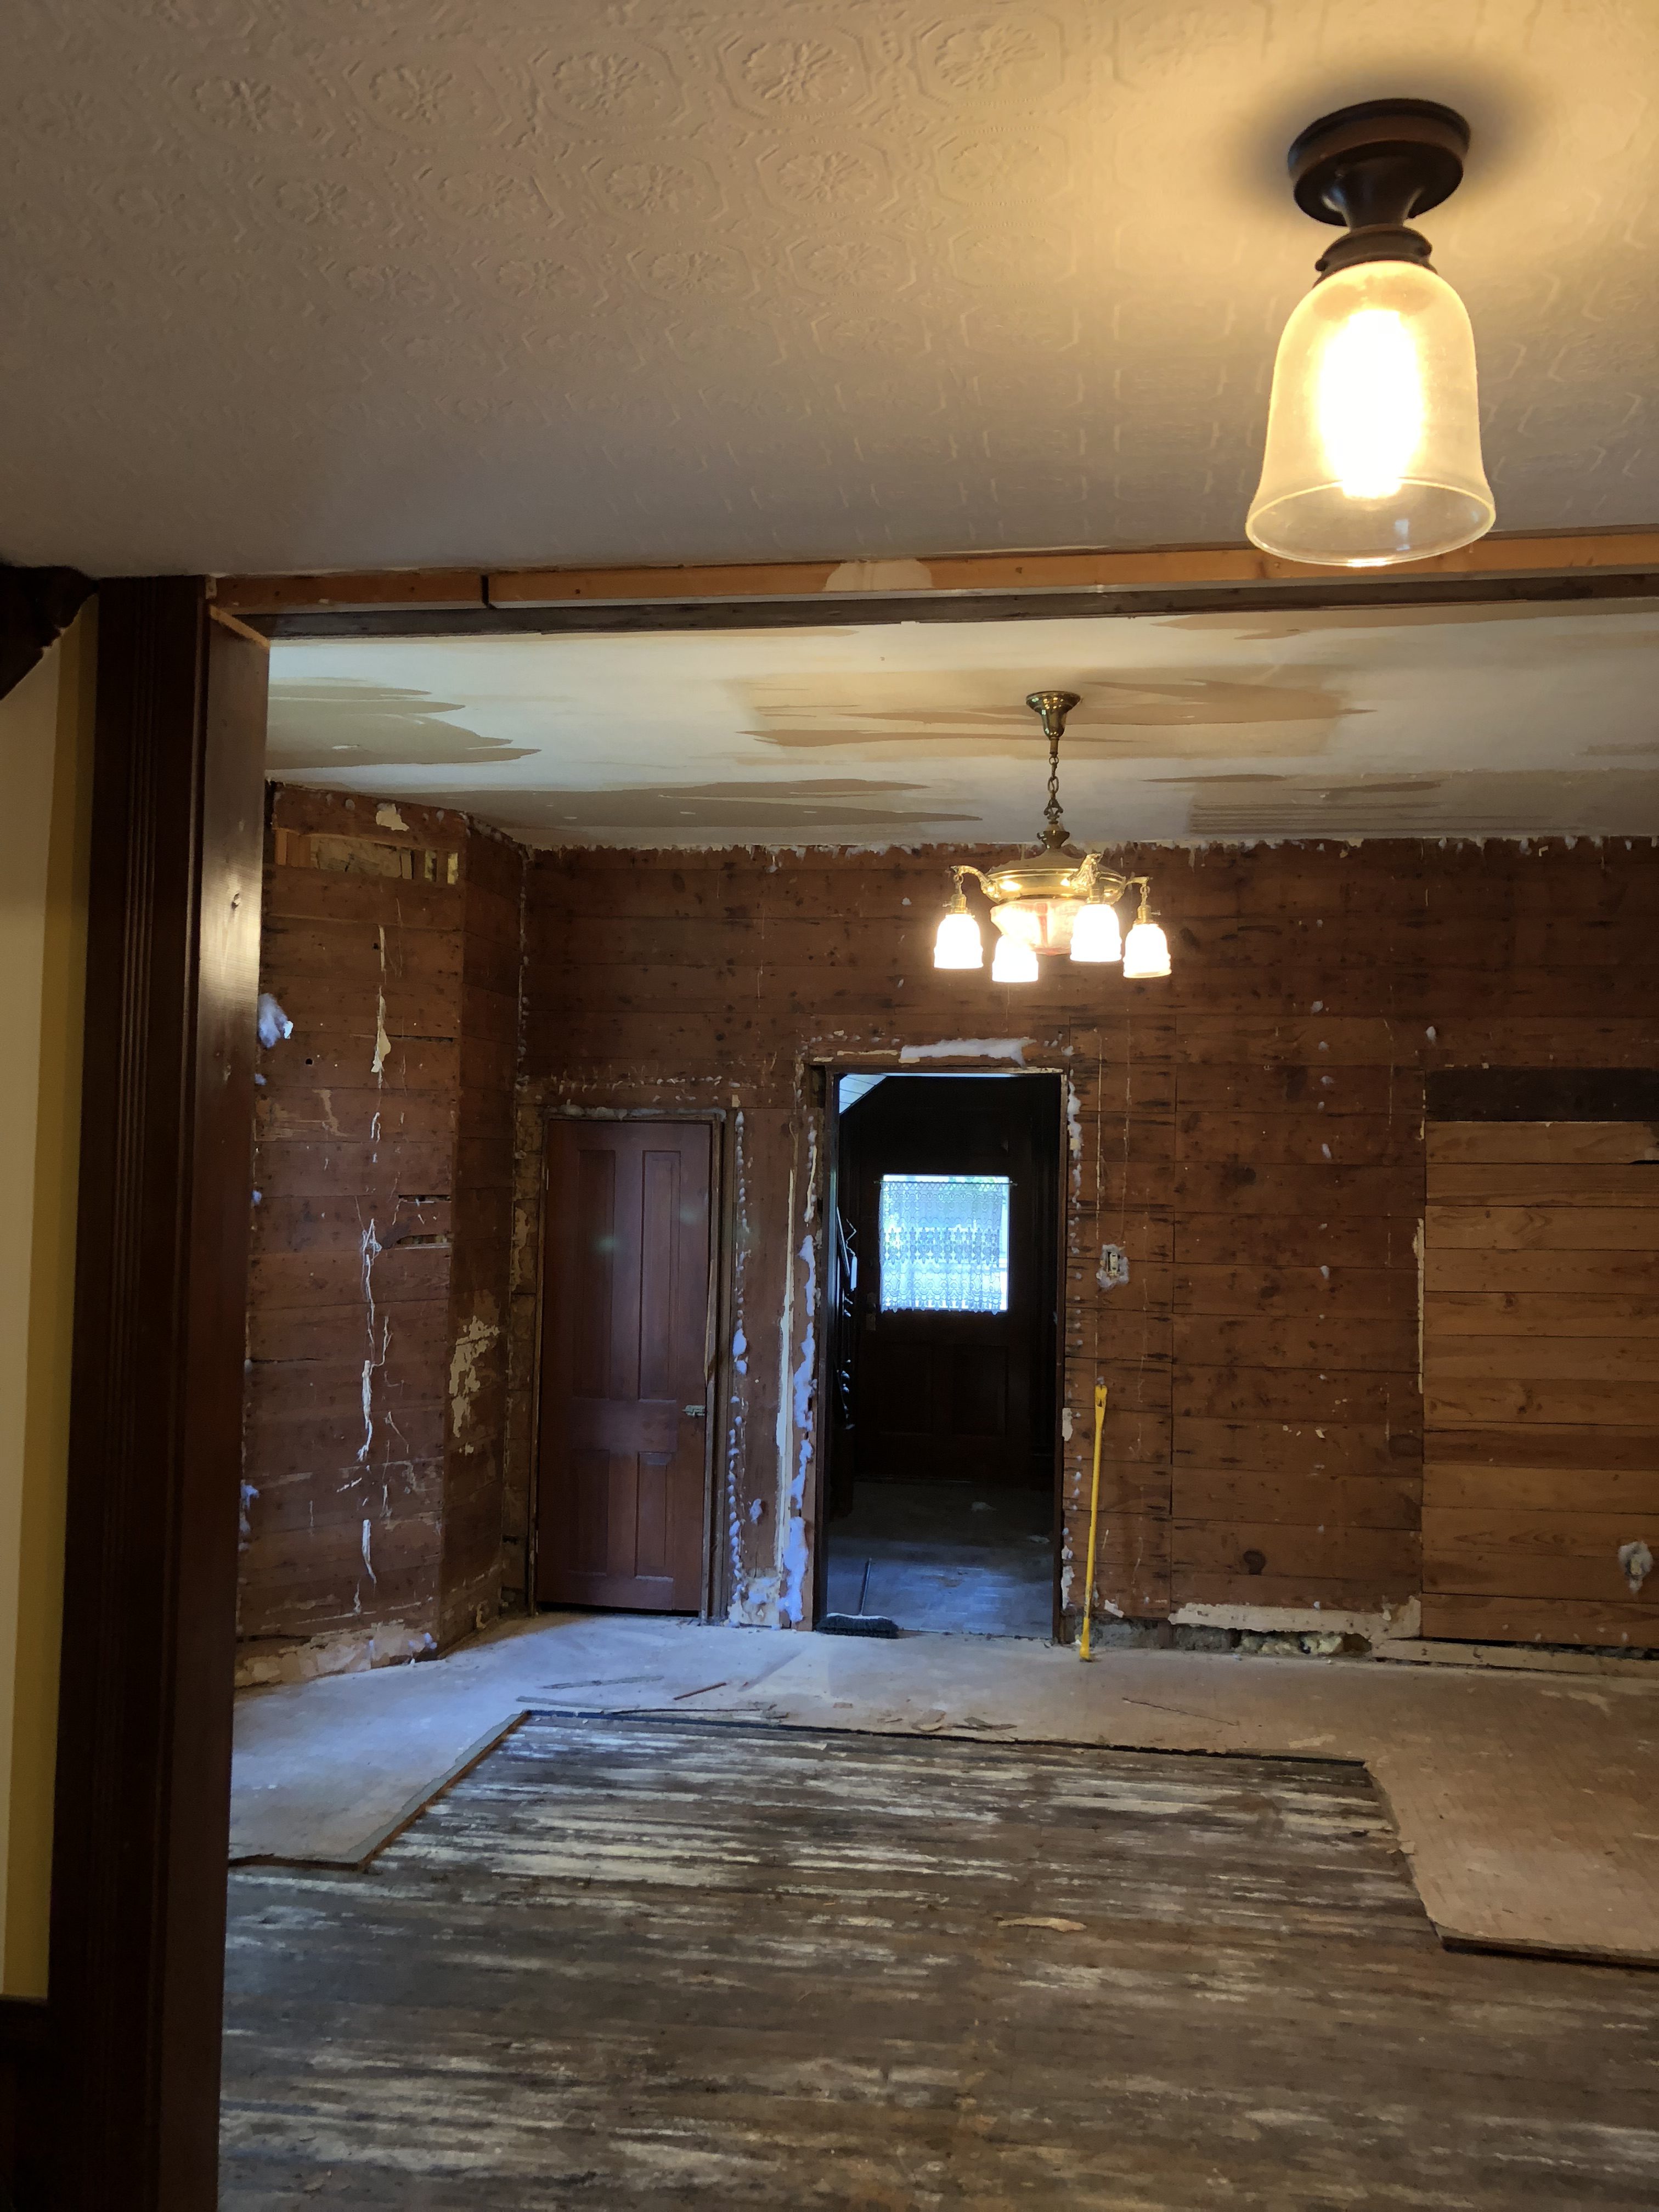
And then we bought the house at the end of July, but there was way more severe work to complete before I could even begin setting up the nursery. We basically purchased everything and set it up completely in one weekend, which was new for us. Every other room in our home has evolved over time, mostly as budget as allowed. This time, I spent months planning ahead of time, and then it all came together at once. Which was a pretty fun experience, in my opinion.

So anyway, I’m sure you want to see the nursery. I knew I wanted to use navy instead of the typical baby blue color, and I didn’t want a “theme.” The walls are the same color as the rest of our house, Polar Bear, by Behr. I wanted everything to have a neutral palette, with just touches of navy here and there.

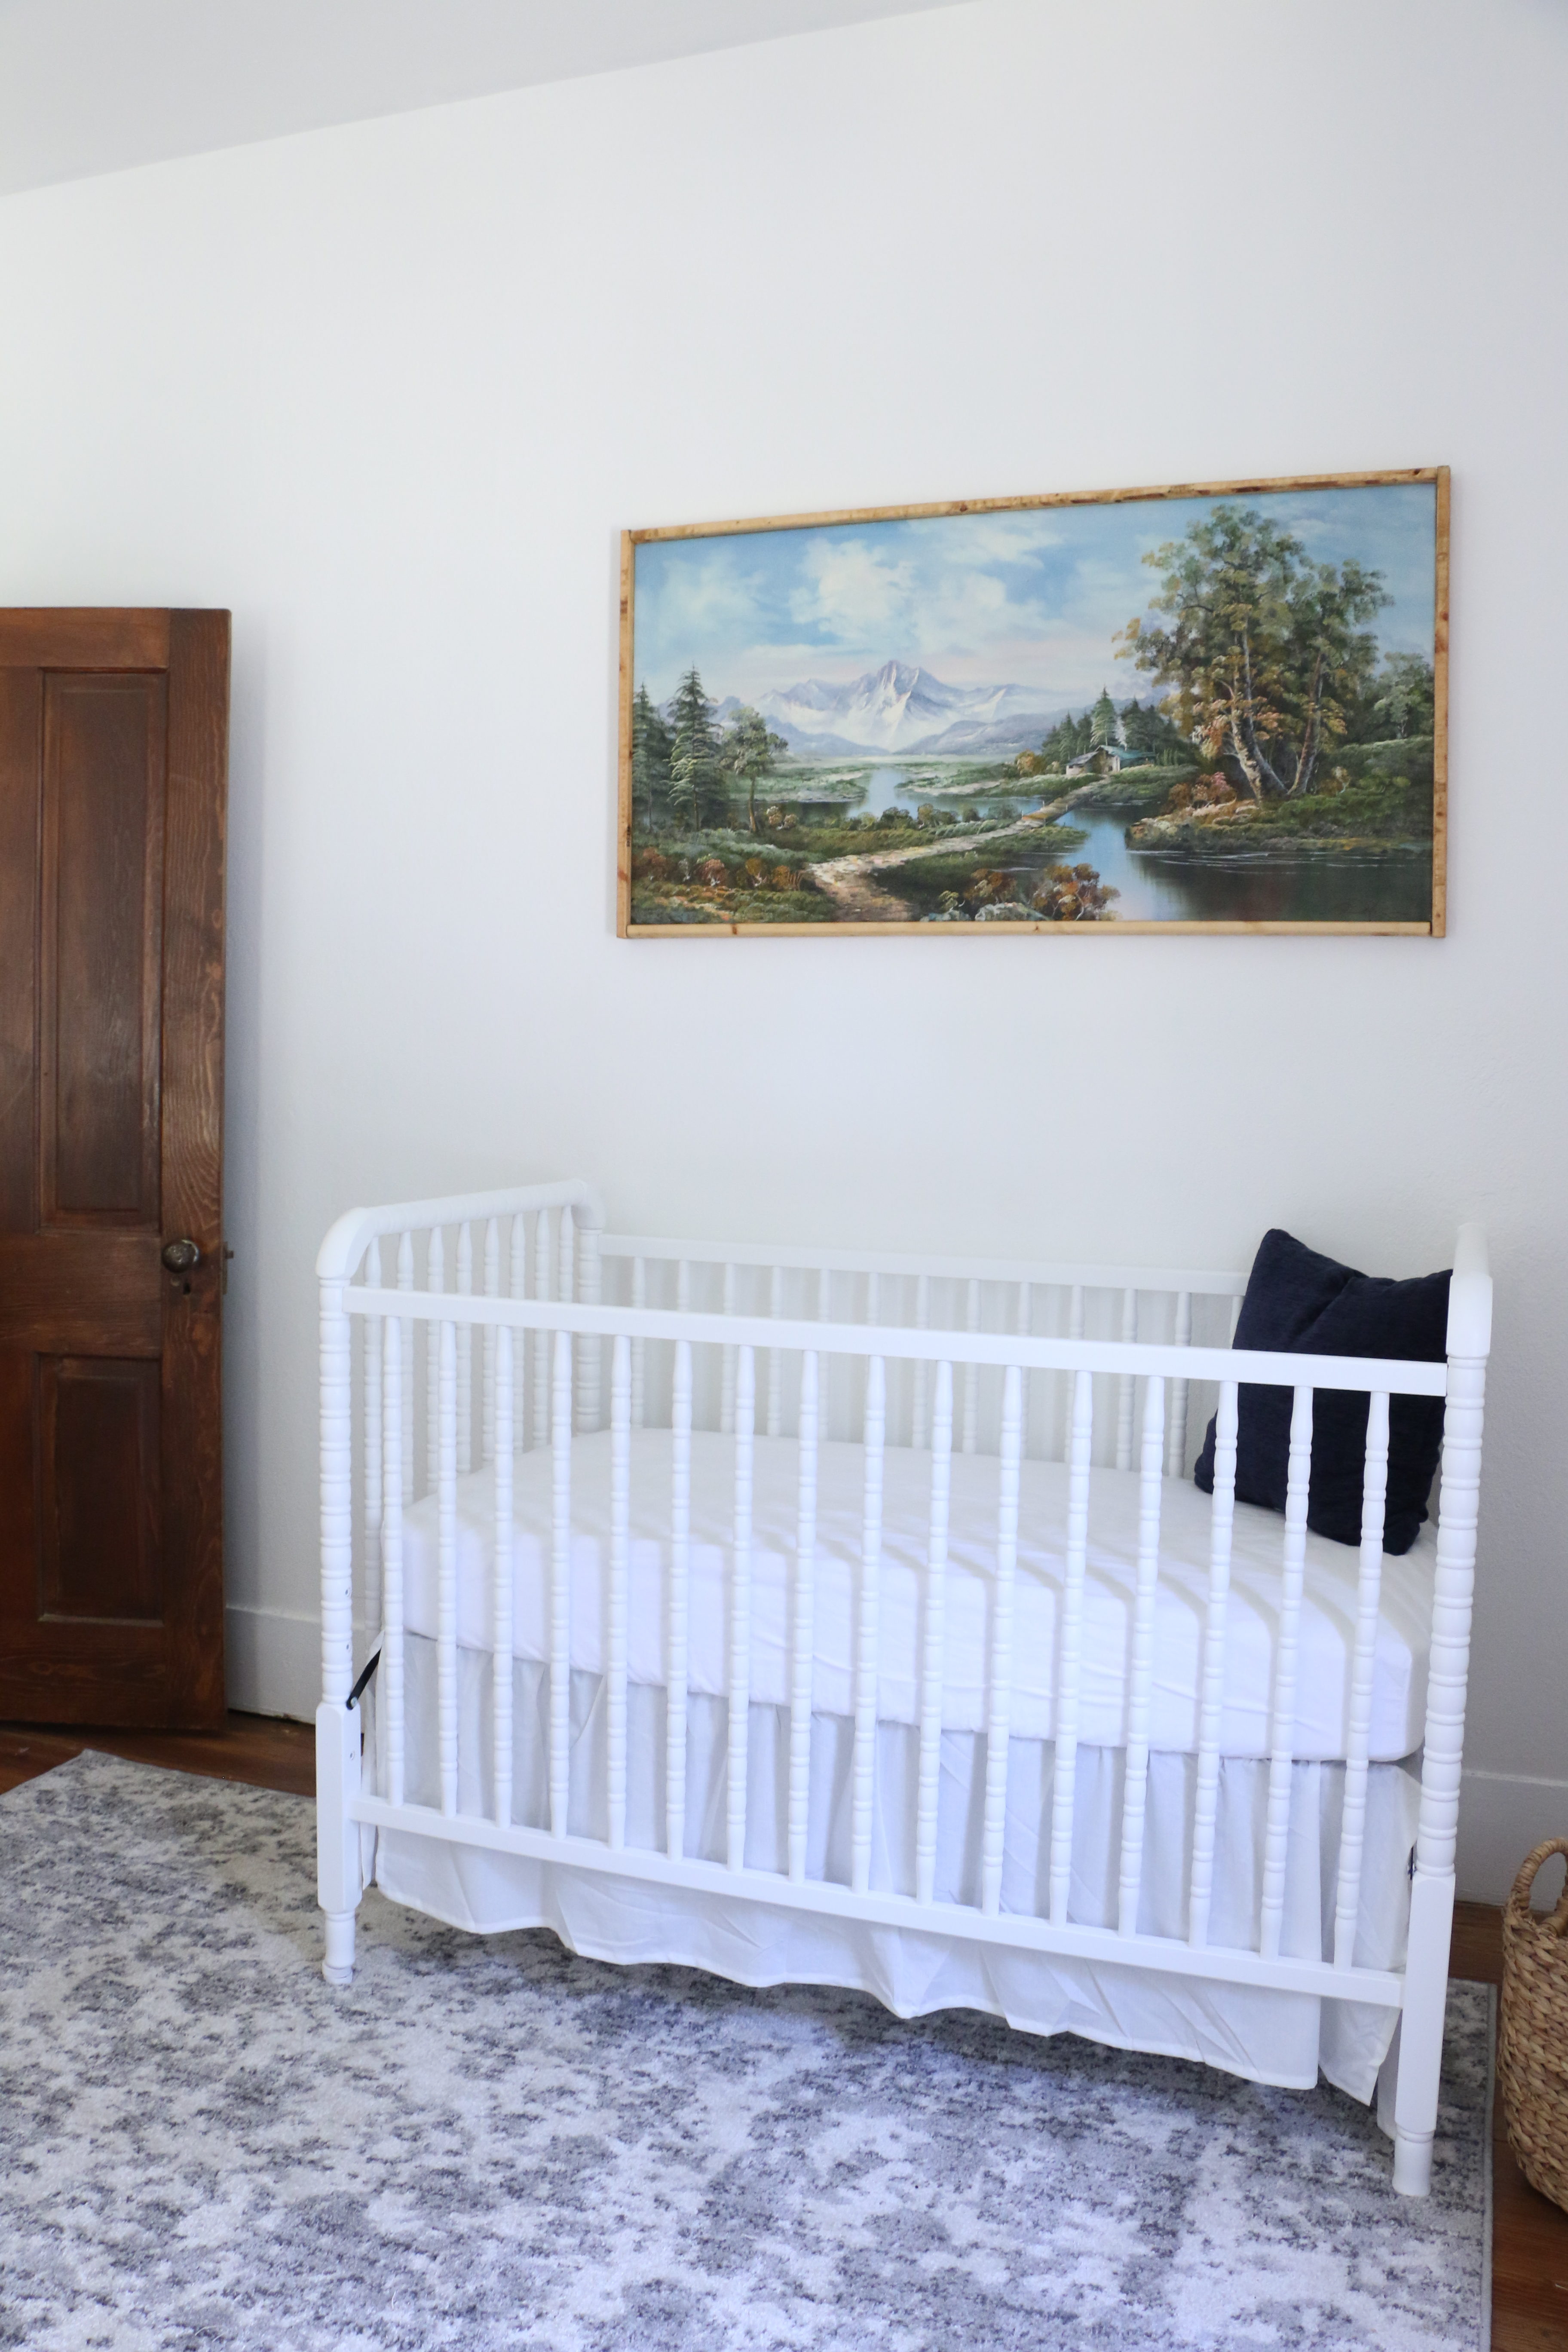
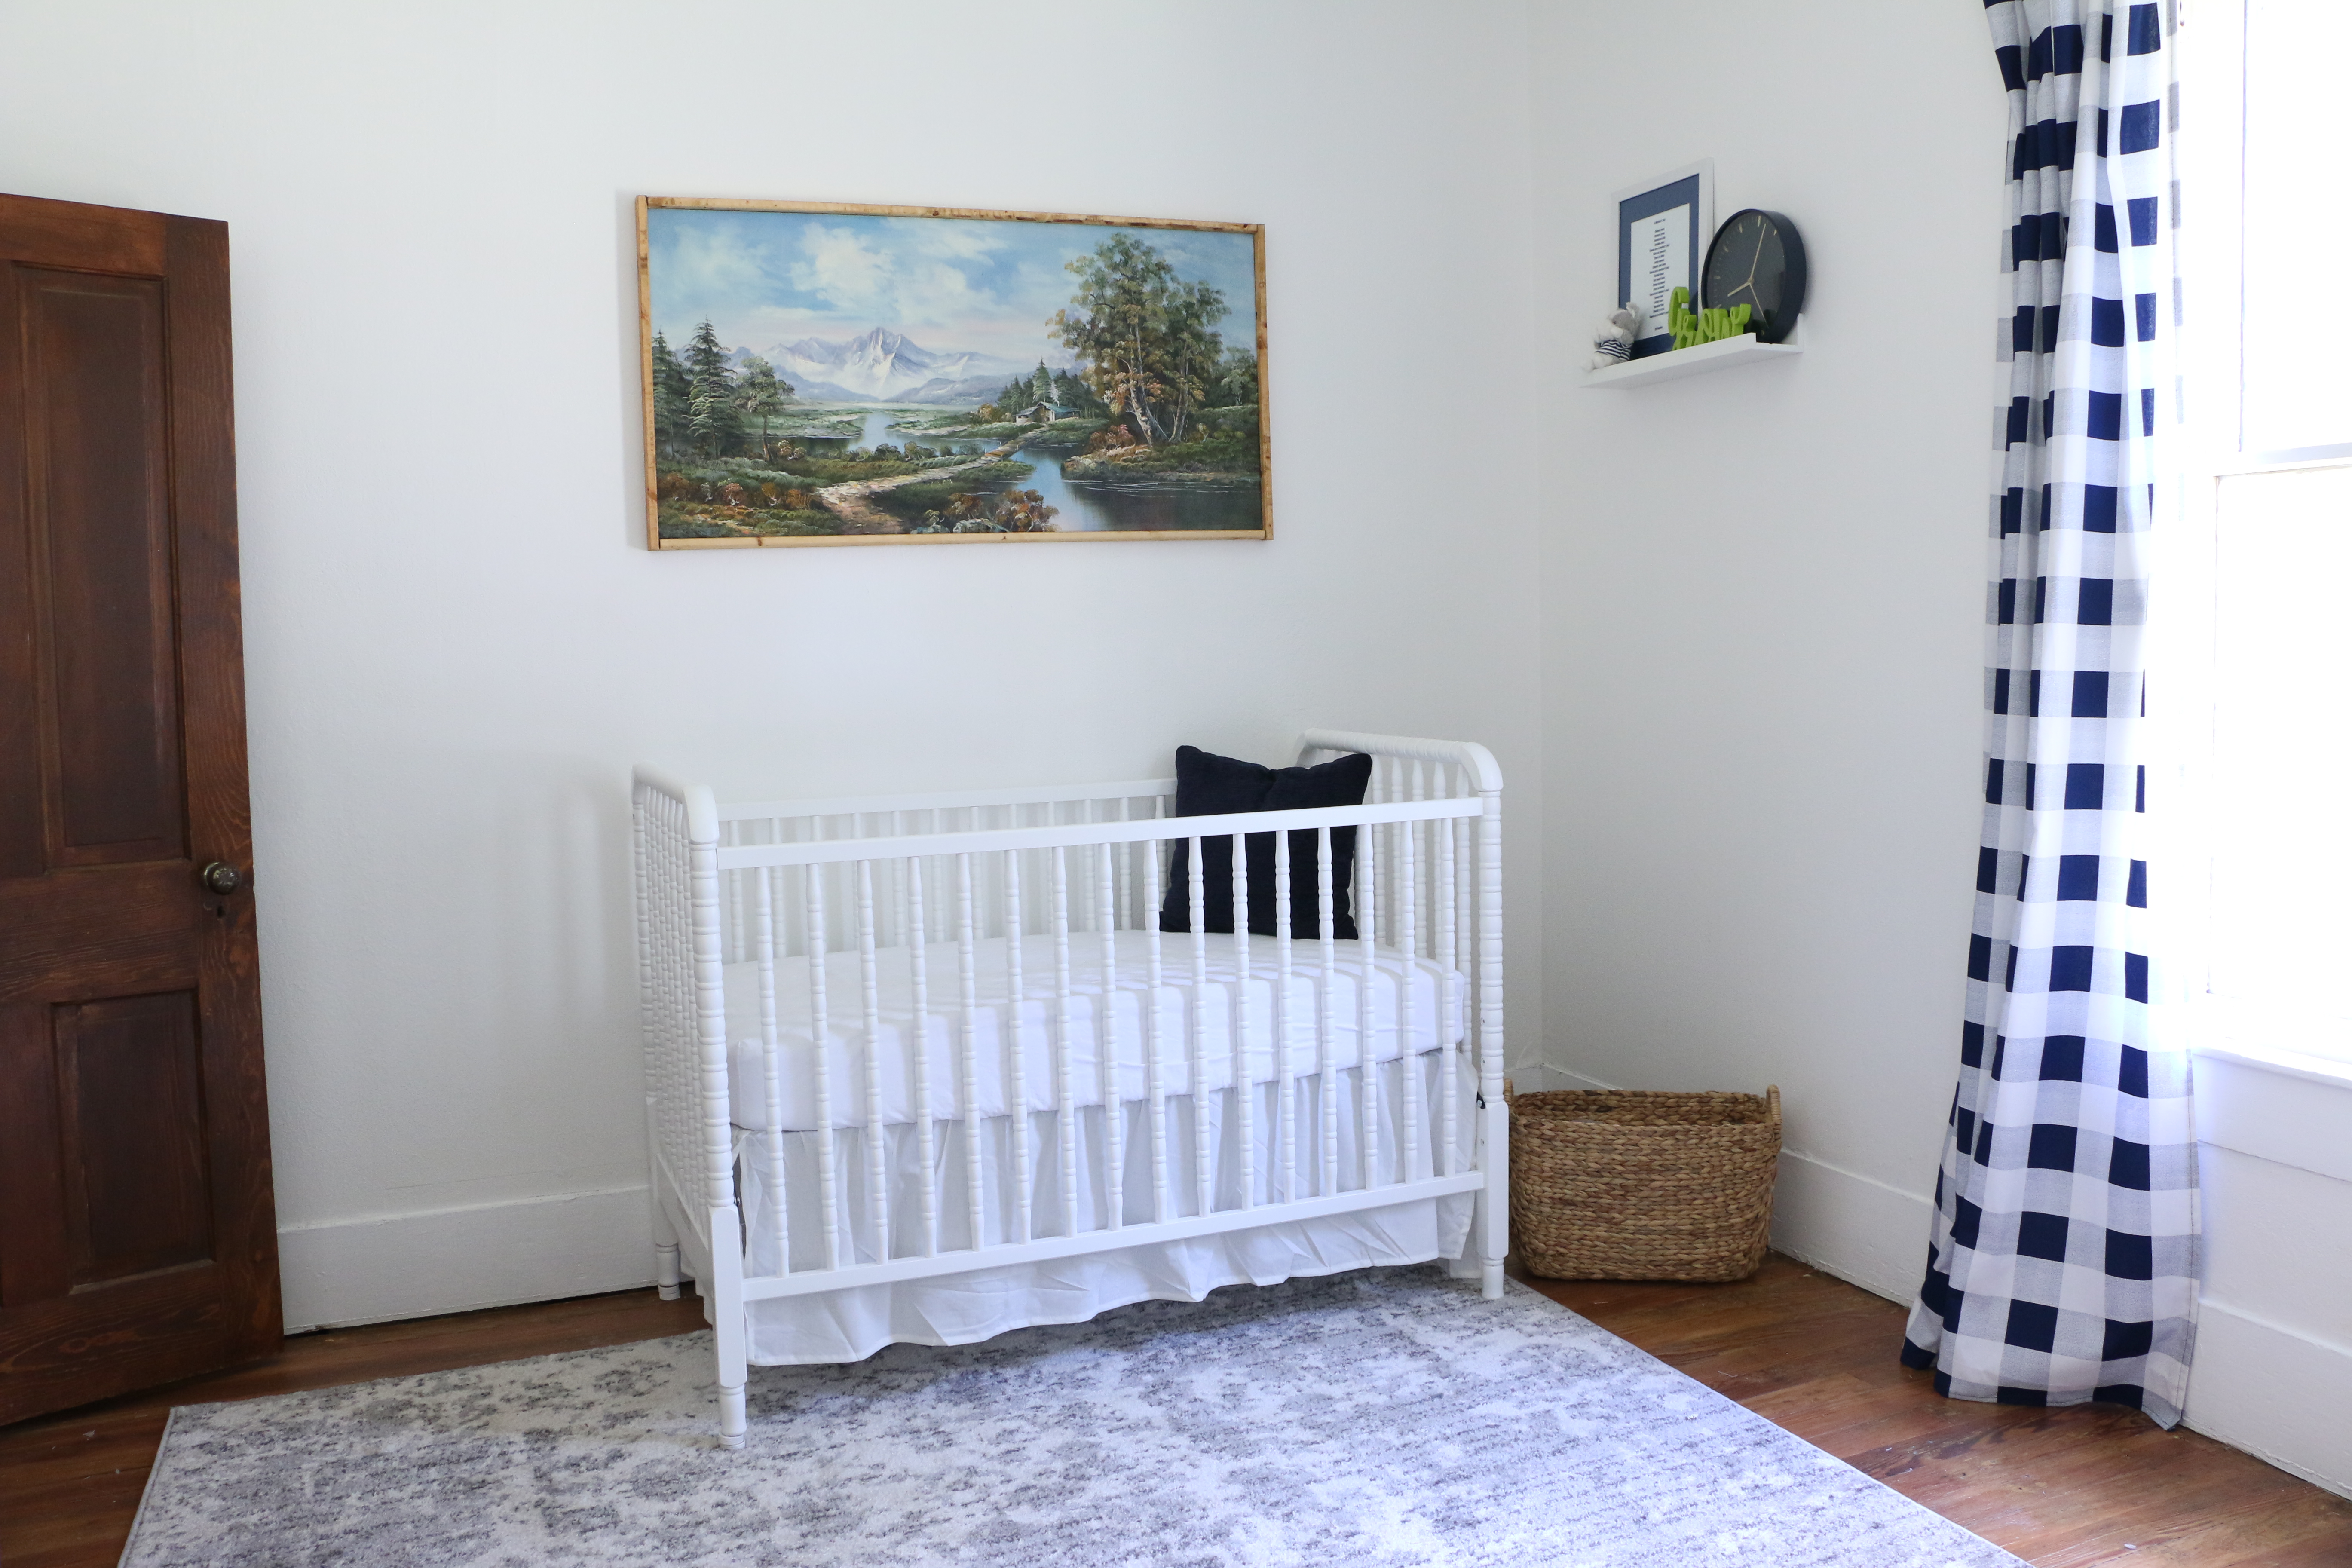
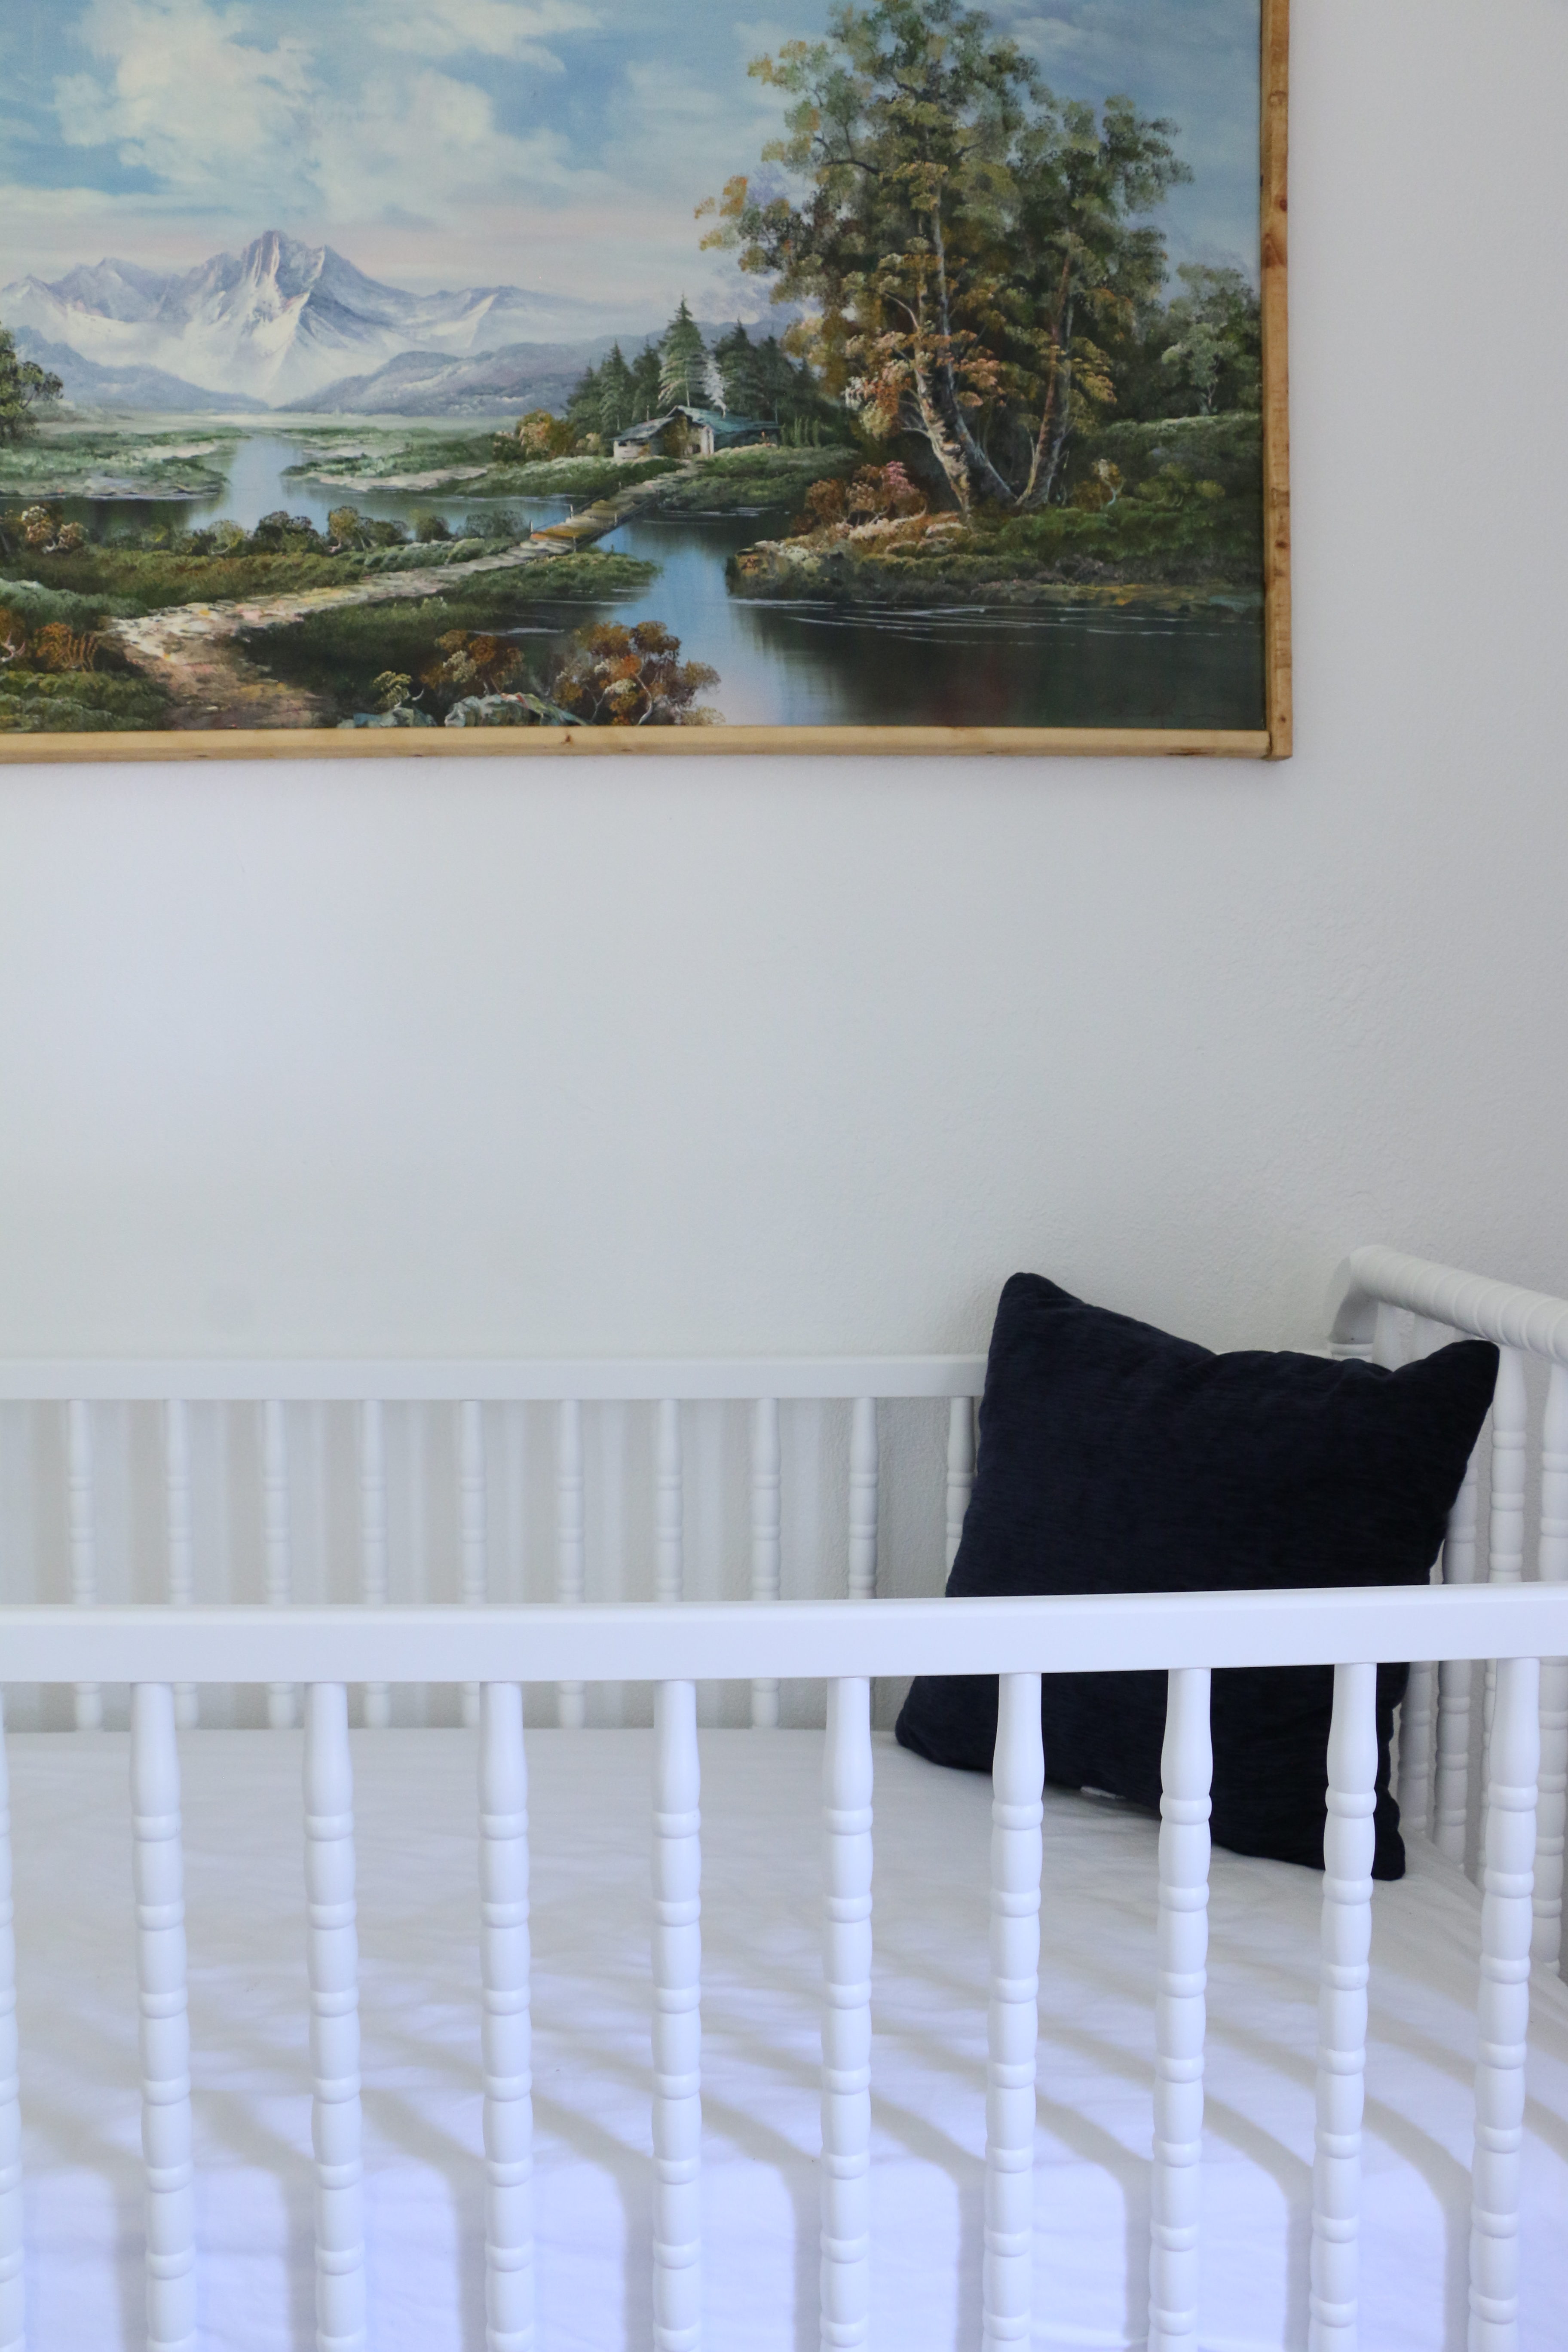
I knew I wanted a white Jenny Lind crib long before I was ever pregnant. I just think it’s super classic, and I’ve always loved the look of them. The bedding is from Target, and the bedskirt is from IKEA. I love the crispness of all the white, I think it’s just timeless. The navy accent pillows are from Target, but don’t worry, it’s only in these photos for contrast. It doesn’t actually stay in there!

The art work was one of those moments the flea market gods are smiling down at you. I knew what I was looking for, and generally when you have something to specific in mind, you can never find it. We were shopping at my favorite flea market in Canton, TX when I spotted it. I usually will walk up to an item with a maximum budget of how much I’m willing to spend before I even inquire about the price. In my head, I knew I would be willing to spend about $50 on the piece, and when I asked the vendor how much she wanted for it, she offhandedly said, “oh, twenty bucks.” I could not get out of there fast enough! I practically grabbed the thing and ran! It had an old gaudy frame on it, which I removed and added a stained 1×2 wooded frame. It took me about fifteen minutes to make the frame, with supplies I had on hand in the garage.

The glider isn’t sold anymore, because it was a line sold at Babies’r’Us (RIP). We were able to get it for 50% off during their going-out-of-business sale.

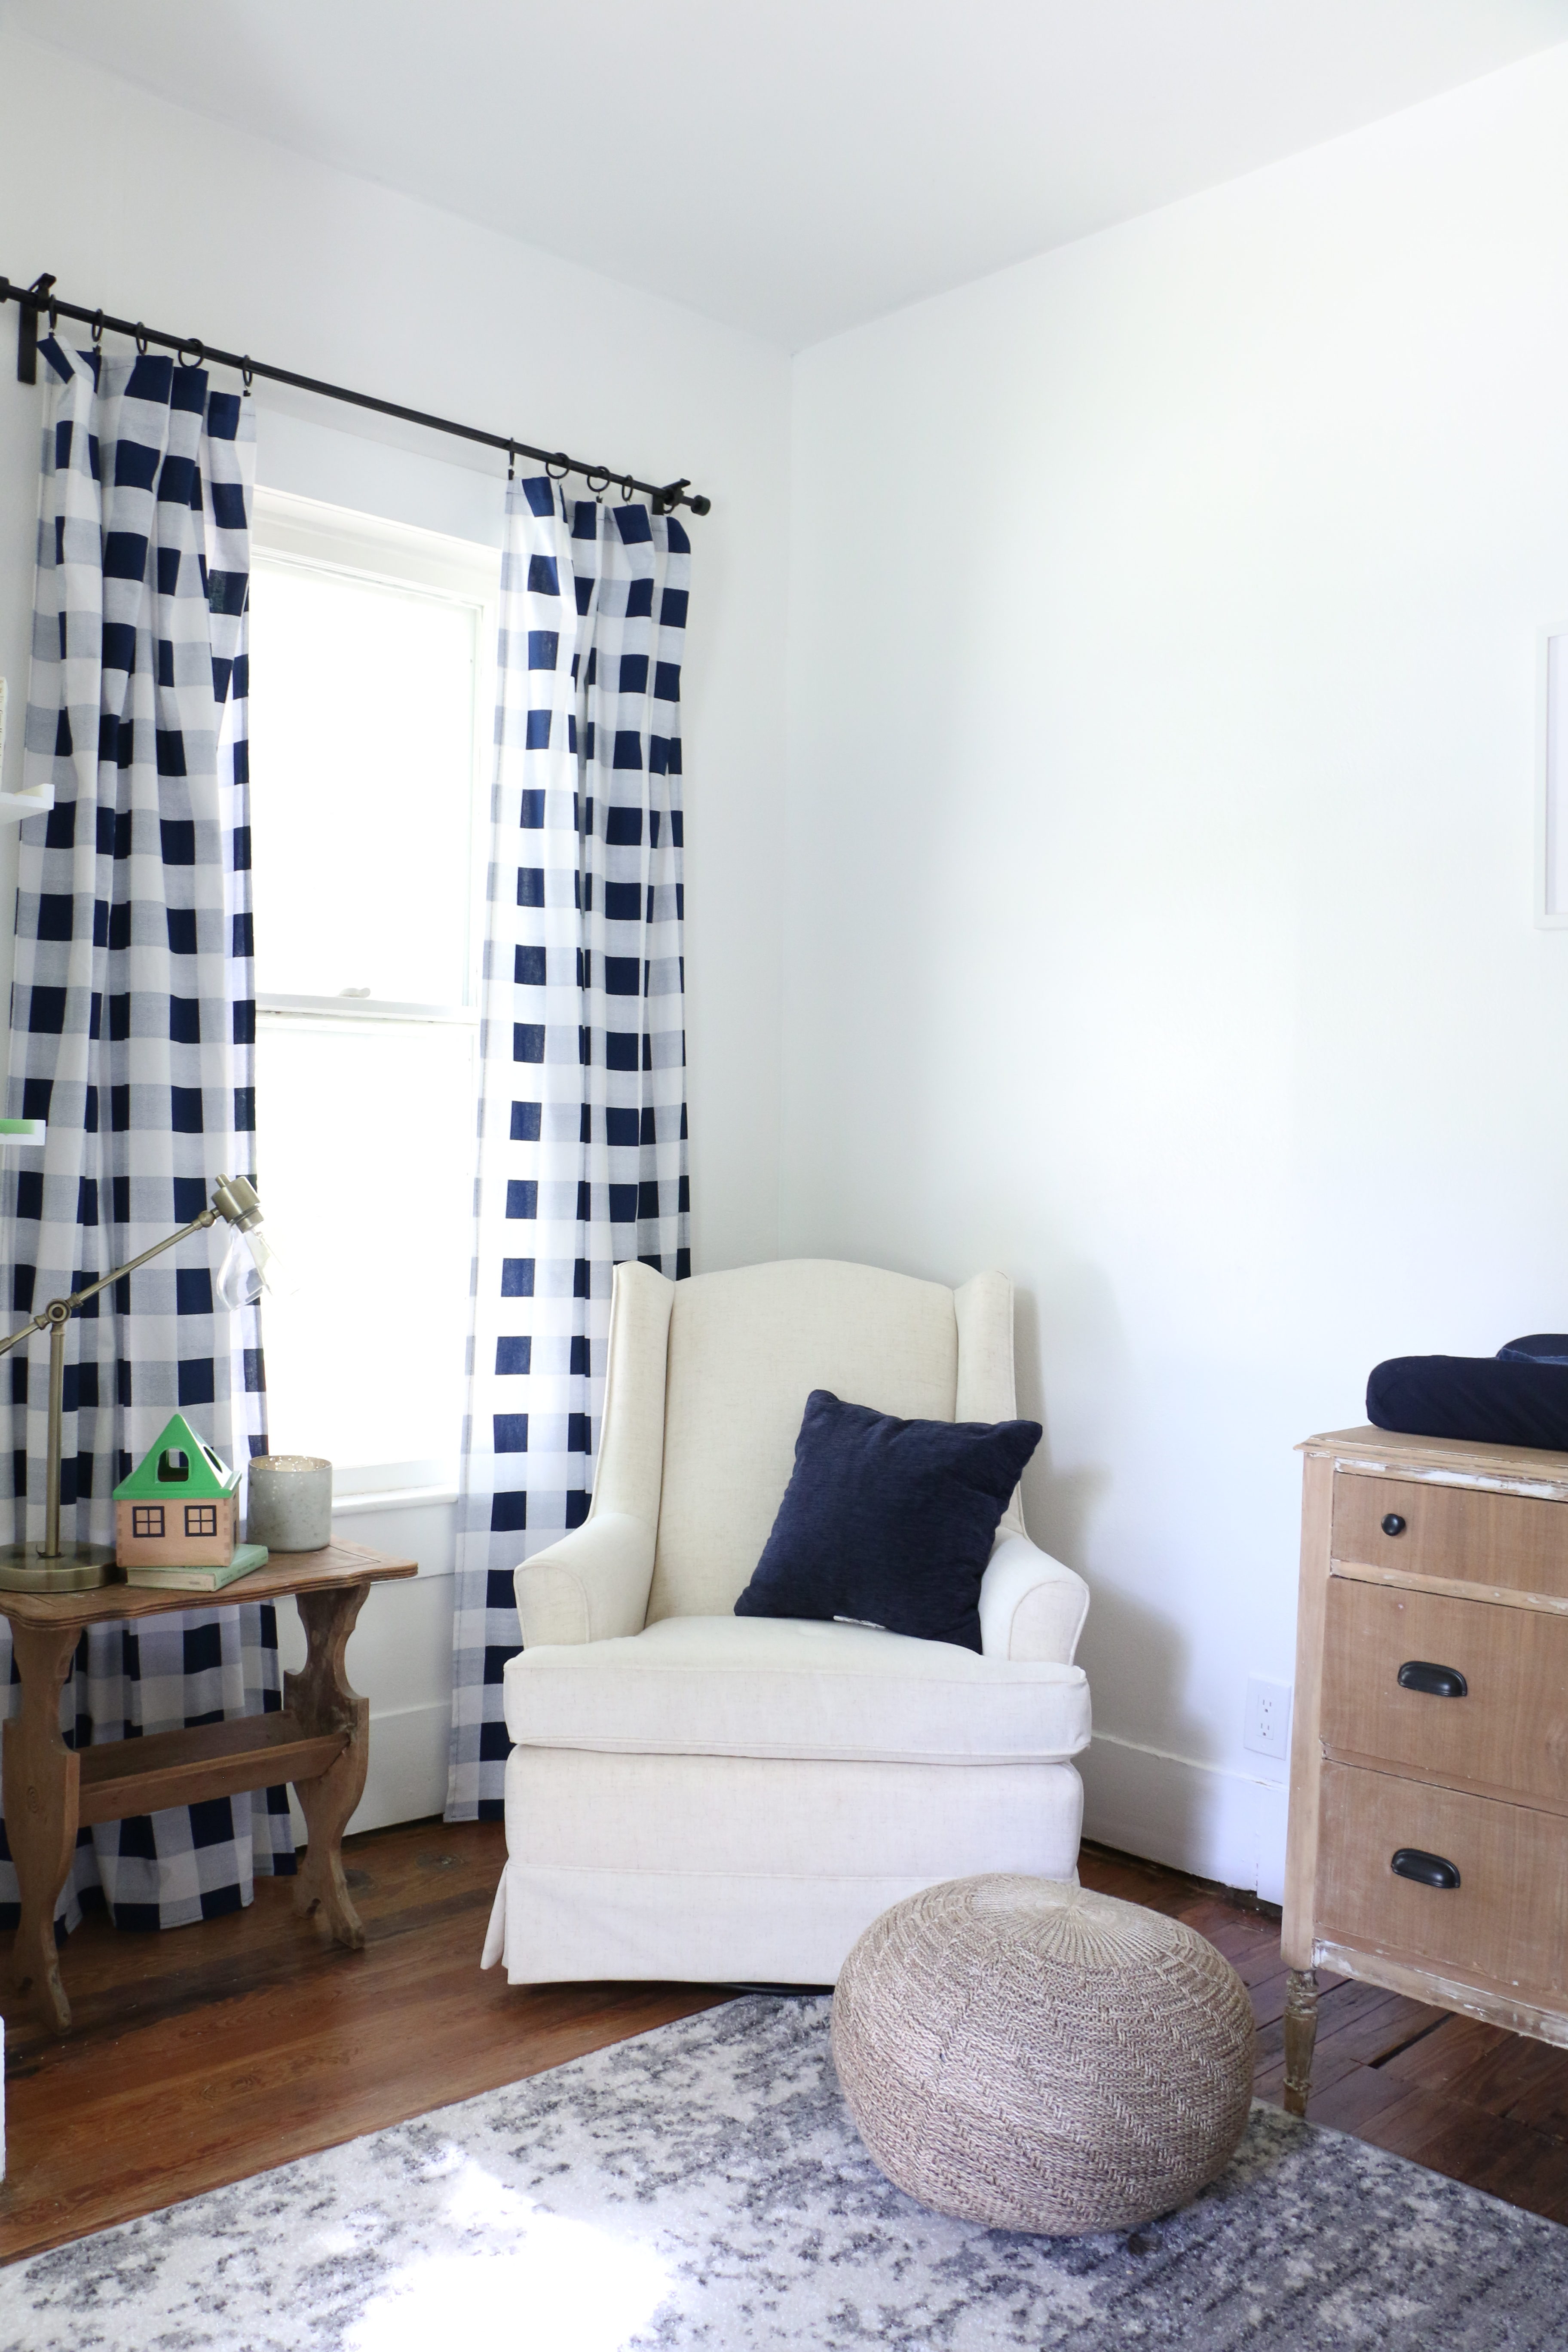
I scored the accent table at the Canton flea market, from my favorite vendor, Canton Bill. He’s a precious elderly man with the best junk and the best prices. I snagged this table for $10, and I didn’t even have to haggle!

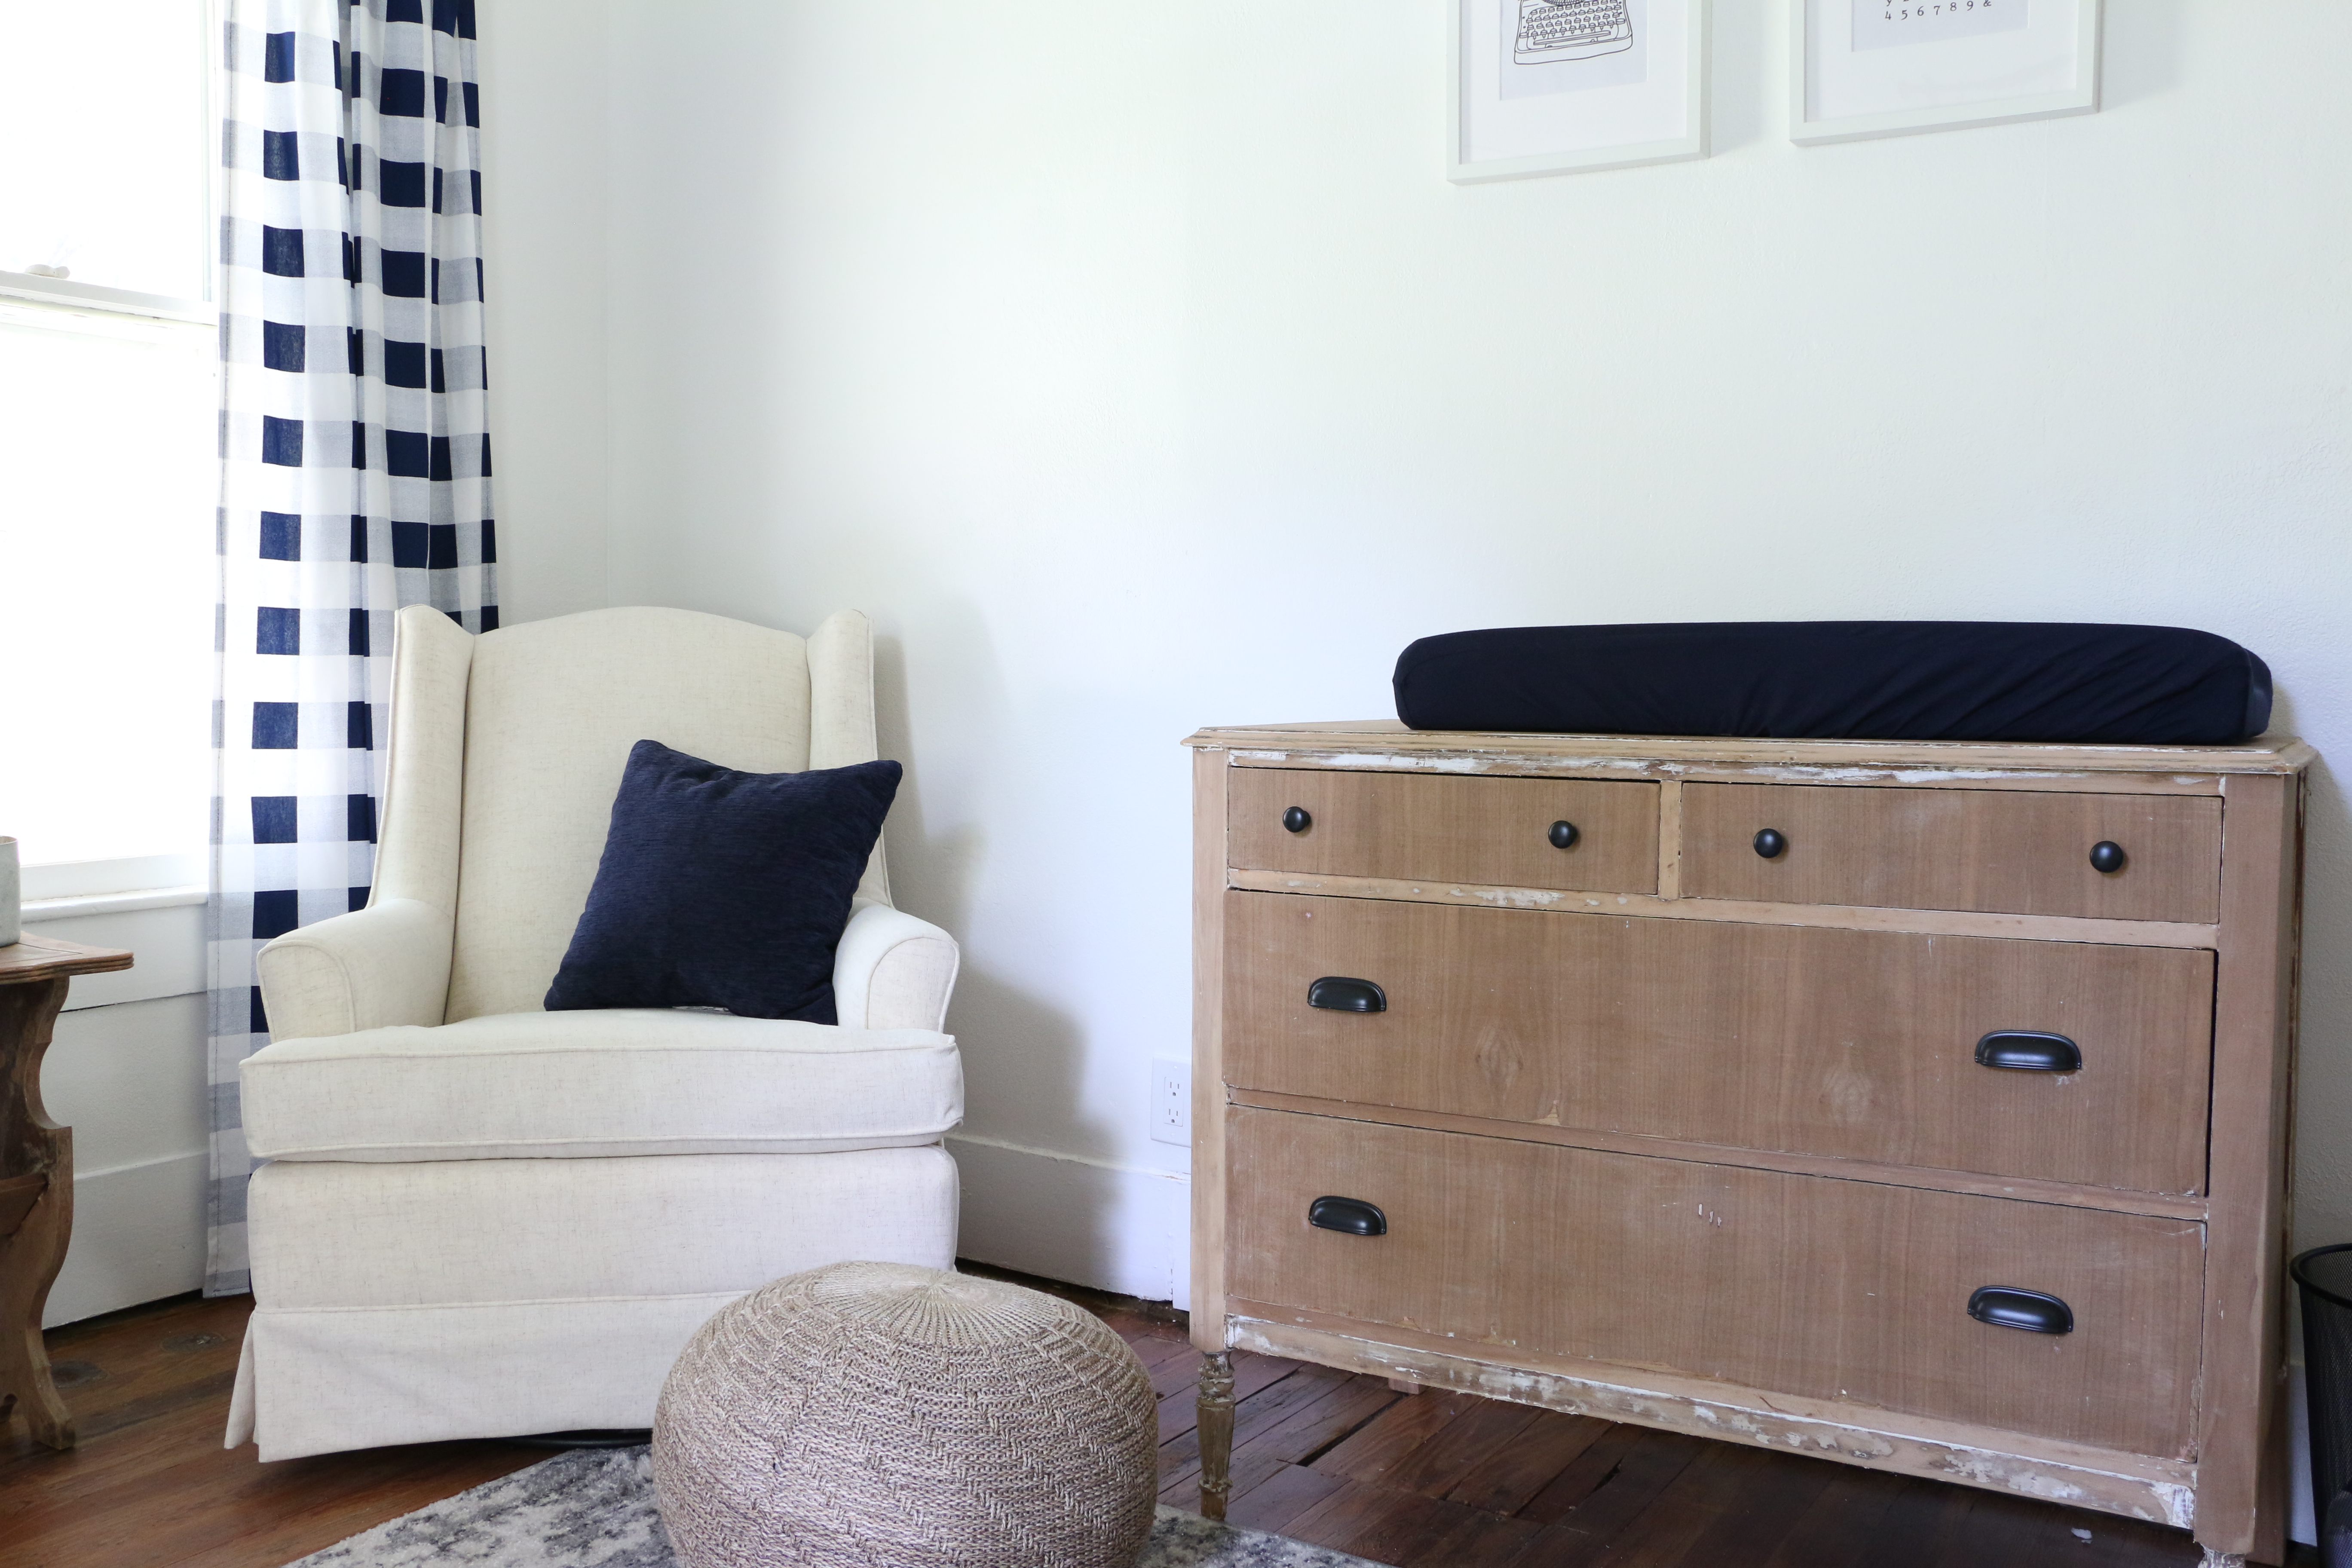
The dresser was mine as a child. I’ll be sharing more details about it in a later post, but the hardware is just from IKEA. The ottoman is from IKEA as well.


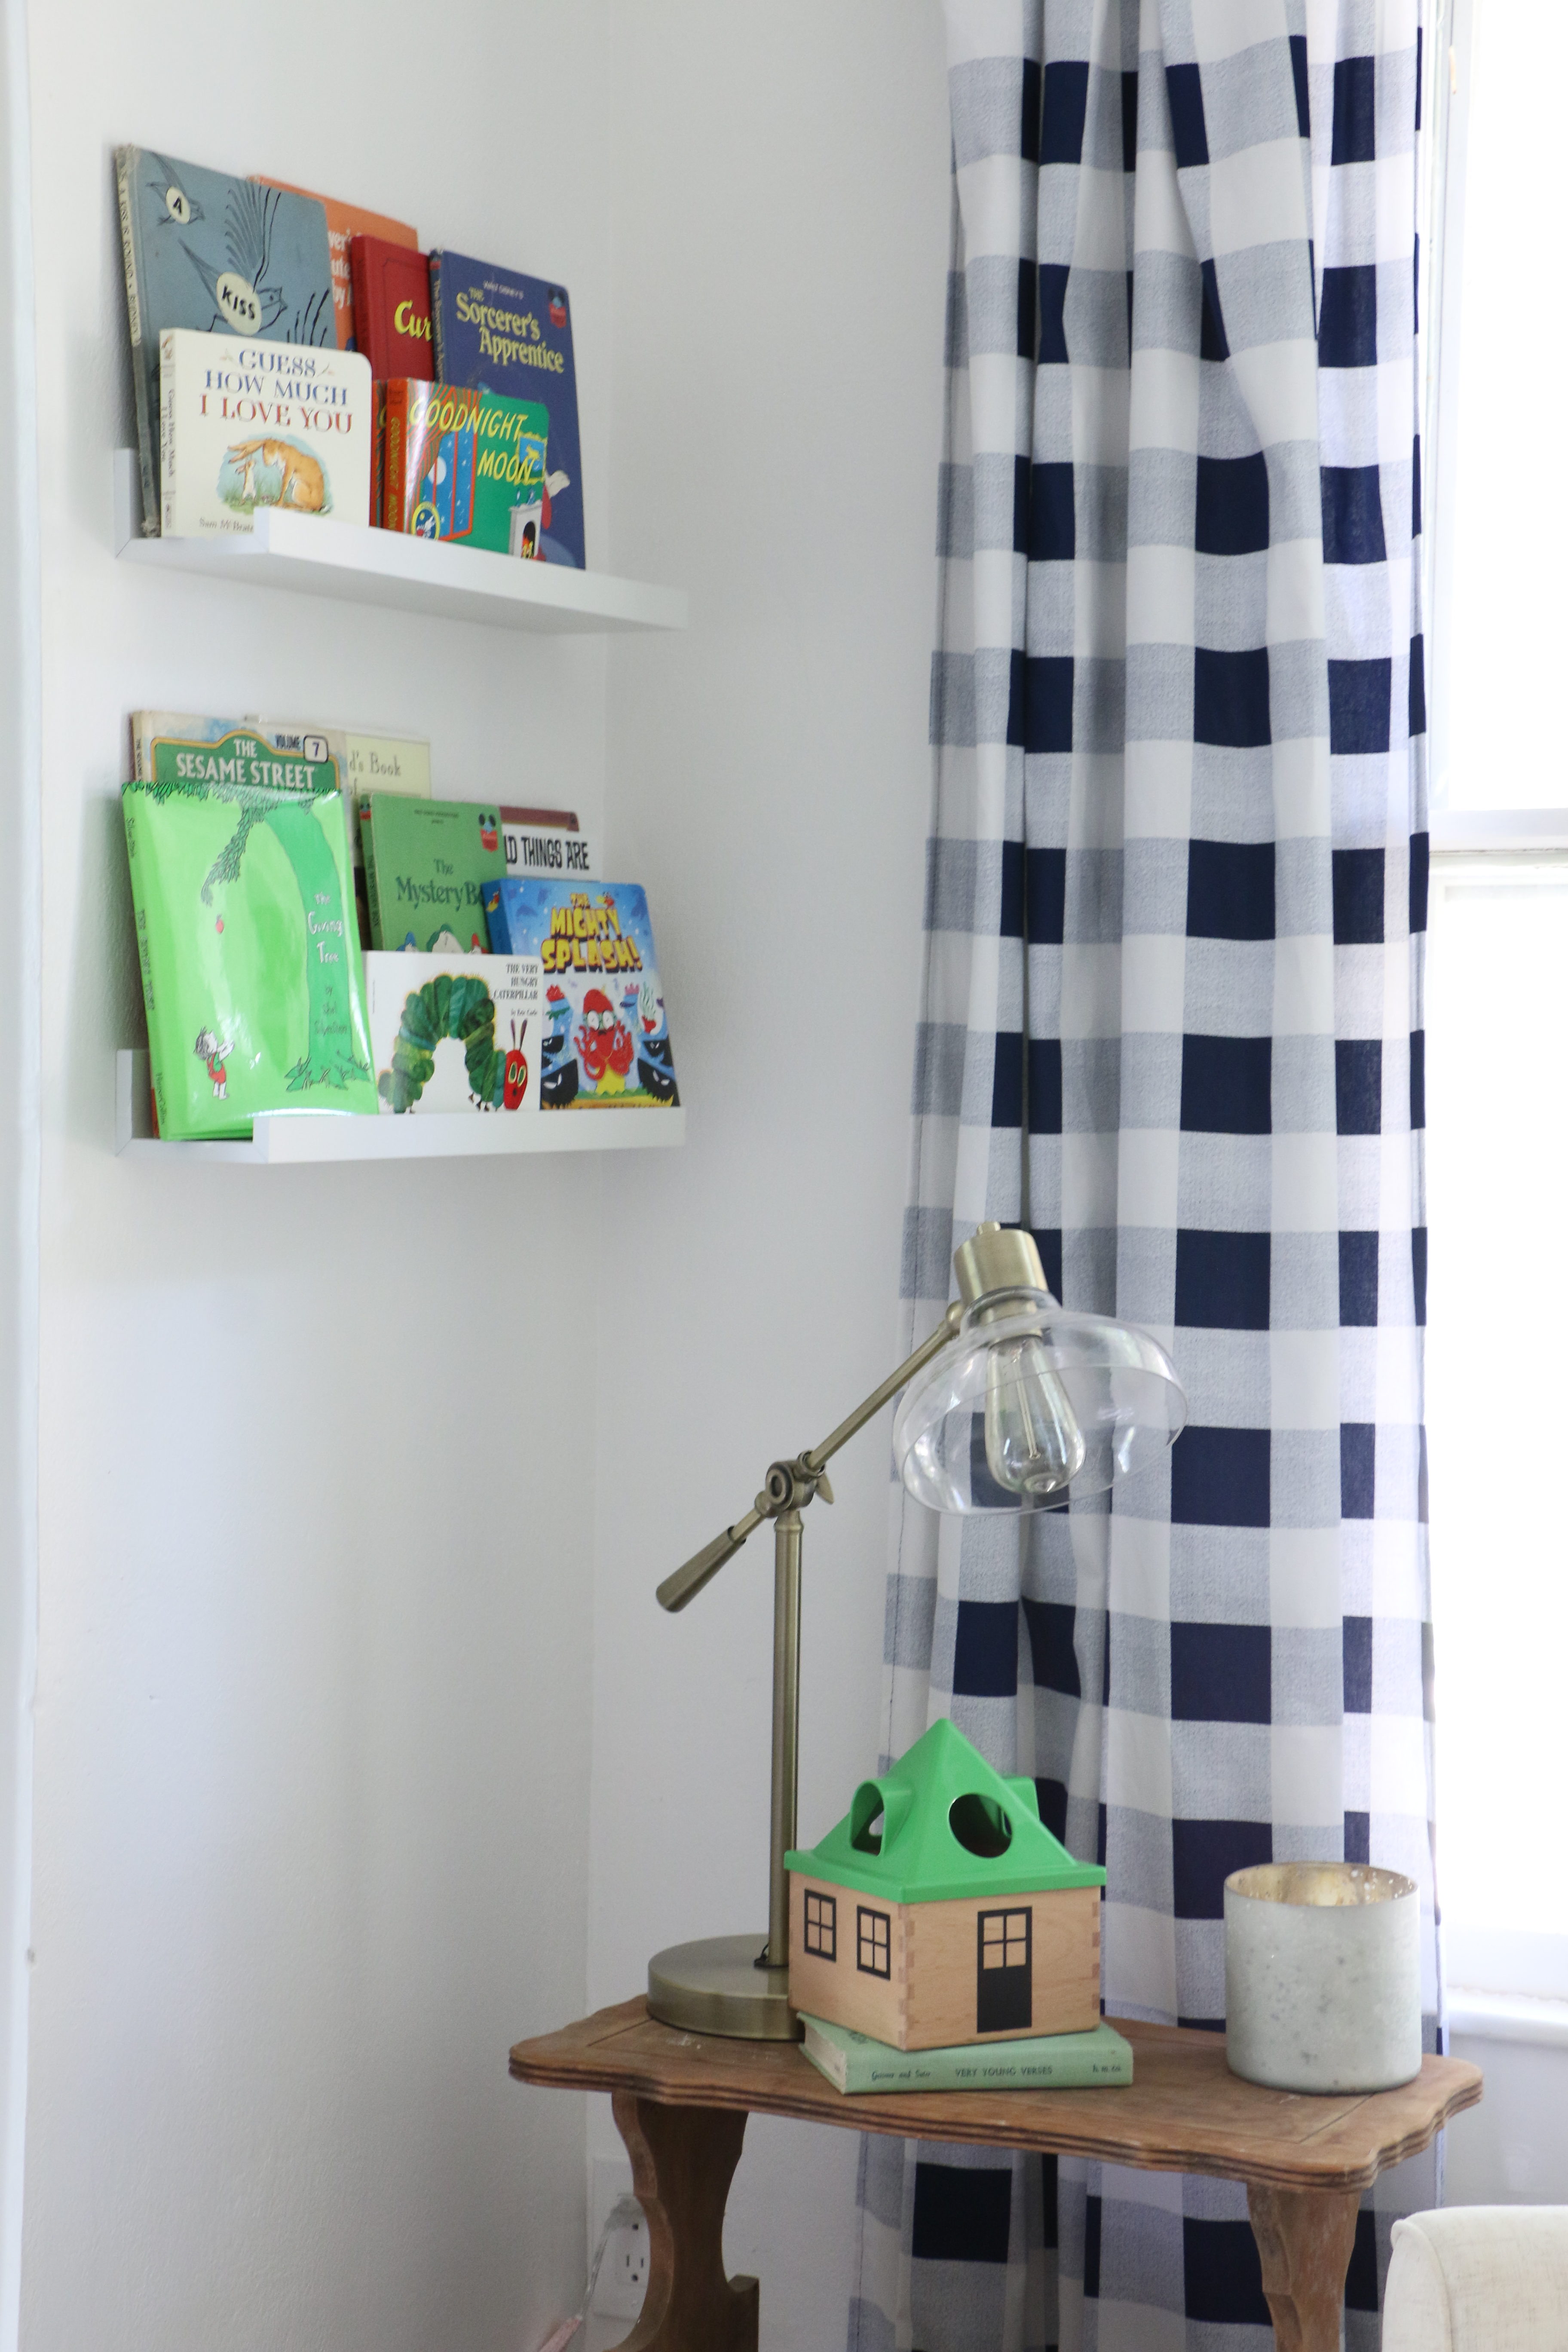
I made the curtain panels from fabric I found at Hobby Lobby, which is definitely the statement of the room. I always joke and say that my sewing skills are incredibly basic, the only thing I know how to make is curtains. 🙂 I only paid about $60 for the fabric to make four panels, and we have some pretty high ceilings in this 120 year old house!


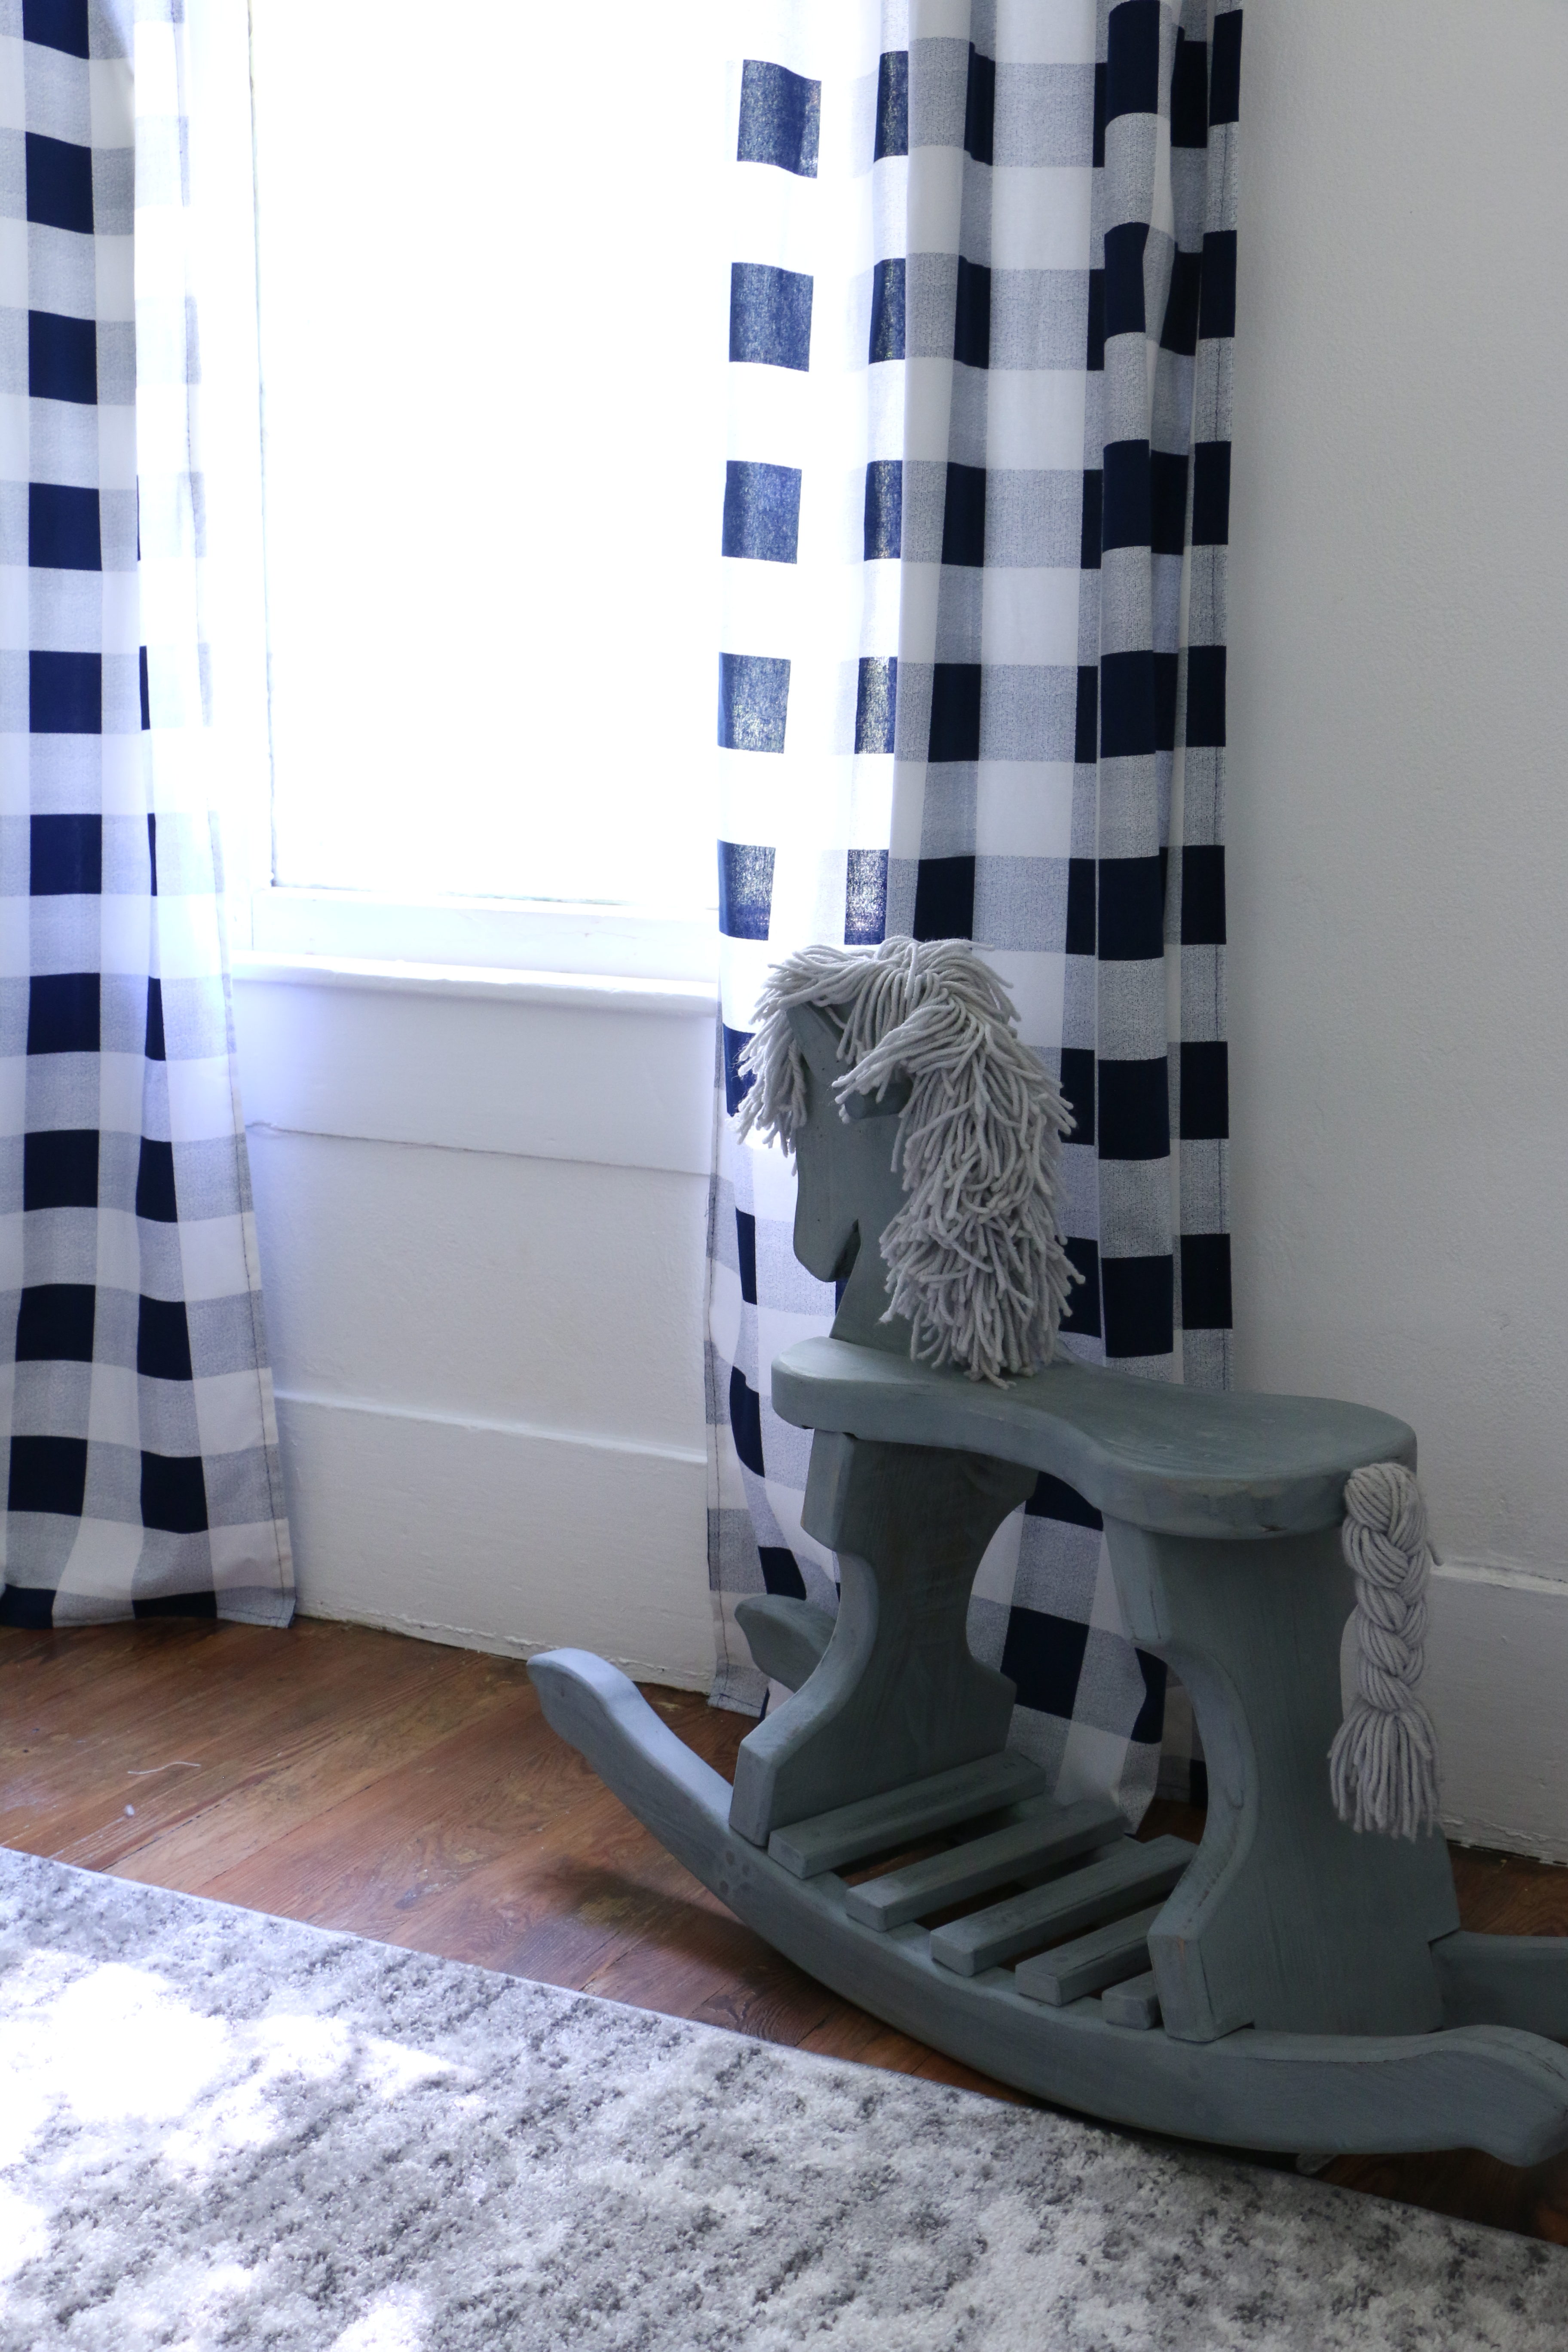
This sweet rocking horse was a garage sale find. I snagged it from our old next door neighbors during a neighborhood wide garage sale. It was wooden with rainbow ribbon and beady eyes. I took everything off, sanded it down, and painted it with Miss Mustard Seed Milk Paint in the color Aviary. The rug is from Rugs USA, which I got on super sale, just how I roll.

Overall, I was going for a classic and timeless nursery, with lots of white, and touches of natural woods and navy gingham. I think nurseries can be so much more than an over simplified “zoo animal” or “nautical” theme. I didn’t want anything overly cartoon-ish, or baby-ish. I know that sounds silly because it is, after all, a baby’s room, but I also wanted a room that felt cohesive with the rest of our house, and somewhere I would enjoy spending time. I love the peaceful and relaxing feel this room has, and it is my favorite room in the house now!

So, what do you think? I’d love to hear your thoughts! That’s all for today, friends. Have a fabulous day!

House Progress

Status Update – One Month In

Hi guys! So glad you’re here! I have been so busy just about every day I haven’t had a chance to sit here and tell you all how things are going at the house. It has been just about a month since we closed on the house, and in that time, school has started back up for me, so my schedule looks something like this: go to school (work), come home and eat a quick dinner, head to the house to work on projects, and then come home late just in time to quickly shower and collapse into bed. On the weekends, Ethan’s family has been helping us, and we are putting in twelve hour work days each weekend. Oh, and I am now what one would consider…. very pregnant. So, things are pretty crazy around here. We originally planned on moving in at the end of August despite the progress we were at, but we extended our lease on our rental for another month, so if all goes according to plan, we’ll be moving at the end of this month. And we’re really hoping things do go according plan, because my due date is looming closer and closer!


So, without further ado, let me show you all the things we’ve been working on! If you didn’t see the before pictures or our first status update, you may want to see those first. And, please remember, these photos are all iPhone photos taken mid-project and therefore not staged at all! There is some serious mess happening here.

So let me show you room by room. These projects are not necessarily in any order of completion, just by room.


Exterior 

Outside, we have powerwashed the front and side (the other side is covered in paint supplies and power tools and an old water heater so we haven’t powerwashed it yet). Basically powerwashing is my new favorite thing. We also did some major tree trimming, pulling out of weeds, hedge trimming, weed eating, edging, and mowing. The lot is pretty large and has a lot of trees, so this was a lot of work.

She looks a bit better from the front, now that the grass isn’t a foot tall, and tree branches aren’t blocking the view from the street. 🙂

I also took some hemp oil to the front door which was super dry and tired-looking. It was a super quick project (literally 20 minutes) that made a huge difference! Here’s the before:

And the after!

Again, no staged professional photos here. 🙂

The Front Bedroom 

As you know, one of the main projects was closing in the archway off the bedroom onto the weird carpeted porch. We (and by we, I mean Ethan, his dad, and brother) opened the wall, straightened the archway, added french doors. This room has been primed and ready for paint as well.

On the outside of the doors, the guys added a completely new porch. The existing sun porch was about six inches higher than the floor in the bedroom, and was just rotten plywood under the carpet. Gross, I know. The tore the entire thing out, put in new support beams on the ground, lowered the floor to the same height at the bedroom floor, and laid new deck boards.

Right now, it’s covered in excess materials from in the house, but you get the idea of what it will look like once it’s all cleaned, painted, the door has hardware, and cute rocking chairs on it.

This is the side of the house, and directly off the master bedroom, so I’m super excited about this spot.

The Living Room 

In the living room, the sub floor has been completely removed, the walls have been sheetrocked, and the ceilings have been painstakingly smoothed out after tearing down all the wallpaper.

The trim that belongs in this room has been de-nailed (which took forever), powerwashed (it smelled like cats still), primed, and painted in the garage. Once the floors are done and the walls are textured and painted, the trim will all be put back in place.

The Foyer 

The foyer was upholstered, so we took all of that down, and took what was probably 1,000 staples out of the shiplap. The shiplap has been sanded and primed, ready for paint. This is the only shiplap in the house that we will be leaving exposed. We also primed some of the the trim in this room as well. There is more painting to be done on the stairs (not all of it, don’t worry), but some of the stair treads need to be repaired first.

The Dining Room

This room has been exhaustingly spackled, the drywall repaired (by my mother-in-law and myself, I might add), textured, and primed. The ceiling has also been smoothed after the insane amount of wallpaper residue that was left. It is ready for paint! 🙂

The Kitchen 

In this room, we’ve primed the walls, ceiling, and trim. There were also some cracks that had to be repaired beforehand.

We are also eventually going to build out a portion of this room into a mudroom, so we are relocating all the plumbing (washer, dryer, and hot water heater) into the corner of the kitchen. This has been a huge ordeal for my father-in-law, Ethan, and his brothers. It involves a ton of crawling under the house to move plumbing hoses, and lots of things that I don’t fully understand. We are moving the washroom basically across the entire house, which has been a job. But, it has given me what is my favorite picture of Ethan ever taken.

There are still some finishing touches to be done before we can officially check this off the list, but this is where the eventual laundry room will go.

Also… a sneak peek at another project I’ve worked on! If you follow me on Instagram, you may have watched my stories documenting this project. I’m not ready to talk about it yet….because I’m still a little bitter and it may go down in history as a massive fail. I will keep you guys updated in a separate post on the outcome!

The First Floor Bathroom 

This room may just have a lighbulb dangling from the fixture hookup, but it has been primed and painted! Since it it the smallest room we will be painting, we did some experimenting with the paint color over the primer to test the coverage. So this is the only room that has actual paint! Exciting times, friends, exciting times! (It does need some touch ups, but let’s not talk about that.)


I don’t have a picture, but we’ve also prepped the upstairs nursery by sanding the spikey textured walls, filled in a ton of holes, and primed it for paint. Lots more to do, my friends, but so much has been done. It’s crazy to look at the progress we’ve made so far, but also I’m constantly freaking out about finishing in time. It’s a roller coaster of emotions! Everything takes so much longer than you think it will, and things are constantly coming up that we didn’t anticipate. Still though, this is one of the most exciting times for us. We can’t wait to move in!

I’ll keep you guys posted over the next few weeks about what we’re up to next. That’s all for today, friends. Have a fabulous day!

House Progress

Status Update: The First Weekend

Hey y’all! Thanks for stopping by! I’m starting a new series called “Status Update” today. The point of this series is going to be to recap the small things we’ve accomplished over a period of time. This isn’t going to be one tutorial or reveal, it’s not going to be for decorated rooms, it’s just going to be a gauge of progress on the house, and all the random things we’ve worked on.

If you haven’t seen the before pictures, you may want to start here because it has come a long way already. This was our first weekend in the house, so all of what we’ve done so far has been accomplished within a few days. We’re anxiously trying to get things done, as we’re under pretty tight time constraints (we plan to move in at the end of the month, so there are several projects that need to be done ASAP).

We closed on the house on Tuesday, and got to work on Wednesday. We started in the living room, which looked like this:

The carpets were infested with the smell of cat urine (#nevergettingacat). We rolled them up and got them out, which was a sweaty and incredibly stinky task.

We then started pulling down the upholstery on the walls, which also smelled of cat urine. It was stapled to the wall behind the trim and baseboards, so we ended up having to remove all the trim. By the end of Friday night, we had all the wall upholstery down, and pulled out the staples in the wall, which wasn’t easy.

Saturday we got up bright and early ready for a long work day. Ethan wanted to start with some plumbing issues, so while he replaced a pipe on the exterior of the house and a piece on the inside of the toilet, I started tearing down the textured wallpaper on the ceiling of the dining room.

The wallpaper on the ceiling in the living room and dining room both needed to come down, but it was so difficult. It actually still isn’t 100% done. We tried several different methods, including water and vinegar with a scraper, scoring the ceiling with a knife and pulling it off dry, and sanding it off with a sander. Eventually, we ended up getting a heavy duty wallpaper remover, applied it with a pesticide sprayer, and peeling it off. It was time consuming and took the majority of the day with one or both of us working on it.

(This was taken after about 12 hours of working on the house. Which explains the look of death on our faces. 🙂 )

Sunday morning we arrived to this, which is all the paper we had scraped from the ceiling. We cleaned it and turned our attention to the floor. So far we had removed the carpet and carpet pad, and planned to scrape the linoleum. The original parts of the house have the original hardwood beneath them, so we assumed they were beneath the linoleum. We (and by we, I mean Ethan. This was all him.) started scraping, but we couldn’t tell what the condition of the wood was because there was so much glue on it. I took a hand sander to it just to test it out, and we realized it was just a large sheet of plywood under the linoleum. Subfloor.

We were super bummed because we really wanted hardwood, and we didn’t have it. We made a plan to put in carpet until we could afford traditional hardwoods at a later date. I started researching wall to wall carpeting, and we planned on scrubbing the floor and painting a layer of Kilz over the linoleum to mask any remaining odor before having carpet installed. I did not like this plan, but I knew it was one of those things we were going to have to compromise on in the short term.

So we are prepping the floor to start painting, and Ethan sees along the edge where we removed the baseboards something that he thinks might be hardwood under the subfloor. So then this happens: 

So before we know it, we’re pulling up the plywood to find the original hardwood underneath. Praise the Lord. In modern homebuilding, a plywood subfloor goes below where you would lay hardwoods. But, this house has had 123 years of different owners and different repairs and additions made, so there’s no telling who did what and when they did it. Ethan kept asking me when I was going to stop asking questions…because when it comes to this house, nothing makes sense! Our current plan is to refinish the hardwood in this room, as well as the other rooms that have the same wood.

So this is where we ended the weekend. The plywood came up without too much difficulty, but Ethan is going out of town for work this week, so we had to call it quits early. Overall, we did a lot more destruction than construction, which makes you feel like you haven’t really done anything but make a mess. Overall though, we got a lot done. Now we just have to start putting it back together. No pressure.

Next weekend Ethan’s family will be in town to help with some projects, so we’re hoping to knock out a few things. We’re currently in a race to get things moving so we can get this place as livable as possible before we have to move in. There is so much to do, but I am optimistic that we will be able to get done the top priority things. Everything else can be done after we move in, and we will be working on this house for the next few years, but for now, we’ve got our work cut out for us. Stay tuned for the next status update. That’s all for today, friends. Have a fabulous day!