All Posts By

Fawn Rumfield

Organization

DIY Household Cleaner

Hi friends! Long time no chat! I’ve seriously been so busy lately I haven’t had a spare moment to update here and I feel terrible! I’m so glad I could finally carve out a little time to stop by and say hello! School (which is work for me, since I’m a teacher) is moving full steam ahead into the end of the school year and I’m struggling to keep up. Thankfully in just two weeks I’ll actually have some free time!

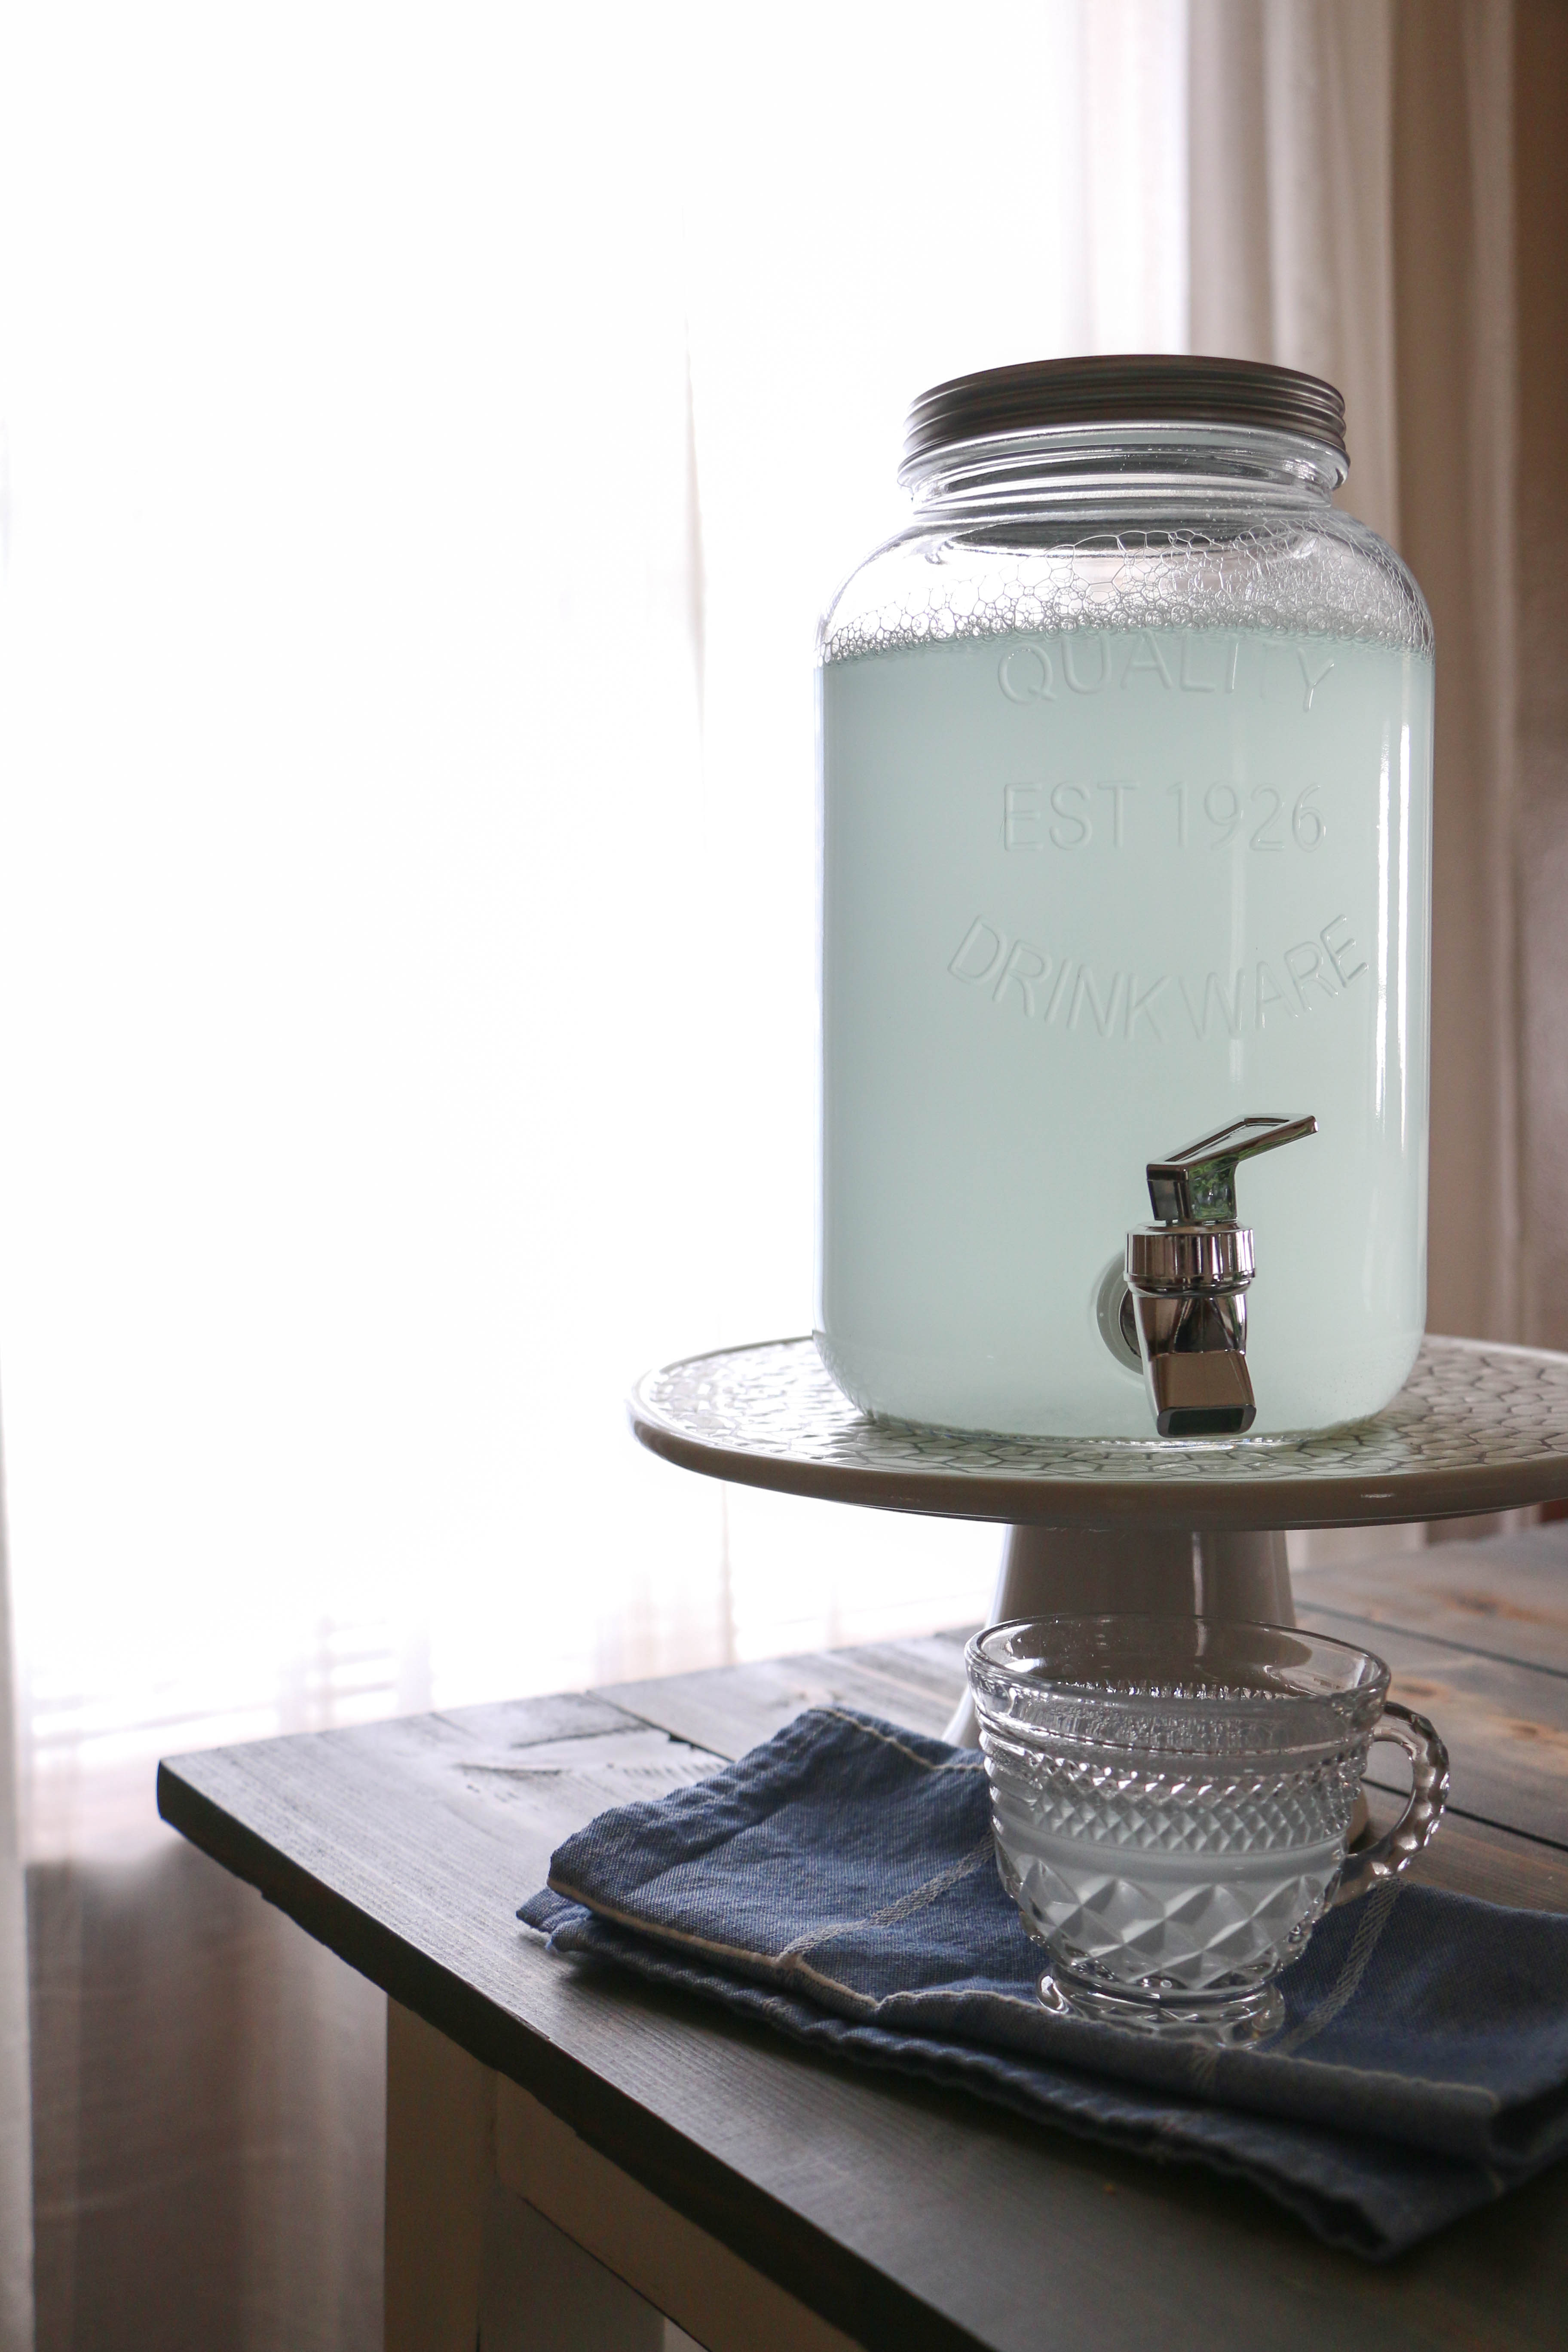
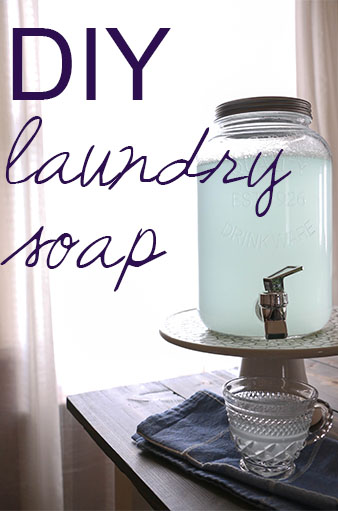
Well, I’ll be short and sweet today, but I wanted to share with you a little homemaking tip for you fellow budget conscious friends. If there’s one thing I hate spending my money on, it’s cleaning products. They can be so expensive, and it seems like you need a different product for everything! I don’t know about you, but I’d rather spend my money on pretty things for the house than boring cleaning supplies. A while back, I shared my DIY laundry soap, which has saved me tons of money over the past few years. If you didn’t catch that post, you can read all about it here.

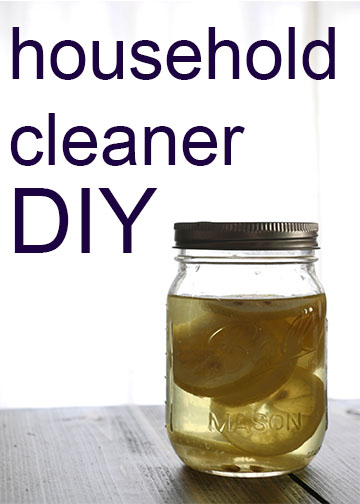
Recent’y I’ve started making an all purpose cleaner, something that takes the place of many of the bottles that I previously had under my sink. So here’s the super easy all purpose cleaner that I make for my home.

diycleaner1

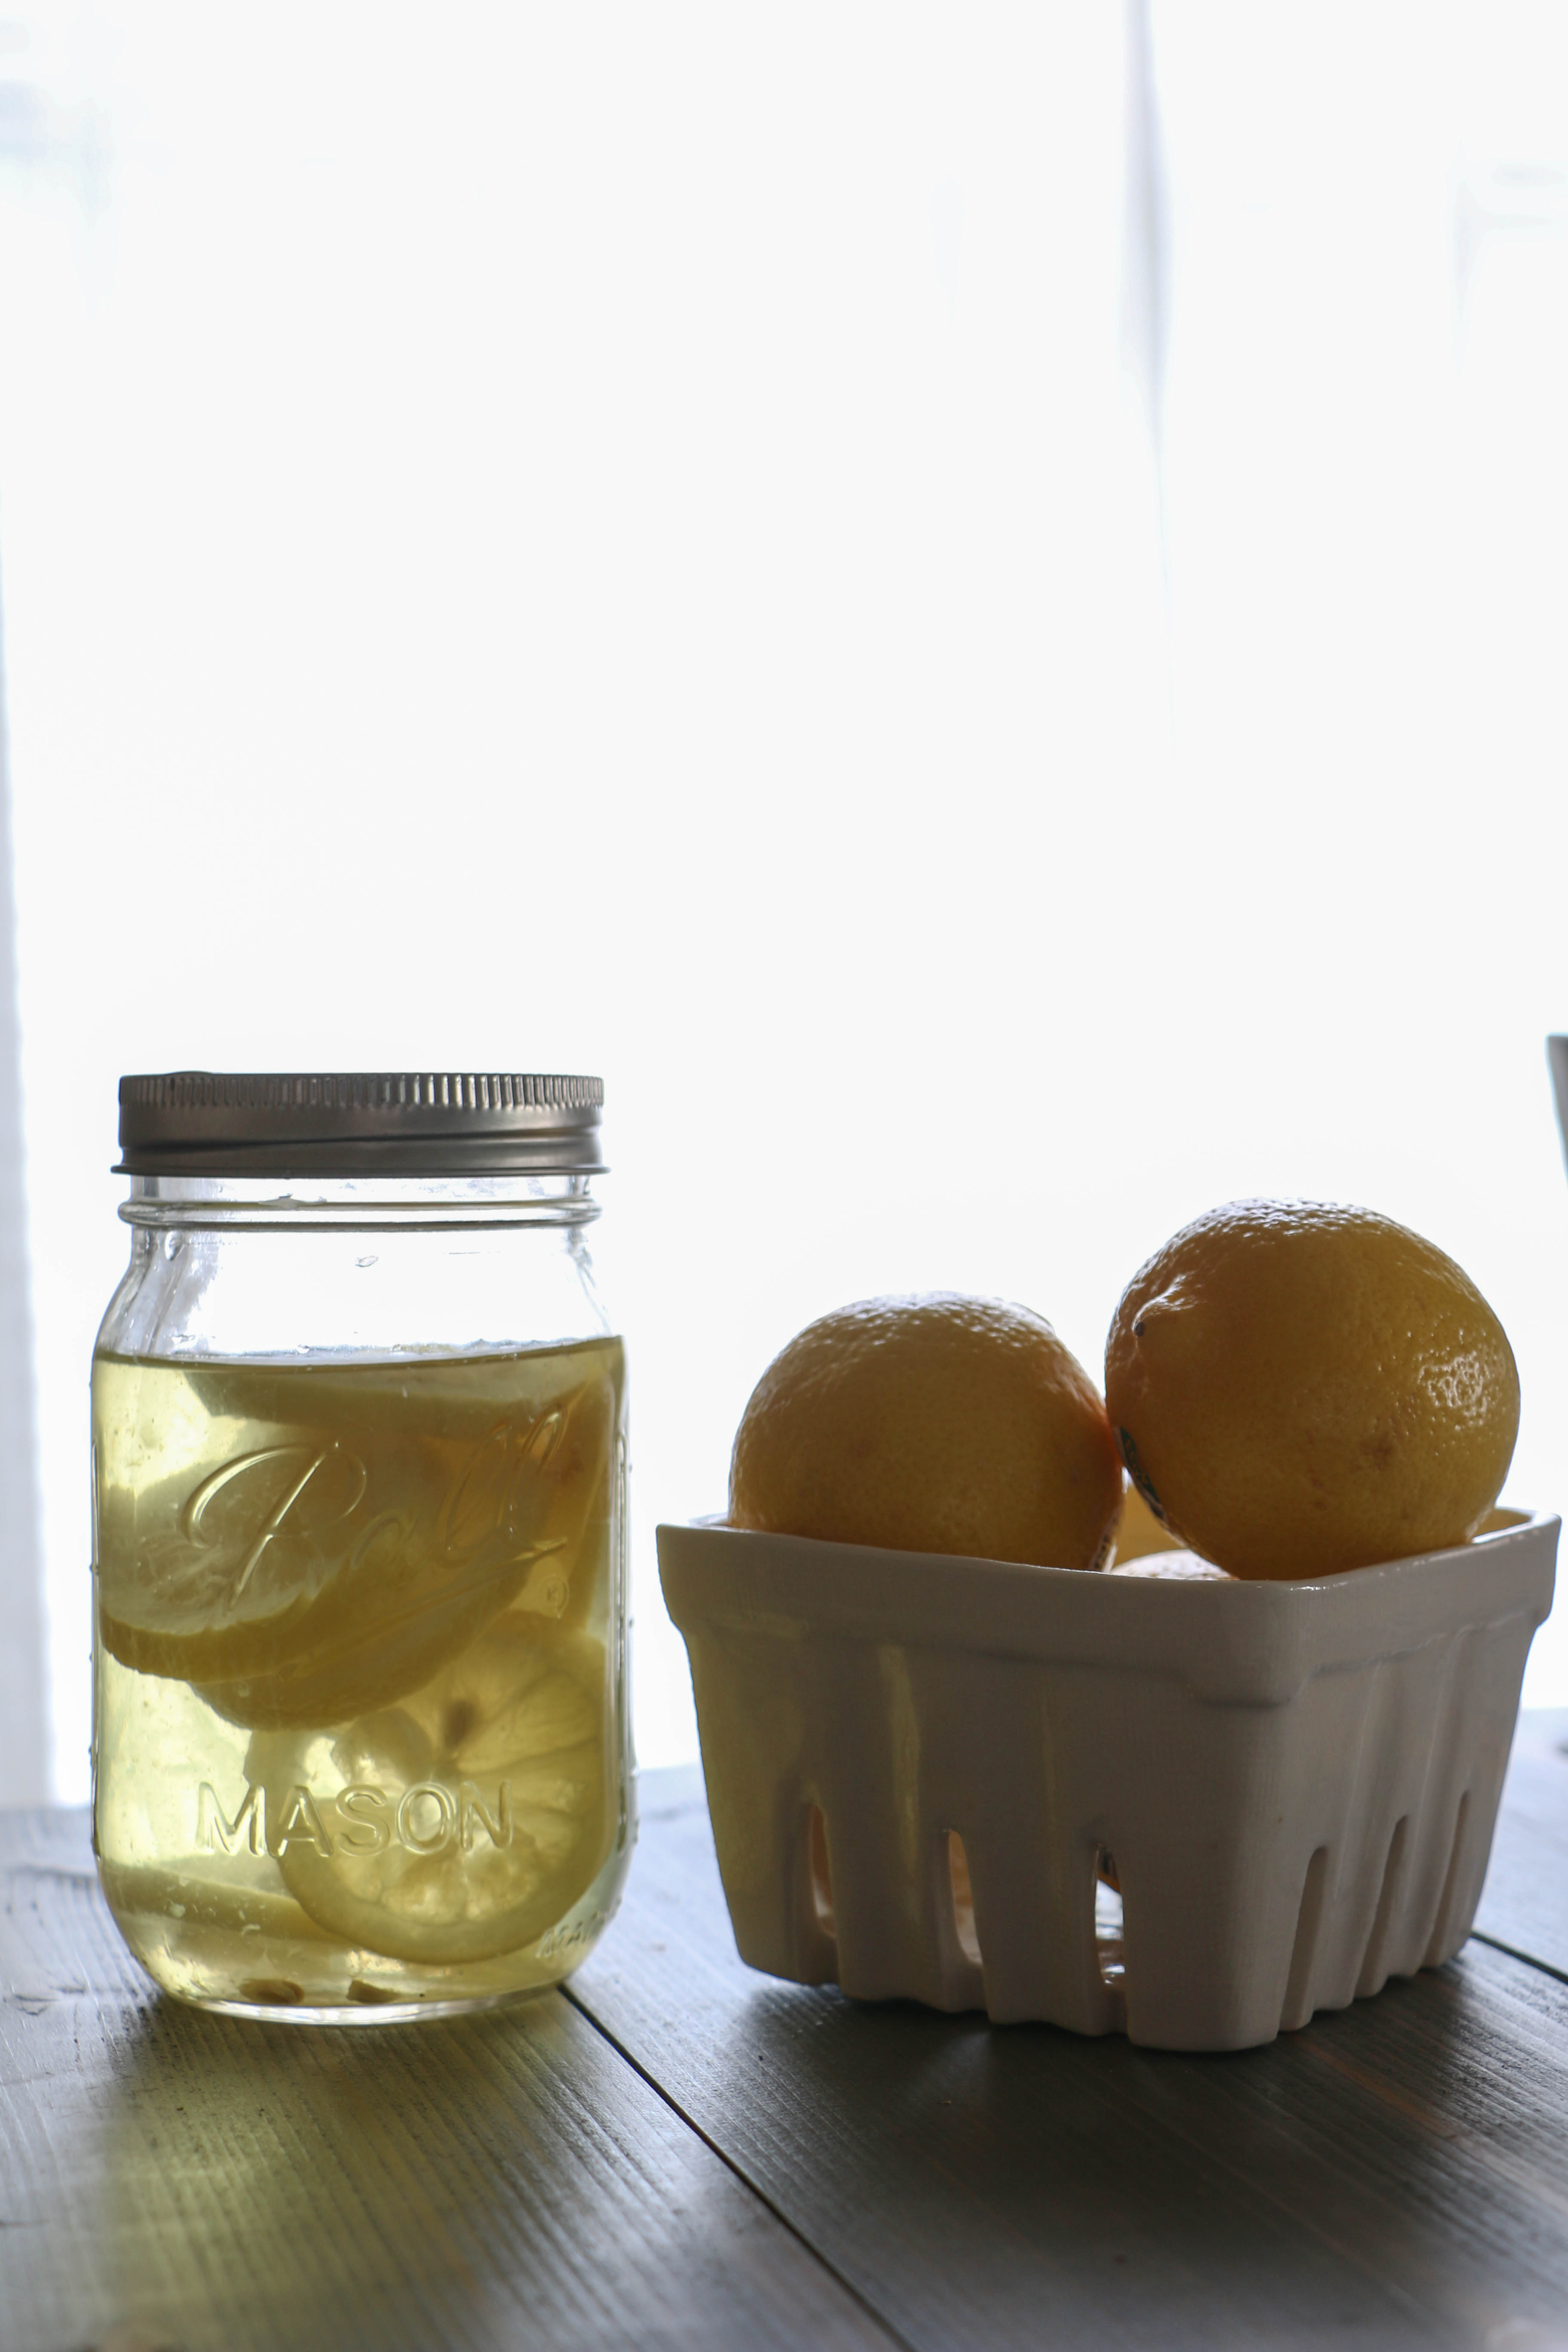
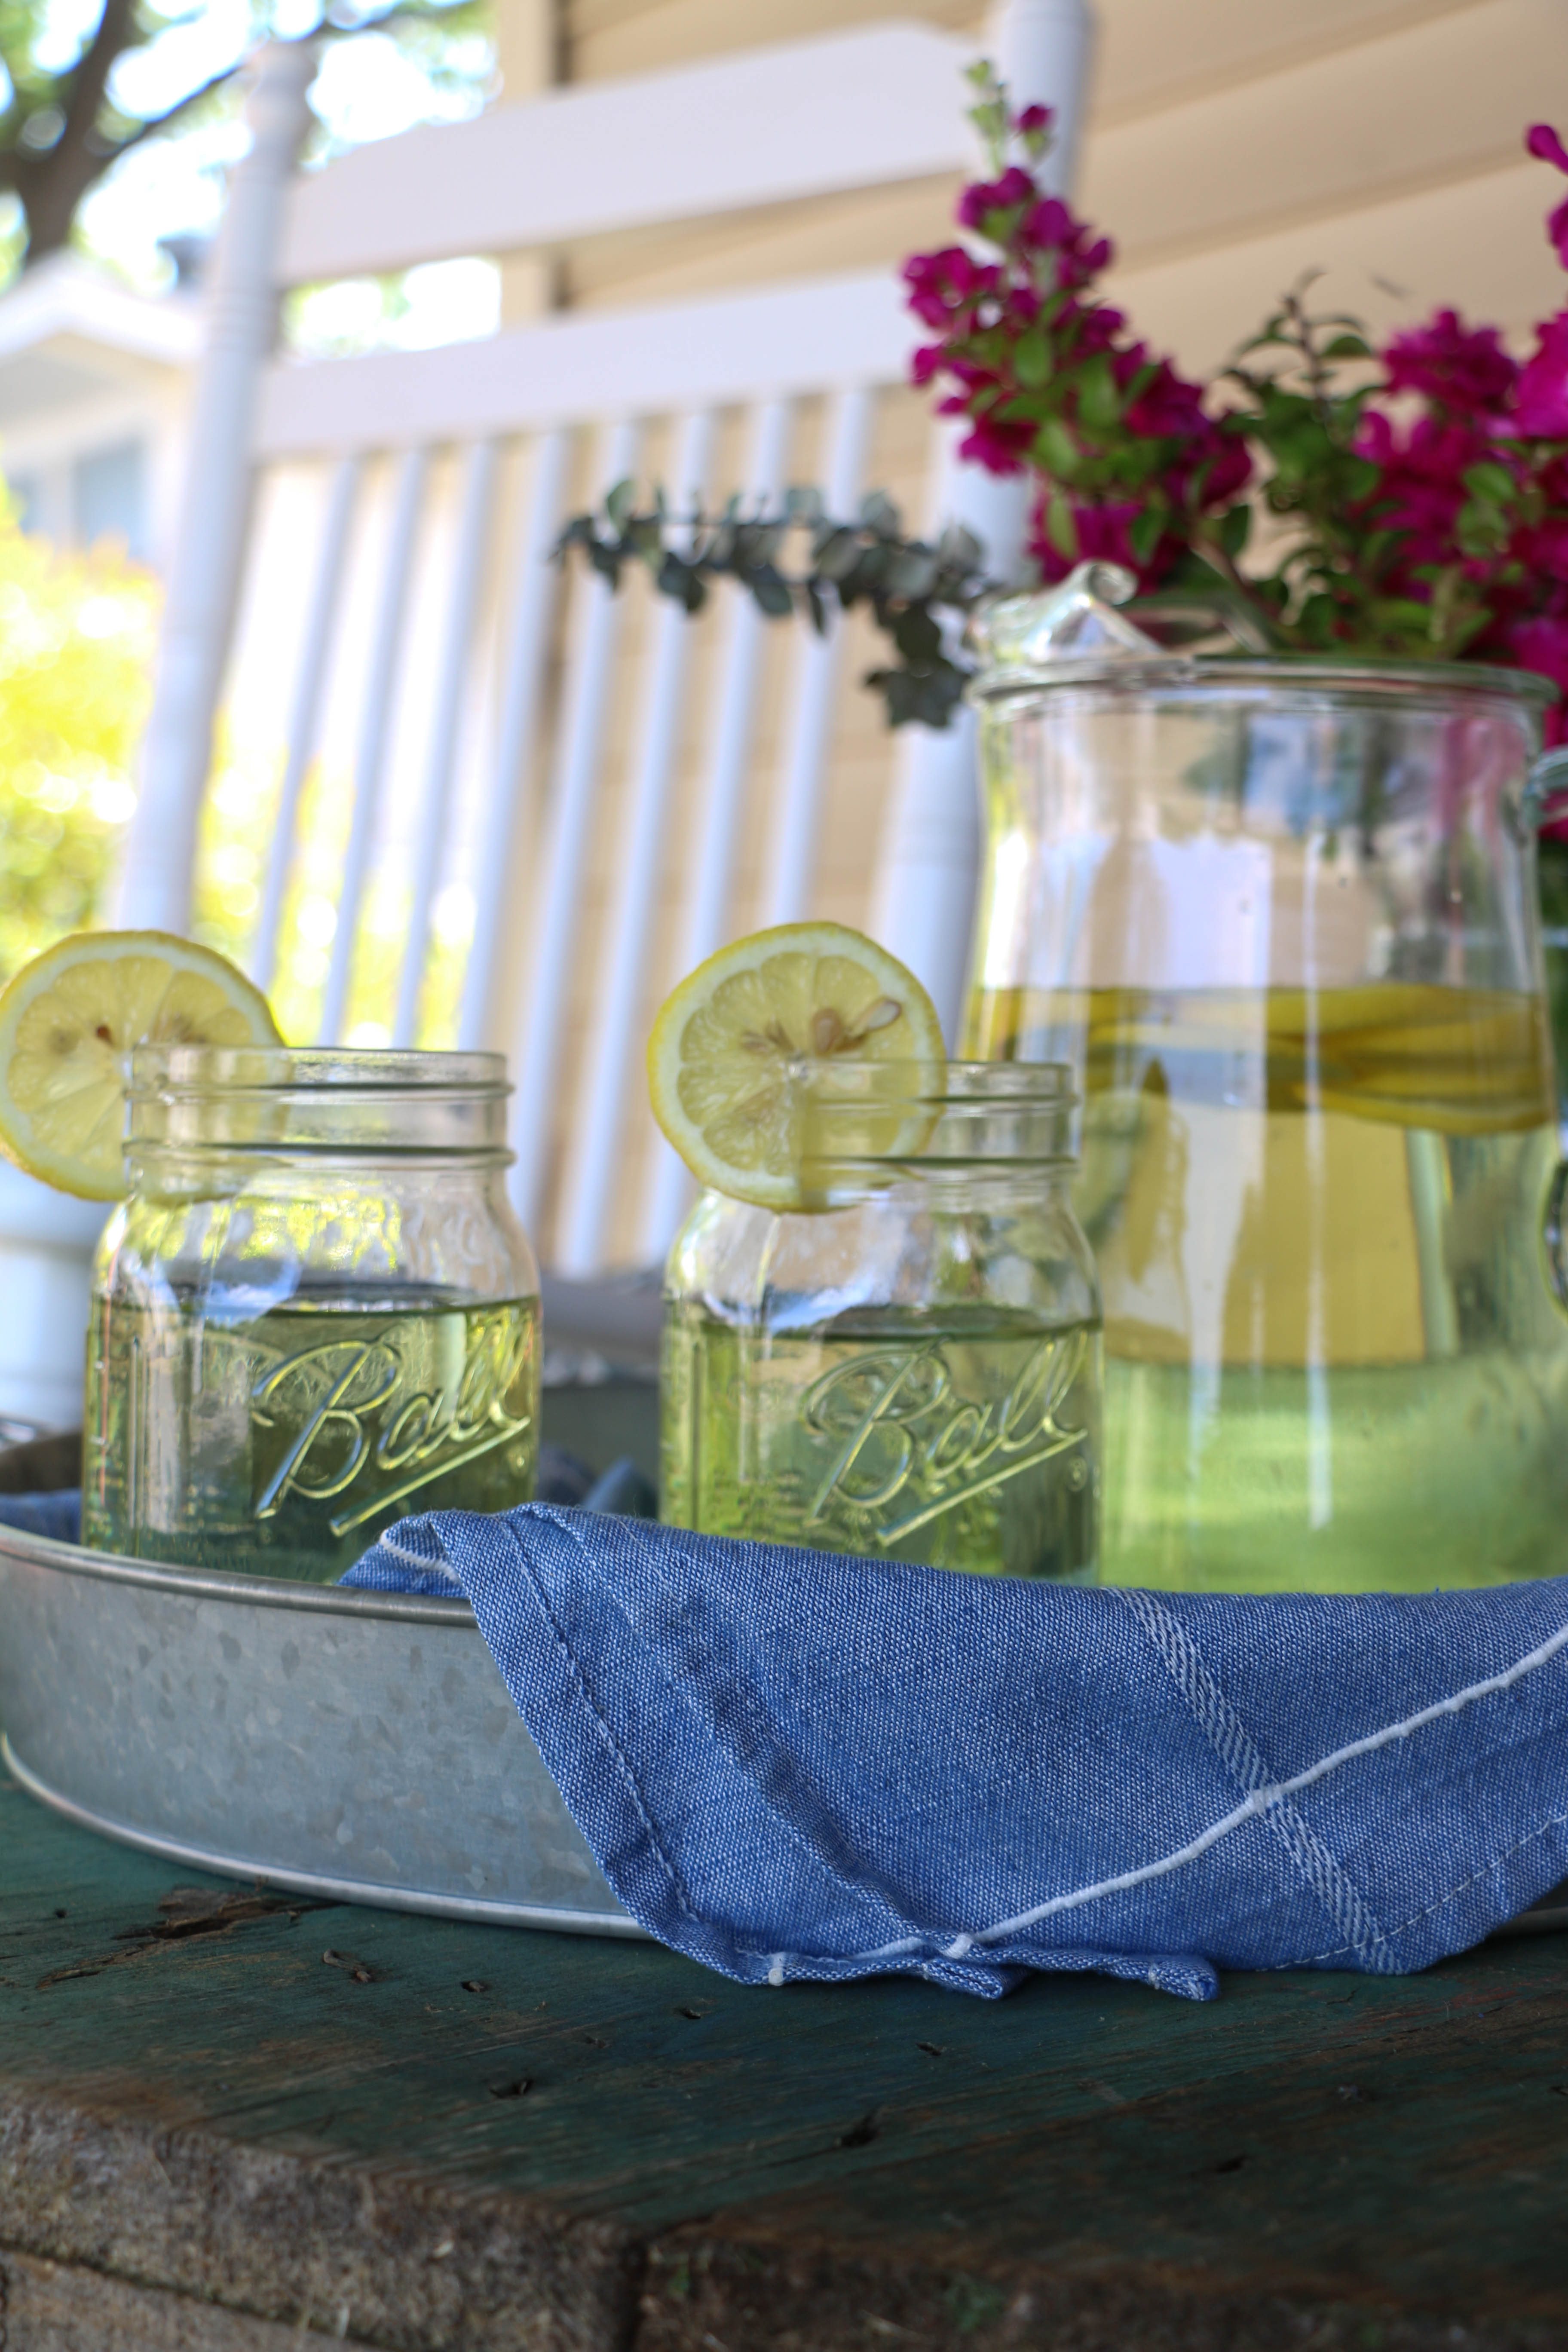
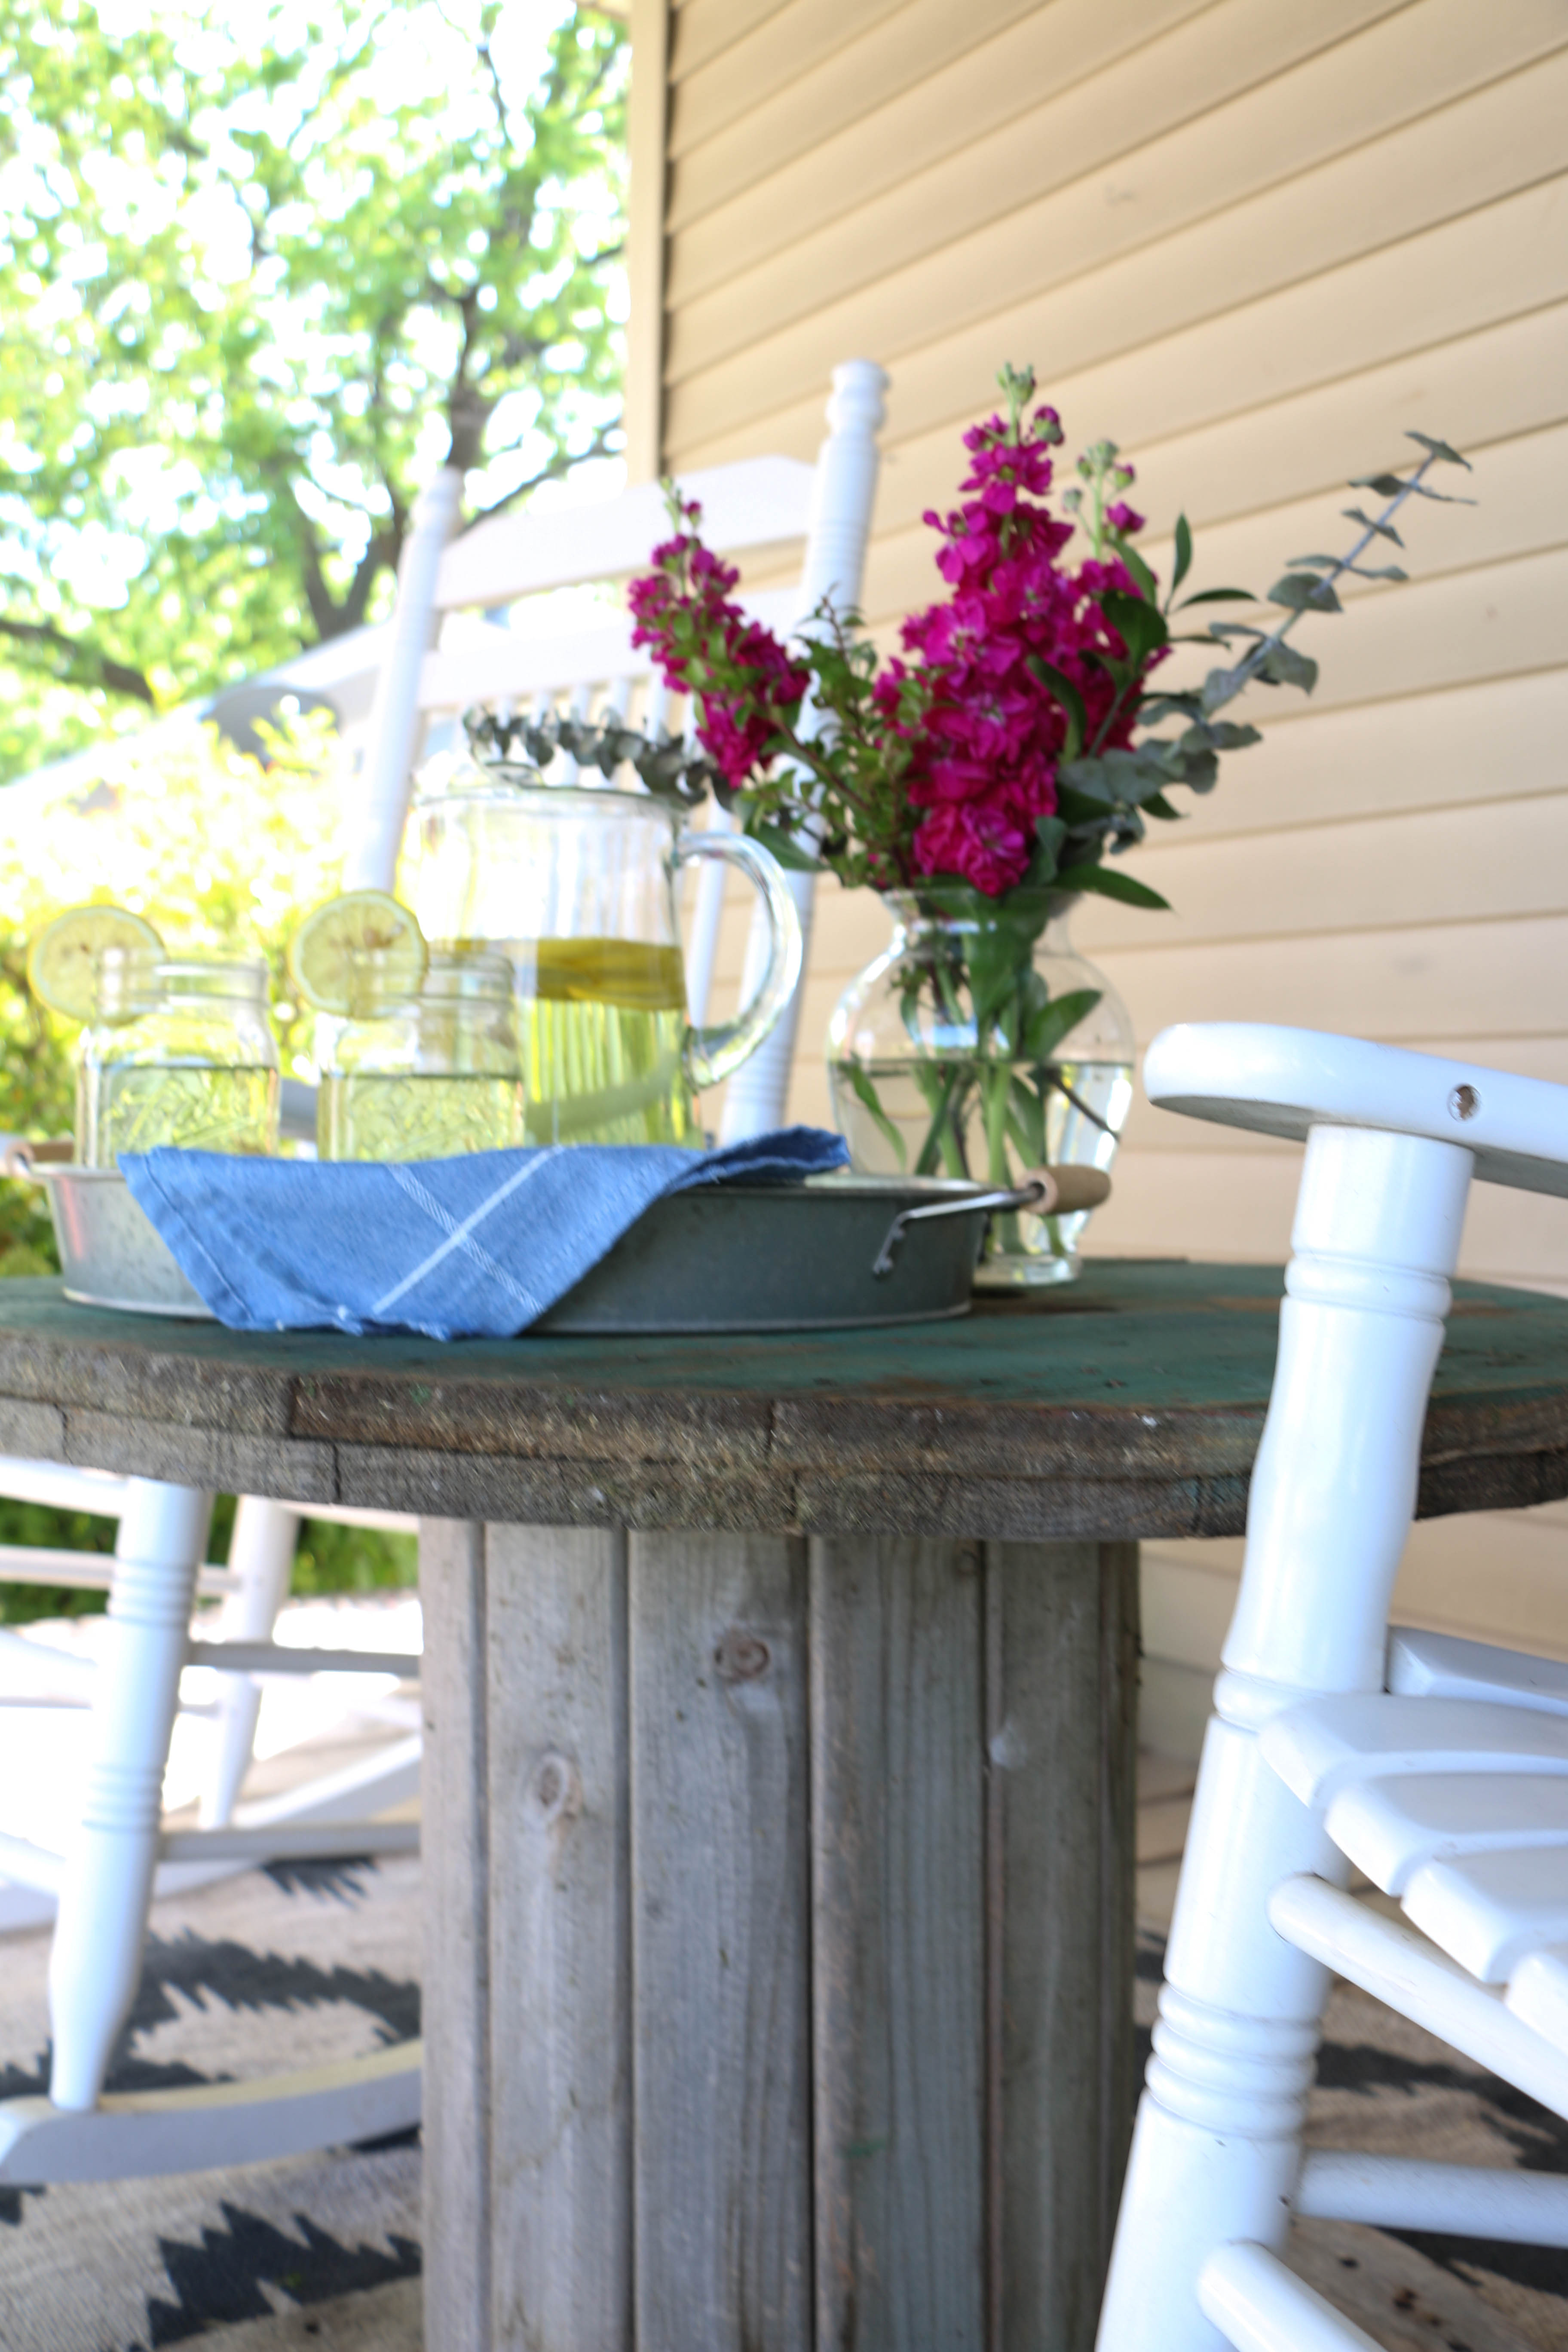
I use about 1.5 cups of vinegar and put it in a jar, and then add one small lemon, thinly sliced. I place the lemons in the vinegar, and leave the jar to sit for a few weeks. This will allow the lemons to fully soak into the vinegar. I don’t really know much about chemistry (I barely passed that class in high school), but I know both lemons and vinegar have some super strong stuff in them, so working together makes them doubly great I  suppose? Who knows. I just made that up.

After two weeks, I pour the liquid into a spray bottle, and that’s about it! My spray bottle has a pretty narrow neck, so I don’t bother trying to squeeze the lemon slices into it. I just throw them away.  My spray bottle was something I picked up for a dollar or so in the cleaning section at Walmart. Lemon and vinegar are both pretty inexpensive, so this is something that comes out to be much more budget friendly than typical cleaners.

I use this spray for just about anything. Countertops, stove top, sinks, shower walls, and even the inside of the fridge and microwave. The lemons take away the strong smell of the vinegar, and it smells more like citrus than like vinegar. I absolutely love using this method because it saves me a couple dollars, and I do enjoy making the things I use in my home. It’s also chemical free, which I know is a big deal for a lot of people. Safe for expectant mamas, and easy to make!

I told you I’d be short and sweet today, but once my summer vacation has started, I’ll be around much more frequently. I hope you enjoyed this little post, and that you’ll give it a try. I would definitely recommend this one, I can’t stress enough how easy it is! Well, that’s all for today, friends! Have a fabulous day!

diycleaner

DIY Projects, Home Decor

Cable Spool Porch Table

Hi guys! Thanks for stopping by! I’m so glad you did! It means so much to me that you would take a moment of your day to stop by my little corner of the internet. Anyway, enough of the sappy stuff. Is it getting warmer where you are? I hope so! Here in Texas we’re reaching some pretty high temperatures which have me itching for two things: summer break and outdoor life!

We have about six weeks left of school, but who’s counting!? 😉 We have a large front porch on our house, which is one of the only positive things about our sad little rental. I mean, for real you guys. Over summer break, I like to spend as much time on the porch as possible! Give me some magazines, some lemonade, and I’m good to go for hours!

Recently, I’ve been looking for a cable spool, but I really haven’t wanted to spend a lot on it. I know that the cable spool as an outdoor table is totally not my original idea, but stick with me. I know everyone and their next door neighbor is doing this, but I still wanted to share. The table we had on our front porch previously was a small glass top one, maybe only 18 inches across. It wasn’t really large enough to place a lot of stuff on it, which is why I was looking for a cable spool to use as a table.

For the past few months I’ve been looking, but I’ve only been able to find them for about $60, which was more than I wanted to spend on a piece like this. So imagine my delight when I found one on the side of the road for free?! Ethan was driving, and I totally made him do a real quick turn around to scoop that bad boy up. It was actually a little scary looking because there was some additional wood attached to the top, and several pieces of wire wrapped around various parts on the spool. I just cut off the wire and pried off the pieces of wood that were nailed to the top. Ain’t no thing.

So, without further ado, here’s what our front porch looks like now:

cable spool table 3

You might notice that the bottom piece it not a full circle. I actually found it this way, and was a little disappointed at first until I realized how much better this actually is. Since we have rocking chairs, the narrow bottom actually allows the chairs to fully rock while still being close to the tabletop.

cable spool table 5

There’s so much more room on the surface than there was on the old table, I’m loving it! I can just imagine some plates out here, maybe a little pie….I don’t know where pie came from. I’m just really ready for summer, okay?!

cable spool table 9

cable spool table 8 cable spool table1

If you have your own cable spool, I would reccomend cutting the bottom to be more narrow.

cable spool table 6

cable spool table 4

I case you were wondering, the rug is from Hobby Lobby, the chairs are from Cracker Barrel, the pillows are from Target, and the serving tray is from Walmart. This little outdoor area is fresh and cheery, and I cannot wait to get out here and enjoy myself. Especially since I’m so close to endless lounging during my carefree summer break. Ahhhh, summer. Alright, I’ll stop now y’all, I promise.

So what do you think of the cable spool as an outdoor table? Is this a trend you’re willing to go along with? I will say that even Ethan loves it! I am sensing some meals eaten out here together, and I cannot be more excited about that! That’s all for today, friends. Have a fabulous day!

Personal

My eShakti Spring Dress

Hi you guys! Happy Friday! I am sooooo glad the weekend is almost here! Today I wanted to share with you something that I don’t typically share, but something that I’m still really excited about, and I hope you are too!

Have you heard about eShakti.com? It’s an online women’s clothing company that has some pretty cool perks. I just recently heard of them, and I love what I have seen so far, and so I wanted to share with you guys in hopes that you’ll love it as much as I do! Everything is totally customizable, which is a total plus for me. There are times when I am shopping and I’ll find something I love, only to say something along the lines of, “I wish this was longer,” or “I wish the neckline was different.” I work in a school, and so there are some restrictions on what I can wear to work. I still need to dress professionally, so I’m always looking for pieces I can wear both at work and out.

When I looked through the website, I was super pleased with all the options. They offer everything from wedding dresses to sun dresses and plenty in between. The prices are also super affordable, which is great! I wanted to order some thing I could wear to work, but I ordered this dress, which typically comes sleeveless. Since I can’t wear sleeveless tops to work, I was able to customize the sleeve to a capsleeve! How awesome is that? I was also able to enter my height (I’m pretty short, so dresses are often an awkward below the knee length on me), and what I wanted the dress length to be.

Less than a week after ordering, a package arrived on my doorstep and I was absolutely in love with the dress! Here’s what the dress looks like:

springdress5

I love the nautical feel that it has. I will definitely be wearing this to some upcoming outdoor weddings this summer. The length is perfect, and it’s something I can wear to work. It’s a win-win in my book!

springdress3

My clothing style is pretty simple, with a little bit of preppy inspiration. I wear a lot a navy blues, but I’ve just come to accept that about myself and not worry about constantly adding more to my closet. I guess it’s my go to color. This dress just feels so preppy and it’s perfectly light for summer.

springdress1

There is a side zipper, which you can see in this picture. I adore the neckline. This is the type of dress that doesn’t need much else with it for accessories, and I love that about it.

springdress2

springdress4

But guess what you guys?! I have some good news for you too! If you are looking for some great, customizeable fashion, you can order at eShakti.com using the code “rumfieldhomestead” and get 10% off when you shop before 05/05/2016! How seriously awesome is that?! I am in love with this dress, and I had an great experience with the company (and I totally wouldn’t lie to you guys!). I would recommend this site to anyone, and I do hope you love it as much as I do! If you’d like to see more of this awesome company, you can find them on Pinterest, Facebook, or Instagram.

That’s all for today friends, have a fabulous day!

This post is sponsored by eShakti.com as a part of their #realfashionforrealpeople campaign, but all opinions are my own.

Home Decor

How to Make Grocery Store Flowers Look Expensive

Hi you guys! I’m so glad you stopped by today! I feel like I haven’t been able to consistently post for a while, but I have a ton of ideas for some upcoming posts that I’m super excited about! I was thinking about it the other day, and I realized that it was almost exactly one year ago today that I started this little blog and posted my very first post! Since then I have shared some really fun projects that I’m proud of, as well as a few personal pieces. In the next year, I want to continue to add more things here on the blog that encompass more things that I love, branching out a little bit from my main focus which has been DIY projects. I hope you don’t mind!

So today I wanted to share with you a recent hobby that I’ve taken on (which if you can’t tell by the title, is all about flower!). I’ve always loved florals, and when I grocery shop, I usually pick up an inexpensive bunch of flowers and stick them in a vase. For my wedding, I did my own flowers (which were admittedly pretty simple), and since then, I’ve been a little obsessed with floral design. Now, I am in absolutely no way any type of professional, nor do I even really know what I’m doing. All I know is that when I buy a four dollar bunch of flowers from the grocery store, it doesn’t look the same as the pretty floral arrangements I find on Pinterest.

With a little bit of fun experimentation, I’ve been able to figure out how to make the florals I buy at the grocery store a little bit more expensive looking (without the high florists’ price tag). Here’s what I do:

floralbuch1 floralbunch2

I purchased a few hydrangeas, a bunch of mini pink roses, and a bunch of greenery. I like the mini roses simply because they are much cheaper than the large ones. Most bunches of individual types of flowers at my grocery store are just a few dollars. I tend to stay away from the pre-made bouquets, because they can get procey pretty quickly.

I like to make a floral arrangement from one basic large flower type, one smaller flower type, and some greenery. This is just my personal opinion, and I’m sure someone who has some actual floral knowledge might cringe reading this, but it’s just what works for me.

So here’s what I came up with:

floralarrangement3floralarrangement5floralarrangement4 floralarrangement1

Like I said before, I have no experience with arranging florals other than just for fun, but boy is it fun! Keeping flowers in the house is a simple way to brighten the room, and I love the way this arrangement looks! For this arrangement, I placed the hydrangeas in the vase first, and then added small bunches of roses, followed by the sprigs of greenery. I usually just mess around with arranging it in different ways until I loke the way it looks. I don’t follow any proportion rules, but I think it looks pretty good (if I do say so myself, 😉 ).

How about you? Have you ever played around with florals? It sure is fun! I’d love to hear all about it! That’s all for today friends, have a fabulous day!

Capture

DIY Projects

Antique Window Project

Hi you guys! I’m so glad you stopped by today! This week is flying by, and it’s hard to believe that Easter is just a few days away! Despite the weird highs and lows that we’ve seen in the tempurature the last few weeks, I’m so glad that spring is officially here!

I wanted to share with you guys a fun project I completed this week, which I think is in perfect timing for the upcoming Easter holiday. A few weeks back, I was roaming around my favorite flea market (why does it seem like half of my posts start with that sentence?), and I found  this super old, really pretty hymnal. It was way older than me, but it was still super nostalgic, because I grew up singing hymns from a hymnal. I grabbed it for five dollars, and I immediately had this project in mind.

I went through the book and found some familiar songs and cut those pages out. I know you may say that by doing that, I’m not respecting the integrity of the hymnal, but I think that I will enjoy what I’ve done with it far more than anyone else was going to use the hymnal for. If that even makes sense. I carefully sliced the pages I wanted with an X-Acto knife to be sure I had a clean cut.

Then I used scotch tape (very teeny tiny pieces) to tape the pages I had cut out onto the panes of an antique window I had. The window was something I already had, it was hanging on the wall previously with nothing on it. So here’s what I came up with: HymnalWindow5

Each hymn is a title that I’m familiar with, and each one is a sweet reminder of His love and all that He has done thoughout our lives. If you look super closely, you can see the tape, but I didn’t want to use another method that would either damage the pages or make it so that I was unable to recreate something using these materials.

I placed it above our bed, and I absolutely adore it.

HymnalWindow4

HymnalWindow1

HymnalWindow3

I really think it just adds a thoughtful touch to the decor in here. Really, what’s the point in putting together a home if it isn not meaningful? I’m already thinking of other projects I can do with the rest of the hymnal pages, seeing as how I’ve barely used a few.

There are Chrsitmas carols and classic American choruses, so the seasonal possibilities with this little hymnal are pretty endless. Plus, there’s just something about the yellowed pages of sheet music that is just beautiful. I seriously can’t get enough.  Can you tell I’m excited about this one?

What do you think of this project? It’s such an easy thing, I don’t know if it can actually be considered a a project! I hope you enjoyed this little project, and that it insires you to do something meaningful with the decor in your own home! That’s all for today, friends. Have a fabulous day!

Organization

DIY Laundry Soap

Hello friends! I hope this week has been treating you well! Spring Break is winding down for me, and I am silently crying tears of regret after not having accomplished everything that I had planned. Just kidding. Sort of.

We did have a super fun and relaxing week of camping for a few nights, which was wonderful! Even though we were only about twenty minutes from home, it felt as though we were truly out of town. And it just feels good to get away! Coming home from camping, everything in our bags smelled like campfire smoke. Which is wonderful while you’re actually out, but once you come home, it’s not so great (in my opinion anyway). I had a bunch of laundry to do, and I realized it would be a great idea to share my homemade laundry detergent recipe with y’all.

DIYlaundrysoap2

I’ve been making my own laundry soap for about three years now, and I have not had to re-buy supplies since I first started. Talk about thrifty.

So here’s what you’ll need: 

3 Tablespoons of Washing Soda

3 Tablespoons of Borax

2 Tablespoons of Original Dawn Dish Soap

Any scent of essential oils (this part is totally optional)

Here are the (super simple) steps:

First, you’ll mix your washing soda, borax, and dish soap together in a gallon size container, adding about one cup of hot water. No need to boil the water, I just use the hottest water I can get out of my faucet. This amount of water is just enough to dissolve the power into the water. You’ll need to shake well until everything is dissolved.

Next (and you will need to do this in your sink), you’ll fill your container with the cold water. I just use the tap water from my faucet. This process will create a mess load of bubbles, so I cannot tell you how important it is to do this in a sink! Once the container is filled, I close it up and shake again. This will allow any particles that didn’t disolve before to fully dissolve.

Last, and this step is optional, I like to add a few drops of essential oil. No need for the expensive stuff, I just bought one bottle of lemongrass oil from my local grocery store, which may have cost about five bucks. The oil will make the laundry soap scented, which I prefer in a laundry soap. It is totally optional though. The cool thing is that you can make it any scent you want. After adding a few drops, I close it up and shake thoroughly.

That’s it! It really is that easy. like I mentioned before, I have been making this laundry soap for about three years, and I have yet to buy new supplies. I would estimate the total cost at about fifteen dollars, but for three plus years of laundry soap, I would say that’s a pretty good deal! Now, I use this recipe mainly for economical reasons, and not necessarily for all-natural health reasons, so if you’re looking for an organic or suchandsuch-free product, this is probably not for you.

Personally, I love it. It takes just a few minutes to make, and my clothes and linens smell and feel just as fresh as with any other laundry soap I have purchased. I use about a cup of the soap per load, and one “batch” will last me a few weeks. I would definitely recommend making your own laundry soap!

Have you tried making your own laundry soap before? If so, I’d love to hear about it! That’s all for today, friends. Have a fabulous day!

DIYlaundrysoap

DIY Projects, Home Decor

Easy DIY Wreath Vignette

Hello friends! I hope you’re having a great day! Today is my first day of spring break and let me tell you – it is fabulous! I love being able to wake up when I want to with no worries about what to do for the day! Not to make you completely jealous if you do have to go into work today. Sorry!

Anyway, I hope to complete a bunch of projects this week while I’m off work, this being the first of them. Last weekend, Ethan and I went to Canton Trade Days (my favorite flea market in the area) with his parents. We had  a great time and I brought home a few new treasures. One of which was this little screen window. I liked it because it’s a little different than the typical glass window panes everyone is using everywhere.

I brought it home, a little unsure of where to use it. But when you love it, you buy it, right? I sat on it for a few days before ultimately putting this together:

DIYWreath3

The little shelf there was an from an existing vignette, but it had just become a little bit out of my style. There had been a lot of gold in the previous vignette, and I think metalics are slowly phasing themselves out of my decor. Which I’m totally fine with.

DIYWreath7

What I really want to talk to you guys about is this little wreath. I made it completely out of items I had at home. I used what used to be a leafy garland, and a coathanger! Yes, you read that correctly, a coathanger! I got the idea from my fifth grade teacher. That sounds super weird, I know. But as I was thinking about what to do with this area, I remembered a peppermint wreath I made in fifth grade as a Christmas project made from (you guessed it): a coathanger.

I found a small drycleaners hanger (the thin metal ones) and began sto stretch it into a circular shape. It didn’t have to be totally perfect, since the garland kind of disguised the hanger anyway. I used wire cutters to cut off the part of the hanger that actually hangs over the rod. You know, the part that looks like a question mark? I’m sure there’s a more official term, but obviously I don’t know it. Whatever.

DIYWreath2

I wrapped the garland around the wreath form, and it fit about two times exactly. Easy enough. I didn’t even secure it with anything, I just sort of twisted it into itself and around the wire.

DIYWreath4

Here’s how it looks from our dining room table. I am loving the vibe it gives in here. It has a much more simple and monochomatic feel, which I love. Much better than the metallic party that was happening before.

DIYWreath1

DIYWreath5

In case you were wondering, the garland, the shelf, and the ribbon are both from Hobby Lobby, and everything else has been found/and or made by me. Thanks for stopping by today, I appreciate it so very much! Let me know what you think of this little project in the comments below.

That’s all for today, friends. Thanks for stopping by!

DIY Projects, Home Decor, Tutorials

DIY Boxwood Topiary

Hi you guys! I’m so glad you stopped by today! I don’t know if it’s feeling spring like where you are, but here in North Texas it definitely is! I was coming into the house after work the other day and I noticed little green buds popping up in the tree in the front yard. There’s no better sight! Not to mention that the weather has been warming up, which means it’s closer to time for front porch and grilling! I think it’s safe to say that spring is my favorite season (and it’s not just because I have a spring birthday…)!

Today I want to share with you guys a super fun super cheap DIY that totally has me ready for spring. I’ve been adding pops of greenery in the house everywhere, whether it be fresh flowers, or faux greenery I’ve collected from Ikea. I’ve been eyeing some of those adorable boxwood topiaries that seem to be everywhere (okay, maybe just Target and HomeGoods, but everywhere important!), but with my monthly free spending allowance, it didn’t seem worth it to pay for them. I’ve seen some at multiple places, usually anywhere from $20 – $30. Which isn’t a ton of money, I know. I’m just Cheapster McGee, as you all already know.

So I did what I do best, which is set out to make my own DIY version. So here’s what I came up with:

Topiary1

This is a very basic little craft that cost me just a few bucks.

Topiary7

I purchased all of my supplies at Hobby Lobby. The pots were under two dollars, and the boxwood balls (I’m fairly certain that’s not an actual phrase) were about five dollars for both, as they were seasonal clearance.

Topiary4

The rest of the supplies I had on hand. First, I put a coat of wax on the pots, mainly because I had never used strictly wax on something before, and I wanted to see how it would turn out. Since it was clear wax, it didn’t change the color at all. Duh, I should have known. However, I then immediately did a quick drybrush over the wax coat. Because the wax was not yet dry, it allowed me to wipe the whole thing with a rag, giving me the unfinished look I was going for.

Topiary3

I used sticks (the free kind from the front yard) and hot glued them to the bottom of my pot. The pots had a small hole in the bottom, which I covered with a small piece of duct tape so that the glue wouldn’t come out the bottom. After a few minutes, I filled in the pot with Spanish moss, something I had on hand already.

Topiary8

The boxwood balls have sort or a net texture under the leaves, which was perfect to just wedge them onto the stick. I did add a dab of hot glue just to keep them in place. Including paint and dry time (they dried incredibly fast, since I used my drybrushing technique), this project took me about fifteen minutes.

The cost of supplies I had to purchase was about seven dollars, making these cute little topiaries about $3.50 each. As opposed to the $20-$30 range. So I consider this little DIY a definite win.

I love how the fresh, springlike vibe they have. Even Ethan commented on how cool they looked, so I’m pretty pleased with how this one turned out. I think the best part is how well they’ll transition into summer as well. I do hope you try this one! It was definitely a fun project for me, and just about anyone can do this!

I hope you have something awesome planned for today! That’s all for today! Have a fabulous day, friends!

DIYTopiaries

DIY Projects

DIY Magnolia Market Inspired Wreath

Hey y’all! I hope you had a fabulous Valentine’s weekend! We had a low key weekend that was just perfect. Now that Valentine’s Day is over, I’d be lying if I said that I don’t have spring on my mind. Since Christmas, our front door has been bare, and I knew I needed something fresh for the door. Today I want to show you guys what I did for my front door on the cheap. Because if it wasn’t cheap, it wouldn’t be for me!

It’s no secret how much I adore Magnolia Market in Waco, TX. I’ve been several times, and each time I come home feeling refreshed and inspired. A few weeks ago, we drove down to visit their Scratch and Dent sale. I was able to snag a few things, but there was one thing I’ve really been wanting that I wasn’t able to find on sale. I’ve been eyeing their signature Magnolia wreaths for a while, but with the $95 pricetag, I couldn’t quite get on board.

While I was there, I realized, duh! Why don’t I just make my own wreath? So that’s exactly what I did. wreath3

All I did was hot glue some leaves onto a wreath form. Not even worth the explanation.

wreath2

The wreath was something I had already at home, and just took off what was on the wreath previously. So the cost of that was free. The florals came on a stem from Hobby Lobby that were priced at $4.99. Since Hobby Lobby rotates their inventory to be 50% off every few weeks, I was able to snag two stems for the price of one. To make this wreath, it took exactly two stems, making the grand total $4.99.

wreath6 (2)

The leaves were all the darker green, but I turned some of them around to make it more dimensional.

wreath6 (1)

I am simply in love with this little DIY! It took me maybe ten minutes to glue everything on, and the total cost to me was five dollars. Can’t beat that!

And sure, the quality of the leaves isn’t quite the same you would get from the original wreath. I’ll be the first to admit that. However, this was about 5% of the cost of the original. And that’s good enough for me.

 MagnoliaWreath

Have you ever made a knock-off version of home decor? Us budget conscious girls gotta do what we gotta o!

I hope you have a wonderful Monday! Thanks for stopping by! That’s all for today, have a fabulous day friends!

Home Decor

Valentine’s Day Styling and a Free Printable

Hey you guys! I hope you’re doing well! Can you believe how quickly we’ve flown through the month of January?! I’m not going to lie, but springtime is already on my mind. Obviously I’m a bit premature, but the tempuratures have been in the seventies the past few days, and the birds have been chirping in the mornings when I’m waking up. It’s a beautiful feeling y’all. I’m sure it’ll turn cold again, but for now I’m enjoying the hint of spring. Anyway, now that January is coming to an end, Valntine’s Day is just around the corner!

Now, I’ll be the first to say that Valentine’s Day decorating is not really my thing. I”m just not into the bright colors and seasonally distinctive decor, especially right after all the Christmas decor has come down. I did however, want to give a little nod to the upcoming holiday in the most neutral way possible. I hand lettered this print you see here one evening.

shelf8 shelf5

Although it’s not technically Valentines-y, I do think it gives a little nod to the theme of the holiday, and it doesn’t hurt that it comes from a favorite passage of scripture.

shelf6 shelf3 shelf2

I’m definitely going to leave this up after Vaentine’s Day though, because I think it works well in all seasons. Which, in my opinion, makes the best decor. The less stuff I have to change out after each holiday, the better.

I wanted to share with you guys this little print that I made. I’ve never done this (or anything like this before), but I wanted a way to share my new hobby with y’all. My writing is totally imperfect, and this print IS handmade, but if there’s someone out there who doesn’t mind the imperfections, then I think it’s worth sharing. I’m always looking for cheap ways to decorate my home, and hand lettered notes have become my go-to accessory.

If you’d like your own downloadable copy, you can click here. Mine is printed in an 8×10 format, but it will look great as a 5×7 print too. Thanks for letting me share my little hobby with y’all. I’d love to know how you’d use this little print in your own home.

Well, I’m off to run some errands, I hope you have some fun things planned today! That’s all for today friends, have a fabulous day!