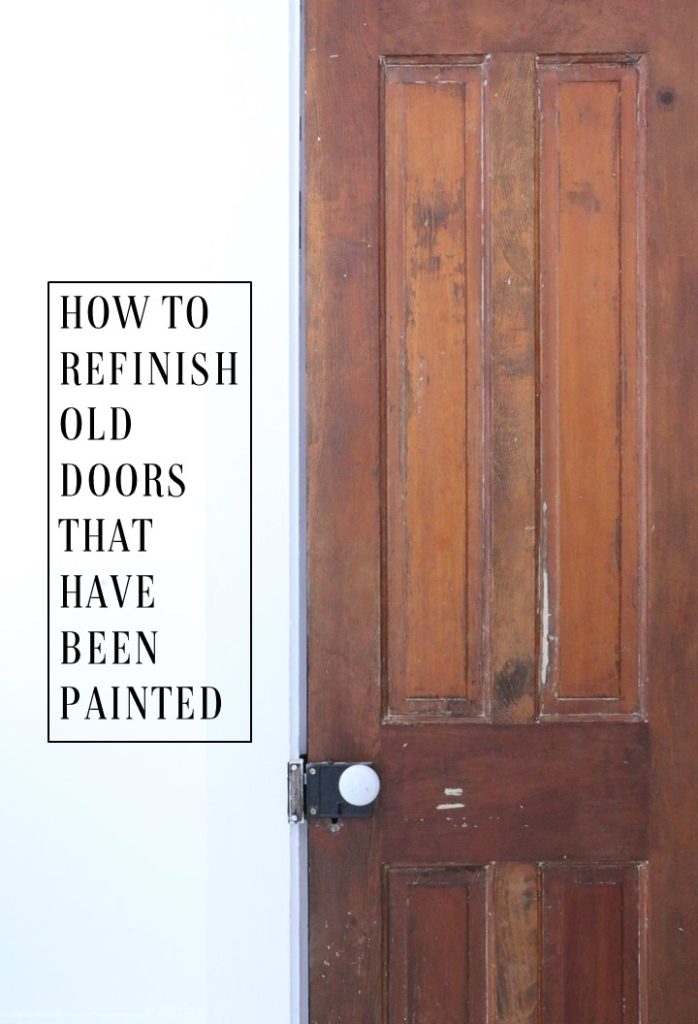
Today’s post has been a long time coming. Because this project is not for the faint of heart. If you live in an old house, chances are, you have old doors. And, if you’re like me, many of those doors have been painted over time and time again. Now, maybe you’re luckier than me and a paintbrush has never touched your wood doors. But about half the doors in our house have been painted. With multiple layers of paint.
We plan on restoring all of them eventually, but hadn’t gotten around to any of it. But, since we’ve been working on the nursery, I figured the best doors to start with would be the two painted doors in there. Now, I’ve stripped a lot of furniture in the last several years, and restored a lot of tables and dressers, but I’d actually never done a door before. So consider this my totally non-professional guide on how to restore doors that have been painted.
Step One
Remove your door from the room that it’s in, and take it somewhere you’ll have room to work. Remove all the hinges and hardware.
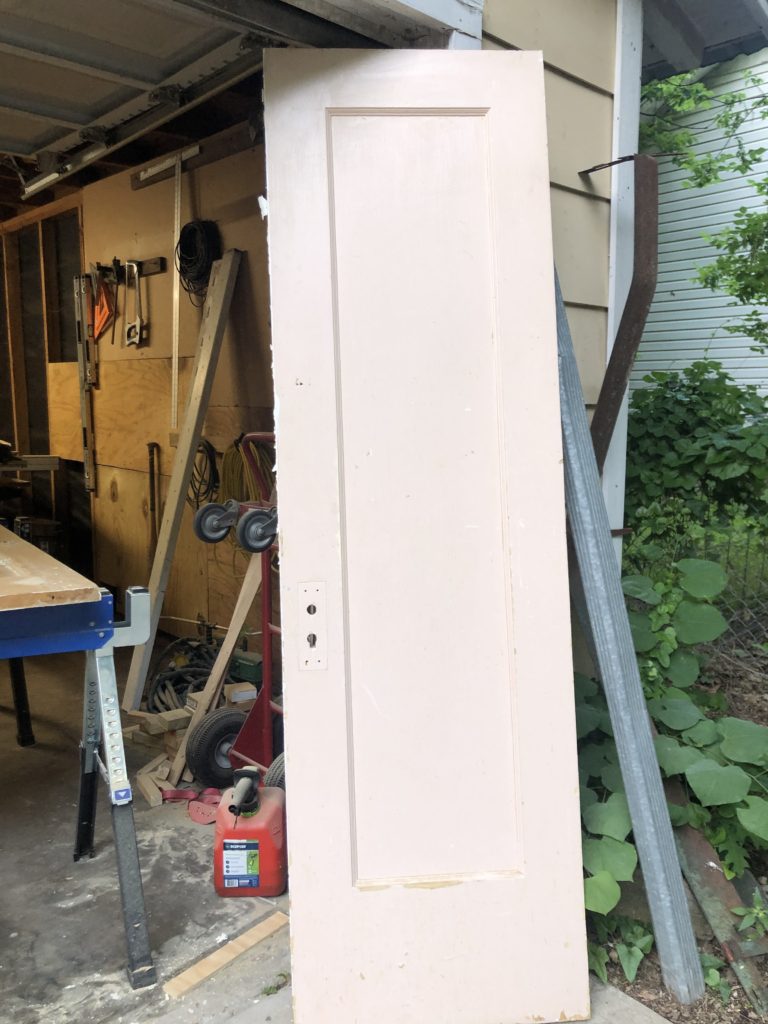
Because I’m such a professional blogger I forgot to take a photo of the door while it was still in the room, but here it is outside of my garage before I got started. You can see in the corner of this photo the other door that I was already working one. I did this same process to both doors.
Step Two
If your house was built before 1978, you may have some lead paint. I use these tests to check for lead. Luckily for me, neither of the doors I was working on had lead paint, so that meant I could continue. If your paint tests positive for lead, you may want to consider your options. I would not recommend the following method. If there are multiple layers of paint, the most likely culprit will be the oldest paint, or the bottom layer, so be sure to check that.
Step Three
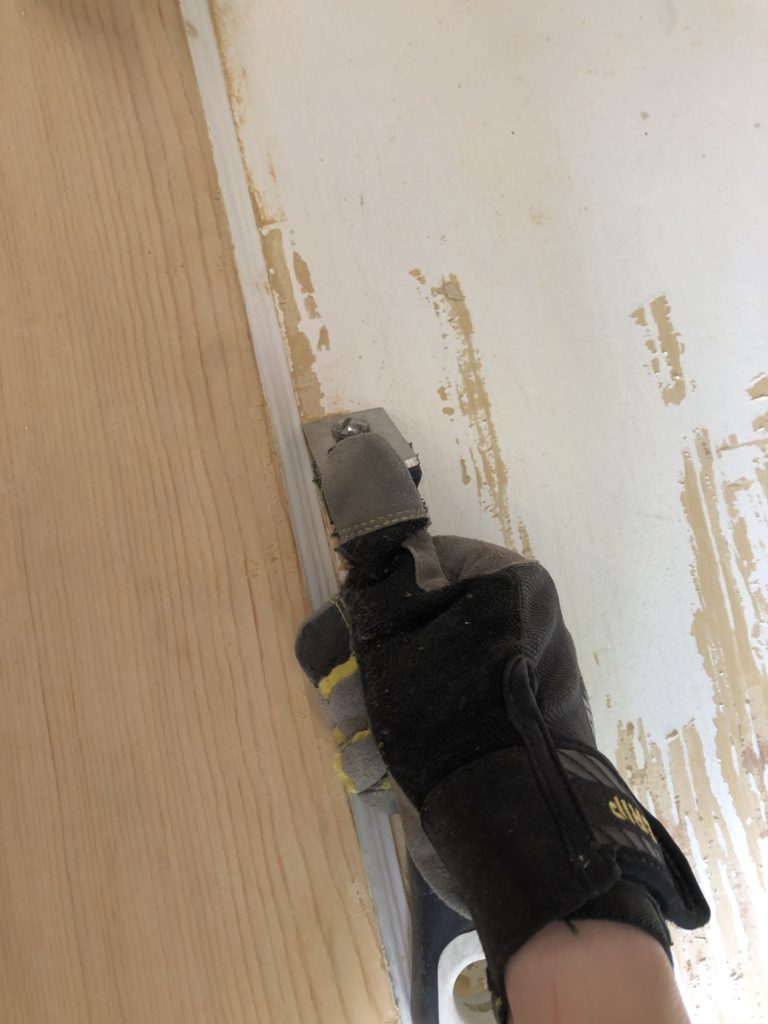
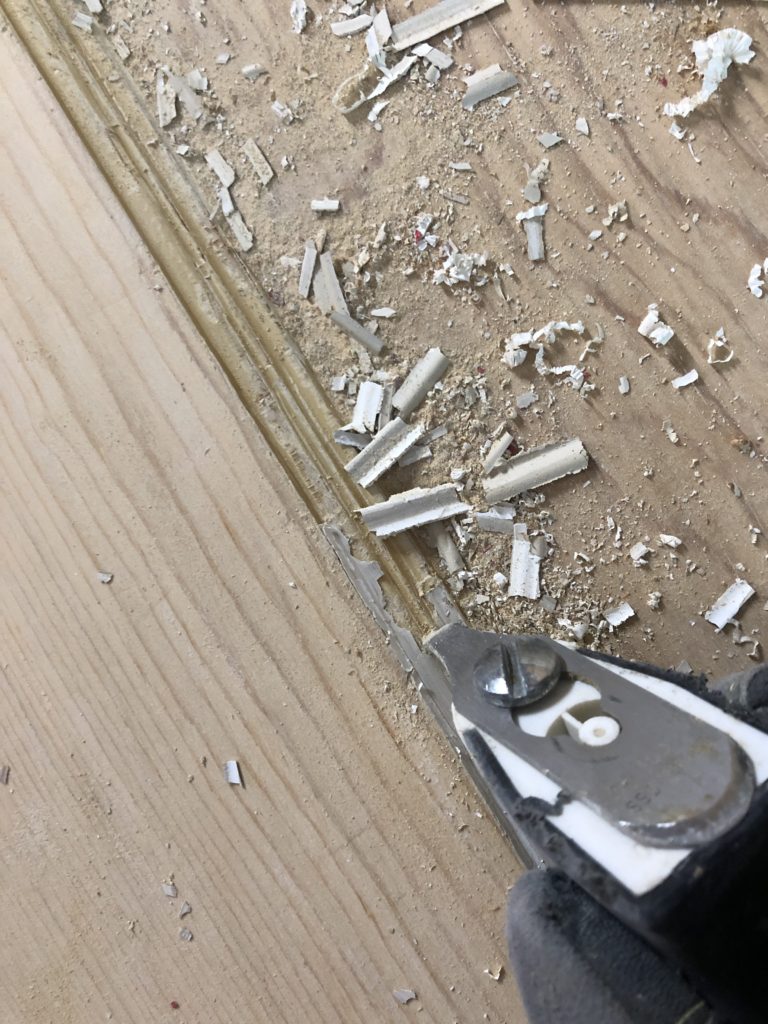
I found (after some trial and error with paint stripper) that the quickest way to go about removing paint quickly is to scrape it while it’s dry. I tried stripper, which worked, but it seemed to only take off a layer at a time. I found that this set worked well getting off lots of paint at once. The different shaped blades allow you to get into different cracks and crevices along the different surfaces of the door. I didn’t worry about getting 100% of the paint scraped off, but in general I got as much as I could.
Step Four
Sand. Sand like the world is ending. I used my orbital sander, and sanded first with a course 60 grit sandpaper to get the last of the paint off. On the edges of the panels where the orbit sander couldn’t reach, I sanded by hand. Once all the paint was off, I repeated the sanding with a 120 grit sandpaper and a 220 grit sandpaper.
Step Five
I used steel wool and mineral spirits to scrub the door one last time after all the scraping and sanding. Now, keep in mind, these steps took me like two weeks. I work in limited time shifts during naps and after toddler bedtime, so a normal schedule might allow this to get done in a matter of days, but I was averaging two weeks per door.
Step Six
This would be optional based on your wood and your preferences. I had one door in the room that was untouched, and I wanted the three doors I was working on to be all about the same color. So I used the stain we used on our floors throughout the house (Minwax Early American) and it ended up being a pretty close match to the door that was already in the room. I prefer to use a rag to apply (with rubber gloves on!), rather than brushing and wiping the excess. I just apply with the rag and rub it in immediately. If you like the color of your wood after you strip it all down though, you could totally skip this step.
Step Seven
The last thing I did was put a coat of Polyurethane on them. I like to buy the cheap paint brushes to apply the poly, and then just throw them out when I’m done. I ended up doing just one coat of poly (again, trying to match an existing finish!). I let the first side dry for 24 hours, then flipped the door around and did the other side. I let it sit for another 24 hours before moving them back into the room.
Step Eight
Bring your doors back into place, and re-install the hinges and doorknobs. And for goodness sake enjoy the fruit of your labor!
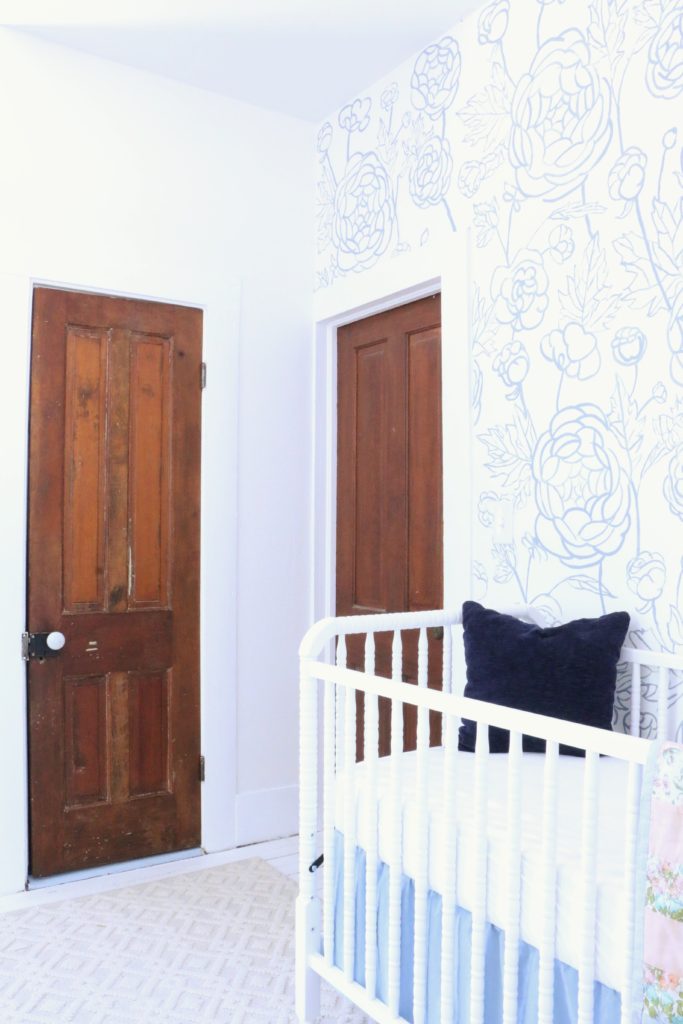
The door on the right is the entrance to the room, and the door on the left is one of the ones that were painted. There are a couple of white spots that you can see which are actually wood filler. They aren’t perfect…they’re 125 year old doors that had six coats of paint on them! But for goodness sake I think they turned out pretty good.
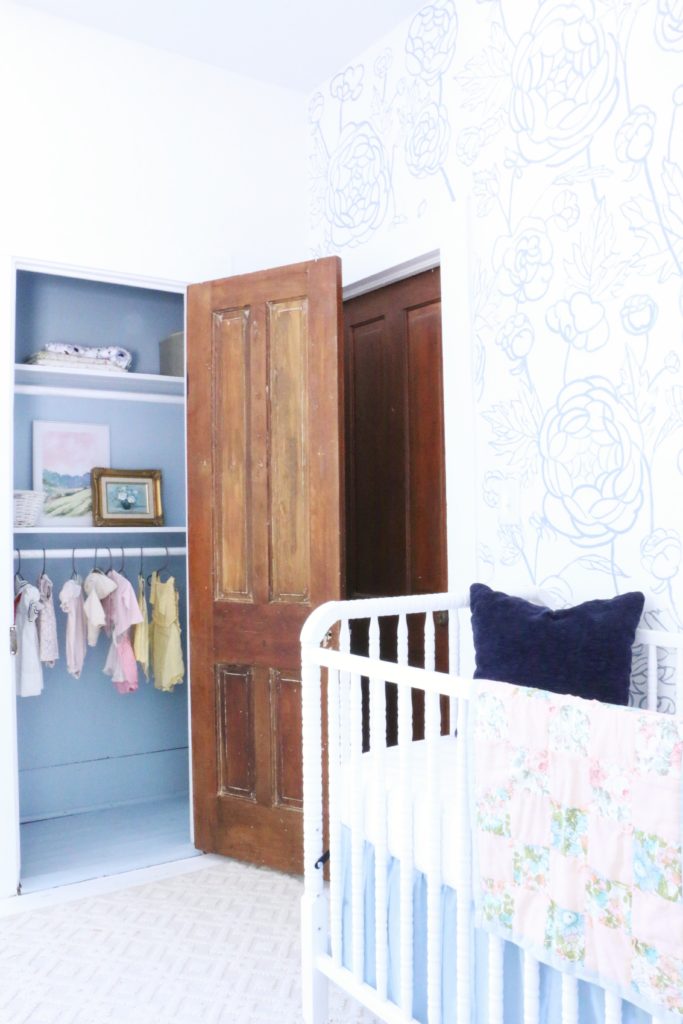
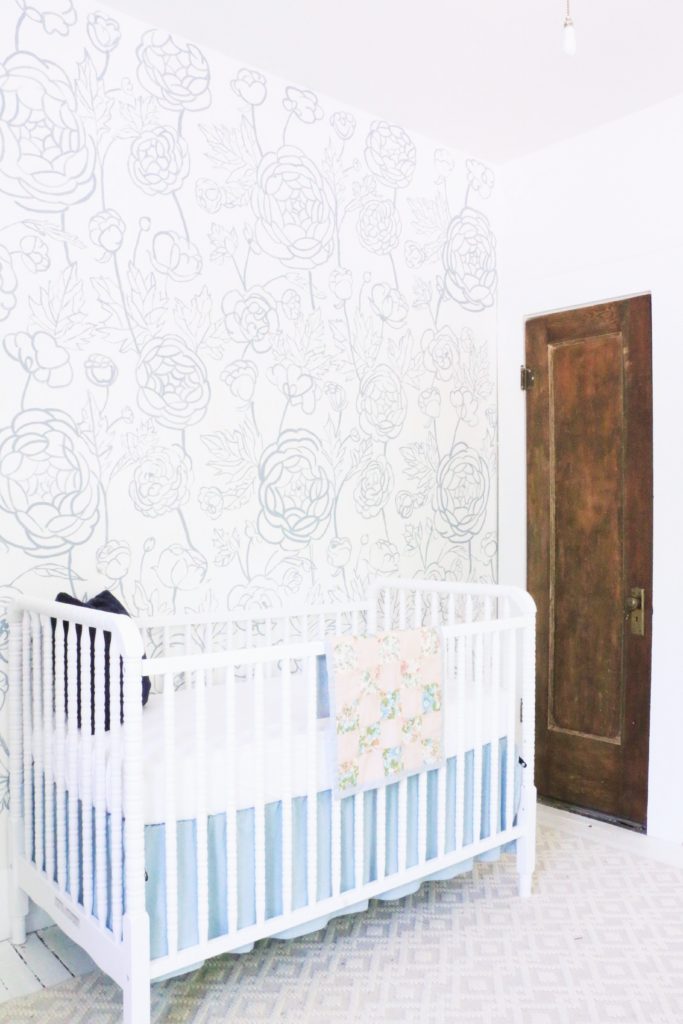
This door on the other side leads to the bathroom, and is the one from the first picture. Let me show you again:

Can you even believe that wood grain was hiding under all those layers of paint?!
This project was a doozy, I’m not gonna lie. It was weeks worth of work, sweating it out in my hot garage in a mask and protective gear. It wasn’t a fun DIY. But, they are back to the way they were intended to be in this house, and I think that’s what matters. And I’m stinking proud of the work that went into these. So, do you have any doors that need refinishing? Are you brave enough to take it on? (I totally think you can!) That’s all for today, friends! Have a fabulous day!
