Monthly Archives

April 2017

DIY Projects, Home Decor, Tutorials

Chalk Paint All the Things!

Hi there! Hope your day is going well! I’m here with a super easy project today that can’t even really be considered a project. It’s something that is seemingly obvious, but I had never thought to do, so maybe you haven’t either. I don’t know. Anyway, y’all know I love chalk paint. I use it all the time on my projects for both my house and my pop-up shows.

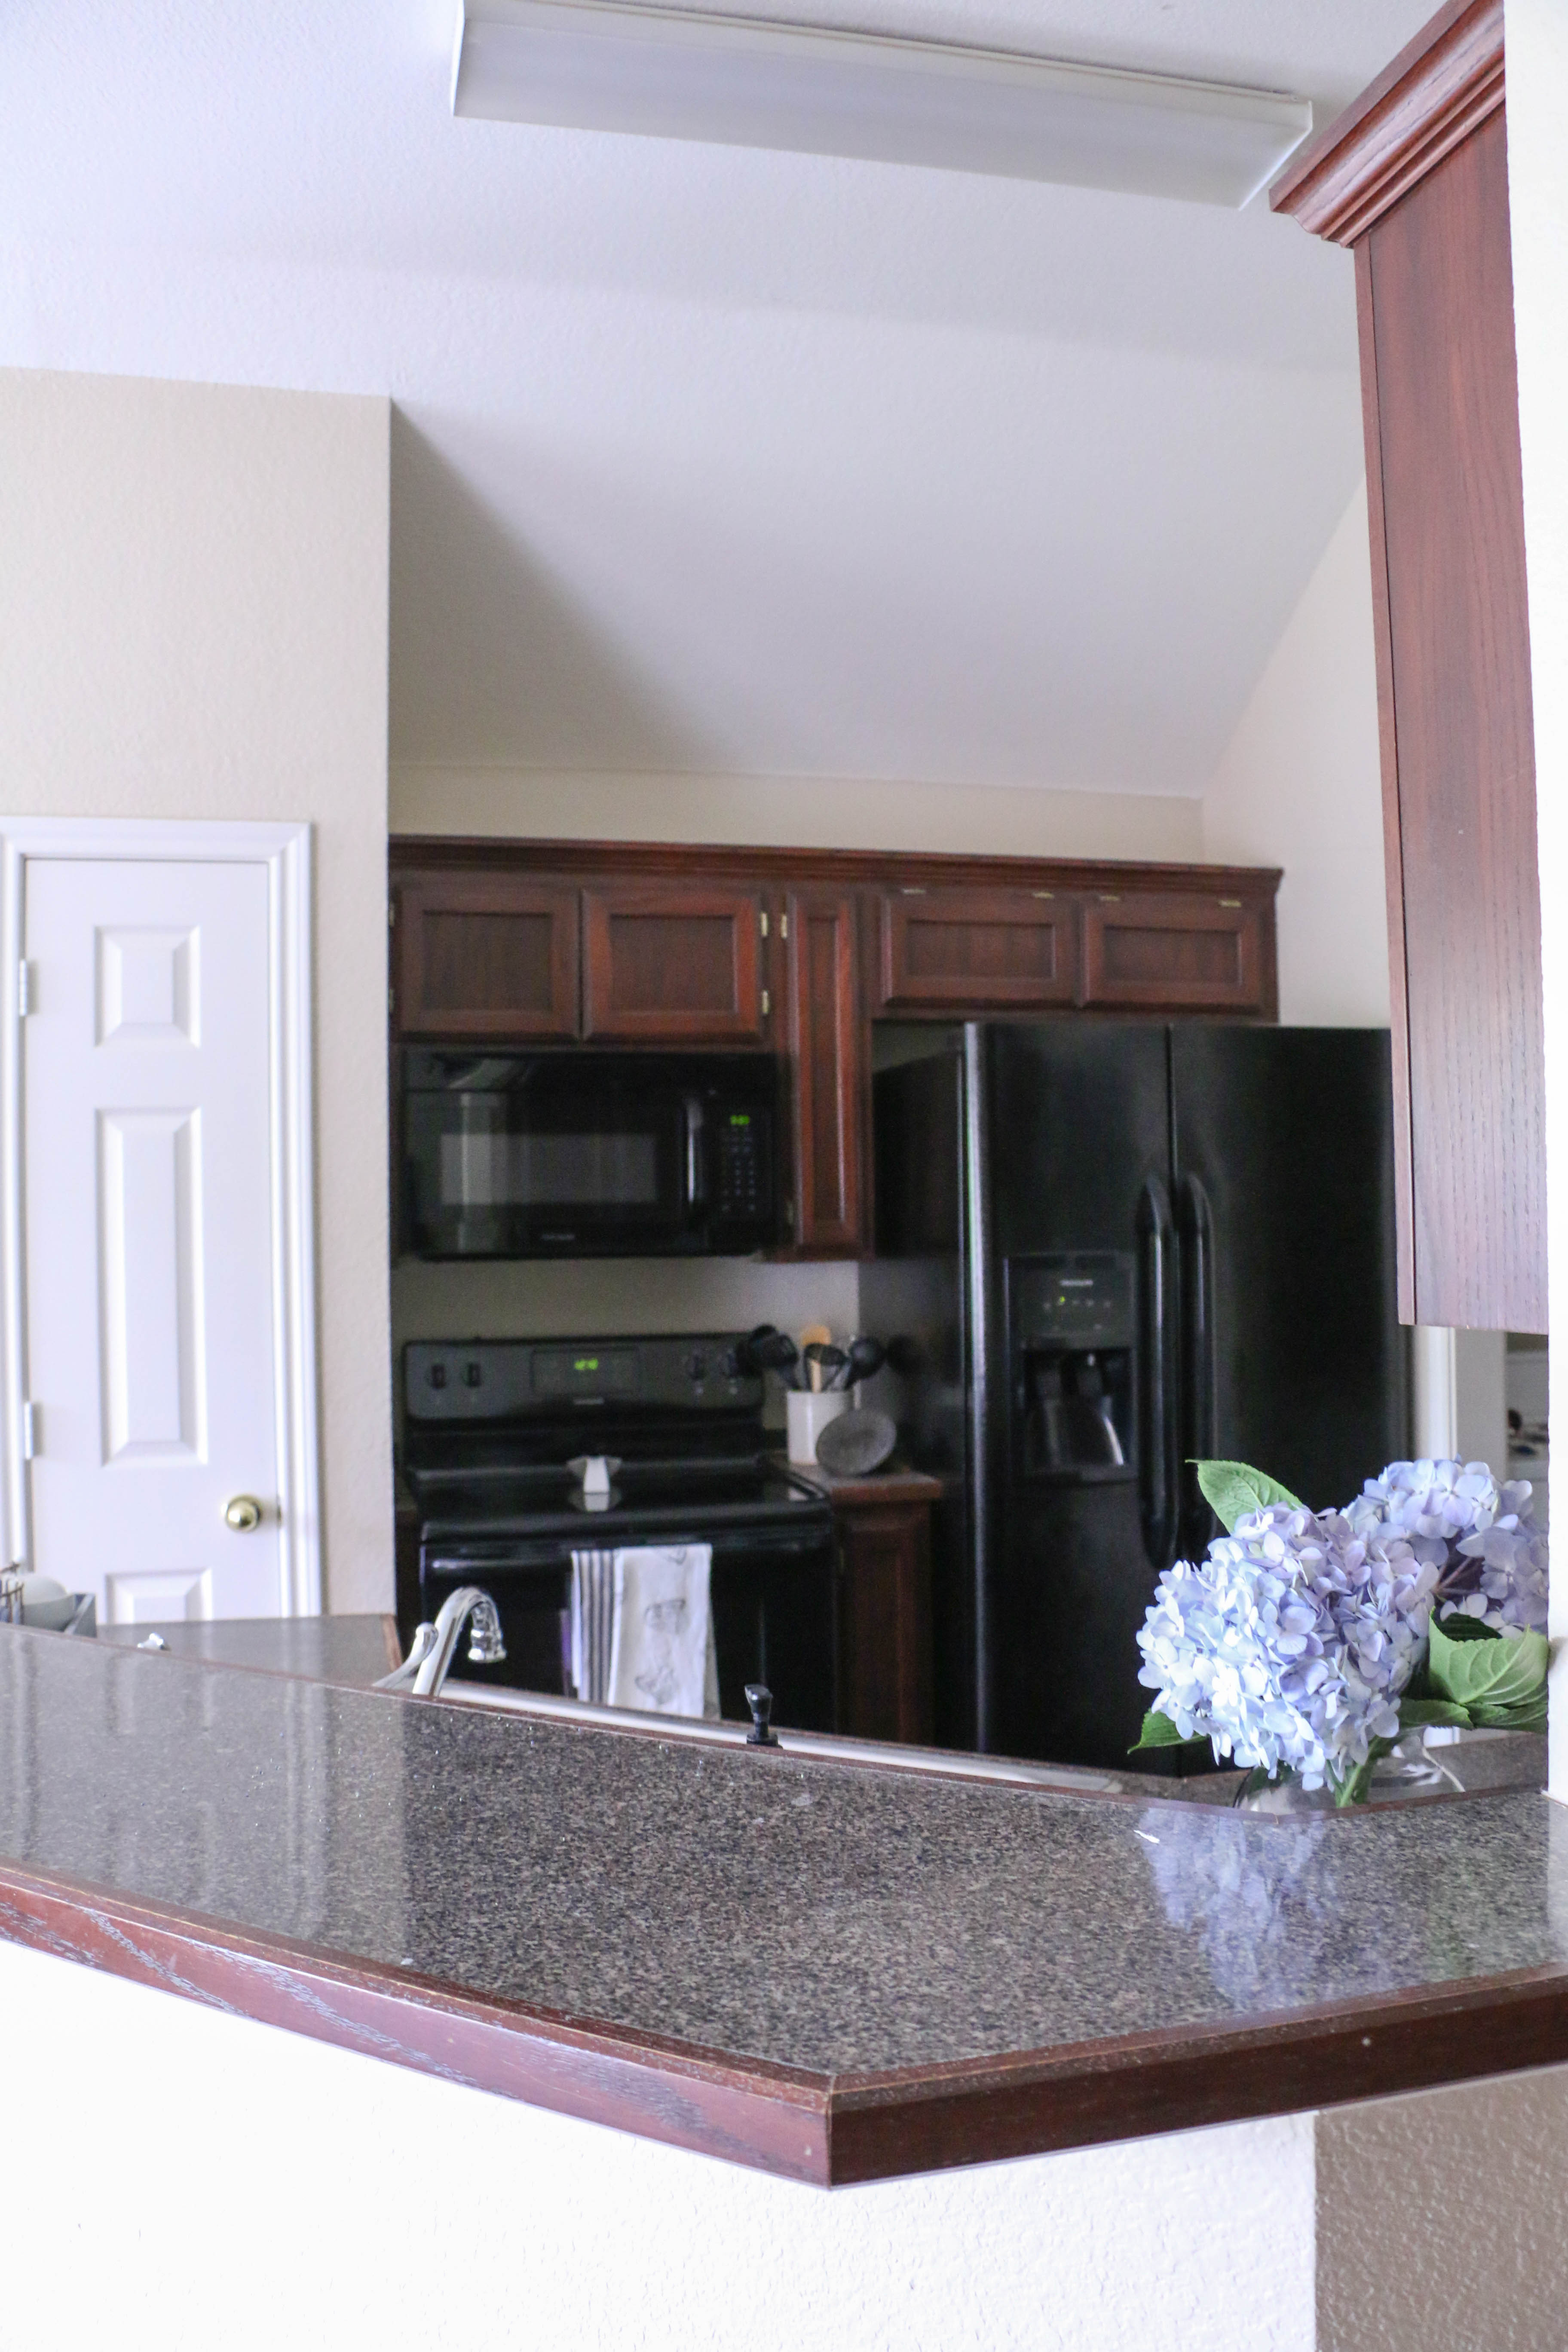
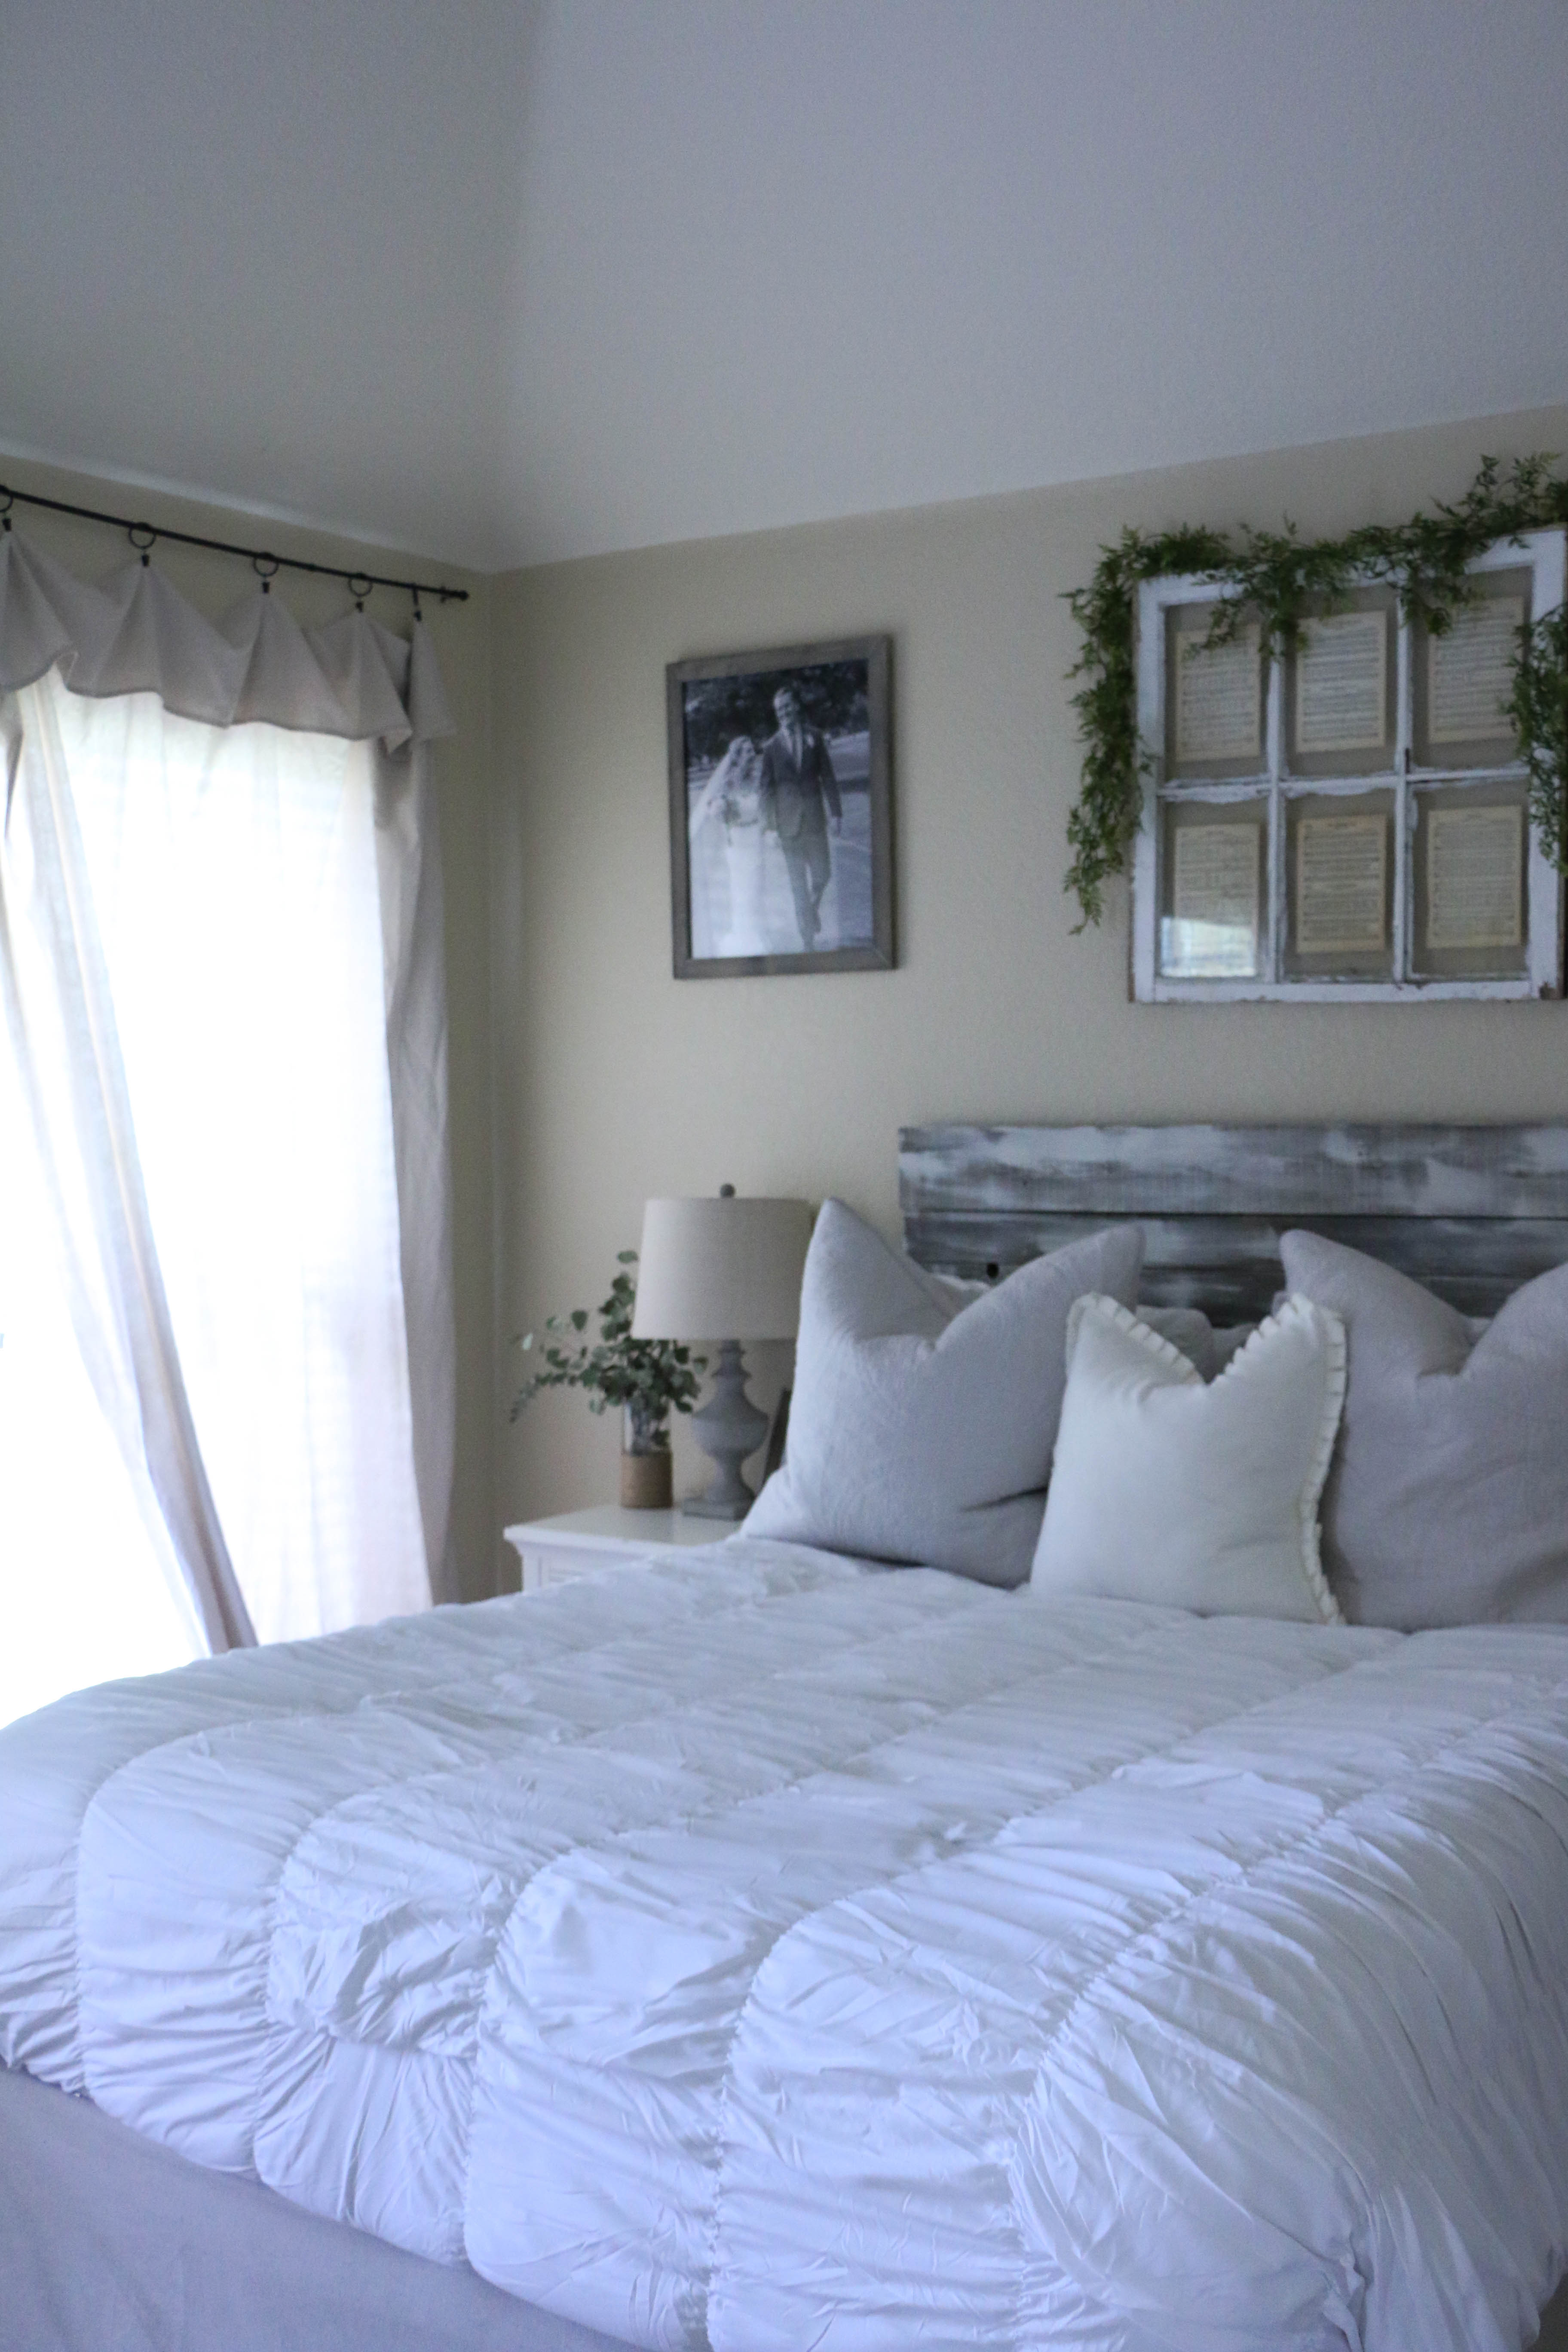
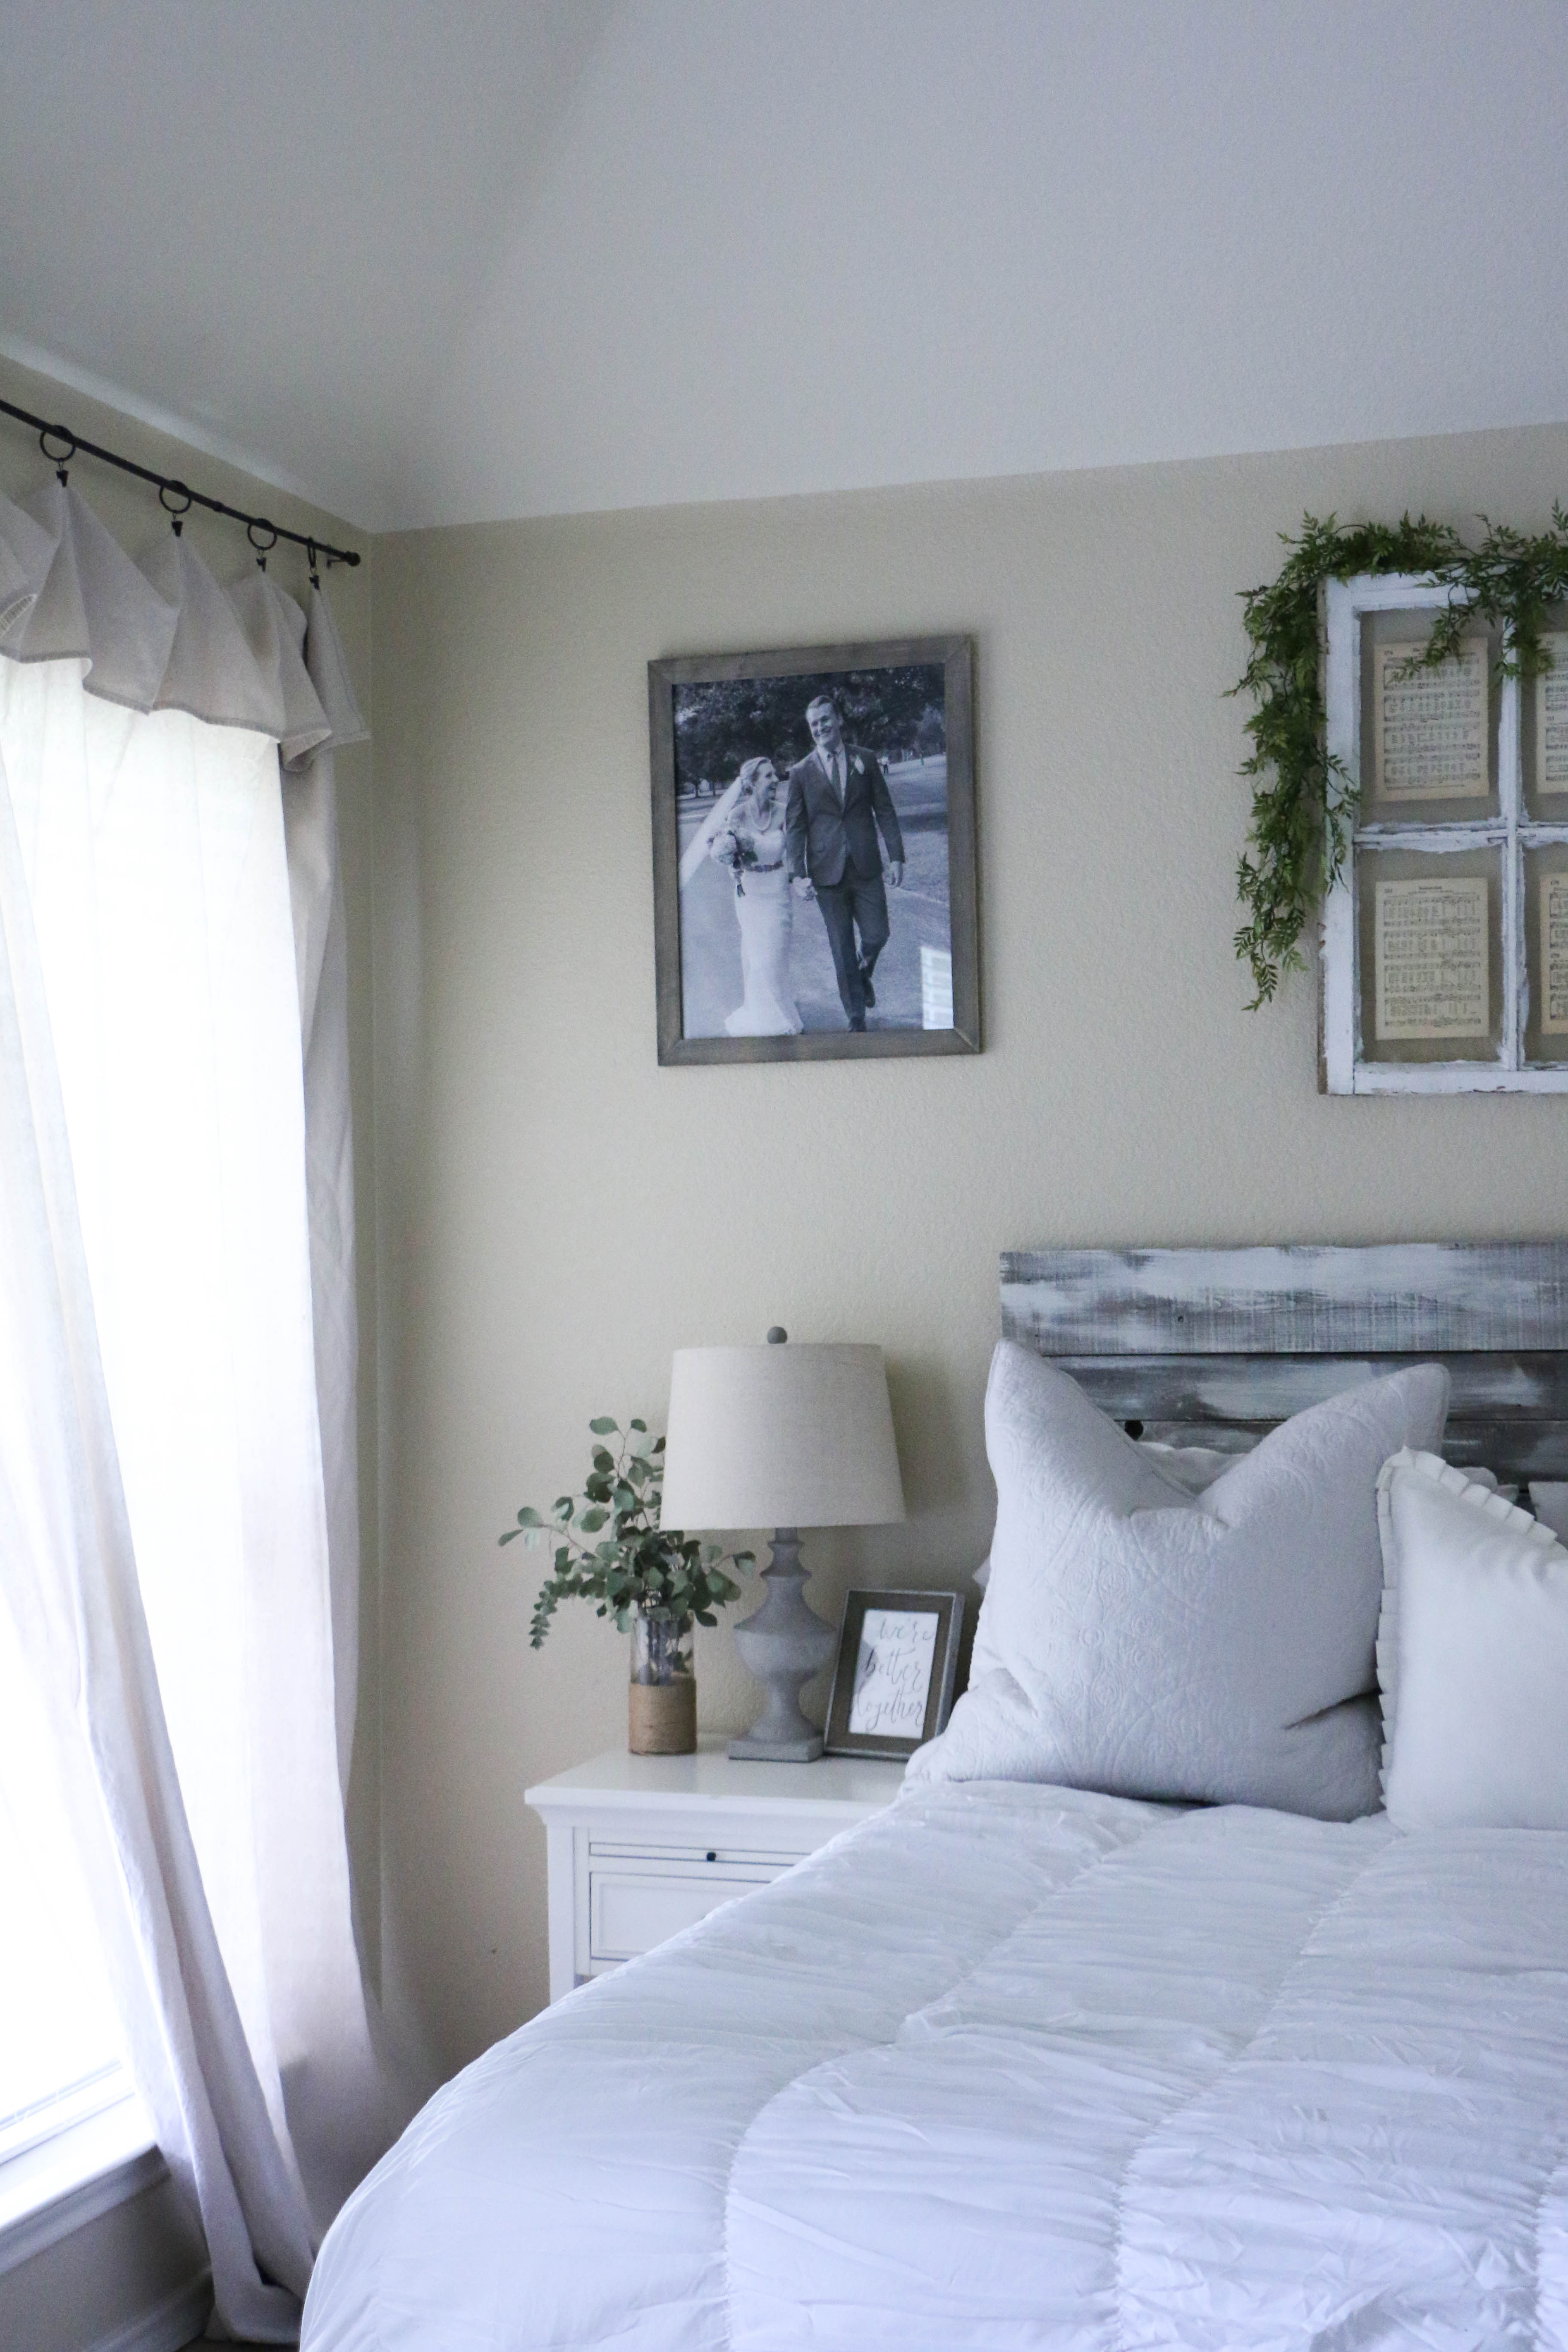
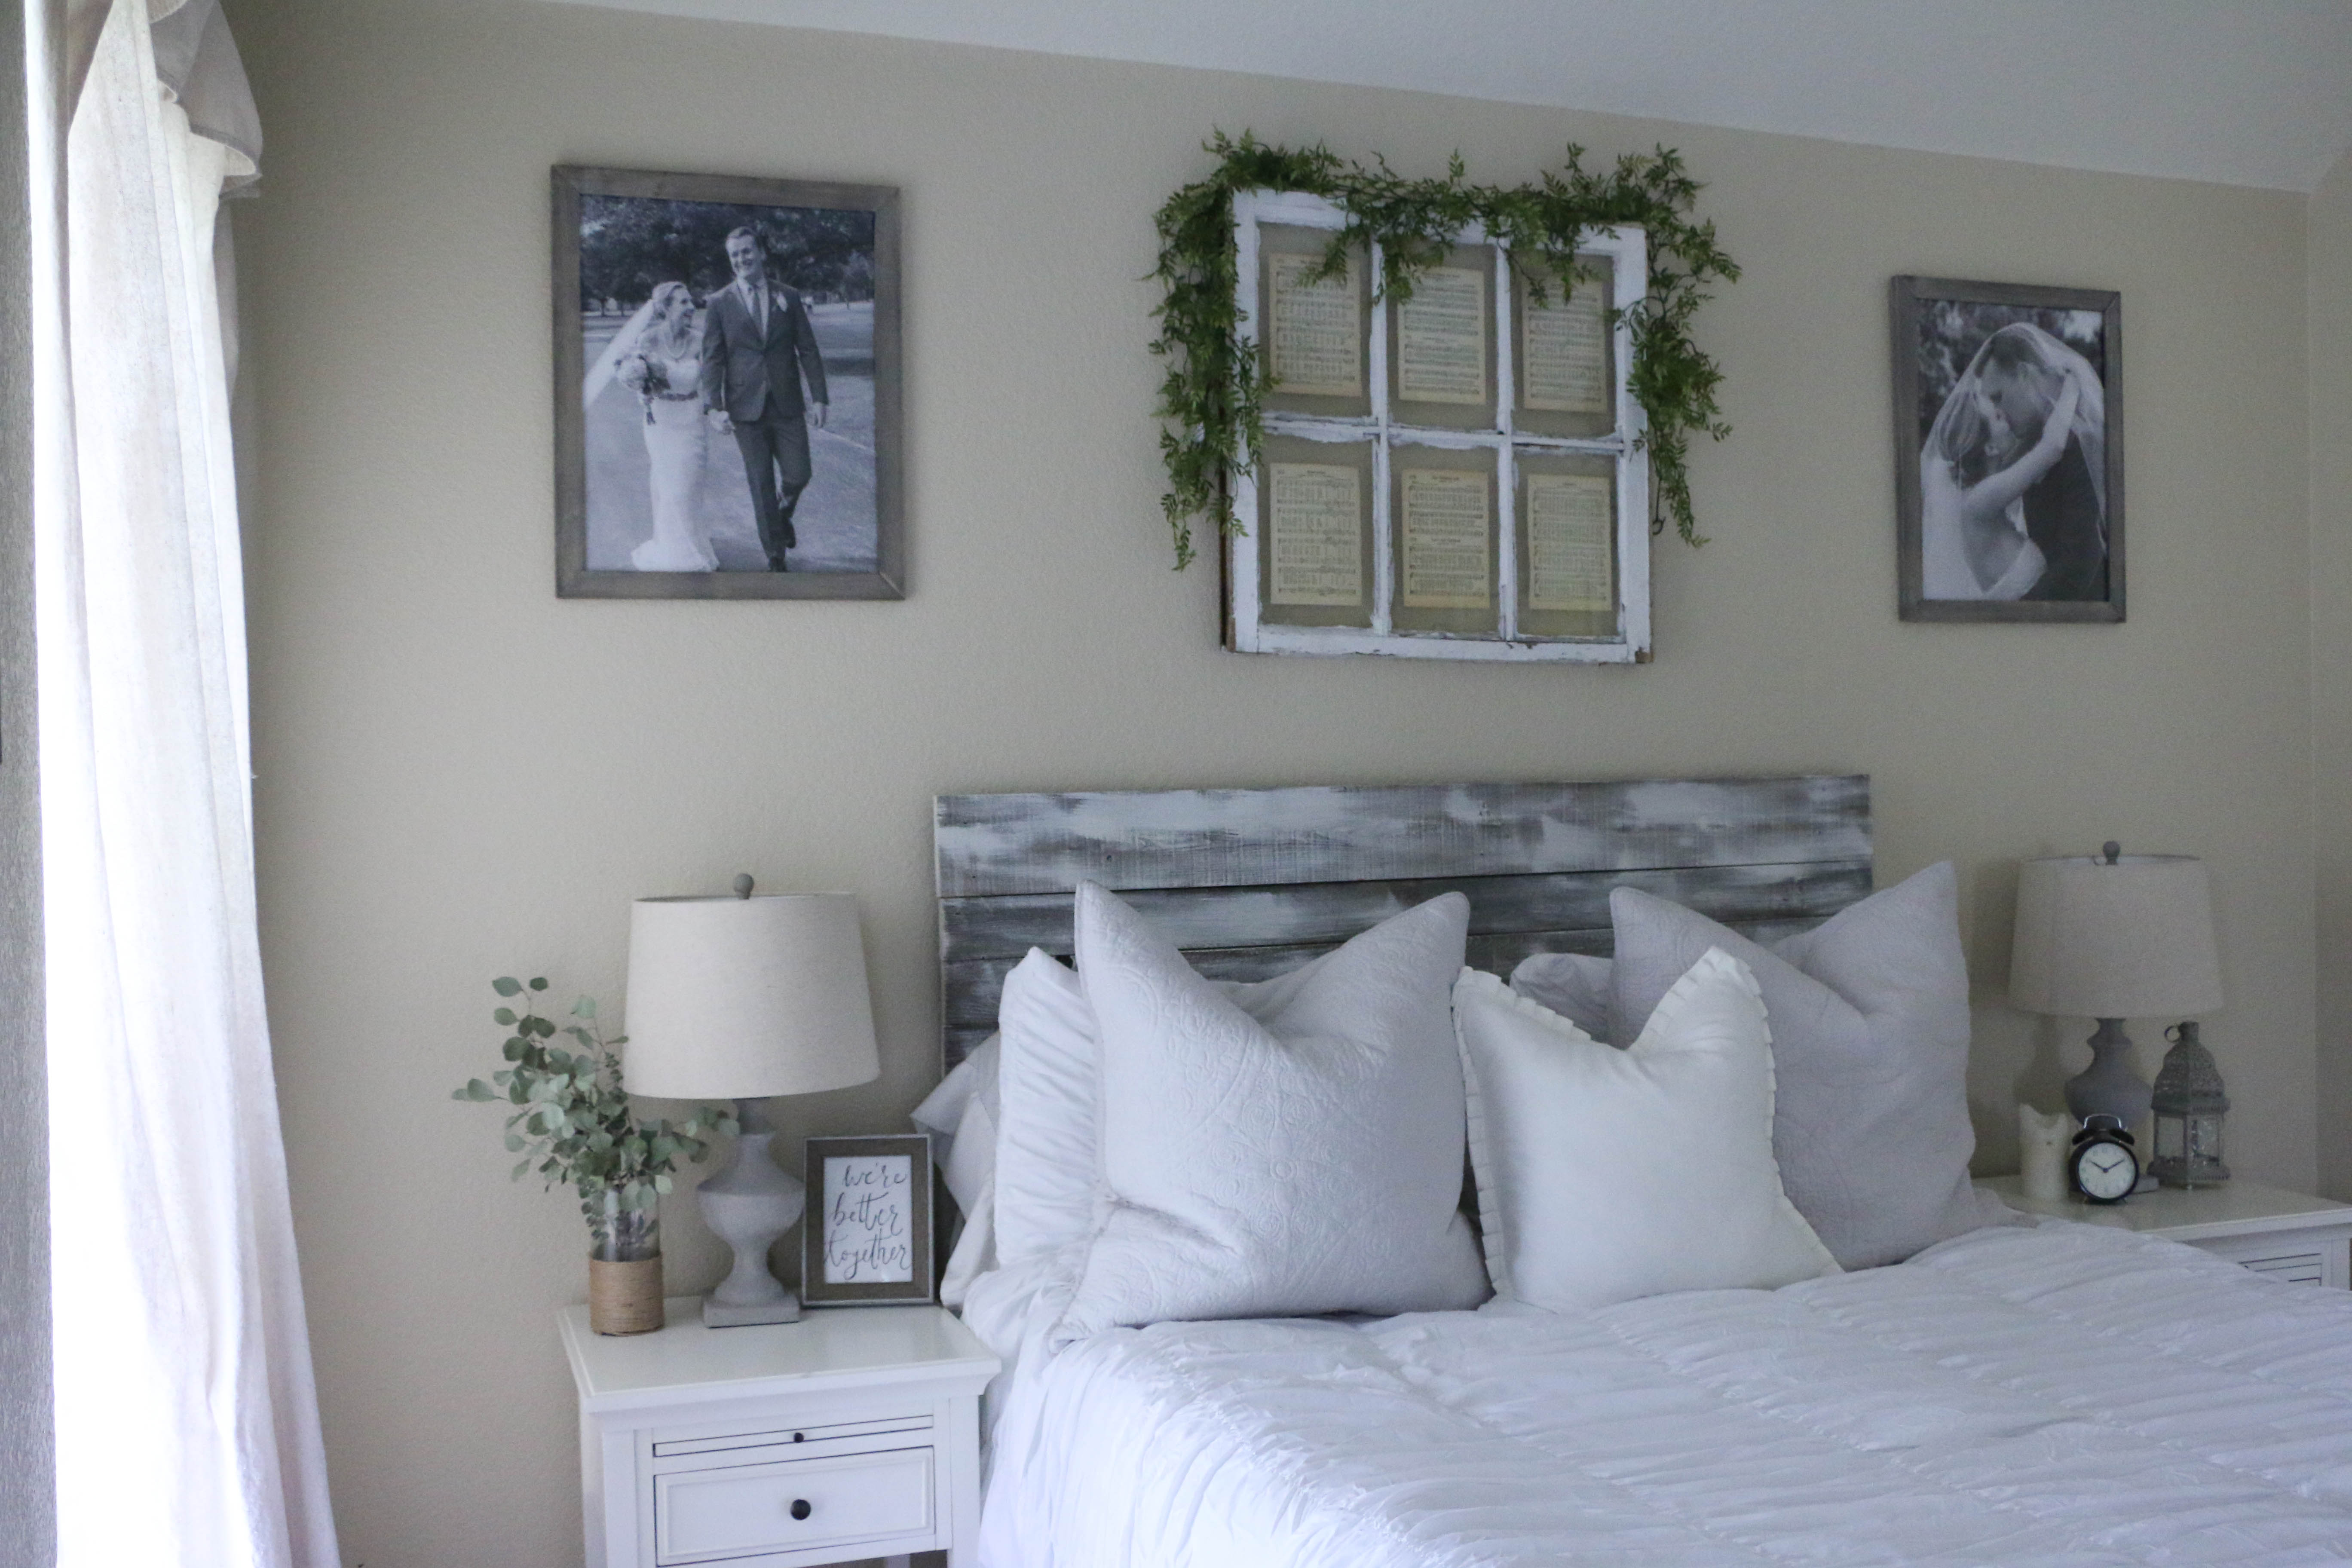
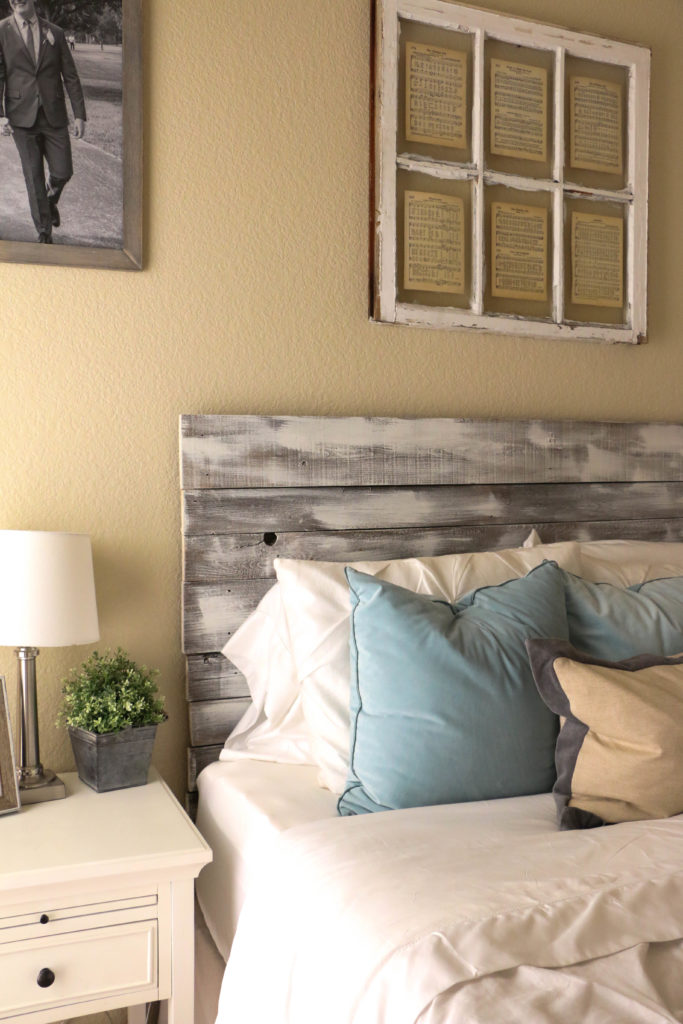
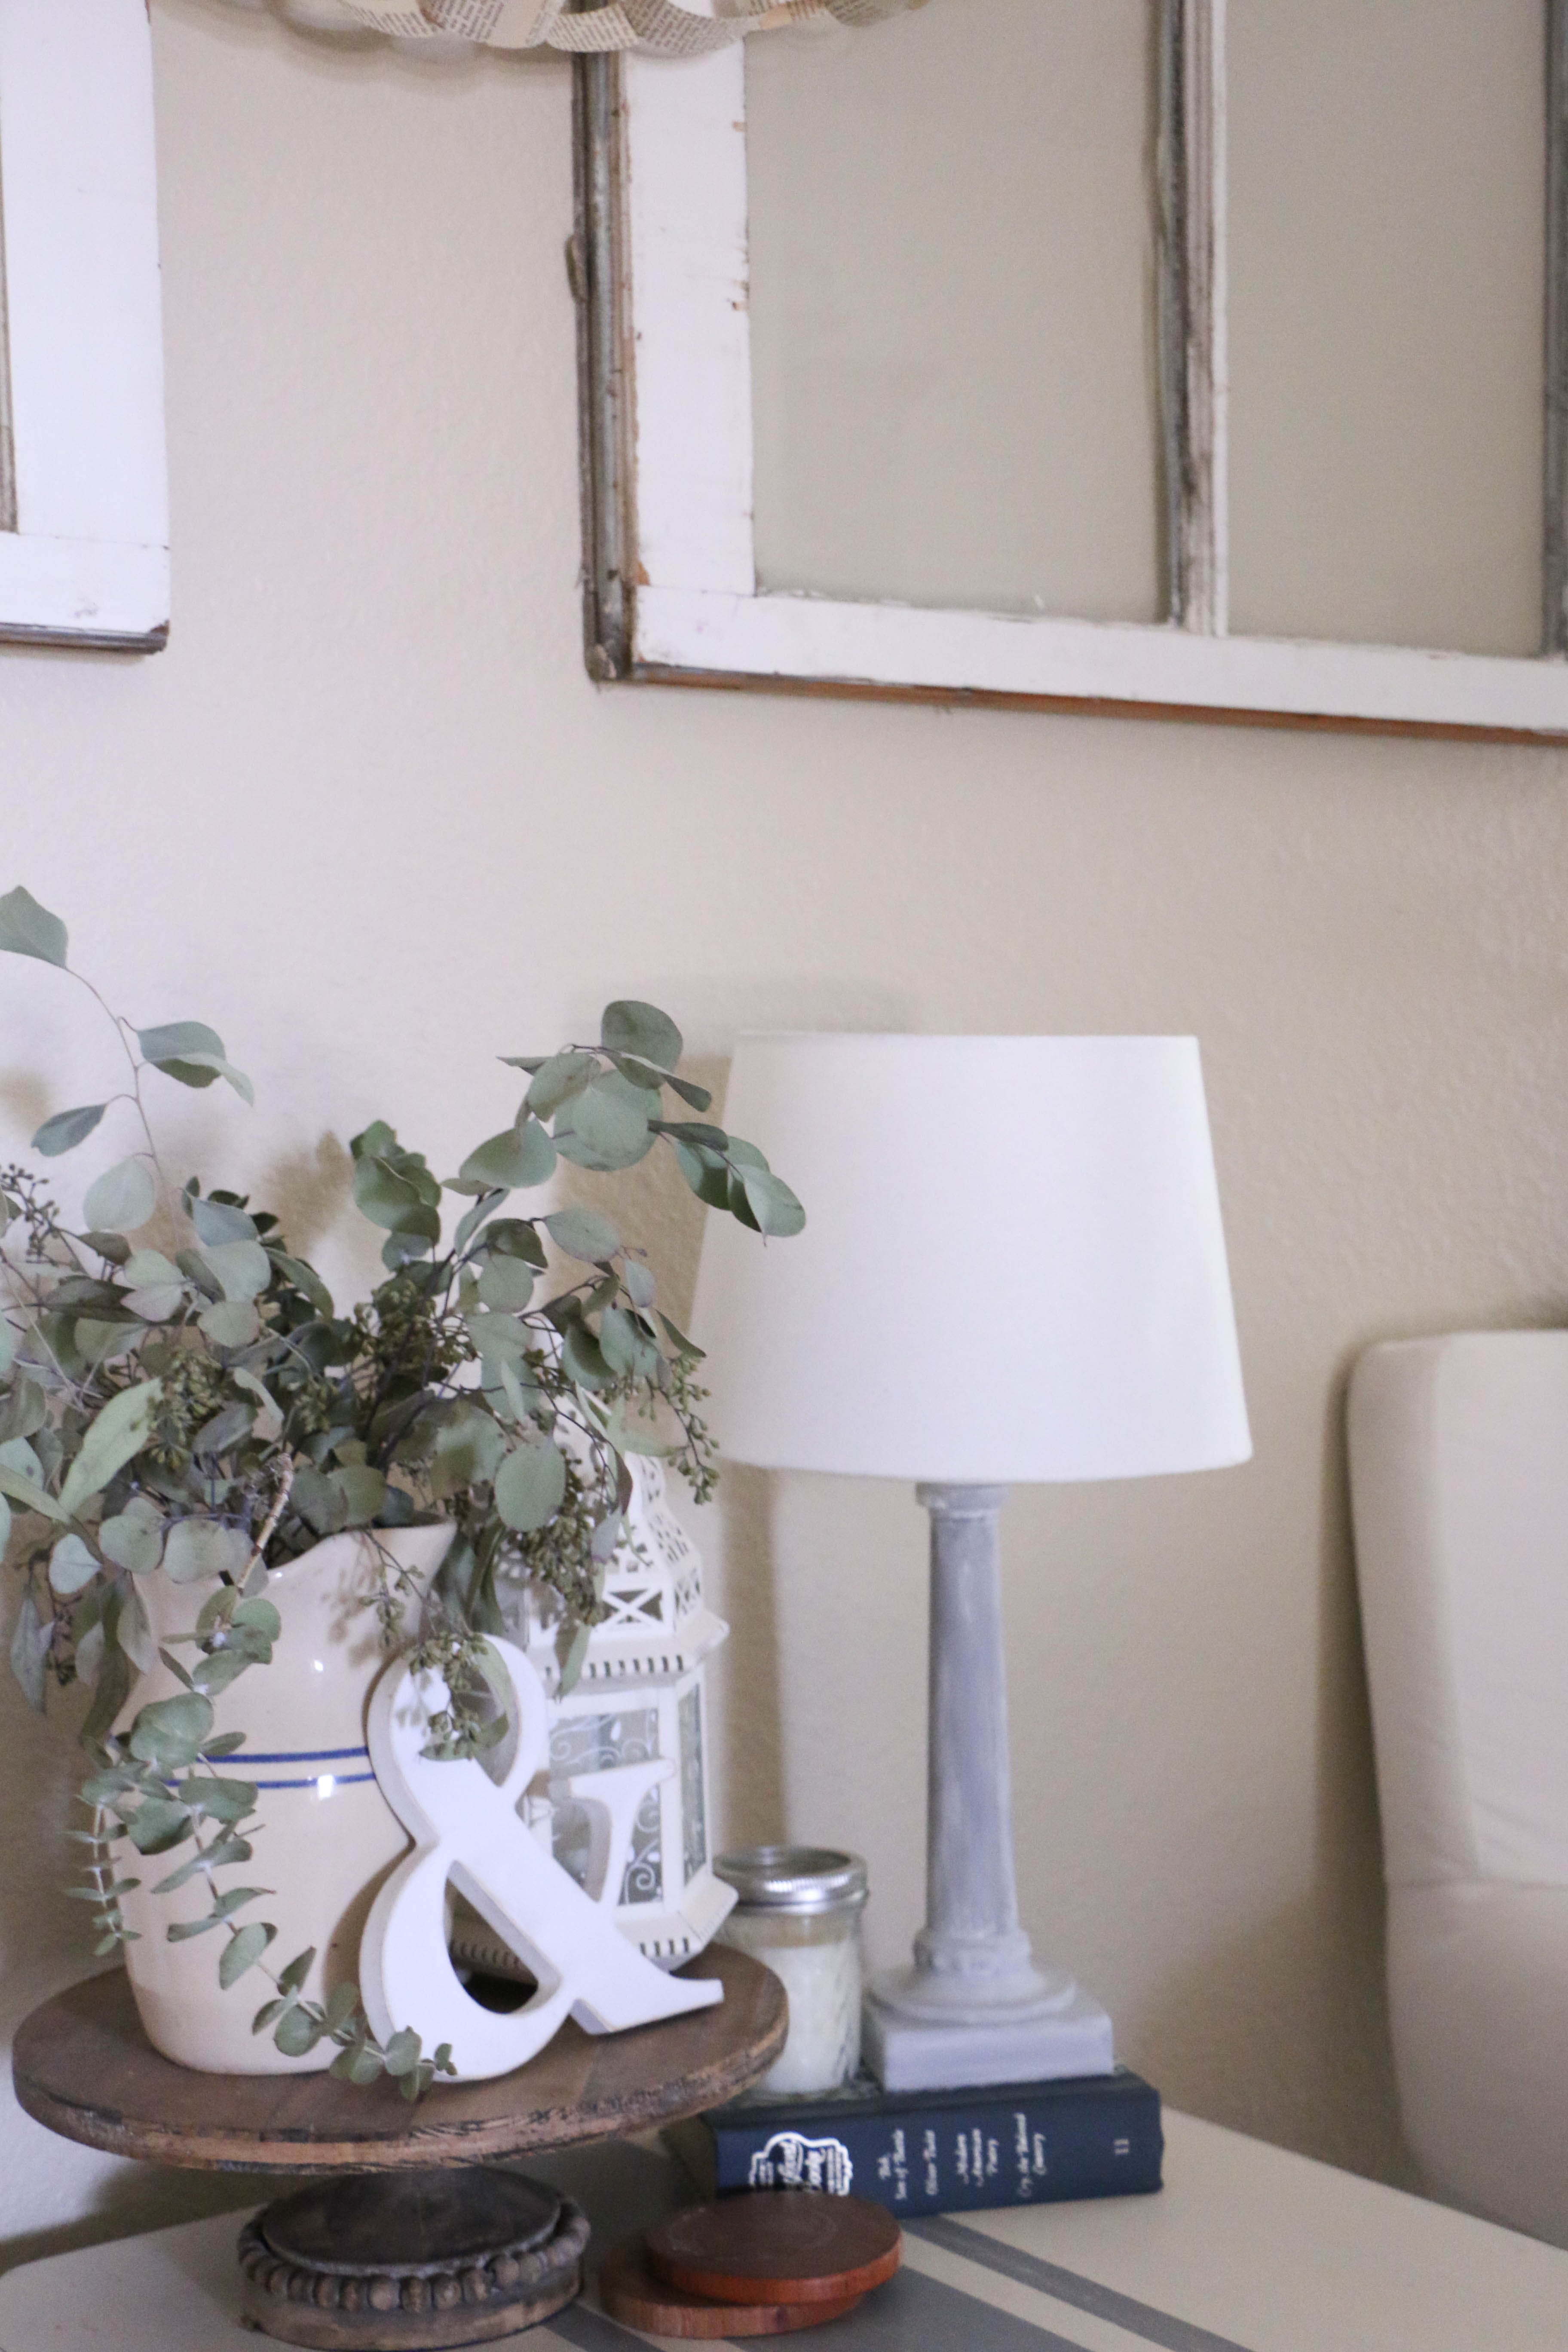
I have used it on a variety of items, but never lamps. I had these lamps that were out of commission from our bedroom. You can see the corner of it here in this photo. They were from our wedding registry, when I didn’t know what I liked or what I was doing. So they didn’t really mesh with my style anymore, now that I feel like I have an established theme in our home.

So while I replaced these lamps, they were still perfectly good lamps, and I wanted to see if there was something I could do to make them fit into my style a bit more. So, I used my trusty old chalk paint and went to work! Like I said, this isn’t really a tutorial or anything, because it’s seriously the world’s easiest DIY. I just slapped some paint on it and called it a day.

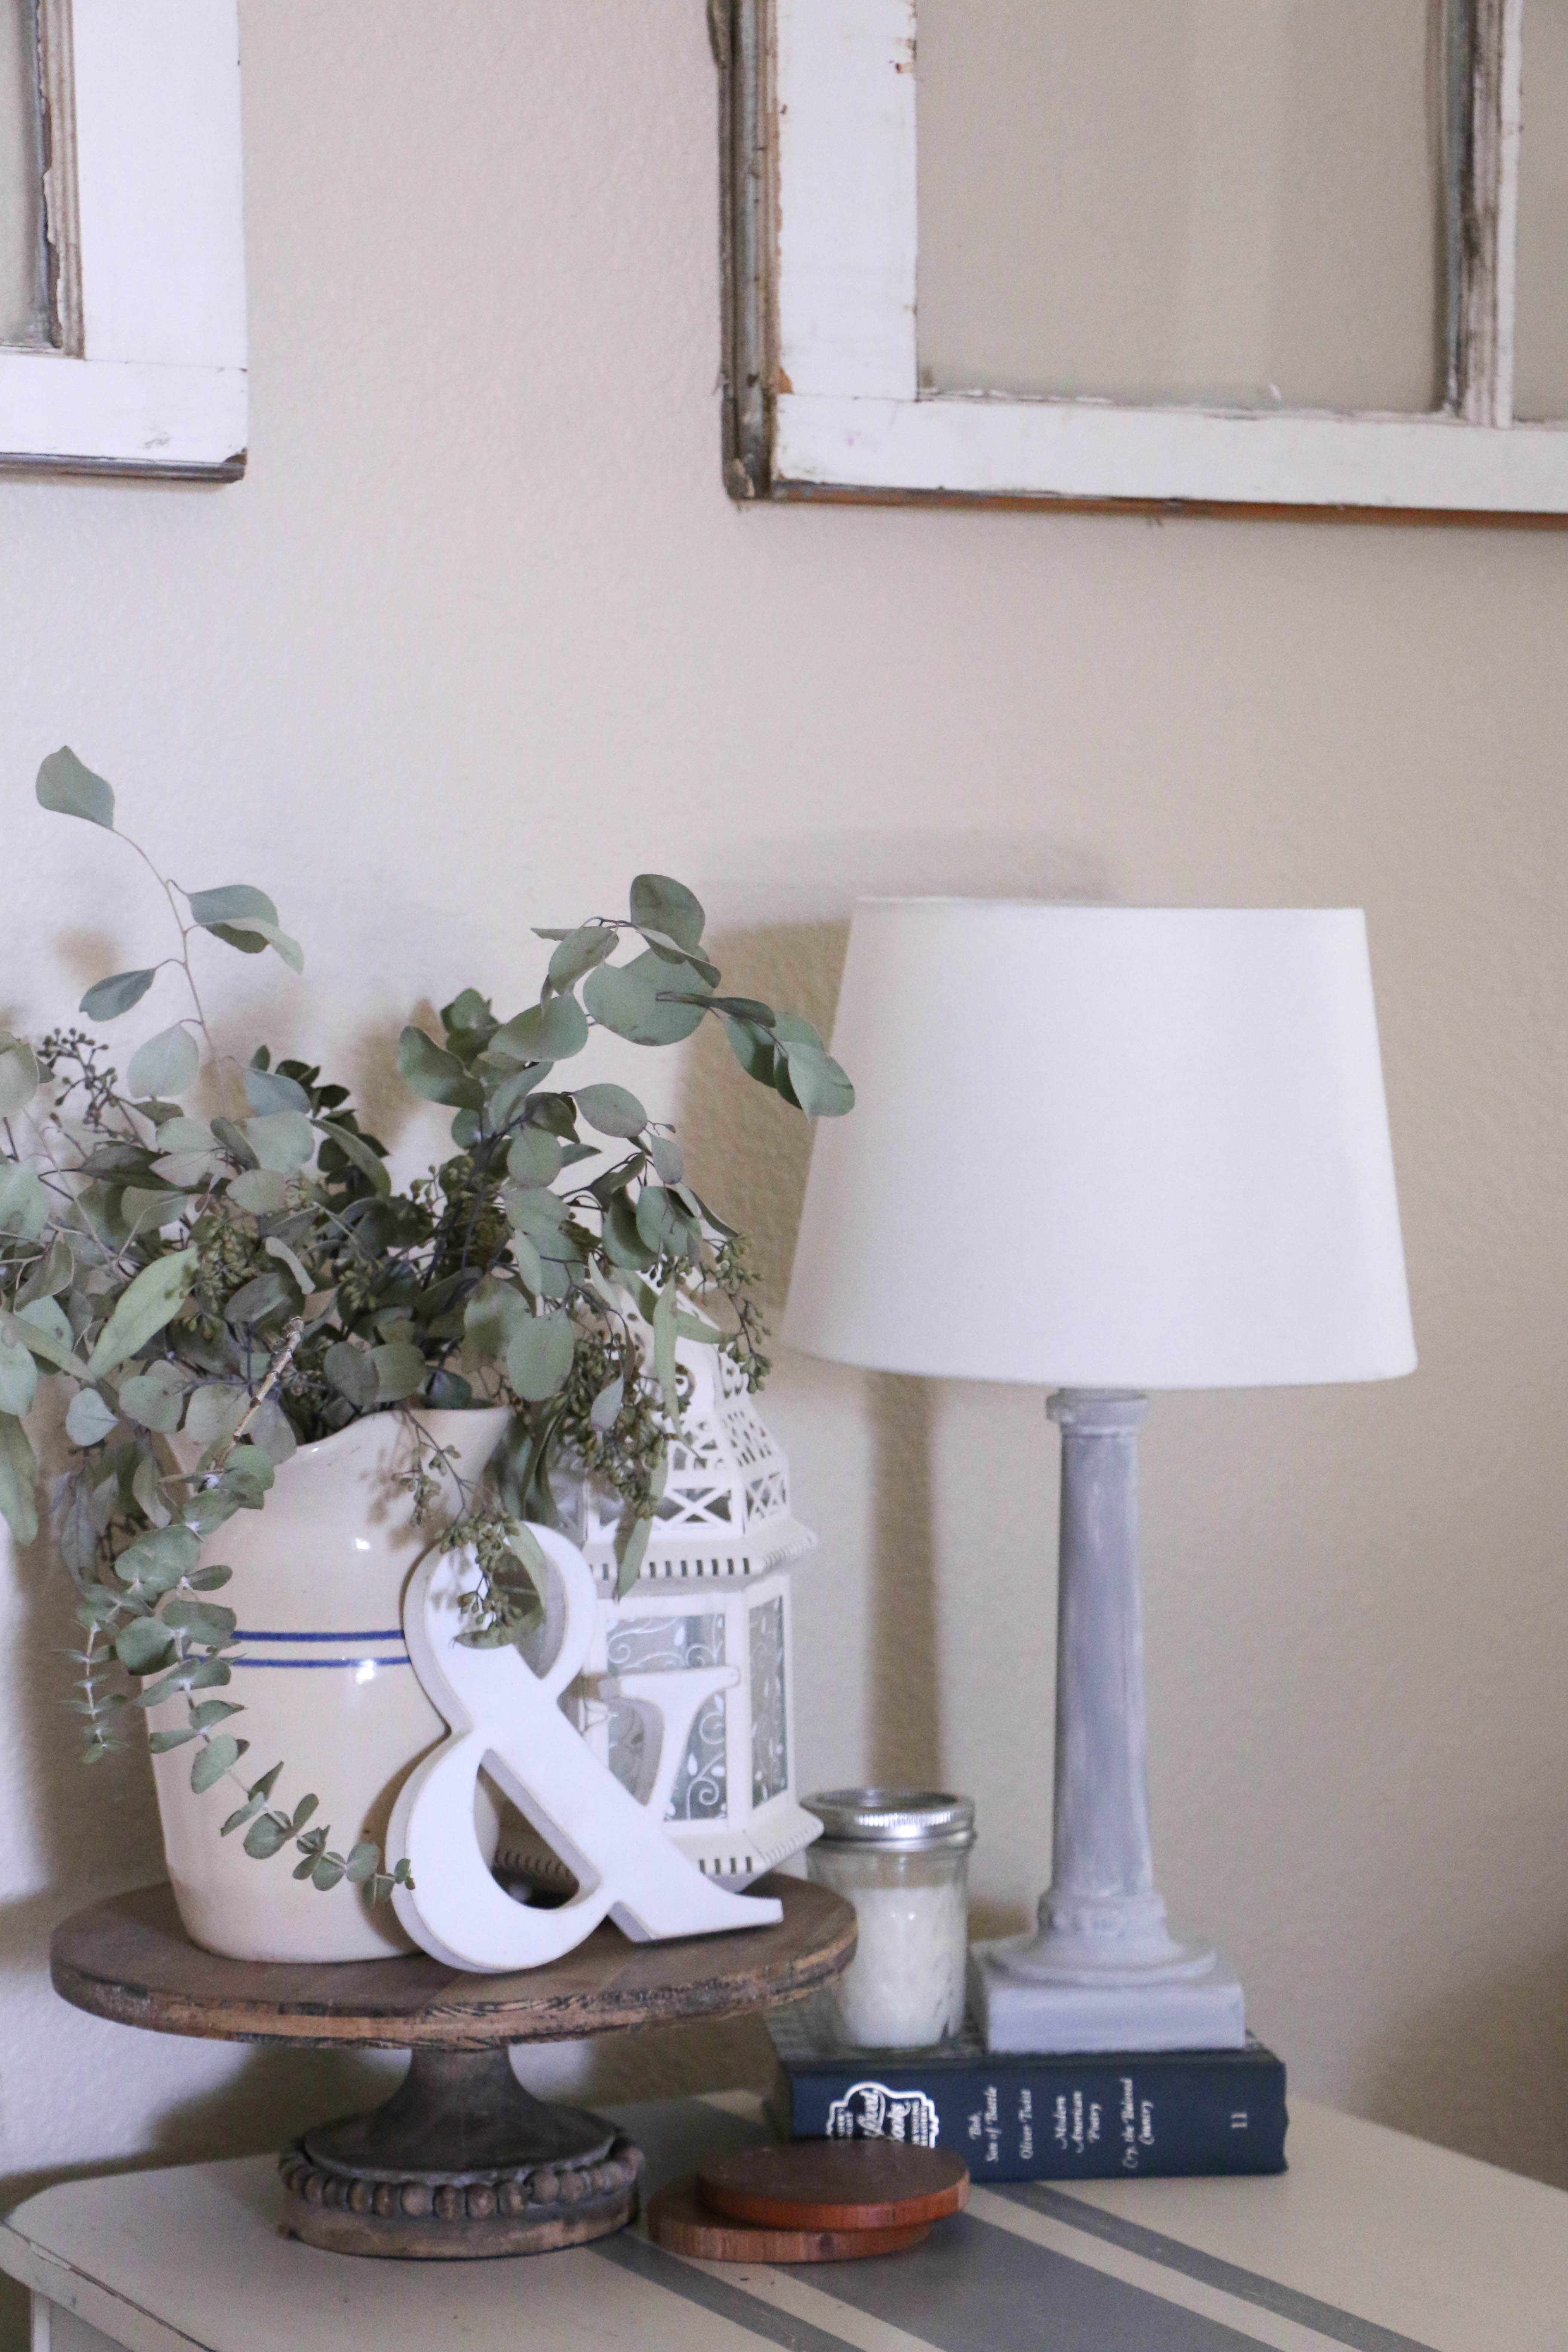
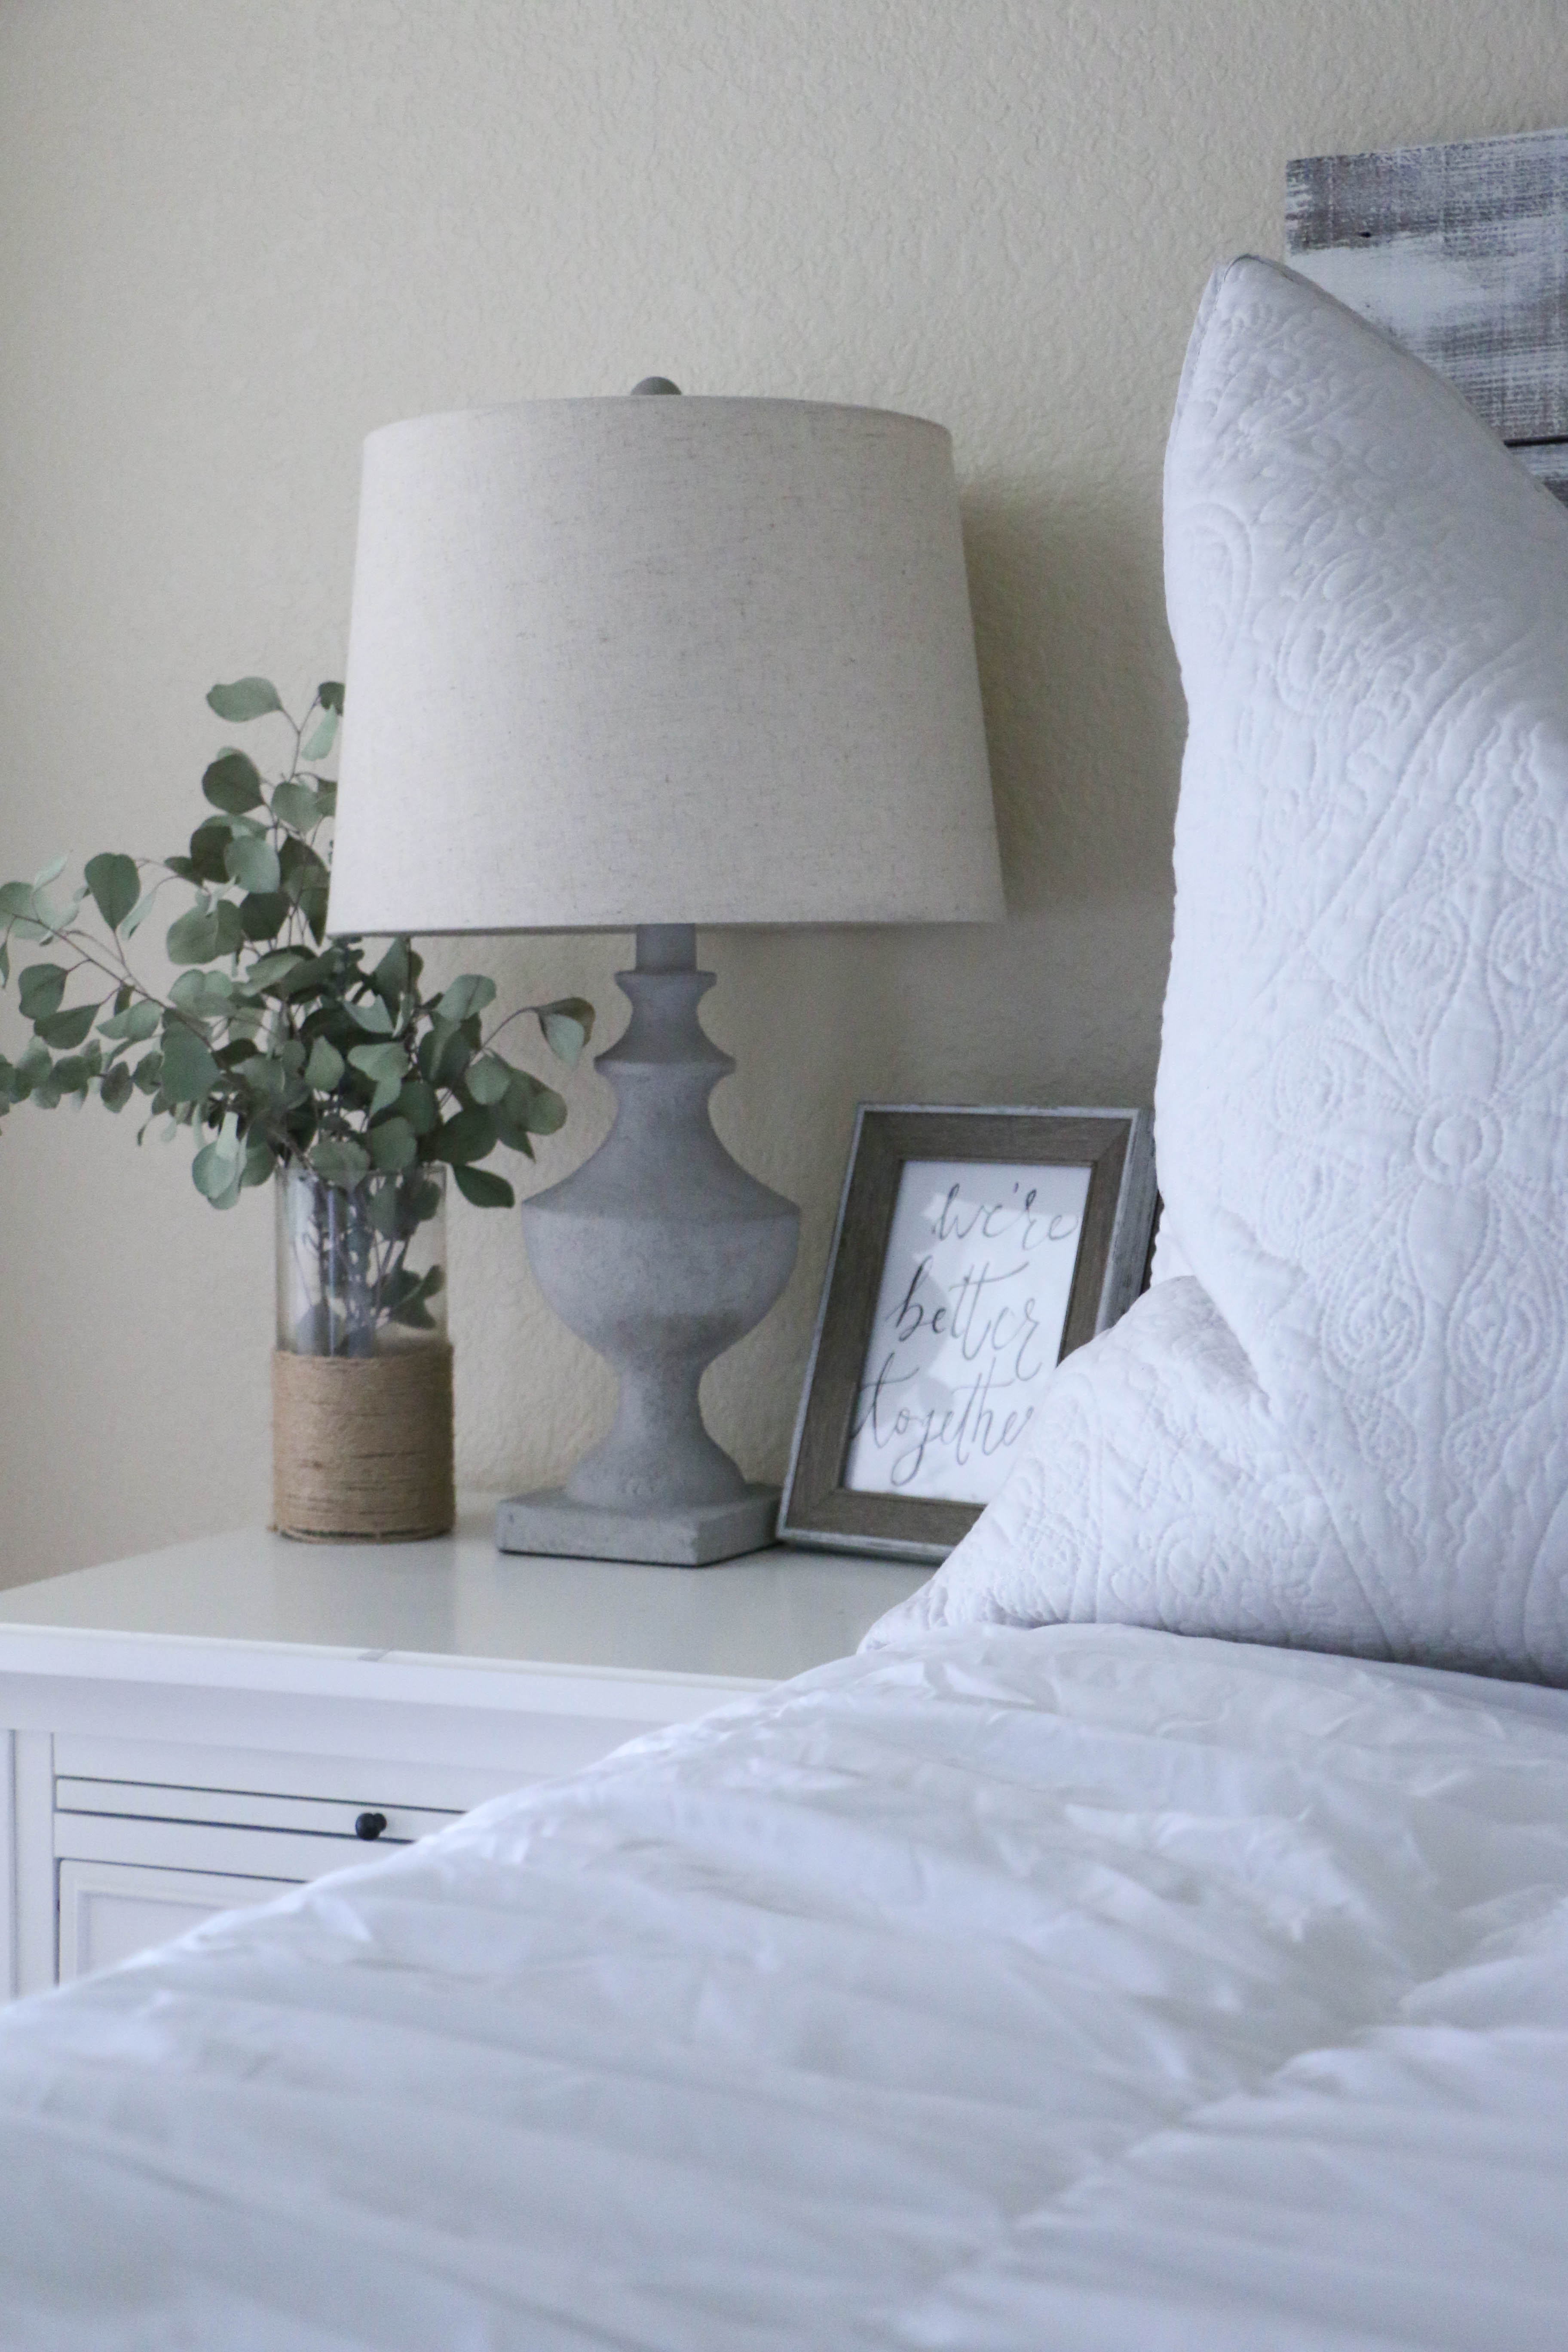
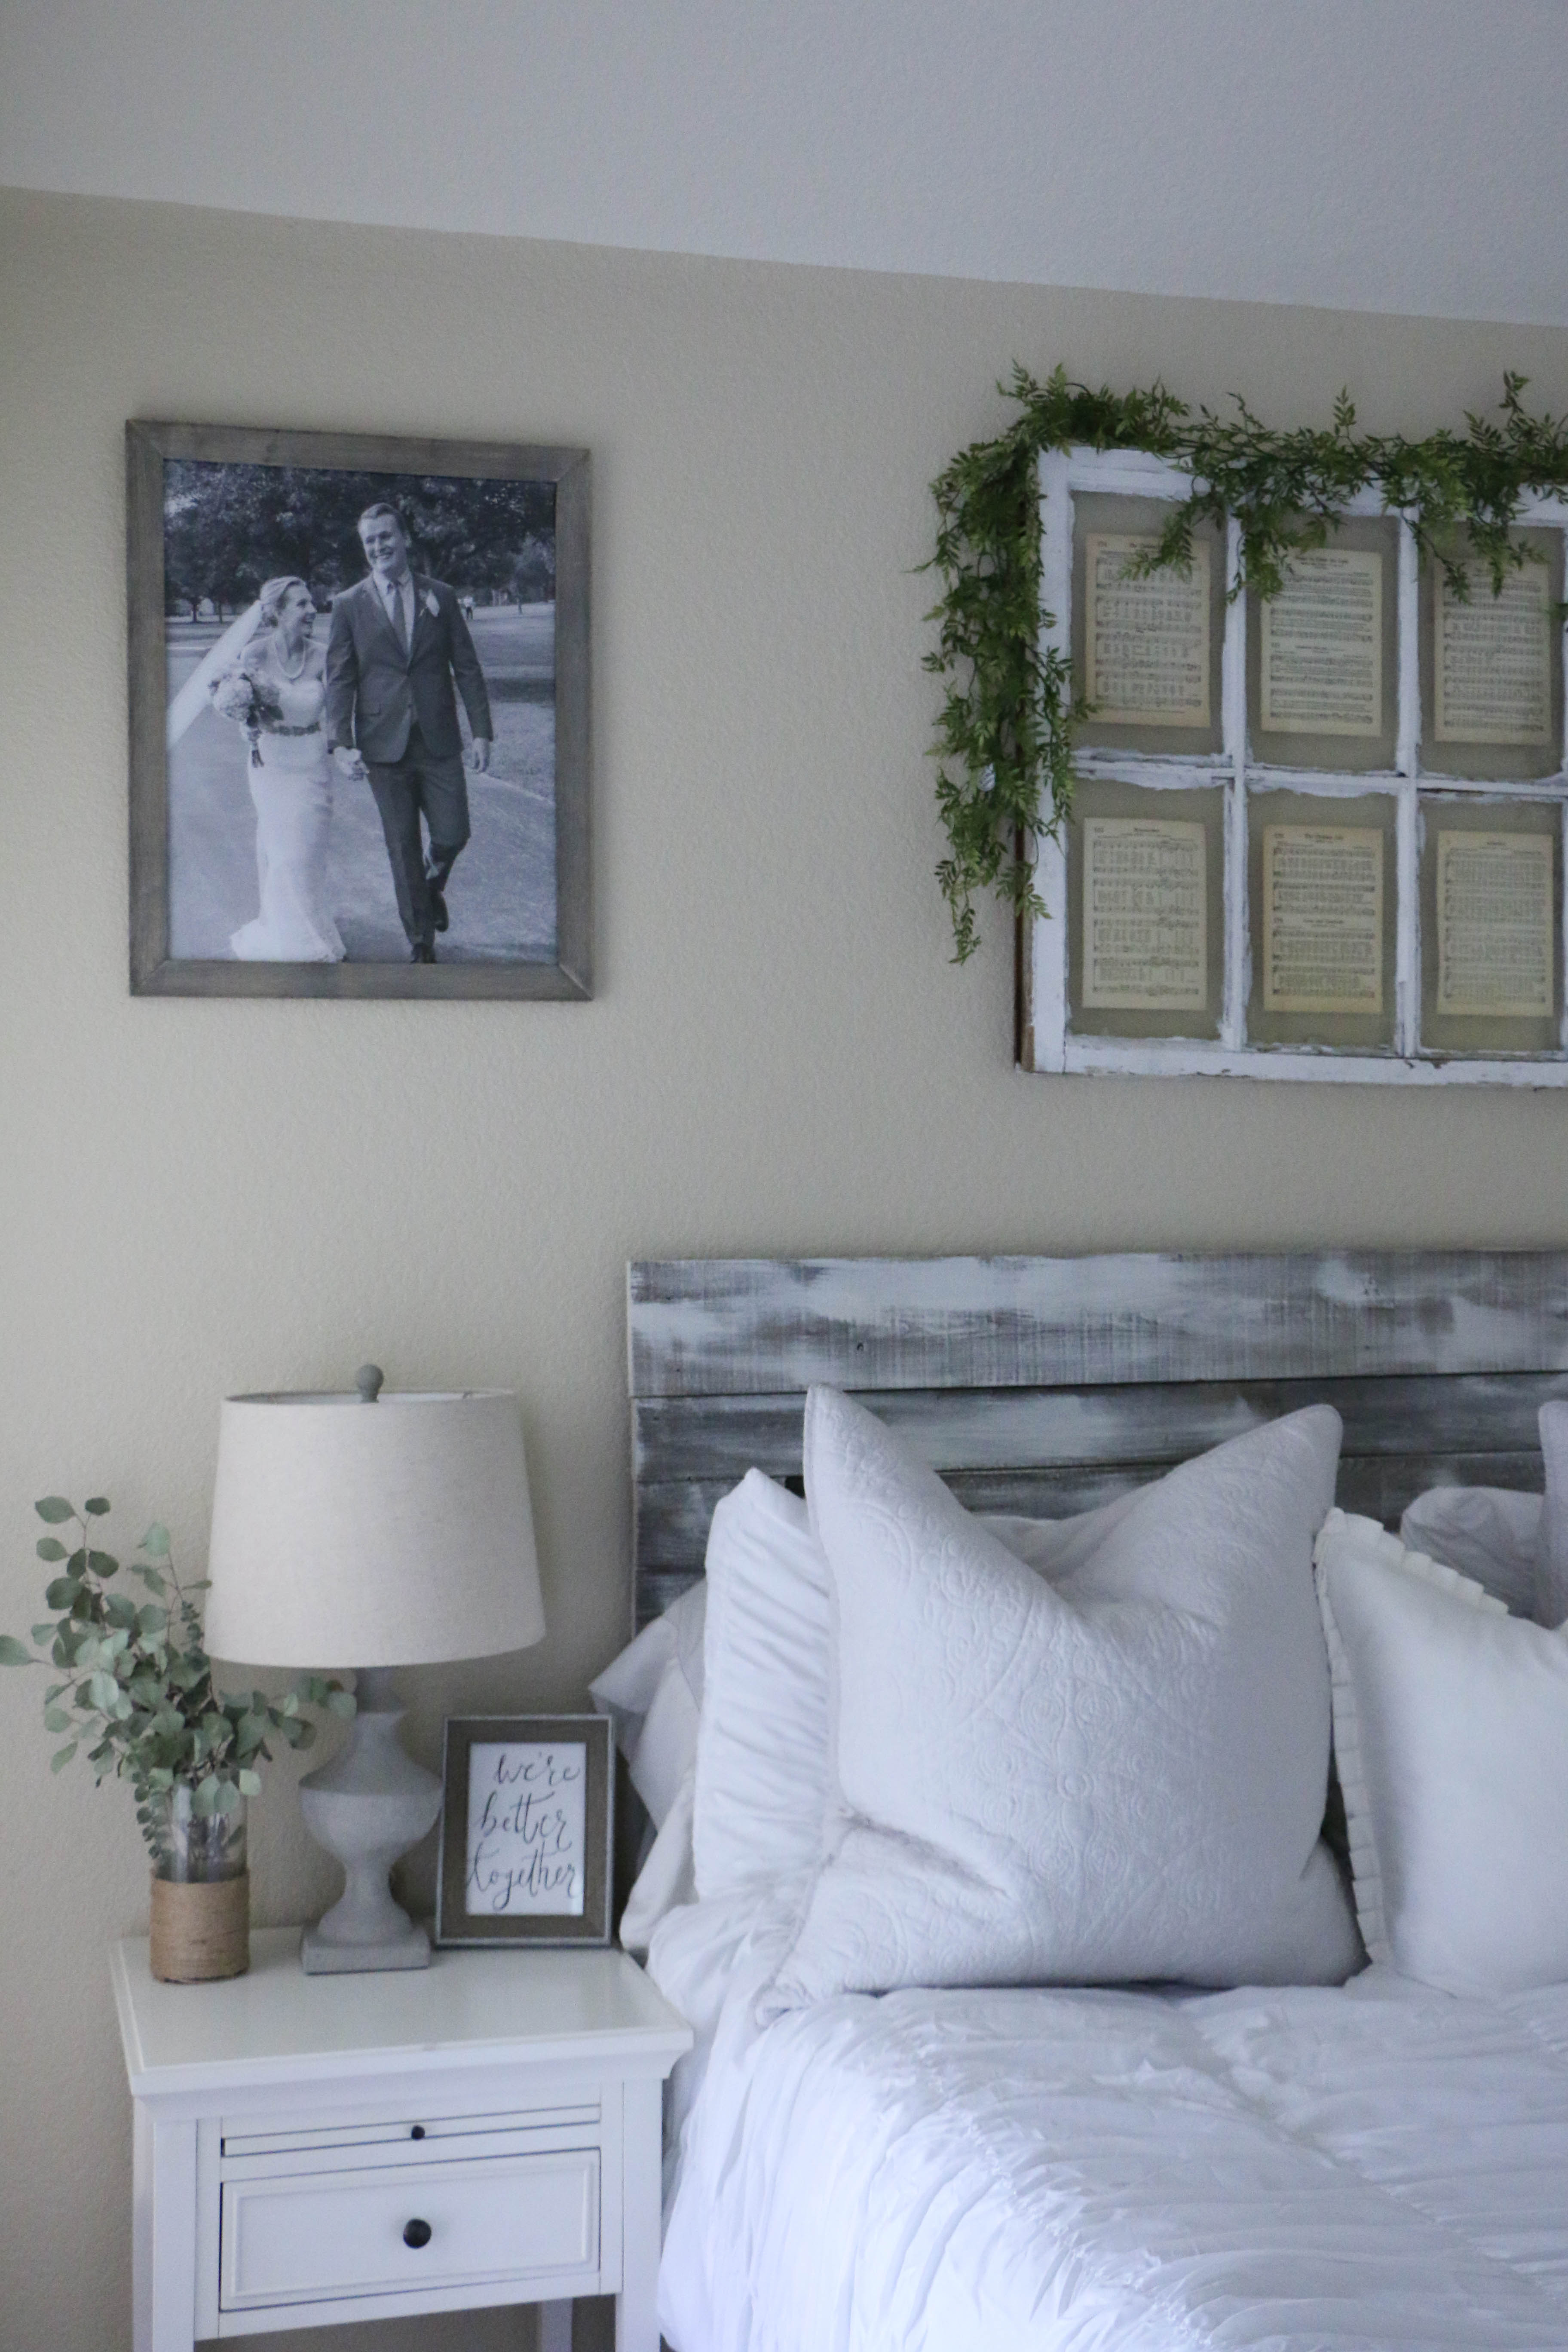
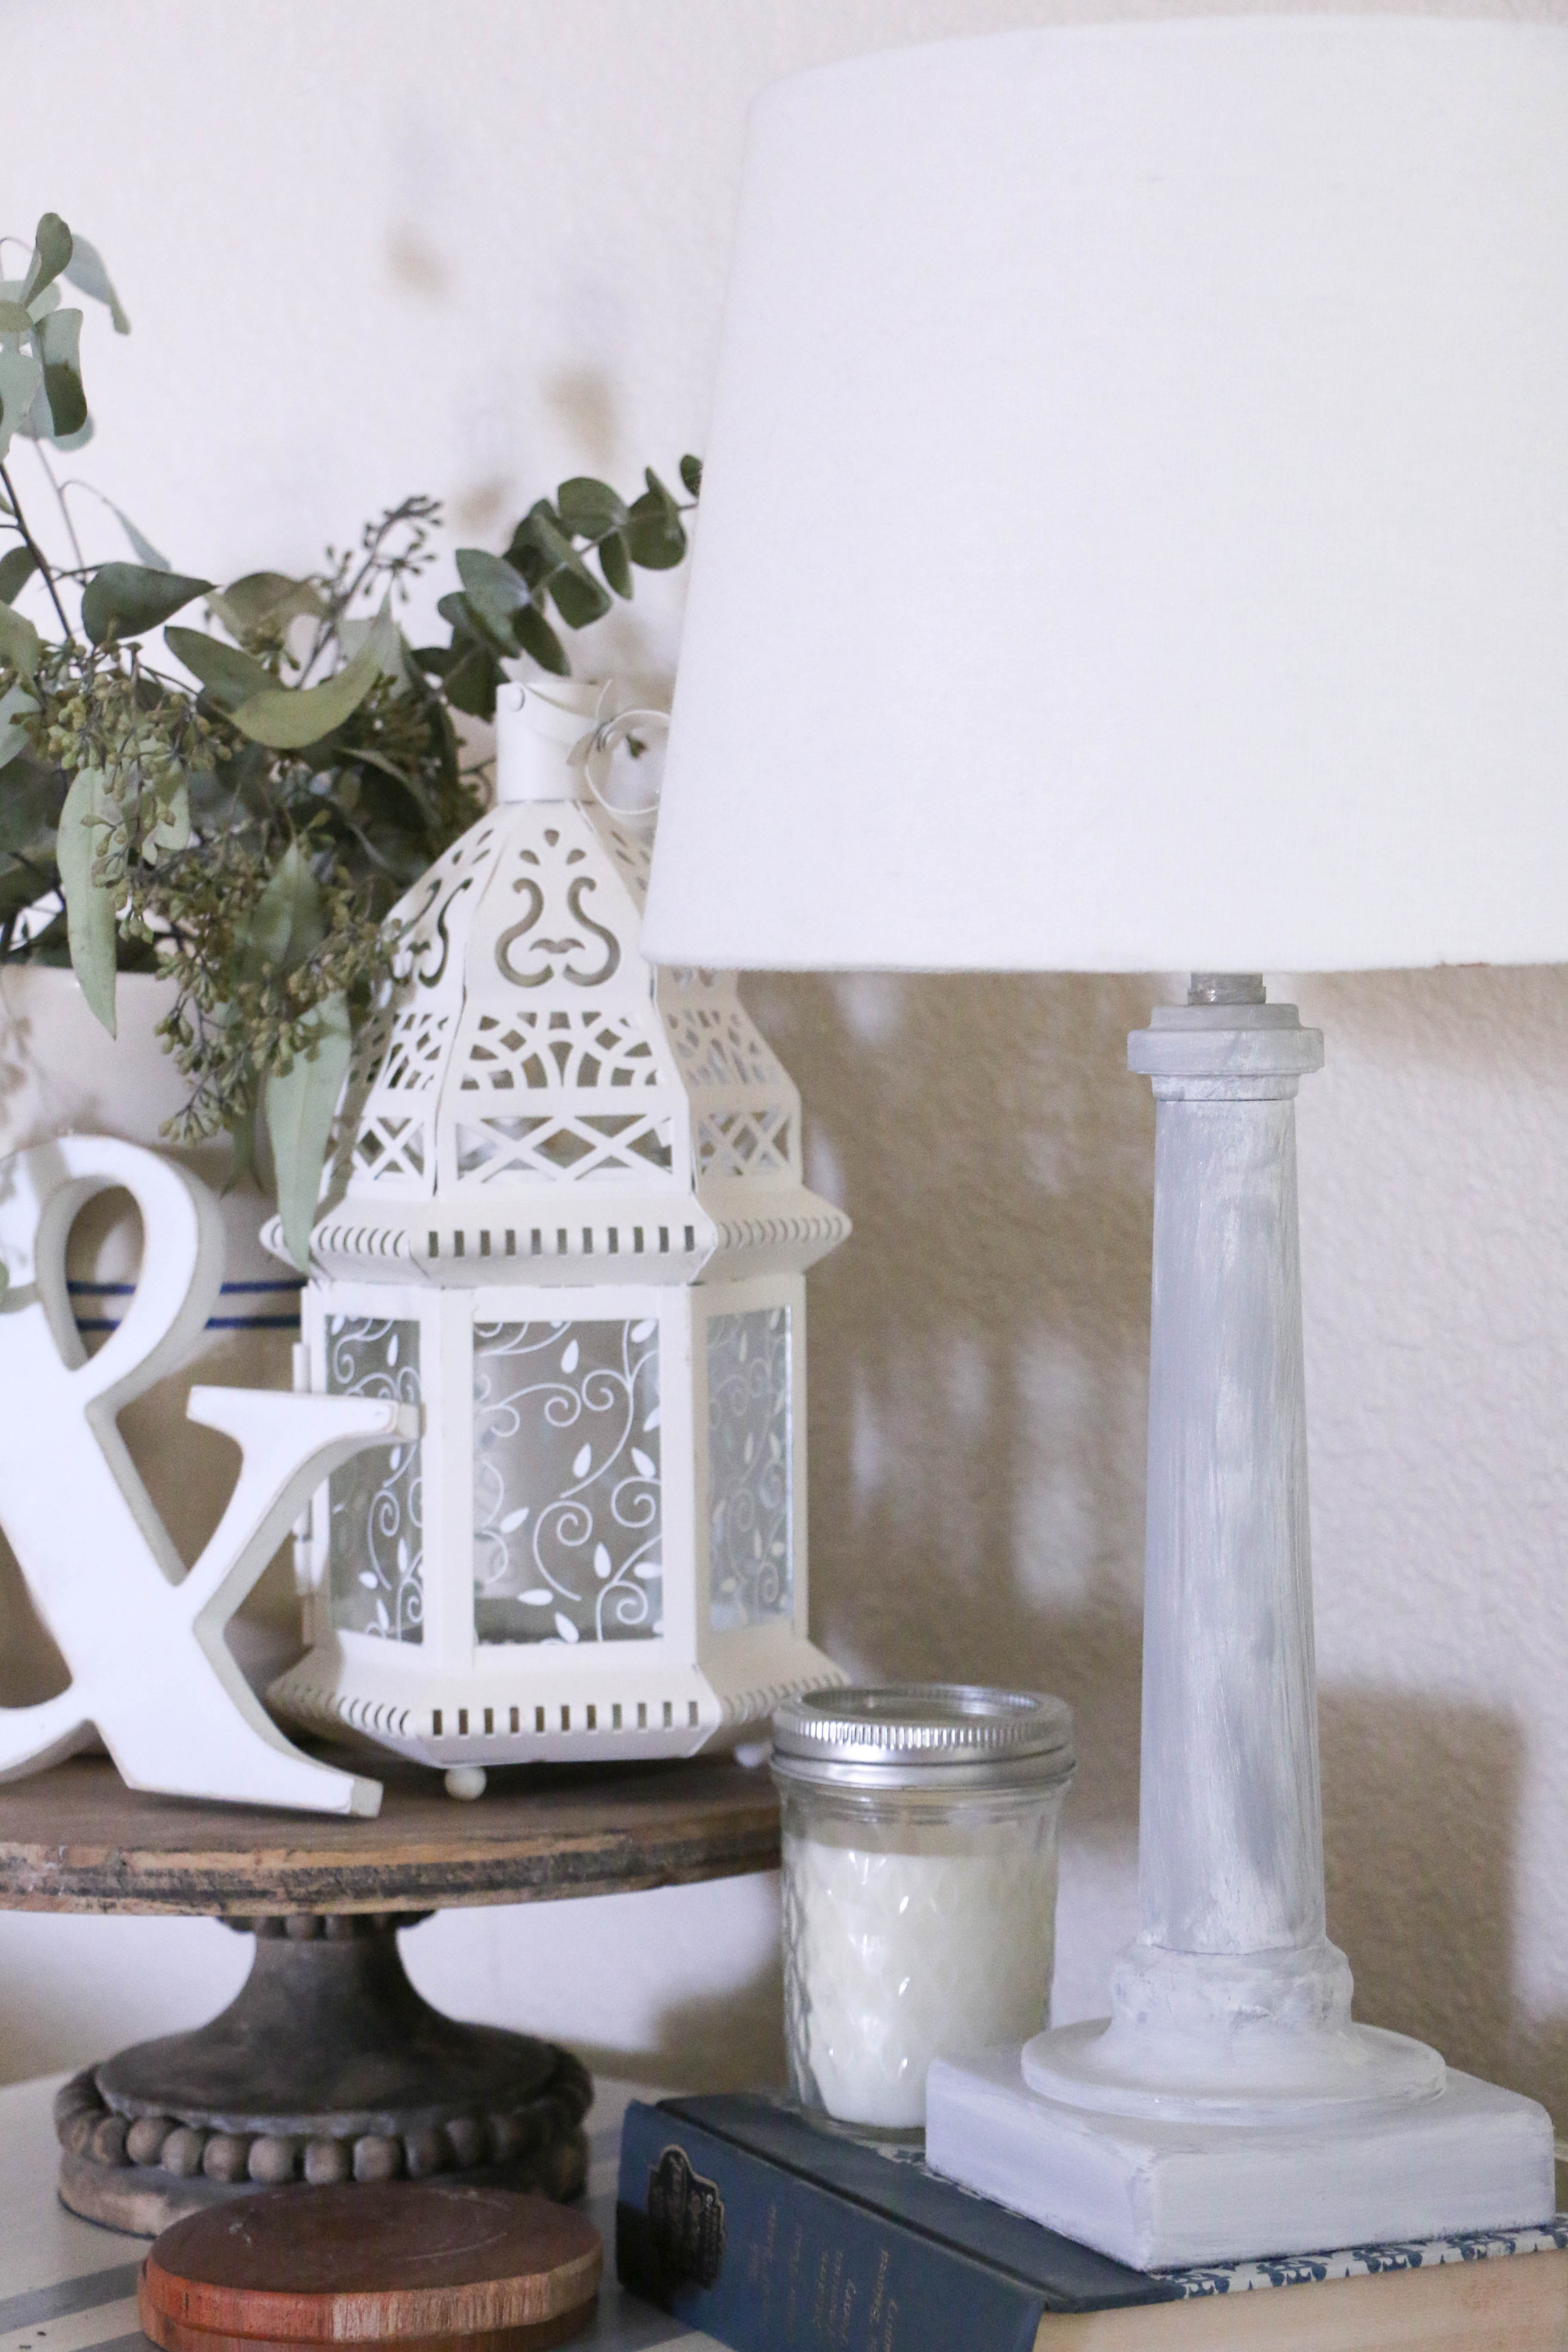
I used my own homemade chalk paint, so I don’t have an exact color match to show you, but I used a white, and then added some gray on top to give it a little more dimension.

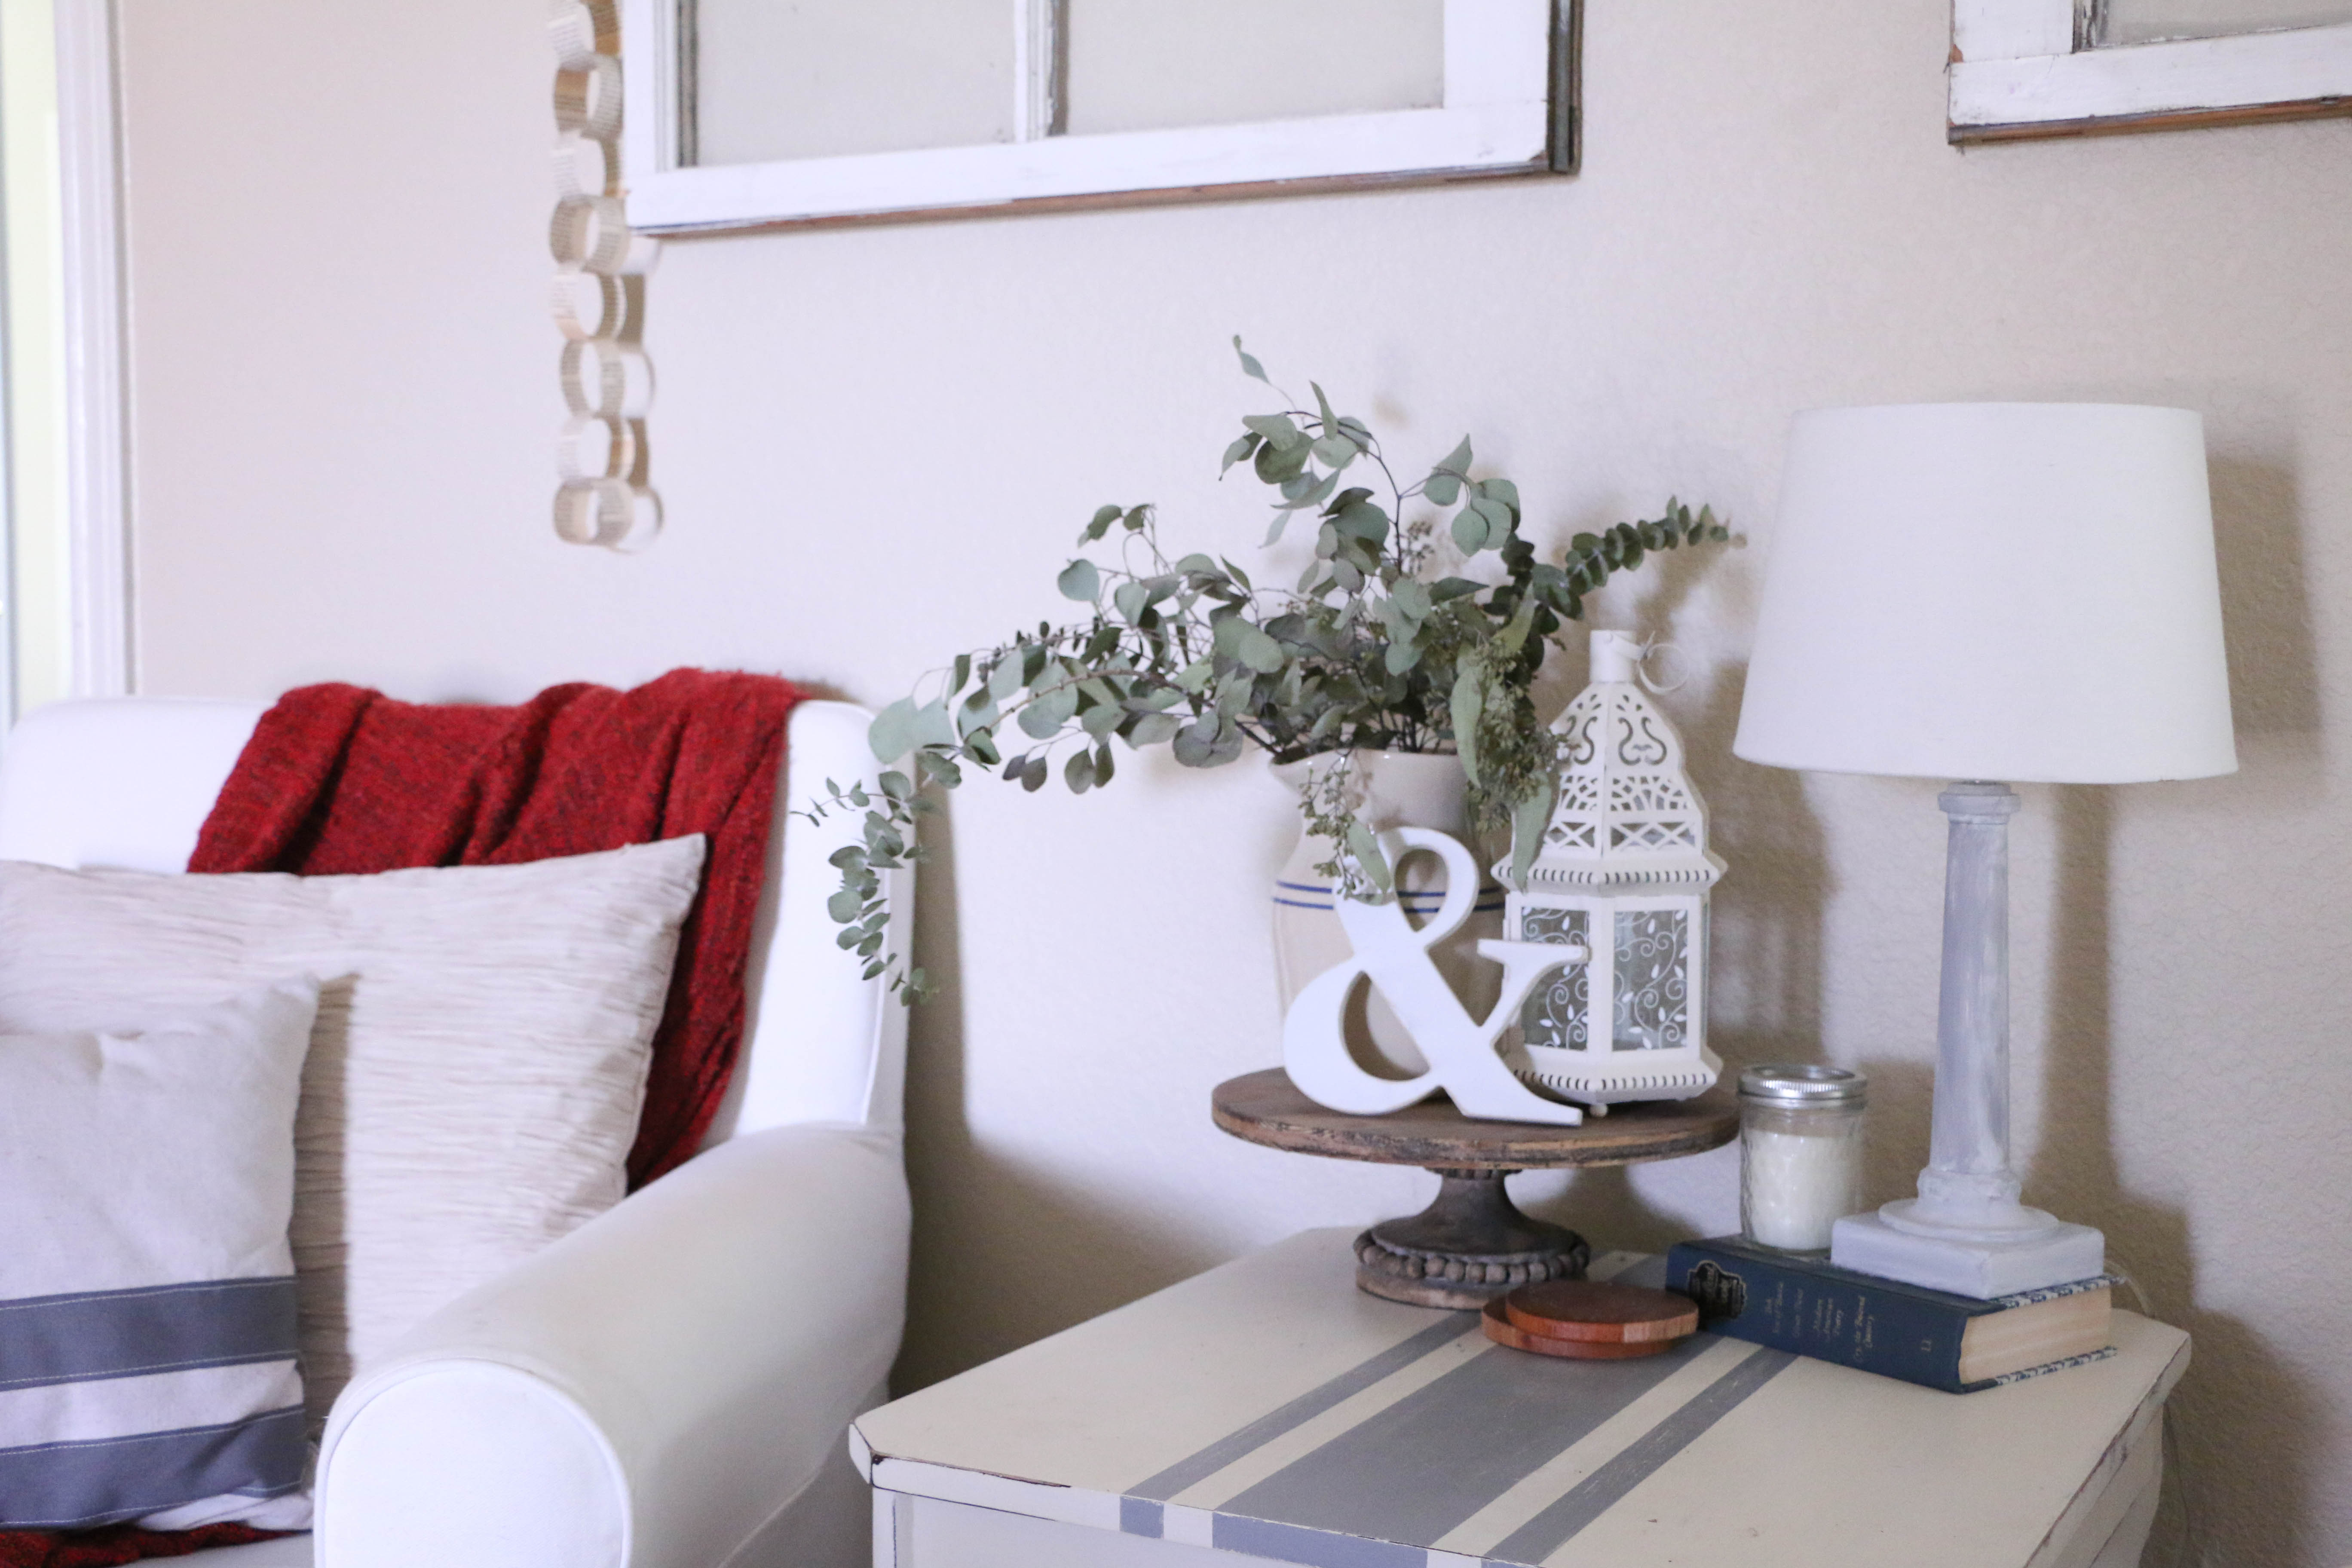
I think it gives the lamp just the right touch to take away that builder-grade base we were working with.

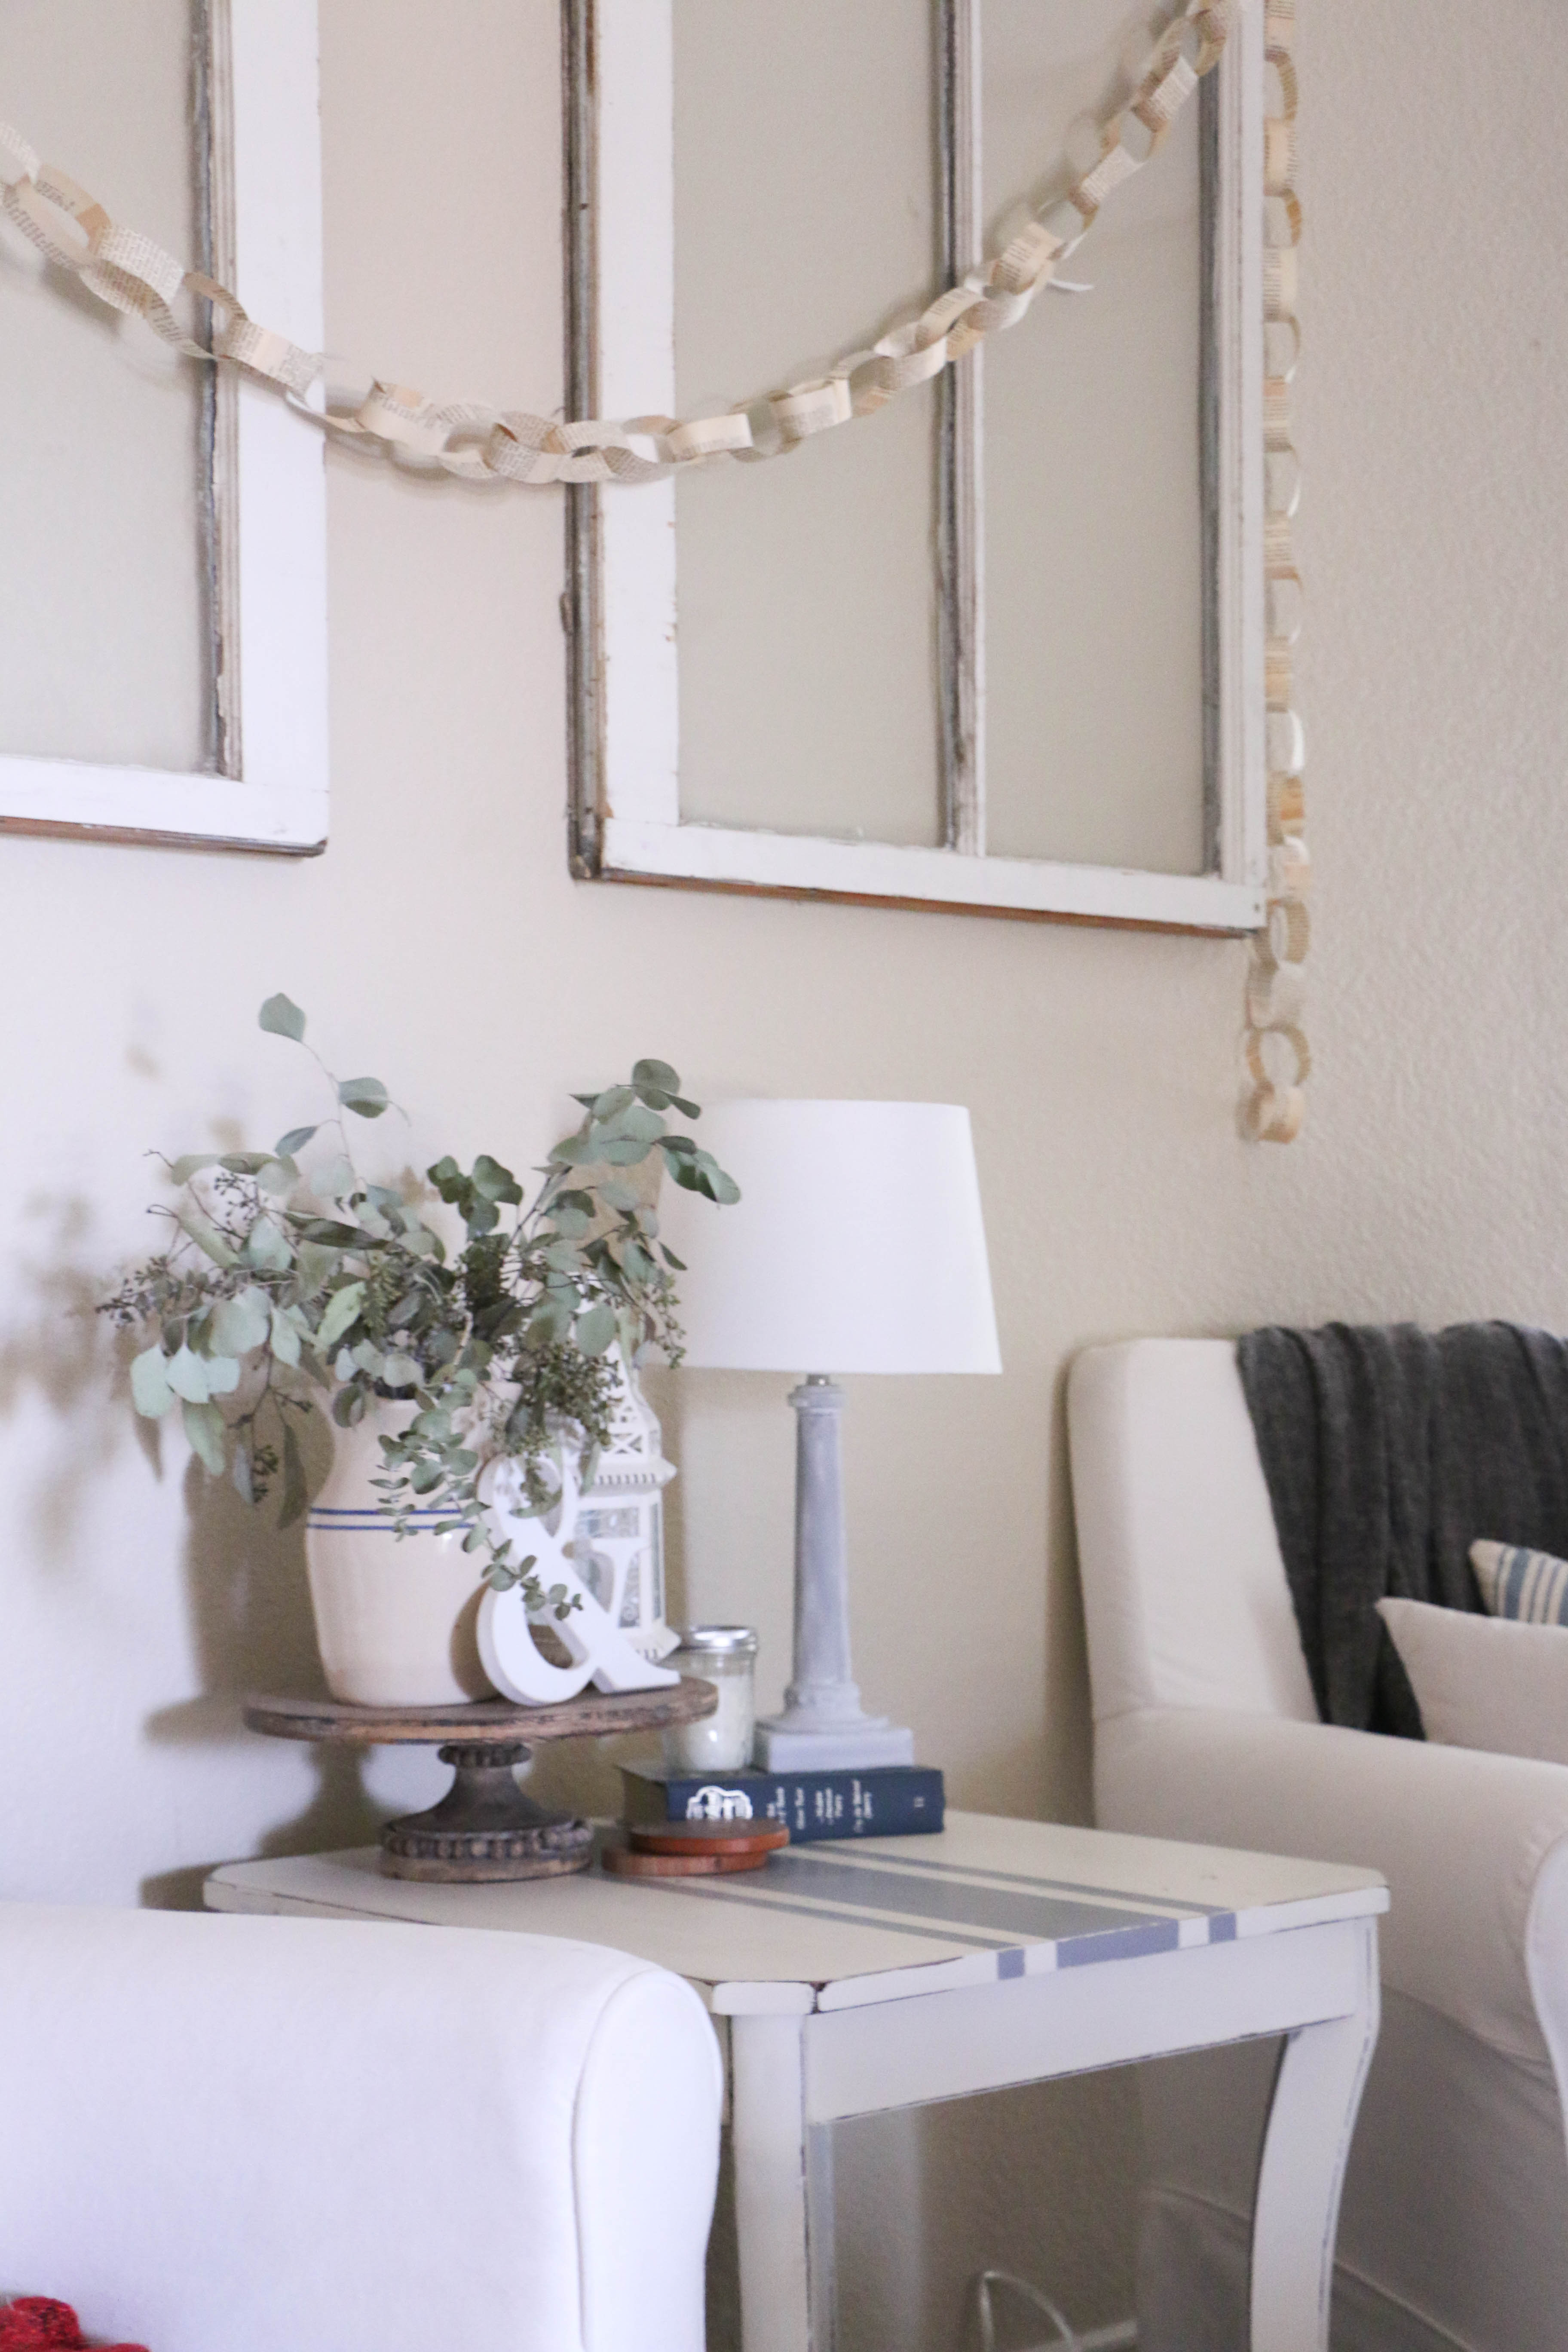
It makes it a little more subtle and farmhouse-y. I moved one into the living room, and the other went over to my booth at Farmhouse in Downtown Waxahachie, TX. I should have tried this a long time ago; I’ve spent so long wanting to replace them that I missed a perfectly good opportunity to relove them! Waste not, want not, right?

So in case you were wondering, chalk paint works on all kinds of things! Don’t be afraid to slap a coat on to something that needs a little love. It’s not just for furniture!

Anyway. That’s pretty much it. Have you ever chalk painted anything in particular? How did it go? I’d love to hear about it in the comments below. Well, that’s all for today, friends. Have a fabulous day!

Room Tours

Tips on Loving a Rental Kitchen

Hello all! Today I’m going to bare my soul a little bit. And by bare my soul, I mean my kitchen. If you haven’t noticed, I’ve never shown my kitchen before. But I thought that in the name of being honest and forthcoming with y’all, I might as well share with you. So here we go. No judgement here friends.

So, just to recap, we live in a rental. It’s a super basic builder grade house that was built in 2003. The paint colors aren’t what we would choose and the house has zero character, but it is miles above our first home, and keeps us safe and dry. I’m good with it. I honestly am. The kitchen though… is very 2003. What I mean by that is that it’s just an almost 15 year old kitchen (2003 was almost 15 years ago?! I feel more than ever now that I am getting old!) that hasn’t been updated. It’s functional, albeit tiny, it’s just not pretty. So I thought I’d share some tips on living in a kitchen that’s either small, or in my case, an ugly rental.

Decorate, decorate, decorate!

For me, the kitchen never really seemed like a place to decorate due to its functionality. The kitchen is a very utilitarian room, but that doesn’t mean it shouldn’t get some love! When I added décor into my kitchen, it covered up some of the ugly, and made it a bit more bearable. I decorate above my upper cabinets, on the wall, and even a little on the countertops.

Clear the counters!

This may seem counter intuitive to my last statement, but seriously. Toasters are not decoration. Knife blocks, while perfectly functional, are not pretty. Now, to each his own, I totally understand. But in my experience, putting the daily appliances away makes the counter space more refreshing. I keep my toaster in a lower cabinet, and I use it every day. I honestly don’t mind taking it out every day. It keeps my counter from looking cluttered, and leaves room for pretties.

Add some cute textiles.

So the floors aren’t your top choice. Maybe your years away from a kitchen reno, and maybe you can’t touch anything in your rental. I feel ya. A little rug in front of the sink can go a long way. A cute tea towel on the stove (not a ratty old dishrag) can help. These are inexpensive fixes that can distract the eye from what’s really there. Choose something that fits your style, and the good news is that you can change it out whenever you want!

Create vignettes.

Bring in some fresh flowers, or a bowl of fruit and style around it. Do what you have to do. I’d rather have something pretty on my countertops than a jumble of appliances and cords. It just feels thoughtful, even if the bones of the kitchen aren’t.

My kitchen is dark, and while in a perfect world, I would replace the black appliances, paint the cabinets, and concrete the countertops, that’s just not our reality right now. I have learned to love this little kitchen though. It is small, which means it’s easy to clean. It is open, which means light flows in during the day. It is miles above the kitchen from the 1950s we had in our previous rent house. I’m grateful for this little kitchen, even if it’s not a magazine worthy kitchen by any means.

What about you? Do you have a kitchen like mine? Do you love it or hate it? I’d love to hear about it! Well, that’s all for today, friends! Have a fabulous day!

Home Decor, Room Tours

Spring Bedroom Refresh

Hey y’all! I am so glad you’re here! Easter has passed, and spring is in the air! Can you feel that itch for summer where you are? I wore shorts for the first time this weekend, and it was wonderful! Today I am finally sharing something that has honestly gotten out of hand. What do I mean by that? Well, let me explain. Do you ever start something and then just stall for a while until you almost forget about it? That’s pretty much what happened to me.

I decided to shuffle things around between our bedroom and guest bedroom right around New Years. I bought new bedding for our room, moved the old bedding into the guestroom, and promptly left it at that. Never mind that I wanted to get new lamps and possibly new nightstands. I just went on for a few months halfway done with what I was doing. #typical

So here’s a photo I shared a while back on my review of some bedsheets, but it gives you an idea of what it looked like beforehand.

The lamps were too small, and the modern look wasn’t really my taste anymore anyway. The pillows, while comfortable, were more colorful than I was hoping for, and I wanted something more soothing. So, I ended up with this: 

All the bedding (throw pillows and comforter) came from TJMaxx. I can’t find the exact link on their site because of the nature of the store. The lamps were purchased at HomeGoods.

The lamps match my personal style much better, and they are sized a little better than the old ones were.

I also added some faux greenery to the top of the window which I think helps to add a bit of dimension. The garland is from Hobby Lobby.

The overall vibe I was looking for was calm and peaceful, with a farmhouse flair. I think I pretty well accomplished that goal.

Now of course, because I am all too cheap, I didn’t want to spend much money on this refresh. So I listed random household items on my local Facebook Swap page and made money to purchase the things I wanted! If nothing else, it was a creative way to spend a small amount of money! I ended up keeping the nightstands the same. I may eventually change them out, but the budget didn’t allow it at the moment.

So there it is! My super simple but super prolonged project! In case you missed it, you can read all about how I made that headboard myself here. That little DIY is still working for us, and I love the simplicity of it. Oh, and it was free. So that’s a win in my book.

Thanks for stopping by the blog today! That’s all for today, have a fabulous day!