Monthly Archives

November 2016

DIY Projects, Holidays

DIY Christmas Sign

Hello friends! Thanksgiving is over and I’m just here in my stretchy pants trying to recover from the delicious feast fest that was yesterday. Now that Thanksgiving is over though, I am super excited because I can officially without shame decorate for Christmas!

Not like I haven’t had my tree up for weeks. But now I’m going to share my Christmas posts without shame! Anyway, I want to show you guys this super simple sign that I made for outside our entryway. It’s totally something you can do yourself too!

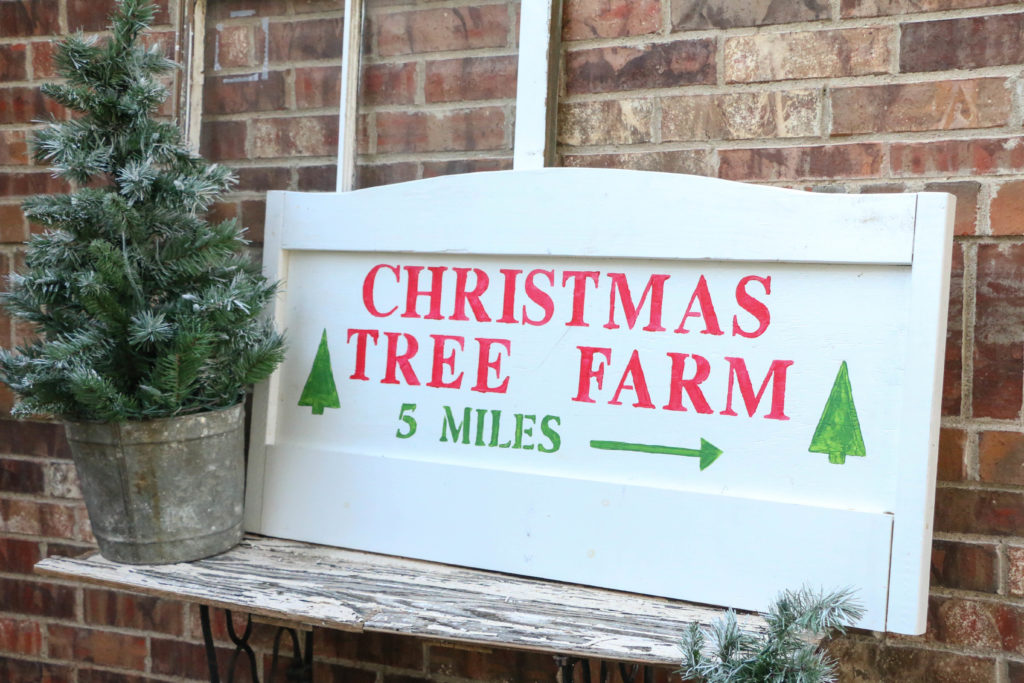
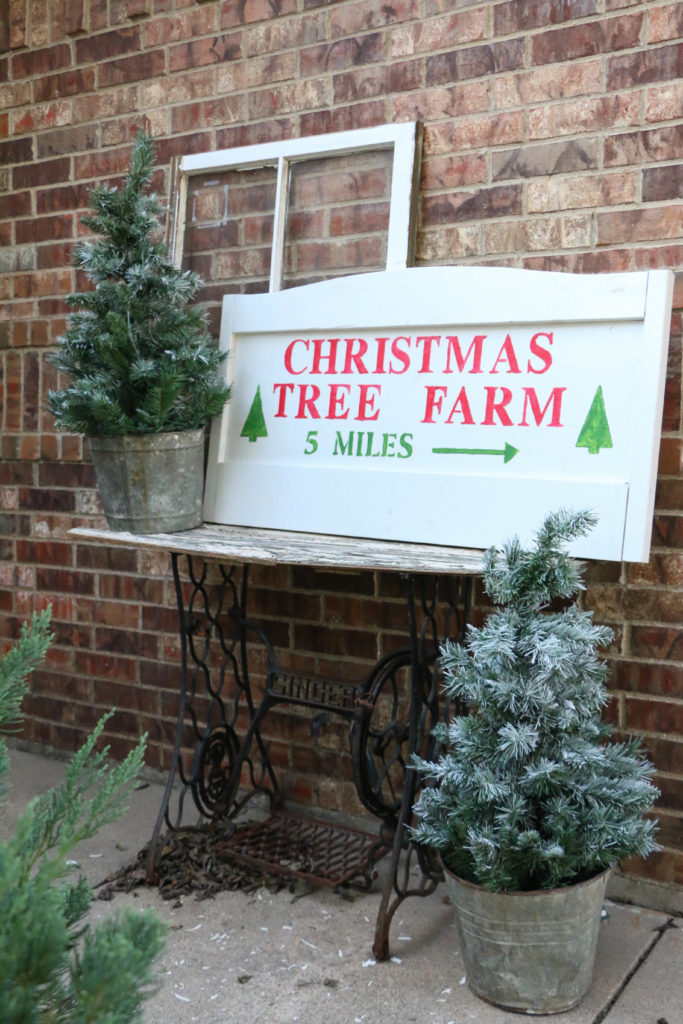
I know this is a super popular look right now, and so I wanted to do my own version with some things I had laying around the house. Here’s what I came up with:

christmassign1

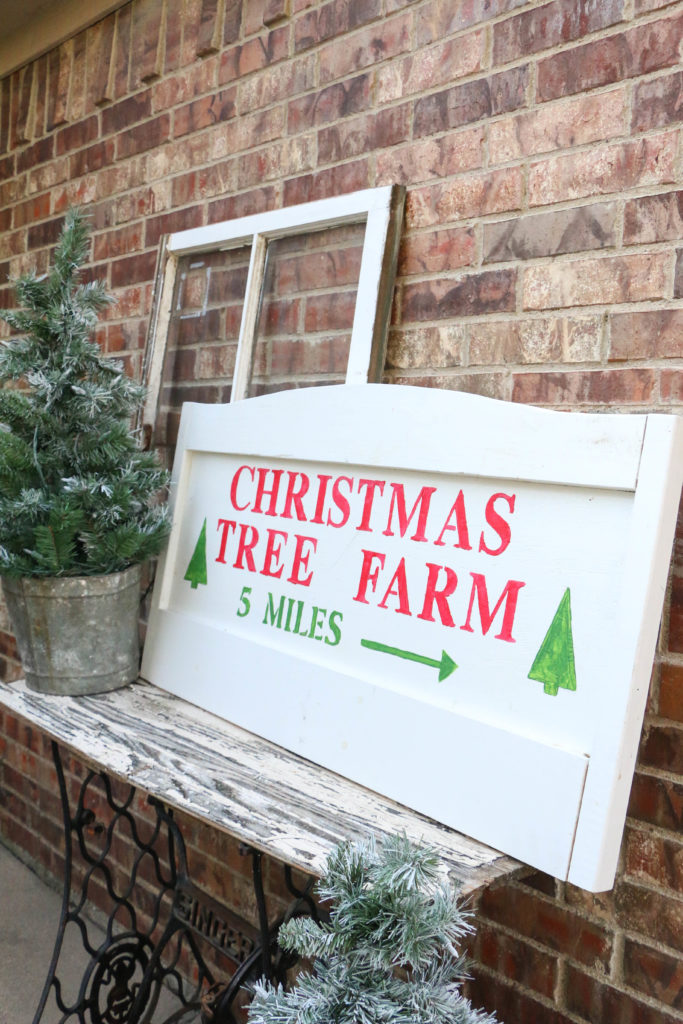
The board was an old child’s headboard I had in the garage. As soon as I got it, I knew it would be perfect for making a sign with. I used acrylic paint from the craft store, and some stencils I’ve had for a long time. So long, in fact, that I don’t even remember where I got them.

christmassign2

I used a pencil to free hand the arrow and the trees. It was so easy it’s not even funny.

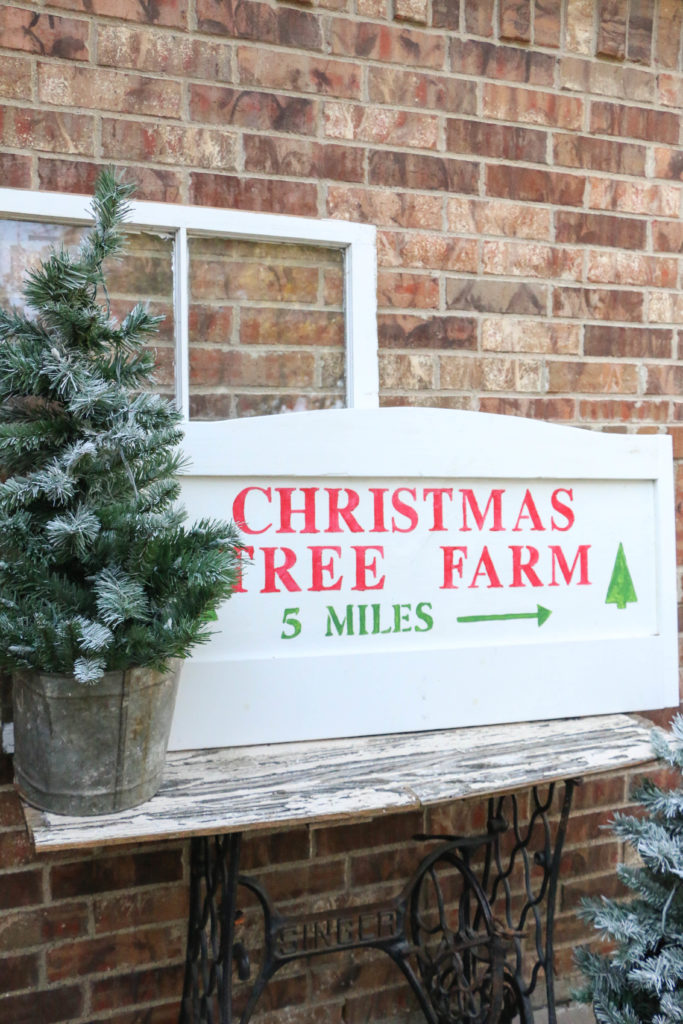
christmassign4 christmassign5

This sign along with my mini trees in galvanized buckets are the perfect simple entry way. Now I just have to get Ethan to climb up on the roof to hang the outdoor lights. 😉

It’s super simple and fresh, but I kind of love it. That’s how I like to describe my style, so I think this works perfectly.

If you wanted to recreate this look, you could easily use a canvas or a pre-made wooden sign from Hobby Lobby or Michael’s. It’s a perfect weekend for some DIY Christmas crafts, so get out there and make something you love for your home!

I still have more holiday decorating to do, but I’m happily doing it slowly. I’m taking my time and bringing in the season slowly and trying to savor each moment. I’ll be sharing more of my Christmas decor little by little, so make sure you check back for that!

That’s all for today, friends. Have a fabulous day!

diy-christmas-sign

Home Decor

Comfy Bed Sheets

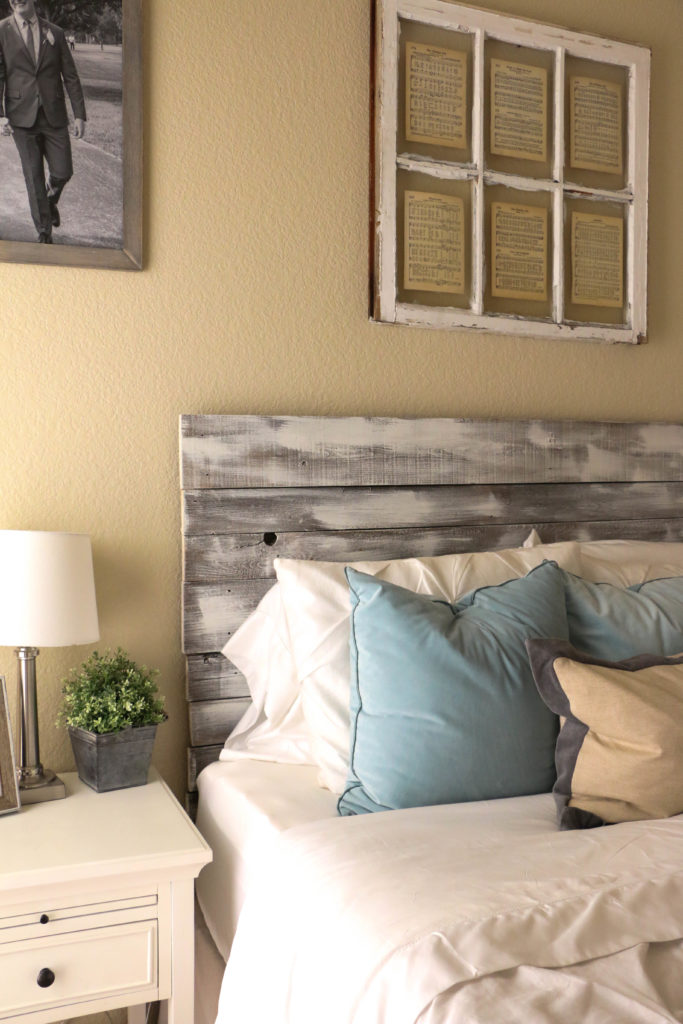
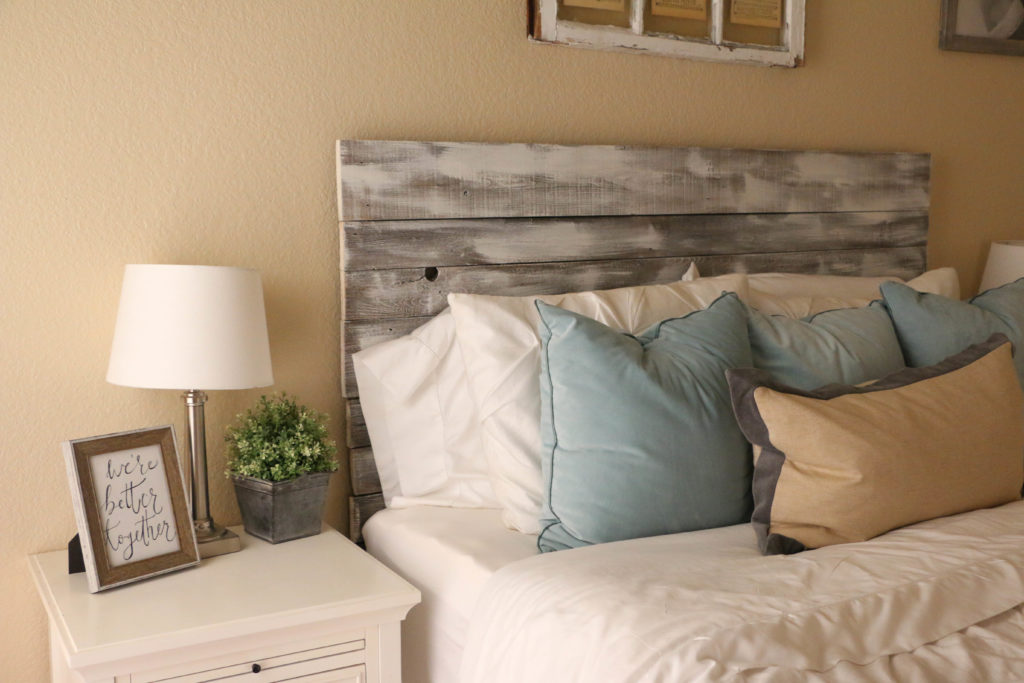
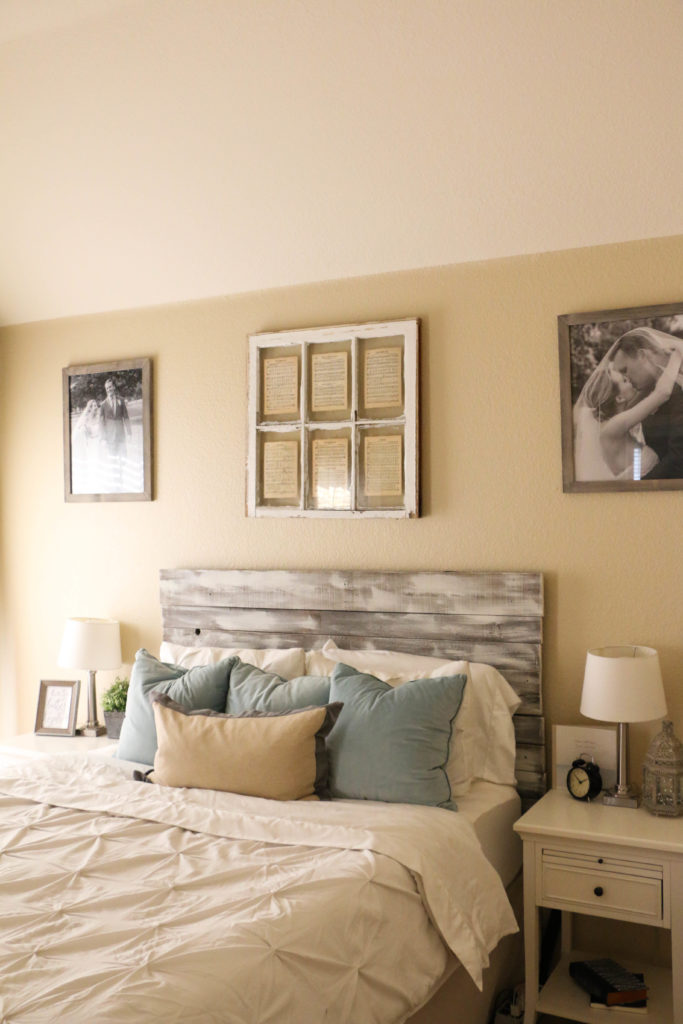
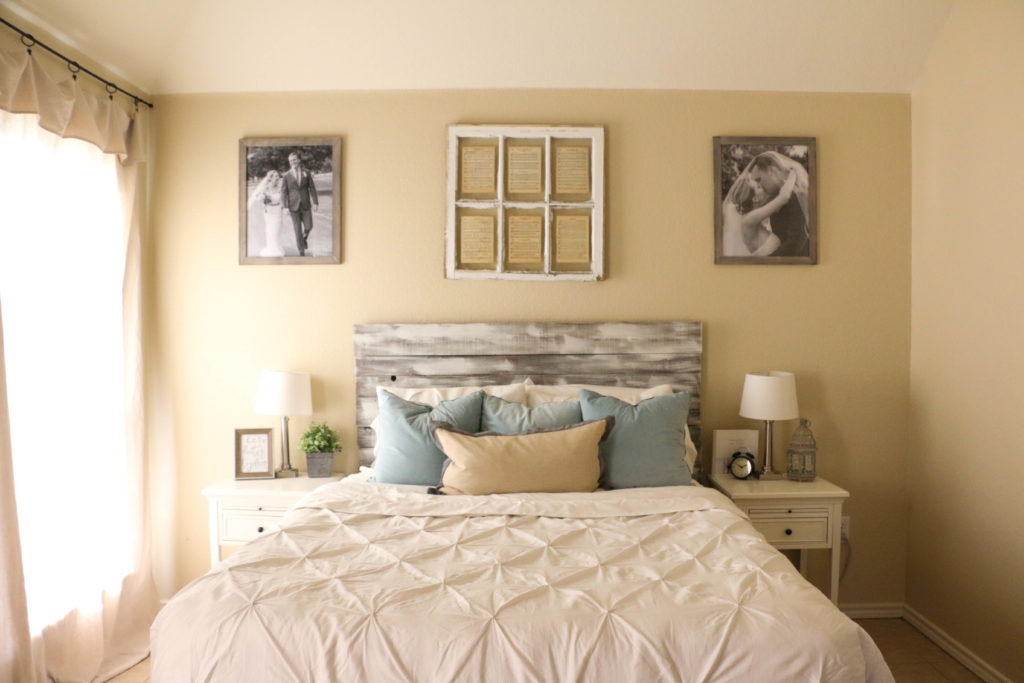
Hello friends! Happy Thanksgiving week! I’m excited to stop by and share with you another part of our ever-evolving home. We’ve been in this rental for four months now, and I’m still working on cozying up the space. The bedroom feels mostly finished, other than a large rug on (which I’m waiting on the budget for).

I’m all about repurposing and making things last as long as possible, but one thing I always want to feel new and fresh is our bed sheets.  I’ve had a difficult time finding good quality sheets that don’t wear out super quickly but also don’t break the bank. I recently discovered a new source for all things home where I ordered some new sheets, and I just couldn’t wait to share!

bedsheets5

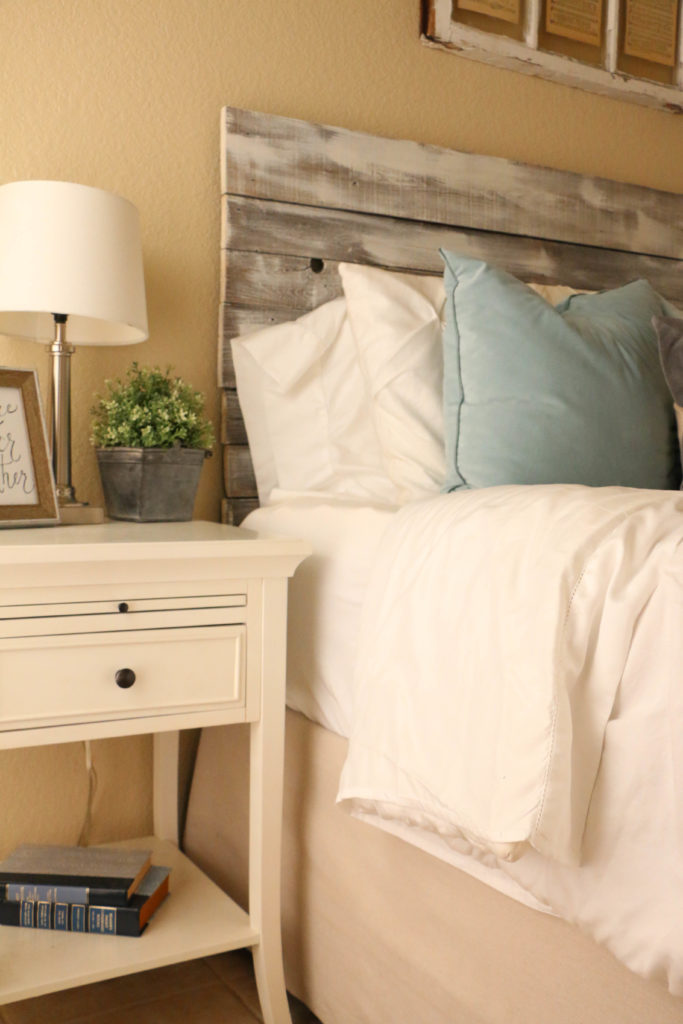
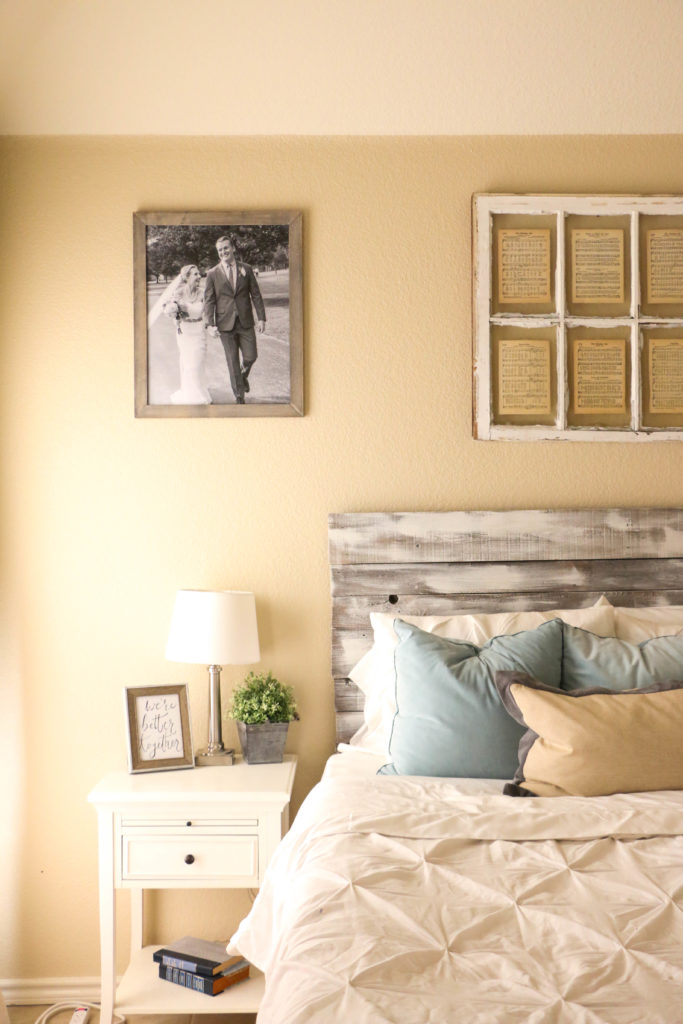
I finally caved and bought white sheets because I can bleach the whole thing every time I wash them. My style is pretty light and bright, but I’ve always been hesitant with white bedding because of how quickly it can get dingy looking.

bedsheets8

I ordered these sheets from Hayneedle.com, and so far I absolutely love them! We’ve had a couple weeks to sleep on them, and they are super comfortable and I love that I finally have white sheets!

bedsheets7 bedsheets6 bedsheets3

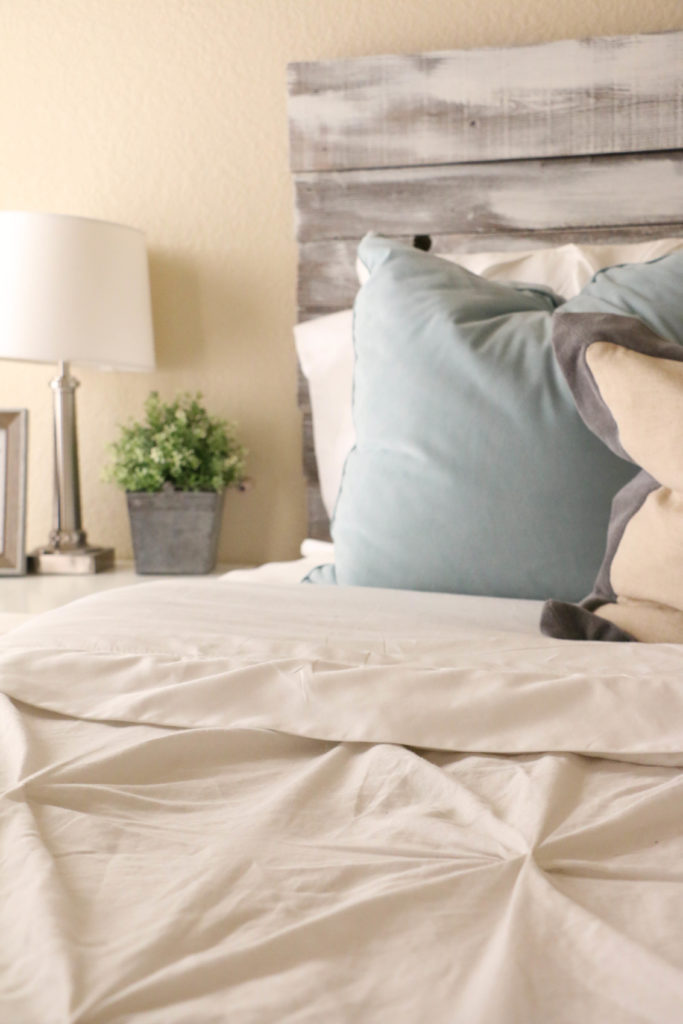
They help to make our bedroom a little bit more cozy! I’ve washed them a few times, and they have just gotten more and more soft and cozy.

bedsheets2 bedsheets1

I would absolutely recommend these sheets to anybody; they are so soft! Not to mention the price is awesome, and the quality is great. I’m super happy with them, and it’s another thing to check off the list in making this bedroom complete. Now I’m waiting on a rug and this room will be “finished.” I say that loosely because nothing is ever actually finished around here.

Now I’m off to work on some more projects today! Well, that’s all for today, friends! Have a fabulous day!

A few sources for this bedroom:

Comforter, lamps, and nightstands: Target

Blue Pillows: Pier One Imports

Gray and Linen Pillow: Homegoods

**Hayneedle was kind enough to send me this gorgeous bedding, but as always, opinions are my own.

DIY Projects

DIY Dog Crate

Hello all! Today I am sharing something I have been waiting to share for a while. Like a long while. Let me backtrack. We moved into this house in July, and when we first moved in, the only major issue I had with the house was Atlas’ dog crate. I don’t know how many of you are dog owners, specifically large dog owners. If you are, you know how massive and ugly dog crates are. Well in this new house, we don’t have a designated separate area for a crate.

In our previous rental home, we had an area off the kitchen that was out of the way and perfect to hide a huge gaping hole of ugly crate. In this new house however, we had no such luck. There was no other option for us (without allowing Atlas to have a spare bedroom, and we’re just not really into that) other than to put his crate into the living room. So for the past few months we have had a massive eyesore of a dog crate sitting in the corner of the living room and it’s been totally cramping my style.

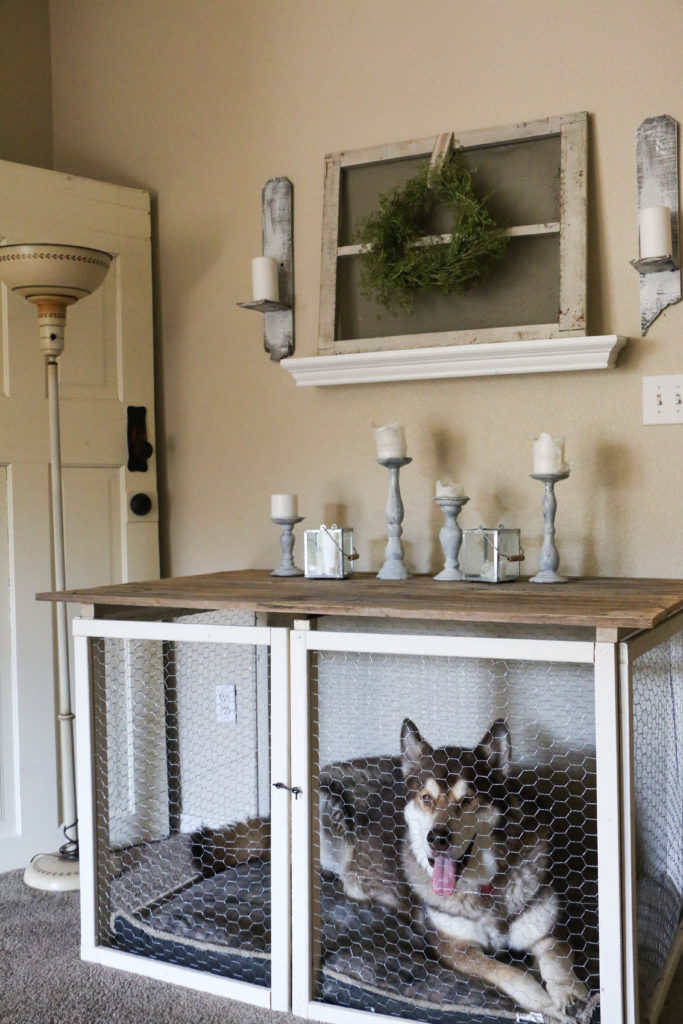
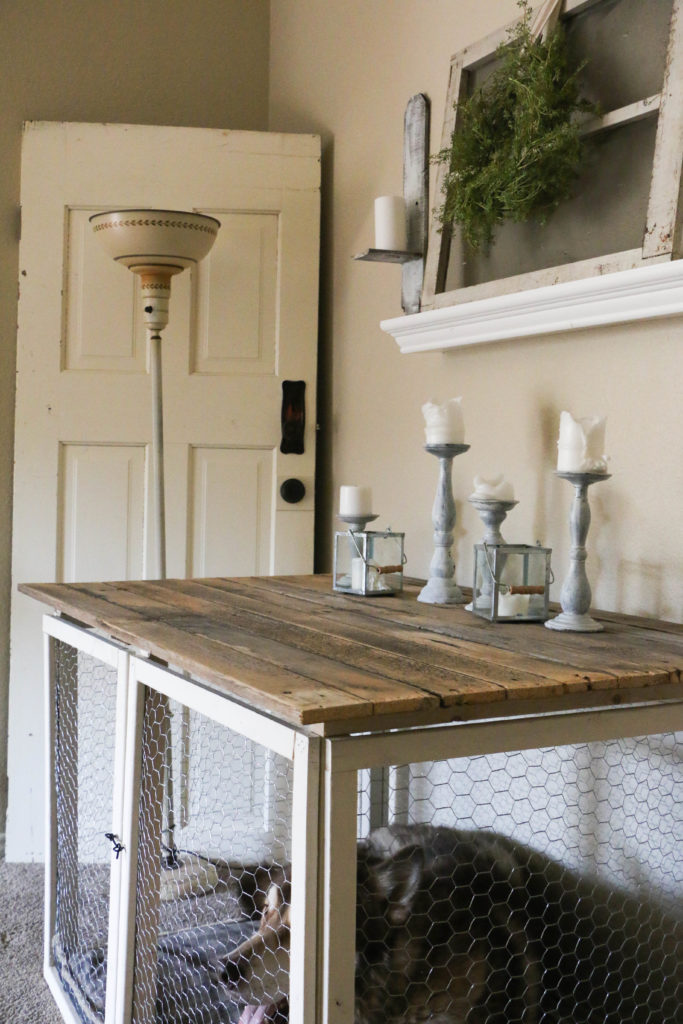
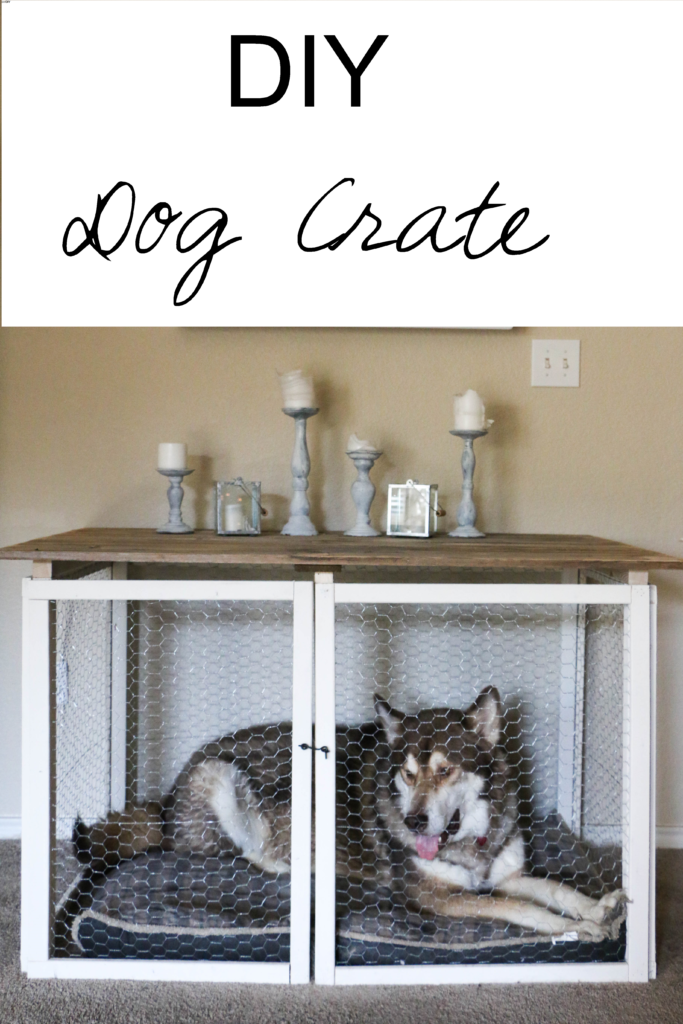
I haven’t been able to decorate around it because it’s been driving me crazy. I had an idea for a crate that Ethan could build that might look a little less ugly than the typical black metal that I could decorate around. It took a while for this to actually come into fruition, but this is what we came up with:

dog-crate-3

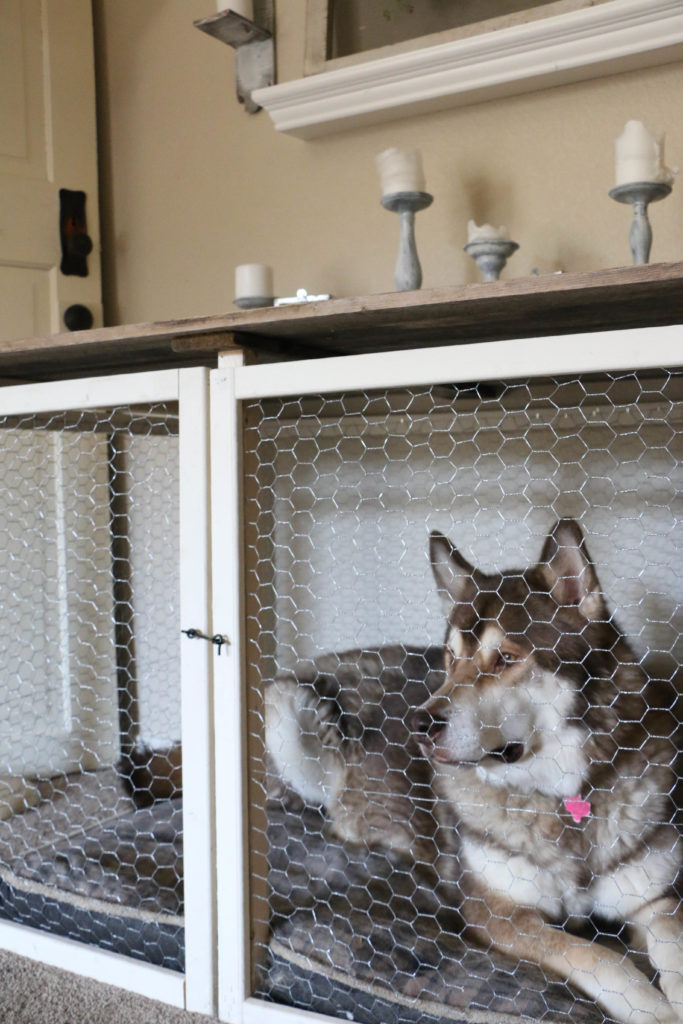
Ethan gets better with every building project he does, and this turned out perfectly! He pieced together the sides each made with chicken wire.

dog-crate-4

The top is made from old fence boards, and Ethan sanded them down to make a nice smooth finish.

dog-crate-7

The front has a door that swings open with a little hook to keep it locked.

dog-crate-9

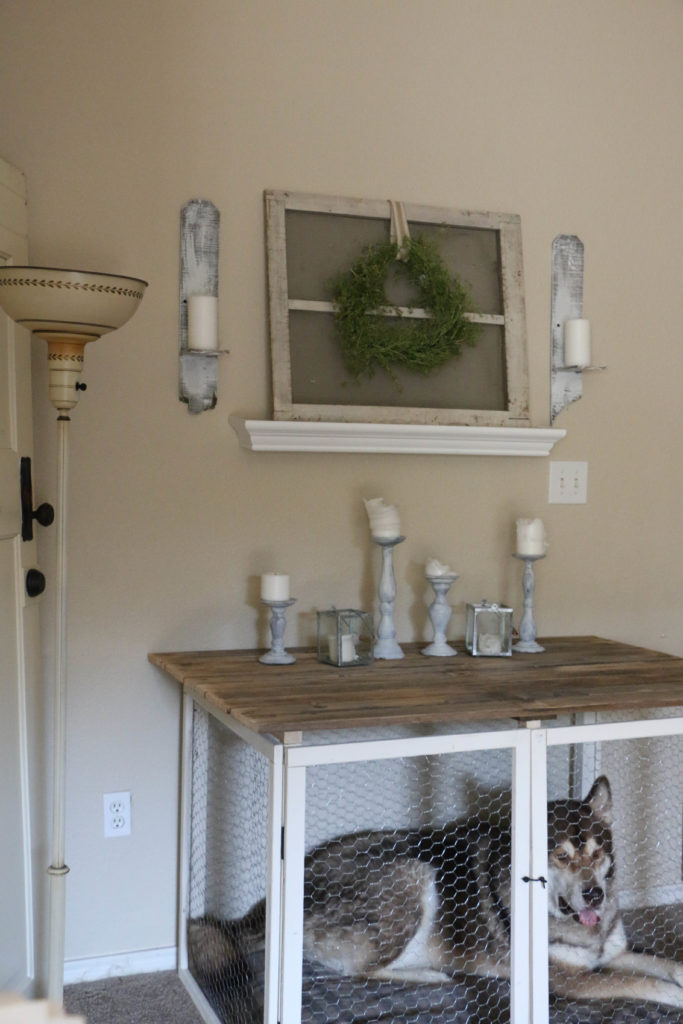
The best part is that I actually have actually been able to decorate around, without it looking too ugly. The plan is to eventually add curtains that we can close when we have company over, which is why we raised the top a bit off the sides.

It fits into our decor, and Atlas likes it pretty well too! He was even so kind as to pose for the camera while I was taking these photos! (Just kidding. You have no idea how hard it was to catch him not looking stupid.) Seriously though. This project is just what we needed to finish out this side of the living room, and I could not be more pleased with how it turned out.

In case you were curious, this whole project cost about $40. The most expensive part of it was the chicken wire which was about $30. (In order to get the height we wanted, we had to buy at least 50 feet.) The reclaimed wood was donated by a friend who had replaced a portion of their fence. The only thing we bought was the wood and the hardware, and of course the chicken wire.

The chicken wire isn’t super strong, but Atlas is pretty well behaved so we trust him not to try to bust out of his crate. Definitely a pretty and functional piece to add to our decor. Do you have an ugly dog crate at home? Would you ever do something like this instead? I’d love to hear about it!

Well, that’s all for today, friends. Have a fabulous day!
diy-dog-crate