Monthly Archives

February 2016

DIY Projects, Home Decor, Tutorials

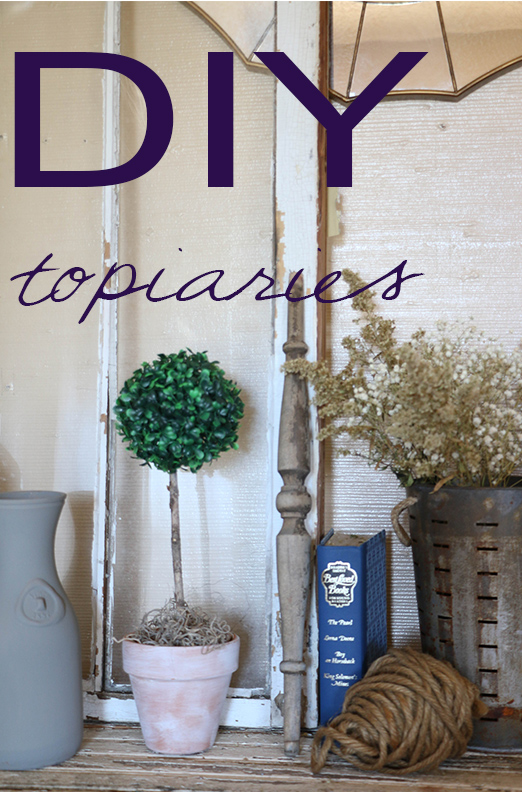
DIY Boxwood Topiary

Hi you guys! I’m so glad you stopped by today! I don’t know if it’s feeling spring like where you are, but here in North Texas it definitely is! I was coming into the house after work the other day and I noticed little green buds popping up in the tree in the front yard. There’s no better sight! Not to mention that the weather has been warming up, which means it’s closer to time for front porch and grilling! I think it’s safe to say that spring is my favorite season (and it’s not just because I have a spring birthday…)!

Today I want to share with you guys a super fun super cheap DIY that totally has me ready for spring. I’ve been adding pops of greenery in the house everywhere, whether it be fresh flowers, or faux greenery I’ve collected from Ikea. I’ve been eyeing some of those adorable boxwood topiaries that seem to be everywhere (okay, maybe just Target and HomeGoods, but everywhere important!), but with my monthly free spending allowance, it didn’t seem worth it to pay for them. I’ve seen some at multiple places, usually anywhere from $20 – $30. Which isn’t a ton of money, I know. I’m just Cheapster McGee, as you all already know.

So I did what I do best, which is set out to make my own DIY version. So here’s what I came up with:

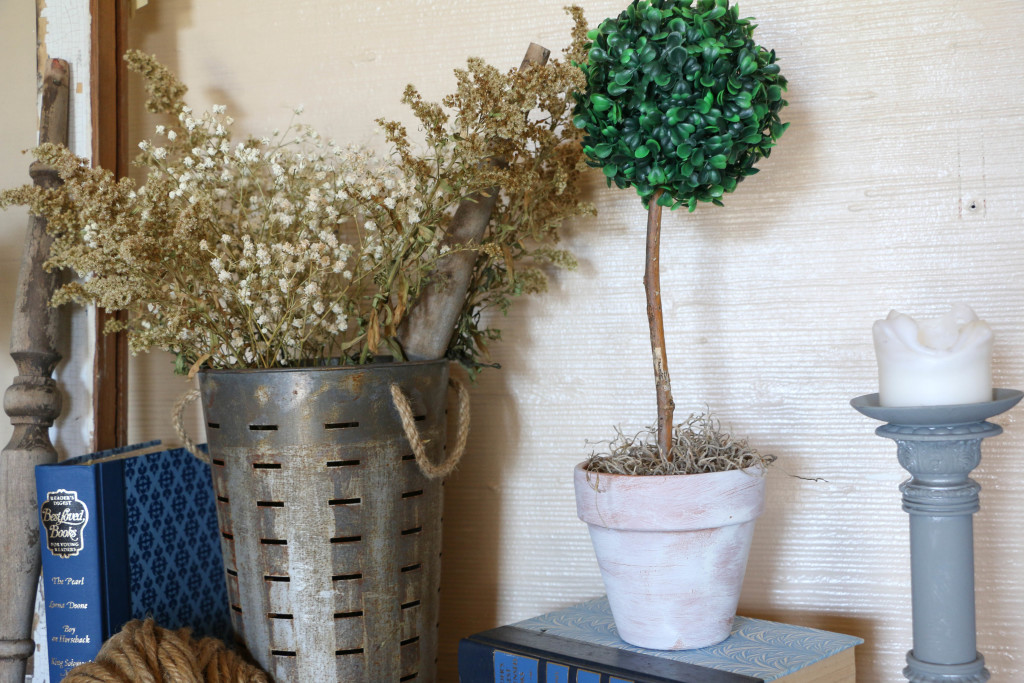
Topiary1

This is a very basic little craft that cost me just a few bucks.

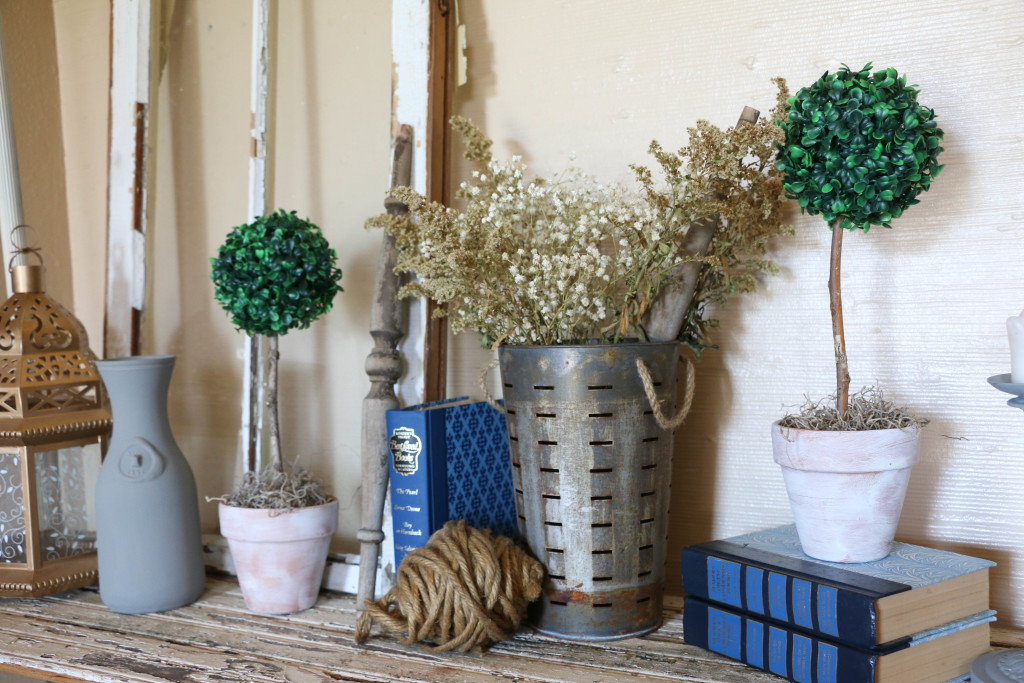
Topiary7

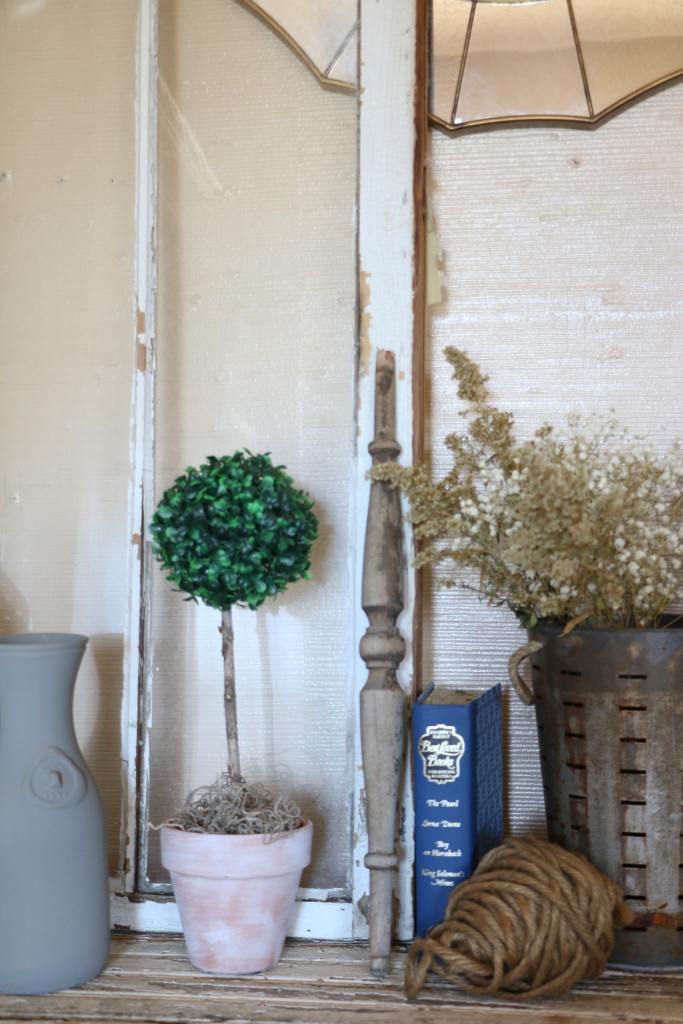
I purchased all of my supplies at Hobby Lobby. The pots were under two dollars, and the boxwood balls (I’m fairly certain that’s not an actual phrase) were about five dollars for both, as they were seasonal clearance.

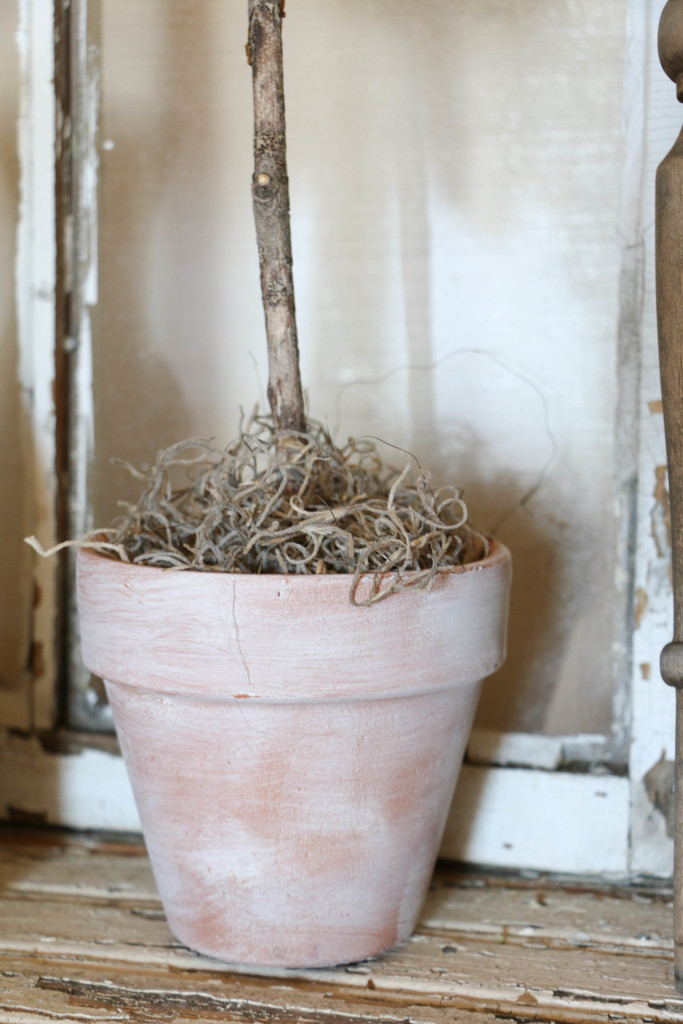
Topiary4

The rest of the supplies I had on hand. First, I put a coat of wax on the pots, mainly because I had never used strictly wax on something before, and I wanted to see how it would turn out. Since it was clear wax, it didn’t change the color at all. Duh, I should have known. However, I then immediately did a quick drybrush over the wax coat. Because the wax was not yet dry, it allowed me to wipe the whole thing with a rag, giving me the unfinished look I was going for.

Topiary3

I used sticks (the free kind from the front yard) and hot glued them to the bottom of my pot. The pots had a small hole in the bottom, which I covered with a small piece of duct tape so that the glue wouldn’t come out the bottom. After a few minutes, I filled in the pot with Spanish moss, something I had on hand already.

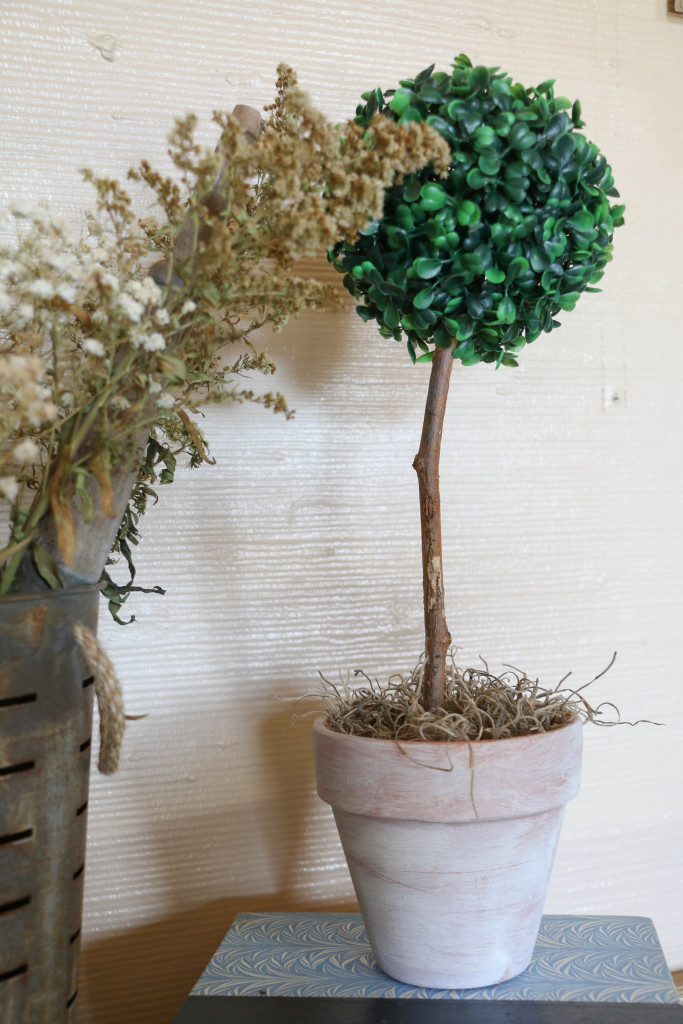
Topiary8

The boxwood balls have sort or a net texture under the leaves, which was perfect to just wedge them onto the stick. I did add a dab of hot glue just to keep them in place. Including paint and dry time (they dried incredibly fast, since I used my drybrushing technique), this project took me about fifteen minutes.

The cost of supplies I had to purchase was about seven dollars, making these cute little topiaries about $3.50 each. As opposed to the $20-$30 range. So I consider this little DIY a definite win.

I love how the fresh, springlike vibe they have. Even Ethan commented on how cool they looked, so I’m pretty pleased with how this one turned out. I think the best part is how well they’ll transition into summer as well. I do hope you try this one! It was definitely a fun project for me, and just about anyone can do this!

I hope you have something awesome planned for today! That’s all for today! Have a fabulous day, friends!

DIYTopiaries

DIY Projects

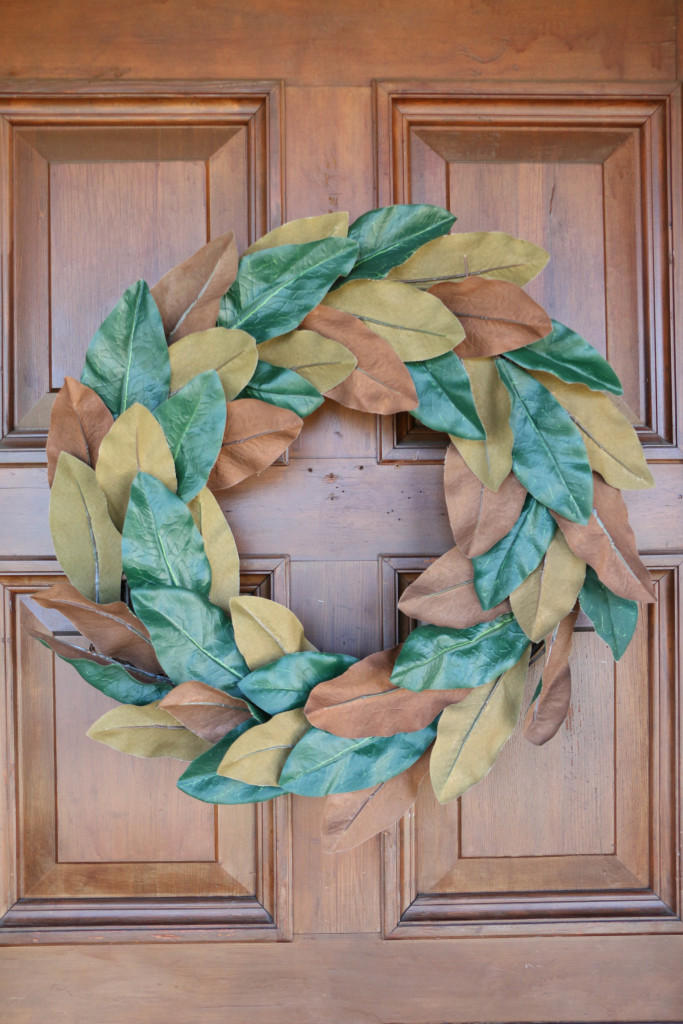
DIY Magnolia Market Inspired Wreath

Hey y’all! I hope you had a fabulous Valentine’s weekend! We had a low key weekend that was just perfect. Now that Valentine’s Day is over, I’d be lying if I said that I don’t have spring on my mind. Since Christmas, our front door has been bare, and I knew I needed something fresh for the door. Today I want to show you guys what I did for my front door on the cheap. Because if it wasn’t cheap, it wouldn’t be for me!

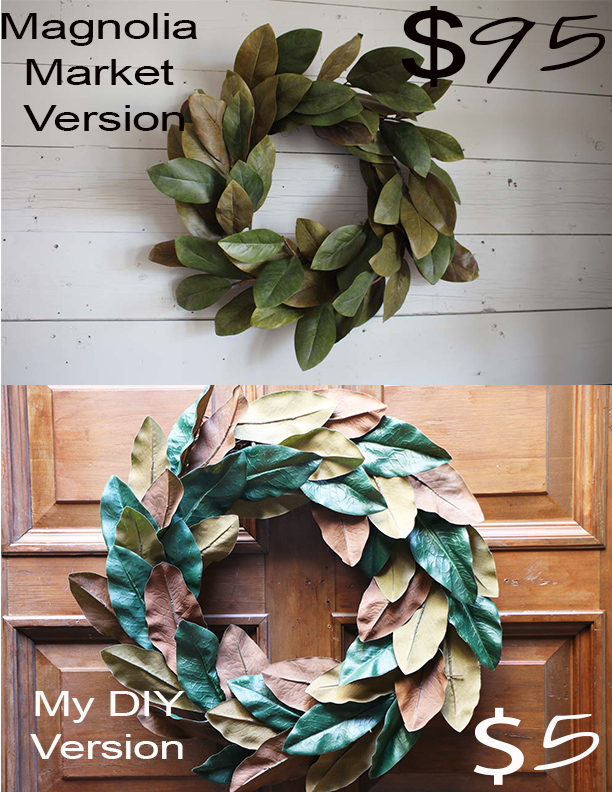
It’s no secret how much I adore Magnolia Market in Waco, TX. I’ve been several times, and each time I come home feeling refreshed and inspired. A few weeks ago, we drove down to visit their Scratch and Dent sale. I was able to snag a few things, but there was one thing I’ve really been wanting that I wasn’t able to find on sale. I’ve been eyeing their signature Magnolia wreaths for a while, but with the $95 pricetag, I couldn’t quite get on board.

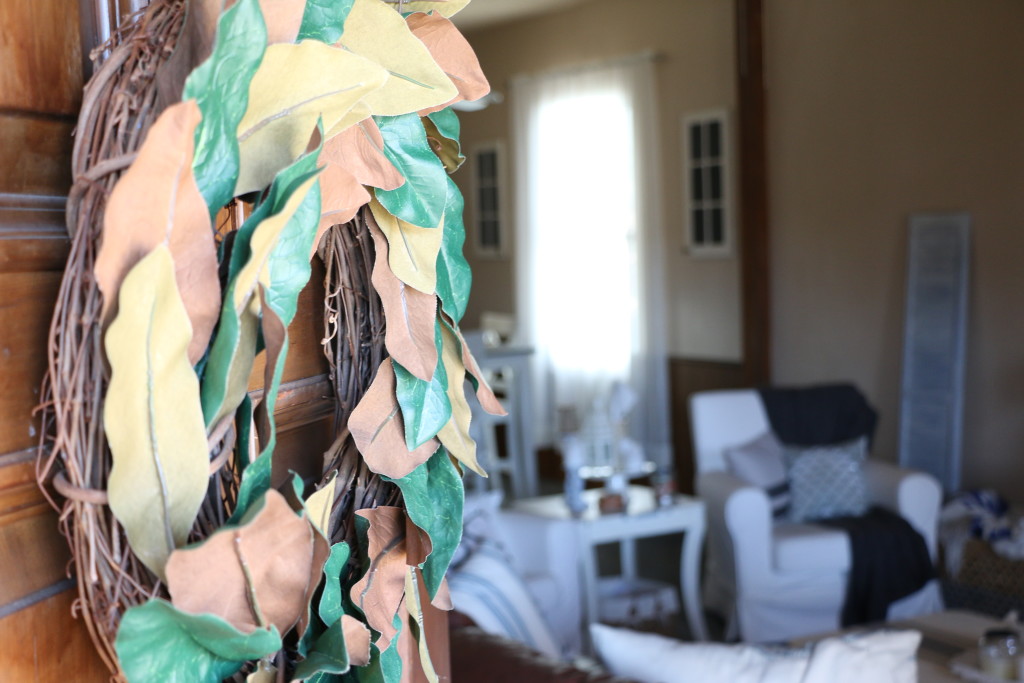
While I was there, I realized, duh! Why don’t I just make my own wreath? So that’s exactly what I did. wreath3

All I did was hot glue some leaves onto a wreath form. Not even worth the explanation.

wreath2

The wreath was something I had already at home, and just took off what was on the wreath previously. So the cost of that was free. The florals came on a stem from Hobby Lobby that were priced at $4.99. Since Hobby Lobby rotates their inventory to be 50% off every few weeks, I was able to snag two stems for the price of one. To make this wreath, it took exactly two stems, making the grand total $4.99.

wreath6 (2)

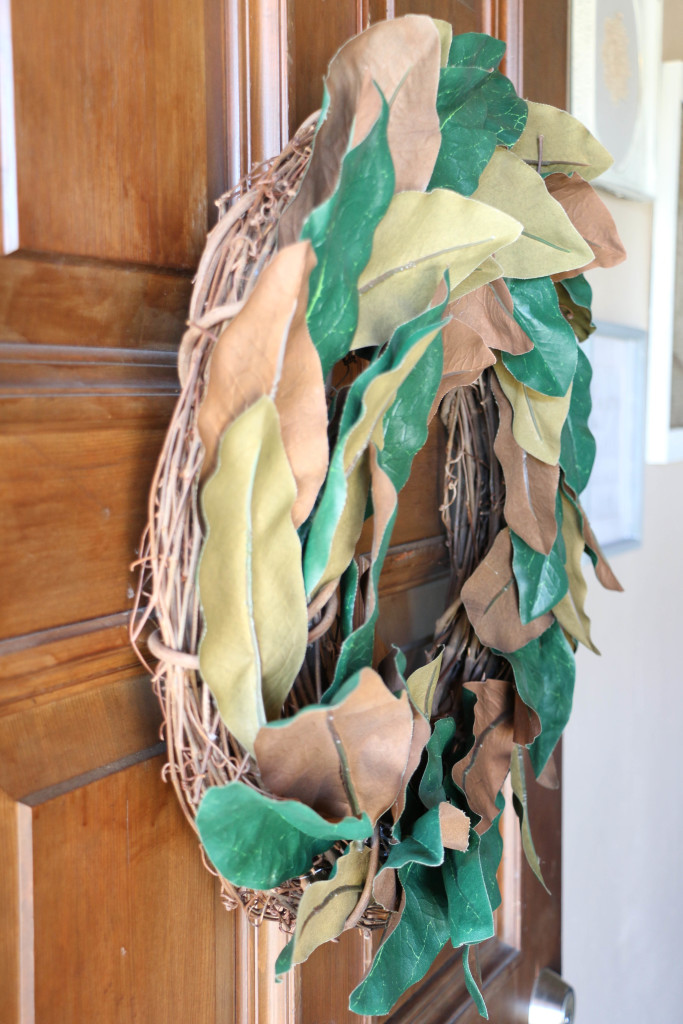
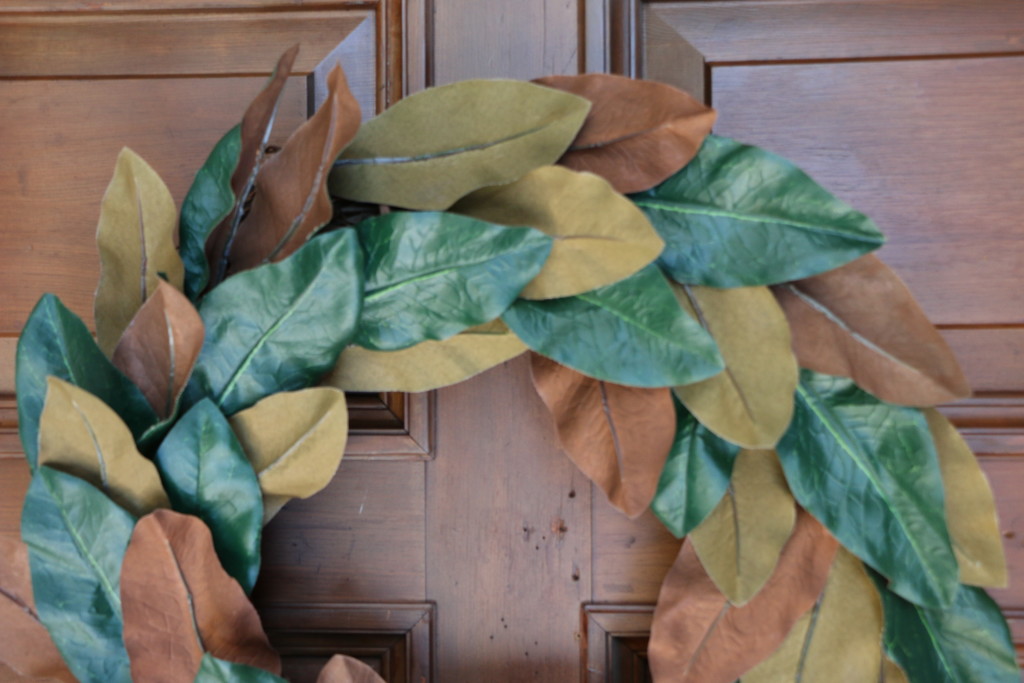
The leaves were all the darker green, but I turned some of them around to make it more dimensional.

wreath6 (1)

I am simply in love with this little DIY! It took me maybe ten minutes to glue everything on, and the total cost to me was five dollars. Can’t beat that!

And sure, the quality of the leaves isn’t quite the same you would get from the original wreath. I’ll be the first to admit that. However, this was about 5% of the cost of the original. And that’s good enough for me.

 MagnoliaWreath

Have you ever made a knock-off version of home decor? Us budget conscious girls gotta do what we gotta o!

I hope you have a wonderful Monday! Thanks for stopping by! That’s all for today, have a fabulous day friends!

Home Decor

Valentine’s Day Styling and a Free Printable

Hey you guys! I hope you’re doing well! Can you believe how quickly we’ve flown through the month of January?! I’m not going to lie, but springtime is already on my mind. Obviously I’m a bit premature, but the tempuratures have been in the seventies the past few days, and the birds have been chirping in the mornings when I’m waking up. It’s a beautiful feeling y’all. I’m sure it’ll turn cold again, but for now I’m enjoying the hint of spring. Anyway, now that January is coming to an end, Valntine’s Day is just around the corner!

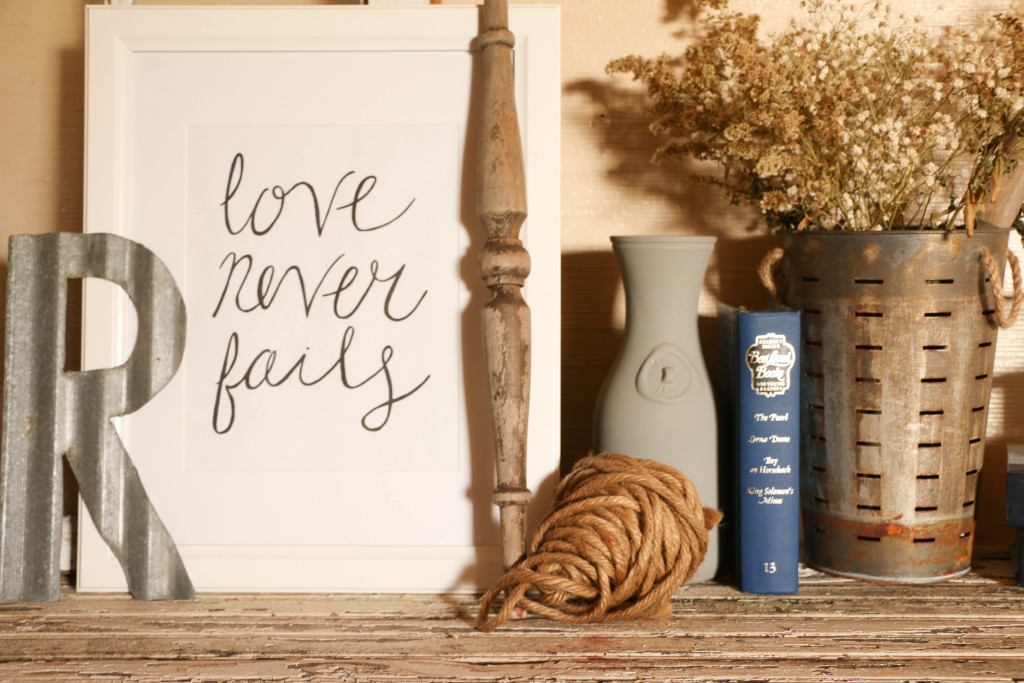
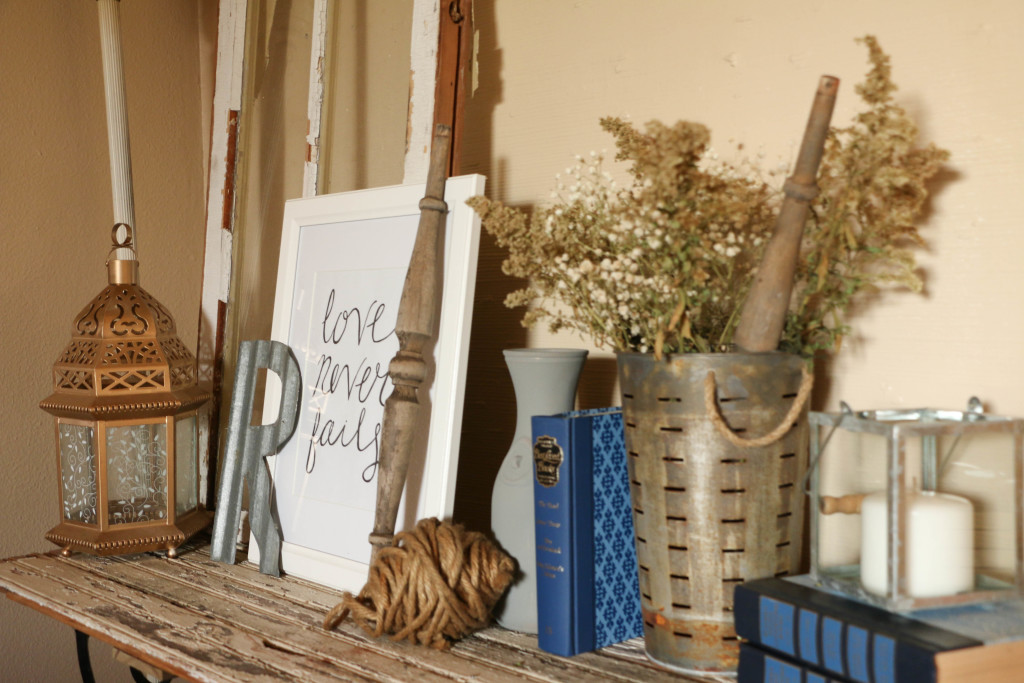
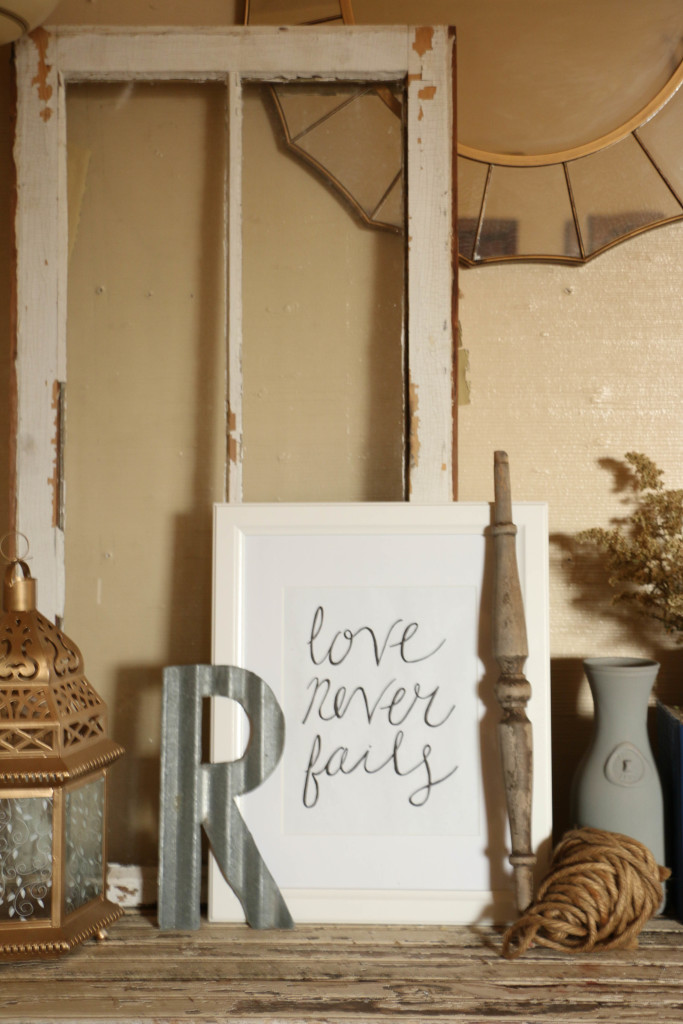
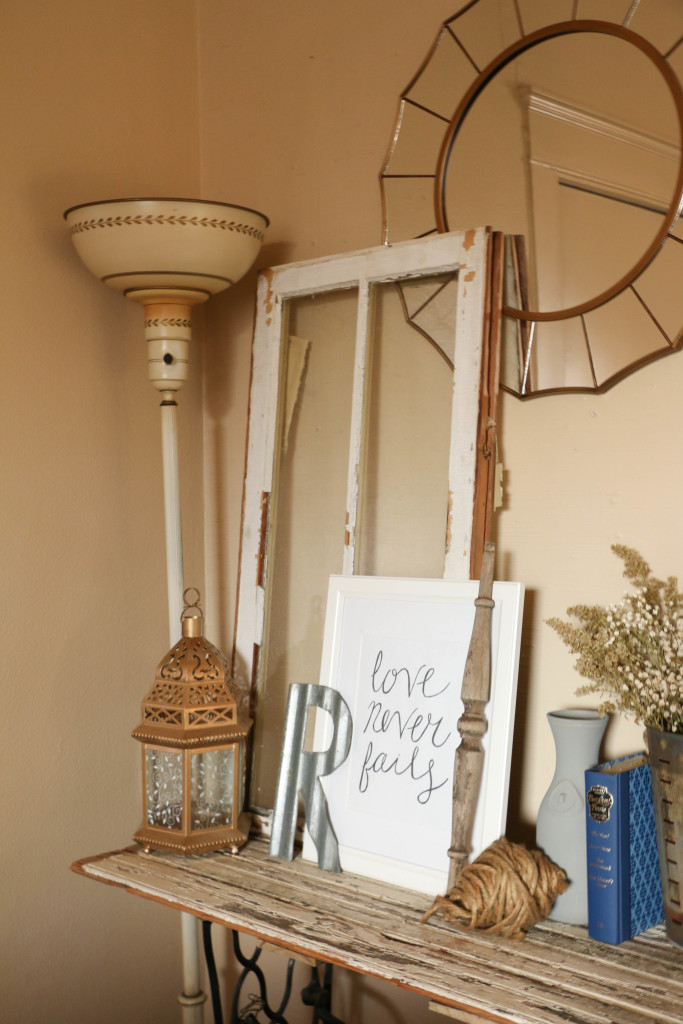
Now, I’ll be the first to say that Valentine’s Day decorating is not really my thing. I”m just not into the bright colors and seasonally distinctive decor, especially right after all the Christmas decor has come down. I did however, want to give a little nod to the upcoming holiday in the most neutral way possible. I hand lettered this print you see here one evening.

shelf8 shelf5

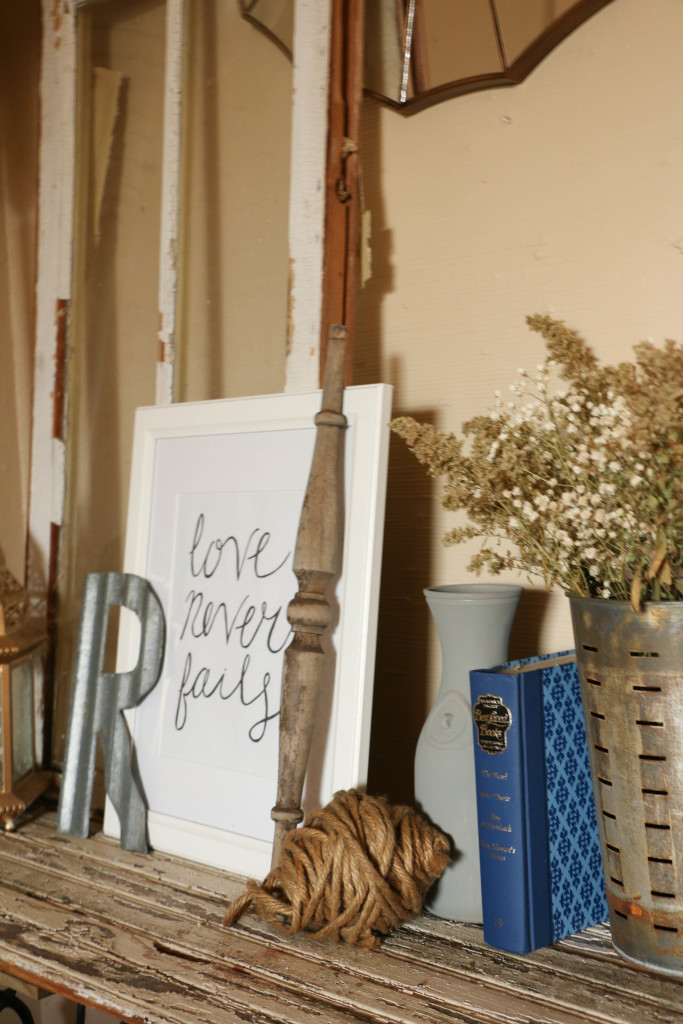
Although it’s not technically Valentines-y, I do think it gives a little nod to the theme of the holiday, and it doesn’t hurt that it comes from a favorite passage of scripture.

shelf6 shelf3 shelf2

I’m definitely going to leave this up after Vaentine’s Day though, because I think it works well in all seasons. Which, in my opinion, makes the best decor. The less stuff I have to change out after each holiday, the better.

I wanted to share with you guys this little print that I made. I’ve never done this (or anything like this before), but I wanted a way to share my new hobby with y’all. My writing is totally imperfect, and this print IS handmade, but if there’s someone out there who doesn’t mind the imperfections, then I think it’s worth sharing. I’m always looking for cheap ways to decorate my home, and hand lettered notes have become my go-to accessory.

If you’d like your own downloadable copy, you can click here. Mine is printed in an 8×10 format, but it will look great as a 5×7 print too. Thanks for letting me share my little hobby with y’all. I’d love to know how you’d use this little print in your own home.

Well, I’m off to run some errands, I hope you have some fun things planned today! That’s all for today friends, have a fabulous day!