Monthly Archives

November 2015

DIY Projects, Tutorials

Salvaged Wood Headboard DIY

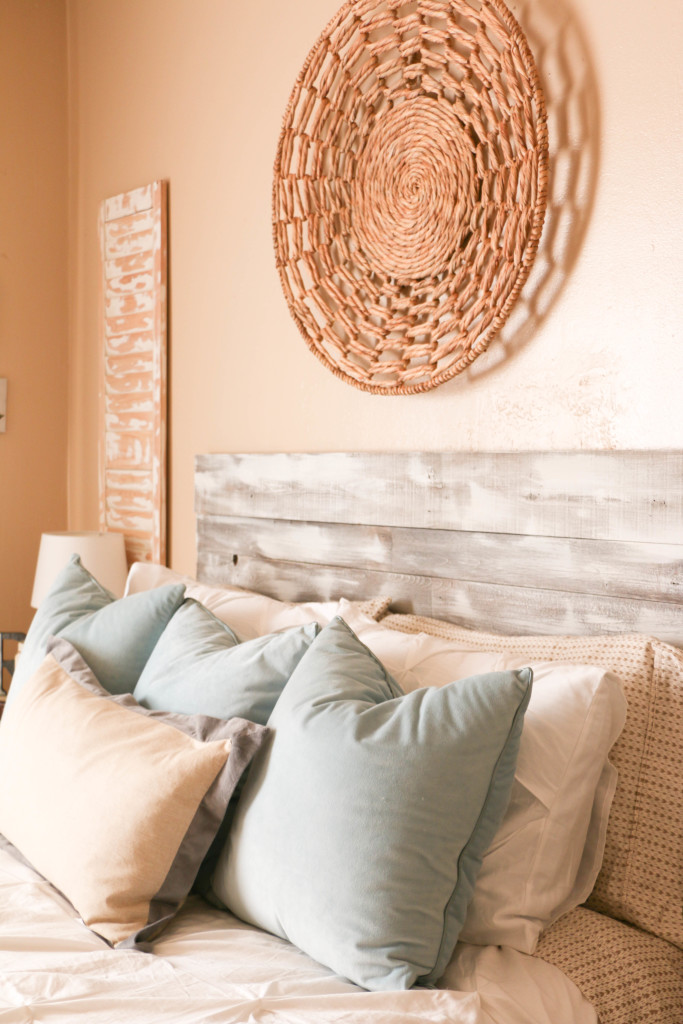
It’s been a few weeks since we updated our bedroom and I am still living in a fairy-dream world because of it. I showed you guys the full result a week or so ago, and you guys have been so sweet about how it turned out. If you didn’t get a chance to check that post out, you can read all about it here. Today what I wanted to do was show you guys with a little more detail the headboard that I made for this space.

When I bought all the new pillows for the bed, I knew something was still missing. Our old headboard was a pre-blog DIY that was imperfect but served us well for the time that it did. I made it back when I was still unsure about the style direction I was heading in with our house, so it just didn’t quite work. And let’s be honest. I still don’t think I know the style I’m headed toward. Live and learn.

I wanted to make something, but I didn’t want to spend any money. Yes, you read that correctly. I wanted to spend zero dollars. Story of my life, right? I knew that I could only justify to Ethan building a new headboard if I could do it for free since I had just built one a year prior. Now that I think about it, I think Ethan has learned not to question my unreasonable antics. The other stipulation for this project was that I had to do it completely by myself. Normally our DIY projects are a team effort (and by that I mean Ethan does the work and I make it pretty). This time, before I knew what I was thinking, I told him that I was going to make this project for free, and I was going to do it completely on my own. Cue “On My Own” from Les Mis as I head to the garage to work on this project.

So here’s how it went down. A few months back, our neighbors were replacing a portion of their wood fence. I hoarded rescued some of the pieces and they have been sitting in my garage, safe from harm. I headed to my stash and chose the best looking pieces for the job. I (and when I say I, I do mean me myself and I. All by my lonesome) cut the pieces using a circular saw to 60″. We have a queen size bed, so that was the size we needed. If you were to do something similar, be sure to measure the size of your bed. I did wash these with warm water and soap, and lightly sanded them, just to make sure they were clean. And not going to give me splinters. Because those things are important, I guess.

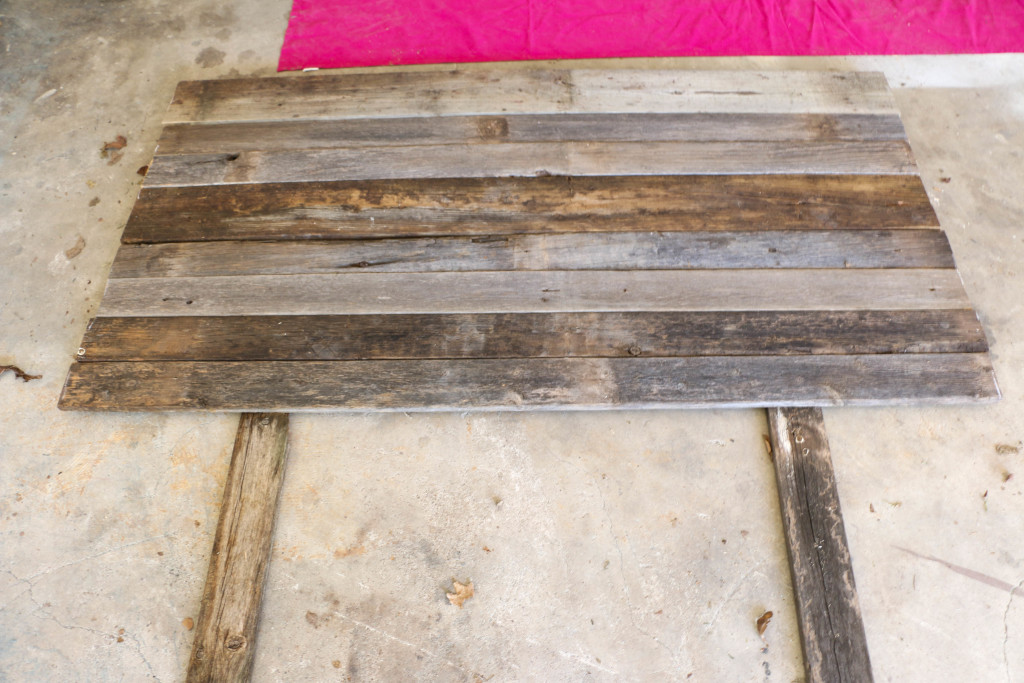
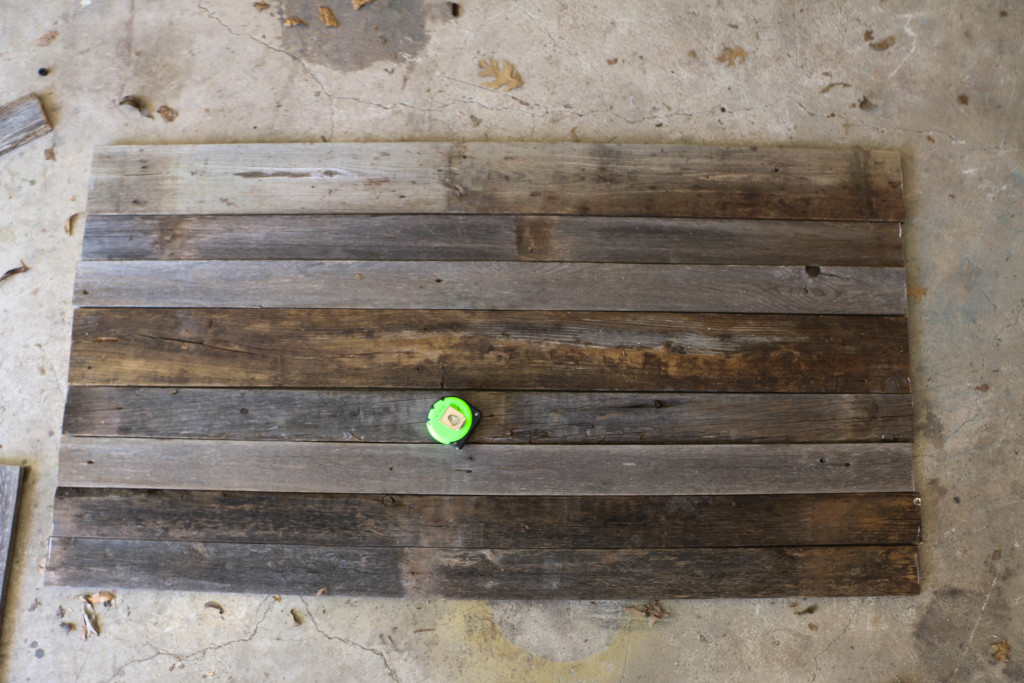
So I laid out all the pieces on the garage floor to make sure I liked to order of them, since all the pieces were slightly different.

headboarddiy1

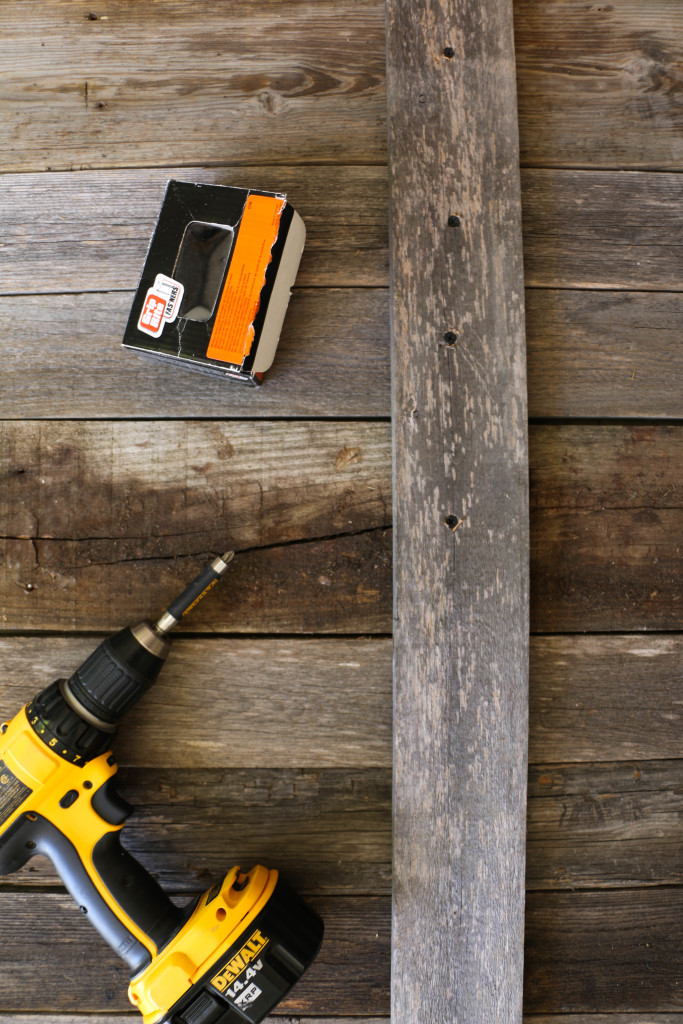
Then I used two cross pieces to screw onto the backside of my headboard. These pieces were vertical, and were 54″ tall. Our old headboard was a bit taller than this, but I always thought it looked kind of weird, so I was very mindful of how tall this one was going to be. I don’t know if there are official rules about how tall a headboard should be, but I think y’all all know that I make up my rules as I go when it comes to home decor. I wish I could show you the pictures of me screwing this together just to show off my brute strength, but alas, I did this one on my own. And I don’t have enough hands to photograph myself building a headboard. You’ll just have to trust me in the fact that I did make this.

headboarddiy2

After I screwed the back pieces together, I turned it around to paint it. It looked like this:

headboarddiy3

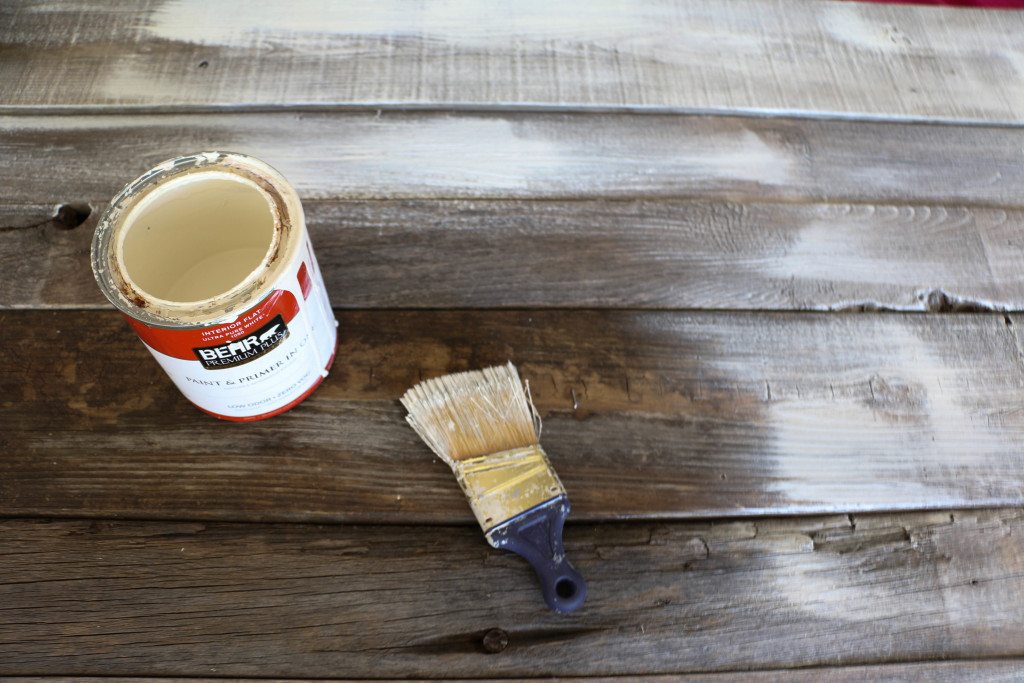
Technically, it didn’t need to be painted, I did like the way it looked like this, I just love lighter colors, so it didn’t really stand a chance. I used my dry-brushing technique, which you can read about here. It took about ten minutes total to paint. Have I mentioned that’s my favorite way to paint things?

headboarddiy4

The color is Mourning Dove by Behr, and I use that for tons of projects around the house.

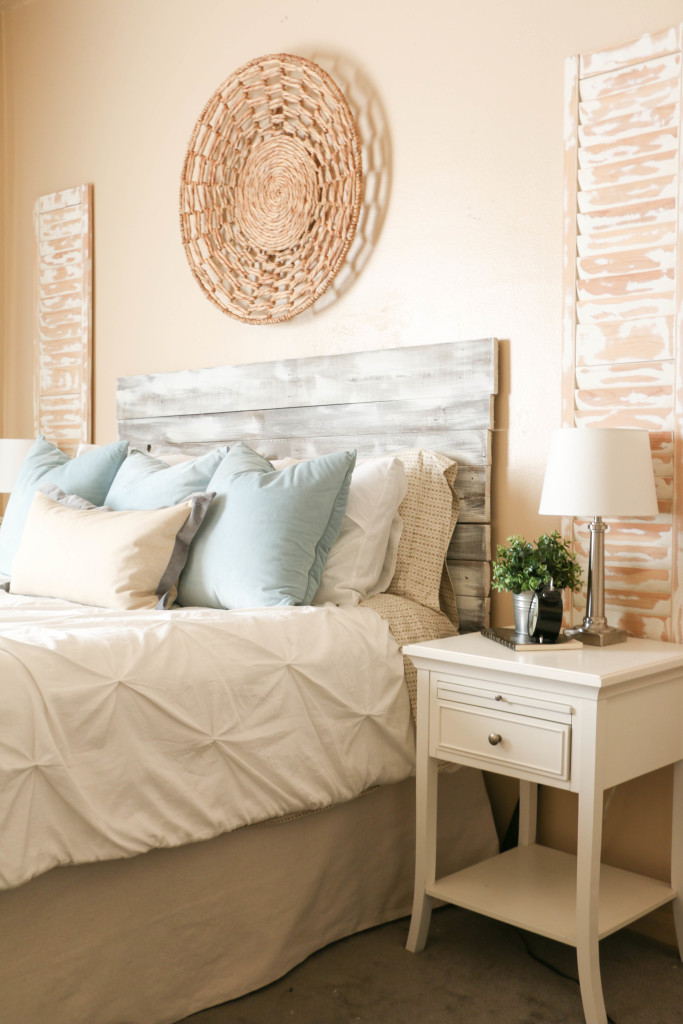
After I let it dry (which didn’t take long with the amount of paint I used), Ethan helped me carry it into the house to put it behind the bed. So I guess he did help. BUT OTHER THAN THAT I did this one on my own, and I am so proud of myself. Picture me pridefully kissing my biceps.

diyheadboard9

 You can see more after photos in the original reveal post. I cannot tell you guys how much this little project changed the feel of our bedroom. And it was 100% free! This cheap-loving girl is jumping up and down with excitement over this one! I promise you, I am super wimpy, and I did this in an afternoon, so I know you can too!

All the sources for the items you see here are in my original reveal post, which you’re welcome to check out! I’d love to hear what you think about this project in the comments below, or you can find more on my Instagram. That’s all for today, friends! Have a fabulous day!

rusticheadboard

Holidays, Tutorials

DIY Wood Slice Ornament

Hey y’all! Thanks for stopping by! Can you believe Thanksgiving is just around the corner? I’m SO READY for the turkey and mashed potatoes!  Seriously, that’s all I eat on Thanksgiving. I’m a really picky eater, I know. Don’t shun me, but I don’t even like pumpkin pie (even my mom’s). But I am all about turkey and mashed potatoes. This year I’ll be flying up to New York to spend the holiday with my family. It’ll be a super short trip, but I’m excited nonetheless.

Now, my family doesn’t have a tradition of setting up the tree the day after Thanksgiving, but I know that many people do. Growing up, we didn’t set it up until about a week before Christmas. Ethan and I have had our tree up for about two weeks now, so I guess you can say I’ve strayed as far from that tradition as possible. All that to say, I know a lot of y’all put out Christmas decorations Thanksgiving weekend, so I wanted to share another homemade ornament idea I’ve come up with for my home.

If you haven’t checked out my first post on pinecone ornaments, you can read all about that here. I wanted to keep with the primitive, rustic theme I had going on, so I added these wood slices and I am in love with how they turned out. Seriously y’all, this is the easiest DIY yet.

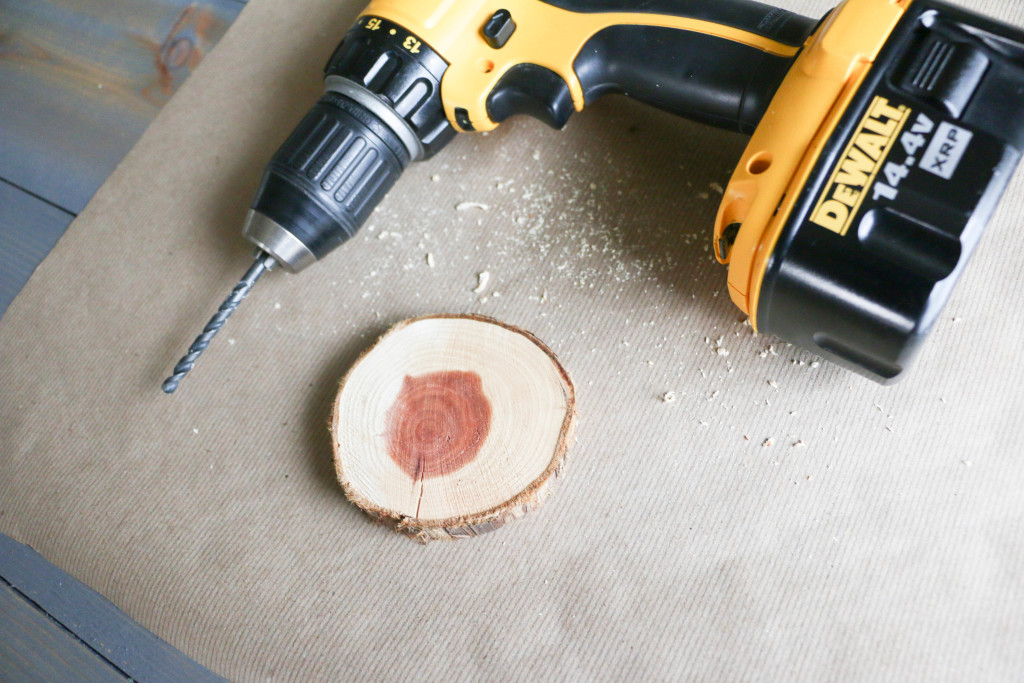
I bought some pre-sliced wood at a flea market for a steal. You could just as easily get a thin log and slice it yourself though. My slices were probably about a half an inch thick. First thing I did was drill a small hole near the top of the slice. The trick is to not drill too close to the top so as not to split it. I accidentally broke a few of them, but I had about twenty to start with, so I was okay with losing a few.

wood ornament1

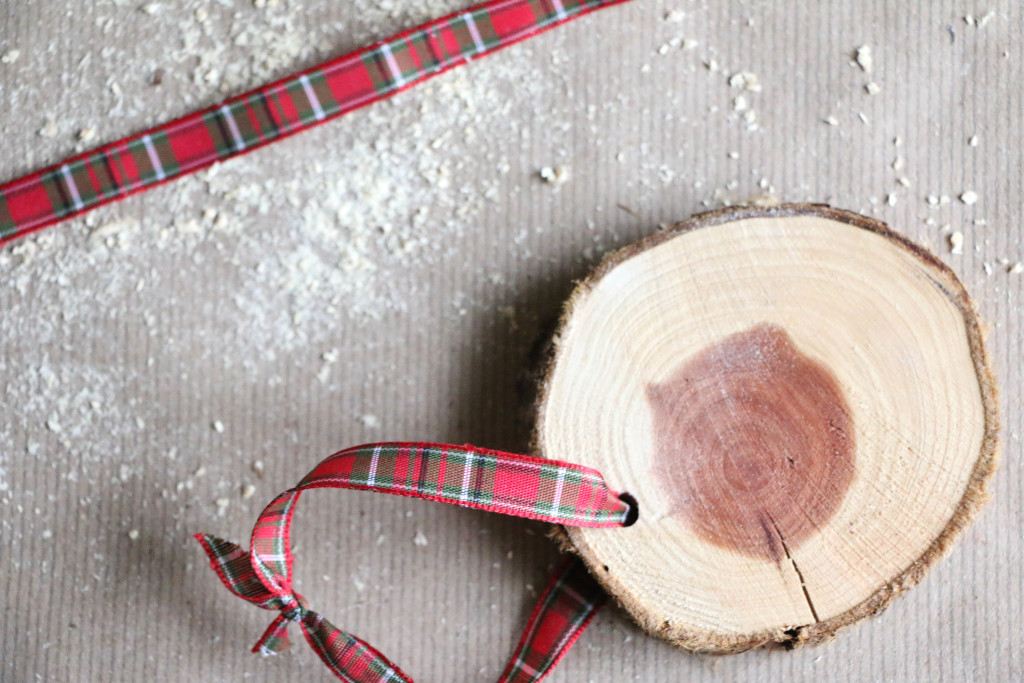
After I drilled the holes, I strung some ribbon I had through the hole. I found this ribbon at Michael’s on sale. I was originally looking for a cream-based red gingham ribbon, but I found this one and it stuck out to me. I really like the way the plaid has an old-fashioned vibe. So this is the one that ended up in my cart.

wood ornament2

I thought about hand lettering something on each of the slices to complete the look, but ultimately decided against it. The reason why is simply because I thought I might reuse them in the future for something else, and I wanted them to be bare just in case. Also, I figured (since I’m so darn fickle) I might not like them as much next year if they were written on, so didn’t want to do anything I would regret.

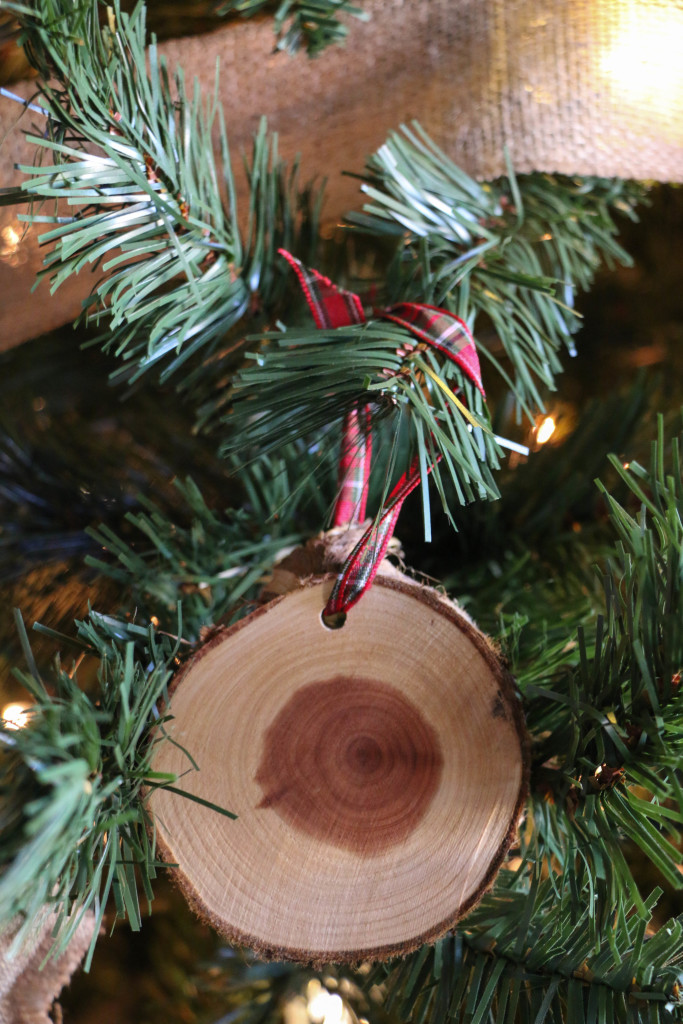
So here they are in all their bare wood slice glory:

wood ornament3

The easiest project you ever did see.

Will you be setting up your tree next weekend? If so, why don’t you give this easy project a try? I’d love to see how you use this simple idea in your home.

Have a Happy Thanksgiving friends! And a Happy Decorating! That’s all for today. Have a fabulous day, friends!

<a href=”http://www.bloglovin.com/blog/13855015/?claim=9a8yvxbhj62″>Follow my blog with Bloglovin</a>

Home Decor

Quick and Easy Bedroom Update

Hi you guys! Thanks for stopping by! I am so excited about today. It’s the last week before Thanksgiving Break (I know y’all will hate me for saying this, but I get the whole week of Thanksgiving off!). I cannot even tell you how excited I am to have next week off. And we all know what comes quickly approaching after Thanksgiving, right… Not that any of that has anything to do with what I’m talking about today. But this teacher’s got a one track mind. What can I say?

So a while back (like several months back), Ethan and I were talking about some changes we wanted to make with bedding in our bedroom. We’ve only been married a little over a year, and the bedding I picked out on our registry wasn’t quite working out. I still have no idea what I’m doing when it comes to decorating, but I’d like to think I’ve learned a few things at least about what doesn’t work in our home. Maybe I’m completely wrong. Who knows?!

shutter21

Okay, so this is what our bedroom looked like beforehand. This quilt was just a light quilt that we used this summer, but this is the best photo I could find (why didn’t I take a better photo for you guys before I redid the bedding? I don’t know.) So the bedding you’ll see today is our permanent bedding that we’ve had. There are a couple of problems we ran into with this arrangement.

First, those pillows in the back are too long for the bed. Like, they’re falling off. What was I thinking?

Second, the gray patterned pillows are the ones we actually sleep on, and I don’t like that they’re in the front. I know that’s probably like the first thing you would learn in a design book. But let’s be real, I haven’t read a lot of design books. Because, in case you hadn’t noticed, I still have no idea what I’m doing.

Lastly, (and I can’t even believe I’m typing this) the light gray patterned sheets don’t hide sweat stains very well aren’t very aesthetically pleasing. In case you forgot, I am married. Which means a man sleeps in my bed. So while I’m all for solid white sheets, I do have a husband to consider.

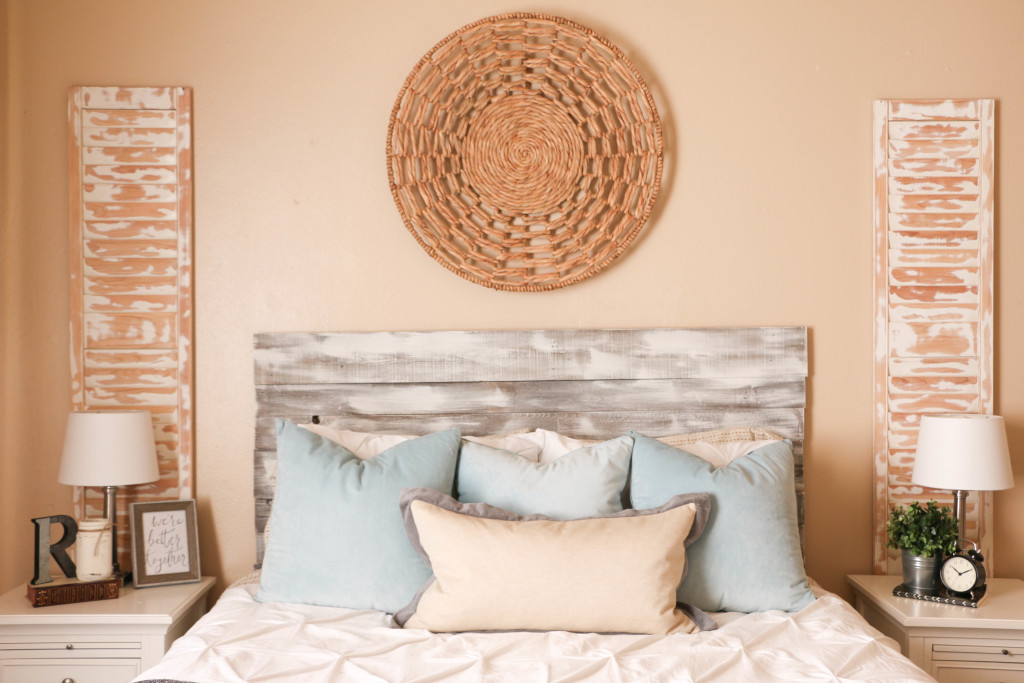
So we decided we needed to change some things up. We were anticipating an extra bit of money, so we waited until then to purchase anything. Which ended up being several months. But what are ya gonna do? Most couples probably spend their money on more important things when extra money comes in, but lucky for me, I have a husband who agrees to let me spend our money on what’s really important. Like throw pillows. He’s kinda the best. Okay, so here’s what I came up with:

diyheadboard9

So what I actually purchased were the sheets and the throw pillows. I am liking this arrangement SO MUCH better.

diyheadboard8

So the sheets are these from Target. I wanted to get something neutralish, but would still be dark enough that everyday wear wouldn’t be too evident. I’m a total white lover when it comes to pretty much all things home, but in this case I made an exception.

The white shams came with the bedding but we had never used them before. I was happy to pull them down from the closet and put them on some NORMAL sized pillows. Not ones that are literally falling off the side of the bed.

diyheadboard6

The blue throw pillows have a super soft velvet-like finish that I got from Pier1 imports. I was surprised to find out at the register that they were also on clearance. So hello, happy shopper here! They come in a wide variety of colors, and they’re super comfy!

diyheadboard10

The long throw pillow in the front is my favorite of all! I found it at HomeGoods. Funny story about it. I knew I wanted something of this shape for this spot, but I couldn’t find just the right thing. So we were at HomeGoods one weekend, and Ethan found this same pillow with yellow trim. Which of course would have been perfect if it hadn’t been yellow. I told Ethan, “I wish we could find the exact same thing, just with gray trim instead!” But they had no such thing.

So what do you know, the next day we were at a DIFFERENT HomeGoods (don’t question how often we go there, okay?), and I found this one! It was like the pillow heavens opened up and smiled down on me that day (it was also five dollars cheaper than the original yellow one I found).

diyheadboard11

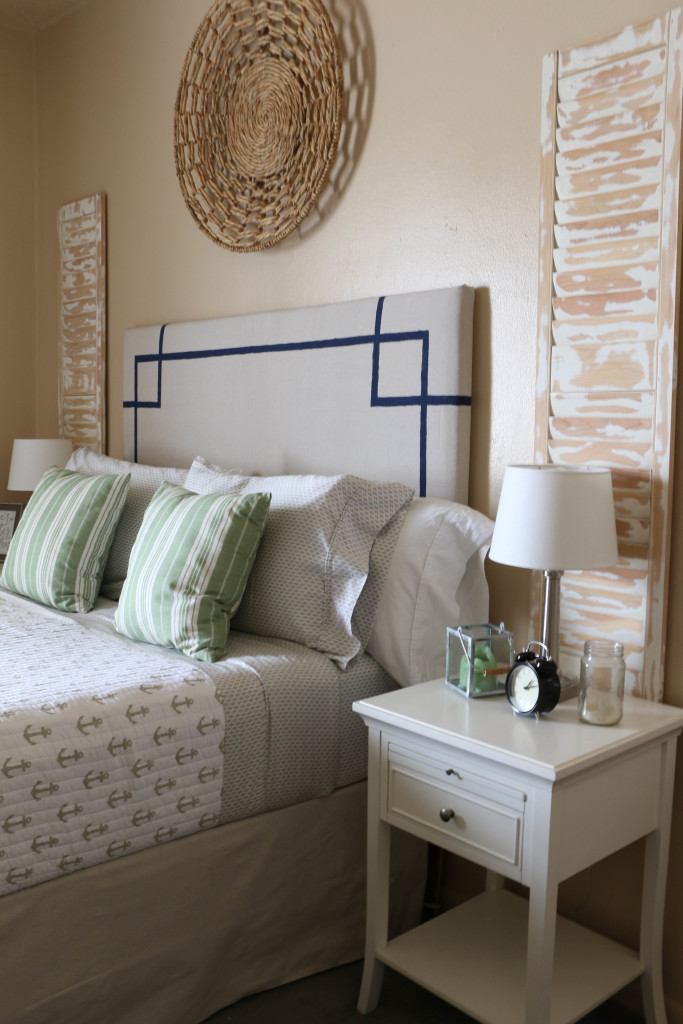
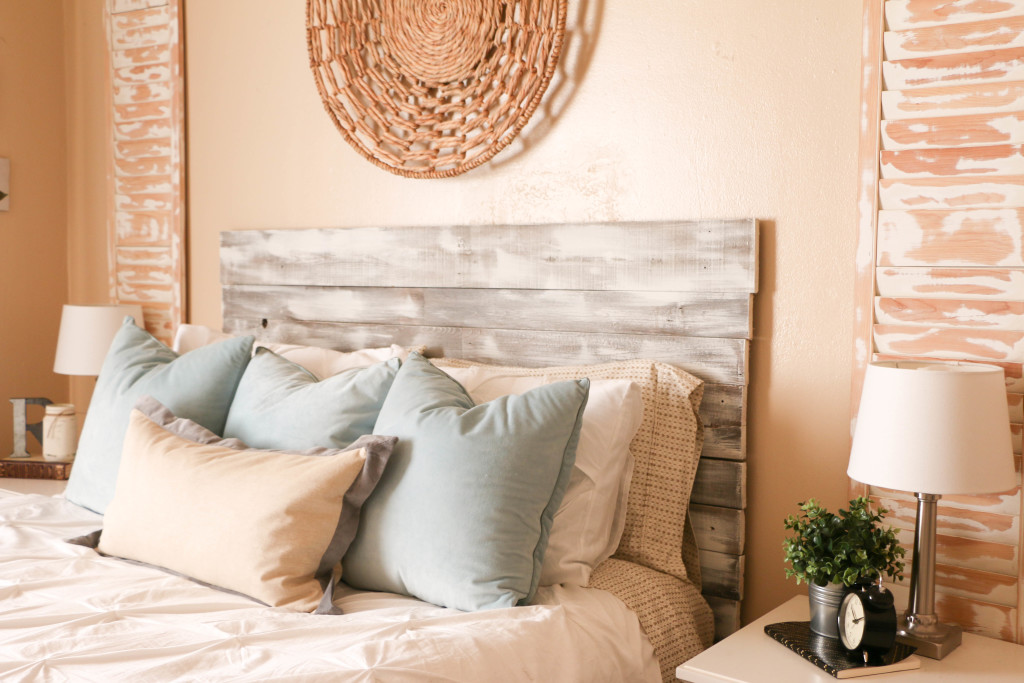
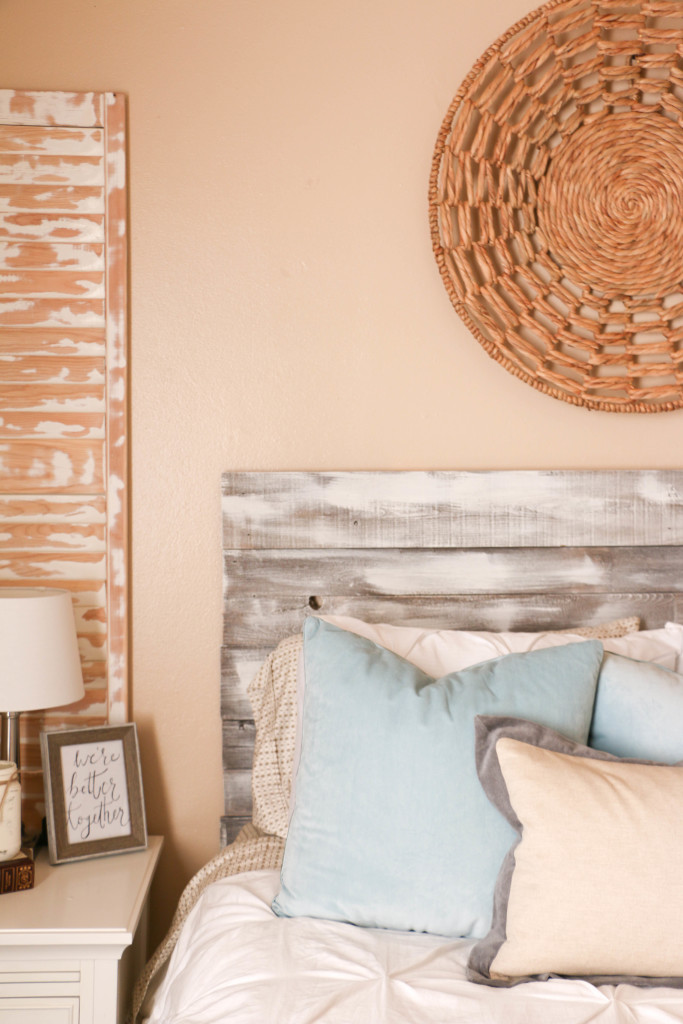
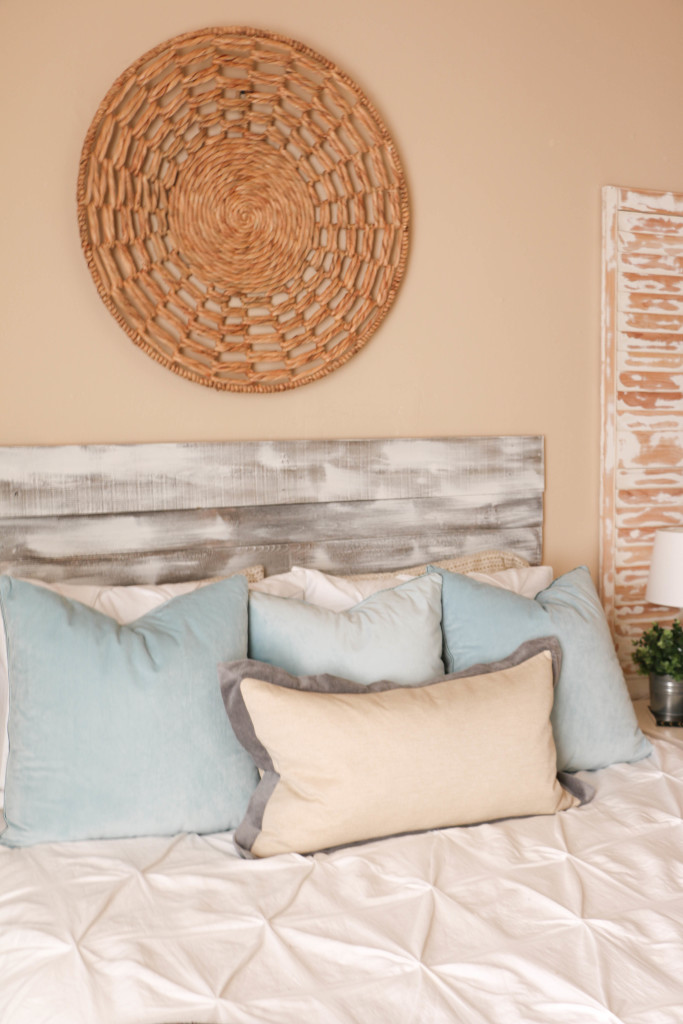
I think the sheets and pillows went a long way here, but in case you didn’t notice from the first photo…I impulsively changed the headboard too! I made it by myself for completely free, because I didn’t think the old headboard worked well with the new bedding. Plus, I’m fickle and I just changed my mind too quickly. I’m going to do a full separate tutorial on the headboard, but I do think it’s the thing that brings the bedding together.

diyheadboard7

Stay tuned for that tutorial! I’m so happy with how this mini bedroom refresh turned out. I brought in so few new pieces, and the result is something I really love. I hope this inspires you to change things up at home, even if it’s just moving pillows around! 🙂

That’s it for today friends, have a fabulous day!
Holidays, Tutorials

DIY Pinecone Ornaments

I know it’s still early….but I have begun decorating for Christmas at our house! Last year, we got a real Christmas tree, which I loved having. They smell so good, and they’re so nostalgic I think. The only downside to them is that they don’t come out until early December because they don’t last very long. Which I suppose I can’t be upset about, but I was so impatient this year that we went out and got an artificial tree. I had too many decorating ideas that I couldn’t wait to get started.

So, now that our tree is up, I wanted to share with you a few of the quick projects I did for our tree. If you know me at all, I’m all about finding the cheapest way to do things, and so I created a few different types of ornaments on a shoestring budget. For our tree this year (and all of the decor, really) I wanted to go with a very natural, rustic-y, theme. I had a hard time putting into words exactly what I was going for, even to Ethan. I just kept saying to him, “I want it to look like how the pioneers would decorate a tree if they had one.”

As if that even makes sense.

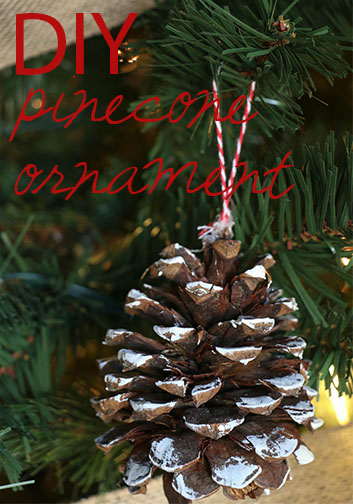
Anyway, today I’m sharing how I turned regular pinecones  into ornaments for our tree. This is so simple, it’s even kid friendly!

pineconepaint

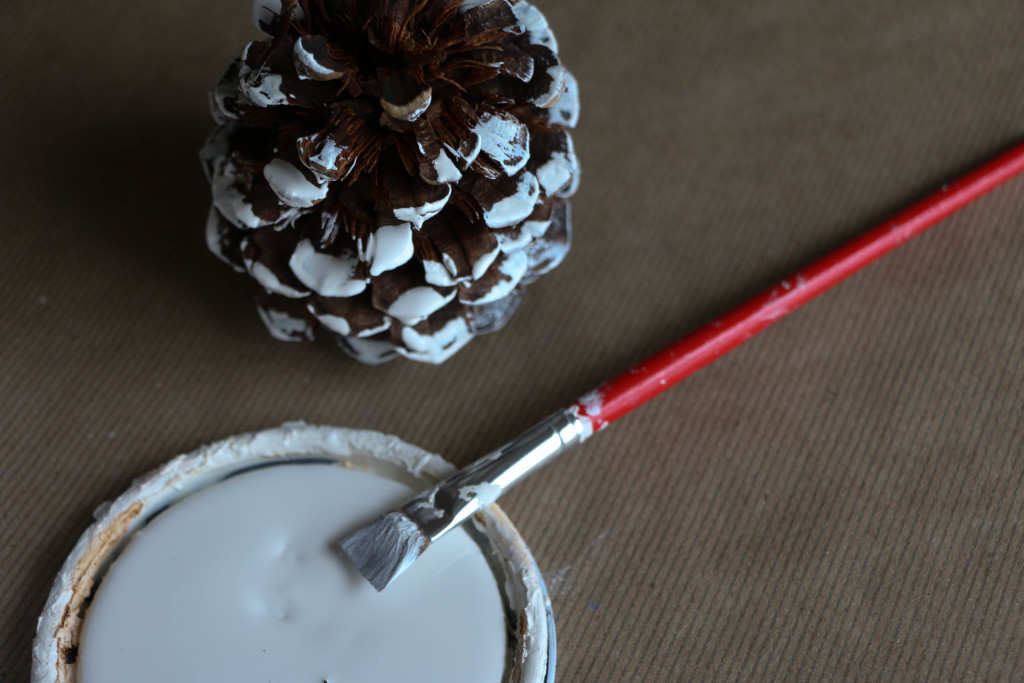
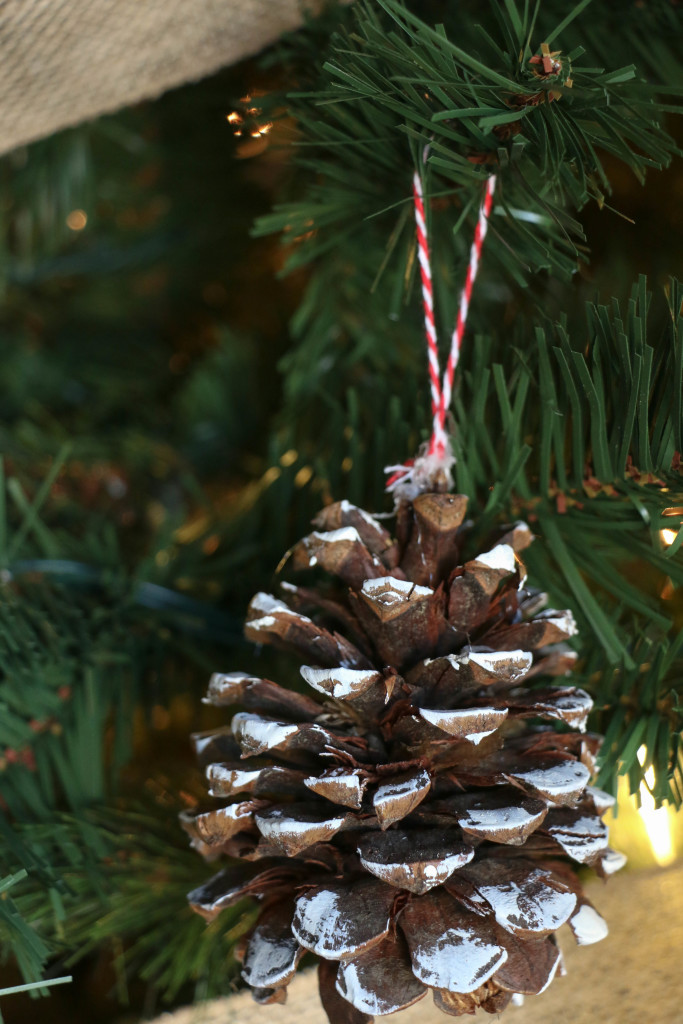
I painted the edges of several pinecones using some paint I had on hand. The color is Mourning Dove by BEHR. I’ve used it for a lot of projects, and it’s one of my favorite off-white colors. I didn’t worry about painting too neatly, I just kind of quickly brushed on the edges of the pinecones. I wanted to make it look like snow, because, you know, that makes total sense in Texas.

pineconeglue

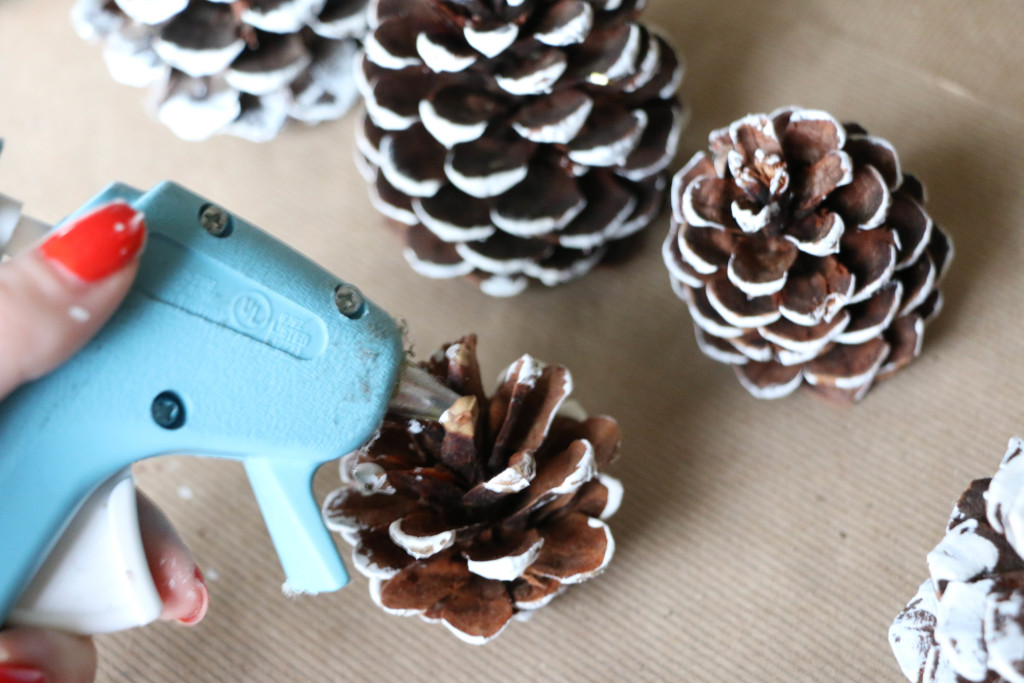
When that was done, I put a dot of hot glue into the top of the pinecone. I tried to tuck it down inside so that hot glue wasn’t too visible once they were hung on the tree. pineconeornament

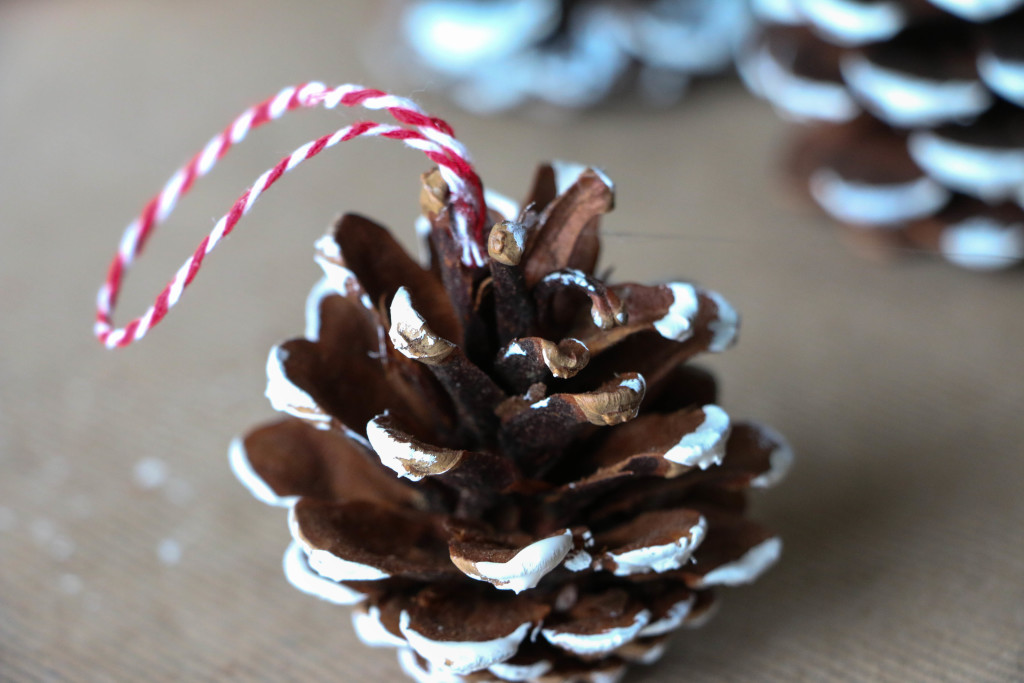
I added about a four inch piece of red baker’s twine in a loop to the hot glue. I bought the twine from the Target dollar spot. Can we just give a quick shout out for the Target dollar spot?! I swear, that place is like magic. Anyway, I chose red so it would have a little Christmas-y pop. And when it was done, it looked something like this:

pineconeornament2

This is by no means an original idea, I’m sure it’s been around for ages, but it’s something I whipped up super fast, and I wanted to share with y’all. I don’t have kids, but this could easily be done with little ones…it’s THAT easy. Plus (in my personal opinion), super cute. I’ll be sharing a two other ornament ideas soon, so stay tuned!

I hope you give this one a try! I know I’ll be enjoying them this season.  Well, that’s all for today friends, have a fabulous day!
DIY Pinecone

Home Decor

Sugar Mold Thanksgiving Styling

Can you believe it’s November already? This year is flying by, and I definitely have Christmas on my mind. (Christmas in first grade is a lot of fun, I have to admit). But before we get to Christmas, I have to at least give a little nod to Thanksgiving! I wanted to show you guys a cool piece I found recently and how I am styling it for Thanksgiving.

About a month ago, Ethan and I were shopping at Canton, our favorite place to go. I’ve shared about it before, but it’s a giant flea market in Canton, Texas. It’s one of the country’s oldest remaining flea markets, and it has a range of all sorts of things. Anyway, we were there and I totally had blinders on because I was looking for one specific thing. I don’t know about you, but I can talk myself out of almost any purchase. So I had my money that day, and because I was walking around looking for one particular thing, I didn’t buy anything for several hours. After maybe four hours or so, I realized I wasn’t going to find what I was looking for, and so I went into SHOPZILLA mode. That’s not a thing. I just made that up. What I mean is that after I gave up on that one thing, it was like my eyes were opened to so many more possibilities around me.

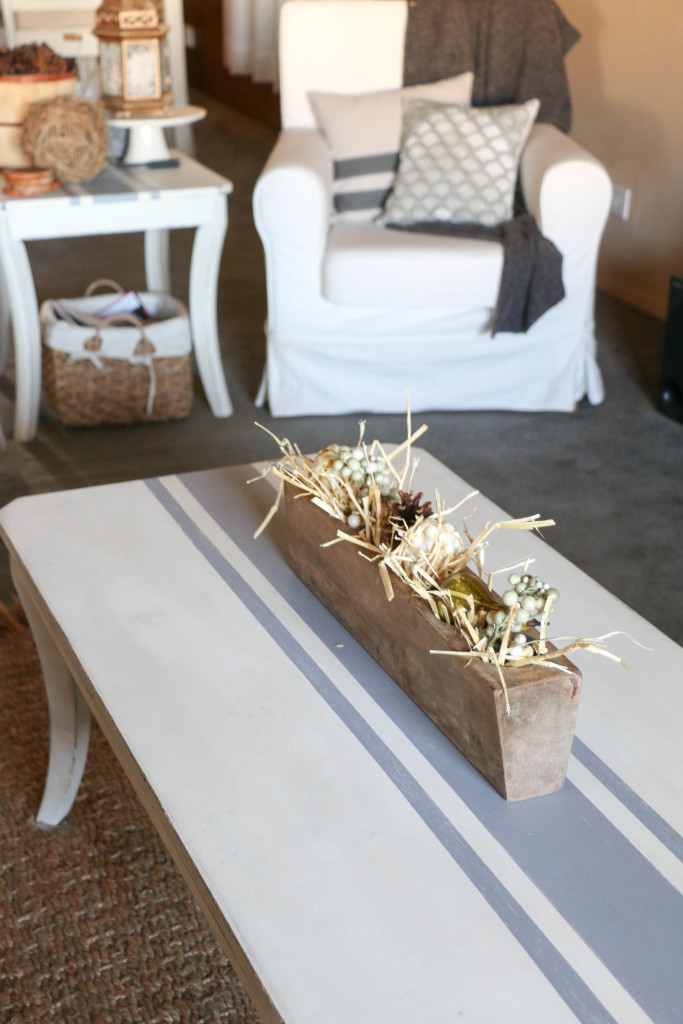
One of the things that I picked up that day was this sugar mold. sugar mold 1

I paid fifteen dollars for it, although I had no idea how I was going to use it. I usually don’t buy things unless I have a plan for them, but this one time I broke my own rule. At the time that I purchased it, I didn’t really know what it was either. I know I had seen pictures of similar things on Instagram, but I didn’t know what the official name was or the history behind the pieces.

When I got it home, I didn’t know what to do with it, so I put it in the guest bathroom (arguably the least used room in our house) so i didn’t have to look at it. I was a little overwhelmed with how to use it, so I ignored it. Anyone else do that? No, you probably don’t, because that’s not normal. Anyway, while it was collecting dust in the guest bathroom, I did a little research on it.

Sugar molds started in medieval times and were used throughout the 19th century. Granulated sugar wasn’t really a thing until the 19th century so sugar was poured into these cone shaped molds to be sold. I never knew that, so when I was reading this, I found it super interesting! I’m a history nerd anyway, so random historical facts are totally my jam. The actual wooden mold has deep cone shaped grooves in the center (mine has six), which made it slightly difficult to style for me. While the origins of my piece are unknown to me, it’s becoming one of my favorite things. I’m sure it’s not an authentic antique, but I love it anyway.

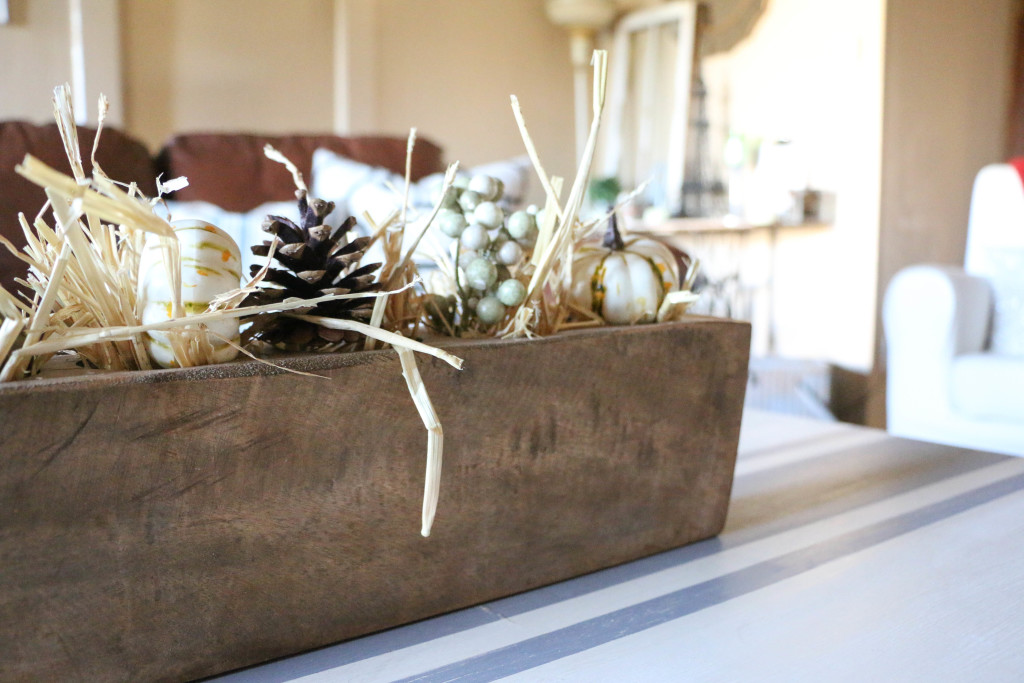
When I finally pulled it out and decided to make it pretty, I was kicking myself for not doing it sooner! The little imperfections in the wood have so much character, and the piece is one of the more unique things in our home right now.

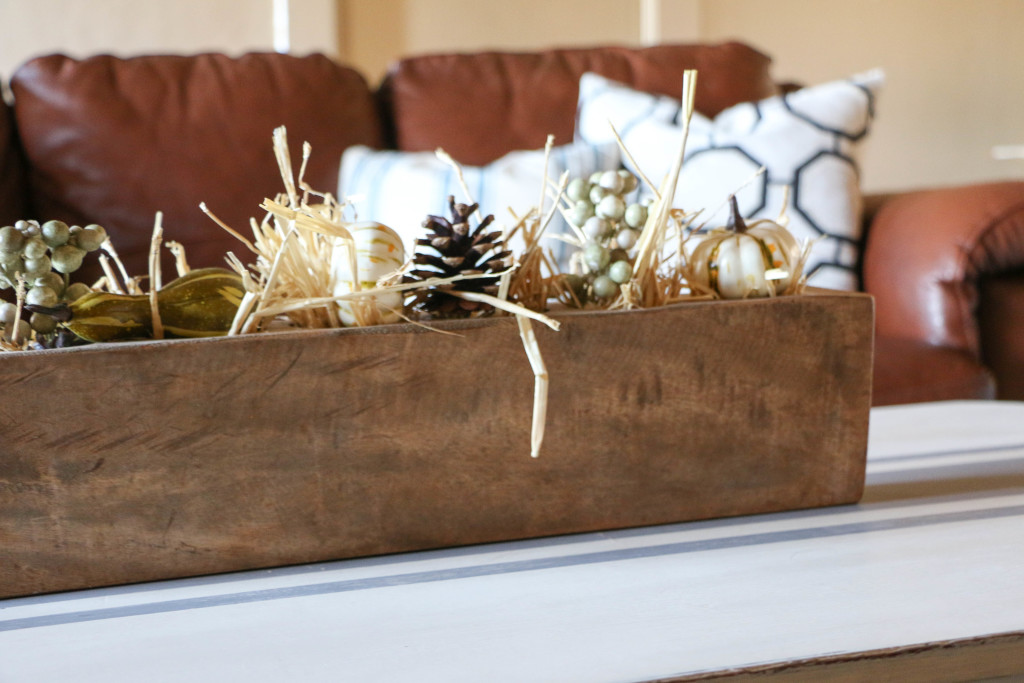
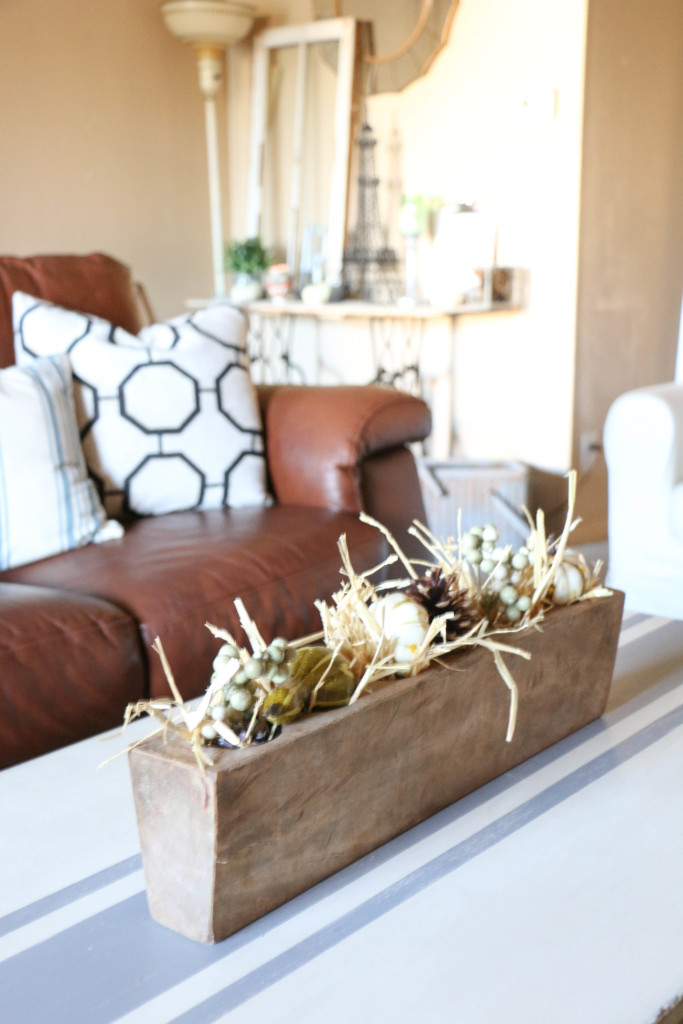
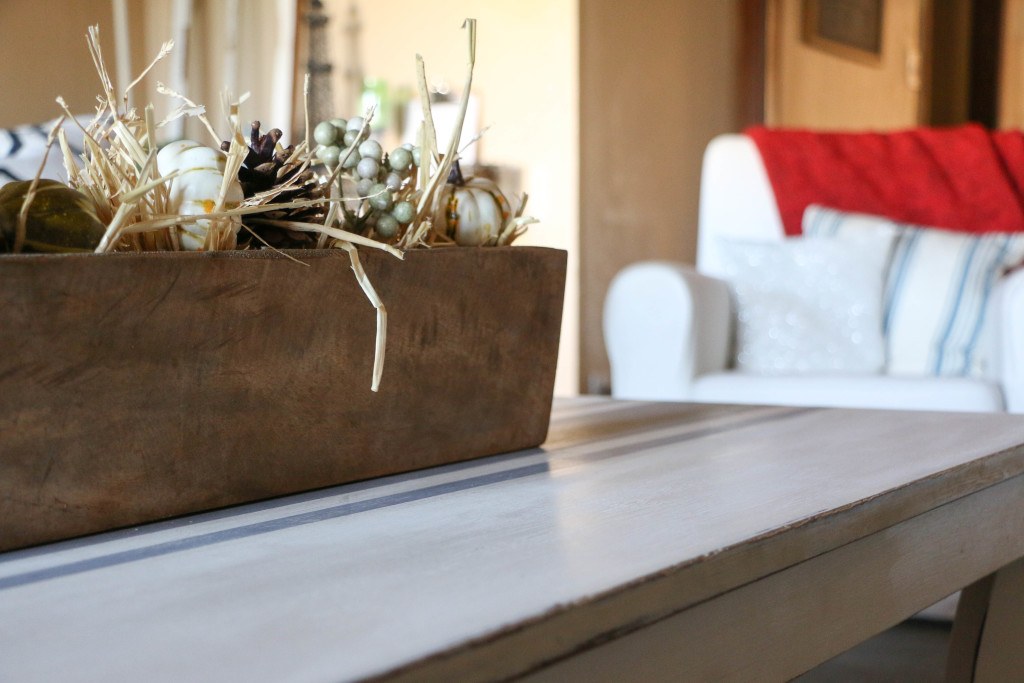
sugar mold 4 sugar mold 6 sugar mold 2 sugar mold 5

I used a bit of straw to fill in some of the depth of the molds, and then some fall vase filler. I got the filler items from Hobby Lobby (40% off of course). This little fall look was a quick and easy look to achieve, even though I was dreading it for almost a month! Just in time for Thanksgiving, and then I’ll be transitioning this piece into Christmas with some more festive holiday decor!

Do you have a sugar mold? I would love to hear about how you styled it…because it ha me stumped for a while! That’s it for today friends, I hope y’all have a fabulous day.