Browsing Tag

Annie Sloan

DIY Projects, Furniture Makeover

Family Heirloom Dresser Refresh

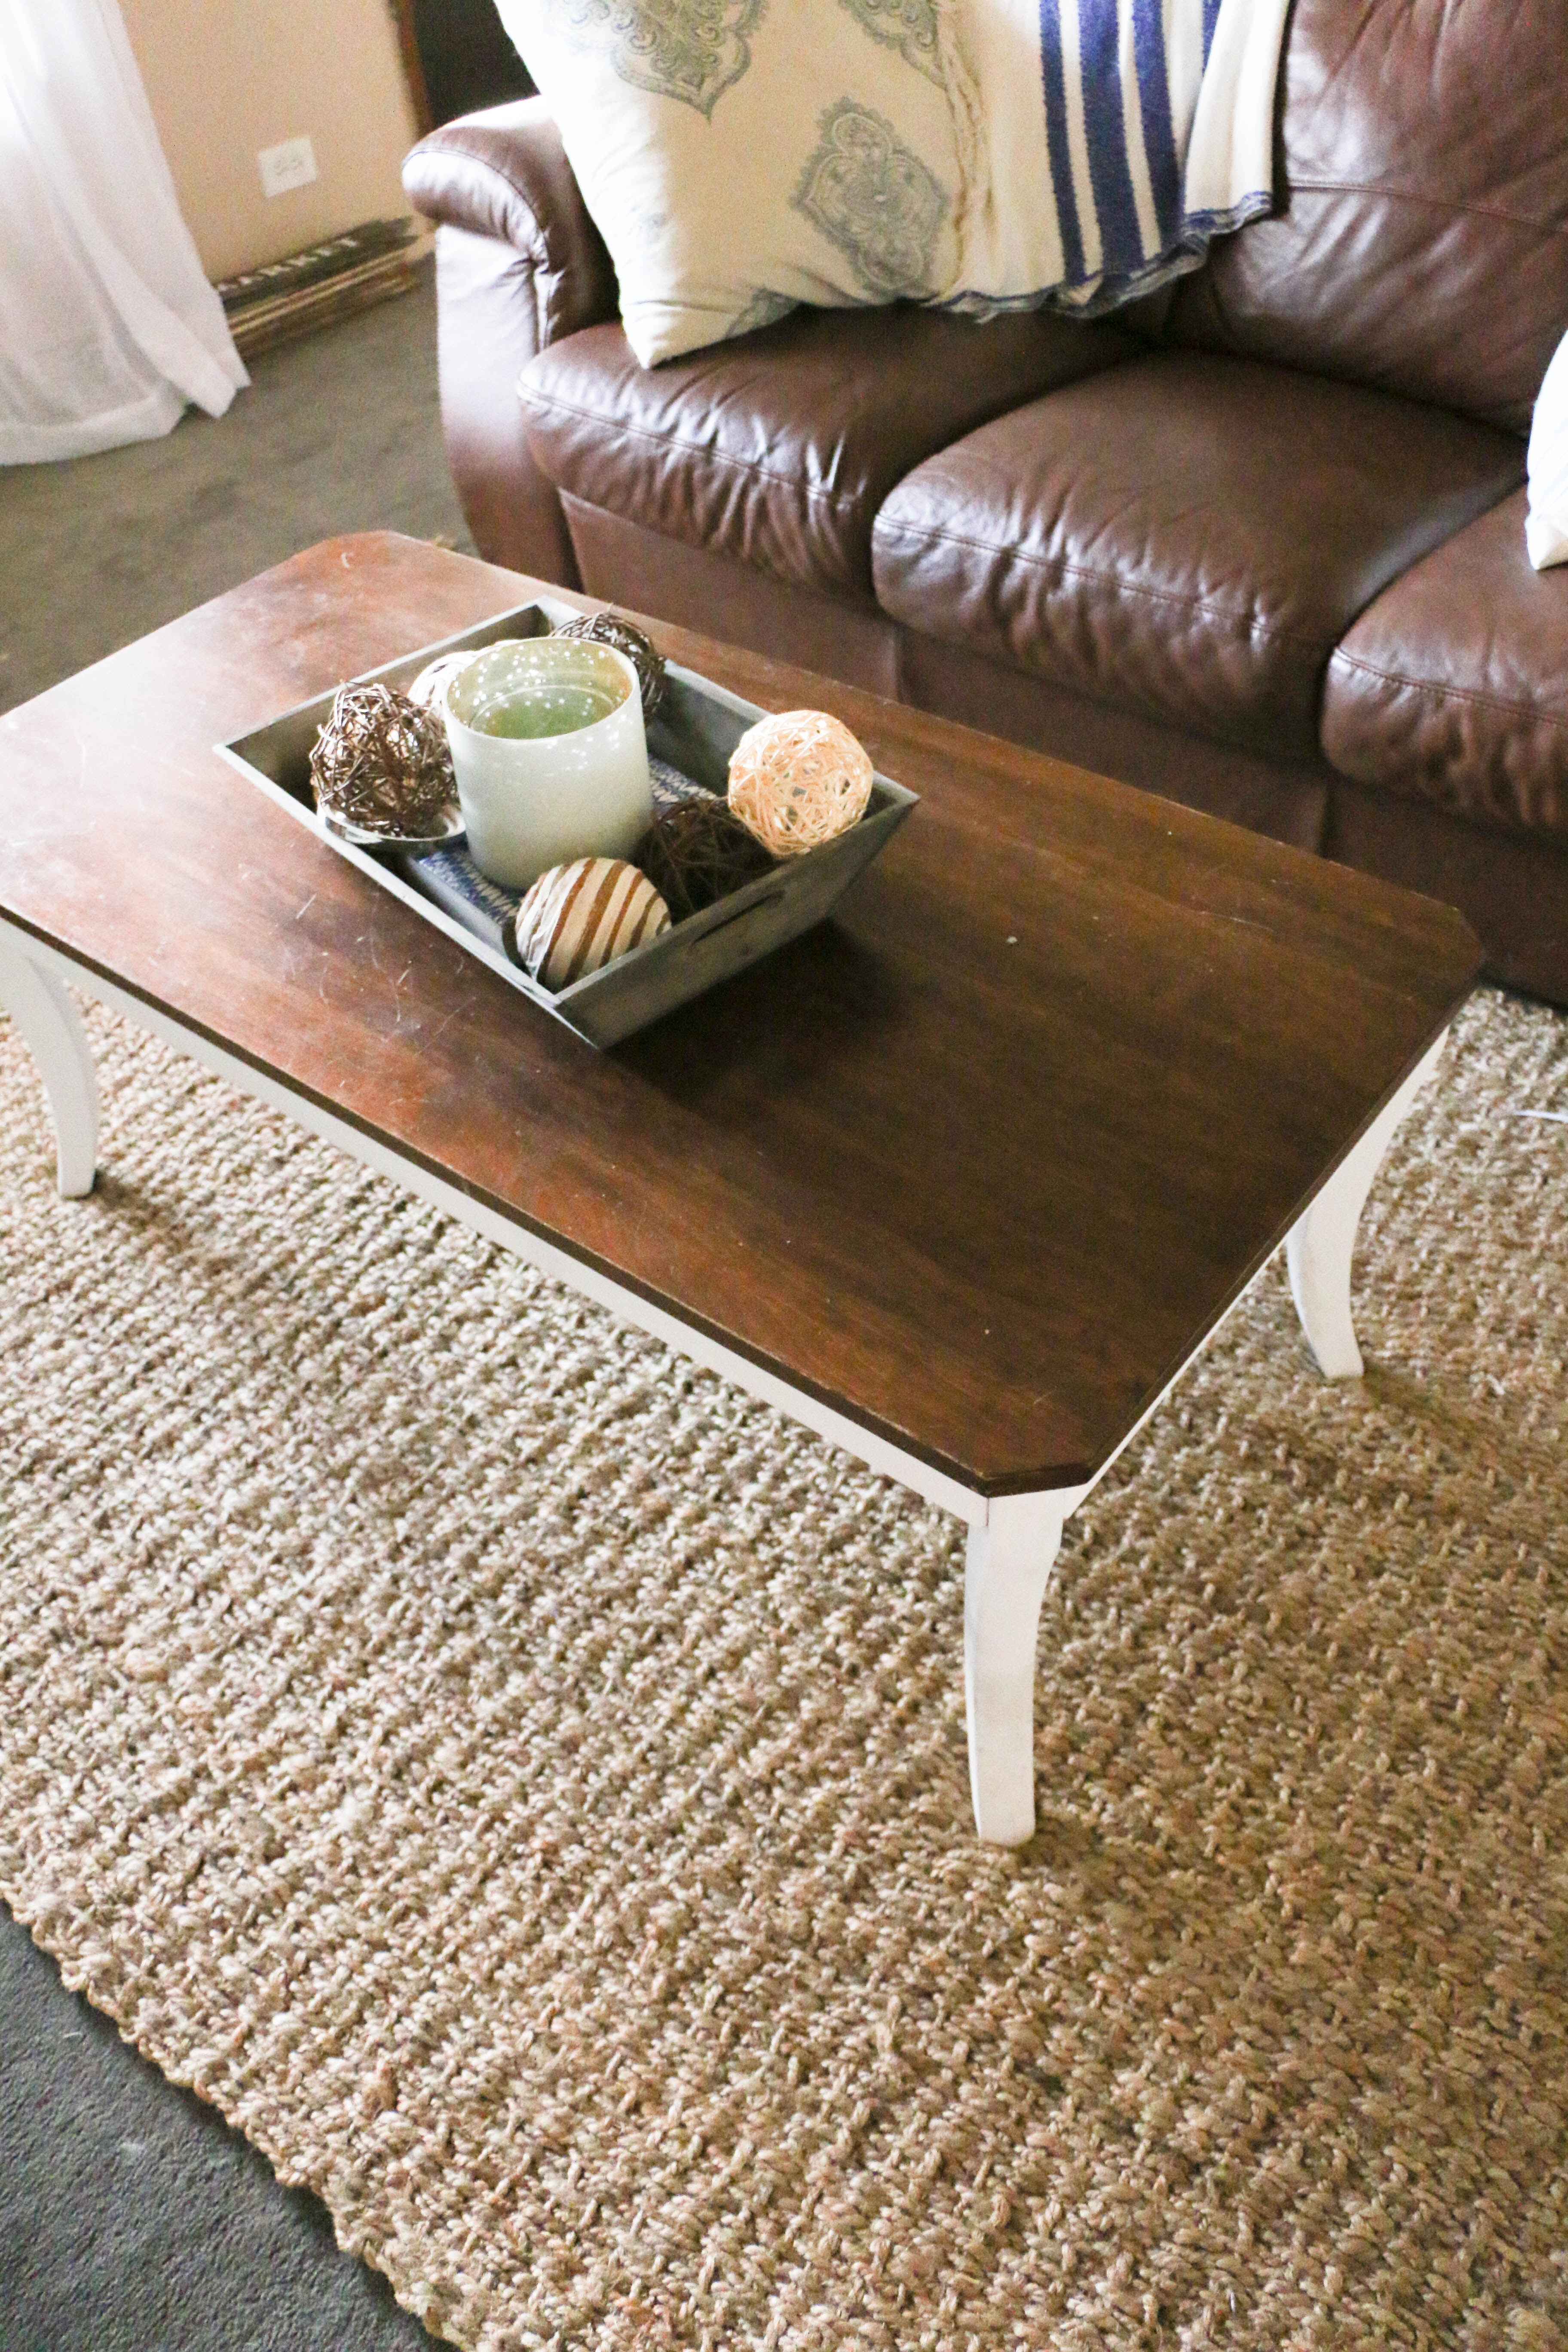
Hello friends! Thanks for stopping by today! Has the fall weather hit where you are? It finally feels like fall around here, with the leaves finally falling and the hint of cool weather in the breeze. Texas falls are nothing like the falls in New York where I grew up, but I’ll take what I can get.

This season has brought a hint of change in the air, both literally and figuratively. I’ve been super inspired lately to create more, paint more, make more, etc. So what I’m showing you today is something I’m super excited about.

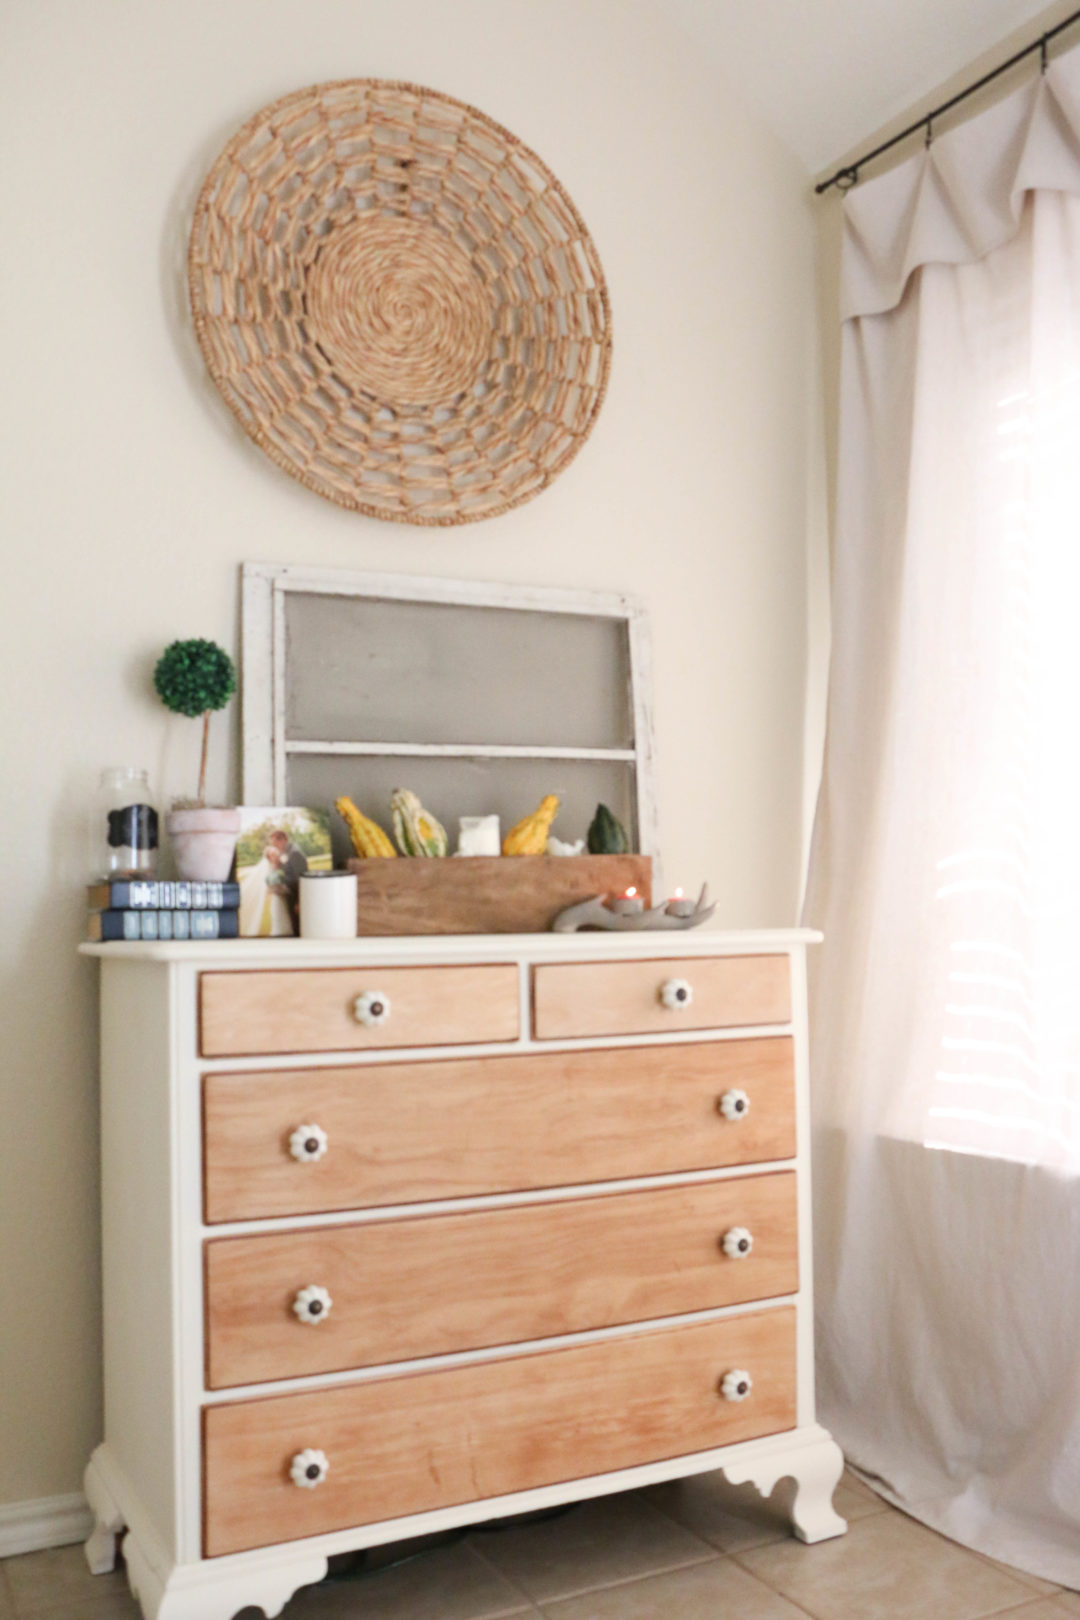
So this is the dresser in our bedroom.

dresser7

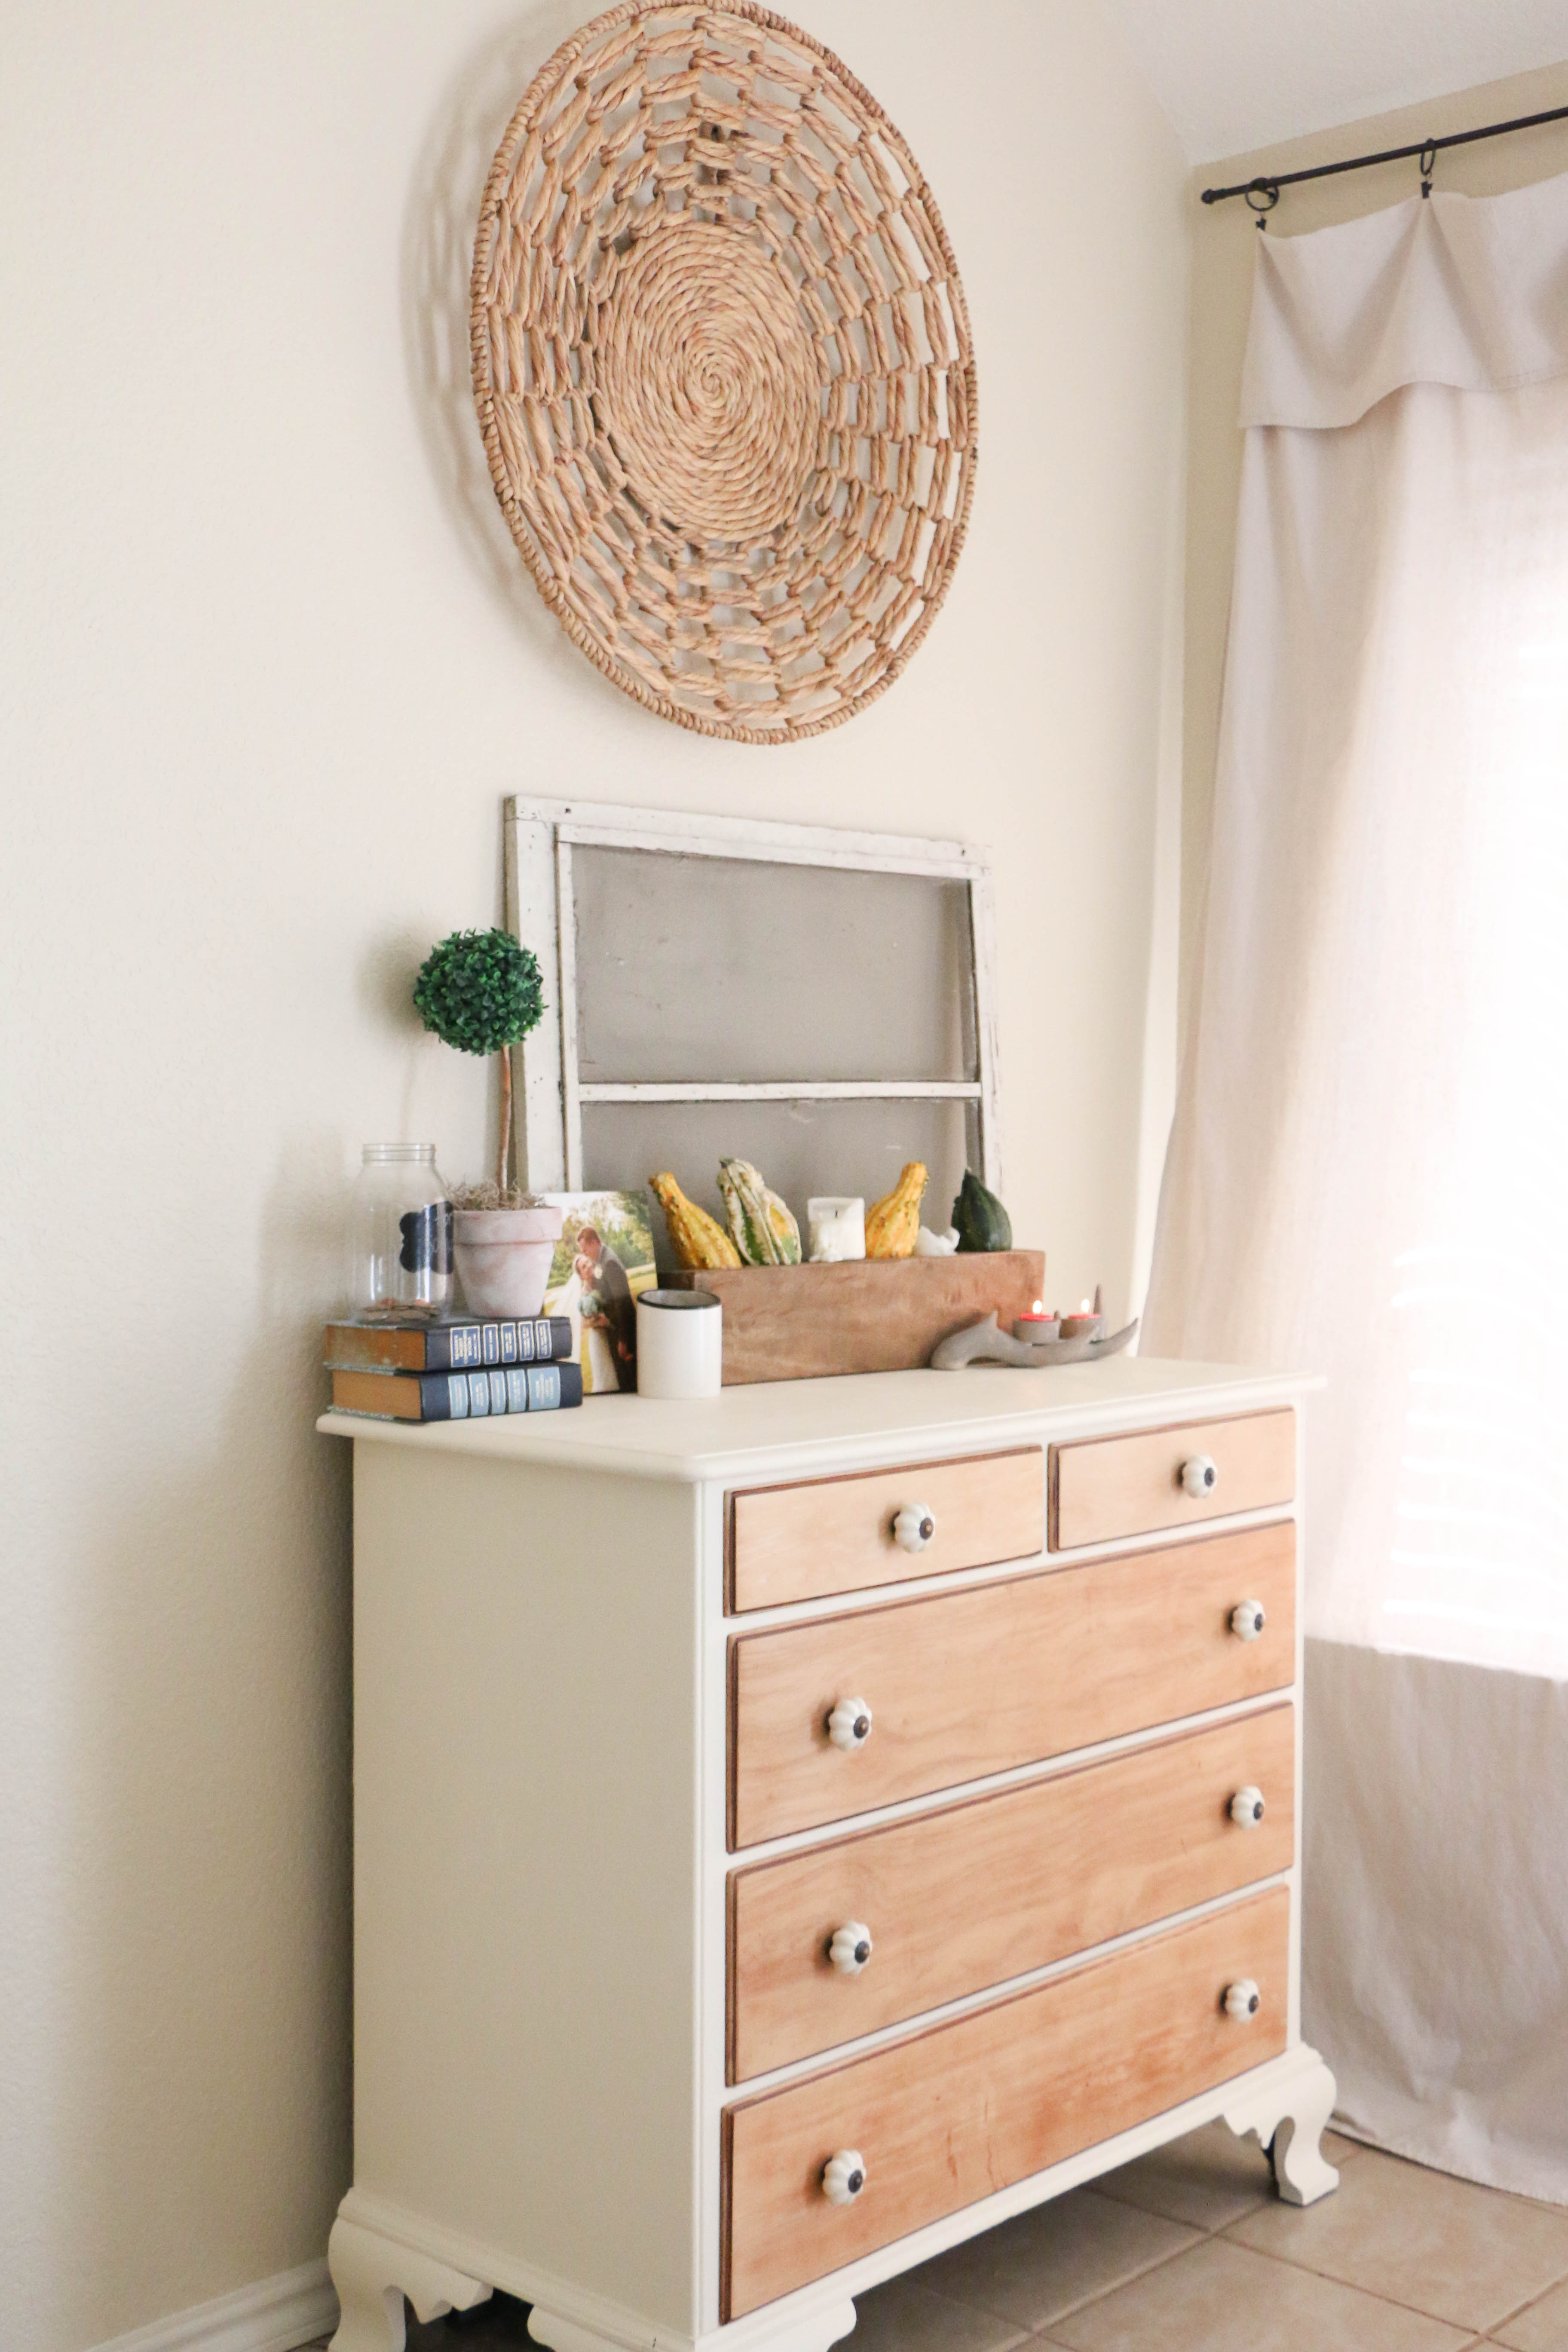
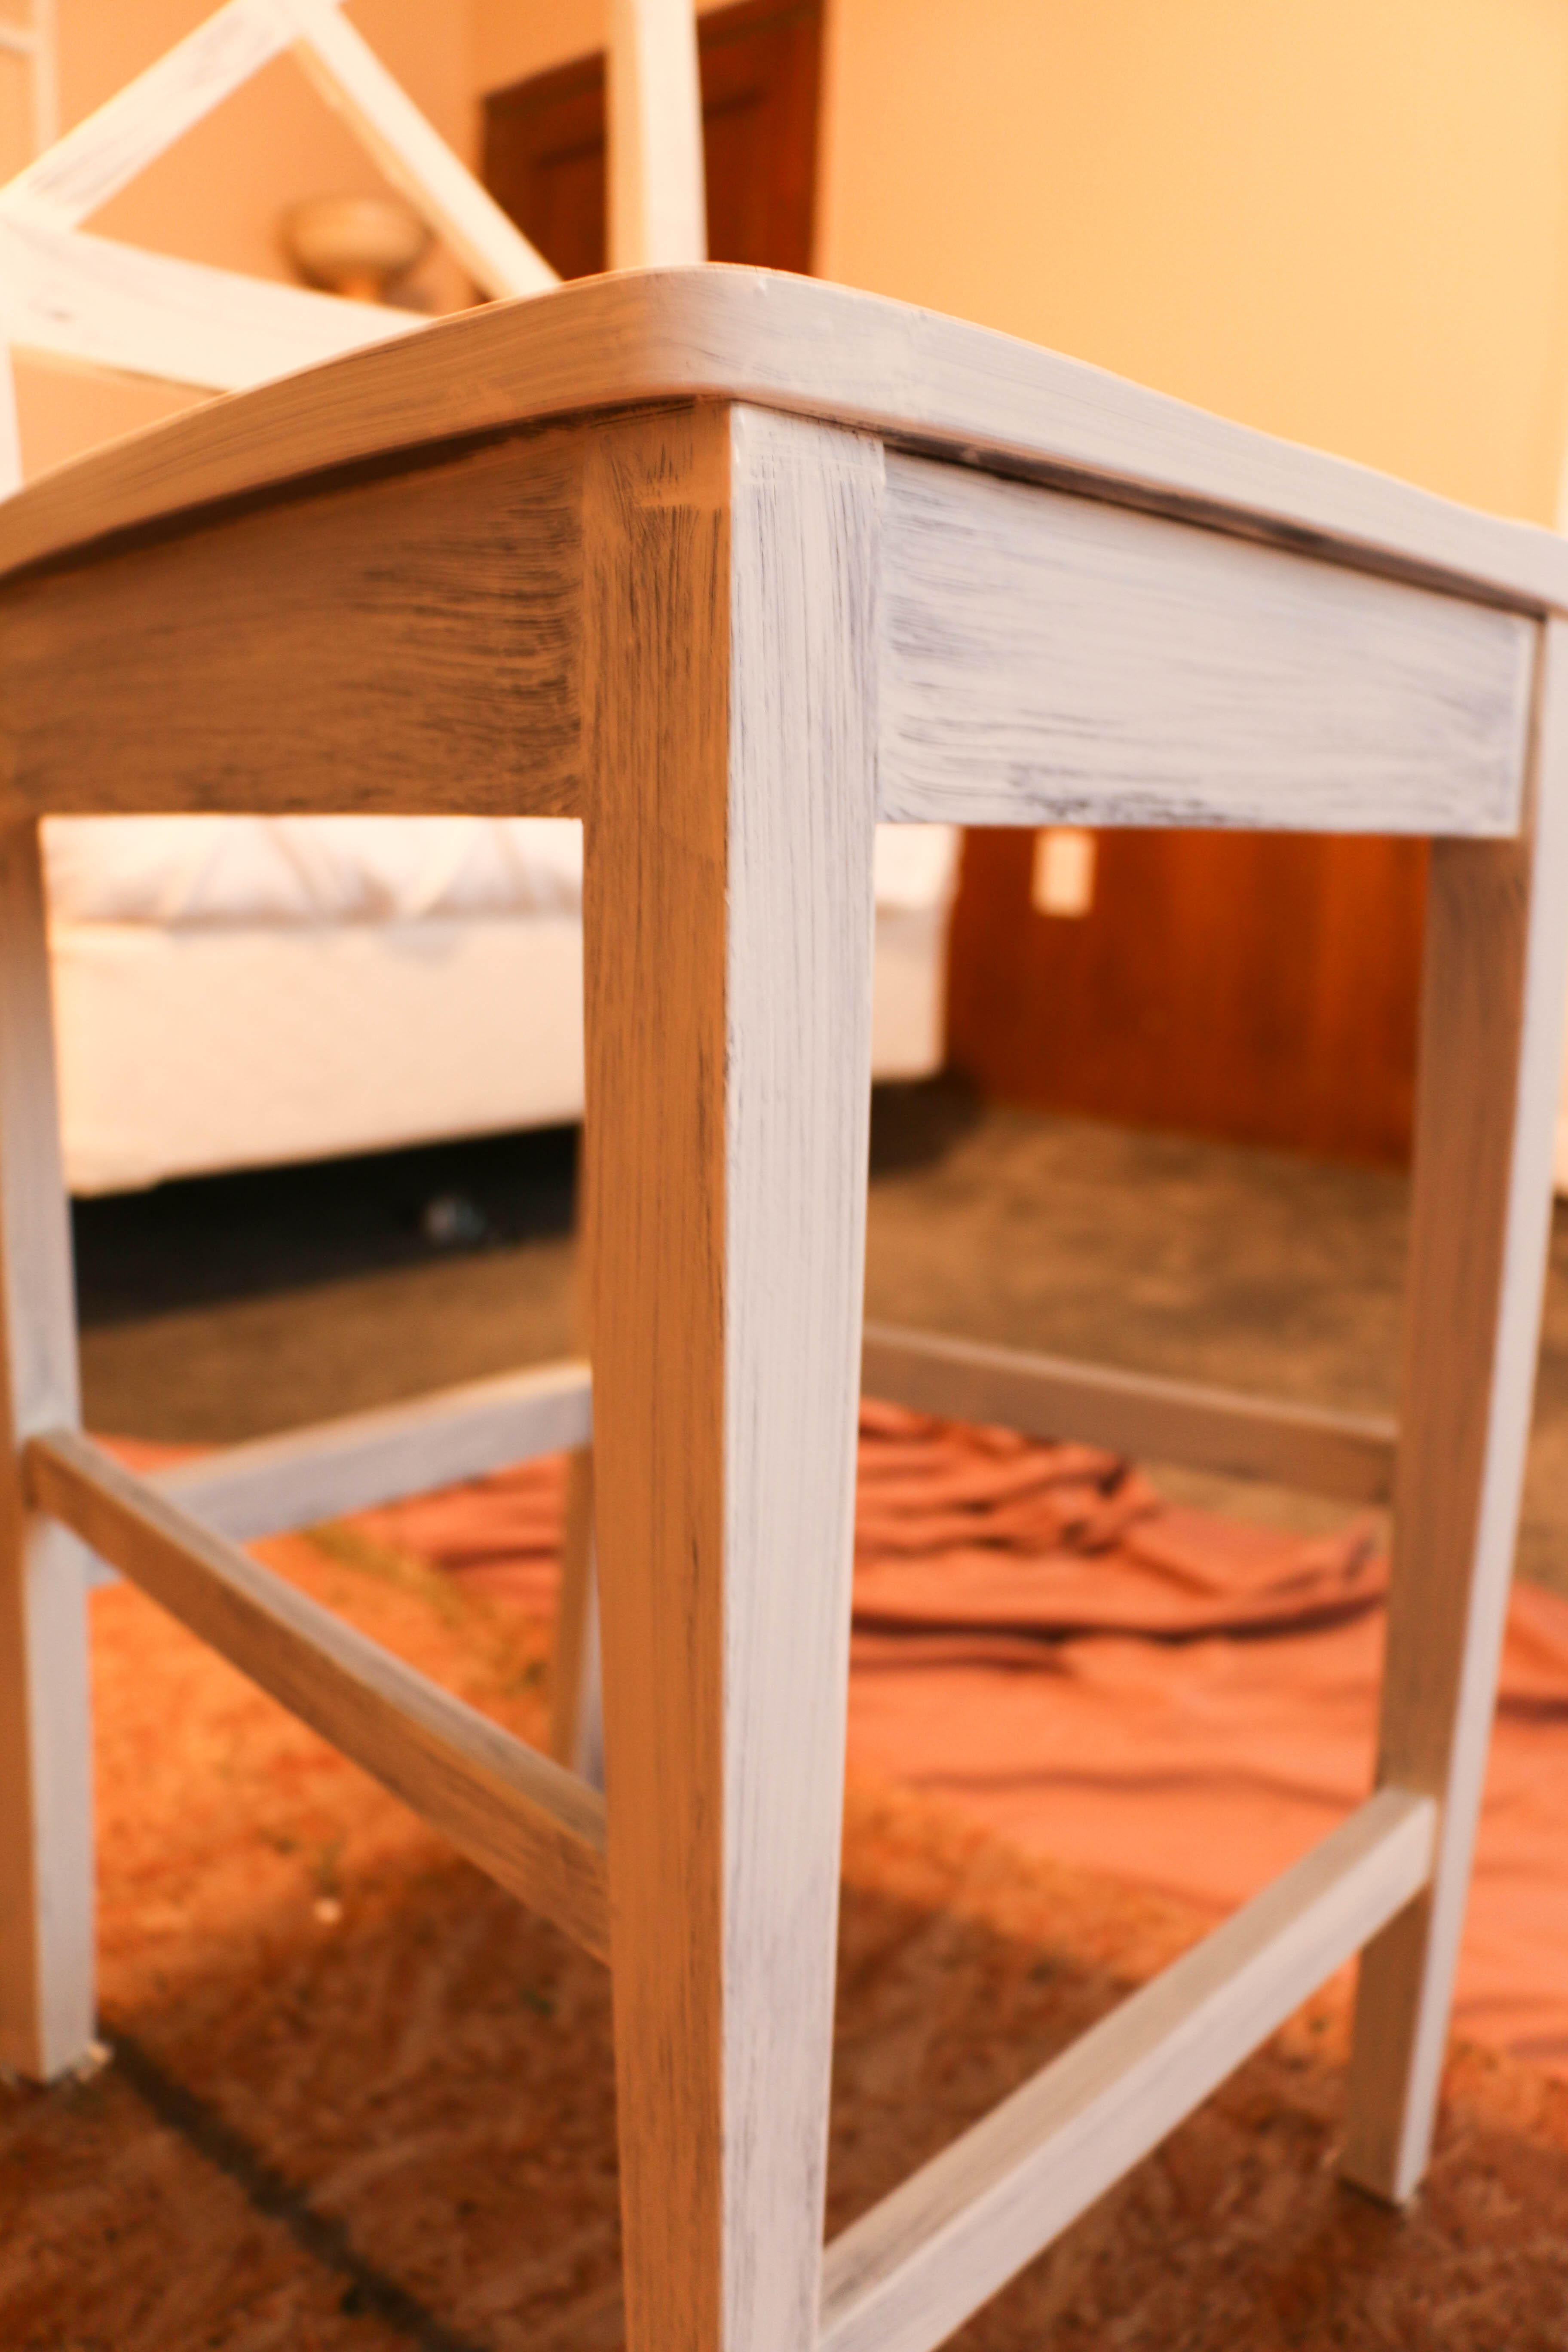
It has a beautiful shape that I have always loved. It’s a solid wood piece, and it’s something we’ll always have. It was Ethan’s growing up, and before that, was in my mother in law’s family when they moved from the northeast down to Texas. It’s such a gorgeous dresser, but it used to be an orange stained finish with large circular wooden handles. Not to mention the stickers that were put on the side by Ethan as a kid. So needless to say, I’ve wanted to give her a little facelift, but since it was a family piece, it just wasn’t a possibility. Until recently.

dresser2

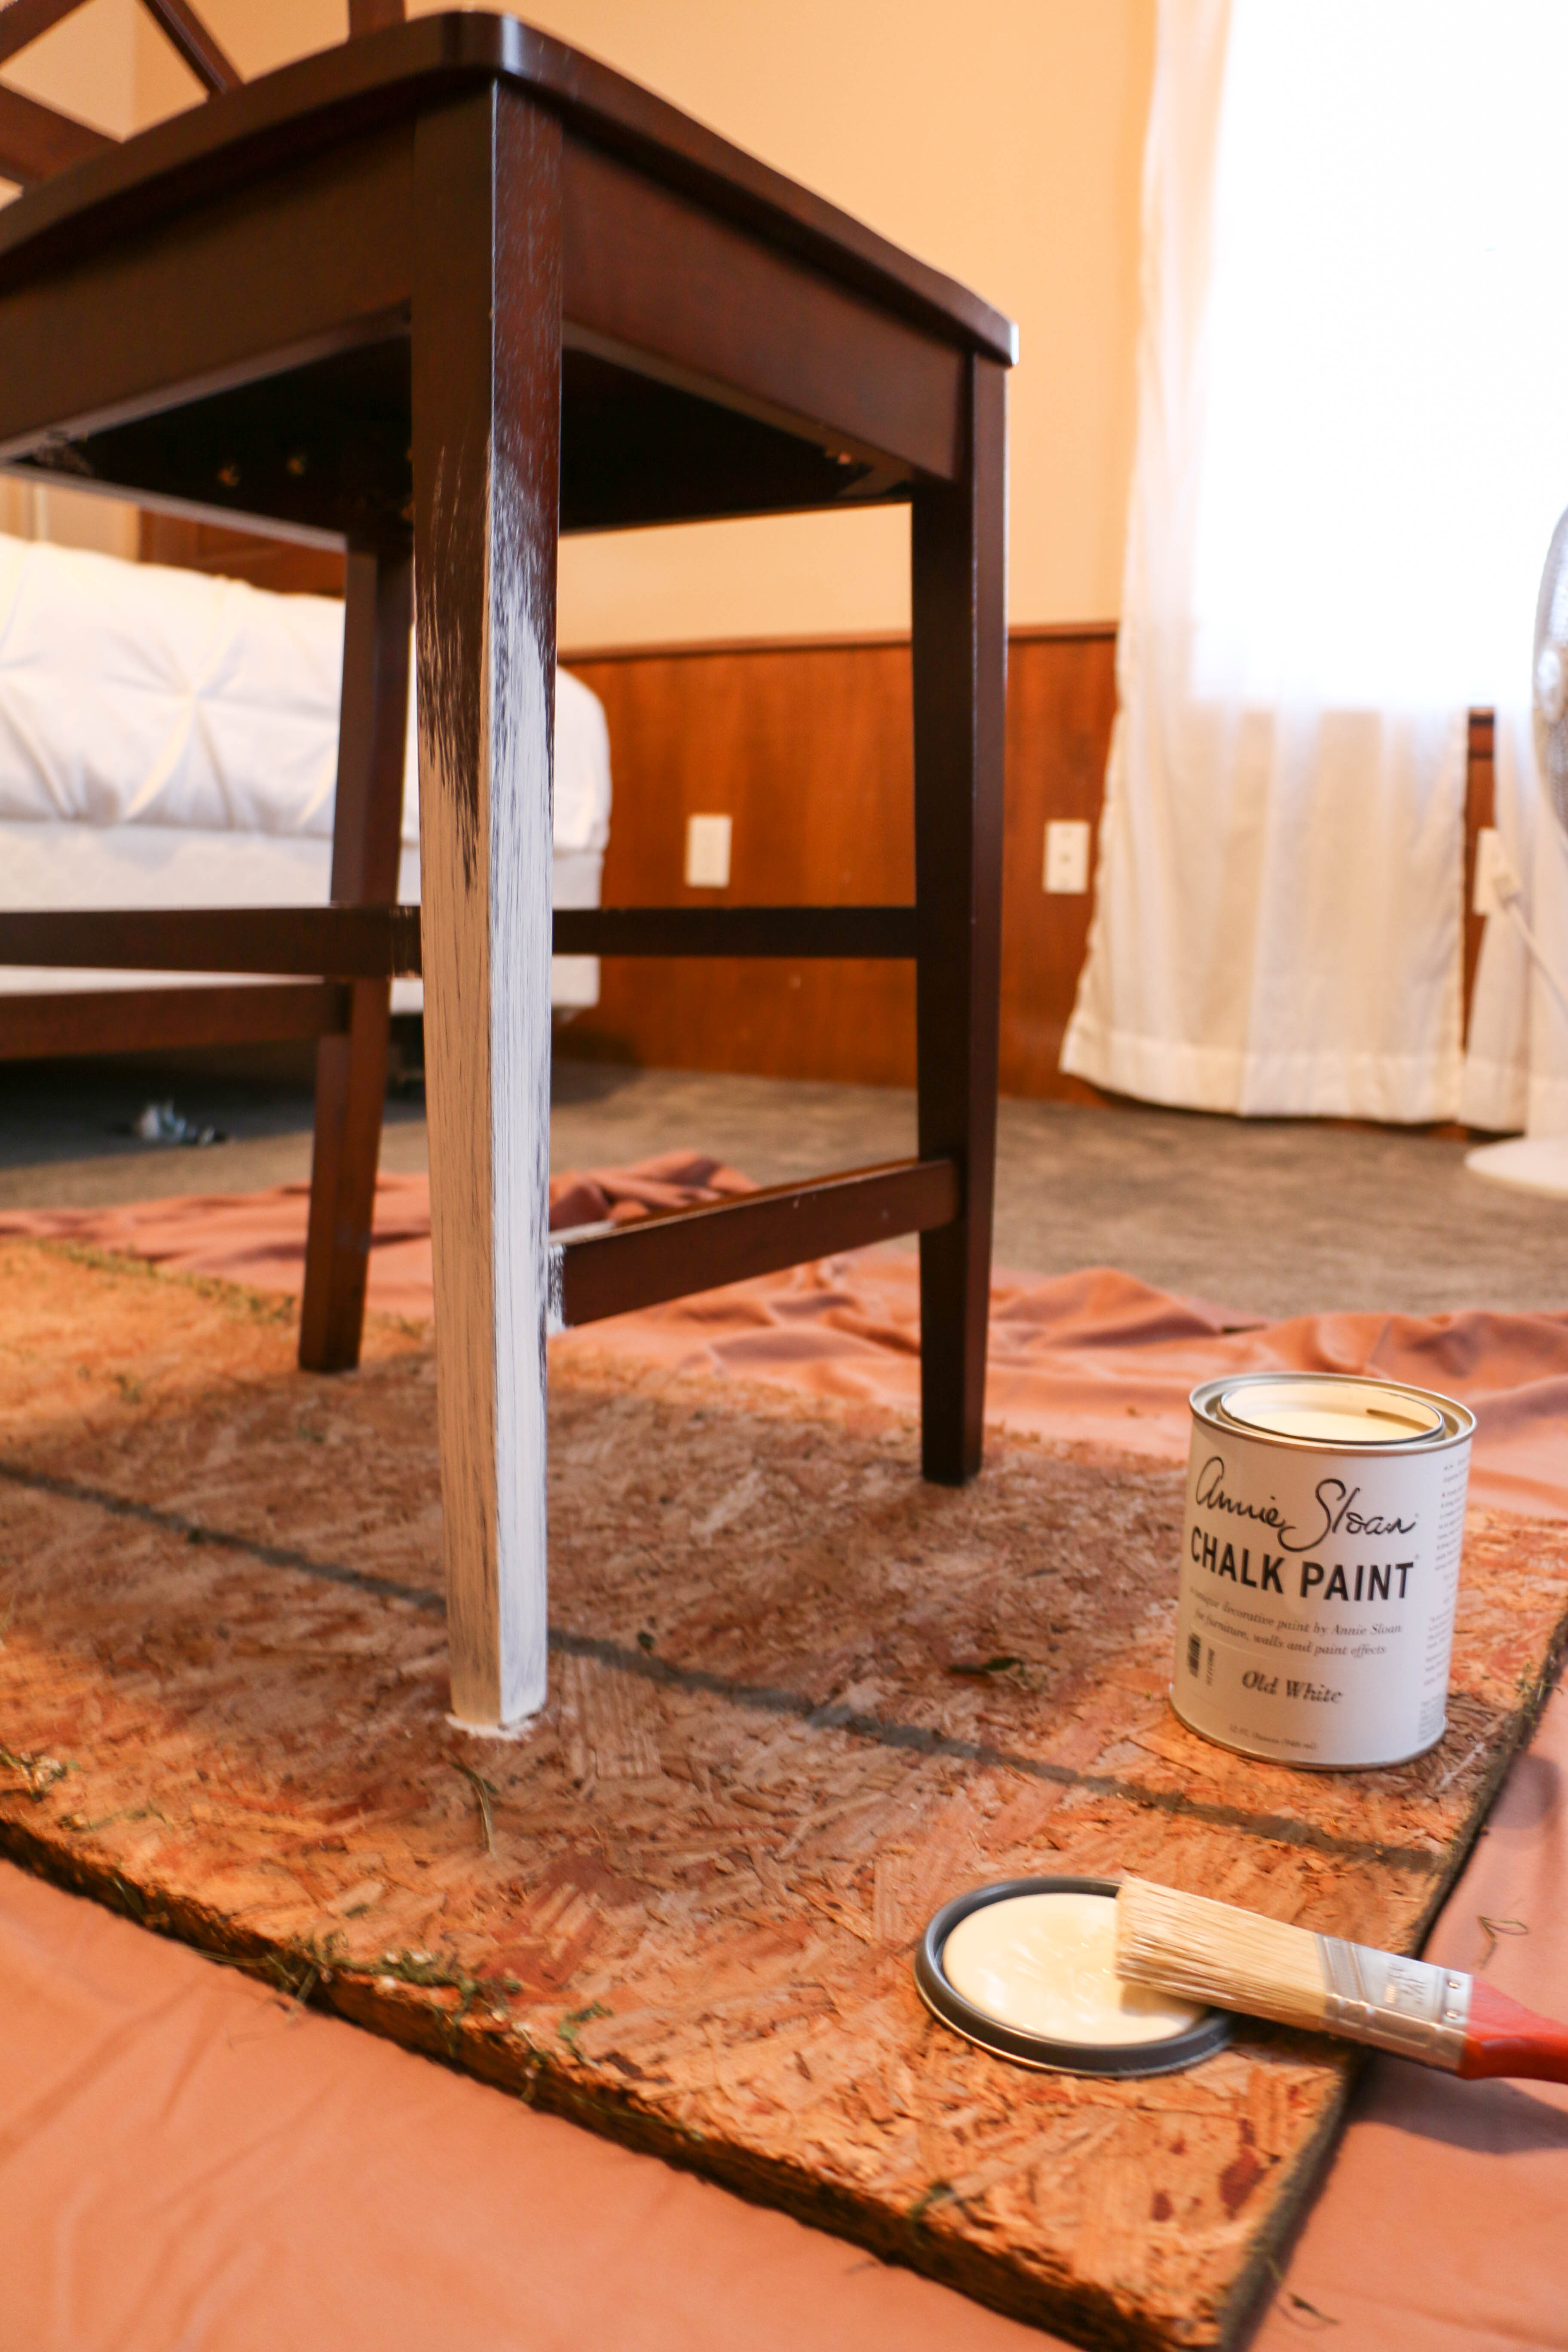
My mother in law finally gave us the okay to paint, and I was super excited. I bought some new drawer pulls from Hobby Lobby, and knew exactly how I wanted to finish it.

dresser5

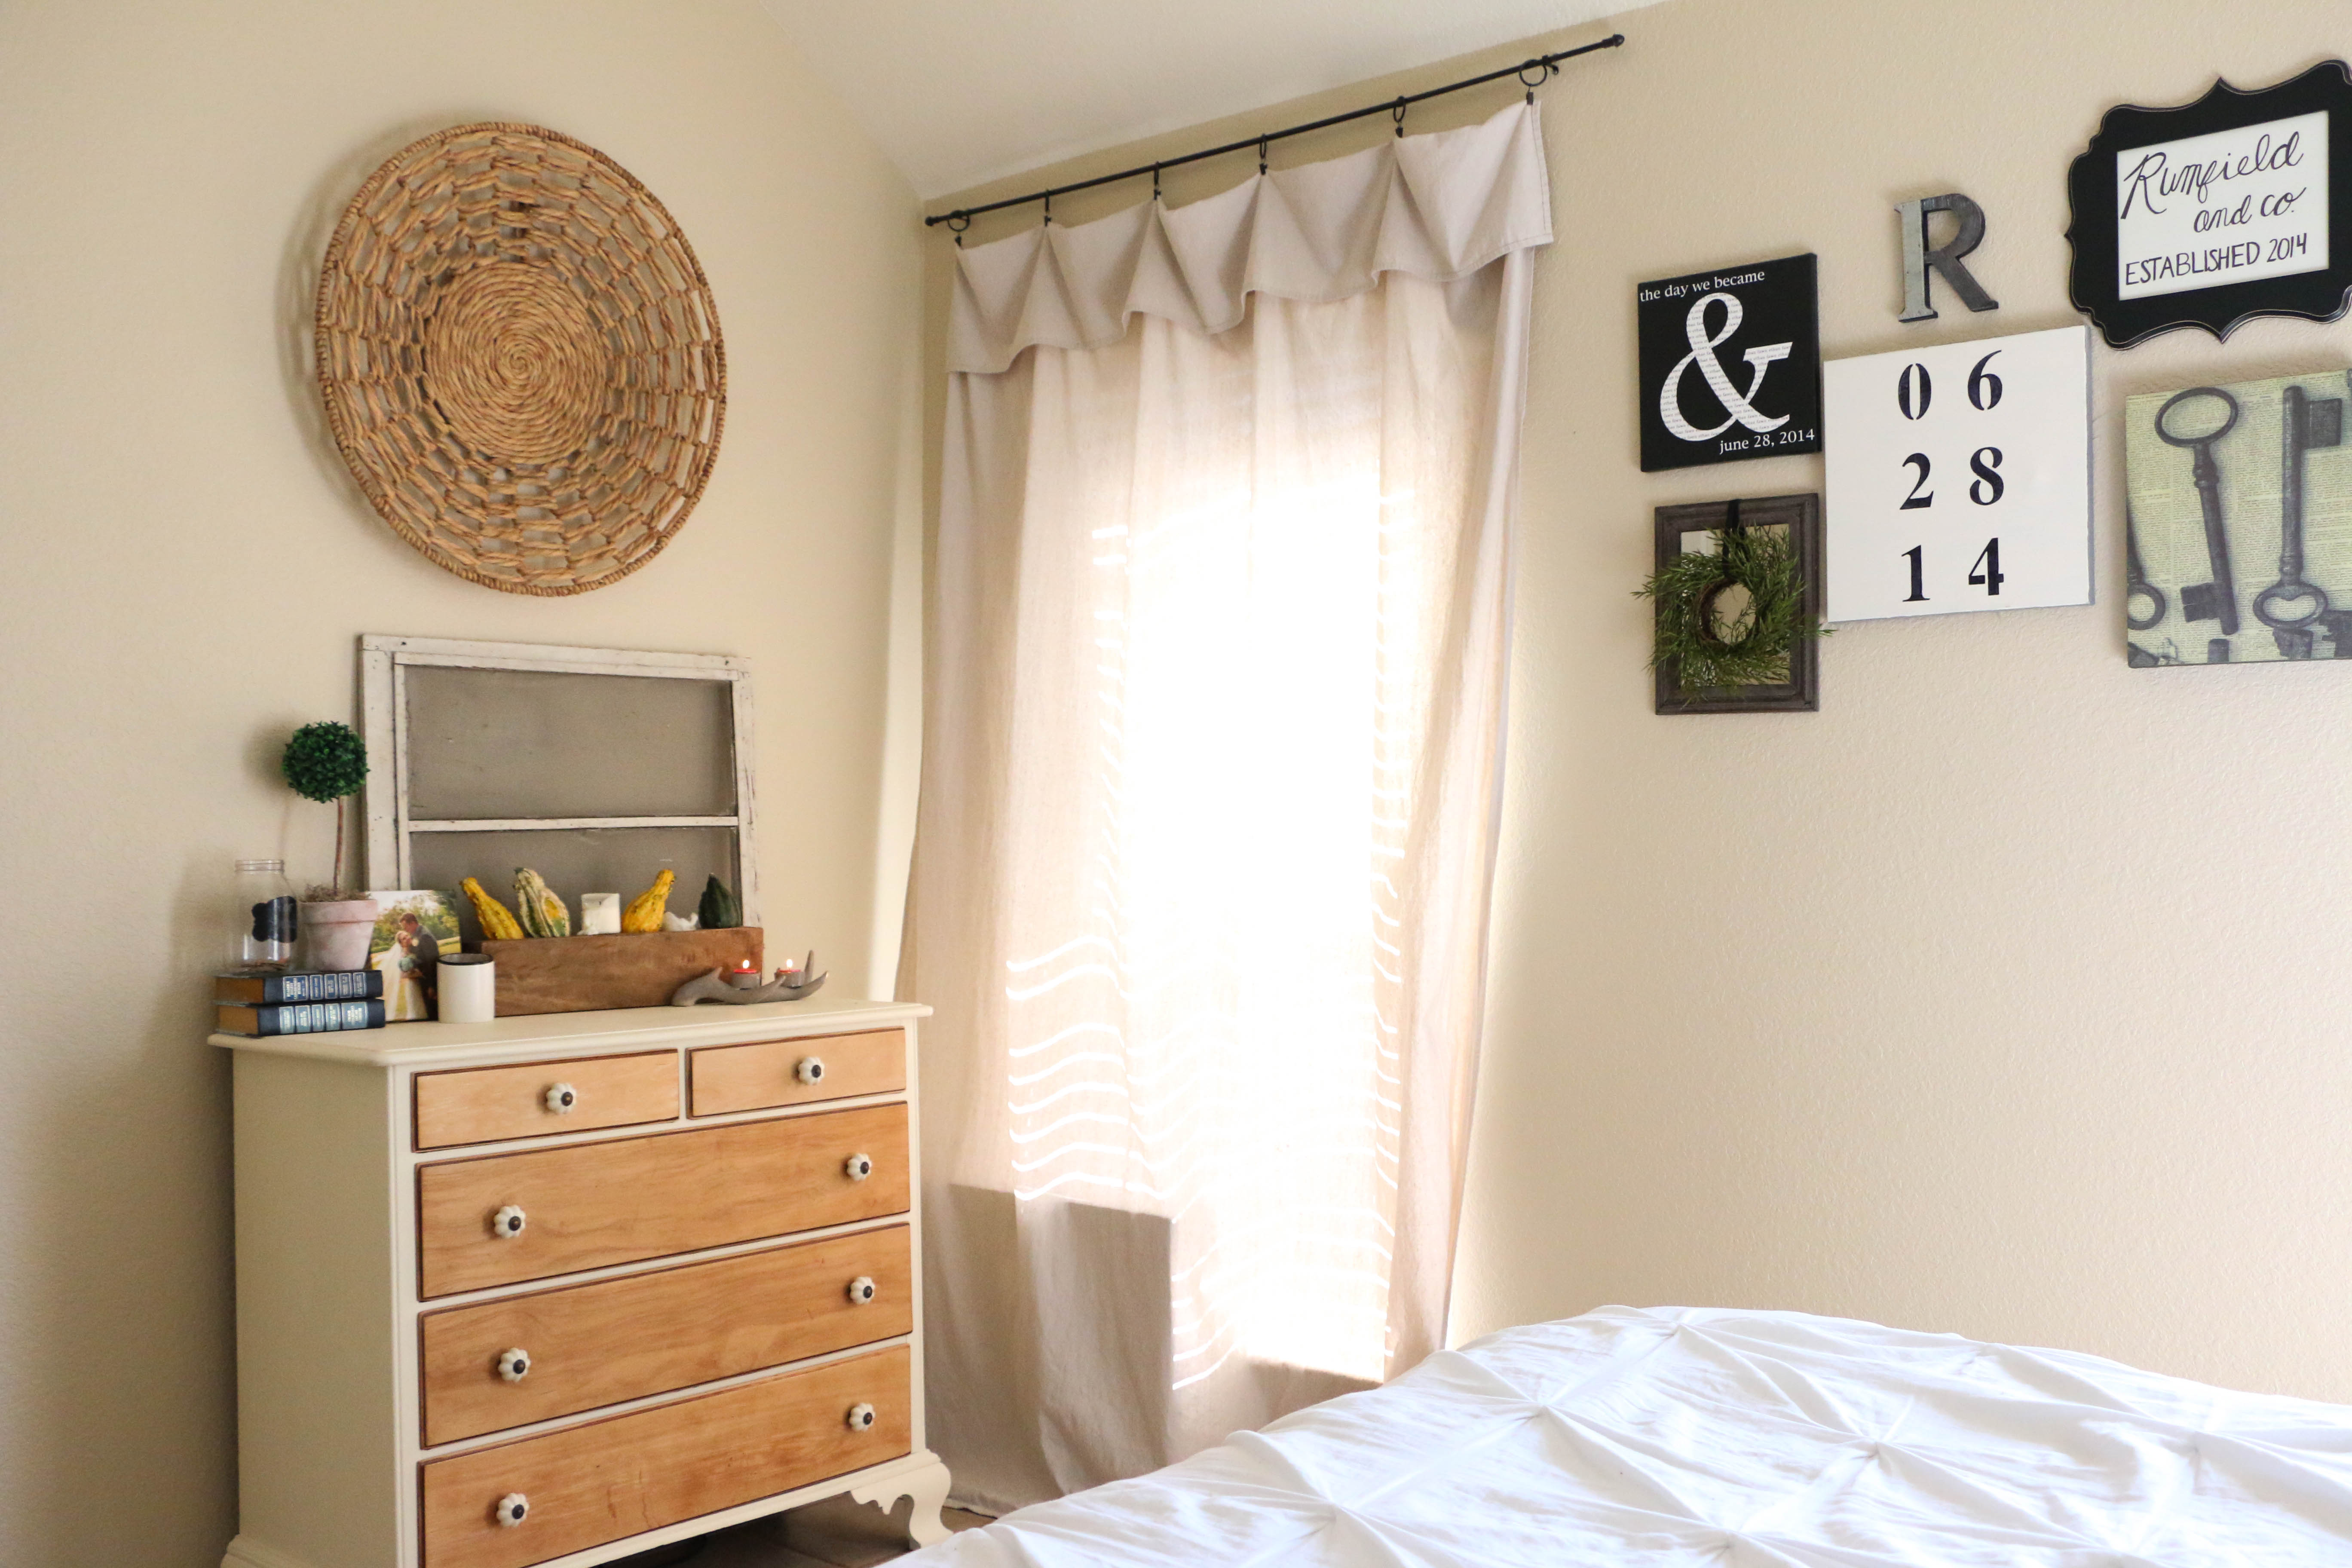
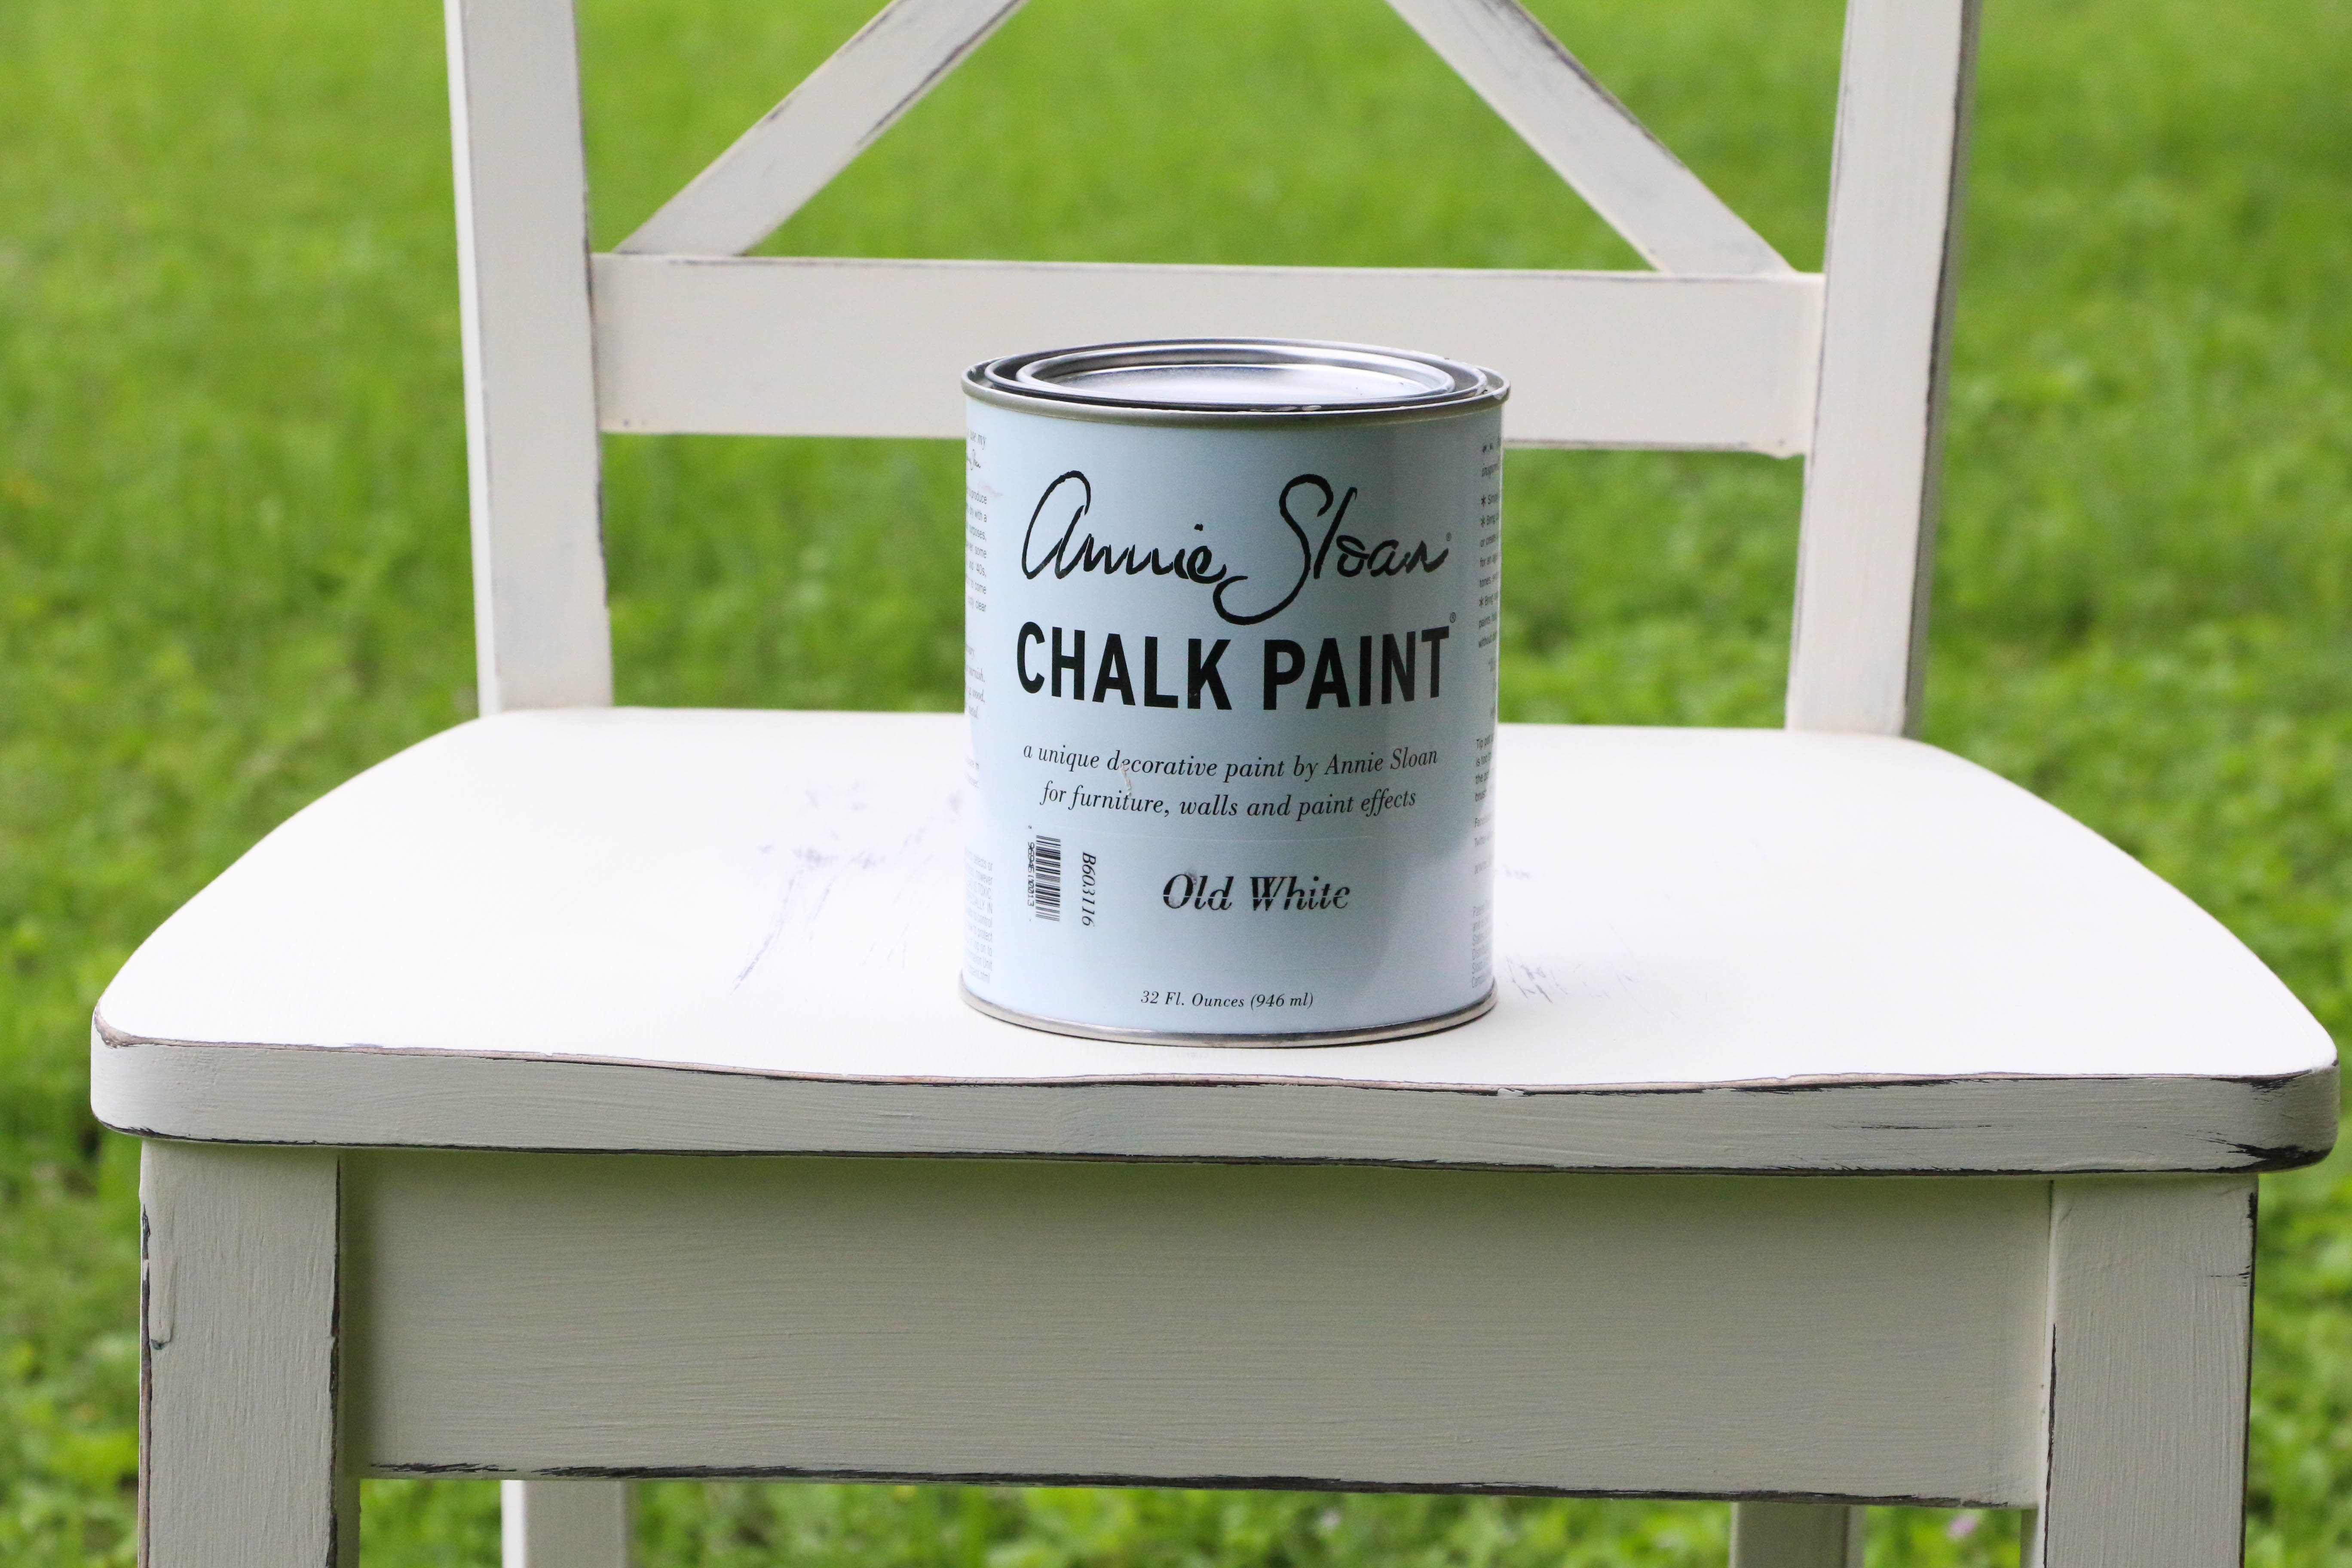
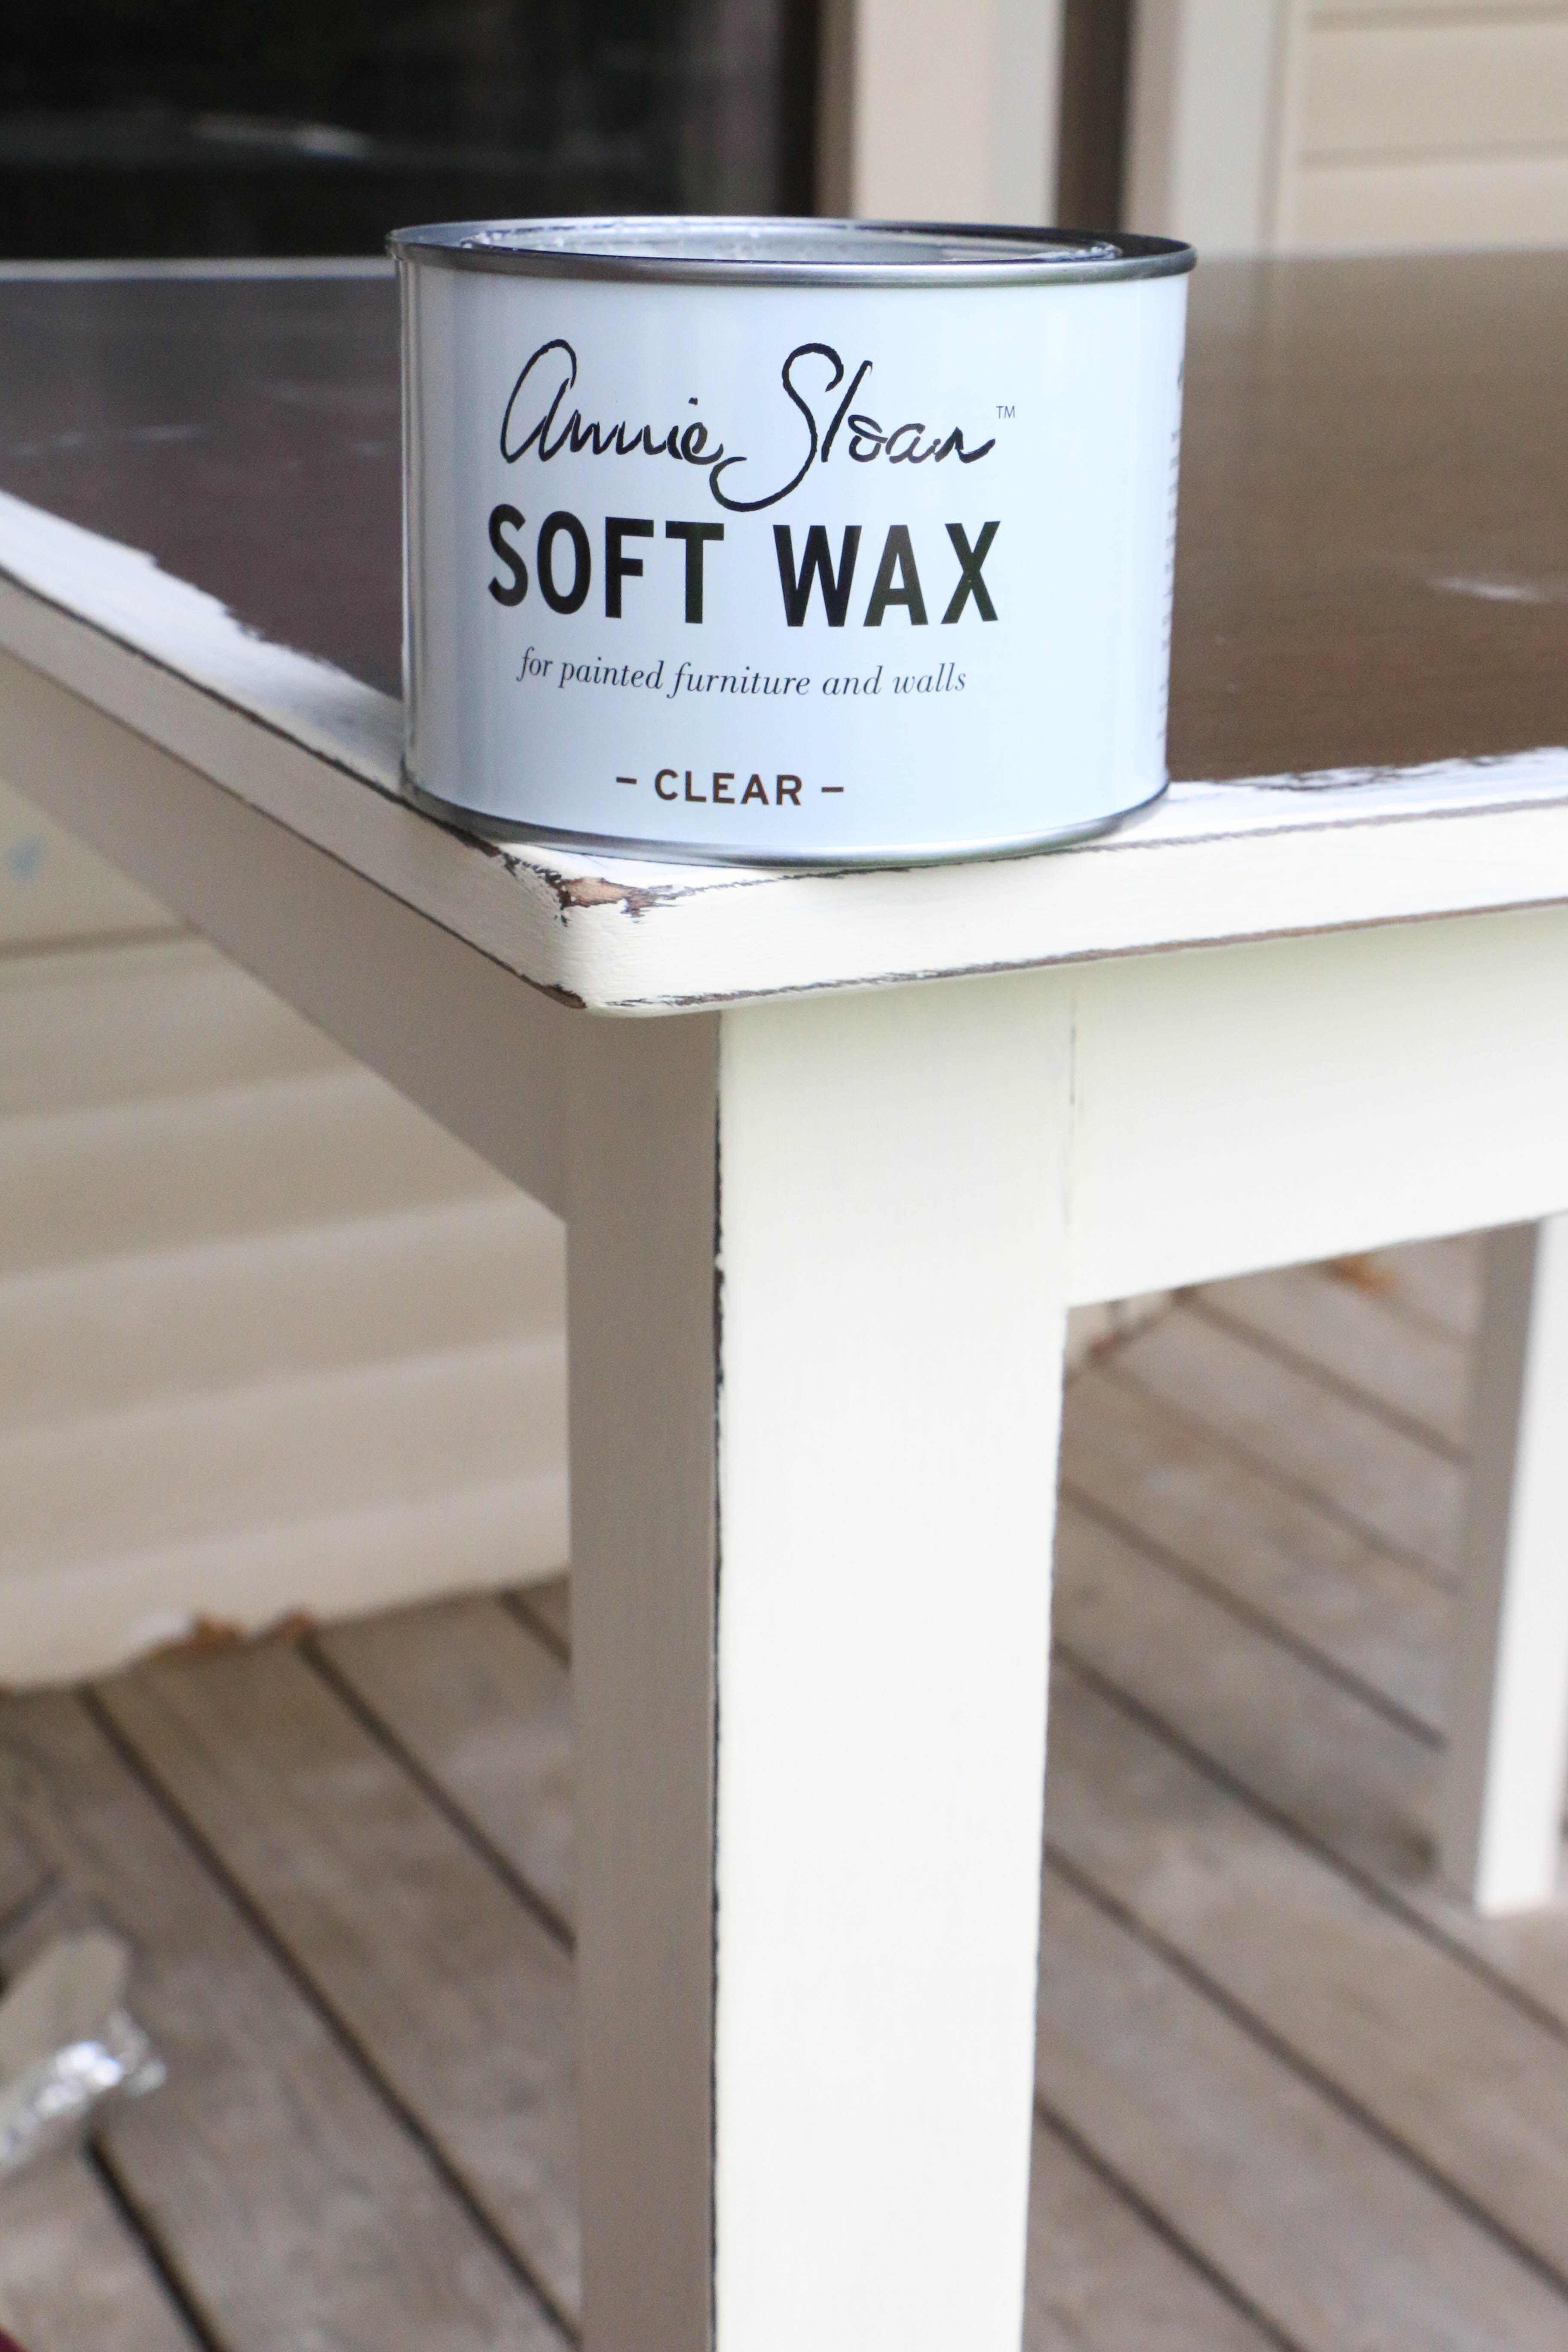
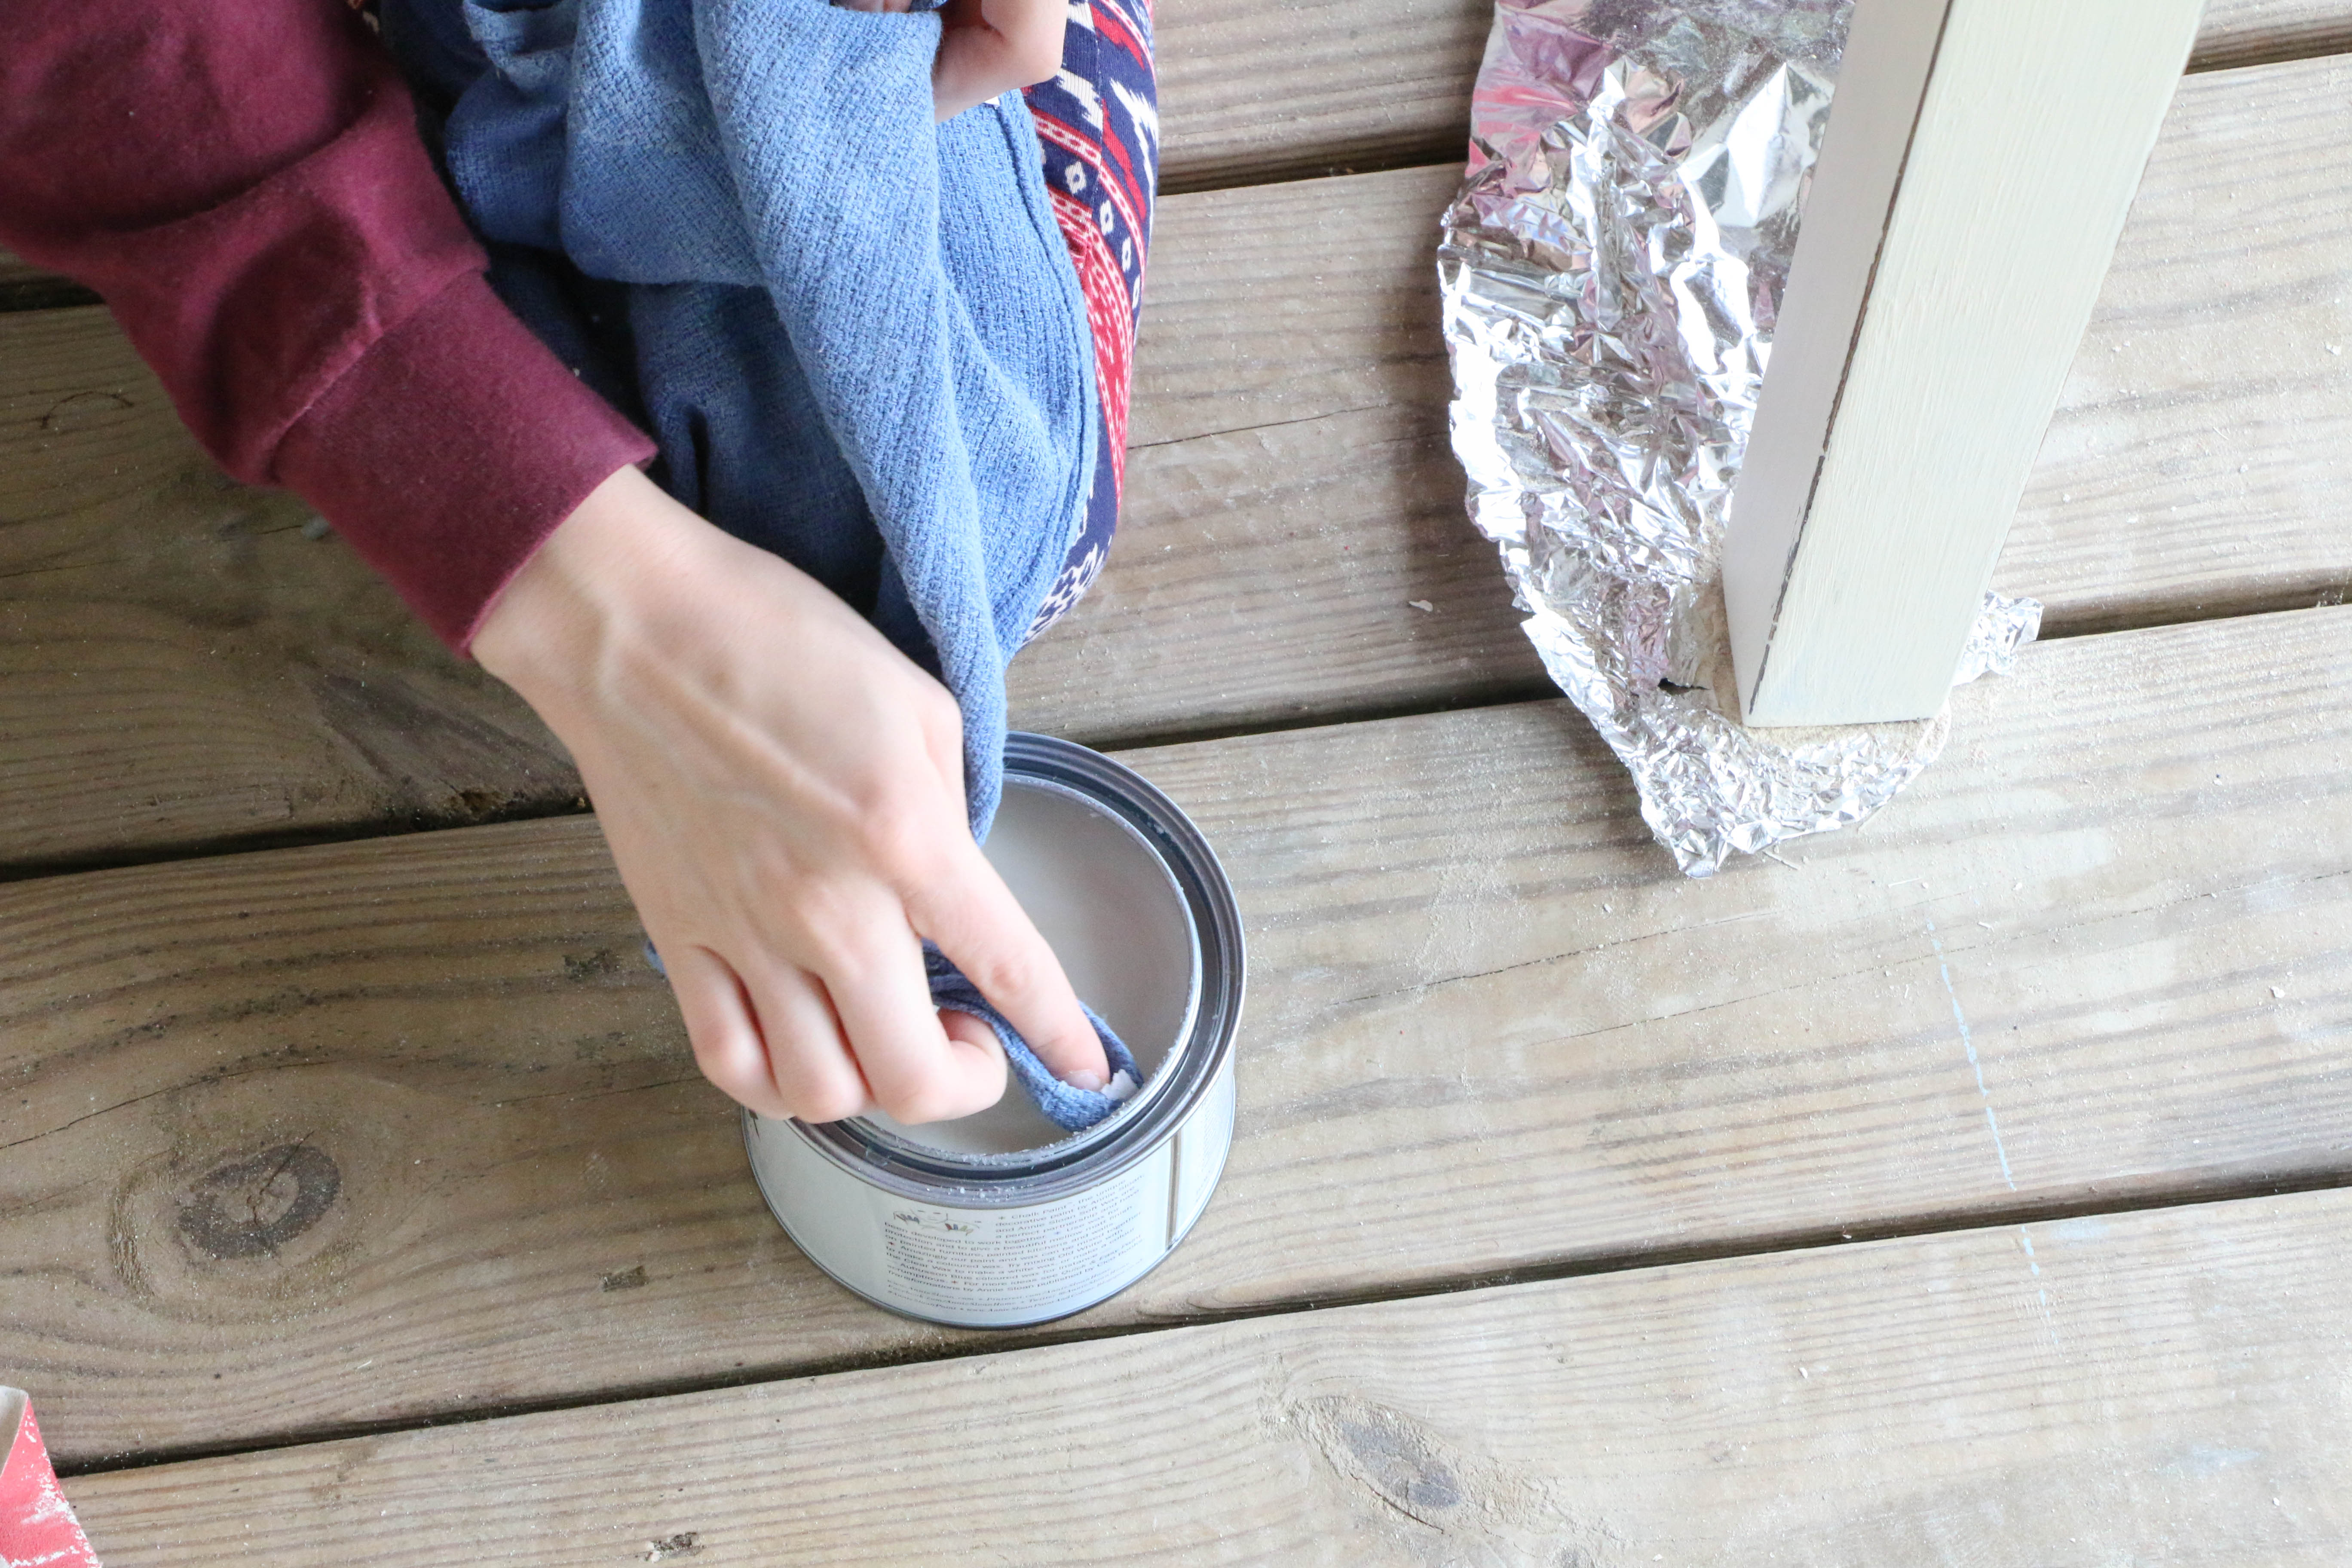
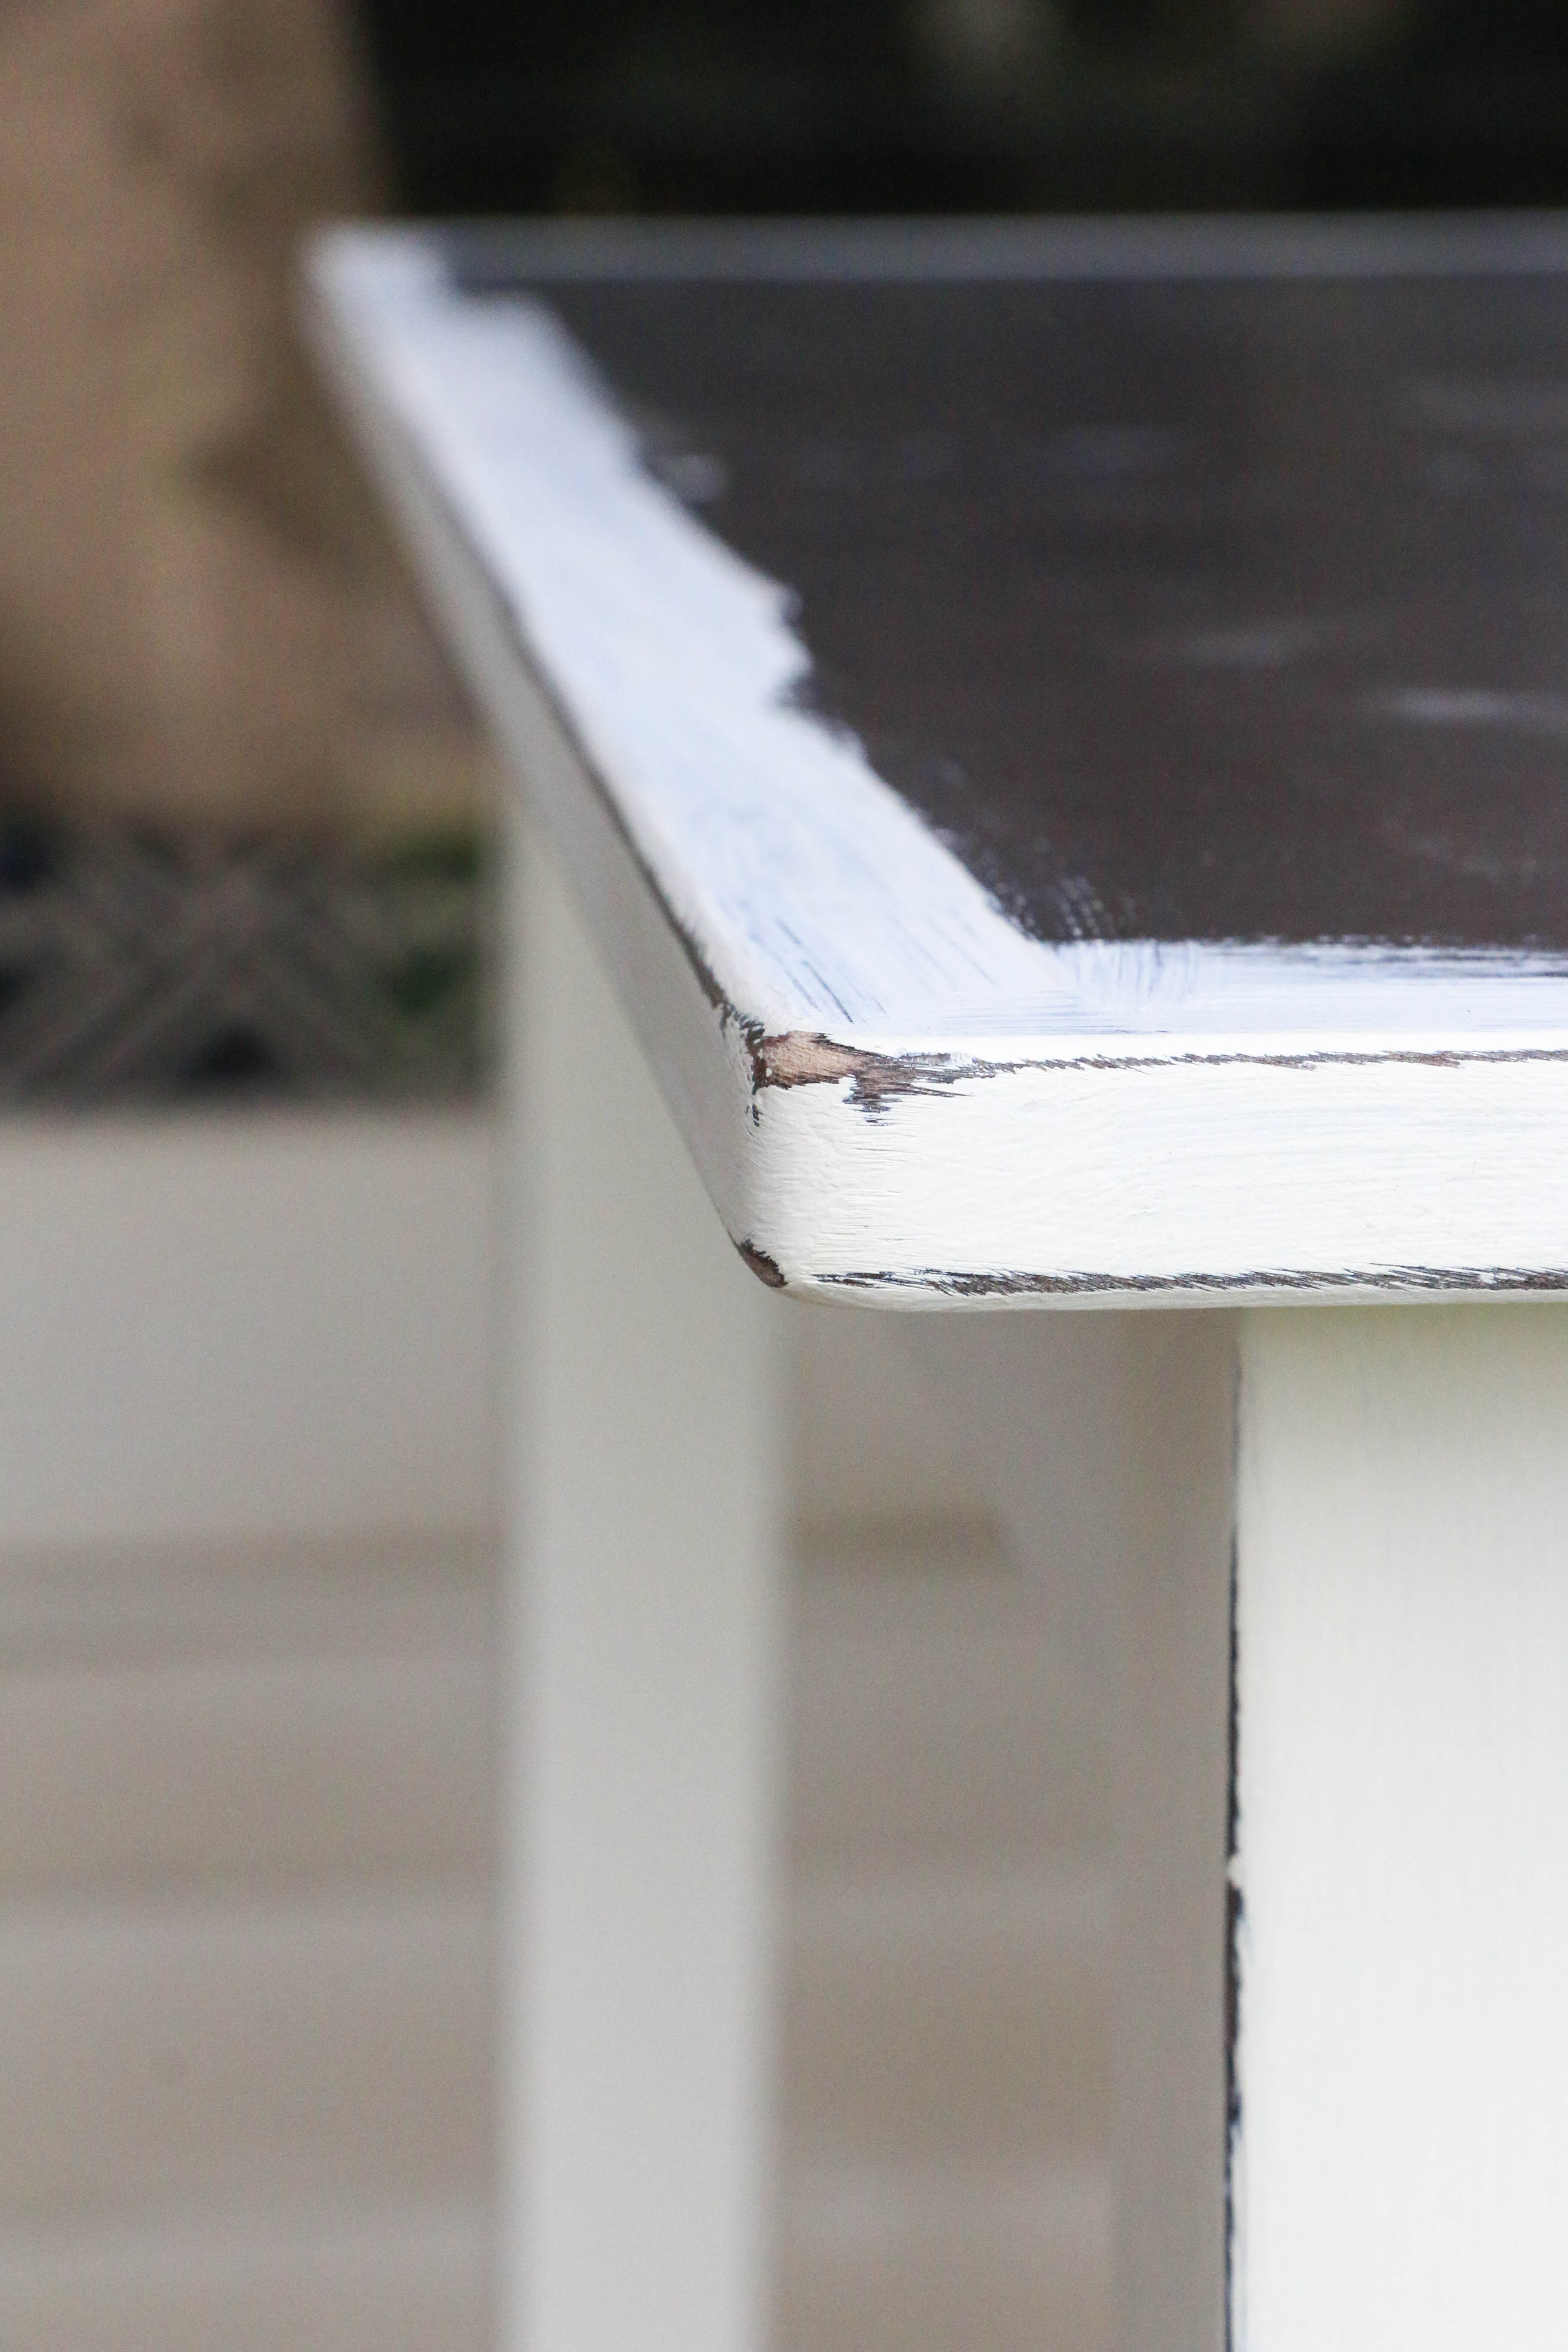
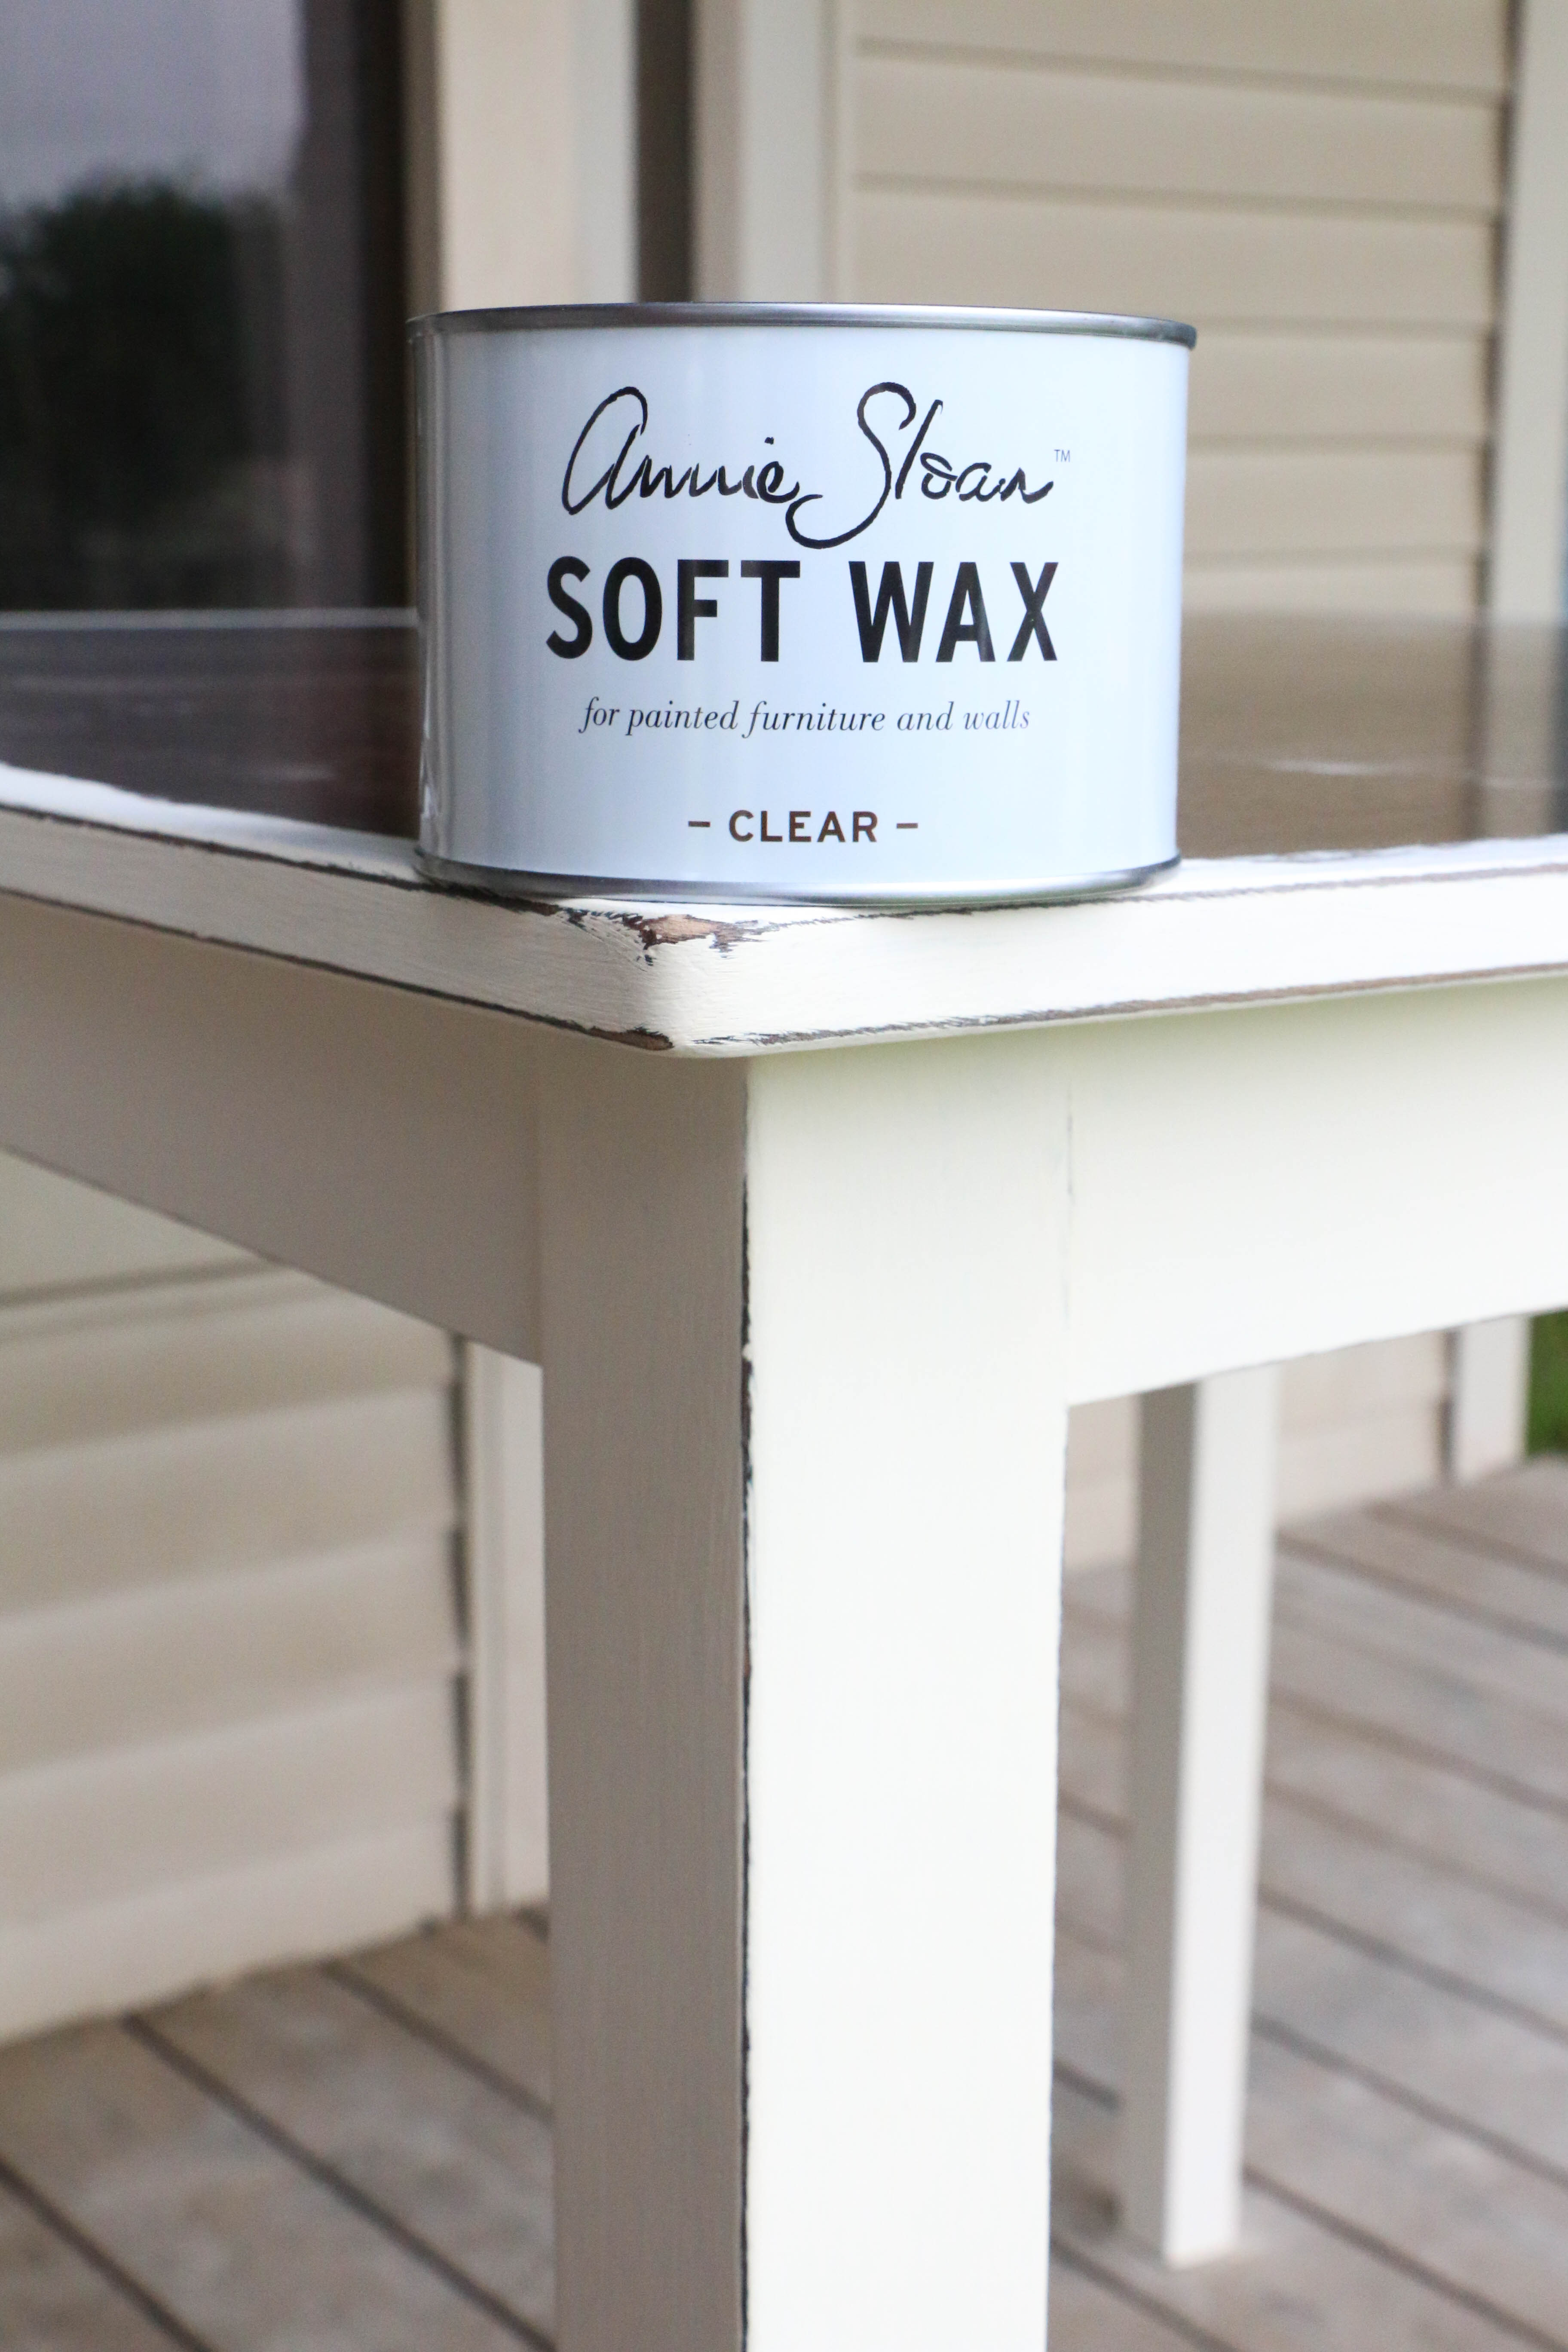
The outer part of the dresser got a coat of my favorite paint, Annie Sloan’s Old White, and the drawer fronts got sanded down and left bare. Guys. I am OBSESSED with this new look. I always knew there was a gorgeous dresser hiding behind that orange finish, but it’s even prettier than I thought.

dresser3

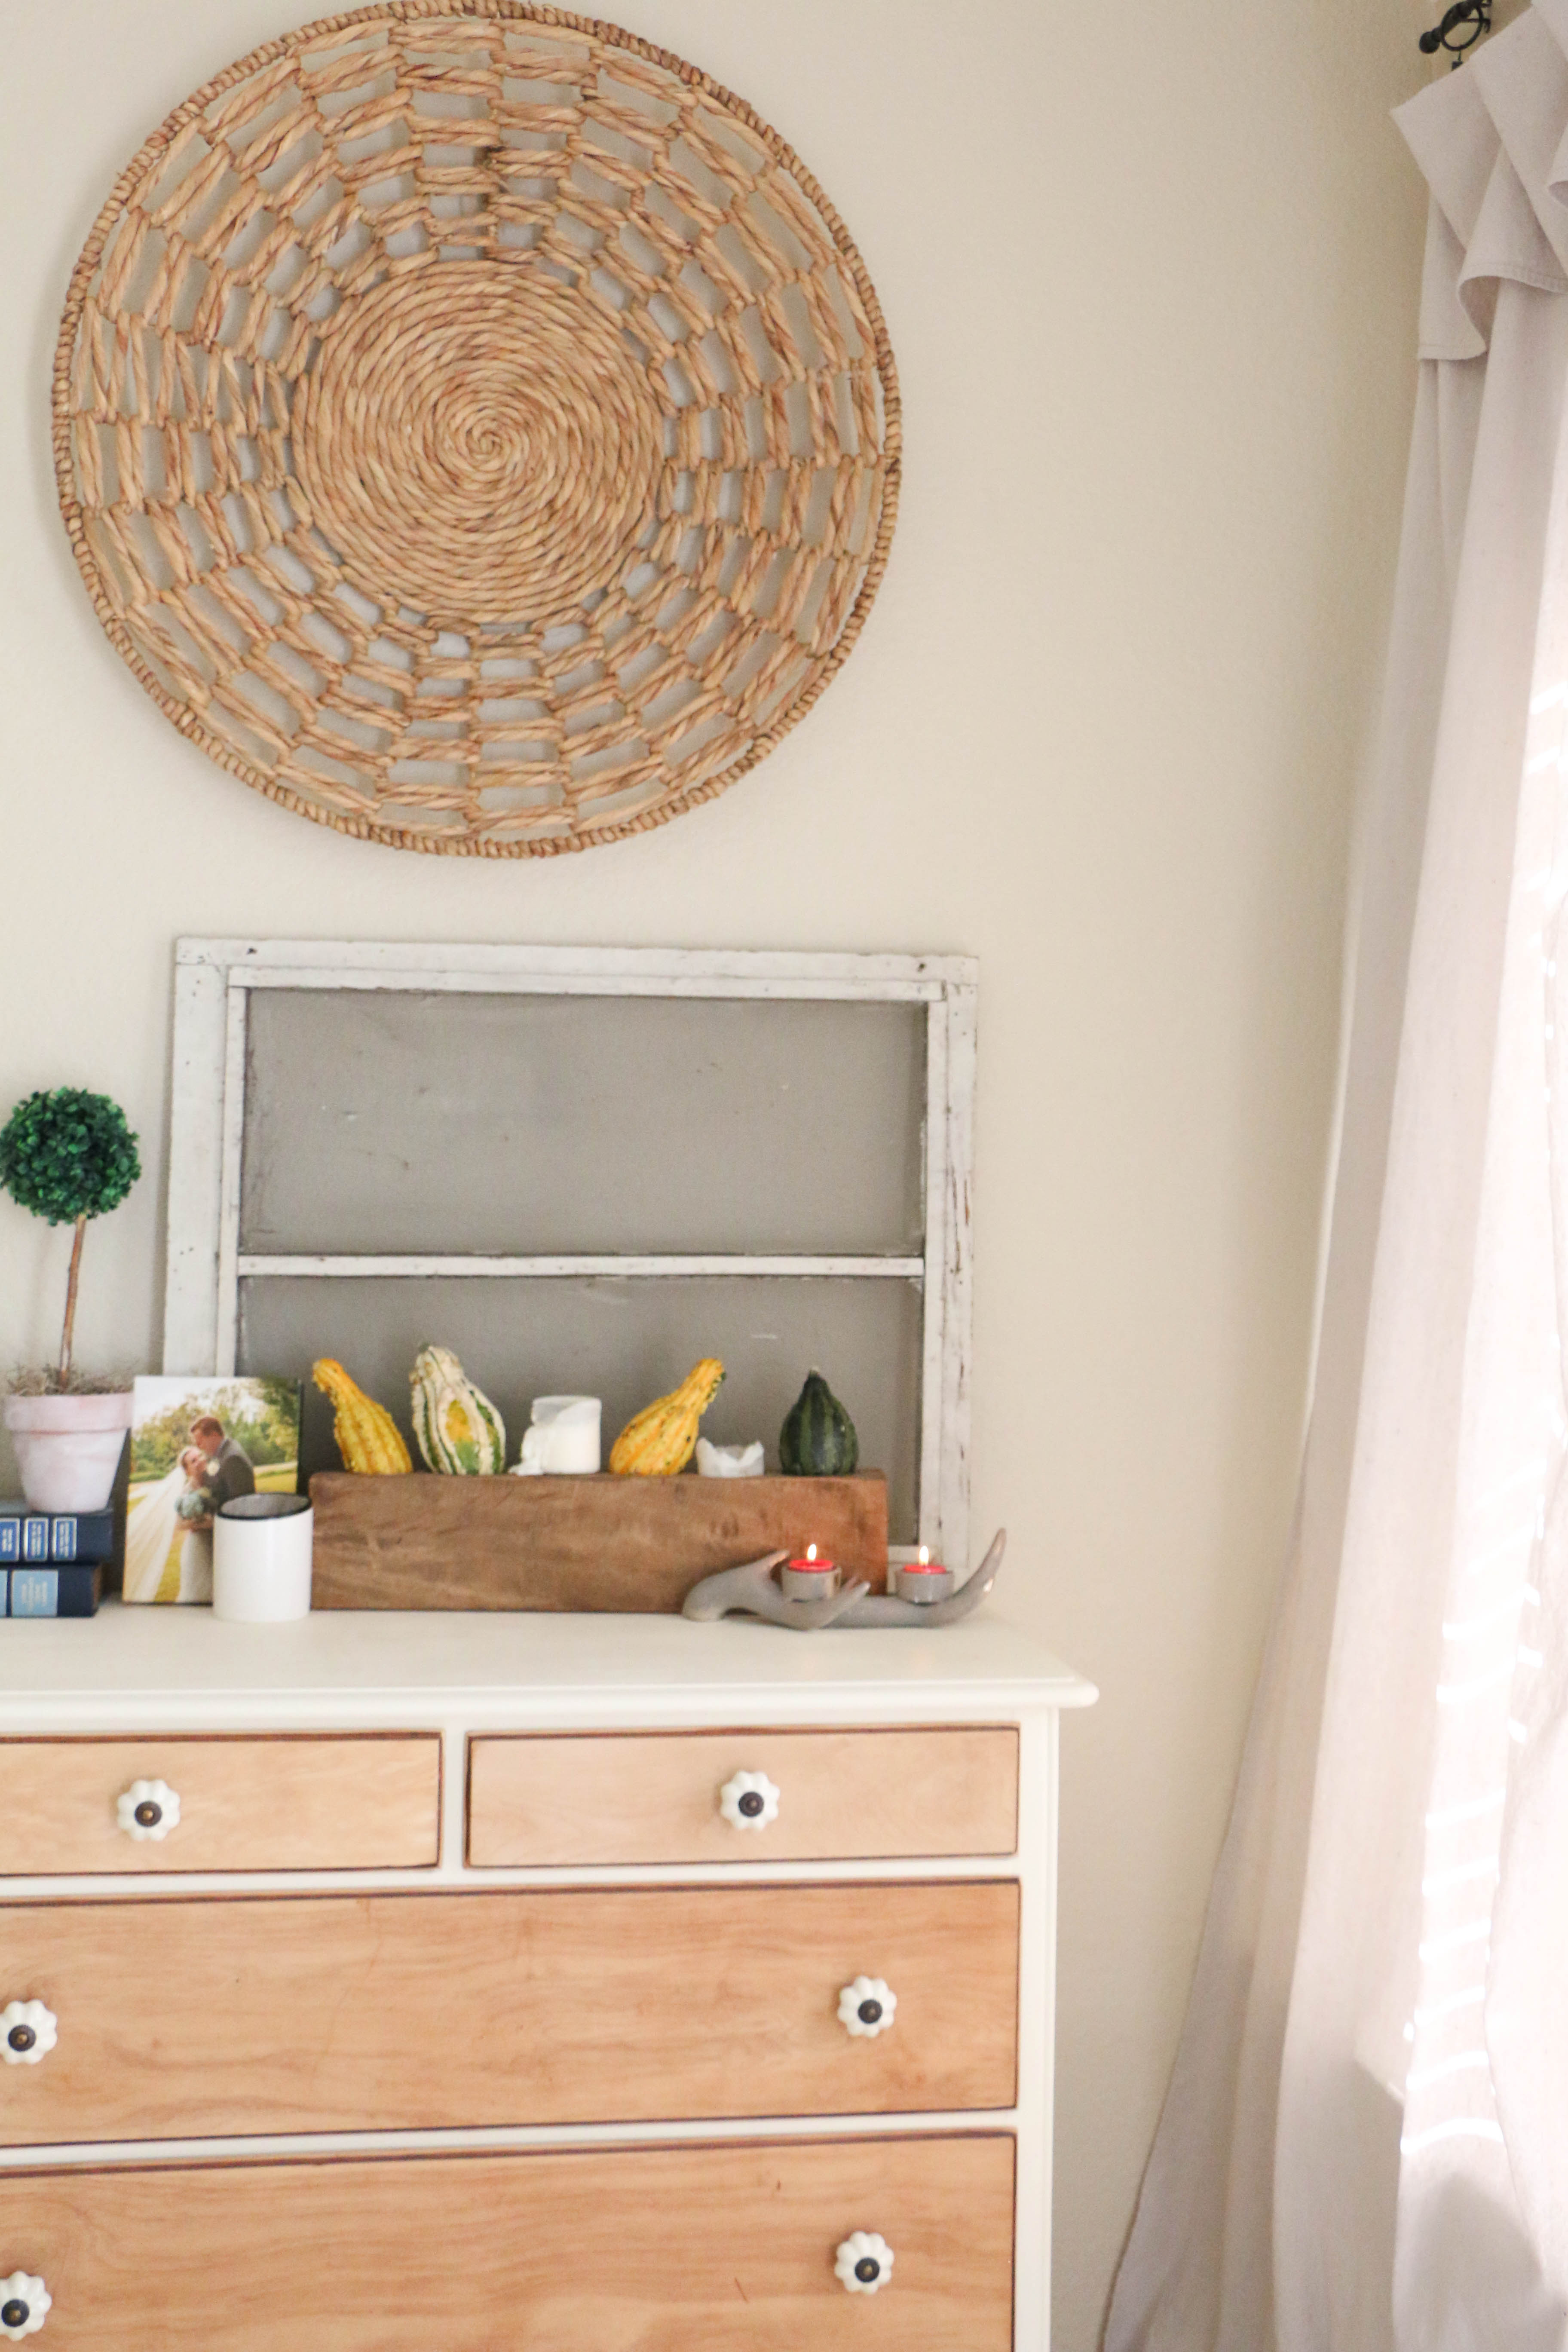
I’m so thankful to have gotten the okay to work on this piece. When there’s a family history you have to honor in a piece, it can be a little intimidating. Hopefully this little refresh honors my mother in law and her family. I know that it definitely finishes out our bedroom in a way that makes the dresser fit. This piece will definitely be with us forever.

dresser8

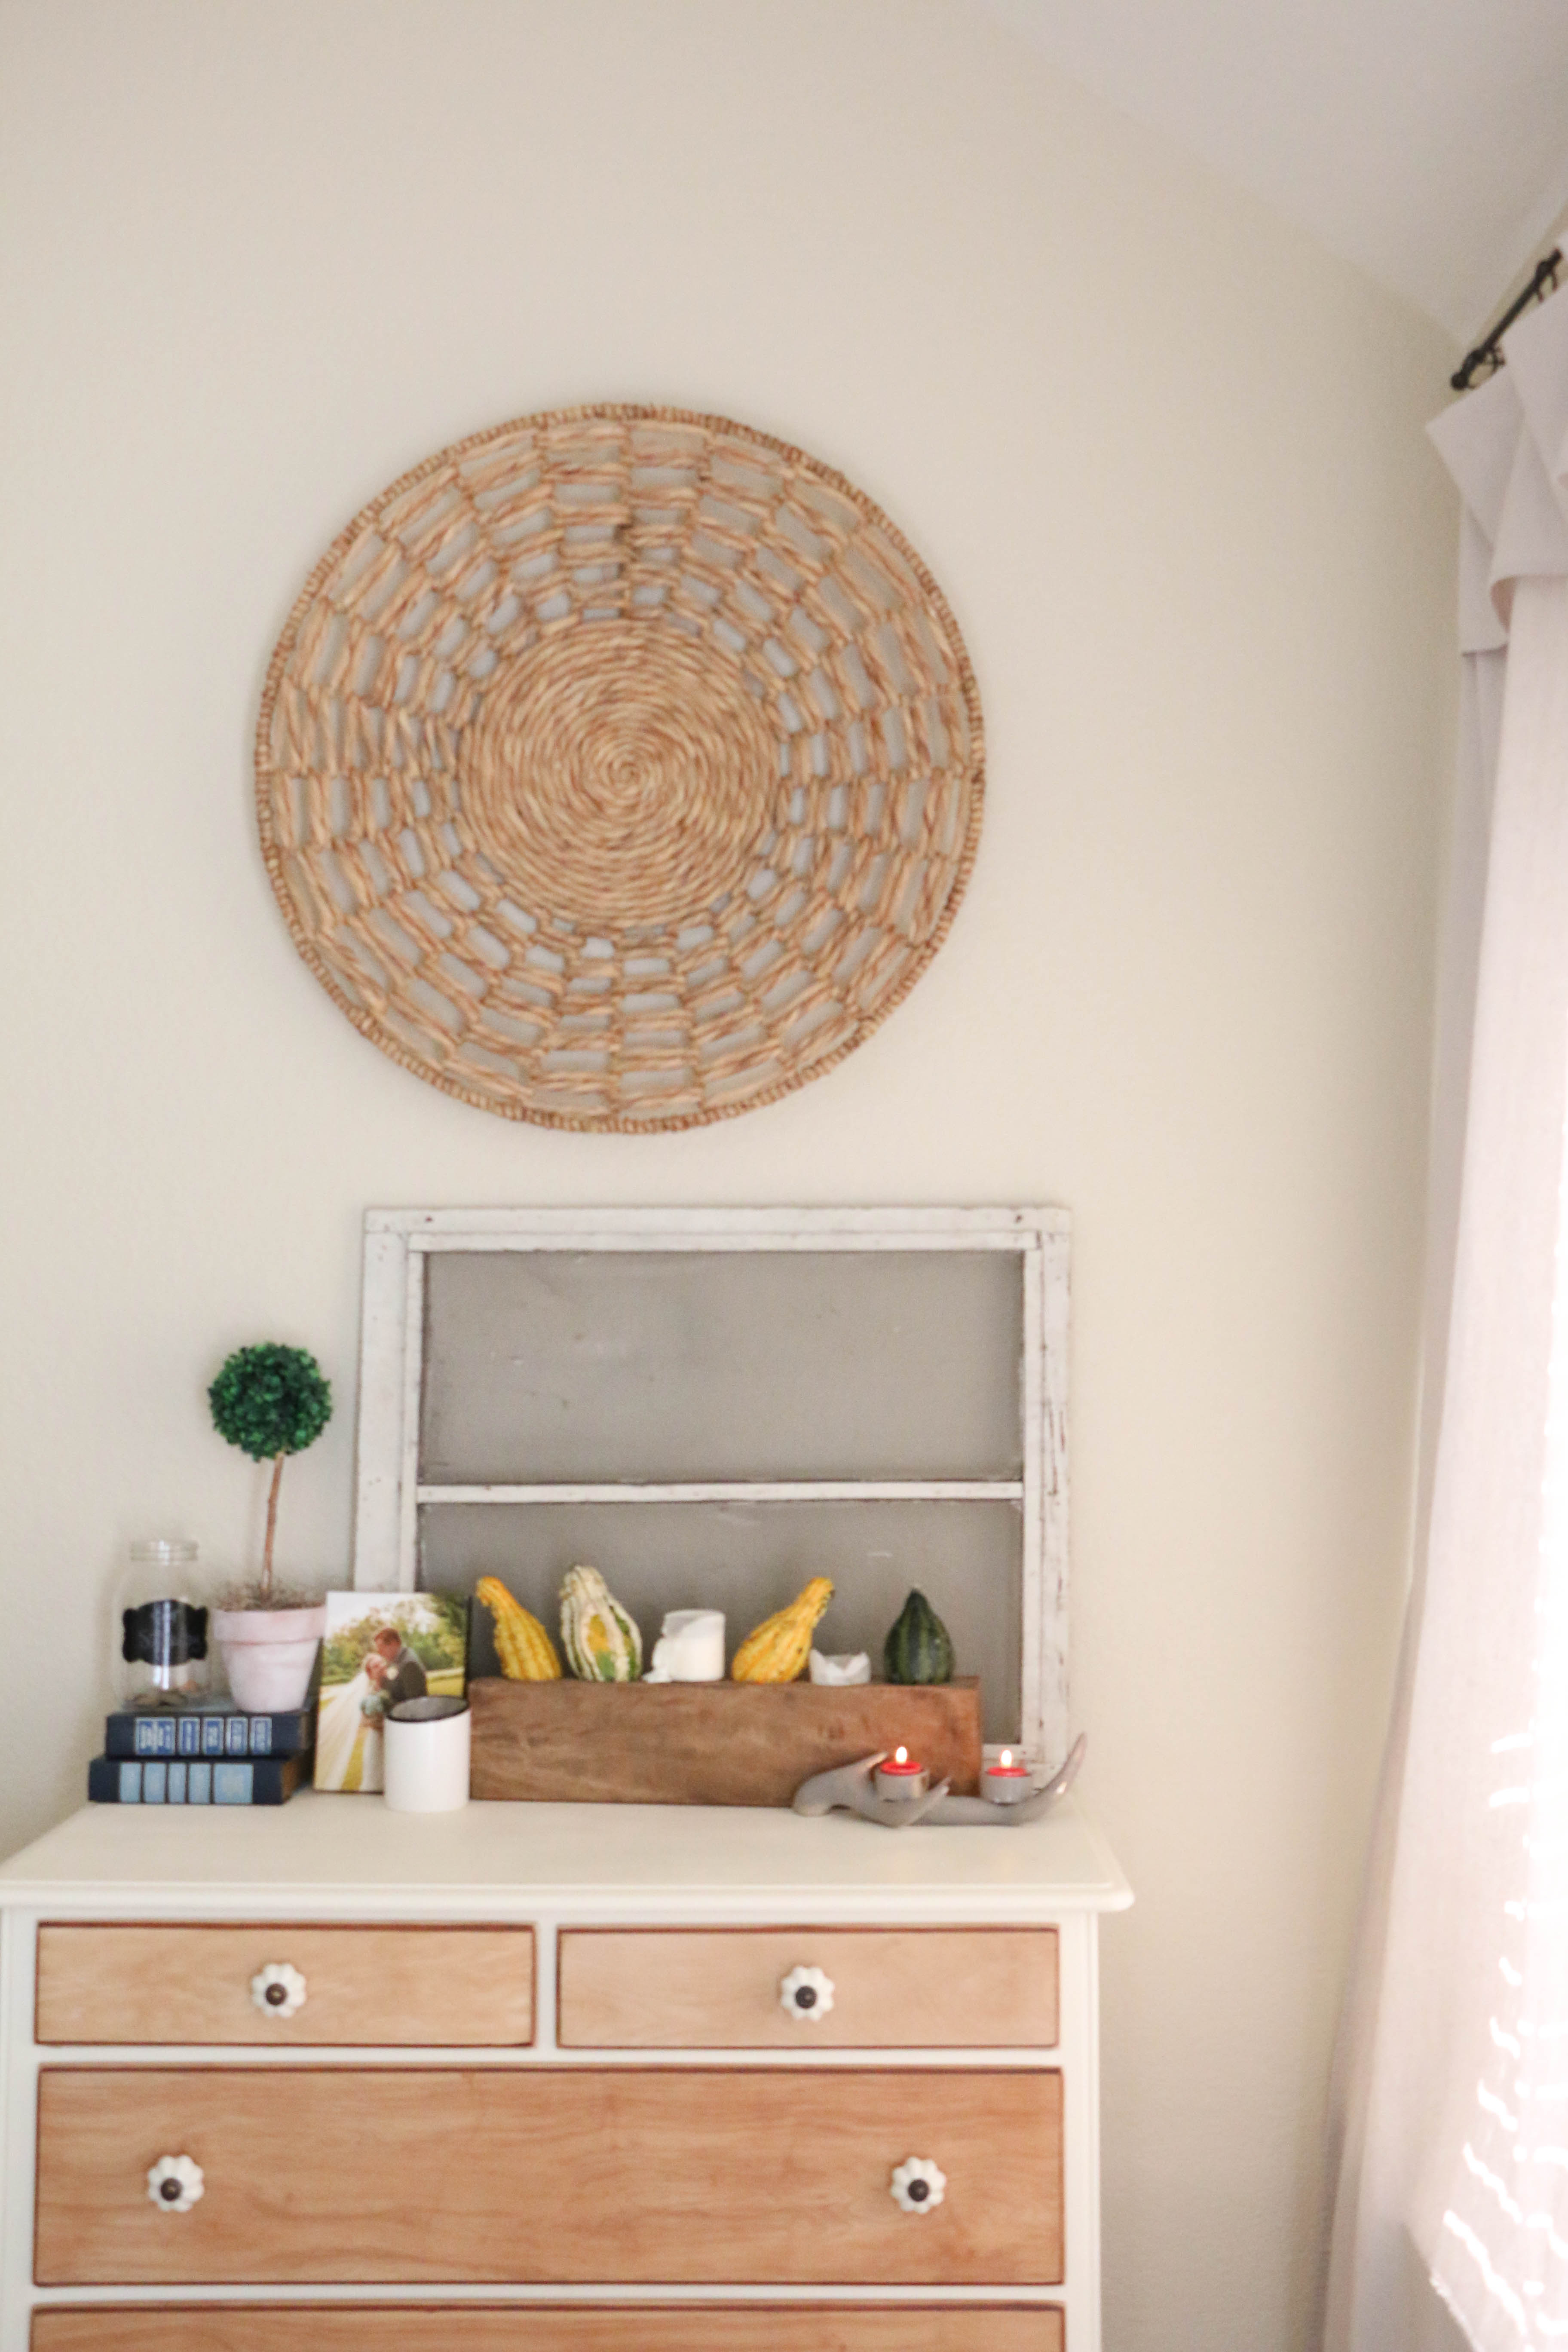
Good grief it’s just so pretty. Well y’all, that’s about it for today. Just wanted to pop in and share this fun project. Have you ever painted something that belonged in the family for a long time? How did it go?

That’s all for today friends, have a fabulous day!

DIY Projects, Furniture Makeover

Annie Sloan: One Year Later

Hey y’all! Phew. The past few weeks have been CA-RAZY. With moving into the new house two weeks ago, and setting up my classroom, and Ethan being in and out of town for work, things have been hectic to say the least. Today is the first day we’ve had internet at our house. Like, we had to go to McDonald’s to pay bills last week. So that was a low point.

Things are starting to feel a tiny bit more settled now finally, and I can’t wait to share with you guys more of the house! Today I want to talk about something I think a lot of people have had questions about. How well does chalk paint hold up? Since I’ve been setting everything up at the new house, I’ve been inspecting and reworking all the things we had in our previous home.

About a year ago, I gave our living room coffee and end table a little makeover. I used Annie Sloan chalk paint, which I’ve used for several other projects throughout our home. I love this paint, and I’ve talked about great it is, but I’ve never had much experience with the paint over a long period of time. Now, our coffee table is the hub of the living room. We’re pretty casual, so this table gets a lot of wear from putting our feet up on the table. We also eat off this table and write on it. It’s basically a work horse.

coffeetable4

I’m not being paid by anyone to tell you this, but I have to say, after about a year or so, the top of this table needed a second coat.

coffeetable2

The edges of the table top started to wear down (and not from the distressing I intentionally added), and it was starting to look a little more shabby than I was wanting.

coffeetable

In about twenty minutes, I just slapped on a quick top coat of the paint in the Old White color. I didn’t even tape off where I had painted the gray stripes. Just a quick and painless coat of paint, and wax a few hours later.

With this specific project, it doesn’t bother me that I had to do a second coat. With something bigger and more time consuming, it might be a little bit more annoying. Now, there may be people who are better at applying the wax than I am, which could protect the paint better. I’m a novice at this stuff, but that’s my experience. This will in no way prevent me from continuing to use chalk paint in the future. I love the stuff! But, with something bigger, I might look into another solution in the future. We’ll see.

Have you ever had issues with this in the past? If so, I’d love to hear about how you solved them! I know that this has been a quick and simple post, but I wanted to pop in and share what I’ve been up to! Well, that’s all for today friends! Have a fabulous day!

anniesloan

DIY Projects, Furniture Makeover

Coffee Table Makeover

Hello all! Happy Monday from me to you! I hope you’re having a fantastic morning. Are you drinking your coffee as you’re reading this? I hope so!

Summer is in full swing for me here. I’m a teacher, and even though my summer break started a few weeks back, I spent the first bit of that away from home visiting different family members. I didn’t feel like my summer break had fully begun until this last week. I don’t have any kiddos to keep me busy (that is definitely not a complaint), so my days range between mindlessly watching Netflix for an embarrassing number of hours and finding odd projects around the house to keep me busy.

This week these old tables we have in our living room became the object of choice (I swear, nothing is safe from the paintbrush in this house. Except for the walls, because, landlords). These two tables were my husband, Ethan’s from his bachelor days. Who knows how old they are or where in the world they came from. Classic newlyweds, amiright?

tablebefore2

I painted the bases white when we first got married, and that was good for a while. But you can see how scratched and janky (I can use that word right?) they are. They weren’t looking so hot.

tablebefore1

So obviously I had to do something about it (which if you’re reading this and you still haven’t figured out that I am about to paint this table, then I’m sorry I ruined the surprise for you).

The first thing I did was put a fresh coat of Annie Sloan Old White over both tables. I’ve written previously more details about using this paint, which you can find here.

paintedtable

Don’t mind this background of this picture. It’s our totally-unfinished-not-fully-furnished-guestroom/paint studio. We all have that one room we don’t want anyone to see. Except you just saw mine. Don’t judge me, please keep reading.

painterstape

I wanted to go for a “farmhouse style” look, so I wanted to paint a grainsack stripe on each of the tables. I spaced a four inch wide line in the center, and a one inch wide line on either side.

paintingduring

I then painted in the areas I had taped off. The color is Pencil Sketch by Behr. I bought a sample jar of it at Home Depot in a flat finish and had plenty left over. The paintbrush is the 2″ Wooster Shortcut. This is the first time using this brush and I can tell you that I absolutely loved it! It’s inexpensive and easy to use.

distressing

After painting my stripes, I got around to distressing lightly the edges of my table. I also sanded down over the gray stripes so that a bit of the white would show through. I wanted to give the stripes a bit of a worn look.

After distressing, removing tape, adding a finishing wax, and making a huge mess, my tables were done!

tableafter1

tableafter4

tableafter2

tableafter3

They make the room so much brighter, which I absolutely love. I also am really digging the rustic vibe they have. The best part about this project is that I had everything on hand except for the $3 paint sample I bought. That’s what I call a thrifty project! My favorite kind! That’s all for today. Have a fabulous day, friends!

CoffeeTableMakeover

DIY Projects, Tutorials

My Experience with Annie Sloan Chalk Paint

Hello everyone! I hope you’ve had a marvelous weekend, I know I have! I am in New York visiting some family, but I wanted to take a few minutes and make sure I wasn’t neglecting the old blog. 🙂

So last week I blogged about my new dining room table. If you haven’t checked that out, go ahead and do so. It’s cool, I’ll wait. I want you to have a frame of reference when reading this post. Okay, you read it? Cool, let’s continue.

I painted the table and chairs using Annie Sloan Chalk Paint. If you haven’t heard of this paint before, you are really missing out. Seriously, this stuff is awesome! It’s called chalk paint not because it creates a chalkboard finish, but because of its matte look. It has a “chalky” feel to it when the paint dries. There is no sanding or prep work required with this paint (can I get an amen?!), and it will adhere to most any surface. Did I mention it has no VOCs? Pretty cool stuff.

Annie Sloan is a company based in Britain, so while you can order online, there are only limited stockists in the United States. You can click here to find a stockist near you. I got mine from Nest, a cute little store in Mansfield, TX. It is suggested that you take a workshop to learn about the paint before tackling any big projects, but being the rebel that I am (mostly I’m just cheap), I opted to just try it for myself. I did do some internet research, and Lauren over at The Thinking Closet has a great tutorial on this topic as well. I referenced her post several times during my project.

So let’s get down to it, shall we? First off, I chose my color, Old White.

IMG_1426

This color is a not-quite-cream-not-quite-pure-white color that’s perfect for my space, so I went with it. The actual application of the paint is easy-peasy. I’m assuming you know how to dip a paintbrush in a can and slap it on something. I won’t insult your intelligence.

While the can states that one coat will be sufficient, I found this not to be true. Pardon the HORRIBLE lighting, but you can see here with just one coat, there were still visible areas. Now, these chairs are not solid wood, so that may be why it took more paint, I’m not sure.

IMG_1333

Overall, I did two complete coats, with a third coat over some small areas. If you look closely in this picture, you can see the defining line between one coat and two coats of paint.

IMG_1356

This paint dries quickly and is very easy to distress, if that’s the look you’re going for. If so, you would simply sand down the edges you want distressed and be done with it.

After your paint is fully dry and distressed, it’s time for the wax. I applied the wax the next day. This is the part that is unique to this type of paint, and the main reason a workshop is suggested. I however, did not attend a workshop and didn’t have any problems.

IMG_1386

There are suggested brushes for applying the wax. I used a regular old cheap brush from Home Depot. You will want to make sure the paintbrush you use will be solely for wax. You won’t want to mix your brushes used for paint with your brushes used for wax.

You will want to apply a small amount of wax to your brush, brush it onto your piece, and then immediately rub the wax into the piece using a dry cloth. This allows the piece to have the wax fully worked in. It also removes any excess wax. THIS IS SO IMPORTANT. If you have too much wax, it will leave a tacky residue on your finished project and that’s just no good.

It didn’t take me long to completely abandon the paint brush (this is not the professional way to do this, but it worked for me). I would dip the cloth into the wax, and apply directly from the cloth.

IMG_1412

In my opinion, this was much easier than using a brush, since I applied and worked in the wax in one cohesive step. It also eliminated brush strokes in the wax.

Wax During

By the time I was done, my cloth was pretty oily, so I took a clena cloth and wiped down the entire surface once more. I did not have any issues with tacky wax after drying. I waited another day after applying the wax to place my furniture back in my dining room.

IMG_1514

I am totally a novice with this product, but I’d say I had a pretty easy experience with great results. I would definitely recommend doing a little research, but if you’ve been hesitant to try it, DON’T BE! I had a really good experience with it, and I know you can too!

Annie paint text

That’s all for today! If you have any questions, please let me know, and I’ll try to answer them as best I can. Have a fabulous day, friends!

DIY Projects, Furniture Makeover

Dining Room Table Makeover

Hey Y’all! Today I’m sharing what is hands down my favorite project to date. This is definitely the biggest impact project I have done, and I am IN LOVE with the result.

So, cue the before picture:

TableBefore

This dining set has seen better days. I believe it’s from Target, but I’m honestly not even sure. My husband bought it for $50 long before we were married from a couple who was moving. It had been their newlywed table, and we inherited it as our newlywed table. It’s not awful, but it’s a dark, basic, “starter” table in all its MDF glory. Clearly not my favorite thing. You can see why I needed to update this baby.

I got my first supply of Annie Sloan Chalk Paint for my birthday, and I decided to give it a try.

Chair during

This labor of love took several days, but it was so worth it. As you can see, I started with a coat of Annie Sloan’s Old White. What’s shown here is the very first coat. I ended up doing two full coats and a third coat just in certain areas.

Chair After

This is the end result of my hard work. I wanted to go for a bit of a distressed look (not too much), so I lightly sanded around the natural edges of the chairs and tables.

 Chair Close Up

table close up

That messy porch workshop of mine. Sorry, y’all. In the photo of the table, you can see that I painted about an inch onto the tabletop. I didn’t paint the whole thing, because I felt like that would just be a waste. I didn’t want any unpainted parts to show through when I added the top though, so I just painted around the edges.

wax

Next comes the wax. Chalk paint needs an application of wax after the paint is dry. It’s a tricky process, but I seemed to manage. I think I’m going to do a separate post on my experience using this paint. Anyway, once the wax was applied, it was time to work on the tabletop.

Sanded Boards

First thing I did was sand the sharp edges of each board. We used 8 1×6 cedar planks cut to 42 inches (the width of our table). I wanted a rustic look, but not a give-you-splinters-while-you’re-eating-dinner look.

Stained Boards

Then I stained each of the boards. I have learned by now that gloves are a must while staining. Just…don’t go to school with stain all over your hands and knees. Your students will not appreciate it.

This is the stain I used:

IMG_1395

As you can see in the above photo, the color on the can isn’t quite how it turned out, but that’s alright. Up until this point, this project had been completely mine. I did have to enlist my husband to help with the next step, though.

We lined the tabletop with the newly stained boards, and nailed them in place.

nailed boards

Can I also just say that nail guns are really awesome? Okay, that’s all.

Poly

I added a coat of Polyurethane to the top to protect the finish. The poly brought out the wood grain even more and made the top look SO GOOD.

poly2

This photo shows how much the poly enhanced the wood grain. Hello, beautiful. After this, we waited for it to dry so we could move it back into the dining room. Never mind the fact that the dining room had been awkwardly empty for a week at this point.

Here she is, my new table! She doesn’t look quite so newlywed basic anymore!

after5

We decided to leave about an inch of overhang on either side to create just a little bit more surface area.

after4

We can’t do anything about the dark carpet or paneling, or wall color, so this table makes a big impact. It lightens up the space so much!

after3

after1

Remember how dark it was before? The before/after pictures were taken at the same time of day! I am loving this table now, and definitely won’t be parting with it for a LONG time.

Like I mentioned earlier, I’m going to do a more in depth post on my experience with Annie Sloan Chalk Paint, so stay tuned for that! That’s all for today. Have a fabulous day, friends!

table before after