Browsing Tag

rustic

Home Decor

When “Your Style” Seems to be Changing

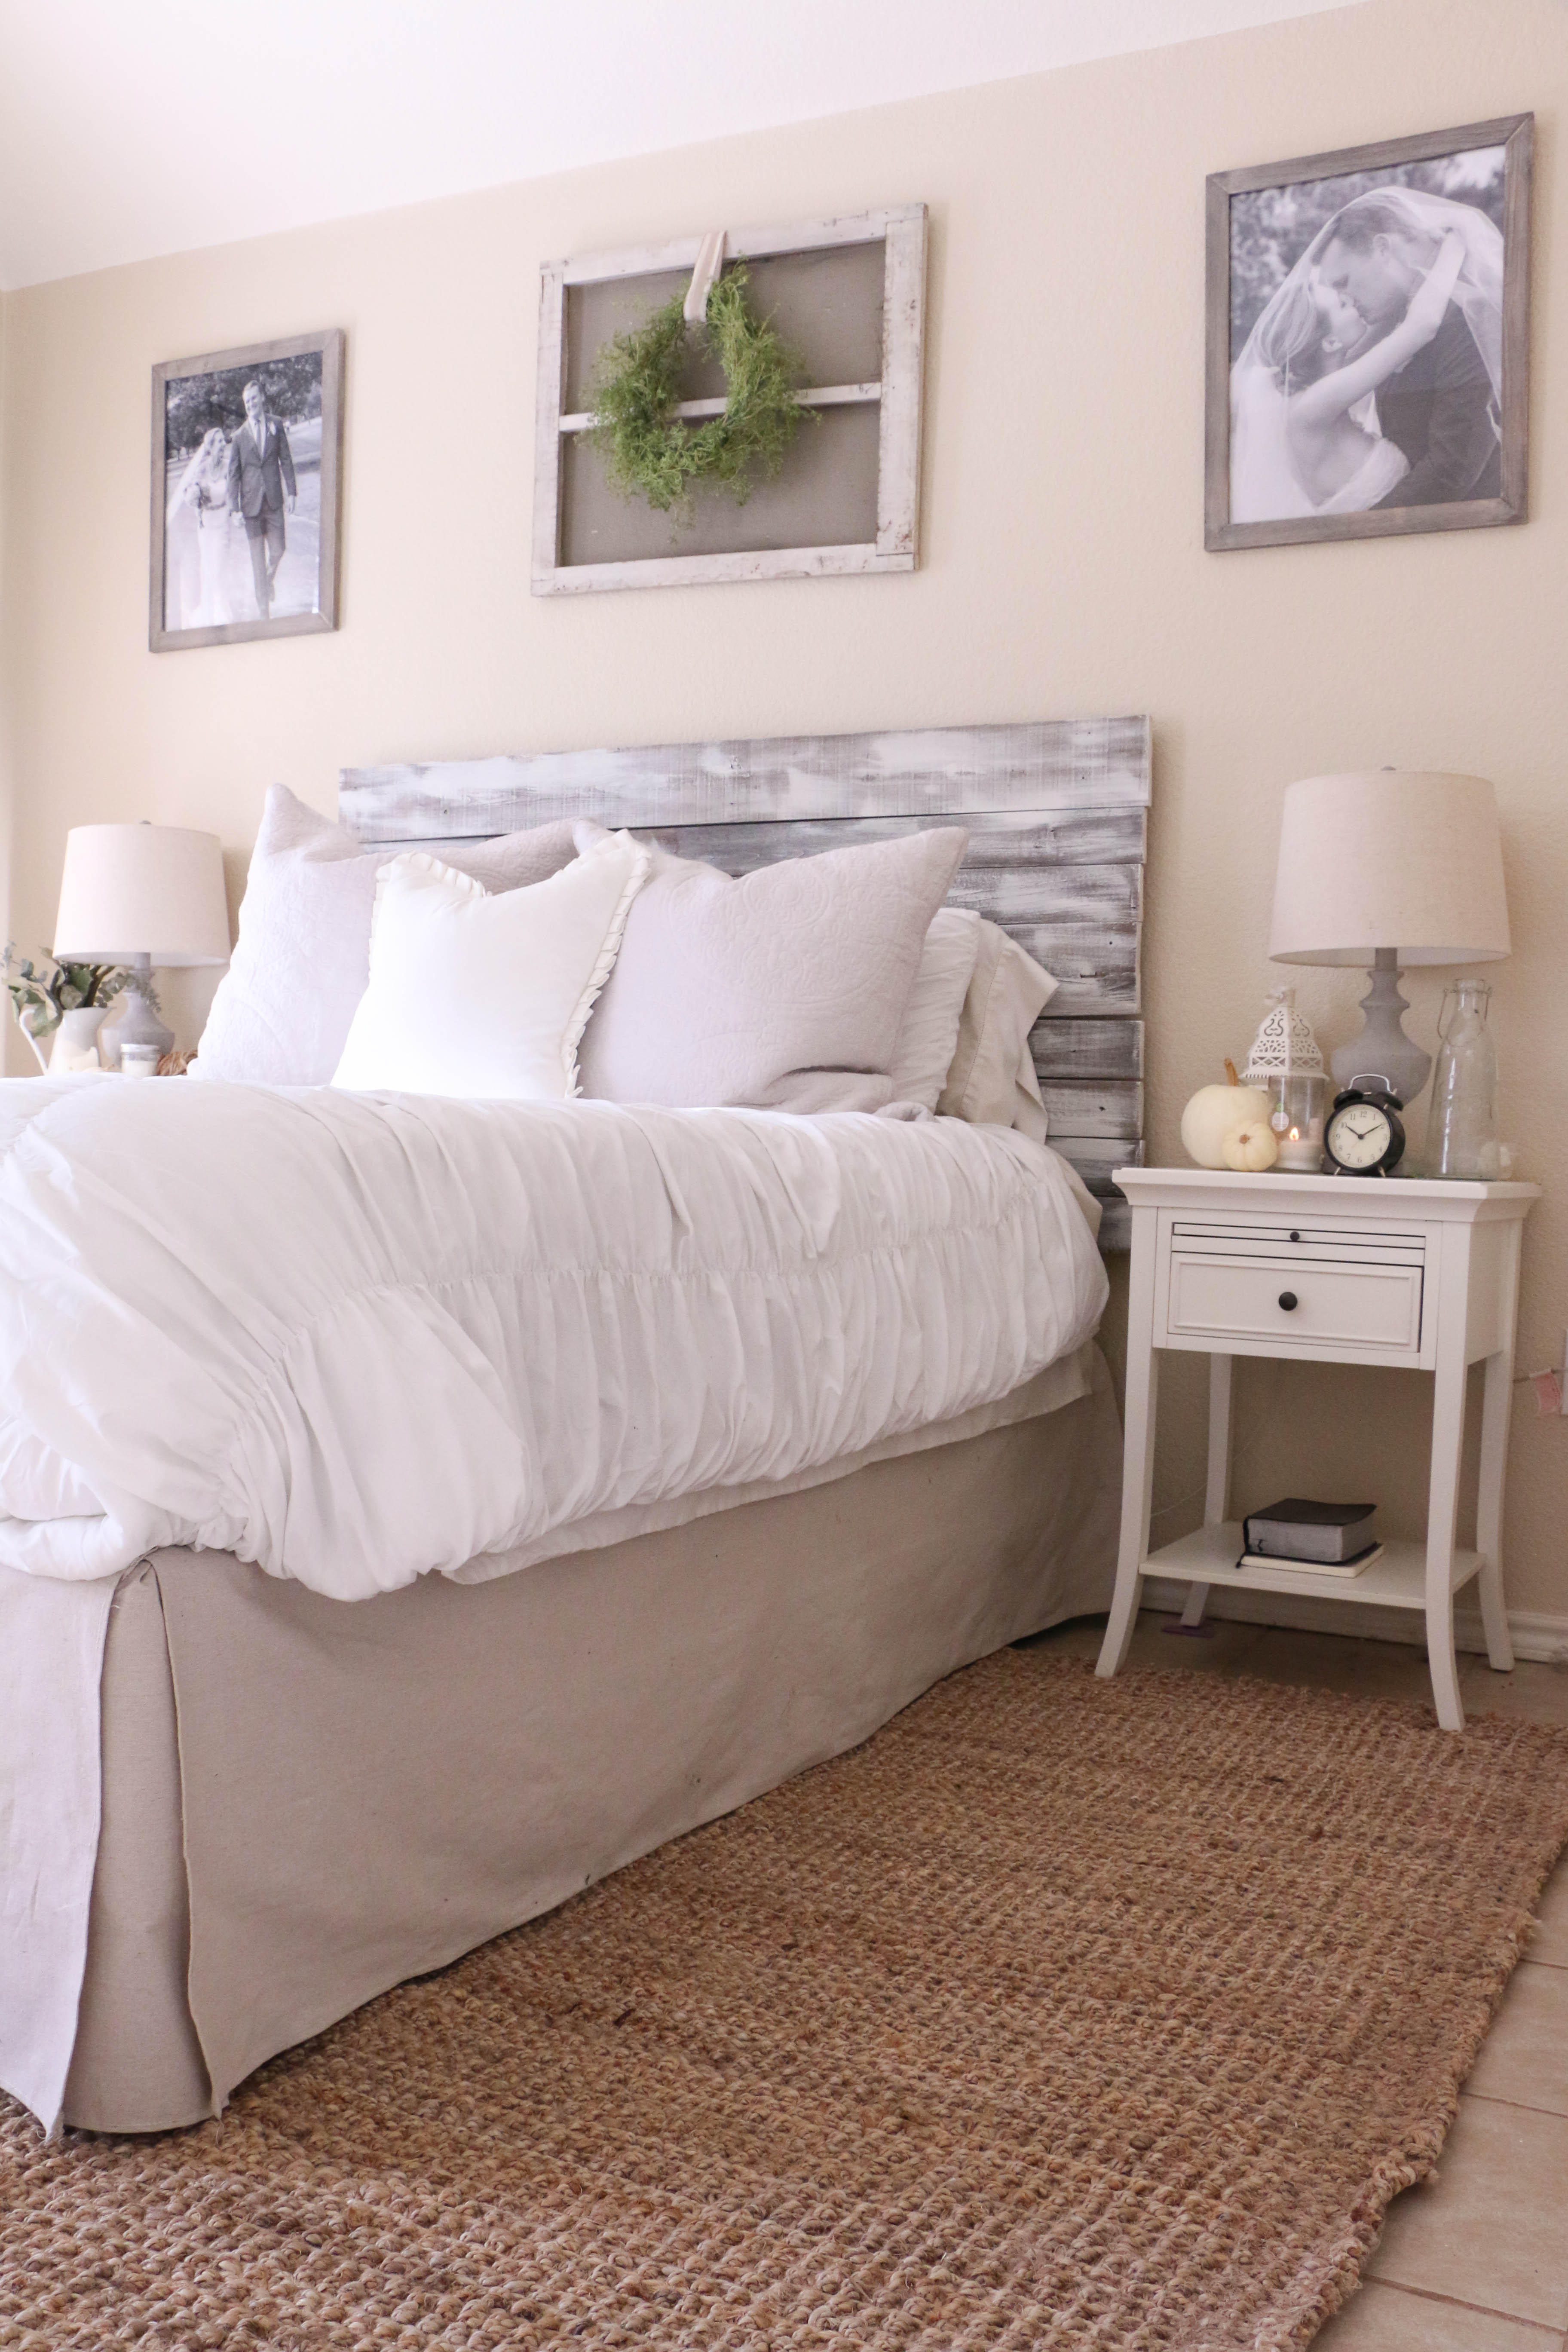
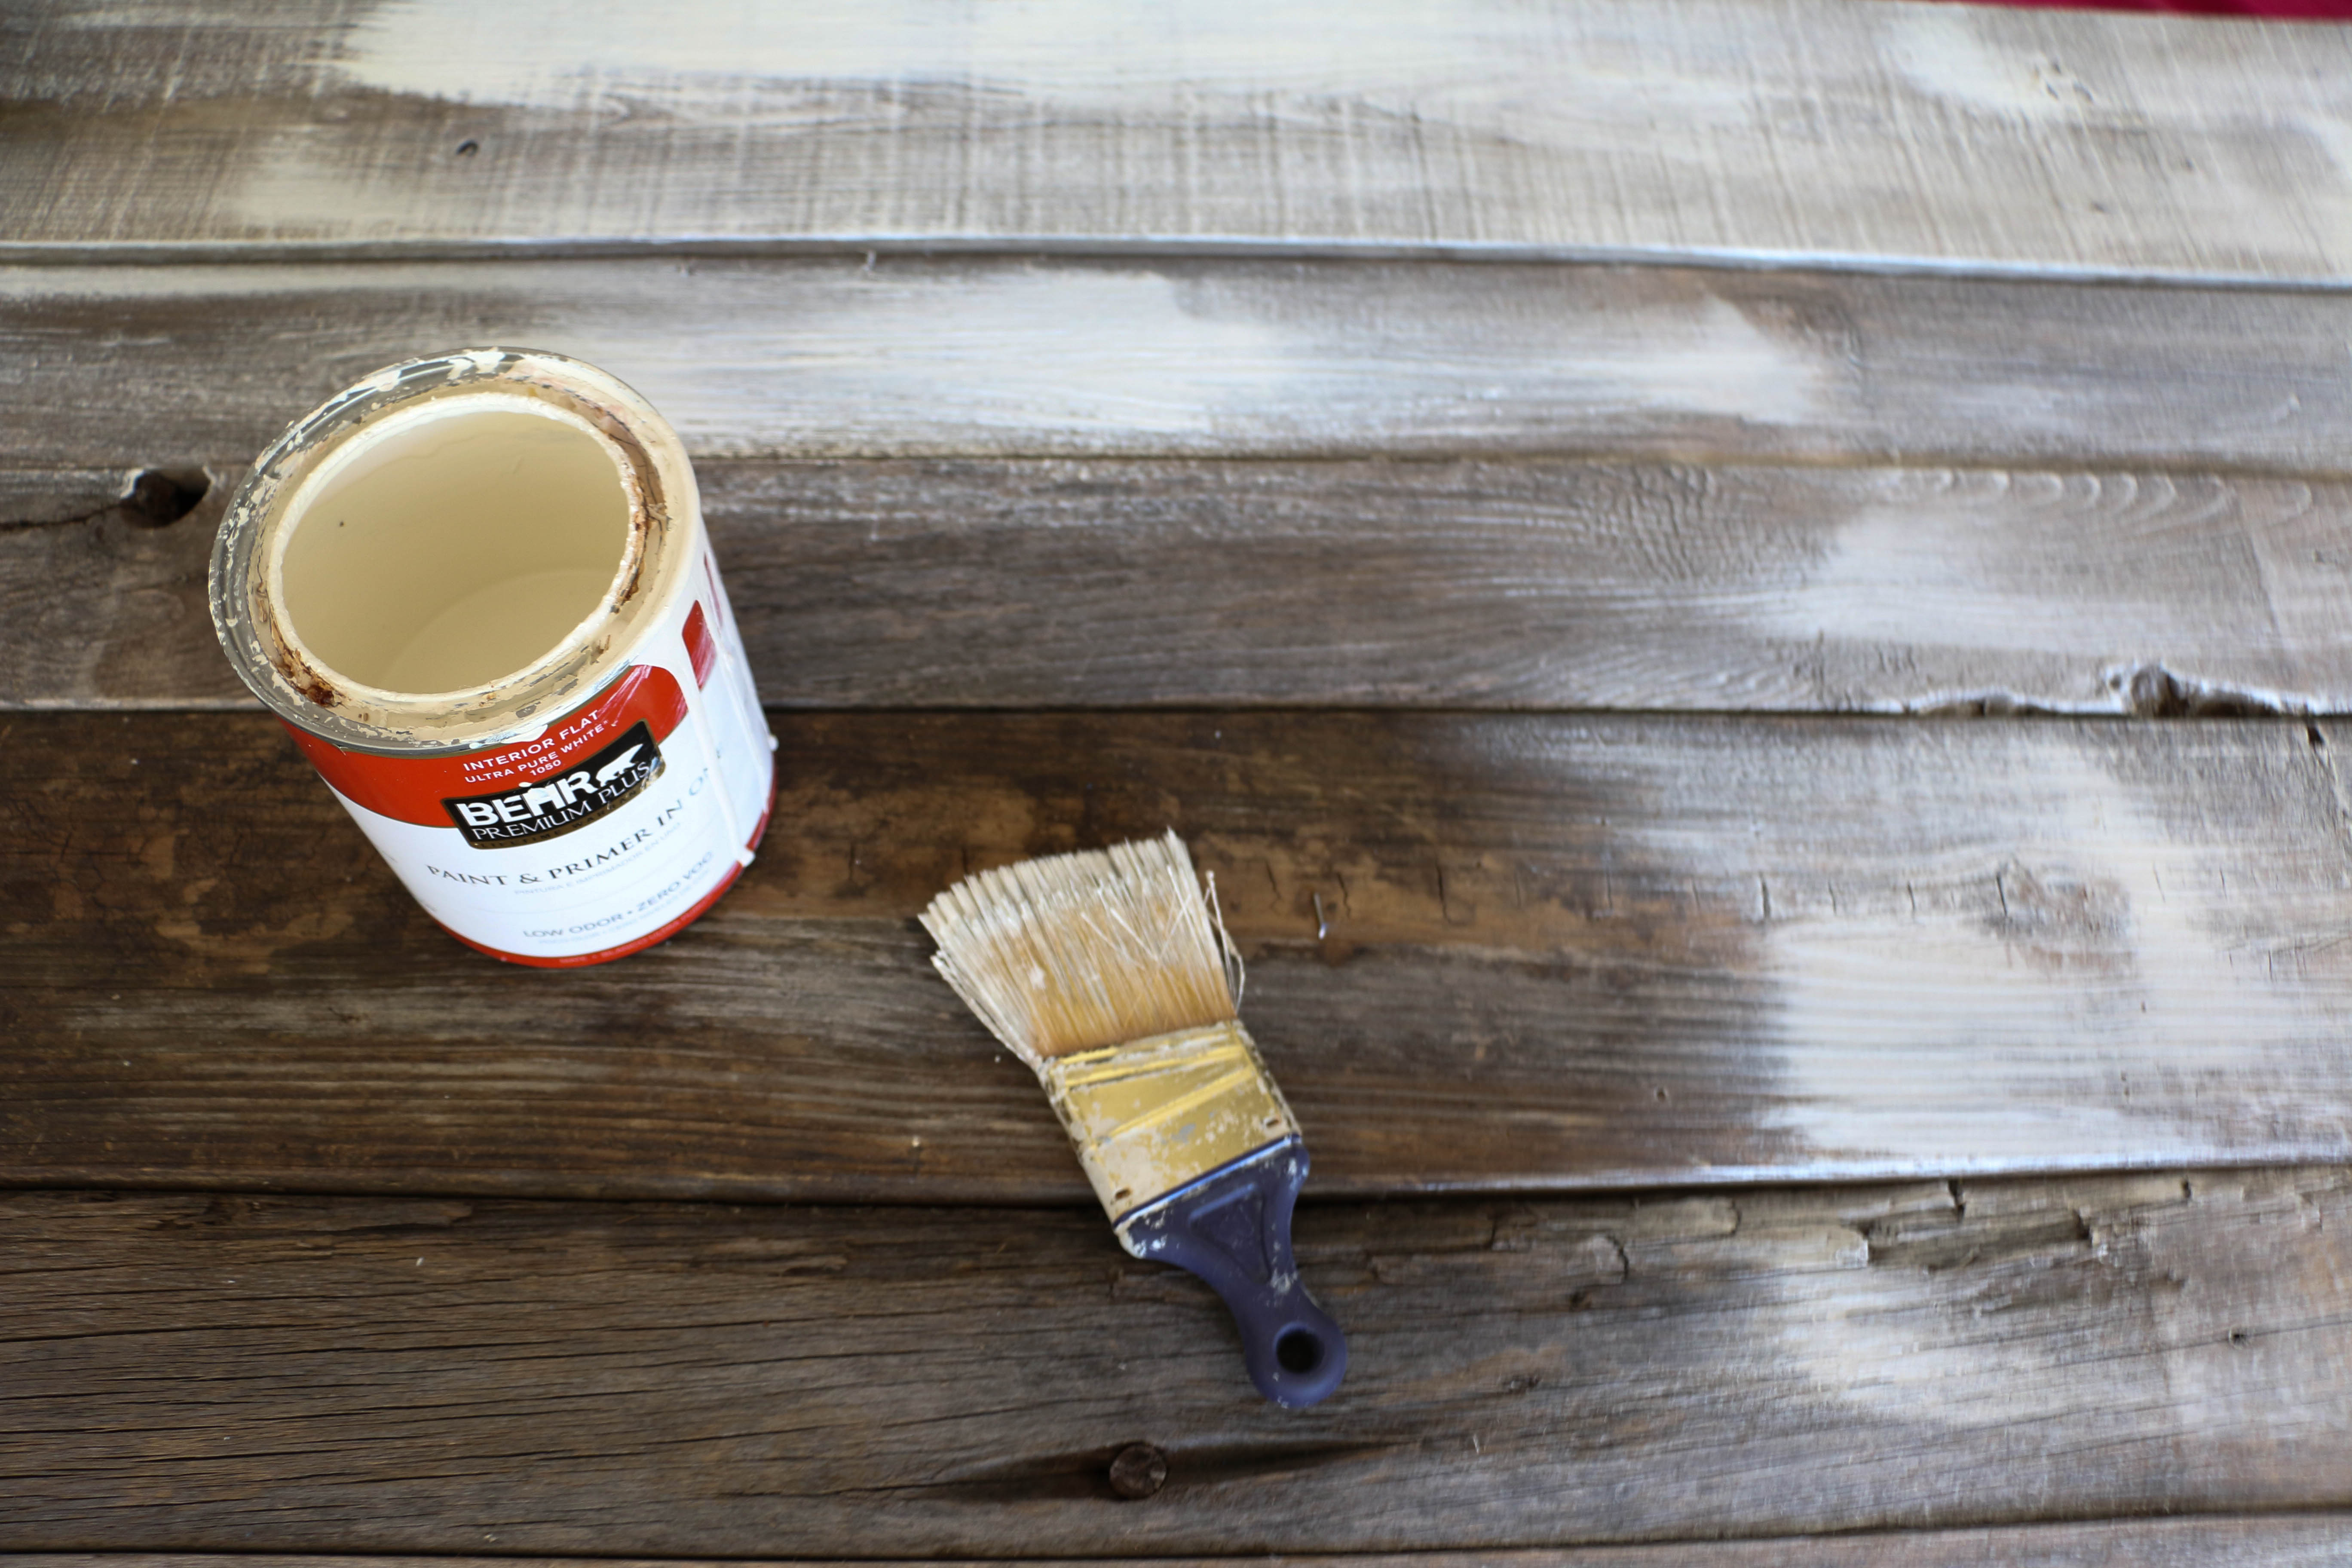
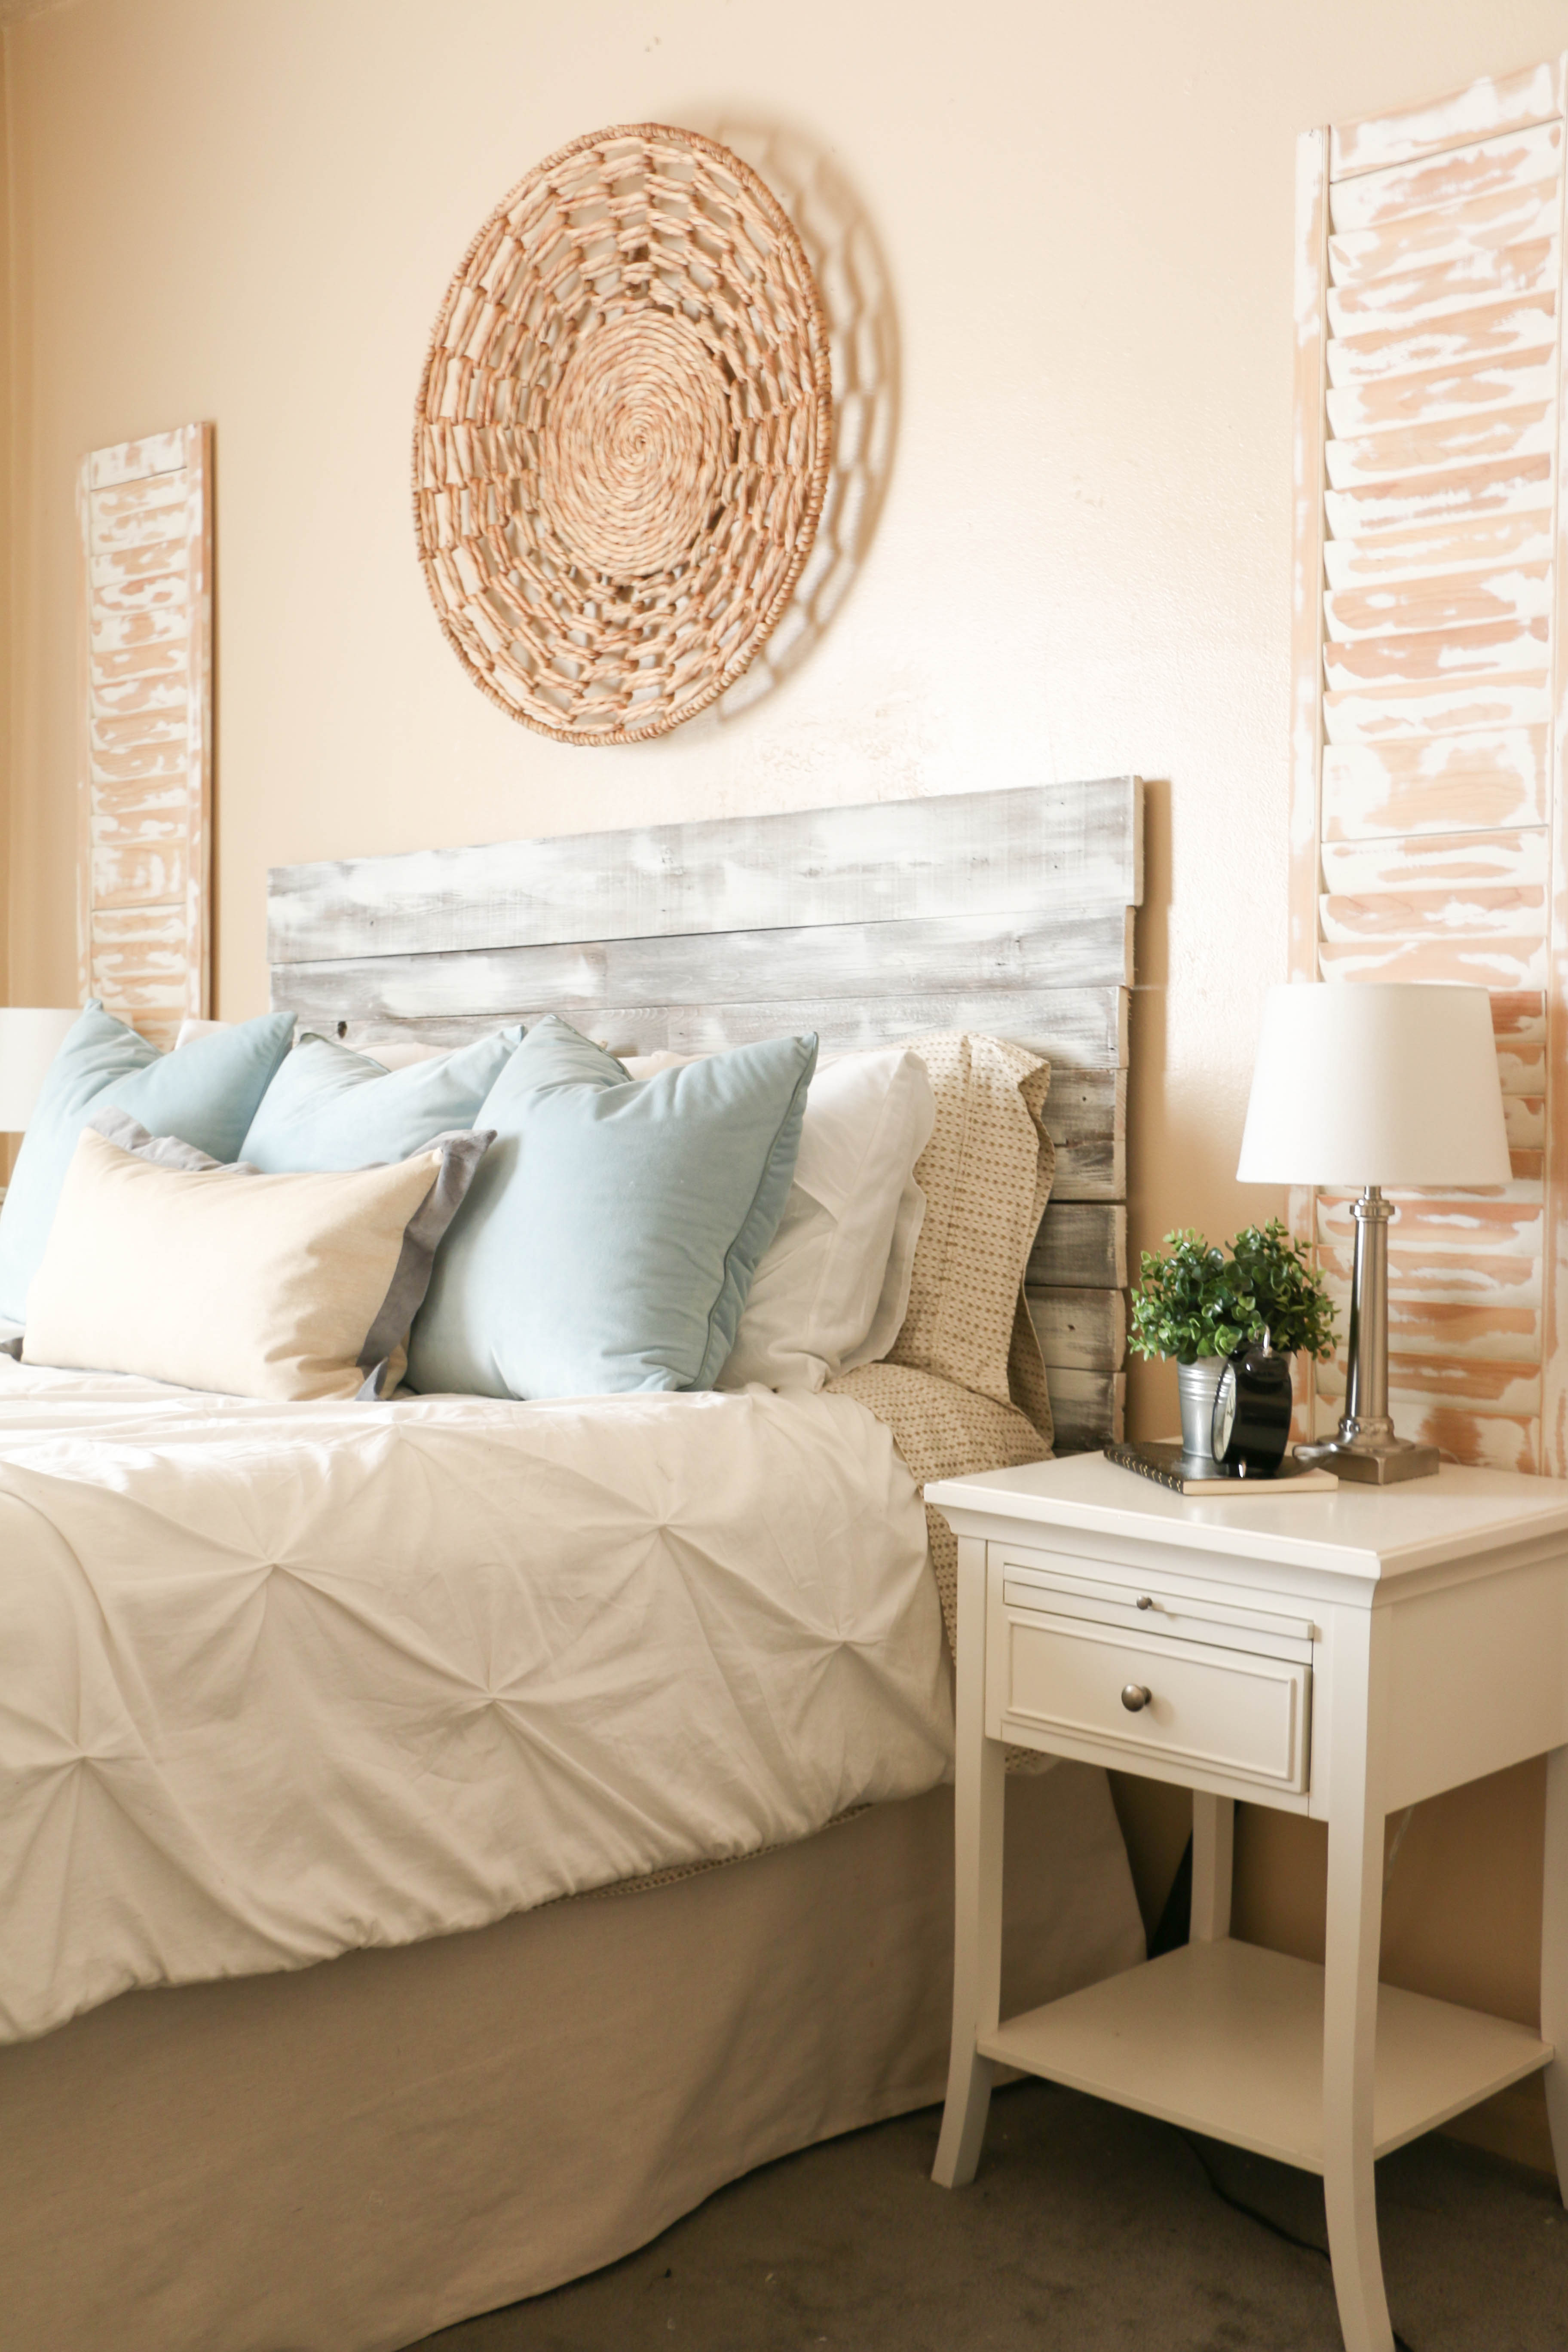
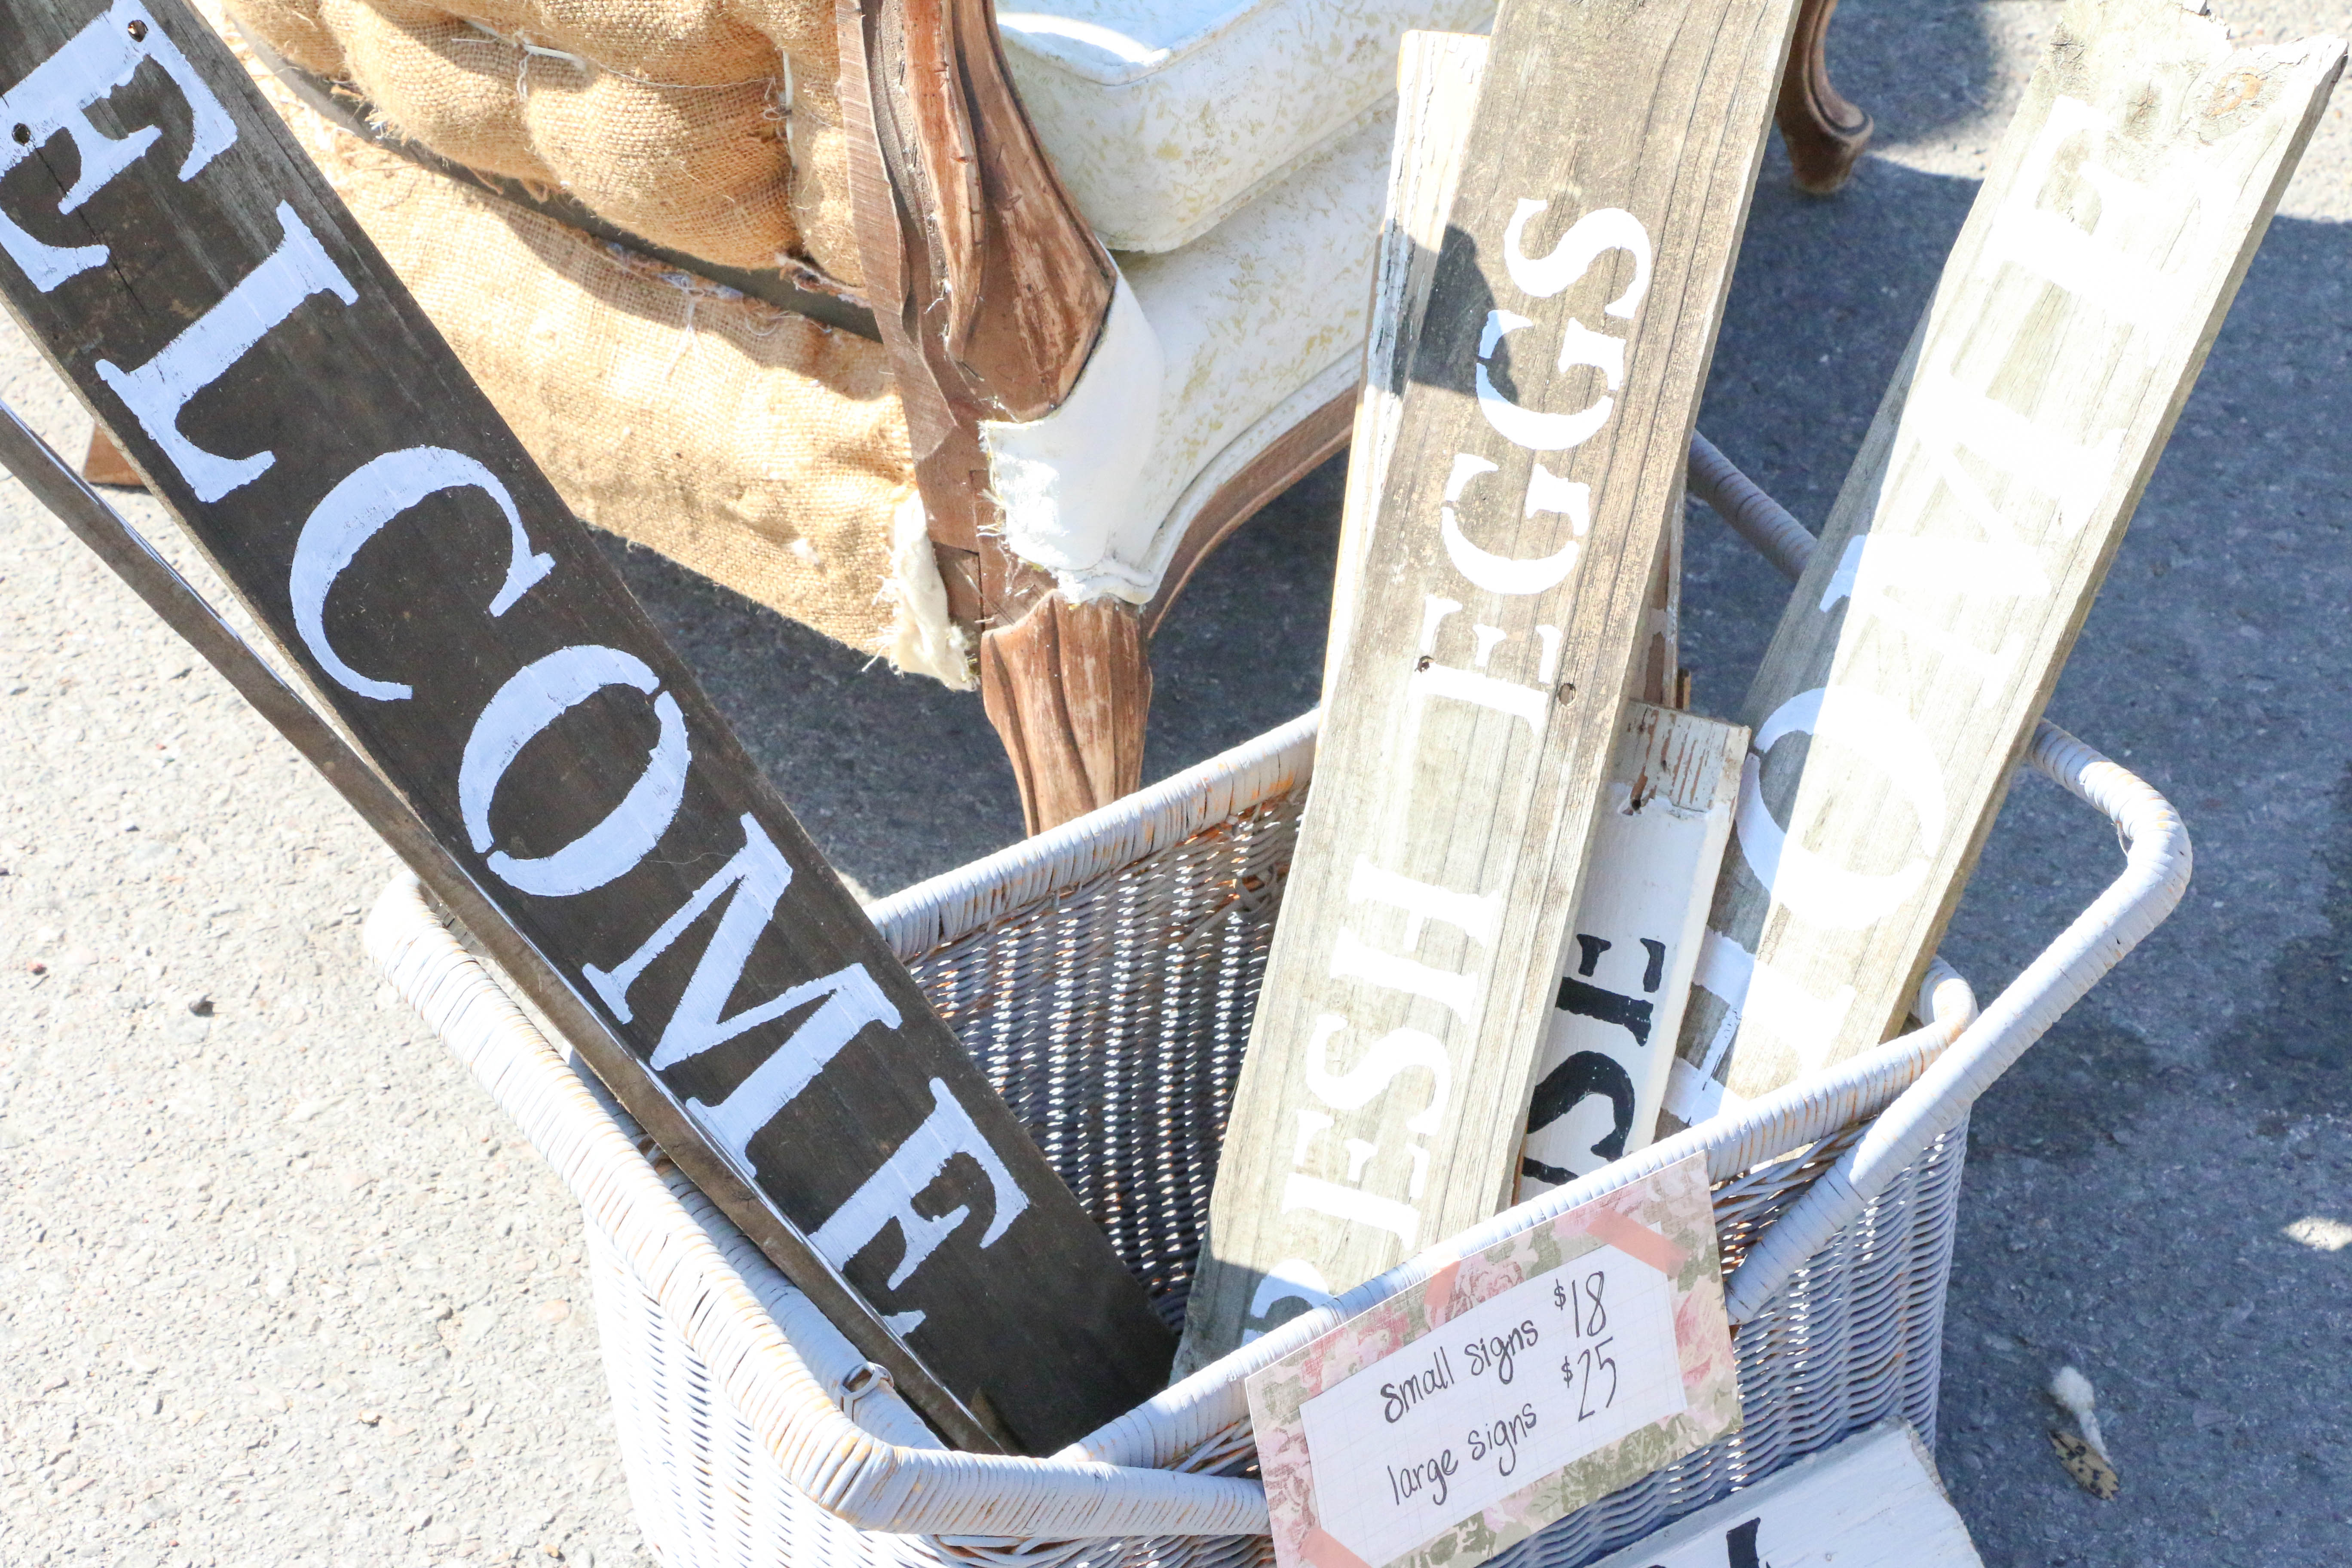
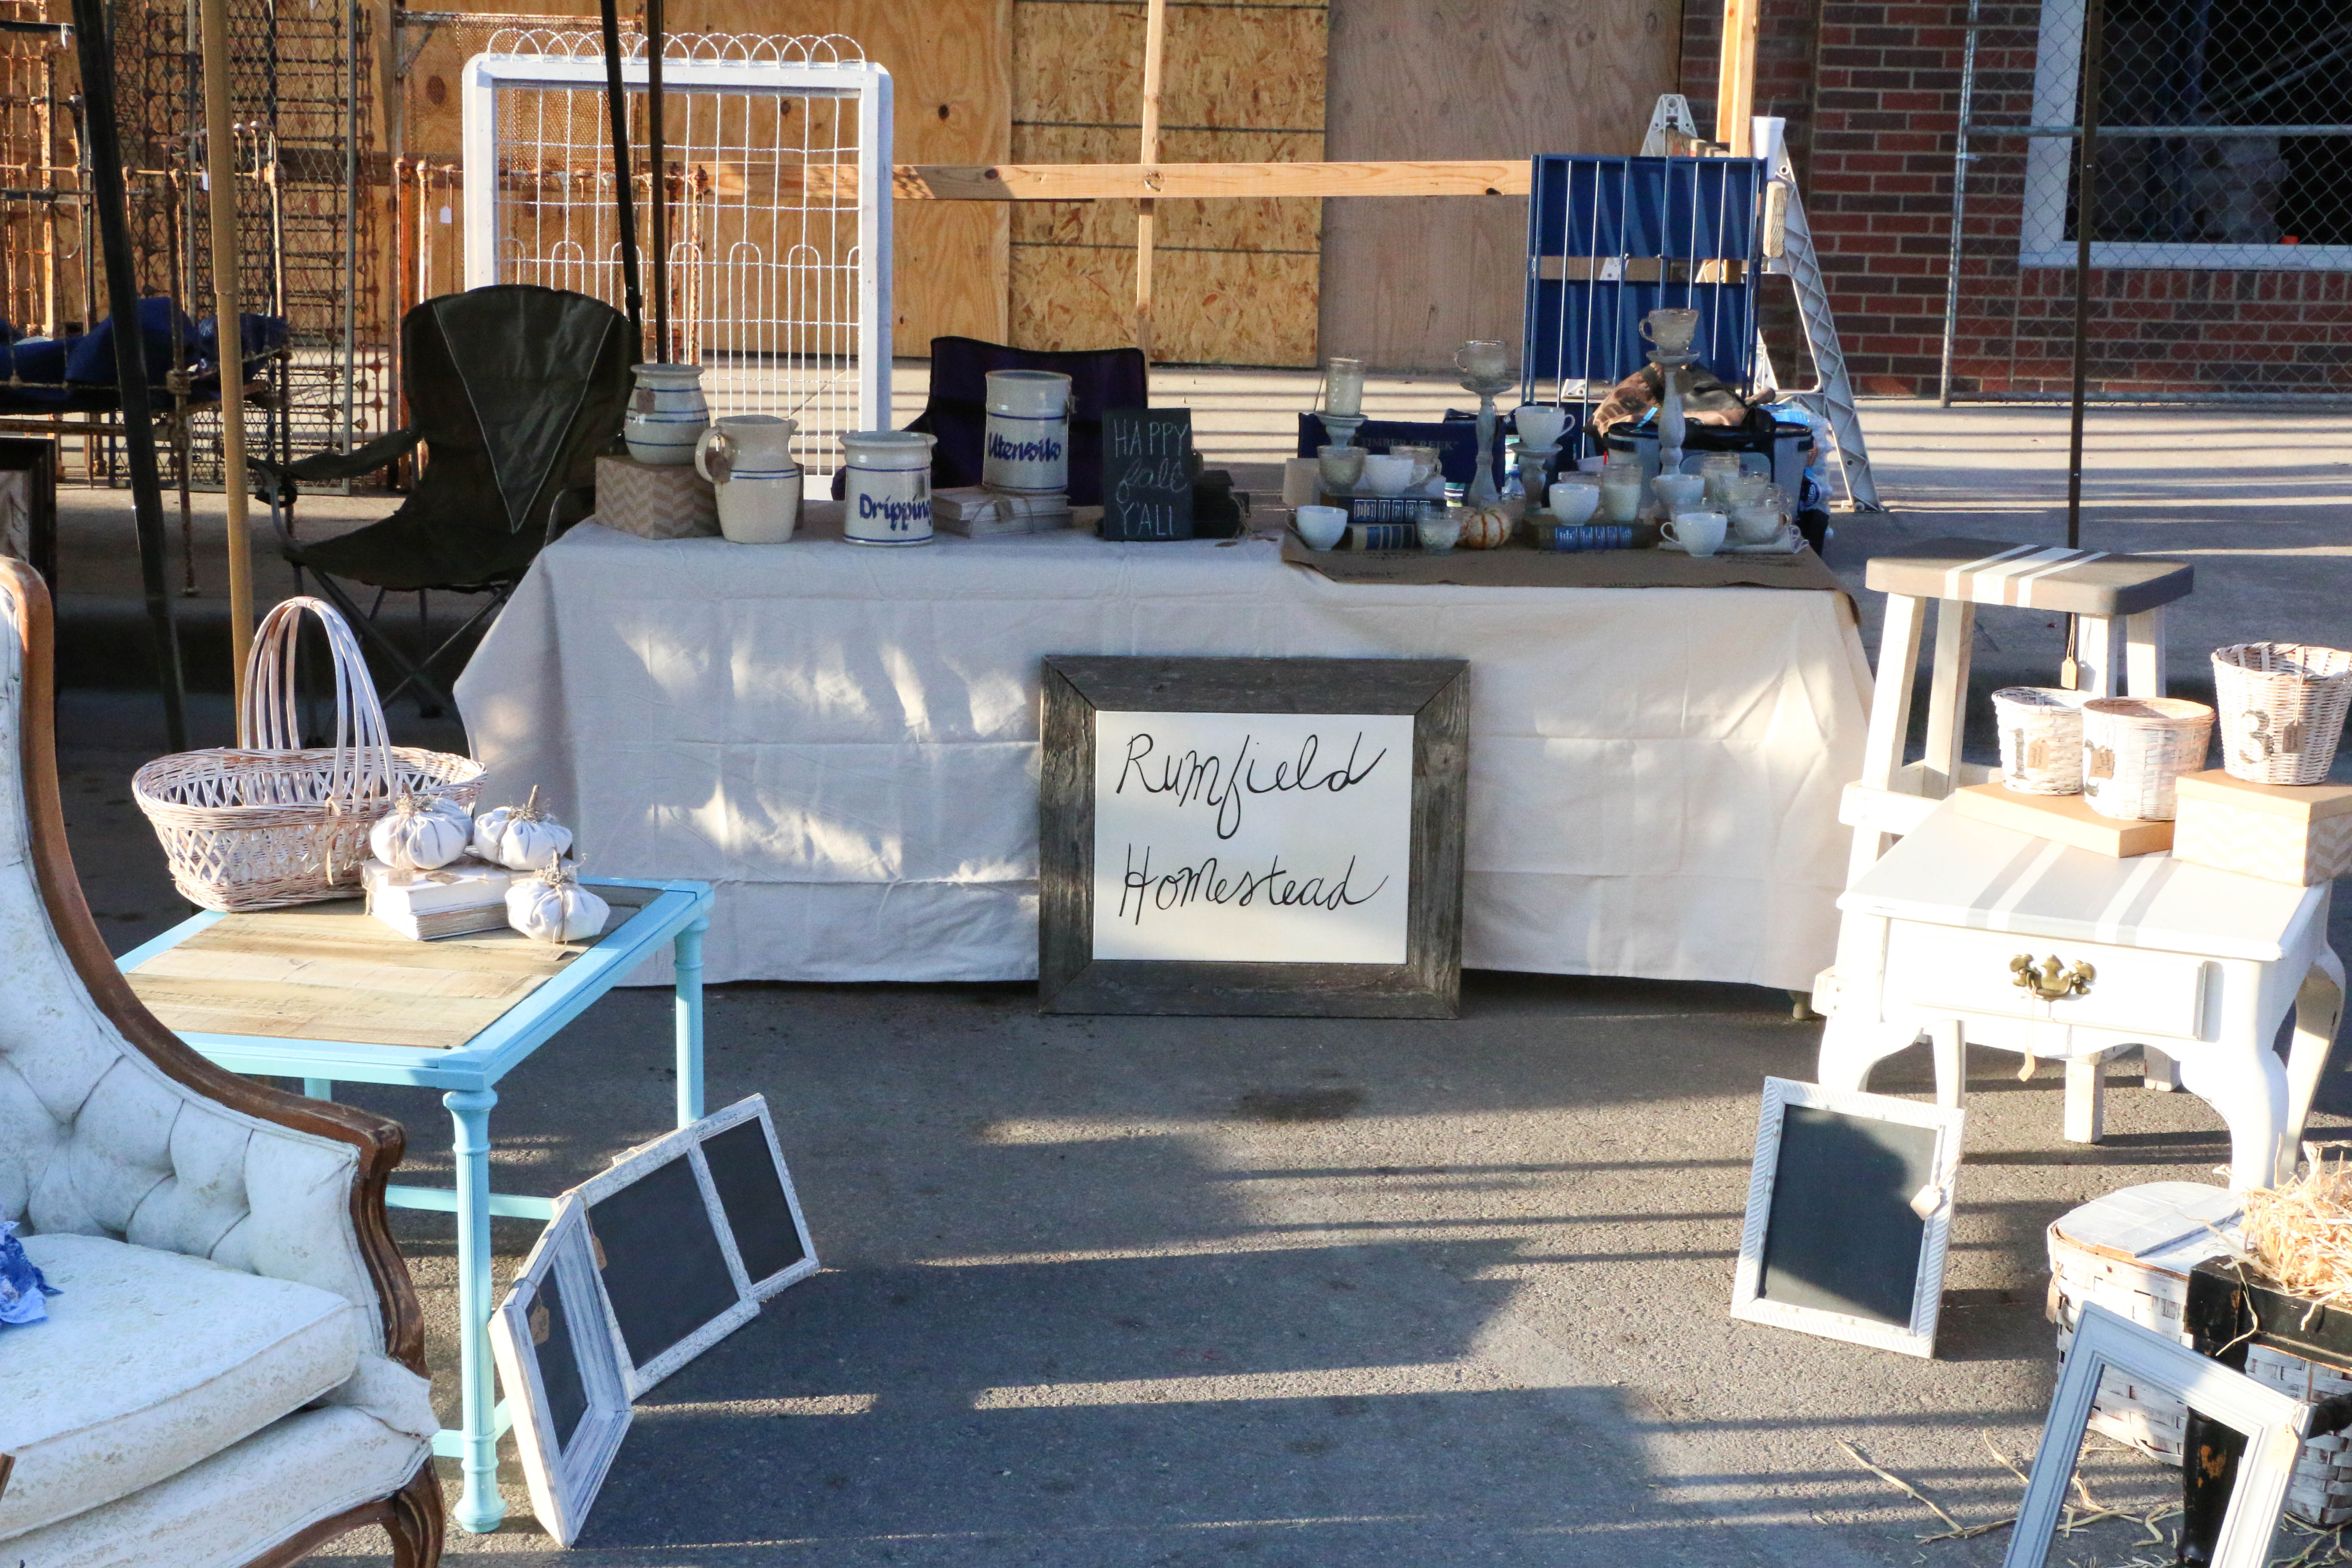
Have you heard from design magazines or HGTV shows about finding “your style” and sticking with it? For the last four years as I’ve been making our two different rental houses home, I’ve been drawn to a farmhouse-y, cottage-like style characterized by lots of chippy, white, antique-y looking things. I’ve sourced all kinds of materials from flea markets, and made things we owned to look older by distressing them.

I started a business refinishing furniture and sourcing antiques and I have done well for my home and others’ homes using all things “farmhouse style.” But guess what? Can I tell you these possibly forbidden words? I’m starting to get sick of it. Whaaaaaaaat? Am I even allowed to say that? Let’s backtrack a little bit.

In my personal style (the clothes I wear and how I present myself), I generally use words like classic, erring on the side of “preppy” using lots of neutrals and blues. I try to stick with only buying pieces that won’t be out of style in five years. But guess what? Would you believe that in high school, for a short time, I was really into duct tape. As in, I made myself all kinds of accessories out of colored duct tape. Belts, purses, wallets, bracelets, you name it. Now, does this fit in with the classic, natural, timeless way I try to present myself? Absolutely not! Because it was a phase and I moved on past that phase.

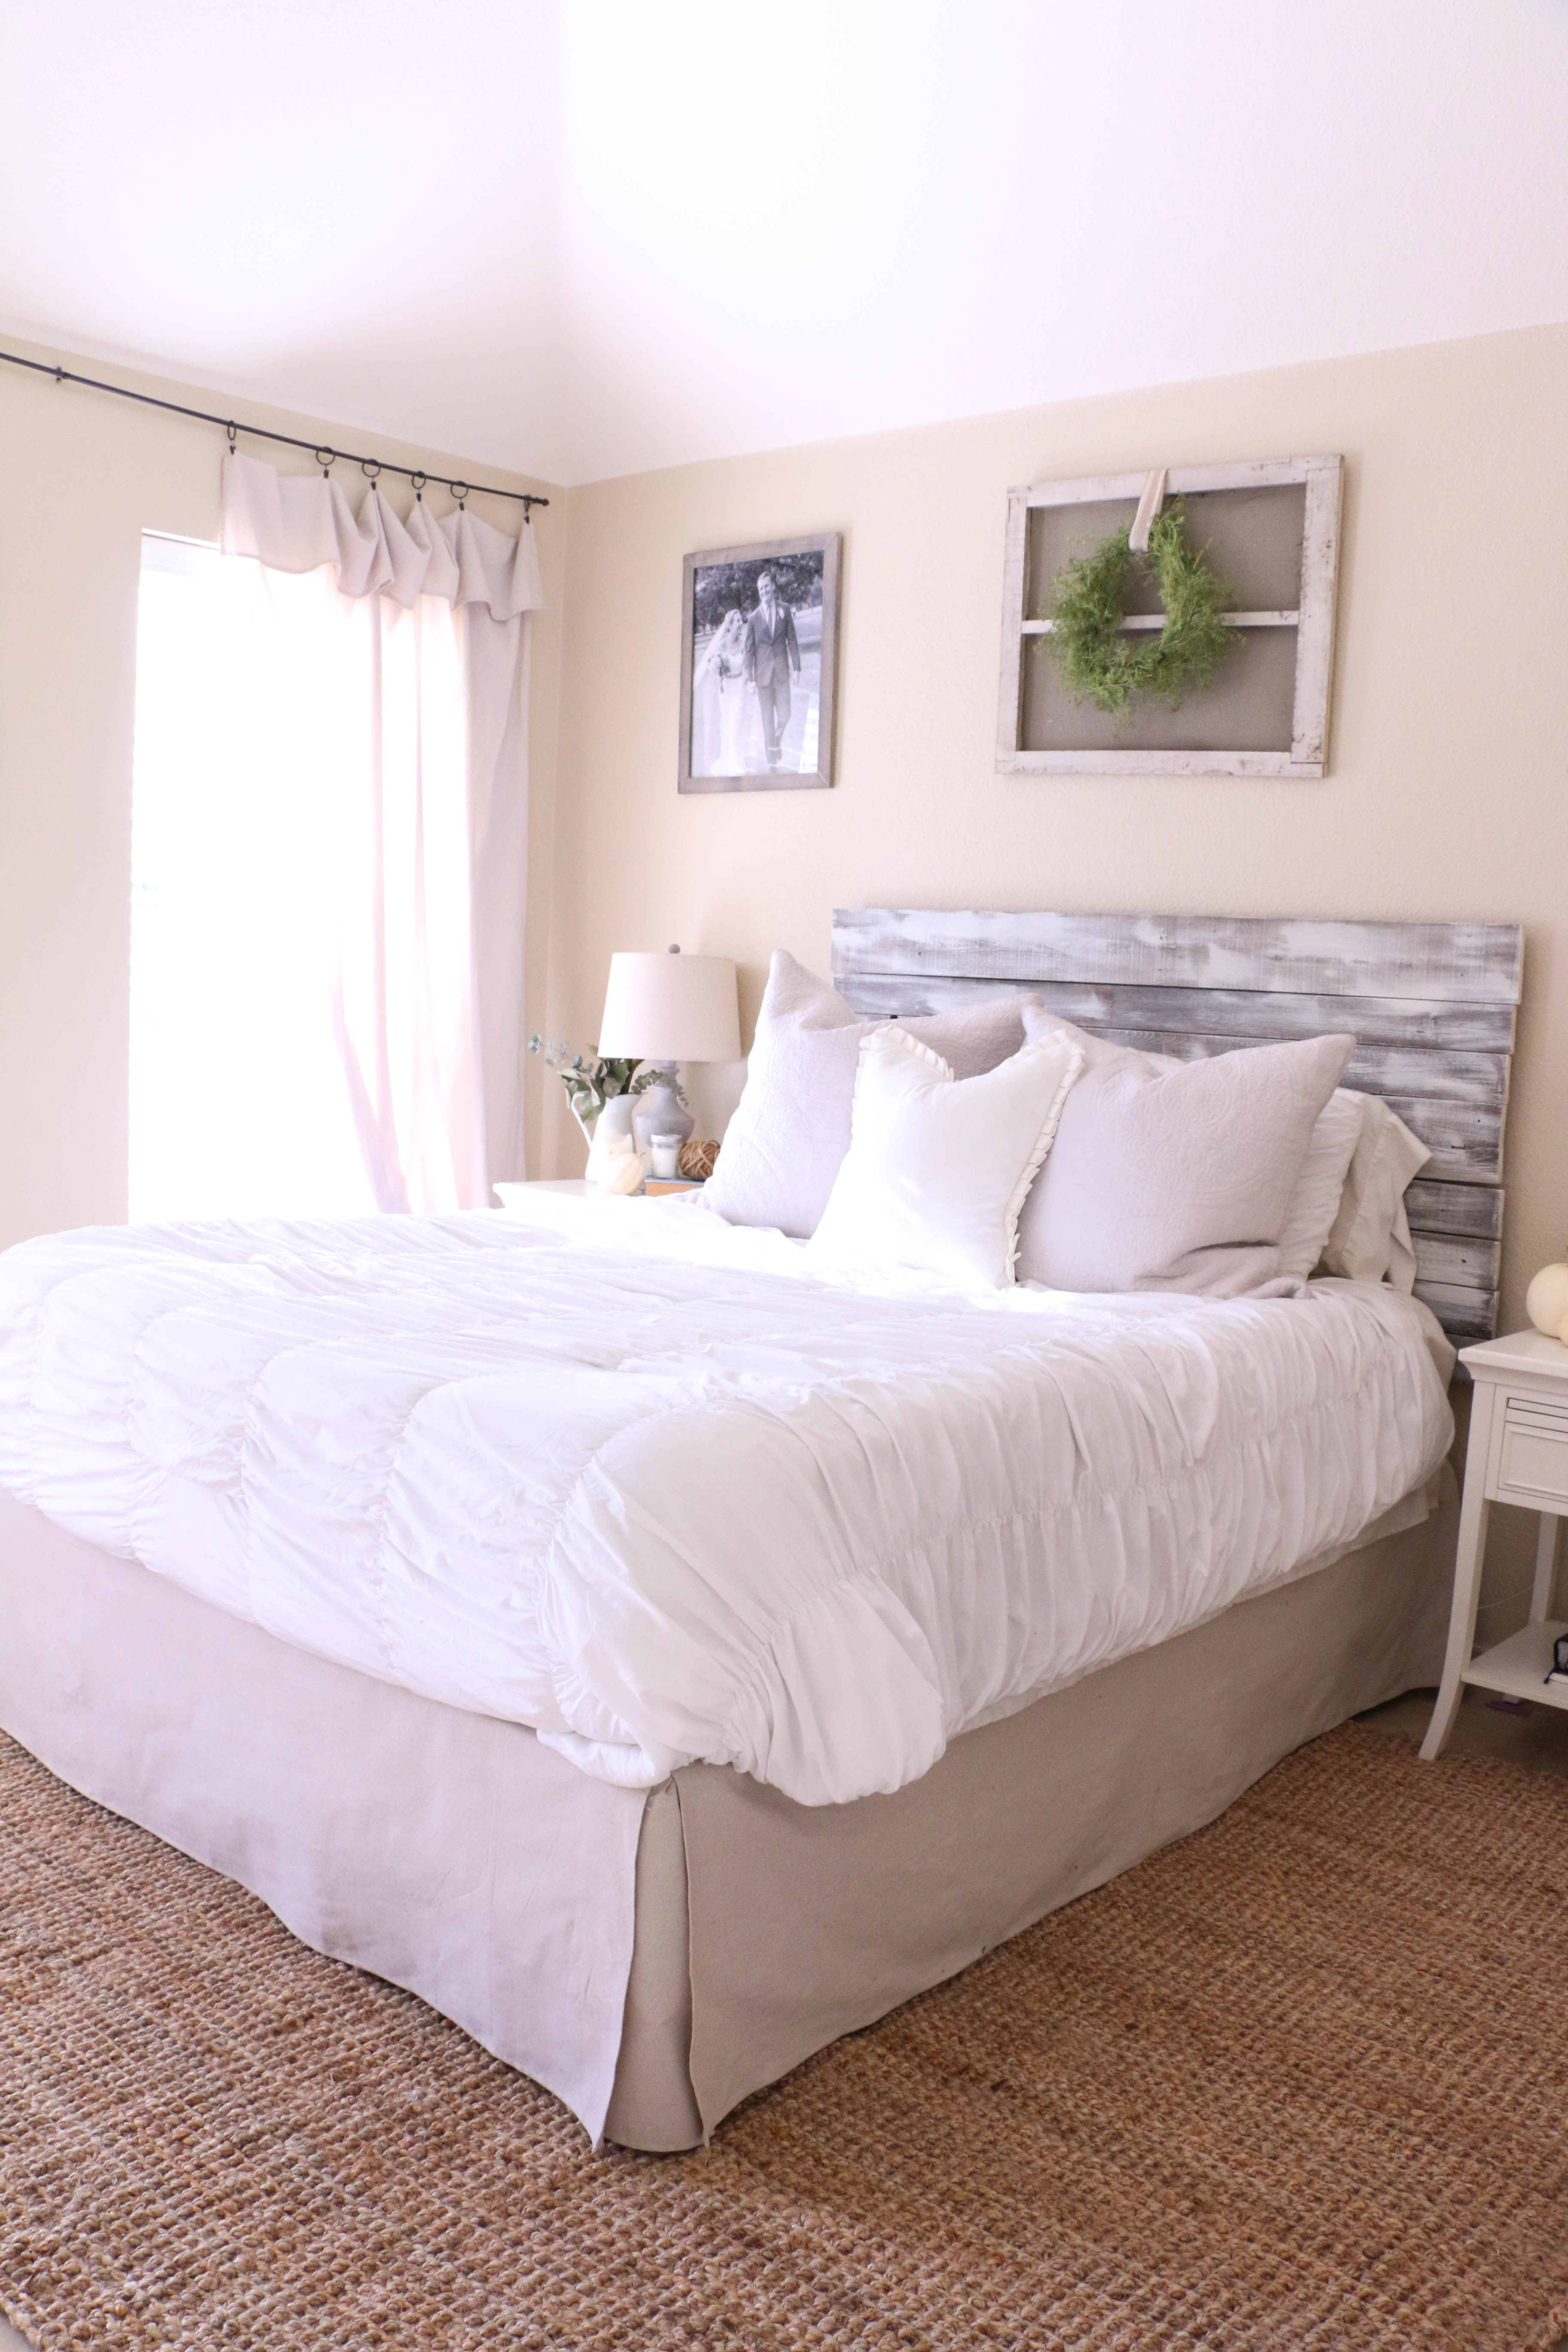
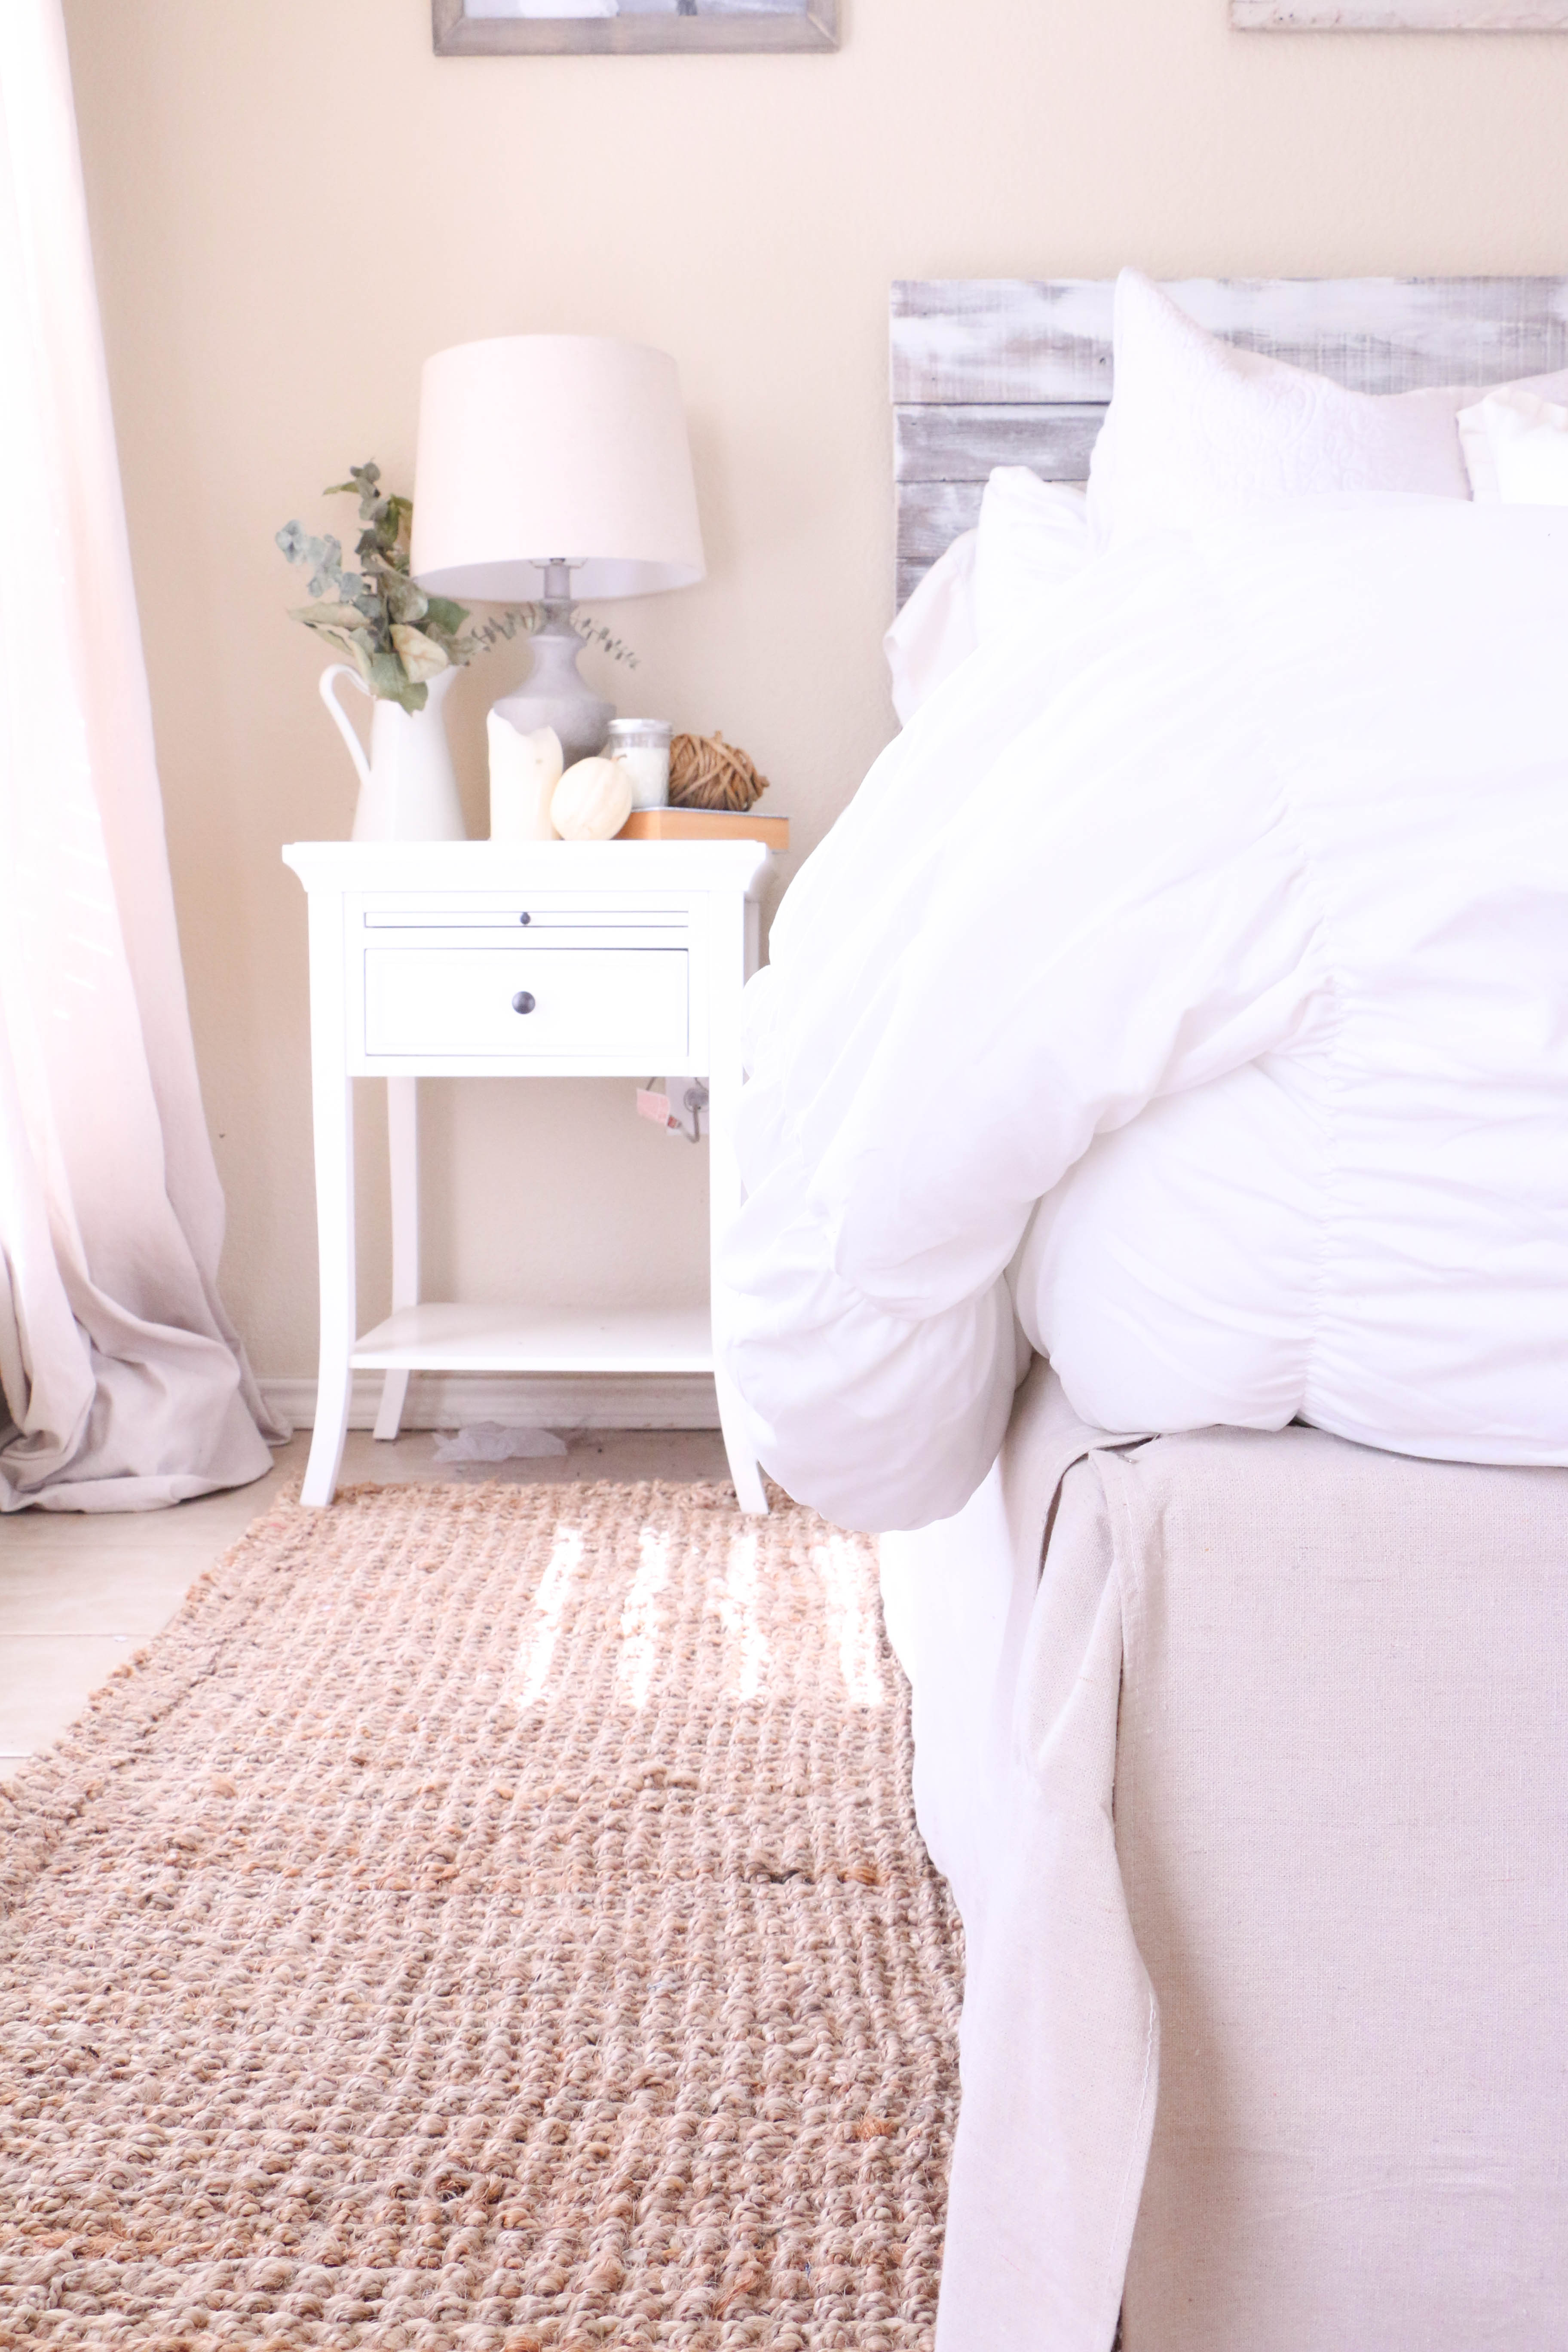
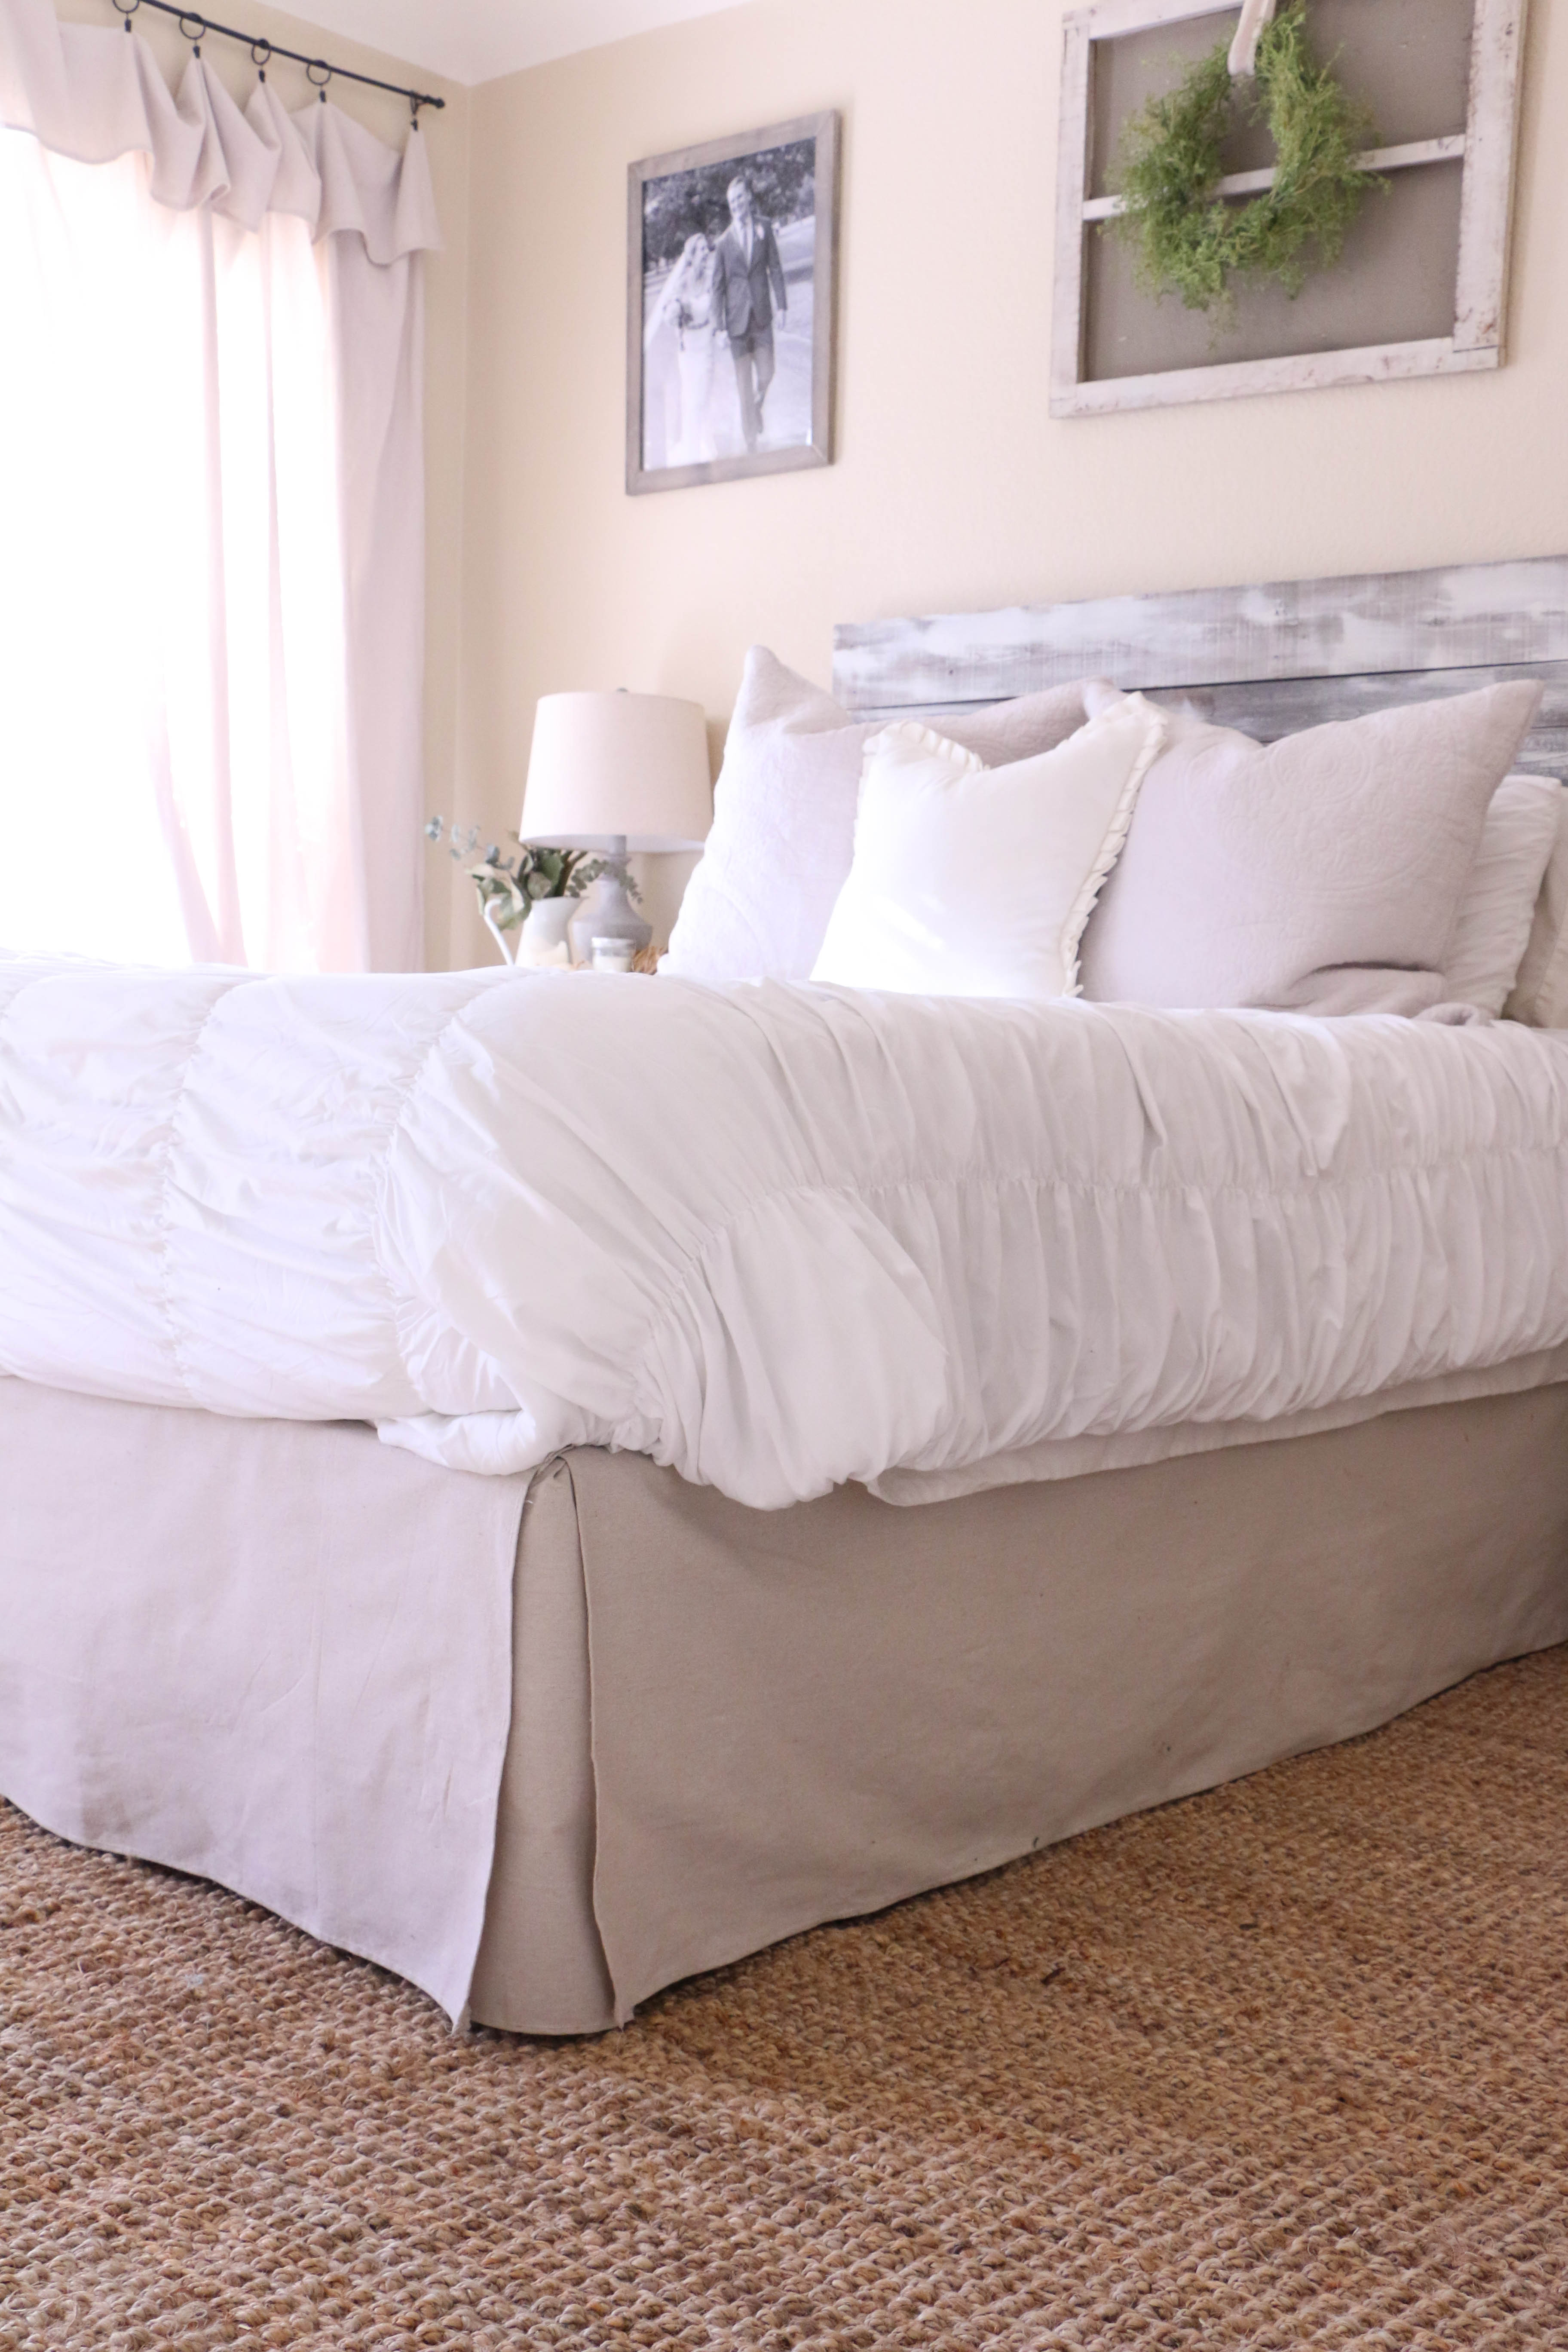
I think you may be able to see where this is going. I am going to step out on a limb here and say that in our homes, we’re allowed to have phases too. We don’t have to stick to something that we picked five or ten years ago just because that’s what we chose and now we’re stuck with it. So that brings me back to my own home. I have been a lover of the modern farmhouse vibe in all it’s white and gray and chippy paint glory for several years. But I sense myself moving beyond that.

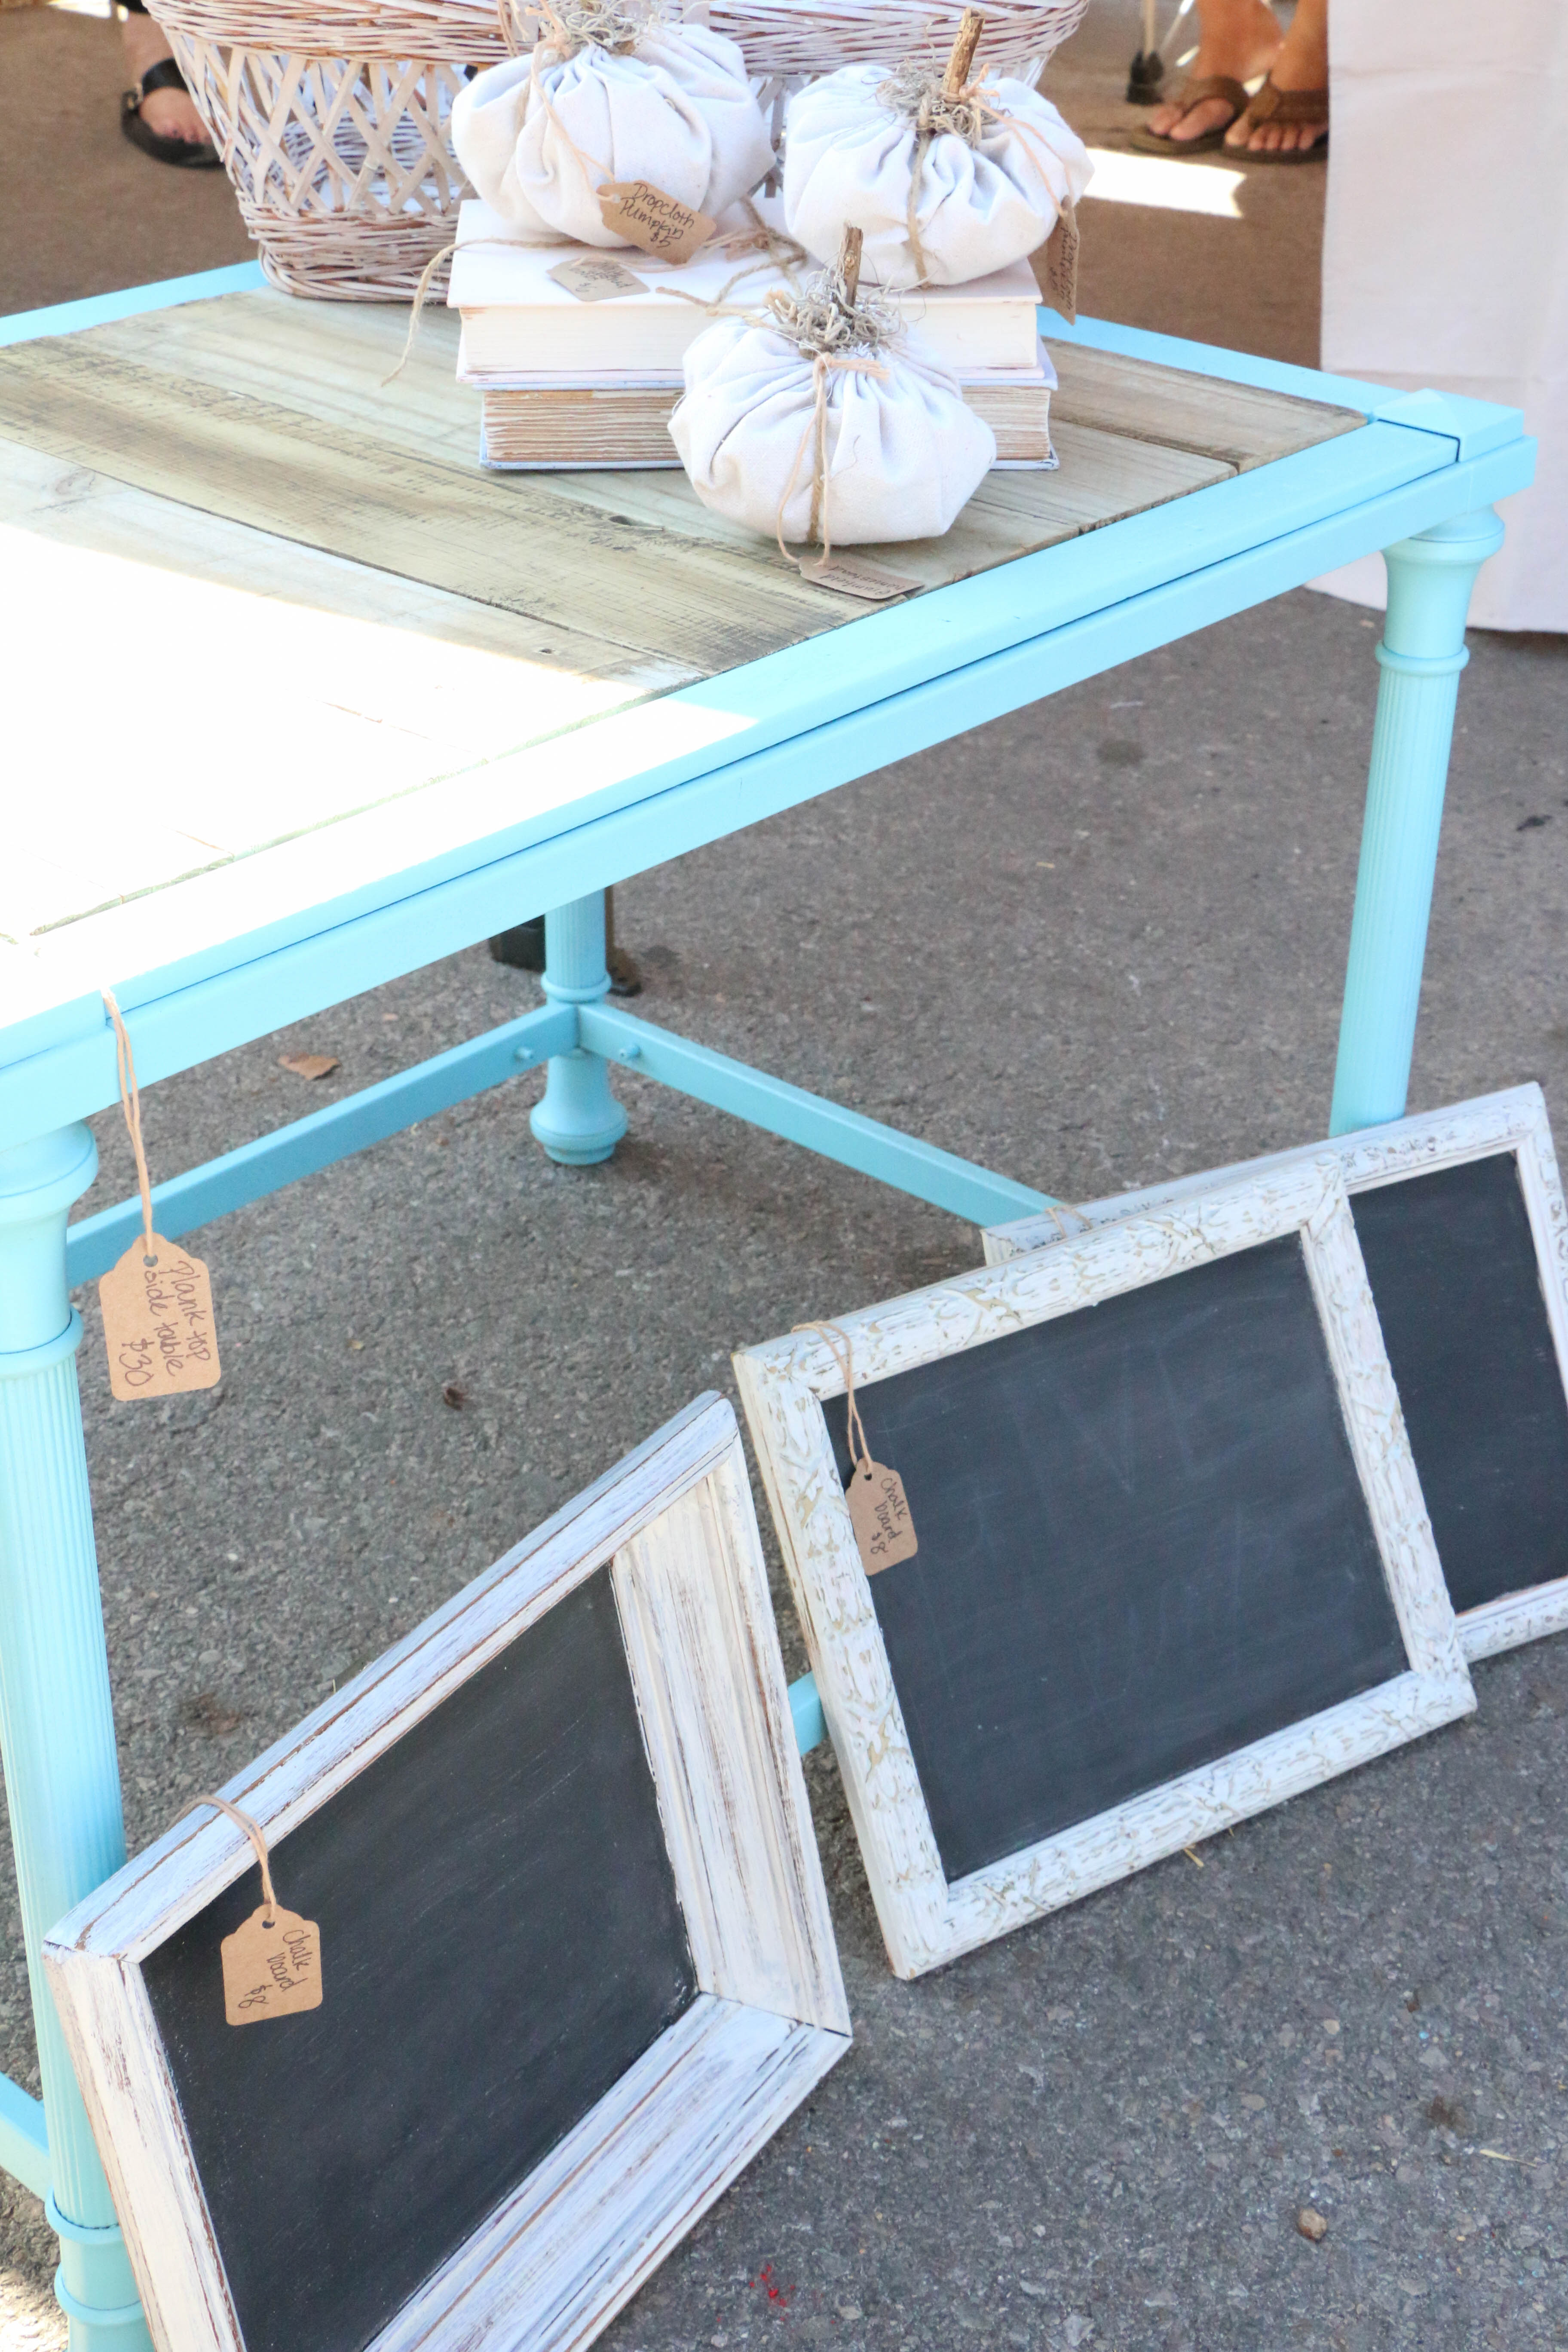
Don’t get me wrong. I love antiques. I love shopping flea markets. I don’t see myself stopping that trend and solely shopping Target from now on. But I feel that I may be moving (or trying to) toward a more timeless, classic and traditional look in my home. Not so shabby chic, but polished. This is going to be a process. I’ve always been on a budget, so there’s not going to be room to re-furnish our entire house just because I don’t like our stuff anymore. No, I’m going to do things as I always have – slowly evolving over time.

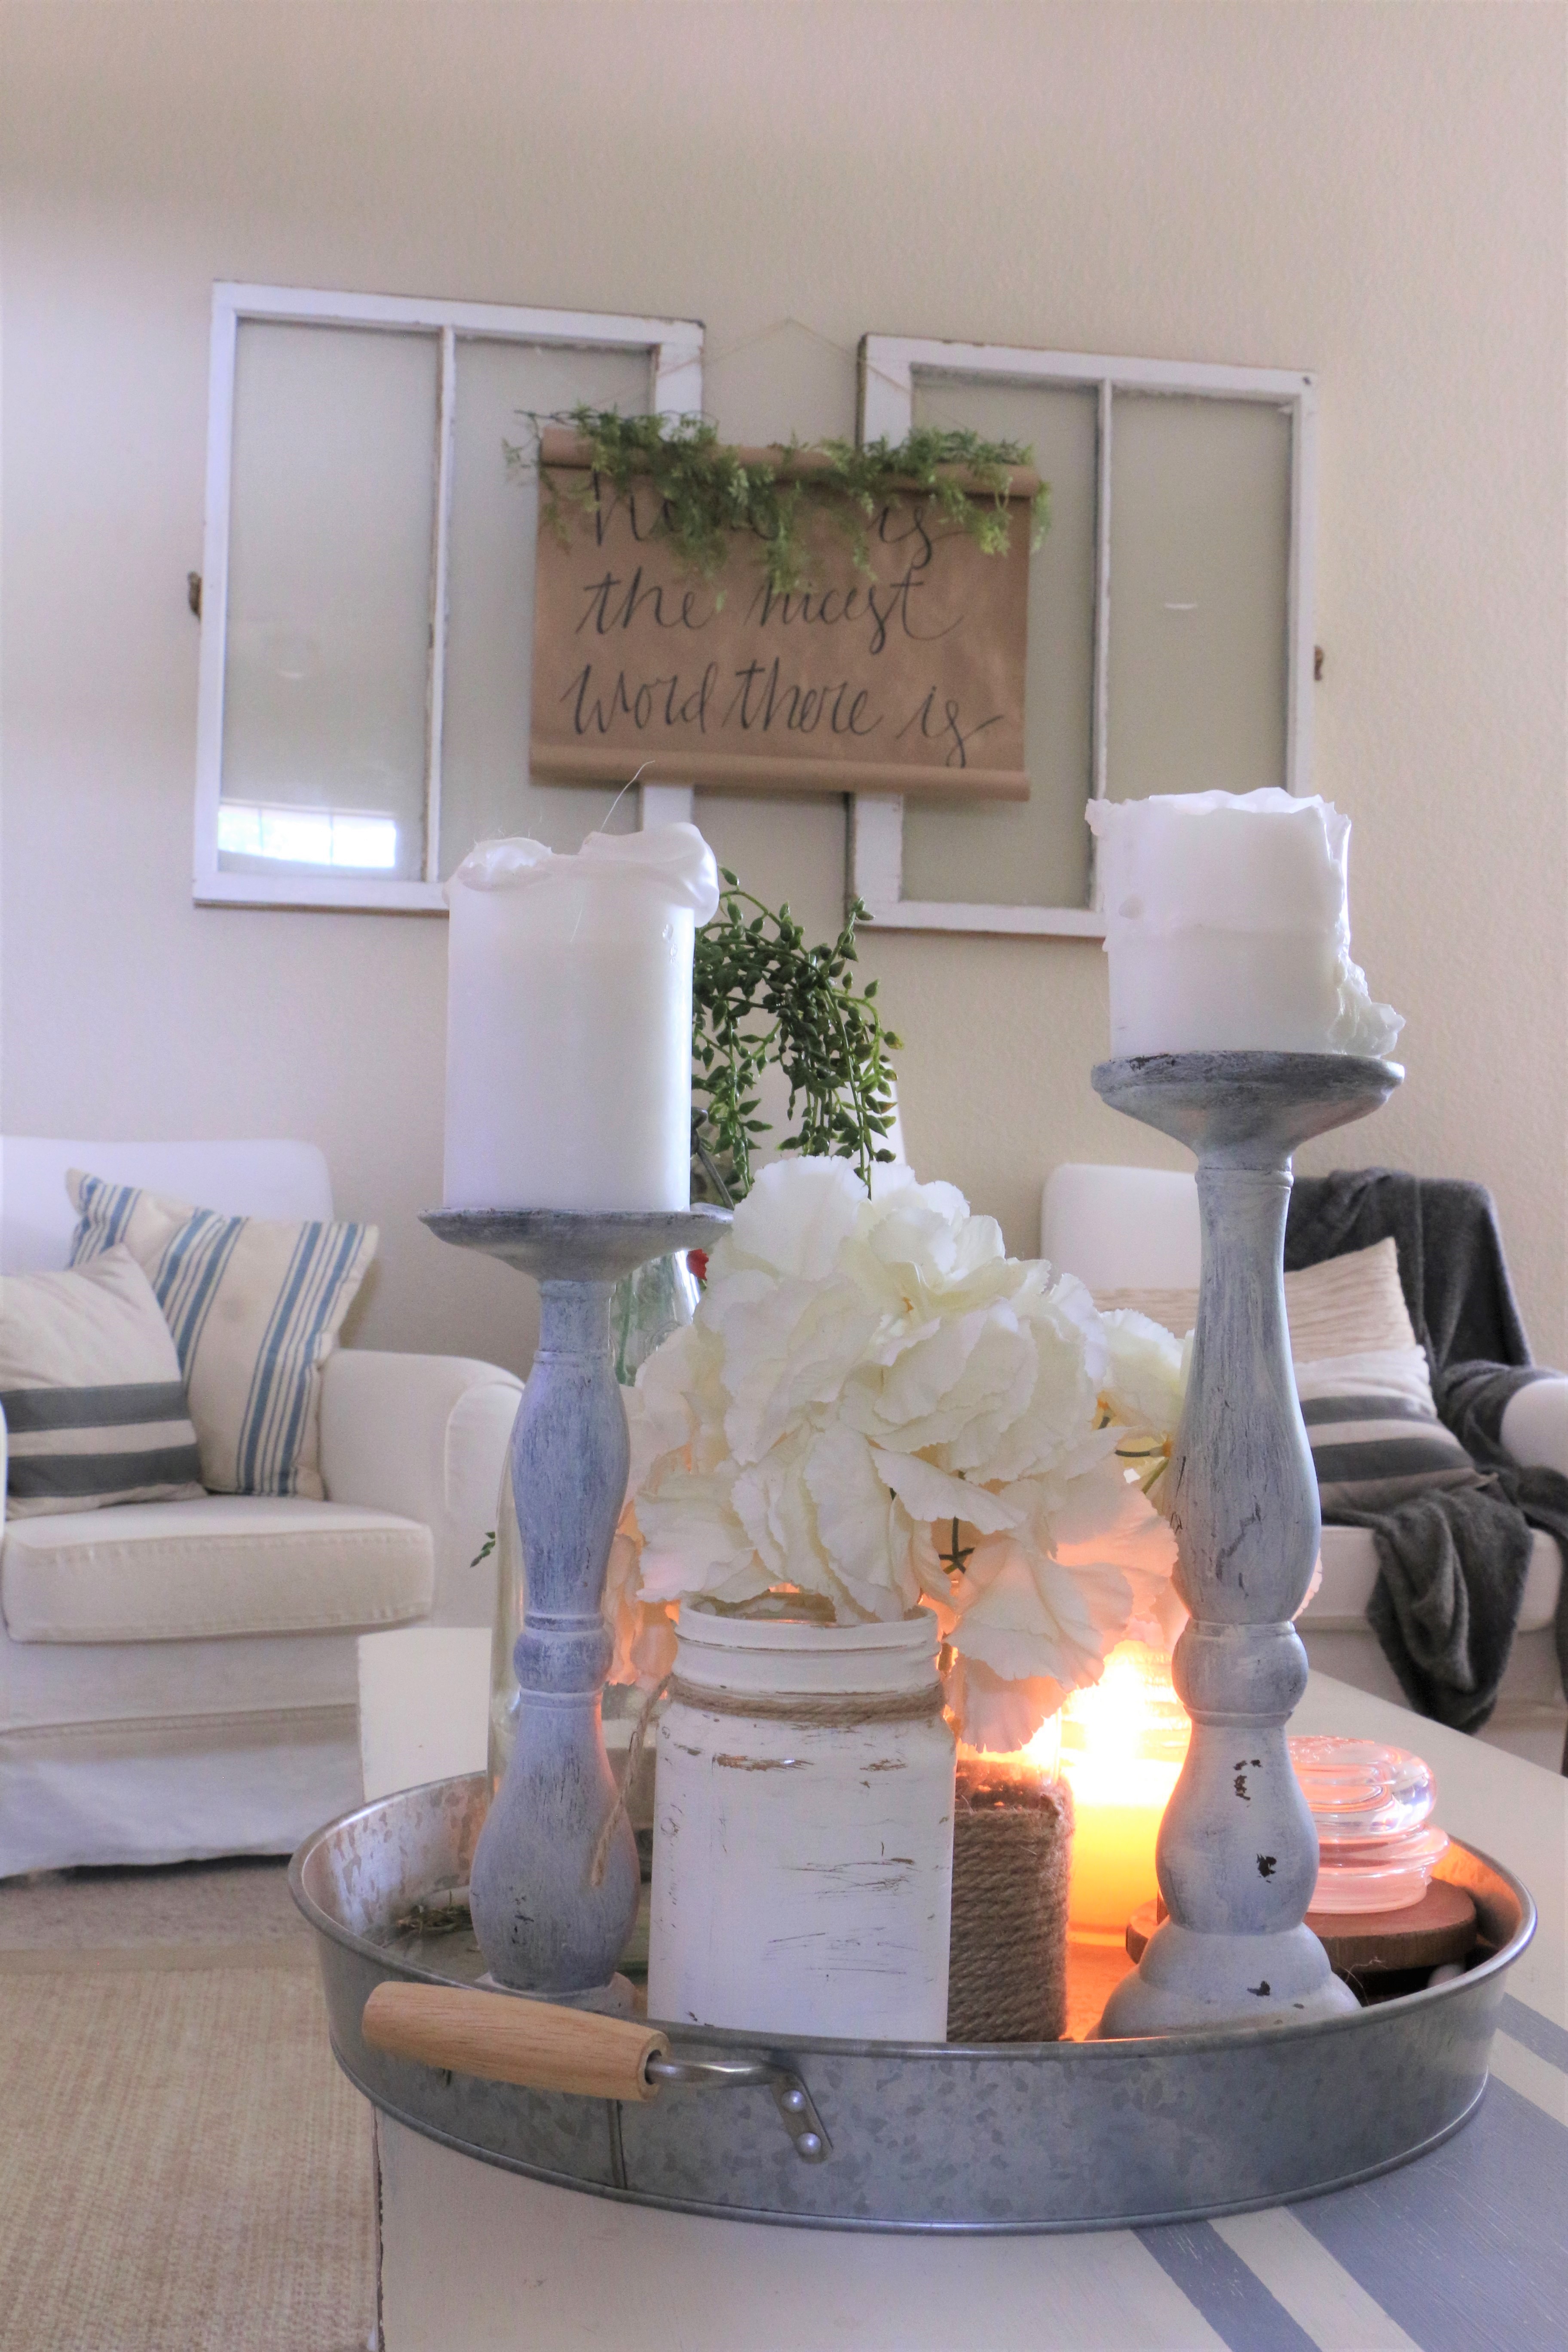
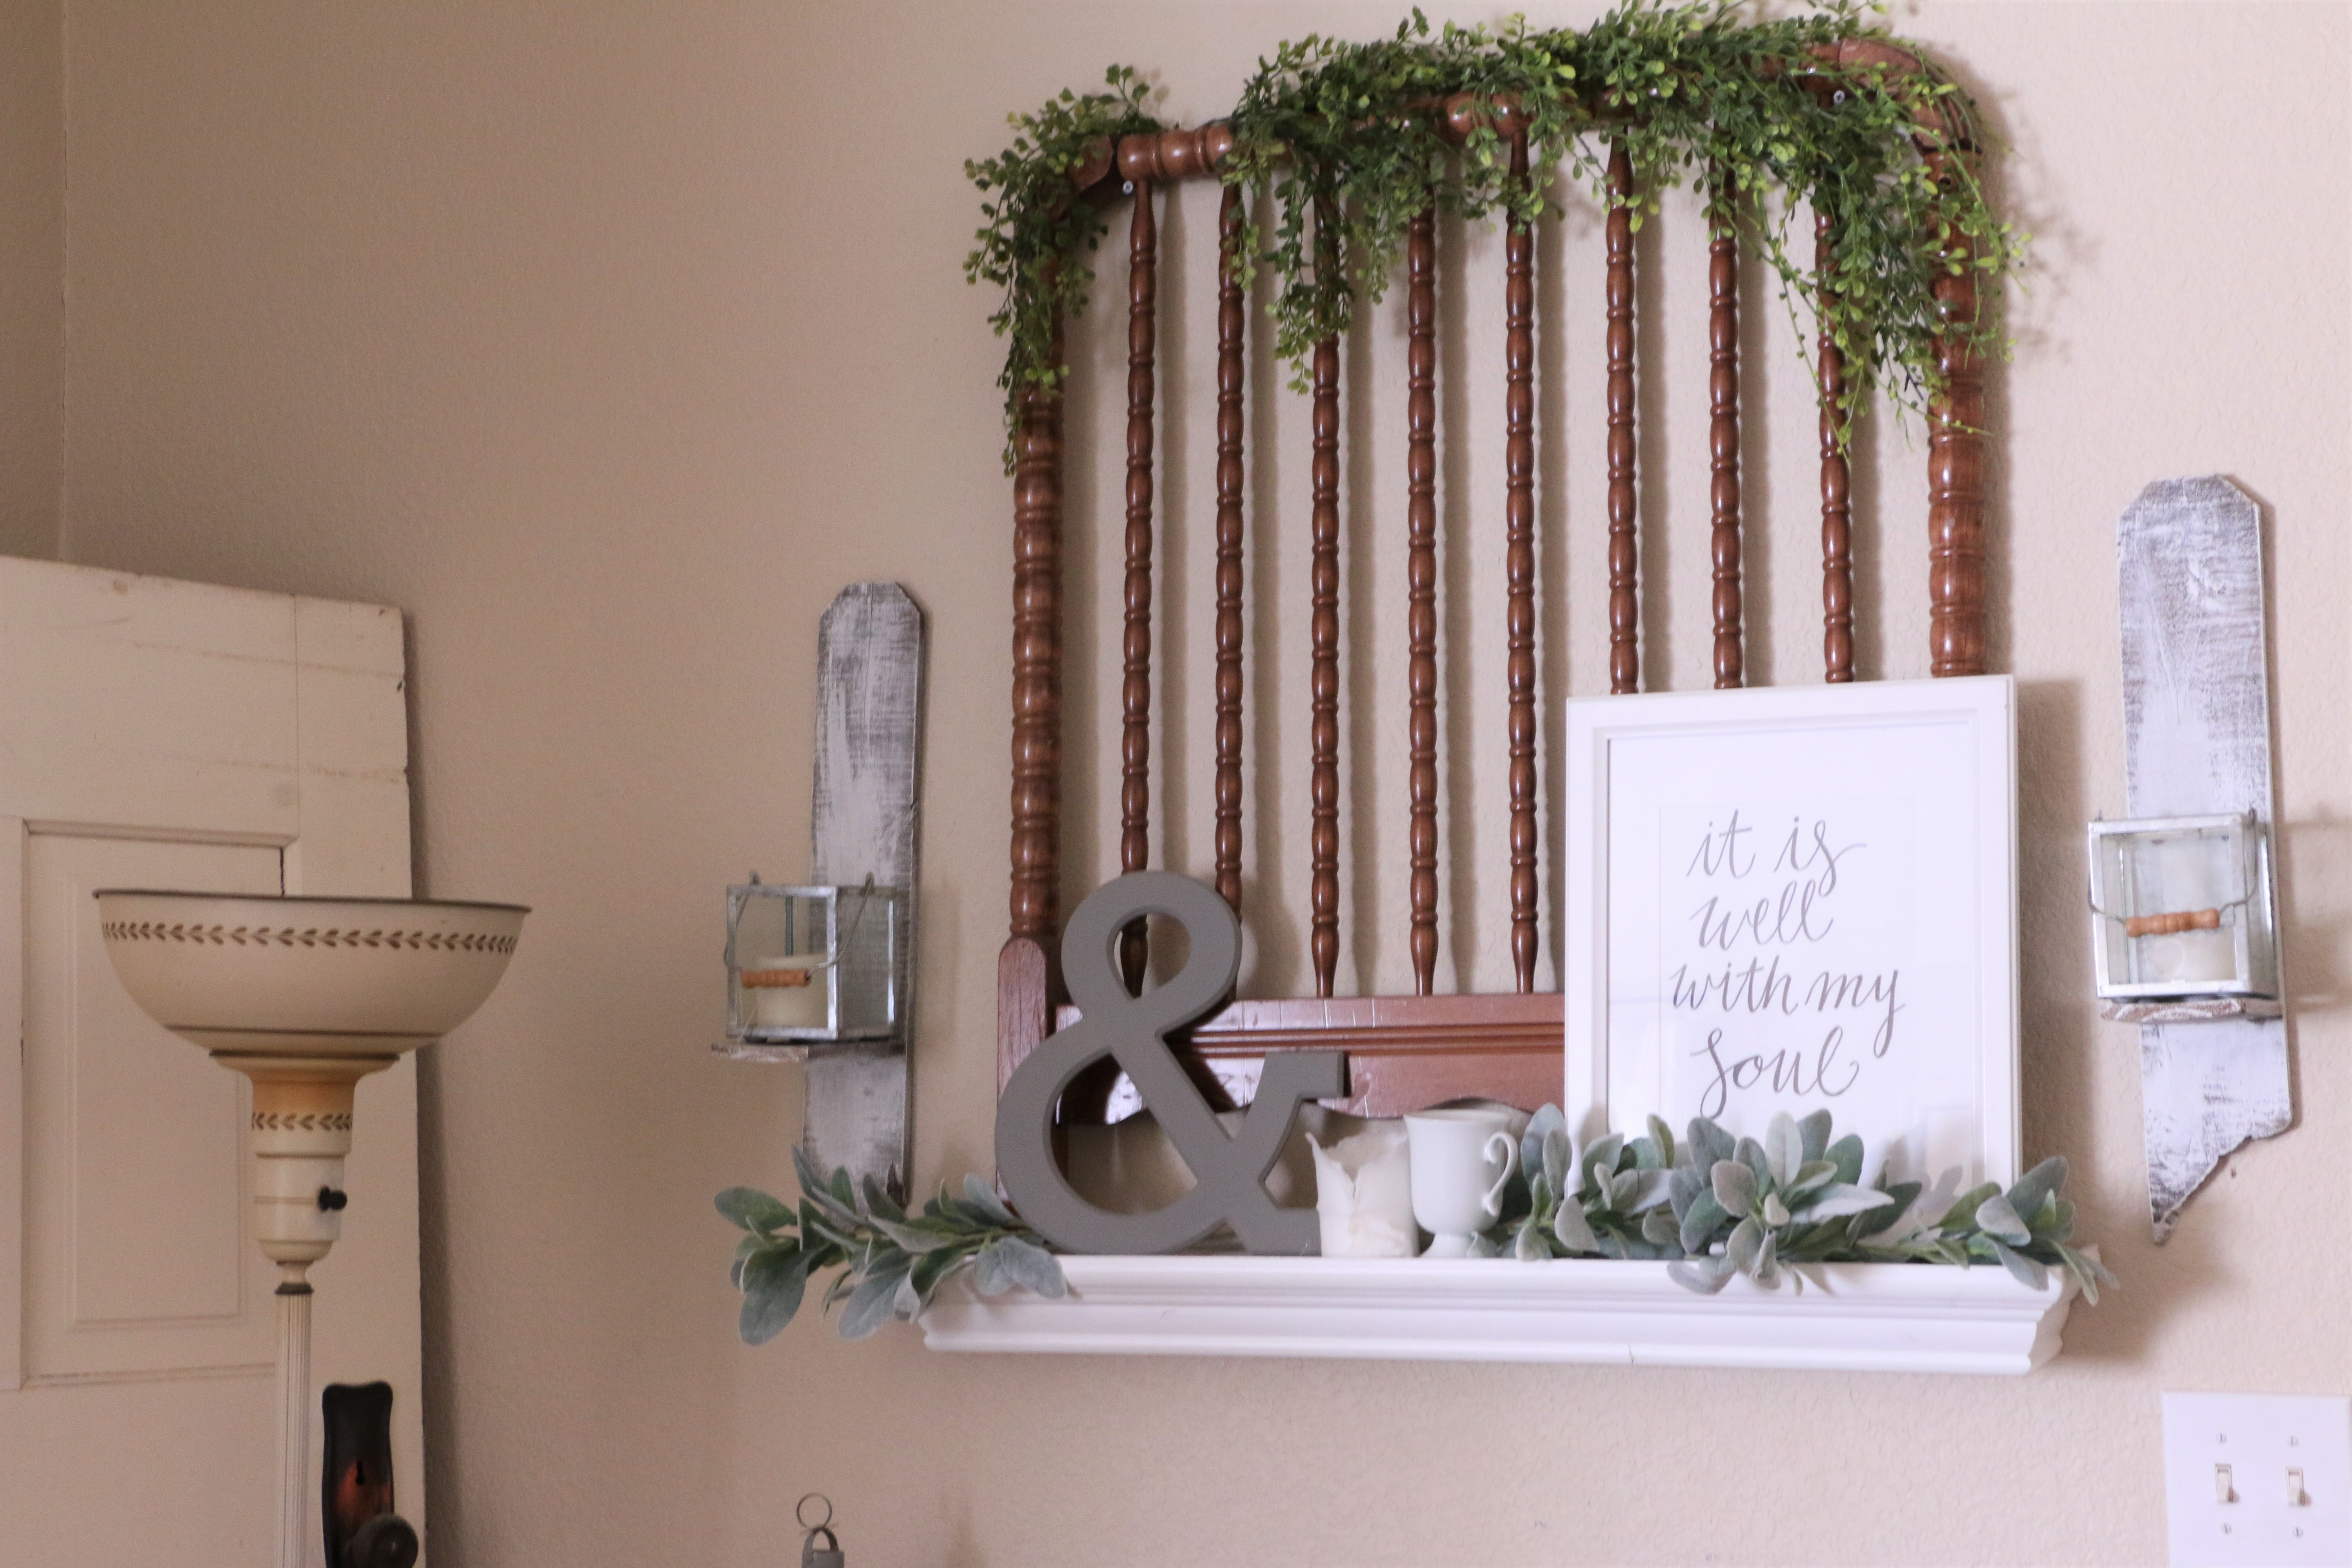
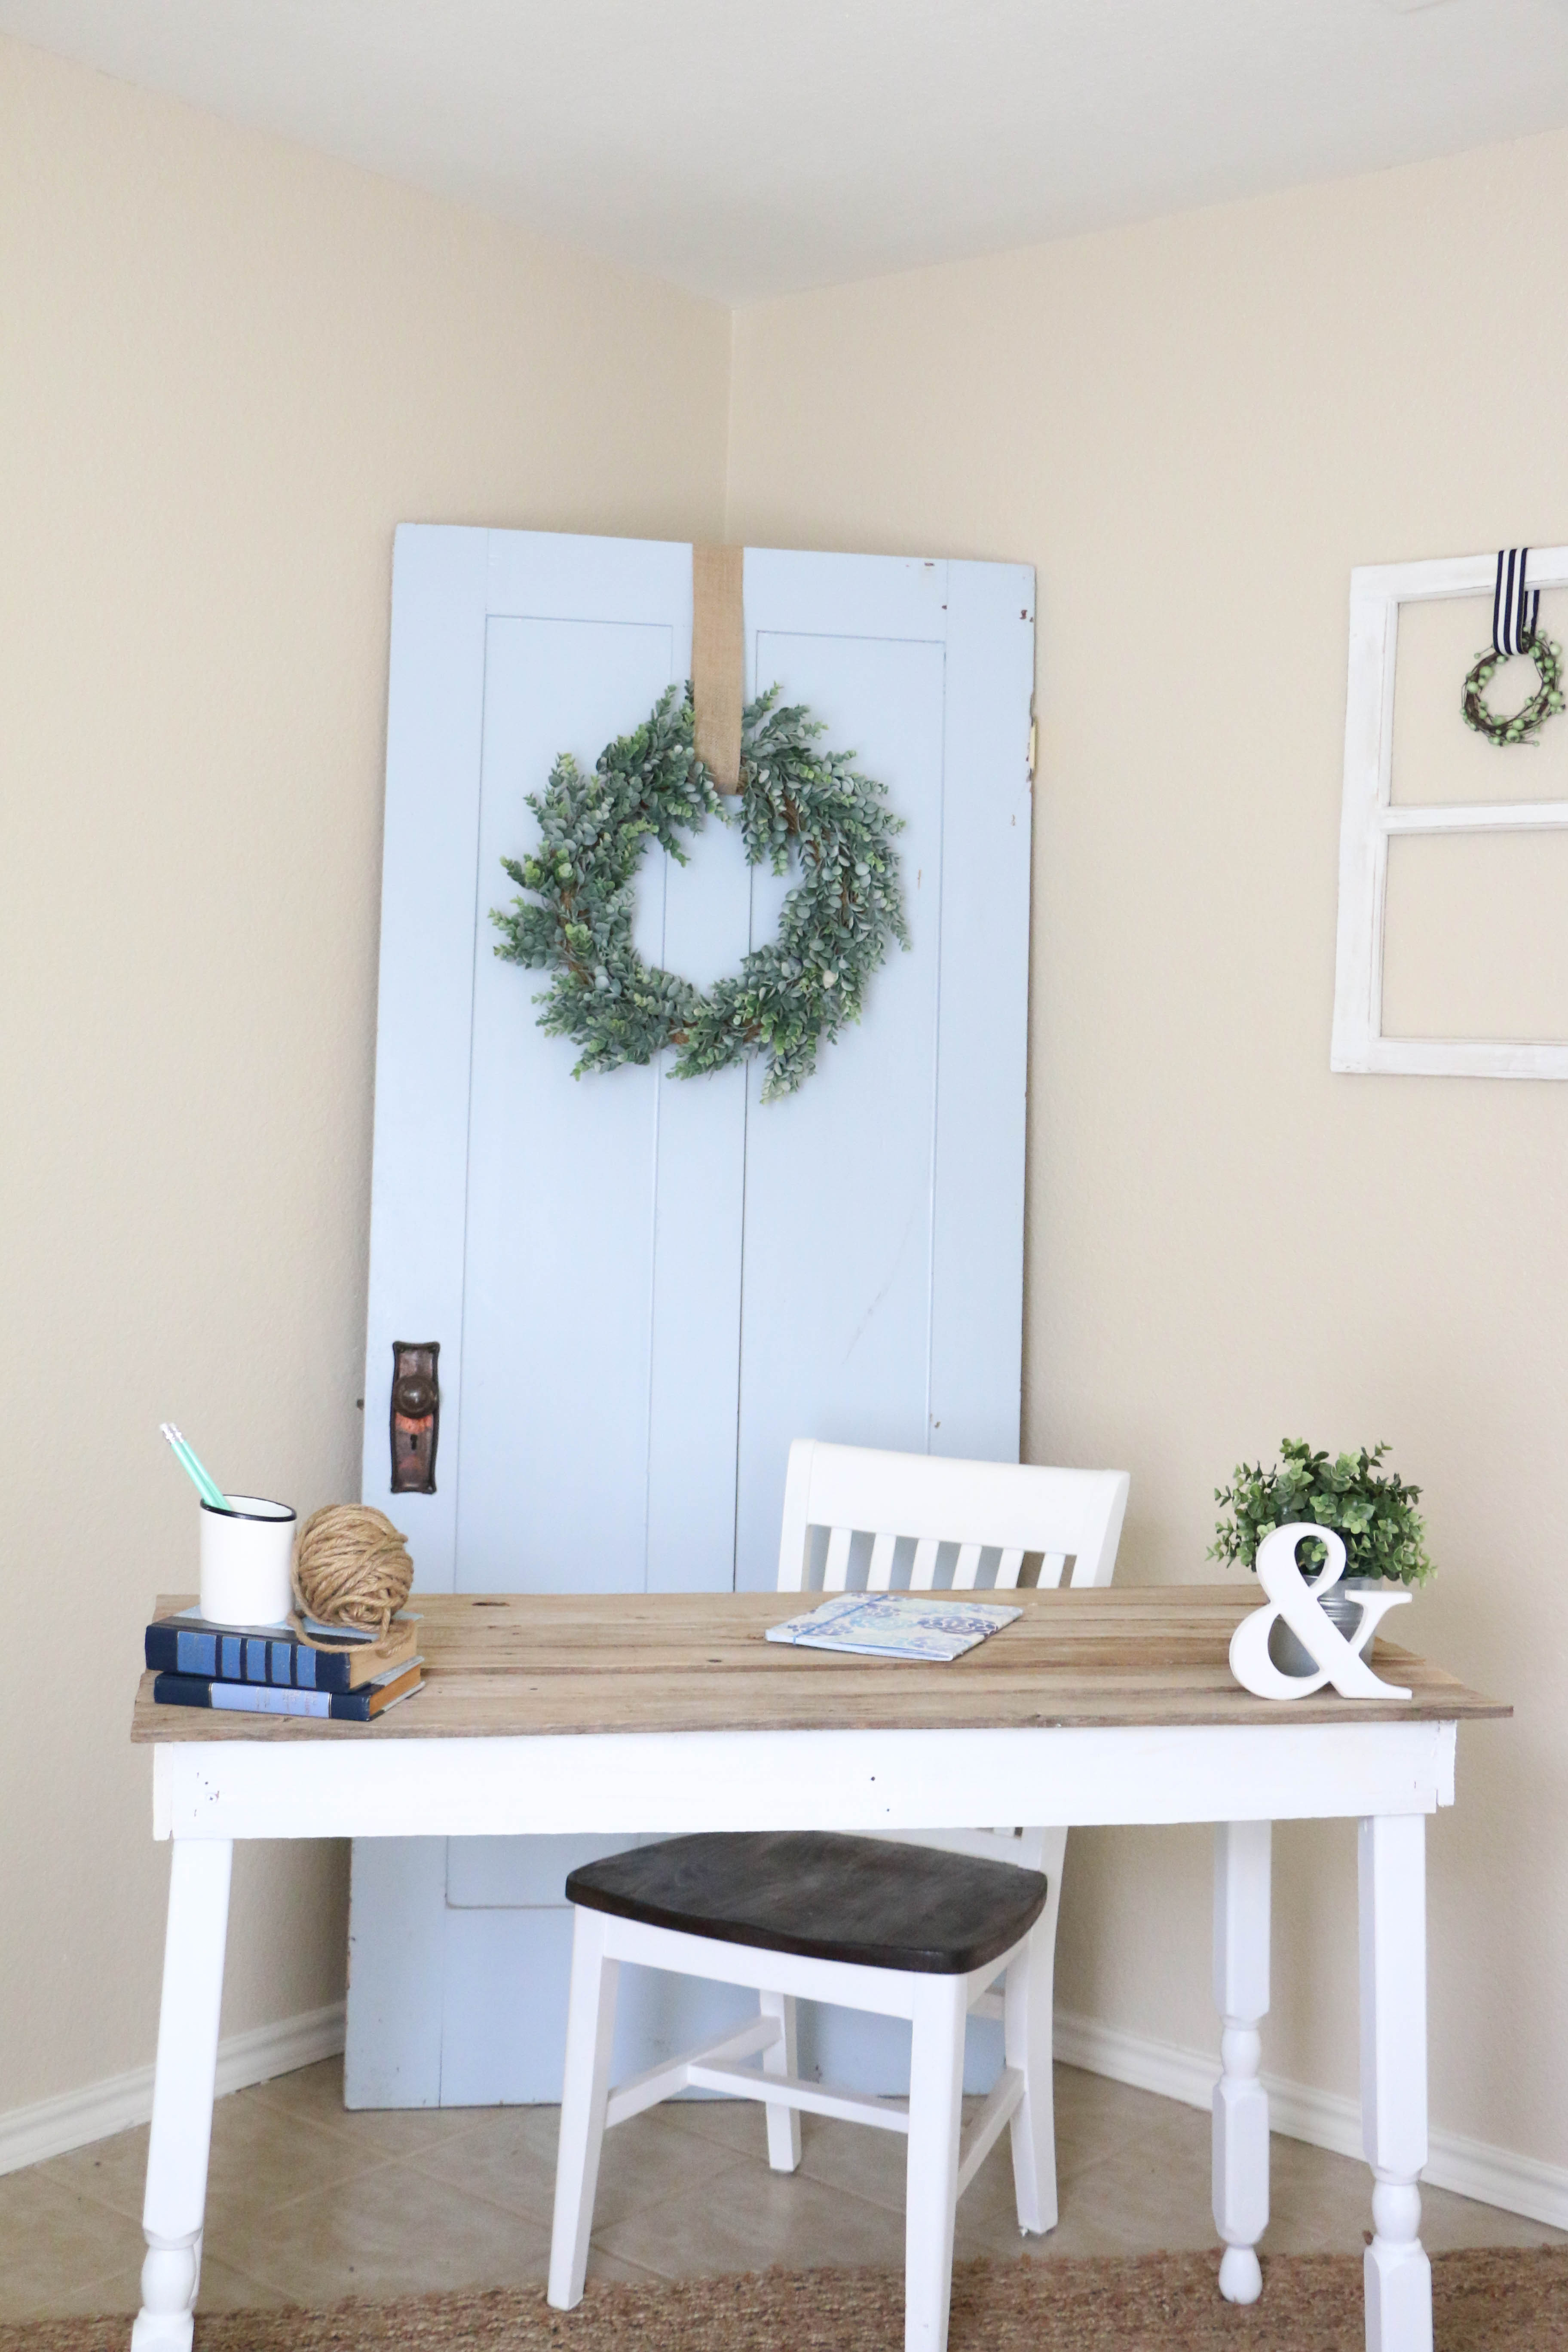
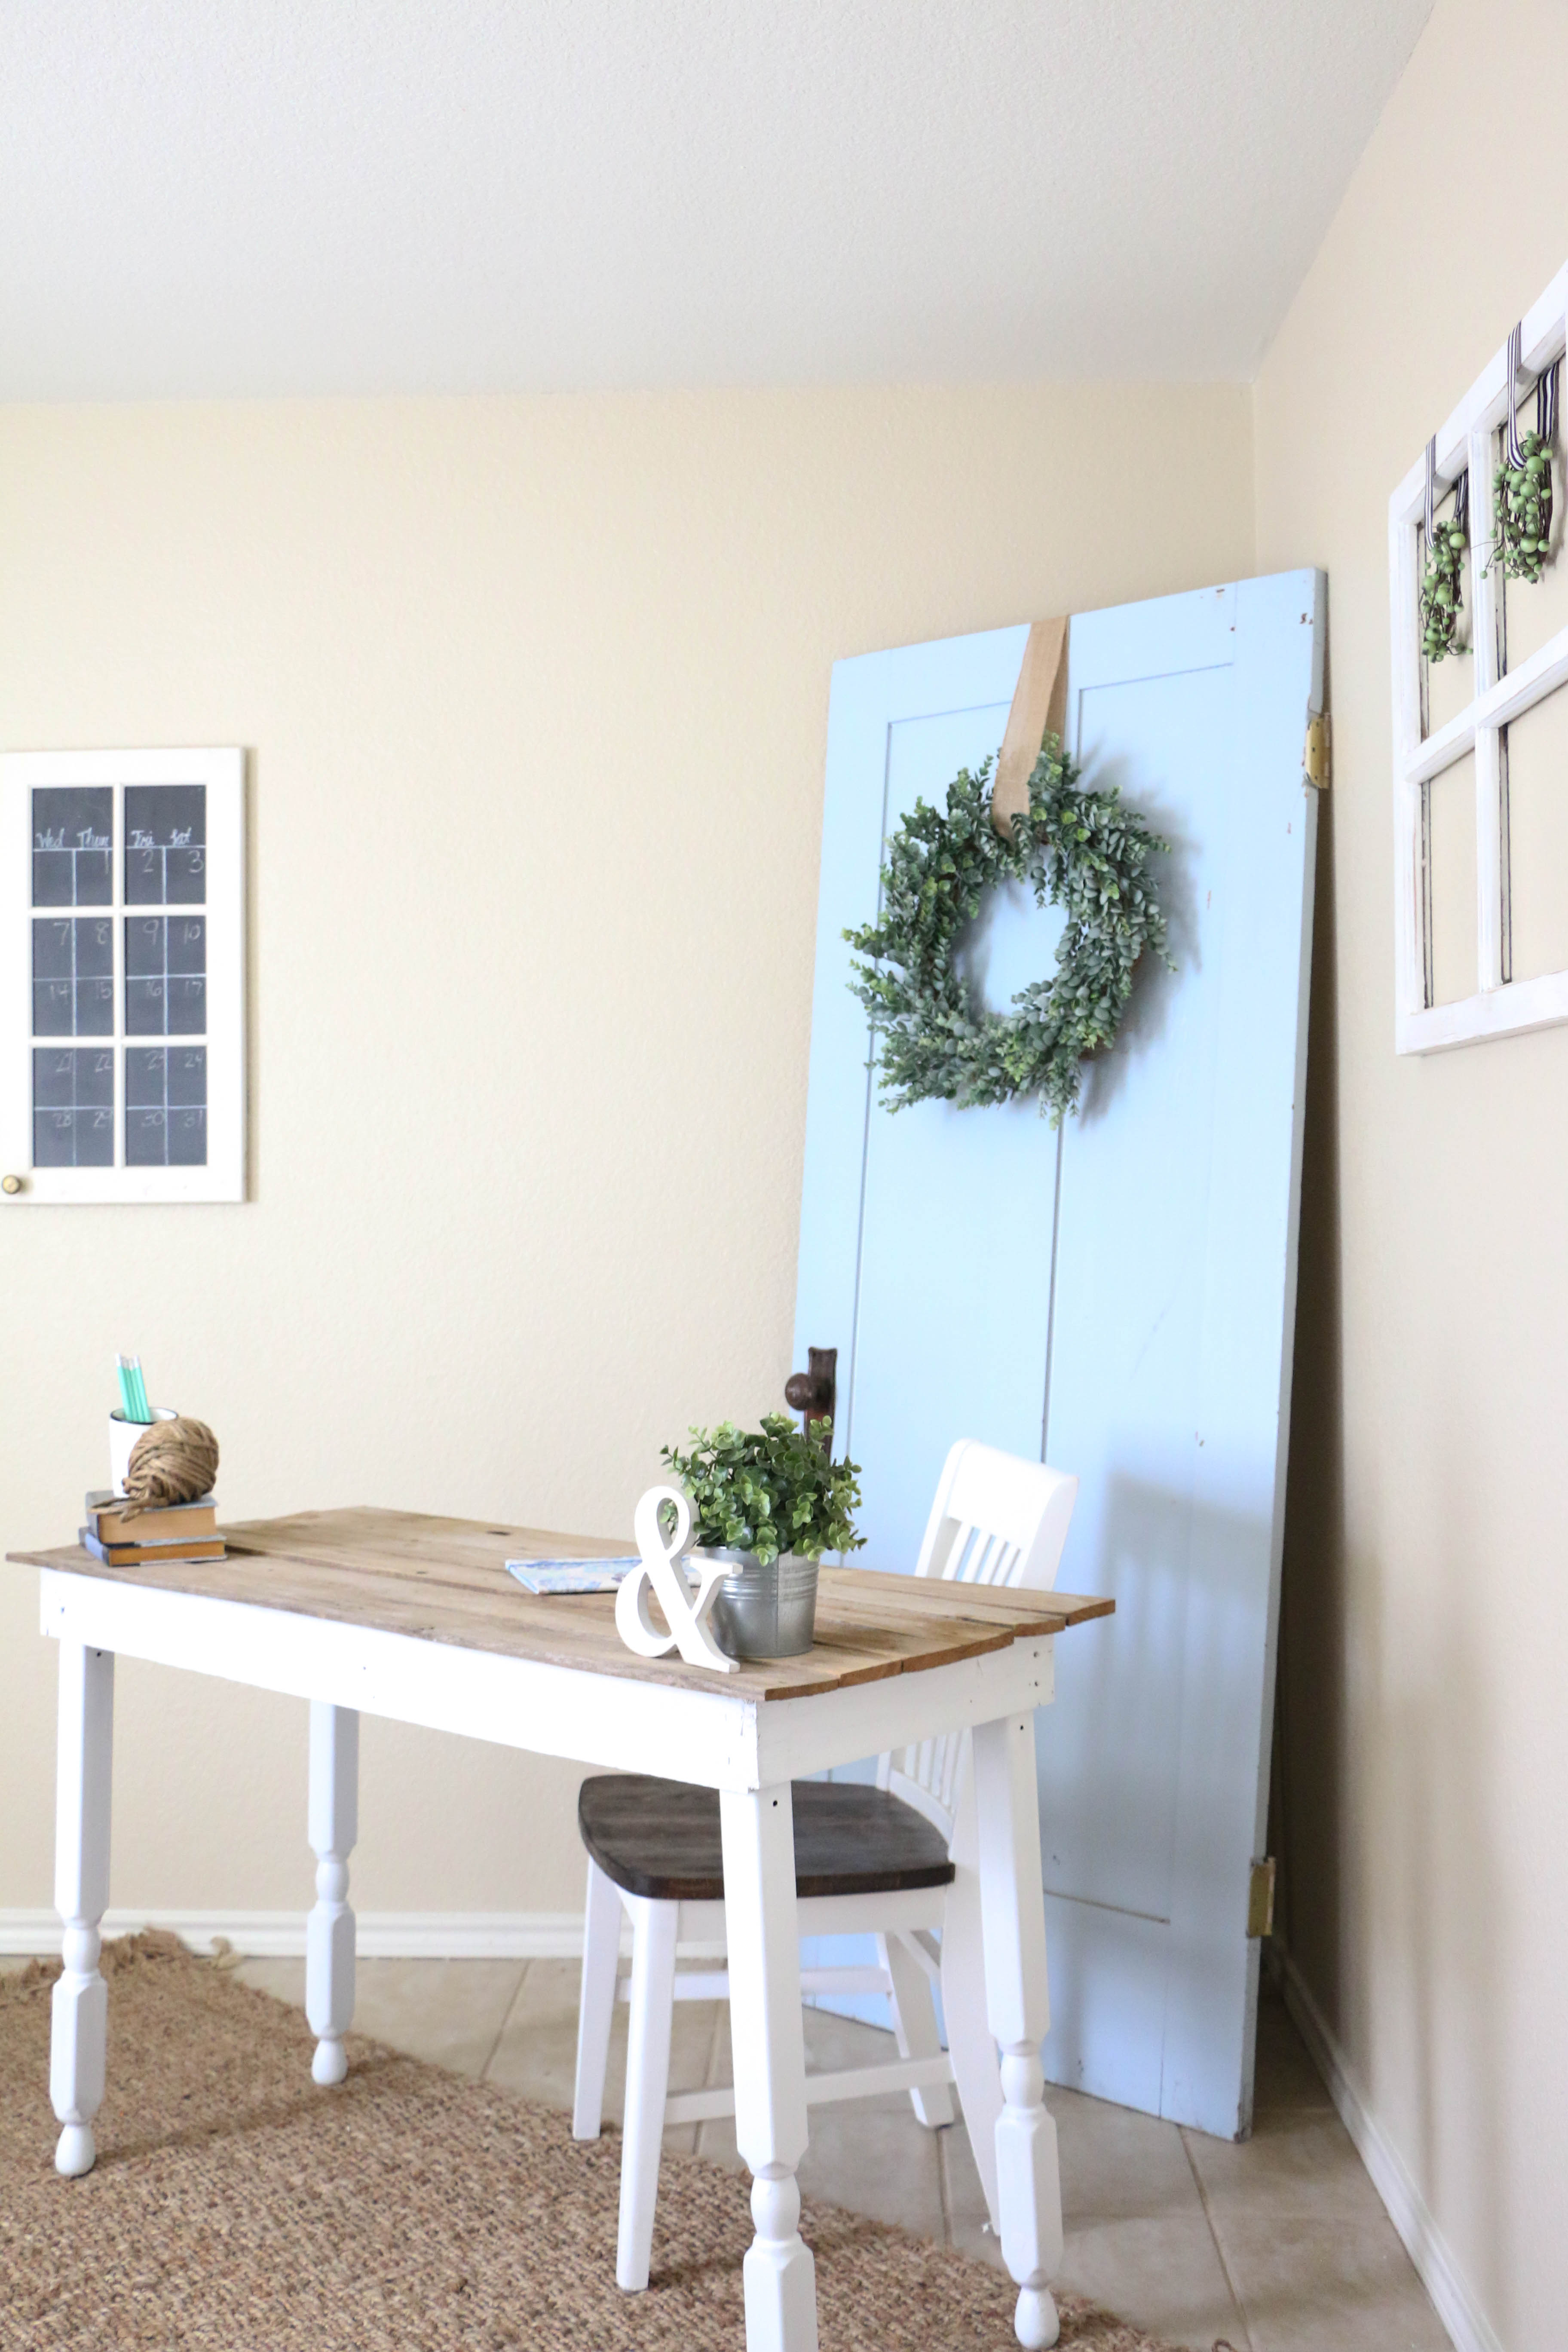
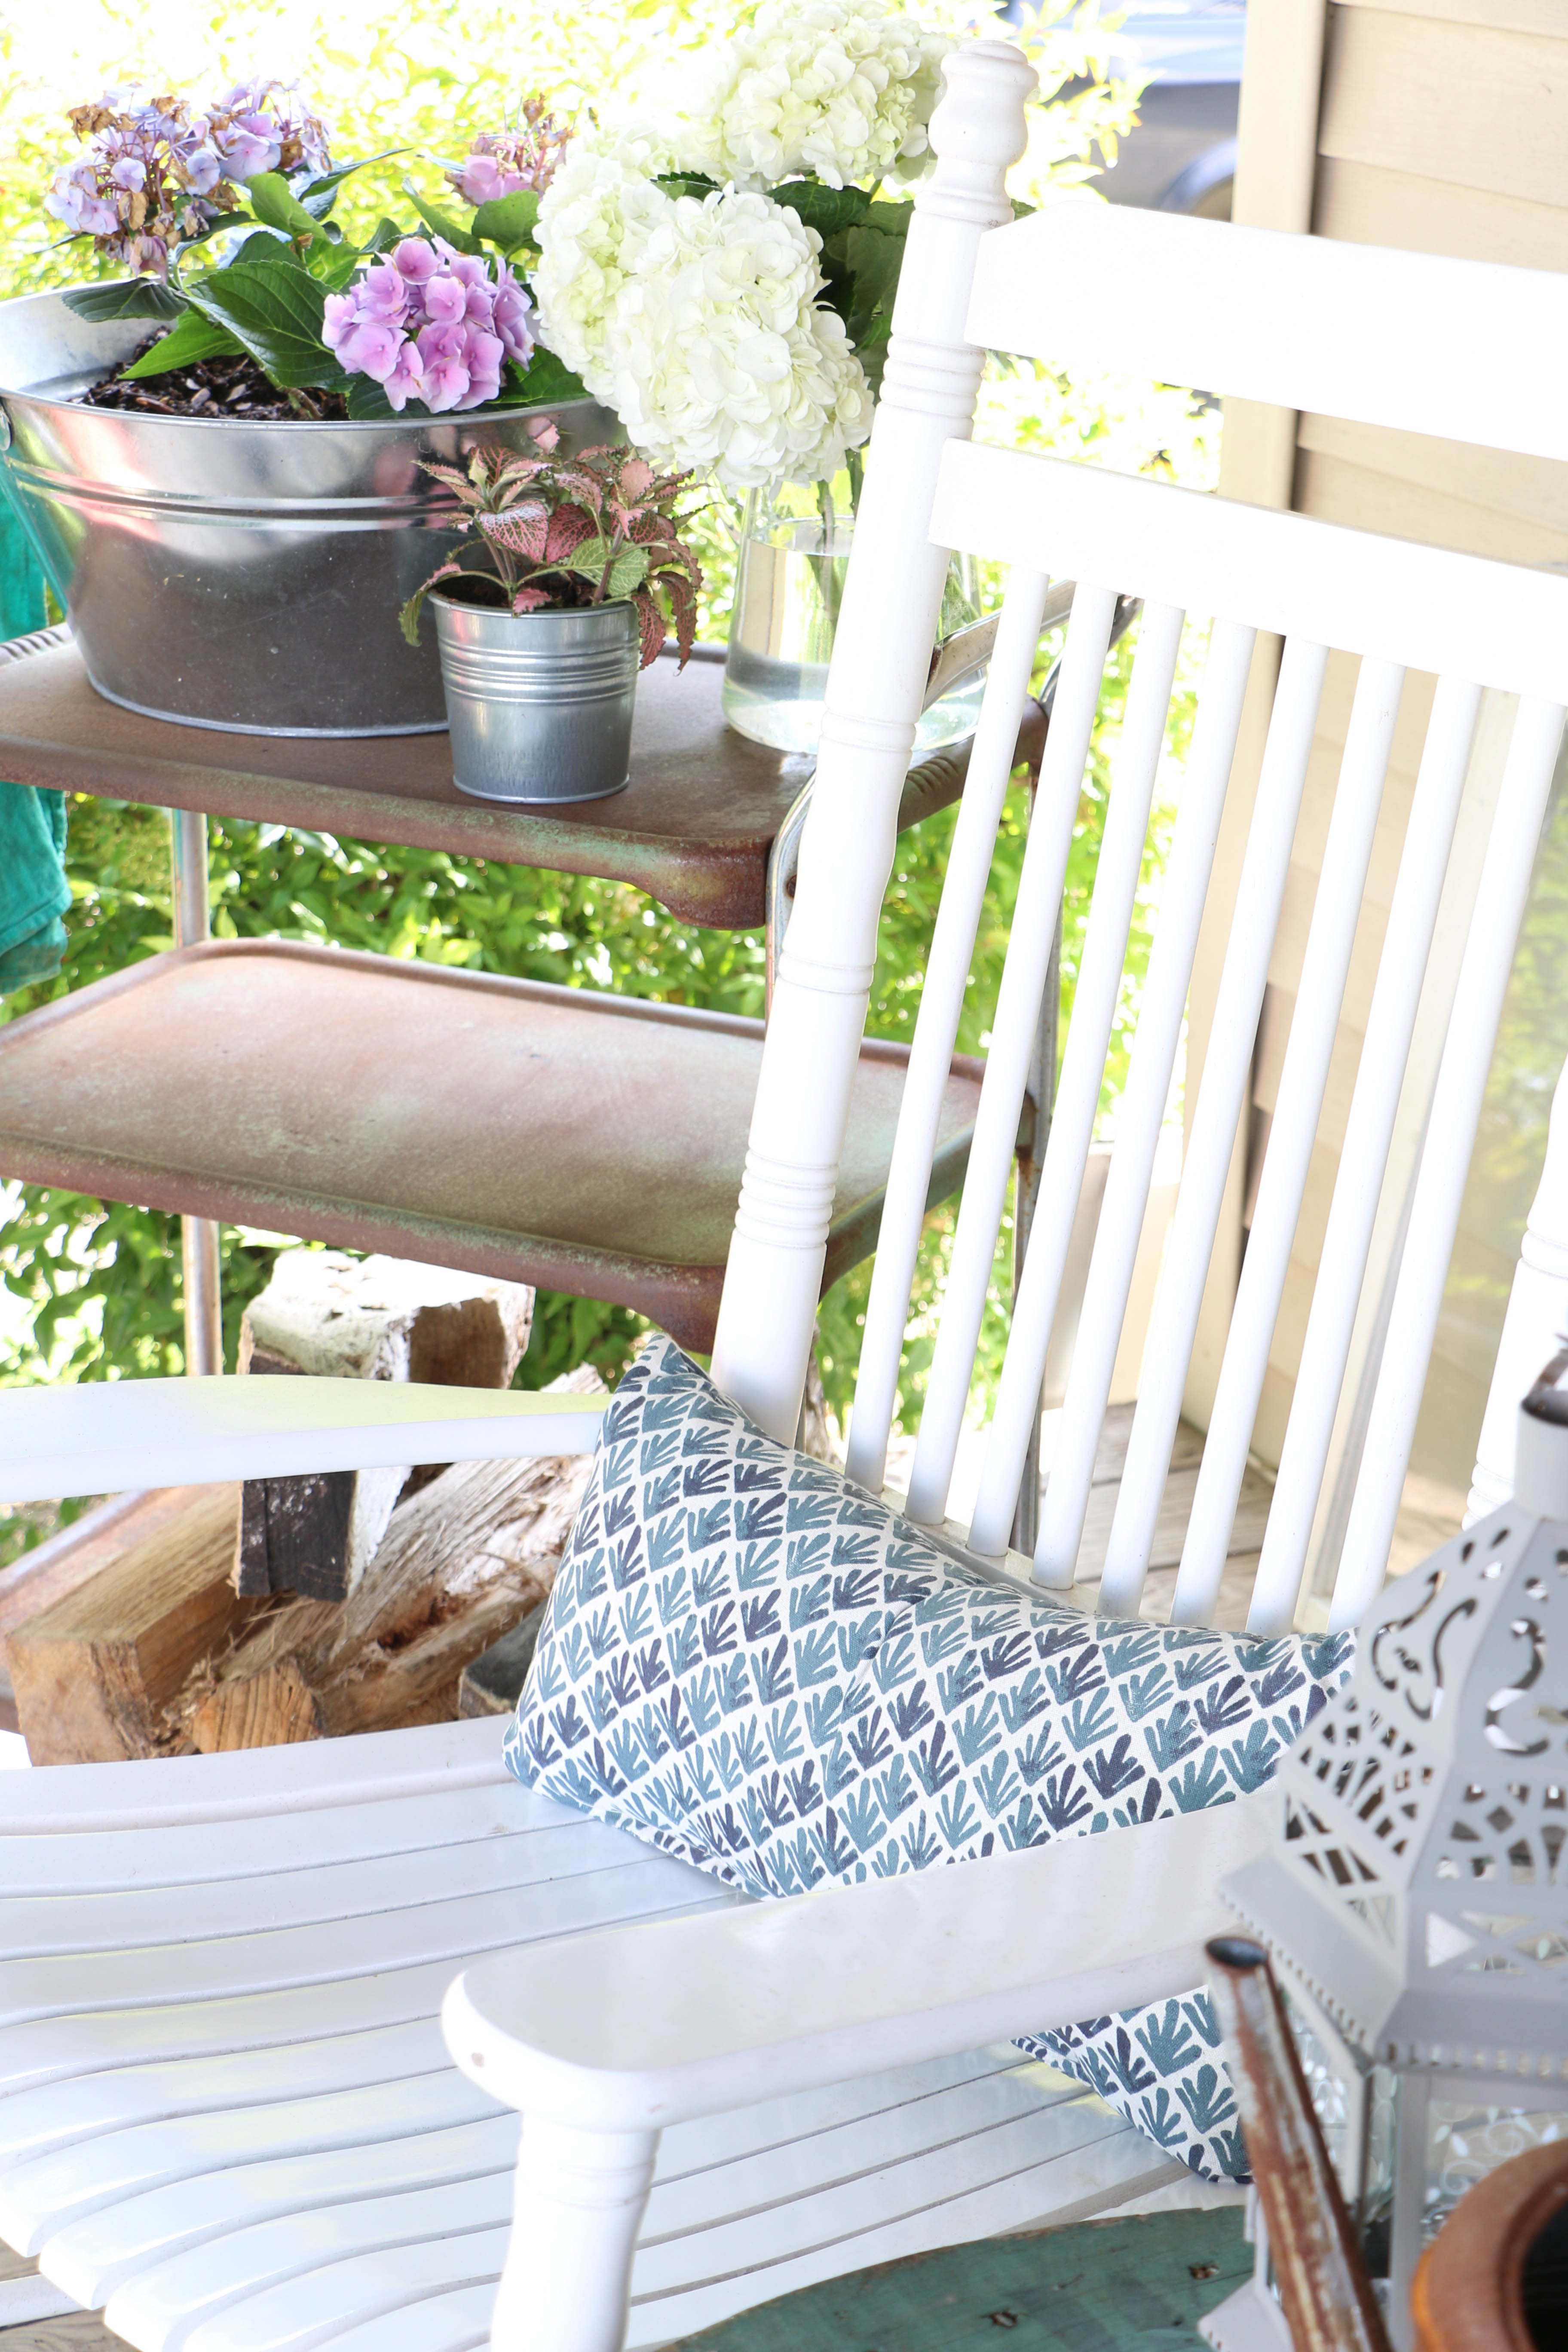
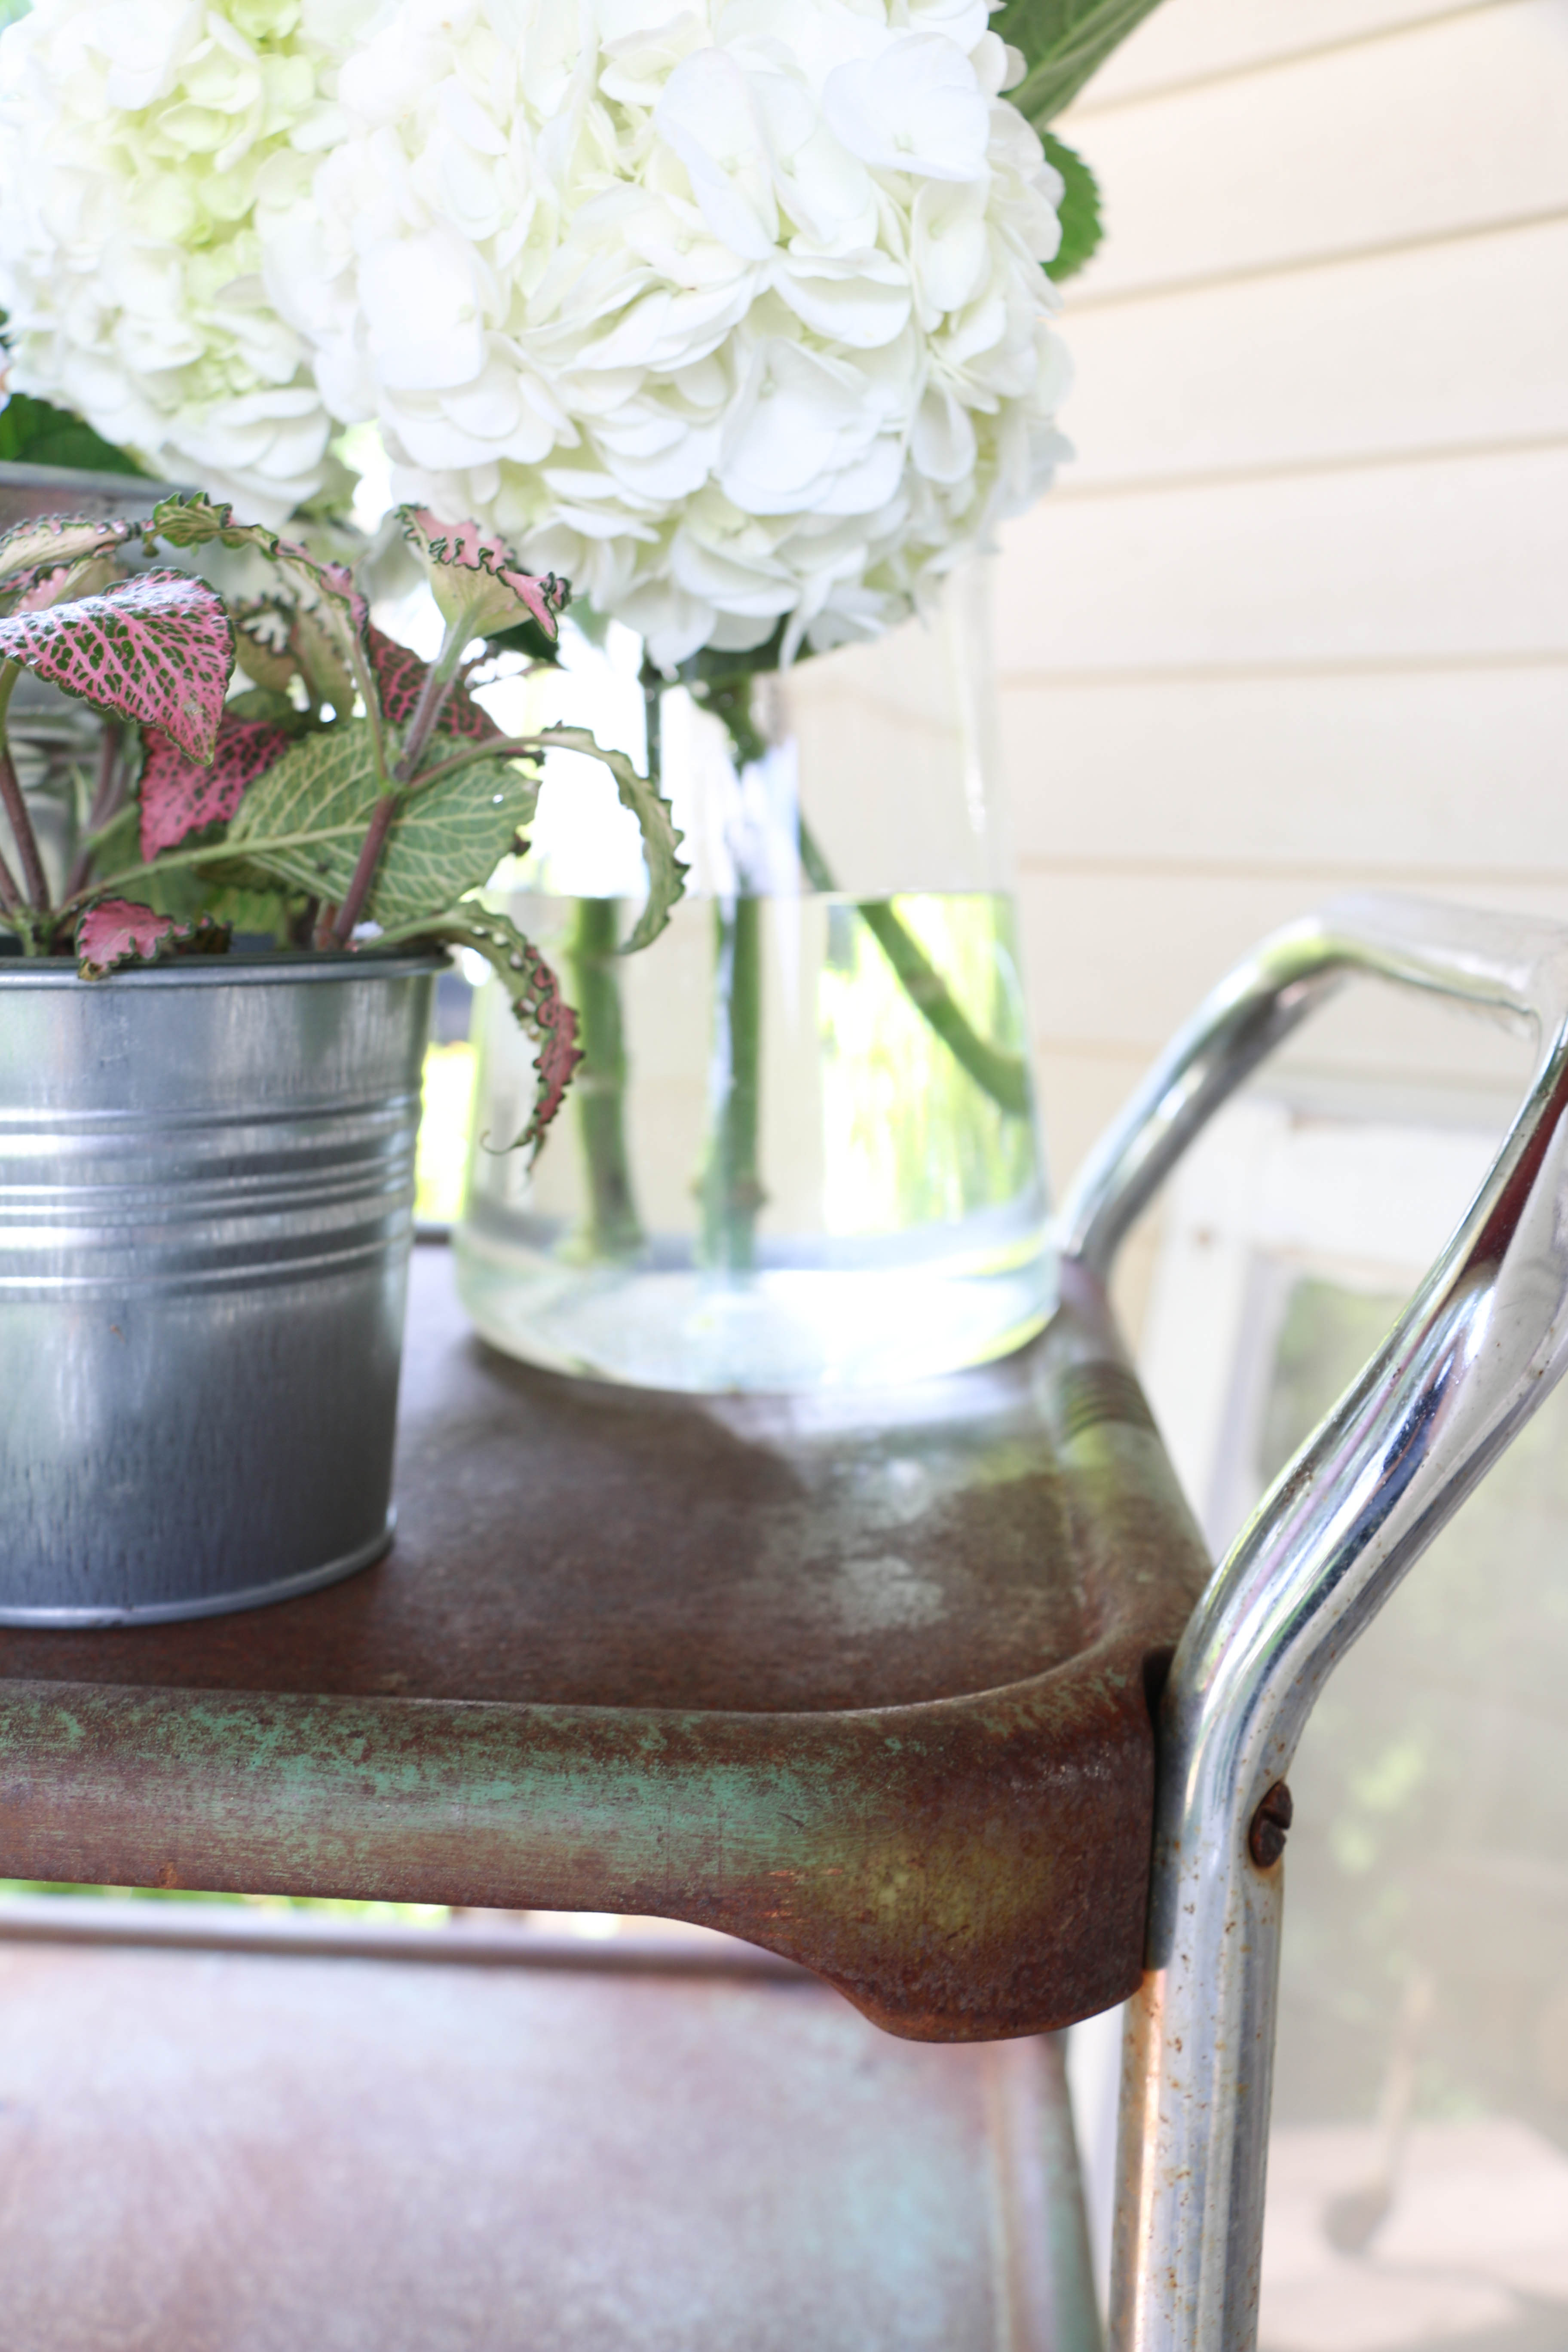
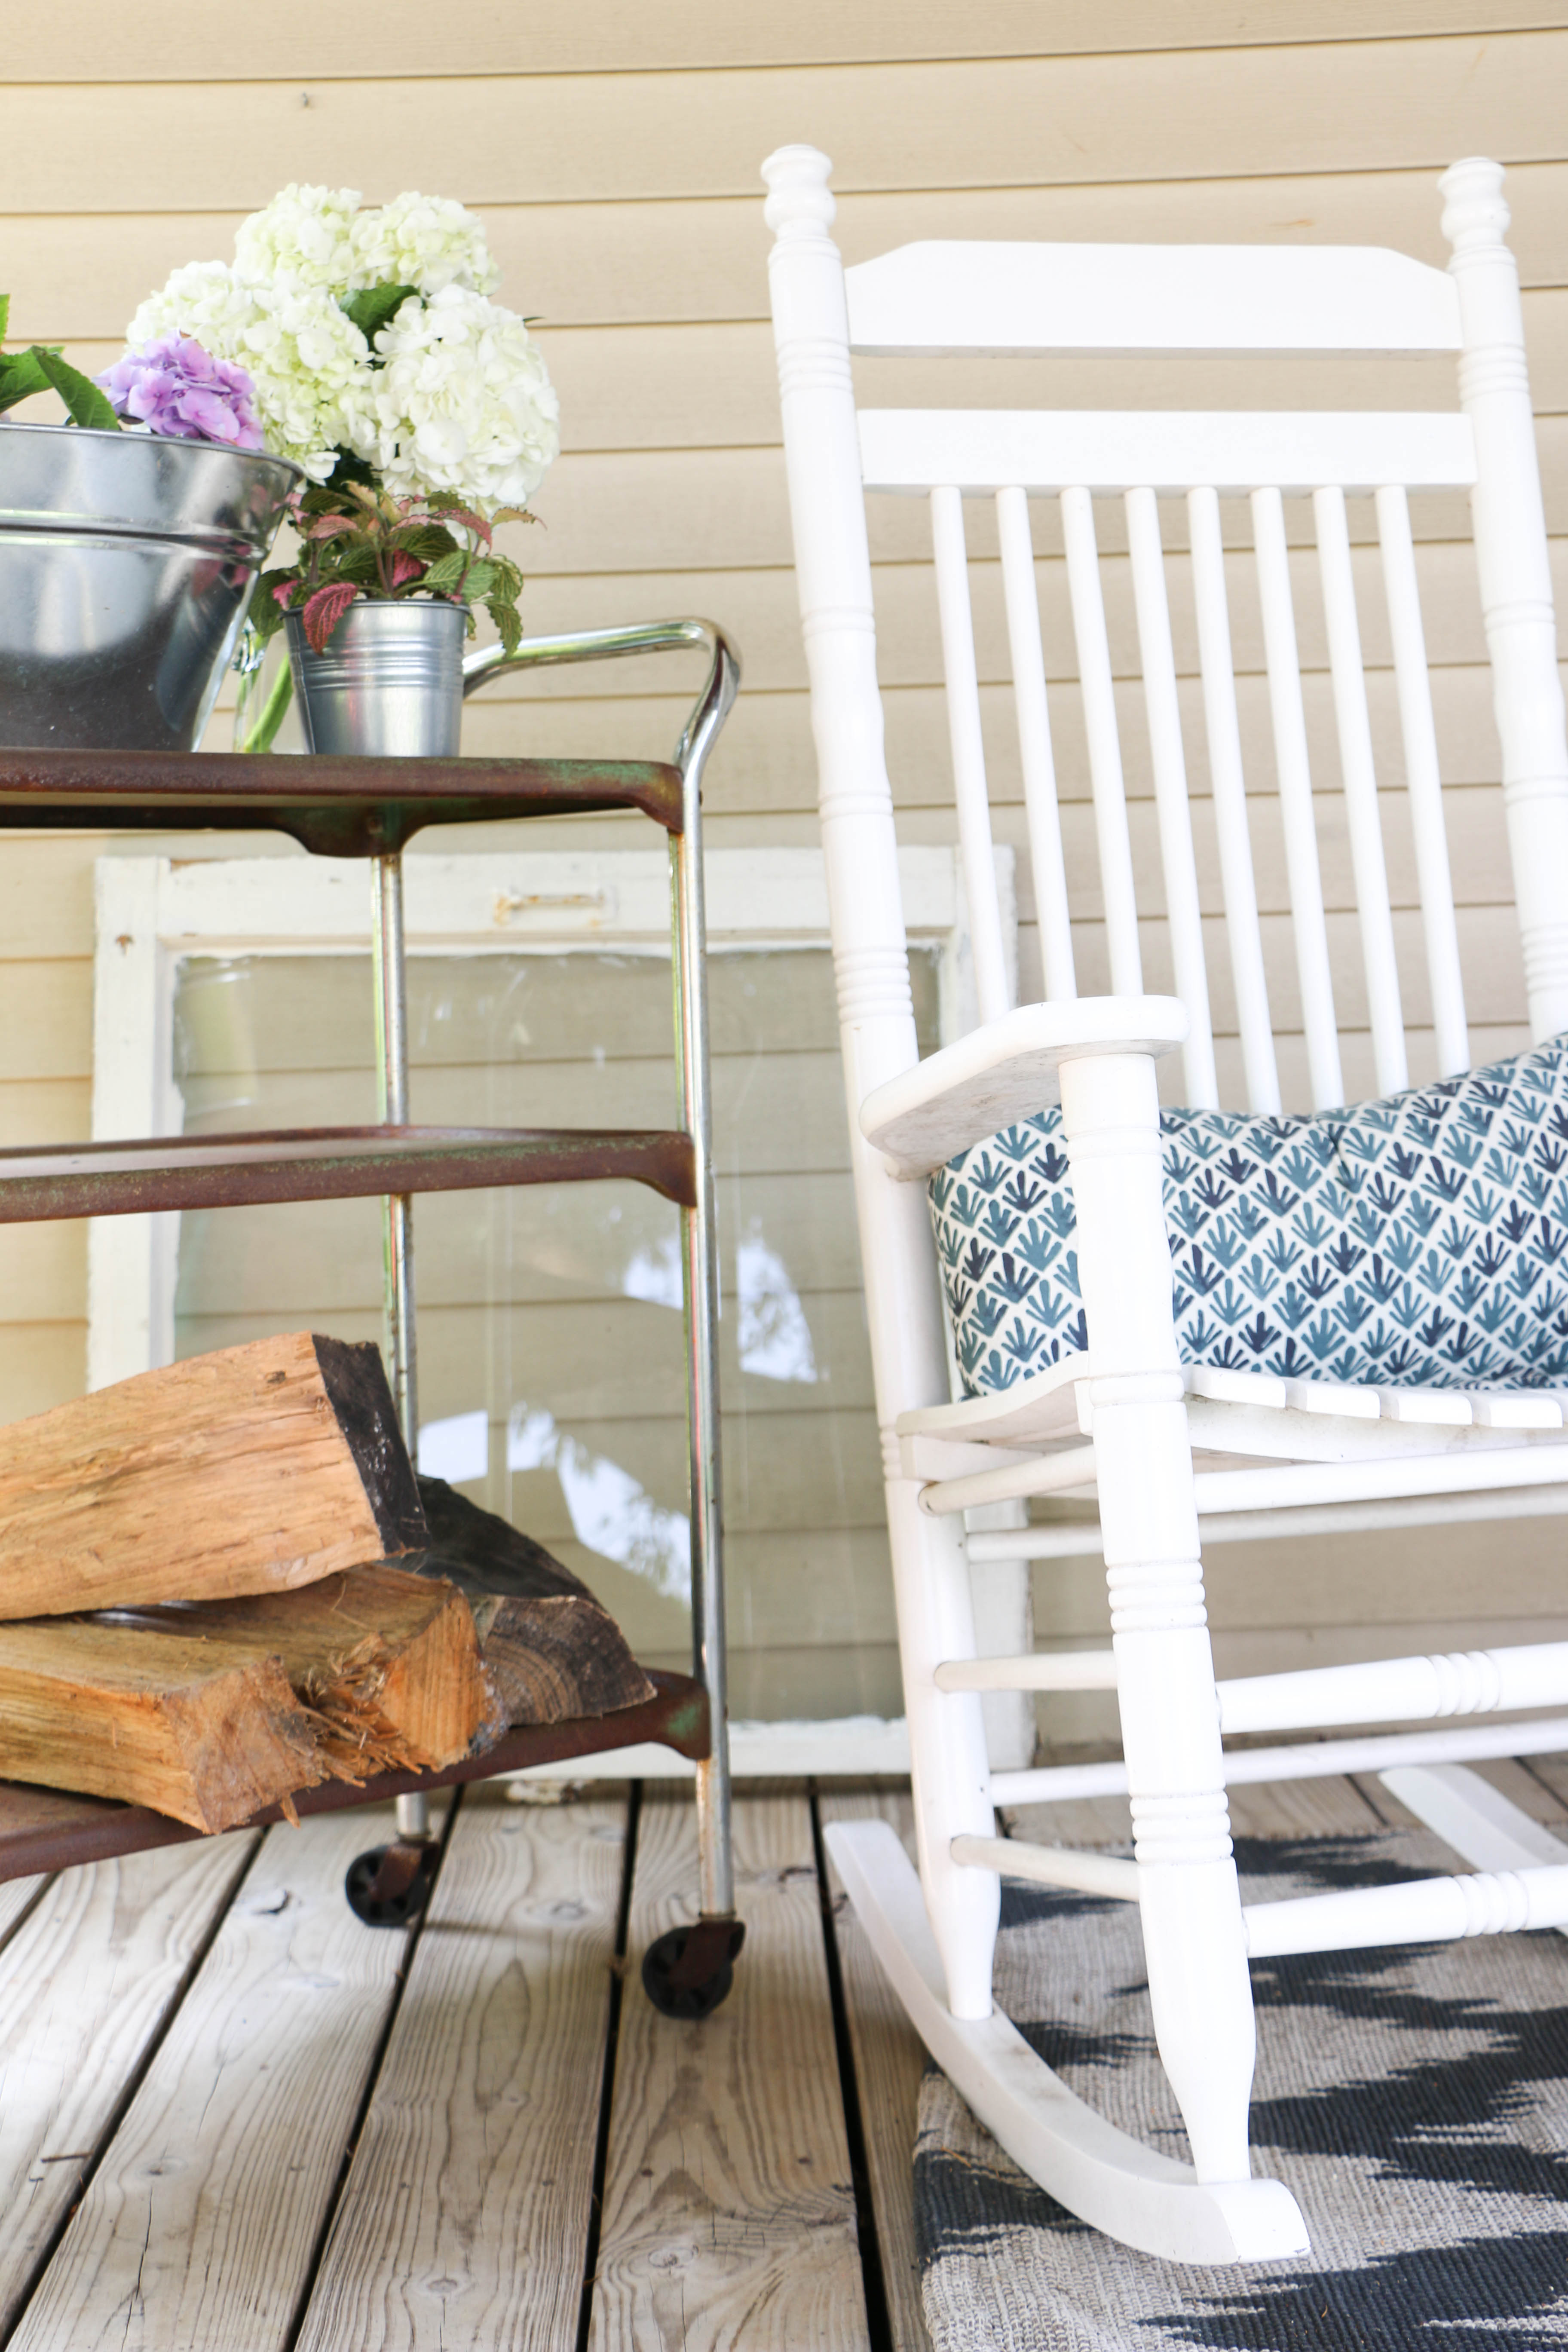
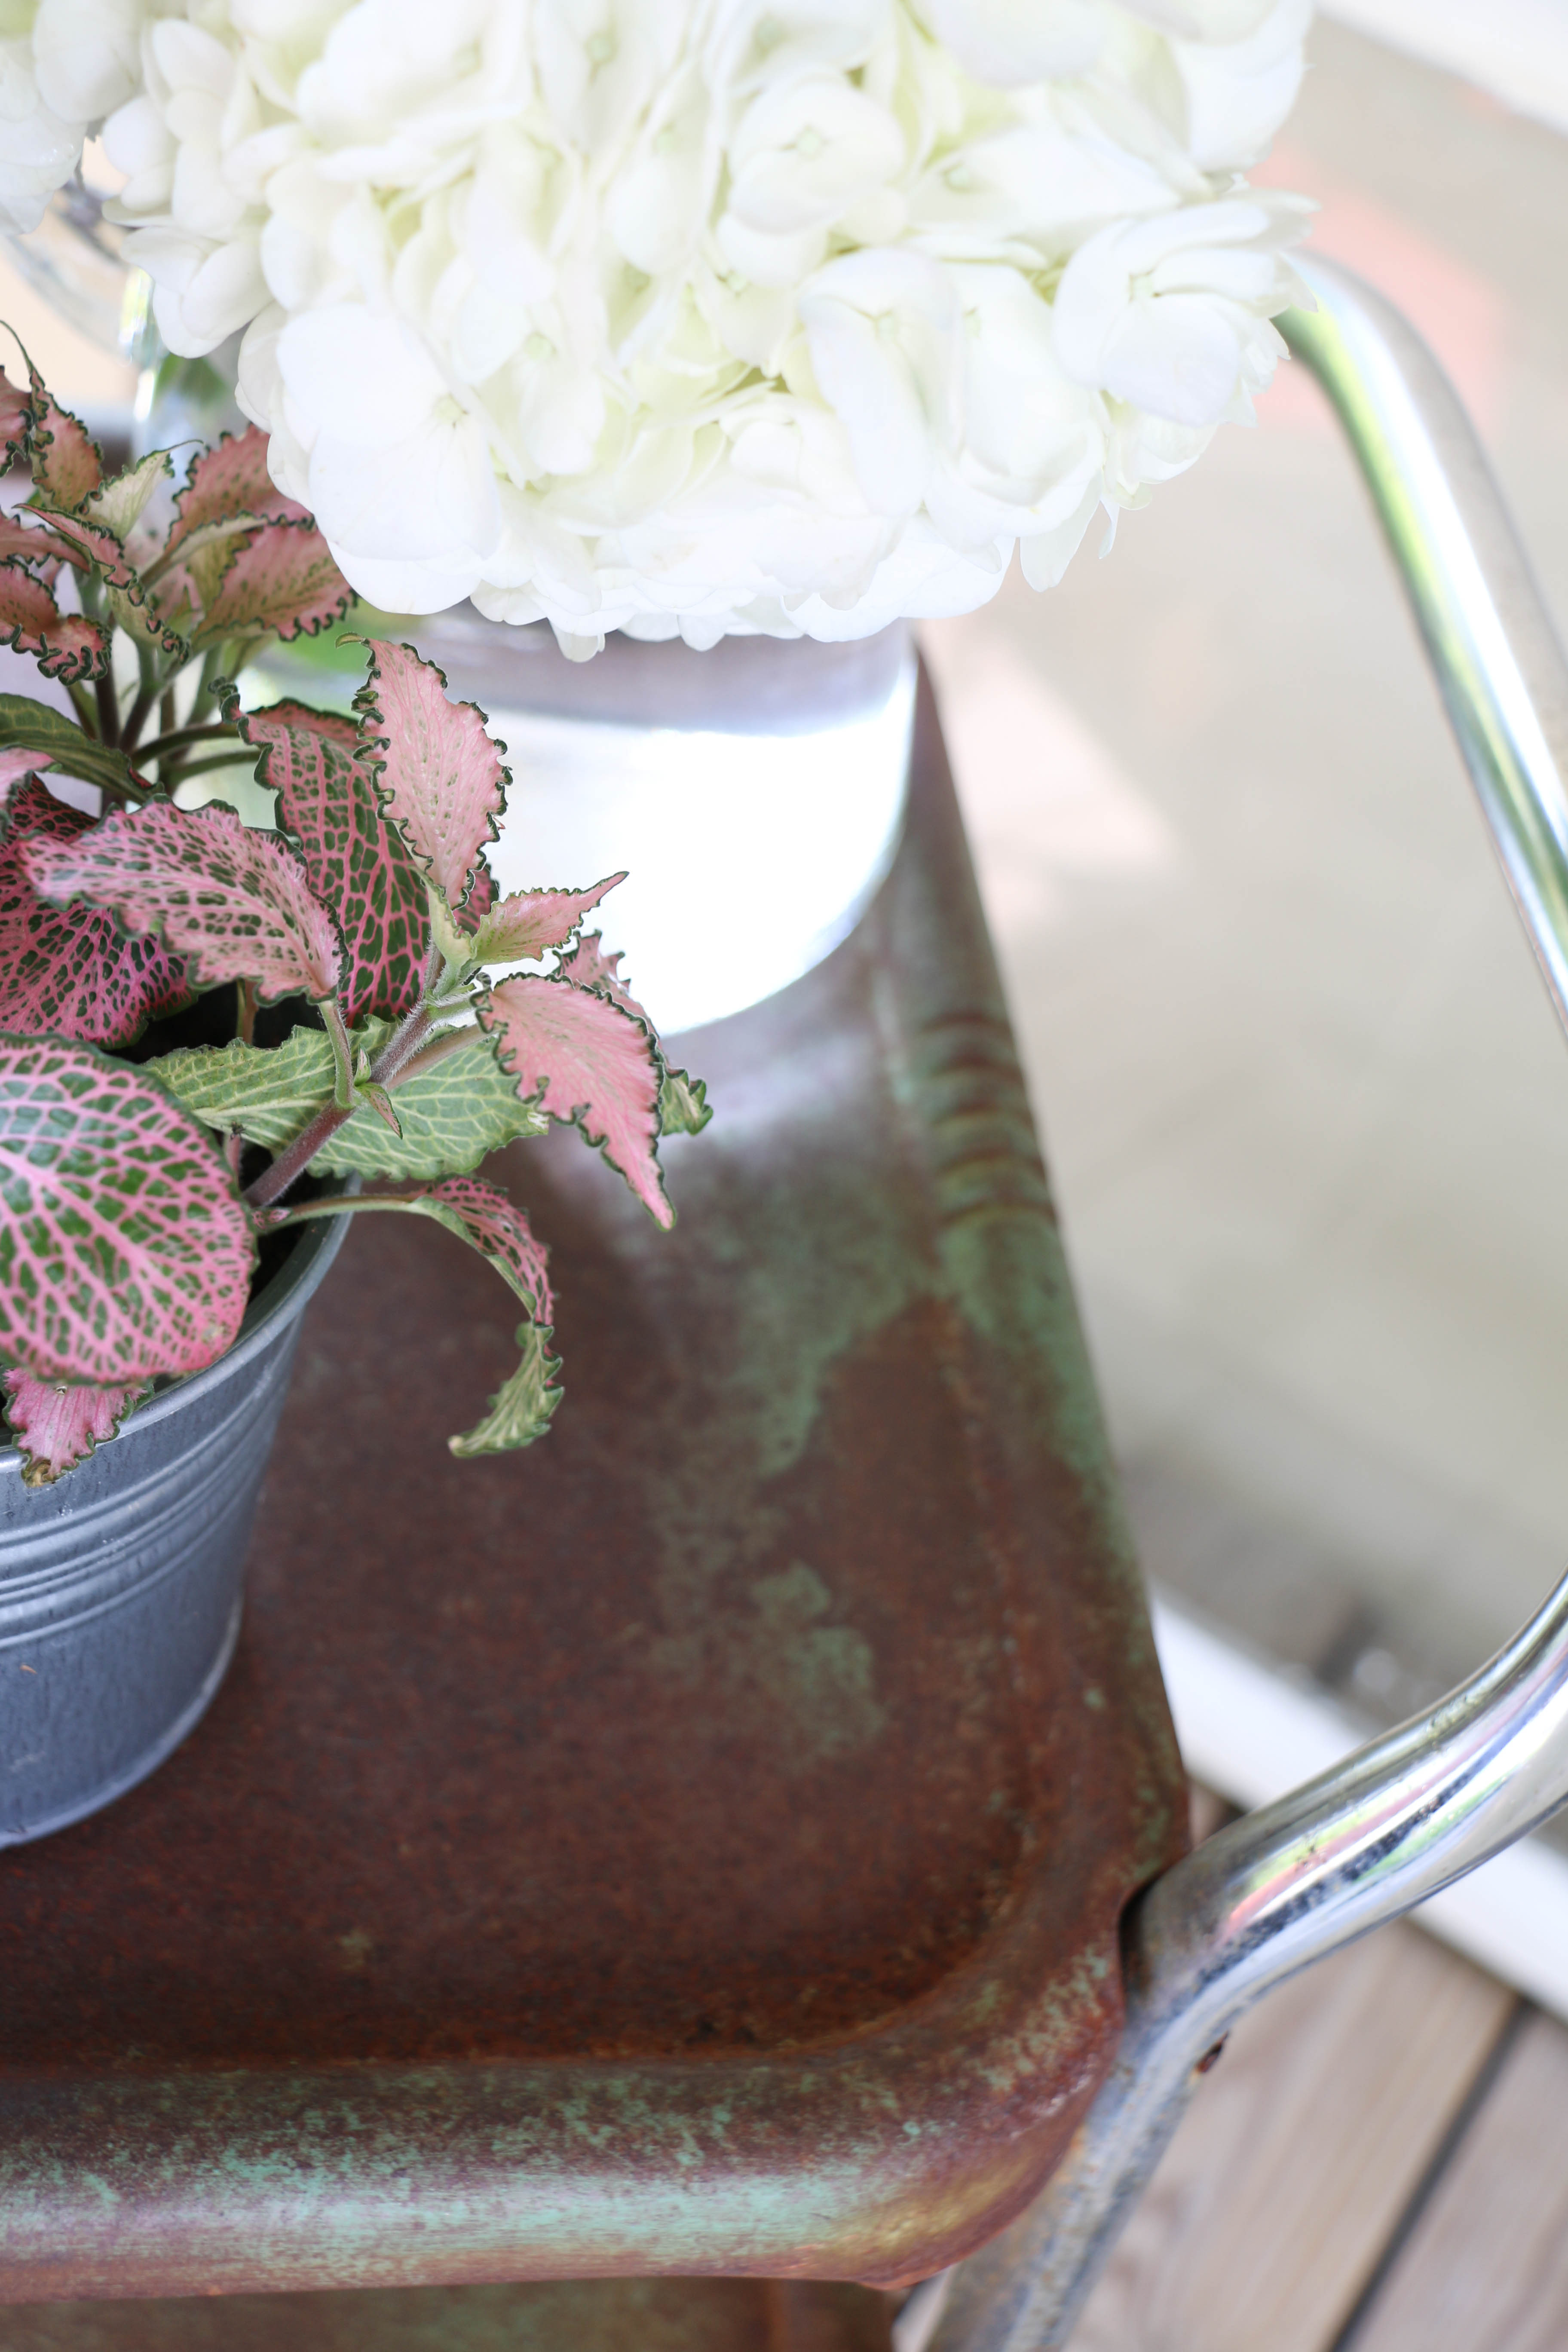
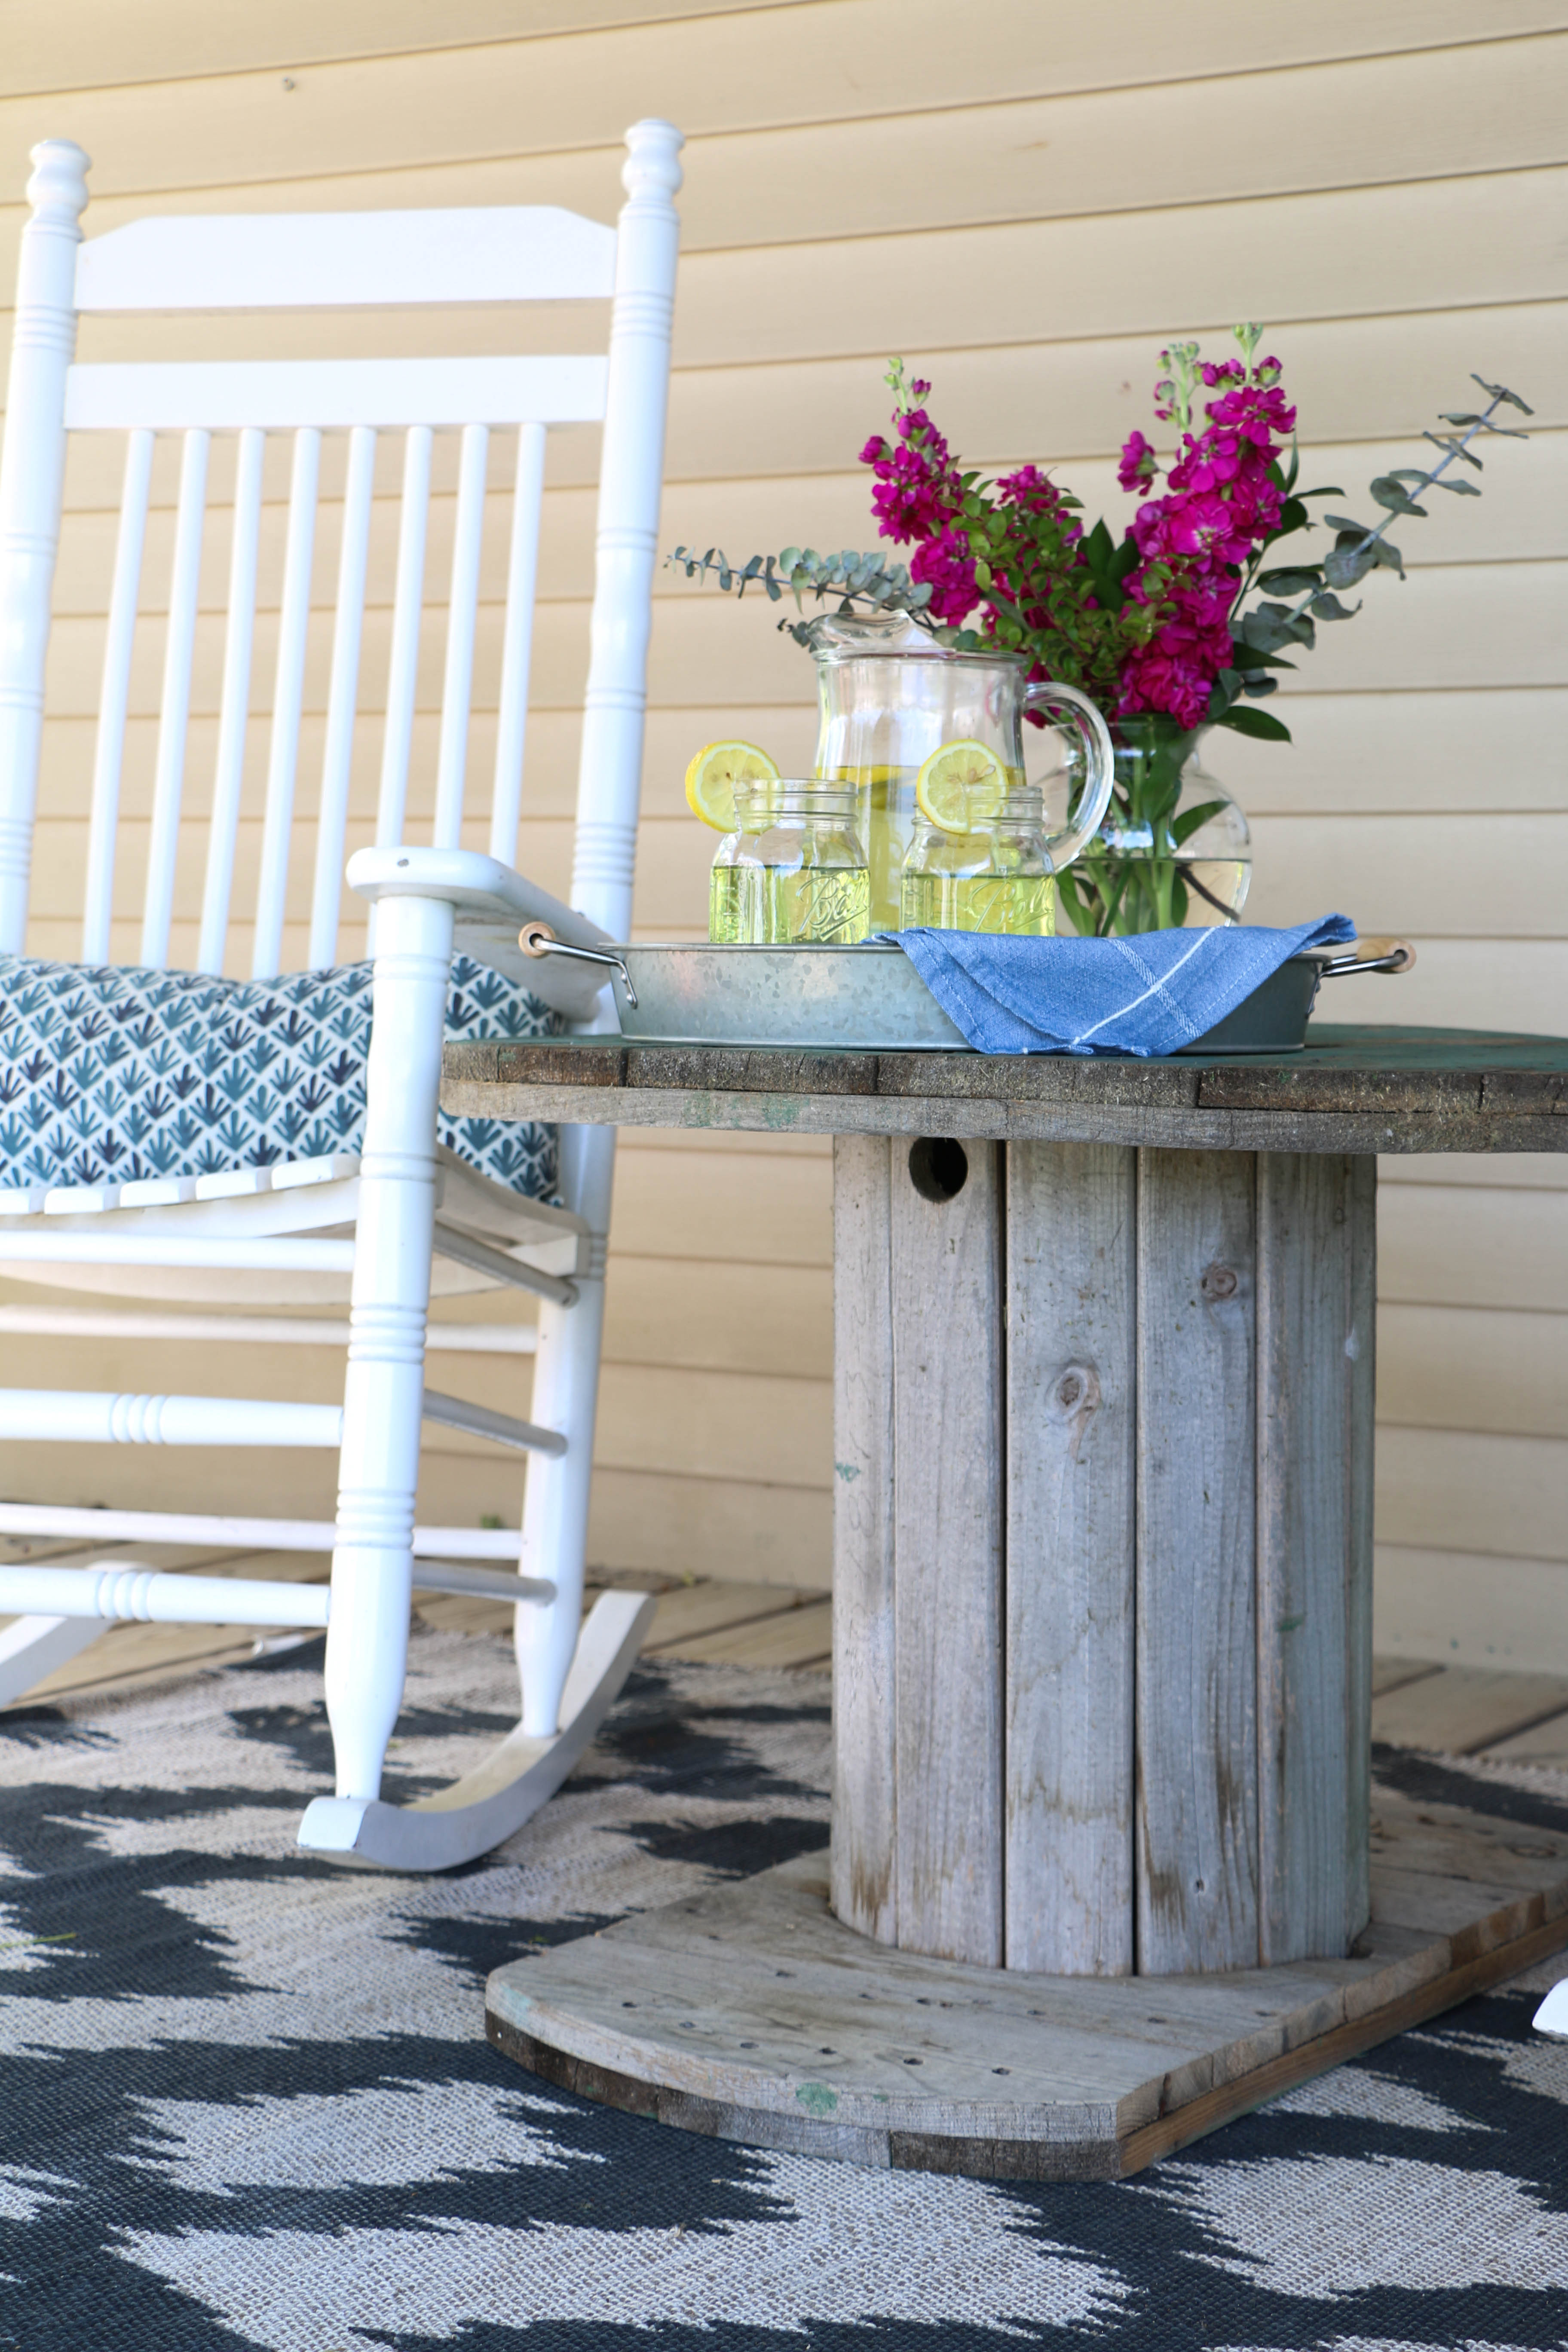
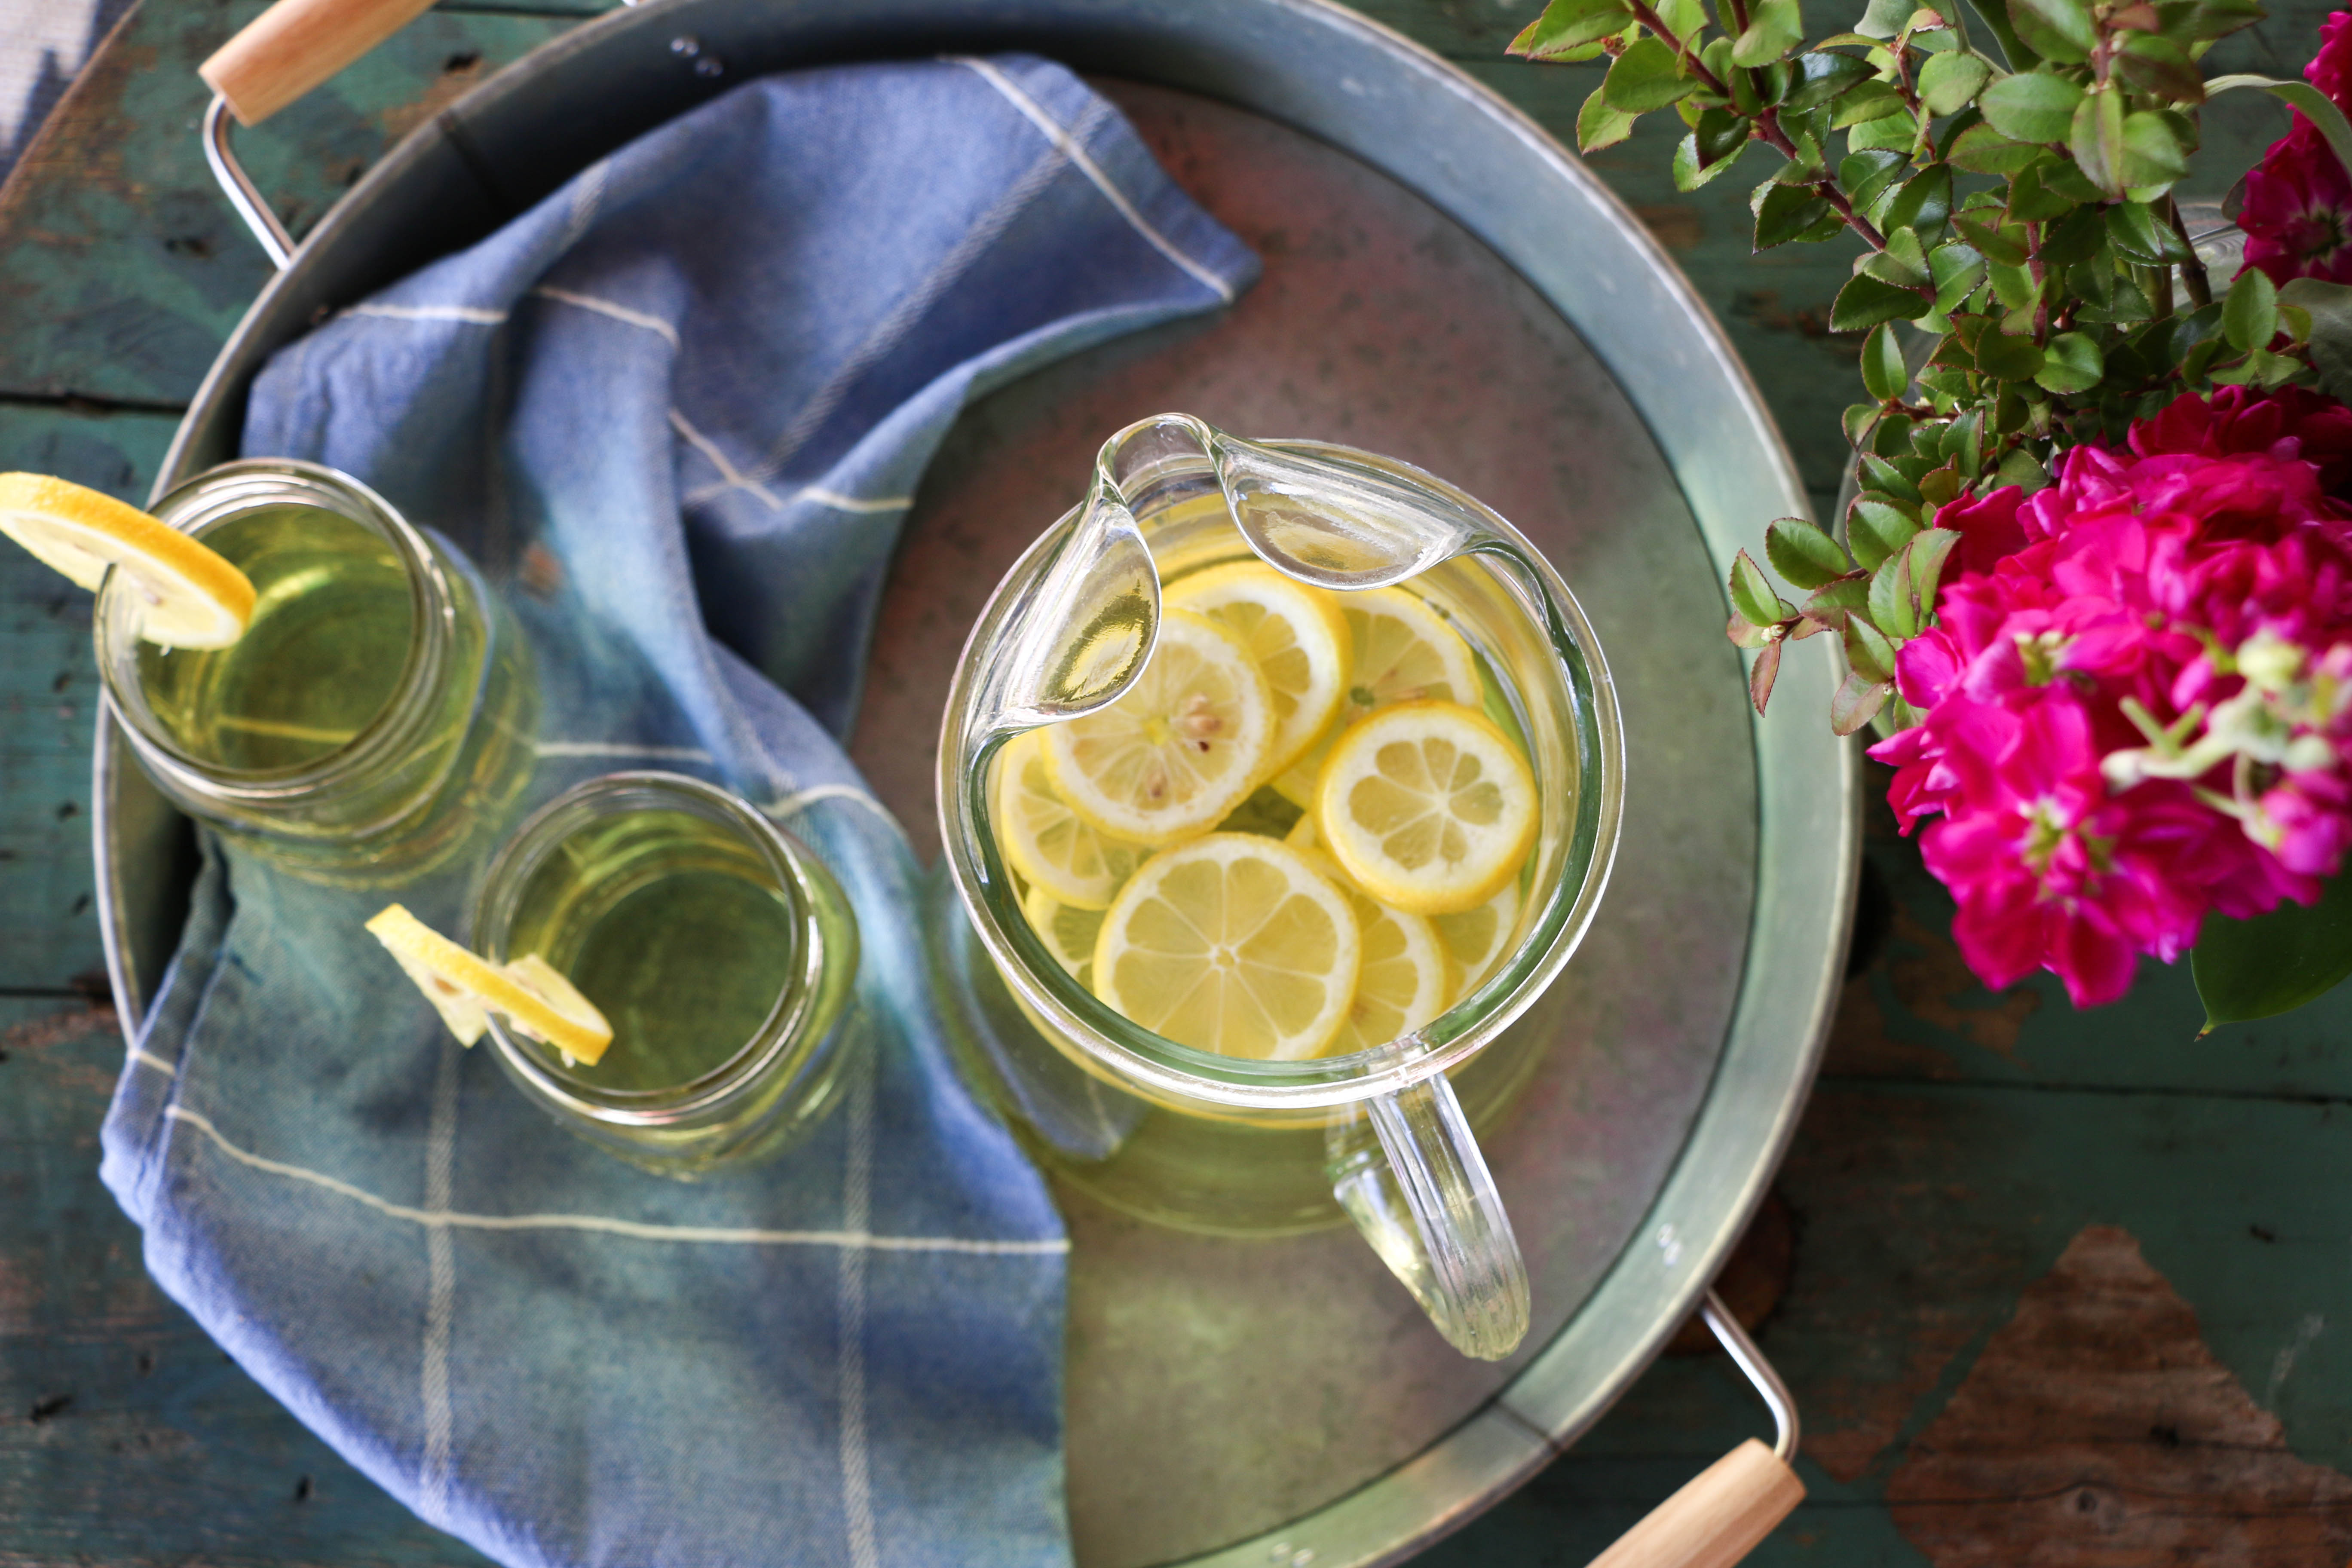
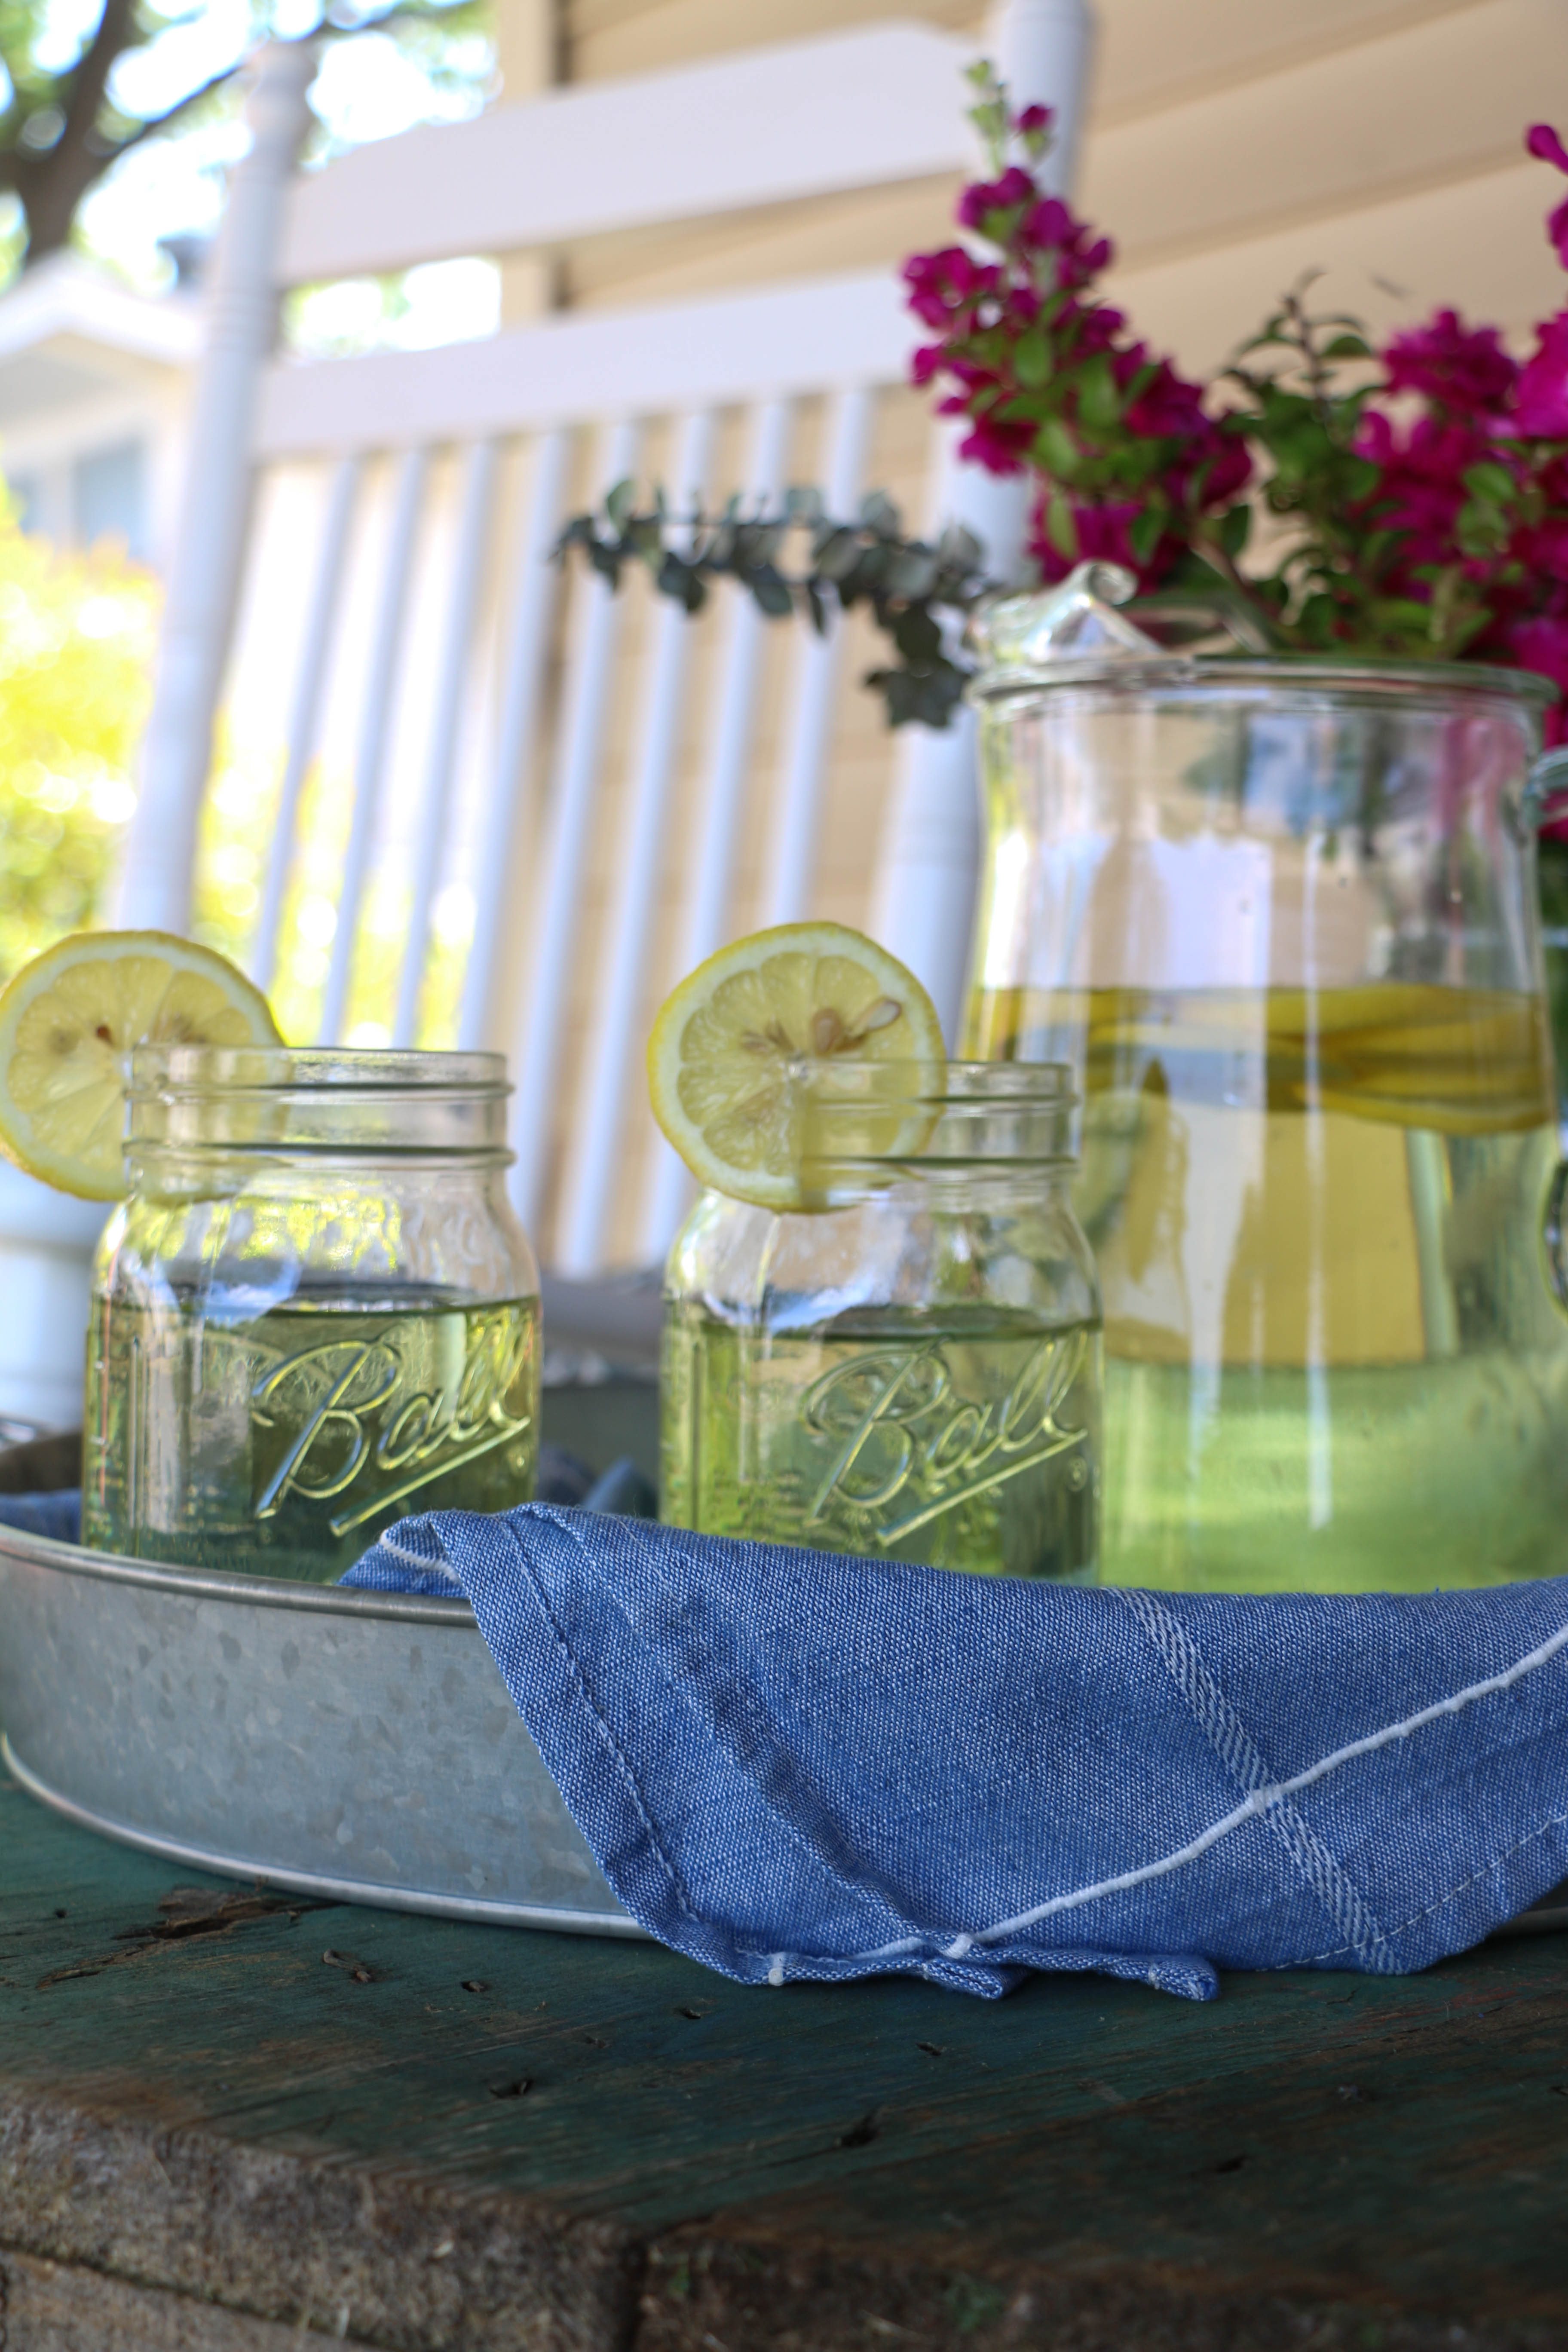
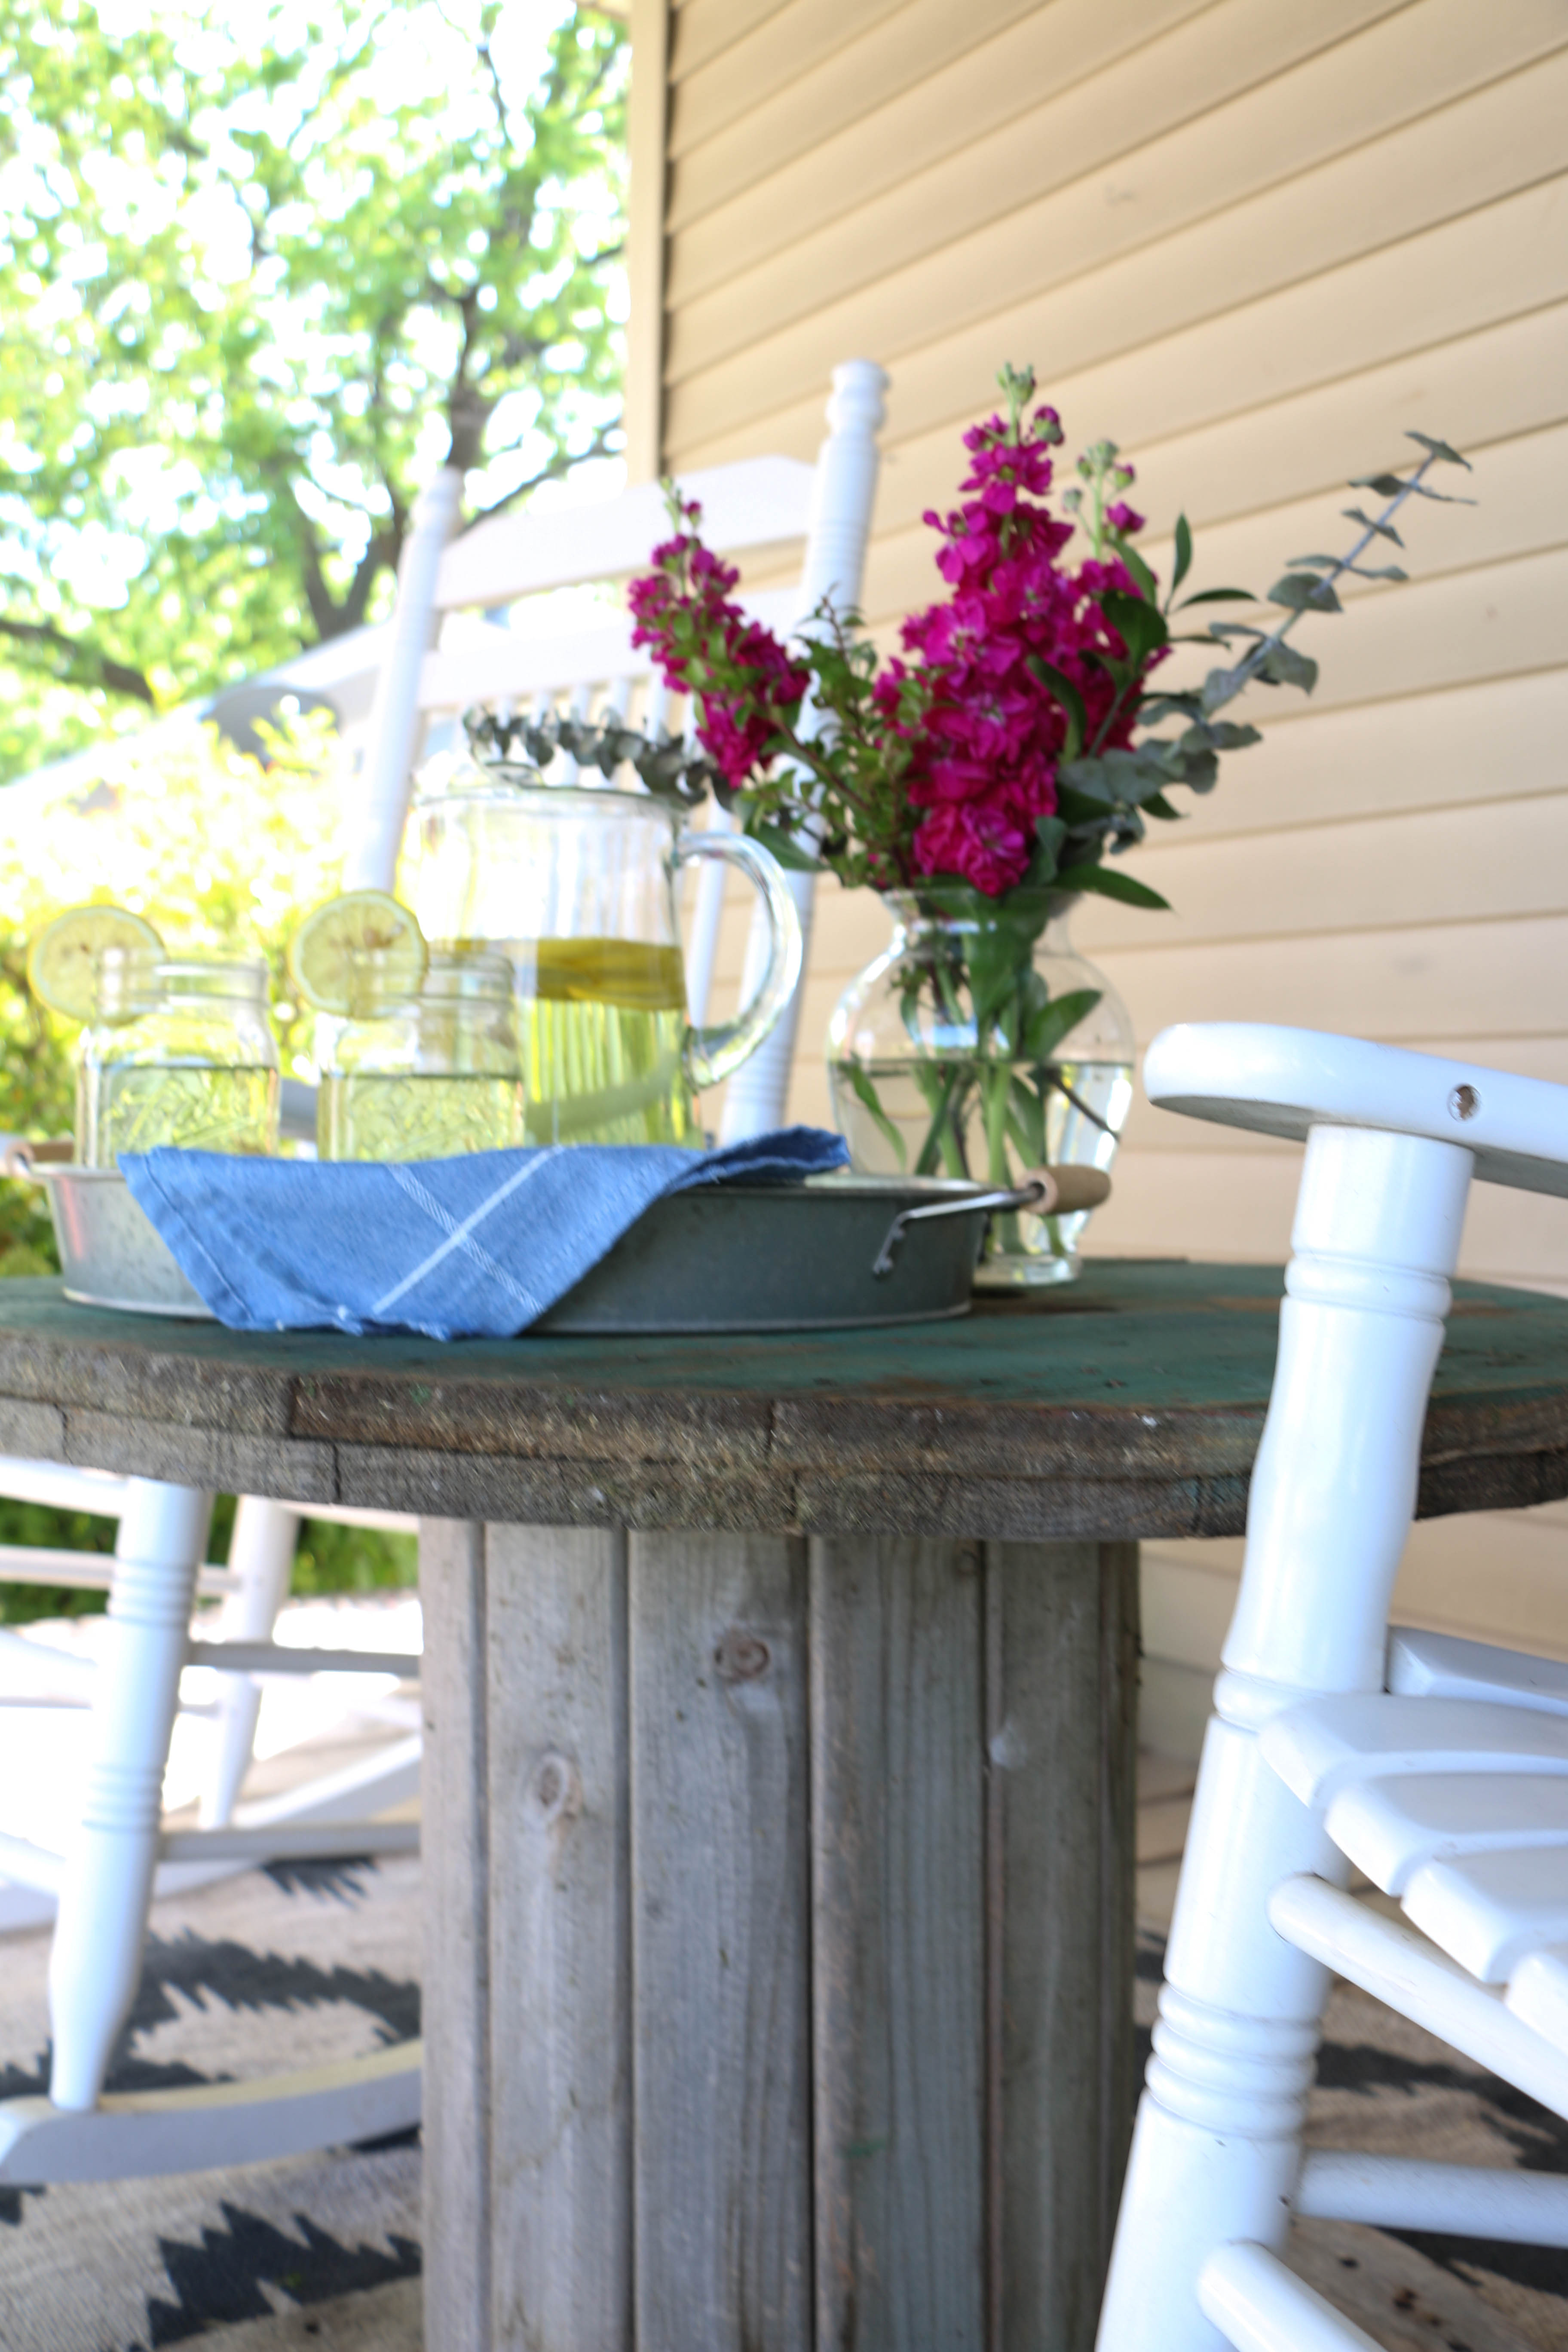
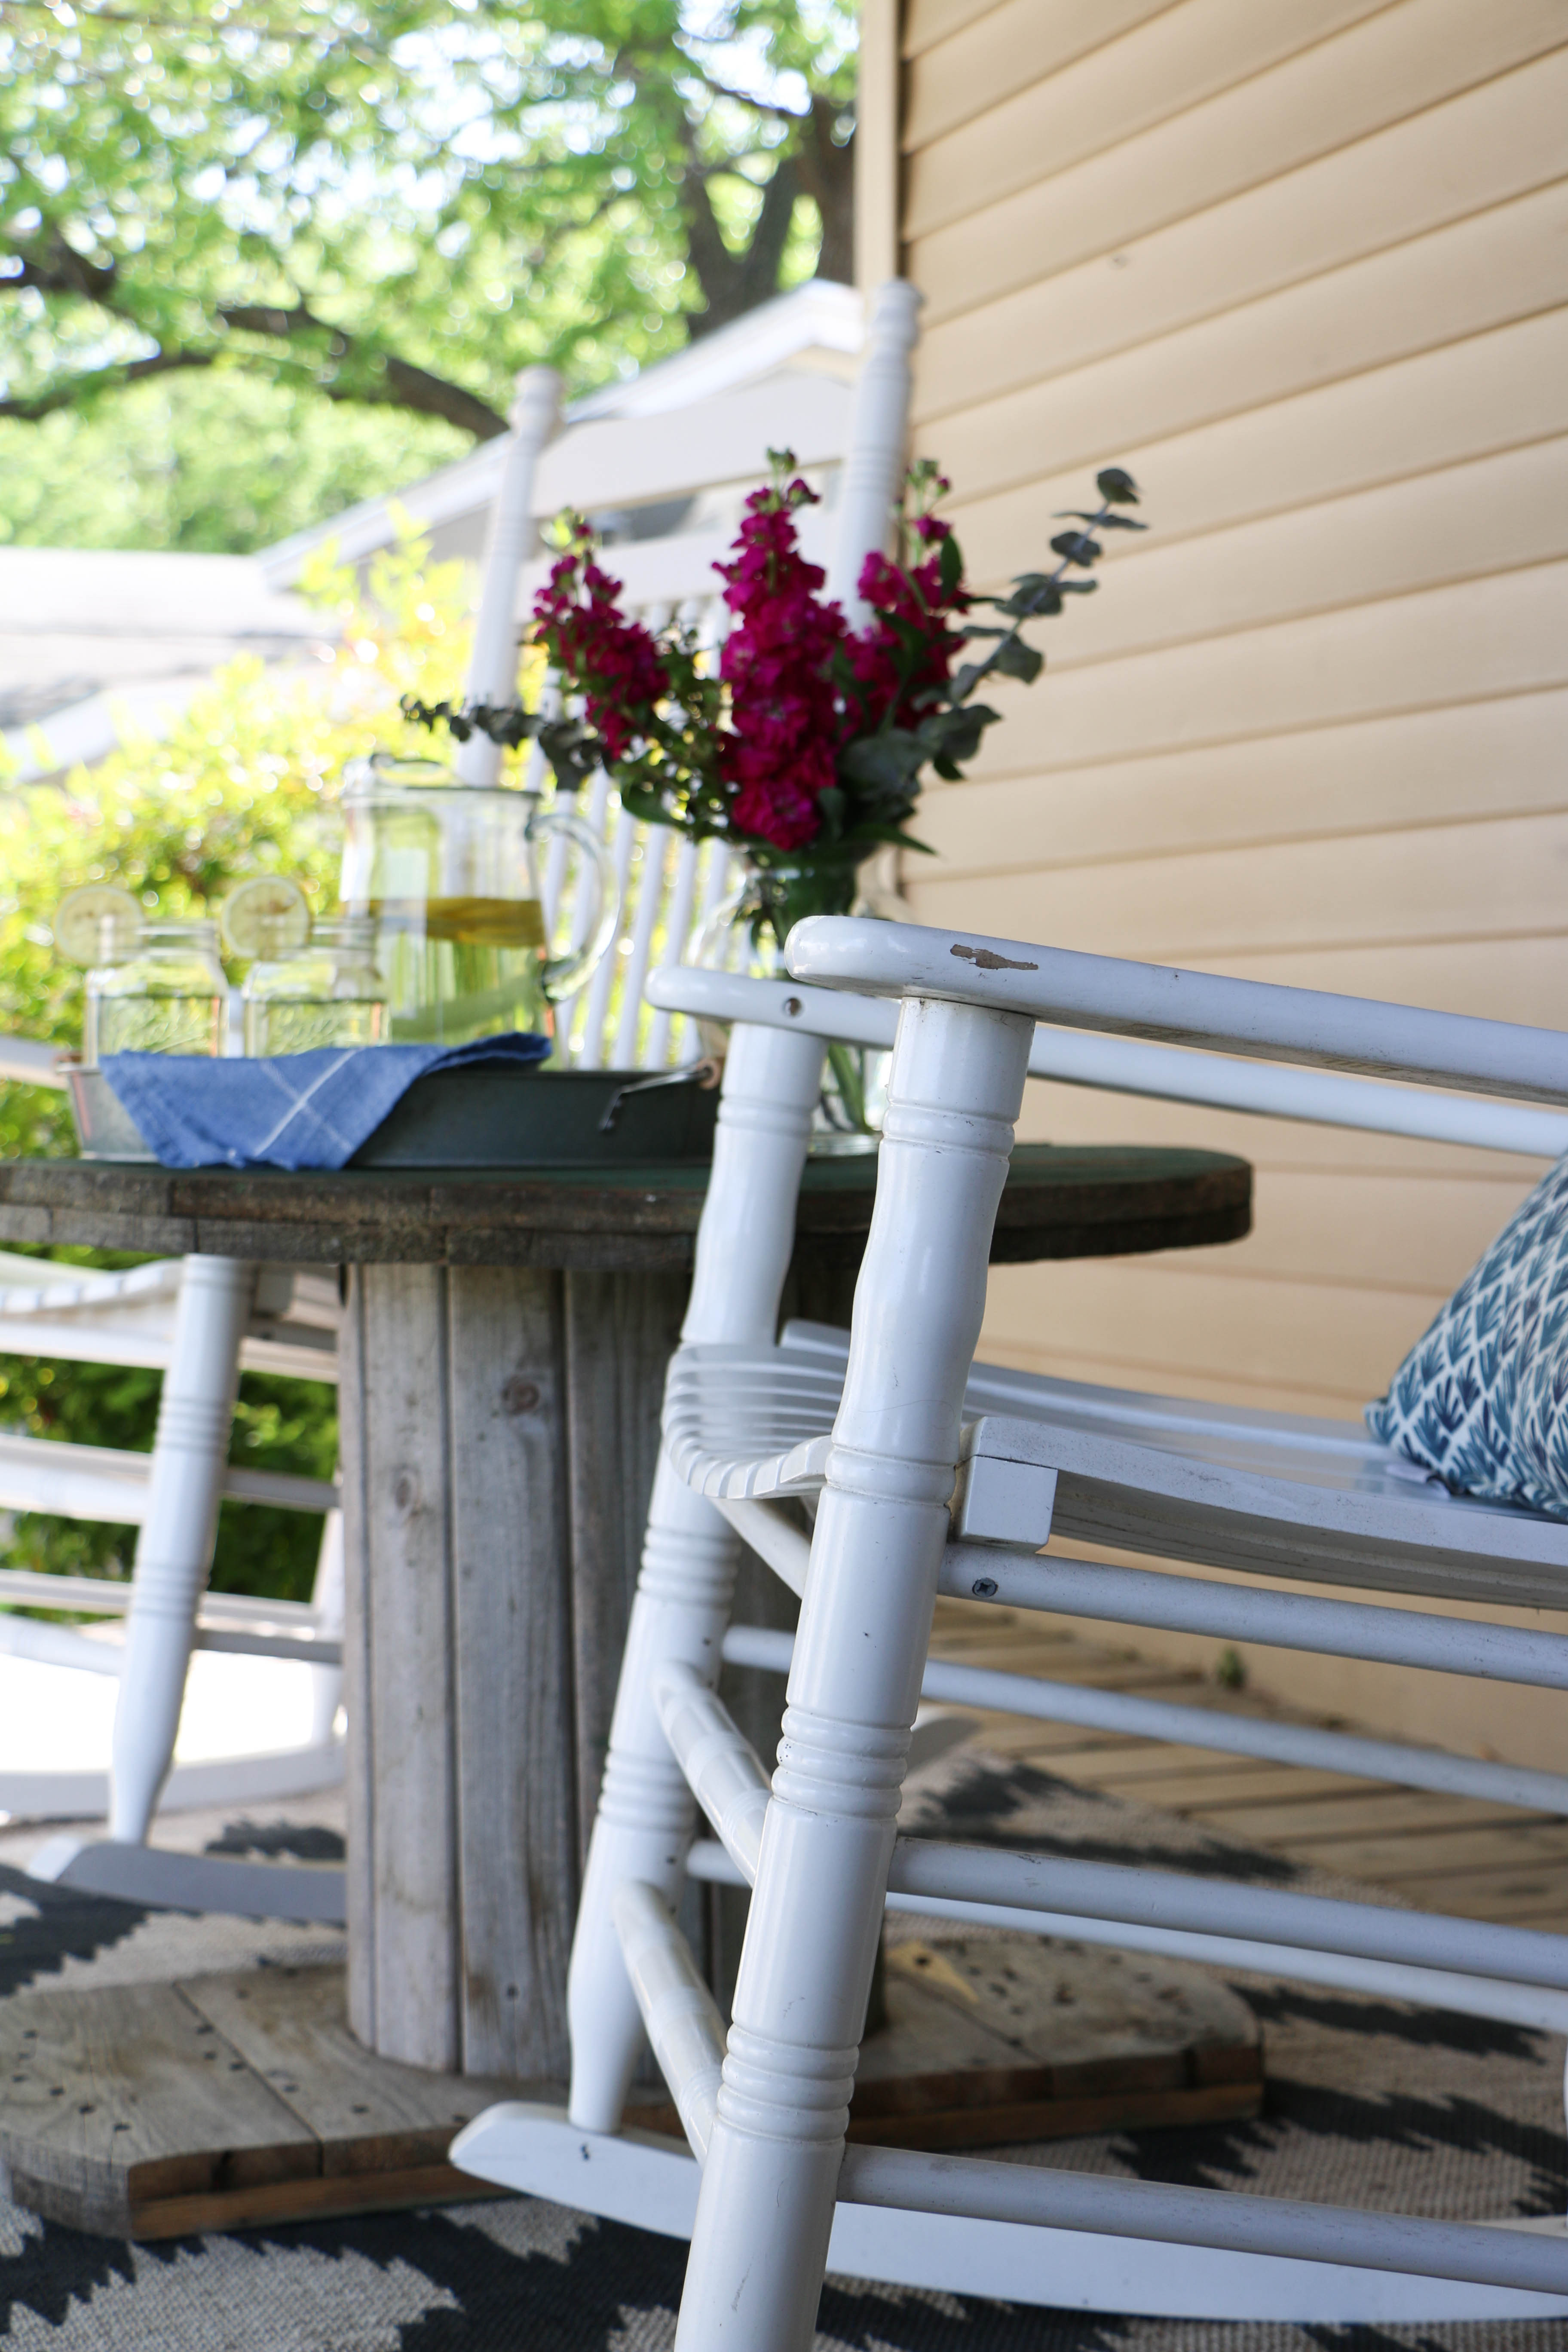
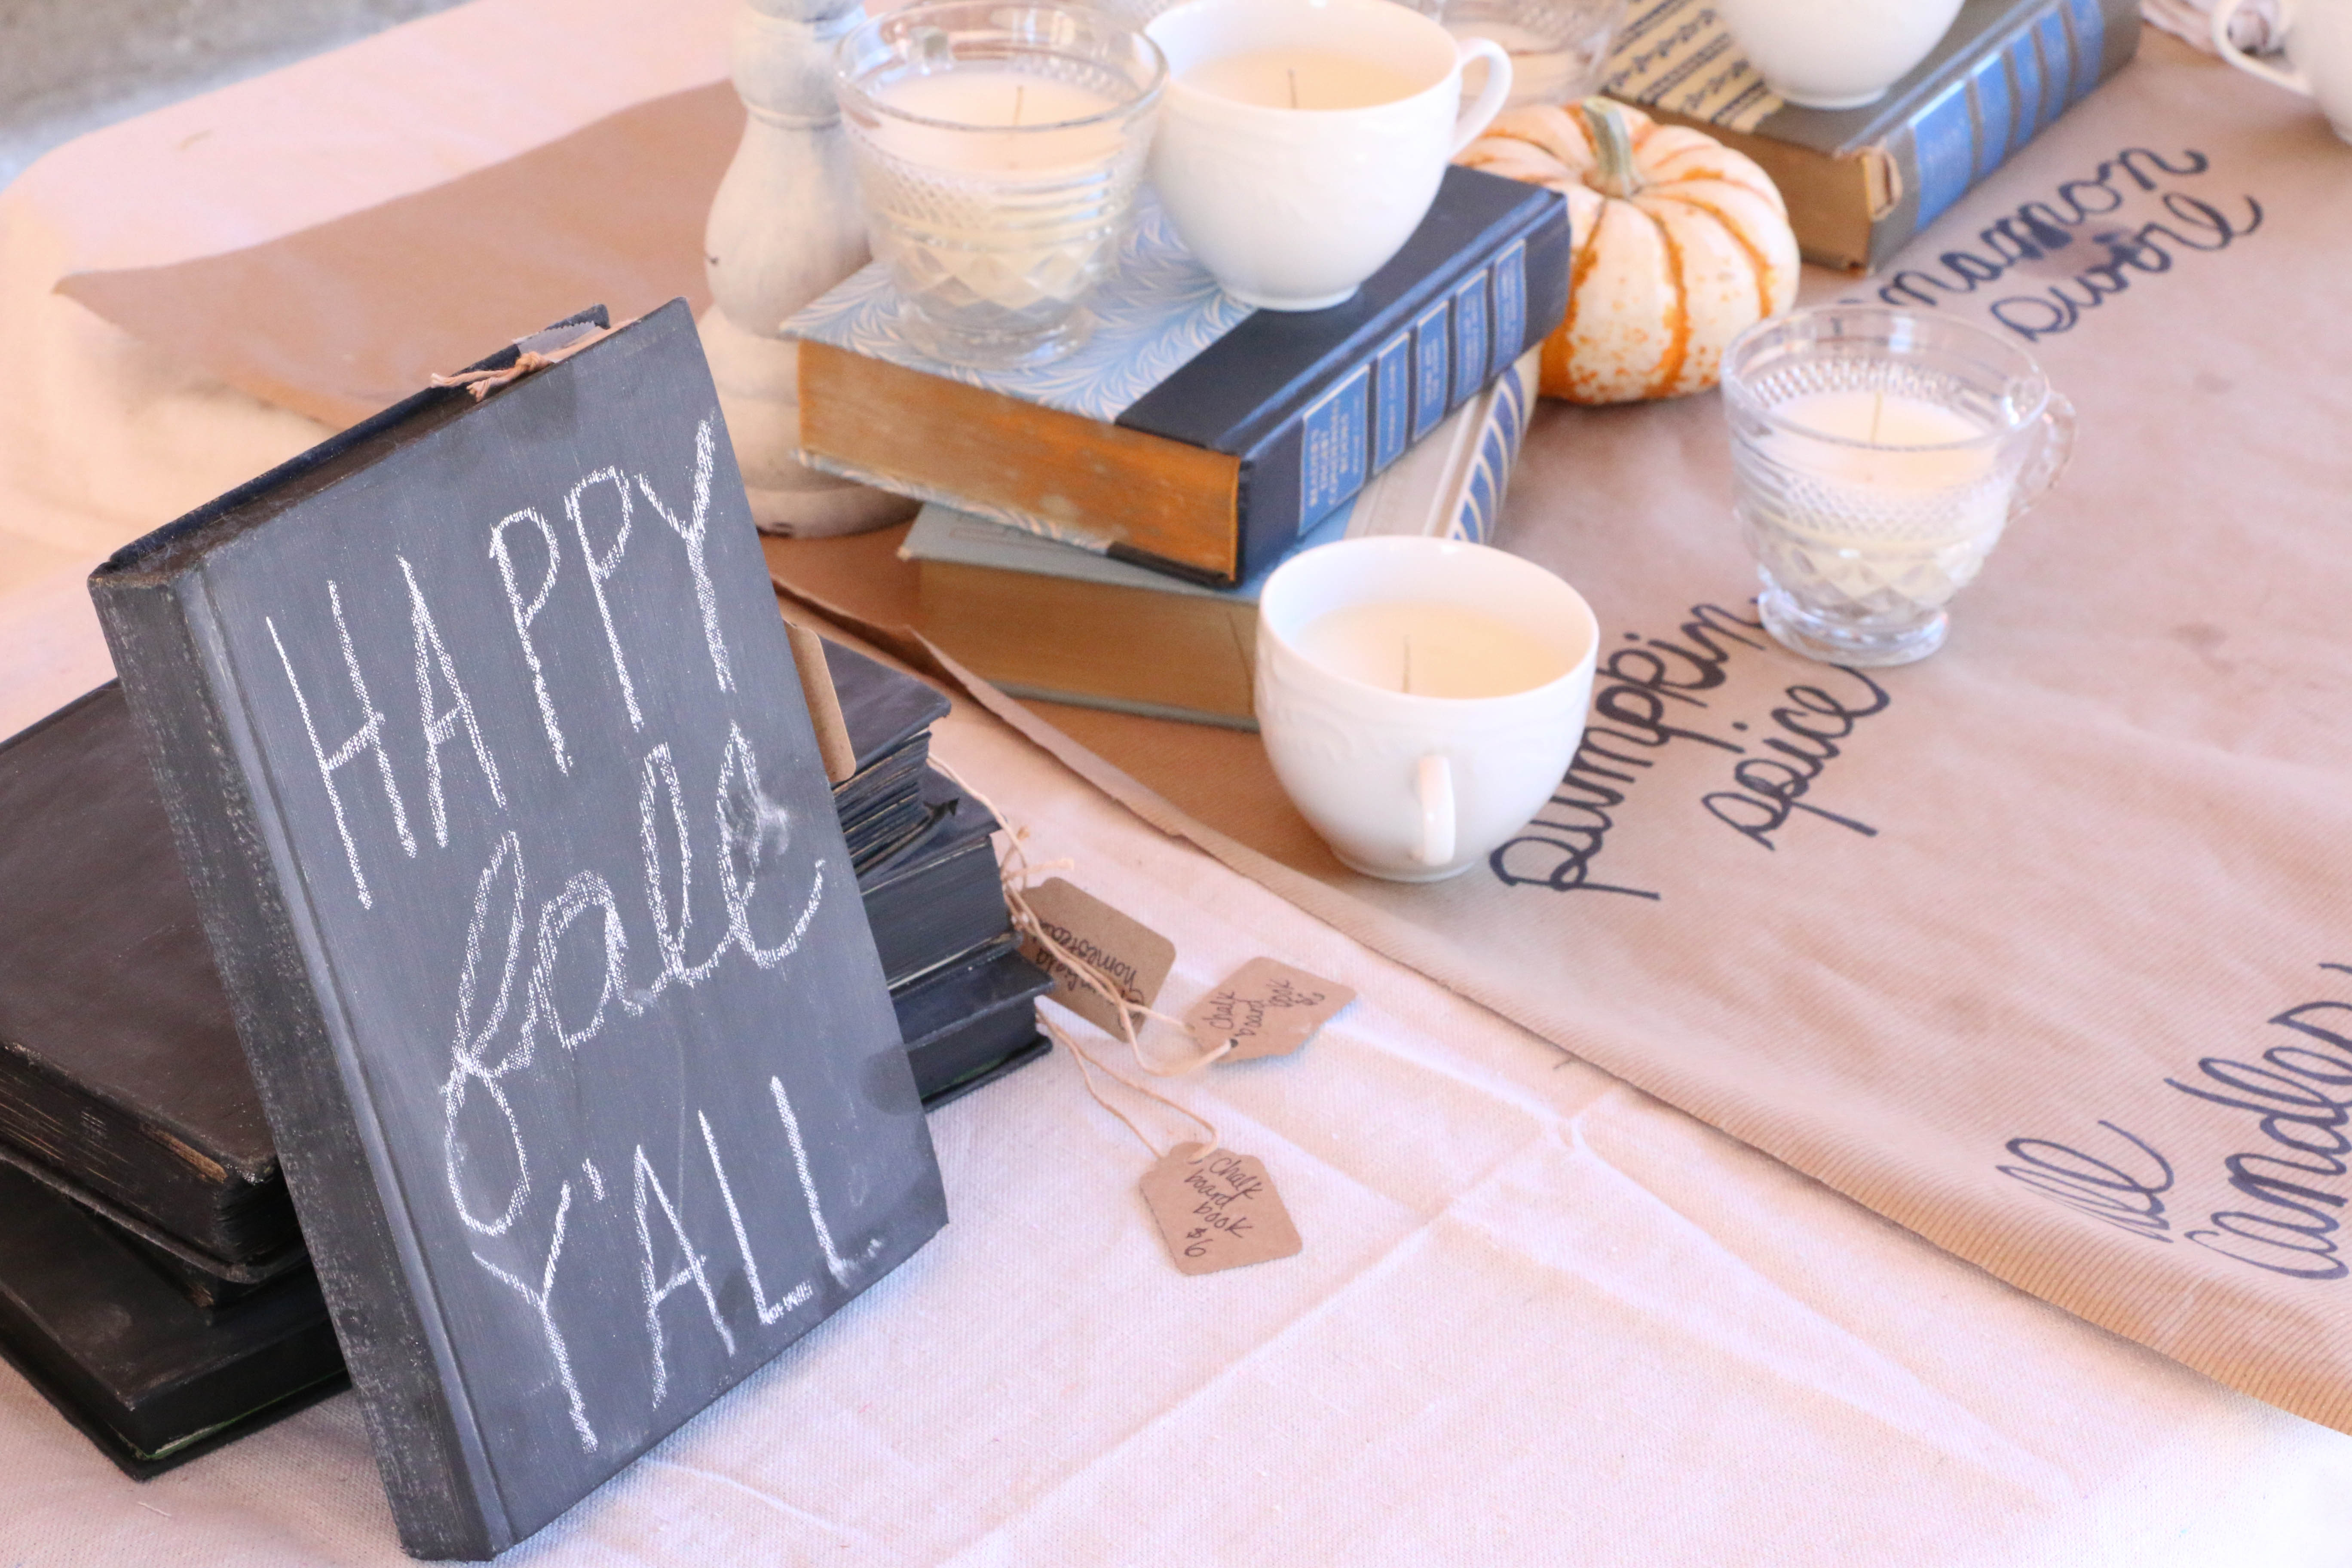
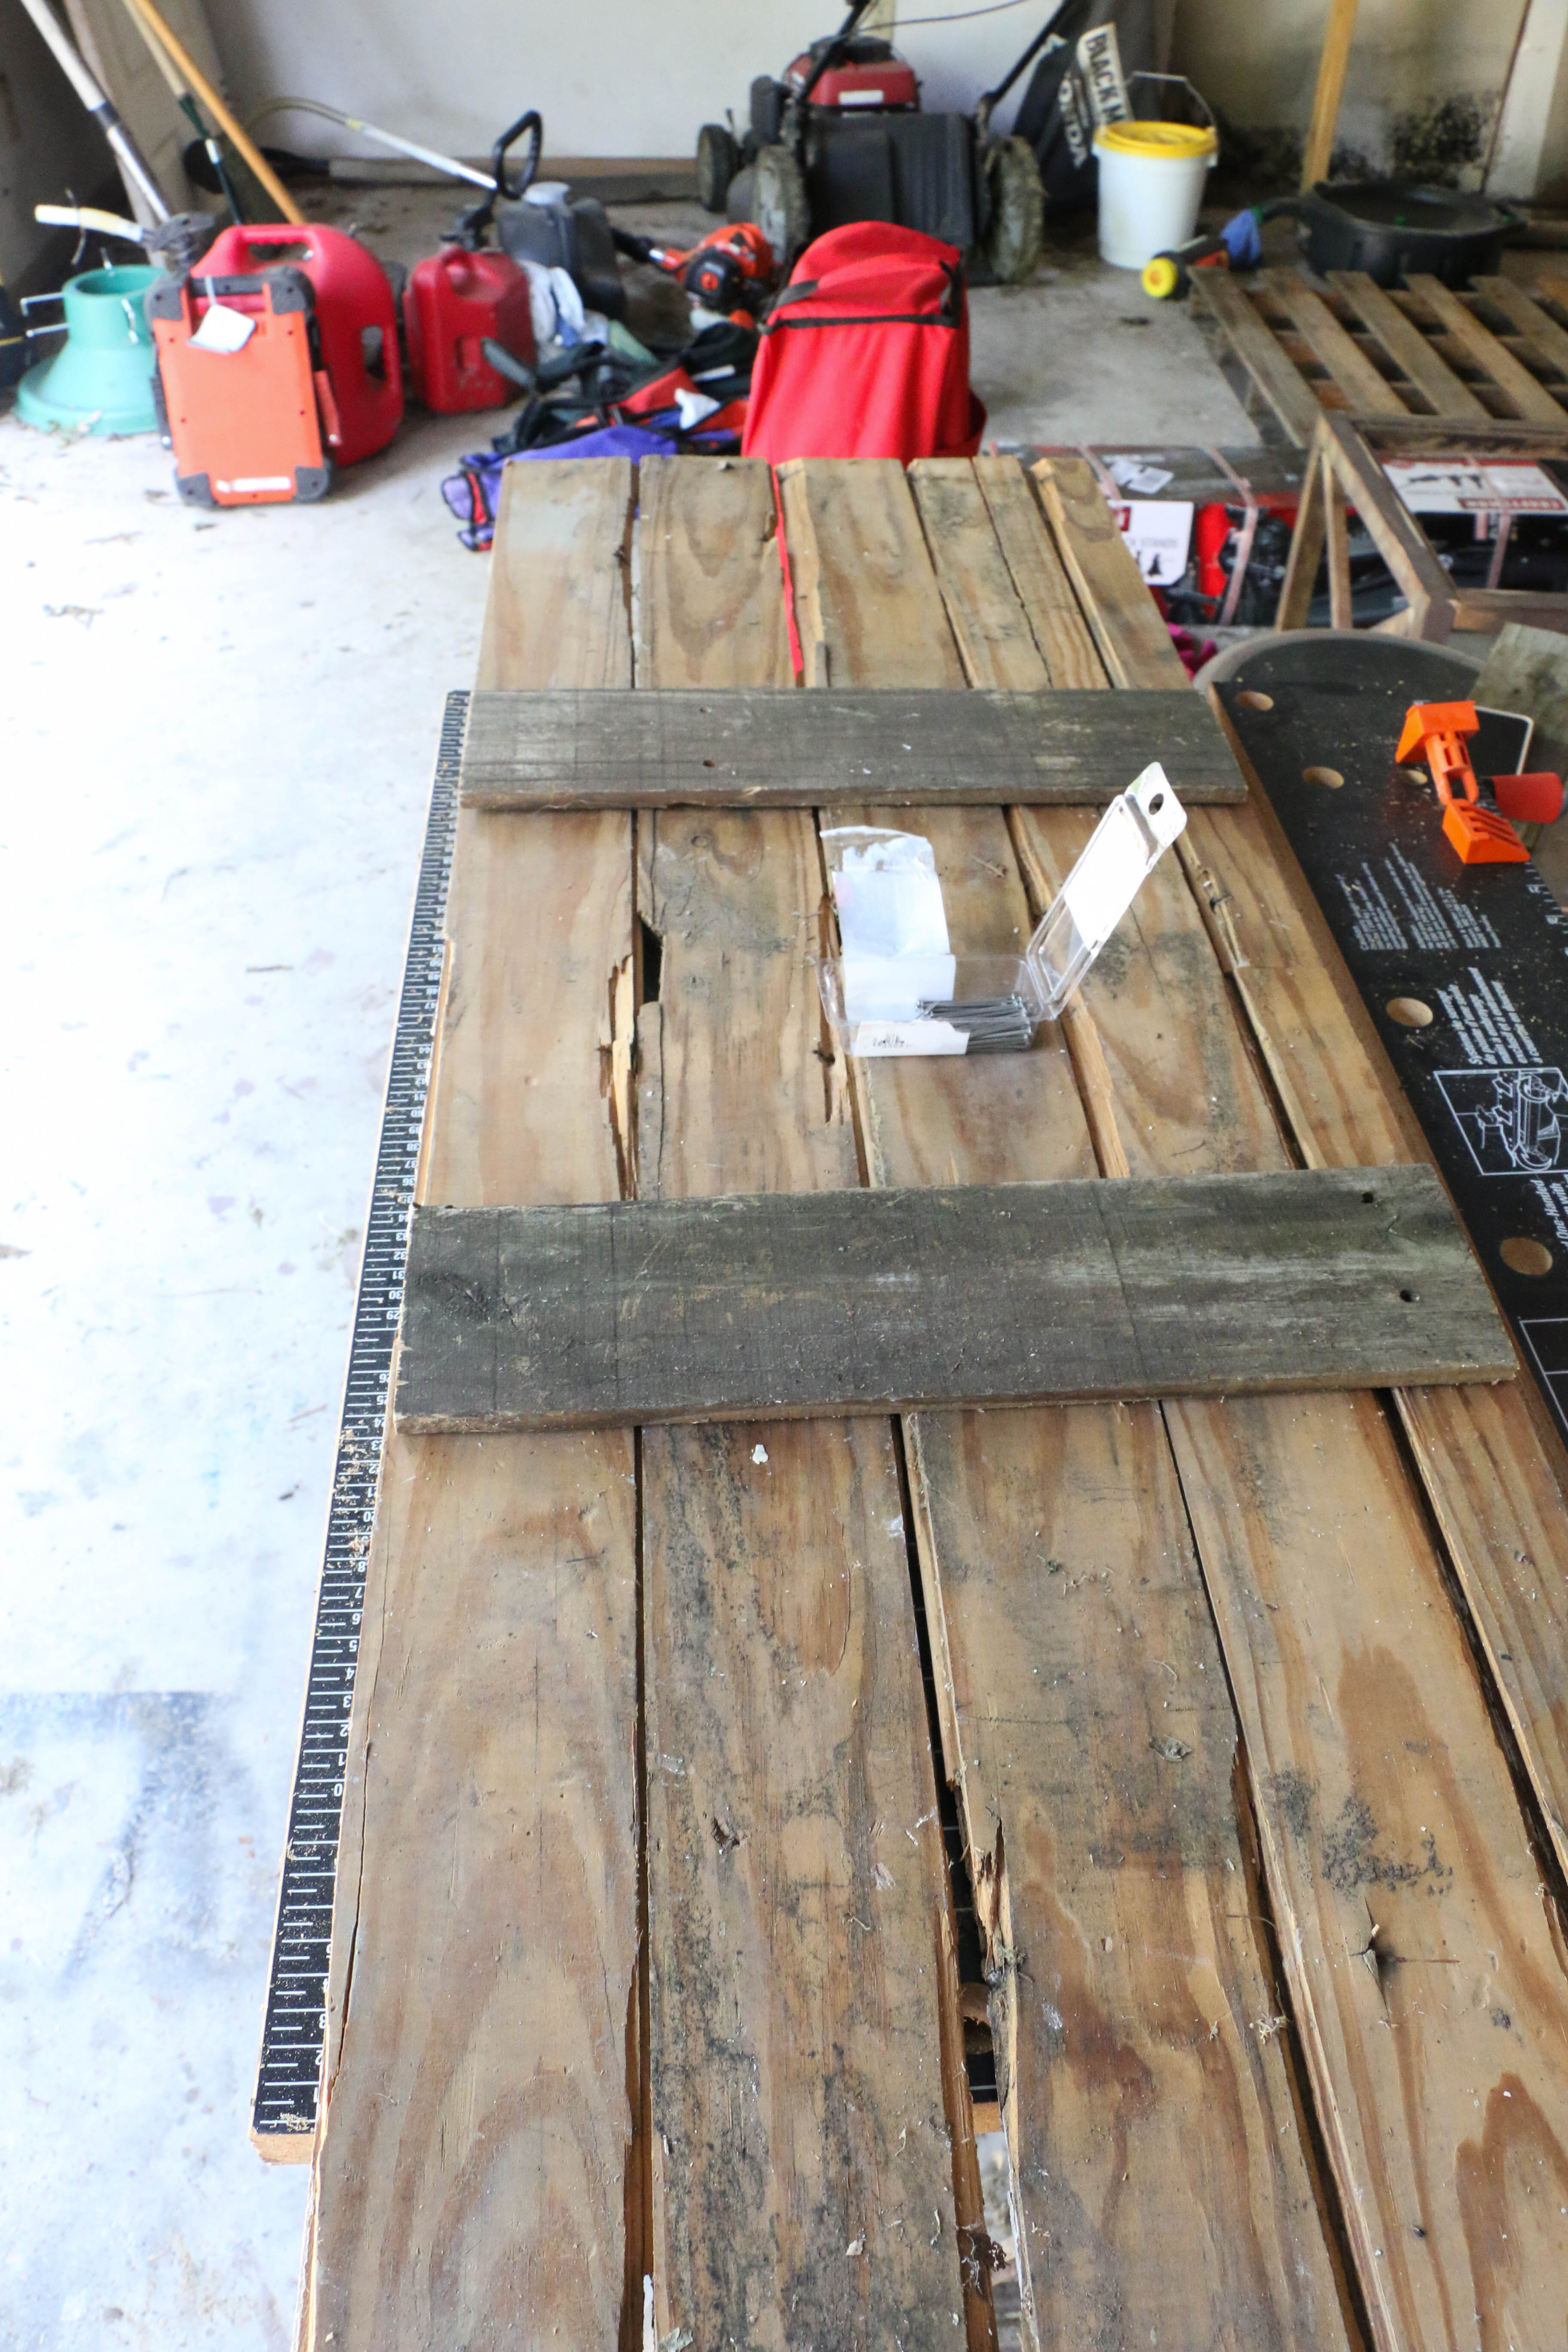
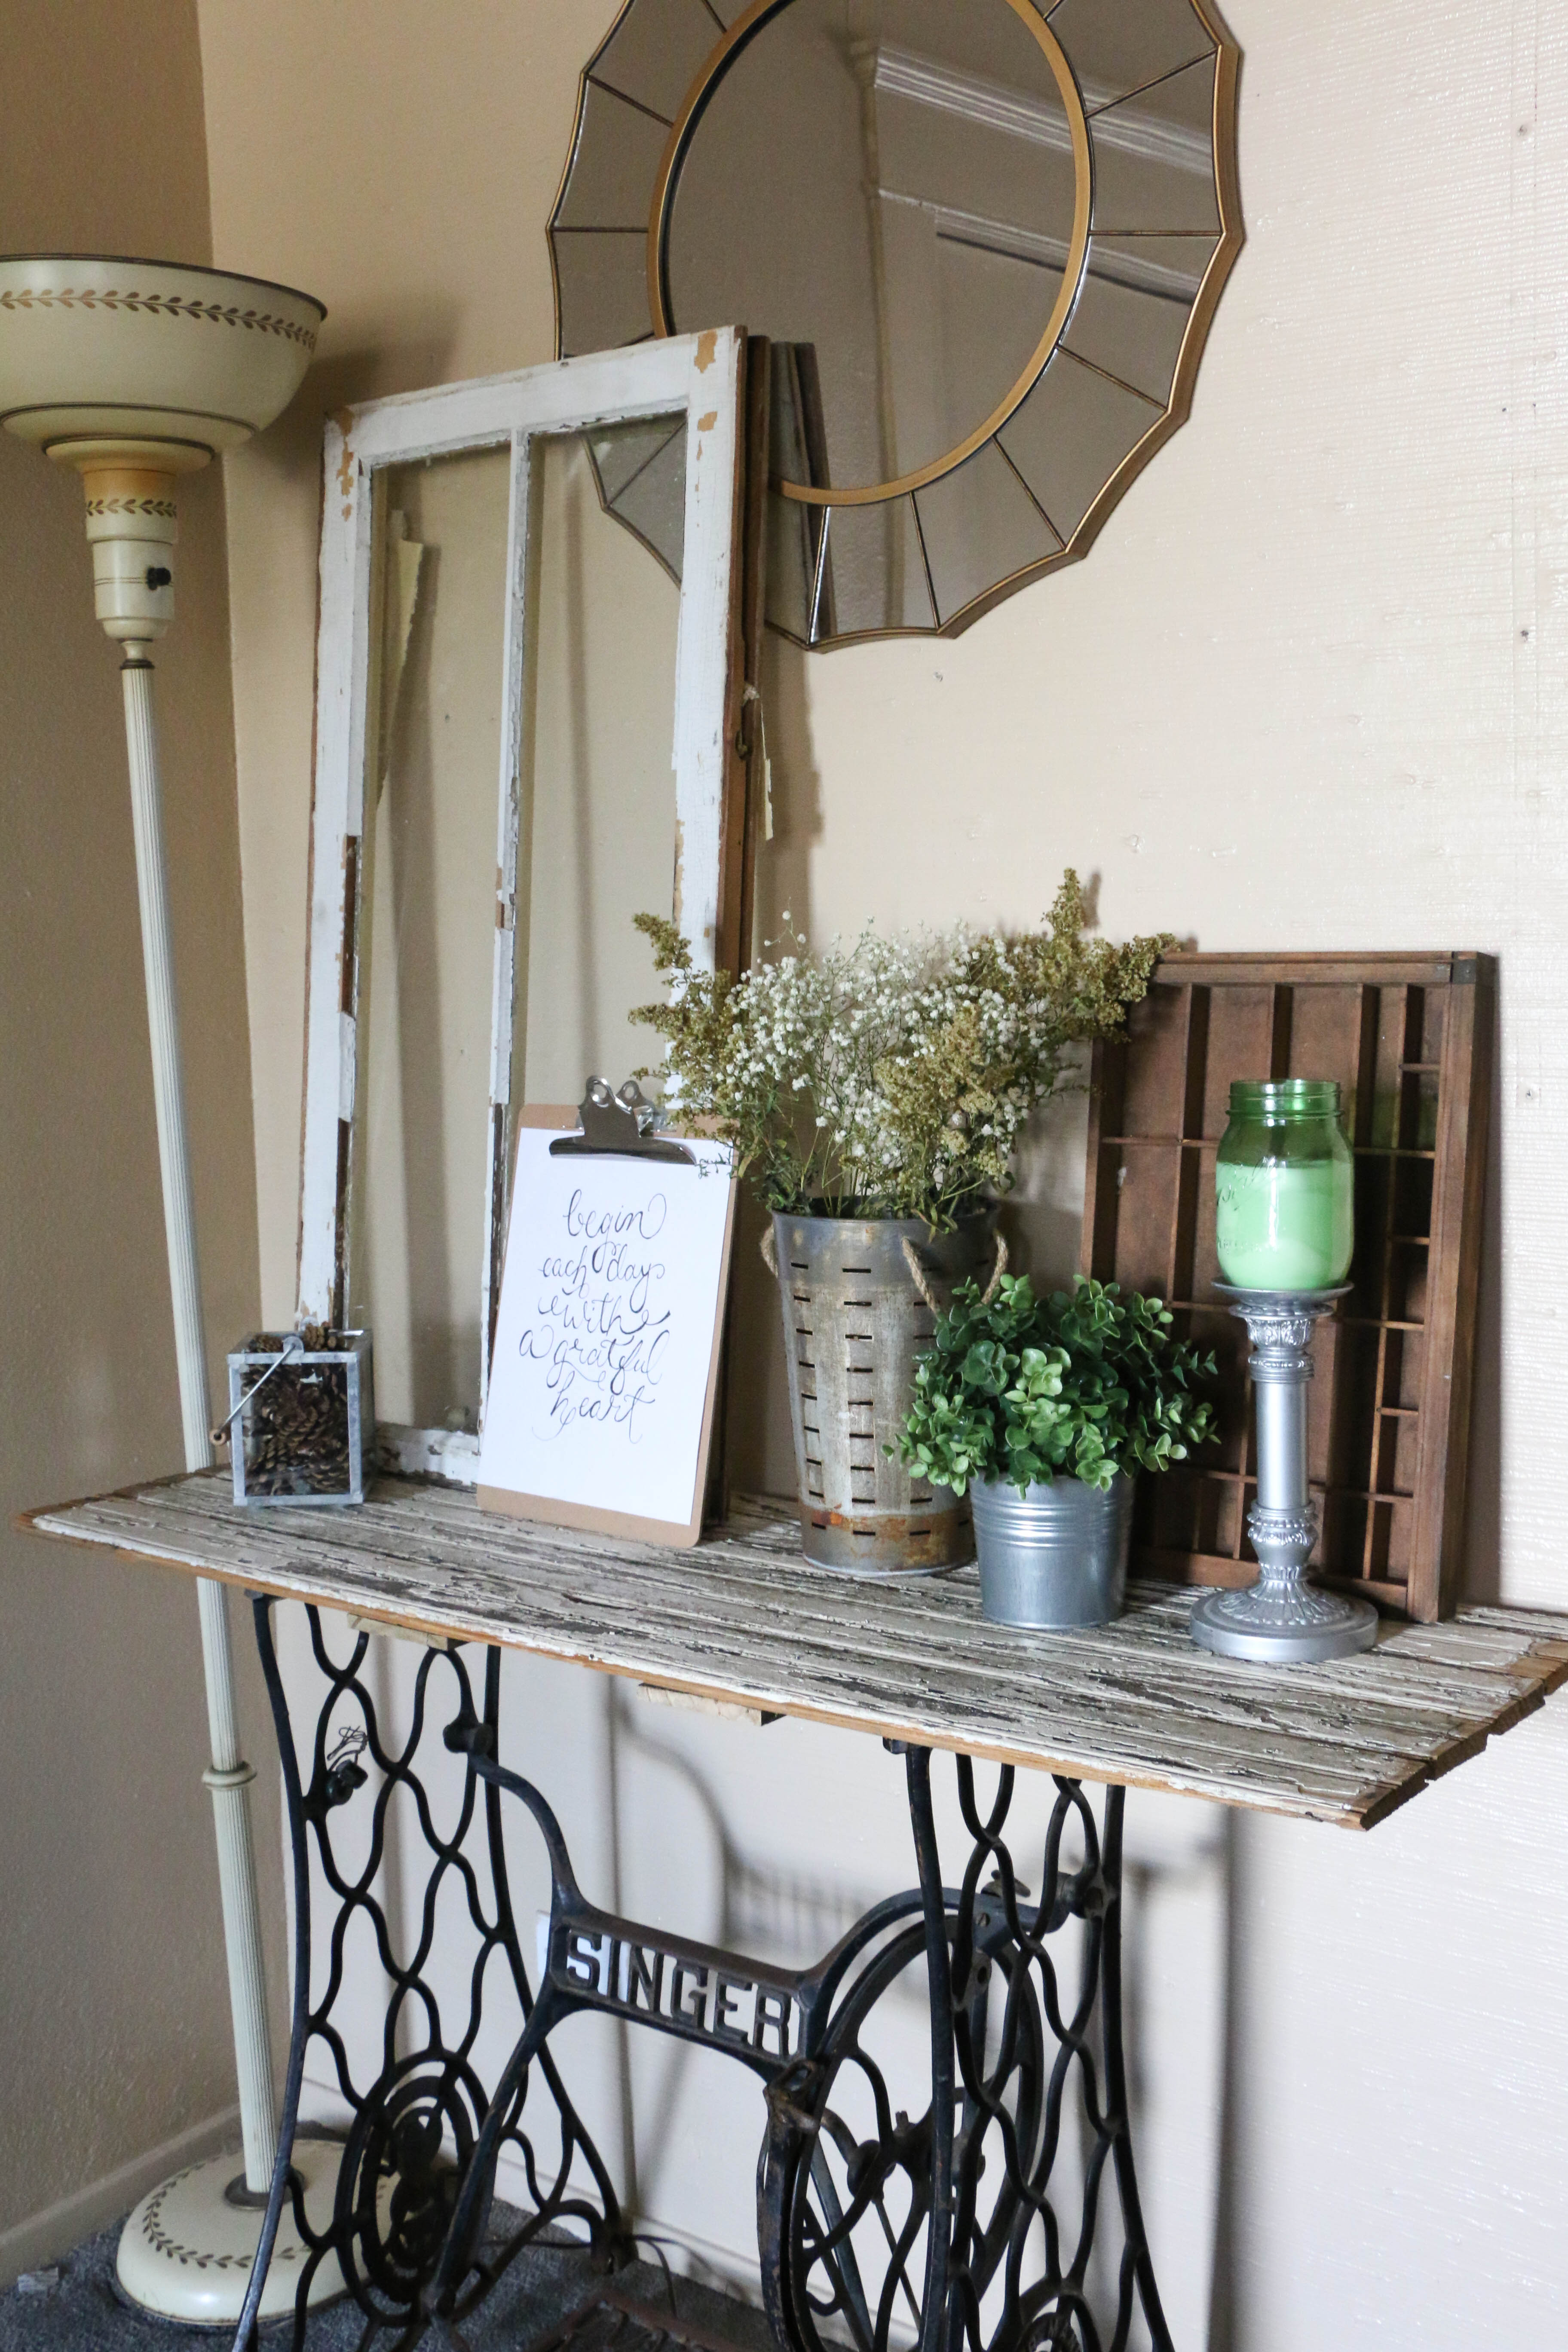
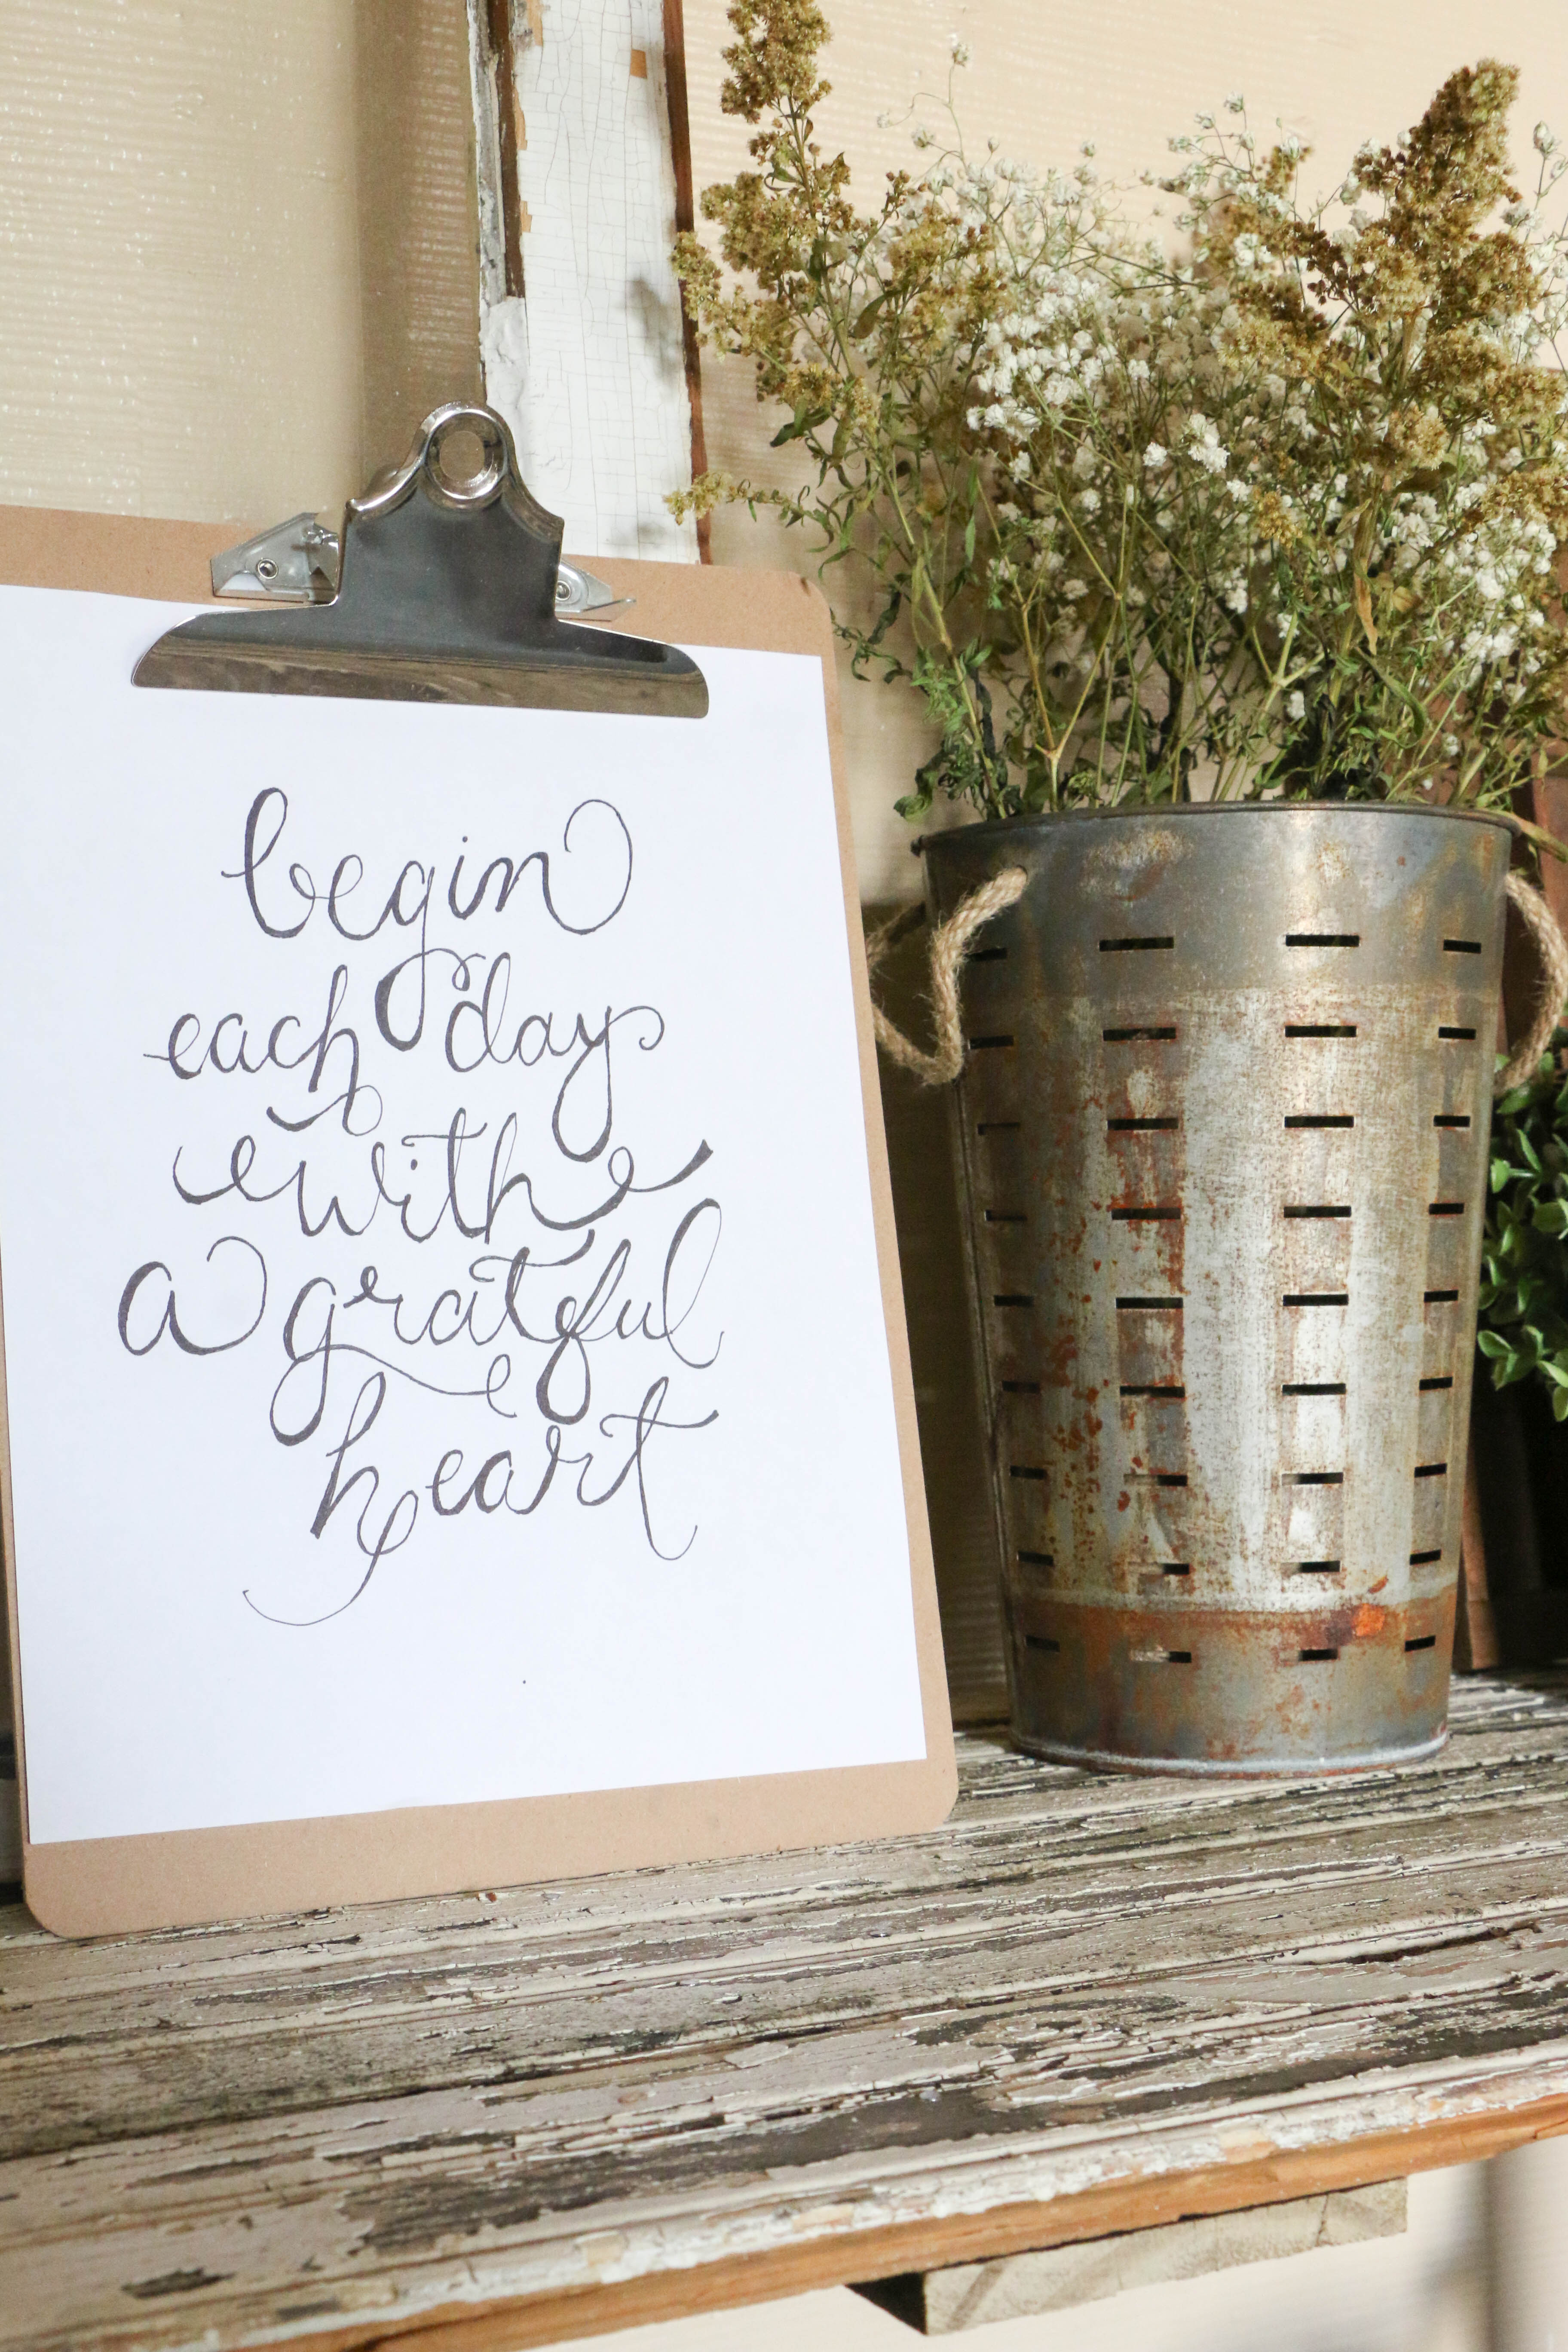
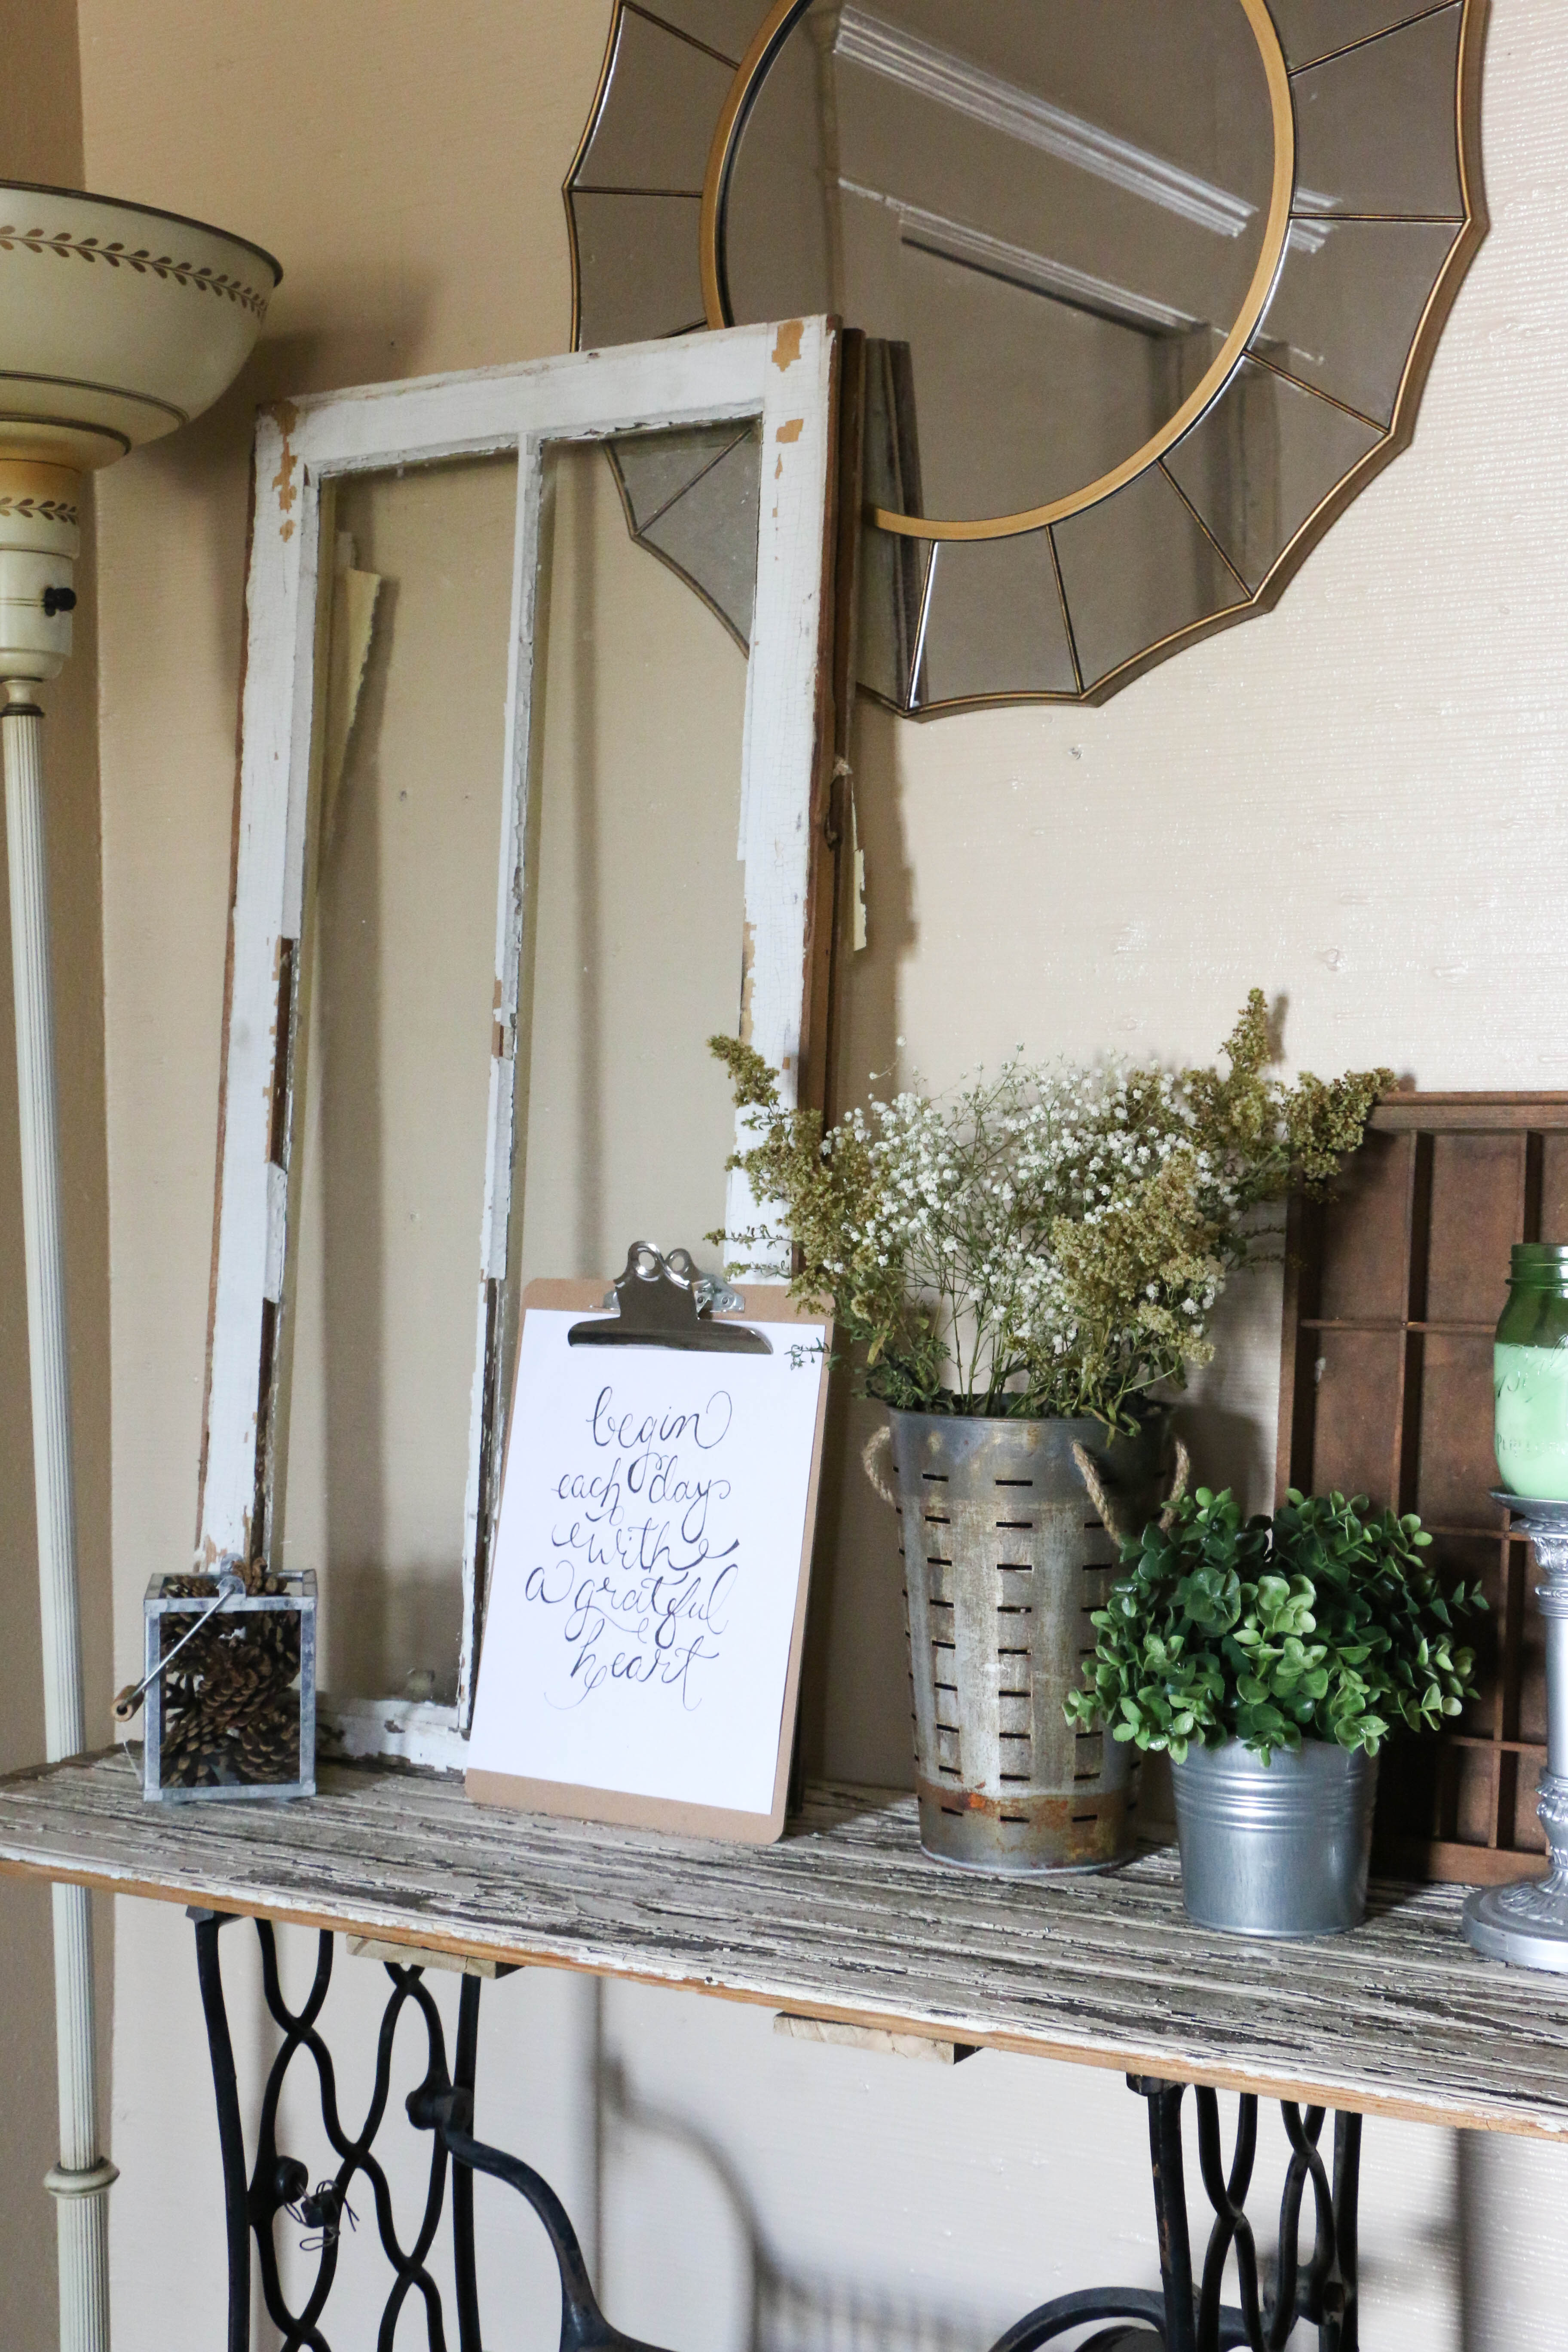
Take this vignette for example. White on white, some galvanized metal, twine, distressing. These are staples in my design choices and have been for a long time. Yesterday, I made some small and simple changes to this vignette. Because one teeny tiny change can make you feel like you’re doing something, even if it’s not an entire house or room.

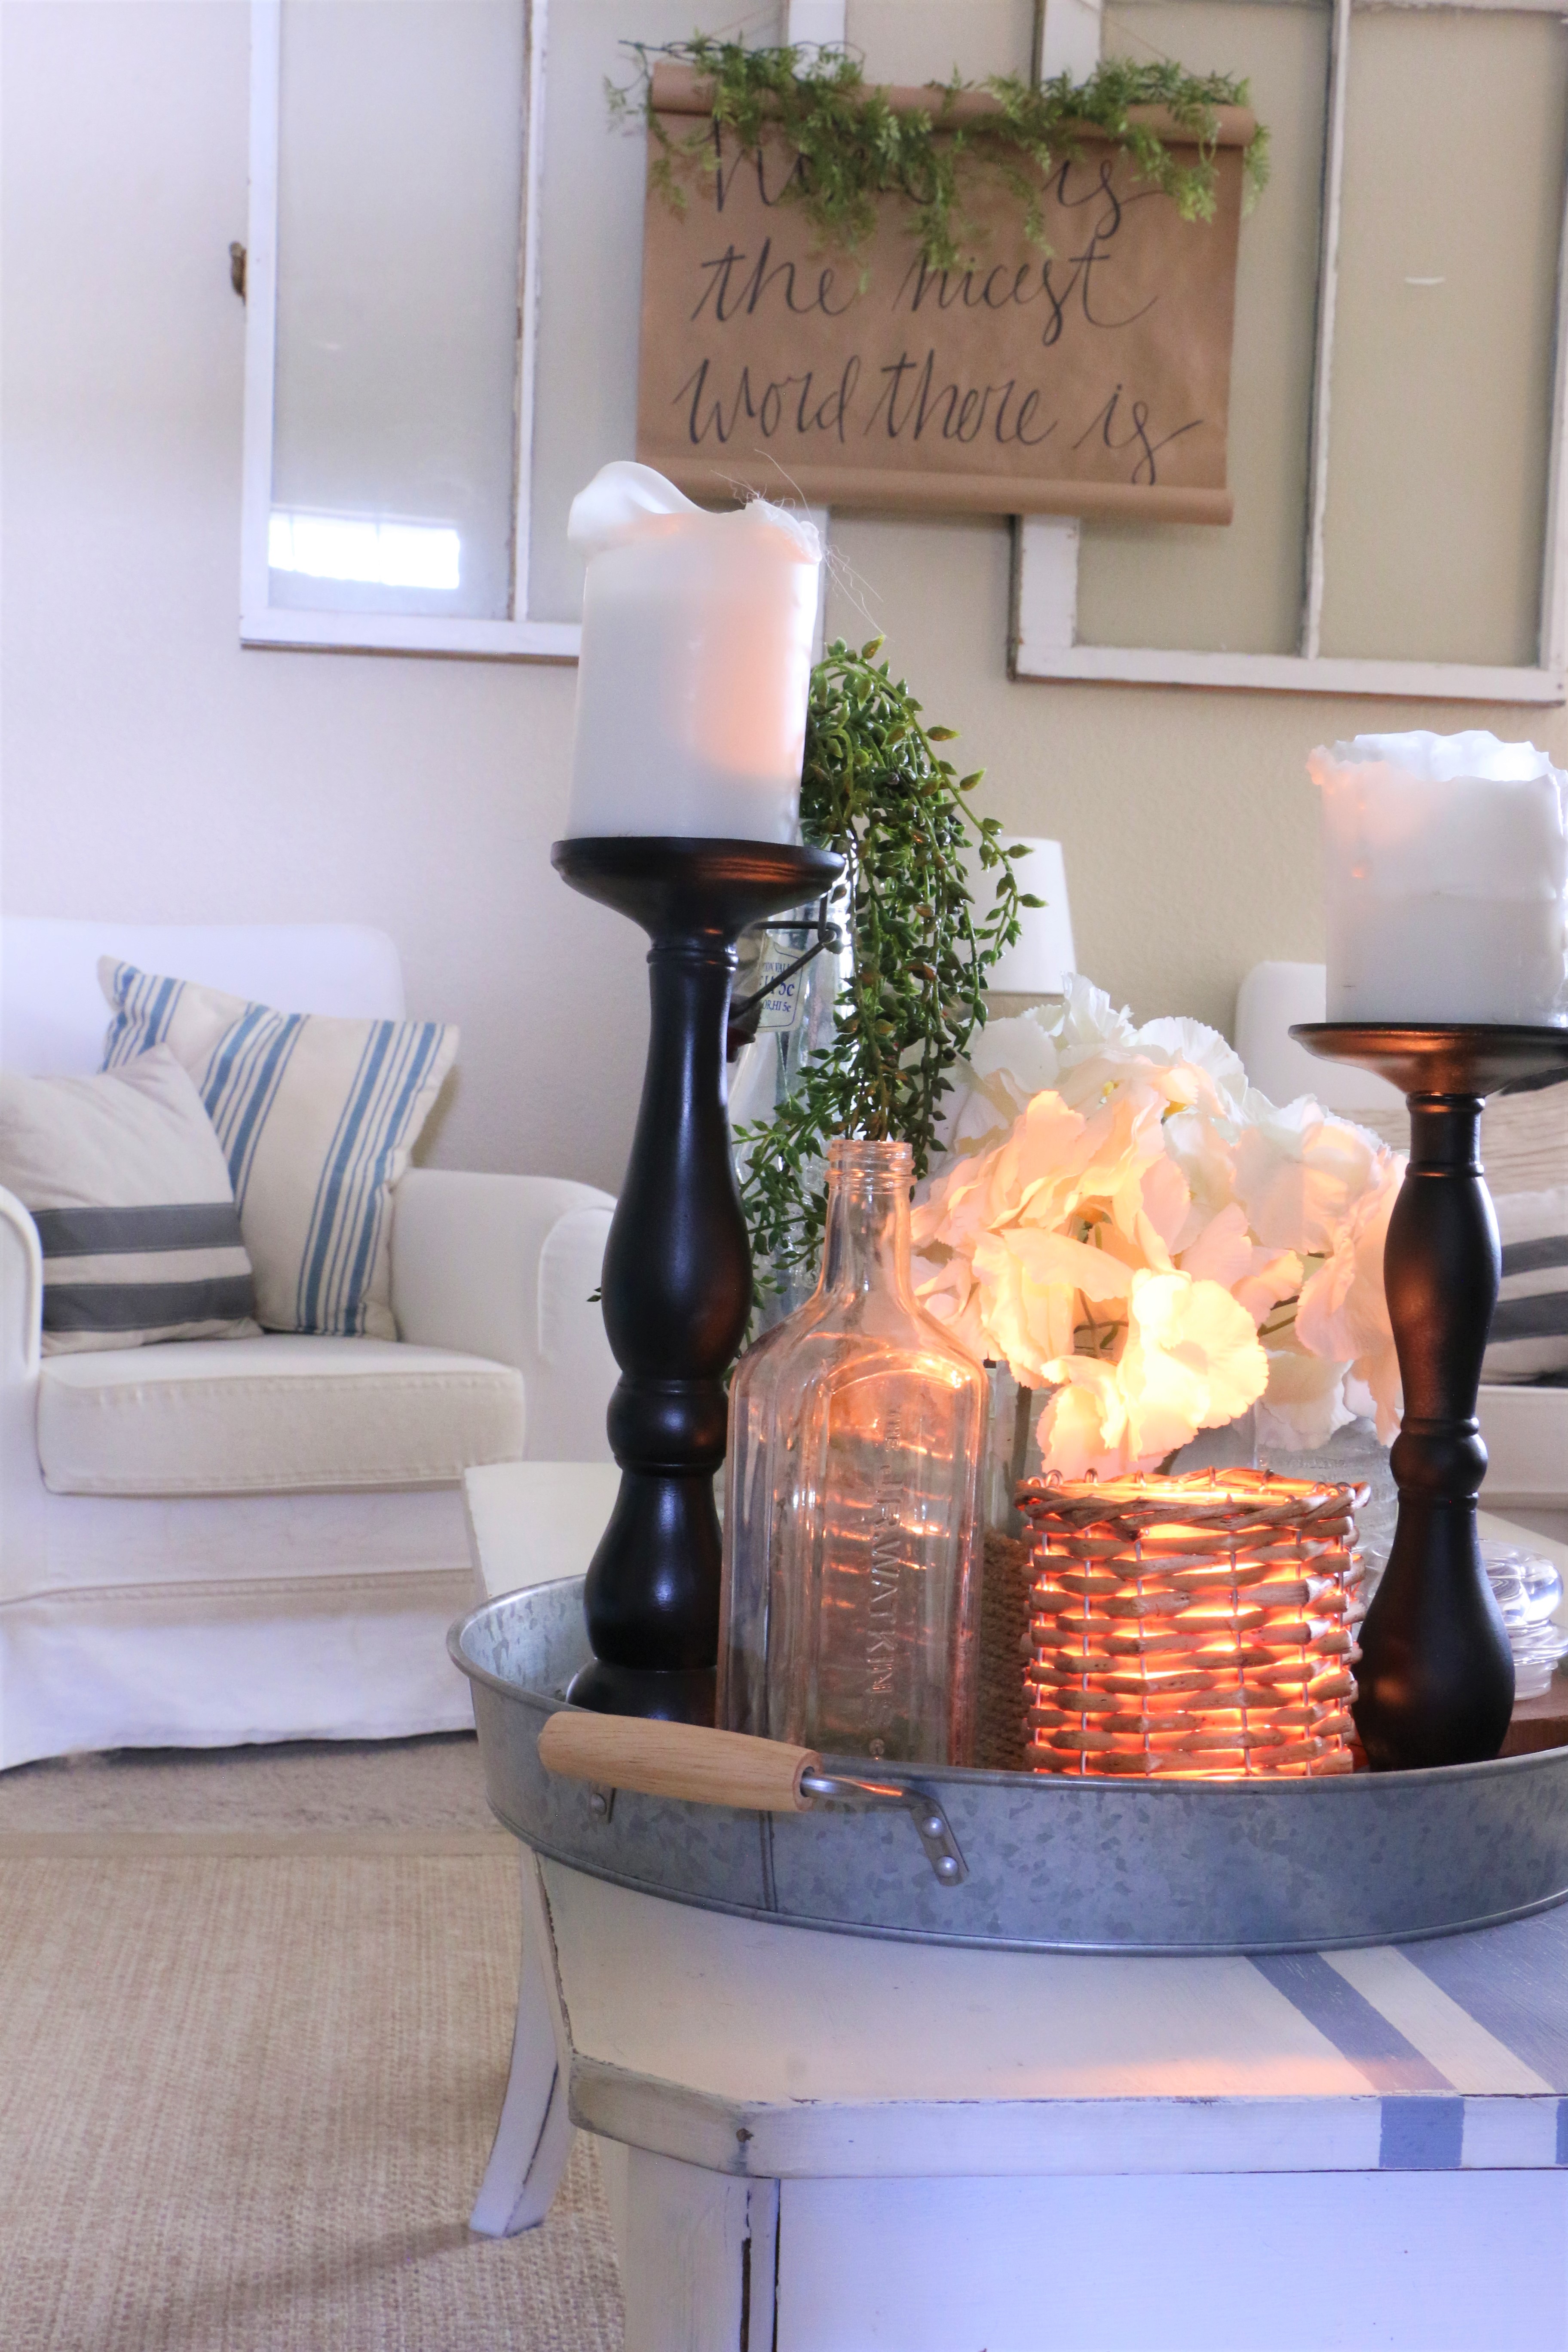
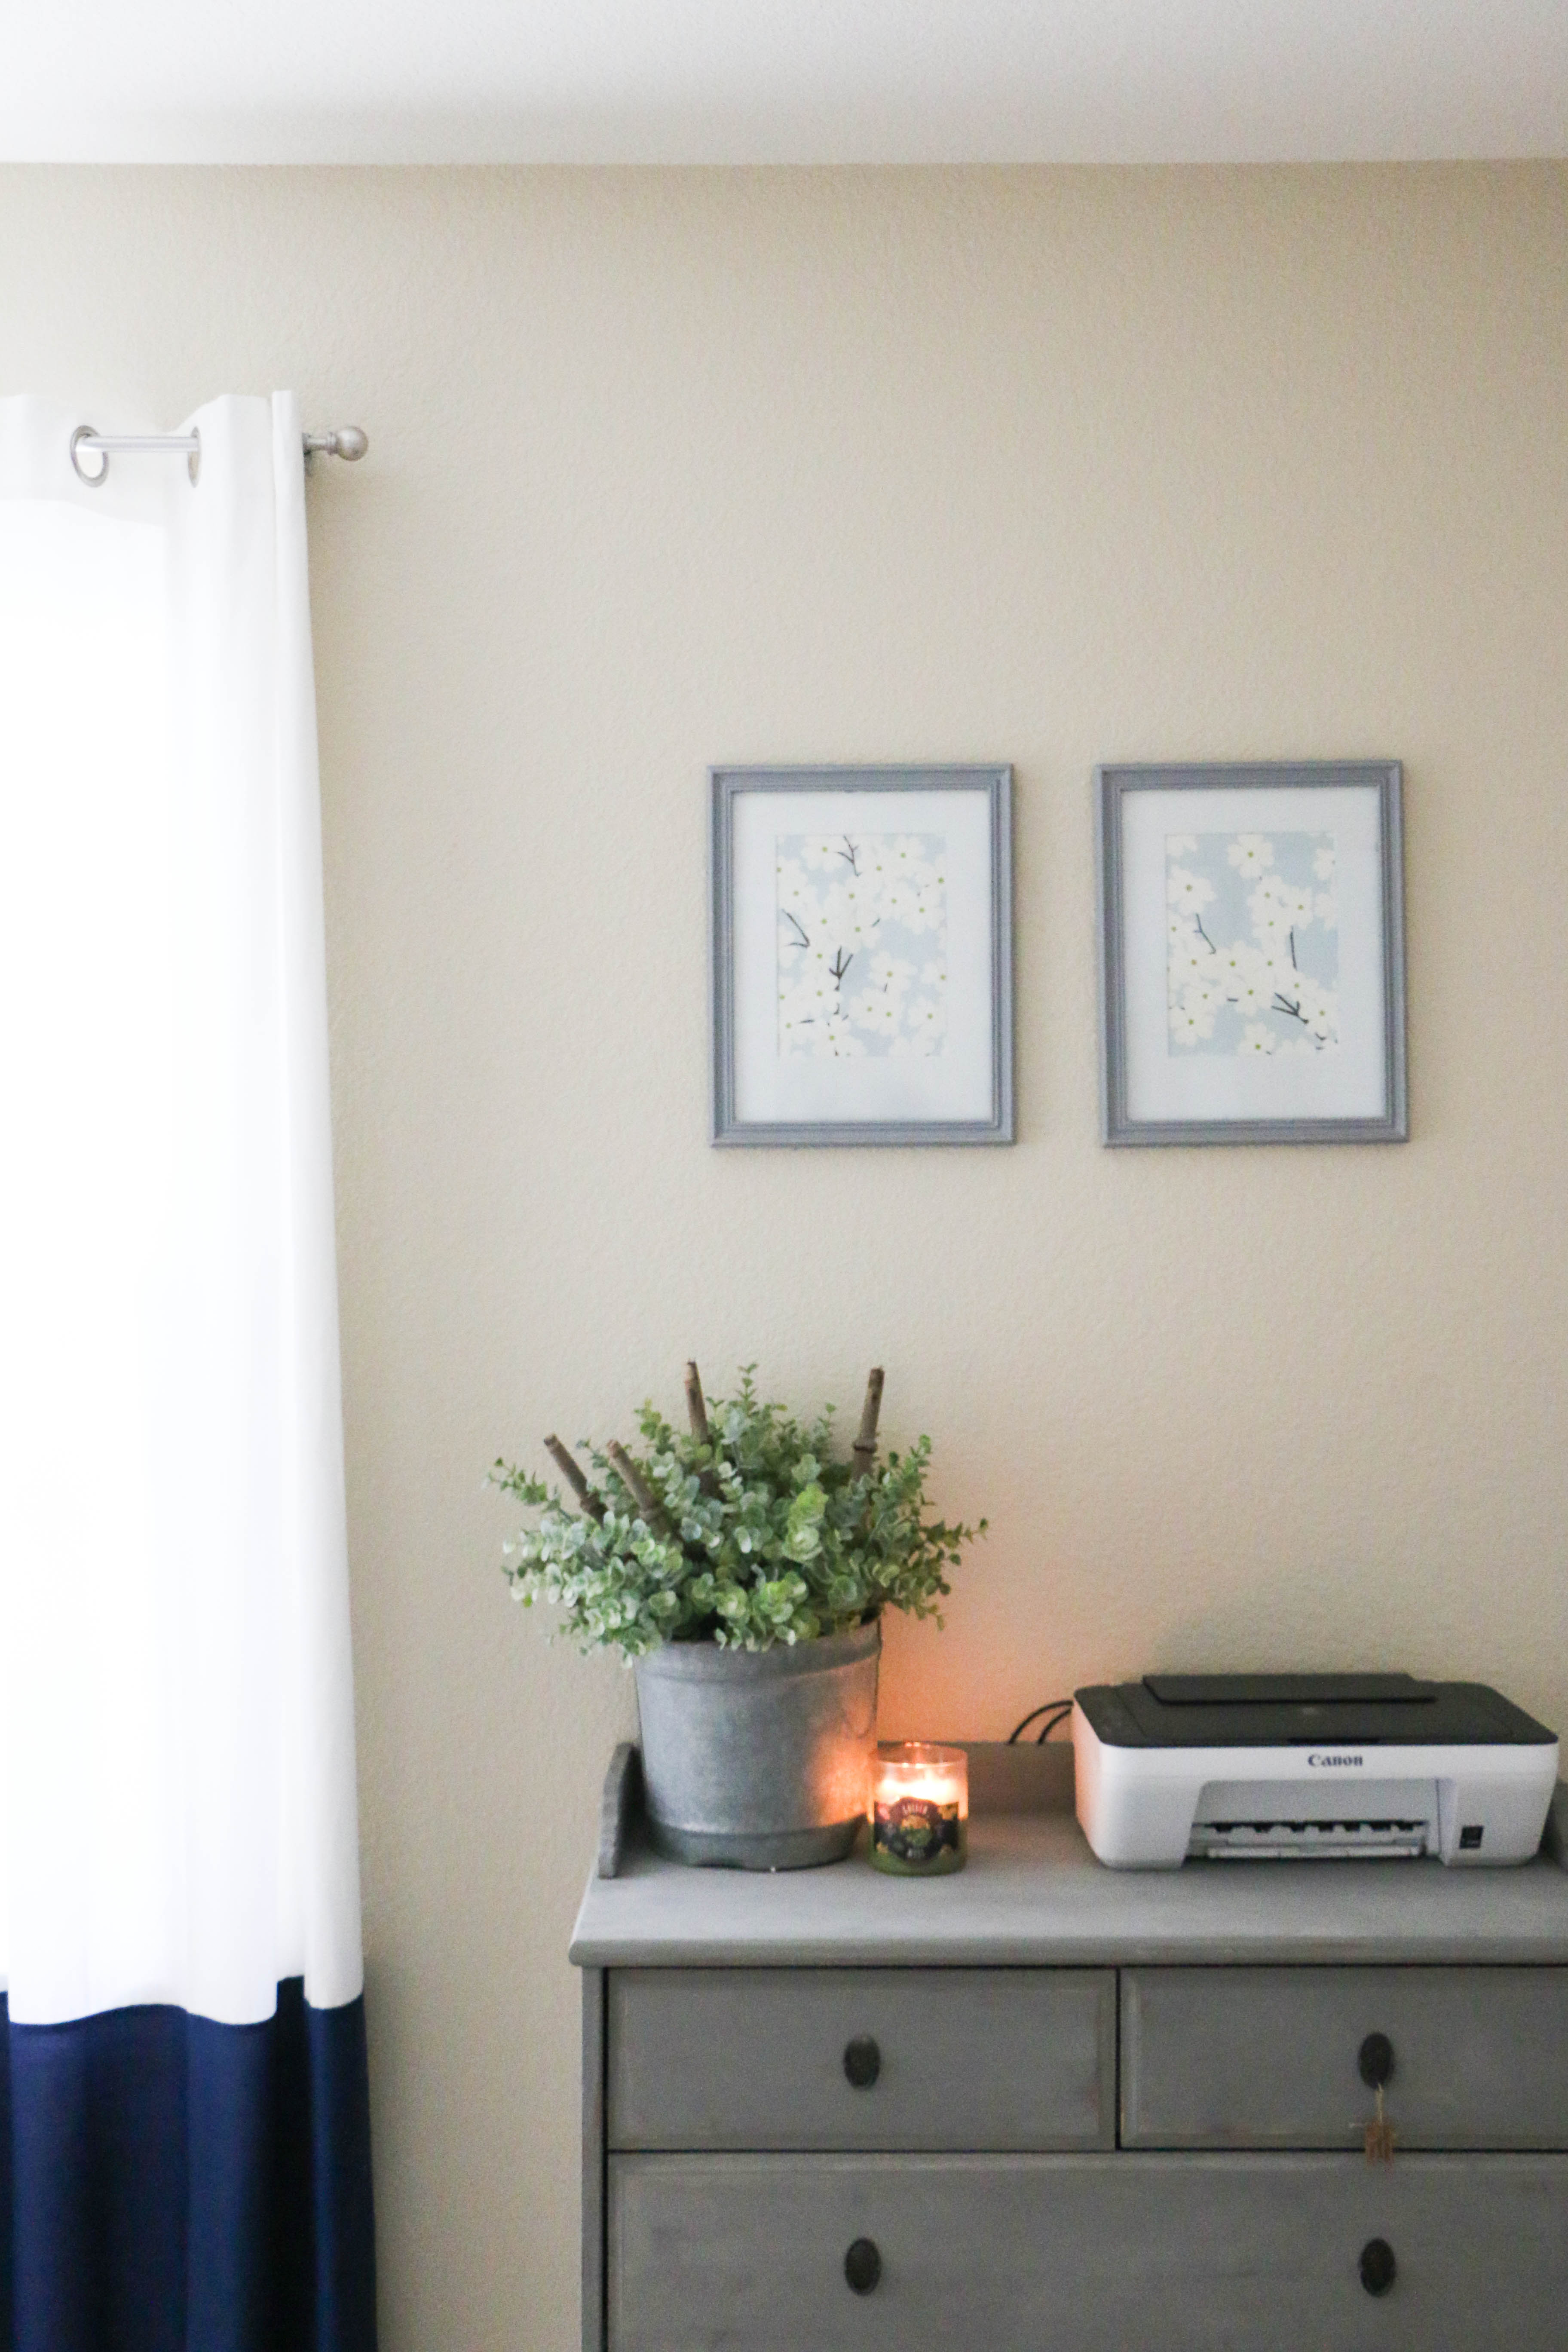
I took some matte black spray paint I had in the garage and gave these candlesticks a new look. I swapped out the distressed jar for a basket-weave candle holder. I added this antique medicine bottle. But that’s it. Everything else is the same. The flowers, the greenery in the jar in the back. I didn’t change the table (though that’s on my list), the tray, the furniture along the wall.

I took a tiny step in the direction I want to move toward. I don’t know what words you might use to describe the look I have in mind. I have words like “neutral,” “traditional,” and “casual” in my mind. I am loving elements of matte black, natural textures like jute and basket weave, and dark brass. I was looking around my house and realized I don’t have a thing in it that’s black! Good thing I know my way around a can of paint. 🙂

I plan on slowly replacing things like furniture and large decor items on a budget, and you can bet I’ll bring you all along for the ride. I will sell some things like my dining room set to make room for new things (are you local? My dining room set that I refinished (click here for the original posting details) will be for sale soon!). Slowly, over time, I’m going to move on. Because if I can get past the high school duct tape phase, I can get past this modern farmhouse phase too.

That’s it for today, friends! Have a fabulous day!

Home Decor

A FREE DOWNLOADABLE PRINT

Hey guys! Glad you’re here! Today, I’m excited to share what I have for you. I wanted to do something for you, to say thanks for being here. If you’ve been around for a while or you have seen me at one of my shows, you may know that I love to do hand lettering.

So I made a little something for you! I hand lettered this little sign. I have hand lettered things all over my home because they’re just so versatile. 

I like to put them in frames, or clipped to a clipboard. The best part is that they’re easy to swap out and change whenever the mood strikes. So, if you’d like to use this little print, you can click here. Just print it, and display it however you like best. Easy peasy! Today is short and sweet yall. Happy decorating!

That’s all I have for today, have a fabulous day!

Room Tours, Uncategorized

Bedroom Update: We Have a Rug!

Hello all! Wow. It’s been awhile! *covers face in shame* I’m so sorry about that…time gets away so quickly, doesn’t it? Well, I have a little update to share today, which really could be summed up by the title alone, but of course, I’m going to chat about it a bit.

So, we’ve lived in this house for a year and a half. It’s a rental, blah blah blah, you know the spiel. Our bedrooms have tile, and that’s absolutely the last thing I would choose for a bedroom if I were the owner of this house, but I’m not, so I suck it up and move along. Anyway, we have been here a while, and I have always intended to add a rug to this bedroom, but for whatever reason, I’ve never set aside the money in the budget.

So when I received some gift cards, the hunt was finally on for a bedroom rug. If you follow me on Instagram, you may have seen in my stories a few weeks ago where I posted a few options of rugs that I was thinking of. I ended up going with the one less people liked, but #yolo guys. Go with your gut.

So, I got an 8×10 foot jute rug, and let me just say, I am in love with it! I don’t know why I didn’t do it sooner!

I like the natural texture, and I think it adds the perfect warmth to the room.

I chose this rug from At Home, and the best part is that it was only $150! For an 8×10 size rug, that is the most affordable option I came across. I was slightly skeptical of the quality for the price, but I was pleasantly surprised when I saw it in person!

The other concern that I had with this type of rug is that it would be rough or scratchy, which isn’t what you’d like in a bedroom. The best way that I can describe it is that it is sturdy, but not scratchy. It has a stiff texture, but it is not uncomfortable.

I’m so happy with this purchase. Took me long enough, I suppose! I’m loving this simple update in our room, and I think it makes a big impact! I’m so excited about it, I may or may not find myself sitting on my bed just so I can stare at it.

Anyway, that’s all for today, friends. Have a fabulous day!

DIY Projects, Room Tours

DIY $15 Office Makeover

Hello friends! If you are here today because you clicked on a link that said I spent fifteen dollars on a room makeover and you’re wondering what in the world this is about, welcome. If you’re wondering how in the world that is possible, hold on. I’m about to tell you. But first, let’s rewind.

We moved into this rental house in July. And in July we had fabulous plans of quickly making each of the additional bedrooms into a purposeful, functional space. The guestroom quickly became usable (albeit with mismatched hand-me-downs from other rooms), but then there was this third room. It was like the junk drawer of rooms. No organization, no purpose. It housed all the things I hadn’t used in the months since moving in. You know, all the super important things. I’m going to show you some before pictures, but before I can do that, you have to promise that you’re actually going to scroll to the bottom and see what it looks like now. Don’t judge me based on my ugly junk drawer room and then leave. Promise? Okay cool. Here’s some pictures of what the room looked like four months after moving in:

office-before-1 office-before-2

Now, don’t stare too long because you might get sucked into a vortex of clutter. You get the point. Moving on.

So my plan was to make this room into something usable pretty. The only problem being that I didn’t really want to spend any money on this room. So, I did what I always do and put my super cheap creative thinking hat on and got to work.

I shopped the house for items that I could re-use in this room. I dug things out of the garage from our previous house that we weren’t using and brought everything together. I slowly started piecing things together until a room started to form. The only problem was that I didn’t have a desk. Can’t really have an office without a desk, huh?

I had some scrap wood in the garage, enough to make part of a desk, but my rudimentary woodworking skills didn’t know how to fashion legs for a desk on my own. So I went to the architectural salvage shop in town and told the gentleman what I was looking for. Thankfully he makes all kinds of repurposed furniture and so he was super helpful.

He showed me an old child’s bedframe with decorative posts on the ends. He told me that he could cut the posts off for me in the shop, and they would work perfectly as legs to a table. The best part is that he would charge me fifteen dollars for the four legs. (Now is the title of this blog post coming together?)

So on my very own, with no help from Ethan (my choice, not his) I built this desk for the office for a grand total of fifteen dollars.

diy-office-2

I added a little frame and then the top, which was all made from scrap wood we found on the side of the road. Can you picture the legs as part of a bed frame? I turned them upside down and painted them white.

Literally every other thing in this room was something I already owned. Which is why this room isn’t quite the office of my dreams, but it’s something that’ll do for now.

diy-office-5

This crate was something I found at a yard sale this summer and it had been sitting in my garage for a while. It houses our record collection, and offers a place to sit or drop a bag by the door to the room.

diy-office-4

The dresser was a piece I made to sell (see the tag still on it?), but I decided to keep it rather that taking it to my next show. We needed a place for storage, and it’s a perfect spot to put the printer.

diy-office-1

In the top left of this photo you can see my calendar that I made from some old cupboard doors. We used them originally as decor at our wedding, and they’ve been useless since then. I used a chalkboard marker to add dates to it, and now we have a functional calendar that doubles as wall art. Plus it was free, so I’d call that a win.

diy-office-3

I placed this old door behind the desk as a focal point to the room, another thing I found at a yard sale this summer. It was an original door to a church in our town built in the 1890’s. I love that I know where exactly it came from.

Literally everything in this room had been sitting in a closet or in my garage until I brought it in here and cleaned out the space. I just love the fact that it’s possible to make do with what you have and still have a pretty home.

I could have spent hundreds of dollars in here, buying all kinds of things to fit here, but at the end of the day, I’d rather stretch myself creatively and do it on a budget anyway. I ended up making that desk on my own. It’s pretty rickety, but I’m super proud of it because I did it by myself. I wouldn’t have the same feeling if I had bought a desk from Target or wherever. My wallet wouldn’t be as happy either!

Well, that’s all for today, friends. I hope you’re inspired by my little office. Maybe it’ll inspire you to shop your house instead of buying something new. Have a fabulous day, friends!

office-makeover

DIY Projects, Home Decor

Rusty Porch Bar Cart

Good Morning, friends! Today is my first official day of summer break, and as I’m typing this, I’m lounging around in my pajamas. I’m ready to have a nice refreshing break from work this summer!

Now that summer is officially here, I have lots of plans which include porch sitting, painting things, lounging, and not much else. 🙂 I’ve been working on making our porch a little bit more enjoyable this season, and I wanted to share a new addition to the front porch. A month or so ago, I added our cable spool table to the porch, and it has been wonderful! I knew that I wanted to add more, so when my father-in-law sent me a picture of a rusty old bar cart asking if I wanted it, I jumped at the chance.

Porch Barcart  7

I’ve been desperately trying to keep a few plants alive (not very well, I might add), and I knew an old bar cart would be the perfect thing to house my little plants. The problem was that it was so rusty, I couldn’t even tell what color it was originally. I wanted it to be rusted, but I wanted to see if there was a way to scrub some of the rust off so that some of the original paint was exposed.

I didn’t really want to buy anything to remove the rust with, knowing I would only use it for this project (assuming it even worked) and would then be destined to cluttering the back of my cleaning supply closet. So, I figured I’d do my own thing. Recently, I shared my DIY all-purpose household cleaner, and I’m happy to report that it truly does work for all purposes. You can check out the full article in the link above, but it’s what I used to expose some of the original paint on this little cart.

I generously sprayed the cart completely. I let it sit for about an hour, spraying a bit more at that time (the Texas heat didn’t quite allow for a soak, as it just dried it up). After about two hours of the solution on the cart, I began scrubbing with the same brush we generally use to clean the grill. As I would scrub a certain spot, I would hose it down. If it needed more scrubbing, I would spray a little more solution on it, and immediately continue scrubbing.

Porch Barcart 6

Eventually I began to see little spots of green paint emerge from behind the scrub brush. I’m not going to lie and say this was super easy; it took quite a bit of elbow grease. I did intentionally stop at this point, since I wanted the cart to keep a bit of it’s rusty charm. If you have a bit more muscle than I do, you could certainly scrub off more rust than I was able to.

Porch Barcart 5

Porch Barcart 2

Porch Barcart 8

This little cart makes the porch just a little bit more cozy! And I’m absolutely thrilled with how it turned out, with it’s rusty, chippy goodness. I think once I get up from this couch, I’ll make my way out there to enjoy this little spot. Do you have something old and rusty? I’d be willing to bet you can clean it up a bit with some elbow grease and some items you have around the house!

Well, that’s all for today, friends! Have a fabulous day!

DIY Projects, Home Decor

Cable Spool Porch Table

Hi guys! Thanks for stopping by! I’m so glad you did! It means so much to me that you would take a moment of your day to stop by my little corner of the internet. Anyway, enough of the sappy stuff. Is it getting warmer where you are? I hope so! Here in Texas we’re reaching some pretty high temperatures which have me itching for two things: summer break and outdoor life!

We have about six weeks left of school, but who’s counting!? 😉 We have a large front porch on our house, which is one of the only positive things about our sad little rental. I mean, for real you guys. Over summer break, I like to spend as much time on the porch as possible! Give me some magazines, some lemonade, and I’m good to go for hours!

Recently, I’ve been looking for a cable spool, but I really haven’t wanted to spend a lot on it. I know that the cable spool as an outdoor table is totally not my original idea, but stick with me. I know everyone and their next door neighbor is doing this, but I still wanted to share. The table we had on our front porch previously was a small glass top one, maybe only 18 inches across. It wasn’t really large enough to place a lot of stuff on it, which is why I was looking for a cable spool to use as a table.

For the past few months I’ve been looking, but I’ve only been able to find them for about $60, which was more than I wanted to spend on a piece like this. So imagine my delight when I found one on the side of the road for free?! Ethan was driving, and I totally made him do a real quick turn around to scoop that bad boy up. It was actually a little scary looking because there was some additional wood attached to the top, and several pieces of wire wrapped around various parts on the spool. I just cut off the wire and pried off the pieces of wood that were nailed to the top. Ain’t no thing.

So, without further ado, here’s what our front porch looks like now:

cable spool table 3

You might notice that the bottom piece it not a full circle. I actually found it this way, and was a little disappointed at first until I realized how much better this actually is. Since we have rocking chairs, the narrow bottom actually allows the chairs to fully rock while still being close to the tabletop.

cable spool table 5

There’s so much more room on the surface than there was on the old table, I’m loving it! I can just imagine some plates out here, maybe a little pie….I don’t know where pie came from. I’m just really ready for summer, okay?!

cable spool table 9

cable spool table 8 cable spool table1

If you have your own cable spool, I would reccomend cutting the bottom to be more narrow.

cable spool table 6

cable spool table 4

I case you were wondering, the rug is from Hobby Lobby, the chairs are from Cracker Barrel, the pillows are from Target, and the serving tray is from Walmart. This little outdoor area is fresh and cheery, and I cannot wait to get out here and enjoy myself. Especially since I’m so close to endless lounging during my carefree summer break. Ahhhh, summer. Alright, I’ll stop now y’all, I promise.

So what do you think of the cable spool as an outdoor table? Is this a trend you’re willing to go along with? I will say that even Ethan loves it! I am sensing some meals eaten out here together, and I cannot be more excited about that! That’s all for today, friends. Have a fabulous day!

DIY Projects, Tutorials

Salvaged Wood Headboard DIY

It’s been a few weeks since we updated our bedroom and I am still living in a fairy-dream world because of it. I showed you guys the full result a week or so ago, and you guys have been so sweet about how it turned out. If you didn’t get a chance to check that post out, you can read all about it here. Today what I wanted to do was show you guys with a little more detail the headboard that I made for this space.

When I bought all the new pillows for the bed, I knew something was still missing. Our old headboard was a pre-blog DIY that was imperfect but served us well for the time that it did. I made it back when I was still unsure about the style direction I was heading in with our house, so it just didn’t quite work. And let’s be honest. I still don’t think I know the style I’m headed toward. Live and learn.

I wanted to make something, but I didn’t want to spend any money. Yes, you read that correctly. I wanted to spend zero dollars. Story of my life, right? I knew that I could only justify to Ethan building a new headboard if I could do it for free since I had just built one a year prior. Now that I think about it, I think Ethan has learned not to question my unreasonable antics. The other stipulation for this project was that I had to do it completely by myself. Normally our DIY projects are a team effort (and by that I mean Ethan does the work and I make it pretty). This time, before I knew what I was thinking, I told him that I was going to make this project for free, and I was going to do it completely on my own. Cue “On My Own” from Les Mis as I head to the garage to work on this project.

So here’s how it went down. A few months back, our neighbors were replacing a portion of their wood fence. I hoarded rescued some of the pieces and they have been sitting in my garage, safe from harm. I headed to my stash and chose the best looking pieces for the job. I (and when I say I, I do mean me myself and I. All by my lonesome) cut the pieces using a circular saw to 60″. We have a queen size bed, so that was the size we needed. If you were to do something similar, be sure to measure the size of your bed. I did wash these with warm water and soap, and lightly sanded them, just to make sure they were clean. And not going to give me splinters. Because those things are important, I guess.

So I laid out all the pieces on the garage floor to make sure I liked to order of them, since all the pieces were slightly different.

headboarddiy1

Then I used two cross pieces to screw onto the backside of my headboard. These pieces were vertical, and were 54″ tall. Our old headboard was a bit taller than this, but I always thought it looked kind of weird, so I was very mindful of how tall this one was going to be. I don’t know if there are official rules about how tall a headboard should be, but I think y’all all know that I make up my rules as I go when it comes to home decor. I wish I could show you the pictures of me screwing this together just to show off my brute strength, but alas, I did this one on my own. And I don’t have enough hands to photograph myself building a headboard. You’ll just have to trust me in the fact that I did make this.

headboarddiy2

After I screwed the back pieces together, I turned it around to paint it. It looked like this:

headboarddiy3

Technically, it didn’t need to be painted, I did like the way it looked like this, I just love lighter colors, so it didn’t really stand a chance. I used my dry-brushing technique, which you can read about here. It took about ten minutes total to paint. Have I mentioned that’s my favorite way to paint things?

headboarddiy4

The color is Mourning Dove by Behr, and I use that for tons of projects around the house.

After I let it dry (which didn’t take long with the amount of paint I used), Ethan helped me carry it into the house to put it behind the bed. So I guess he did help. BUT OTHER THAN THAT I did this one on my own, and I am so proud of myself. Picture me pridefully kissing my biceps.

diyheadboard9

 You can see more after photos in the original reveal post. I cannot tell you guys how much this little project changed the feel of our bedroom. And it was 100% free! This cheap-loving girl is jumping up and down with excitement over this one! I promise you, I am super wimpy, and I did this in an afternoon, so I know you can too!

All the sources for the items you see here are in my original reveal post, which you’re welcome to check out! I’d love to hear what you think about this project in the comments below, or you can find more on my Instagram. That’s all for today, friends! Have a fabulous day!

rusticheadboard

Uncategorized

My First Experience as a Craft Vendor

This past weekend I had my first booth at a crafts/antiques fair. I wanted to share with y’all a little bit about my first experience doing this, since it was such a big deal for me. I worked really hard on my booth, and really hard on all the items that went into it. I definitely learned a lot this weekend, and I’m so thankful for it.

The biggest thing for me was at some point during that day, I realized I can do this. Having my items sold at a craft fair or market of some kind has been something I’ve wanted to do for a while, but never really thought I could. There were a million reasons why I wasn’t going to be able to do something like this, and so a few projects sat unfinished in my garage for a year or so. When this opportunity came along, I knew I couldn’t say no. The event was just one day, in our town, and I didn’t need to go through a lengthy application process, and  wouldn’t have to take the day off from my real job. For these reasons, I felt like I couldn’t say no. The cards were stacked in my favor for getting my foot in the door to these types of things.

On the actual day of the event, I had so much fun setting up my booth. When I’m shopping at other flea markets and fairs, I enjoy but don’t really think deeply about the set up of the booth. It was like staging a mini room, and duh, what could be more fun?! I didn’t have a ton of items for sale in my booth, but I think I had just the right amount of stuff to accommodate my first attempt.

Here are some closeup shots of my booth:candles chalkboards decondtructedchair - Copy dropcloth pumpkins signs wholebooth wideshot

The actual number of sales were pretty disappointing, and whether that can be blamed on the size of the event, the venue, the clientele, or whatever – it doesn’t matter. What does matter is that I got the first one down, and now I feel a lot more confident about applying for more upscale and prestigious markets. I got the self-assurance I needed to realize that this is something I really can do, and actually enjoy. I don’t feel so afraid of these types of events anymore, and the if I could only… thoughts are gone. This day was both disappointing and encouraging. I’m glad I had this experience, and I feel like this event is my jumping point for other things to come in the future.

I really feel like God was telling me this weekend (despite the disappointing number of sales) that the creative desires I have in my heart aren’t for naught. I know He has bigger and better things for me, and I can’t wait to see what happens in the future.  I’ll let you know where you can find me next.

That’s all for today friends, have a fabulous day!

DIY Projects, Home Decor

DIY Console Table

Guys. School has started and this first grade teacher is T-I-R-E-D. #isitsummeryet? Despite my tiredness and all my extra beginning of the year school year work, I managed this super quick project.

Our house doesn’t have a formal entry way, so we’ve been living with a makeshift chair-and-coatrack-in-the-corner deal. I wanted to add a console table in our living room to fake a bit of an entry. This project was so easy, it took mayyyybe 45 minutes in total. I used an antique sewing machine base as the base for my new table. I found it at a flea market and I love it! I then added a wooden planked top, and BOOM! Project done. (Well not quite, but keep reading for the details.)

salvagedwood

We had a bunch of salvaged wood from a home in our neighborhood. It’s probably about 80 years old and LOOK AT ALL THAT CHIPPY GOODNESS. I didn’t do a thing to the wood. I wanted it to be all chippy-rustic-like.

consoleback - Copy

I laid the planks on top of my workspace and placed boards across them. I just used a hammer and nails because the wood is a bit fragile, and because it’s really a simple project.

After securing the boards together, I placed them on top of my base. (Total nonprofessional here): I didn’t secure the top to the base because I think I may change things up a bit in the future. I figured it wasn’t a big deal because this table won’t be getting a lot of wear-and-tear. But don’t trust me. I’m not a professional.

And here is the finished product:

consoletable2 - Copy

I love the rustic element it has! This was a super simple project, I almost feel like it’s too simple to share, but whatevs.

consoletable3 - Copy

Here’s a closer look at all that paint texture. And sidenote, a super cheap art trick I use is displaying handwritten phrases on clipboards.

consoletable1 - Copy

I’m still having to re-adjust my habits when I walk in the door, since this is where our coatrack was. Other than that, I am obsessed with this little table! It was so easy! It’s one of those “why didn’t I do this earlier?” things.

Have you ever made something like this? I’d love to hear about!

That’s all for today, friends. Have a fabulous day!

Untitled-1