Browsing Tag

home decor

Home Decor

A FREE DOWNLOADABLE PRINT

Hey guys! Glad you’re here! Today, I’m excited to share what I have for you. I wanted to do something for you, to say thanks for being here. If you’ve been around for a while or you have seen me at one of my shows, you may know that I love to do hand lettering.

So I made a little something for you! I hand lettered this little sign. I have hand lettered things all over my home because they’re just so versatile. 

I like to put them in frames, or clipped to a clipboard. The best part is that they’re easy to swap out and change whenever the mood strikes. So, if you’d like to use this little print, you can click here. Just print it, and display it however you like best. Easy peasy! Today is short and sweet yall. Happy decorating!

That’s all I have for today, have a fabulous day!

Organization

Simplify All the Things!

Hello, hello! I’m so glad you’re here! Can you believe it’s already a new year? I’ve been pretty quiet around here for a while, but I think you’ll be hearing from me a bit more from now on… I have some great stuff planned!

So anyway…as I type this up, it’s the end of the first week of the year. I have been off work this week, which is always great, and it’s motivated me to get a bunch of things done around the house. I always like to take this time to reset. I’m known to purge all kinds of things and organize like crazy right after new years. Each year, I do a little more or do something a little different, in hopes that eventually my home will be perfectly organized. It may take me ten years, but I’m getting there, right?

On New Year’s Eve, I picked up A Simplified Life by Emily Ley. First of all, the book cover is my style to a T. Of course I’m not one to judge a book by it’s cover, but the cover was speaking to me! So the premise is, get rid of all the excess in multiple areas of your life and live simpler. Sounds good, right? Y’all. This book has got me so motivated to clean, simplify, and get rid of all kinds of things. I have set out to purge my entire house of stuff, and even though I’ve only just started, it feels amazing!

I started in the bedroom, just cleaning trash and getting rid of all kinds of things. I got a new set of sheets (totally not recommended by the book, but just so happened to purchase at the same time that I was reading) so things feel fresh and clean, and then I cleared my nightstand to have more room for a book, or my phone, etc. It looks bare, but also so clear, like there’s room to breathe.

That’s my overall goal for my home this year. Less cluttered, more room to breathe. My decorating style can lean toward the cluttery side, even though things are just as I planned them to be, I know it can look busy. I want to be more intentional about creating spaces that aren’t as busy looking. If nothing else, it’ll give me less dusting to do!  Last year (or was it two years ago? yeesh.), I read this book, The Life Changing Magic of Tidying Up by Marie Kondo. Also a great read if you’re looking to get organized this time of year.

That’s all for today, friends, have a fabulous day!

*This post may contain affiliate links, but as always, all opinions are my own.


DIY Projects, Home Decor

DIY Scroll Wall Art

Hello, hello! I’m so glad you’re here! Today I’m sharing my favorite kind of project…a free one! (Cue all the praise hands emojis!) Lately, I’ve kind of been giving a certain area in my living room the side eye. As in, it was just driving me crazy and I knew it needed something, but I couldn’t figure out what.

I had these windows hung when we first moved in, and last year after Christmas I hung a paper chain over it that was left from the tree. But it was just so plain it was driving me crazy! I’ve been seeing these cute hand written scrolls around etsy and Pinterest, and I thought I might try and make my own. All you need is some Kraft paper, a Sharpie, twine, and possibly some hot glue. Since I had all these items on hand, it seemed easy enough.

I cut the paper, and let it naturally roll at the top and bottom. I put a dab of hot glue on the corners to help it stay in place. Then I wrote one of my favorite quotes from one of my favorite childhood authors, Laura Ingalls Wilder. I’ve always loved the quote, Home is the nicest word there is, and so I figured it would be perfect for our living room.

I wrote with a Sharpie, and strung some twine through the top roll. It took me about twenty minutes total. I free hand wrote this, but if you’re unsure about your writing abilities, you could totally use a stencil!

I had some greenery on hand, so I added that to the top. I still think the sides need a little something, but that’ll come later. For now, this is what I have, and it was free, so I can’t complain.

Now, I will say, if I were to do this again, I would probably use different paper. I had Kraft shipping paper on hand, and that’s what I used, but it is very think, and so it was hard for it to lay flat where I wanted it. If I were to do it again, I think I would try the roll that comes from the painting section to protect edges of floors. It’s much thinner, and so I imagine it would lay flatter.

Even so, this worked out just fine, and I’m happy with this little project. It was easy, and it makes a statement, so it’s a win-win for me! I won’t bore you with more unnecessary details, so that’s it for today! Have a fabulous day, friends!

Room Tours, Uncategorized

Bedroom Update: We Have a Rug!

Hello all! Wow. It’s been awhile! *covers face in shame* I’m so sorry about that…time gets away so quickly, doesn’t it? Well, I have a little update to share today, which really could be summed up by the title alone, but of course, I’m going to chat about it a bit.

So, we’ve lived in this house for a year and a half. It’s a rental, blah blah blah, you know the spiel. Our bedrooms have tile, and that’s absolutely the last thing I would choose for a bedroom if I were the owner of this house, but I’m not, so I suck it up and move along. Anyway, we have been here a while, and I have always intended to add a rug to this bedroom, but for whatever reason, I’ve never set aside the money in the budget.

So when I received some gift cards, the hunt was finally on for a bedroom rug. If you follow me on Instagram, you may have seen in my stories a few weeks ago where I posted a few options of rugs that I was thinking of. I ended up going with the one less people liked, but #yolo guys. Go with your gut.

So, I got an 8×10 foot jute rug, and let me just say, I am in love with it! I don’t know why I didn’t do it sooner!

I like the natural texture, and I think it adds the perfect warmth to the room.

I chose this rug from At Home, and the best part is that it was only $150! For an 8×10 size rug, that is the most affordable option I came across. I was slightly skeptical of the quality for the price, but I was pleasantly surprised when I saw it in person!

The other concern that I had with this type of rug is that it would be rough or scratchy, which isn’t what you’d like in a bedroom. The best way that I can describe it is that it is sturdy, but not scratchy. It has a stiff texture, but it is not uncomfortable.

I’m so happy with this purchase. Took me long enough, I suppose! I’m loving this simple update in our room, and I think it makes a big impact! I’m so excited about it, I may or may not find myself sitting on my bed just so I can stare at it.

Anyway, that’s all for today, friends. Have a fabulous day!

DIY Projects, Home Decor

Our DIY (Renter-Friendly) Dining Room Chandelier

Hi friends! It’s been a while, I know! I have been busy busy busy, but I missed being here, so I had to hop on! I wanted to share something we did this week to our dining room that was incredibly easy and I am in love with!

As you know, we rent our home, and we recently signed our lease for another year. We’ve been here for almost one full year now and it has been tricky to make this super builder basic home more my style while staying in the confines of our rental agreement. Most of our lighting is the typical low-grade fixtures and haven’t been changed since the house was built fifteen years ago.

Signing that lease for another year made me really think about what I could do to make this house a little bit more me. I came up with this basket chandelier, which is in no way an original idea, but I love it nonetheless.

It was so incredibly easy! We unscrewed the existing hardware which released the old glass dome. Ethan then cut a 2.5in circle in the center of the bottom of the basked using a jigsaw. We then replaced the basket where the glass dome was and re-applied the hardware on the underside of the basket. It took about ten minutes I think!

Seriously, I cannot believe we didn’t do this earlier! It isn’t something I would choose if we owned this home, but it definitely adds a bit of my style within the confines of what we’re allowed to do here. Plus, it was incredibly budget friendly! The only cost was the basket which only cost me a few dollars! It’s a total win-win!

Just because you live in a rental doesn’t mean you can’t make things your own! Sure, there’s a ton you can’t do as a renter, but if you get creative, you can add a bit of your style into your rental home!

So that’s it y’all. I’m in love with this little update and I couldn’t wait to share it with you guys! That’s all for today! Have a fabulous day!

Room Tours

Tips on Loving a Rental Kitchen

Hello all! Today I’m going to bare my soul a little bit. And by bare my soul, I mean my kitchen. If you haven’t noticed, I’ve never shown my kitchen before. But I thought that in the name of being honest and forthcoming with y’all, I might as well share with you. So here we go. No judgement here friends.

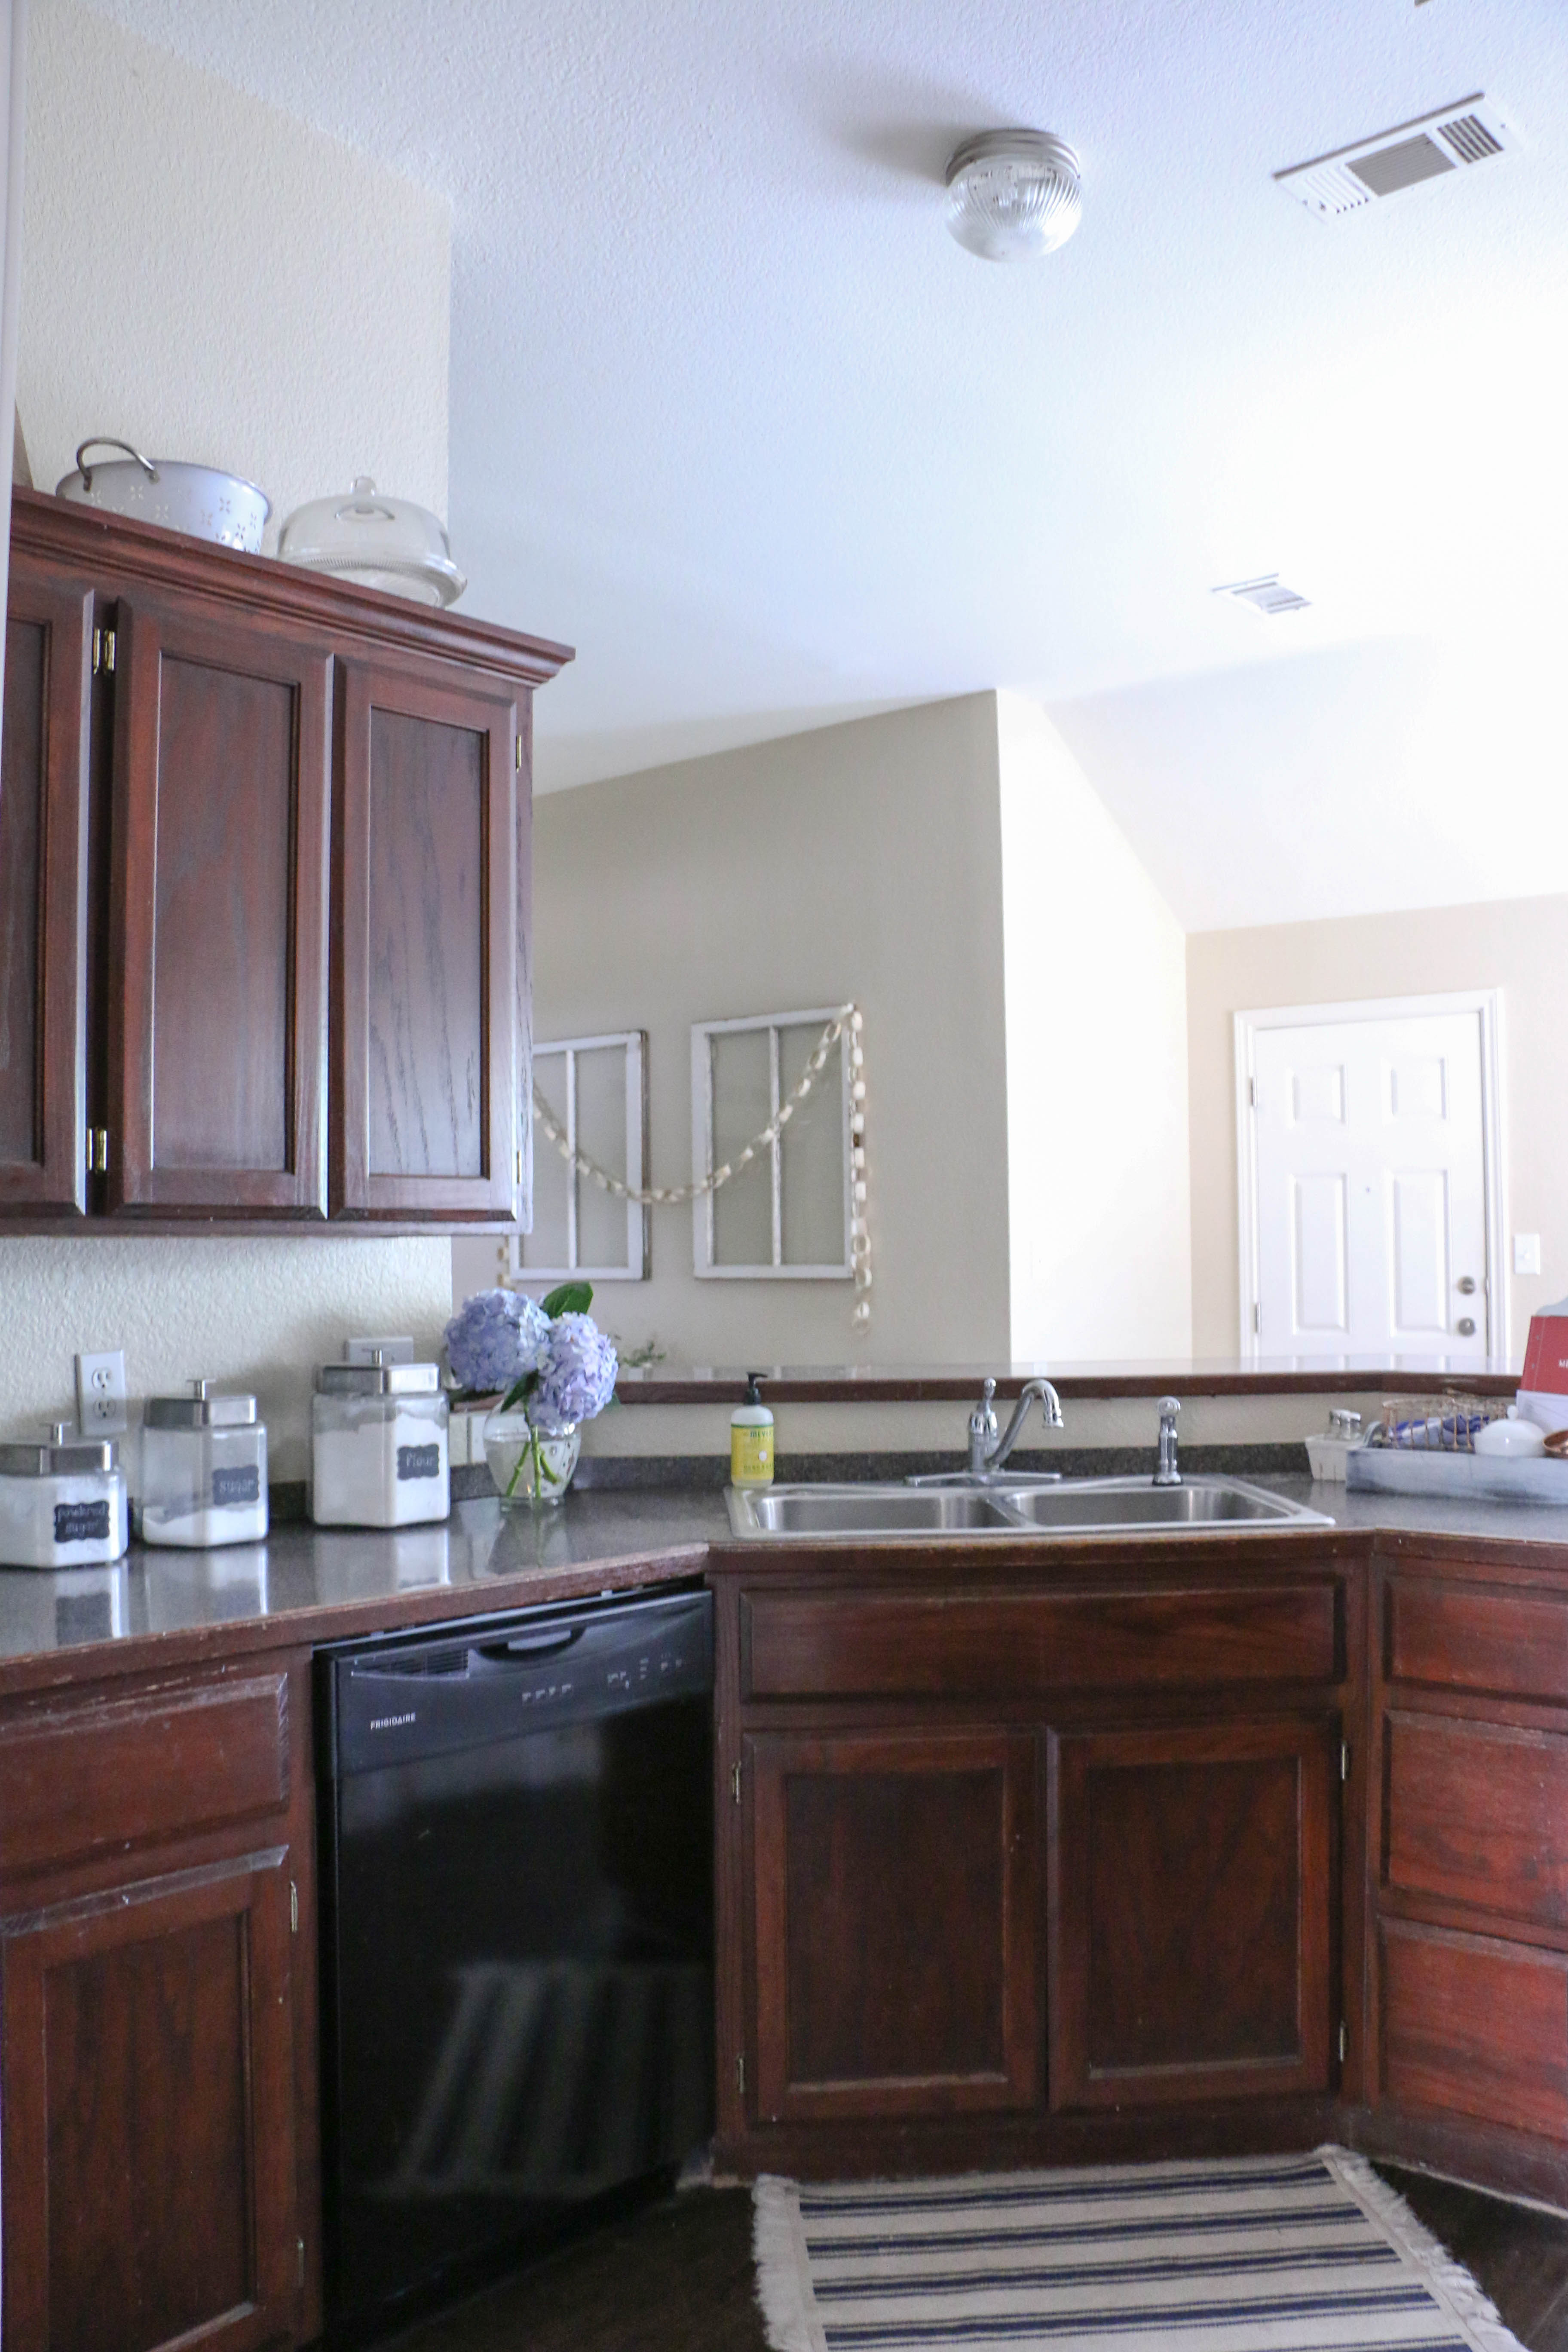
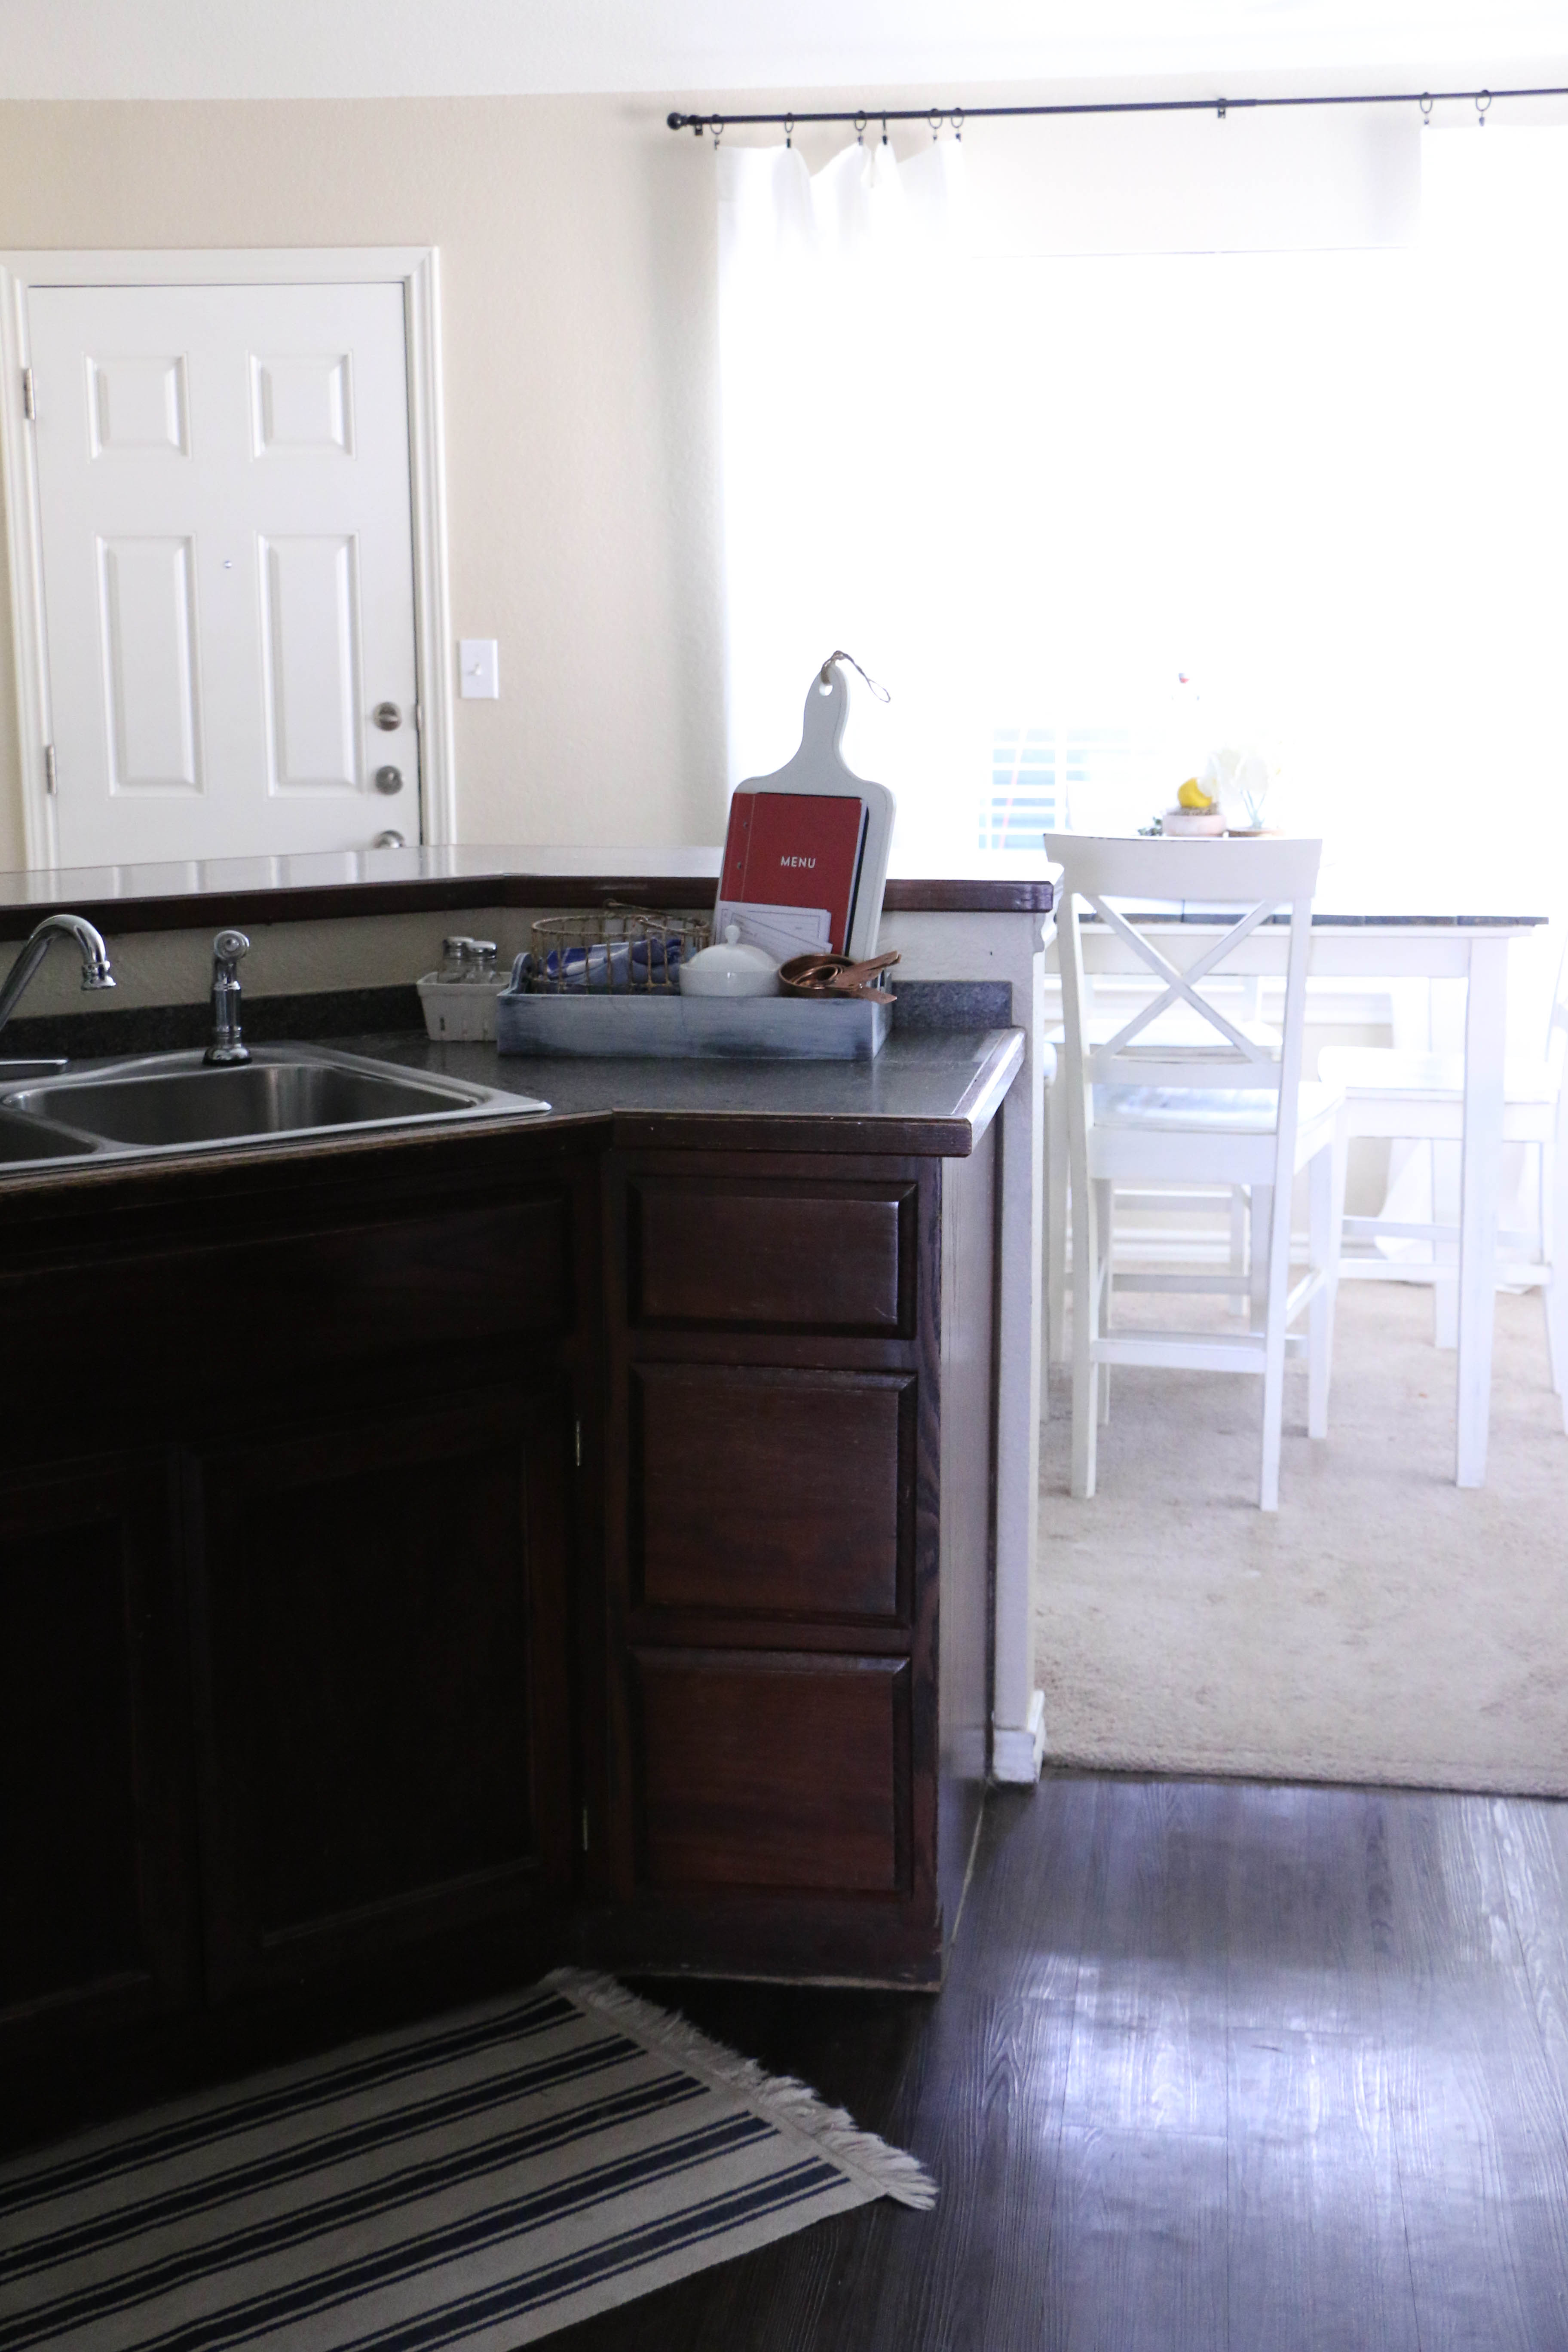
So, just to recap, we live in a rental. It’s a super basic builder grade house that was built in 2003. The paint colors aren’t what we would choose and the house has zero character, but it is miles above our first home, and keeps us safe and dry. I’m good with it. I honestly am. The kitchen though… is very 2003. What I mean by that is that it’s just an almost 15 year old kitchen (2003 was almost 15 years ago?! I feel more than ever now that I am getting old!) that hasn’t been updated. It’s functional, albeit tiny, it’s just not pretty. So I thought I’d share some tips on living in a kitchen that’s either small, or in my case, an ugly rental.

Decorate, decorate, decorate!

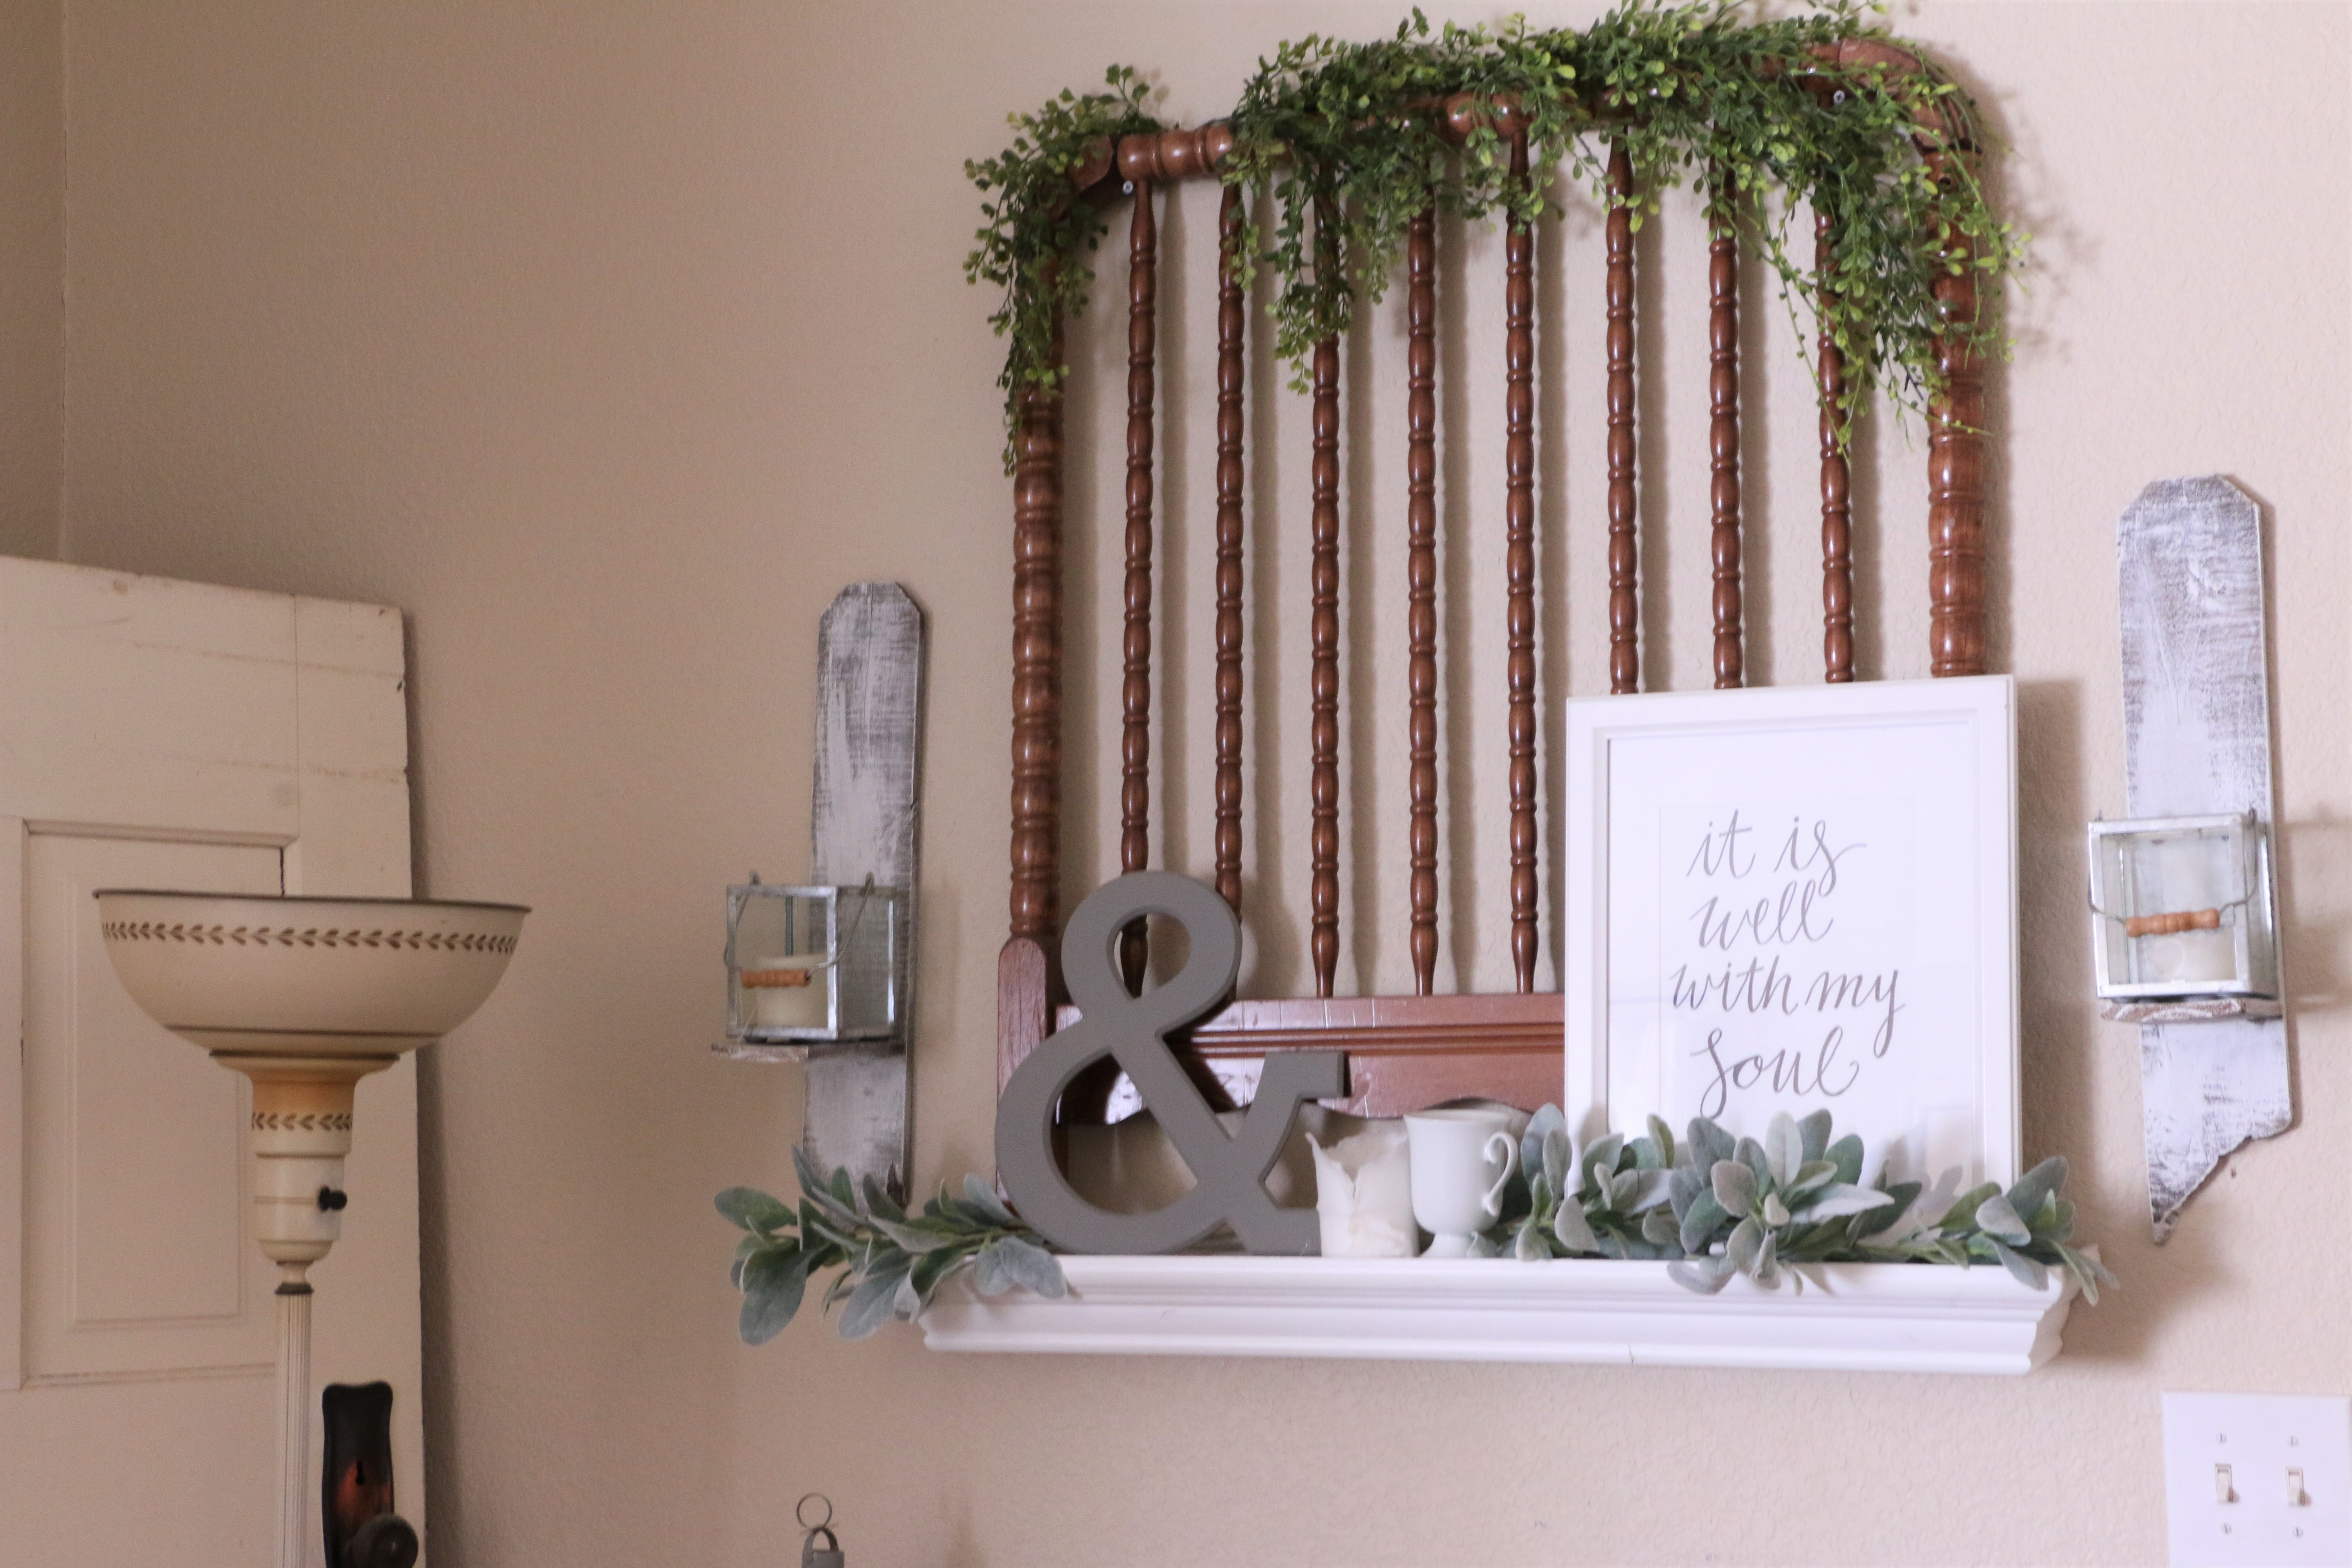
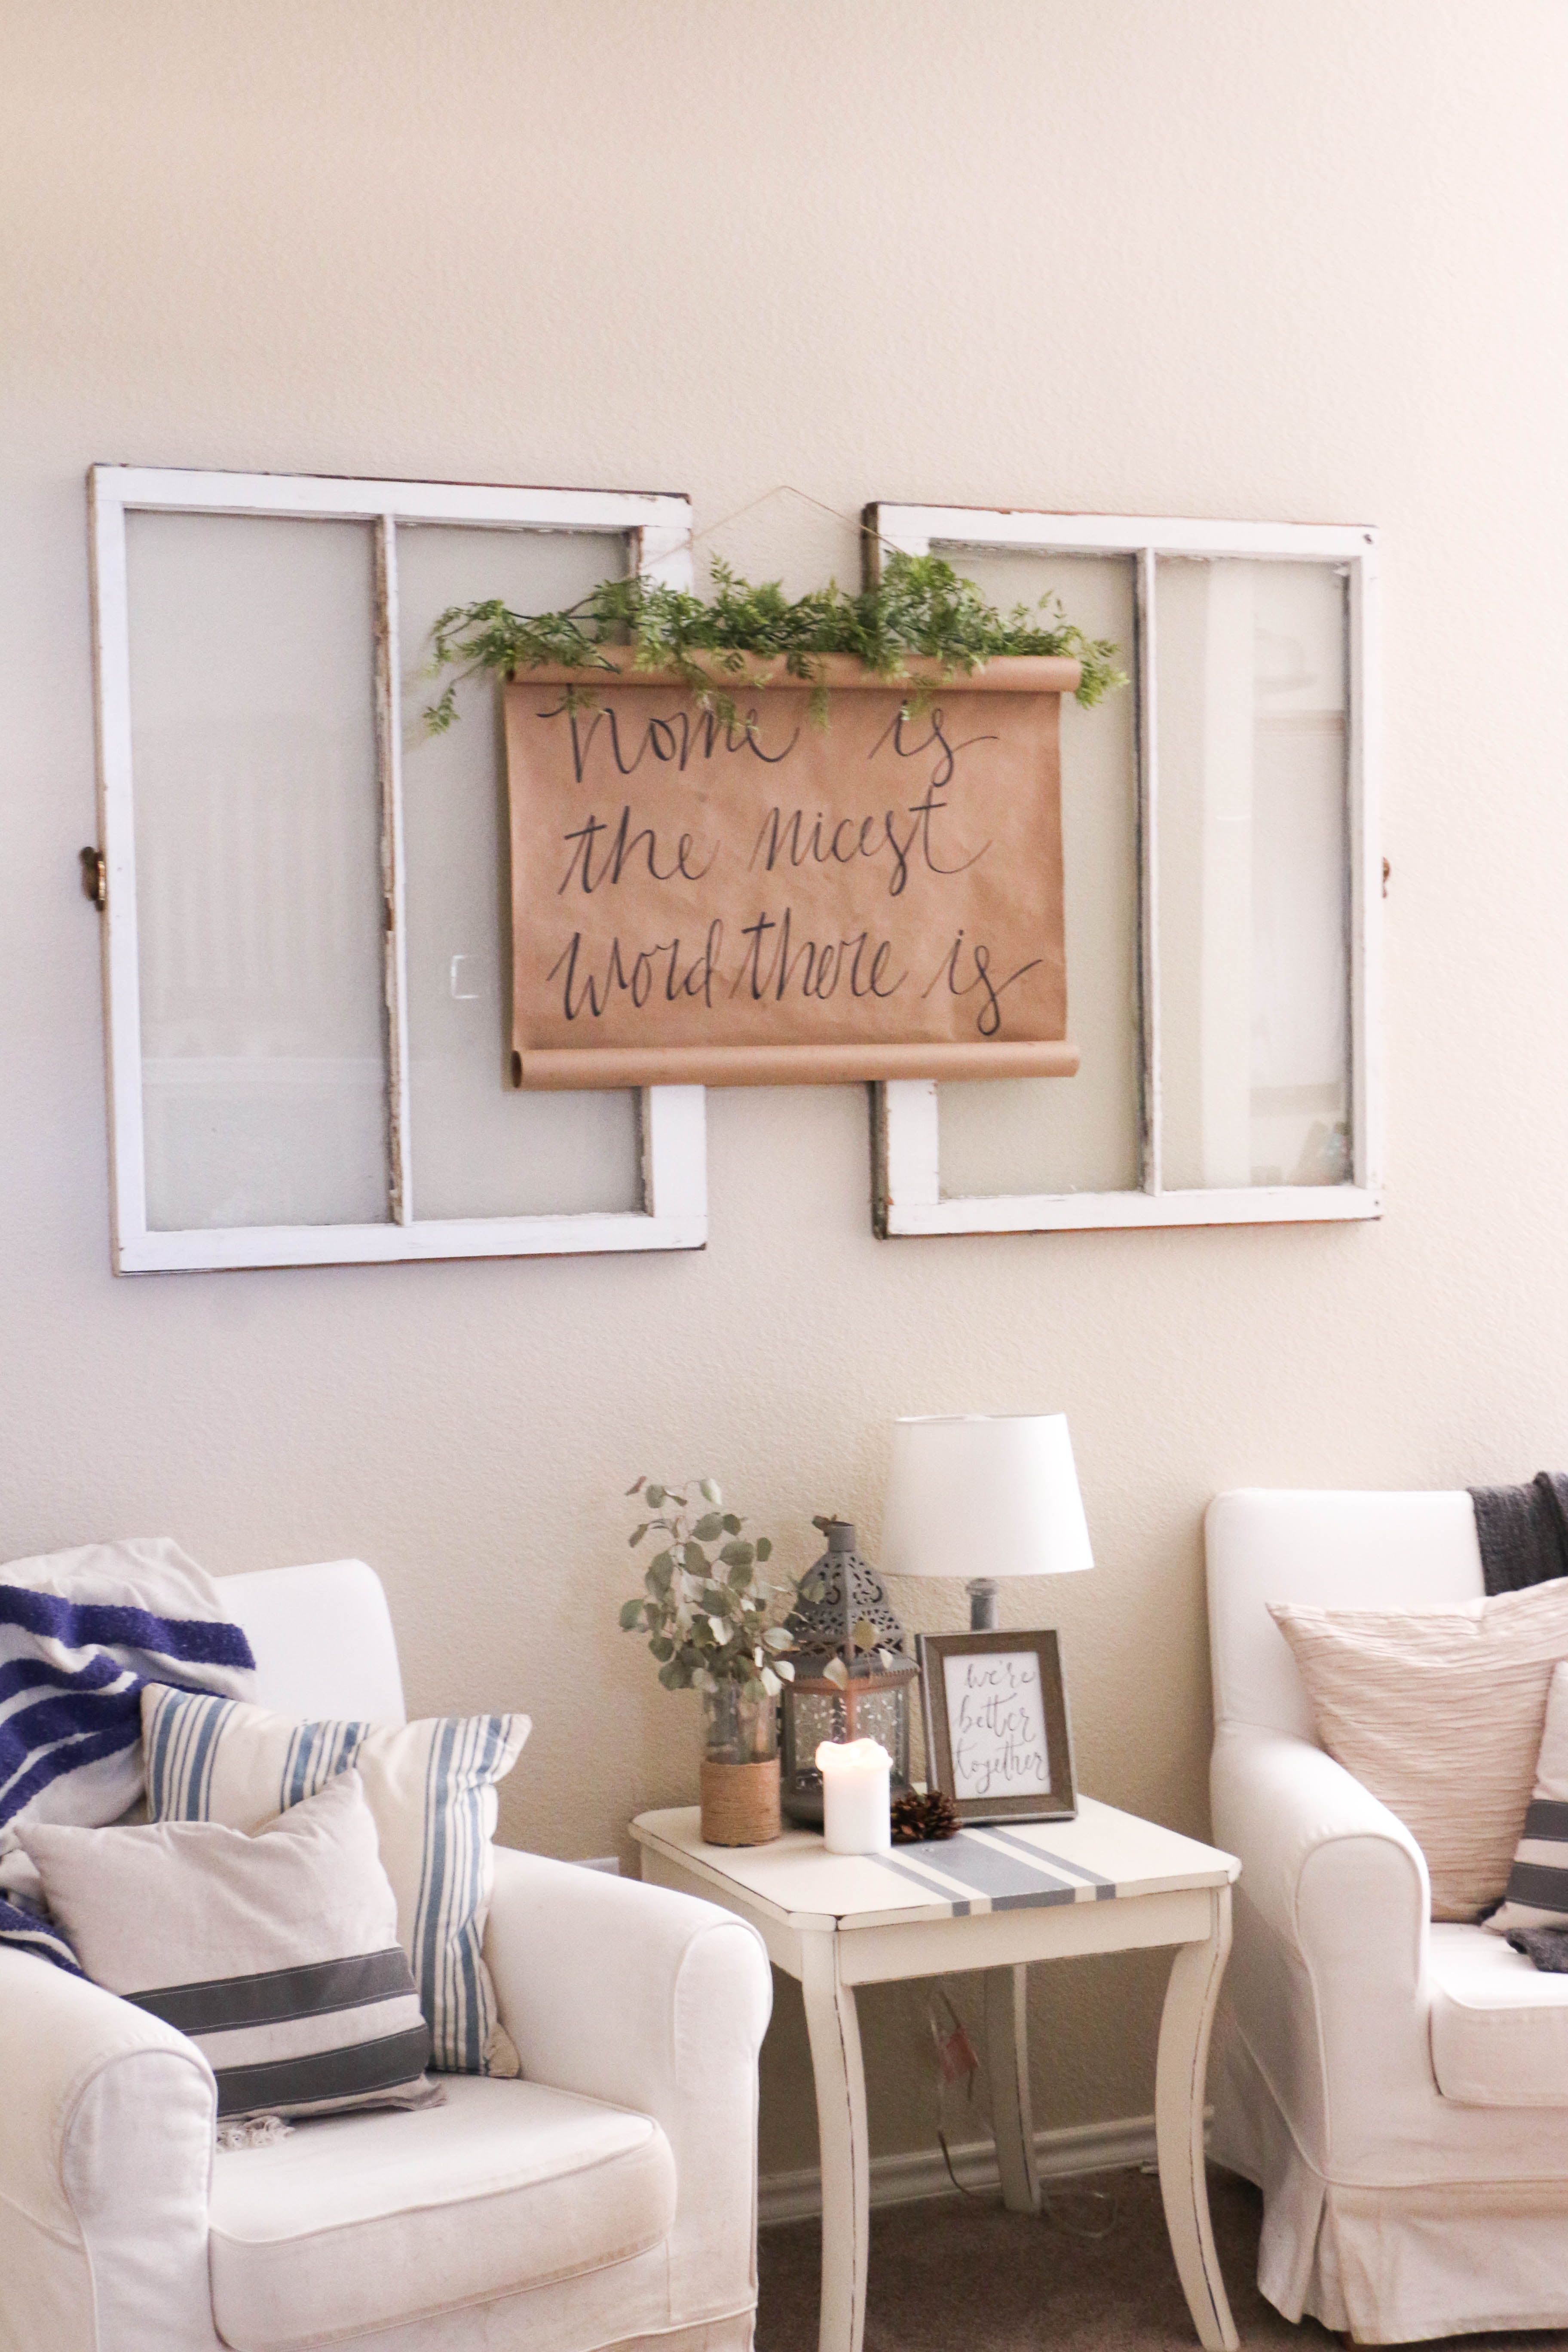
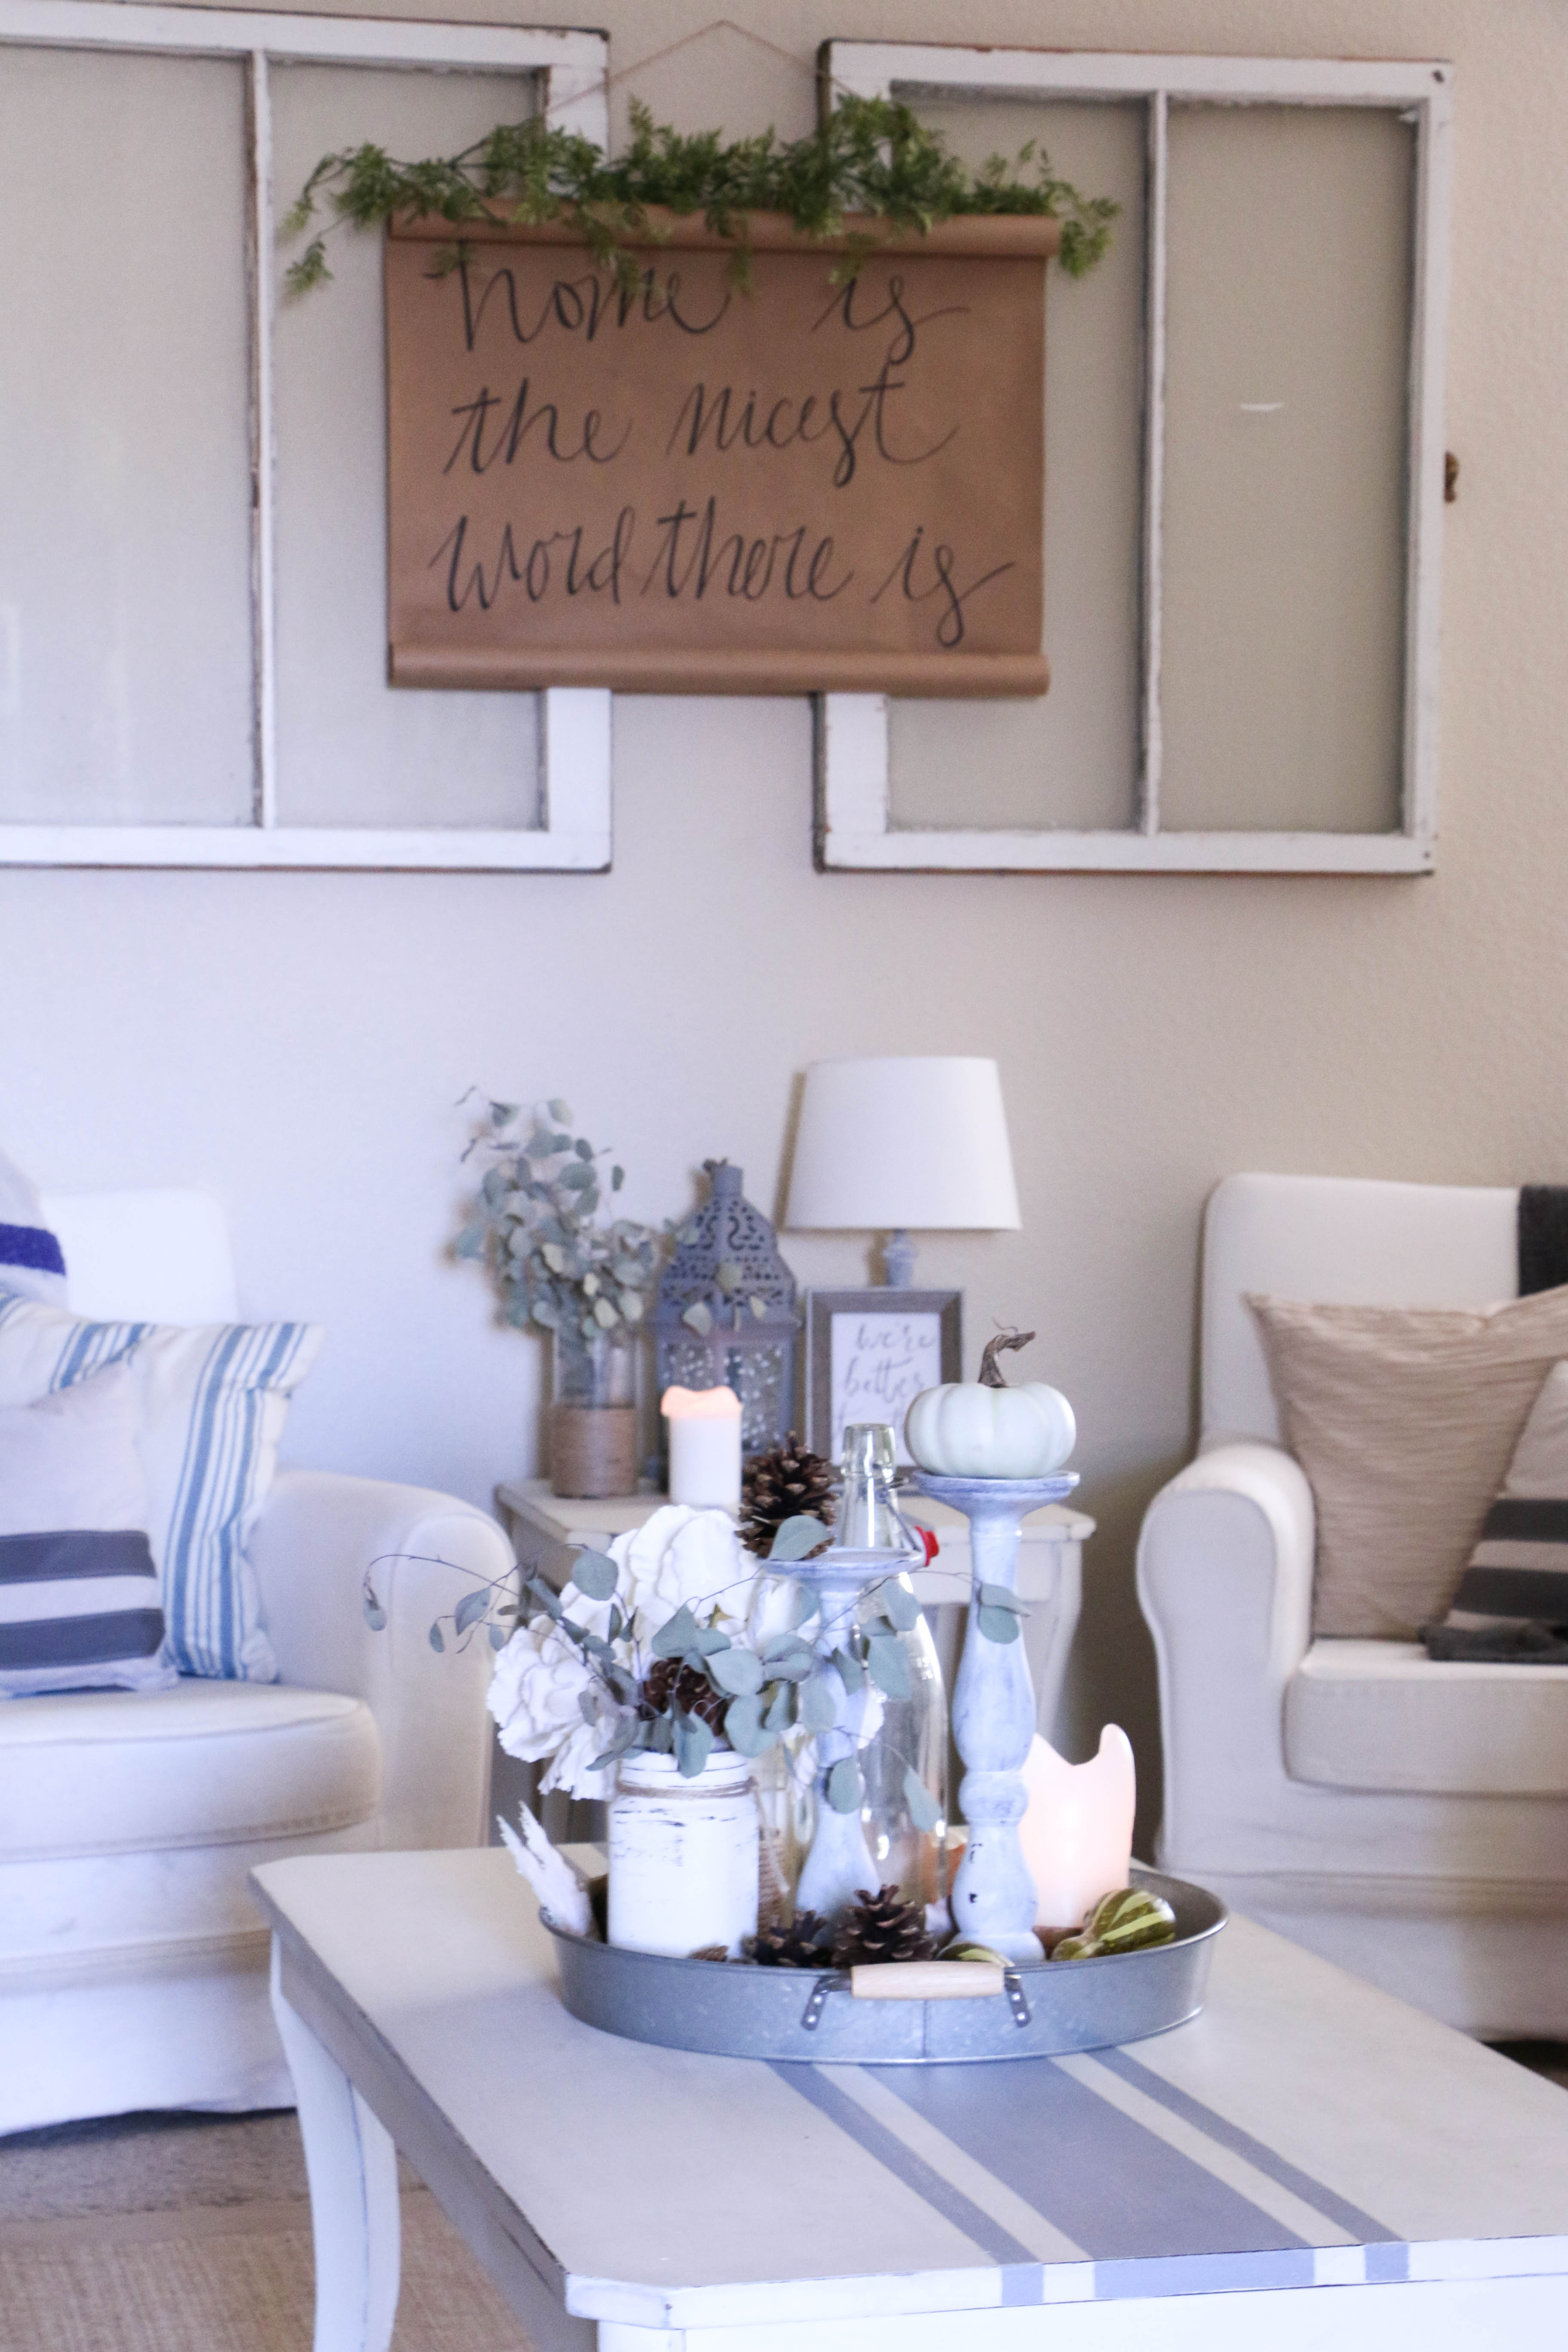
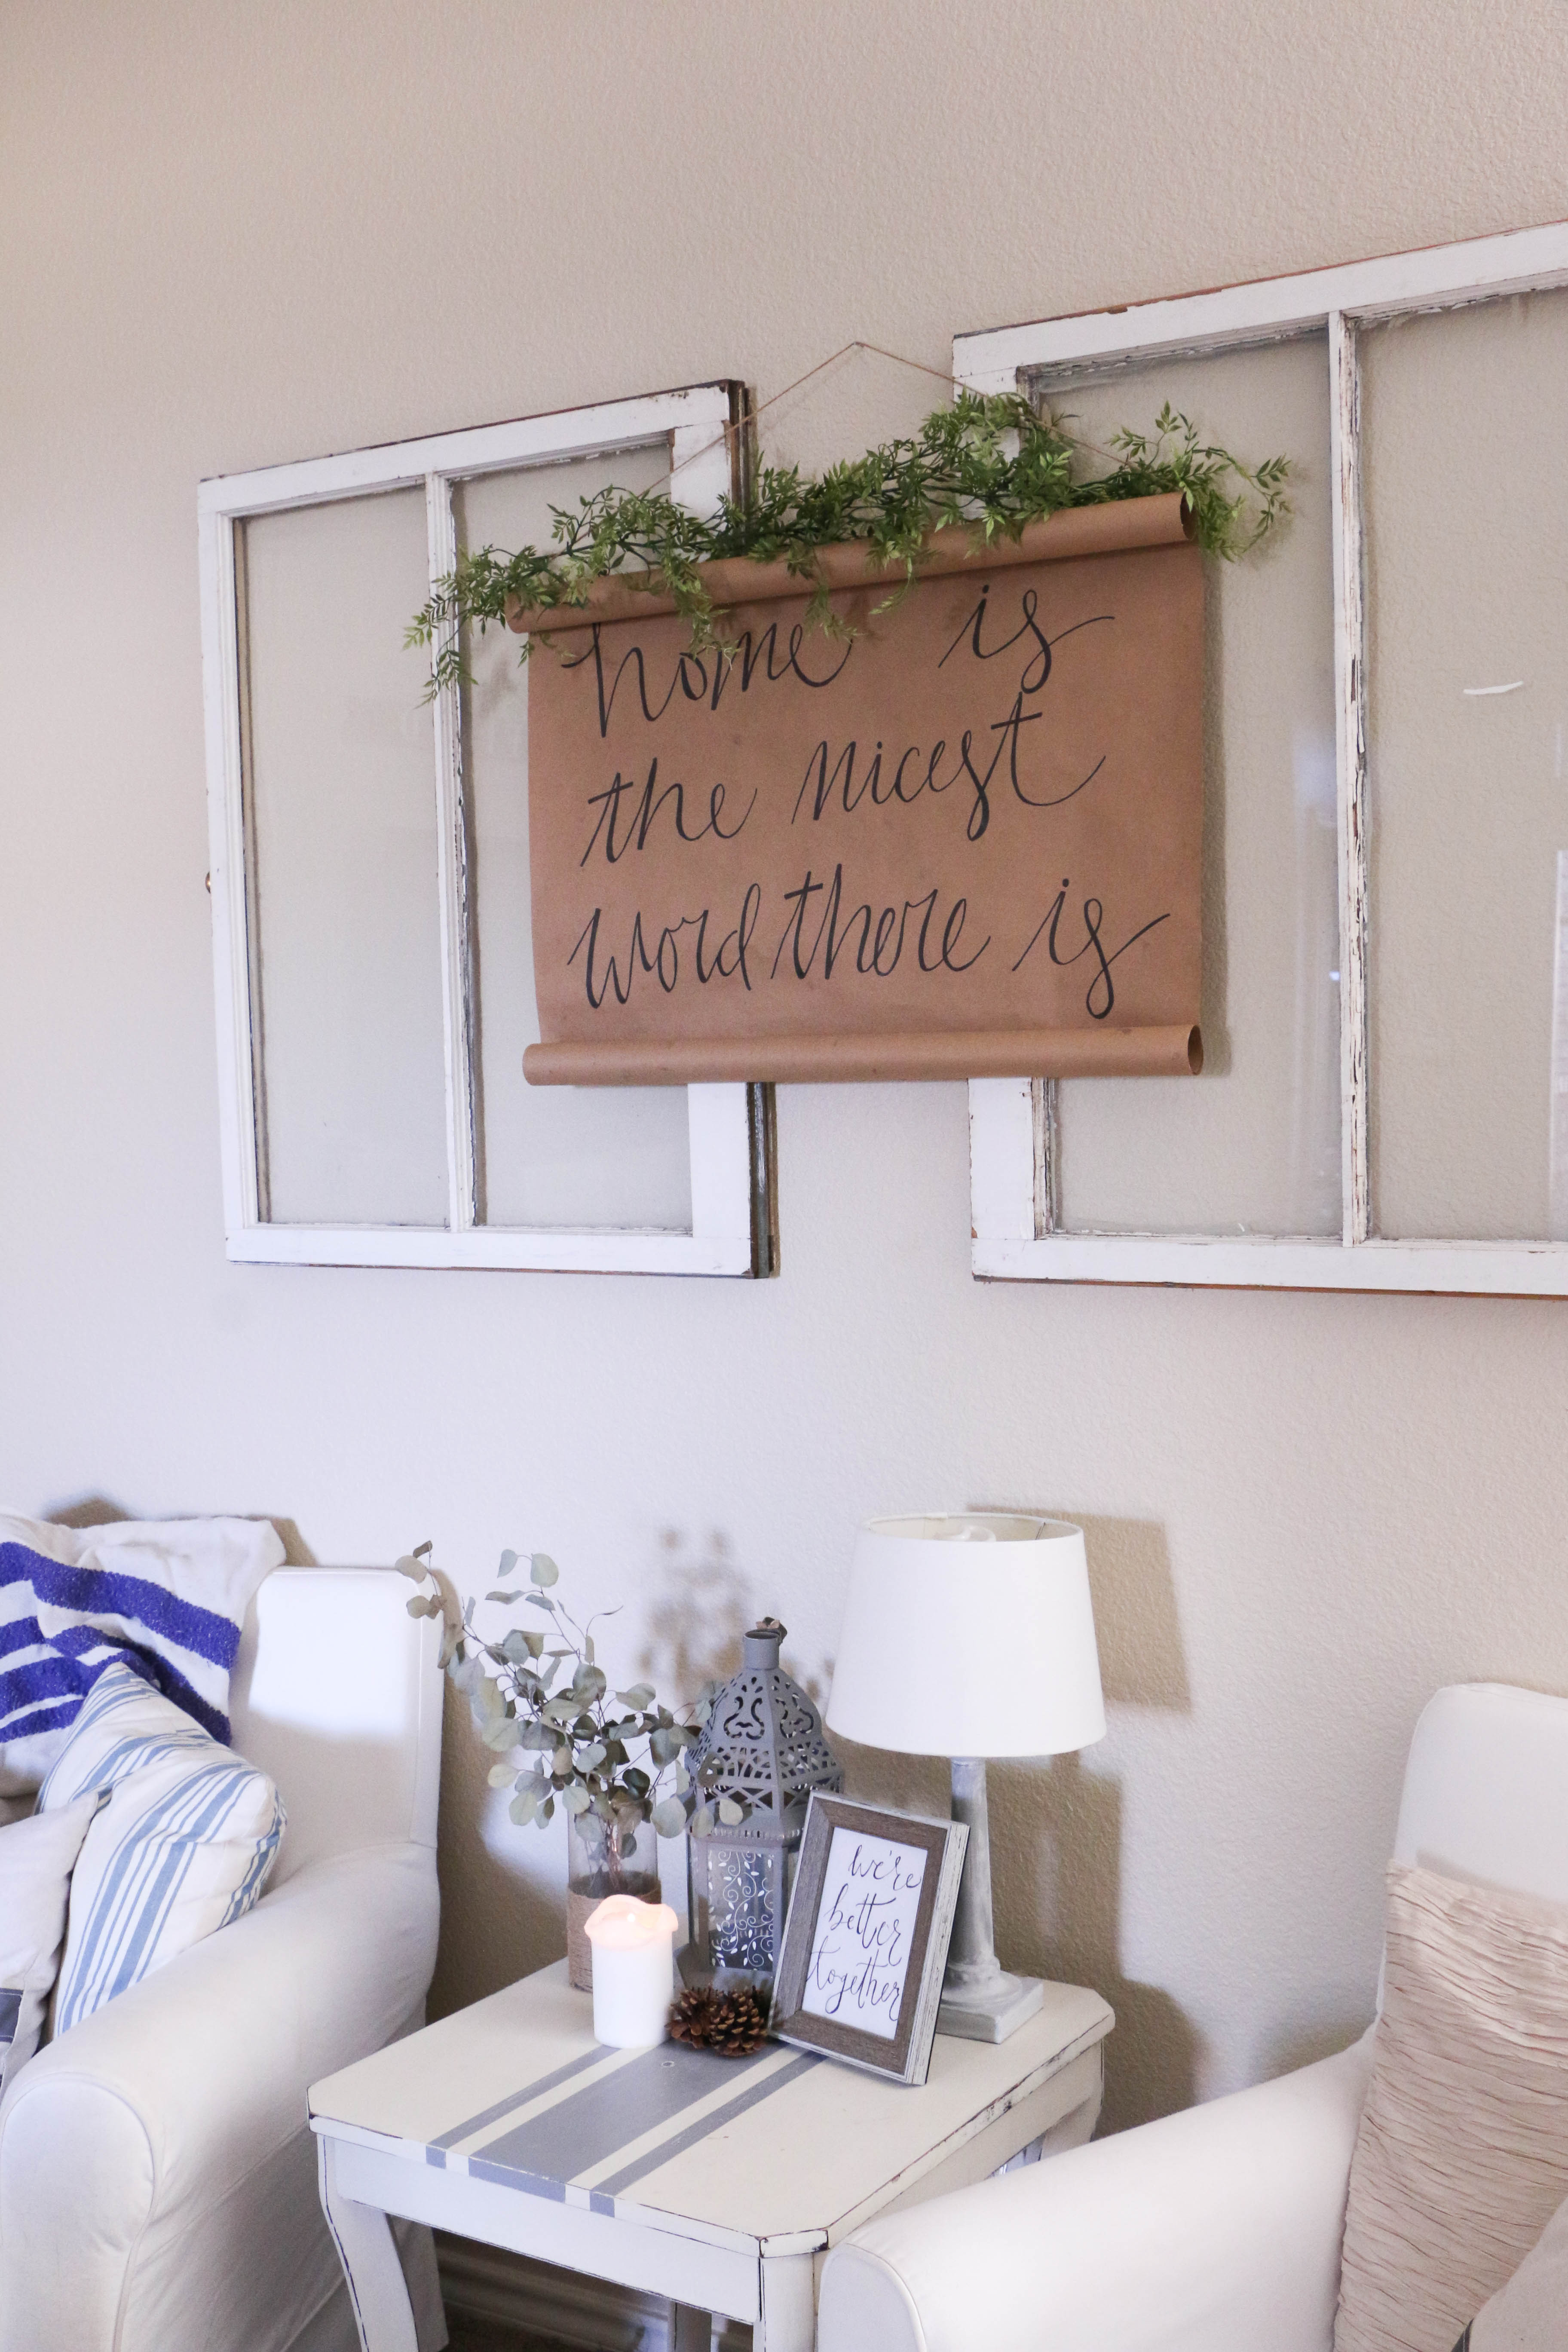
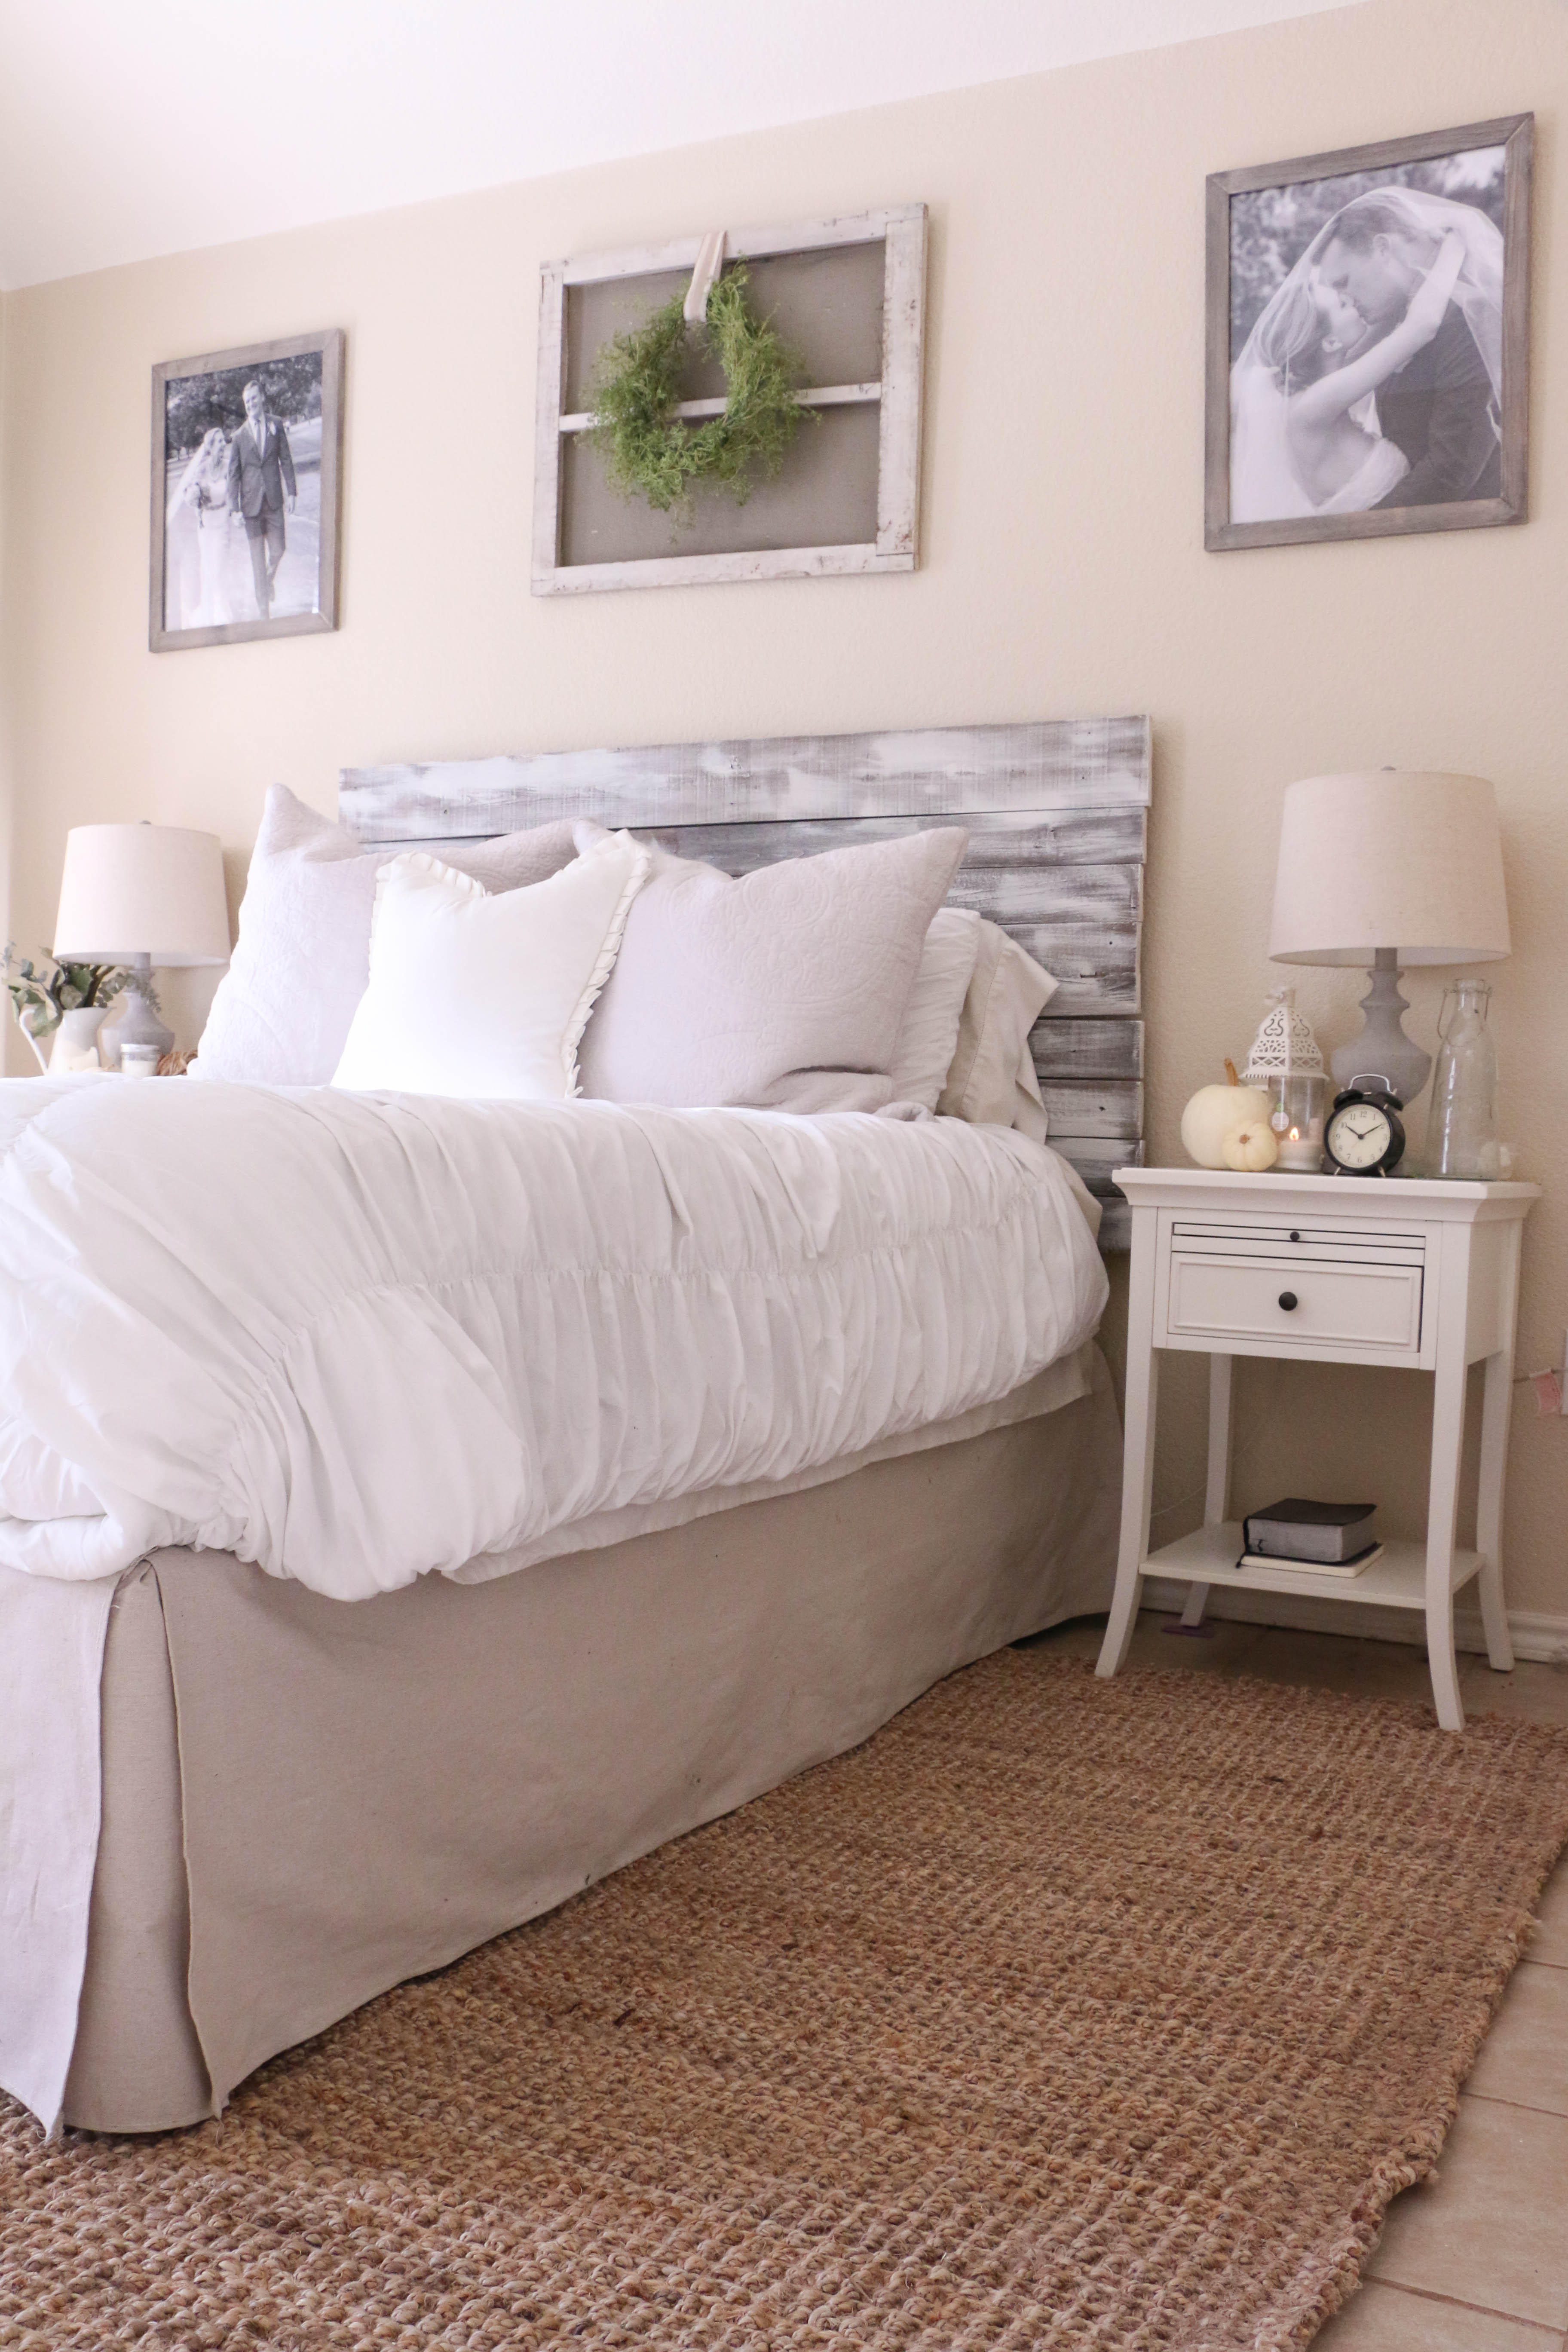
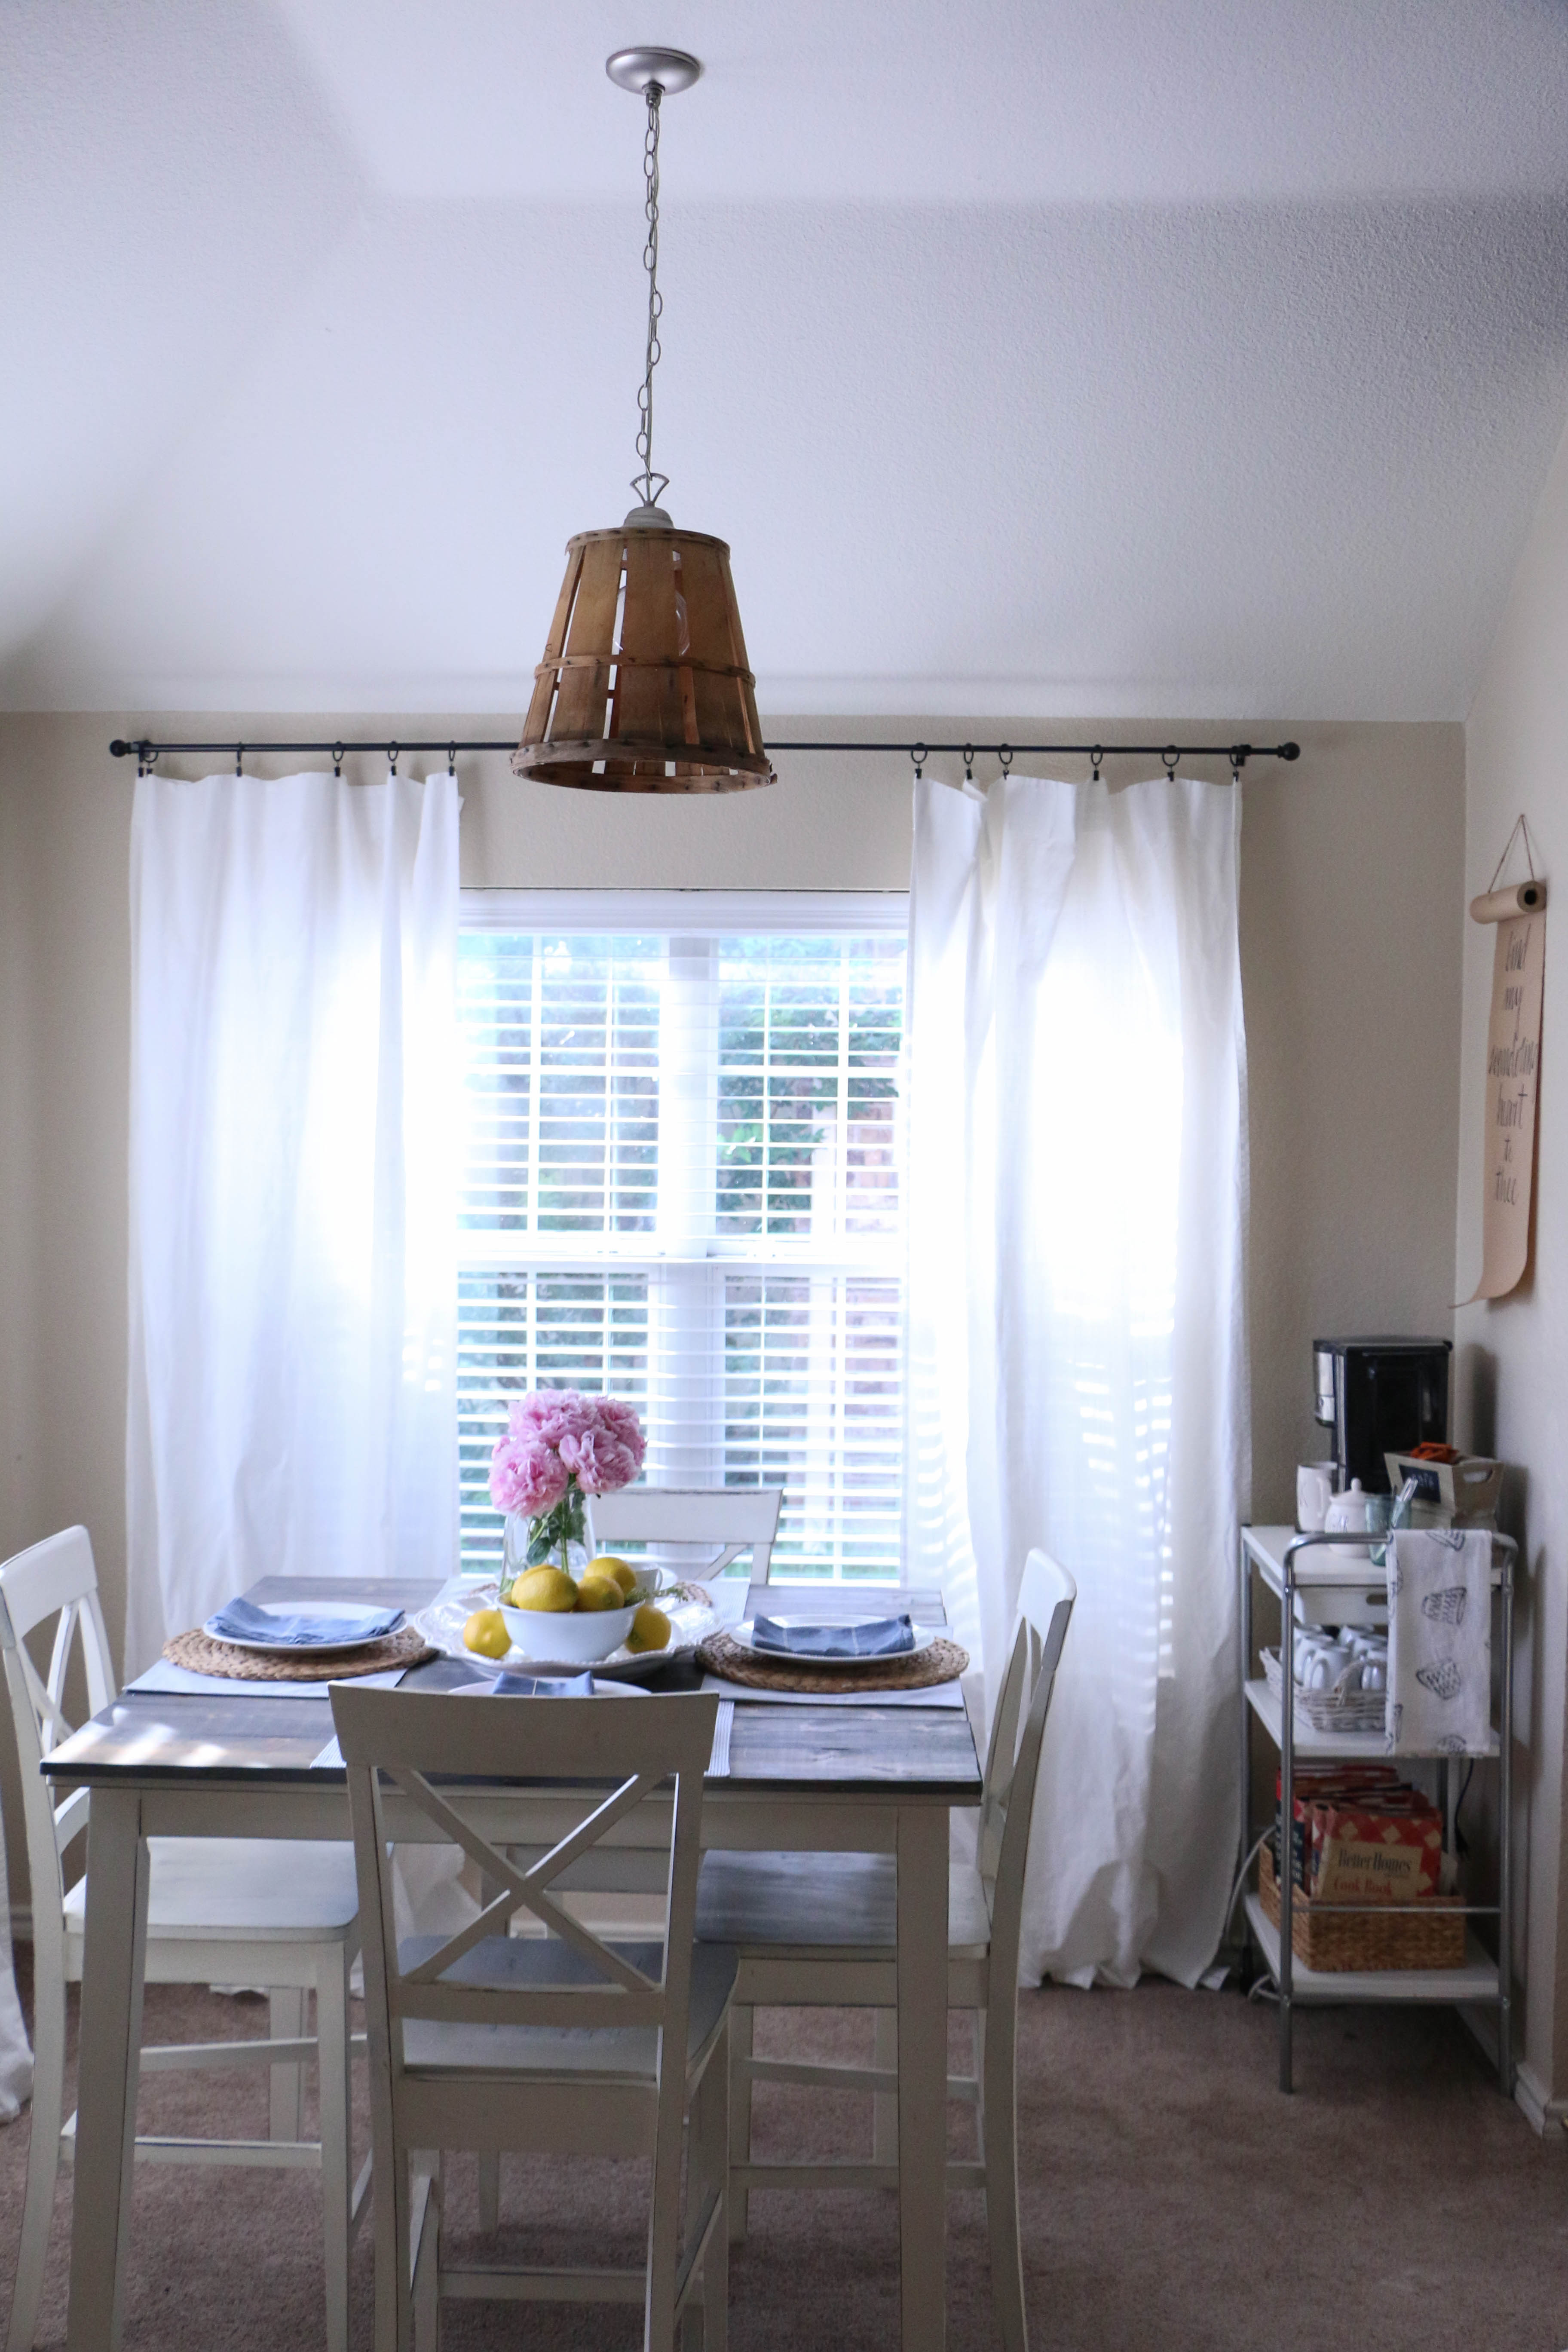
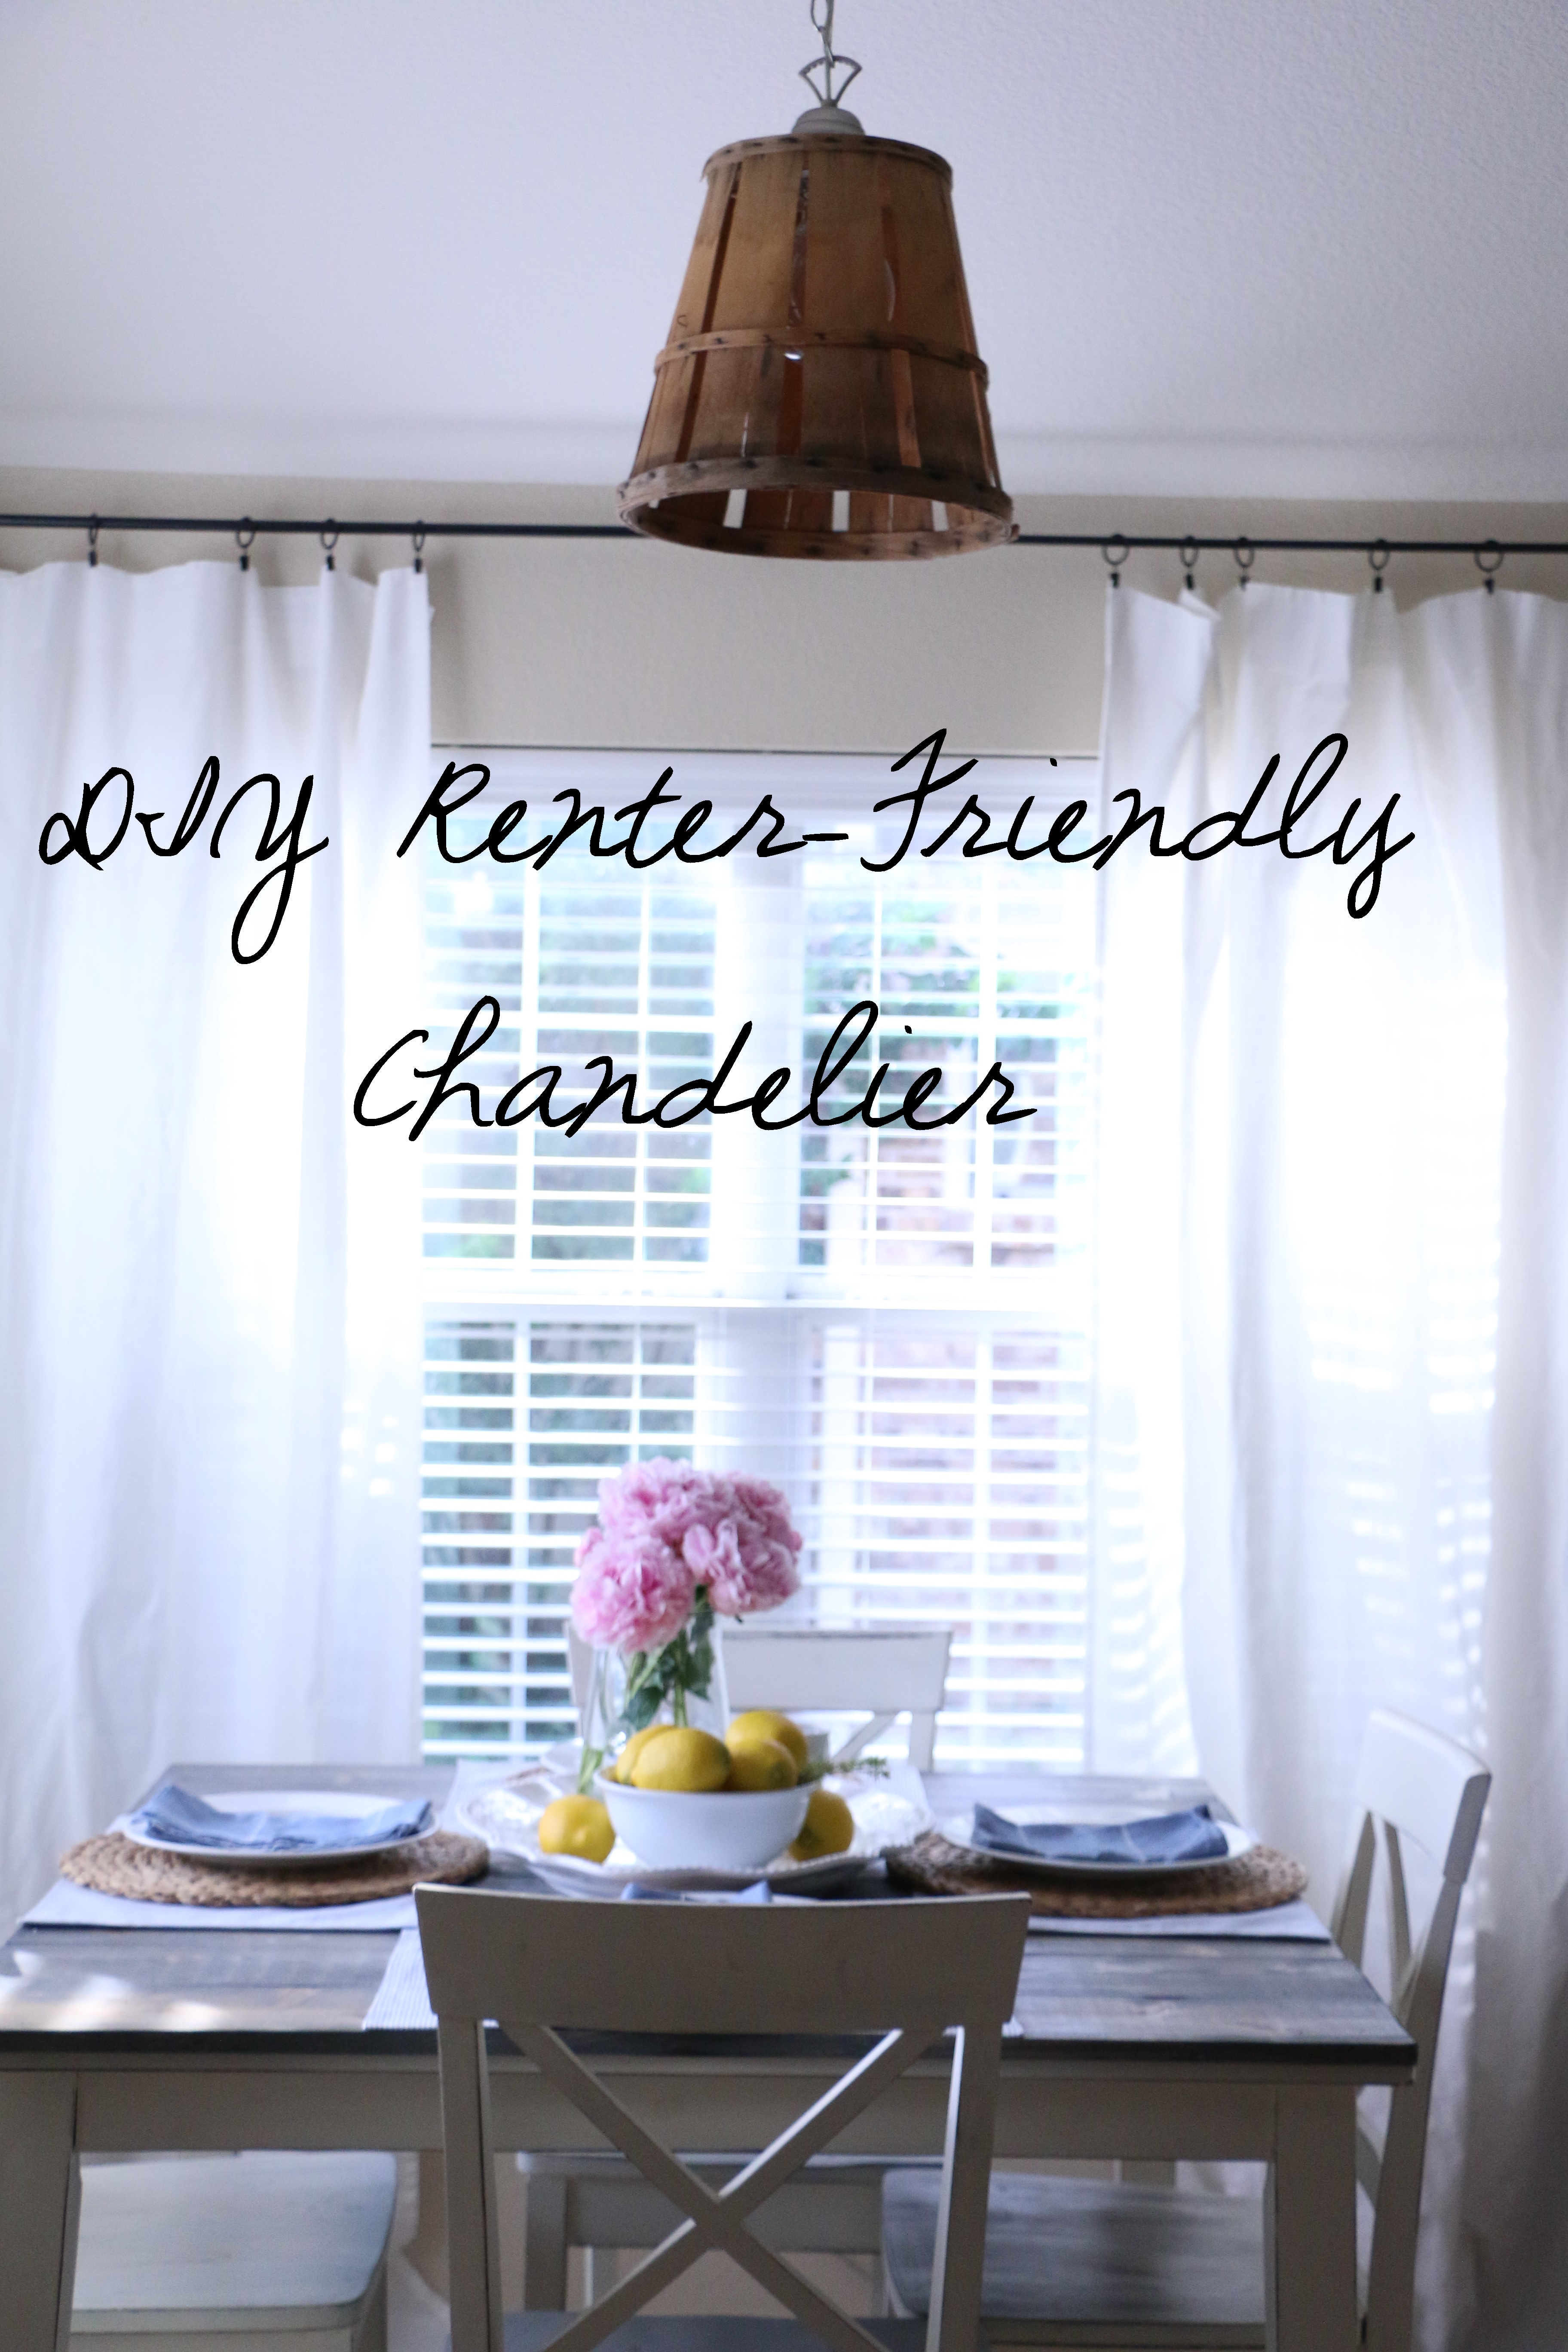
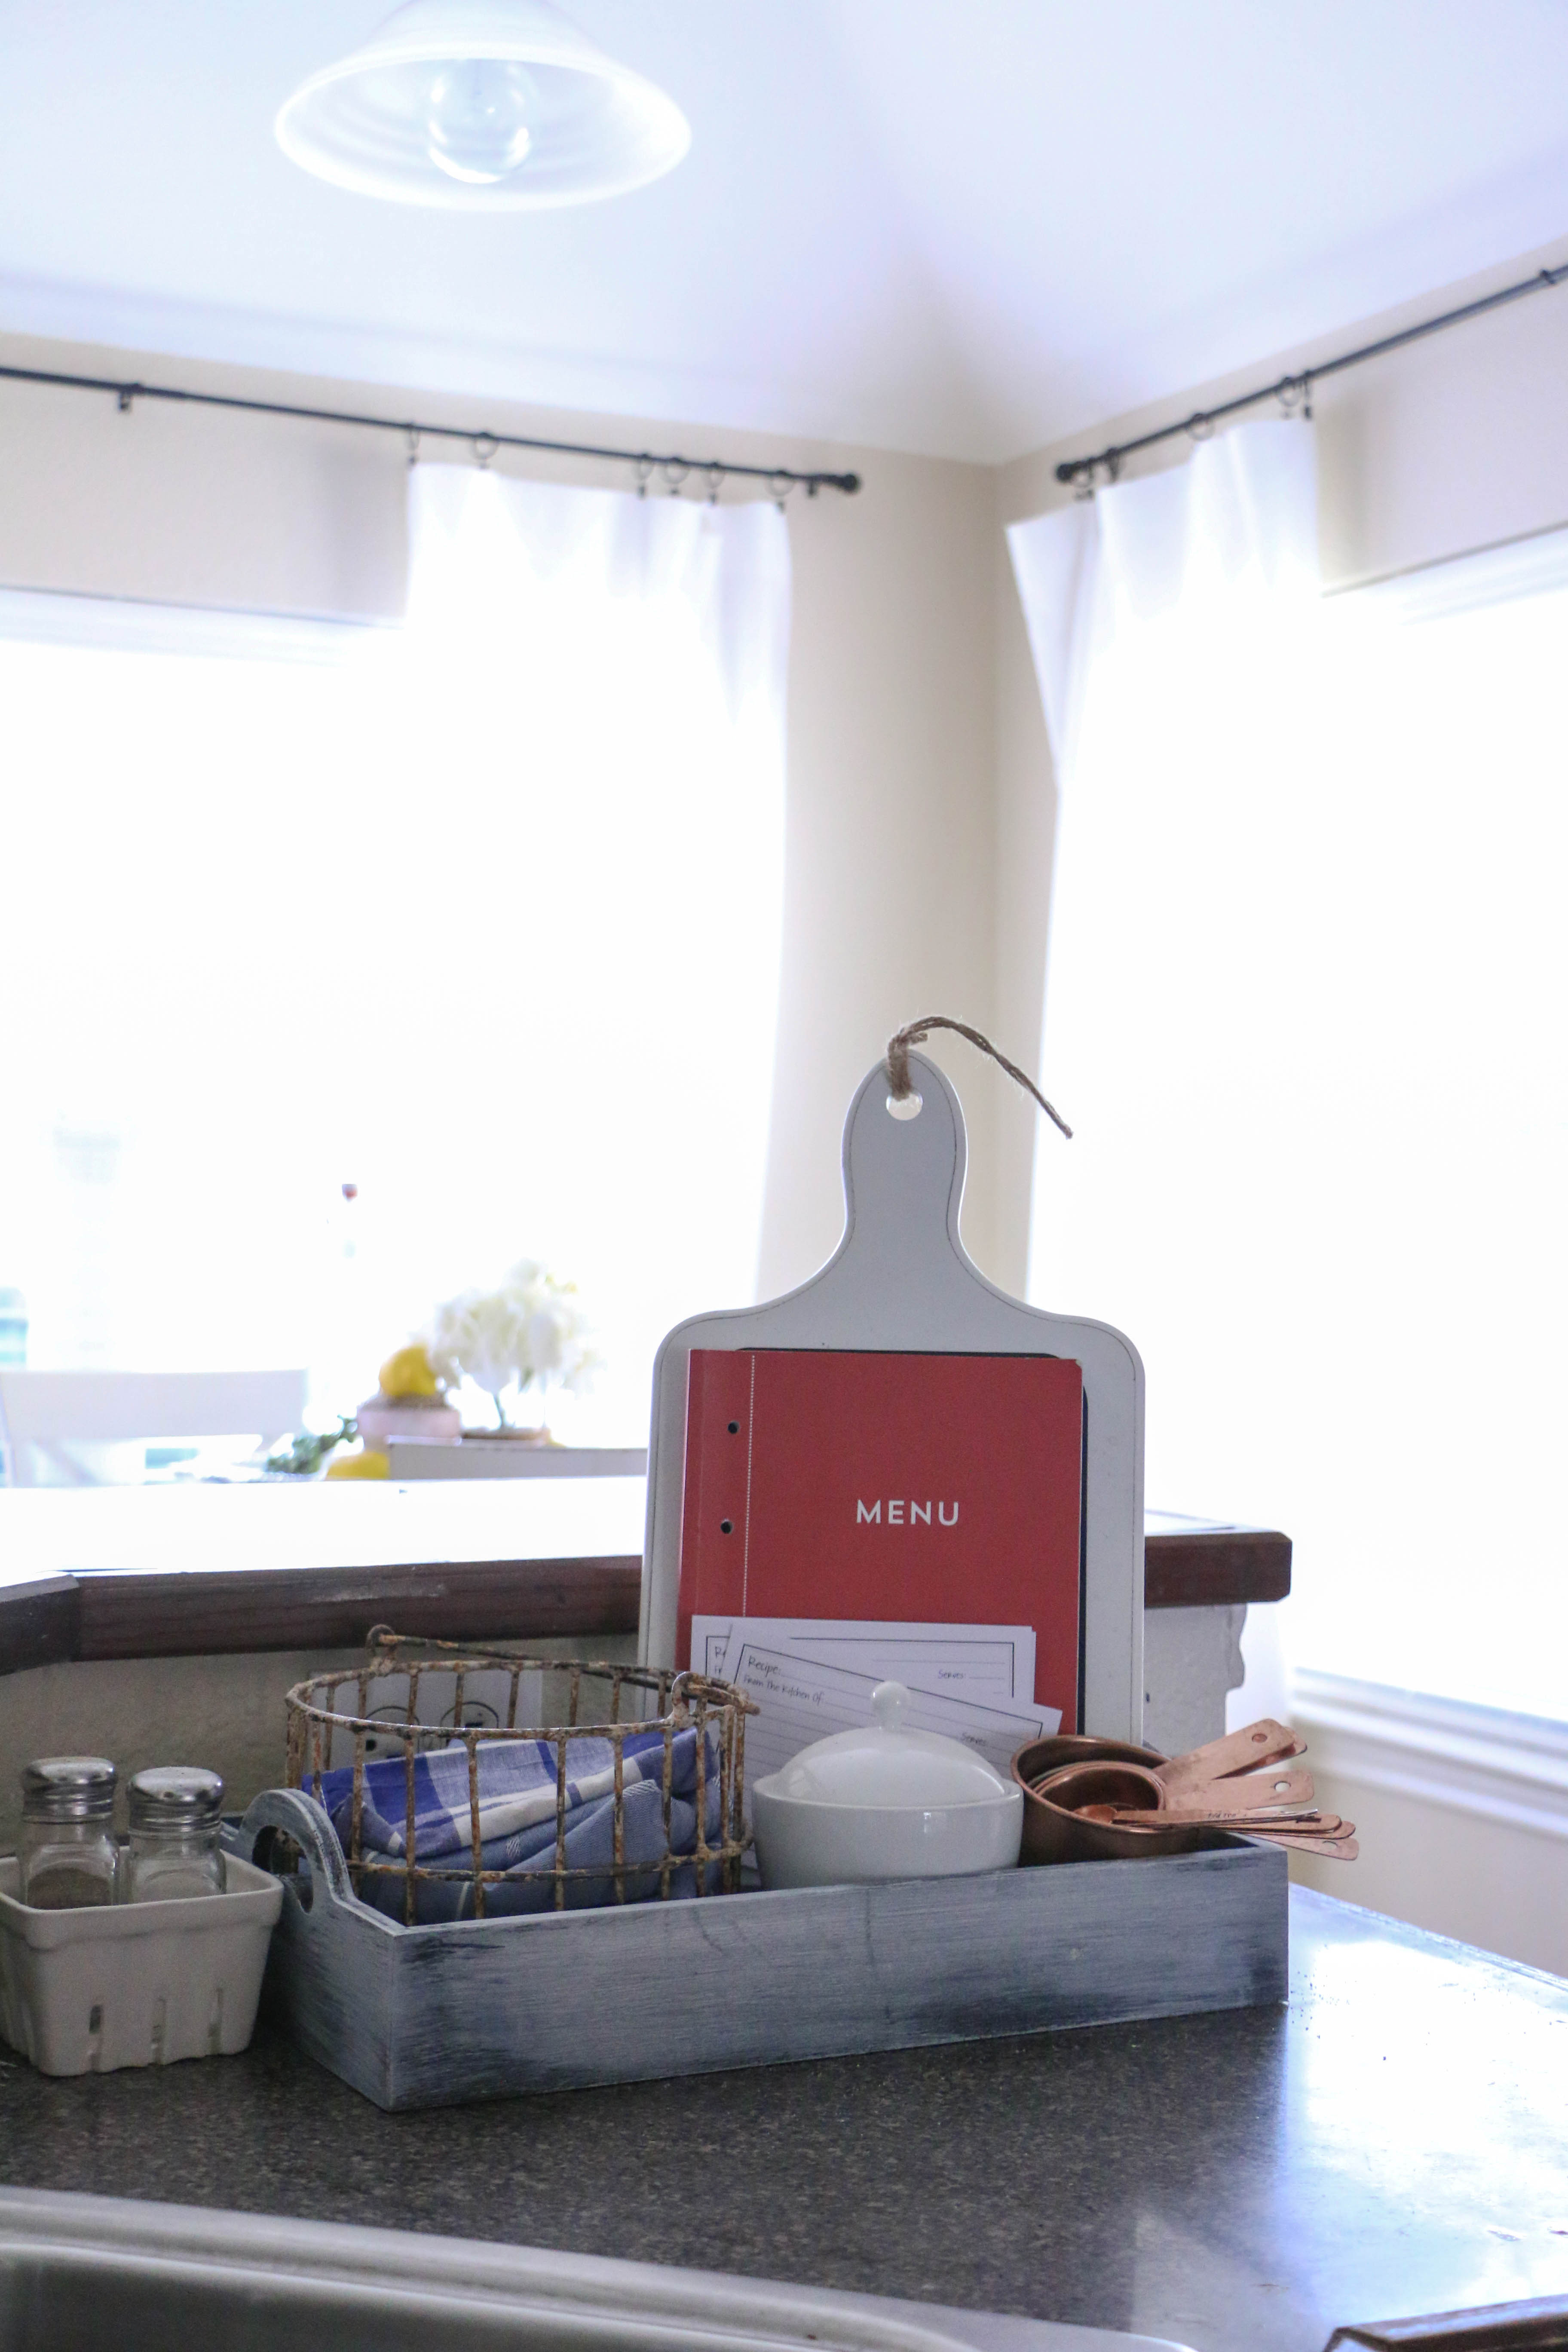
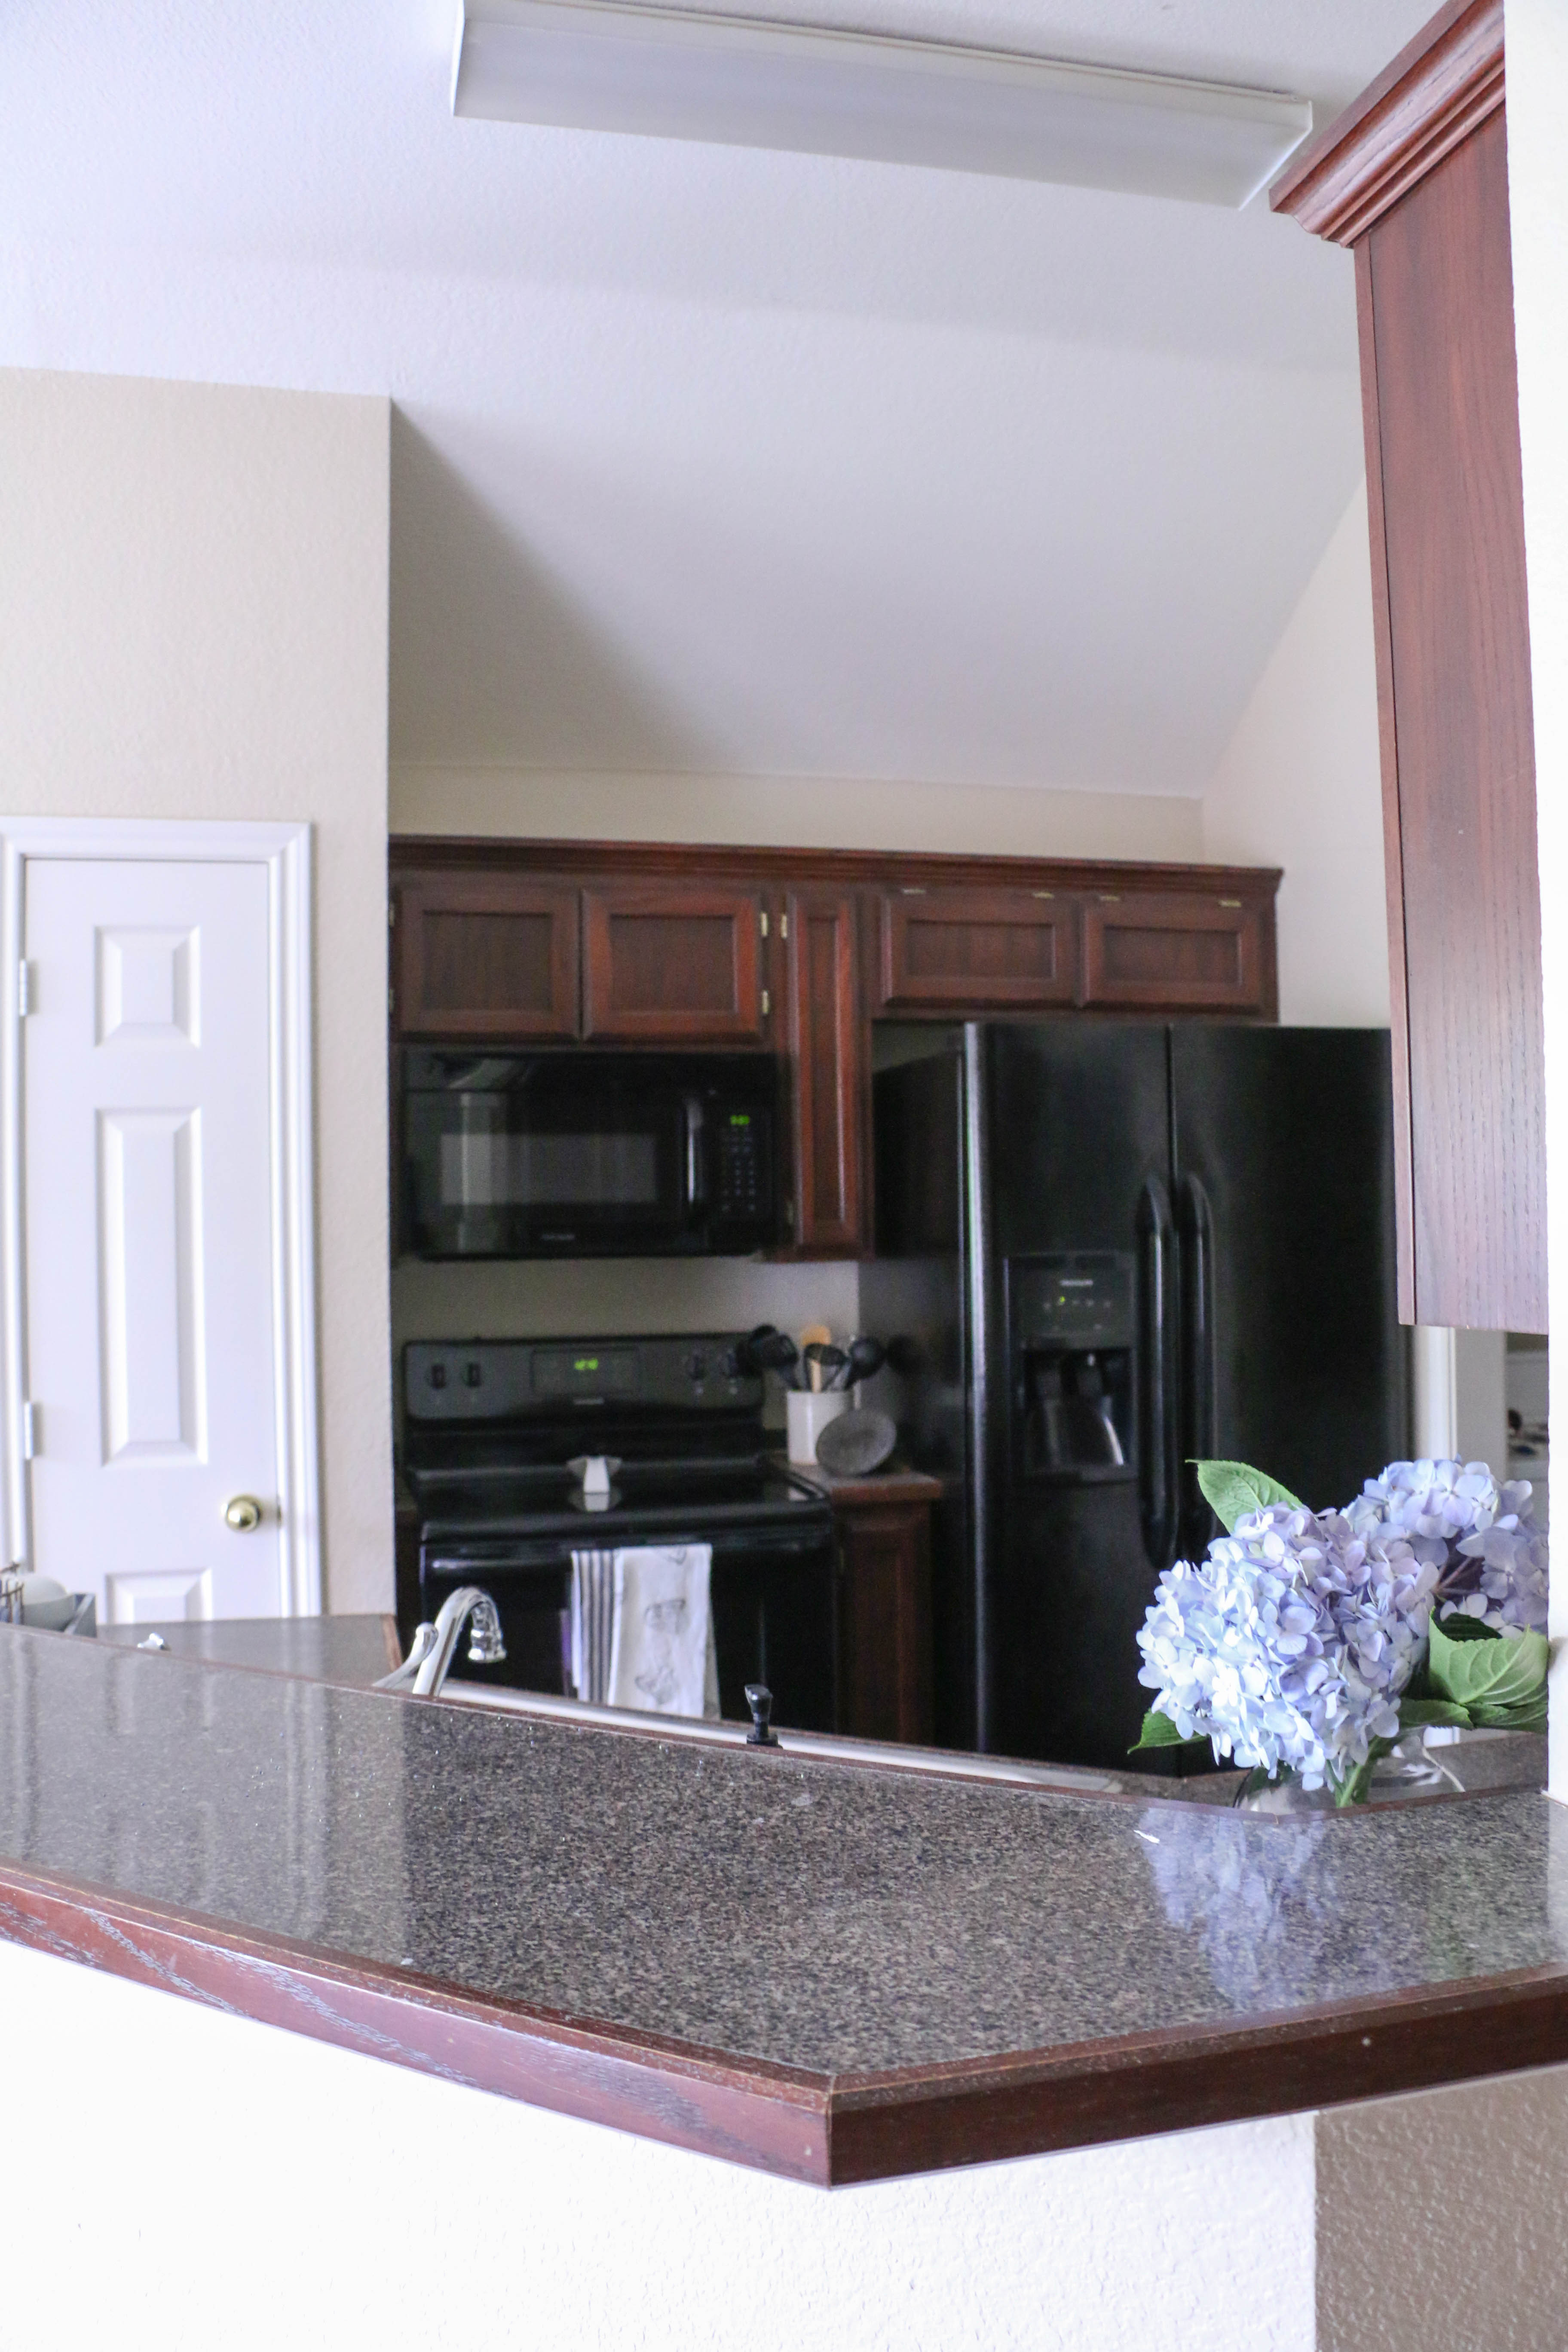
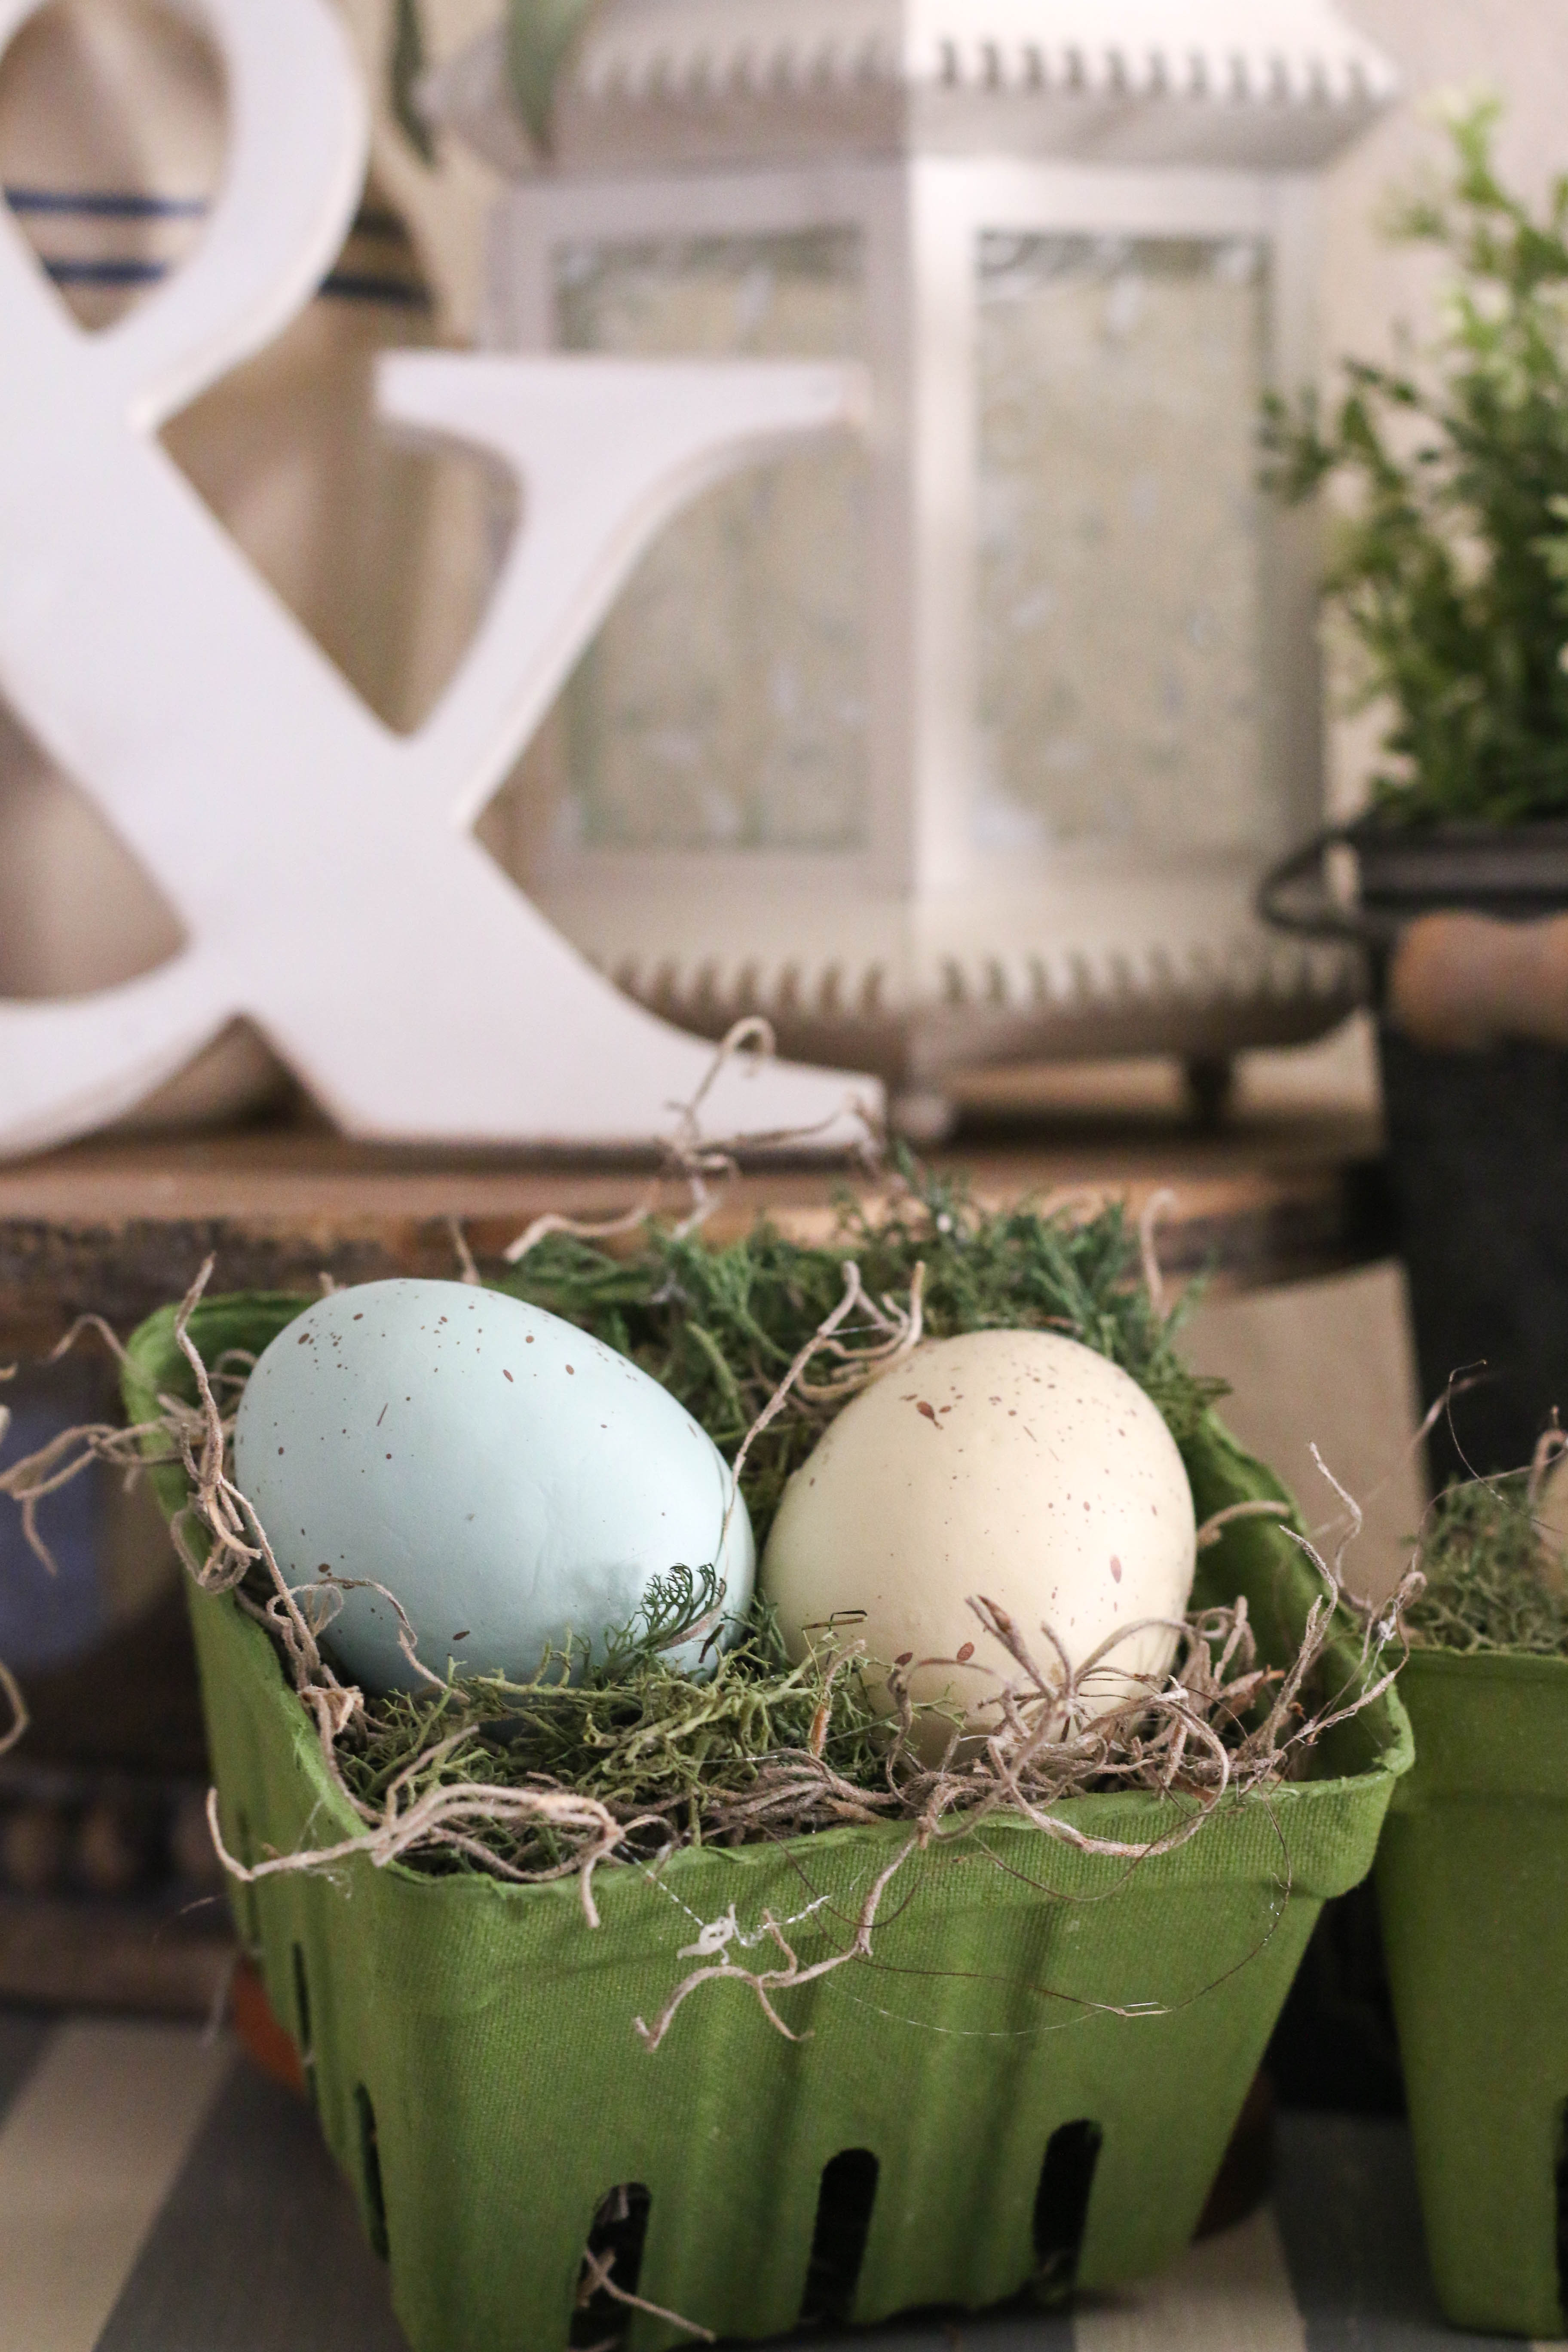
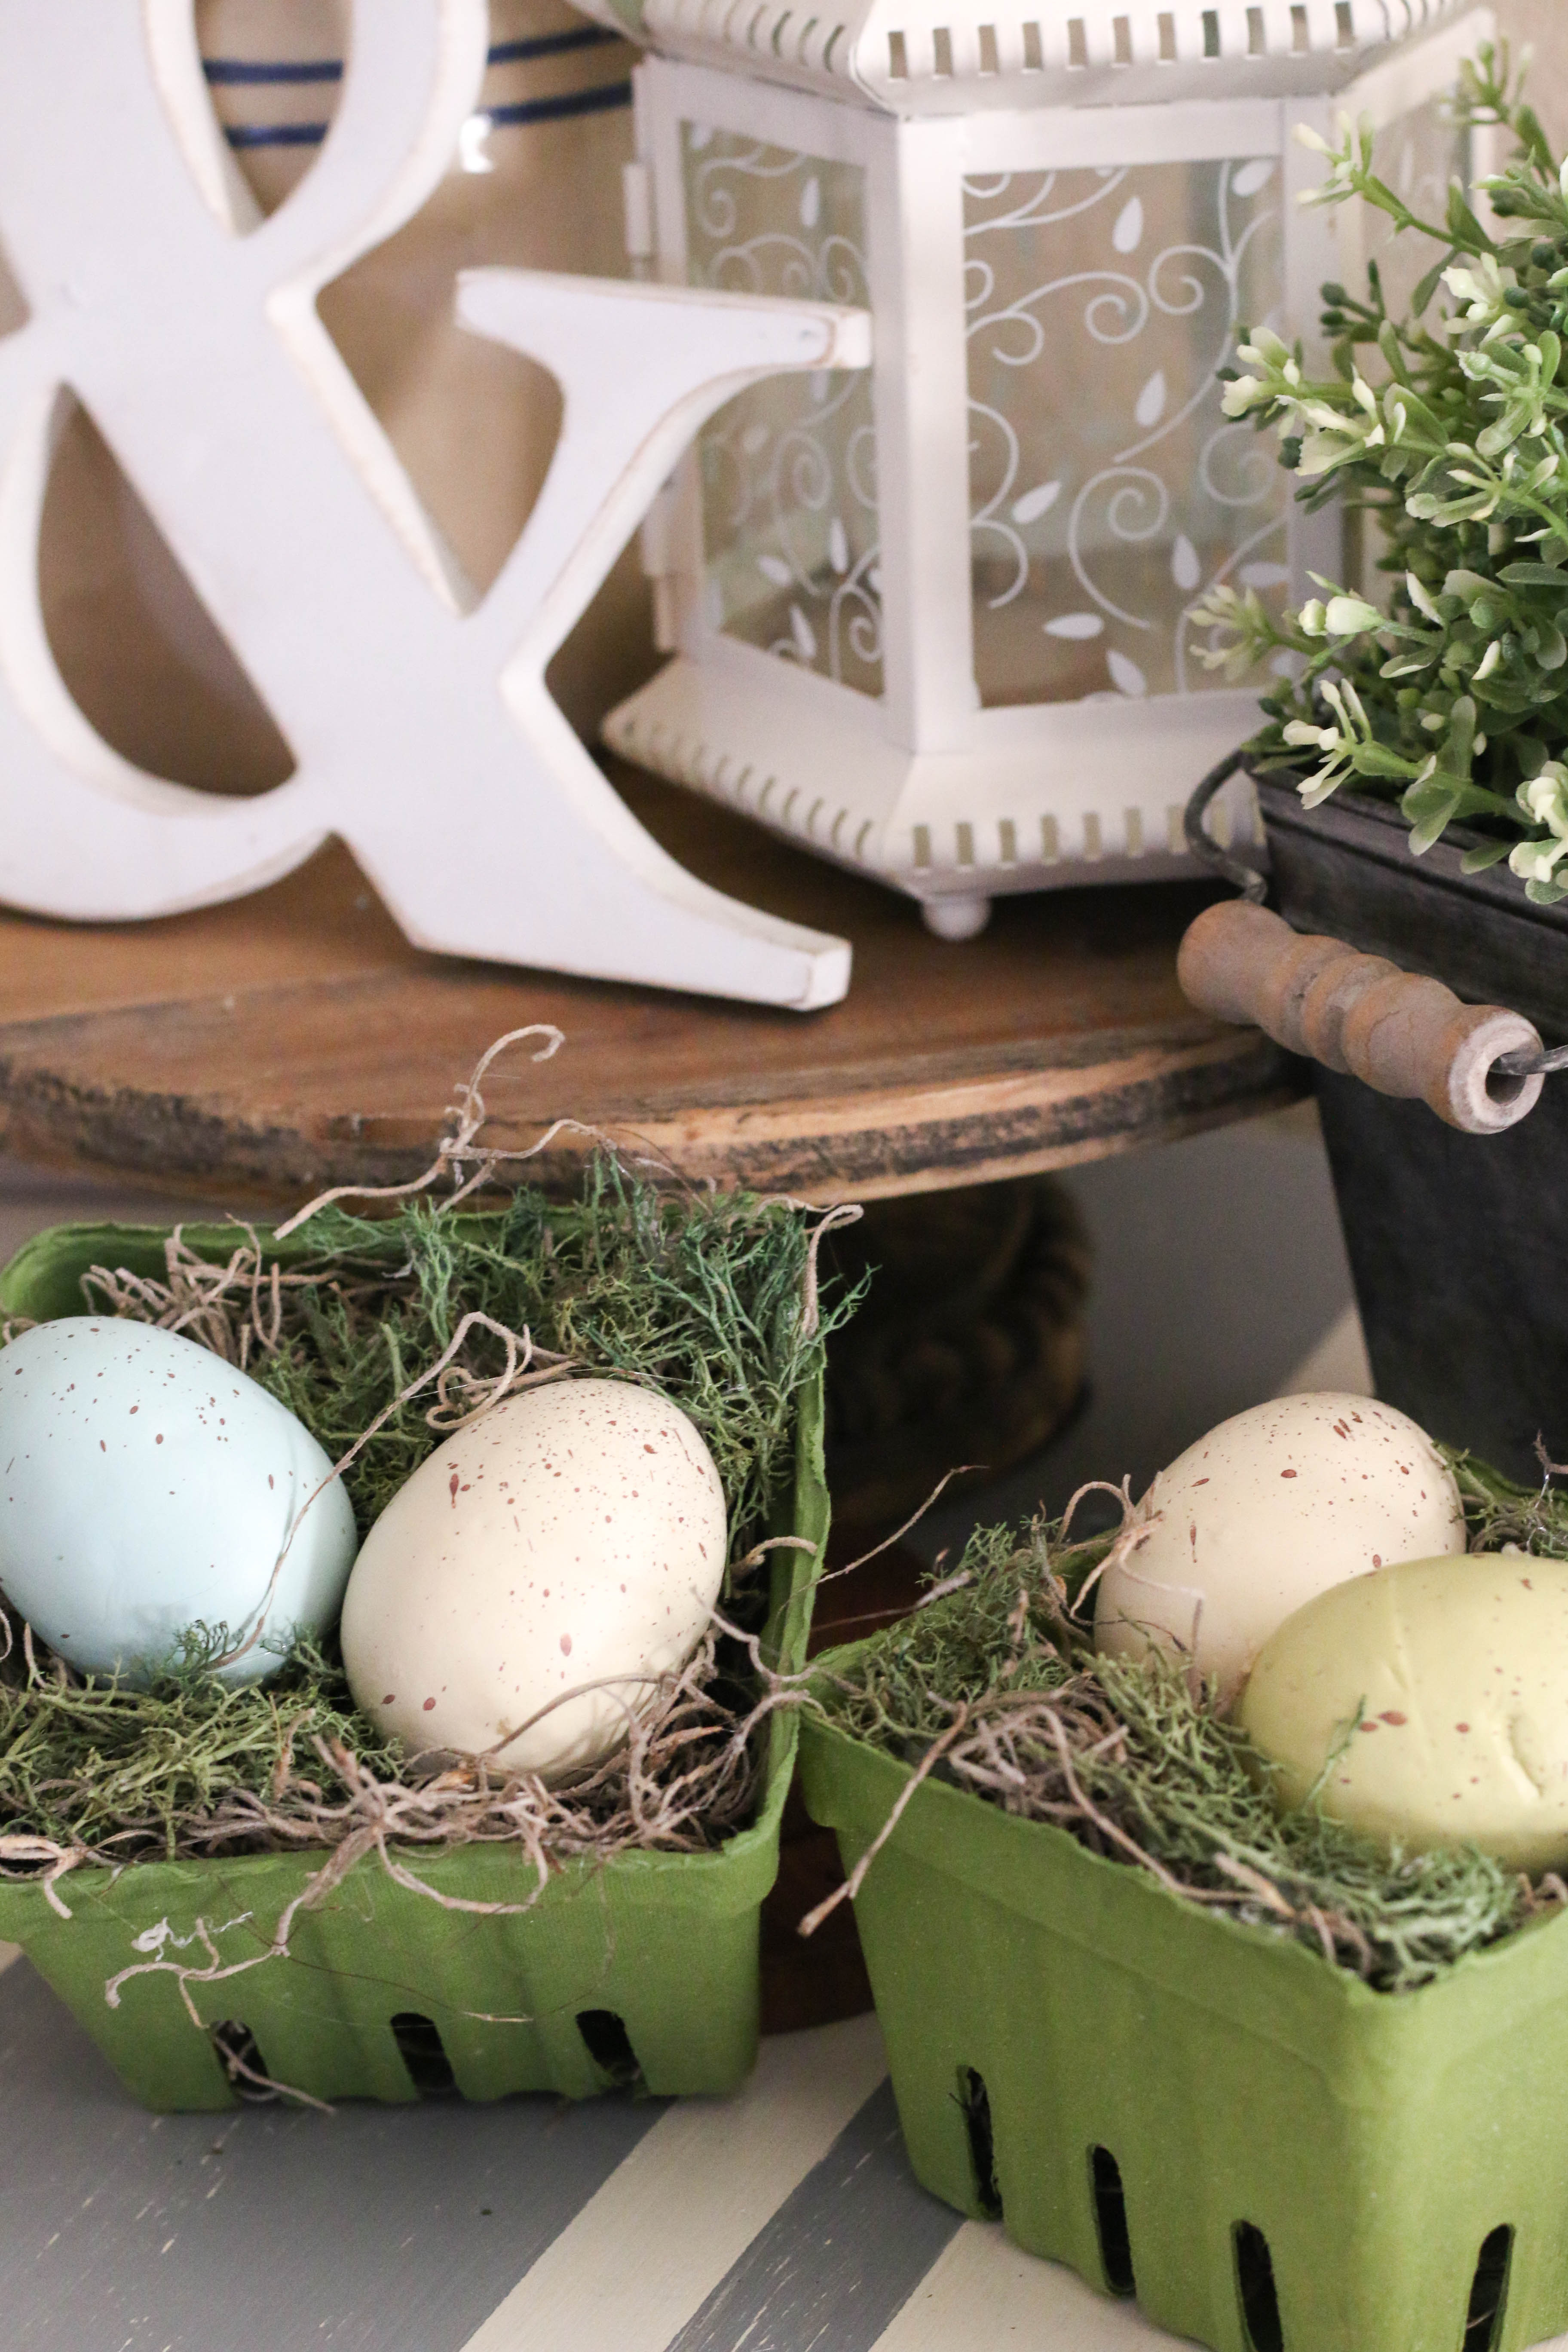
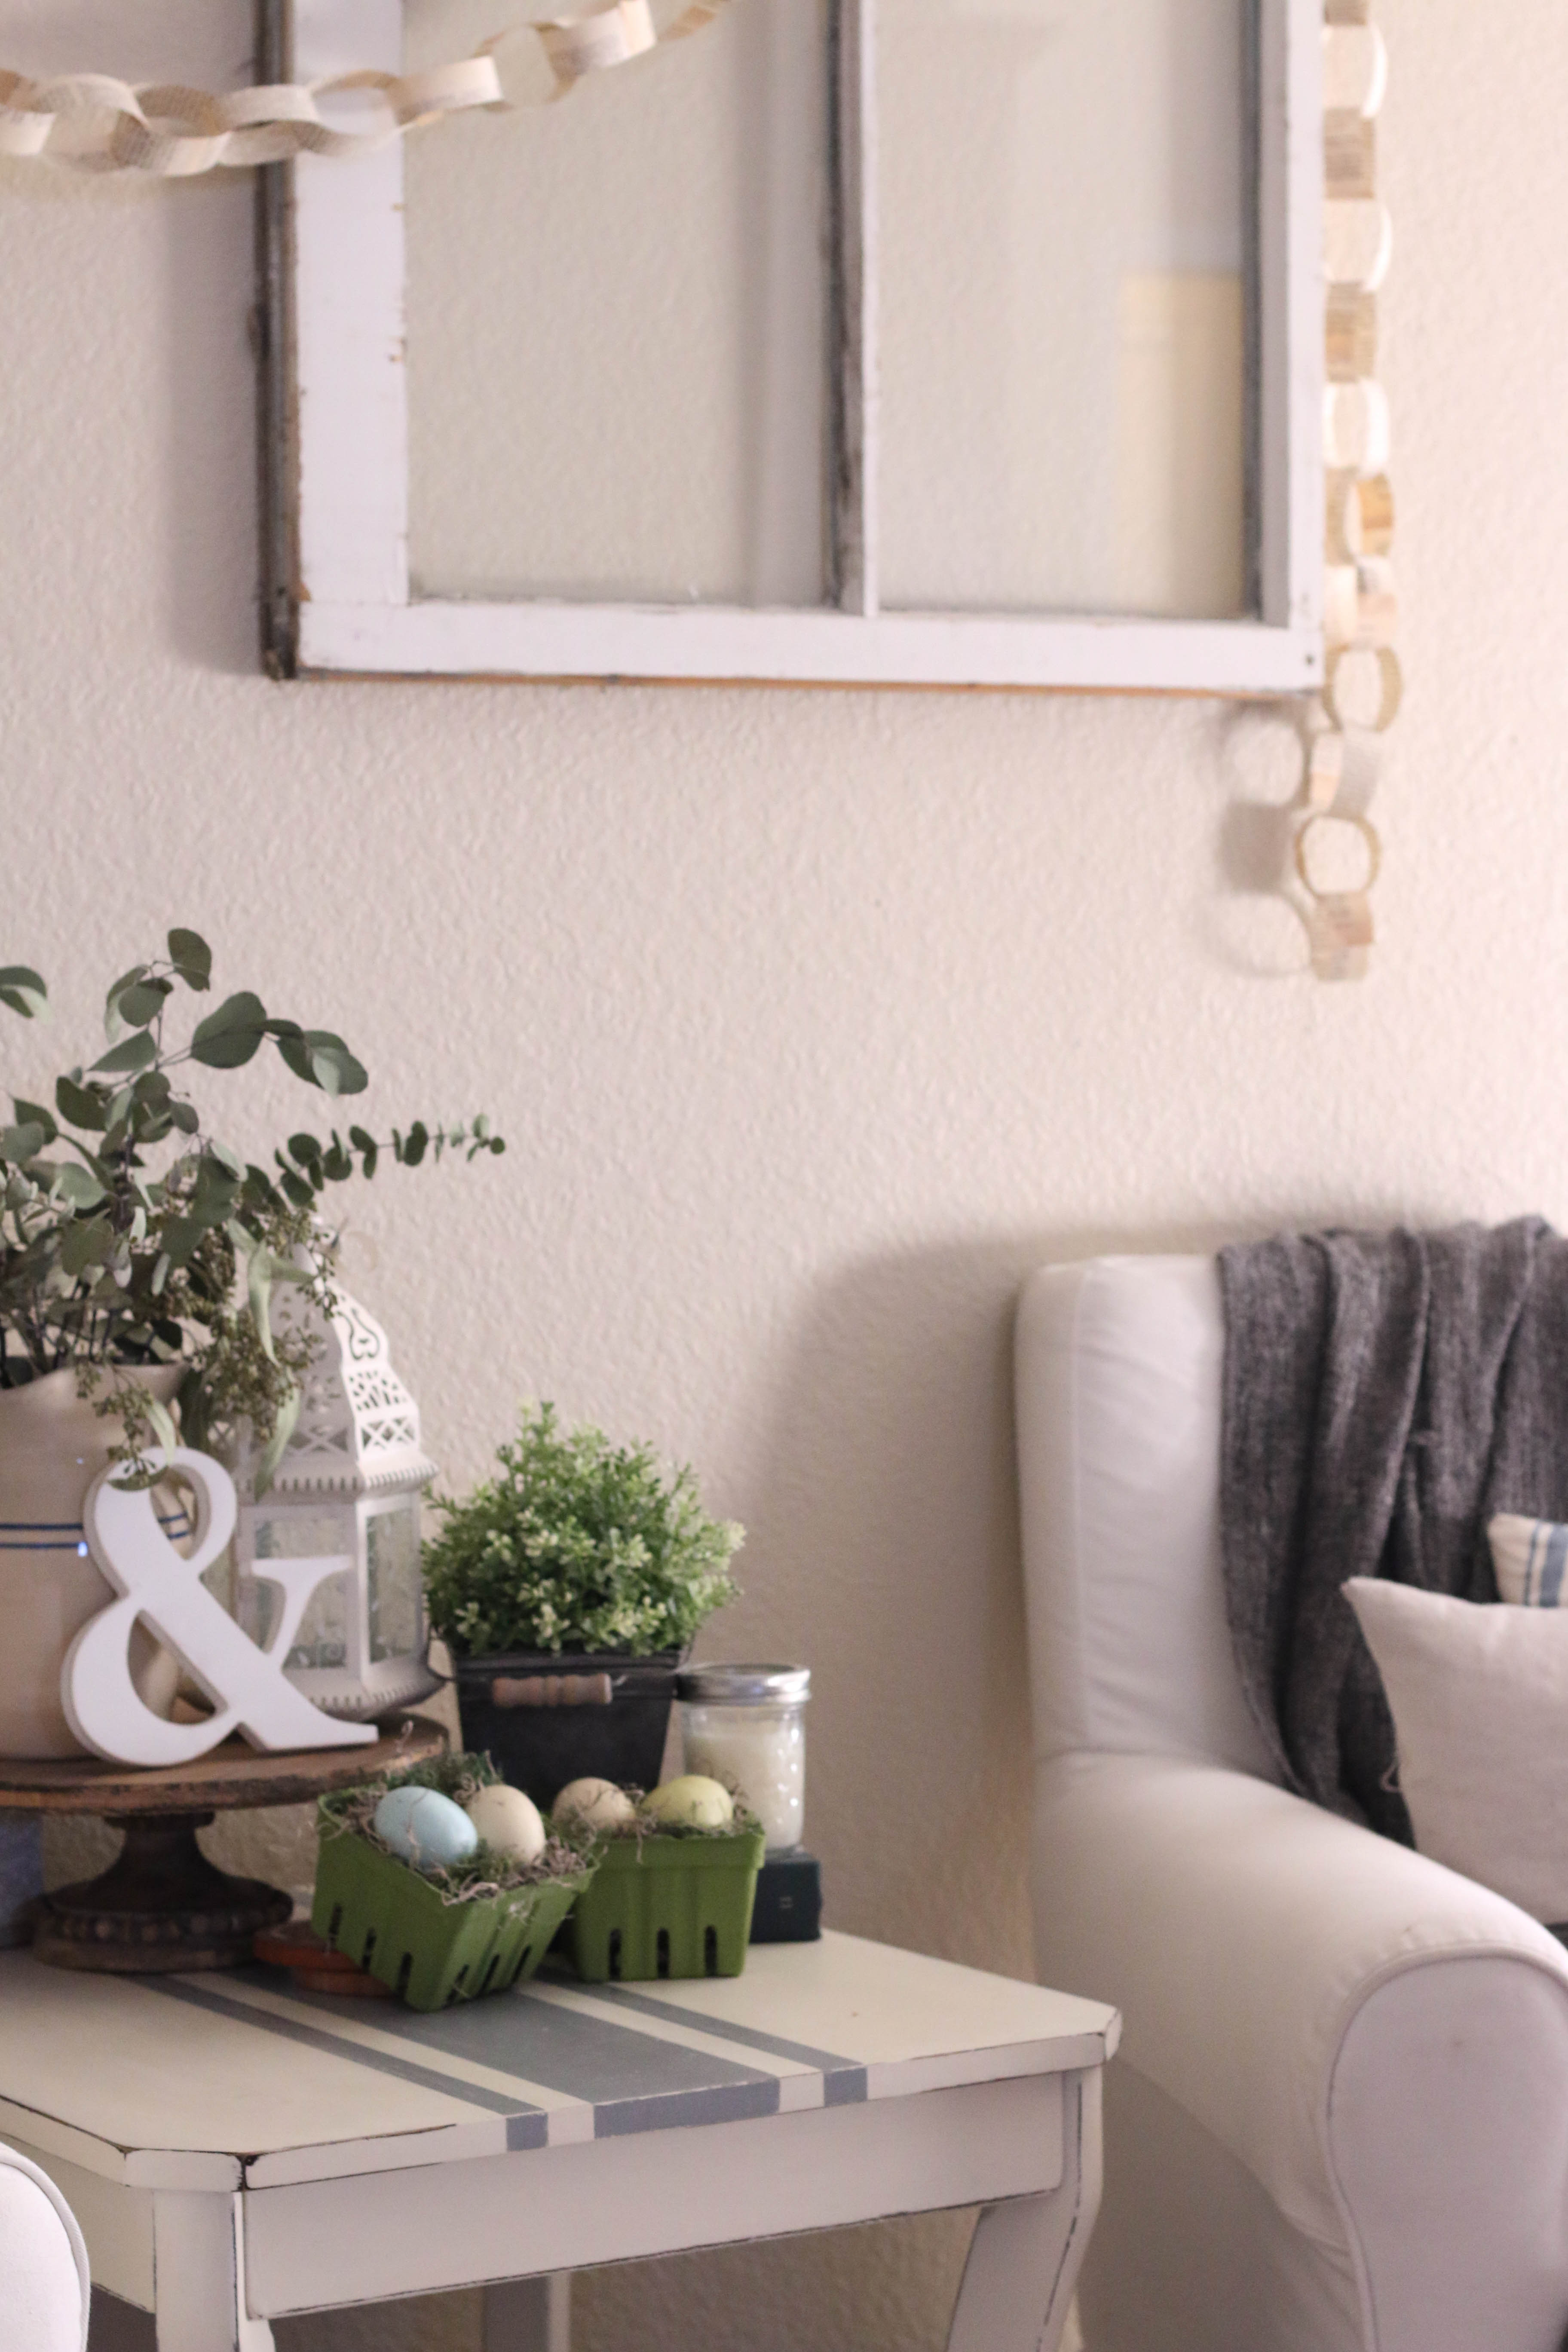
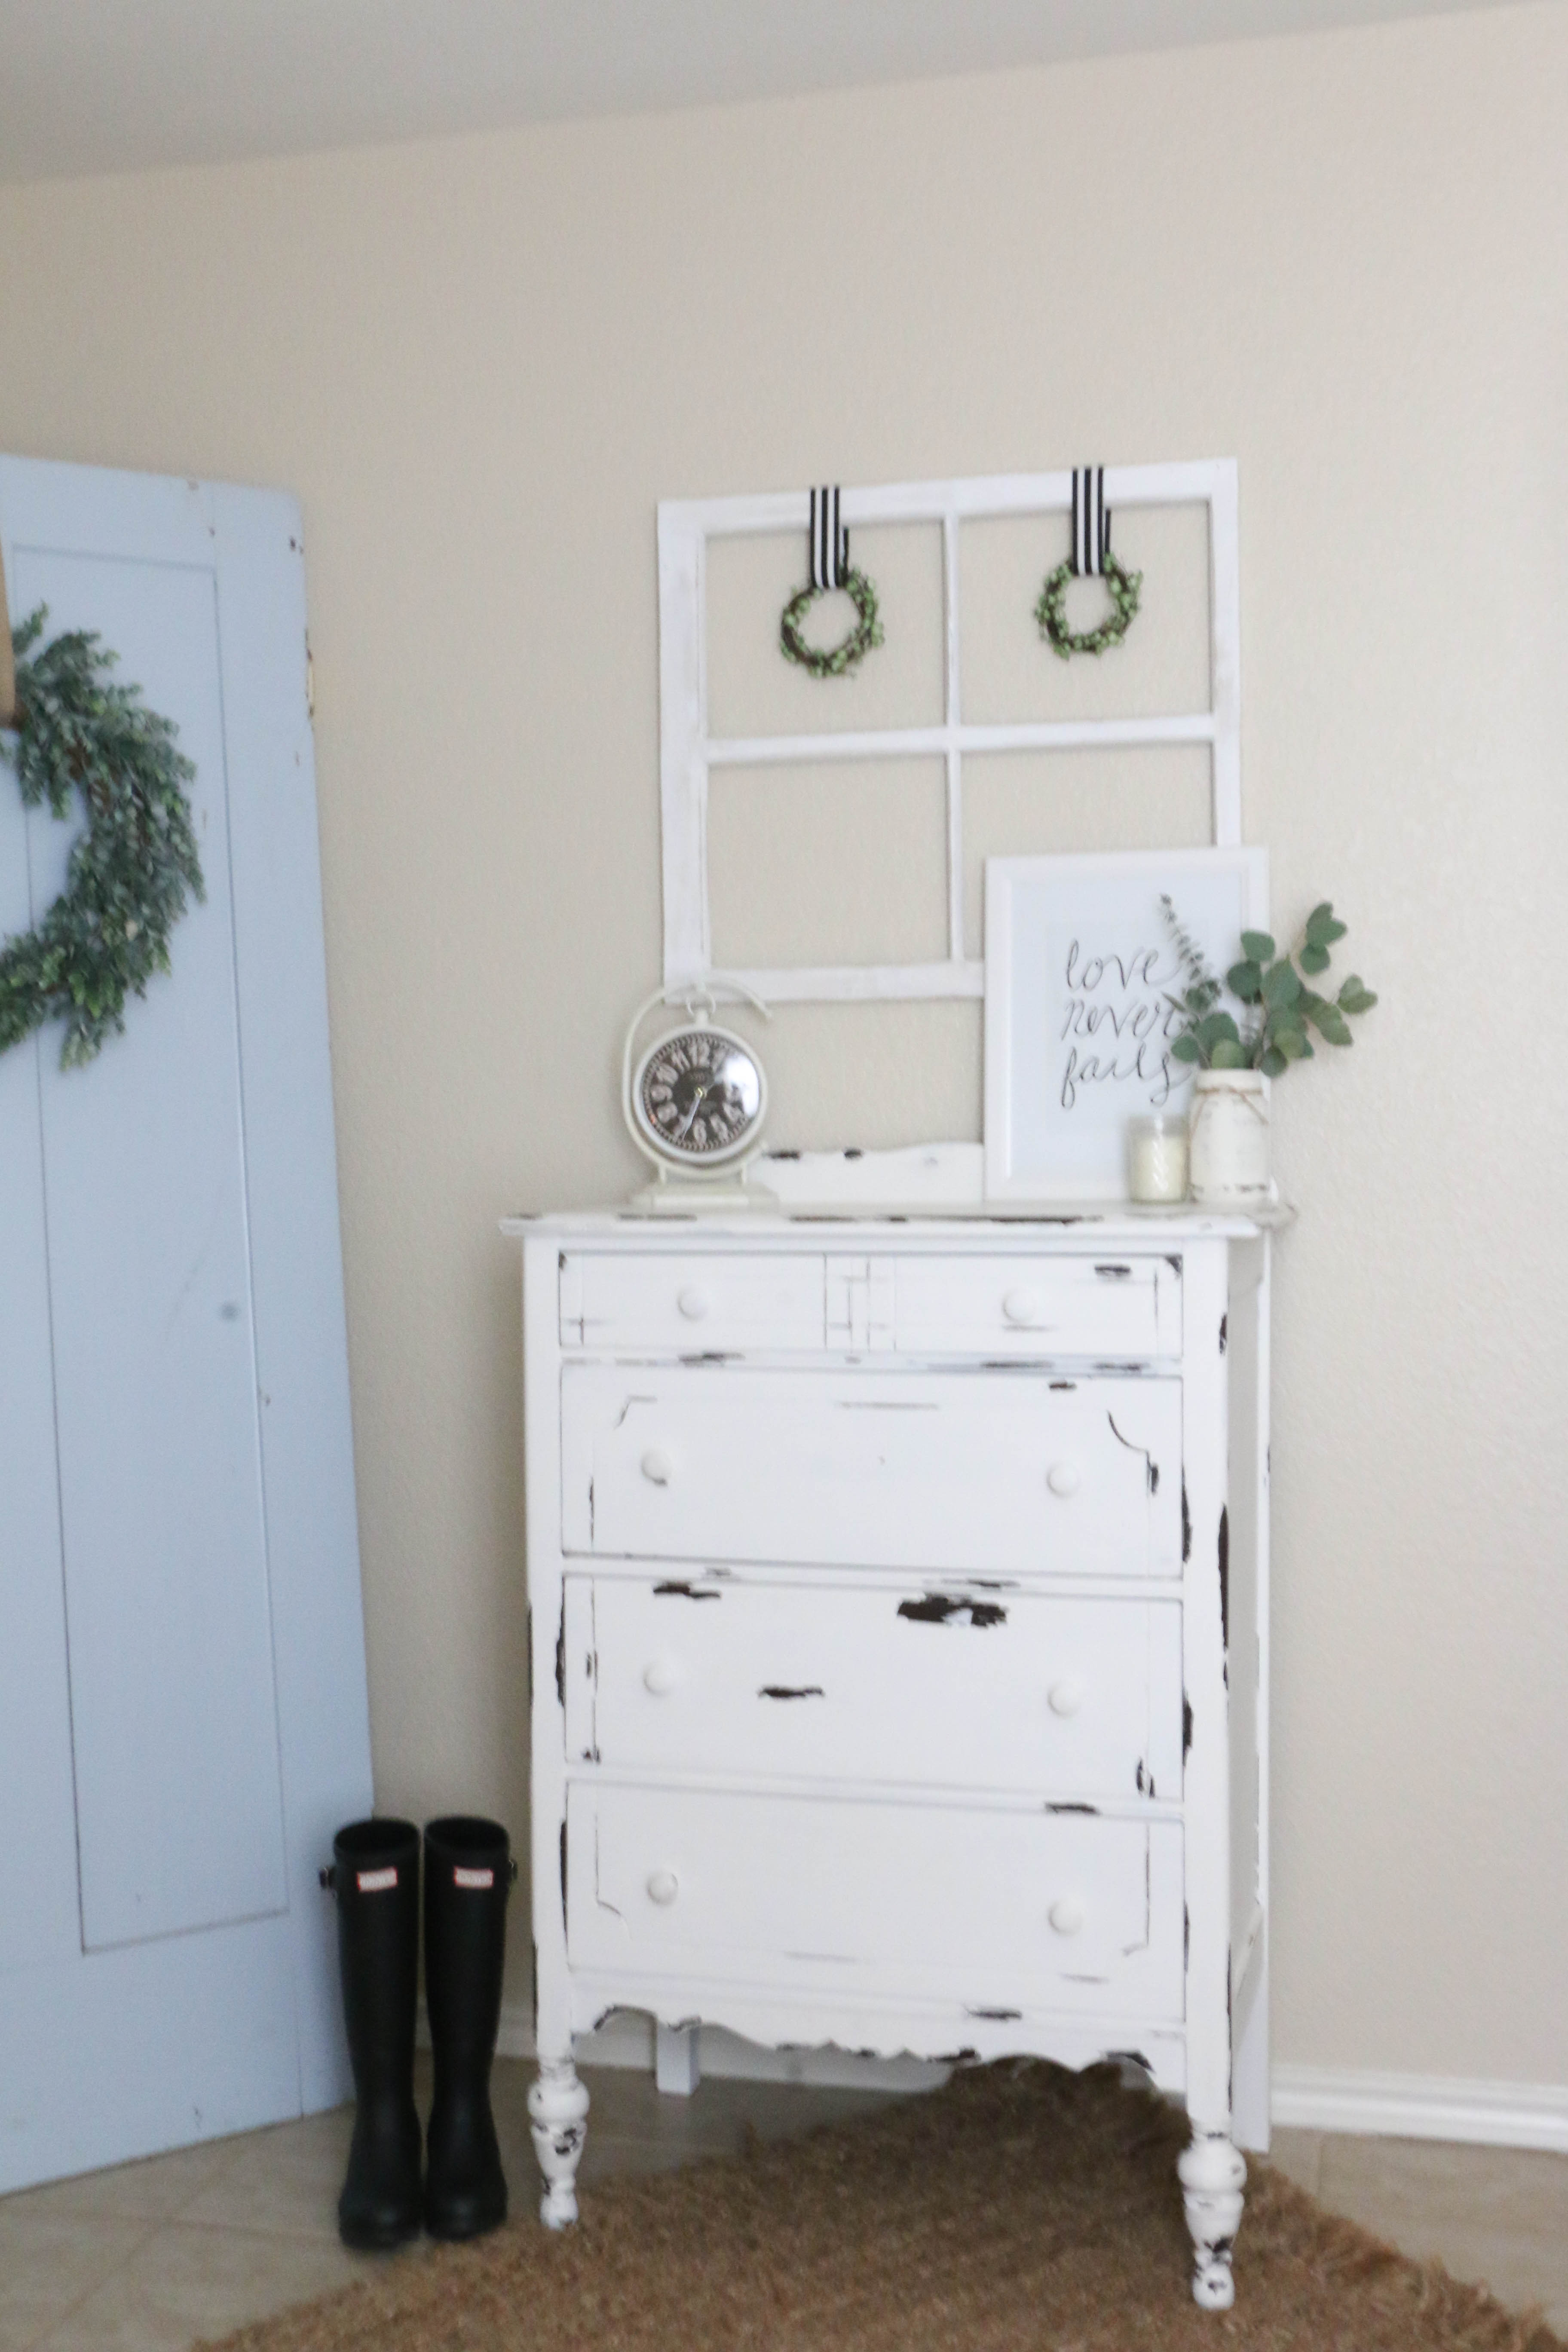
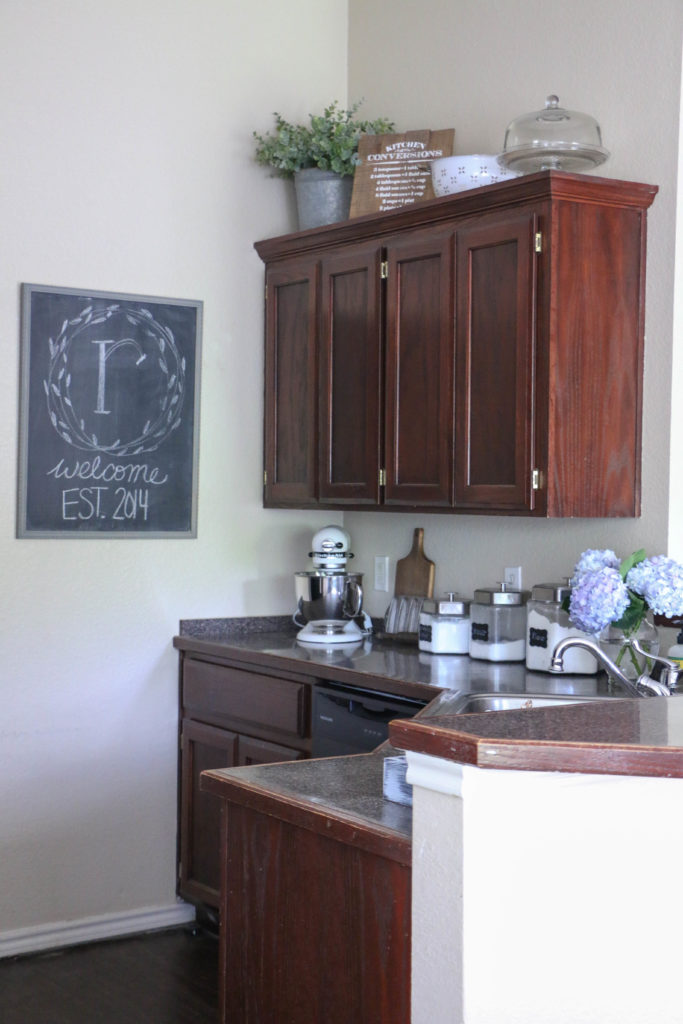
For me, the kitchen never really seemed like a place to decorate due to its functionality. The kitchen is a very utilitarian room, but that doesn’t mean it shouldn’t get some love! When I added décor into my kitchen, it covered up some of the ugly, and made it a bit more bearable. I decorate above my upper cabinets, on the wall, and even a little on the countertops.

Clear the counters!

This may seem counter intuitive to my last statement, but seriously. Toasters are not decoration. Knife blocks, while perfectly functional, are not pretty. Now, to each his own, I totally understand. But in my experience, putting the daily appliances away makes the counter space more refreshing. I keep my toaster in a lower cabinet, and I use it every day. I honestly don’t mind taking it out every day. It keeps my counter from looking cluttered, and leaves room for pretties.

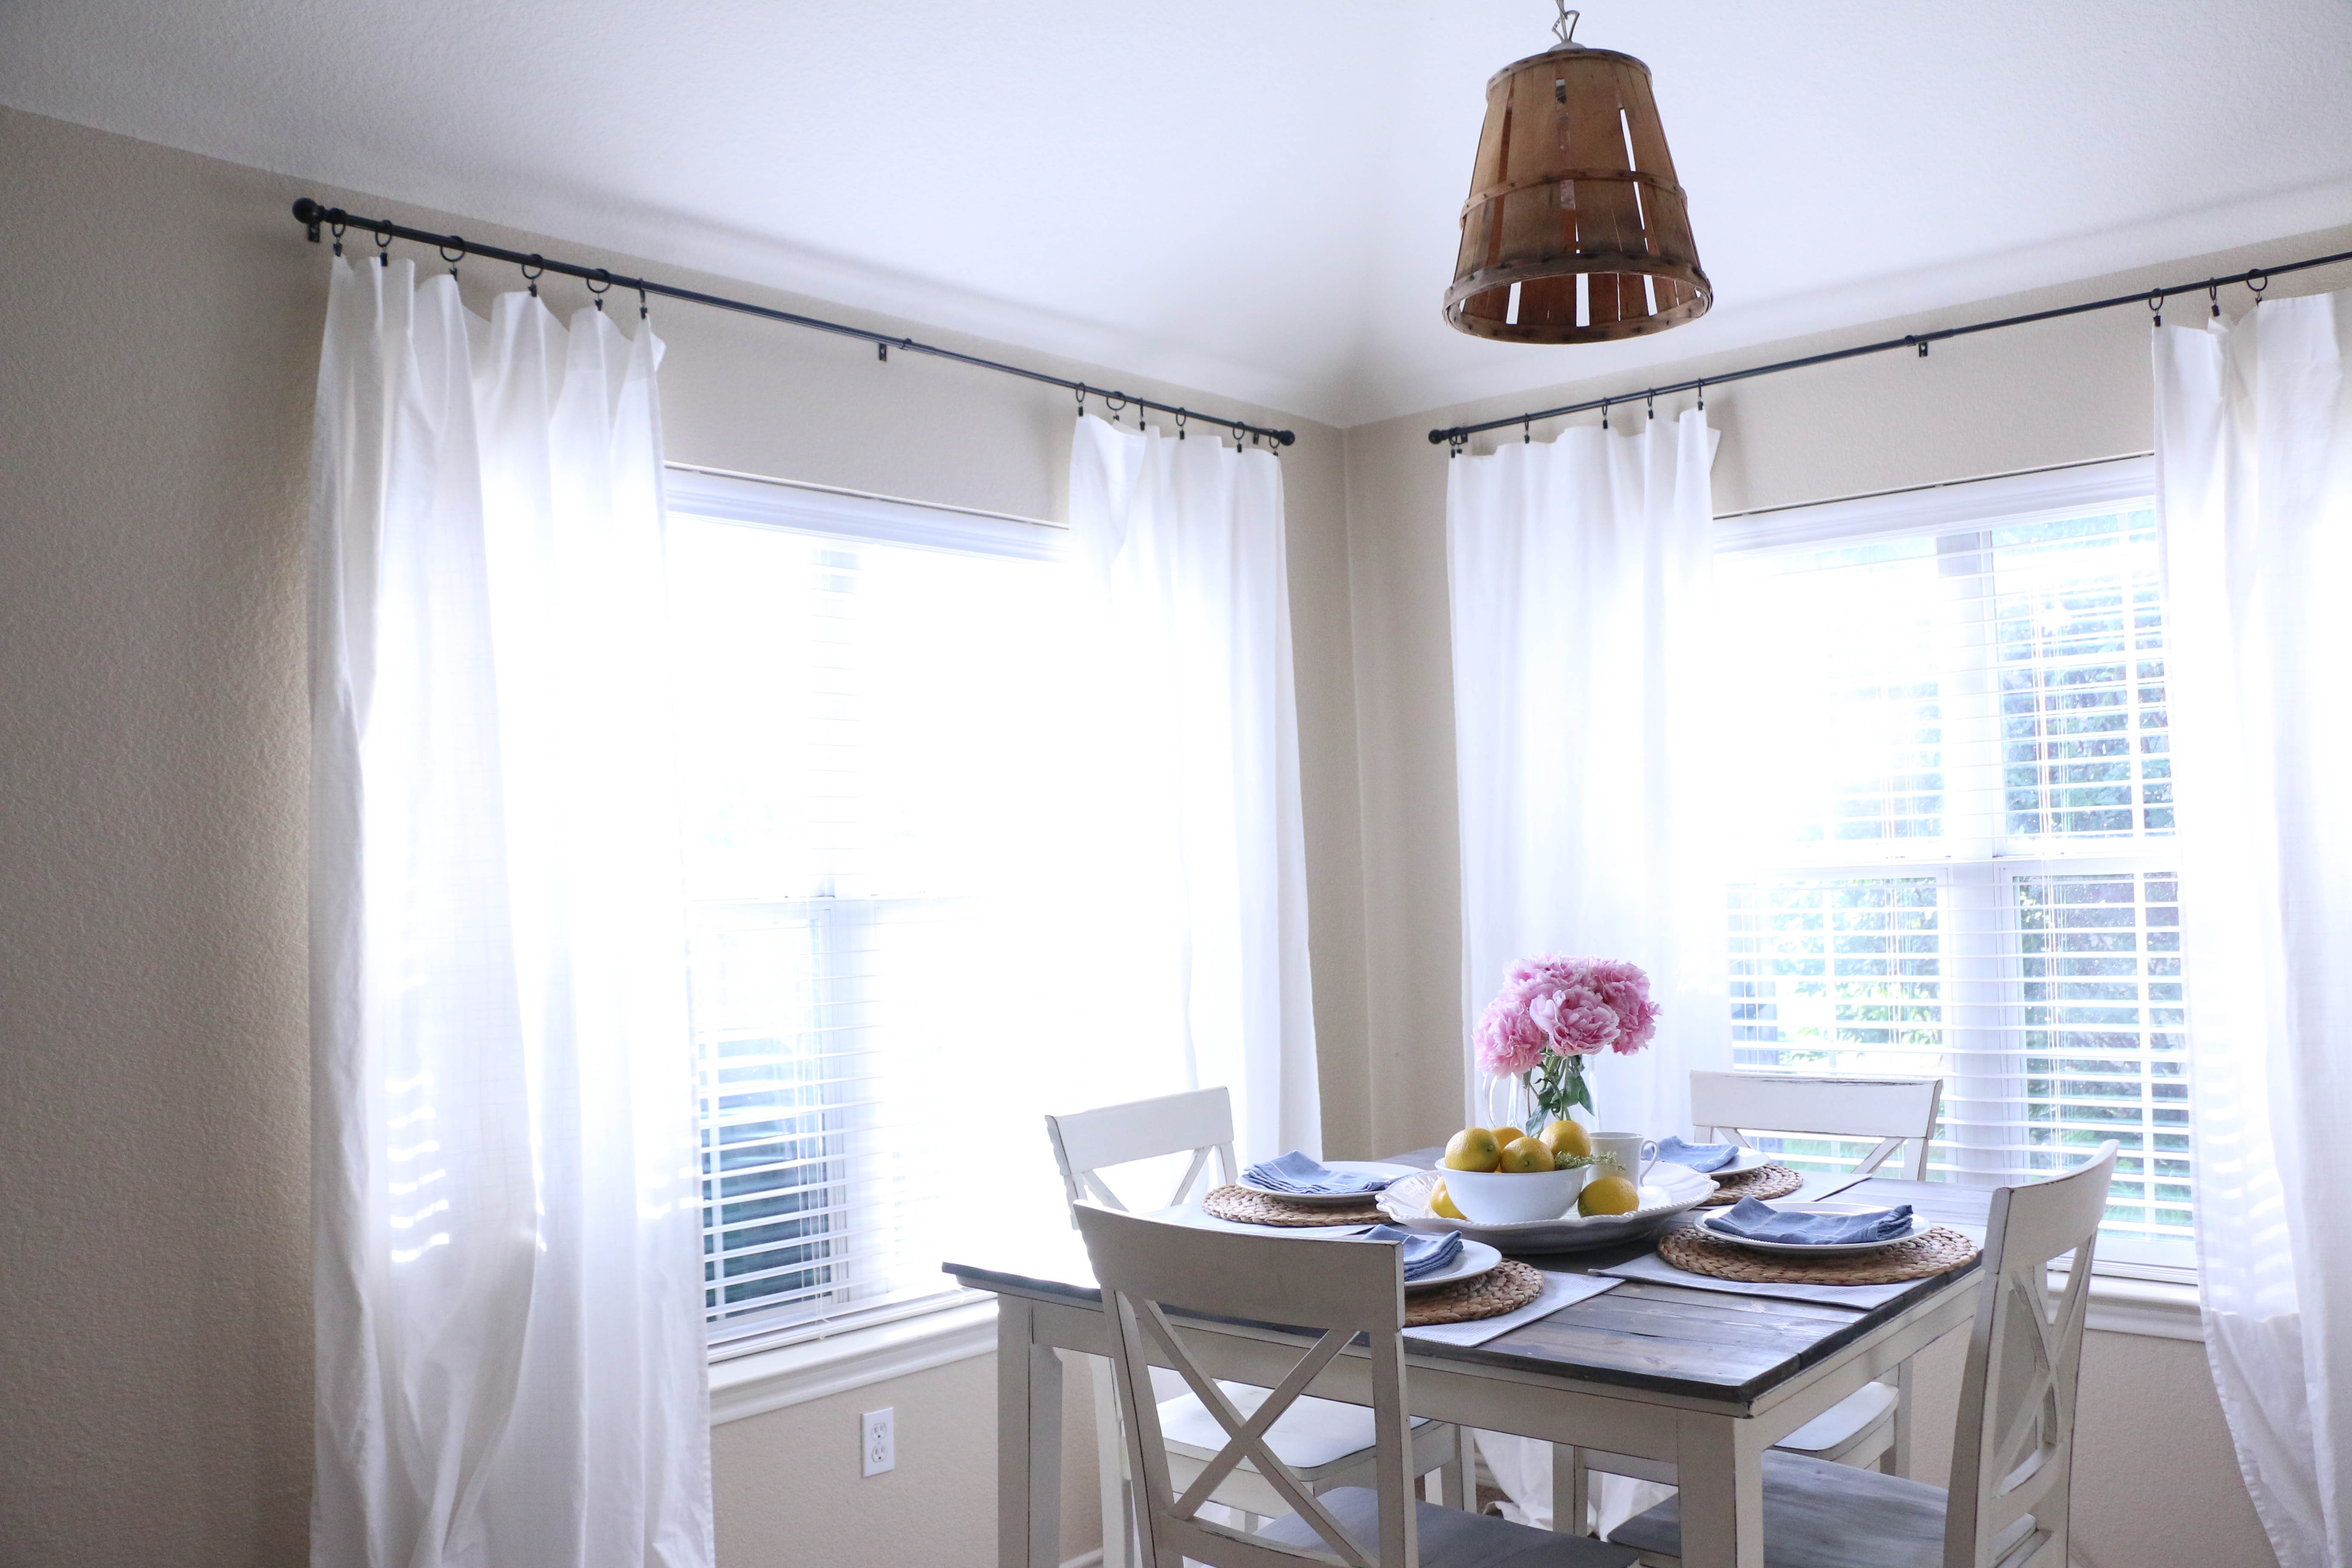
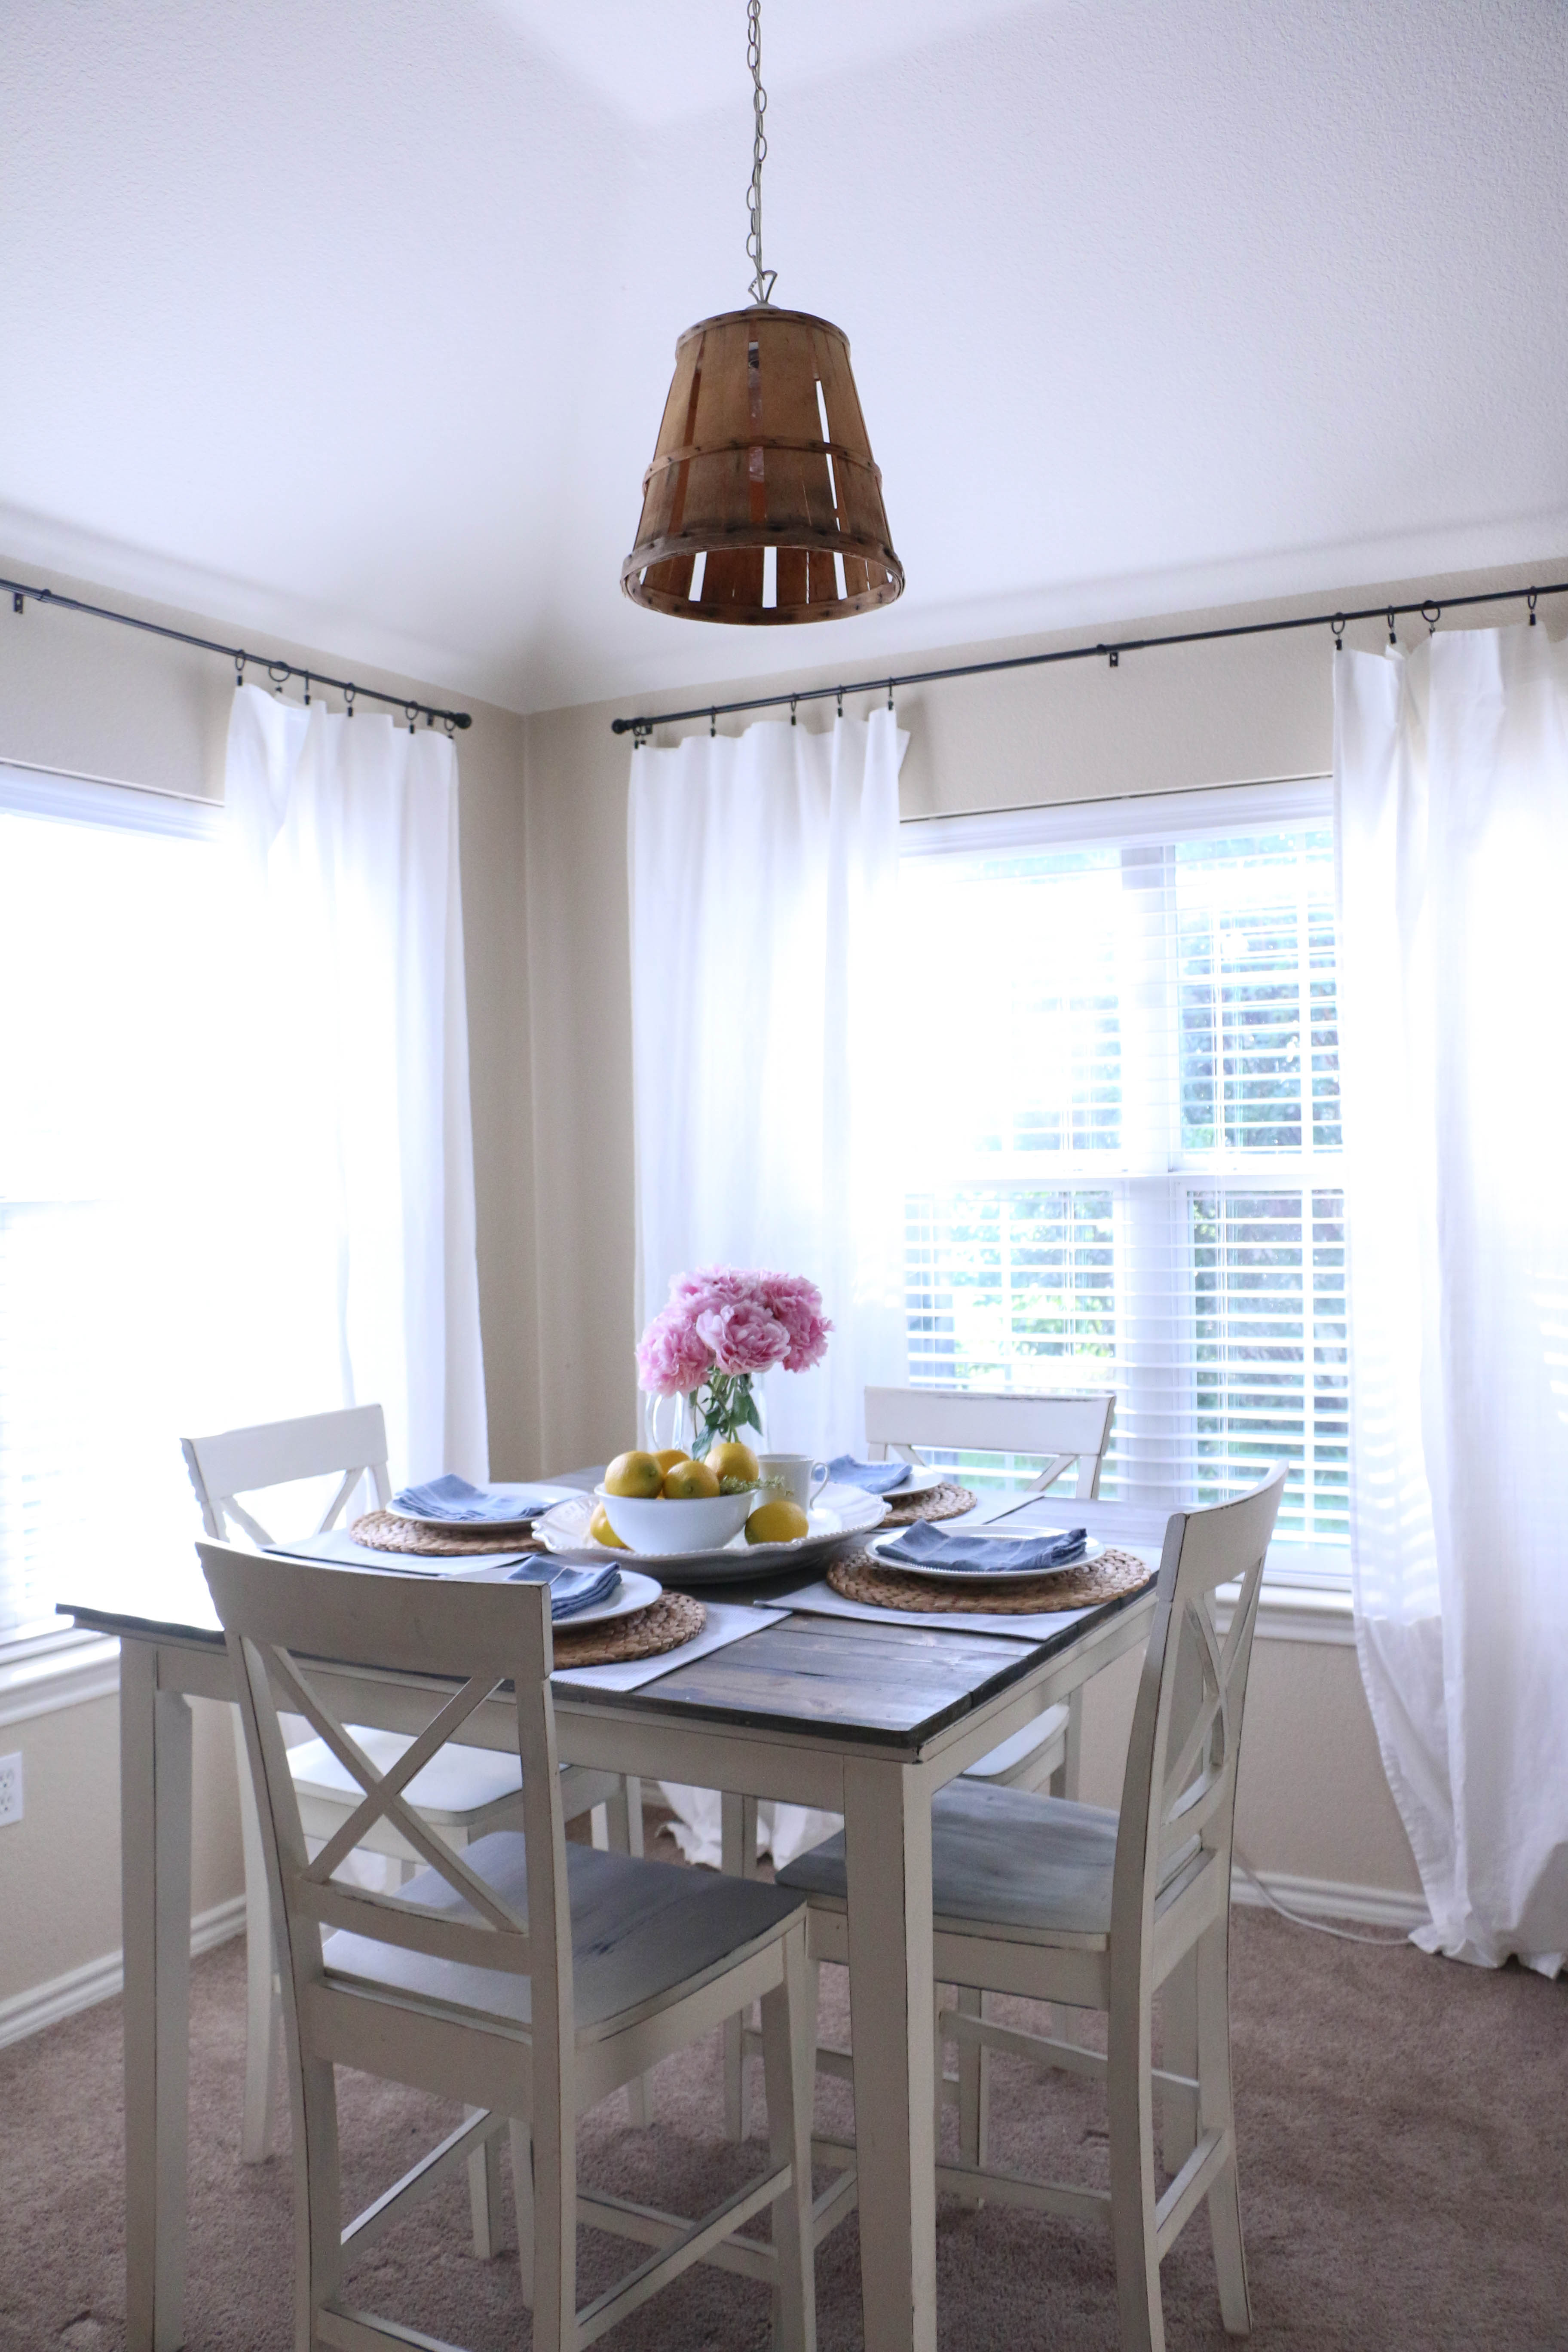
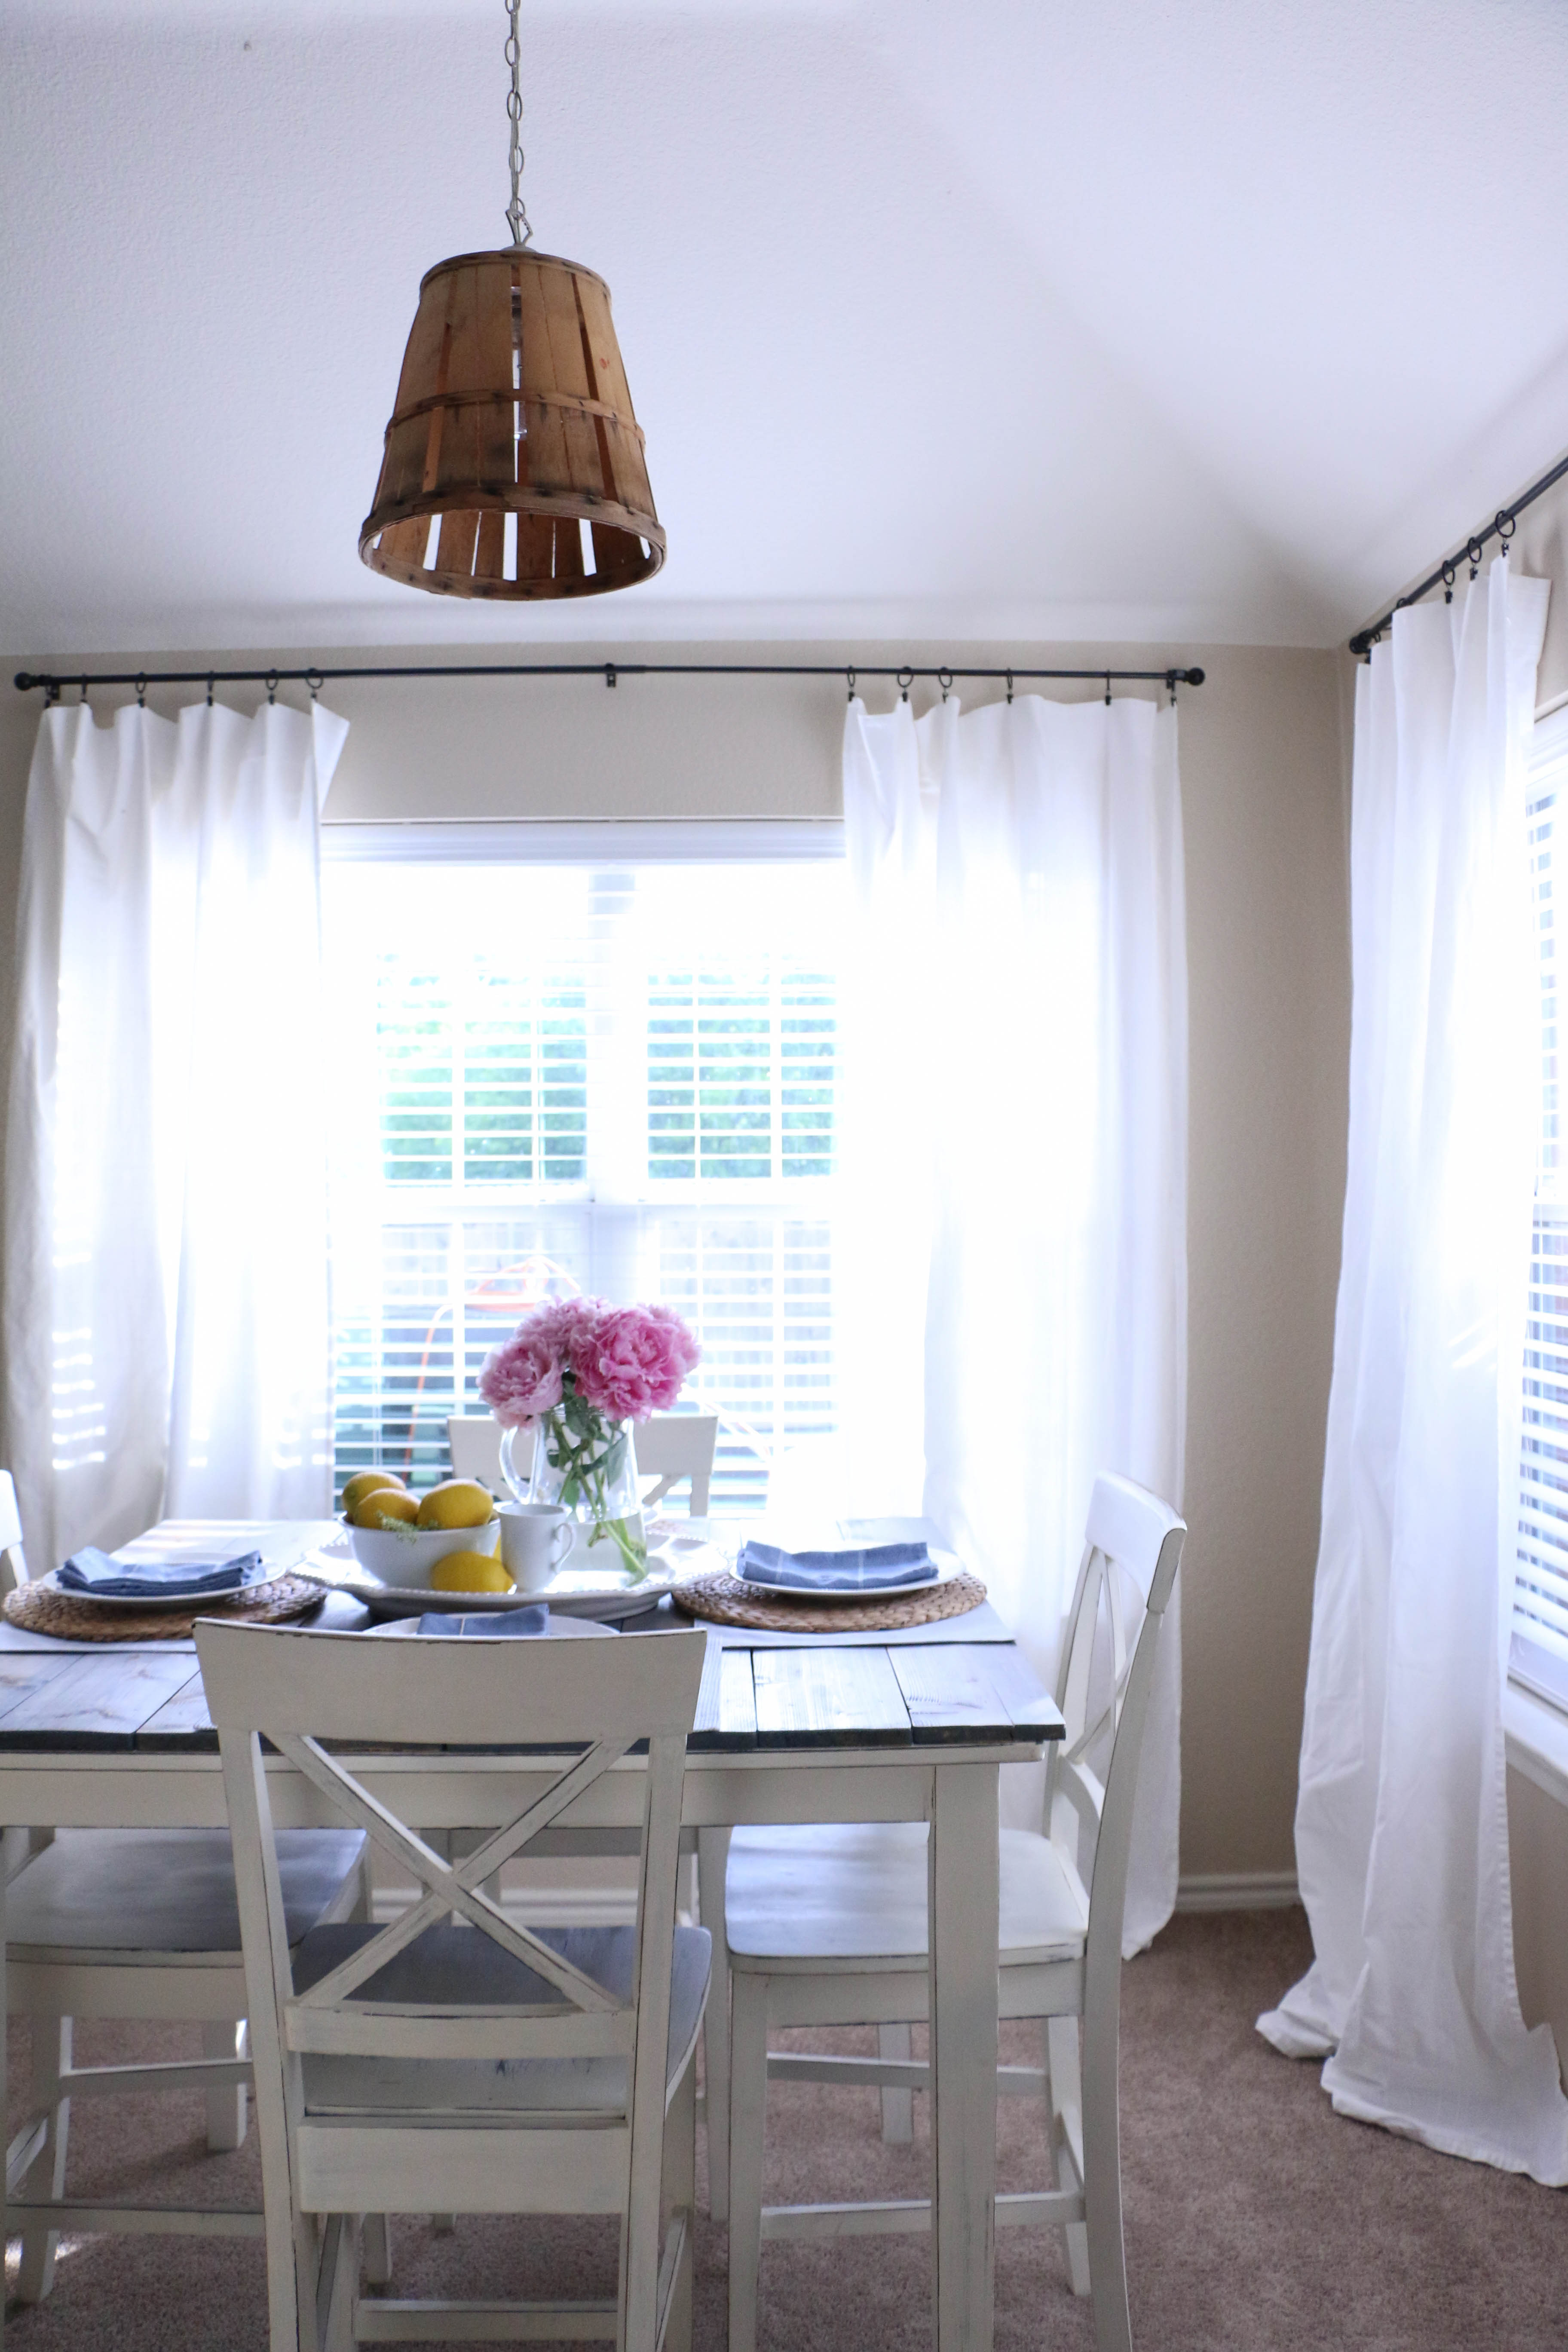
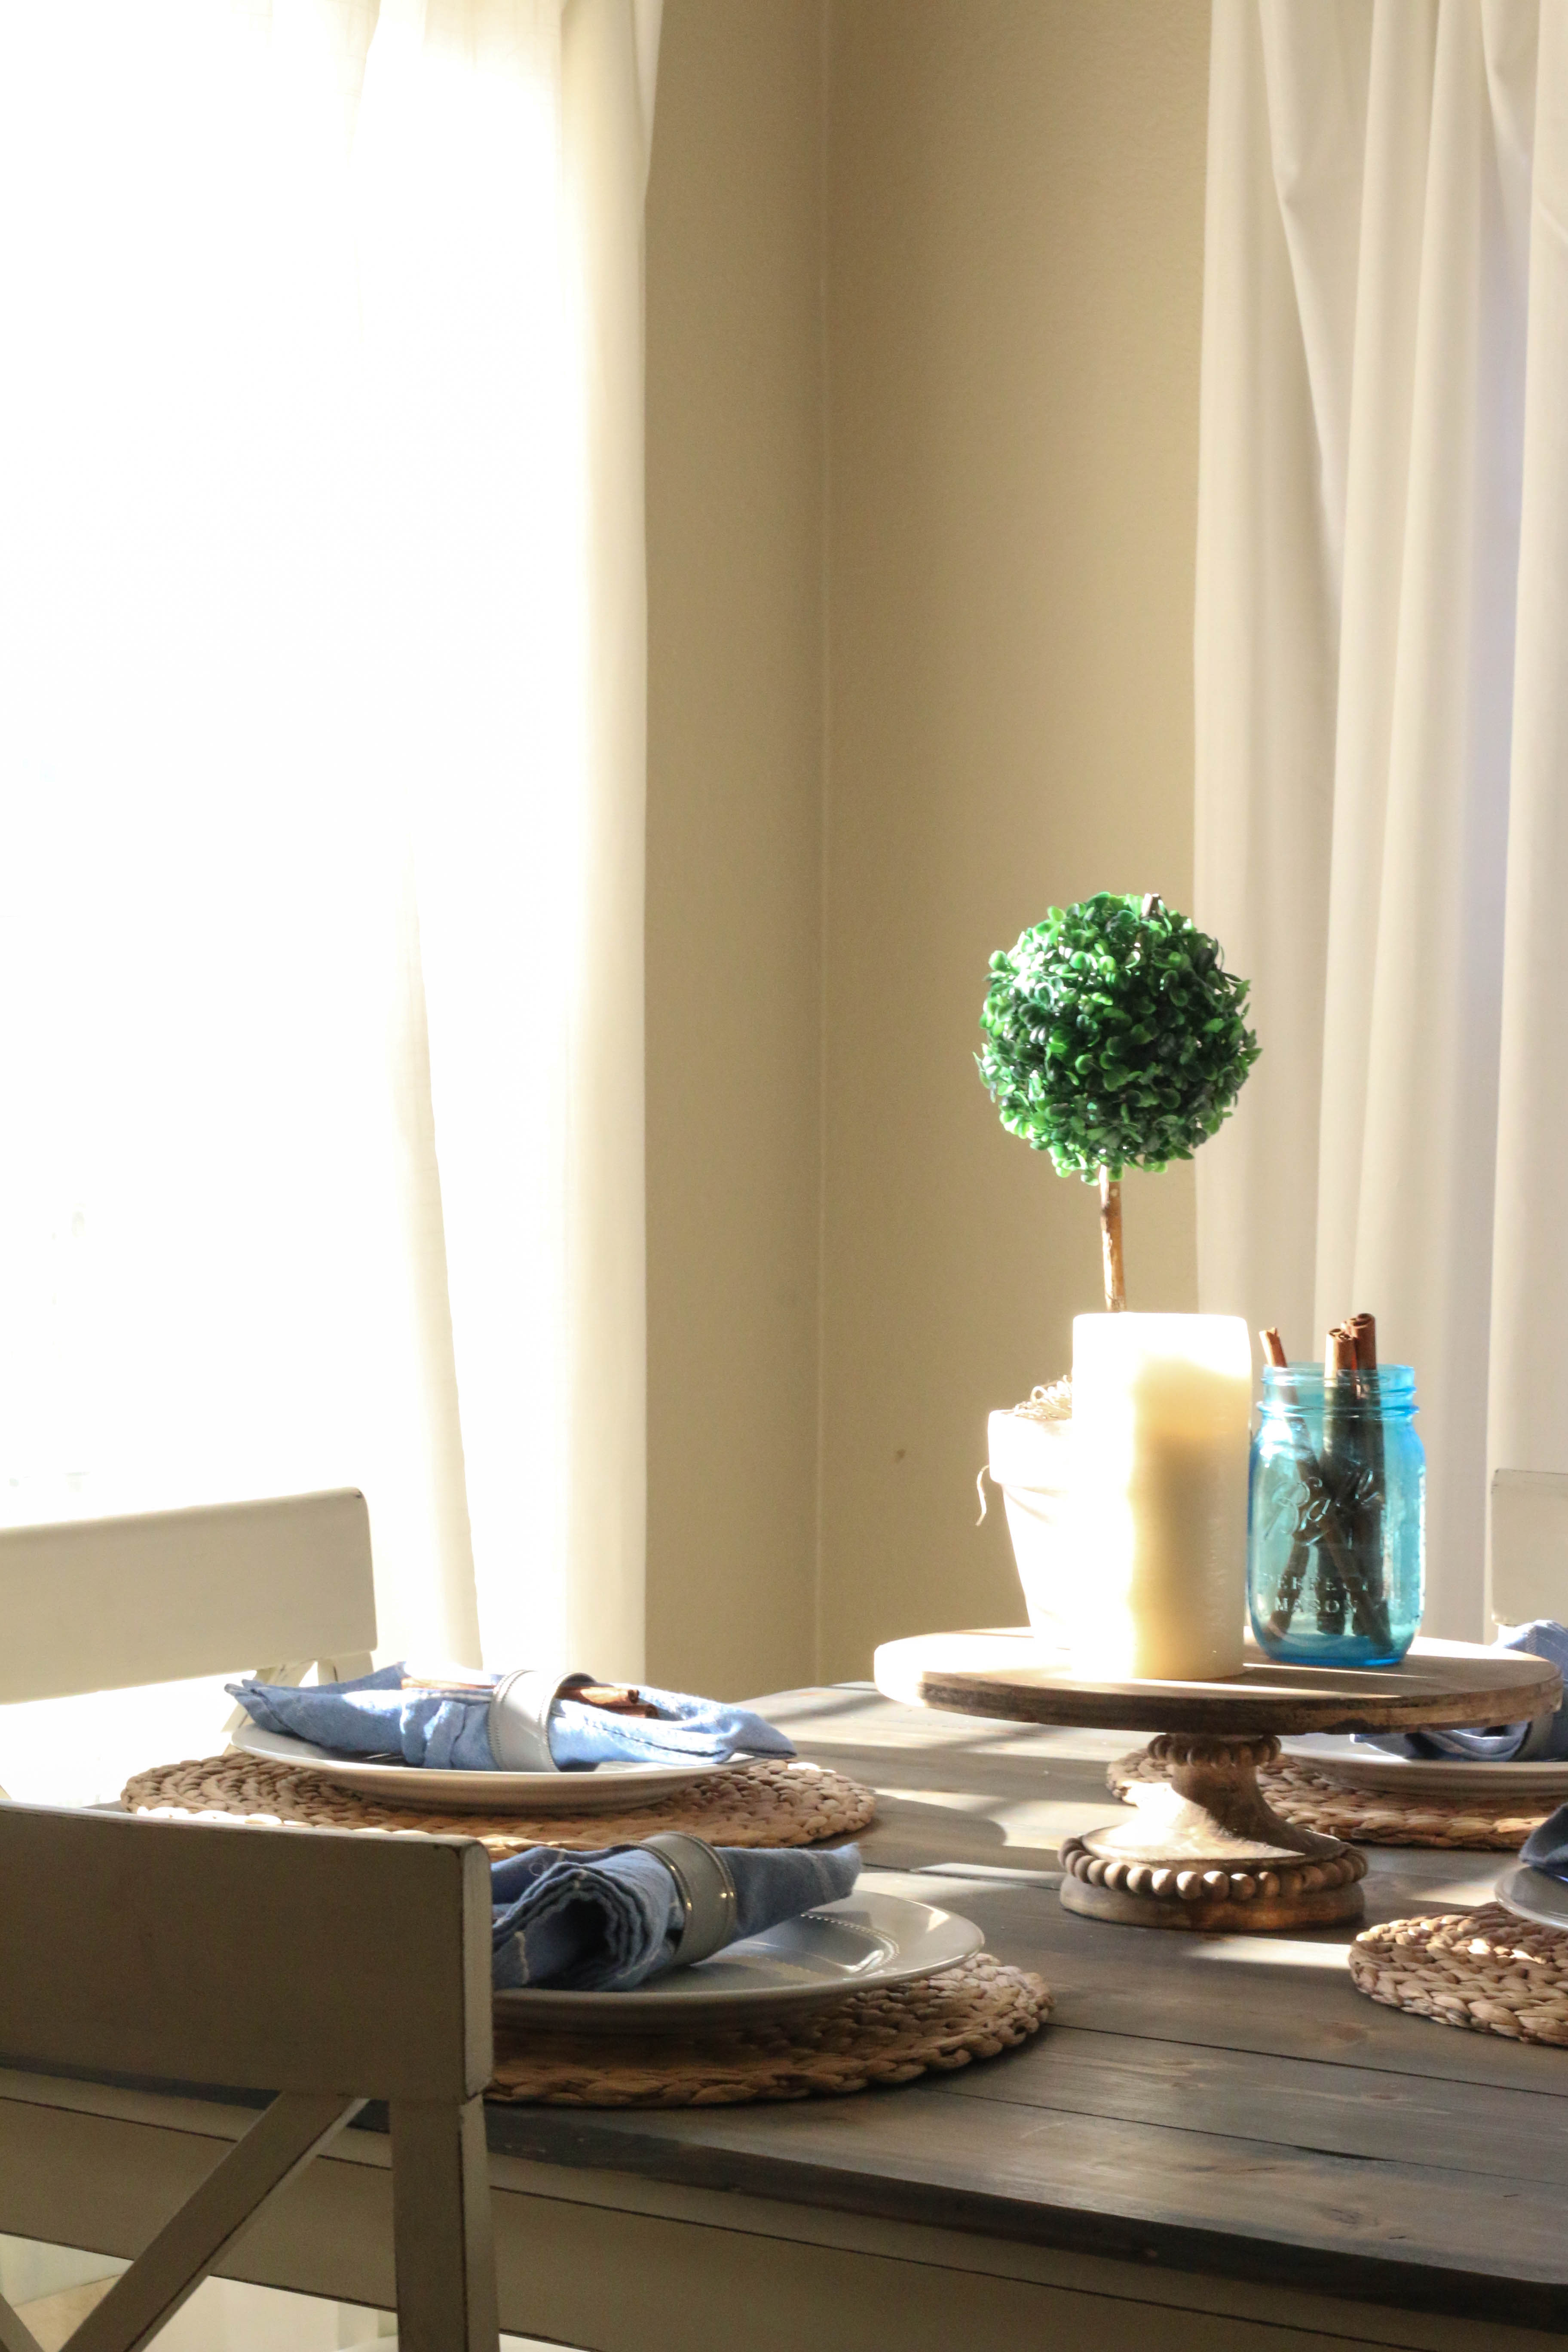
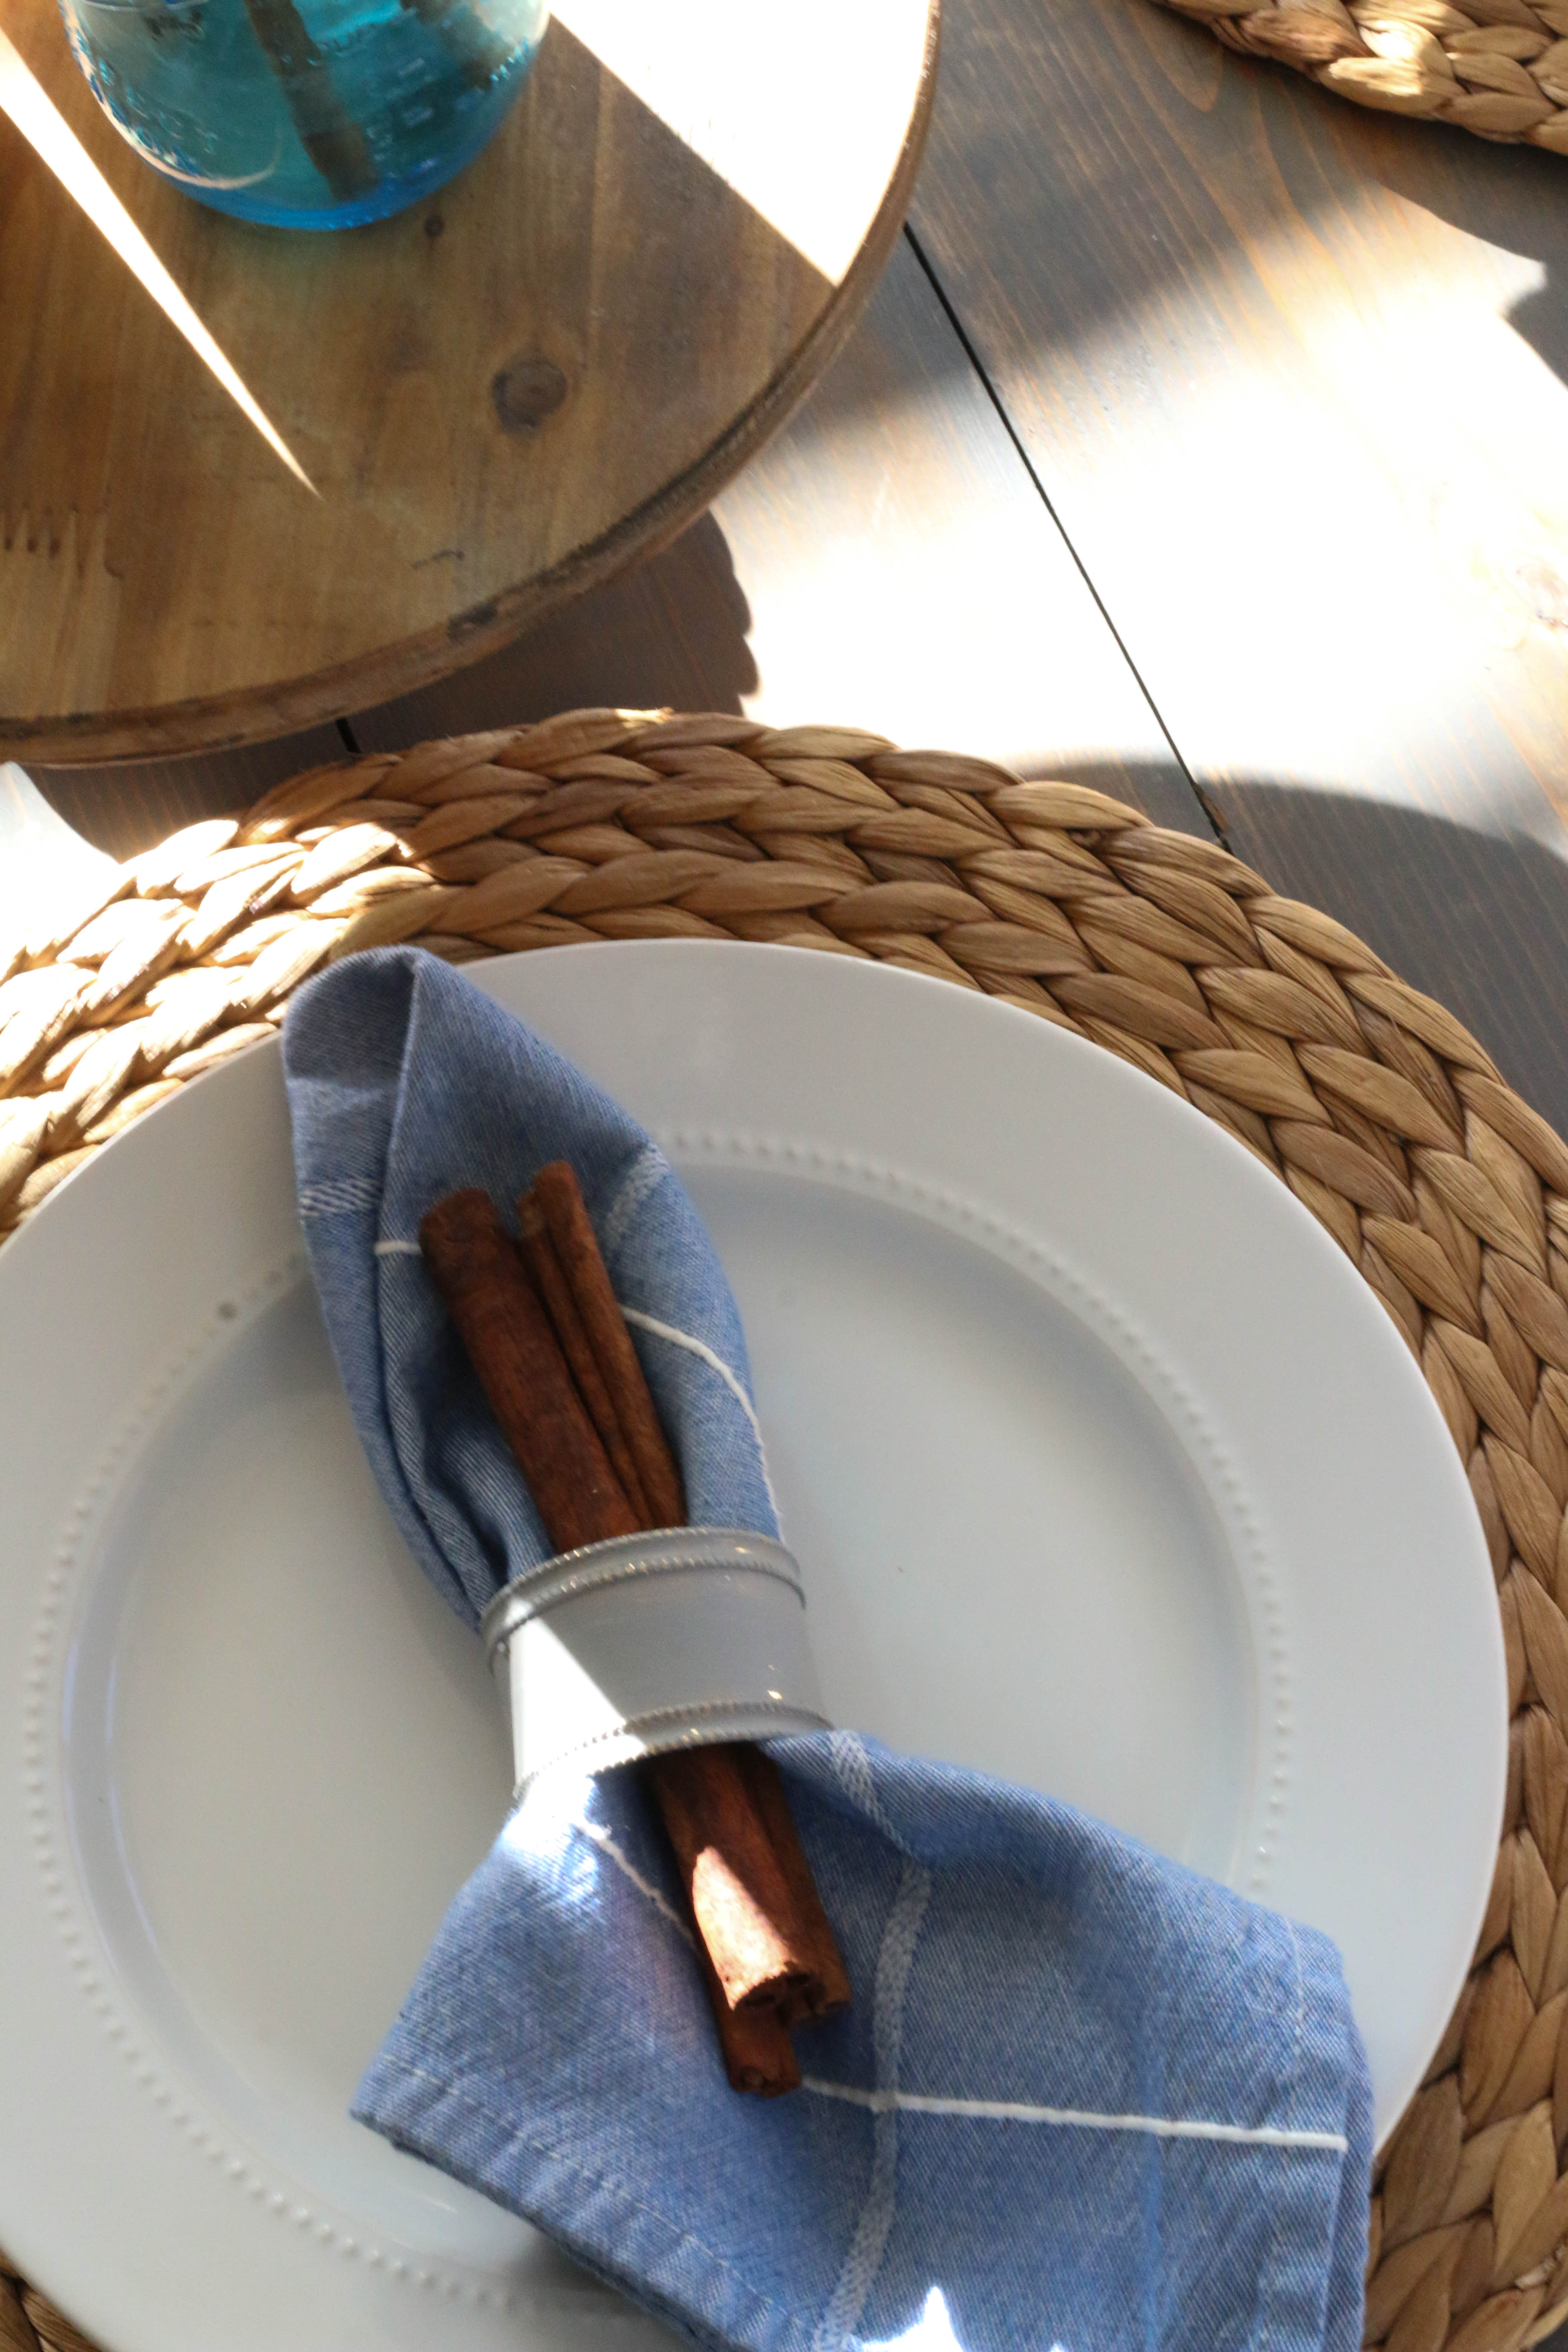
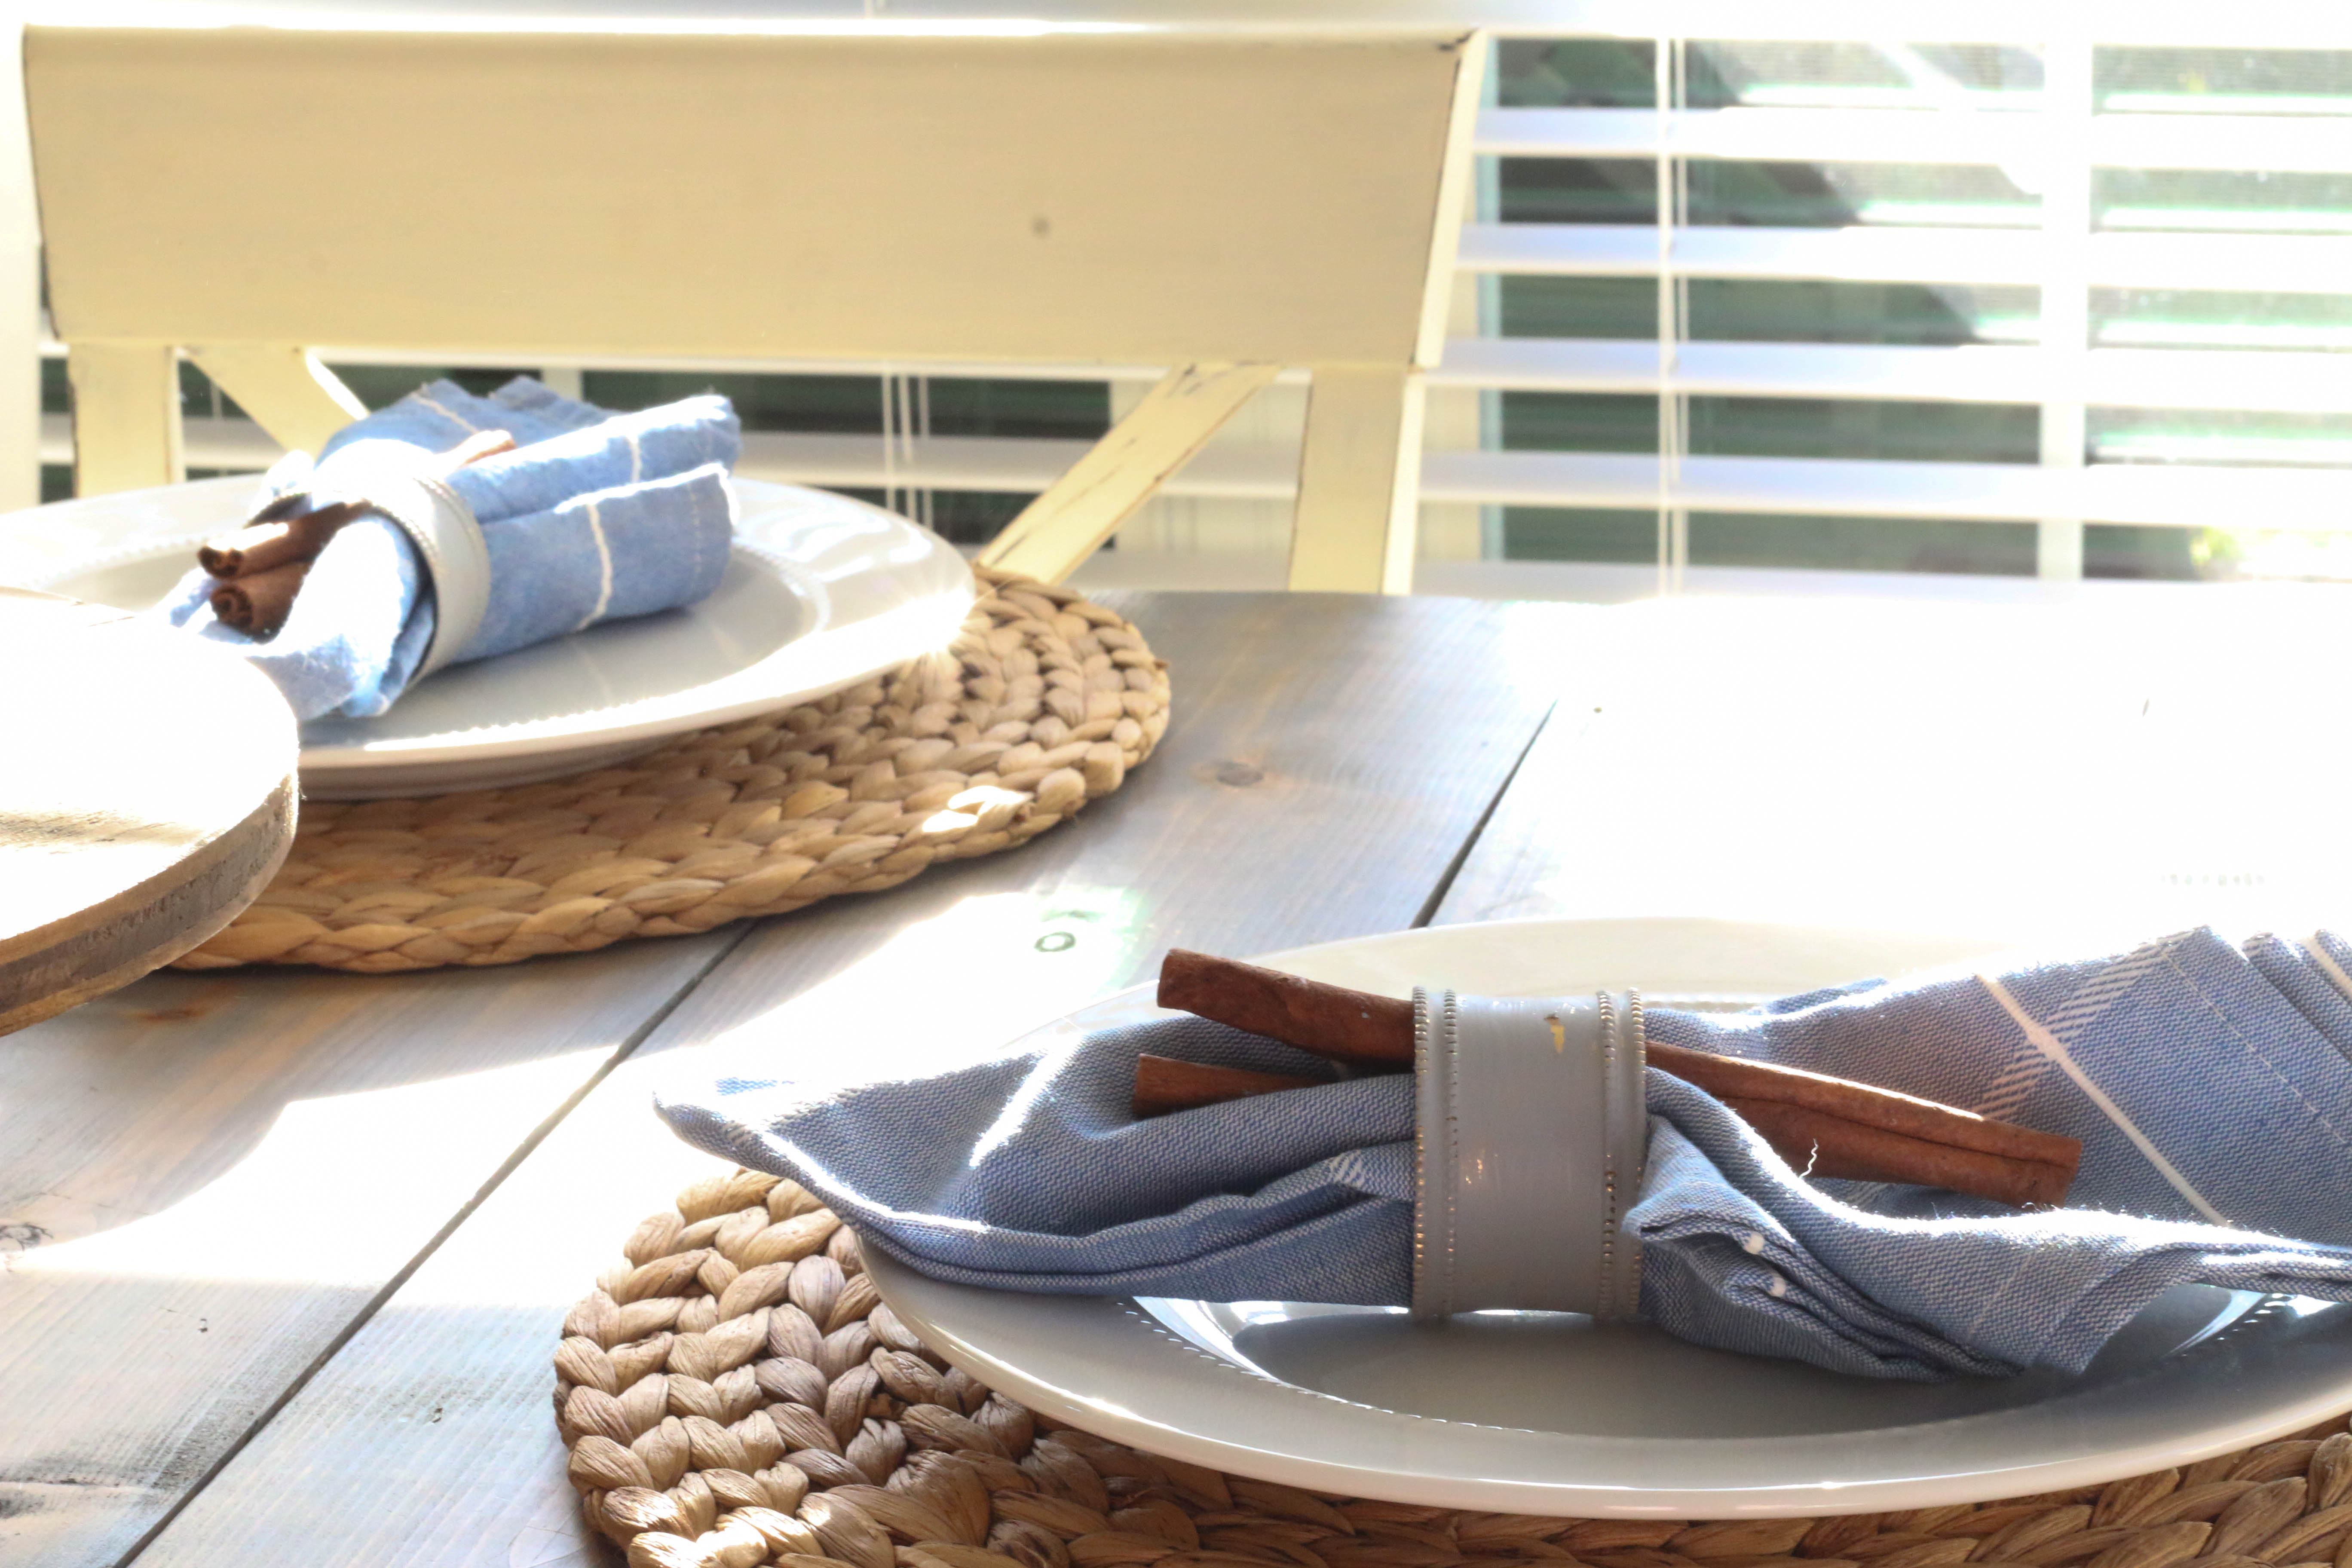
Add some cute textiles.

So the floors aren’t your top choice. Maybe your years away from a kitchen reno, and maybe you can’t touch anything in your rental. I feel ya. A little rug in front of the sink can go a long way. A cute tea towel on the stove (not a ratty old dishrag) can help. These are inexpensive fixes that can distract the eye from what’s really there. Choose something that fits your style, and the good news is that you can change it out whenever you want!
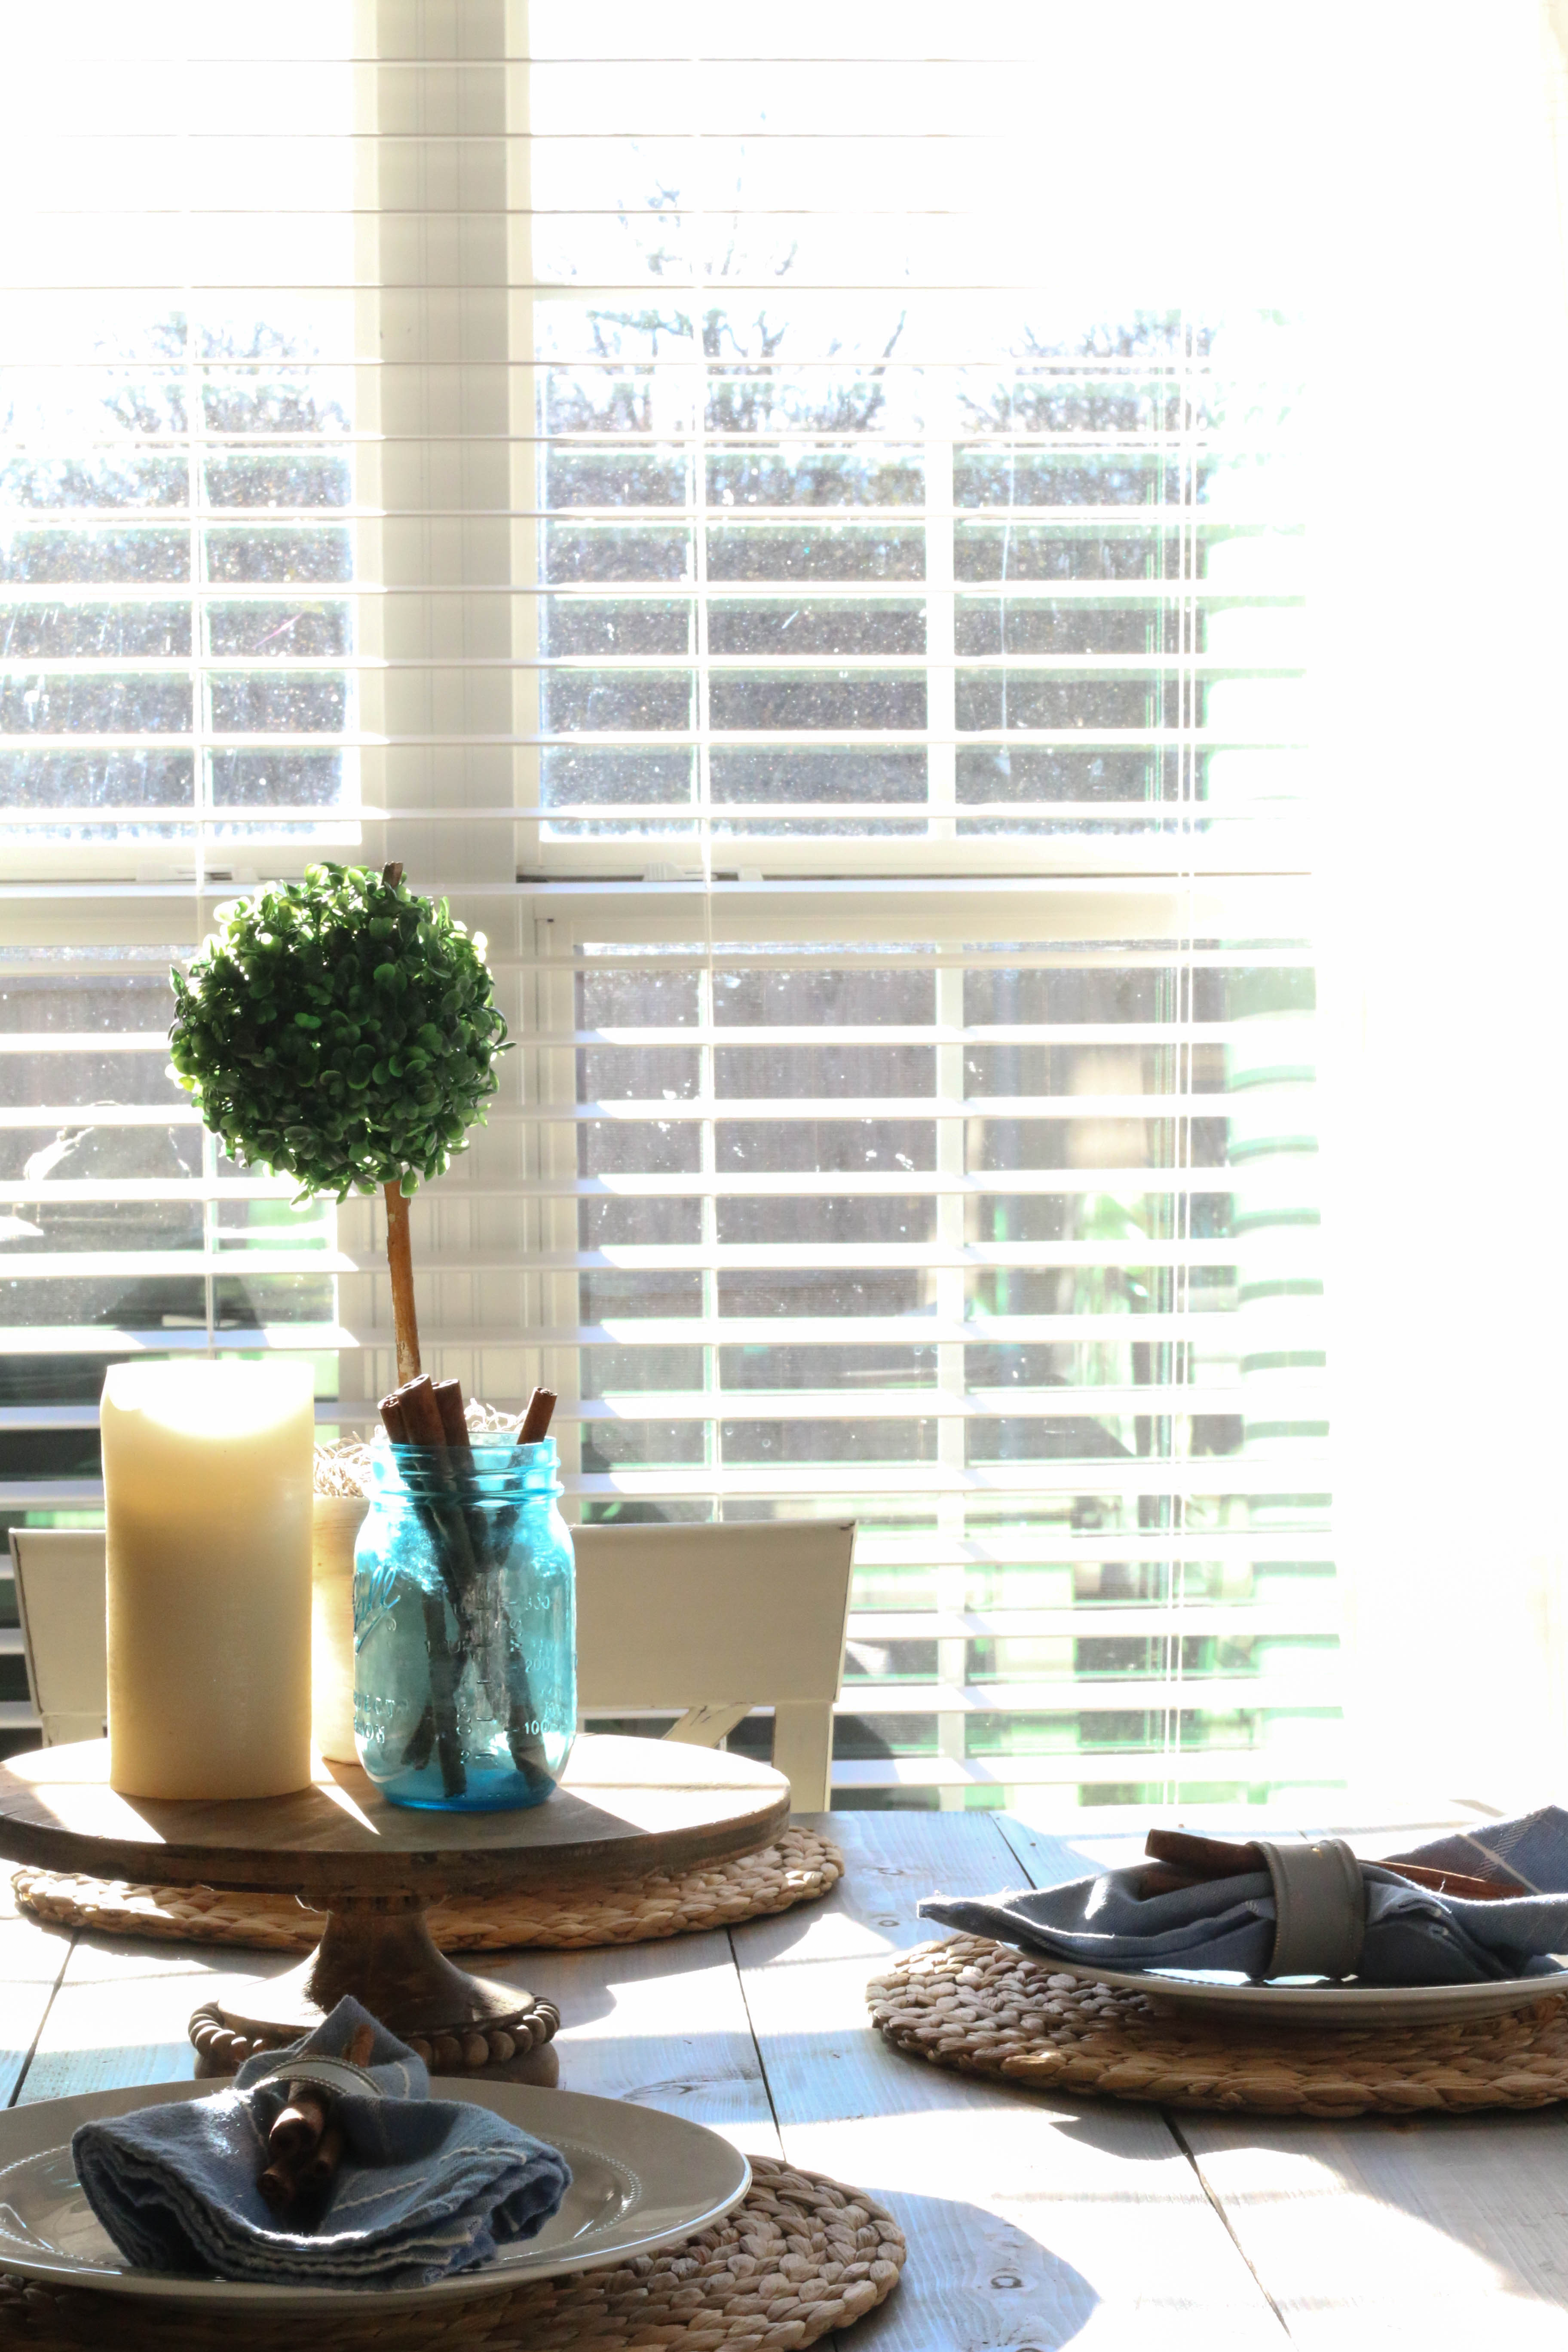
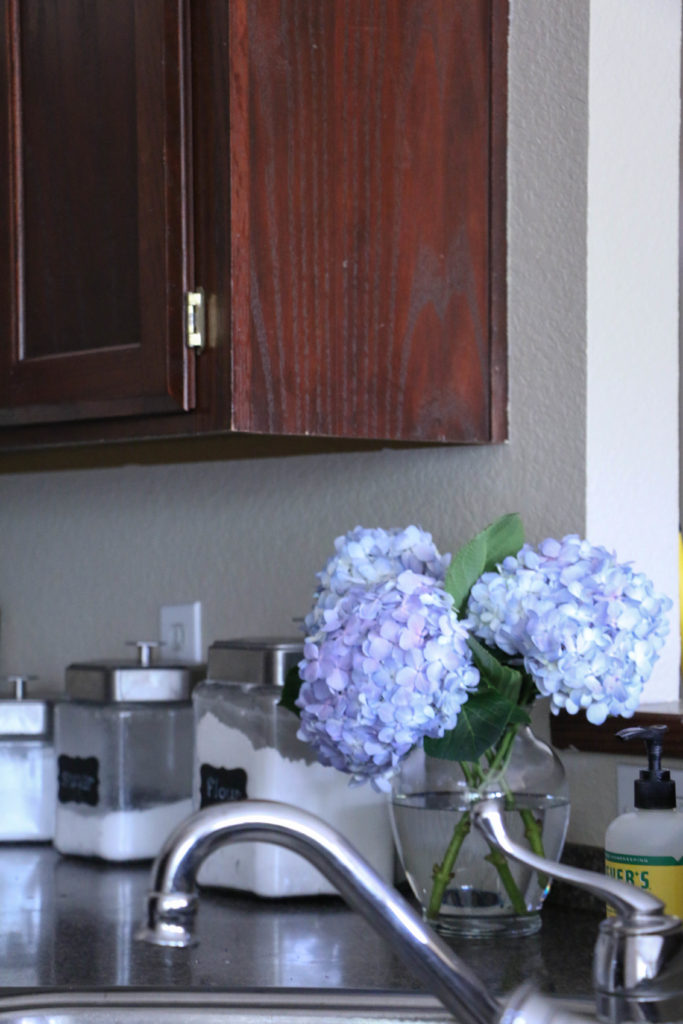
Create vignettes.

Bring in some fresh flowers, or a bowl of fruit and style around it. Do what you have to do. I’d rather have something pretty on my countertops than a jumble of appliances and cords. It just feels thoughtful, even if the bones of the kitchen aren’t.

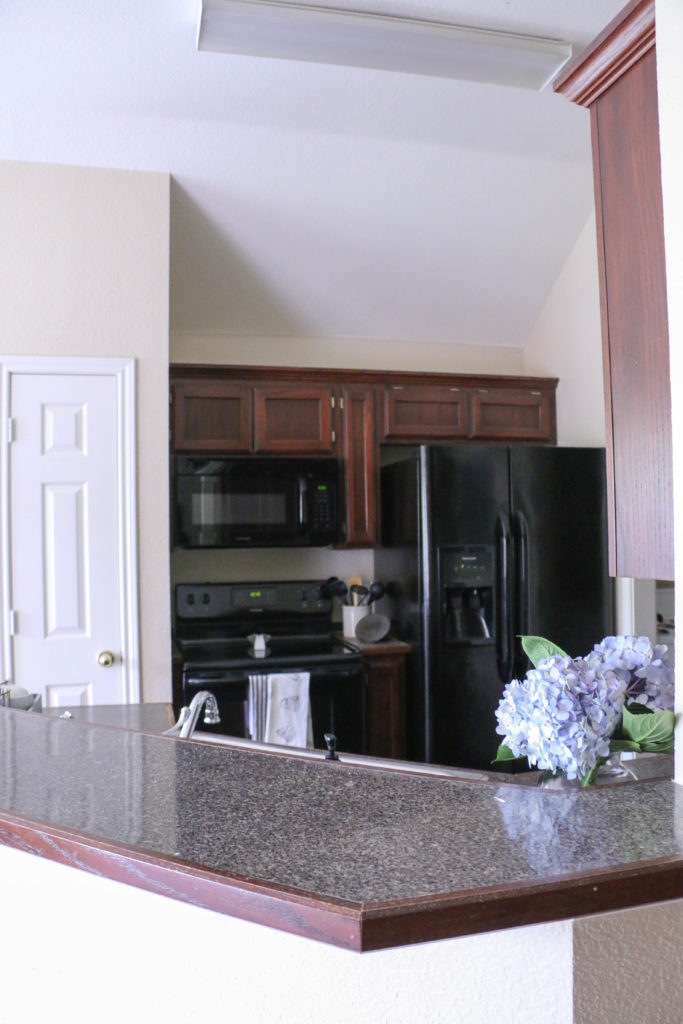
My kitchen is dark, and while in a perfect world, I would replace the black appliances, paint the cabinets, and concrete the countertops, that’s just not our reality right now. I have learned to love this little kitchen though. It is small, which means it’s easy to clean. It is open, which means light flows in during the day. It is miles above the kitchen from the 1950s we had in our previous rent house. I’m grateful for this little kitchen, even if it’s not a magazine worthy kitchen by any means.

What about you? Do you have a kitchen like mine? Do you love it or hate it? I’d love to hear about it! Well, that’s all for today, friends! Have a fabulous day!

Personal

Five Things I’ve Learned Running a Vintage Booth

Hey y’all! I am just coming out of a great weekend, and while it’s fresh on my mind, I wanted to share with you everything! This weekend I had a show with Vintage Market Days, which is my favorite event, both as a shopper and as a vendor. This was my second show with VMD, and I have continued to learn so much now that I have two shows under my booth. I still would consider myself a novice by all means, but I’d love to share the top five things I’ve learned, should you ever consider running a booth yourself!

Style the booth like a room. 

The first thing you want to do is think about your booth as a room. You don’t want to just randomly place furniture around a room in your house and call it a day. You think carefully about walkways, flow, and how you decorate. Think carefully about how to piece things together. I added walls to the back of my booth, a portable faux shiplap backdrop that I could hang things on. This created not only the feeling of being in a defined space, but also gave me vertical space to display things on. That is huge! Your house has walls where you hang things, so should your booth! You may be placed up to a wall, but chances are, you’ll be backed up against another booth or an ugly wall. Put something up so you can make your booth look homey! The shiplap walls were a big hit, and I am so impressed with how Ethan made these!

Think big! (But also small.) I would consider myself to run a redesigned furniture booth. However, not everyone who walks into a market is going to be in the market for (or have money for) a large furniture piece. I don’t know how many times people walked by my booth to admire my farmhouse table but walked away saying but I don’t need a table. People won’t usually spontaneously purchase a large furniture piece, but they will buy something small. Have items at all price points! I had pieces ranging from three to five hundred dollars. Make your items mass appeal. This doesn’t mean you have to offer things that aren’t true to your style, but bring things in that can match anyone’s price point. Even though I have furniture in my booth, I made most of my sales on small items.

Constantly rearrange. 

Things will sell. Even if you have your booth perfectly styled before the market starts, things will sell and leave gaping holes in your booth. You have to be quick on your feet and be able to move things around to constantly make the booth presentable. Another vendor gave me some great advice this weekend and told me not to be afraid to rearrange during the show. It will make shoppers less intimidated to come in and check things out, plus it brings different items to the attention of shoppers if they walk by more than once. Someone may think they’ve seen everything, but when you rearrange, they may notice something they haven’t seen the first time around. They’re much more likely to stop and shop!

Make friends with other vendors! 

Other vendors are a wealth of knowledge. Everyone has different experiences and expertise, and they all have something to offer. And the best part is that if you’re warm and friendly, they’ll be warm and friendly in return! As someone just starting out, this is huge! They are so generous with advice and tips, especially those who have been doing things for a while. You never know who you’re going to be set up next to, so make sure you learn everything you can from those around you!

Be mindful of logistics. 

Lastly, don’t forget about the logistics. Bring canvas dropcloths if you’re on a dirt floor. Bring change for cash buyers. Be prepared for shoppers to pay with card. Bring tools, because something will invariably go wrong. Bring chairs for sitting during the show. Have a plan for load in and load out, whether that means a truck, trailer, or strong muscles. Make a list and check it more than once, because you’ll always forget something.

These are just some of the things I’ve learned, but I feel like I’m way more experienced than I was before! Each show is a learning experience, and I am so thankful to have the opportunity to continue to grow this little side business I have. It’s exhausting, exhilarating, and exciting at the same time. Creating the pieces for these shows and seeing my ideas come to life is an indescribable feeling. Have you ever thought about becoming a vendor at a craft fair or antique market? I hope these tips help you out!

Well, that’s all for today friends! Have a fabulous day!

DIY Projects

Easy Spring Craft

Hello everyone! It has been a LONG time since I’ve been here, partially due to my own lack of inspiration, but also due to some website hosting transferring issues which prevented me from updating the site at all. I am back and full of inspiration and ready to share with you some fun little things I’ve been working on!

Spring is here, and I am in spring mode! When it comes to most seasonal décor, I tend to shy away from overtly seasonal things. I’m not into bunnies for Easter, or turkeys for Thanksgiving. I prefer a simple and understated look for each season. That being said, I wanted to share a super simple craft for spring time I have! It’s one of those things that makes me feel almost silly for sharing because duh, it’s that easy.

I wanted to make something small enough to be used in a tablescape, but didn’t necessarily have to be used in a place setting. Here’s what I came up with:

Most of the materials can be found at a local craft store. I hot glued the Spanish moss into the bottom of the berry basket, and added a tiny bit of green moss on top. I hot glued that down as well, trying (unsuccessfully) not to burn my fingertips. I then placed the eggs on top of the moss and glued them down. Again, I’m kind of embarrassed to share these because it’s so simple. But this is the only official spring thing I’ve made for the house, so I had to share!

The cool thing about this is that it is totally just a template and you could do whatever you’d like! You could customize this with items you have around the house, or any other small item that suits your fancy. Easy enough, right?

And if you’re not keen on making these yourself, I will have lots of these little cuties available at my booth during Vintage Market Days in Glen Rose, TX. It’s going to be an awesome event that you are not going to want to miss! I have been working really hard to bring some items for this event and I would love to see you there.

Have you gotten your spring craft on yet? I think this season is the perfect one to get crafty! Push away those winter blues with some fun projects! I’d love to see what projects you’re working on! Feel free to tag me on Instagram or Facebook. Happy crafting! That’s all I have for today, have a fabulous day friends!

DIY Projects, Furniture Makeover

DIY Antique Farmhouse Dresser

Hello friends! Happy Monday! Today is good day for a good day, am I right? I’ve been super busy lately with projects and it is a wonderful feeling! Last weekend Ethan and I cleared out our garage, which gave me plenty of room to work. We organized all my materials, and made a place for everything.

It used to be super full and I barely had room to work on anything, but now that it’s all clean, I’ve been super inspired to work on projects in there. It feels like I can finally breathe!

One of the projects that I finished up this week was this little antique dresser. I snagged this dresser up from a friend who was selling it at her garage sale. I saw it and knew I had to have it! And because I am the worst at taking before pictures, you’ll just have to use your imagination. It was just plain brown and missing a few handles.

Well, I painted her up, and here she is in all her antique farmhouse style glory:

Okay, so with this project, I tried something new. I knew I wanted it to be super distressed, and rather than use my sander, I wanted to try the Vaseline trick that furniture painters everywhere have been talking about. So I applied Vaseline all on the edges of the dresser. (Basically where you see distressing is where I applied.) I found that it was easiest just to use my finger rather than messing with a paint brush.

After I applied my Vaseline, it was time for paint. I used Palais White by Behr in a flat finish. I painted everything evenly, including the areas that where I had used Vaseline. Now here’s where it gets tricky. My dresser needed two coats. Being the impatient person that I am, I could not wait to see the effects of the Vaseline after the first coat of paint. So, I began rubbing the areas with a rag. This was a dumb idea because I still had to paint a second coat.

The paint will not adhere to the Vaseline, and it basically makes a crackly looking paste in the areas where the Vaseline was applied. If you have to paint two coats, do not remove the Vaseline until finished with both coats. That was my biggest mistake. The technique worked well enough, but I had to reapply Vaseline so I could do my second coat.

Personally, I think I would rather just take my sander to the project afterward, but it’s good to try new things. Plus that’s mostly because of my own impatience.

After I finished the painting, I topped it with Annie Sloan clear wax to give it a protective finish. The wax is technically used for chalk paint, and I previously had only ever used it on chalk paint, but because flat paint is pretty porous, I figured I’d give it a try, and it worked pretty well!

I just love this cute little dresser, and it matches my light and bright farmhouse style perfectly! But alas, I won’t be keeping this one. She will be heading with me to my spring shows (which I will be keeping you posted about more soon, but the first one will be the Vintage Market Days in Glen Rose Texas in March. So that’s good news for you, because this cutie could be yours!

So, have you ever tried using Vaseline to distress painted furniture? I’d love to hear about your experience! Don’t forget you can find me on Instagram and Facebook for more behind the scenes fun of my day to day life! Well friends, that’s all for today. Have a fabulous day!

Home Decor

Clean and Wintry Tablescape

How is it January already?! This is crazy! I am heading into two years of blogging, and that is crazy to me as well! Every year when Christmas is over, and all my decor comes down, I crave simplicity. And, let’s be honest, I am pretty much ready for spring. I know that we will have winter weather yet, but so far the temperatures have been around sixty each day, which just feels wonderfully spring-like.

Anyway, I took down all my Christmas decor and I made my table simple and clean for the wintry months ahead. I know it might seem silly, but I really do always have my table made up. It brings me joy to have a pretty looking table, and no one should be able to steal your joy, so I say do what you want! I like to use a lot of blues in our house, and so I have one set of blue napkins that are my absolute favorite. I tend to mix these in with each season.

winter-table-1

I’ve been meaning to buy some napkin rings for a while now, but my cheap self never could pull the trigger. I found these the day after Christmas at Hobby Lobby. They were a metallic gold, which was a little too “holiday glitzy” for me, so I painted over them with a quick gray paint. The paint naturally wore off in a few areas (probably because of the slick texture), and it turned out to be perfectly chippy. I love it!

winter-table-4

The white pillar candle was also an after Christmas clearance special (my favorite time to shop). A simple jar with cinnamon and my DIY Boxwood Topiary  make my little cakestand look finished yet clean.

 winter-table-6

And can we talk about this afternoon sunlight pouring in? For some reason late afternoon sun perfectly equates to winter for me. I’m not sure why, but this season really can be beautiful (even if it gets dark incredibly early and we don’t even have snow).

winter-table-5

For me, setting the table really can be a theraputic and meaningful time. I love the finished product of course, but the act of designing and putting together a table is incredibly rewarding to me. What about you? Do you have a table that’s typically set, or do you prefer a blank canvas?

A few sources for this design if you’re interested:

Napkins: Tuesday Morning

Napkin Rings: Hobby Lobby

Cake Stand: Magnolia

Plates: Target

Chargers: IKEA

That’s all for today, friends. Have a fabulous day!